Easter Envelope Basket

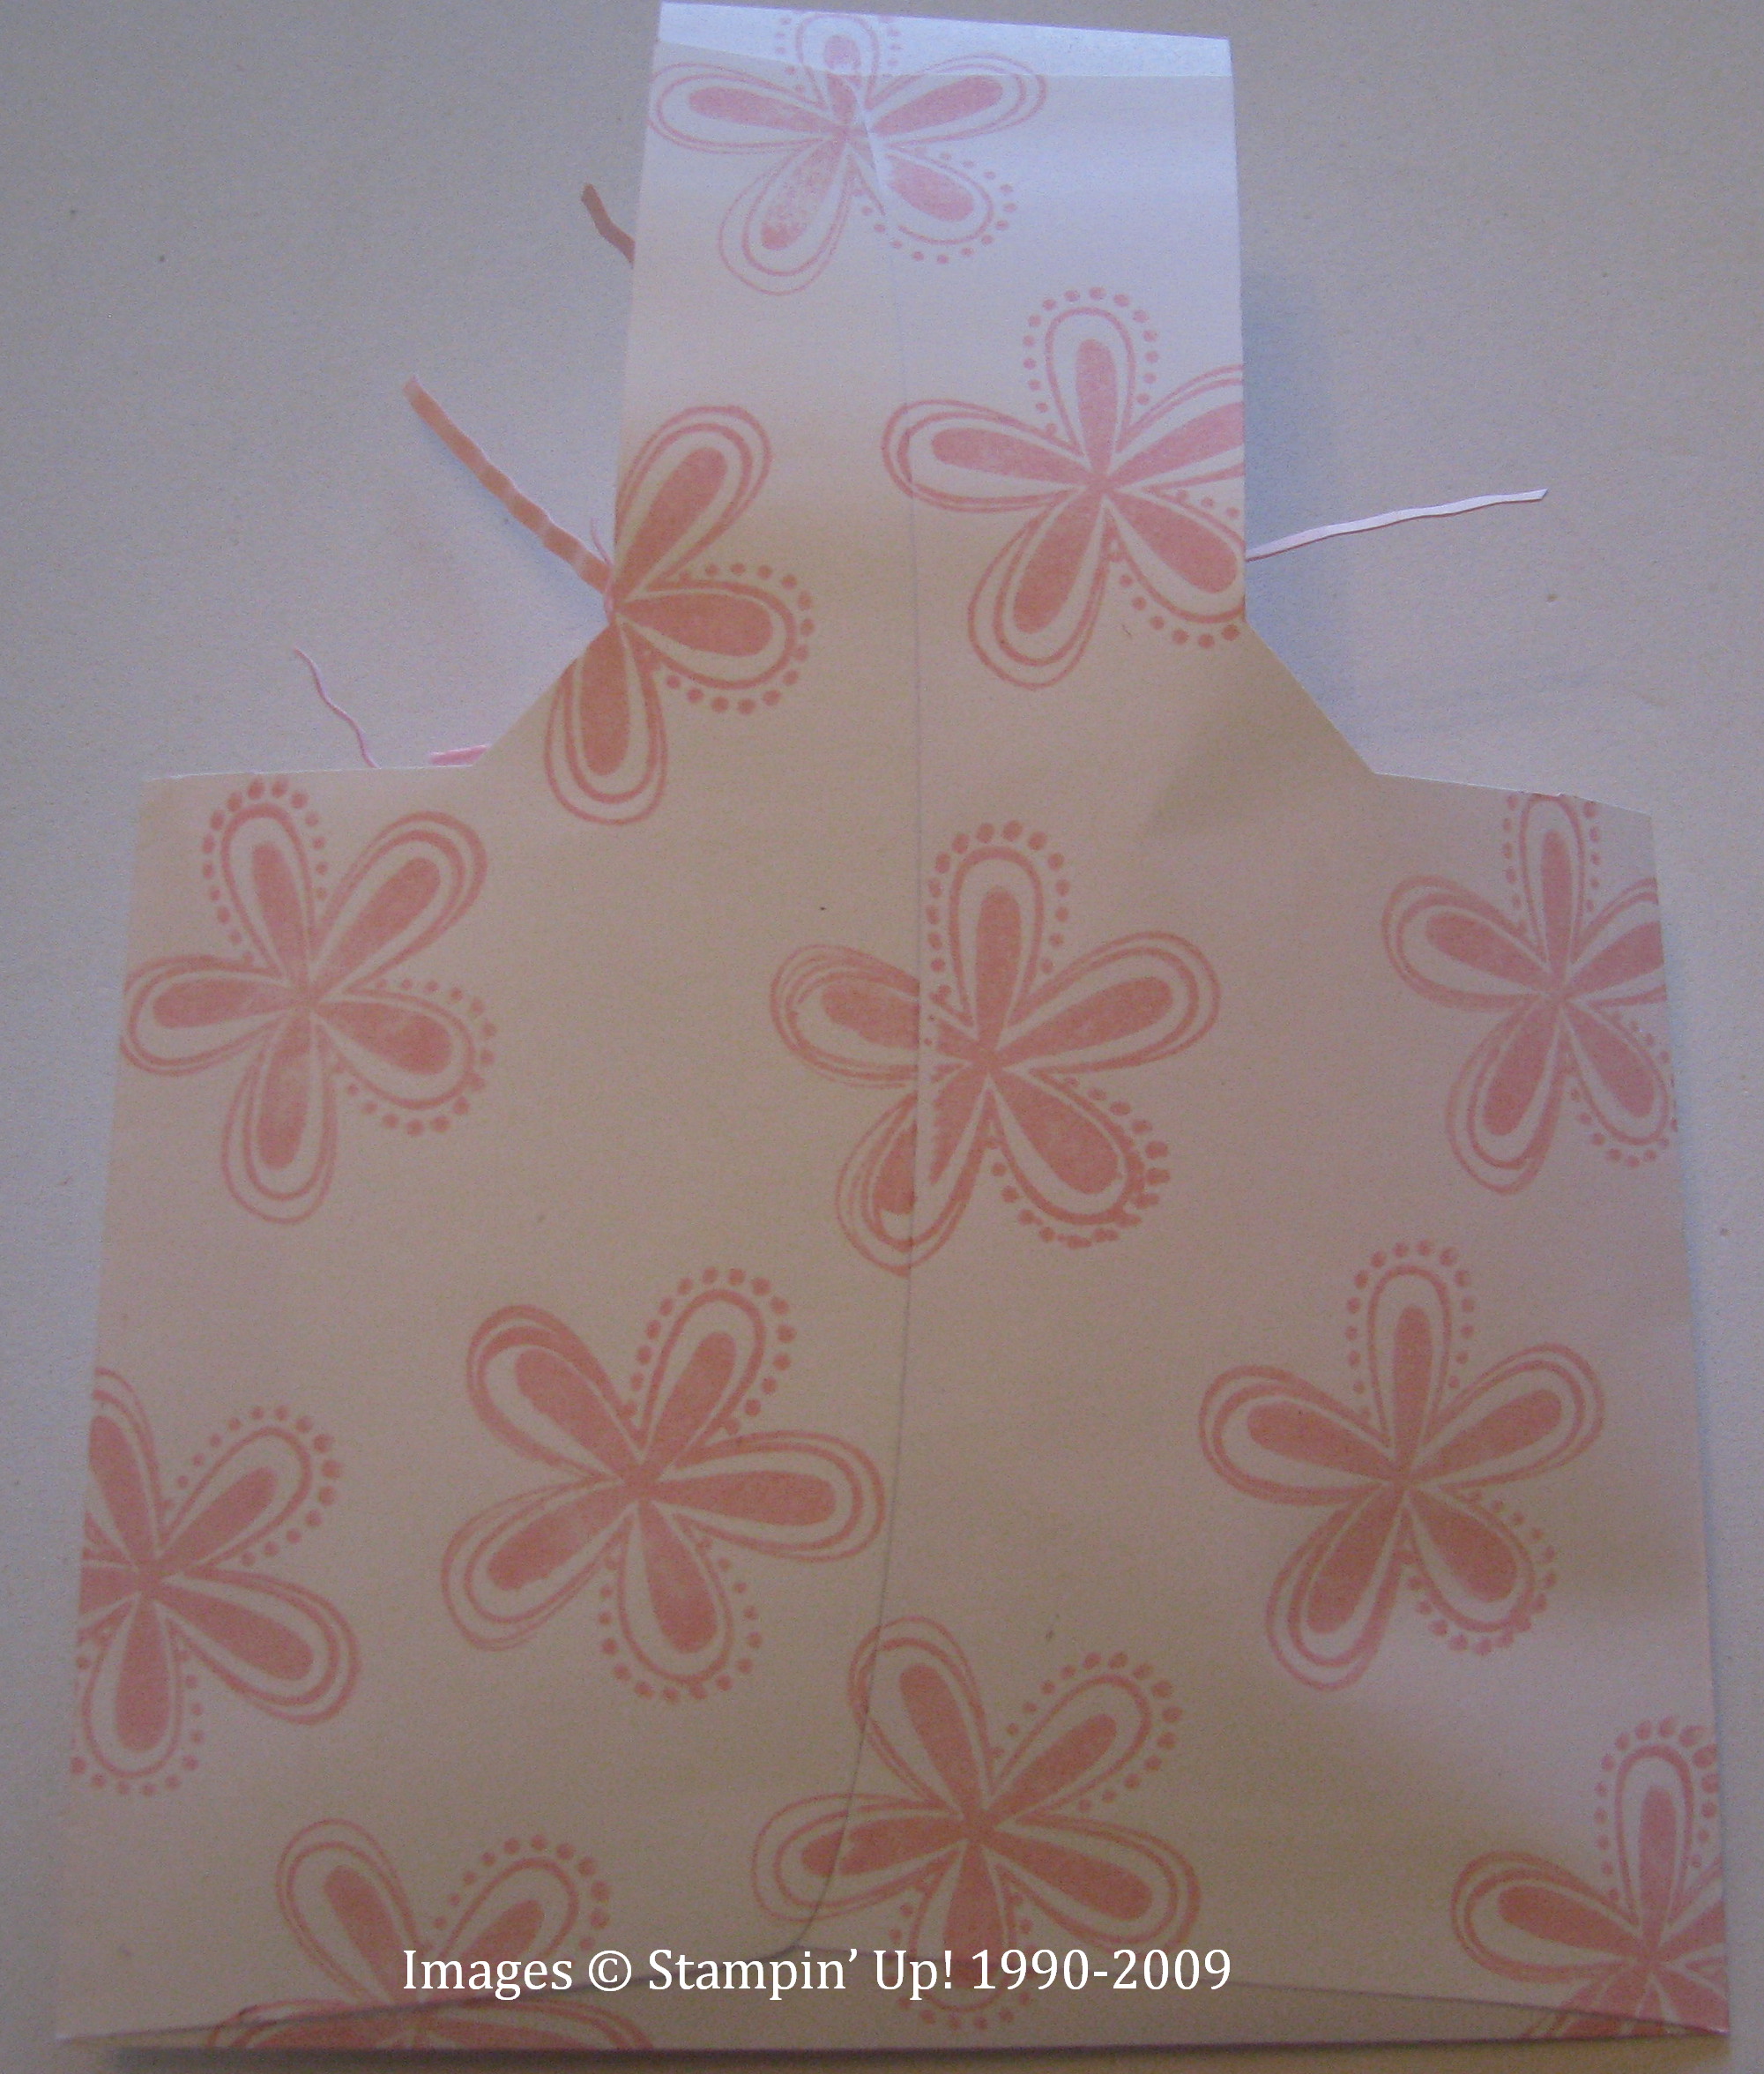
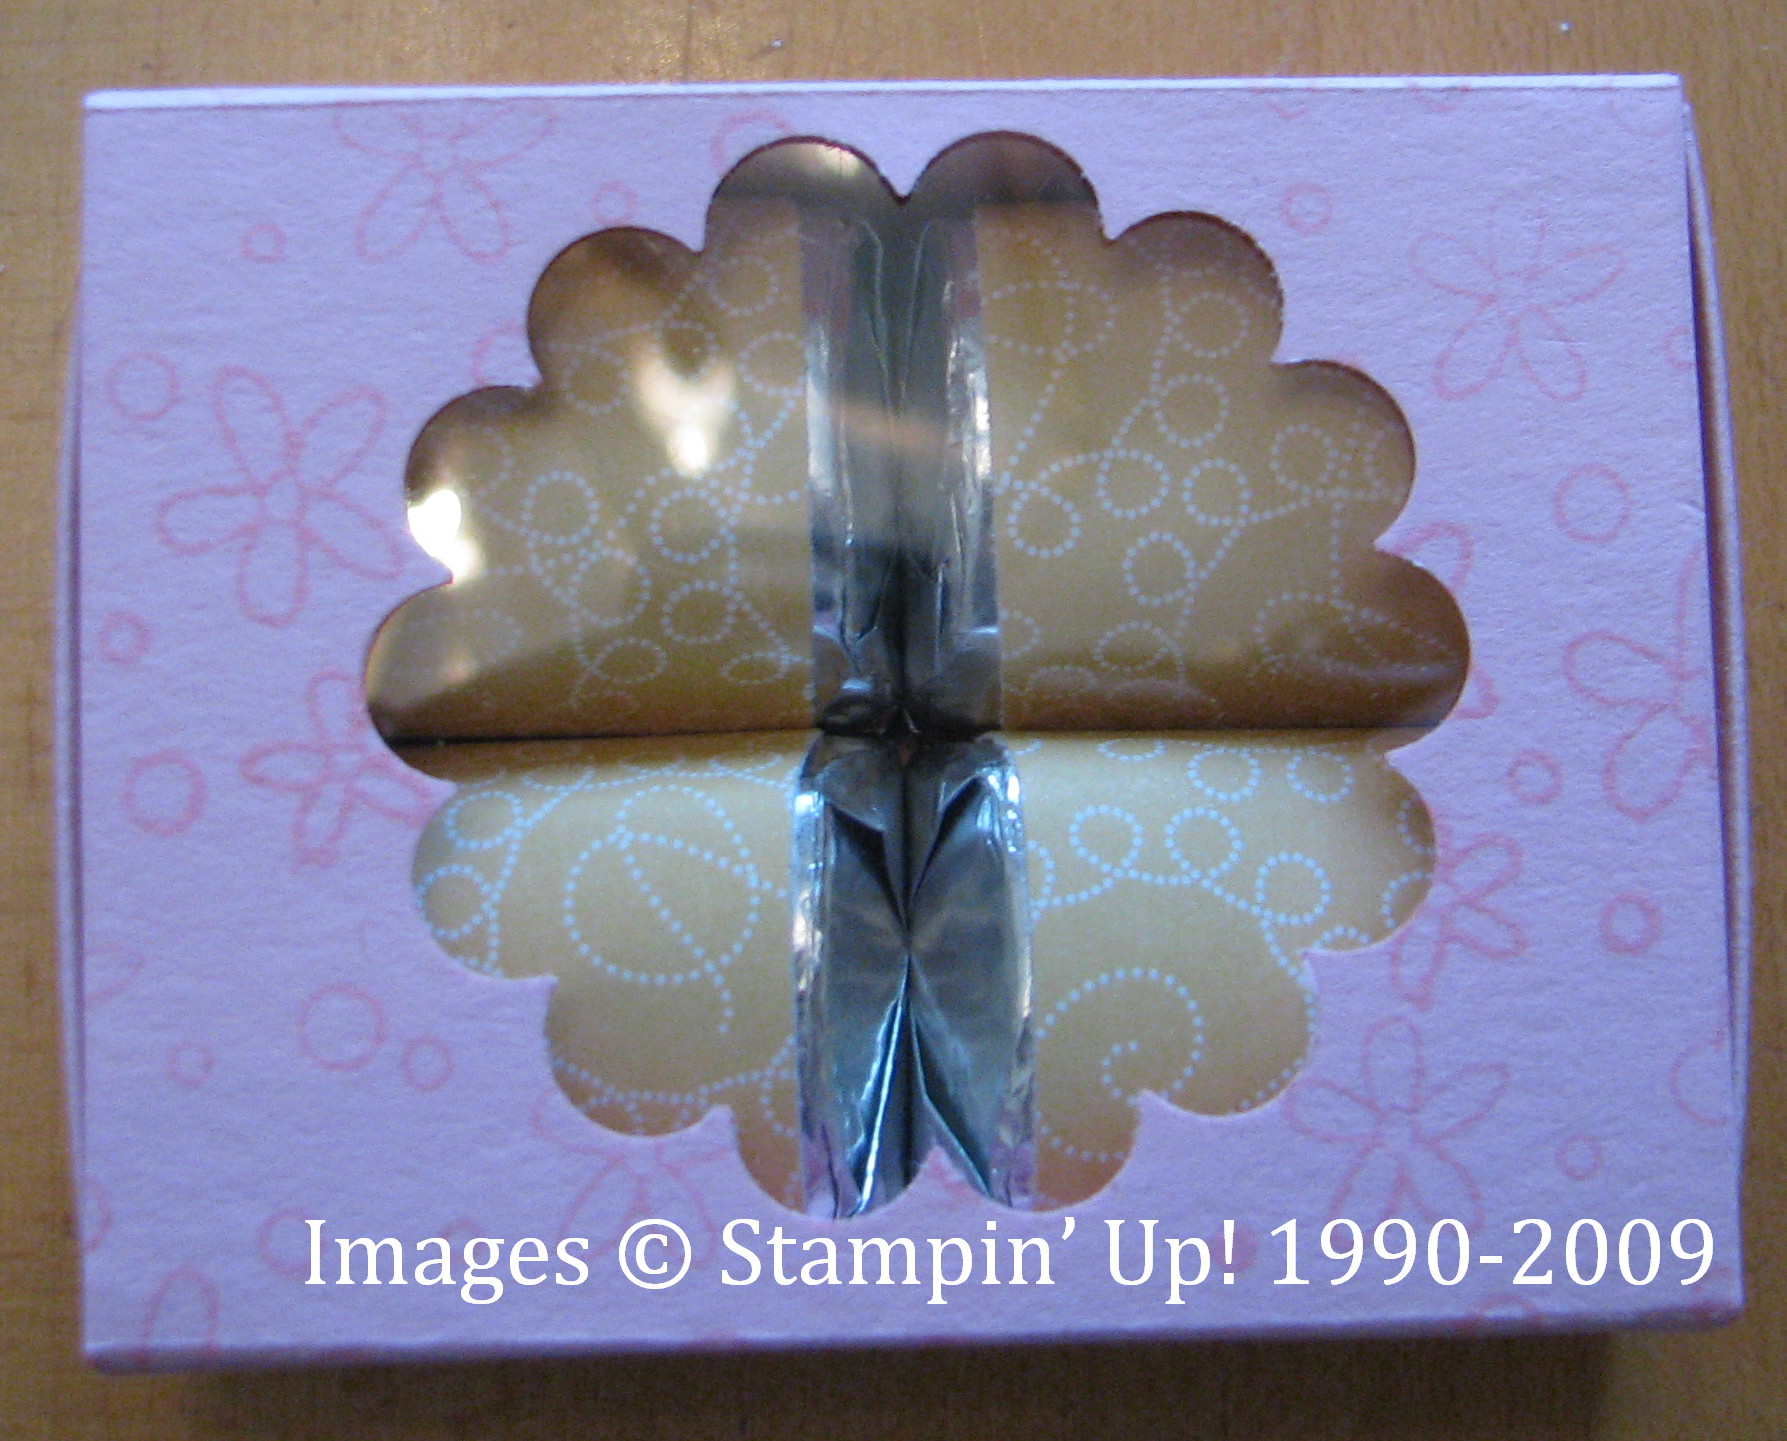
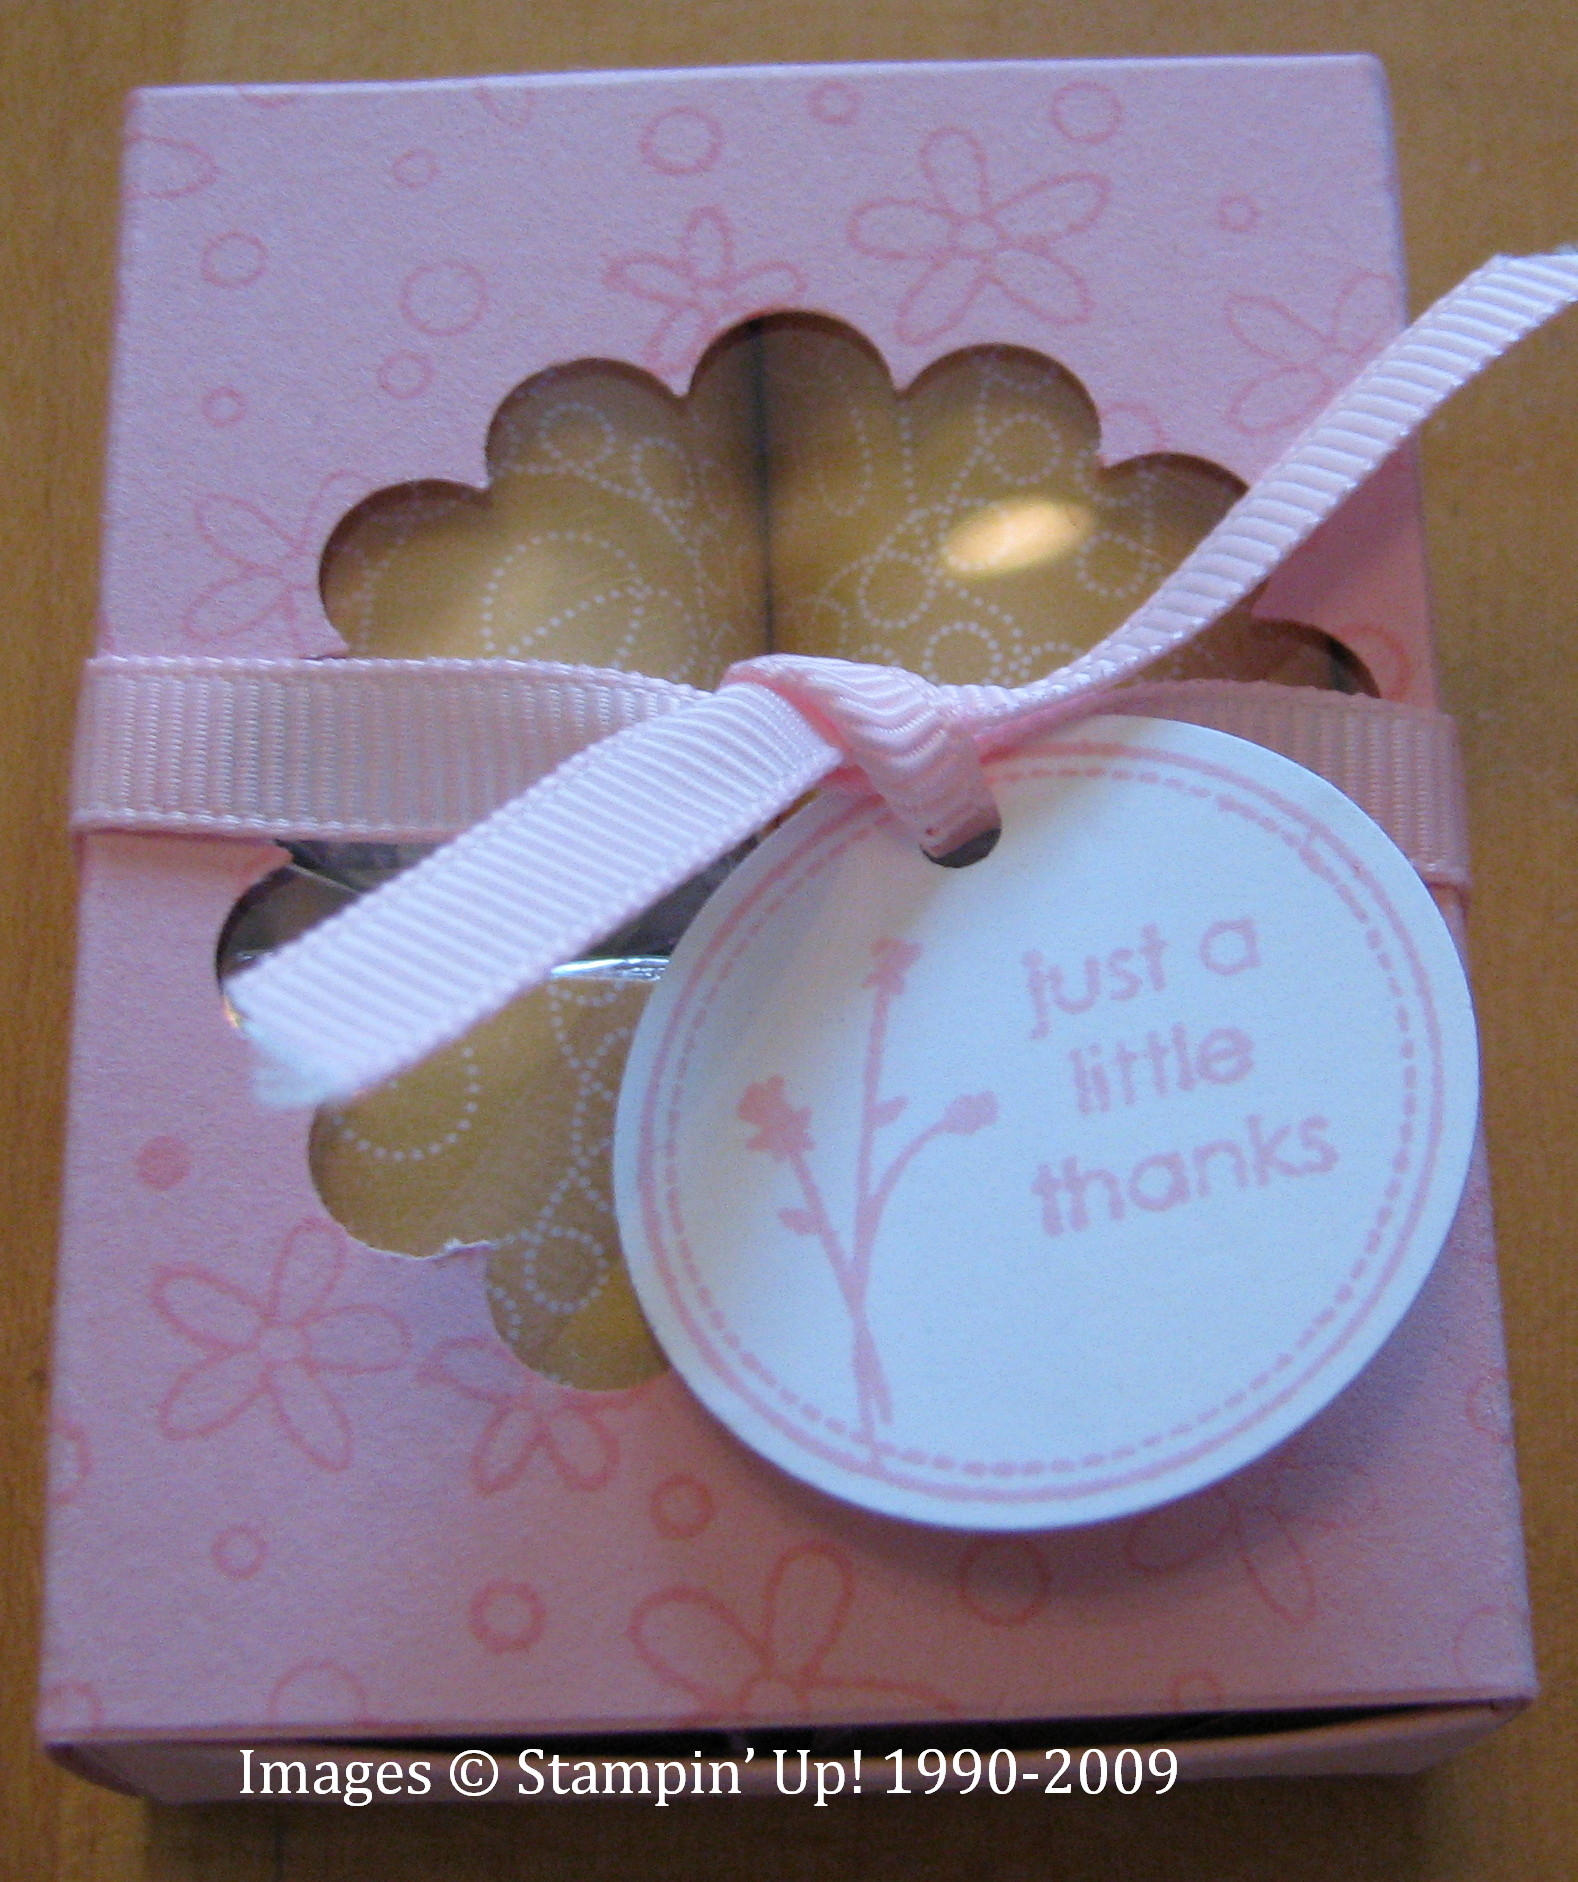
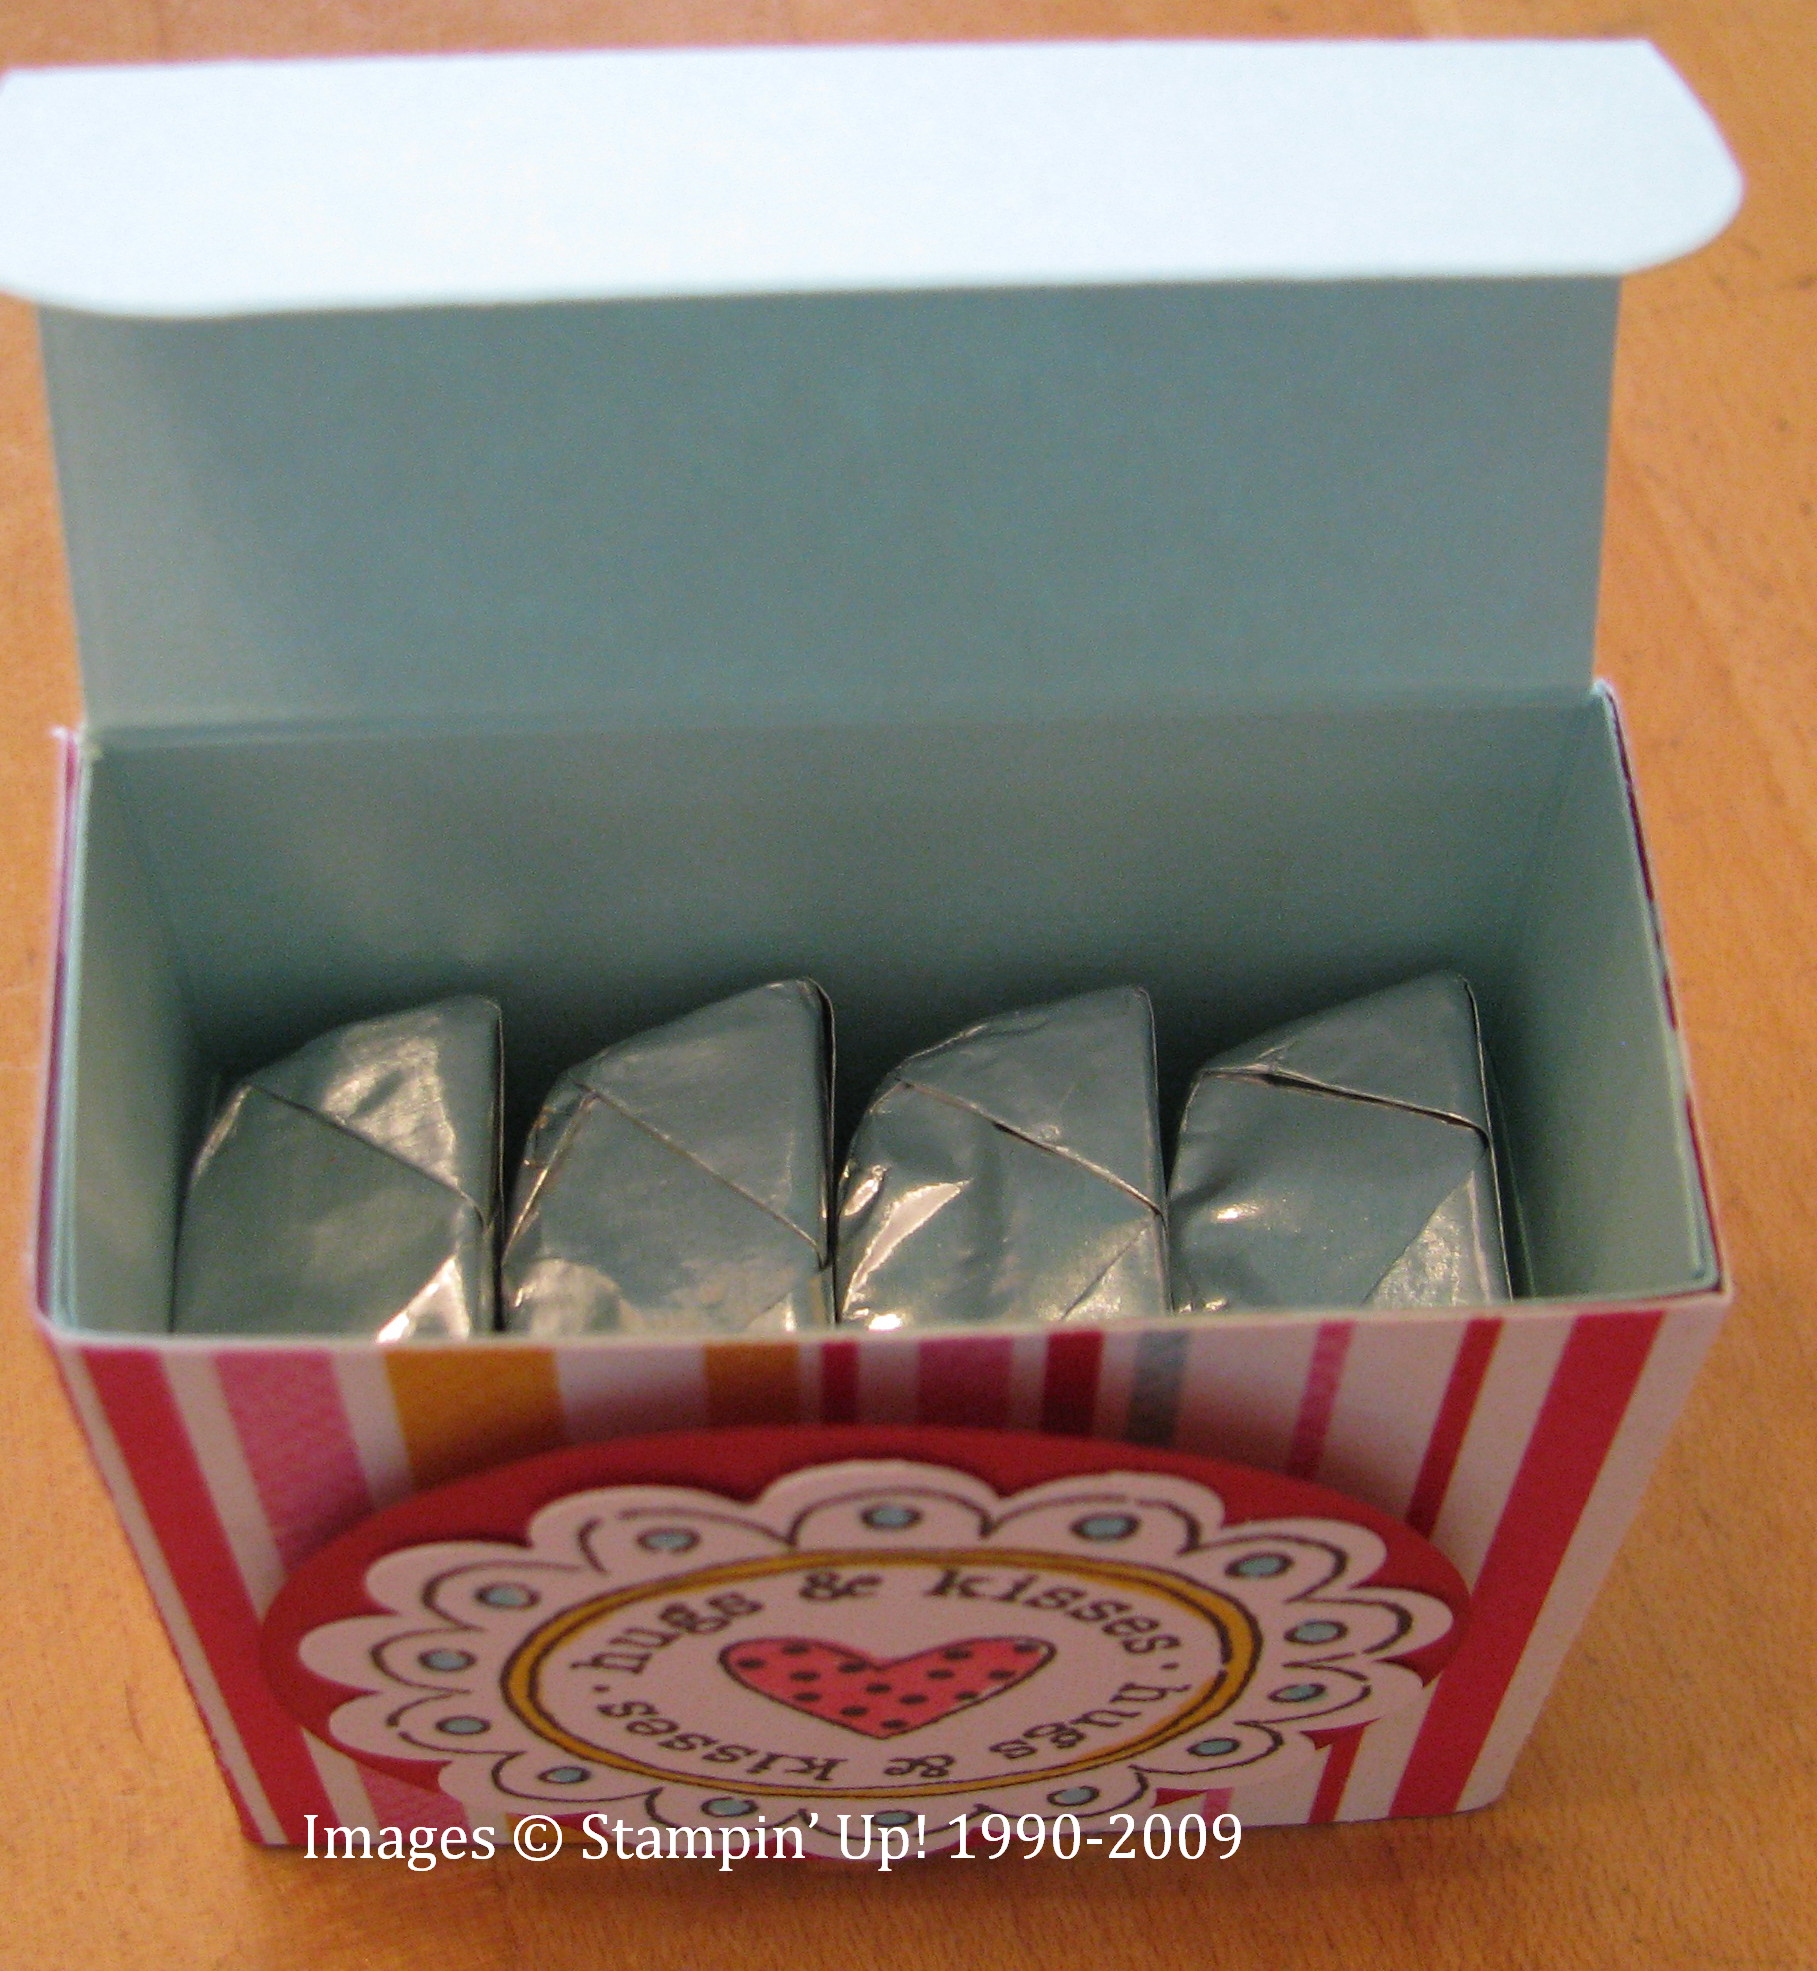
This is a really easy and fun project, I think.  I used one of our lovely Stampin' Up! envelopes to make this.  I think once you get used to the smooth feel of our Stampin' Up! envelopes, you really don't like any other kind!  This is the Whisper White Medium Envelope (#107301).  All you do is seal the envelope, stamp it (I used a stamp from Priceless), and then use the Large Tag Punch on the sides.  Just slide the Tag Punch down as far as it will go along the side, with the envelope flap vertical, and punch.  You'll have a little piece left at the top, which you can punch off with the tag punch or just cut off with a scissor.  There will also be little triangle pieces on each side from the Tag Punch, but just cut those off with a scissor.  Stick your hand inside to open it up a little and there you have your basket!  I made the Punch Bunny on the front to decorate and tied a little ribbon.

EasterEnvelopeBasketBack 

EasterEnvelopeBasket   

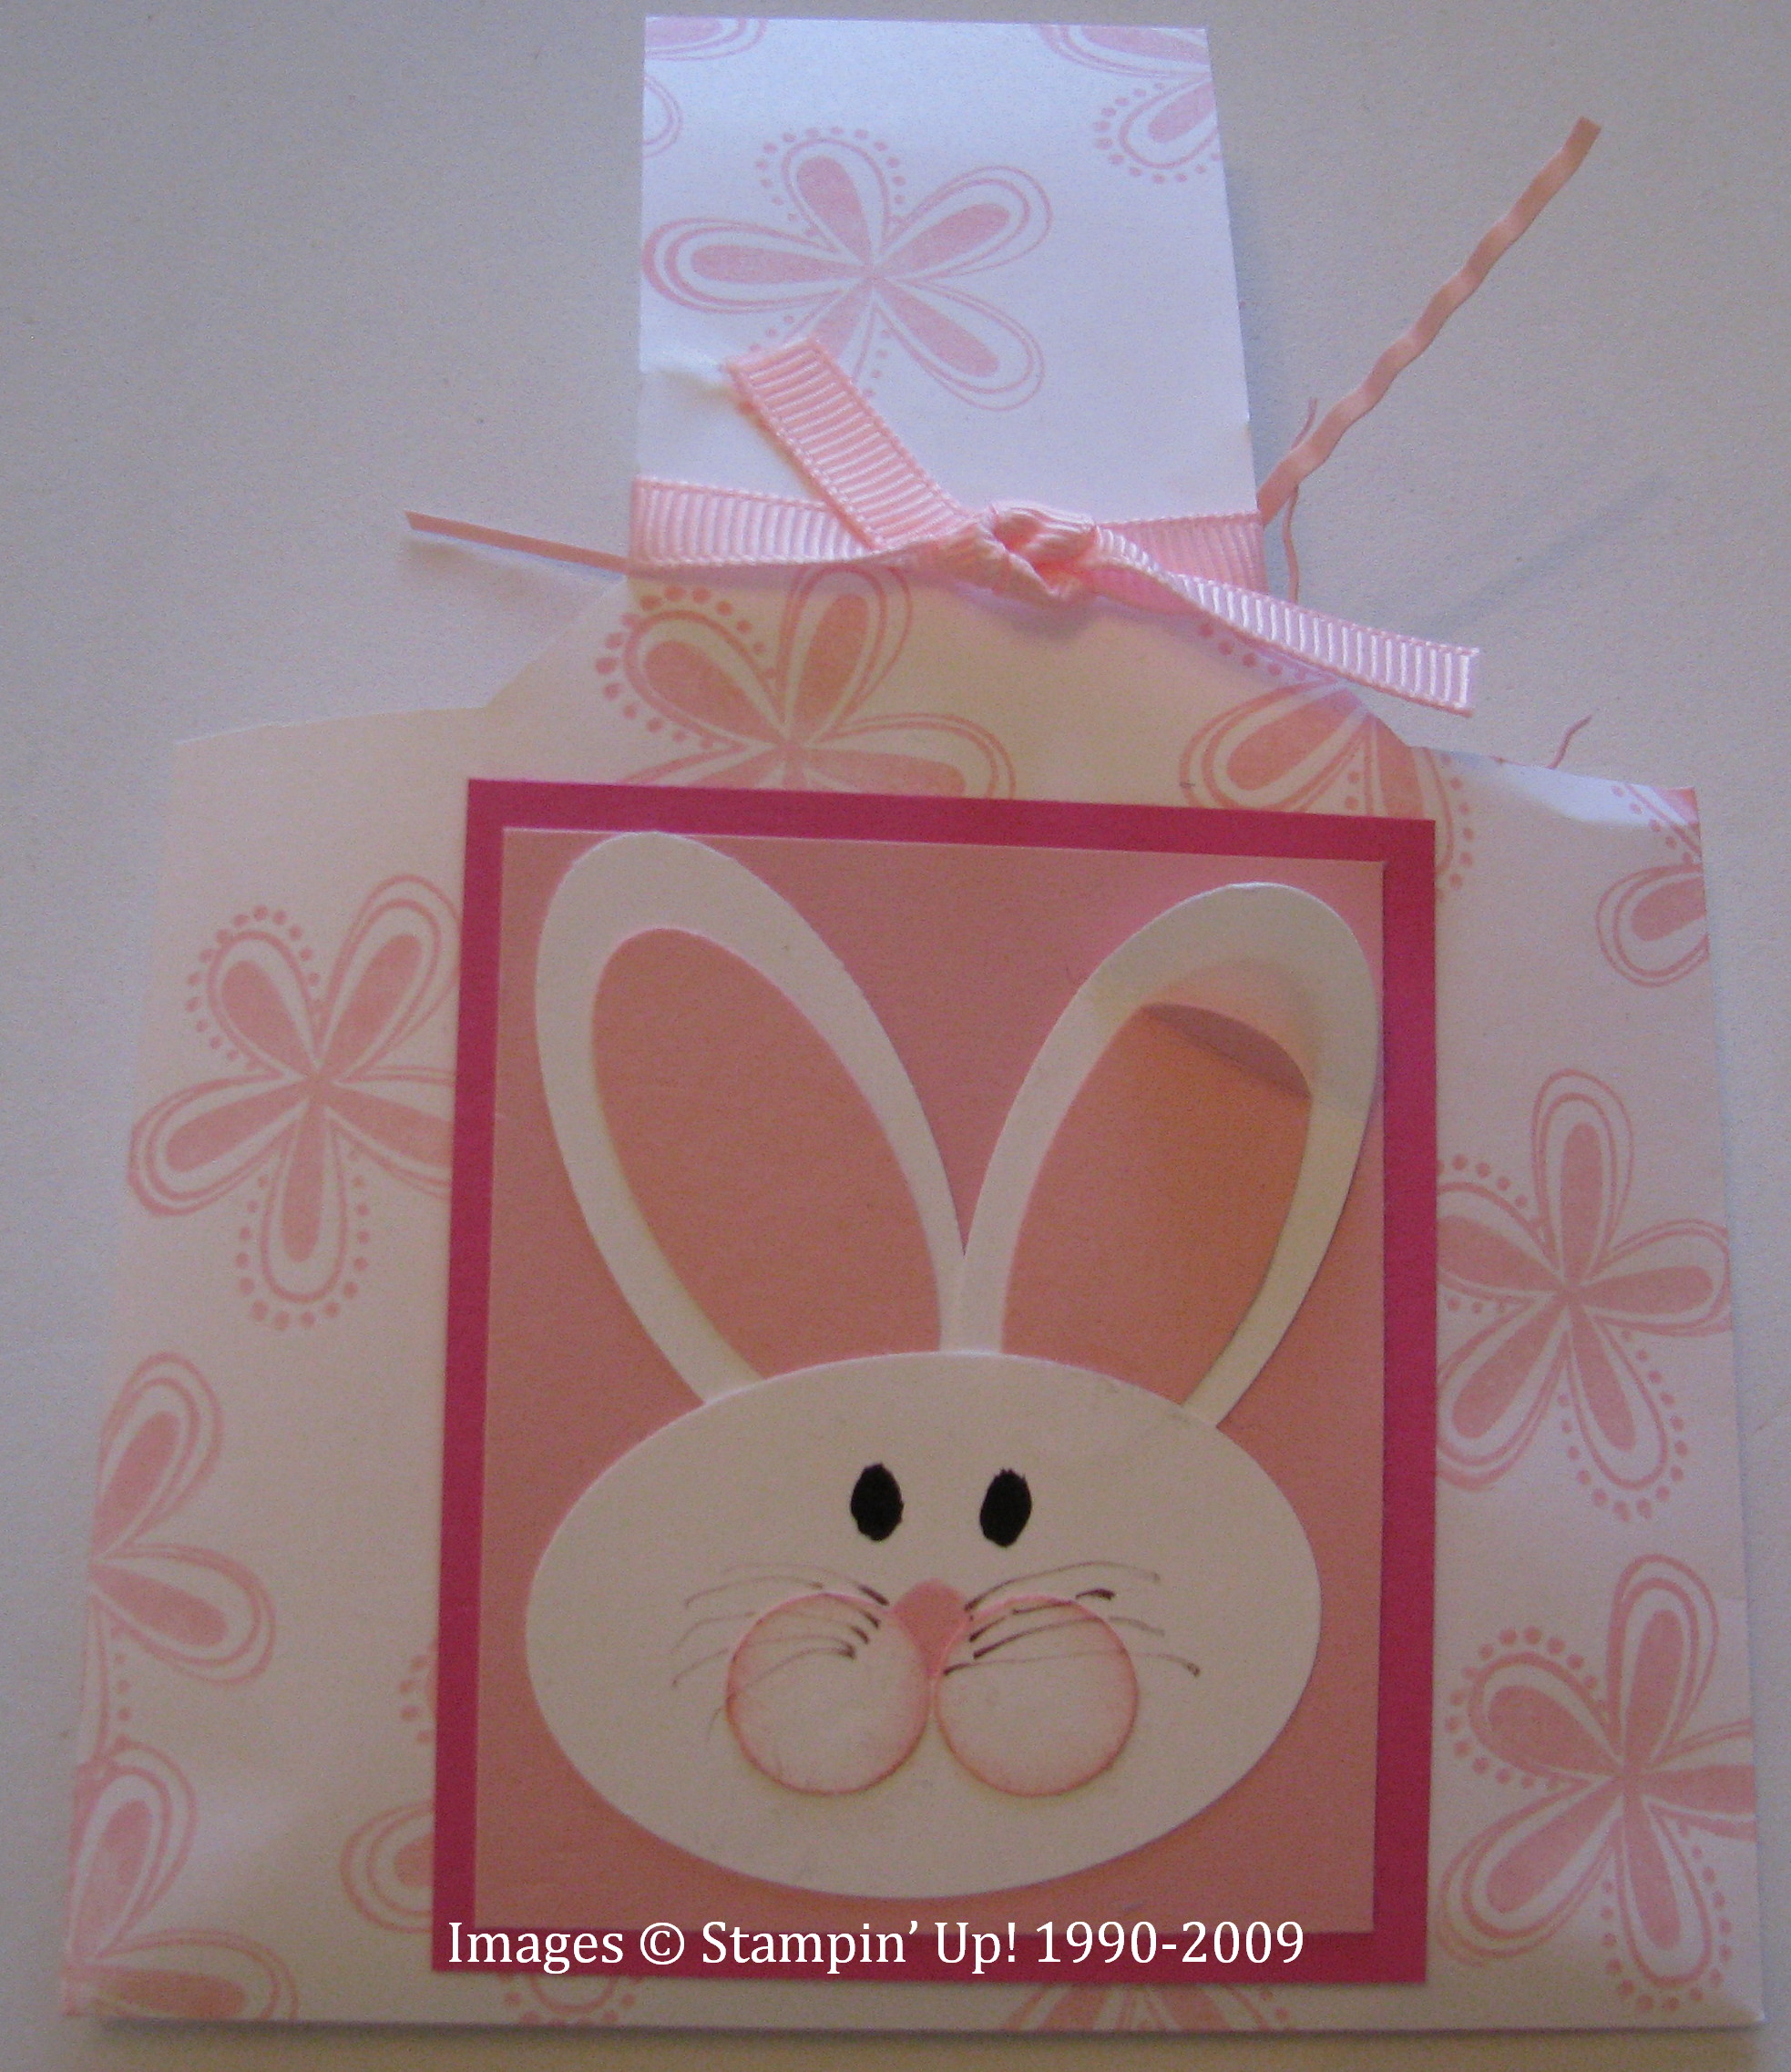
The pink inside of the bunny's ear is bent forward a little bit, I think really his whole ear is slightly bent forward!  I just used markers to hand draw his eyes, nose and whiskers.  Very easy!  To make some grass inside, just cut very narrow strips of scrap cardstock and crimp with the Crimper on page 192 of the Idea Book & Catalog.

Happy Easter Bunny Pail

Recently I helped one of my customers with a luncheon and stamp camp at her church.  This was one of the projects.  She purchased the pails at Oriental Trading.  They are a little less than 3 inches tall and a little over 3 inches in diameter.  Then we used oval punches to make the bunny face and the Trio Flower punch to make the little flowers out of the SAB Designer Paper at the bottom.  Just attach everything to the pail with some glue dots or dimensionals!  We added a little tag from "A Good Egg", punched with the Word Window Punch and tied on with Linen Thread.  Very cute and easy project and the little pail is ready to fill with some grass and  candy treats from the Easter Bunny!  Contact me if you need any more details!

BunnyPail

It’s No April Fool’s….

It's no April foolishness……the beautiful new Stampin' Up! Occasions Mini begins today!  While everyone has had a sneak peek recently in order to get those cute Easter sets in time, today is when the new Occasions Mini REALLY starts!  Mini catalogs have really come a long way since I started with Stampin' Up!  Not only does this mini have wonderful new stamp sets, but it also has new Designer Paper (Walk in the Park), new ribbon (Whisper White Satin), new Corduroy Buttons (Baja Breeze and Basic Gray…and yes, they really are covered in corduroy!), new Rub-Ons (Summer Love), a NEW PUNCH (Scallop Oval…you'll want to add this to your collection!!), Window Sheets (printed and plain), new Designer Hardware (Grommets!), new wheels, and….. (drumroll, please!)…..the new Matchbox Bigz XL Die!!!  This die that of course works with the Big Shot cuts a very cute little box and lid plus three tags!  There is also a matching stamp set, Matchbox Messages, that you can use with this die.  And with the new Window Sheets, you can make clear lids or matchboxes.  Lots of creative possibilities with this die! 

Look at my project below and then click on the Occasions Mini picture above right to view the catalog.  If you didn't receive your mini in the mail, contact me with your mailing address and I will send you one.

Here is a little box I made!  Four Hershey Nuggets fit perfectly inside.  You can cover them with Designer Paper to decorate.  I used my Scallop Circle Punch to punch the lid and put a clear Window Sheet piece under it.

Matchboxdie2 

I stamped the box with the flowers from "A Good Egg".

MstchboxDiebox1 

And just a little tag from the new "Matchbox Messages" to tie on to finish the box!  Cute little gift!

Matchboxdiethanks

Houston Azaleas to Stamp By

While I catch up with getting some other photos ready to post on my blog, I thought I would share some photos I took in my very own yard of our beautiful azaleas and some bluebonnets.  This is a follow-up to the Azalea Trail and card of a couple weeks ago!  I took these photos the other day before the rains came and I'm glad I did because the azalea blooms are about over now.  Maybe these pretty flowers will inspire you to get out a nice flower stamp set and stamp something for spring!

IMG_3301 

IMG_3303 

IMG_3305 

IMG_3306 

IMG_3311 

IMG_3323 

IMG_3325 

IMG_3327 

IMG_3328 

IMG_3336 

Azaleas 

I left out some photos, honest I did!  This time of year and the azaleas and bluebonnets are a couple of the best things about living in Houston, so we have to enjoy the time while it is here.

Don't forget!  Sale-A-Bration is coming to an end tomorrow!  Tomorrow (March 31st) is the last day to get your free stamp sets, ribbon, or paper for every $50 in product you order.  And Stampin' Up! has such great products, it won't be hard to make it to $50!  And the stamp set "Botanical Blooms" in the SAB Mini would be a beautiful set to stamp some spring flowers like my azaleas!  Contact me or go to my website:  www.karenfontinelle.stampinup.net to place your order online!


Want to Be a Stampin’ Up! Demonstrator? Now’s the Time!

Stampin' Up! has never made an offer like this!  Because of the economy and everyone watching their budgets, Stampin' Up! is making it easier than ever to become a demonstrator.  If the upfront cost of the Starter Kit has been a consideration, Stampin' Up! is offering a Three Easy Payment Plan for the Starter Kit.  From now until the end of April, you can purchase the Starter Kit with a partial initial payment, use your Starter Kit to get your business up and running, and then make two subsequent monthly payments to take care of the rest.  The paperwork must be mailed in and received IN the Stampin' Up! office by the deadline.  Your credit card information will take care of the purchase over the three months.  Be sure to read here  http://www.stampinup.com/us/enu/14018.asp  for all the details.  You will not be able to sign up online to use this option.

Remember, if you sign up before the end of March during Sale-A-Bration you will also receive a stamp set of your choice (up to $47.95 value) from the Idea Book & Catalog…….not to mention that the Starter Kit is 15% off during Sale-A-Bration!

If you are interested, please contact me and I will help you with all the details!  Being a demonstrator is really a fun and rewarding thing to do!  No creativity or experience necessary!

My Houston Azalea Trail Card

AzaleaCard 

Last weekend was the annual Azalea Trail in Houston put on by the River Oaks Garden Club.  This is one thing my husband and I have done every year that we have lived here except one!  We love seeing the beautiful gardens and houses and basically seeing how the other half lives!  We were excited that the four houses on the trail this year were new ones to us.  There were other places on the trail as well, but we just did the four homes and gardens.  One pool house was more beautiful than our house!  Wow!  And the azaleas were starting to bloom pretty nicely, even the ones in our own yard.  Some years they have not been quite ready for the Azalea Trail.  Just driving around the River Oaks area with its beautiful homes and yards was a treat in itself on such a pretty day.

So from the azaleas, I was inspired to make this card!  Not sure that these flowers are azaleas, but they kind of look like them.  This is the new Fifth Avenue Floral stamp set.  I stamped, watercolored, and cut out the three "azaleas".  On the background I stamped that same flower plus another one in the set and watercolored lightly to provide a background.

We have bluebonnets blooming in the backyard already so spring must be right around the corner!

If you need some stamps to make some spring flower cards, be sure to check out the online catalog at my website and click the Shop Now button!  I used the Aquapainter and just refills and inkpads to color in the flowers.  So easy!

An Easter Surprise Card

While there are lots of creative Stampin' Up! demonstrators out there, you don't have to be creative yourself to be a demonstrator!  This card is an example.  I followed the directions in our demonstrator Stampin' Success Magazine….ask any demo….probably one of the best parts of being a demo is receiving this great magazine once a month from Stampin' Up!  So many cute ideas for cards, scrapbook pages and other fun projects as well as business tips from other top demonstrators in the company.  All I did on this card was change the image they used to my "A Good Egg" chick!  It's not a card that opens the normal way, but rather the top half flips up (due to the mini brad on the side holding the pieces together so that they are moveable) to reveal the sentiment.

Easterflipupcardfront 

Easterflipupcard 

If you want more specific directions on how to make this card, just email me.

If you want to get the great Stampin' Success Magazine, just sign up on my website (to become a demo!)!  The Starter Kit is even on sale!  And you get a free stamp set as well!

Recruits
During Sale-A-Bration, anyone who joins as a demonstrator can choose any stamp set—a value of up to $47.95—from the current Idea Book & Catalog! Plus, new recruits get 15% off the Starter Kit—over $350 of Stampin’ Up! products and business supplies for only $169!

 Read all about it HERE!

You Get to Have a Sneak Peek!

The Occasions Mini Catalog will be coming April 1st…..however, Stampin' Up! is giving everyone a sneak peek!  In the Occasions Mini are several Easter sets and right now you can order those sets early so you will have them for all your Easter cards, projects and gifts!

Take a peek now!

OccasMinipage11 

OccasMinipage12  

OccasMinipage13 

To find out more about any of these sets, just send me an email or Go Shopping at my Stampin' Up! website: www.karenfontinelle.stampinup.net


February Swaps

Here are the swaps I received from my friends in our little demo group.  We all made the cute box with the scalloped flower on top, but that warrants its own post!  I just have to understand better how to put the pieces together.

Febdemoswaps 

The card with the 3-D flowers was made with "Doodle This".  The flowers are cut out and then the petals are turned under and adhered to the card.  Very cute!  Also, the card closes by tucking underneath the word "Joy".  The very cute Valentine truck is stamped with "Loads of Love", a set I don't own but see the cutest things made with it.  Of course the card itself is made with the Top Note die for the Big Shot (both, a must have!) with a Jumbo eyelet in the corner.  The pink box is made from two Scalloped Envelopes made with the Big Shot.  I love in the photo below how she attached a tab to the bag of candy inside!  And the other little box was a tutorial on Splitcoaststampers recently….so cute!  You can fit 4 Hershey Nuggets or even Ghirardelli Chocolates in it and the tab of the lid fits behind the scallop on the front rather than going inside the box.  Thanks, ladies…..another fun get-together!

JoanBox 

ScallopEnvMMs


Happy Valentine’s Day! XOXOXO

This morning when I turned on my computer and the Google page came up, I saw they had turned the two O's in "Google" into an "X O" for Valentine's Day.  This inspired me to create this Valentine, which took less than five minutes!  I used the Contempo Alphabet, the Heart to Heart Punch for just the smallest heart stuck inside the "O" and the sentiment from "A Happy Heart".  The colors are Riding Hood Red and Whisper White.

XOValentine 


Have a Happy Valentine's Day!

Valentine Ghirardelli Candy Holder

Ghiradelliholderpink 

This is a little Valentine candy holder that I found somewhere.  I stamped the Pink Pirouette card stock with Versamark for that watermark look, but my pad was rather dry and it barely showed up.  I decided to try embossing and that's how I ended up embossing with Iridescent Ice and it gave my candy holder a very sparkly, glittery look!  I used the Love You Much hearts, and stamped them again on Whisper White and punched out with the Heart to Heart punch.  The pink taffeta ribbon is very pretty or the pink grosgrain.

Base is 2 3/4" x 9 5/8".

Score at 2 3/4and 3;   6 1/4 and 6 1/2.

 Fold up and then open back up.  Use your Word Window Punch on the bottom flap, inserting as far as you can, a little to the right and then punch again the same hole but a little to the left.  That gives you an opening big enough for the Ghirardelli Chocolate Square.  Then flip the flap up and adhere, preferably with Sticky Strip, just at the top.  Insert chocolate and tie the ribbon around to close!  Very easy, very adaptable, and very cute!

Ghiradelliholderpinkinside

Valentine Candy Card

Valentine's Day is right around the corner!  Here are some very quick and easy treat holders to make.  I made six of them easily yesterday for my nieces and nephews.  I found the idea on Angie Juda's website.  This one I made for the boys using Sahara Sand card stock for the base, "A Happy Heart" stamp set, Riding Hood Red 5/8" striped grosgrain ribbon, the Heart to Heart Punch and "Holidays and Wishes" for the Valentine greeting on the front. 

ValCandyTreatHeart 

Just start with a strip of card stock 8 1/2" x 4 1/4".  Score at 3" and 6 1/4".

Use your Slit Punch to punch a slit on each side of the middle part to hold a bag of candy.

Your layer or decoration on the front can be anything you want it to be, any size.  The ribbon keeps the candy holder closed.  You could even just stamp the front of it and not put an additional layer on the front.  This could also be used as a gift card holder.  So there you go, use it for more than one season or occasion.

Treatinside 

Treatfront 

And here is another version for the girls.

ValCandyTreatBirds2 

What would I have done with the "Love You Much" stamp set?  I loved it from the first moment I saw it at the Stampin' Up! San Antonio Regional.

Hope you will have fun making some easy candy holders for your Valentine!

Valentine Candy Holder

Scallopconecandy 

Here's an idea I have seen many other stampers make.  I love using my Big Shot, and this paper cone is made with the Scallop Circle die cut.  I used Pink Pirouette card stock and stamped with Red Riding Hood ink with the hearts from the set "Love You Much".  I gently rolled the paper into a cone shape, punched two holes and put the ribbon through.  You can also add a little glue to hold the bottom edge.  Tombow Multi Purpose Glue (in the green bottle!) works great for this.  Just hold it for a second until it adheres.  These candies are Hershey Nuggets wrapped in Candy Lane Designer Paper.  Love doing those!  Wouldn't your valentine love getting this little gift?!  You can shop for any of these Stampin' Up! products by contacting me or by going to the online store!  And don't forget about Sale-A-Bration!

Also, when you go to my Demo Website you can watch a great video about the Big Shot!  Jaron Winder, a multi-talented Stampin' Up! employee, will show you several projects using the new Big Shot dies.  Jaron isn't "just" an employee, he really is a stamper and makes fabulous projects.  He put on a fantastic demonstration at the San Antonio Regional that I was able to attend.  And the man can sing!

Here are some other Valentine items.

CandyscallopMM 


CardandCandy  

Who Would Have Thought Target Mailboxes Would Be So Much Fun?!

When this Target mailbox craze started, I would have thought we would all make our Valentine mailbox that one year and then we'd be on to something else.  But it seems like we still haven't gotten our fill of them!  They make such great gifts, for any occasion, as well as great projects in stamp camps and classes.  I found one more mailbox in my stash and wanted to decorate it for Valentine's Day.  Hope you have found your Target mailboxes!  Put some little cards or candy inside and you have yourself a great Valentine gift!

Mailbox 

Mailbox2 

Mailbox4 

Here's what I used:

Bella Rose Designer Paper (love it!)

Love You Much Stamp set

Best Wishes and More Stamp set (heart on the front)

White Gel Pen

Ribbon:  5/8" Riding Hood Red Striped Grosgrain, Pretty in Pink Taffeta, Whisper White 1/4" Grosgrain

Eyelet Border Punch, Trio Flower Punch, Heart to Heart Punch, Circle punches, Scallop Punch

Naturally Serif Alphabet Decorative Strip for the Big Shot ("Be Mine")

Rhinestone Brad


Everything is available online at www.karenfontinelle.stampinup.net.  Click on the "Shop Now" button to go to the online catalog.  Don't forget to add your Sale-A-Bration products for every $50.


Have fun making a Valentine or gift for someone you care about!


A Monday Valentine

 FourheartValentine 

If you haven't done it yet, it is really time to get out that paper, scissors and glue and start making valentines!  Valentine's Day is Saturday, Feb. 14th.  Who do you know would love a handmade card from you?  Think back to your childhood and how much fun it was to make valentines from construction paper and doilies!  Stampin' Up! provides much better materials than those, but the idea is the same. 

I was looking through some old magazines of cards and saw something that gave me this idea.  I also wanted to use the new Stampin' Up! cardstock "Taste of Textiles" on page 156 of the catalog.  These papers are quite different and this white one is absolutely beautiful!  The picture does not do it justice.  It would look beautiful on a wedding card.  The other papers are Vellum with Not Quite Navy Polka Dots, Black Linen Texture, Bronze Metallic, Printed Kraft and Close to Cocoa Pin Stripe.  Be sure to check them out!  They are made in Italy!

To see the paper in the online catalog, just click on the link above, click the Shop Now button and then click on Paper in the left column and Specialty Paper.

I used the Heart to Heart Punch on pages 184-5 of the catalog to punch just the smallest punch.  The greeting is from "Holidays and Wishes".