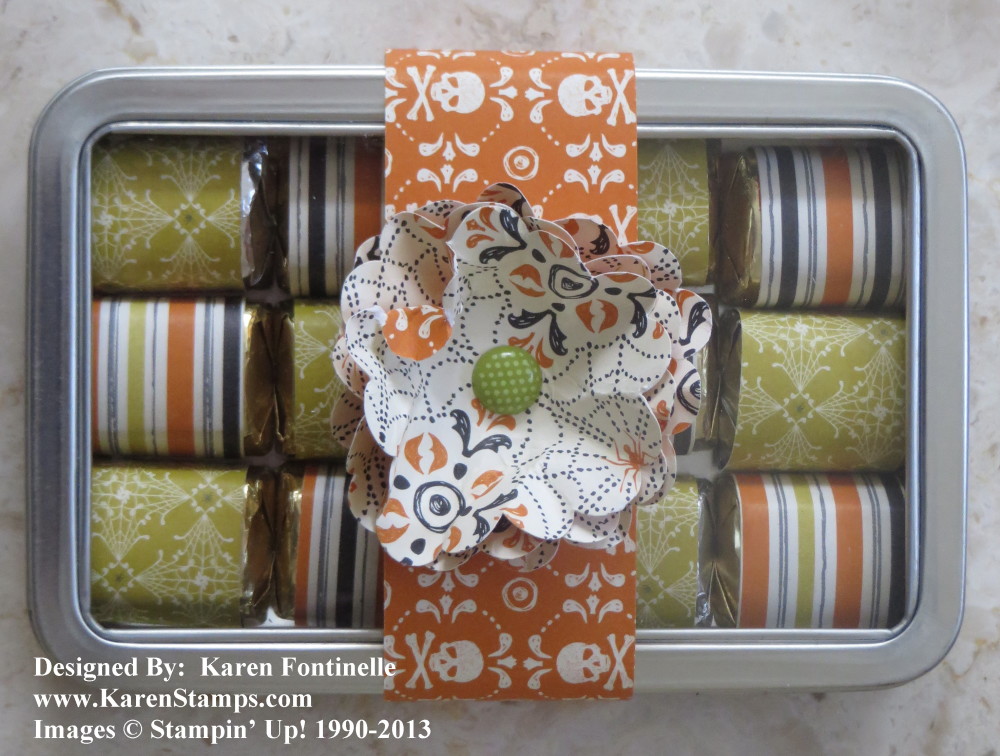
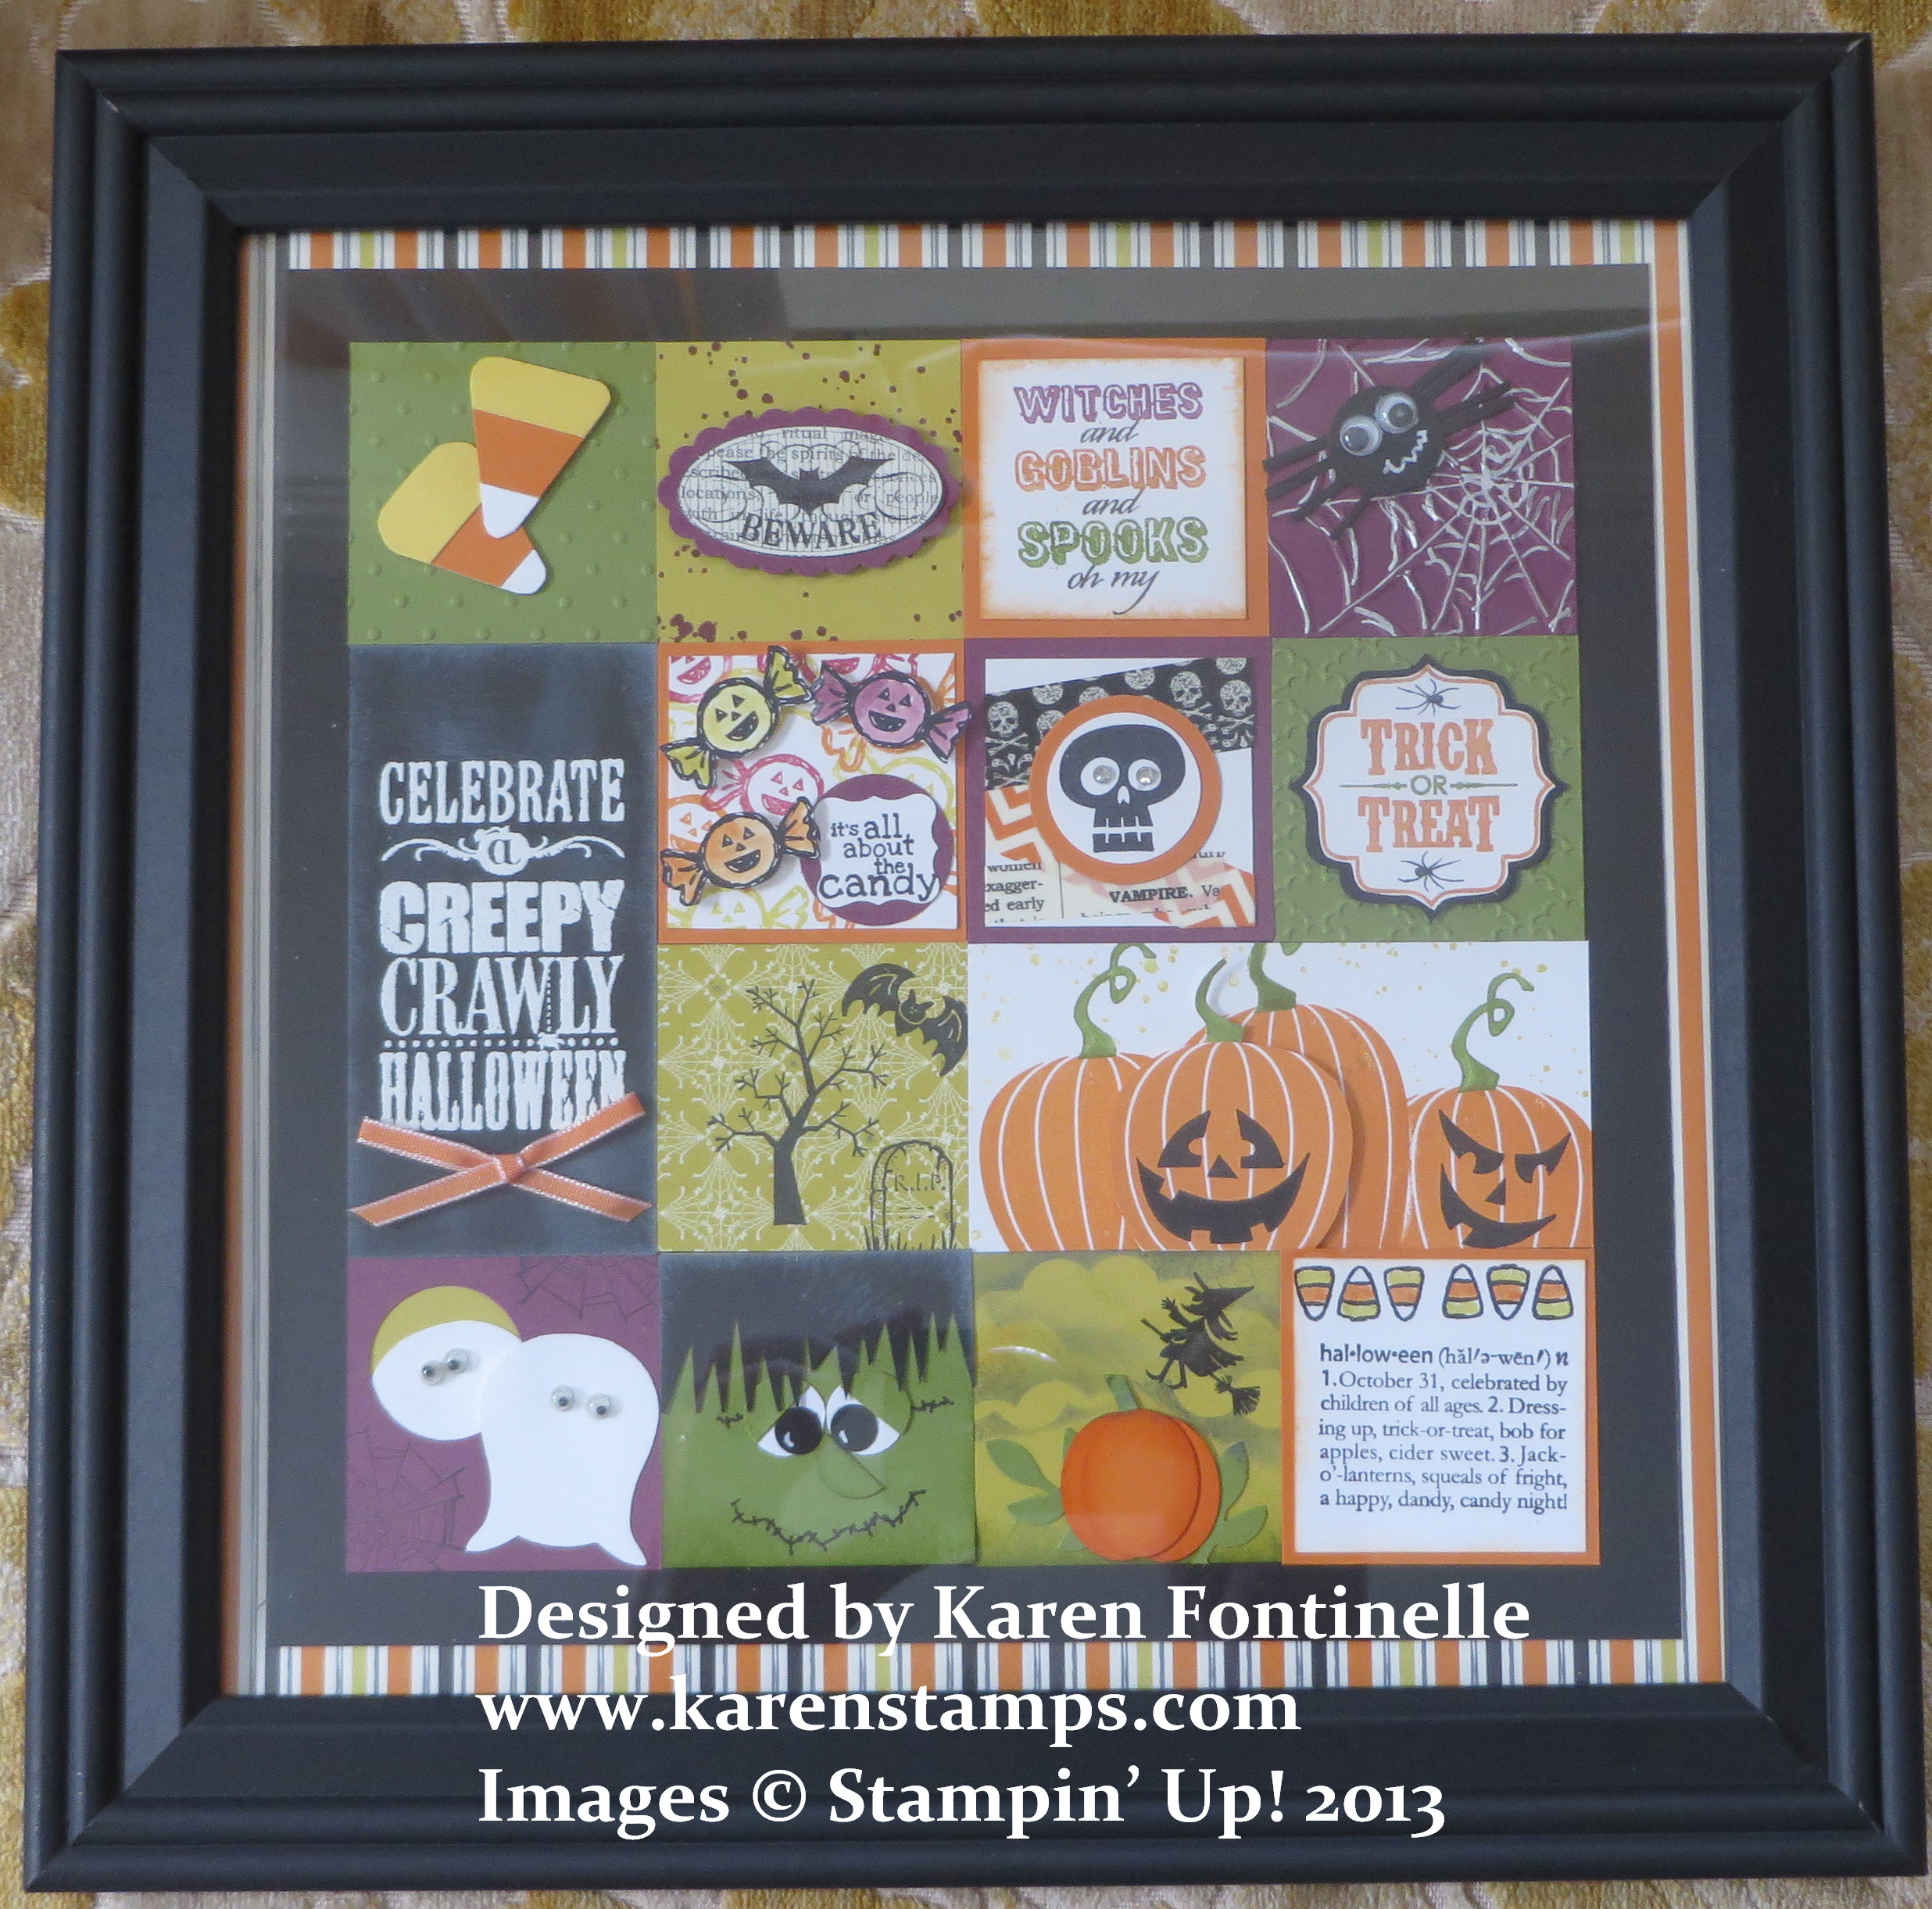
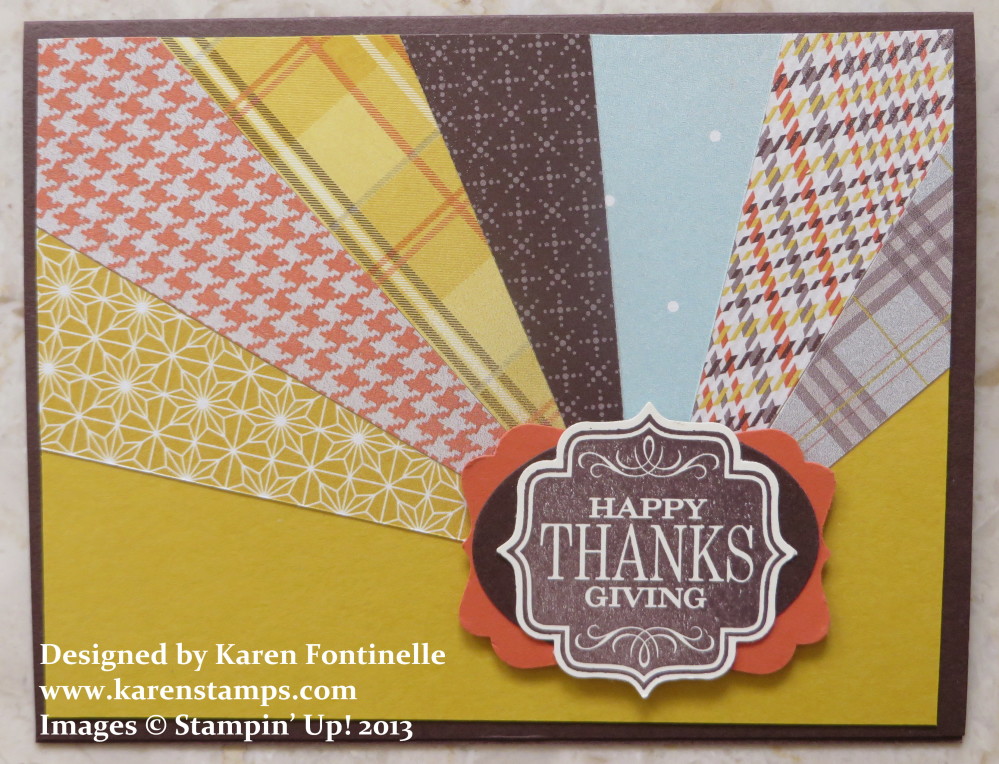
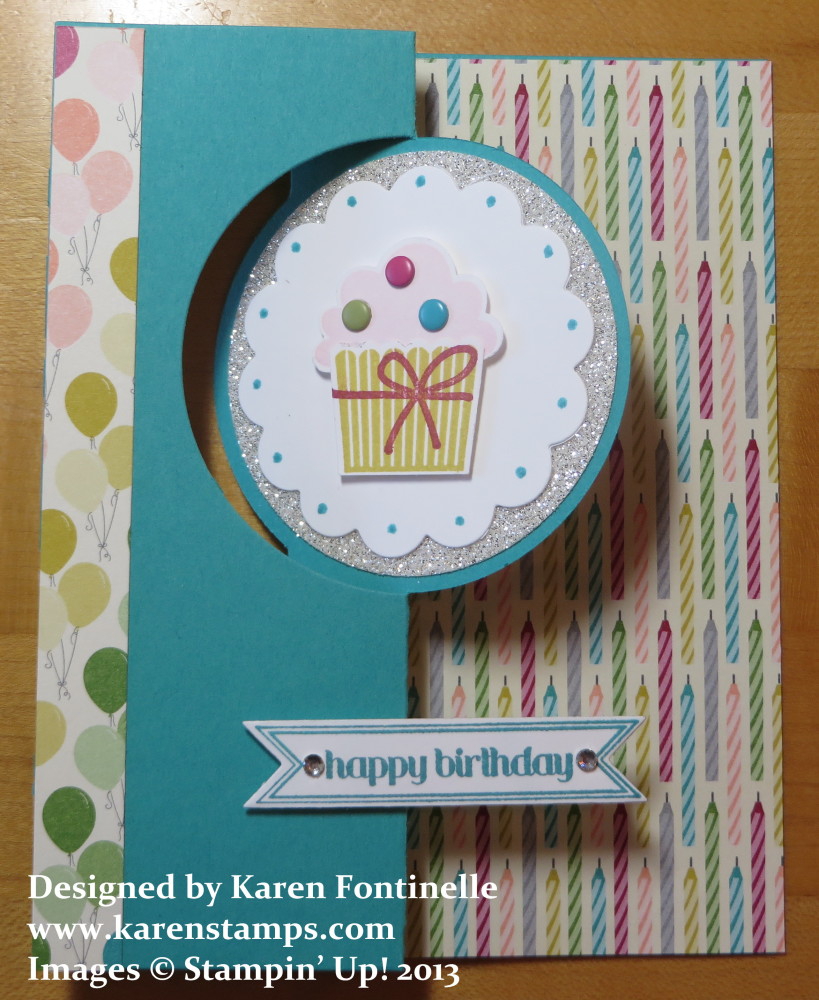
Images copyright Stampin’ Up! 2013
Stampin’ Up! continues celebrating digital scrapbooking with 50% off this digital download, TODAY ONLY. This download is the “All Time Fave Photobook” #132915. You can click the image above or the link and view this download in detail. Once you are on the shopping page you can click “More” or the magnifying glass to get a closer look. If you like documenting your favorite things and making lists, this is the download for you!
You don’t have to own My Digital Studio to use it, it will work with other design software, but why wouldn’t you own My Digital Studio?! It’s an easy program to learn and you’ll have access to lots of your favorite, past and present, Stampin’ Up! stamps in the “brush sets” as well as designer papers and embellishments. Have your projects printed by the Stampin’ Up! printer and be assured of exact color matches. Or print yourself or at a local printer if you are in a hurry.
Check out My Digital Studio here for more information.
Click HERE to purchase the My Digital Studio software which comes with an ENORMOUS amount of content!! I recommend the digital download version because you won’t have to worry about losing or damaging the MDS disc. But if you prefer the hard copy, you can purchase the program on a MDS Disc.
I guarantee you at only $19.95 My Digital Studio is an absolute bargain!
Not convinced?? Do the 30-Day Free MDS Trial. No obligation. You get to use the FULL software (not as much content, but enough to play with, and you can purchase more that you like AND print your projects). At the end of 30 days it will just expire.