
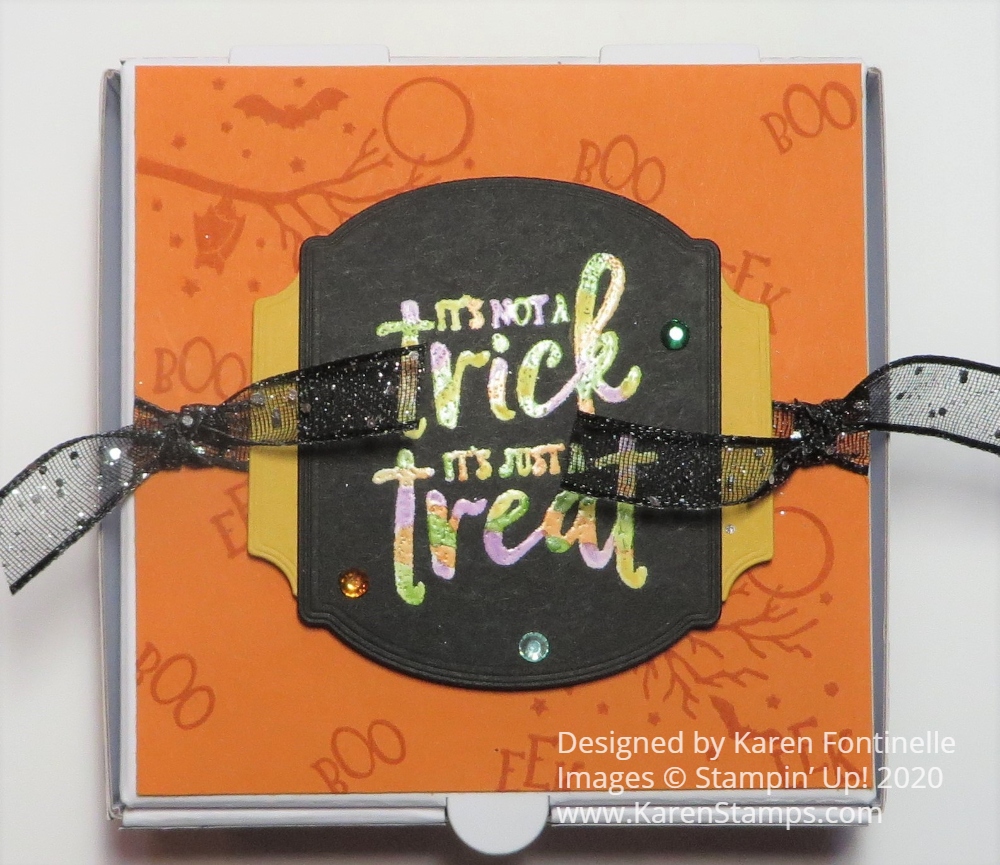
Here’s a technique you can try if you want to make a Halloween treat box like this Halloween Mini Pizza Box Colored Embossing treat box. It’s a fun way to color the greeting on the box to make it look a little more interesting or spookier for Halloween!
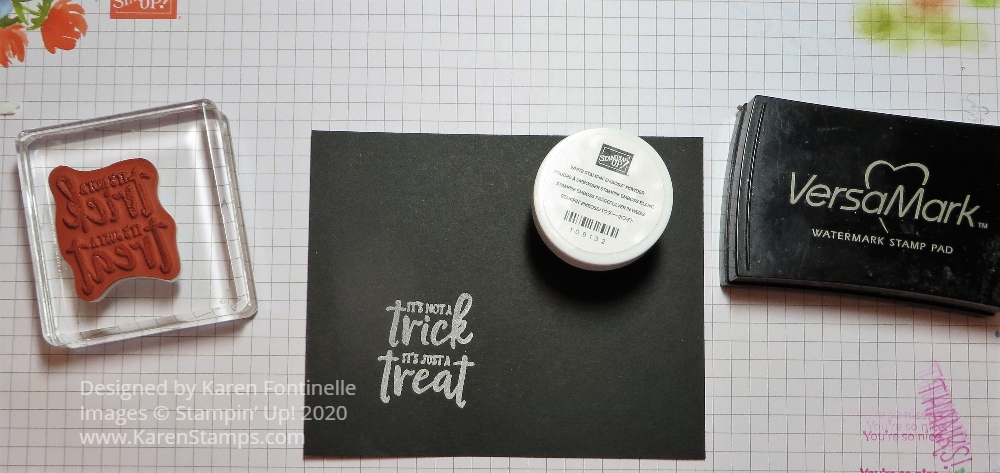
The technique involved is easy. You can use it for greetings or other images. Just emboss with Versamark Ink and White Stampin’ Emboss Powder the way you normally would, using your Heat Tool to melt the powder.
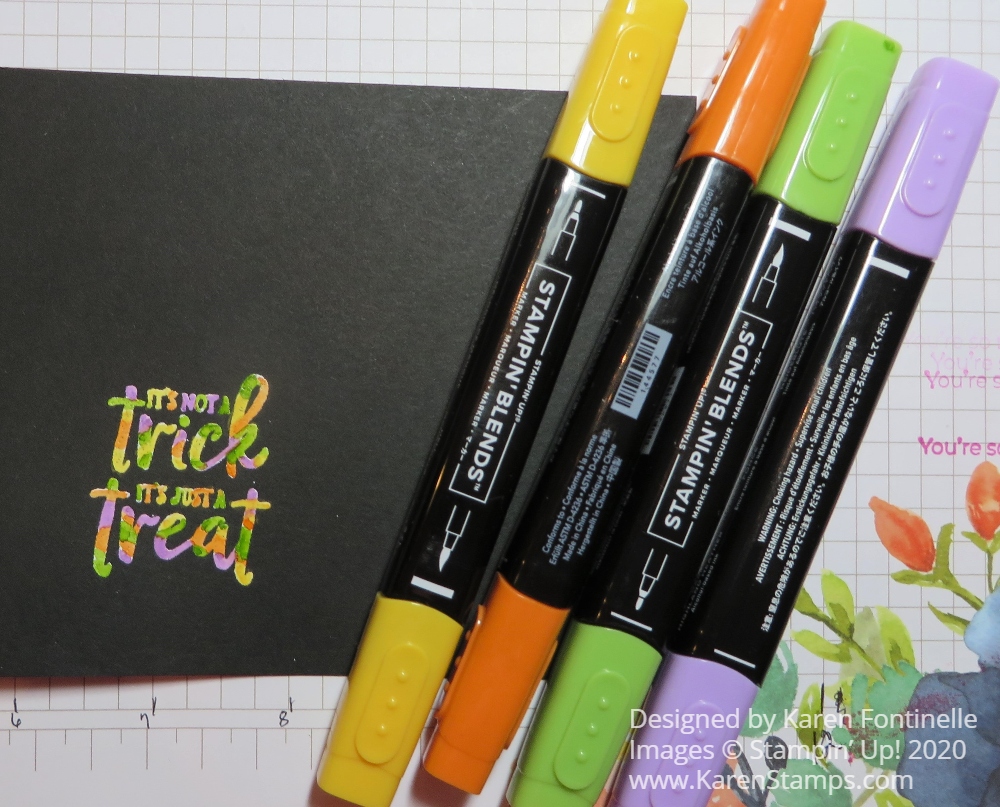
After embossing, let cool for a second and then color right over the white embossed areas with Stampin’ Blends markers. Try not to get off the embossing or it will show on the paper, even black. If you do get some marker ink on the paper, use the Color Lifter to “move” the color back over very lightly. For this Halloween project, I used multiple colors on the Halloween sentiment.
I had a similar project on my recent newsletter, so if you would like to get ideas like this and more delivered every Tuesday to your Inbox, just sign up for my Mailing List in the red box in the right sidebar or scroll all the way down on your phone to get to it.
This project is made with the Mini Pizza Box. These are handy to have on hand. They are unassembled and store flat. You get 8 food-safe boxes, 3 1/2″ x 3 1/2″ in size. You can easily put the box together, the decorate for whatever occasion. Put some cookies inside, 3″ x 3″ notecards, or some other small gift or treat.
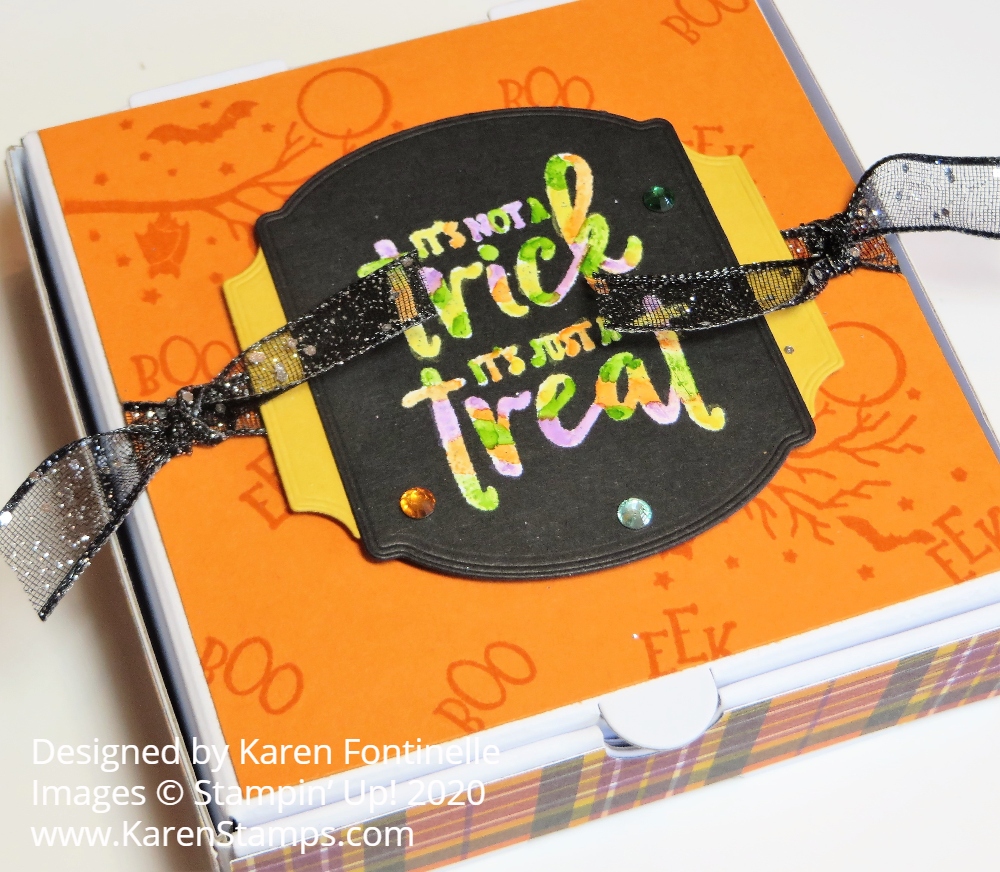
For this box, I stamped a piece of Pumpkin Pie Cardstock for the lid with images from the Ghoulish Goodies Stamp Set. Around the sides of the box, I used pieces of the Plaid Tidings Designer Paper. Since the paper is only 6″ wide, I cut four individual strips of paper. I was even fastidious enough to match the plaid lines before cutting, but you wouldn’t have to be so perfect.
The embossed sentiment is cut out with one of the Tasteful Labels Dies. For a little layer behind the sentiment I die cut another shape from the same dies and cut it in half so a little bit would show under the side of the sentiment. Before adhering the Pumpkin Pie paper to the top of the box, I adhered ends of the Black 3/8″ Glittered Organdy Ribbon to the underside and popped up the greeting with Dimensionals. Then I tied on a little knot on each side of the greeting with the ribbon. Love this Glittered Ribbon! For a little bling, I added three Holiday Rhinestones that I thought kind of matched the Halloween colors.
Who knows what kind of treats we will be able to give out this Halloween or if there will be trick-or-treating or Halloween parties, but these Mini Pizza Boxes are one of those good things to always have in your stash for when the need arises when you want to give a little treat or gift. Or order more if you have a certain occasion or gathering.
Here is another example of how to use these Mini Pizza Boxes for just a gift, not necessarily a certain occasion. I used the Peaceful Poppies Designer Series Paper (retired) to decorate this box and the Poppy Moments Dies.
These Mini Pizza Boxes are fun to decorate for many occasions. Try this fun technique of heat embossing white powder and then coloring with Stampin’ Blends markers right over the embossing to make this fun project, Halloween Mini Pizza Box Colored Embossing.