Category Archives: Cards

Fun with In Color Cards

MScards 

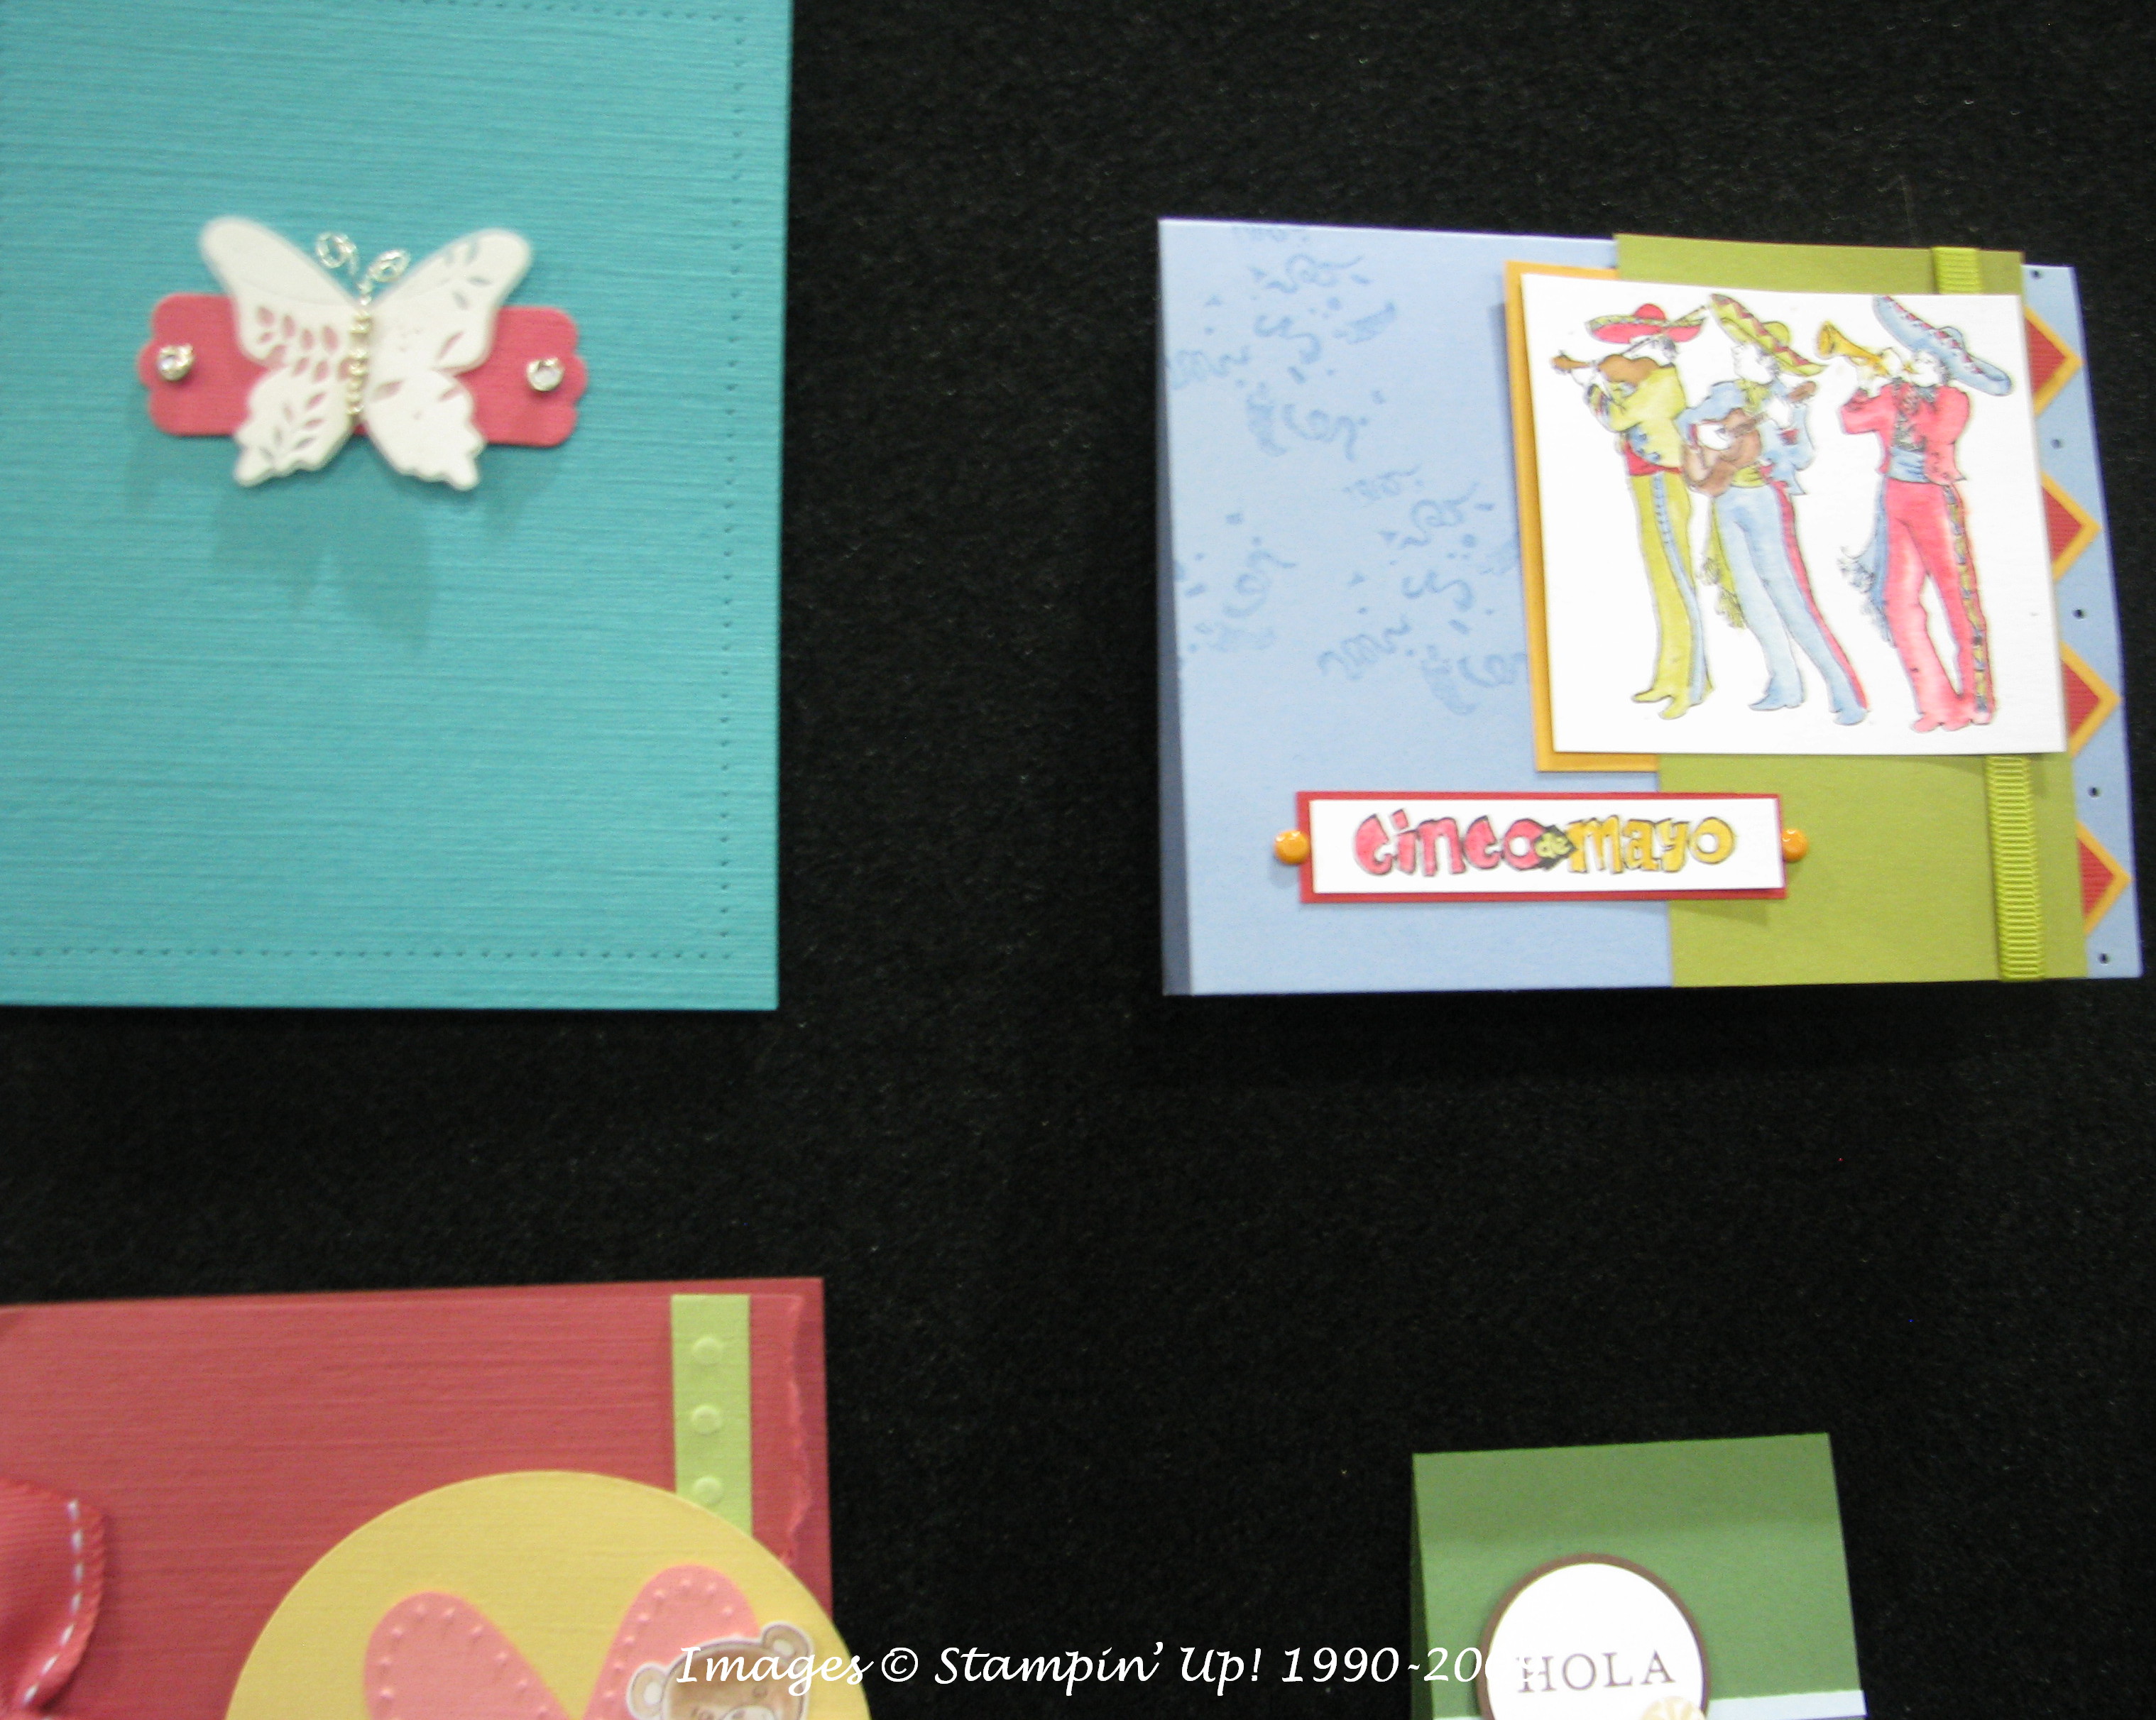
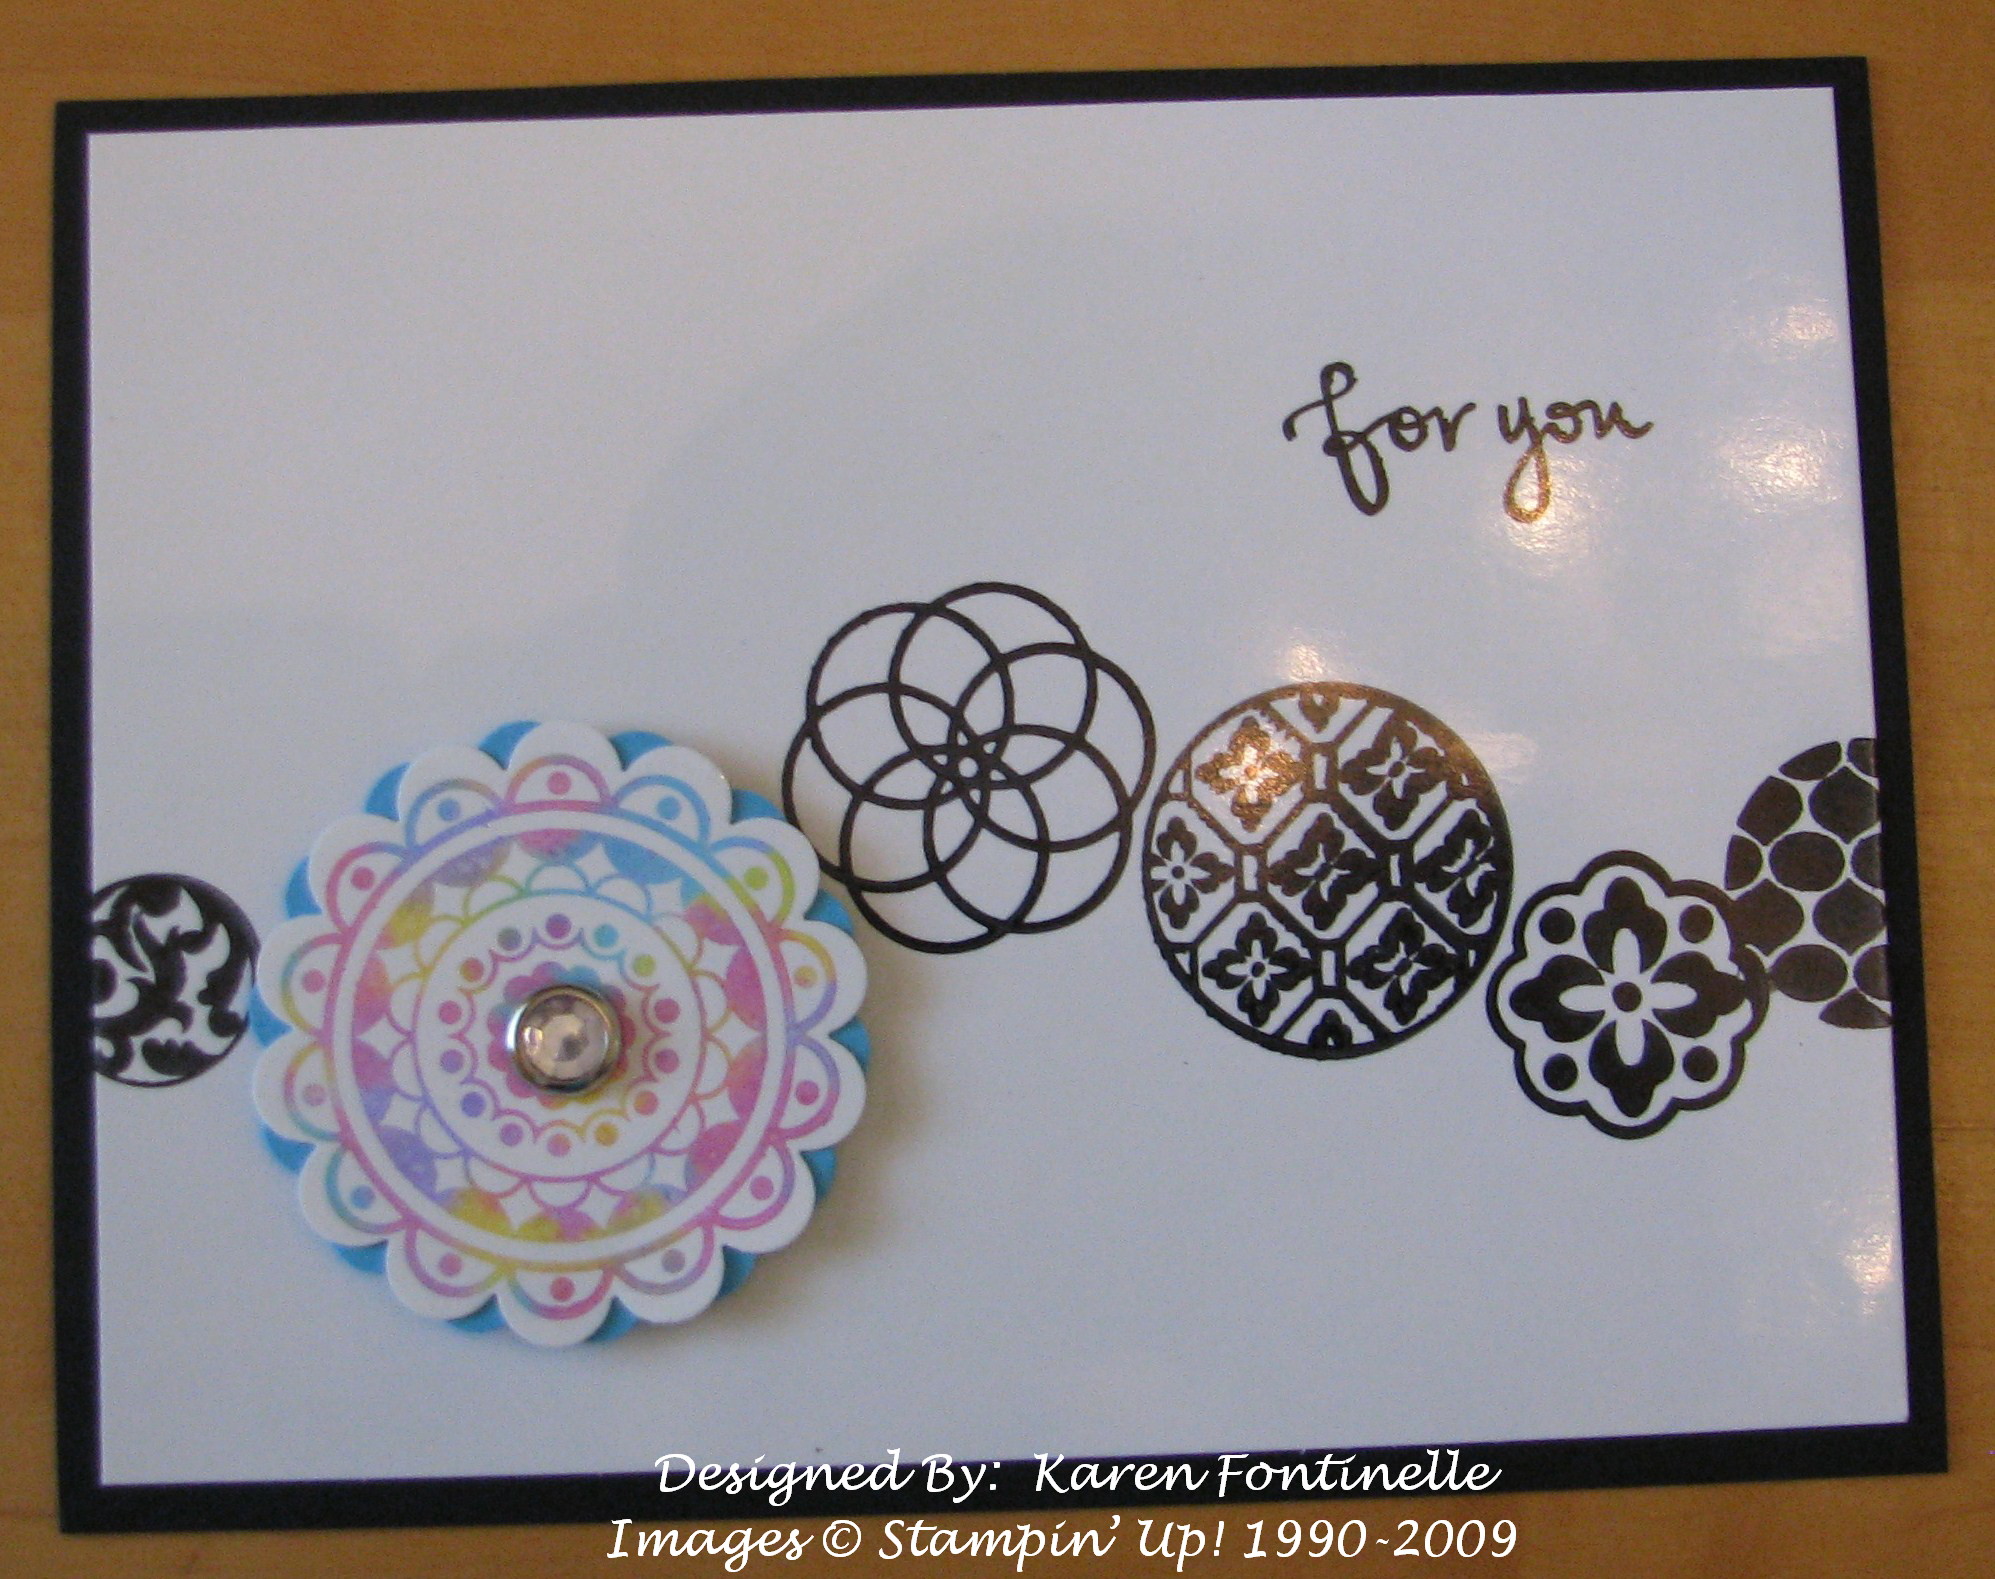
It's so nice to get an assortment of cards made at one time!  I got the idea for making the Melon Mambo card in the lower right of the photo from Linda Heller on Stamping School.  I also "needed" to play with my Movers and Shapers dies that go with my Big Shot so decided to try them all out using the new In Colors and various stamp sets.  The Movers and Shapers dies cut out the shape wherever you want it on your card and score your card as well.  Very fun!  The design on each card is stamped in Versamark and them embossed with Clear Embossing Powder for the monochromatic look.  I don't have all the new polka dot In Color ribbons yet, so I used what I had plus the beautiful Whisper White Organza Ribbon.  It was so much fun playing with all these colors and stamps and dies!

If you want to see how to make a card like this at your workshop, let's schedule a date!

CurryMScard 

DDurangoMScard 

BermudaBaycard 

MMambocard

Idea from Stampin’ Up! Idea Book & Catalog

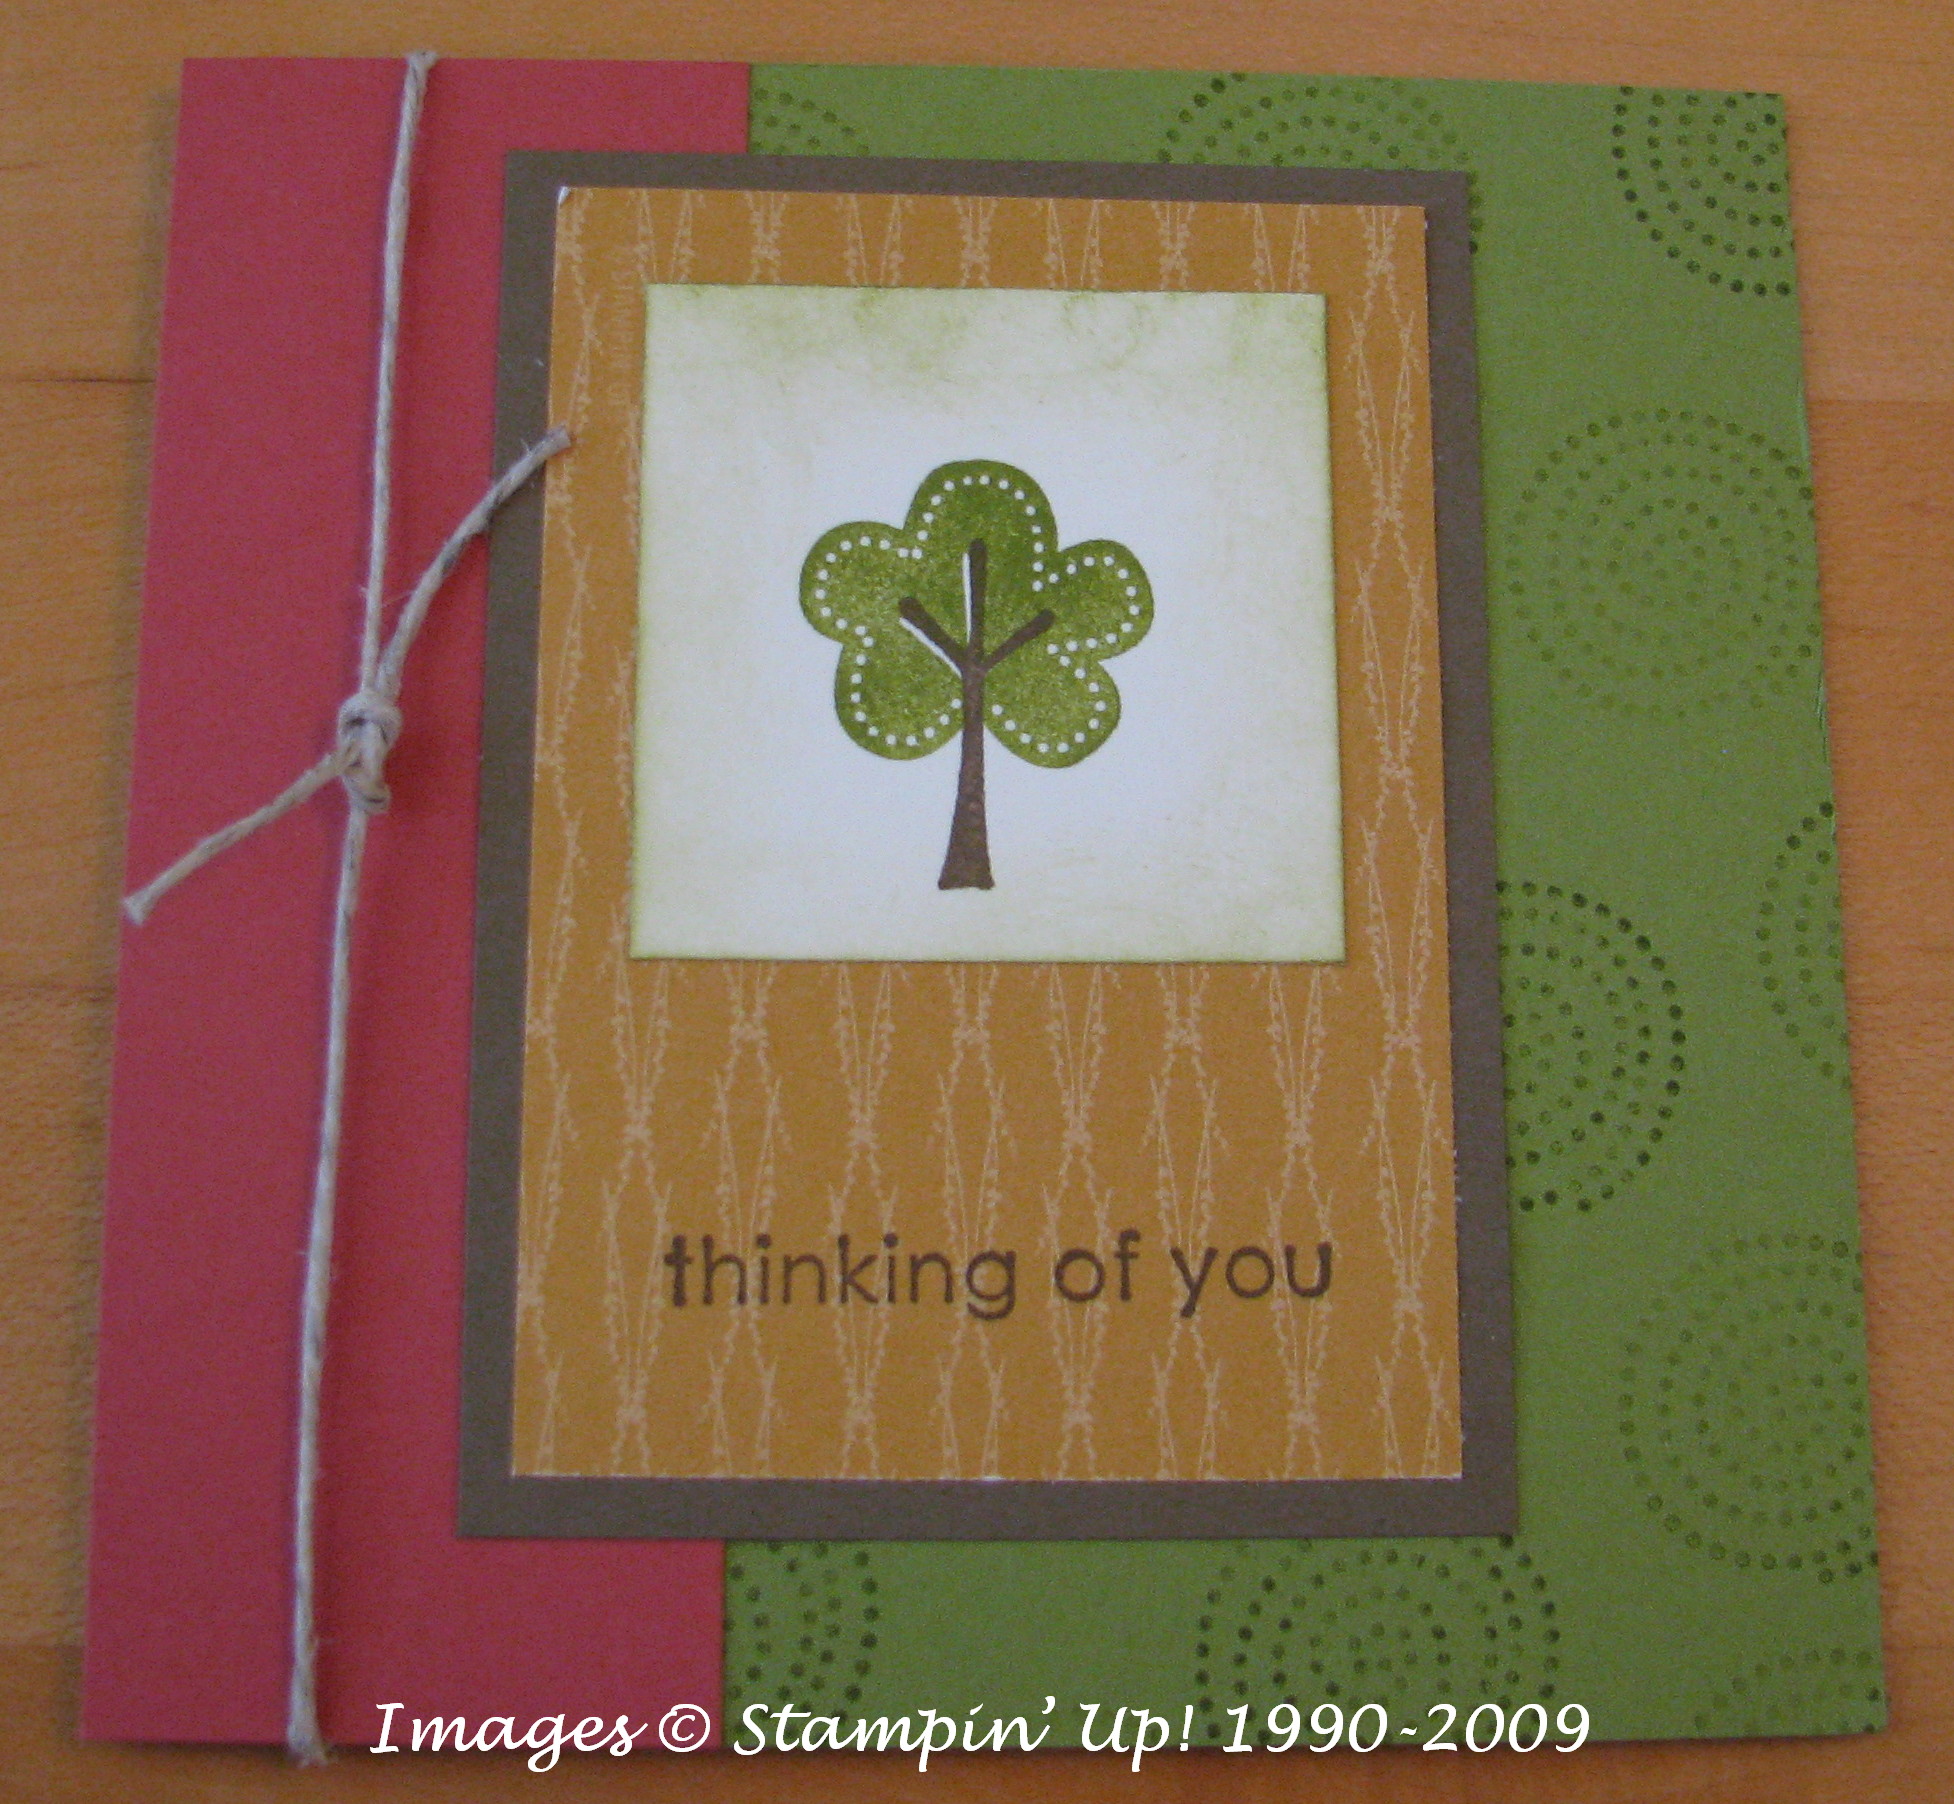
I was looking through the new Stampin' Up! 2009-2010 Idea Book & Catalog  the other day (well, almost everyday!) and just saw lots of things I wanted to make.  This card was inspired by the scrapbook page on page 16 of the catalog.  That particular day I just liked the colors shown on that page and decided to make a card with the hostess set, "Kind and Caring Thoughts".

KindCaringFlower 

The colors are Chocolate Chip, Always Artichoke, Certainly Celery, So Saffron and Ruby Red.  I seldom use Ruby Red unless maybe in the fall, but I love it with these colors!

This hostess set is great…..the flowers and leaves are nice and lots of great sentiments.  If you'd like to possibly earn this set for free having a private stamping class with your friends, just contact me!

Sign up for my free stamping newsletter in the Email box!


Stamping Fun with the Girl Scout Hobby Badge

On Saturday I had the pleasure of working with a group of thirteen Girl Scouts from a troop in Sugarland, TX to earn their "Doing Hobbies" badge.  It was a fun day, and all of the girls did an excellent job on their projects!  It's a great testament to how easy stamping is, even for beginners.  In no time, these girls were putting their own touches on their projects.

***If you are in the Houston/Sugarland area and need help doing your Hobby Badge for Scouts, please contact me at KSFontinelle@gmail.com .  I can personalize projects for your group and ages!

We started with an easy little gift for someone….Peppermint Patties decorated with stamping and the Scallop Circle punch.

BirdcandybagGS 

Next we tried a technique of coloring directly on the stamp with markers to get multi-colors on one stamp.  This was a fun and easy card to make and most girls immediately started writing a note inside to send to someone.  They really had fun decorating the envelope!

BirdCardGS 

The mother hosting the event presented an interesting history of the hobby of scrapbooking.  Did you know Mark Twain was a scrapbooker?!  Here is the scrapbook page the girls made:

FriendsSBgs 

As part of the badge requirements, we talked about how stamping and scrapbooking could fit into a person's life.

And for one last project, all the girls decorated this composition notebook.

NotebookGS 

It was a fun day and I hope the girls enjoyed learning a new hobby!

Last Minute Quick & Easy Father’s Day “Lovely As A Tree” Card

For those of you scrambling at the last minute for a Father's Day card, here is one I must made and it only took me probably five minutes….and you don't even have to think up the design!  This old stamp set, "Lovely As A Tree" has been around a long time and we always hold our breath at retirement time thinking it might go.  Fortunately, it is still here and is such a versatile set, especially when you need a masculine card.

On this card I just used Kraft as the card base, stamped with some Close to Cocoa leaves, lightly (stamping off first after inking up).  The tree is stamped with Basic Brown and literally scribbled in with some markers, Close to Cocoa for the tree trunk and various greens for the leaves.  A little sponging if you want around the edges, layer, adhere, and you have a card.  You can stamp "Happy Father's Day" on the inside or write your own message.  Of course you could add some ribbon or hemp twine or any other embellishments to jazz it up, but most fathers won't want it jazzed up!

FDLovelyTree

Happy Father's Day!

“Cheers To You” Father’s Day Card

Cheers2

Here's my Father's Day card for my husband!  I haven't used this set very much even though I like it a lot, so decided a few stamped beers would make a good card this year!  The base of the card is Kraft cardstock, the designer paper "Manchester", great for masculine cards.  If he wouldn't have come home earlier than I expected, I would have covered the beer steins with Crystal Effects to look like glass….but too late now!  I colored the beer with my Watercolor Crayons, with a little shadow of gray around the foam.  The inside has the "Happy Father's Day greeting from "All Holidays", a stamp set I just received FREE from Stampin' Up! for my Sale-A-Bration award.  It's possible to earn free stamps as a demo!  And who doesn't like FREE?!
Birthday Diorama Card

One of my blog readers emailed the other day and asked how I had made the diorama card, which is in THIS post.  While I looked up the measurements and refreshed my memory with scrap paper in order to answer her, I got inspired to make another Diorama Card!  They really are fun and easy, so you should try it!  Once you make one you can see how you could change the measurements to suit your purpose, but these are the ones I used.

You need:

2 pieces of cardstock 8.5" x 3" for the front and back pieces, score each piece at 2" from each end.

1 piece of cardstock 6.5" x 3" for the middle piece, score at 1" from each end.

Punch or cut center opening on front and middle pieces.  I used the Large Tag Punch and cut off the little remaining triangles with my Paper Snips.  You could use circle punches, a square punch, or even a hobby knife.  Using the tag punch, I punched in the center, then off to each side, creating the large opening.  You could leave space in between and make window panes.  (I love to use the Stampin' Up! grid paper because on it I can measure, align, scribble, stamp, write, etc.)

DioramaBakerycard pieces 

DioramaBakerycard pieces2 

Before you adhere anything, go ahead and stamp or decorate your card how you want.

DioramaBakerycard pieces4 

To assemble, use a strong adhesive such as Sticky Strip or Tombow Multi Purpose Adhesive.  Love that Tombow!  Set the middle piece inside the back piece as you see in the photos.  Then you will see that the front piece side flaps cover the outside of the "box".

DioramaBakerycard piecesinside 

DioramaBakerycardFront 

DioramaBakeryCard 

DioramaBakeryCard2 

DioramaBakeryCardSide 

Stamp sets I used on this card:

Trendy Trees, Boho Backgrounds, Party Hearty, Crazy for Cupcakes

Did you notice the "Sneak Peek"?

Graduation Time

Here's another graduation card (or for any occasion) made following almost the same idea as THIS card in a previous post.  This time I wanted a money holder.  This card is not as wide as it should be to hold the money, but in this case I wanted it to fit in a certain envelope….so I'll just have to fold the money in half!  The card front measures 3" x 6" with a fold up pocket on the inside of 2".  Therefore, you need to cut your cardstock at 8" x 6", scoring at 2" and 5" so you can fold the 2" pocket up inside the card and then the 3" top folds down.

GradCardDominic 

The star actually spins on the front!  I found the design by Dawn while browsing on Splitcoast here.  It adds a fun little element! 

If you need the star punches to make a spinning star, just place your order here on my website.

Sneak Peek New In Colors, New Circle Circus

Here's the first card I finally made with my new In Colors and new stamp set, Circle Circus for our demo preorder.

CircleCircusEmbossResist 

I made several cards using various combinations of the new In Colors.  The technique I used is called Emboss Resist….I stamped the circles with Versamark and embossed with Clear Embossing Powder.  Then I sponged on various In Color inks over the embossing and then wiped off with a tissue.  Very simple and fun!  The polka dot ribbon is also new!  Isn't it pretty?!

CircleCircusEmbossResist2 

CircleCircusEmbossResist3 

You can still sign up to be a demo and take advantage of this great preorder opportunity of new products!

Another Upsy Daisy

I really got into using "Upsy Daisy" the other day and had fun making this card.

UpsyDaisyThankYou 

It was kind of fun using the Basic Gray paper and the Designer Paper is from the Occasions Mini, Walk in the Park.  I stamped the daisies with White Craft Ink and then embossed with Clear Embossing Powder, right onto the designer paper for a different look. The yellow card stock is So Saffron.

Be sure to check the lists of retiring stamp sets and accessories so you don't miss something you want (uh, need!)!

Watercolor Rose

This has been a fabulously popular technique for everyone to try after being demonstrated at the Stampin' Up! Seattle Regional. 

WatercolorRosegrayDSP

You need the Stampin' Up! Shimmery White cardstock for this technique.  Just stamp the rose from "Fifth Avenue Floral" with Craft White ink and emboss with clear embossing powder.  Now most gals have used a small plastic bottle to mist water over their rose, but not having one handy, I used my Aquapainter (another fabulous must-have tool!), just running the brush over the whole rose to get a fair amount of water within all the embossing.  Put some drops of reinker, whatever colors you want to try for your rose, on top of your plastic stamp case.  Pick up a color of ink with your Aquapainter and deposit it on your rose.  Since you already have a lot of water floating on it, the ink will spread pretty easily.  You can use several different colors for your rose….for example, Regal Rose, Pirouette Pink, Summer Sun…. and just place the ink in each little embossed section of the rose.  You really can play with it quite a bit, moving the color around, filling in, making something darker, tipping your paper to make the ink run down a little, etc!  Don't worry if the color gets outside the lines because you will cut out the rose anyway!  Once you have the color filled it, set it aside to dry for awhile.  You can pick up excess water with your Aquapainter, wiping it off on your paper towel each time.  Once it is dry, just cut out the rose and make your card.  You can stamp some leaves, or in my case, I used the Big Shot to make the "Stampin' Up! Little Leaves".  Be sure to stamp and emboss more than one rose……cuz I bet you can't make just one!!

If you need any of the supplies to make this card, please contact me!  Don't forget about the Designer Paper Buy 3, Get One Free offer for May!  Ends this weekend!

Happy Memorial Day!

MemDayGodBlessAmer 

Although the stamps used on this card are retired, I hope you enjoy this patriotic card for Memorial Day.  You probably have something similar if you wanted to duplicate this card or one like it.  The focal point of this card is the "God Bless America" stamp by Stampin' Up!  This was a special edition single stamp released by Stampin' Up! in remembrance of September 11, 2001.  The entire purchase price of the stamp was donated to the September 11th Fund created by the United Way and the New York Community Trust to provide services for the victims and their families.  I wasn't even a demo when the stamp came out, just bought it from my upline as a customer, although it wasn't long until I became a demo.  I used my Stampin' Write Markers to ink up the different parts of the stamp.  The other stars on the card are from a retired stamp set "In the Stars".  I used the Top Note die with the Big Shot, cutting out one in white and one in red and trimming the white along the score lines to fit as a layer on the red.  The ribbon is current and is the 1/2" striped grosgrain in Real Red.

Need Another Graduation Card?

Graduation Card Congratulations 

This is a pretty easy graduation card to make.  I admit to using some retired paper and stamps, but the color, Cranberry Crisp, seemed to match the school colors pretty well.  The retired stamp set is "In the Stars" but I thought that words on the star were perfect for graduation.  I stamped the star on the ivory cardstock twice, cutting out one image and popping it up with dimensionals.  I had embossed the little stars on the card with gold embossing powder, but then added a couple of star punches out of Brushed Gold cardstock.  The gold-embossed "Congrats" is from the current Ronald McDonald stamp set, "Say It with Scallops", found on the inside of the back cover of the catalog.  Stampin' Up! donates $2 for every one of this set sold to RMDH…..it's a great stamp set and while you're stamping you know you're also helping out a worthy cause.

A Mother’s Day Card for You

VellumRose 

HAPPY MOTHER'S DAY!


Stamp Set:  Holidays and Wishes

Cardstock:  Blush Blossom CS, Walk in the Park Designer Series Paper, Vellum Cardstock, Whisper White CS, Cameo Coral CS

Ink:  Cameo Coral

Accessories:  Stampin' Up! Manhattan Flower Textured Impressions Die (you gotta have this!), Pretty in Pink Taffeta Ribbon


A Fun Graduation Card

A really great thing about stamping is that you don't need electricity to do it (except for embossing, of course).  The other day my power went off for the whole afternoon (only going to McDonald's to get a cold drink made it go back on, as  soon as I left, I'm sure!) so I just did some stamping.  Even the Big Shot doesn't need electricity!  What a great feature!

Here is one of the cards I made that afternoon:

Graduation Card 

The Brilliant Blue card base is 4×4.  The "grad" letters come from the stamp from "Great Grads" but I cut them apart.  Just playing around!  The wheel I used is actually retired but very similar to the Jumbo "See You Around" wheel….or you could stamp a little background of something….or leave it plain.  I used the two star punches to make gold and silver cardstock stars, the Scallop Circle punch, the Scallop Edge punch for the border and the paper piercing tool in the Crafters' Kit to make the little pokey holes in the Real Red strip.  I think it would be a great size card to use the Slit Punch to hold a gift card inside.