Category Archives: Cards

Little Boo

I think this is the cutest little stamp for Halloween……Little Boo!  And it is only $6.95!  Have you visited the "Under $10" page in the Stampin' Up! 2009-2010 Idea Book & Catalog?  It is the last page (p. 208) in the catalog.  I made some cute "Little Boo" cards, just 3×3 size!  So fun!  Take a look at those "Under $10" stamps…..you might want to get some for gifts for the holidays….and a few for yourself!

Ghost3x3

I stamped Little Boo on Whisper White cardstock and punched out with the 1" circle.  Then a circle punch layers of Green Galore and Black and the fabulous Scallop Circle Punch.  The greeting is from Teeny Tiny Wishes.

Shimmery Leaves

Made another fall card today with the leaves from Lovely As a Tree and decided to make it shimmery!  I stamped the leaf with Basic Brown since it is good to use with watercoloring and colored in with my Aquapainter and some drops of reinker.  To add the shimmer, I just used the new Champagne Mist Shimmer Paint.  Just shake the bottle and whatever is in the cap is probably enough.  I used a small paintbrush I had to apply the shimmer just like paint.  You'll love playing with these new Shimmer Paints!


Order 24/7 in your pajamas on my website HERE!  Click the Shop Now button!  Get your fall items right away!

LeafCard

LeafShimmer

See the shimmer?!

Celebrate Fall!

I've been so busy planning a fall trip, I haven't had time to think about today being the first day of fall!!  Normally in Houston we would still be sweating to death and wearing shorts and running the a/c, but today we were blessed with a rainy day to give us just a little sense of fall!!  I'm still wearing shorts and running the a/c but at least the day shows a little fall spirit!


Here's a card I made to commemorate the day, and it literally only took about five minutes!  I LOVE this stamp set, "Season of Friendship"!  It is so much fun to stamp the leaves on the tree!  Stamping is so easy and fun!  To make it interesting, I decided to use the baby wipe technique.  As you can see in the photo, I just folded up a baby wipe, dropped a few drops of several colors of reinker for fall (Old Olive, More Mustard, Pumpkin Pie and Really Rust) and inked up the leaves on that instead of an ink pad. Worked like charm!  It looks like the leaves are just starting to change color!

Wipeinkpadleaves

Falltree

What Would We Do Without “Lovely As a Tree”?

If you don't already own the stamp set "Lovely As a Tree" you should really add it to your collection right away! We all held our breath when Stampin' Up! retired stamp sets this last time because "Lovely As a Tree" has been around for awhile!  But it just is the most versatile, necessary stamp set to have on hand!  It is perfect for making cards for men, which is often a bit of challenge, but it can also be made into a beautiful Christmas card or a sympathy card or used on scrapbook pages and gifts.  Since my husband and I are planning a fall foliage trip to New England, it seemed perfect to make yet another "Lovely As a Tree" card for his birthday yesterday, this time with colored leaves and the new Autumn Traditions Designer Series Paper in the catalog.


LovelyTreeFallBDBob

I used an old technique called "thumping" to ink up this stamp of trees.  It is a little hard to describe, but you just hold your Stampin' Write Marker loosely and let it flop up and down onto the stamp!  Kind of a tapping thing I guess.  I used various fall colors, like More Mustard, Old Olive, Ruby Red, to make the leaves.  Then I just kind of colored in the tree trunks and branches with the new Soft Suede marker, just hitting the lines as well as I could…..plus some green marker for grass lines on the stamp.  When I got the trees stamped, I decided to sponge in some blue ink for the sky and some green for the grass.  The card might be a little "busy" with that particular DSP, but too bad, I wanted the one with the colored leaves!


Here is the inside of the card using another stamp in the set.  The greeting is from the Level 3 Hostess Set "Kind & Caring Thoughts".  To color in the leaves I just colored with a marker on the lid of the stamp box and picked up the ink with my Aquapainter.  I love to color that way!

LovelyTreeFallBDBobinside

Shimmery Snowflakes

Another "copy" of a card in the Holiday Mini……..I just love the picture on page 26 of the Holiday Mini of the "Snow" scrapbook page, a "Season's Greetings" card and a little box.  I wanted to try out the beautiful "Serene Snowflakes" stamp set along with the new Shimmer Paint.  The Shimmer Paint (page 27 Holiday Mini) is easy to use….just shake the bottle and in most cases just use the little bit of paint inside the lid, picking up with a sponge dauber or paintbrush.  You can ink up your stamp, then apply the Shimmer Paint to the stamp right over the ink and then stamp…..OR just apply the Shimmer Paint directly to the stamp and stamp.  There are three colors of Shimmer Paint available and I may have tried them all out on this card!  You can't detect the "shimmer" on the card but I think you can see how the look of the snowflakes change as you move the card.  You should be able to click on the photos to make them larger.  The Shimmer Paint is just something fun to give a subtle, elegant look to your projects!

SnowflakeMini

SnowflakeShimmer

Beary Best Friends Card

BearyBestFriendsboy

Here's a card I made with my new Beary Best Friends stamp set in the Holiday Mini.  I kind of copied the example of the card in the Holiday Mini on page 35……which shows that YOU can do that too when you need an idea!  It was fun to get out my Aquapainter and the Watercolor Crayons to color in the little bear guy!  The Designer Paper is in the mini also, Pawsitively Prints, and is just perfect with all the Build-A-Bear products!  The greeting I used is from Beary Nice Wishes on page 36 of the Mini.  If you want to start working on your creative Build-A-Bear projects, just go to my website and click on the "Shop Now" button or contact me if you need any help or have questions!

My First Bear!

And here is my first Build-A-Bear card made with the new Stampin' Up! Bigz Dies….Stampin' Up! Bear and Stampin' Up! Beary Essentials for the clothes!

KarenBear

The flower in her hair is made with the Trio Flower Punch and a brad.  The necklace is made with a half-pearl from the Pretties Kit and some gold elastic cord in the Holiday Mini.  The purse is made with the Round Tab Punch although you can also get a purse from one of the Sizzlit dies in the Build-A-Bear Collection.  To make the face…..the dark eyes and mouth, I just stuck some Chocolate Chip paper behind the head to show through the holes, but for the mouth I stuck in a little piece of red.  You can do it either way.  The designer paper in the background is the new Pawsitivily Prints in the Holiday Mini.

Just go to my online store and start your Stampin' Up! Build-A-Bear Collection of stamps, dies and paper!

What a New Stamper Can Do!

Over Labor Day weekend my son and his girlfriend came home for a visit. She ASKED me if we could stamp because she wanted to make something for her friend!!  I didn't even have to FORCE her to stamp!!  We stamped the first time she came to visit back in July so I guess she really did like it! (But then, who wouldn't??!)


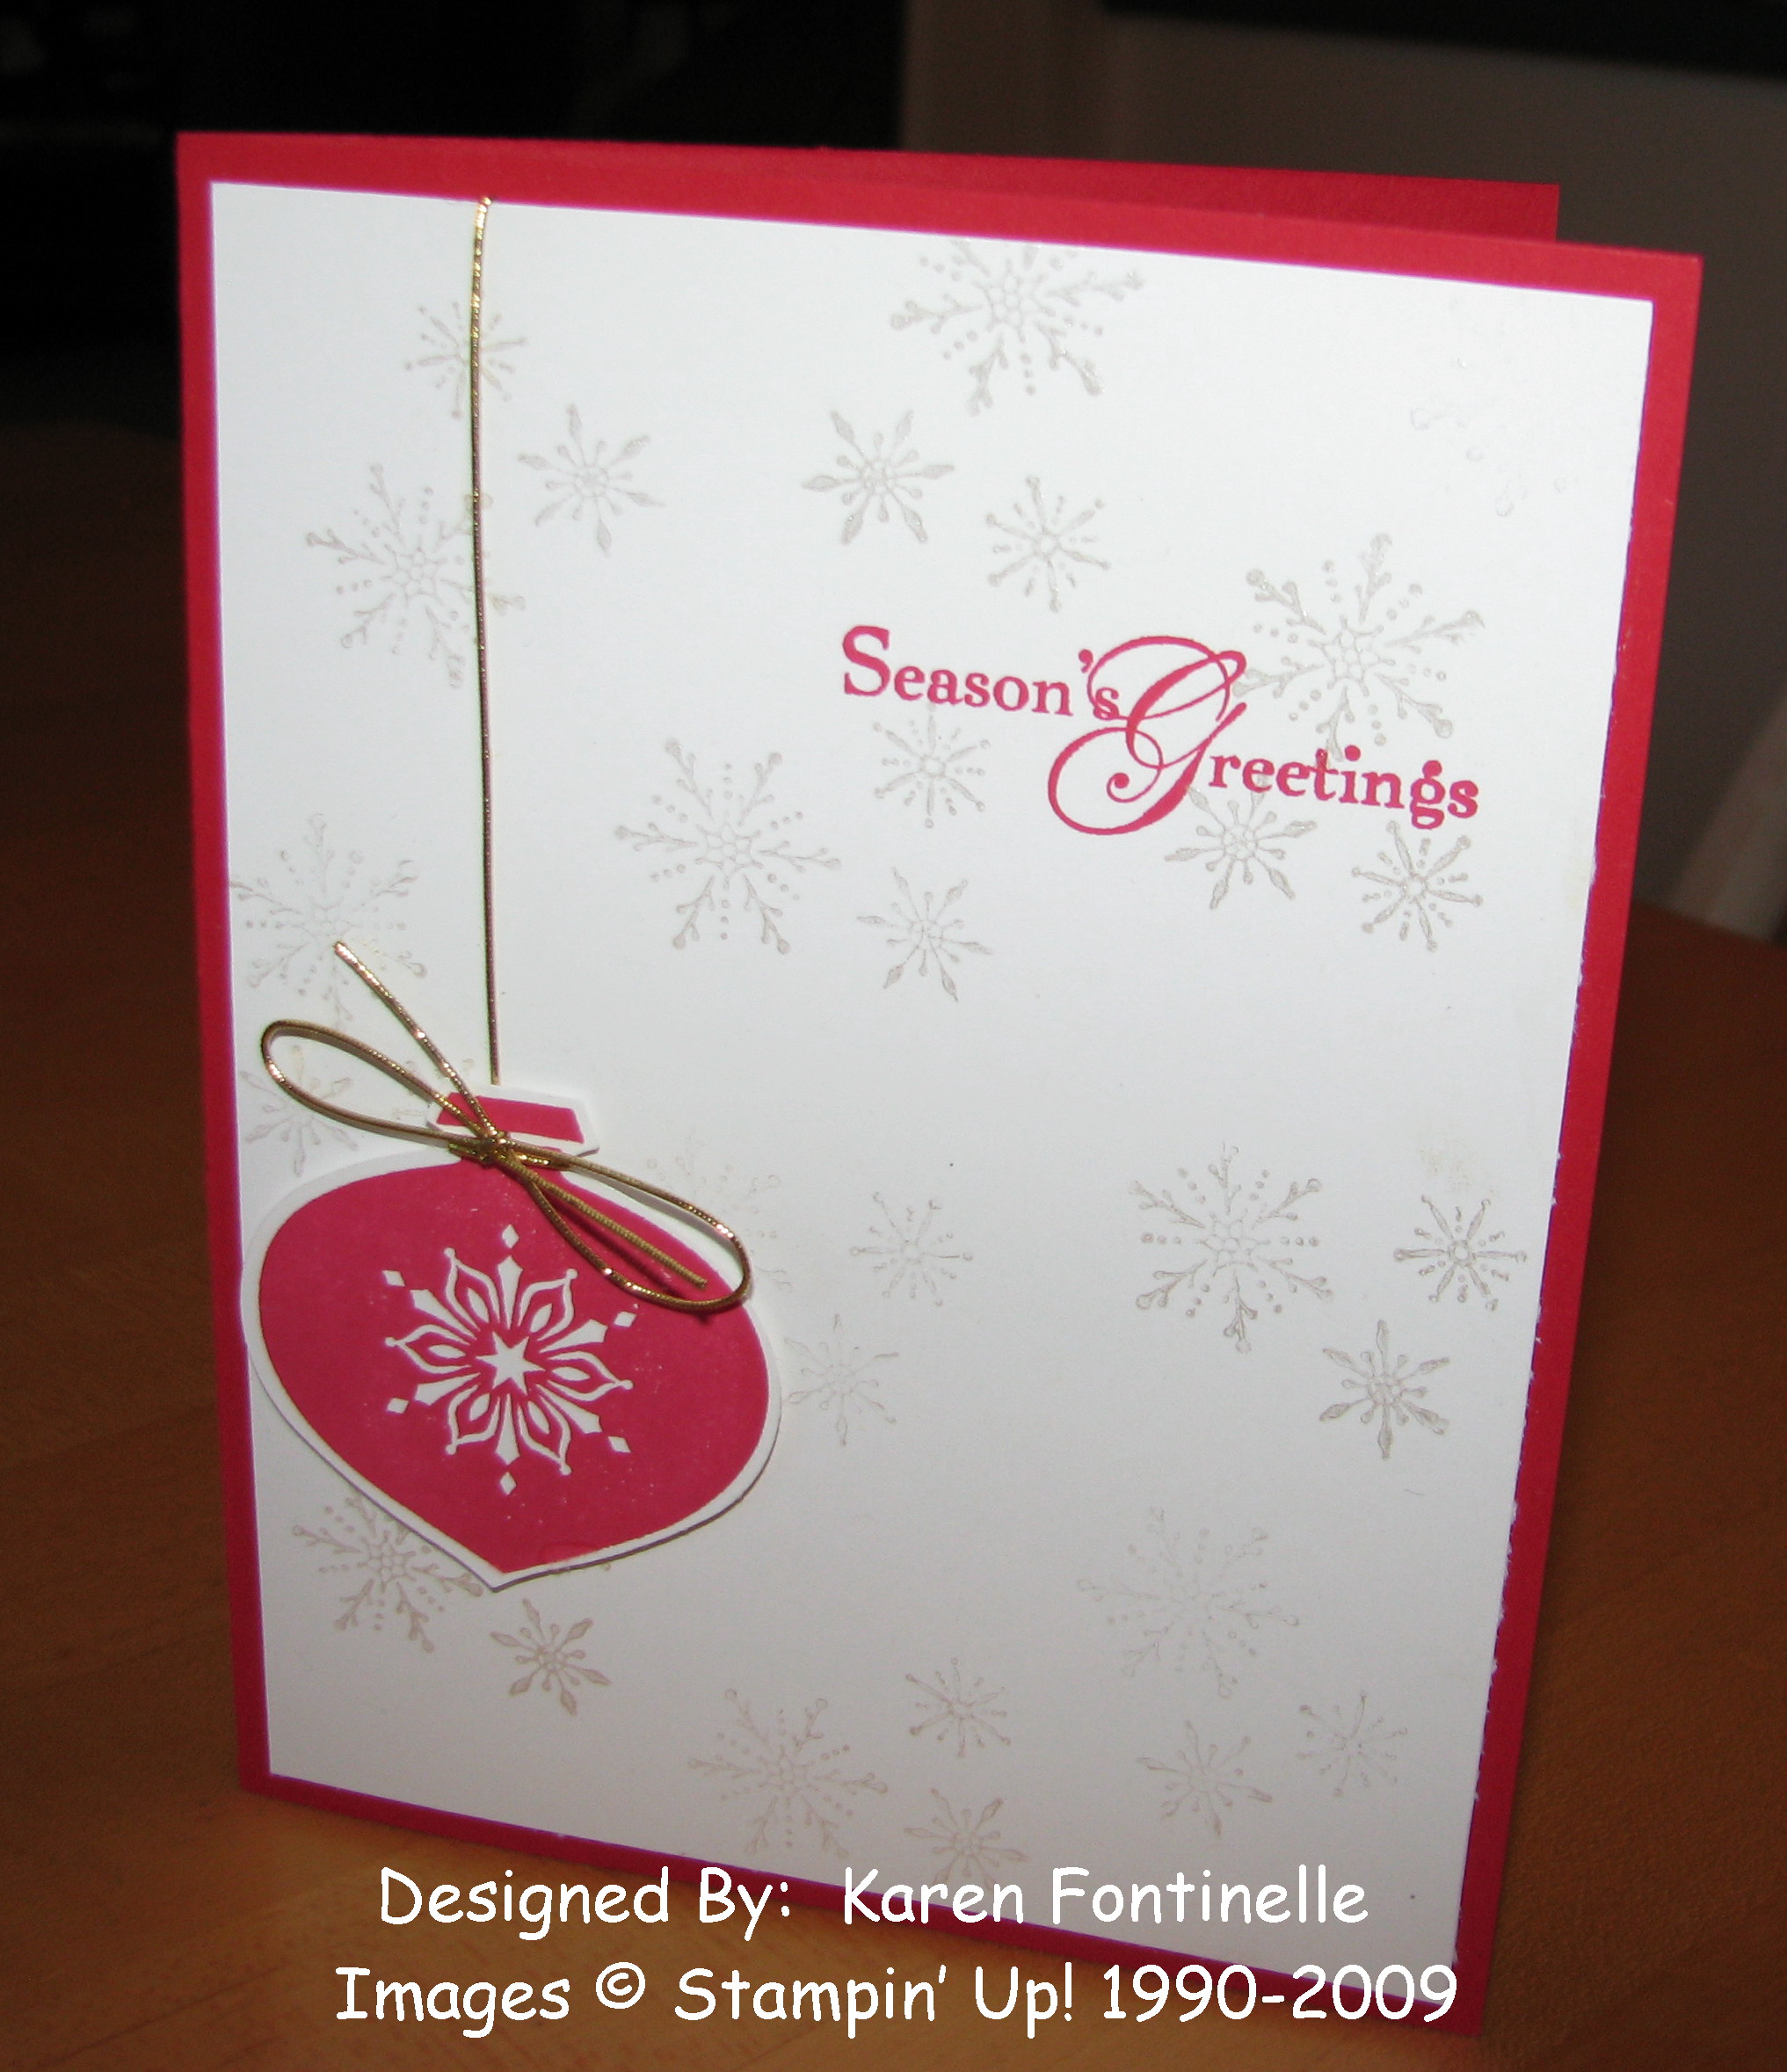
First she stamped this card using "Season of Friendship" and we added pumpkins from "Pumpkin Patch" in the Holiday Mini  just for fun.  I knew the tree from "Season of Friendship" was SO much fun to stamp with!  I thought she did a great job, even varying a little bit from how I did mine.  Actually hers turned out looking better than mine!
Heathertreecard

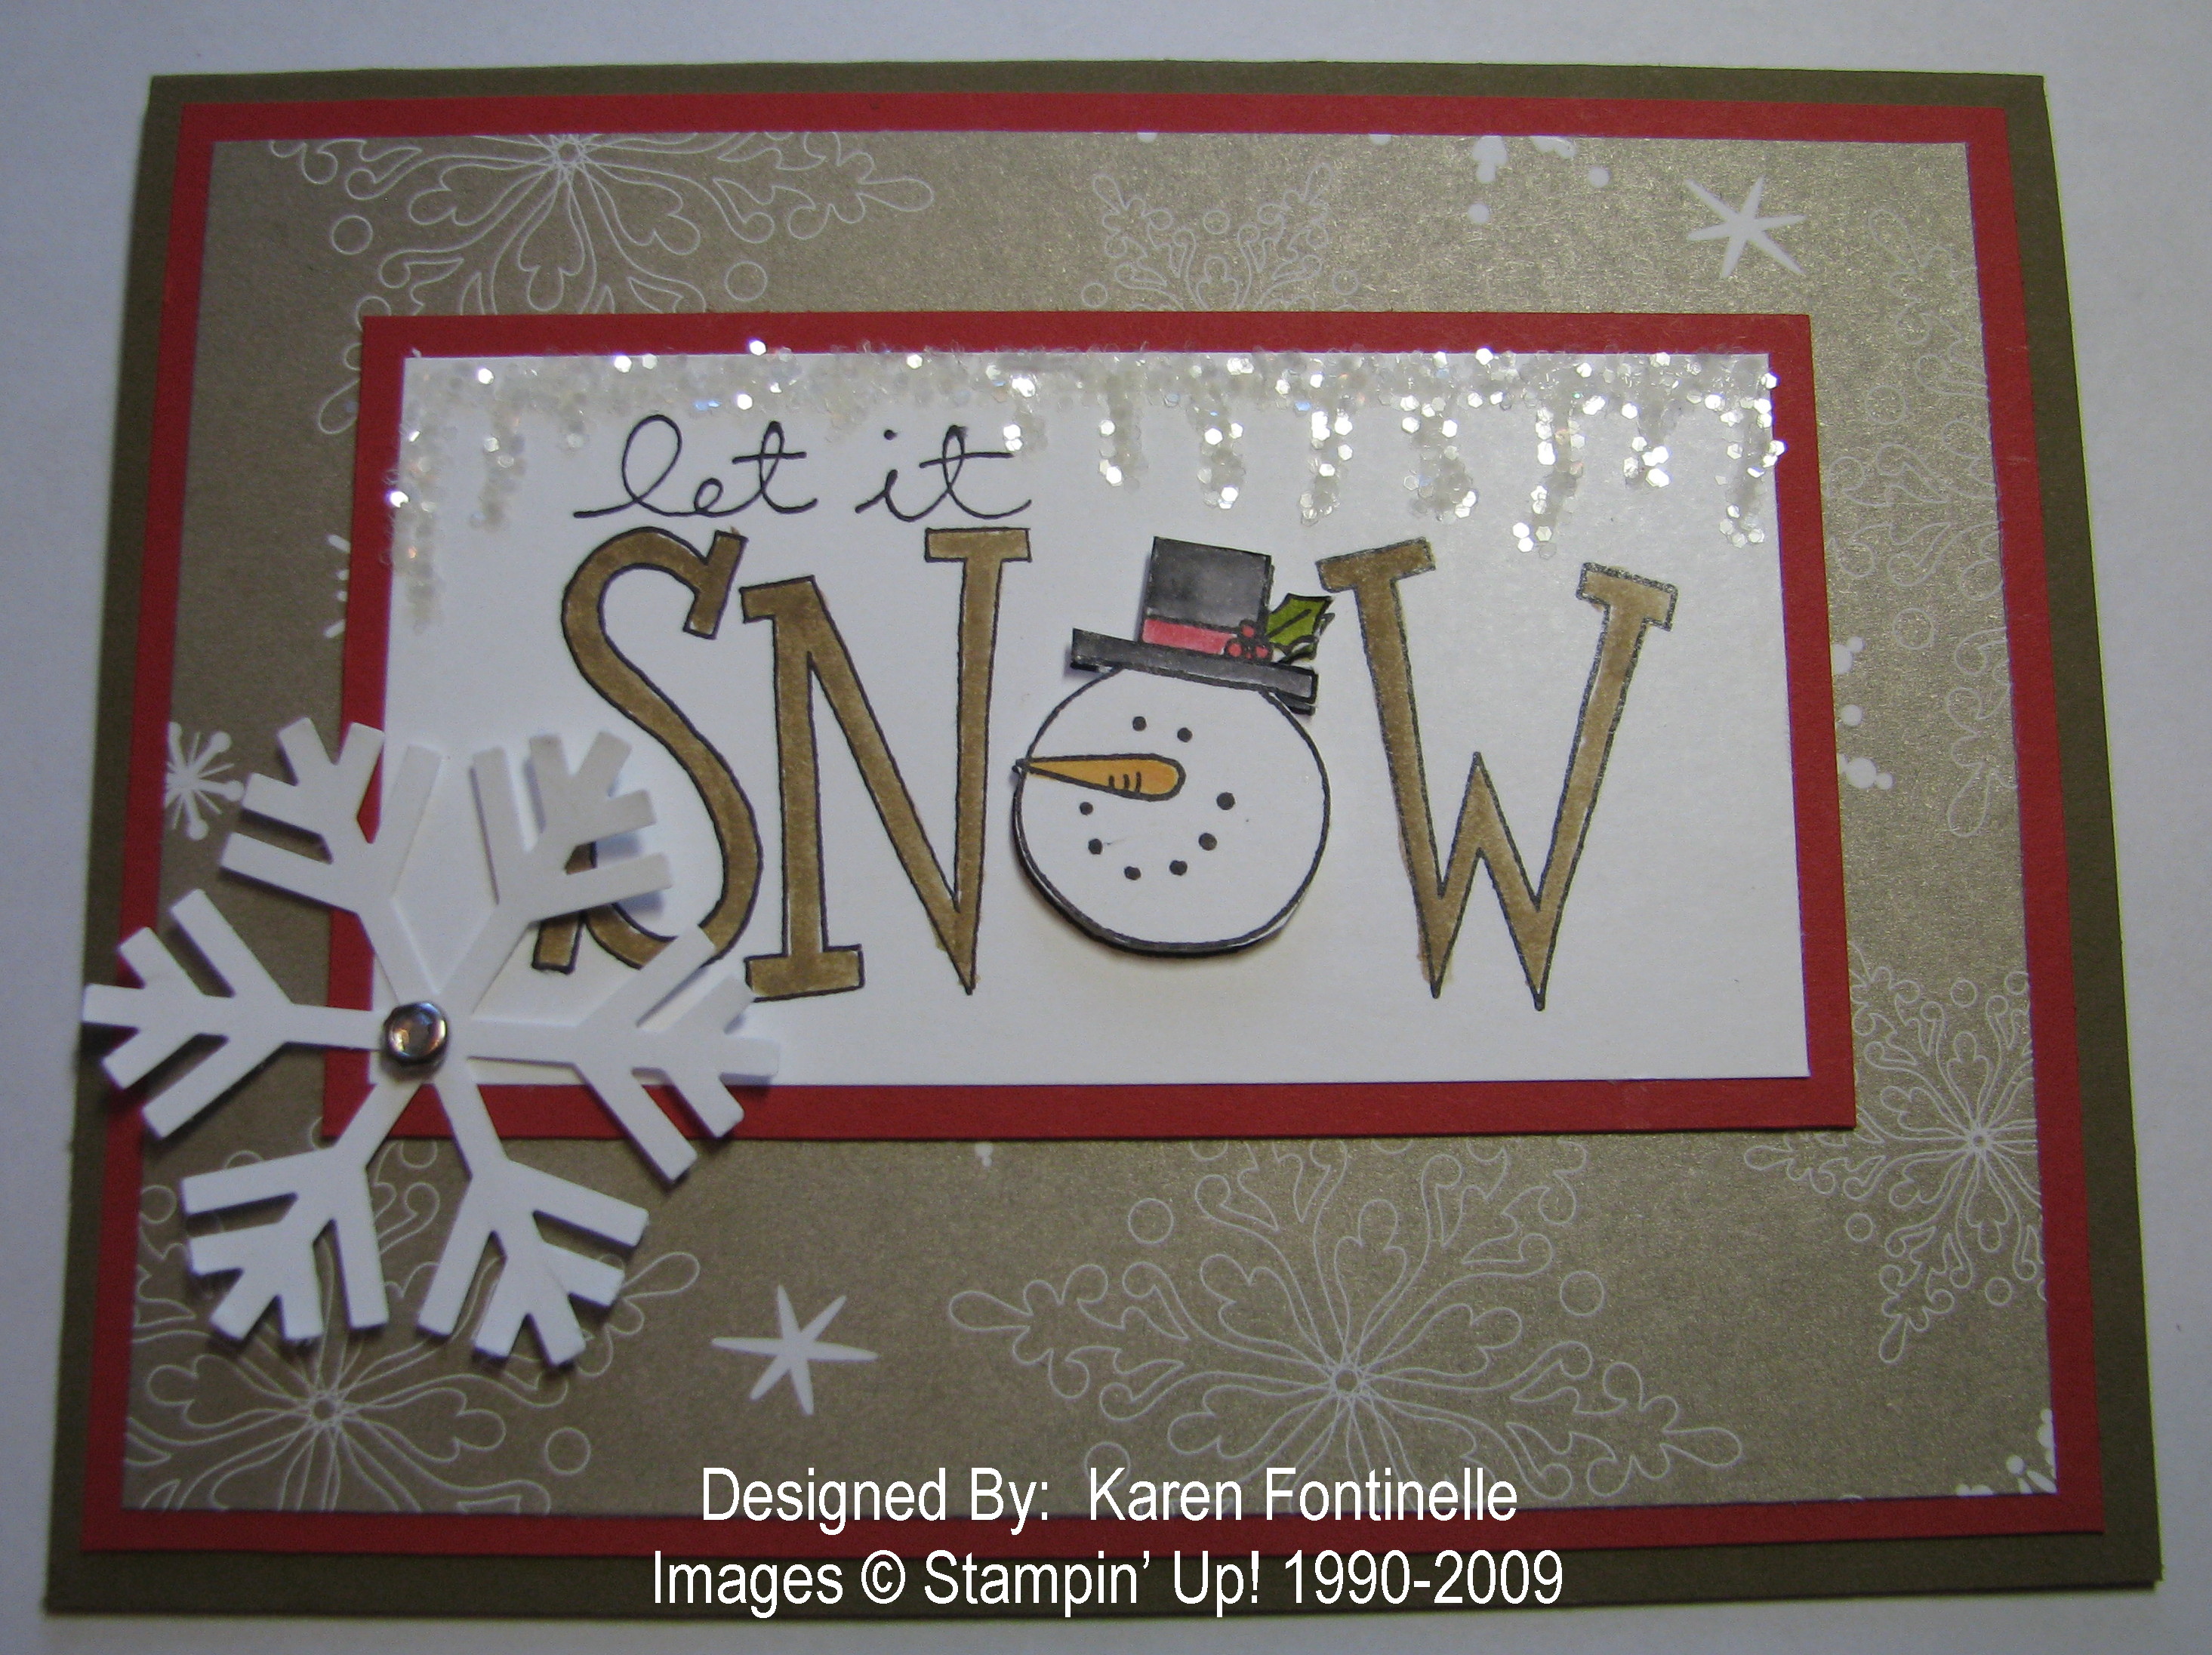
And then we needed to play with my new Stampin' Up! Bear Big Shot Bigz Die!  We cut out the bear and then dressed it up using the new Pawsitively Prints Designer Series Paper cut out with the Stampin' Up! Beary Essentials Bigz Die.  These are all new products in the Holiday Mini!  Stampin' Up! is partnering with the Build-A-Bear Workshop so we have an exclusive and exciting collection of new products you will enjoy!
Heathergrannybear
Heather decided to make her bear a Granny Bear and made some little glasses for her out of the retired Stampin' Up! wire we used to carry and added half-pearls on her jacket from the Pretties Kit!  She thought maybe the bear could use a hat, but that wasn't quite right…neither was a bow….so we finally tried a Flower Brad and that seemed to work!

I know it is going to be LOTS of fun playing with all these bears!!

Christmas Sweet Treat Cup

ChristmasSweetTreatCup

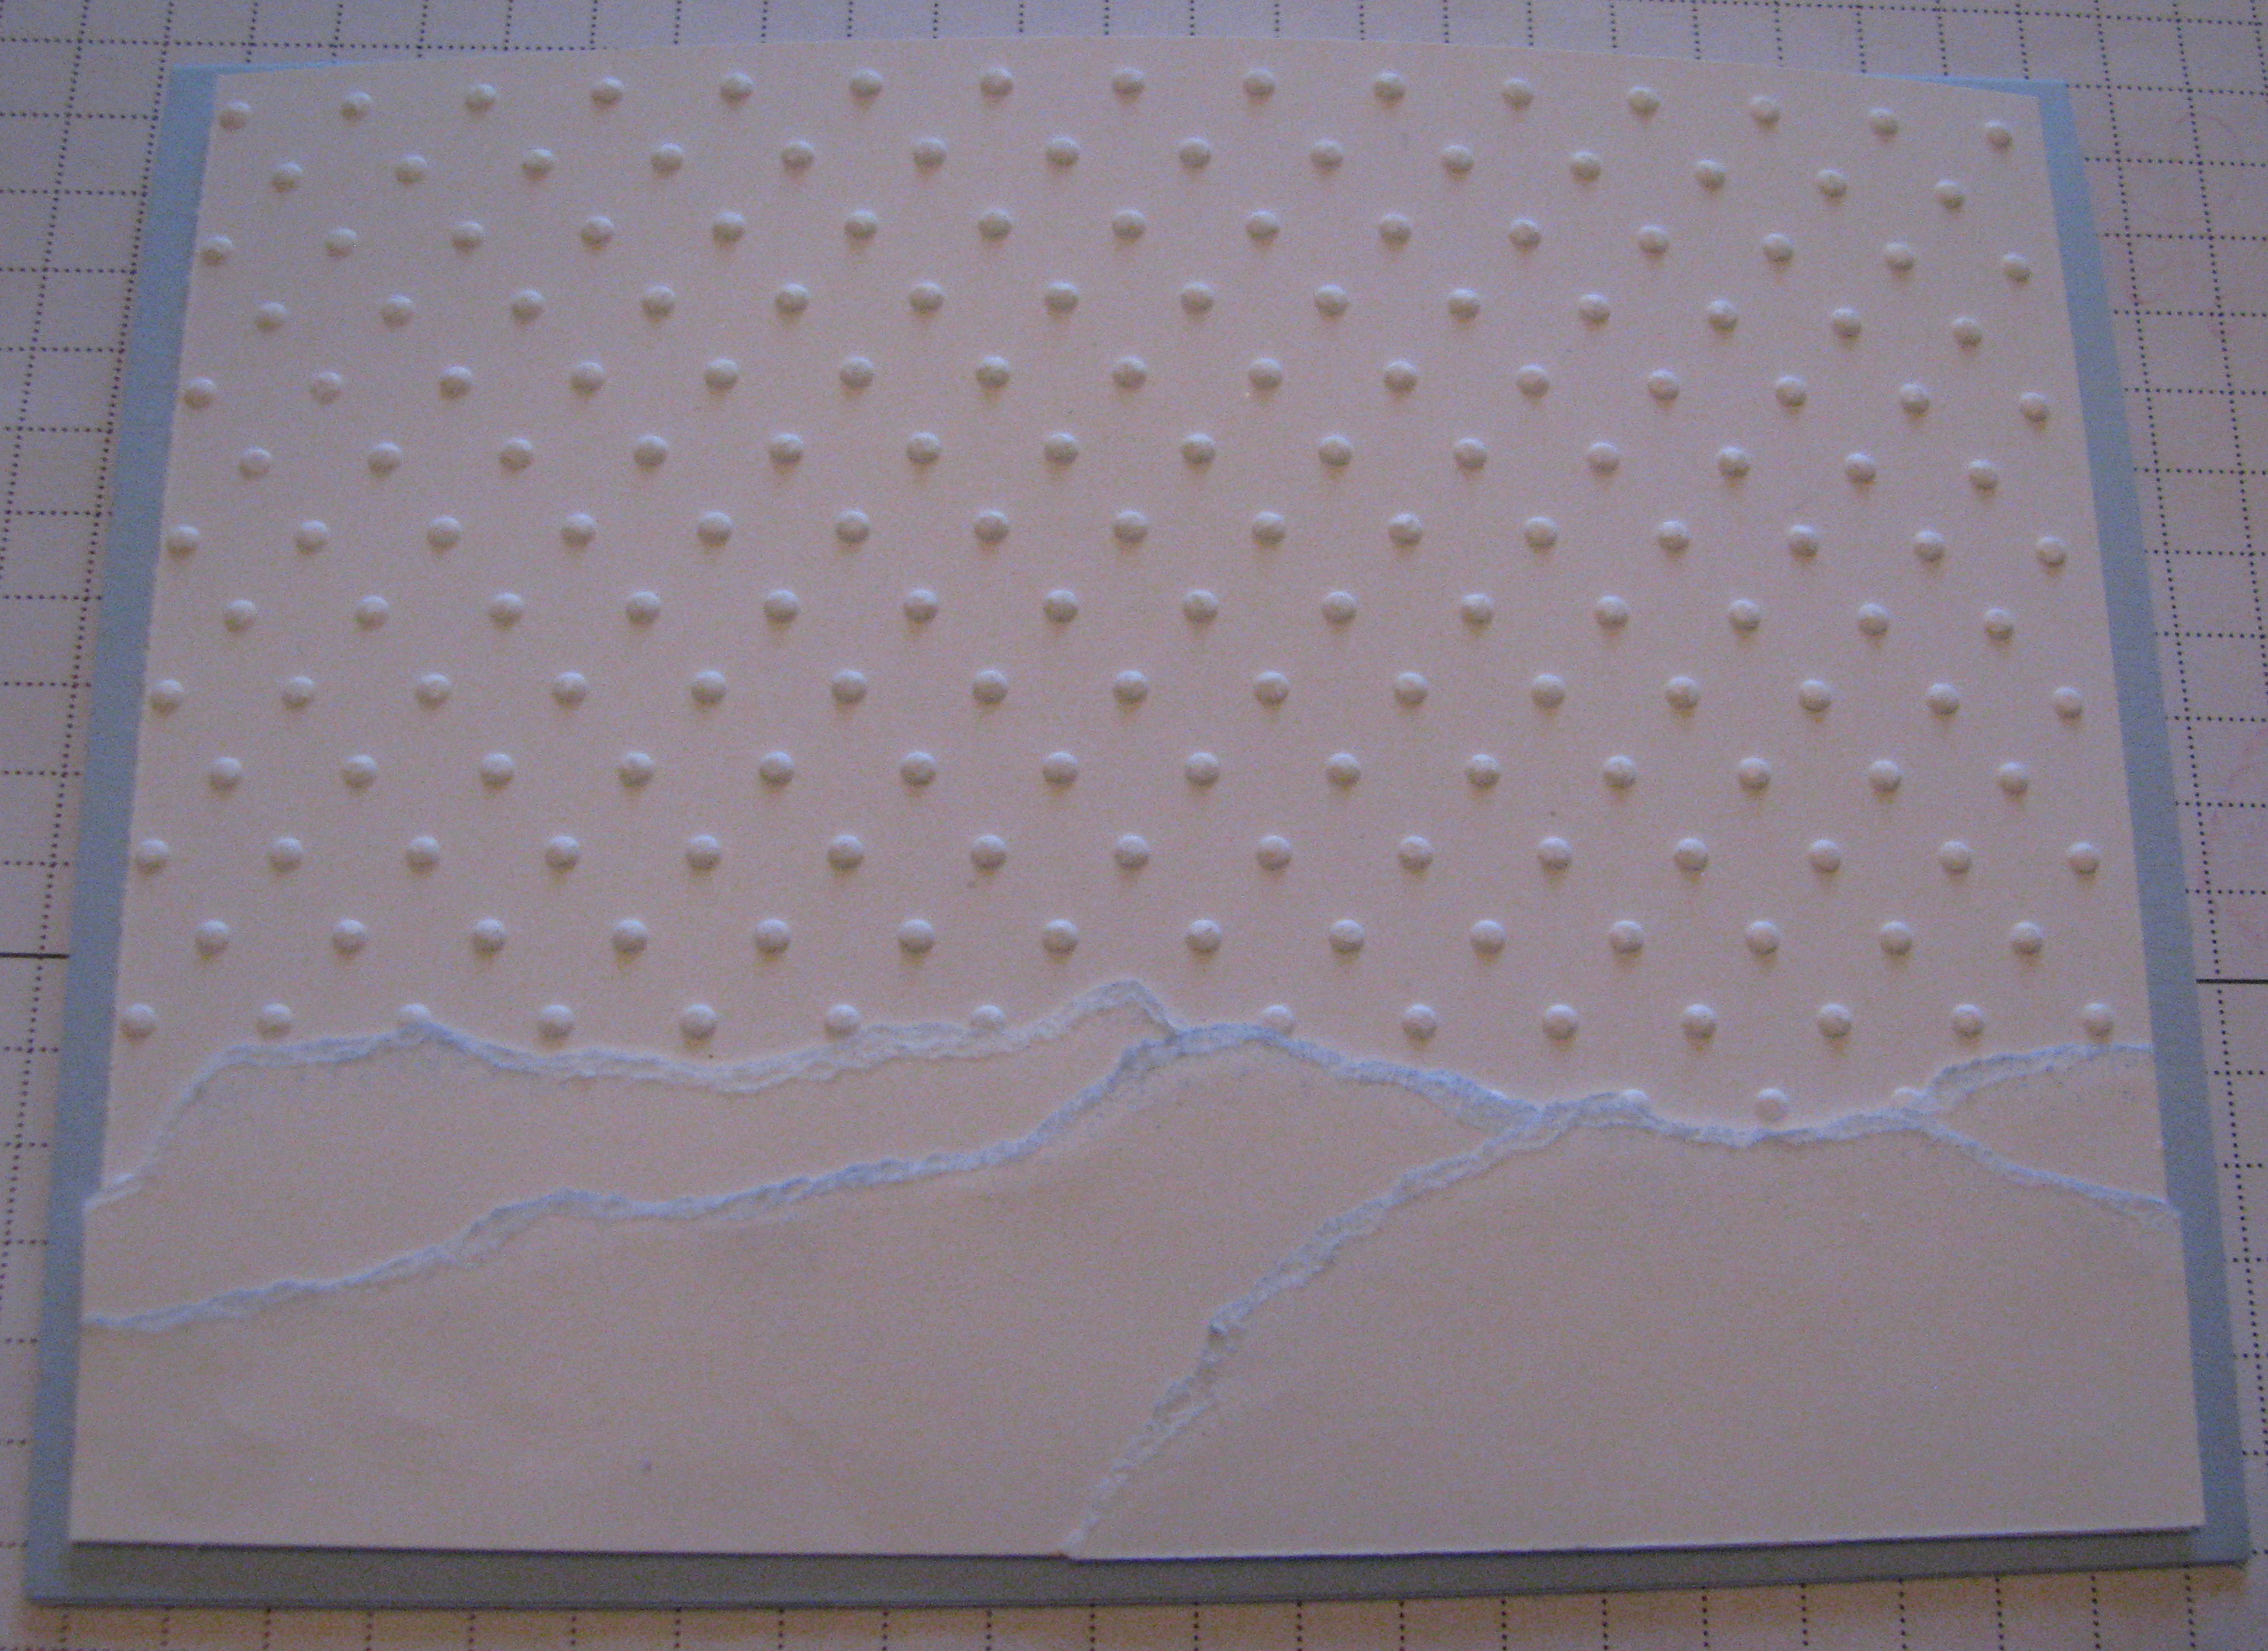
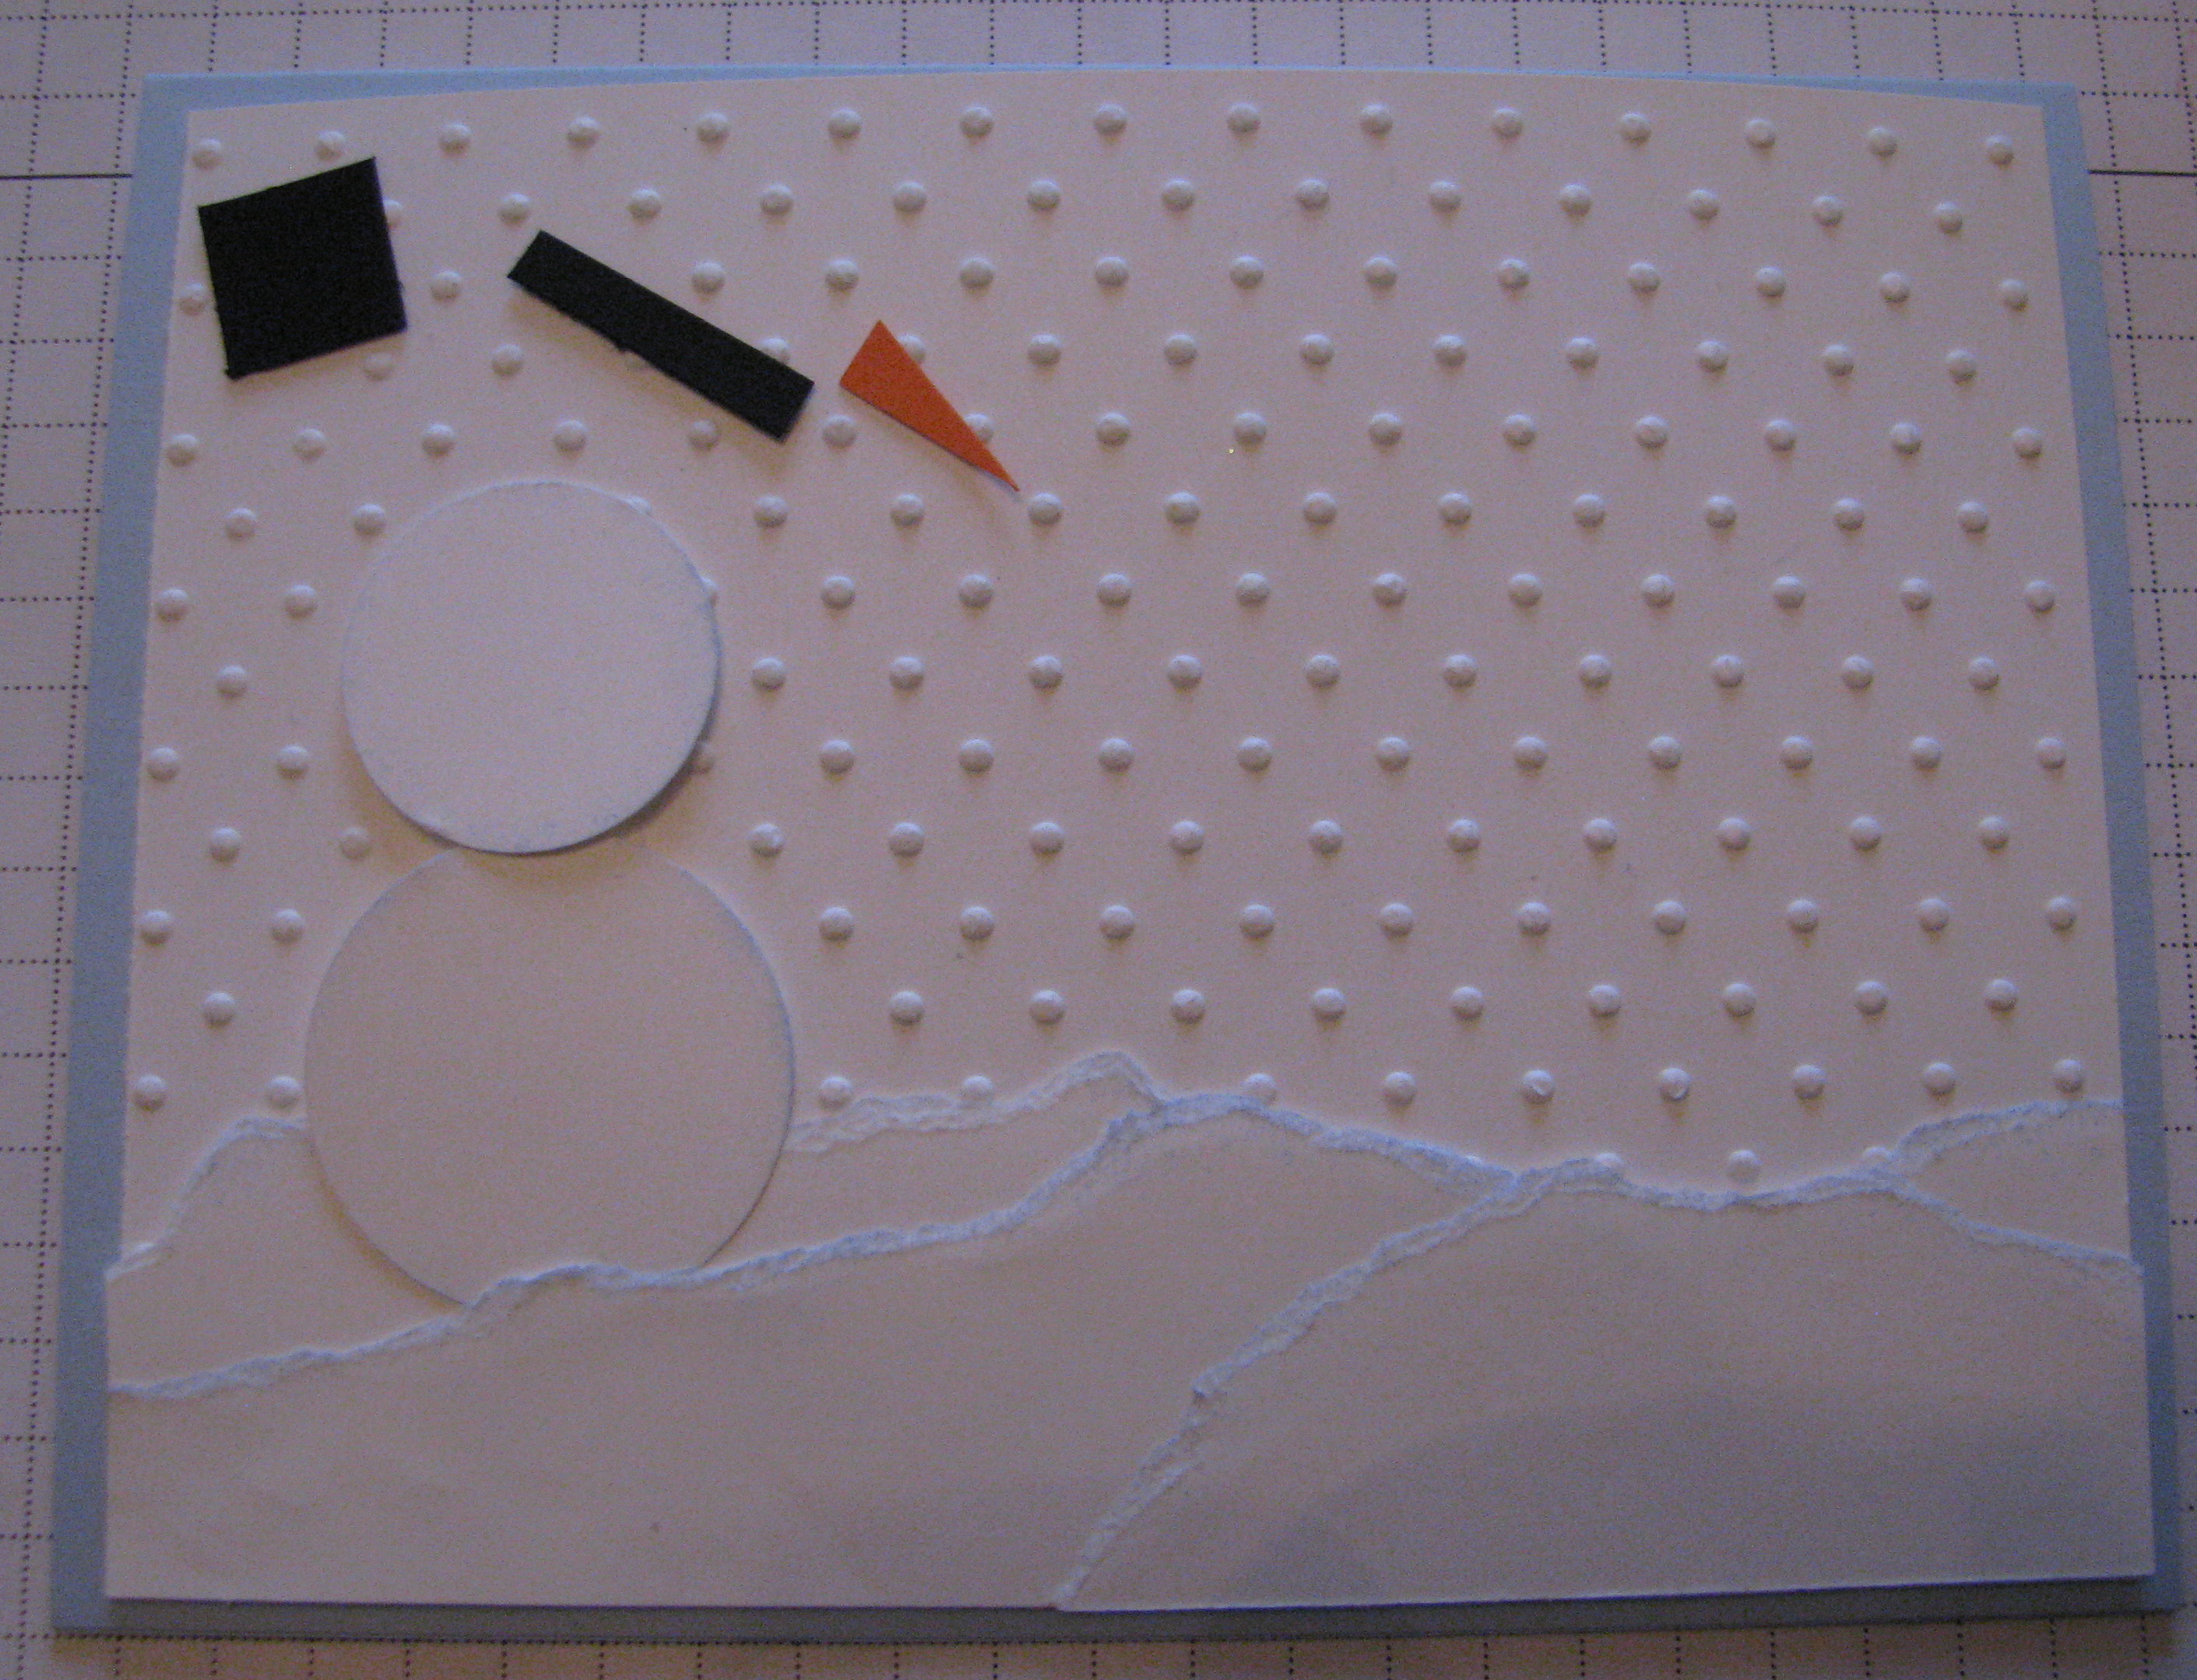
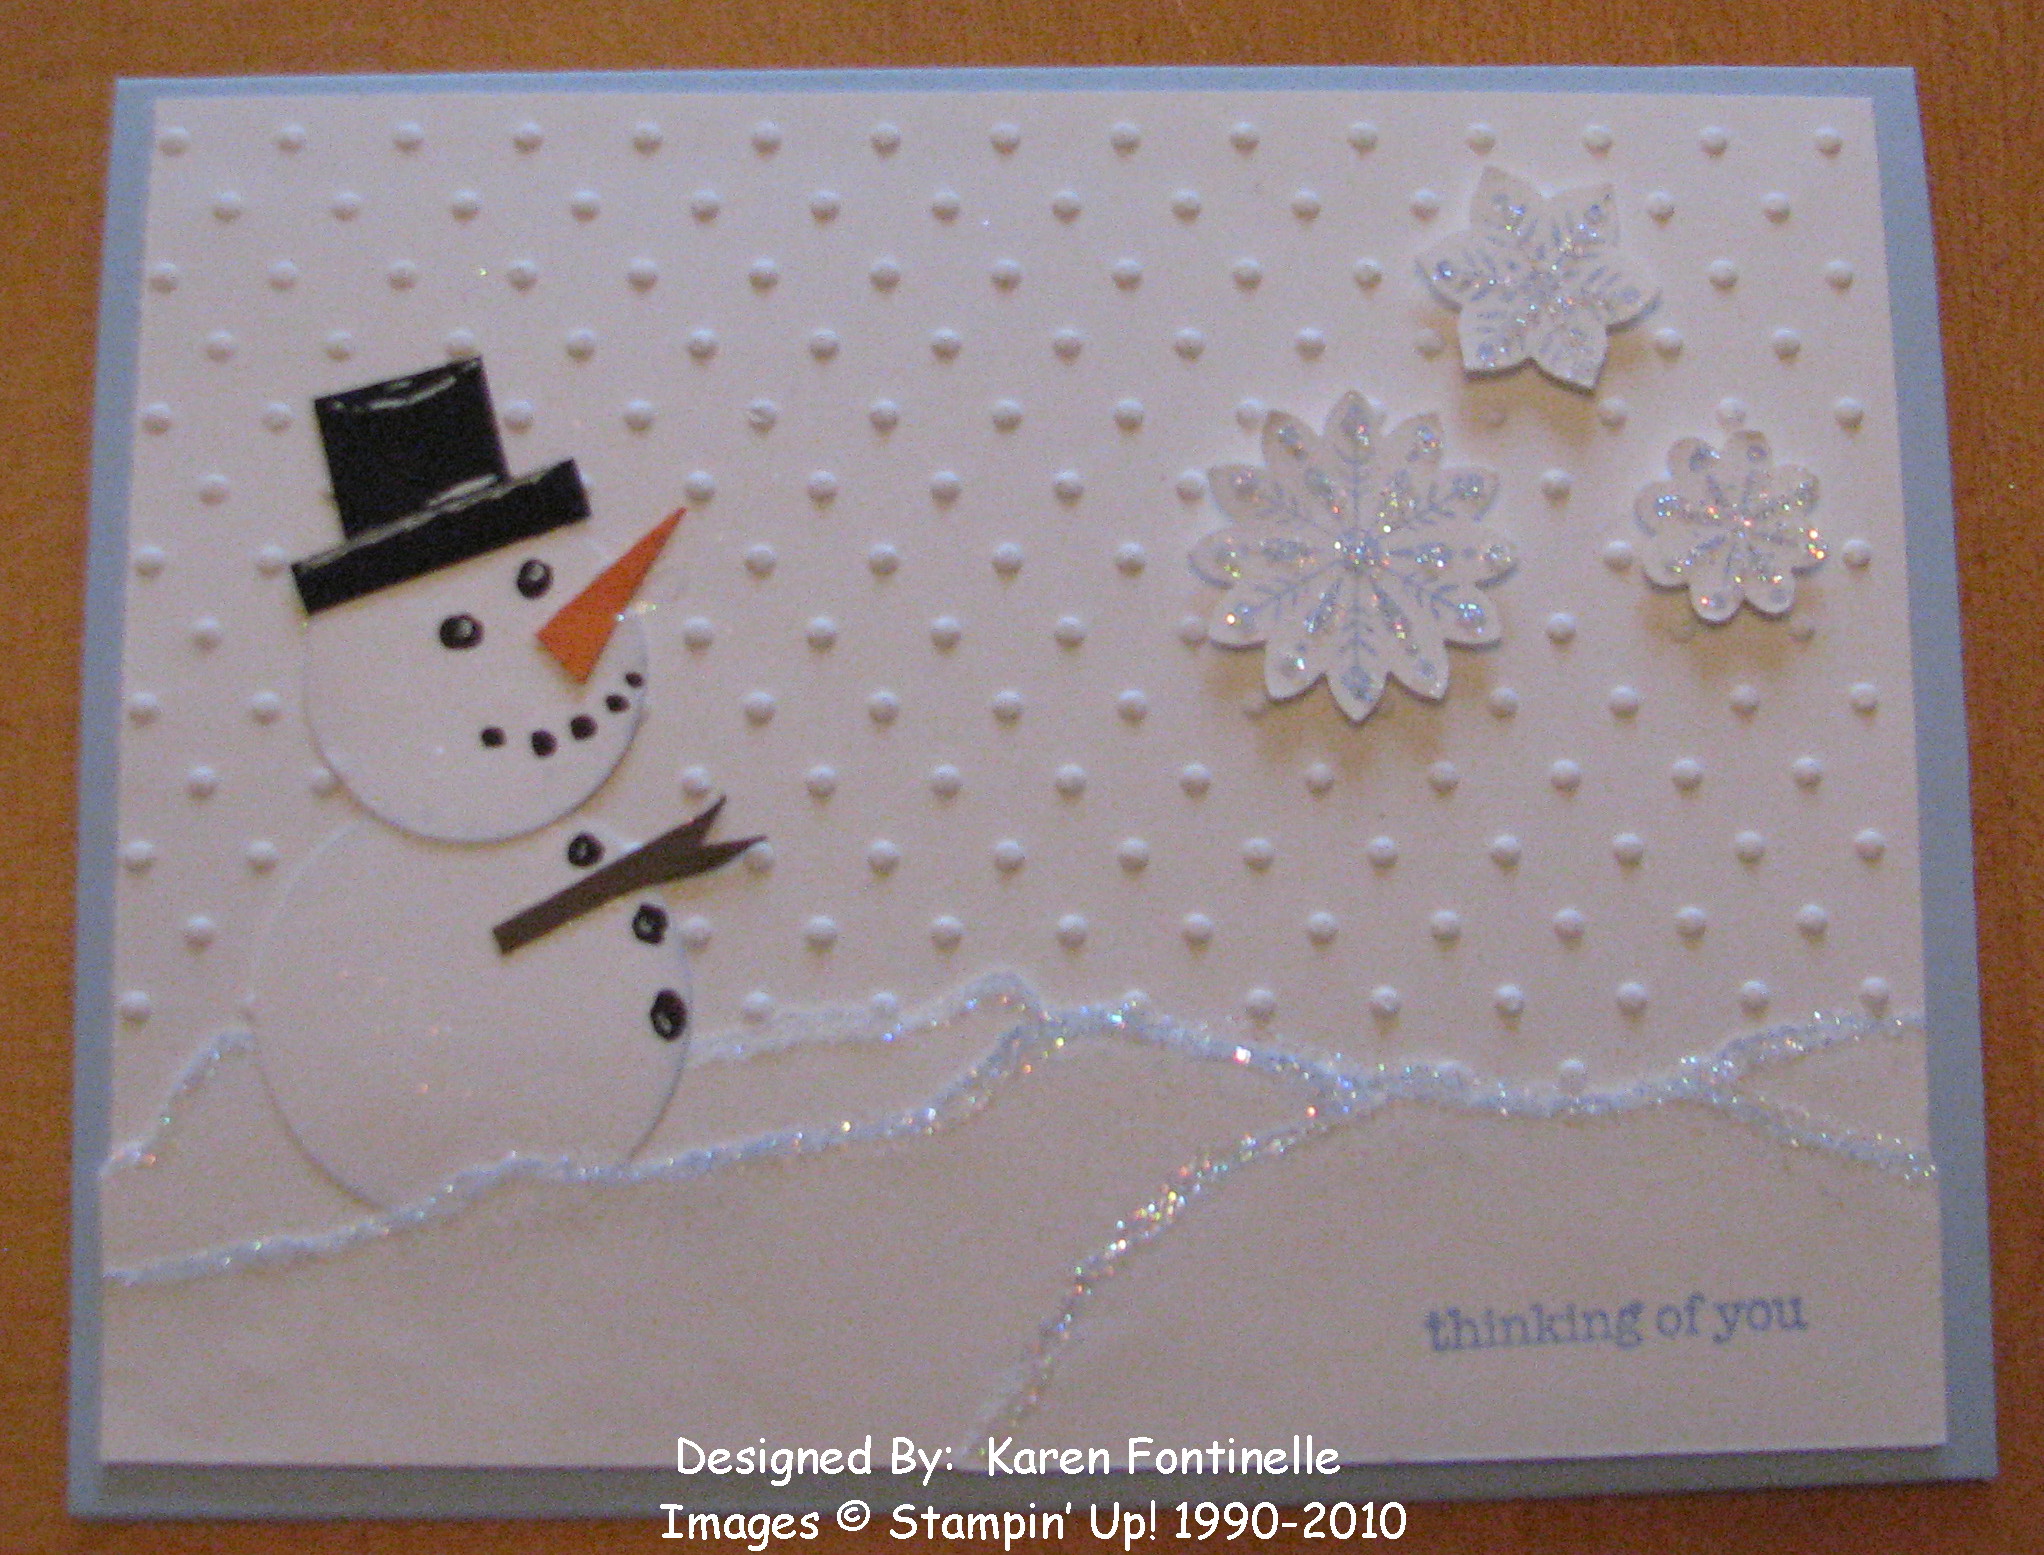
Here's what you can do with a Sweet Treat Cup in the Holiday Mini for Christmas!  The card base is 4 1/4" x 4 1/4", layered with Real Red and Whisper White card stock.  The Whisper White was run through the Big Shot using the Backgrounds 1 Texturz Plate.  I used the ornament top from the Sweet Centers stamp set (embossed with Silver and cut out) and the Silver Elastic Cord in the Holiday Mini.  The Sweet Treat Cup has some Chunky White Glitter in it for snow.  The snowman is from the new Level 2 Hostess set in the Holiday Mini, Snow Buddies.  It is so cute, you will want to earn this set!  Yes, the Holiday Mini has two hostess sets to choose from!   The small sentiment is from Teeny Tiny Wishes….and in this case, it was great to have a teeny tiny sentiment to fit exactly right on this card!
Customers can now order from the Stampin' Up! Holiday Mini Catalog.  You can place your order yourself 24/7 by clicking the button in the upper right corner or by emailing me your order.  I would be happy to help you because there are really some fun things in this Holiday Mini!

Halloween Sweet Treat

SweetTreatCupHall

I decided to get into the Halloween mood today with my new Sweet Centers stamp set and the new Sweet Treat Cups from the Stampin' Up! Holiday Mini I found bags of Halloween colored M&Ms at the store yesterday!  This is just a 4"x4" card layered with some "Cast a Spell" Designer Series Paper.  I used the Sweet Centers stamp set and punched a hole with the 1 3/4"circle punch to insert the new Sweet Treat plastic cup filled with candy!  The circle I punched out I layered and stuck up in the corner of the card!  So many fun things to do with these Treat Cups!  You'll love them!  And you get 12 in a box!  

Shop online at my store 24/7 right HERE!  Then click the "Shop Now" button and you're there!

Inspiration……from a candy box!

This is a gift I received the other day and I just loved the colors of the box and the ribbon!  Of course the Godiva candy inside is wonderful, too!  When I compared the colors of the box and ribbon, it was very close to our Stampin' Up! In Colors….Crushed Curry, Dusty Durango, and Bermuda Bay.

Godivabox

So, using the gold Godiva box and the ribbon as inspiration, here is a card I came up with using the Hostess stamp set "Kind & Caring Thoughts" and the In Colors mentioned above.
Godivacard
So you see, you can use everyday things as your source of inspiration in making your cards and projects!

DON'T FORGET!!  Today is the last day to sign up to be a Stampin' Up! Demonstrator for only $85!  Read about it HERE.  This is a Mini Kit…..you get a stamp set, cardstock and In Color ink pads plus business forms and tools.
Want more??  Get the standard Starter Kit for $199, which is a great value anyway, PLUS In Color ink pads and assorted card stock.
  • Start your own business and take it to soaring heights…..or use the extra cash to pay a bill or two!
  • Flexibility….how many hours do you want to work, how do you want to run your business, how much do you want to put into it…..or how little!  No obligation after you purchase the kit! Even if you decide to drop after awhile, you keep the kit!  Otherwise, the quarterly minimums are $300….and you don't have to make that minimum until the end of the second quarter when you sign up!
  • Demonstrators get a 20% discount on all product!  Often there are other perks, such as being able to preorder new merchandise ahead of your customers.
  • You will get support from Stampin' Up! and from me!  The Stampin' Up! website already has a lot of information got help you get your business going and keep adding great new training videos and information.  As your upline, I'm available to help you along the way and right now can offer you a free trial opportunity to be a member of the Business Stampers Coaching Group for one month with no obligation!  This is an outstanding opportunity for learning the best ways to make your business a profitable one!

Go to my website www.karenfontinelle.stampinup.net, click on "Start Your Own Business", follow the links, and use my password: karenstamps  

Contact me if you want more information or have any questions!
KSFontinelle@gmail.com
 

Sympathy Cards

Sadly there is occasionally a need for sympathy cards.  Here are two I made today.  The stamp set "Thoughts & Prayers" is just perfect for sympathy cards or other "thinking of you" occasions….but I don't own that set so had to choose some other options.

KarenSympathy

Stamp Set:  Fifth Avenue Floral, Sincere Salutations
Paper:  Regal Rose card stock, Shimmery White card stock, Old Olive card stock, Razzleberry Lemonade Designer Series Paper
Ink:  White Craft Ink, Regal Rose Classic ink, Pretty in Pink reinker, Barely Banana Reinker, Summer Sun reinker
Access:  Big Shot, Top Note Die, Large Oval Punch, Scallopped Oval Punch, Little Leaves Sizzlits Die, Stampin' Up! Backgrounds 1 Texturz Plate, Whisper White Organza Ribbon, Clear Embossing Powder

VirgilSympathy

Stamp Set:  Pocket Silhouettes, Teeny Tiny Wishes
Paper:  Kraft, Soft Suede card stock, Mancheseter DSP (retired), Very Vanilla
Ink:  Stampin' Write Markers, Old Olive Classic Ink, Soft Suede Ink
Access:  Twill tape

The twill tape is stamped with the leafy stamp in the Pocket Silhouettes set with Old Olive Classic Ink.

Thinking Ahead to Fall

I was going to say it is probably still 100 degrees outside here in Houston, but apparently it is only 88 today due to a lot of clouds earlier.  Let's just say it is very hot here everyday, and by the end of August it starts to get you crazy.  Somehow I got to playing around with my "Trendy Trees" stamp set and decided to think about fall.  We're thinking about a fall foliage trip to New England so I guess that is what is on my mind!  Here is a little card I made this afternoon.  Think about fall coming on eventually and cool yourself off!

TrendyTree

Stamp set:  Trendy Trees
Paper:  Old Olive, Soft Suede, Very Vanilla, Ruby Red card stock; Autumn Traditions Designer Series Paper
Ink:  Soft Suede, Old Olive
Accessories:  Hemp Twine, sponge, Stamp-a-ma-jig

Maybe in another month I will make this card again and give it some colored leaves!

If you need any stamps, ink, or paper for some easy stamping, visit my online store at www.karenfontinelle.stampinup.net and click the "Shop Now" button.

My Card is on the Stampin’ Up! Stamper’s Showcase Today!!!!!!!!!!!!!!!!!!!!!!!!

CCircleSwap

Just a little while ago I checked the Stampin' Up! website in the Demo area to see if there were any new updates or news from Stampin' Up!…..and I also always check the "Stamper's Showcase" area where Stampin' Up! posts cards and scrapbook pages made by demonstrators as a source of ideas for us to show our customers.  What a surprise, to say the least, to see one of my swap cards from Convention on that site today!!!!!!!  I'm sure it is not quite as exciting as earning the Stampin' Up! cruise or any of their other wonderful incentives BUT it is a highlight as a demonstrator to see your card up there on display on Stamper's Showcase!!  And this was my first time!!  Now I don't think it is too miraculous, really, because at Convention they always have opportunities for you to drop your cards into a basket for Stampin' Up! to use on displays or on Stamper's Showcase or however they choose…and I did put my swap cards into the Big Shot Doctor's Bag they had in the Demo Support Offices!  But a THRILL nonetheless!!!!!

Here is where I posted on my blog about how I made this card.  The stamp set is Circle Circus.

Doesn't this make YOU want to sign up to be a Demonstrator so you can see my card behind the scenes on the Stampin' Up! website….I mean, so maybe YOU can get YOUR card on Stamper's Showcase??!!  Think about it!