Late afternoon update from Stampin’ Up!
While supplies last, these Valentine products are still available until February 14th! Great idea, Stampin’ Up!

Today is the last day to purchase the cute Stampin’ Up! Valentine products. These Sweetheart Treat Bags are so handy to have on hand for occasions other than Valentine’s Day. Just stick a little treat inside or a note or gift card, do a little decorating on the outside and you’ve got something cute and simple! It’s a kit, with the Baker’s Twine, 12 little sacks, and 12 die-cut labels (the striped banner). I added the Whisper White piece stamped with a saying from the Love You More stamp set.
After putting the treat inside, I just folded the top of the sack to the back, attached my little banner piece and tied the pre-cut Baker’s Twine around a few times and tied with a bow! Couldn’t be easier!
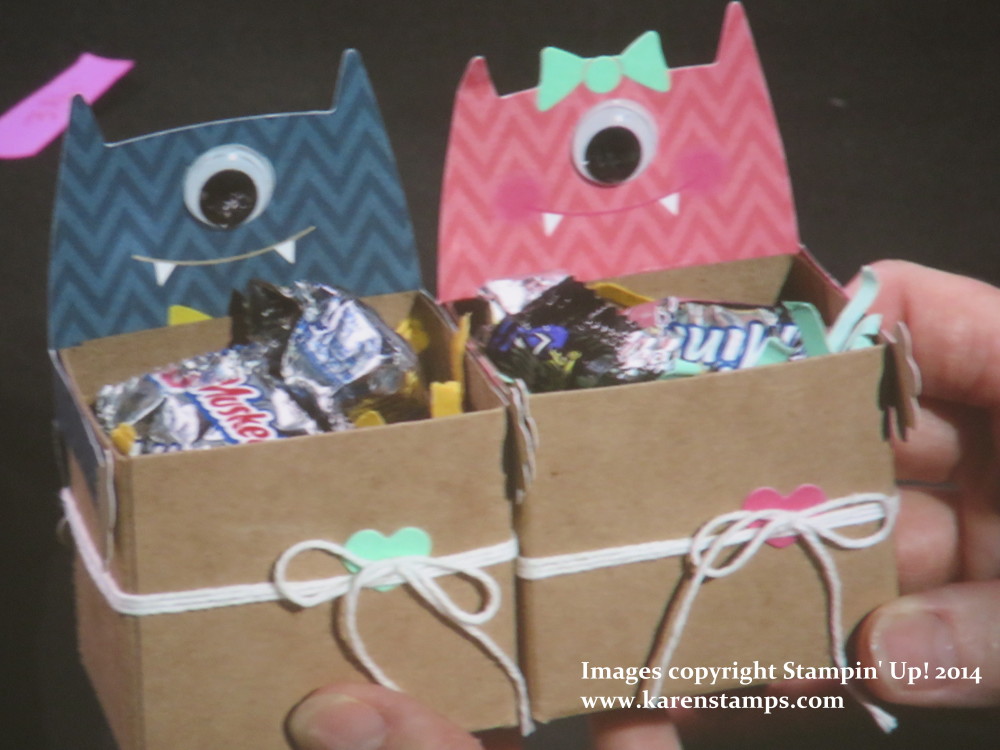
Get your Valentine products, including the cute Monster Hugs, at my Stampin’ Up! Online Store today before time runs out!