I didn’t really know what to title this valentine, so I titled it with everything: Kraft Corrugated Red Foil Glimmer Valentine! I sort of copied my own valentine creation from last week when I was making some sample valentines for the valentines two moms and I made for their kids’ classes. But today, as I was looking for some current designer paper to use, I spied this Kraft Corrugated Paper on my table. Sometimes no matter what you THINK you are going to make, you might get inspiration and a different idea from something else you see. So I just decided to mix textures and looks with kraft textured paper, sparkly glimmer paper, and shiny red foil paper!
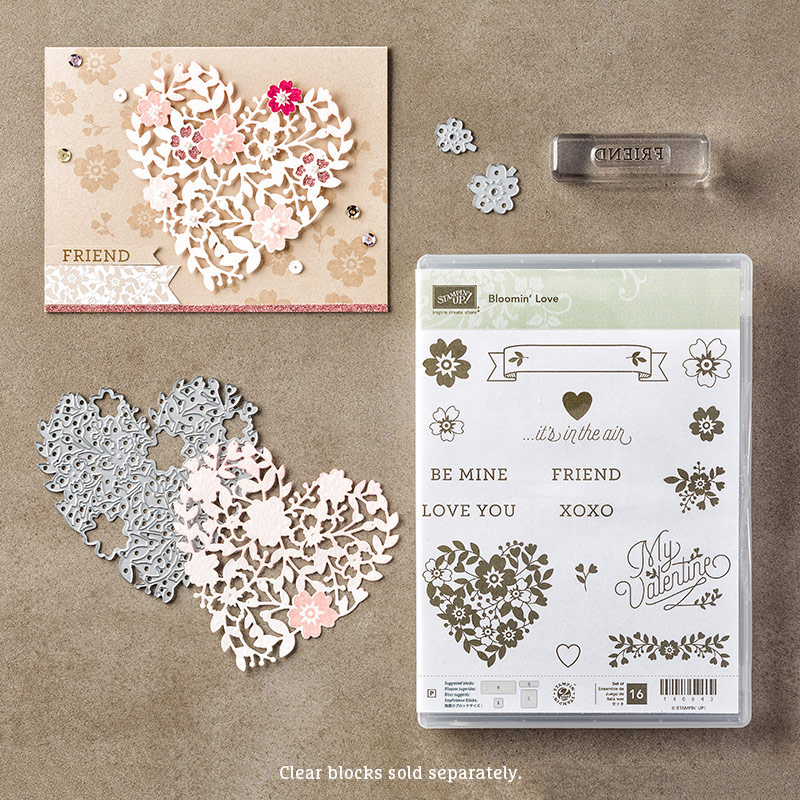
The card is a square 4 1/4″ x 4 1/4″ base of Whisper White, and layered with Red Foil Sheets pieces, Silver Glimmer Paper, and the Kraft Corrugated Paper (which also has white corrugated sheets in the package!). I used three punches: 1″ Square Punch, the Postage Stamp Punch (retired), and the heart punch in the Itty Bitty Accents Punch Pack. For a little embellishment, I tied a thread pulled from the 1 1/4″ Burlap Ribbon around the heart. And the greeting is from the popular stamp set in the Occasions Catalog, Bloomin’ Love.
If you are interested in Stampin’ Up! products and you don’t already have a Demonstrator, contact me and I can send you the new Occasions Catalog and Sale-A-Bration Brochure! Just email me at Karen@KarenStamps.com.
Try using different textures and materials to make your valentines and see what you come up with! It’s time to be thinking about Valentines!