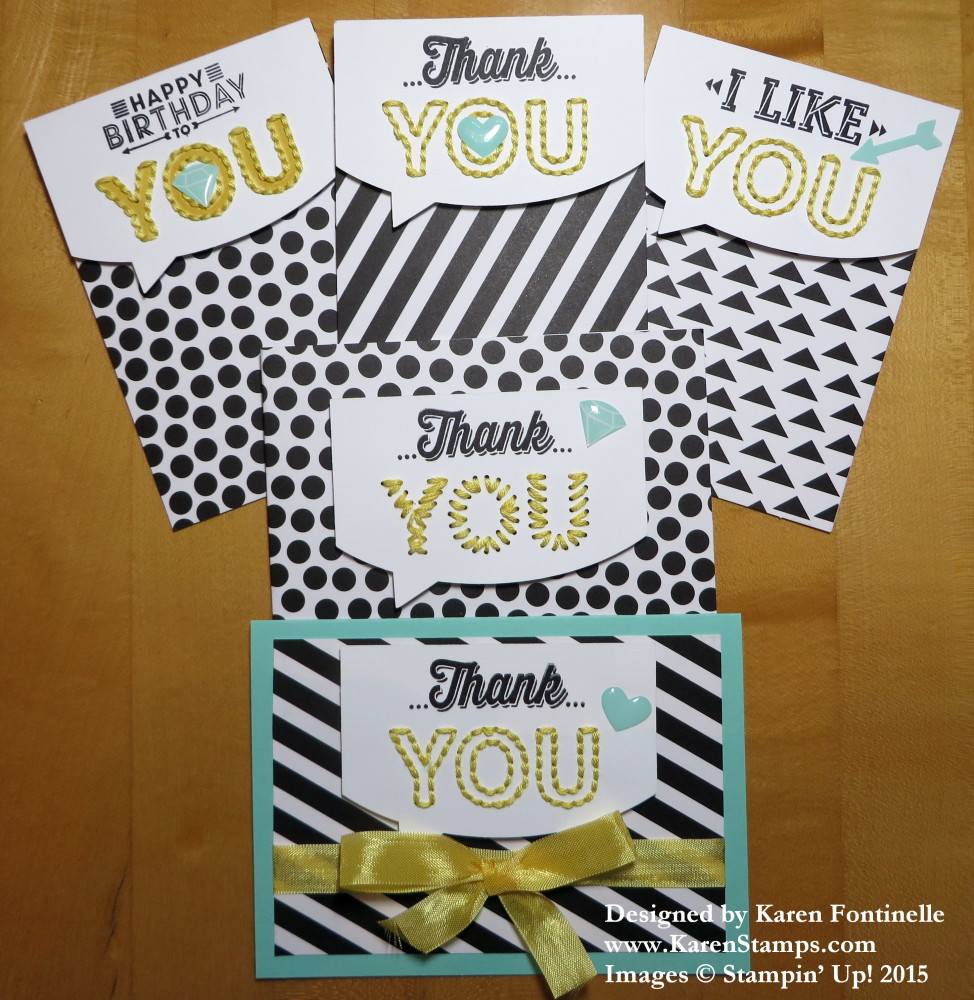
I’ve been thinking about making a flowery spring card. When I found this Whisper White card base with the Daffodil Delight layer already adhered and mixed in with the card stock, it became the start of the card I was going to make. Since the Brights Backgrounds Designer Series Paper Stack was already out on the table, I just used that for another layer and thought the spring flowers and leaves from the Flower Patch Photopolymer Stamp Set would make the perfect spring card. After you stamp some flowers, you can use the Big Shot and the Flower Fair Framelits Dies to cut the pieces out. The Flower Fair Framelits Dies are on sale until Monday on the Stampin’ Up! Weekly Deals!
************************
Don’t forget today is the LAST DAY for FREE SHIPPING!! Don’t miss out on the fun of not paying for shipping! Woohoo!! What a treat!
Shop Stampin’ Up! Online!
************************
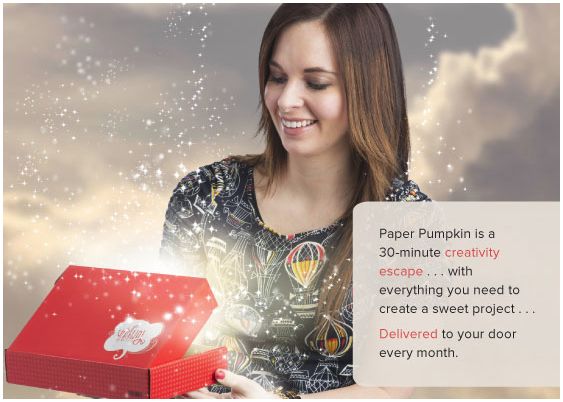
And if you want to try Paper Pumpkin, the papercrafting kit that comes to you in the mail once a month, subscribe today (April 10th)! If you subscribe by today, you will receive your first kit in a few days when they ship about mid-April. Subscribe after April 10th and you’ll receive the May kit first. Only $19.95/month and that price includes shipping!
Or add a Prepaid Subscription to your Stampin’ Up! order (free shipping not offered on Paper Pumpkin kits). Just choose the length of time you want. Receive an email with instructions on how to activate your account. Give one as a gift!
Lots going on at Stampin’ Up! FREE SHIPPING ends at 11:50 pm Mountain Time TONIGHT! Take advantage of it! SHOP HERE!