One of the many Stampin’ Up! products that I will miss when it retires next week is the Two Tags Die. You can make cards, tags, even little bags and boxes for treats and little gifts. Today I have used my Two Tags Die for two projects as well as two retiring stamp sets, retiring designer paper, and retiring colors, Regal Rose and Baja Breeze.
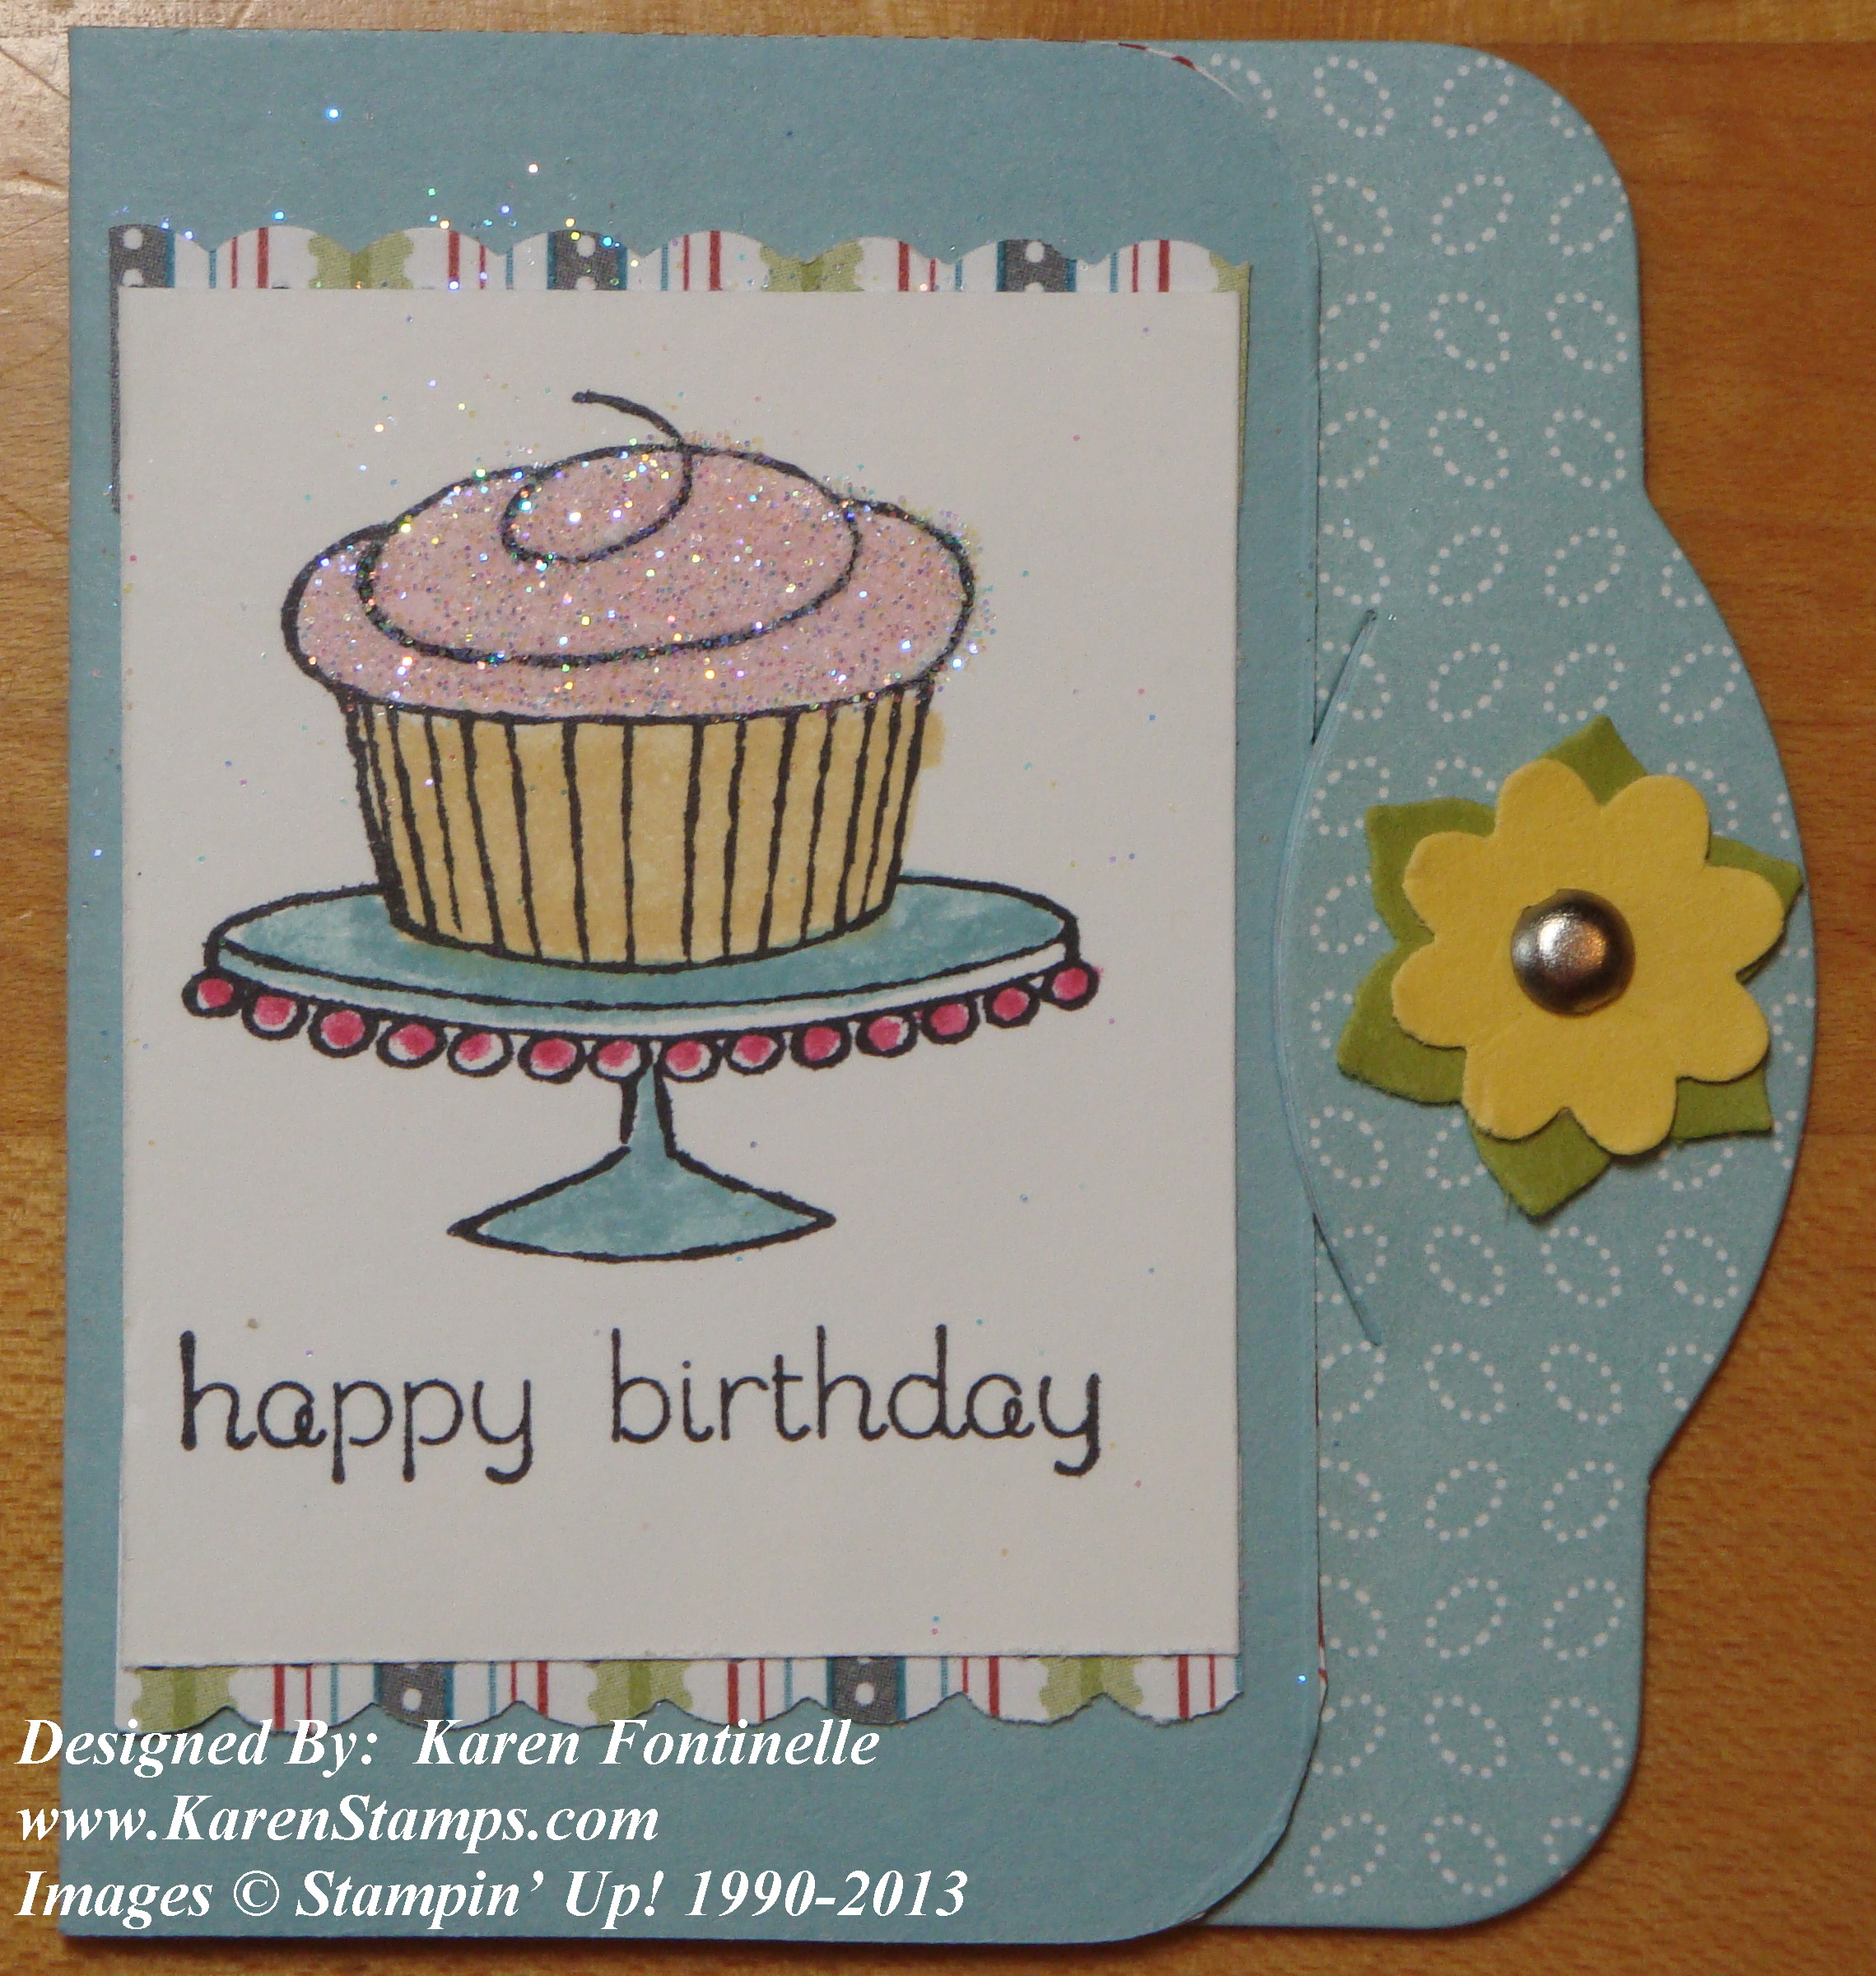 There are actually two tag shapes on the Two Tags Die. This one pictured above had a score line so can be folded in half and tucked under the little slit, which the die also makes. I cut out the Twitterpated Designer Paper at the same time as the card stock so it fit perfectly. I stamped the cupcake image from the retiring Easy Events stamp set (a great set for all-occasions, especially for the beginning stamper!) and colored it in with Stampin’ Write Markers. For a little pizzazz I had to add some Dazzling Diamonds Glitter to the frosting with my 2-Way Glue Pen. And for a little trim above and below the stamped image, I used the versatile Dotted Scallop Ribbon Border Punch with only the scallop edge showing. The little flower on the edge is made with the Boho Blossoms Punch.
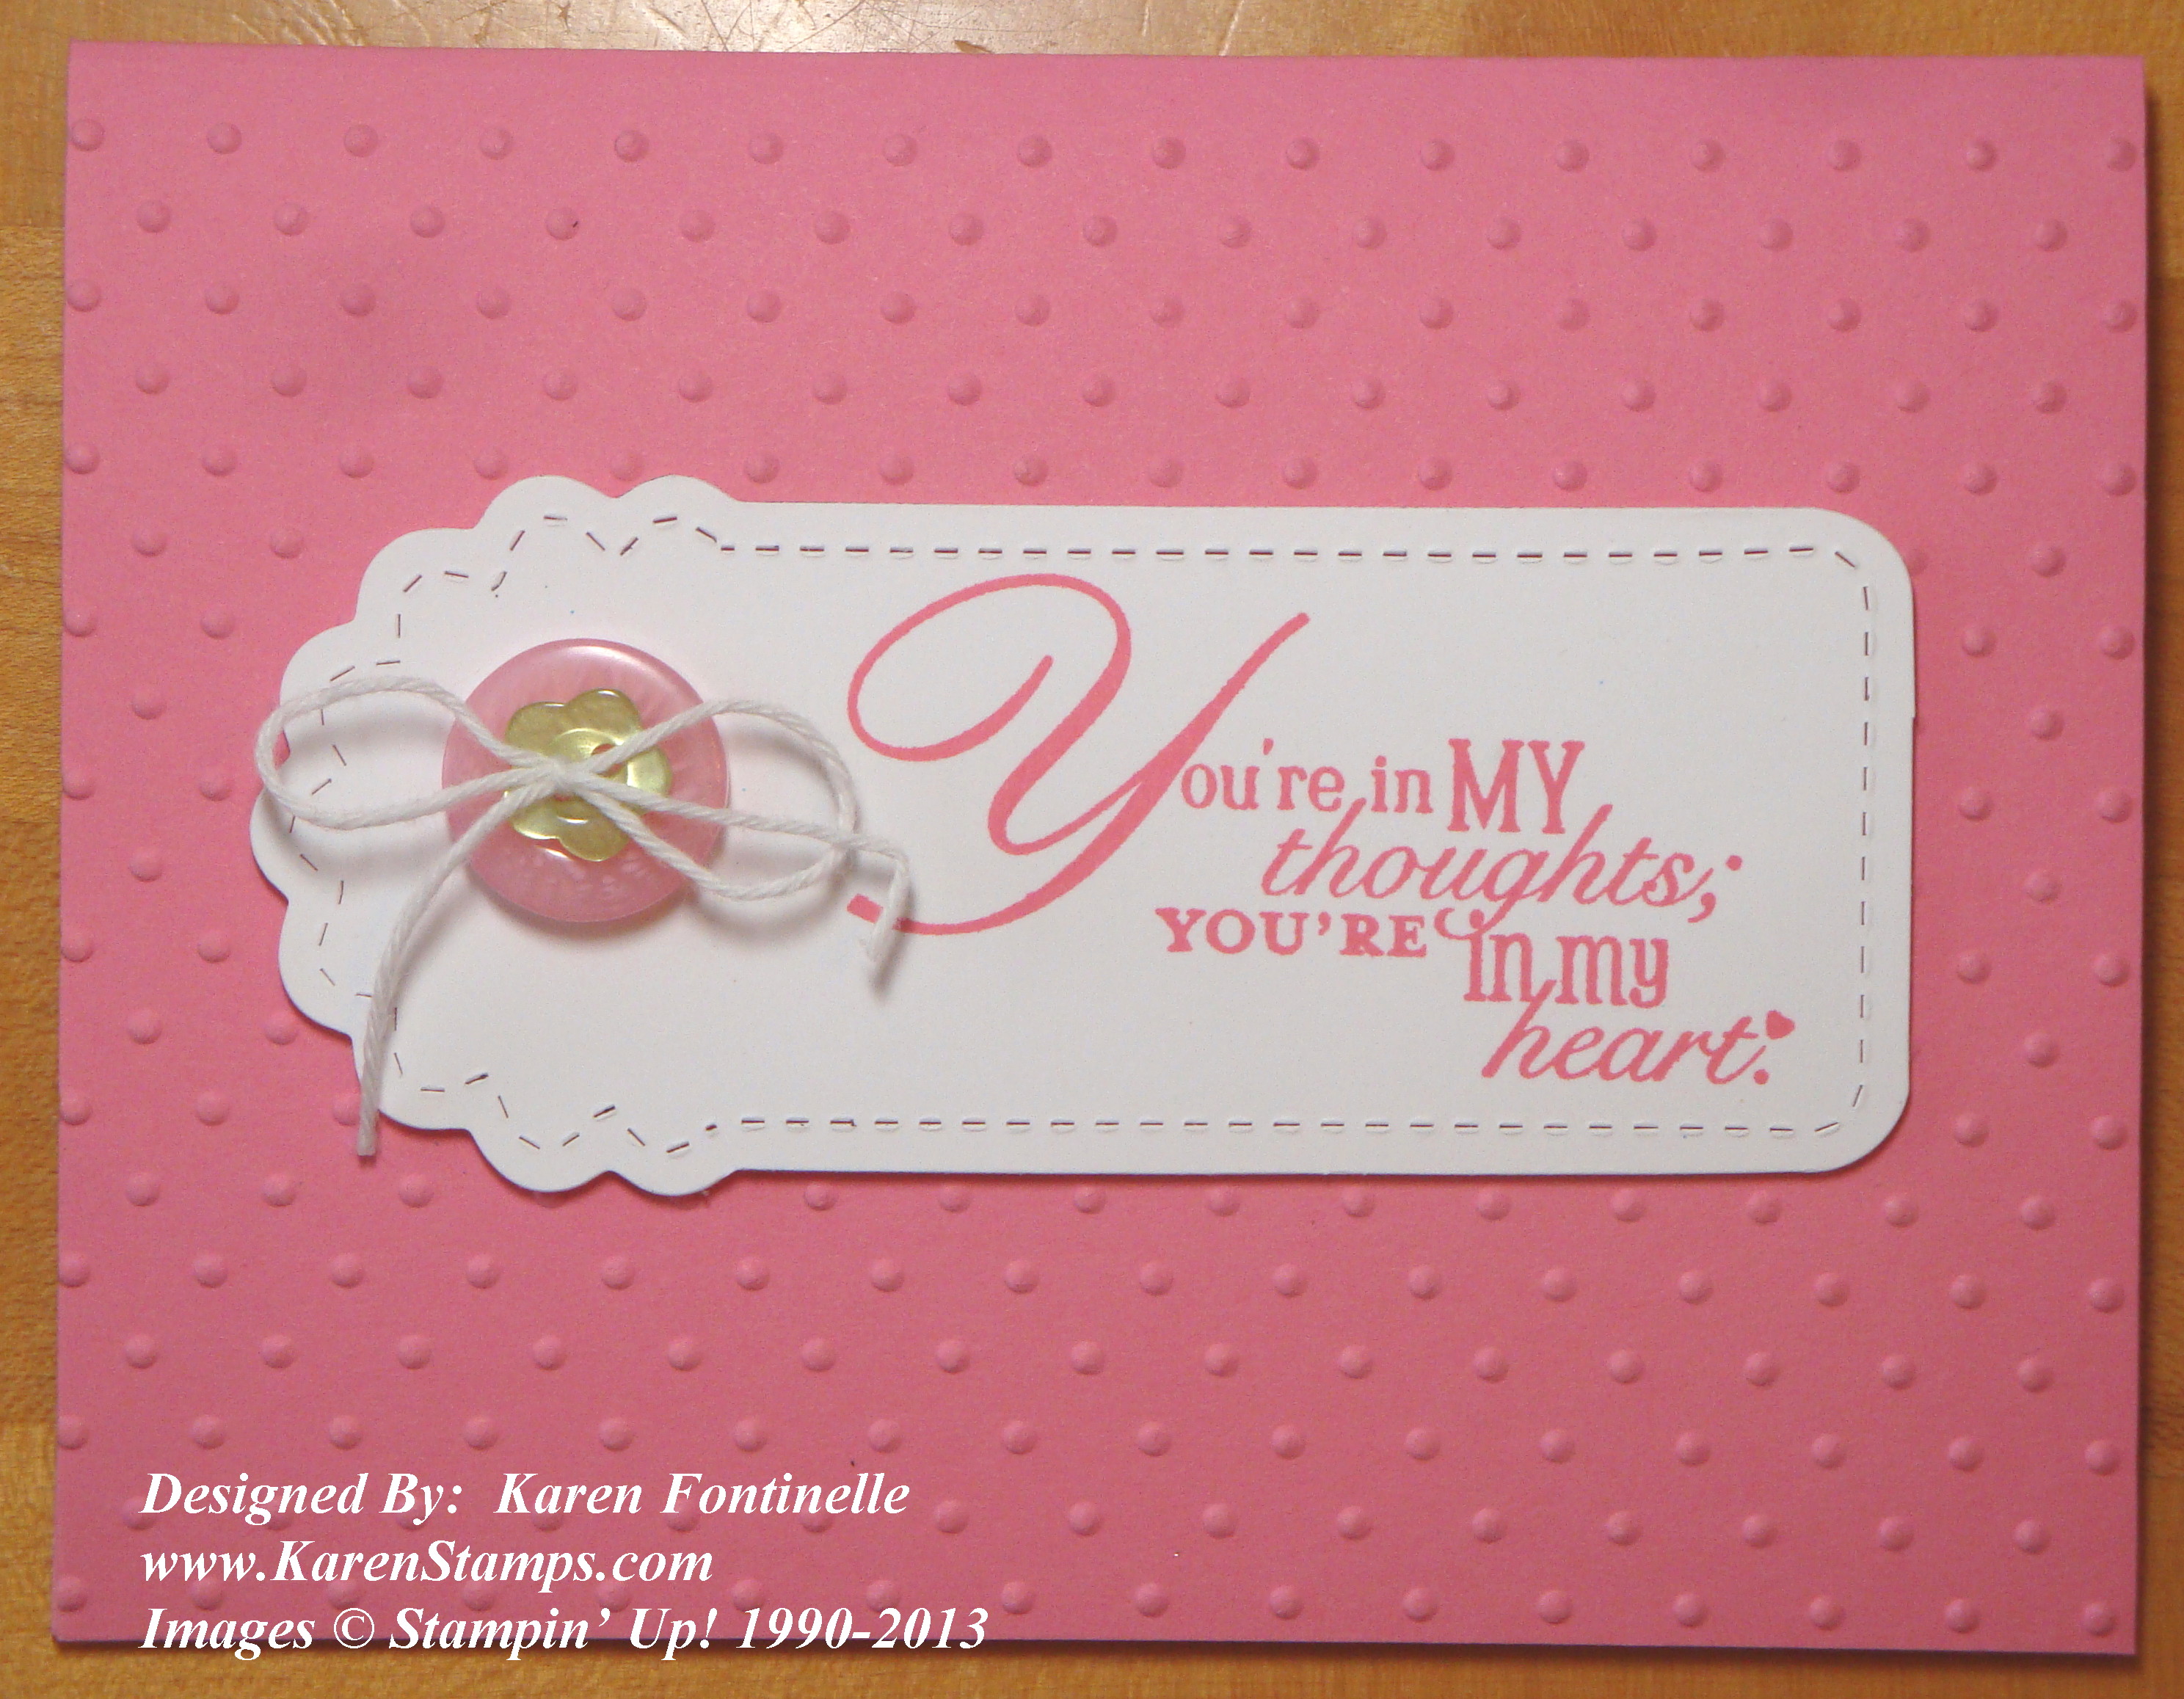
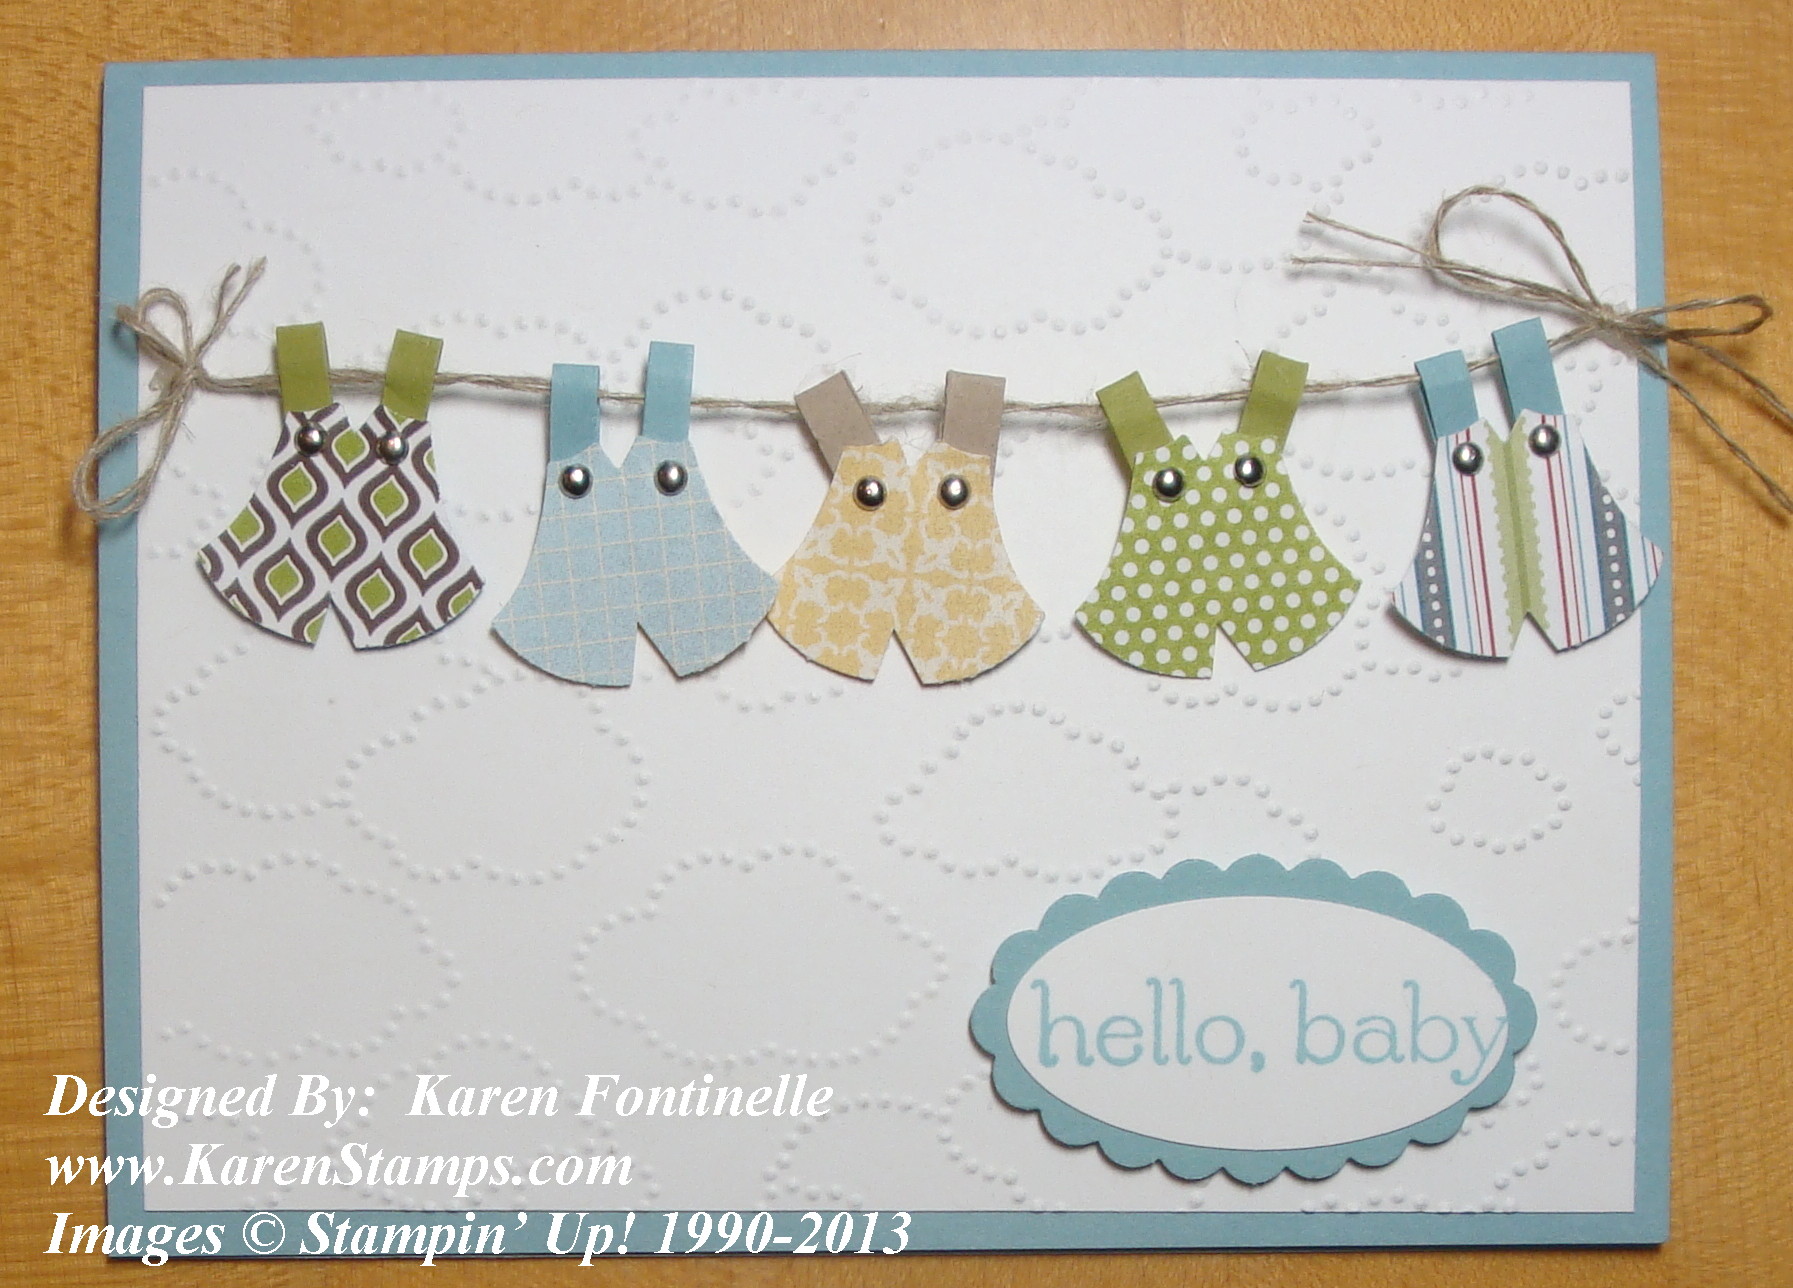
This card I made using the discontinued Regal Rose card stock (admittedly not one of my favorite colors in all these years, but it’s okay) and embossed with the Perfect Polka Dots Folder. The Two Tags Die is stamped with a greeting from the Word Play stamp set (another stamp set I hate to see retire) and decorated with a couple of Subtles Collection Designer Buttons tied with
White Baker’s Twine. I made a similar card back in this post.
The Two Tags Die is a fun and handy die to own if you also own the Big Shot. If it is still available, I would add it to your list of must-haves before the retirement period is over.
Remember, the new Stampin’ Up! catalog goes live at Noon Mountain Time on Friday, May 31. Ordering will be down that morning and the night before so they can make the change to the new catalog. You will still be able to order from the old catalog until June 3. The Spring Catalog ends May 31.
Place your order today before time runs out at my Online Store or email me with your order at Karen@KarenStamps.com if you prefer.
.