Author Archives: Karen Fontinelle

Easy Baby Card

Here's an easy baby card to make with the new stamp set "Animal Stories".  You can change the color combinations easily and make it for either a boy or a girl, a shower card or a card for the birth.  I used Bashful Blue and Gable Green.  Not sure what color combination to pick?  Use Stampin' Up!'s Color Coach wheel!

AnimalStoriesGirf 

To jazz the background up a bit, I used the Stampin' Up! Backgrounds Texturz plate with the dots.  For the sentiment I used the new set "Teeny Tiny Wishes", the Word Window punch and the new Modern Label Punch plus a couple of Bashful Blue brads.

If you need any or all of these supplies to make this card, just go to my online ordering store and place your order this weekend!

Two Anniversaries Today…..Mine and Apollo 11!

Thirty two years ago today (I have to do the math, I can't believe it has been that long!) I awoke to an 8 am call from an out-of-town well-wisher on my wedding day and the phone never stopped ringing all day!  Friends called from as far away as Hawaii who couldn't come for the wedding, my bridesmaids and other girlfriends called to see how things were going, it's a given I talked to both of my grandmothers, and even the groom called (although things were a bit quieter at his house).  It was about 100 degrees outside and the air conditioner wasn't working very well, so my dad would have to go down in the basement and pound on something every little while to make it cool better.  The best man (who was moving) brought his dog over to stay in the yard next door, but while we were all trying to get dressed, the dog got loose and my dad had to go out and find him, making my mother frantic that he was going to have a heart attack in the heat, but fortunately the dog really was still in the side yard.  The limo came and we really did all make it to the church on time!  My dad asked me teasingly before he walked me down the aisle if I was sure and I happily said I was indeed SURE!  I think you have to be "sure" if you want to stay married this long!

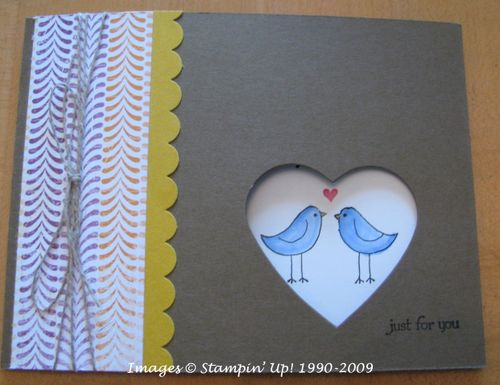
So after all that reminiscing, here is the anniversary card I made for my husband….who will look at it, put it down, and then I will confiscate it for my samples!

MoverShaperAnniv 

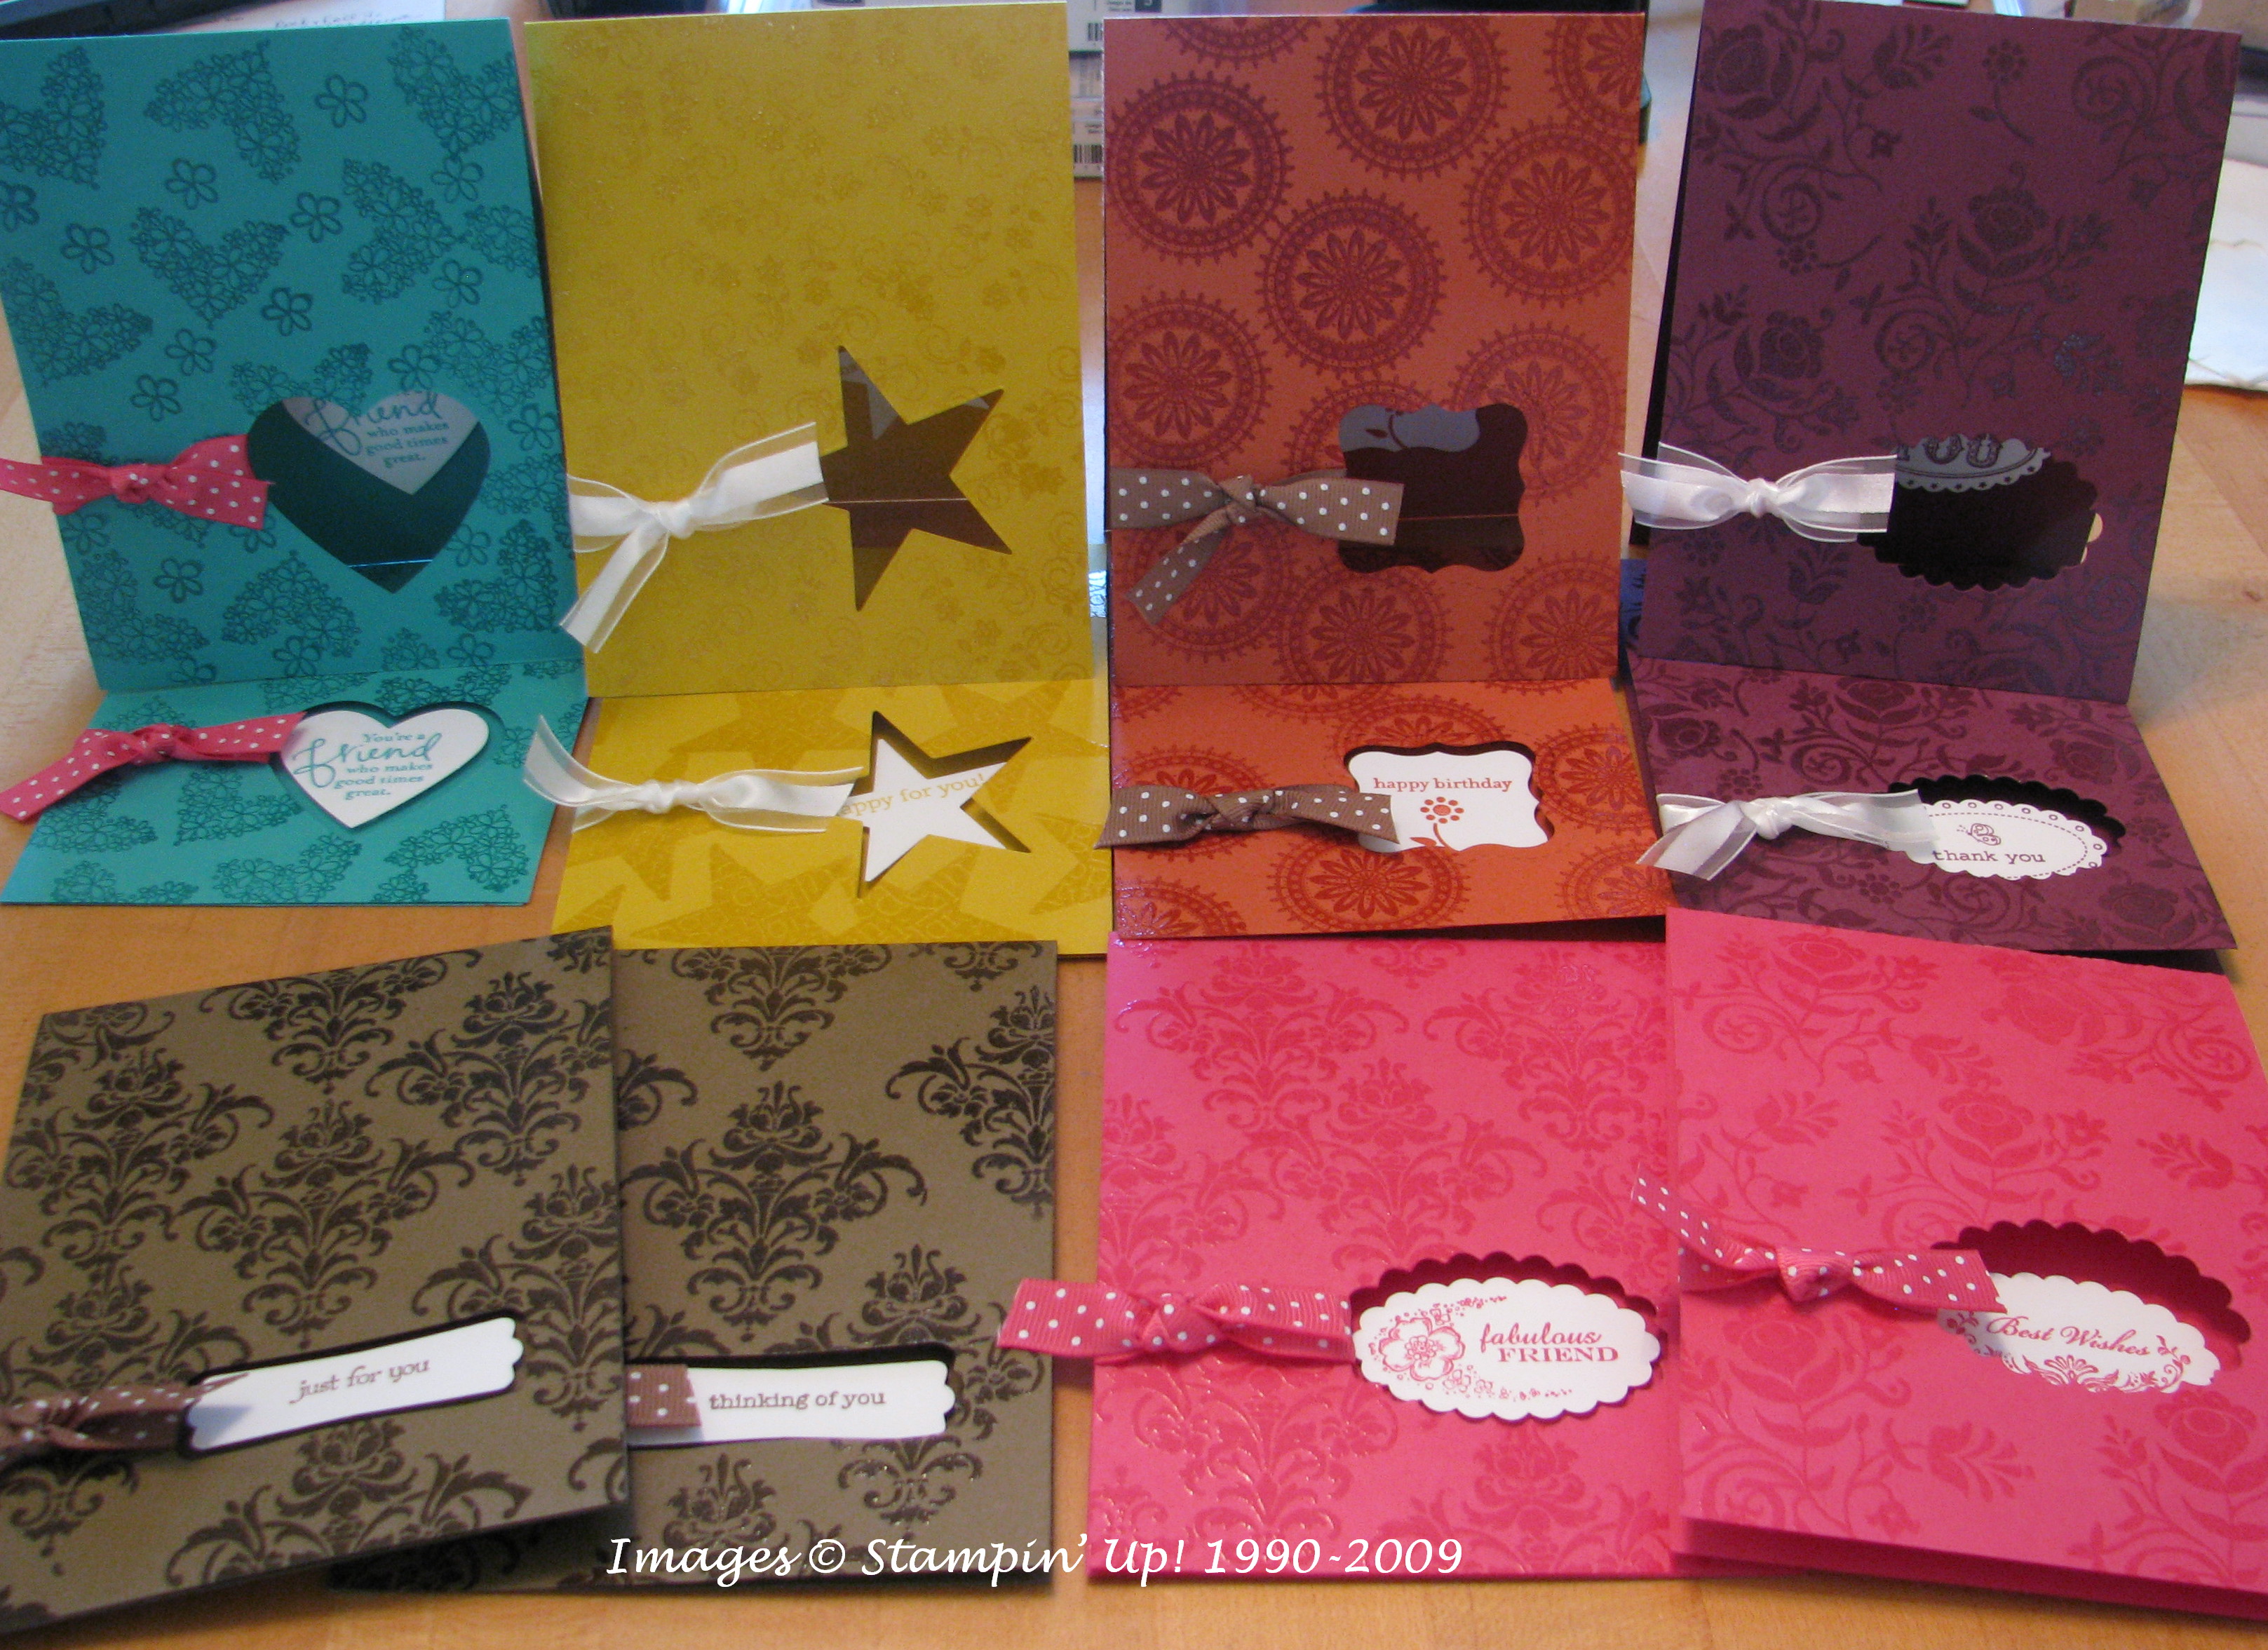
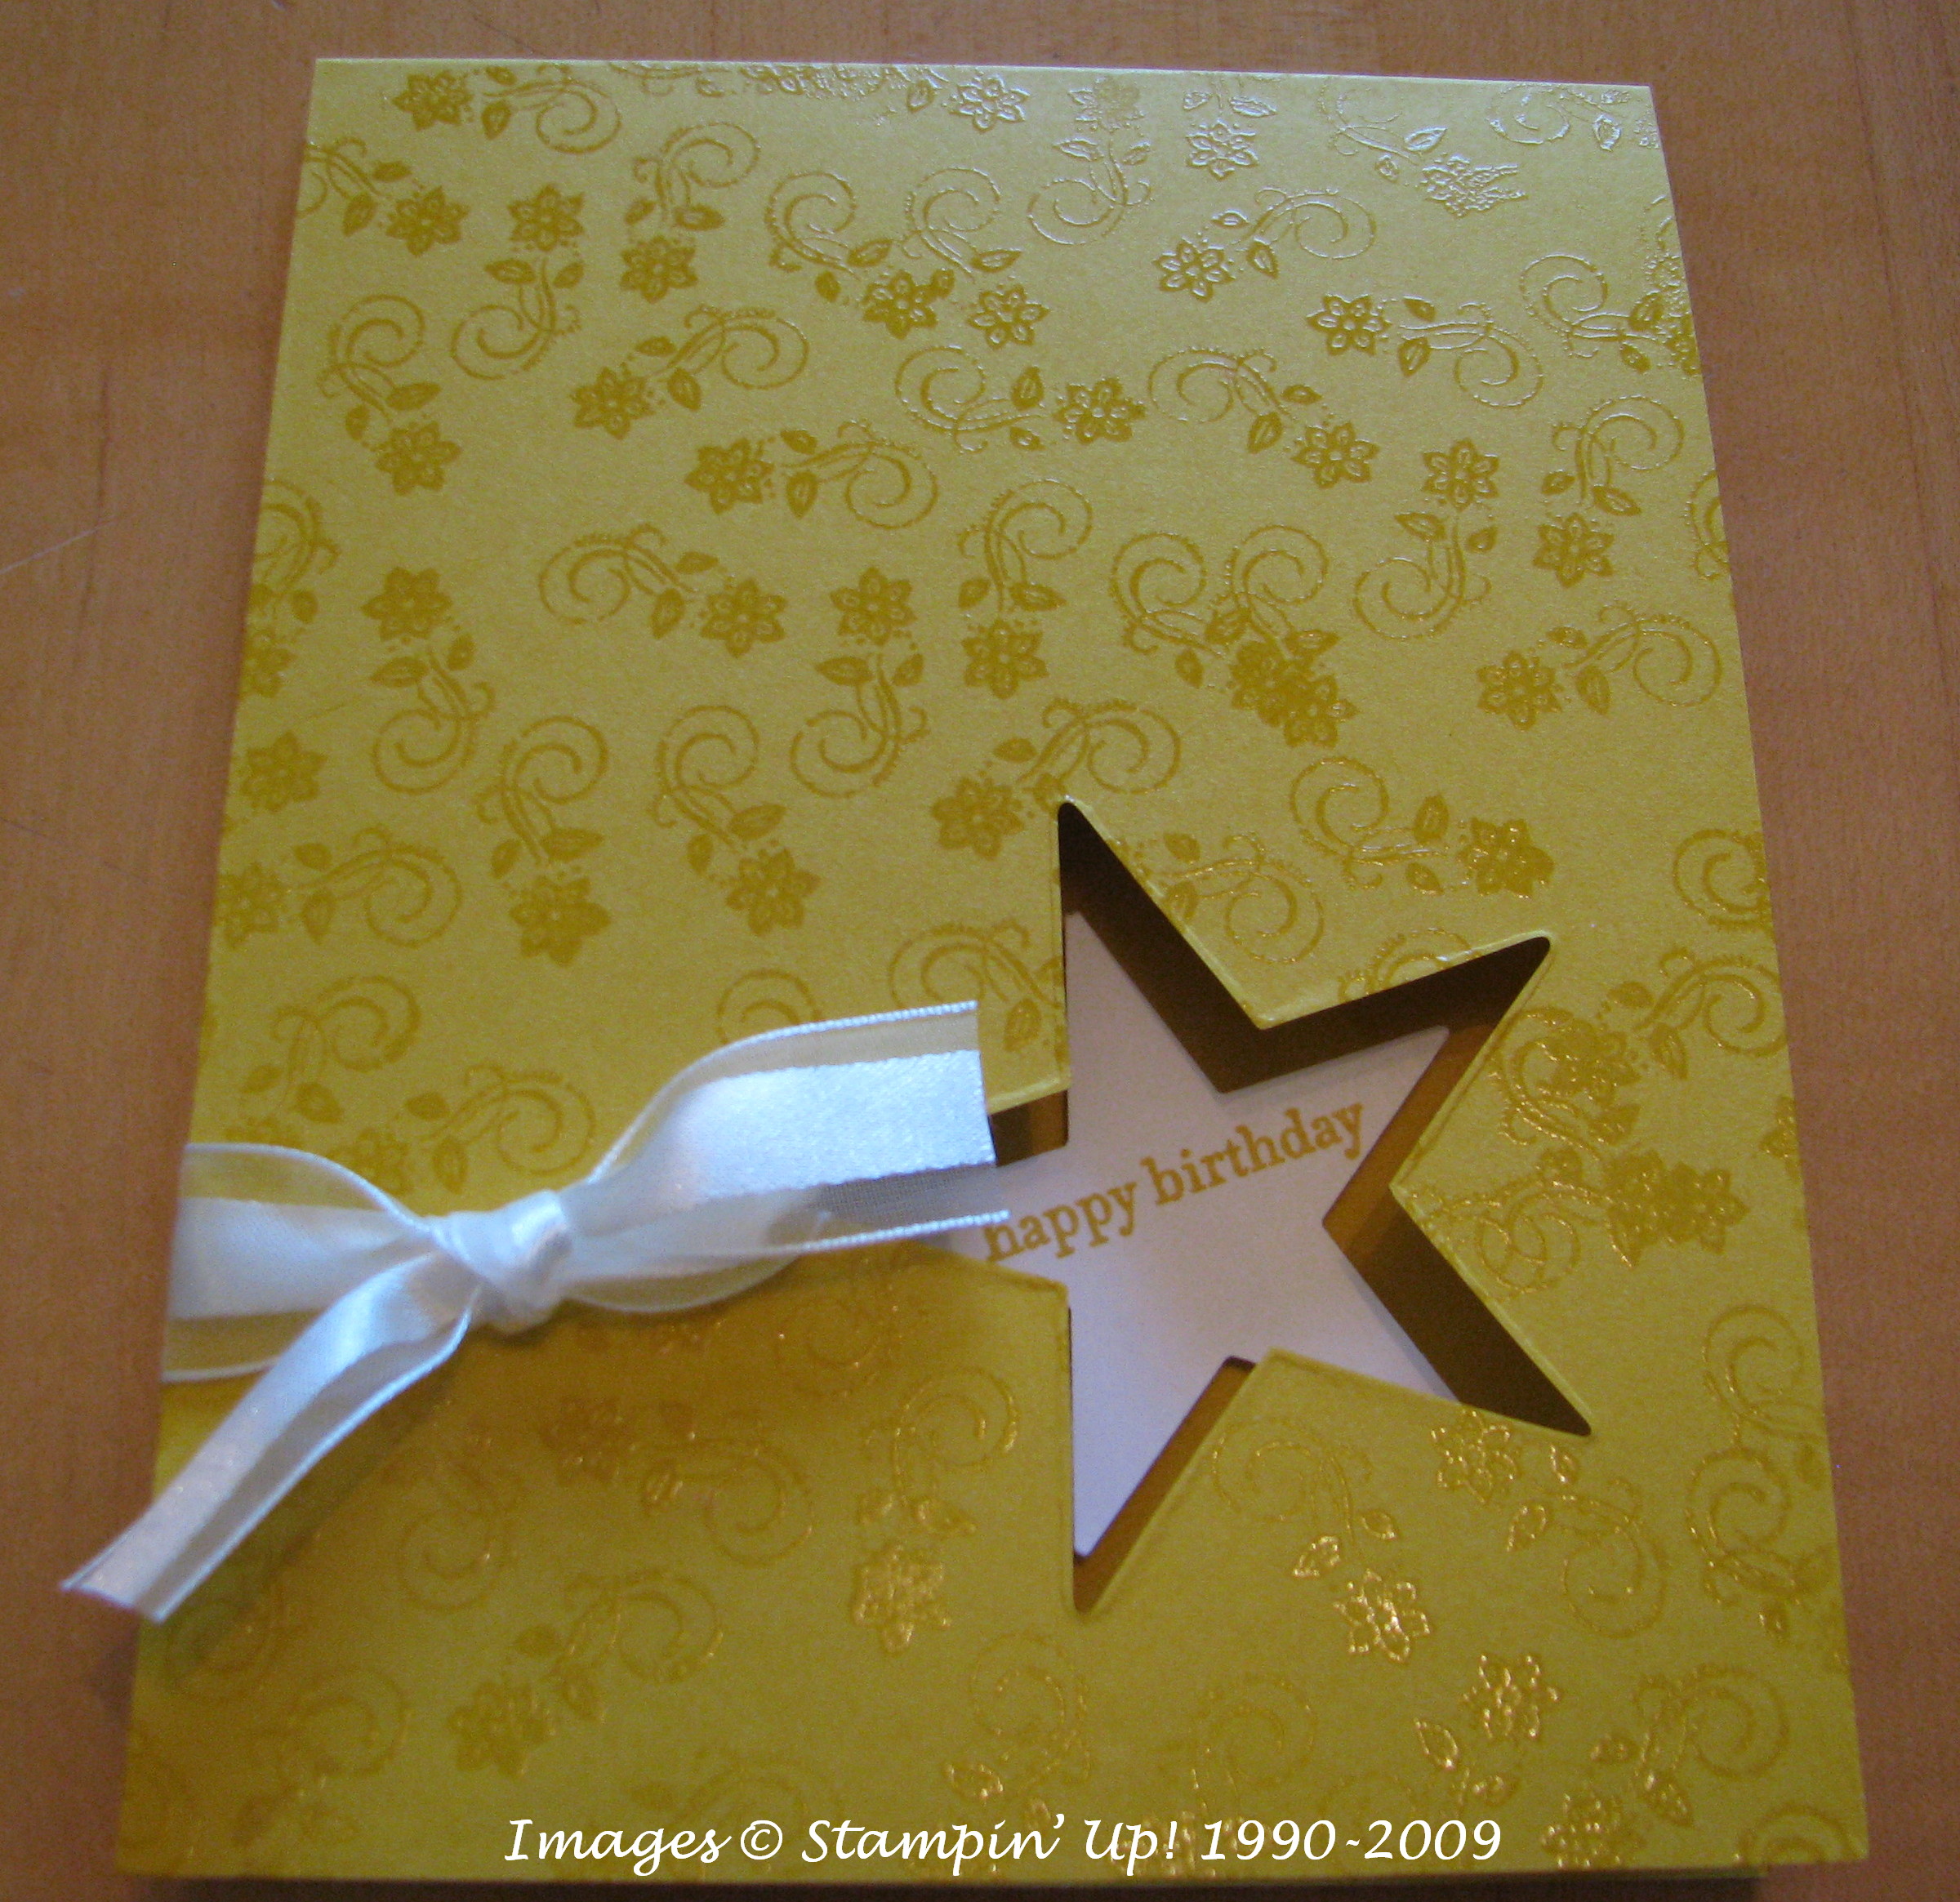
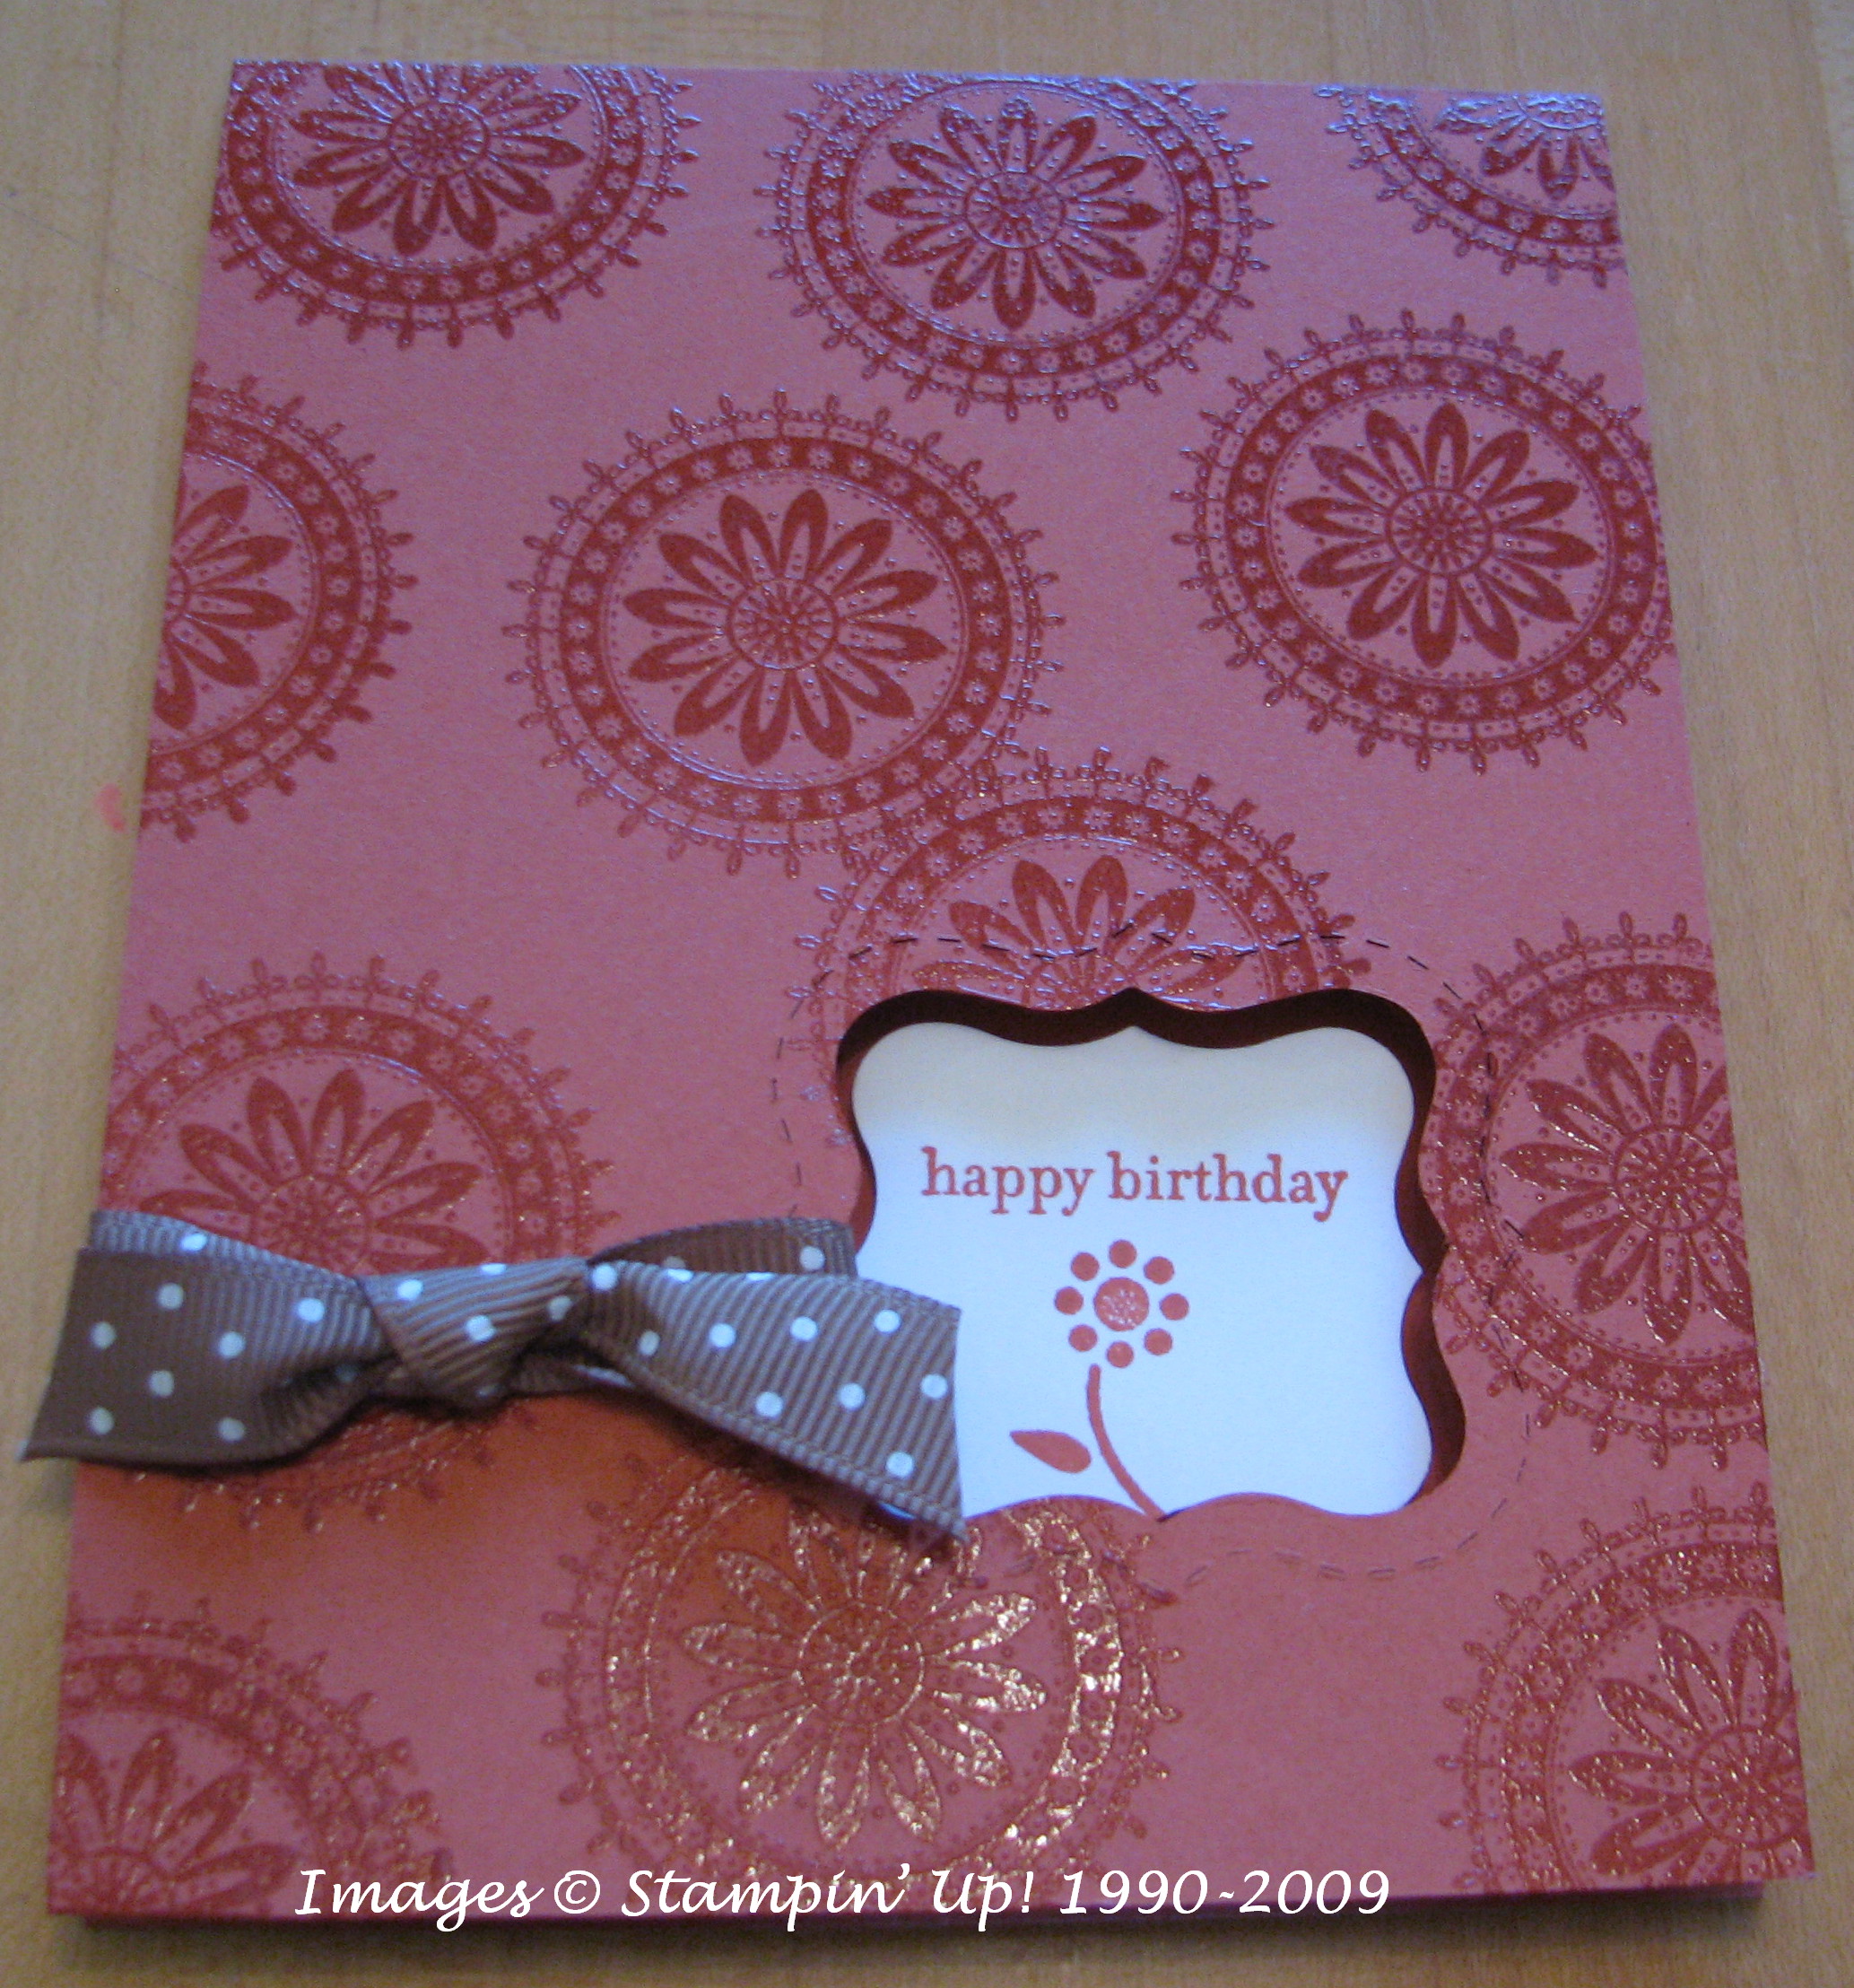
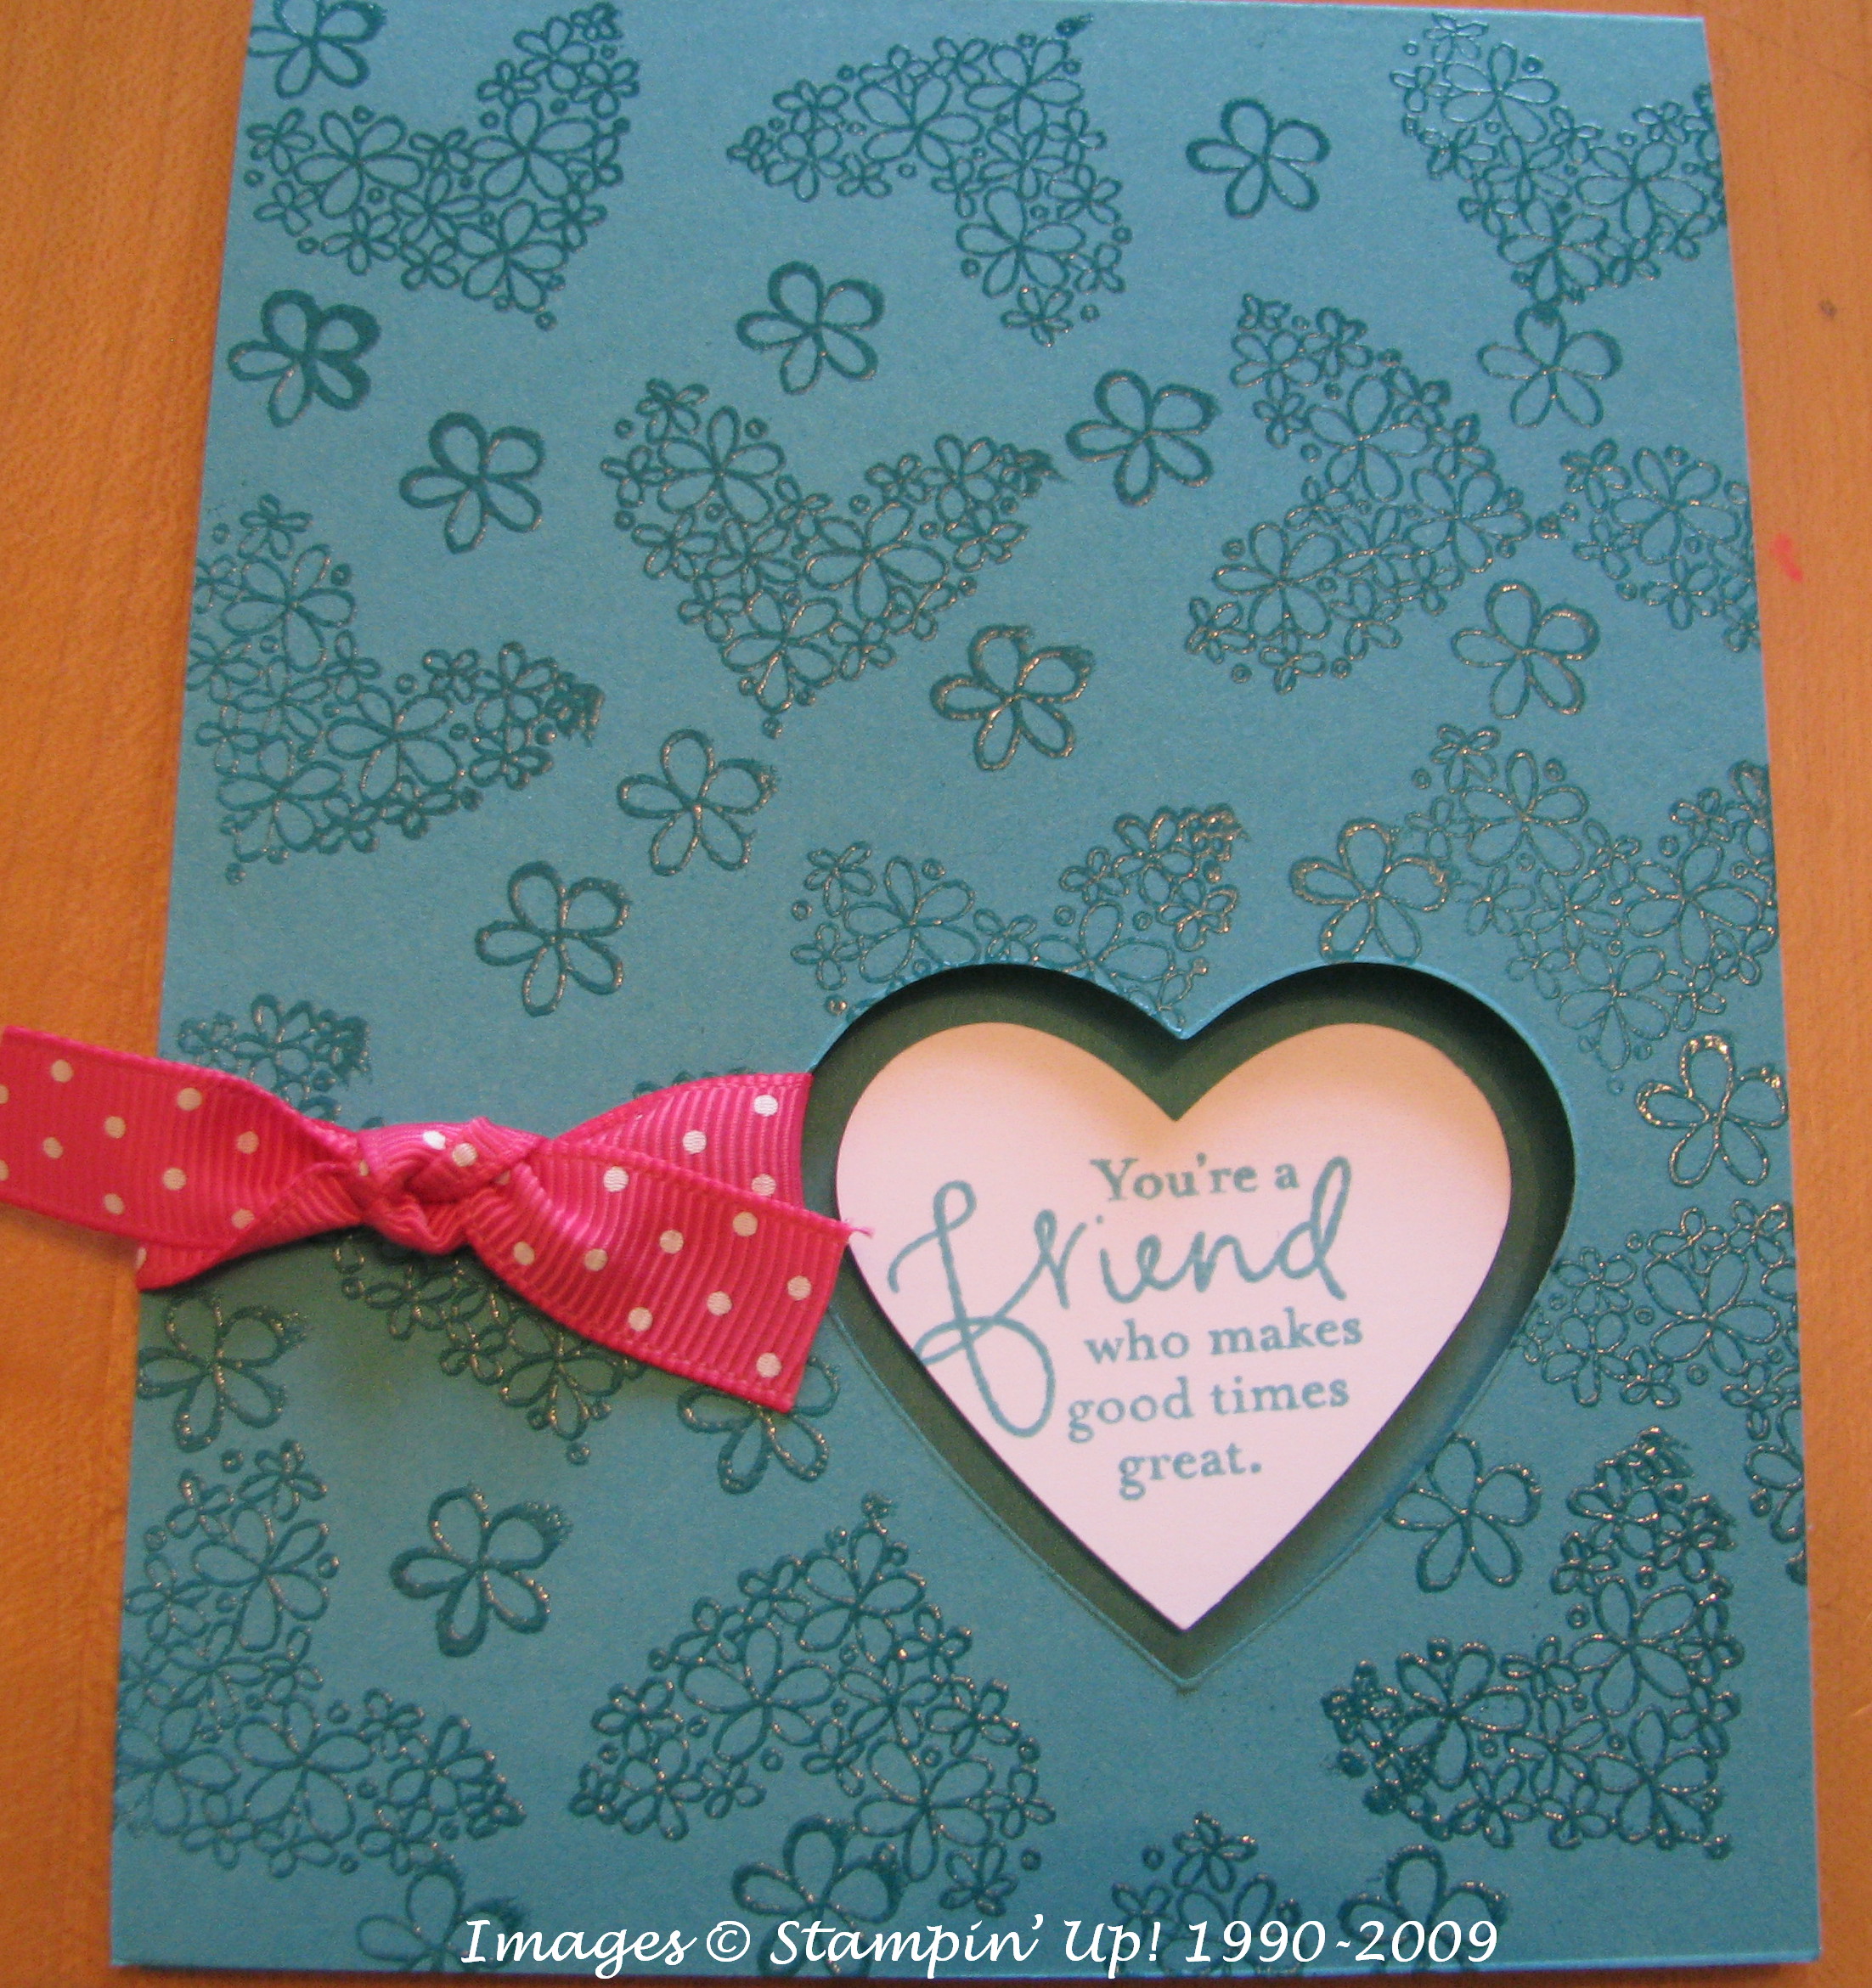
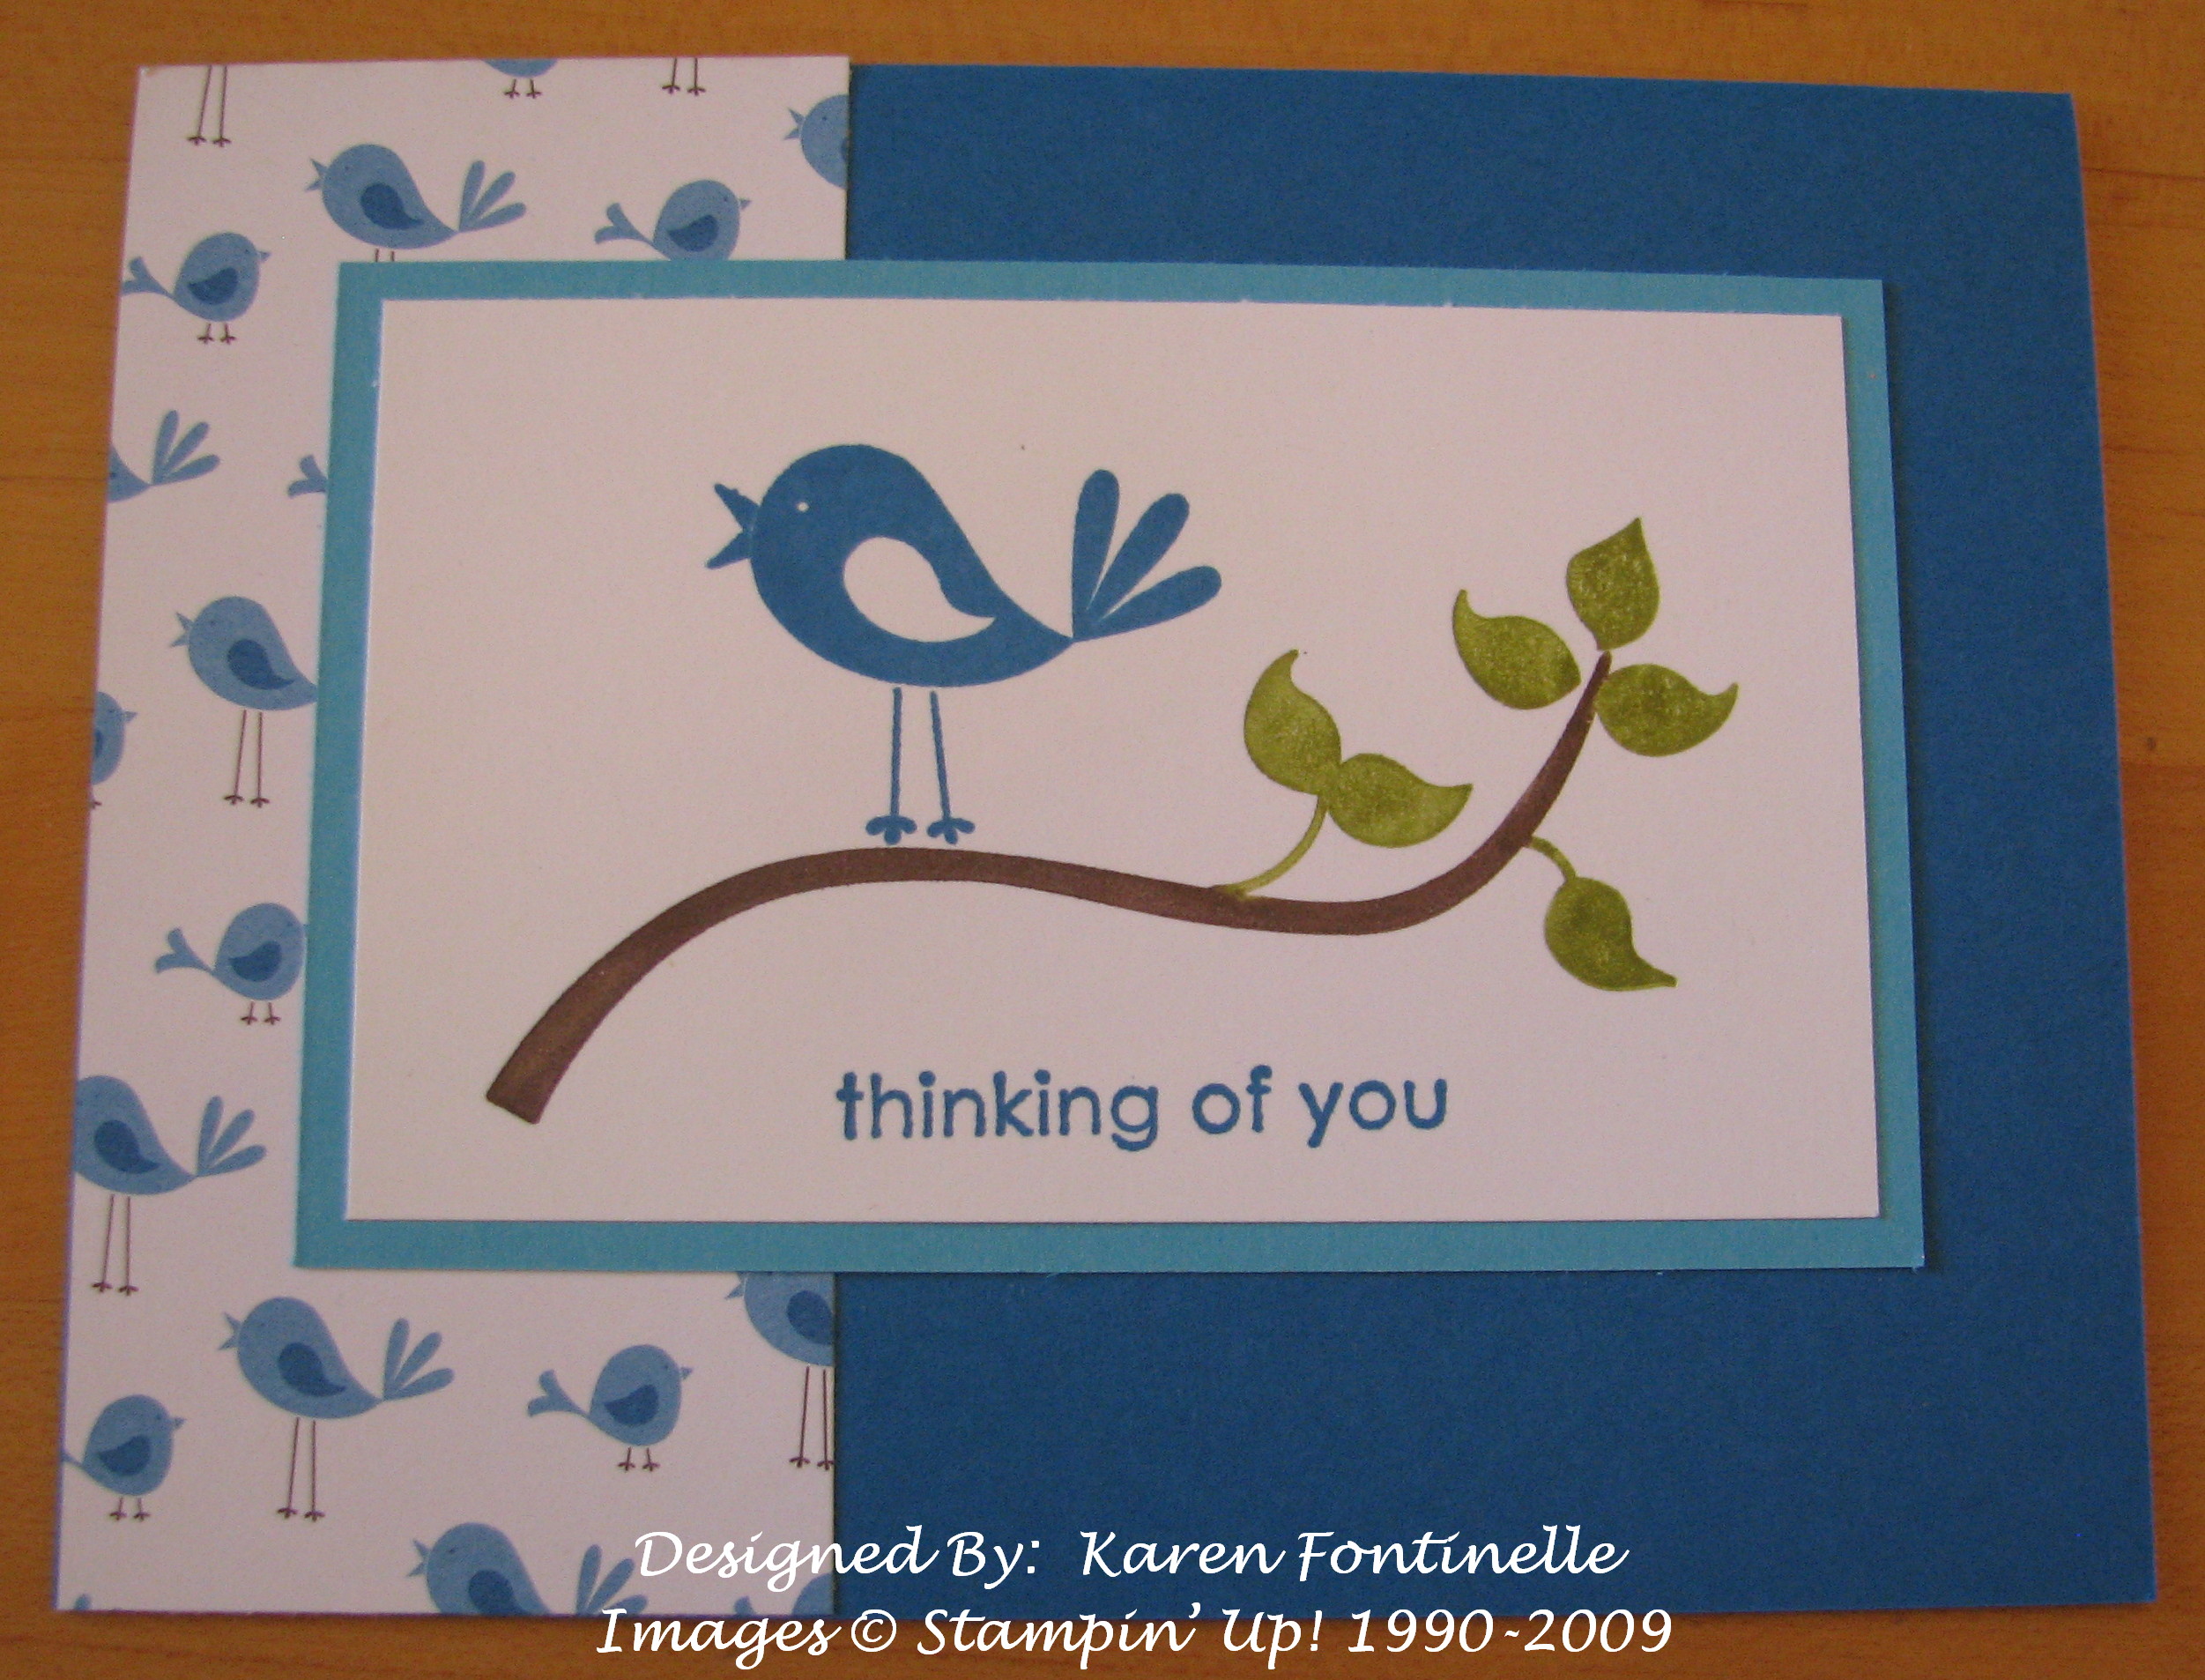
Another Movers and Shapers card with the new Soft Suede.

MoverShaperAnnivSAMJ

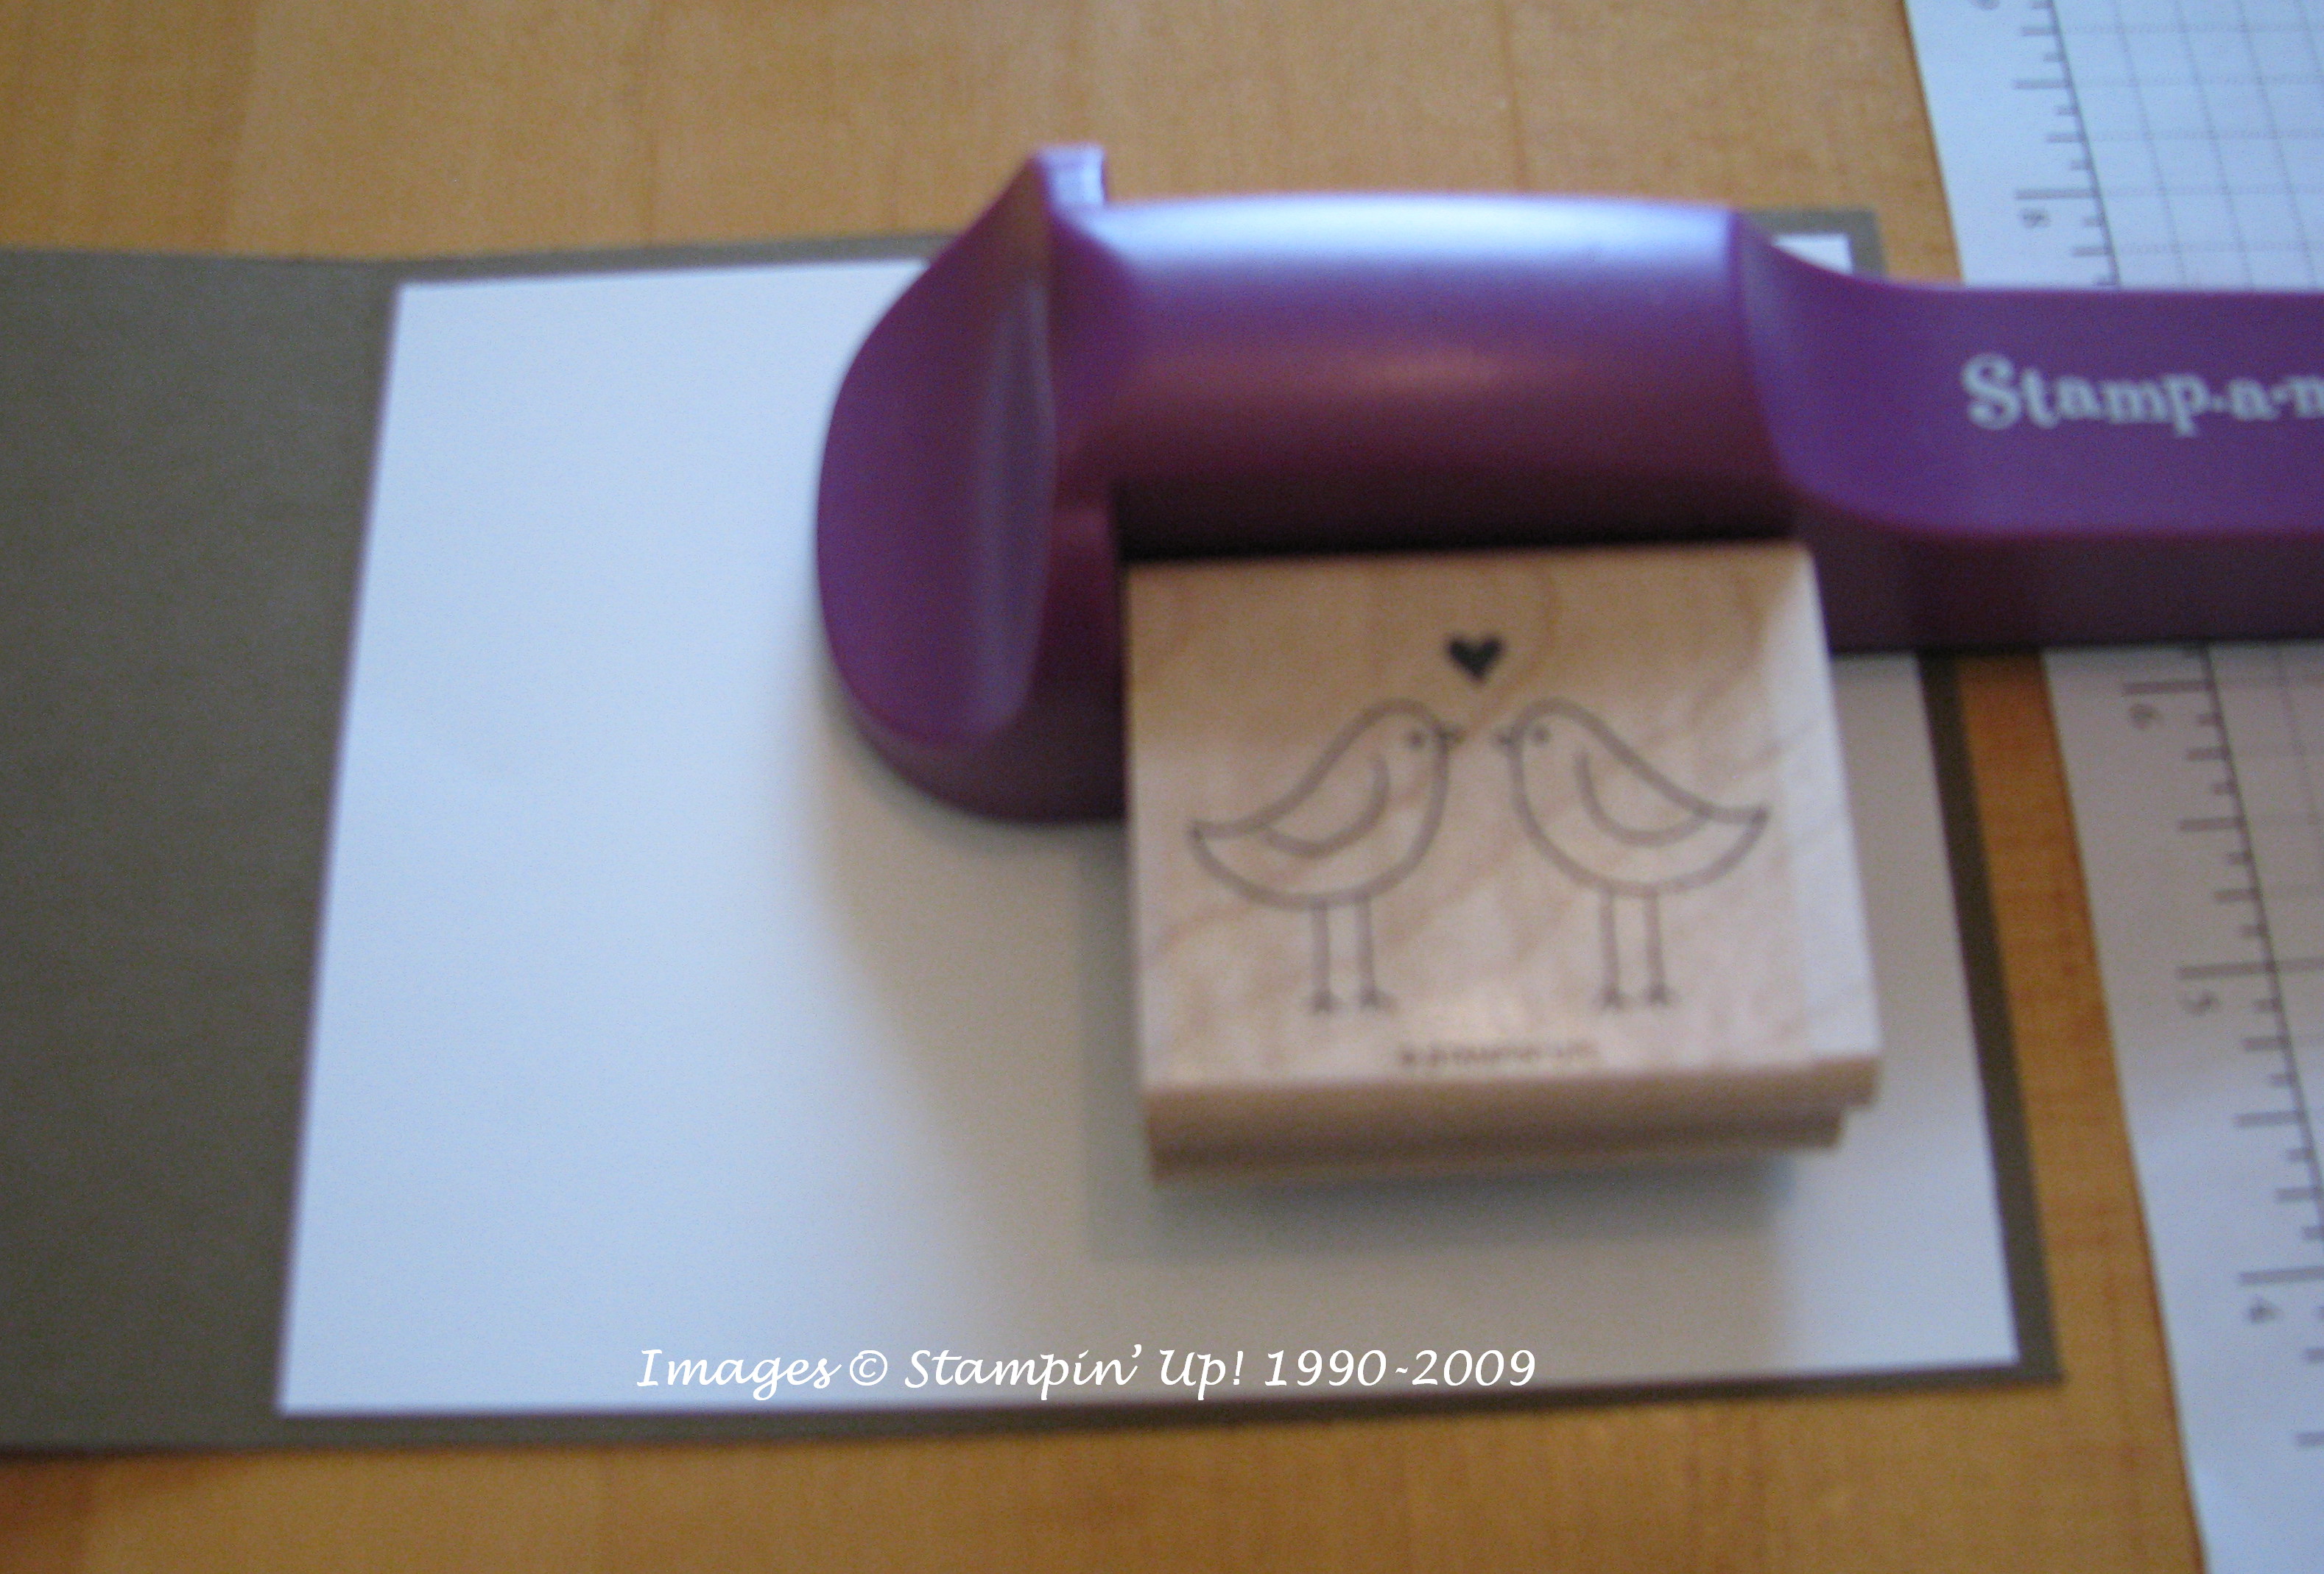
Using the Stamp a Ma Jig to get the birds centered inside the cut out heart (or you can eyeball it through the heart).

MoverShaperAnnivinside3 

A little "Happy Anniversary" from the new "Teeny Tiny Wishes".

MoverShaperAnnivfront 

And another anniversary today is the launch of Apollo 11 forty years ago, the first manned mission to land on the moon.  I was quite interested in the space program, having grown up with it, and remember getting up very early in order to watch this launch from the very beginning because I knew it was historic.  I even used a reel-to-reel tape recorder to record the audio from the TV to save "for posterity"!  Who knew forty years later the tape recorder wouldn't work anymore and that style wouldn't even exist!  And I sure didn't know that in another eight years I would be getting married!

Fun with In Color Cards

MScards 

It's so nice to get an assortment of cards made at one time!  I got the idea for making the Melon Mambo card in the lower right of the photo from Linda Heller on Stamping School.  I also "needed" to play with my Movers and Shapers dies that go with my Big Shot so decided to try them all out using the new In Colors and various stamp sets.  The Movers and Shapers dies cut out the shape wherever you want it on your card and score your card as well.  Very fun!  The design on each card is stamped in Versamark and them embossed with Clear Embossing Powder for the monochromatic look.  I don't have all the new polka dot In Color ribbons yet, so I used what I had plus the beautiful Whisper White Organza Ribbon.  It was so much fun playing with all these colors and stamps and dies!

If you want to see how to make a card like this at your workshop, let's schedule a date!

CurryMScard 

DDurangoMScard 

BermudaBaycard 

MMambocard

Kind Thoughts Brocade Stencil Photo Frame

StencilPhotoFrame

Last week I saw this project on Kimberly Van Diepen's blog  and I loved it so much I ran right out to Hobby Lobby to find the same frame!  In case you do the same, I'll save you a few steps and tell you it is back in the Crafts section, not in with the picture frames or home decor.  I didn't realize she had made hers with the light colored frame so I bought a dark frame.  Next time (and I can't wait to go back and get another one or two!) I'll choose the light colored one, I think you get a better contrast.  But it's neat either way, I think!

So let's back up…..I bought the metal frame, called "Craft Photo Frame" "Time to Decorate!" 4×6 inch.  I had already purchased the Stampin' Up! "Kind Thoughts Brocade Stencil" in the Decor Elements line.  Mine is the "Small" size but I think it worked just fine.  I already had some "Dreamweaver Stencil Embossing Paste" (you can see it in the corner of the photo) from my pre-Stampin' Up! days and a palette knife.  I placed the stencil where I wanted it on the frame, taped down two sides, and slathered on the embossing paste with the palette knife….just like frosting.  Then I turned the palette knife on its side to scrape off the excess paste.  Just lift the stencil up and you have your design on your project.  Now be very sure not to let the paste dry on your stencil, so be ready to wash it off right away.

StencilPhotoFramestart 

StencilPaste 

I let mine dry overnight since it was late anyway, but a couple hours should do it.  This morning  I used a foam brush to apply the "DecoArt Elegant Finish Metallic Glaze".  Mine is the Renaissance Brown color.  This step was SOOO easy.  Just brush the glaze on rather lightly.  You can go over it a little bit if you get too much on or not enough.  You could probably even do a little wiping with a soft cloth if you want, but I wouldn't rub on the embossing too much.

MetallicGlaze  

Stencilglaze 

IMG_3968 

That's all there is to it!  Now you can see stencils aren't just for walls!!  If you want to see the Decor Elements Catalog so you can order your stencil, click HERE.  Contact me if you have any questions or want your own copy of the catalog.

Flower Frame Project with Spencer Willis

I came across this video this morning of Spencer Willis of Stampin' Up! doing a project on a TV show.  It is essentially a scrapbook page but put in a photo frame.  I've seen Spencer demonstrate at Stampin' Up! conventions, and he is great! (a good singer, too, although unfortunately he doesn't break out in song after this demo!).  The project is done with a retired set, Big Blossoms, so you will have to change the flowers a little bit.  Enjoy!

Idea from Stampin’ Up! Idea Book & Catalog

I was looking through the new Stampin' Up! 2009-2010 Idea Book & Catalog  the other day (well, almost everyday!) and just saw lots of things I wanted to make.  This card was inspired by the scrapbook page on page 16 of the catalog.  That particular day I just liked the colors shown on that page and decided to make a card with the hostess set, "Kind and Caring Thoughts".

KindCaringFlower 

The colors are Chocolate Chip, Always Artichoke, Certainly Celery, So Saffron and Ruby Red.  I seldom use Ruby Red unless maybe in the fall, but I love it with these colors!

This hostess set is great…..the flowers and leaves are nice and lots of great sentiments.  If you'd like to possibly earn this set for free having a private stamping class with your friends, just contact me!

Sign up for my free stamping newsletter in the Email box!


4th of July Fireworks Scrapbook Page

July4thSBpage 

Just made this 6×6 scrapbook page….very quick and easy!  You wouldn't think you could use a flower stamp to make fireworks, but I did!  I stamped the top of the flower from the stamp set "Kind and Caring Thoughts", a Level 3 Hostess Set from the new Stampin' Up! Idea Book & Catalog.  I just used Versamark ink for both the watermarked (bluish) fireworks and also to emboss with the gold embossing powder.  That provided the background.  Then I wanted to use the Sizzlit Die "Sparkle" with my Big Shot to make the 3-D fireworks!  The center needed something, so I punched some of the flowers from the Boho Blossoms Punch and inserted a large rhinestone brad in each.  Now if only I had taken pictures!!

The fireworks were great, as they are every year!  We go to the display put on by Stafford, TX which is always quite good, especially considering they are a small community in the Houston area.  We like the smaller crowds and enjoy meeting our friends there in "our spot" every year.  Traffic usually isn't too bad getting out….and we can even spot fireworks from other areas like Sugarland too!  Hope you had a happy 4th!

Sign up for my free stamping newsletter!

Deal of the Week: Big Shot Doctor’s Bag!!

Last week Stampin' Up! announced they would have a new Deal of the Week every Monday during the month of July!  Well, it is Monday and here is the deal!

 Big Shot Doctor's Bag    Sale Price $49.99

July 6, 10 AM (MT) through
July 13, 9:50 AM (MT)

 Item #113474   Page 194    Reg. Price $69.95

BigShotbagSpec

You won't want to miss this deal!  This Big Shot Doctor's Bag is made for the Big Shot, but it is such fine quality, that even if you don't own a Big Shot you might like the bag just for a piece of luggage!  I have used mine for a classy overnight bag!  It is really very nice, quite roomy, and fantastic to have a pricey item on sale!  But you have to act fast to buy it during the special time period.  After the deadline, it reverts back to regular price.  And I know you'd rather have that extra $20 for more stamps!

Just contact me at KSFontinelle@gmail.com or order at my website HERE and click the Shop Now button.


Celebrate with a Cute Big Shot Box

Today already "feels" like the 4th of July since a lot of people are off work.  I'm going to put my flag out soon since that will make it feel even more like the July 4th holiday.  Here is an easy little box I just made with my beloved Big Shot, Box #2 die.  I have used this so much and I think you would too!

July4thbox 

I used Whisper White card stock for the box and stamped red and blue stars from Nursery Necessities (a baby stamp set!) all over it.  The little "Celebrate" tag is from "Matchbox Messages".  I punched the word "Celebrate" with the Word Window Punch and the Real Red card stock behind it is punched with the brand new Modern Label Punch (page 187) #116630   $15.95   I inserted a couple of little brads on the sides and tied the box with the Real Red 1/2" Striped Grosgrain Ribbon.  Honestly, I planned to stick punched out stars all over the box and even embossed a gold one from "Fun & Fast Notes".  But it wasn't looking right and once I played with the ribbon, especially tying it around the top of the box, I felt like I had my design!  Sometimes you have to know when to stop!

                                              Happy 4th of July!

New Month, New Catalog, New Stampin’ Up! Year!

Yes, the day finally arrived!  July 1st, a day of great significance to Stampin' Up! fans….customers and demos alike!  The day the new Stampin' Up! 2009-2010 Idea Book & Catalog goes live!!  Just a short time ago Stampin' Up! switched to the new catalog and new merchandise and now ordering is underway!  Demos were lucky enough to be able to preorder certain new goodies a month ago AND get a copy of the catalog!  YOU should really be in on this excitement next time around…and what a great deal!  Besides the new catalog today, Stampin' Up! also announced a new promotion, "Have Fun Doing What You Love" for becoming a demo for only $85.  And the Summer Fun continues with a Weekly Special, the "Deal of the Week" during July!  Right now you can purchase the Scallop Edge Punch for 30% off from July 1 – July 5.

Newstuff 

Contact me at KSFontinelle@gmail.com right away to get your own copy of the beautiful new catalog and see all the new In Colors!

Look online NOW to see the catalog and all the new goodies!  You can order 24/7 from my website or contact me any time!

*Note:  Demand for the In Colors may be high and there may be temporary backorders.  The Bermuda Bay ink pad and refill are not available at this time due to quality issues.

Stamping Fun with the Girl Scout Hobby Badge

On Saturday I had the pleasure of working with a group of thirteen Girl Scouts from a troop in Sugarland, TX to earn their "Doing Hobbies" badge.  It was a fun day, and all of the girls did an excellent job on their projects!  It's a great testament to how easy stamping is, even for beginners.  In no time, these girls were putting their own touches on their projects.

***If you are in the Houston/Sugarland area and need help doing your Hobby Badge for Scouts, please contact me at KSFontinelle@gmail.com .  I can personalize projects for your group and ages!

We started with an easy little gift for someone….Peppermint Patties decorated with stamping and the Scallop Circle punch.

BirdcandybagGS 

Next we tried a technique of coloring directly on the stamp with markers to get multi-colors on one stamp.  This was a fun and easy card to make and most girls immediately started writing a note inside to send to someone.  They really had fun decorating the envelope!

BirdCardGS 

The mother hosting the event presented an interesting history of the hobby of scrapbooking.  Did you know Mark Twain was a scrapbooker?!  Here is the scrapbook page the girls made:

FriendsSBgs 

As part of the badge requirements, we talked about how stamping and scrapbooking could fit into a person's life.

And for one last project, all the girls decorated this composition notebook.

NotebookGS 

It was a fun day and I hope the girls enjoyed learning a new hobby!

Stampin’ Up! Summer Fun Almost Over

SUSummerFunlogo 

Images © Stampin’ Up! 2009

Next Tuesday, June 30th will be the LAST day to make a purchase from the Spring~Summer 2009 Idea Book & Catalog!  It was a great catalog, and I hate to see it go.  I loved the scalloped edge on the cover of the last two catalogs!  If there are any stamp sets or accessories that you loved in the catalog and don't own yet, now is the time to get your order in!

Click HERE for the Last Chance List of Stamps.

From there you can go right to the "Shop Now" button in the upper right corner of that page on my Stampin' Up! website.  Or contact me and I will be happy to help you.

Getting Ready for the 4th of July!

4thJulyBox 

The other day I went in my local Dollar Tree store and the first thing I saw were decorations for July 4th.  It's hard to imagine it is almost time for that holiday already.  I saw these sets of red, silver, and blue beads, kind of like Mardi Gras beads.  I KNEW I had to have some because we go to the same fireworks display in Stafford every year with our neighbors, and the beads would be perfect for Nita and I to be wearing!  We already have our 4th of July head band thing with flowing ribbons we have been know to wear!  At the high price of $1, I decided I had to purchase another set of beads for our other friend Rhonda who used to go to the same fireworks with us and who loves the 4th. 

So today when we all had lunch together I decided to quickly make some 2-5-7-10 Boxes to give them their beads.  The instructions are from Jenn Balcer on Splitcoaststampers.  You just need one sheet of  8 1/2" x 11" in. cardstock, scored at 2, 5, 7 and 10 inches.  Turn the cardstock and score at 2 and 7 inches.  Putting the 2" section of cardstock at the top with the 1" wide side section on the left, cut off all top sections but the 2"x 3" section at the top left. Also cut off the tiny little 1 x 1/2" in the lower left corner.  Cut up on the bottom 3 score lines at the bottom, just up to the horizontal score line.  Stamp your box while it is flat.  You can fold all the scored lines now and see how your box is going to go together.  The top 2 x 3 section can be scalloped with your Scallop Edge Punch if desired.  Otherwise, you just have one side tab to glue to close up the box (I would use Sticky Strip or Tombow Multi Purpose adhesive) and adhere the bottom flaps.  After the box is assembled, you will see that you need to pinch in the sides in order to close the top flap, like a sack.  Punch two holes in that flap for ribbon, close the box and mark where you want to punch the holes on the box.  This is the hardest part!  I found the Rectangle Punch worked the best for me in reaching the right spots and making a large enough hole to insert ribbon.  Thread the ribbon through the holes from inside the box and  then through the backside of the flap so that you can tie a bow or knot on the front.  This is a good standard box to use for any occasion for a little gift or decoration.  Let me know if you have any questions!

Don't forget!!  If it is close to July 4th, that means the end of the current Stampin' Up! Idea Book & Catalog is near!  You must get your Last  Chance order in by June 30th, and it is best to do it as soon as possible!

Last Minute Quick & Easy Father’s Day “Lovely As A Tree” Card

For those of you scrambling at the last minute for a Father's Day card, here is one I must made and it only took me probably five minutes….and you don't even have to think up the design!  This old stamp set, "Lovely As A Tree" has been around a long time and we always hold our breath at retirement time thinking it might go.  Fortunately, it is still here and is such a versatile set, especially when you need a masculine card.

On this card I just used Kraft as the card base, stamped with some Close to Cocoa leaves, lightly (stamping off first after inking up).  The tree is stamped with Basic Brown and literally scribbled in with some markers, Close to Cocoa for the tree trunk and various greens for the leaves.  A little sponging if you want around the edges, layer, adhere, and you have a card.  You can stamp "Happy Father's Day" on the inside or write your own message.  Of course you could add some ribbon or hemp twine or any other embellishments to jazz it up, but most fathers won't want it jazzed up!

FDLovelyTree

Happy Father's Day!