Author Archives: Karen Fontinelle

Stampin’ Up! and the Hispanic Market

Here's a note from Stampin' Up!…..

Interested in being a Stampin’ Up! demonstrator in the Hispanic Market? Join Sandra Manwill, our Hispanic Market Manager, today (Nov. 17) for a 15 minute call where she’ll talk about Stampin’ Up! and the unique business opportunities that exist for demonstrators in the Hispanic market. To listen to the calls, call 877-787-7226 (toll free) at 11:00 AM (MT) for English and 4:00 PM (MT) for Spanish.

If you can't make the call but are interested, contact me and I will get your whatever information you need!  KSFontinelle@gmail.com


A Movie-Lover Birthday Card

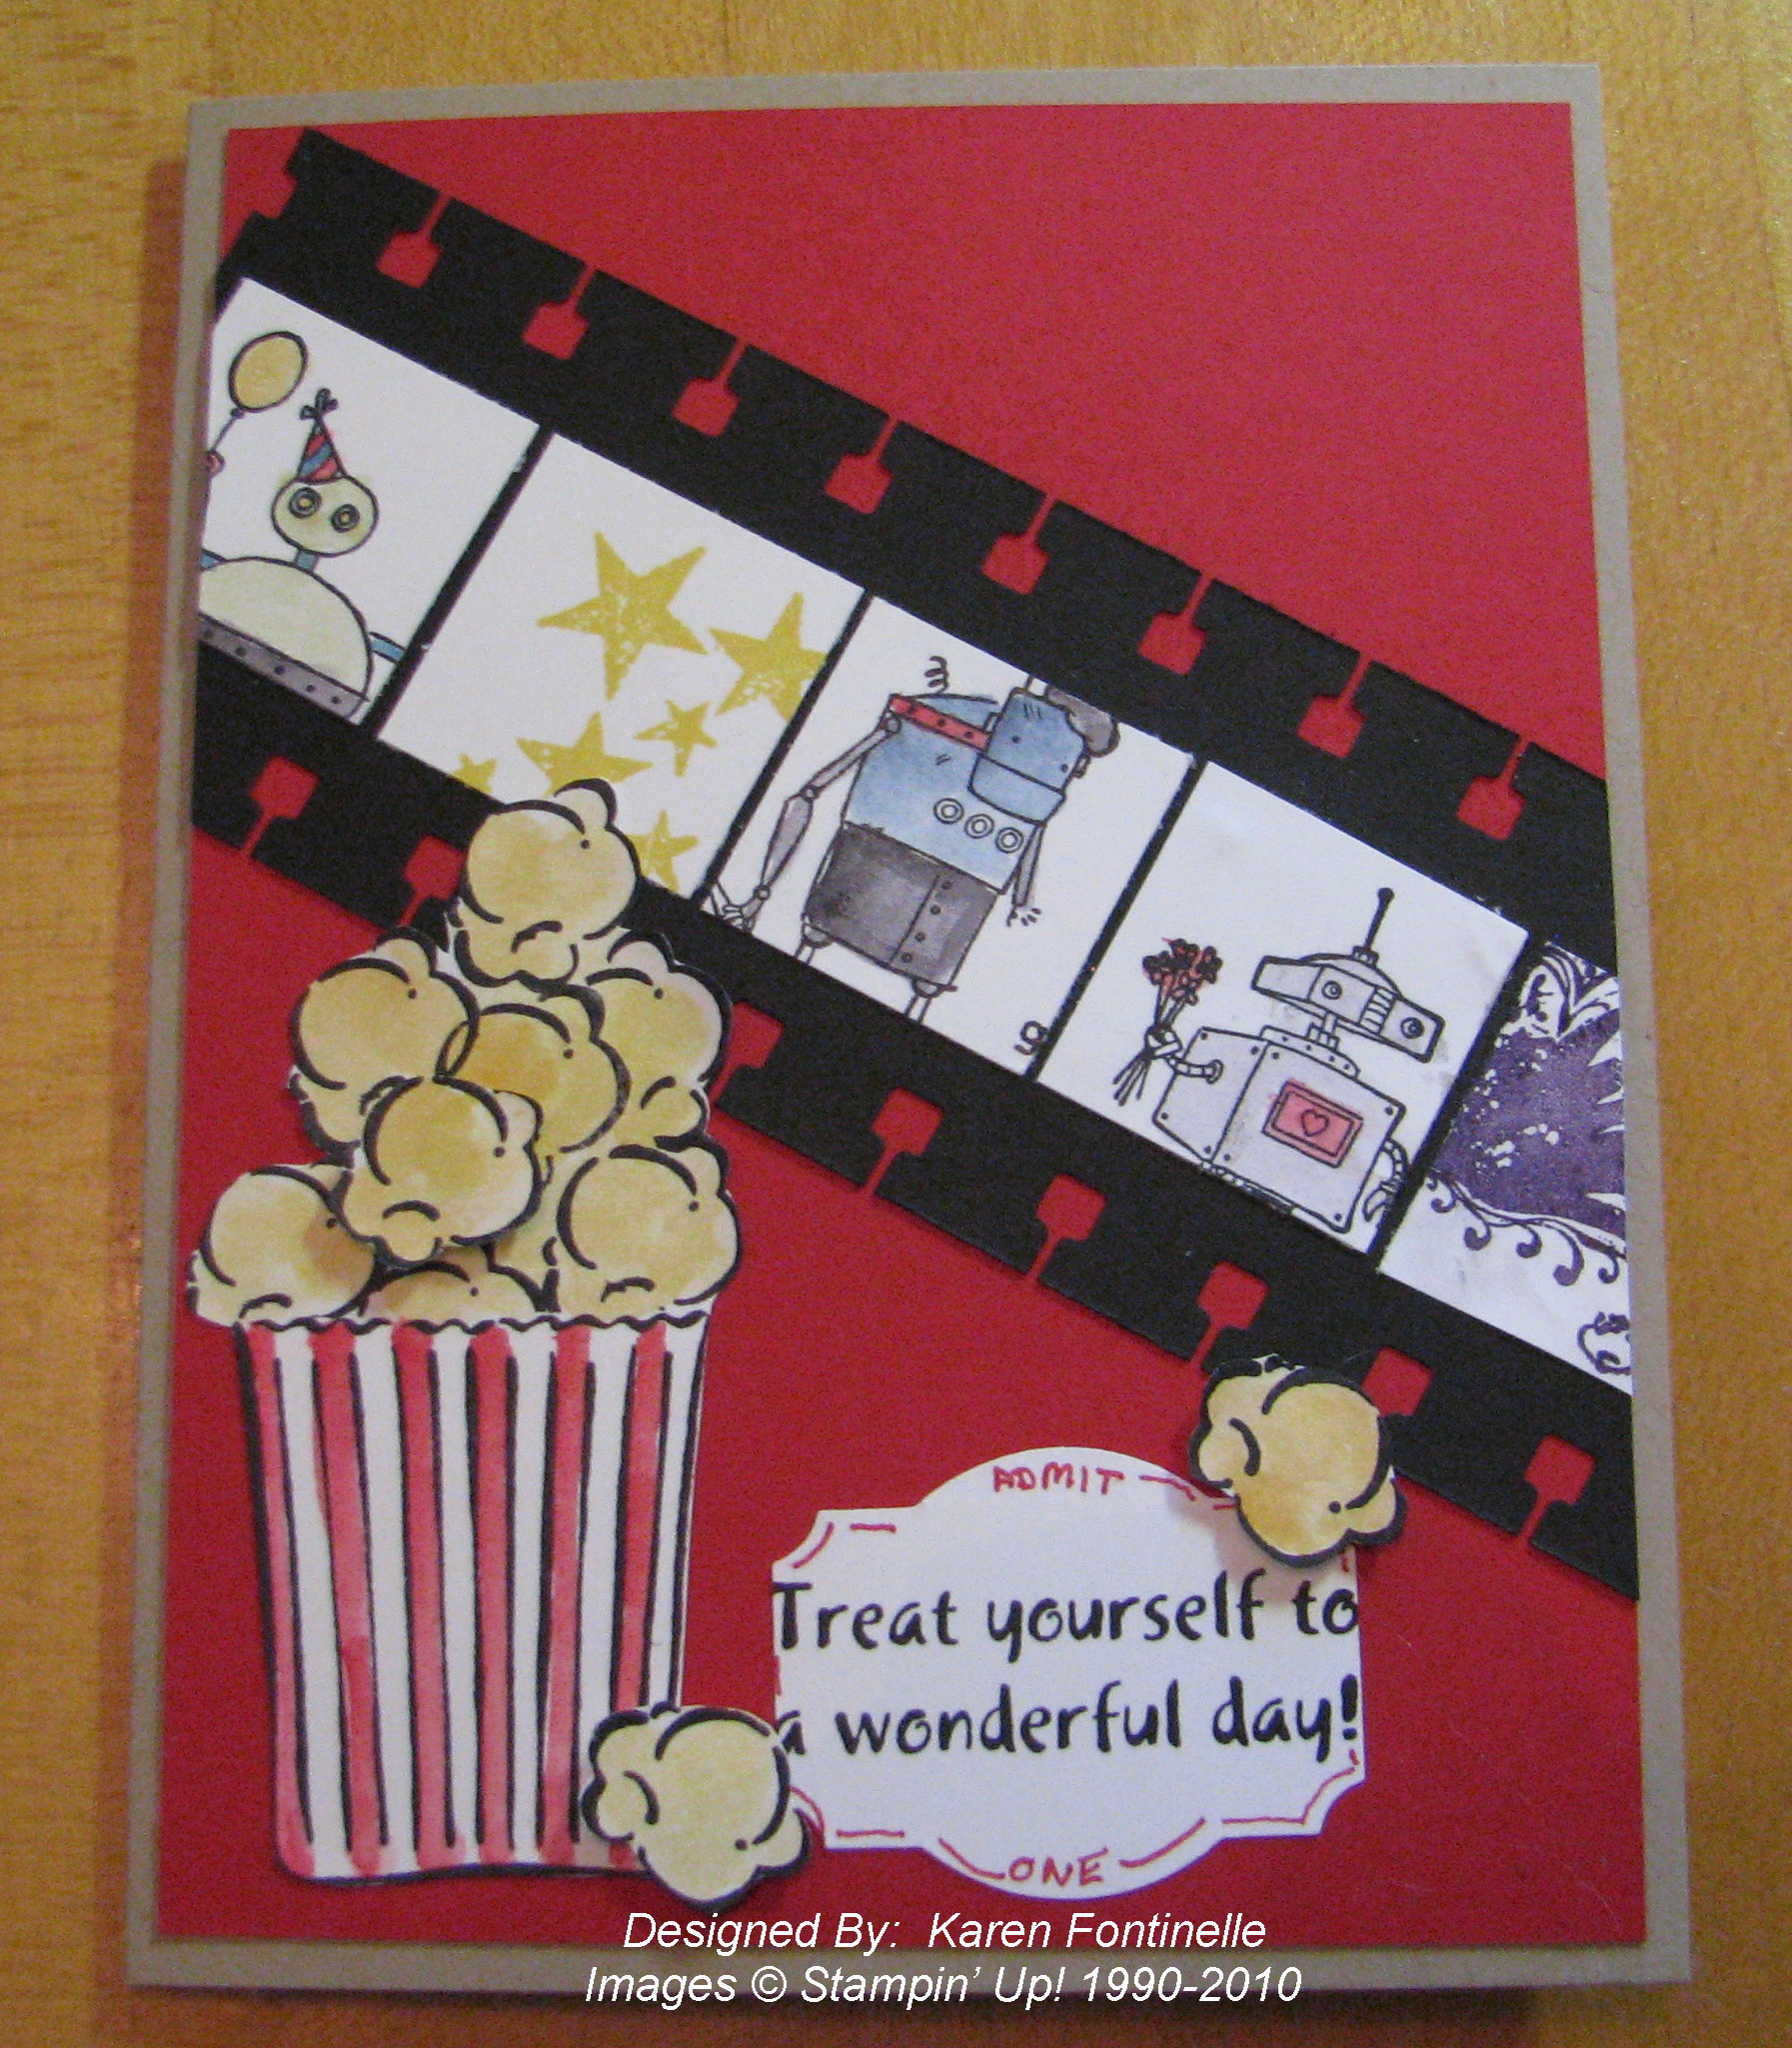
Our new son-in-law's birthday came upon us pretty quickly, along with the realization that he is now a member of the family and should get a card and gift!  Since he is a big movie-lover, I came up with this card, even though I had to dig around in some retired sets to find "Treat Yourself".  

Move-Lover Birthday Card

For the "filmstrip technique" I just took a strip of black card stock and punched along the edges with the Spiral Border Punch #119872.  Then you stamp on some squares that fit on the strip to make it look like a movie!  I have always loved that idea!

Sometimes it is harder to come up with a "male birthday card" but with a little thought it's really not that difficult.  Stampin' Up! provides so many kinds of stamp sets that you can find something appropriate for everyone!

A Favorite Stampin’ Up! Demonstrator Perk!

You've heard me say before that one of my favorite things about being a Stampin' Up! Demonstrator is receiving the special Stampin' Success Magazine every month!  You would think we would all become accustomed to getting this magazine and become rather ho-hum about it after awhile…..but ABSOLUTELY NOT!  As soon as they start hitting the mailboxes, demos are posting that they received theirs and others start posting wondering when theirs is going to arrive!  We are always anxious for the next issue packed with business tips and fabulous projects!  Stampin' Up! even posts the magazine online so we get a sneak peek before it hits our mailboxes, even though it is nothing like having it in our hot little hands!

The November 2010 issue had a great article about preserving memories with handmade albums, just small simple ones.  I took the basic idea and used it as a project in my stamp camp last weekend and added a few different touches.  I thought it was a great idea for a generic little album, whether people wanted to make it for a few Thanksgiving photos or something else.

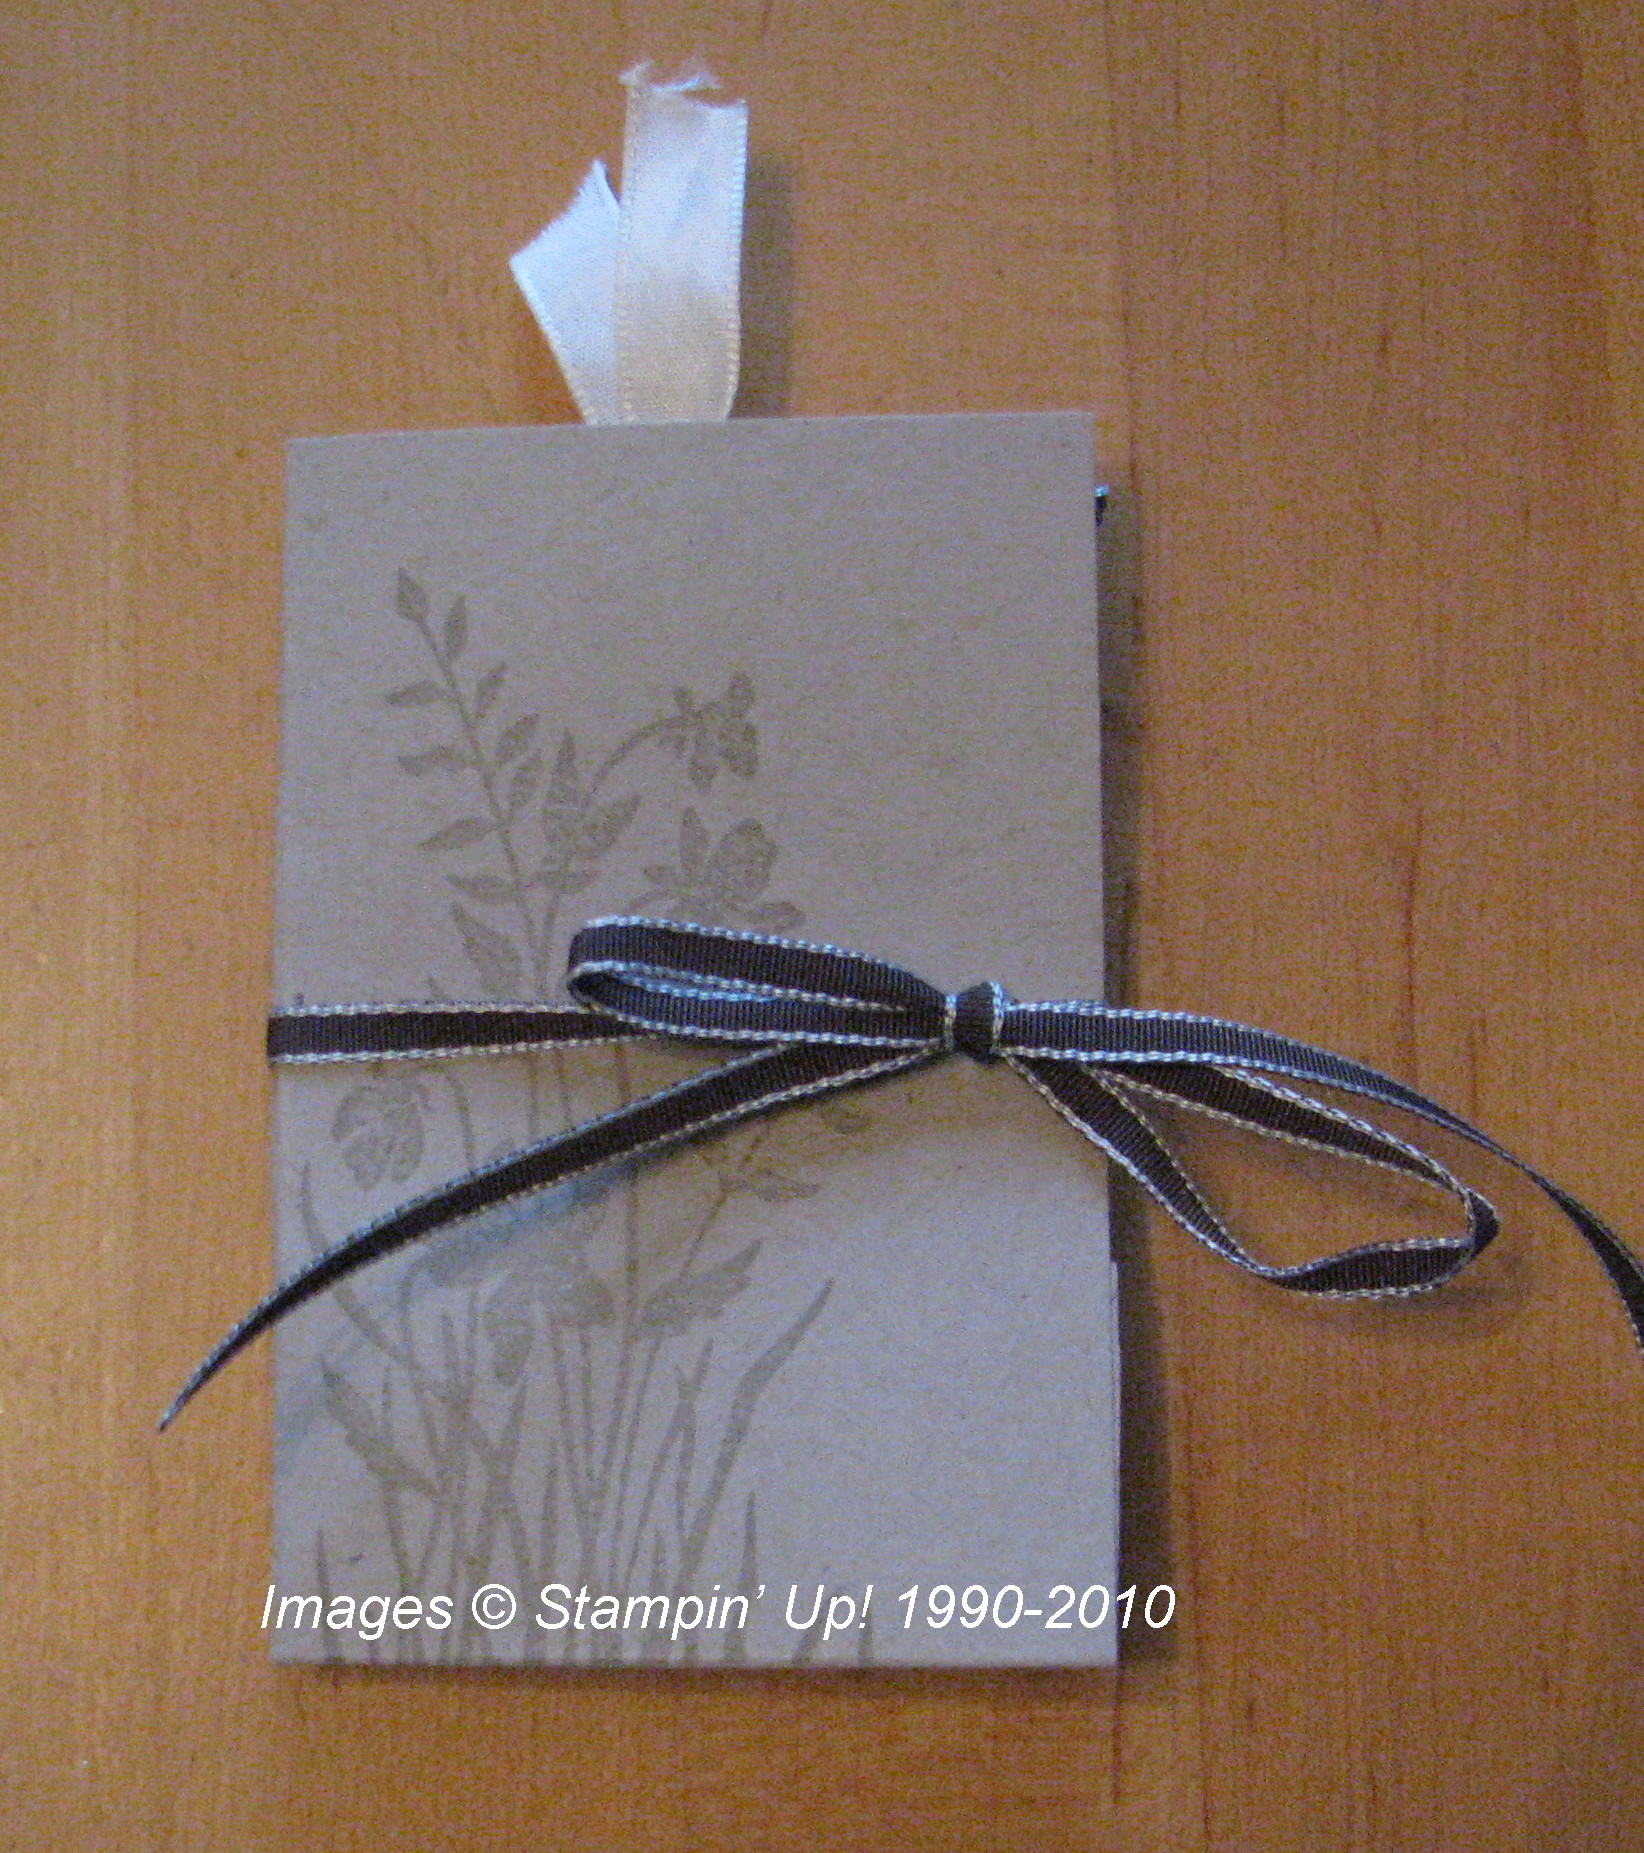
Here is the little scrapbook we made, starting with just a 10" x 5" piece of card stock!

Mini Scrapbook

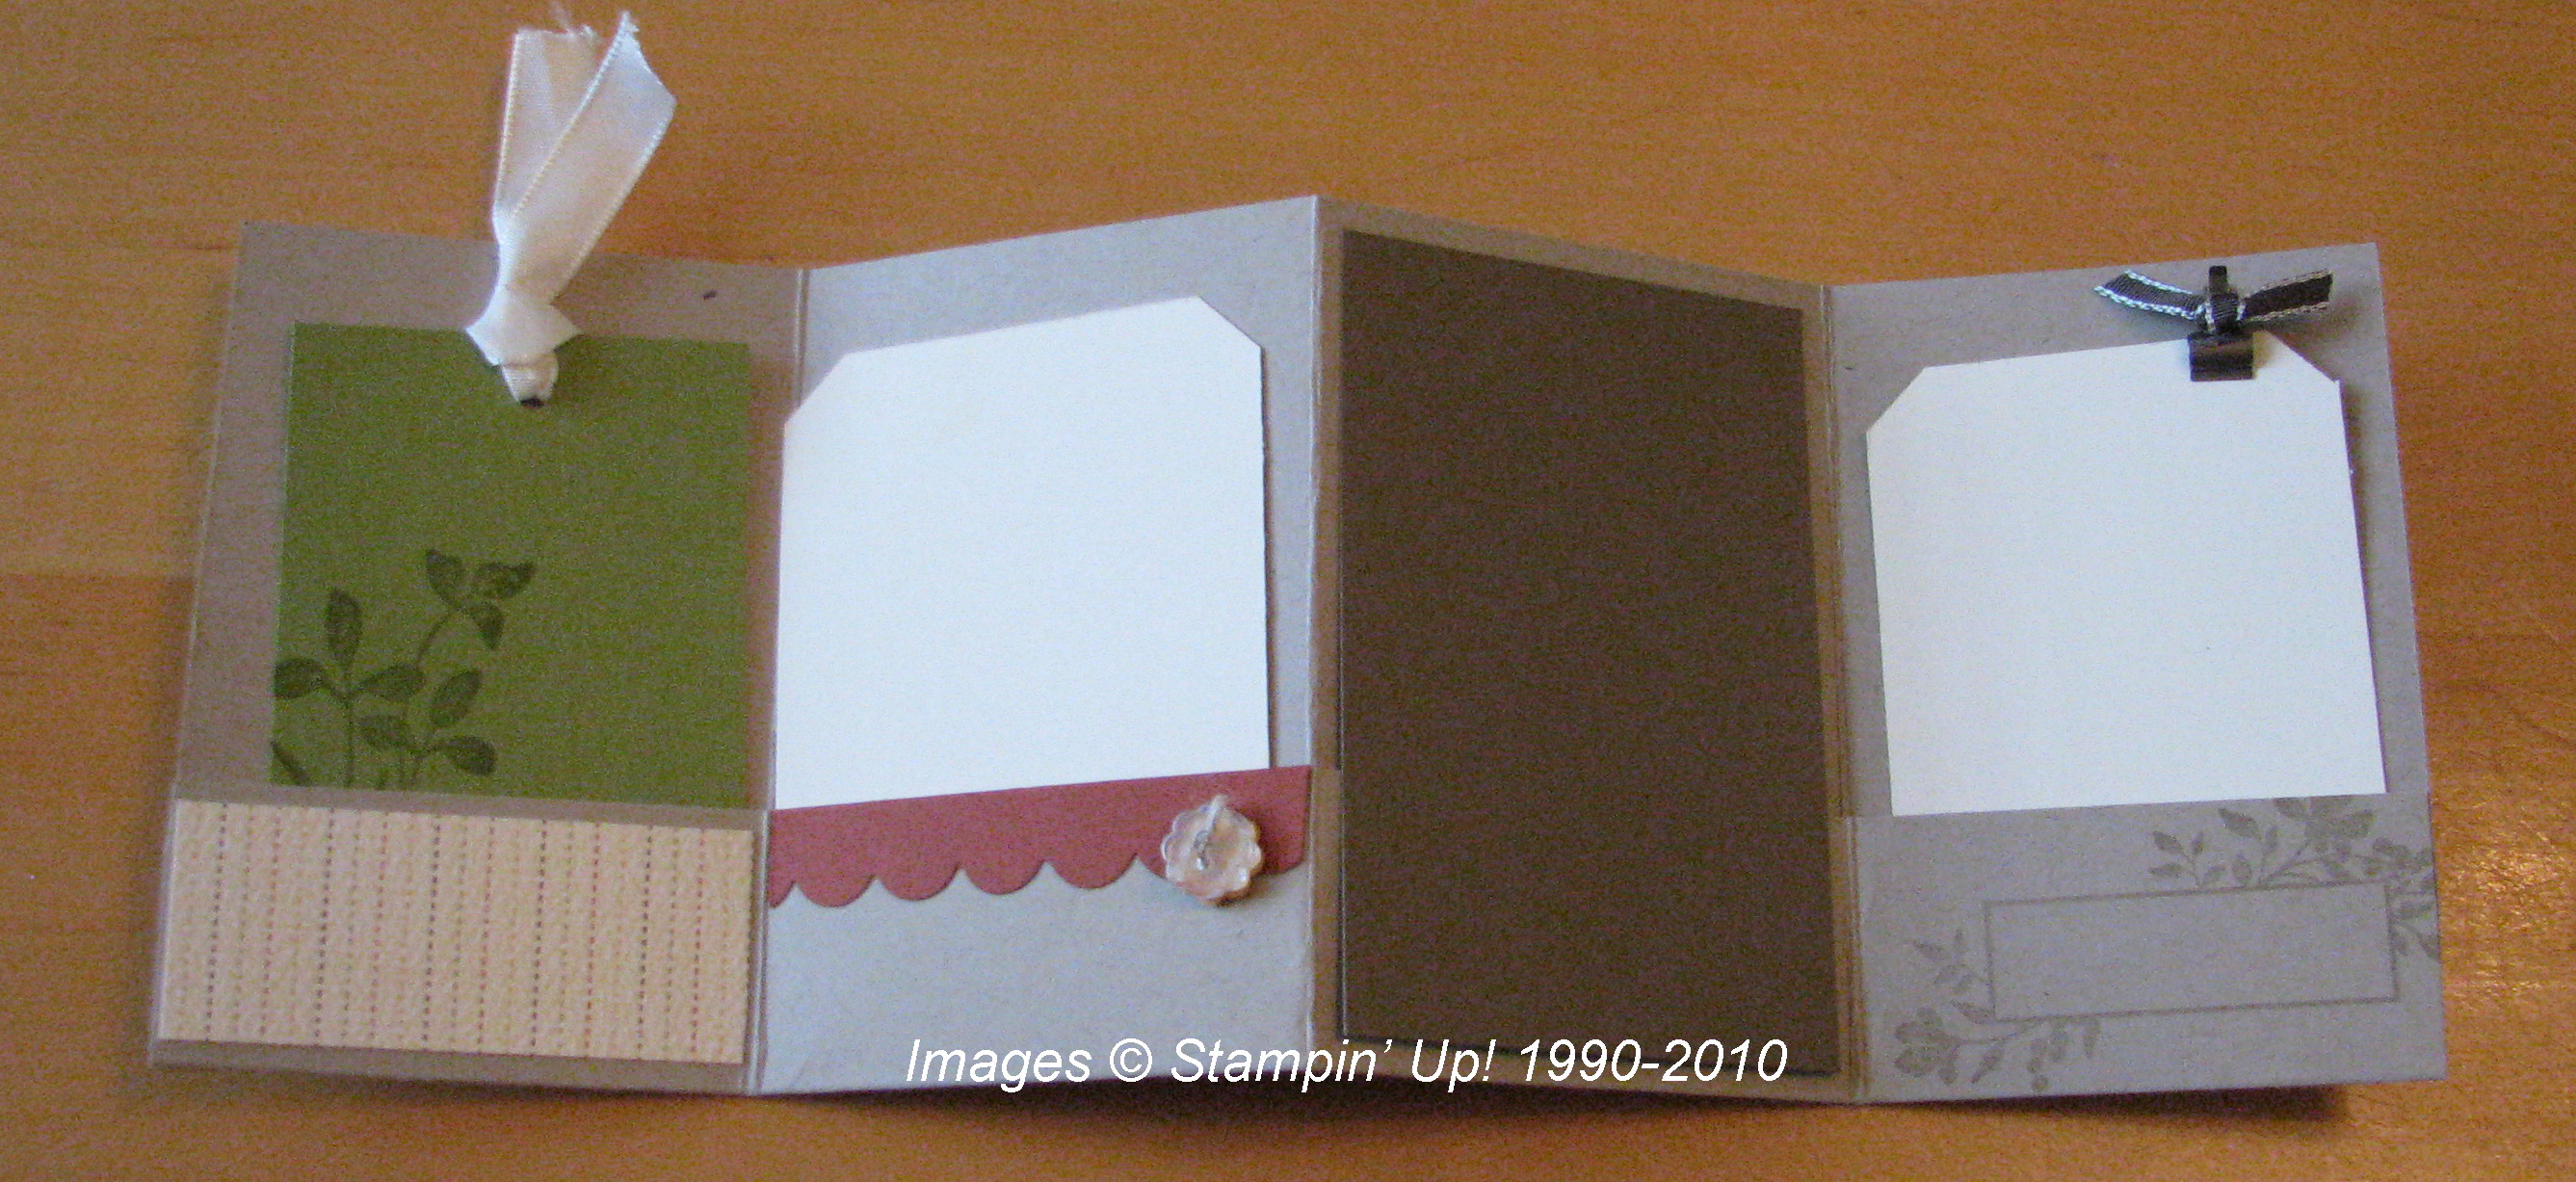
Mini Scrapbook Inside

Click on the photos to enlarge.

You can make this album any size….just fold your paper in half, open, then fold each side to the middle, producing four sections.  Fold the bottom up for the pockets.  Make a few tags or photo mats, do a little stamping or punching little scraps of paper, add a couple little embellishments….whatever!…..you have a nice little album ready for photos!  On this project we used the stamp set "Just Believe".

If you have any questions about this project or becoming a Stampin' Up! Demonstrator with the amazing Starter Kit 50% discount, just leave me a comment!

Today’s the Day to Start Your Stamping Business!

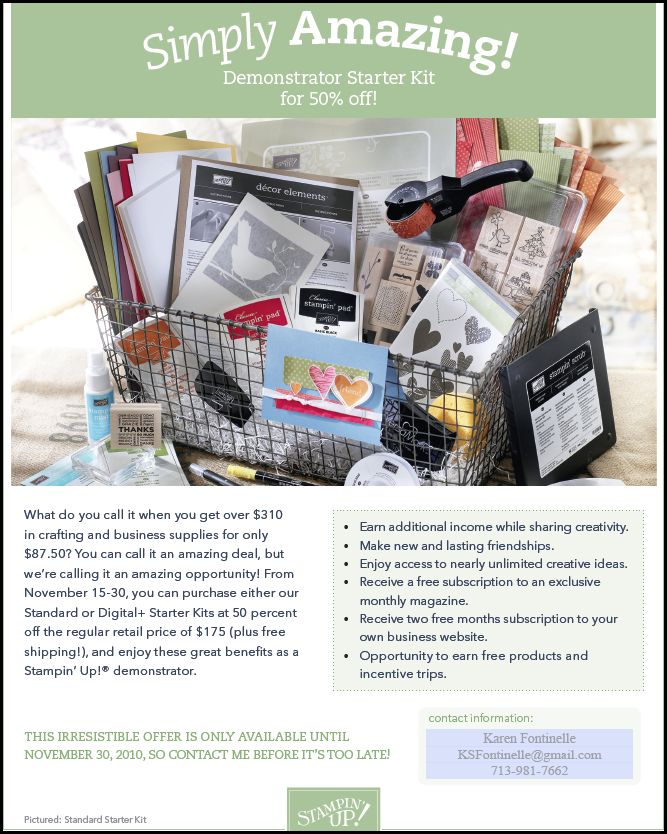
If you LOVE Stampin' Up! and you would love to share what you love with others, then this is the day for you!  Today begins the Simply Amazing offer to purchase the Stampin' Up! Starter Kit for 50% off!  That means you can start your own business for only $87.50, or if you want to look at it another way, that is over $310 in crafting and business supplies for only $87.50!  This offer has never been made before and only lasts for two weeks, Nov. 15- Nov. 30!  

The Stampin' Up! Standard Starter Kit includes:

  • Four complete stamp sets (including a clear-mount set and clear-mount block)
  • A Stampin' Around wheel, handle, and ink cartridge  
  • Assortment of Designer Series paper and card stock
  • Four Classic Stampin' Pads
  • Two Stampin' Write markers
  • VersaMark Pad
  • Whisper White 5/8" satin ribbon
  • Songbird Décor Elements and applicator
  • Adhesives
  • Blender pen
  • Stamping sponge
  • Stampin' Scrub and Mist 
  • Box of Idea Book & Catalogs
  • Business forms and tools 

The Digital+ Starter Kit includes:

  • My Digital Studio software suite
  • Three complete stamp sets (including a clear-mount set and clear-mount block)
  • Assortment of card stock
  • Four Classic Stampin' Pads
  • Two Stampin' Write markers
  • Real Red 1/4" grosgrain ribbon
  • Brights Designer buttons
  • Songbird Décor Elements and applicator
  • Adhesives
  • Stampin' Scrub and Mist 
  • Box of Idea Book & Catalogs
  • Business forms and tools

Read all about starting your own business HERE.  There's even a video to watch!

And THEN you can also watch some videos HERE to show how to stamp with products you get in your Starter Kit!

As you can see, Stampin' Up! doesn't just sign you up and then leave you stranded.  There are plenty of resources available through Stampin' Up! from a special Demonstrator website to training information and videos to the wonderful Demo support people just a phone call away!  Besides all that, you get ME as your upline and many outside sources I can direct you to help you build and grow your business and creativity!

I'm happy to talk to you about this business opportunity or you can email me with any questions, etc.  If you would like to look over the online information click HERE.  If you just want to sign up on your own, you'll need my special password:  karenstamps

I know you will love being a part of the Stampin' Up! family!  There are many opportunities to build a successful business in the way that works for you and your family!



Half-off Stampin’ Up! Starter Kit Promotion!

Get the Starter Kit Half Off!

Hold on to your inkpads!!  Can you believe this offer from Stampin' Up!??  It's the simply amazing offer never made before…..the Stampin' Up! Starter Kit at half-price!  Start your own business for only $87.50!! The minute you are signed up, especially if you do it through my online site, you are IN BUSINESS!  Not only do you get the perks for yourself I know you will enjoy, but you will actually be in business for yourself and can take that business to whatever level you want.  And who couldn't use an extra paycheck these days?!

The promotion runs from Nov. 15 through Nov. 30.

  • Both the Standard Starter Kit and the Digital+ Kit are available at 50 percent off the regular kit. These are full starter kits, not mini or reduced-content kits.
  • Recruits can still add the Stampin' Memories or Digital+ Add-On and will pay the regular add-on price.
  • Recruits who join during the Simply Amazing Recruiting Promotion are still eligible for any programs available to a new recruit. This includes but is not limited to the extra 10 percent Instant Income offer, Stampin' Start, the opportunity to purchase a Business Booster Kit, and a free two-month Demonstrator Business Web Services (DBWS) subscription.
  • The kit can be customized.
  • Free shipping on your kit!
  • Be ready to get in on the demonstrator preorder for the Occasions Mini Catalog and Sale-A-Bration, plus be ready as a demonstrator to earn special benefits during Sale-A-Bration!
  • Plenty of training on the Stampin' Up! website for demos and plenty of sample projects so no creativity required!

This offer starts November 15th!  Wait until that date to sign up to get the half-price offer, but don't delay after that as it only lasts for two weeks!

To help you think about this amazing offer, click here for lots more information on becoming a Stampin' Up! demonstrator!  And I am happy to answer any questions as well.  Email me at KSFontinelle@gmail.com.

When you decide to join, if you want to do it online, just click HERE and then click the "Join Now" button on the left.  Once you are signed up, you will receive your Demo number and you will be good to go!


Veterans Day 2010

Veterans Day

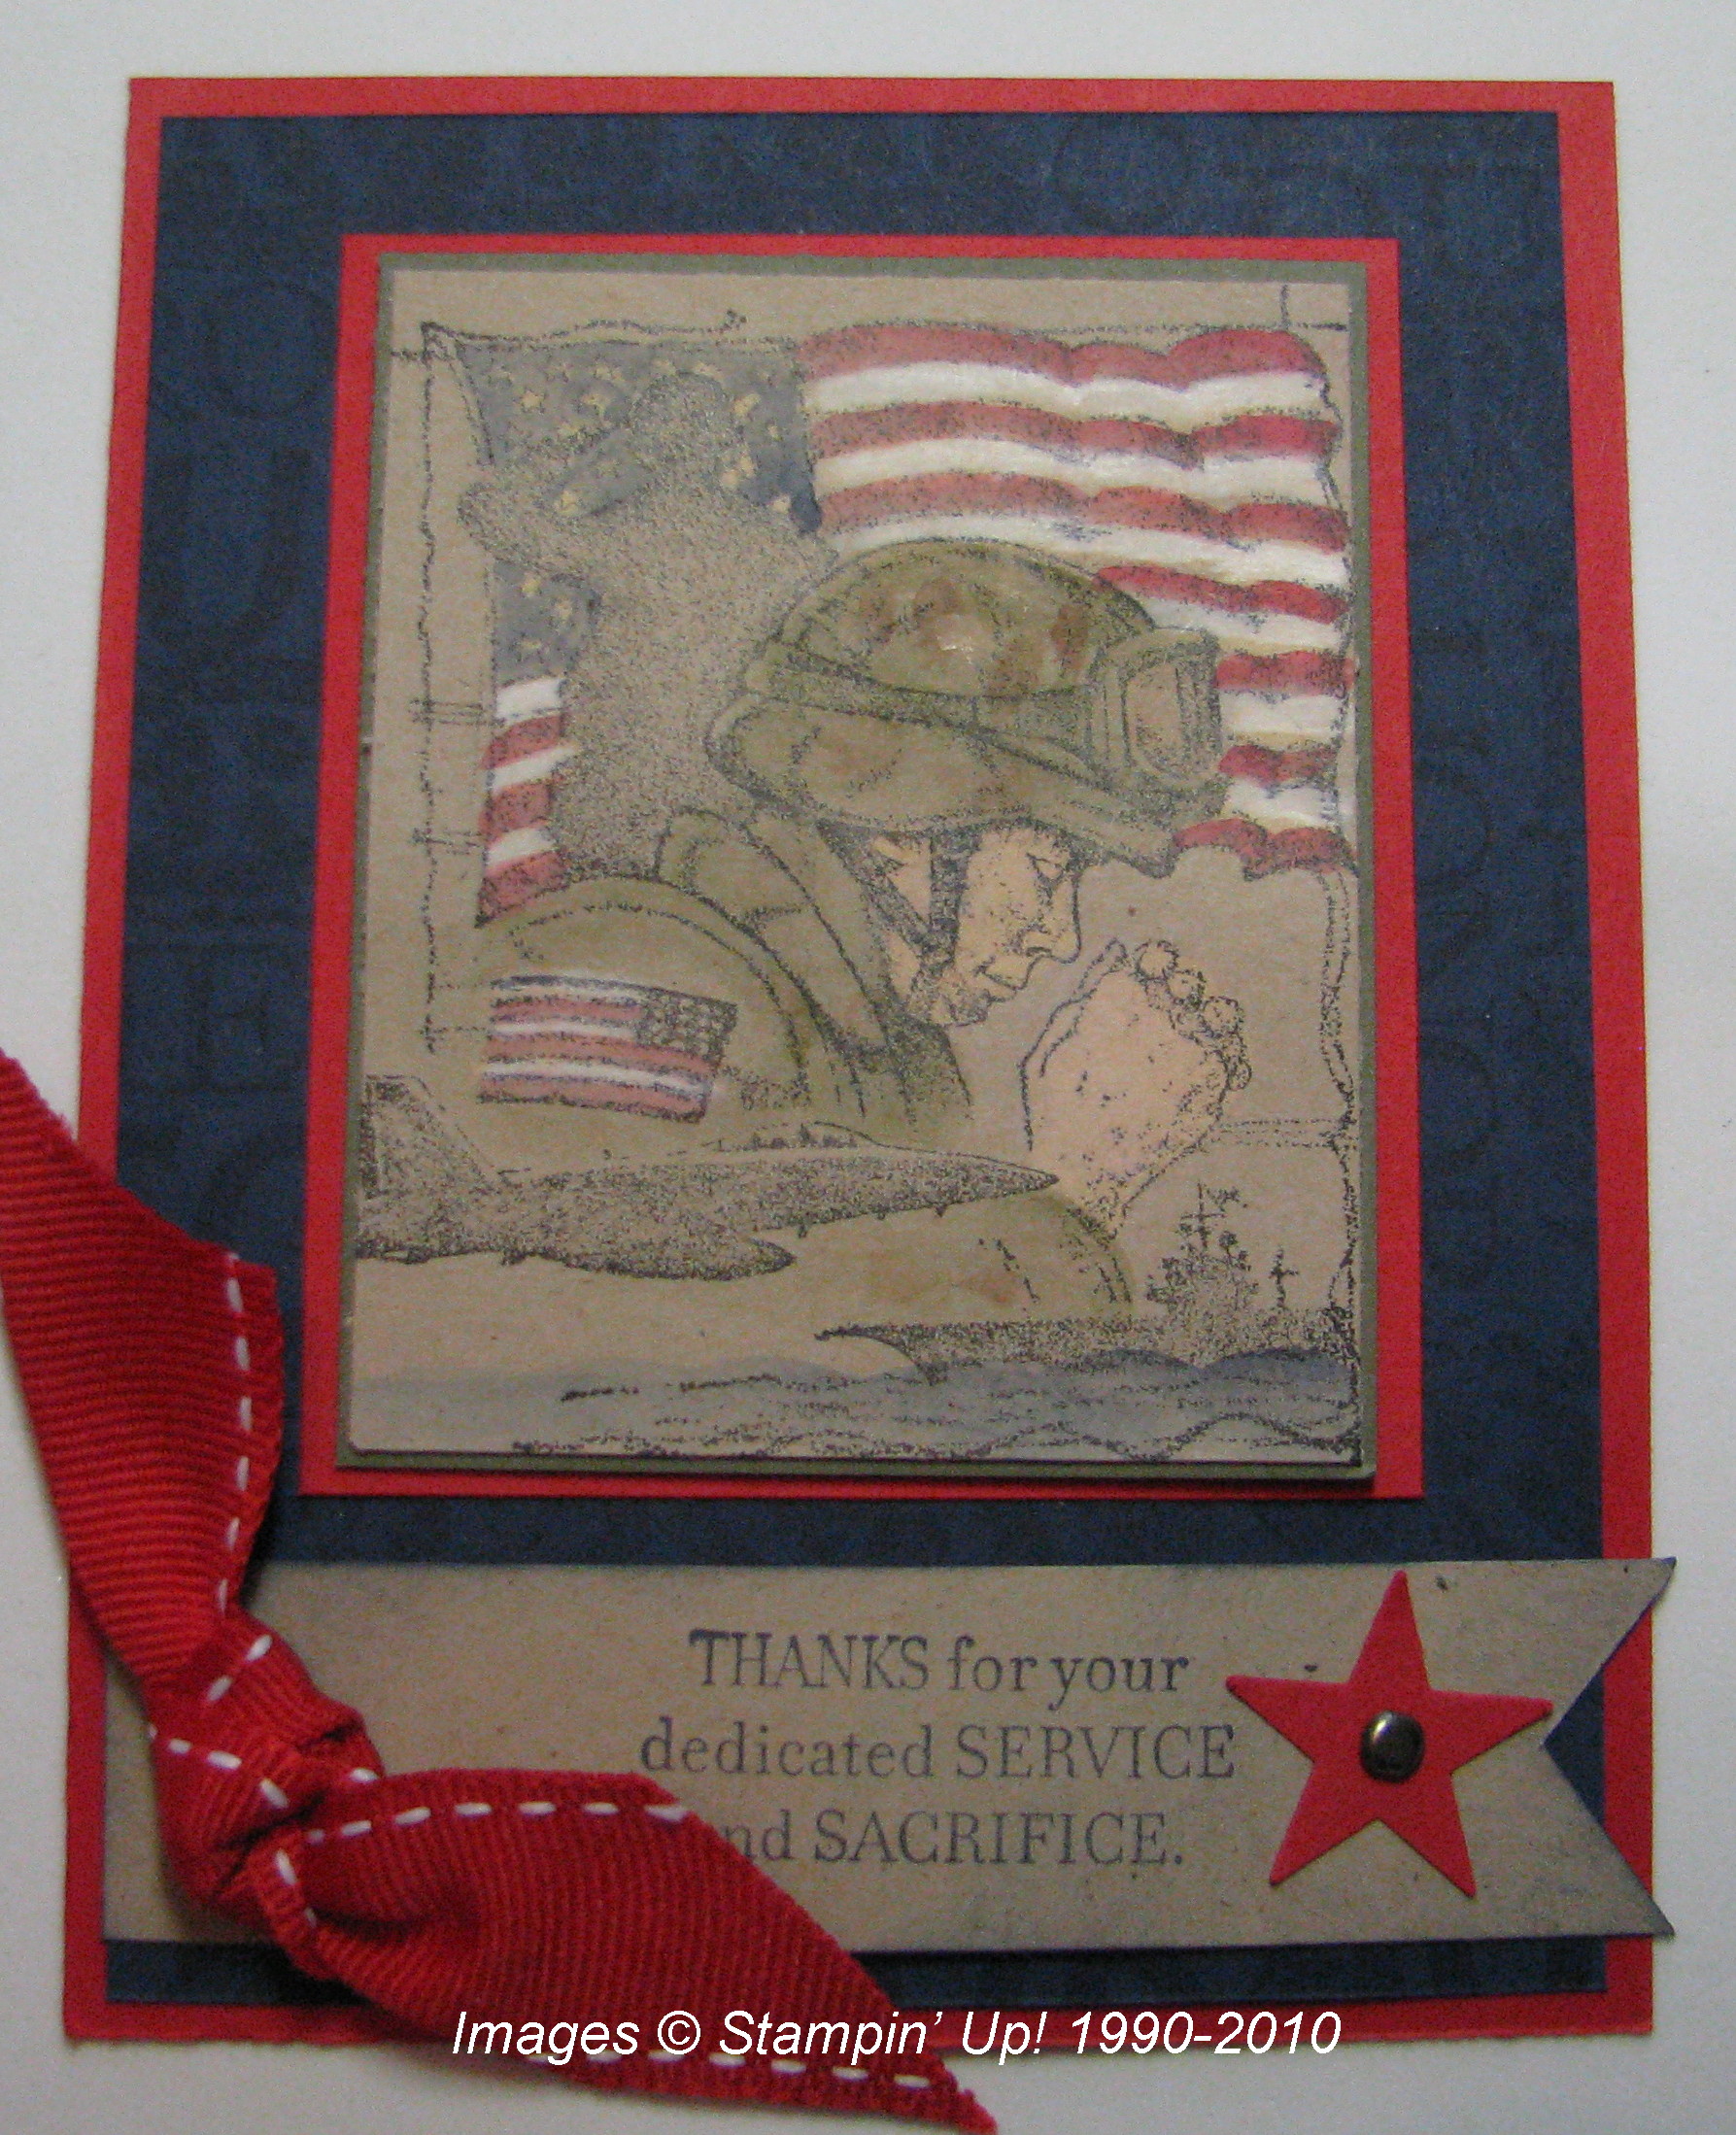
Today is Veterans Day and this is a card I received in a swap at Convention from Julia.  It uses the stamp sets Courage and Service & Sacrifice, plus the jumbo wheel Hero.  It is a perfect way to express our thanks to all members of the military, especially on this day.  

From History.com:  On the 11th hour of the 11th day of the 11th month of 1918, an armistice, or temporary cessation of hostilities, was declared between the Allied nations and Germany in the First World War, then known as "the Great War." Commemorated as Armistice Day beginning the following year, November 11th became a legal federal holiday in the United States in 1938. In the aftermath of World War II and the Korean War, Armistice Day became Veterans Day, a holiday dedicated to American veterans of all wars.

Updating an Older Card

While cleaning up some of my samples and cards, I found three packets of card stock, with a sample card, obviously left over from a stamp camp, maybe from last year or the year before.  I decidcd I would make something with it!

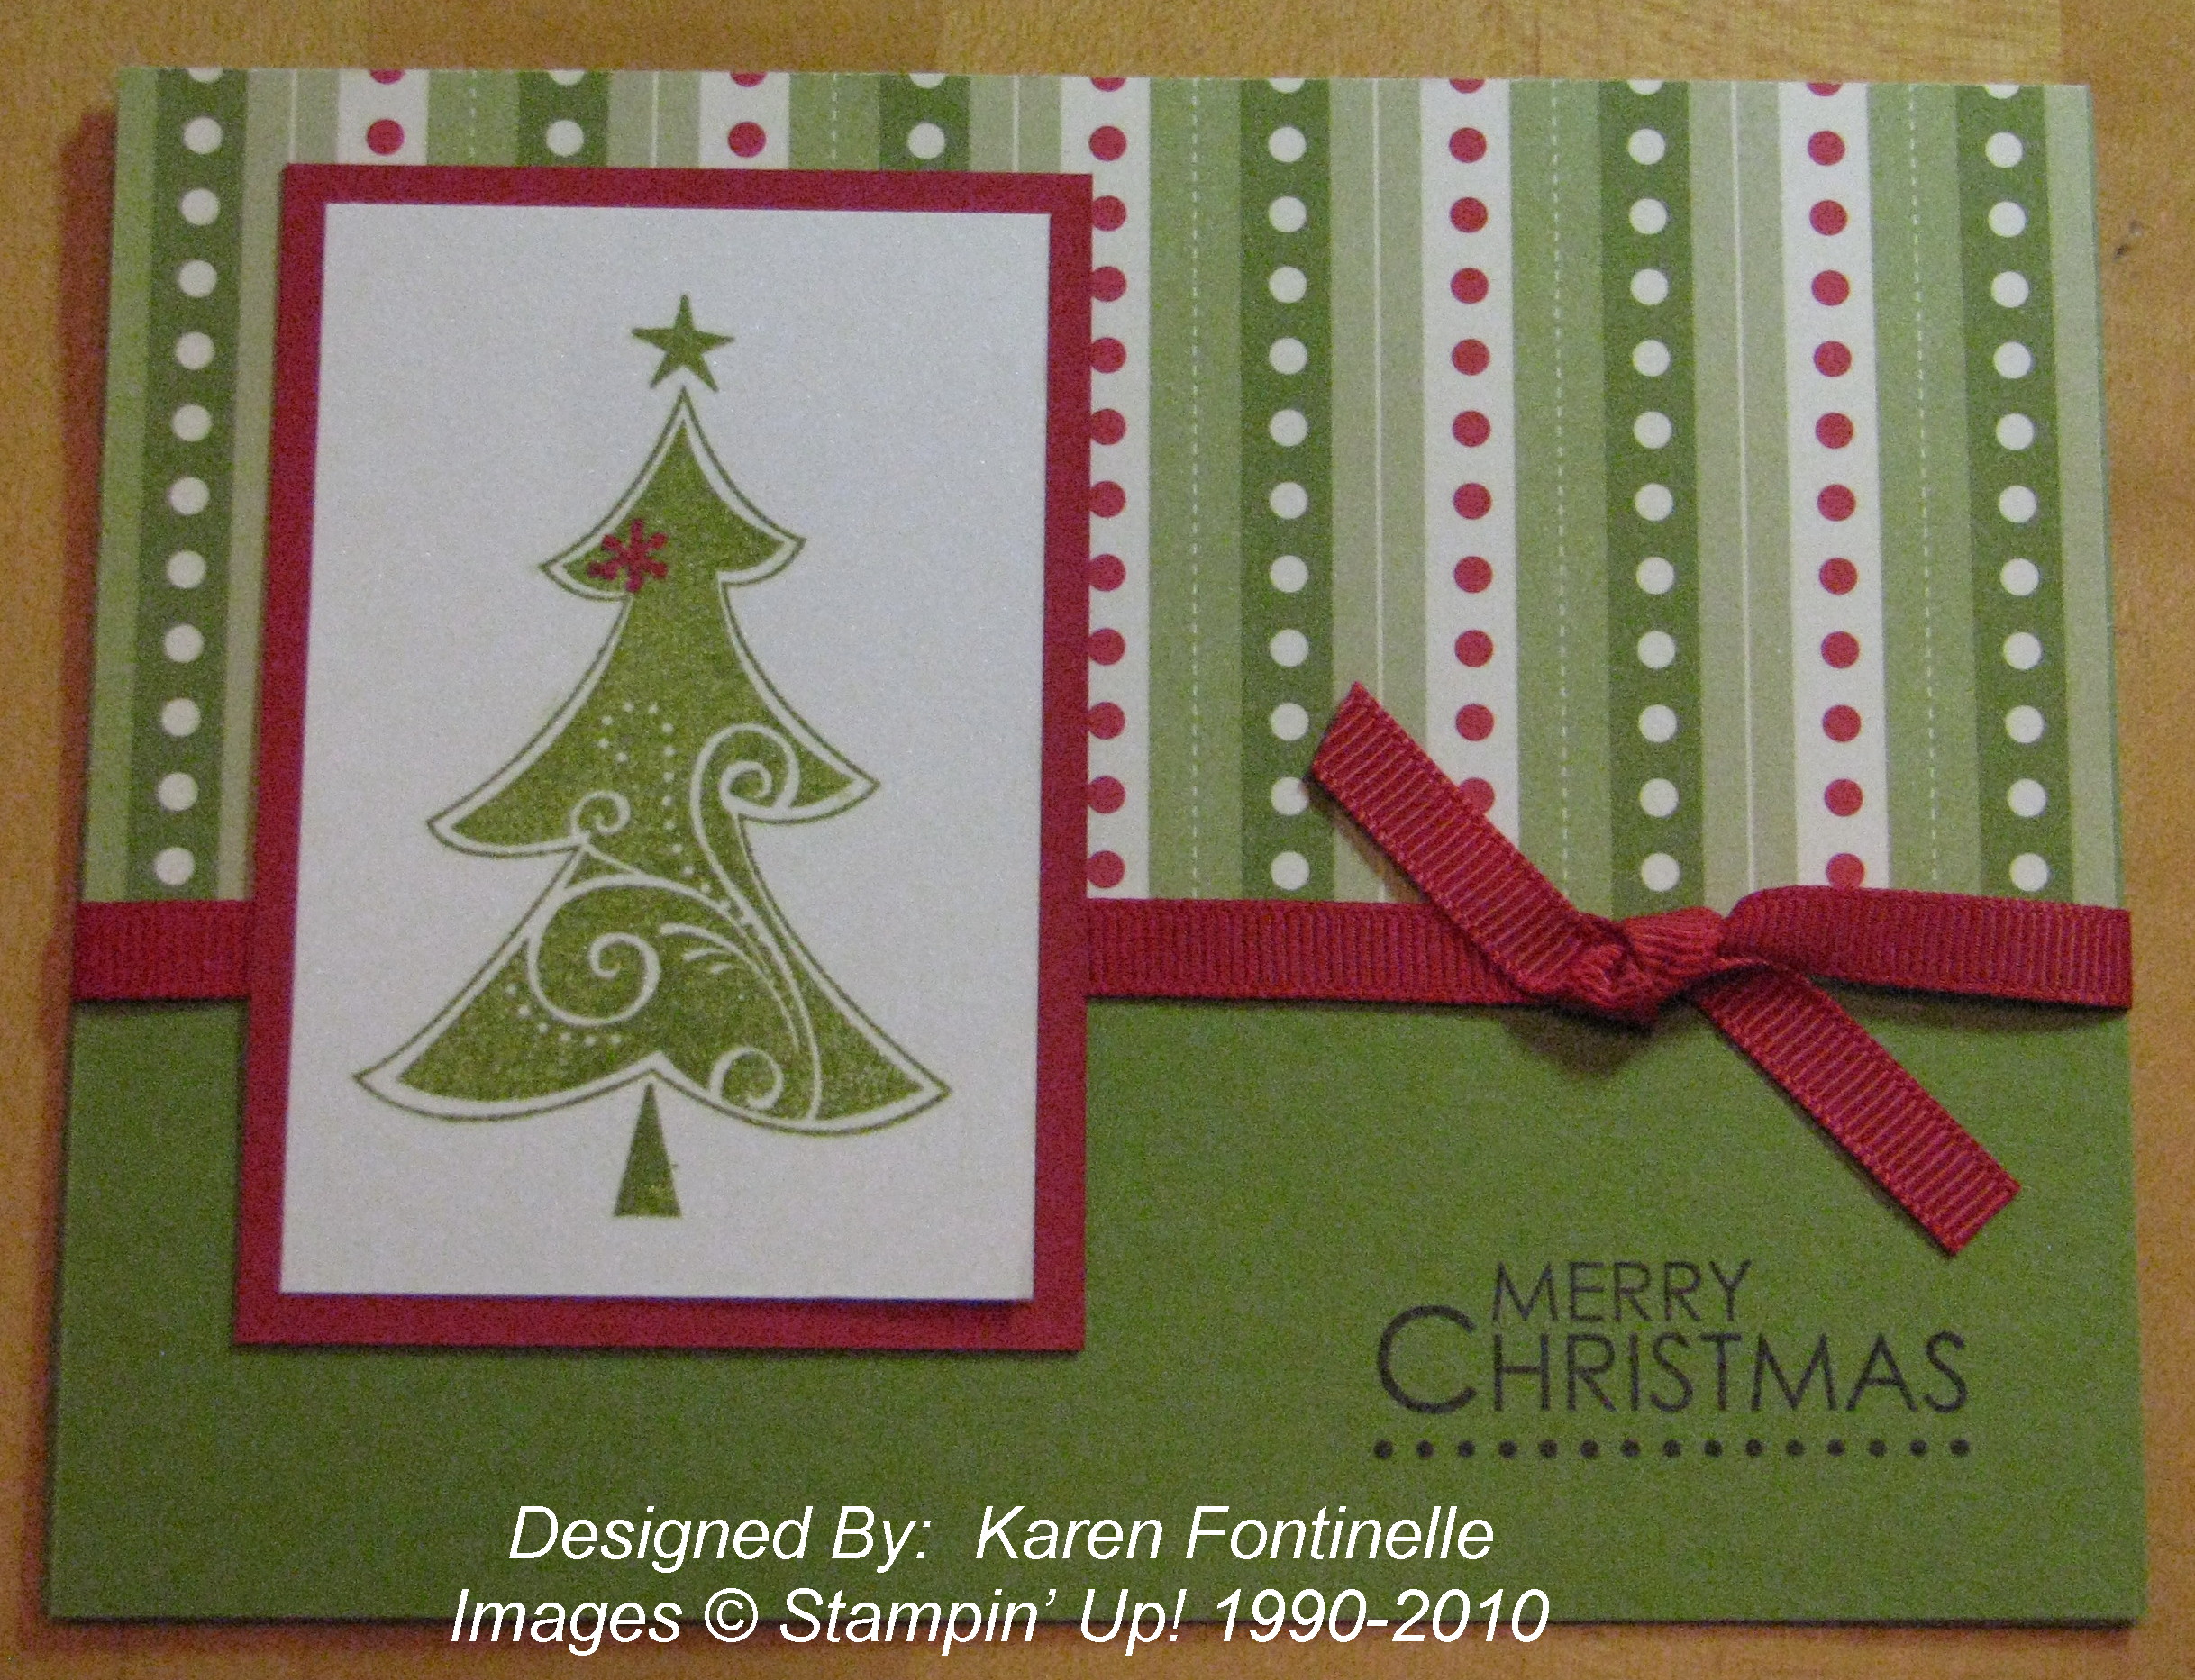
Here's the "old" card.  The stamp set is still current, "Season of Joy" #110384, page 33 of the IB&C, so really just the designer paper is retired.

TreeCardold

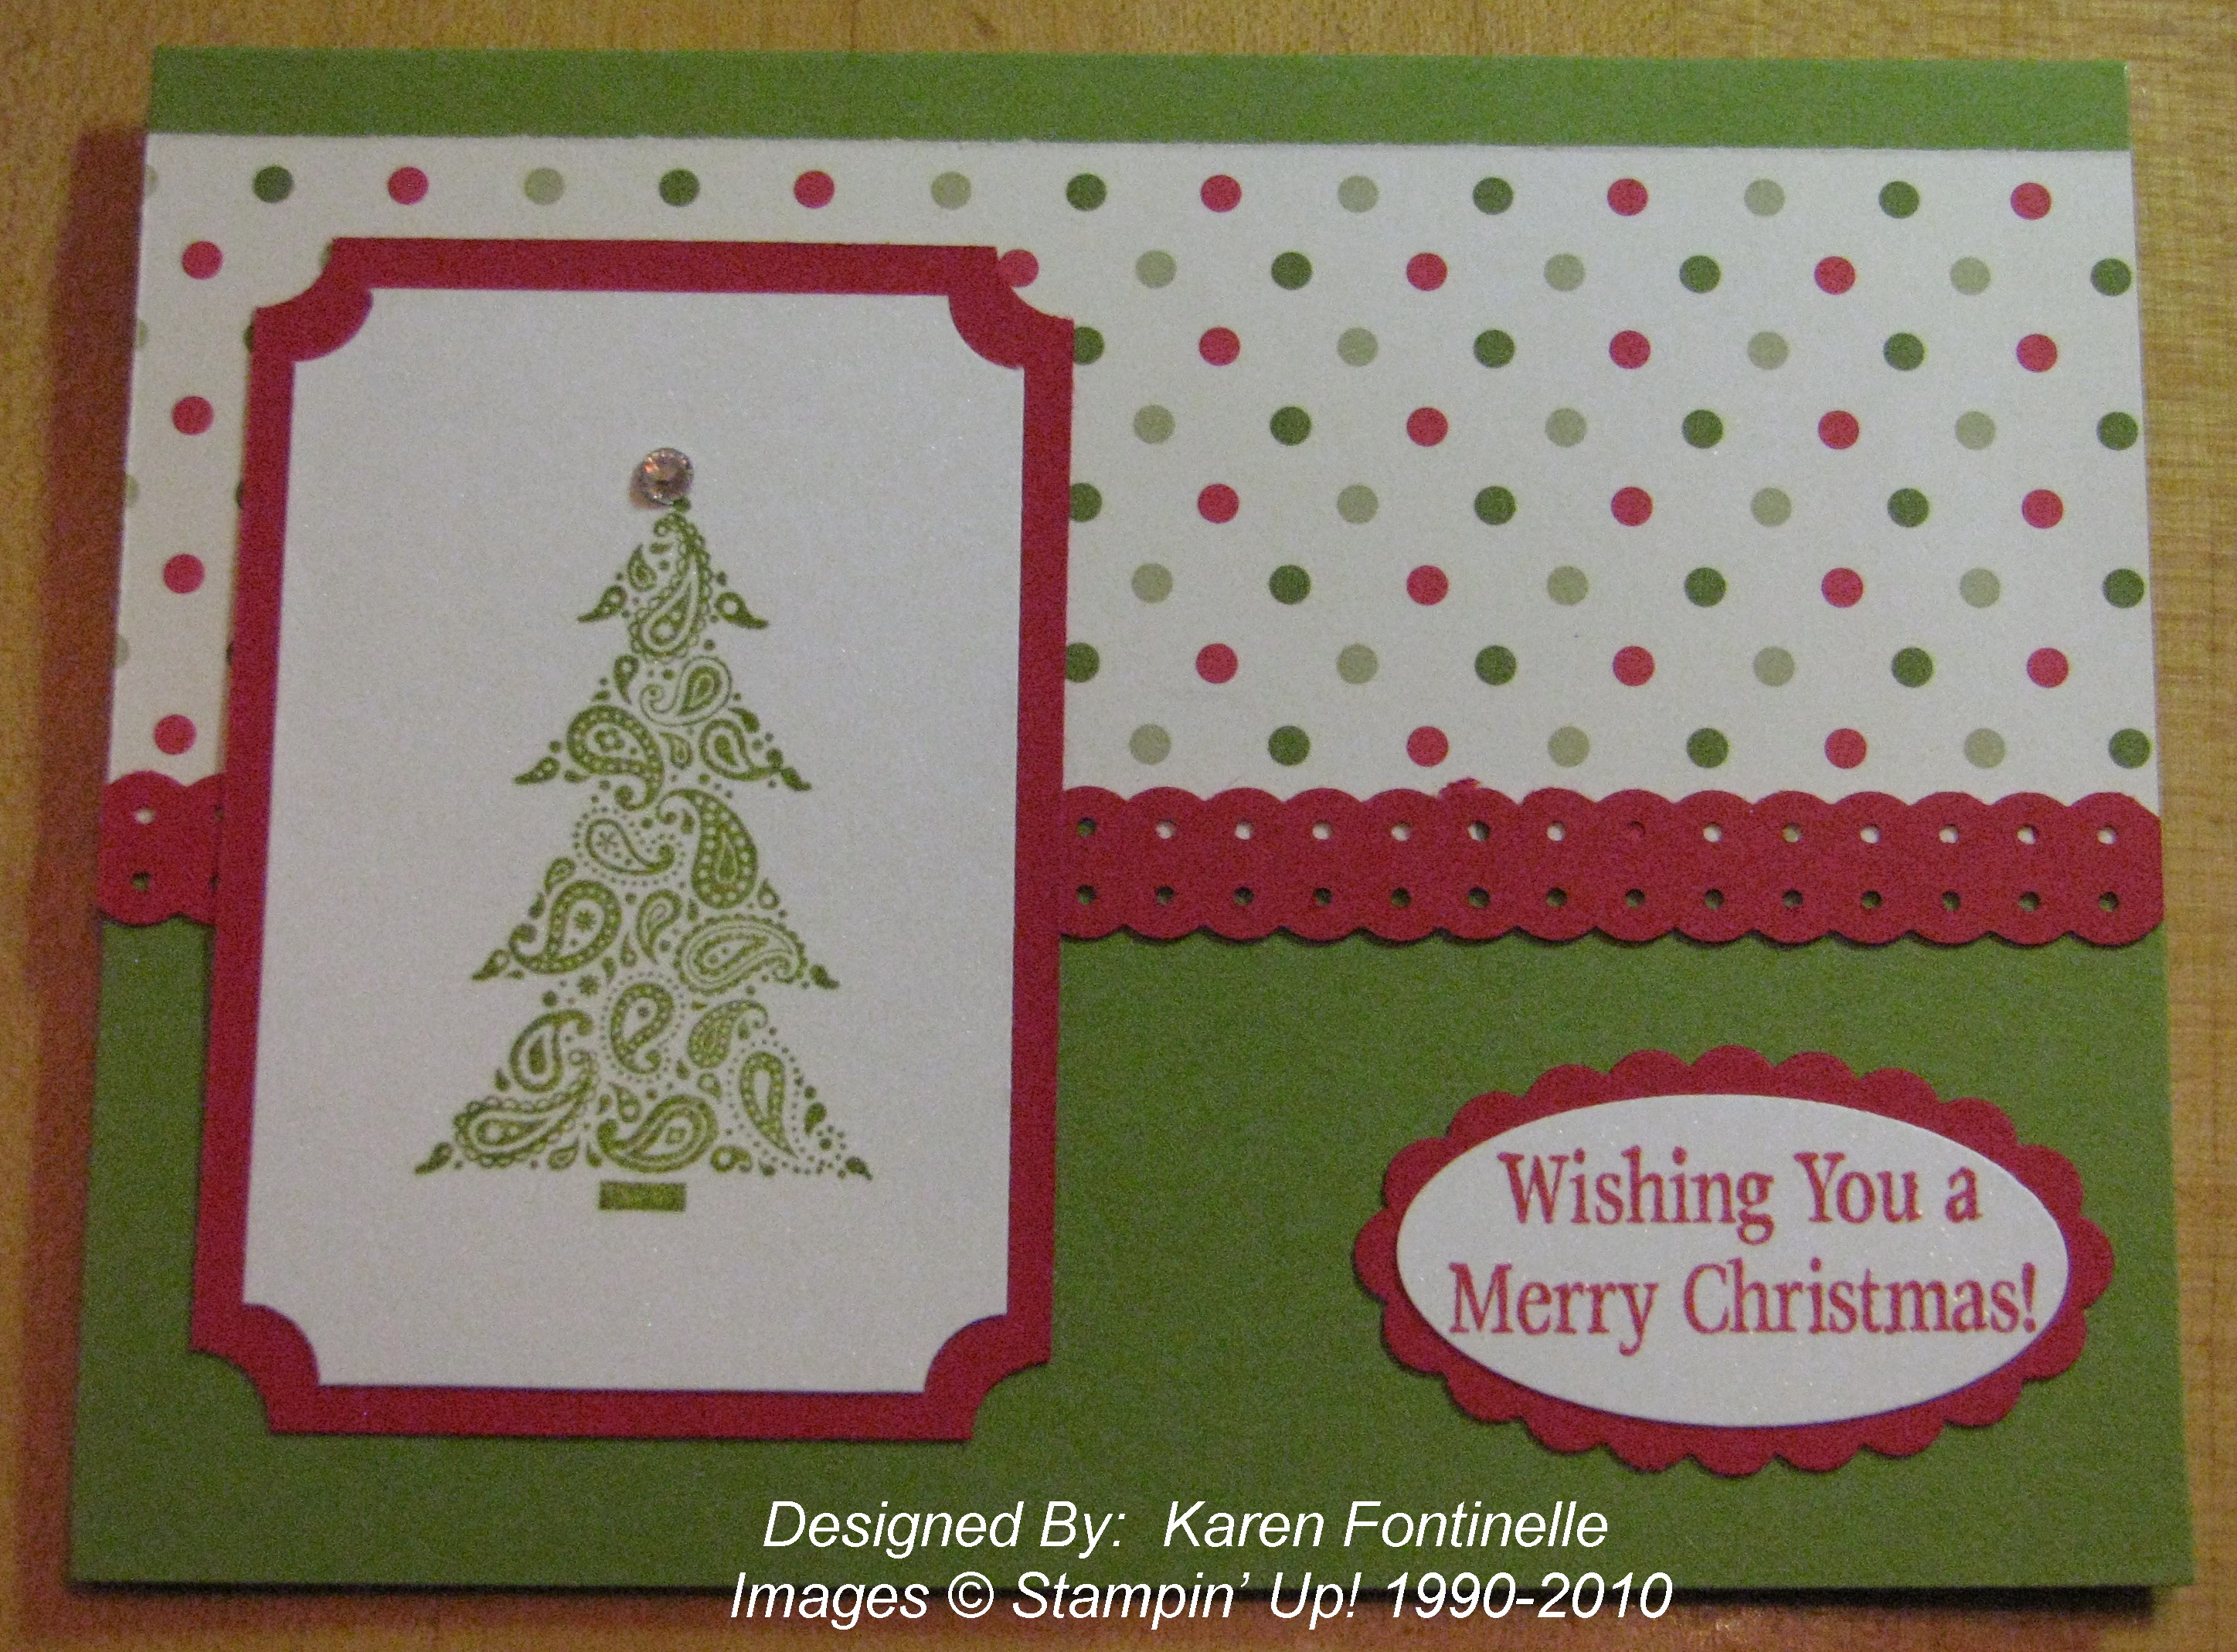
Here's the new card.  I flipped the designer paper to the other side, substituted the tree from Paisley Prints, in the Holiday Mini, clipped the corners, and instead of ribbon I punched a strip with the Dotted Scallop Ribbon Border Punch #119275.  I used a greeting from Jolly Old Saint Nick in the Holiday Mini, as well as a little Basic Rhinestone #119246 to top the tree!

TreeCardnew

If you need any supplies to make your Christmas cards, you can contact me or just go straight to my Online Store HERE.

Scenic Season Card

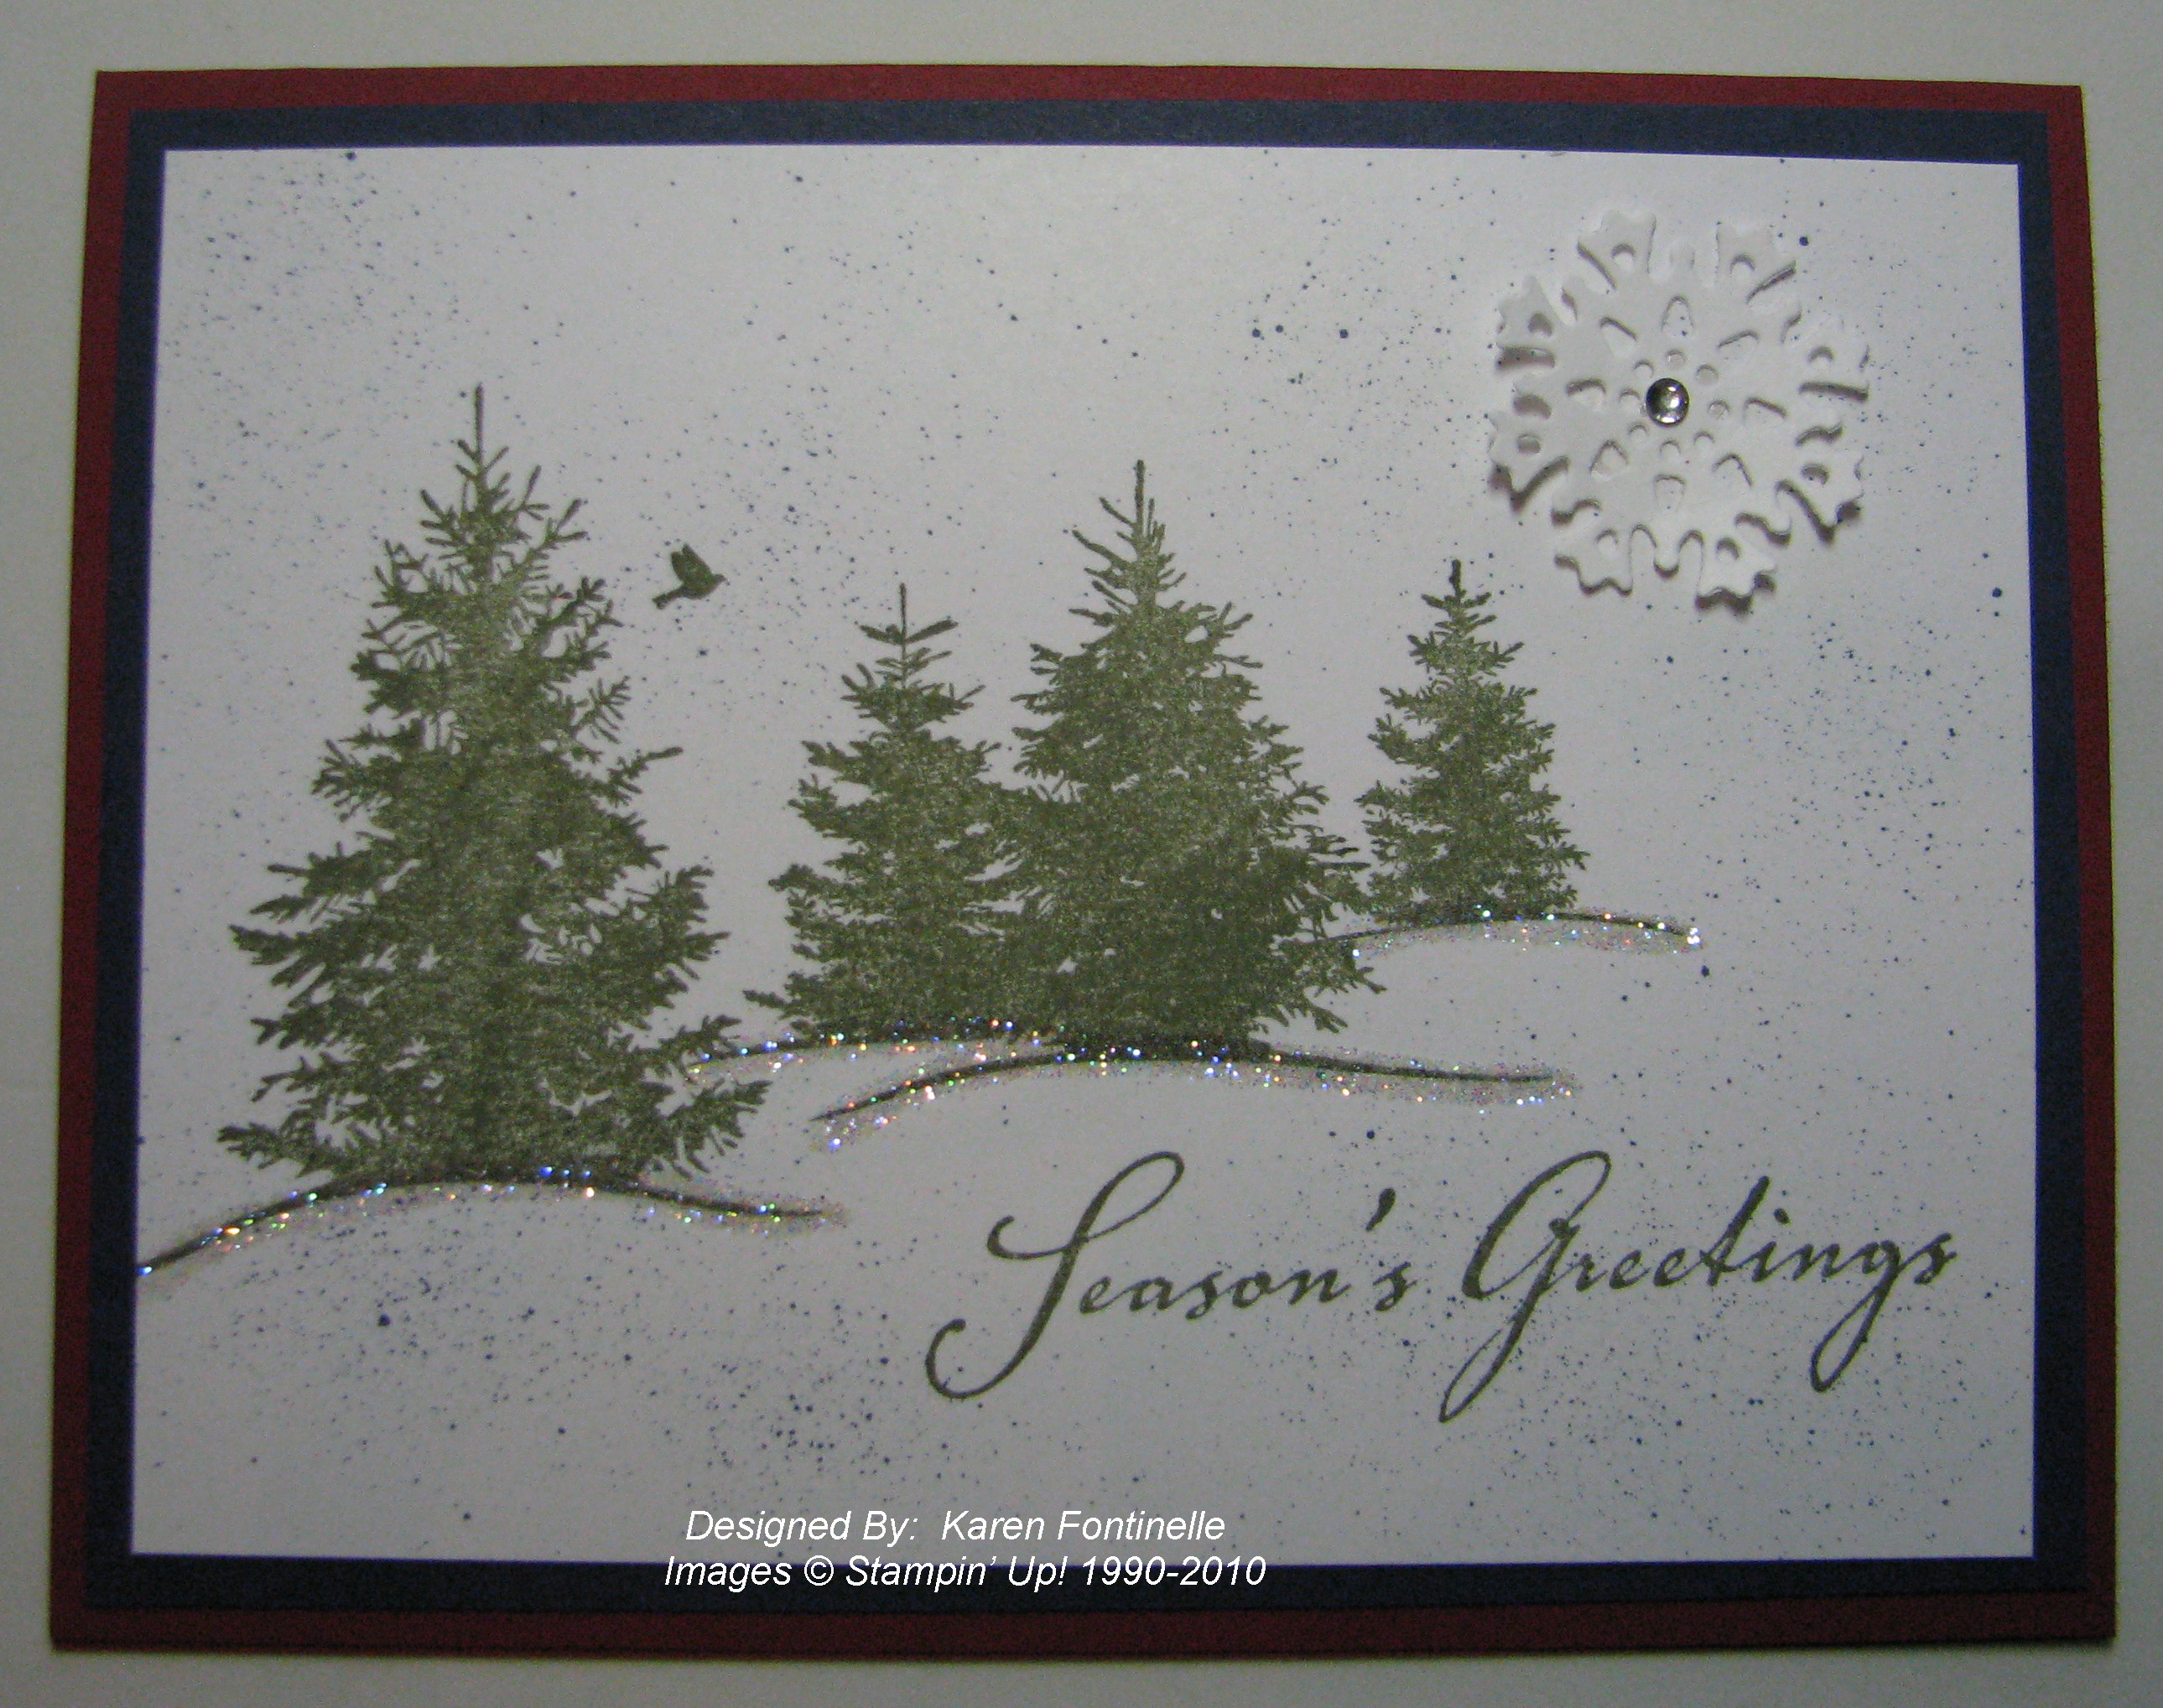
This is a beautiful stamp set, Scenic Season #115354, from the Stampin' Up! 2010-2011 Idea Book & Catalog, page 36, that allows you to make an easy and elegant Christmas card.  Just stamp the trees and a greeting, add a little Dazzling Diamonds Glitter and maybe a snowflake from the die cut Northern Frost #120901 in the corner.  Layer on whatever cardstock colors you select.  I used Night of Navy and Cherry Cobbler.

Scenic Season

Holiday Card Photo Tips

Here are some tips from RealSimple.com on how to get a good photo to either put on or in your holiday cards!

  • Just keep it simple….people want to see your faces, not the Christmas-y clothes or props in the background.
  • The light source should be behind the photographer, but that source shouldn't be bright sun.
  • Think about people in levels as you compose the shot…make a triangle…."Have one person standing, one in a chair, one on the arm, one kneeling in front.”
  • Don't drag the process out when you have little children.  Plan the shot beforehand, perhaps with large stuffed animals holding their places. Perhaps have someone else take the photo who your children will listen to better for direction!

And when you've got that great shot, consider either making your own card to put it on with Stampin' Up! supplies, or design your card with My Digital Studio and have Stampin' Up! professionally print it for you!

Let me know if you need ideas for designing or making your own holiday card!

November 2nd – Election Day!

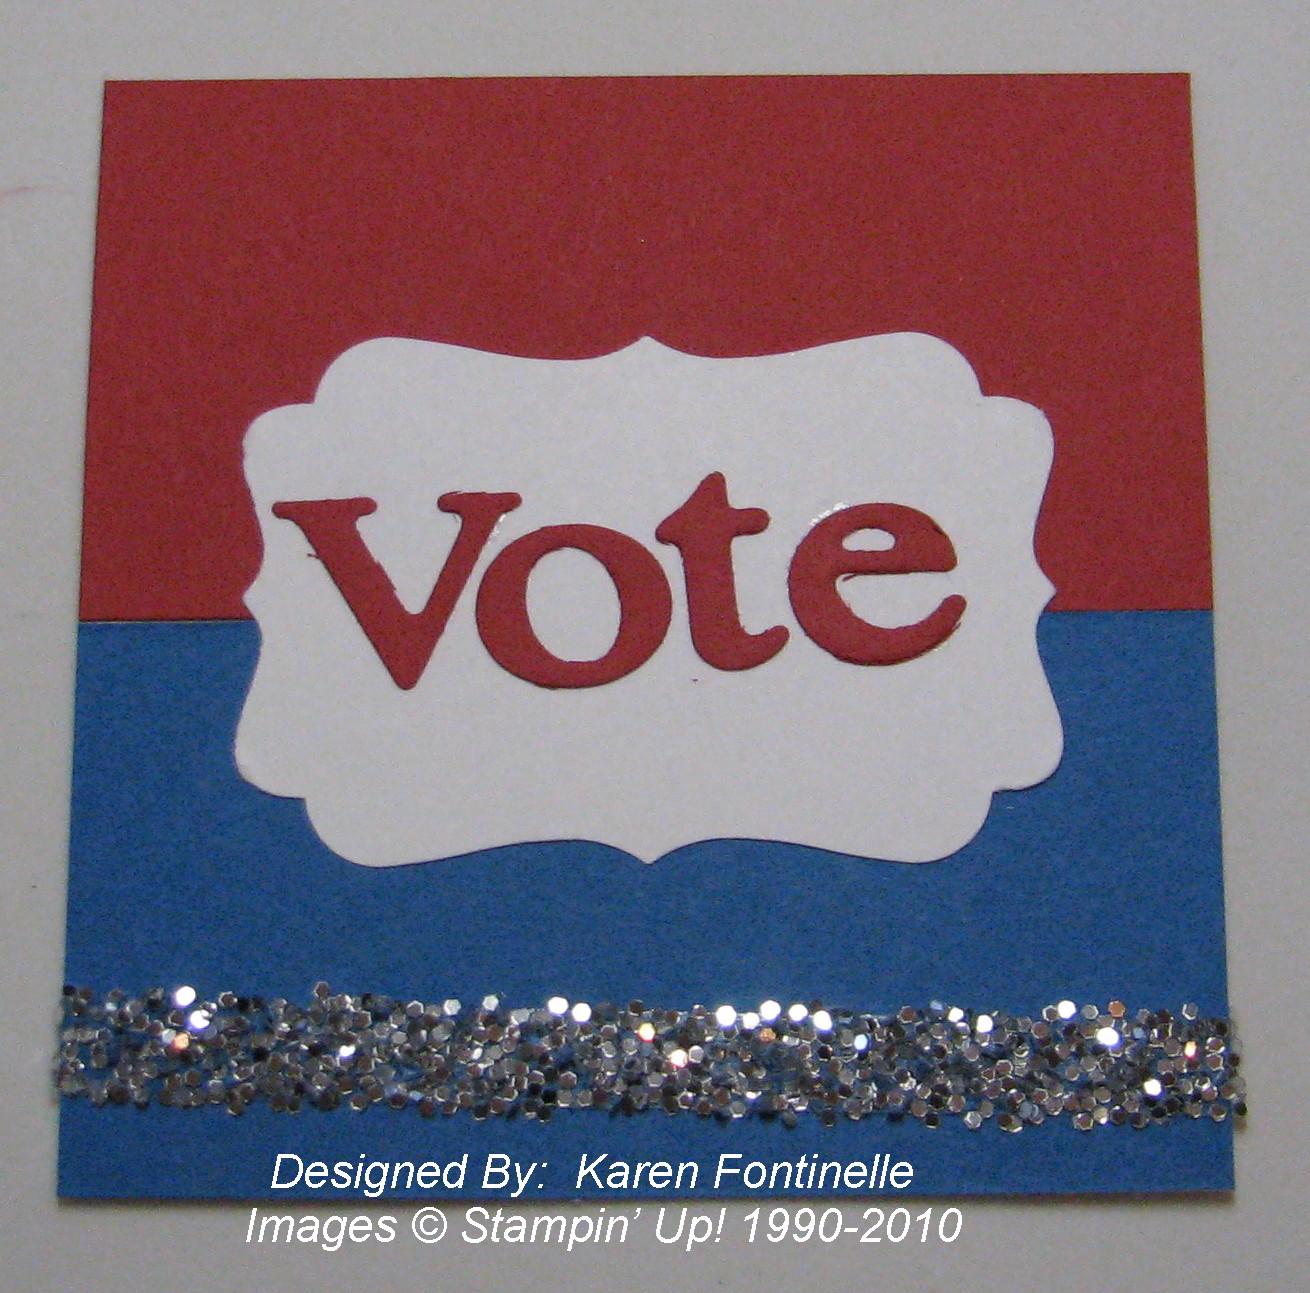
Just a quick little 3" x 3" card in honor of Election Day today. Stampin' Up! makes it so easy to make a cute little card for any occasion.  You can express yourself with just colors or punches and generic stamps sometimes….you don't always have to have exactly the right occasion stamp.

Vote on Election Day!

Here I used Whisper White, Real Red, and Marina Mist card stock, plus the Decorative Label Punch #120907 and the Sizzix Naturally Serif Alphabet #113453 die cut with the Big Shot #113439.  For a little pizzazz, I put down a strip of Sticky Strip #104294 and sprinkled with Chunky Essentials Glitter #108797

If you need any stamping supplies, visit my Online Store!

November Gratitude Bag

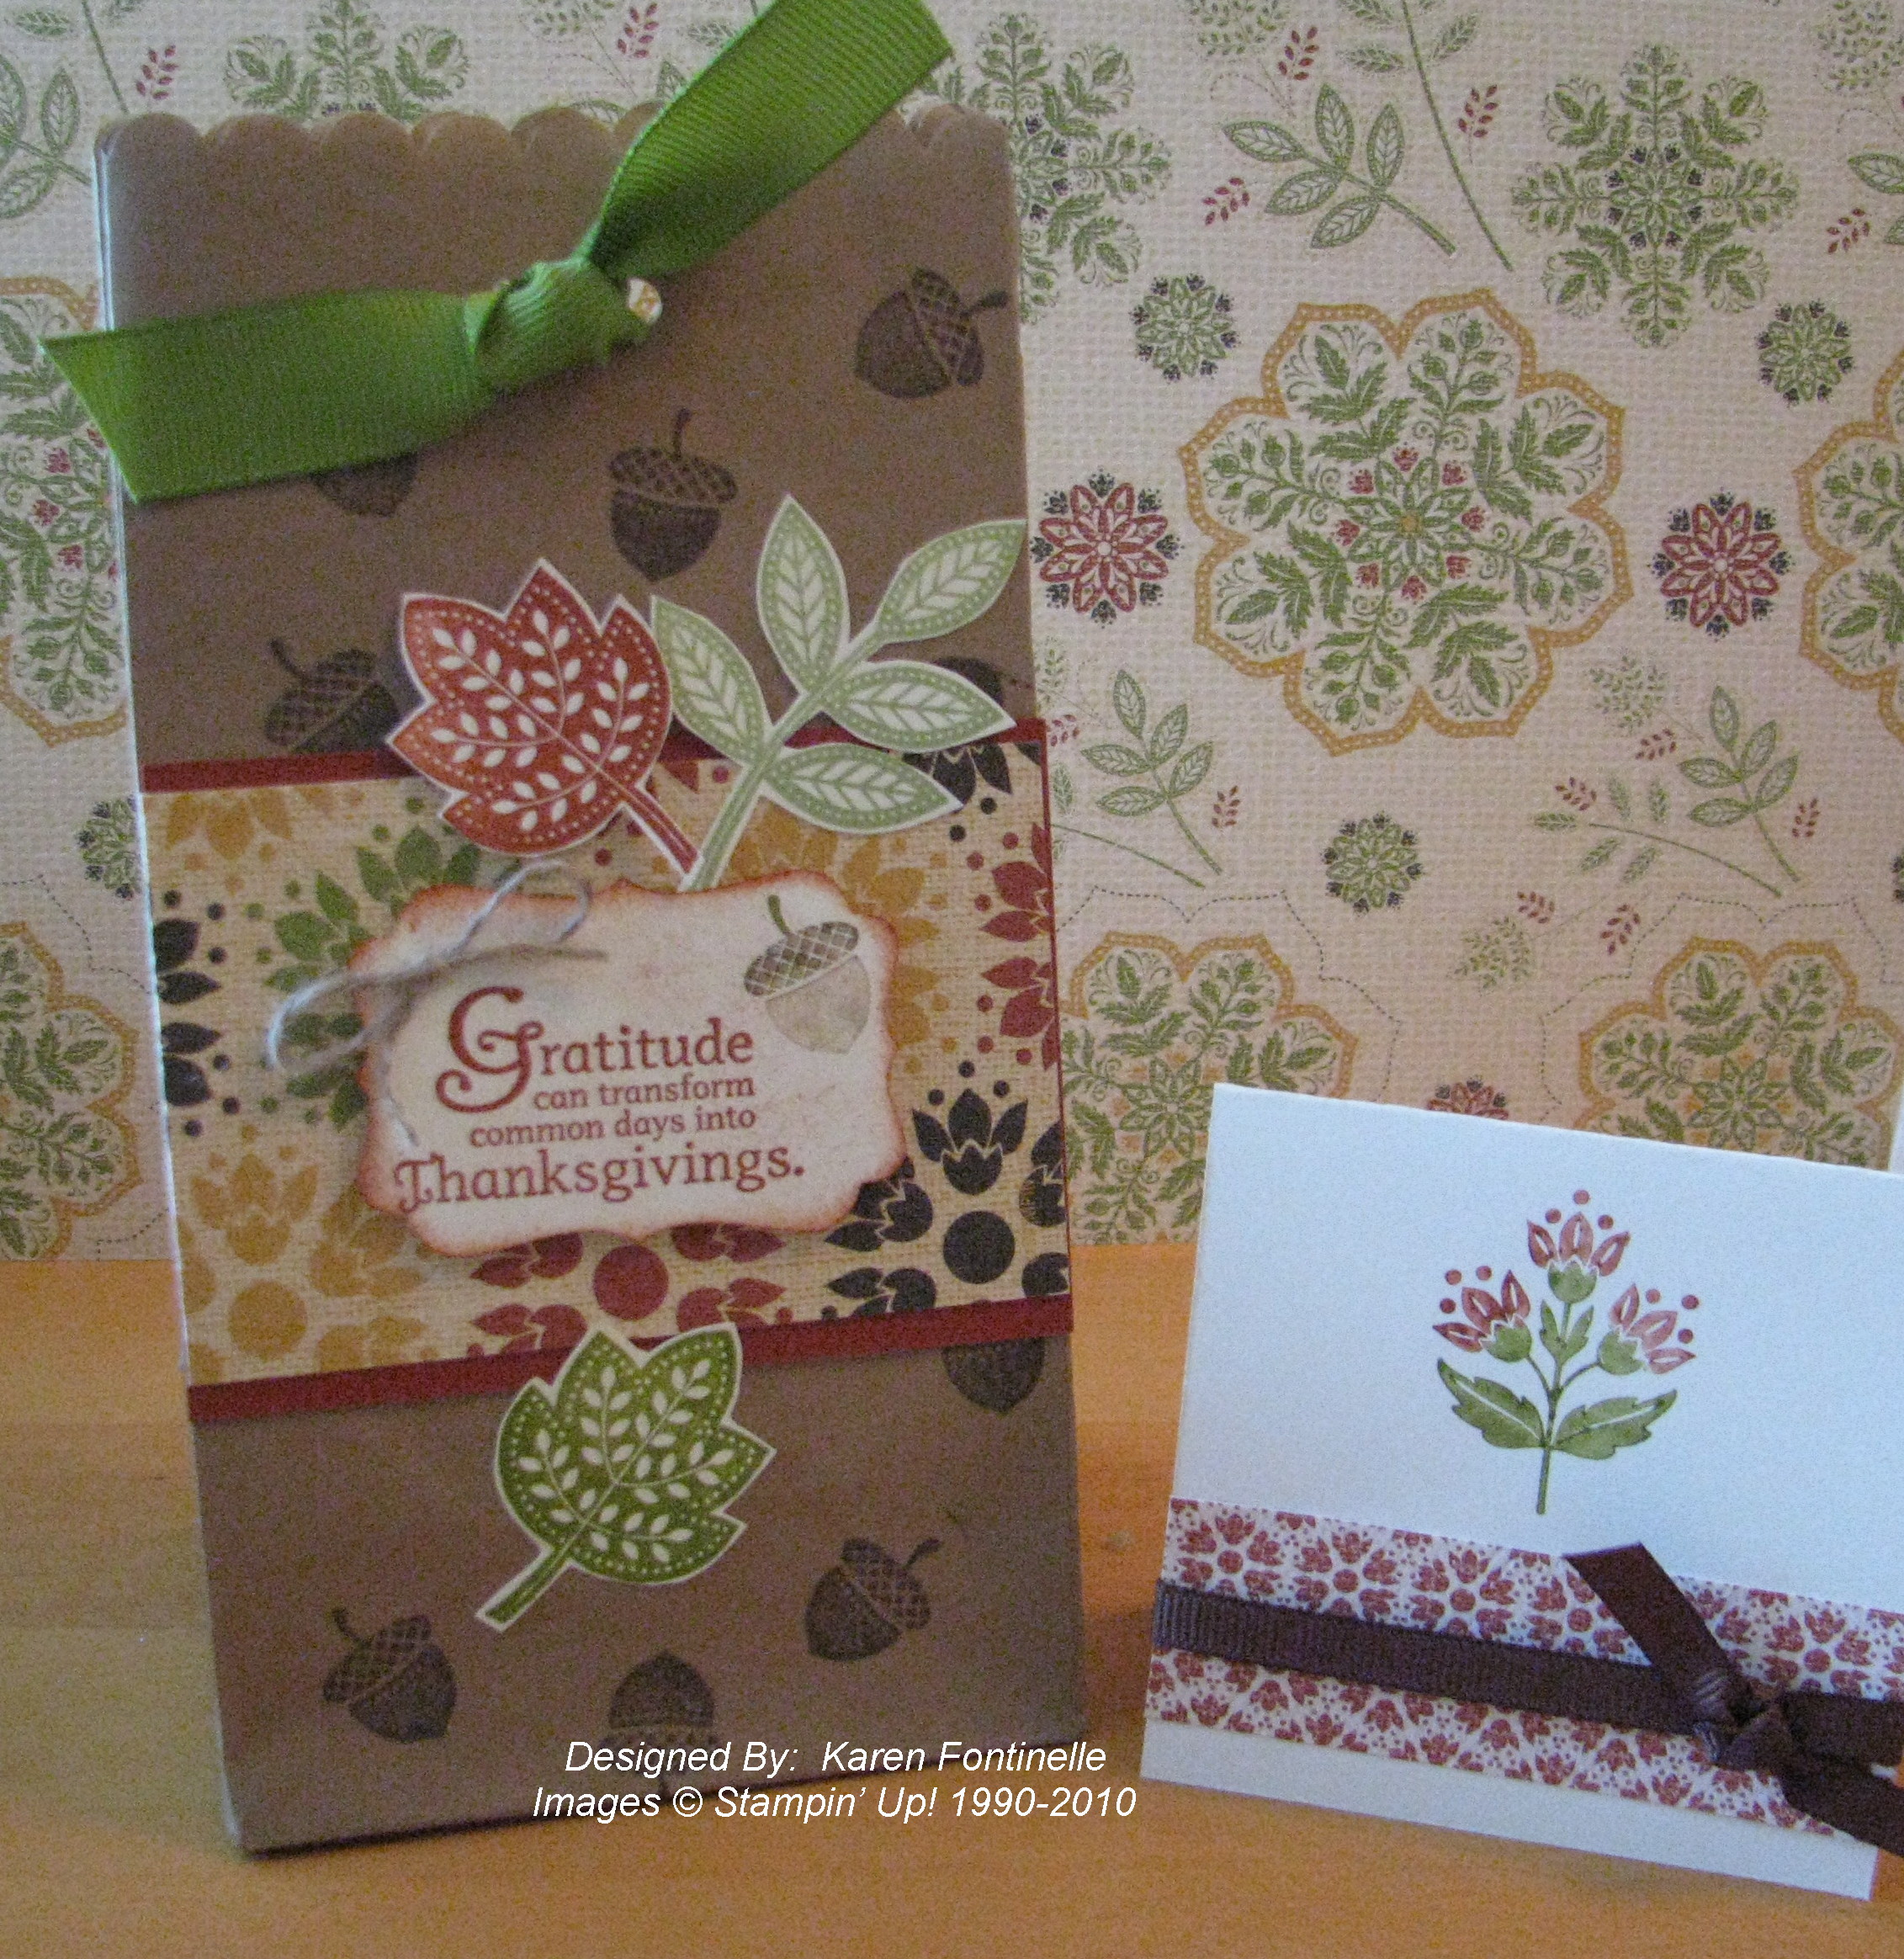
I so enjoyed decorating these Mini Lunch Sacks #121031 for Halloween in the Holiday Mini that I decided to do one more for the first day of November. Is it really November already?!  I guess so, and that means Thanksgiving isn't far behind! Wouldn't this make a nice little gift to take to someone at Thanksgiving?  You could fill it with some special treat or gift or perhaps some little 3"x 3" notecards like the one I made.  Once you start working with this beautiful Autumn Spice Specialty Designer Series Paper #120808 (also in the Holiday Mini) you won't be able to stop!  This is textured, heavyweight paper so it really is rich and special.  You can see another sheet of it in the background of my photo.  Pair it with the stamp set "Day of Gratitude" in either wood-mount or clear-mount and you will have a wonderful way to stamp lots of beautiful fall projects!

Gratitude Bag

If you need to place an order for any of these supplies, you can shop 24/7 at my Online Store.  Just click on the "Shop Now" button!

Happy Halloween! Halloween Treat Bags!

I hope you have a fun Halloween planned with your family!  I expect to have some trick-or-treaters at my door tonight and I always enjoy giving out the candy!  The little neighborhood carnival is just down the street, so we always do get a lot of kids at our house as they come and go from the carnival.

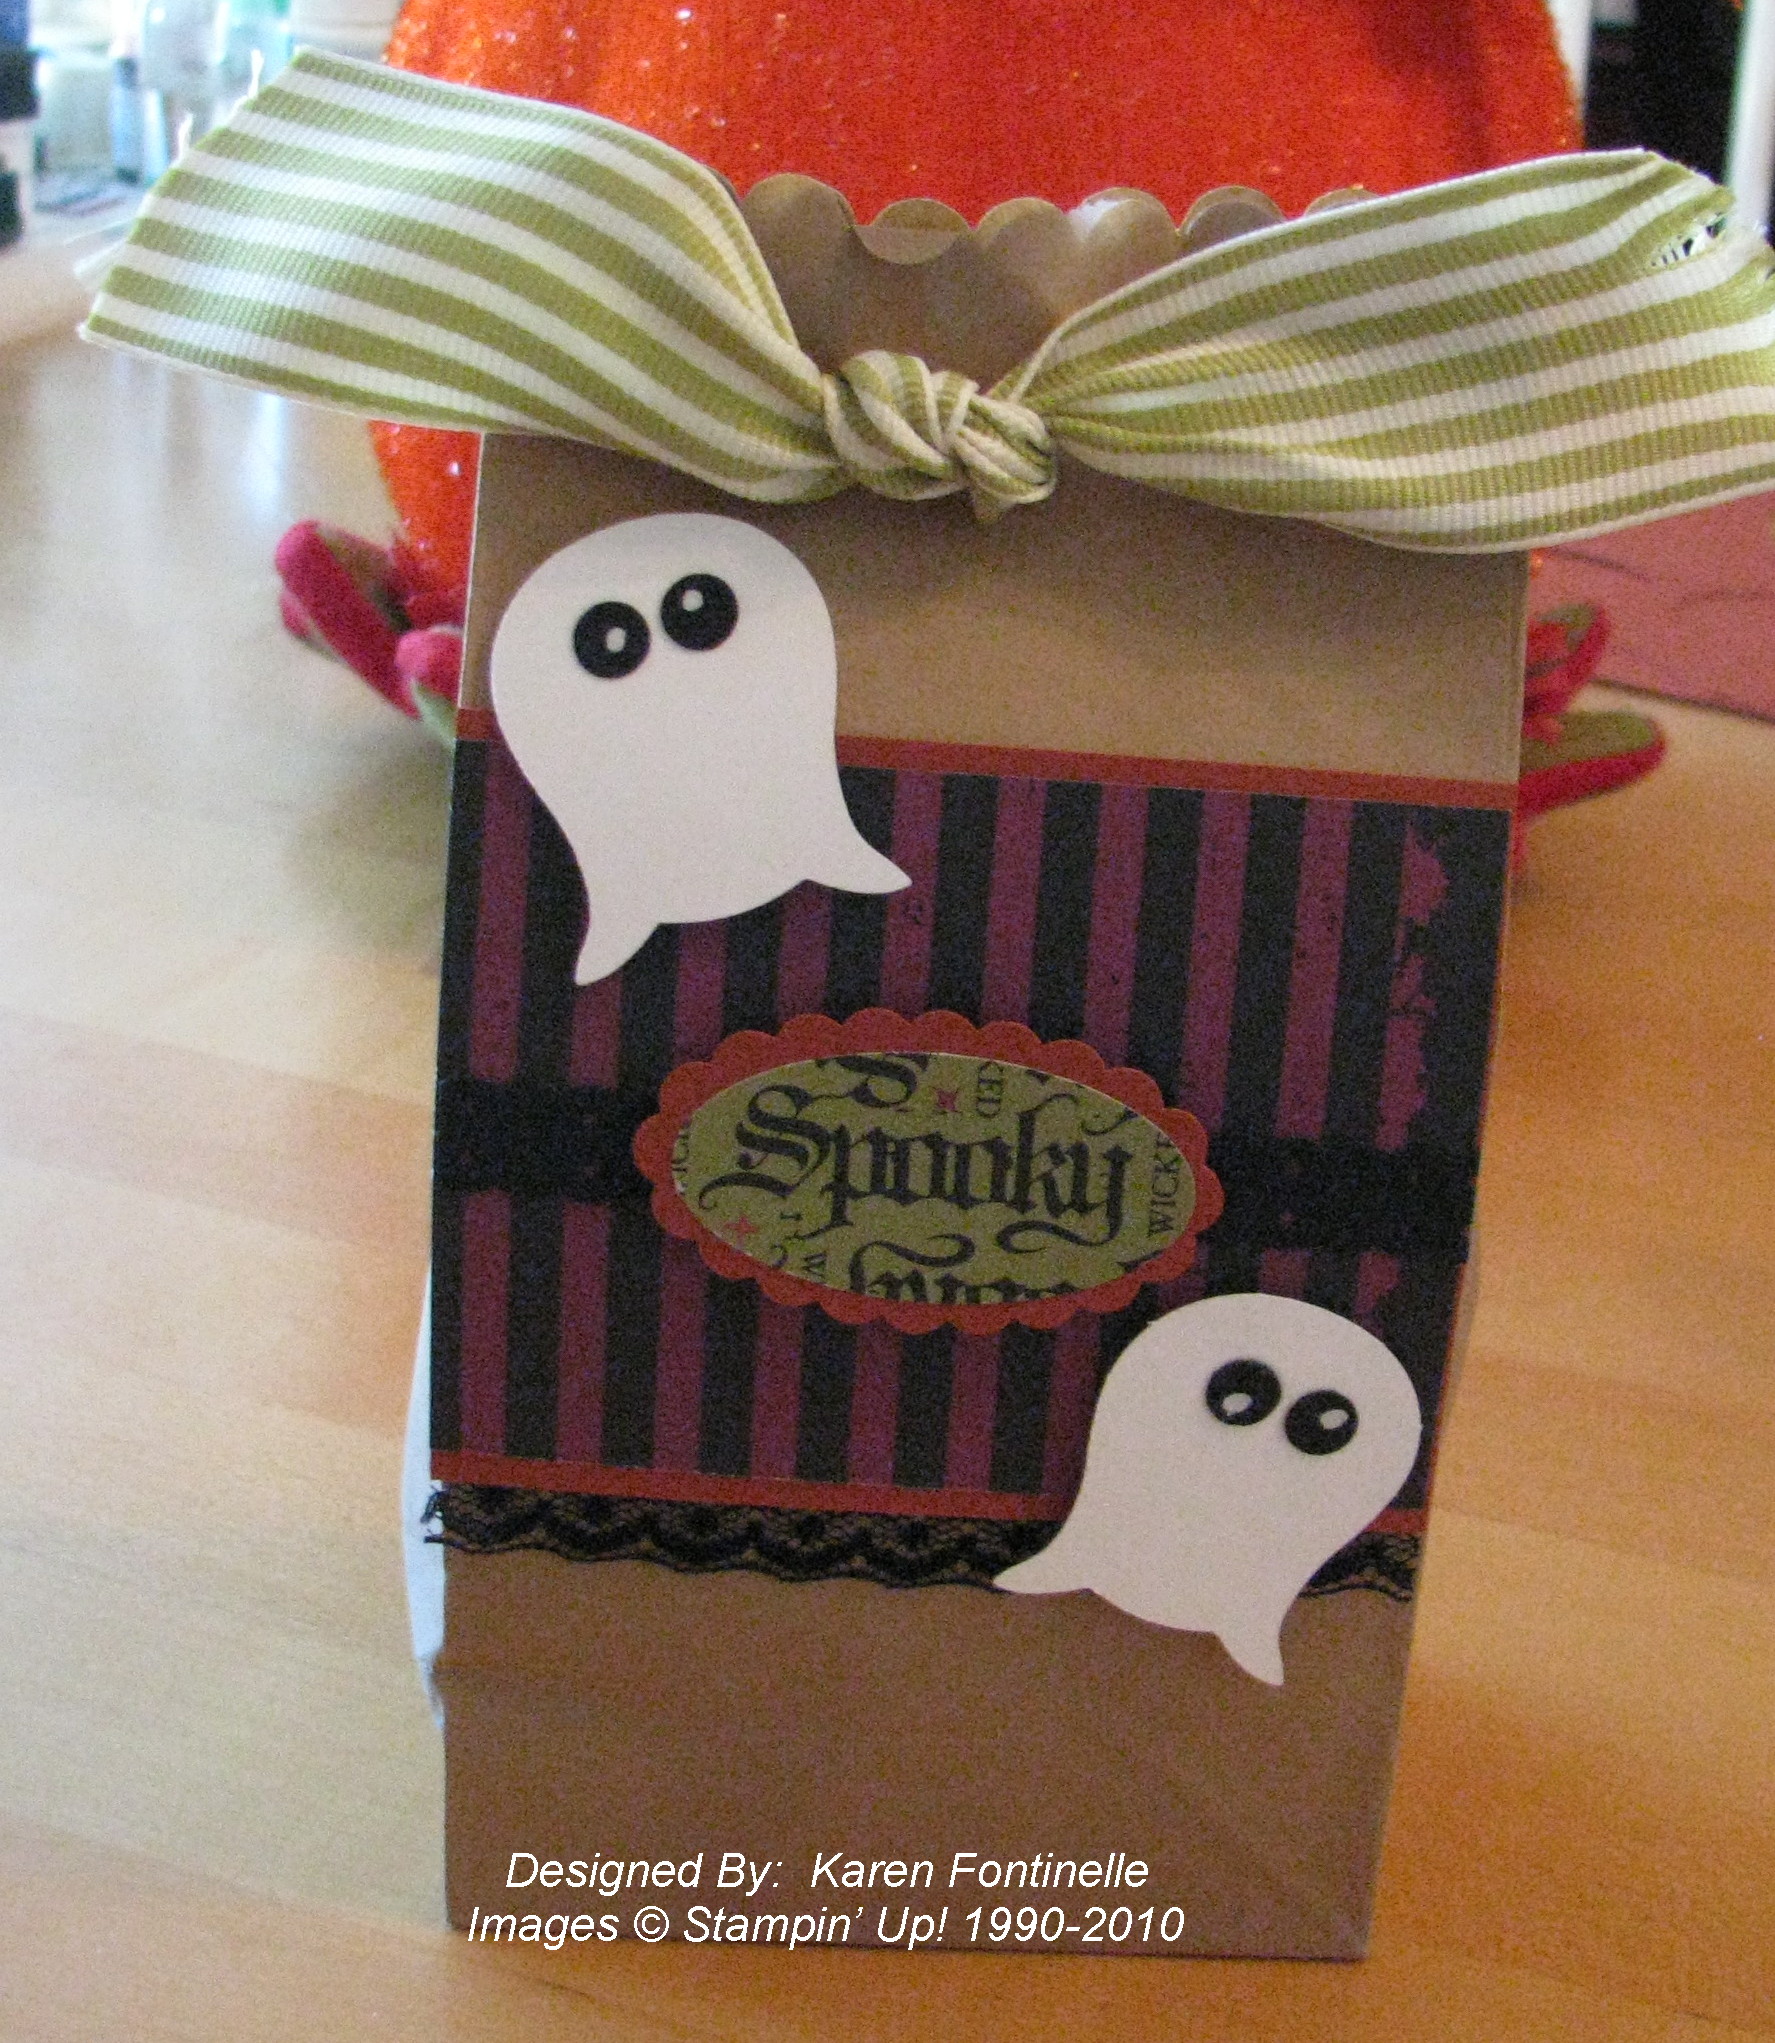
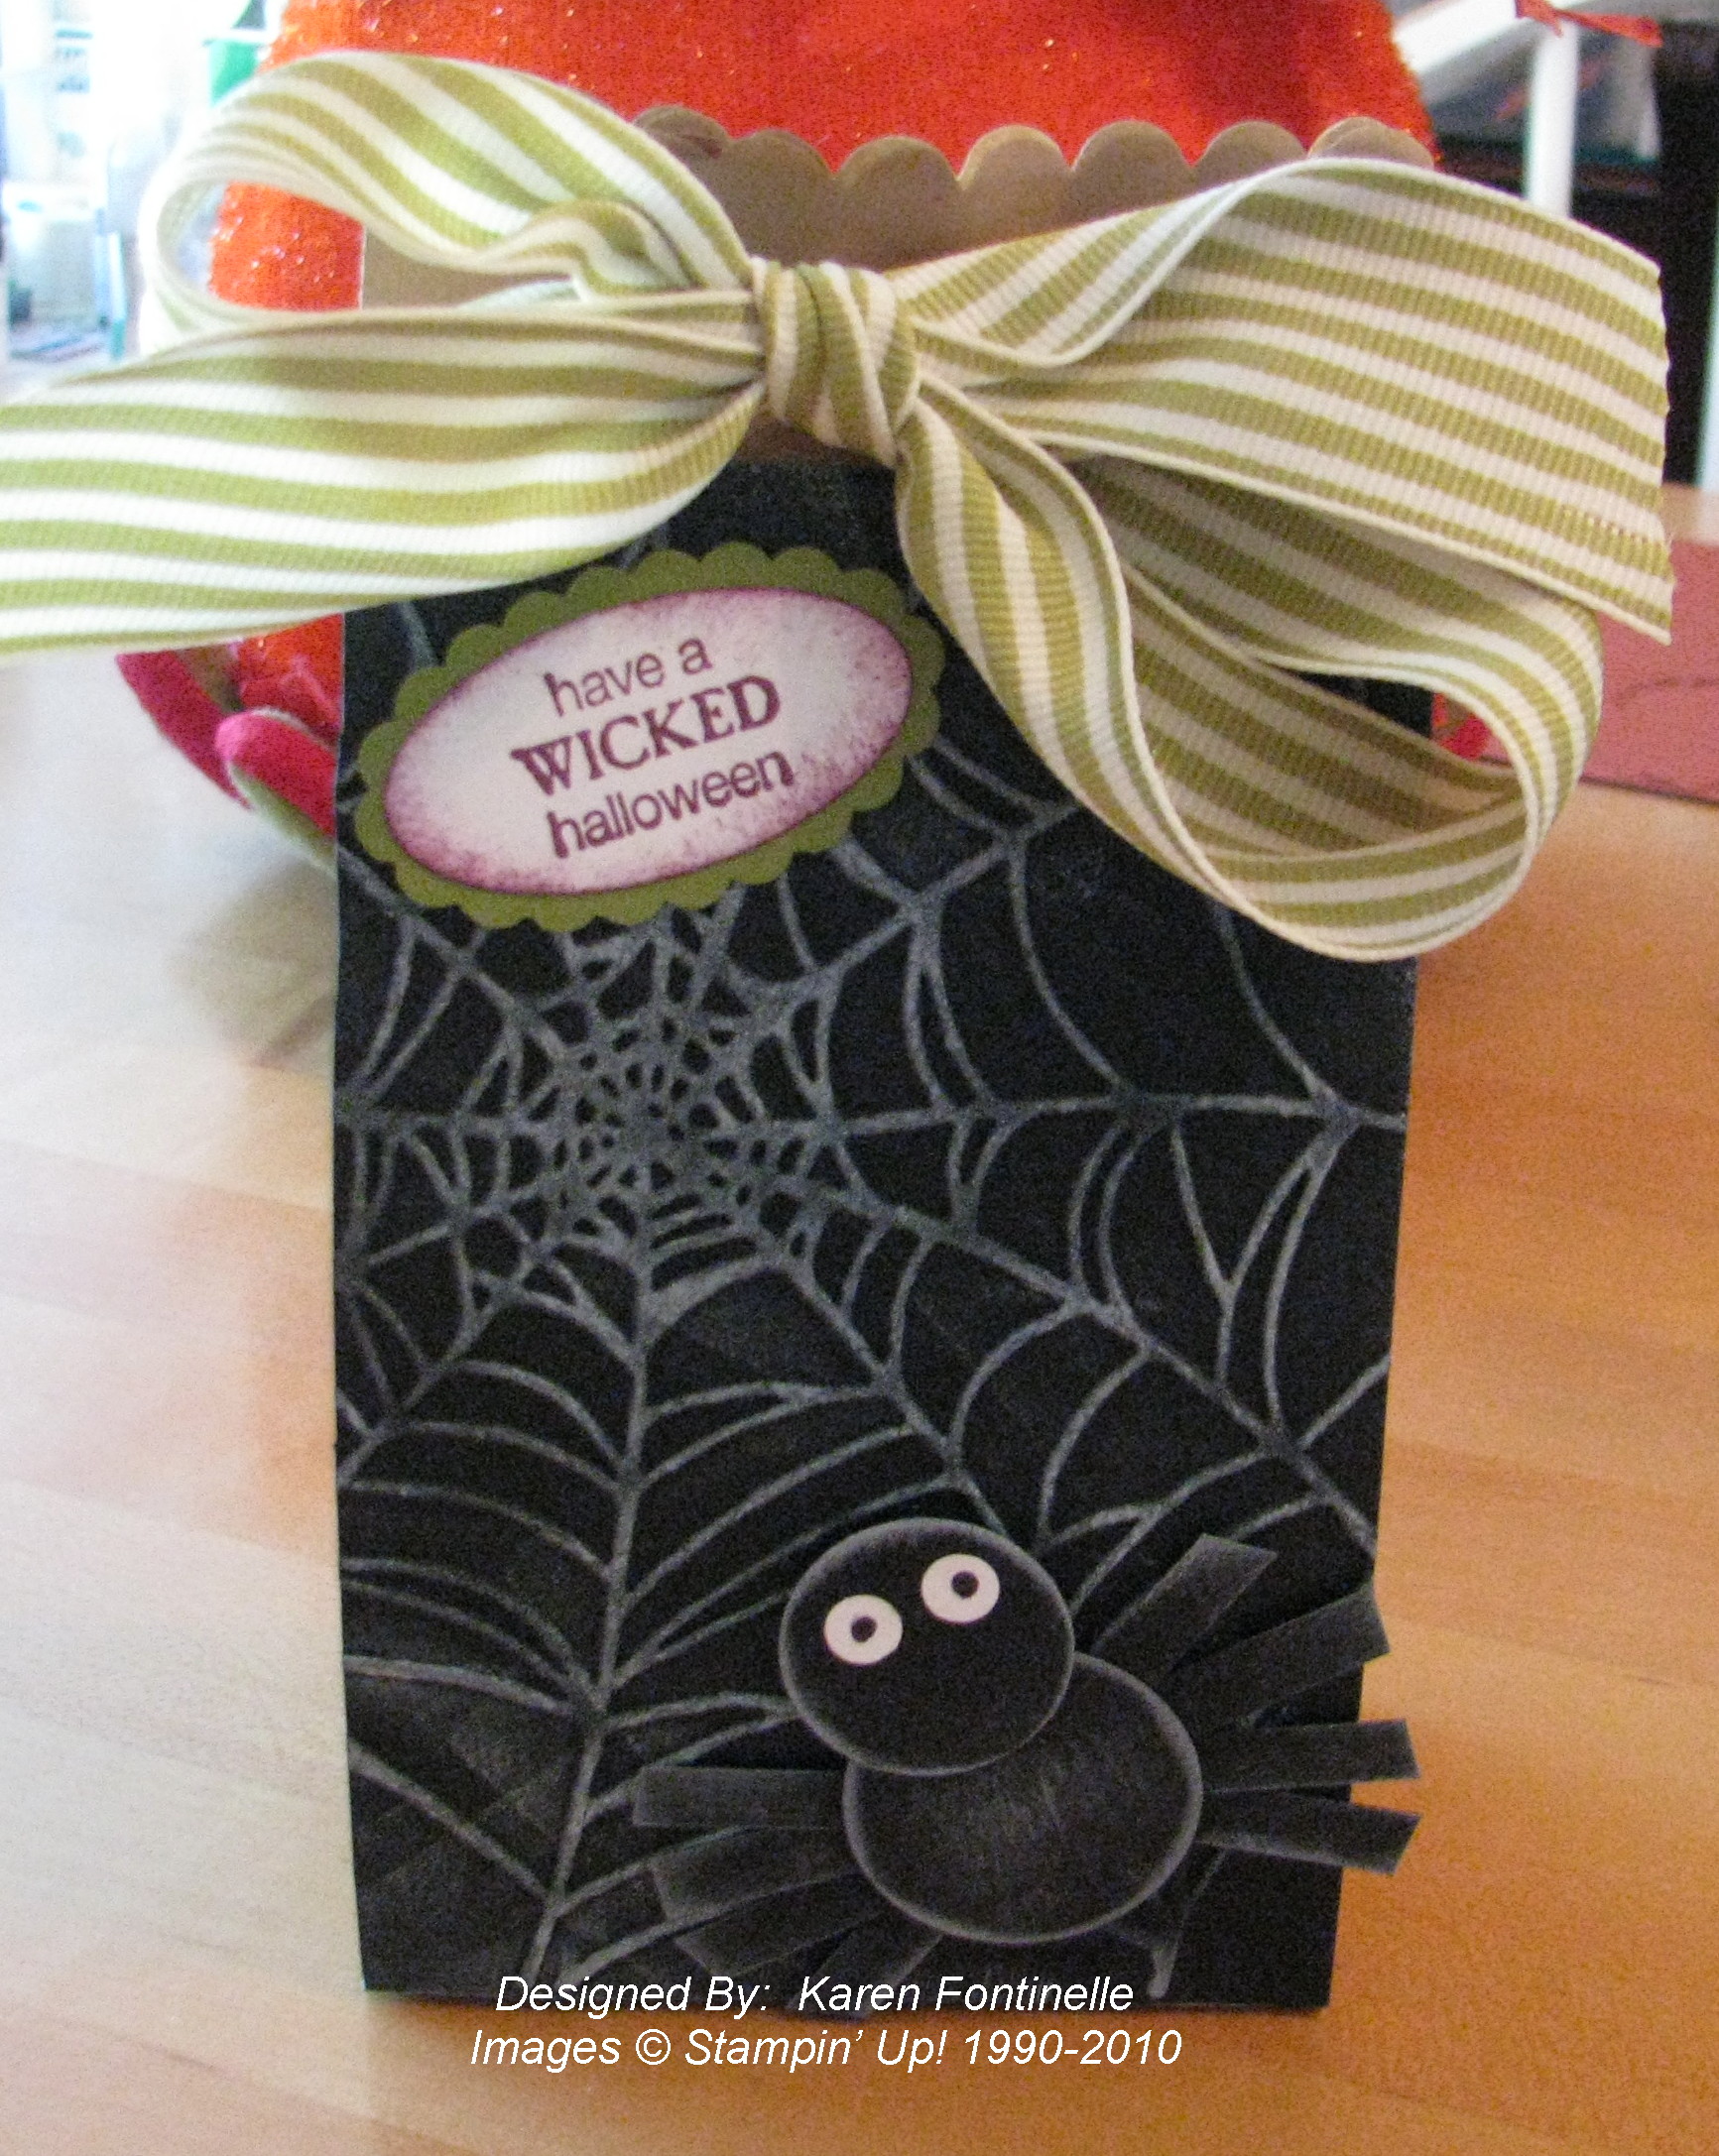
Here are a couple of treat bags I made for my "big" kids so easily out of the Mini Lunch Sacks #121031 in the Holiday Mini Catalog.  Just a few scraps of Wicked Fun Designer Series Paper #117400, some card stock and maybe a little stamping from Wicked Cool.  Use your punches!  Really fun!  I think I might make a couple more bags today for some special trick-or-treaters!

Ghosts Halloween Treat Bag

Did you know you can make ghosts out of the Owl Punch #118074?

Just punch out the owl in white, cut off his feet, and turn him upside down! Put some eyes on him and you've got a ghost!  Love it!

Spider Web Halloween Treat Bag

I finally caught up with myself and found out I DID order the Spider Web Textured Impressions Embossing Folder #120889!  Just run this through your Big Shot and you have a great spider web!  To make it show up, I just rubbed my Craft White Ink Pad lightly over the spider web.  On another one I sprinkled on some Iridescent Ice Embossing Powder #101930 and set it with my Heat Tool #100005!  Nice and sparkly!

Have a Happy Halloween!!!

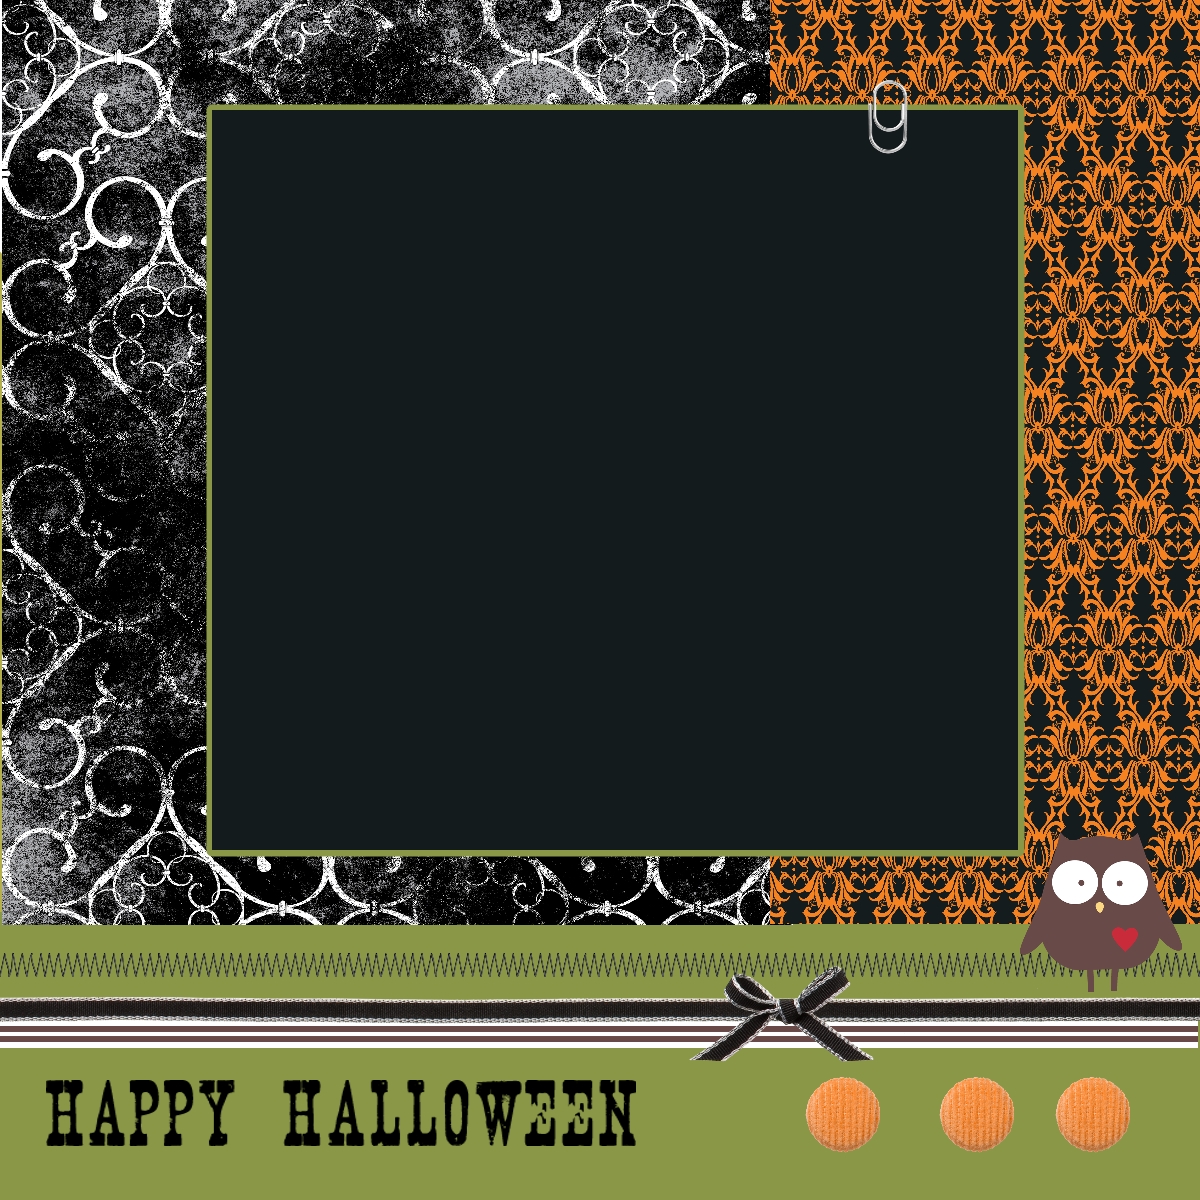
My Digital Studio Halloween Page

My Digital Studio Halloween Scrapbook Page

Images copyright Stampin' Up! 2010

It's fun to play around with My Digital Studio and see what you come up with! And there is SO much to come up with!  Here's a Halloween page I came up first by starting with an already designed template included in the software and then changing the paper and the embellishments.  Even though it is a template in the software, you can change every element of it.  Make some Halloween scrapbook pages ahead of time and you'll be all set to add the spooky photos next week!

Don't miss checking out My Digital Studio HERE!  If you love Stampin' Up!'s great paper, ink, and stamps you will also love this digital papercrafting program they have put together!
 

Halloween Candy Bars

Halloween Candy Bars

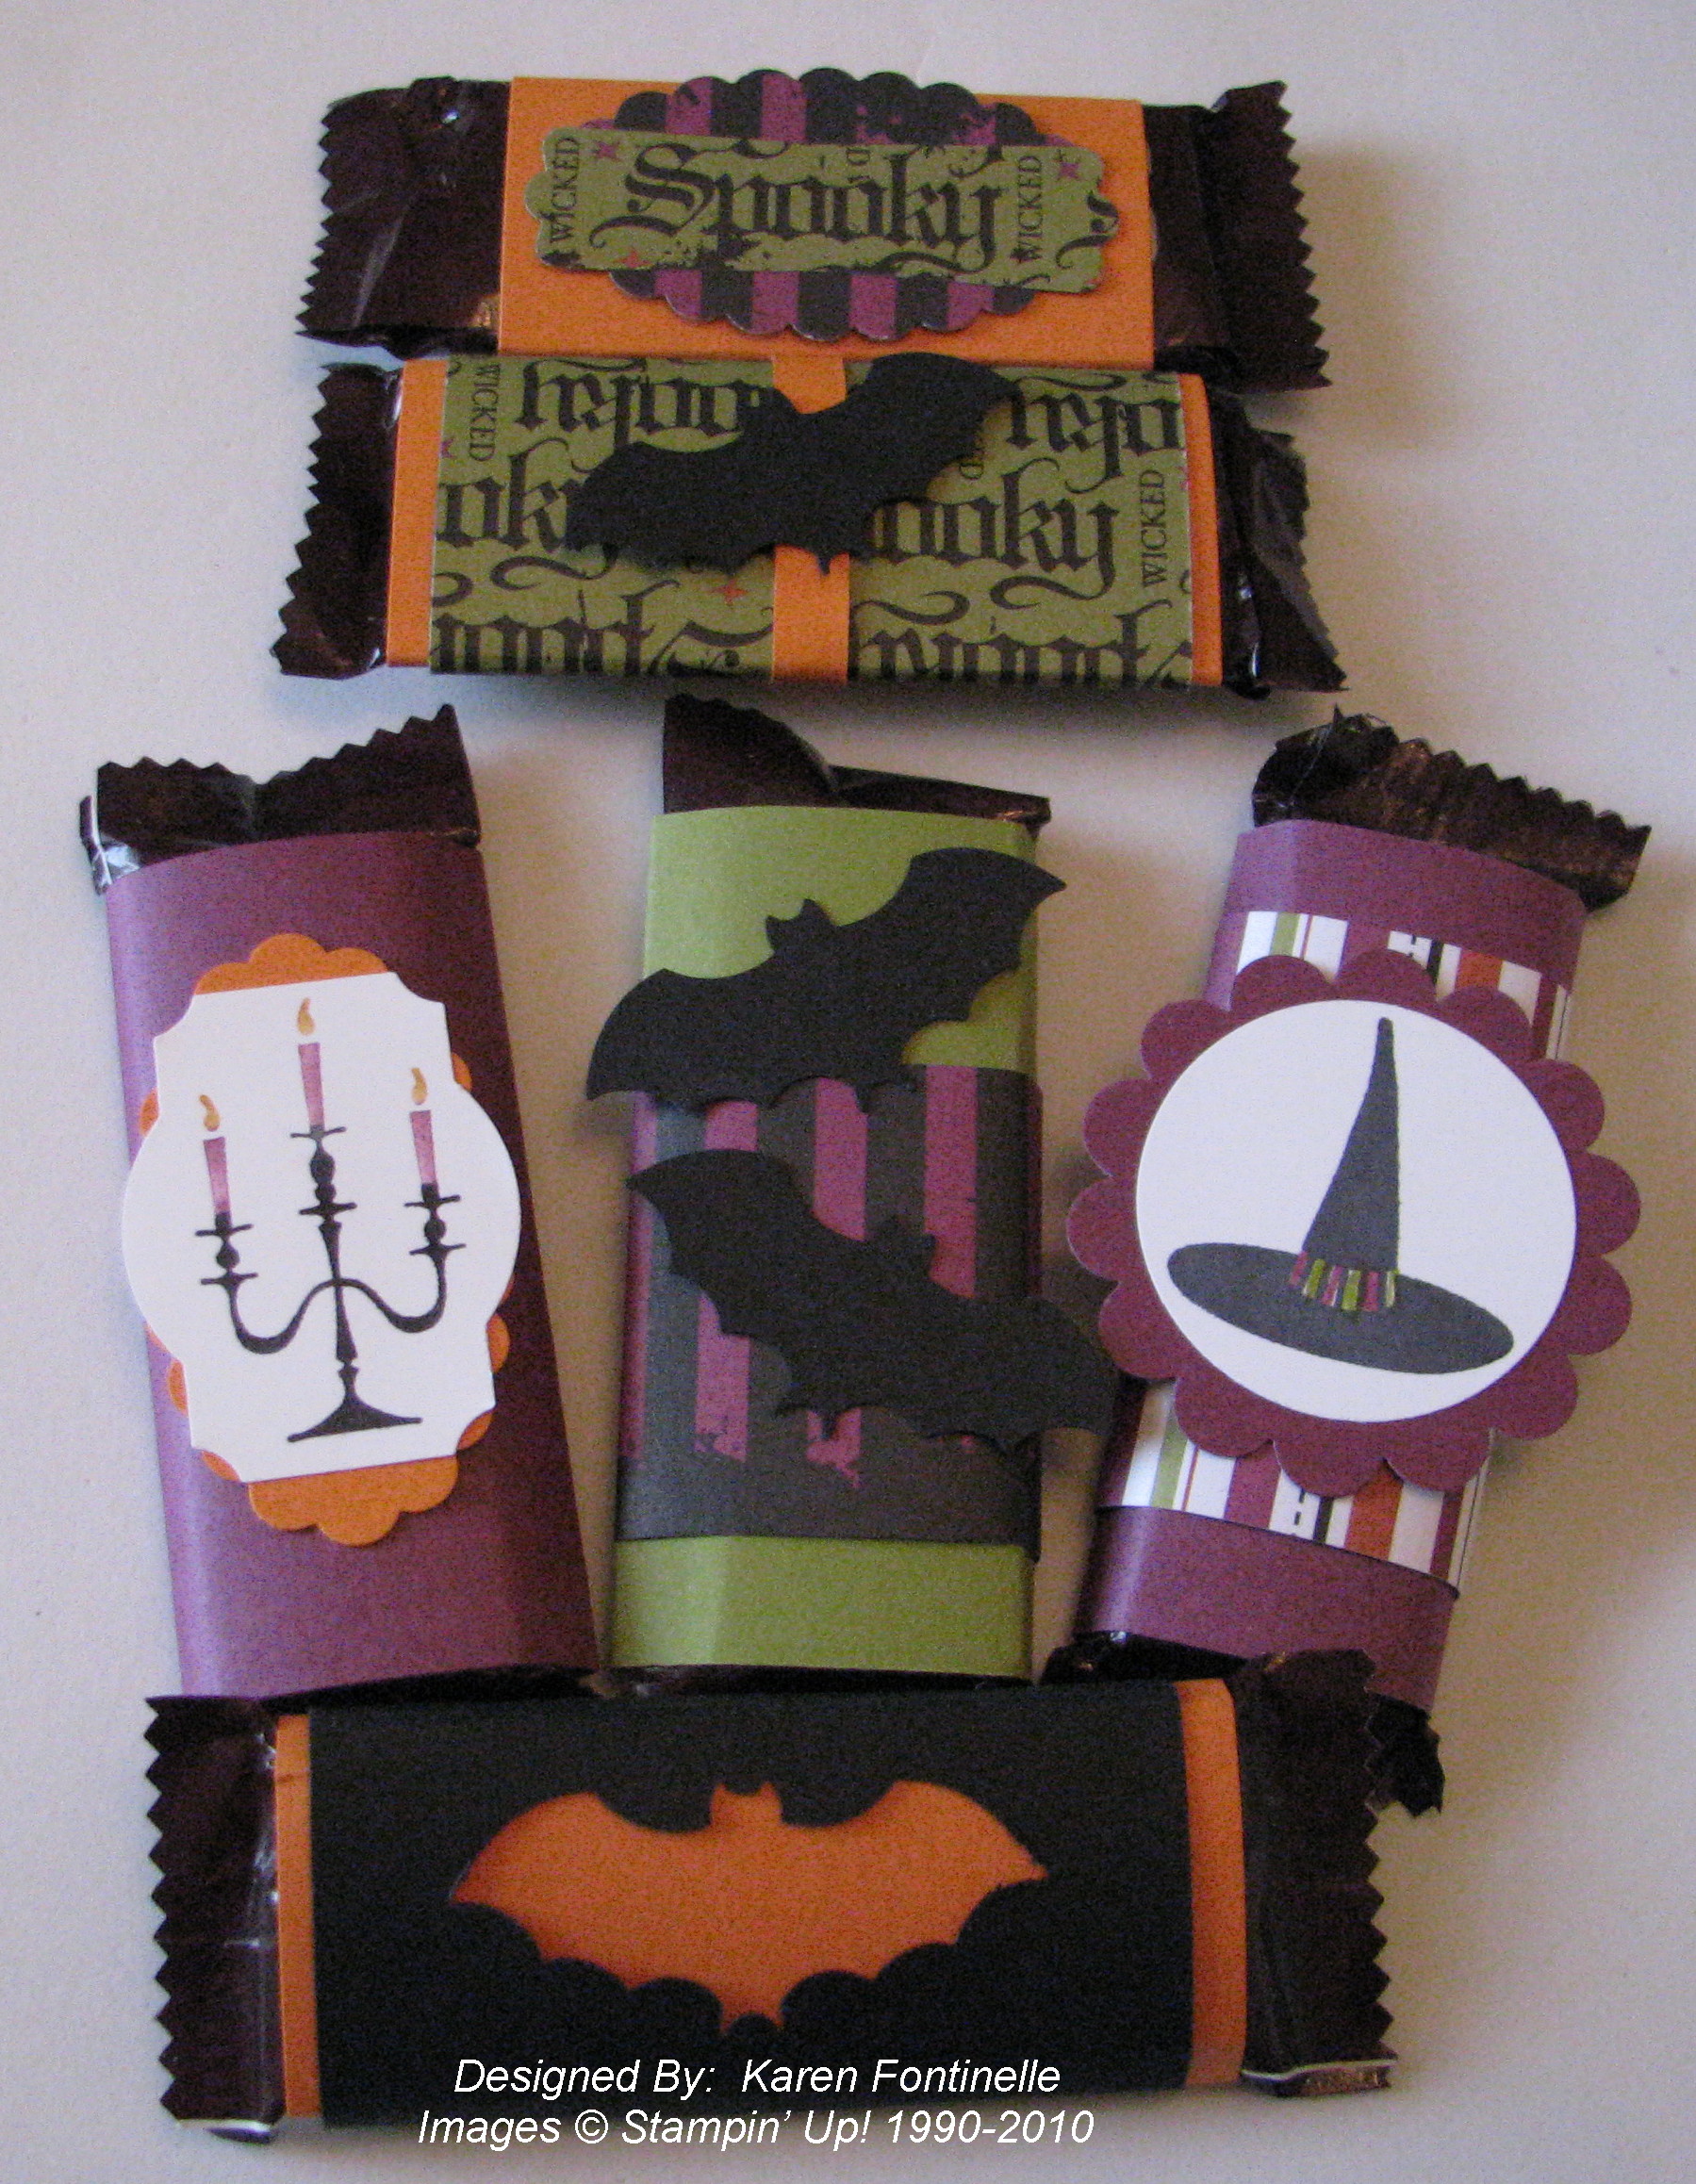
Candy is a huge part of Halloween, so I thought it was time to play with some! These are just the "snack size" Hershey bars, but of course if you had the regular size or even the giant size bars you could do the same thing.  I just took small pieces of card stock and Wicked Fun Specialty Paper #117400 and wrapped it around the candy bars.  Then I decorated with my Bitty Bat Punch #119279 and some stamps from Wicked Cool #120600.  Doing these was so much fun!  I may even make some more!  One of my favorites is the bottom candy bar where I punched out the bat and wrapped the black paper over the Pumpkin Pie card stock.  Well, I like them all!  Get out your punches, some scraps of card stock and some Halloween or fun stamps and see what you can come up with!  Wouldn't a bowl full of those be cute to hand out on Halloween?!

More Halloween Spooky Things Decor Elements!

Spooky Things Halloween Decor Elements Frame

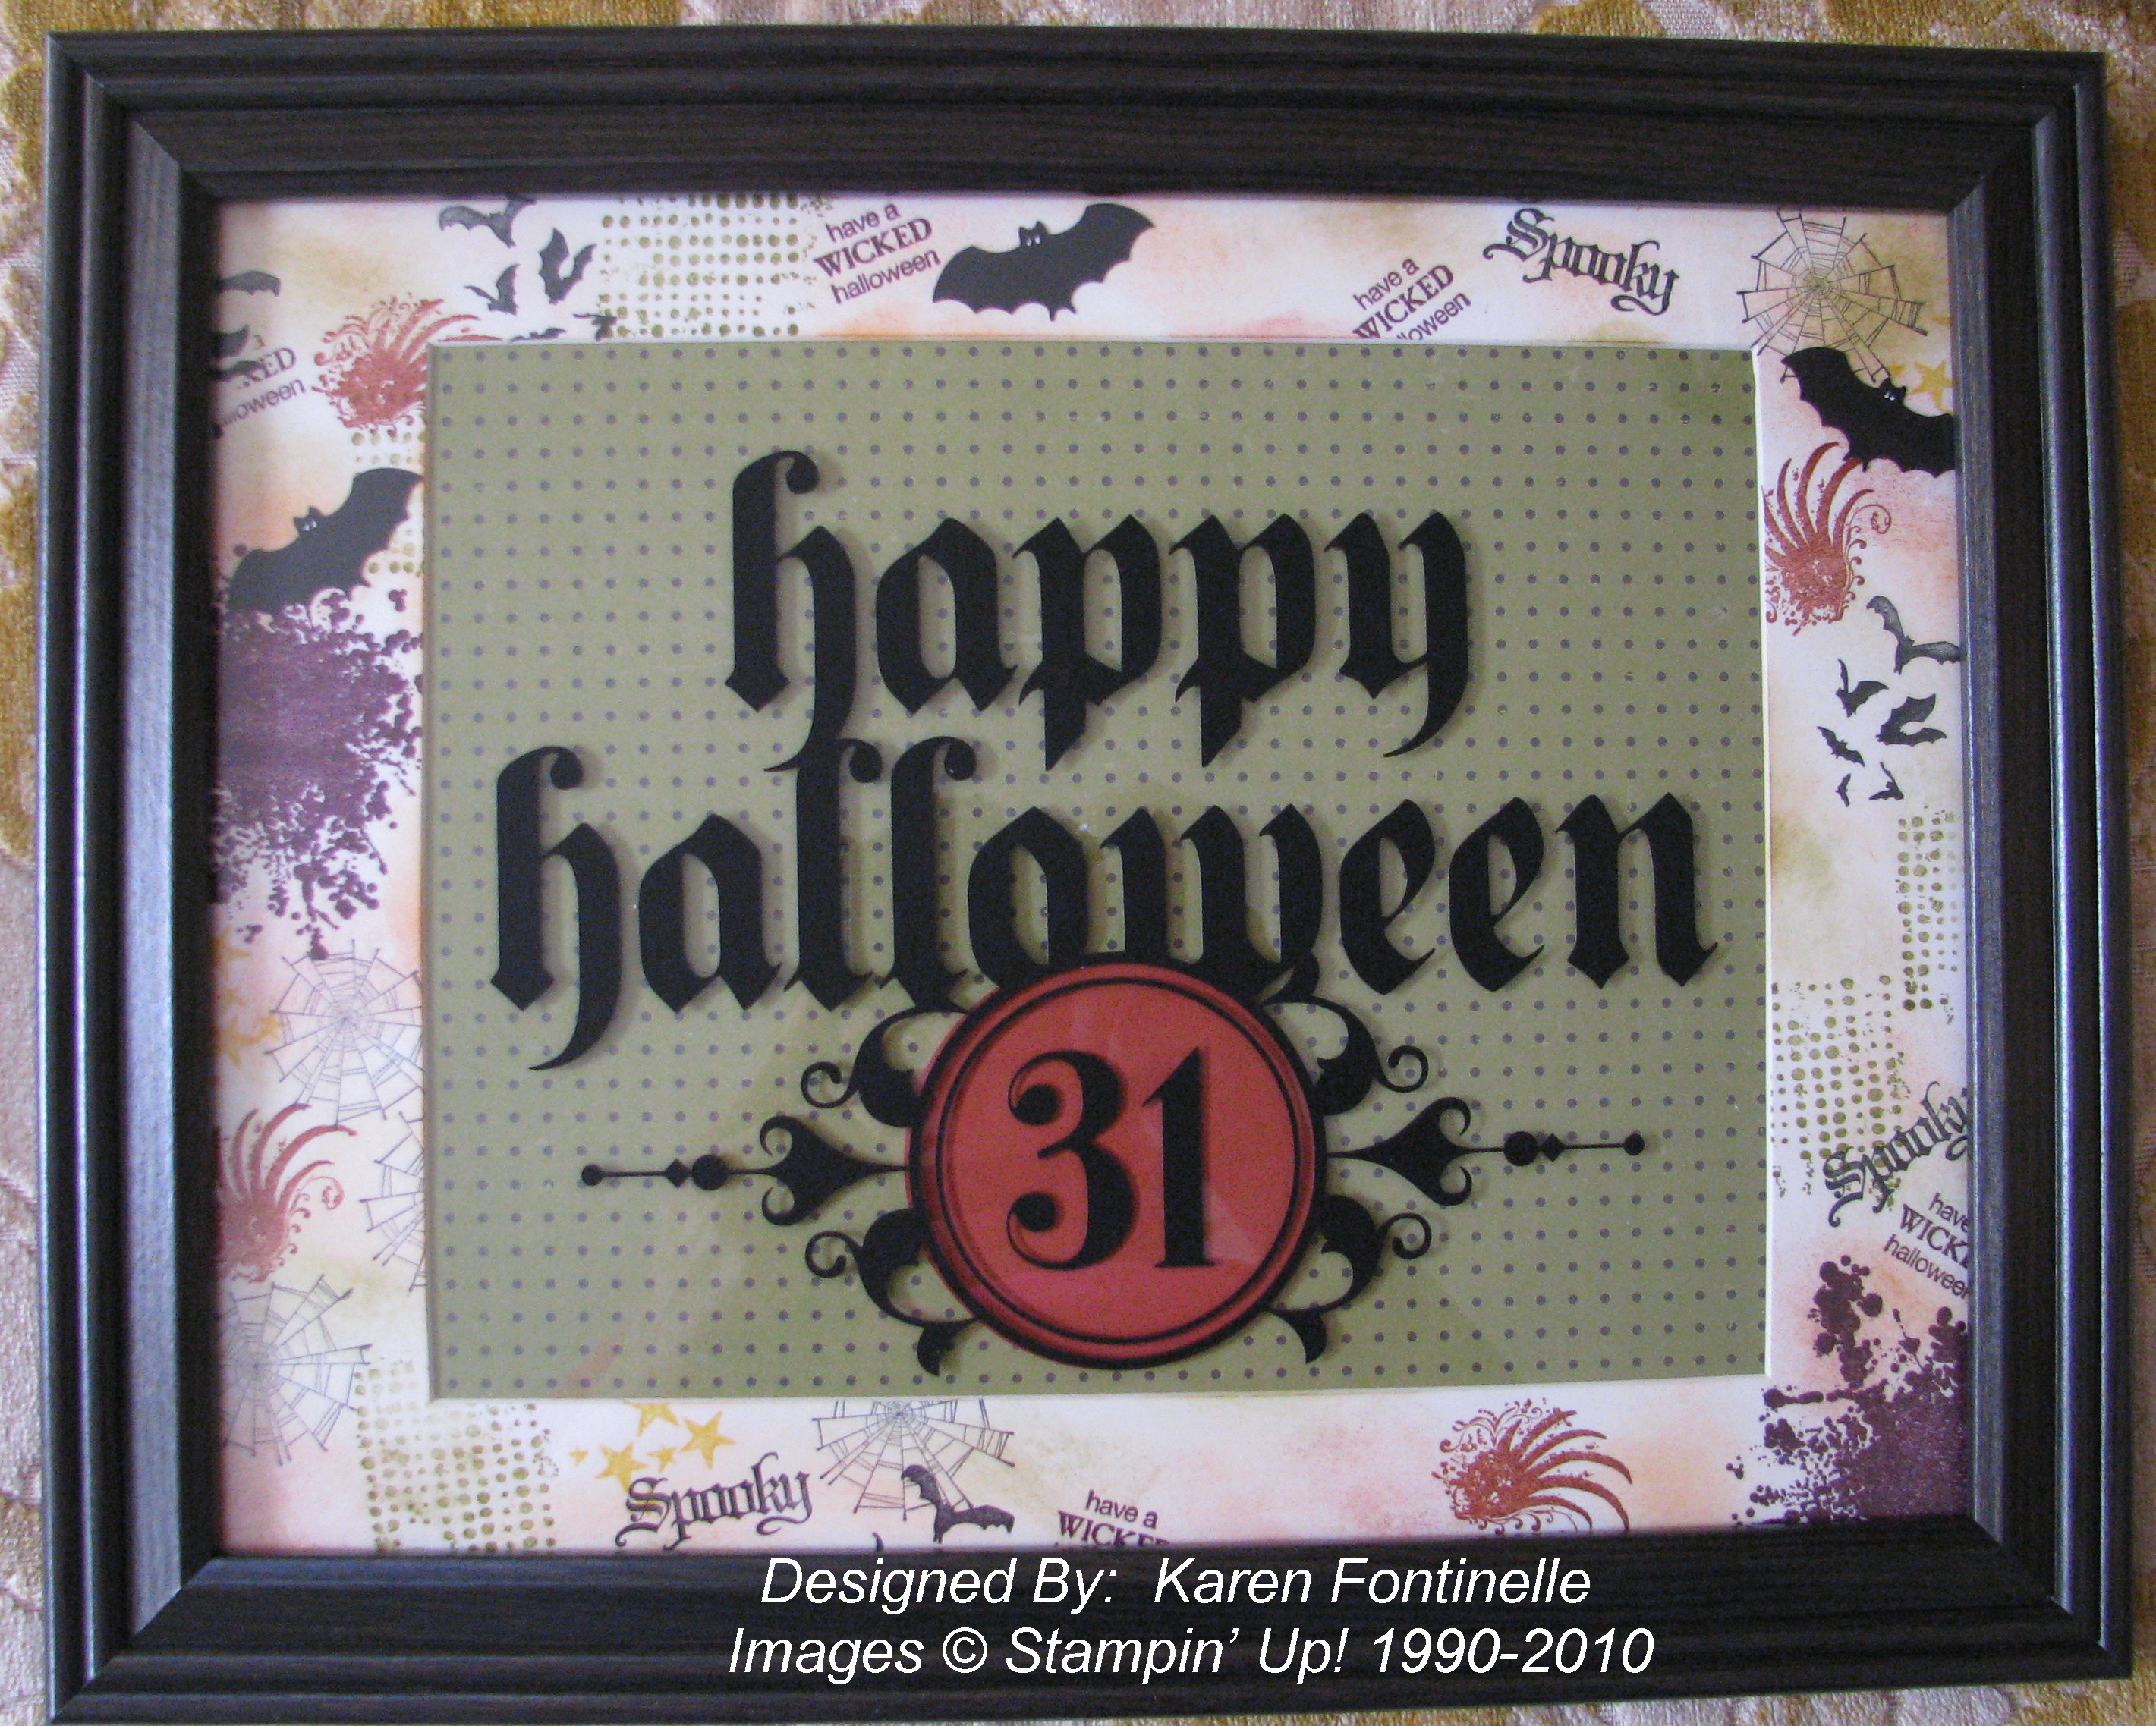
Now that I've found my Spooky Things Decor Elements #122296 that I ordered from the Holiday Mini Catalog, I had to make another project!  Of course I forgot to measure before going to the craft store so the frame I bought was a little larger than I needed.  But it still fit using the mat since the frame opening was larger than 12 inches across, and that would have been more difficult to fill.  Anyway, the vinyl Decor Elements….the "happy halloween 31" is placed on the front of the glass of the frame.  Directions come with the vinyl so you will know exactly how to apply or you can read my post from yesterday and watch a video from Stampin' Up! on working with Decor Elements.  I taped a piece of Wicked Fun Specialty Paper #117400 behind the mat for the background.  And then I went wild stamping on the mat!  I used stamps from Extreme Elements #115181 and Wicked Cool #120600 to decorate the mat!  Of course I wanted to use my Bitty Bat Large Punch #119279, so you see three bats flying around, eyes are dots with the white Signo Gel Pen #105021.  Don't worry that just because Halloween will be over you won't be able to use the Bat Punch because clever people have already figured out ways to use the punch for other cute things.

Sometimes it is fun to think of using your stamping supplies for some home decor instead of a card or scrapbook page!

If you need some supplies for holiday decorations, just go to my website and online store HERE and click the Shop Now button!  Easy as pie!