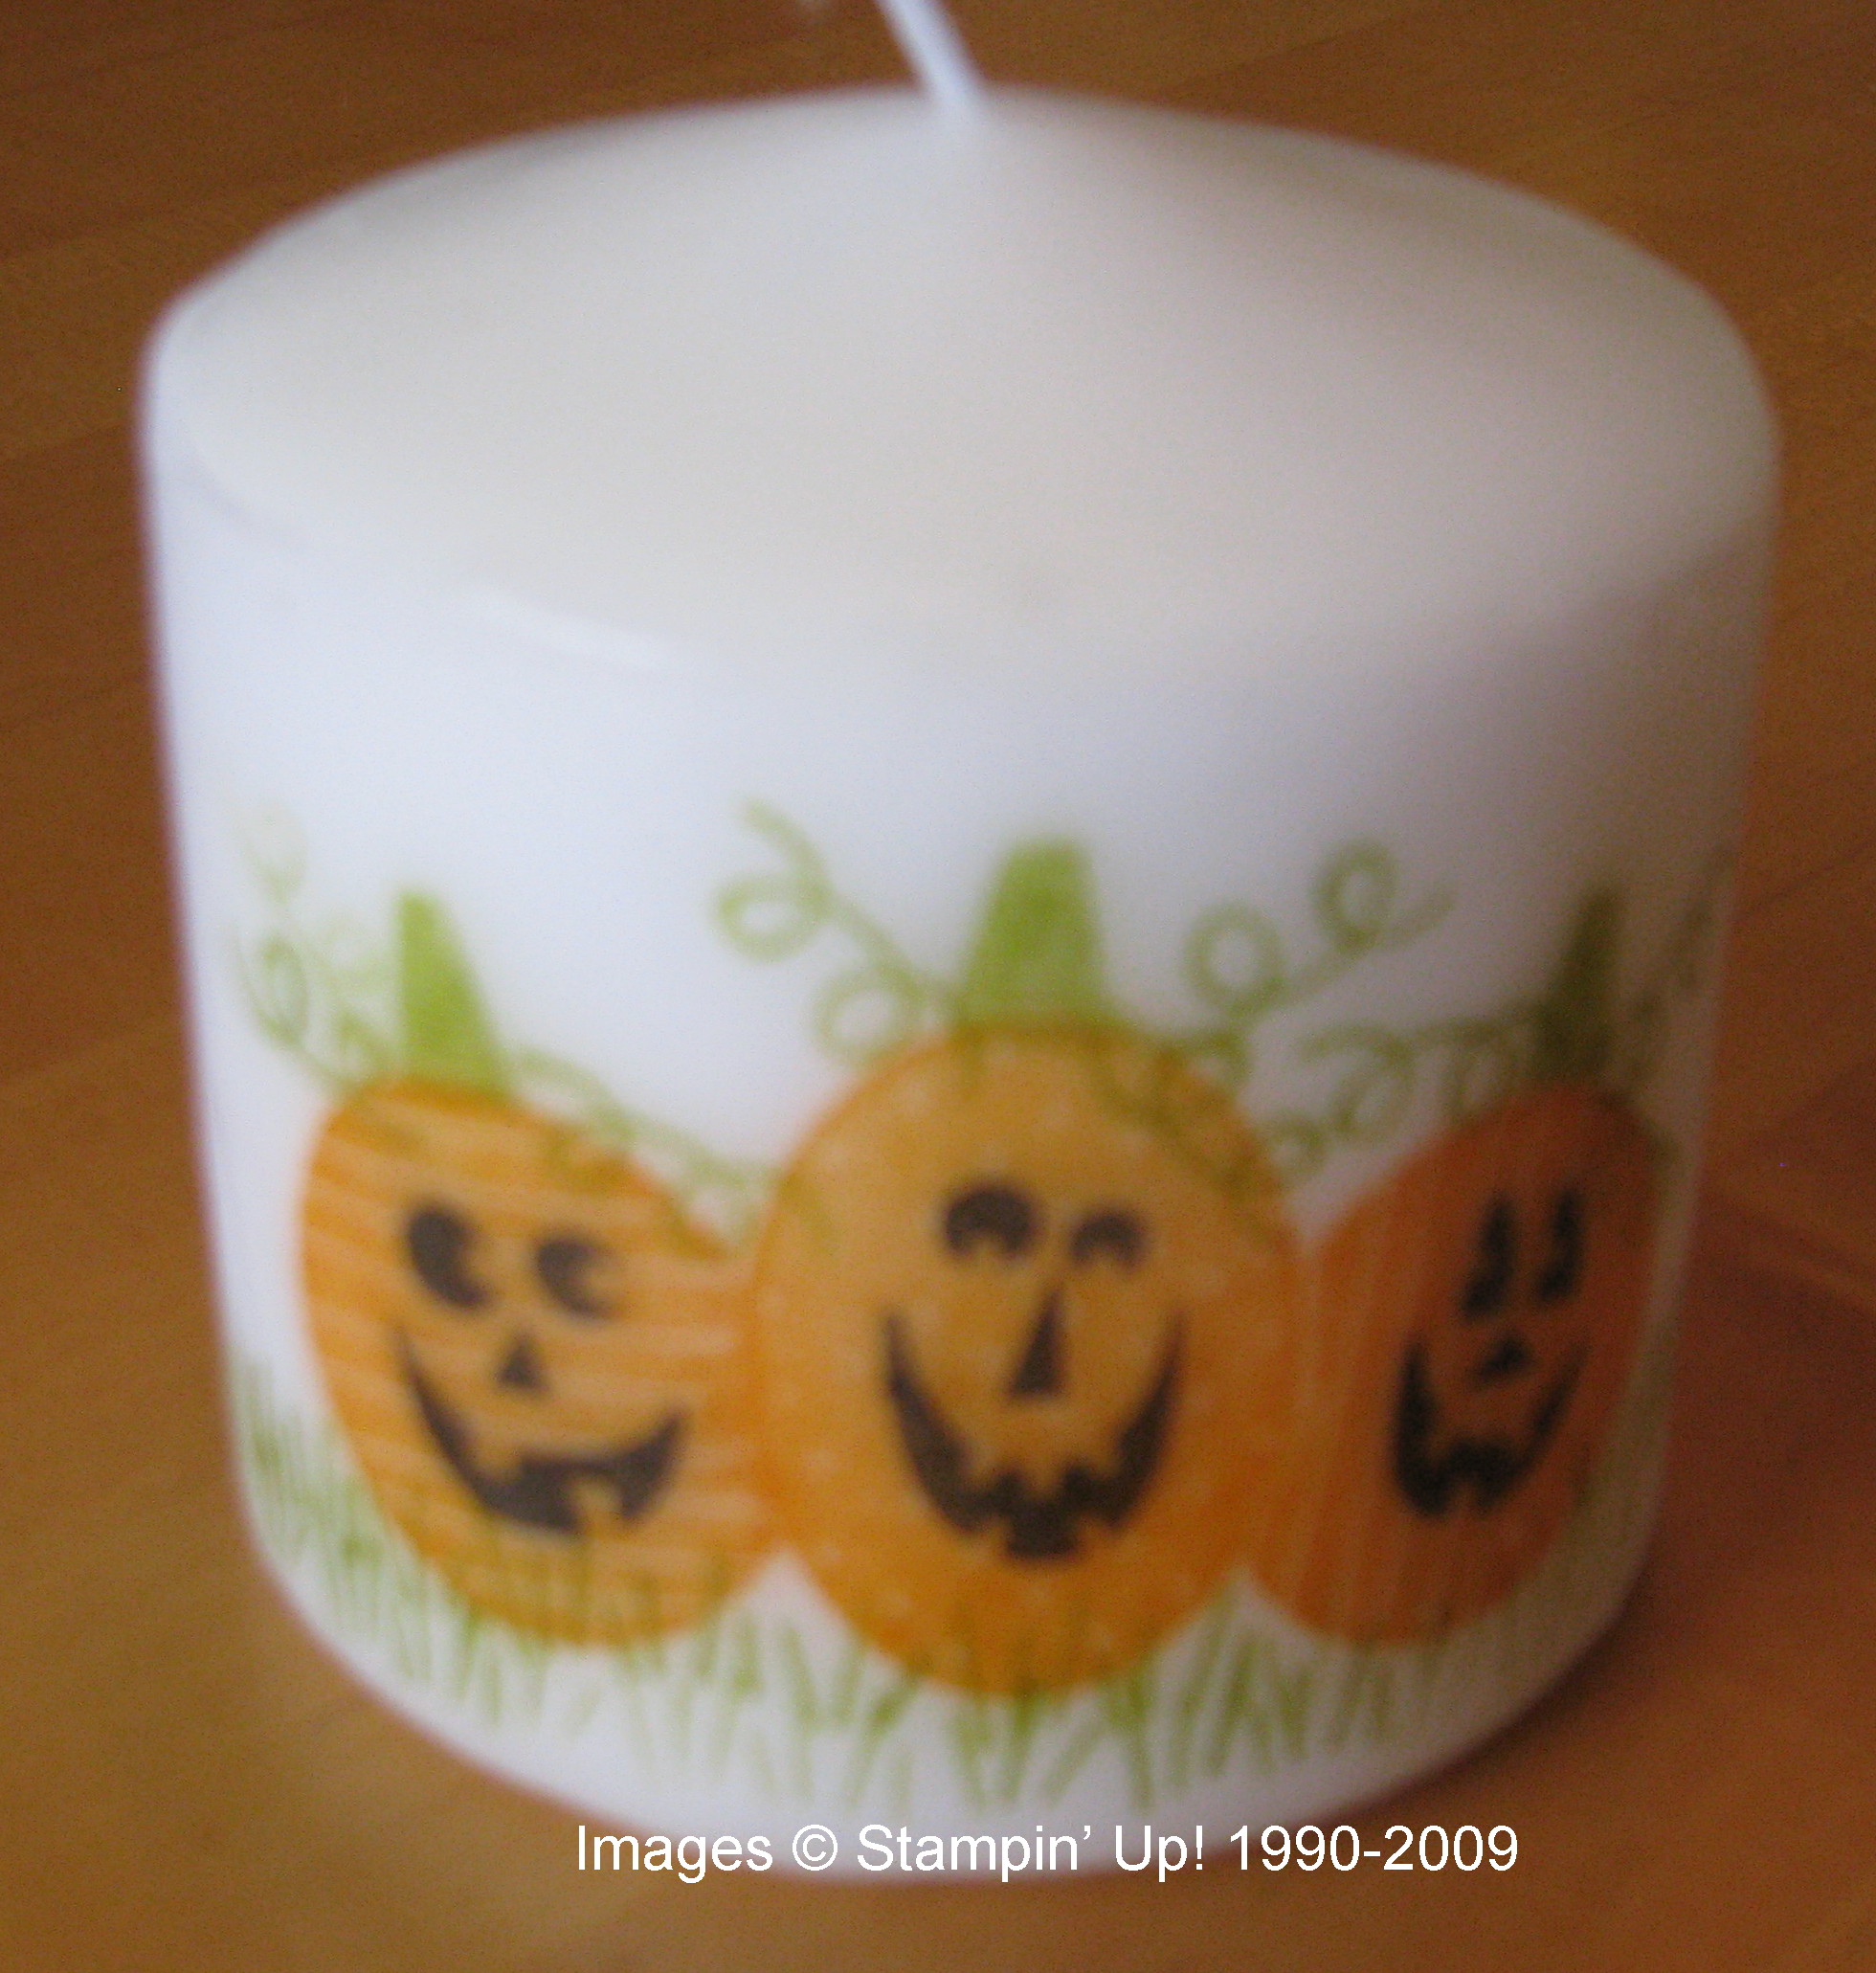
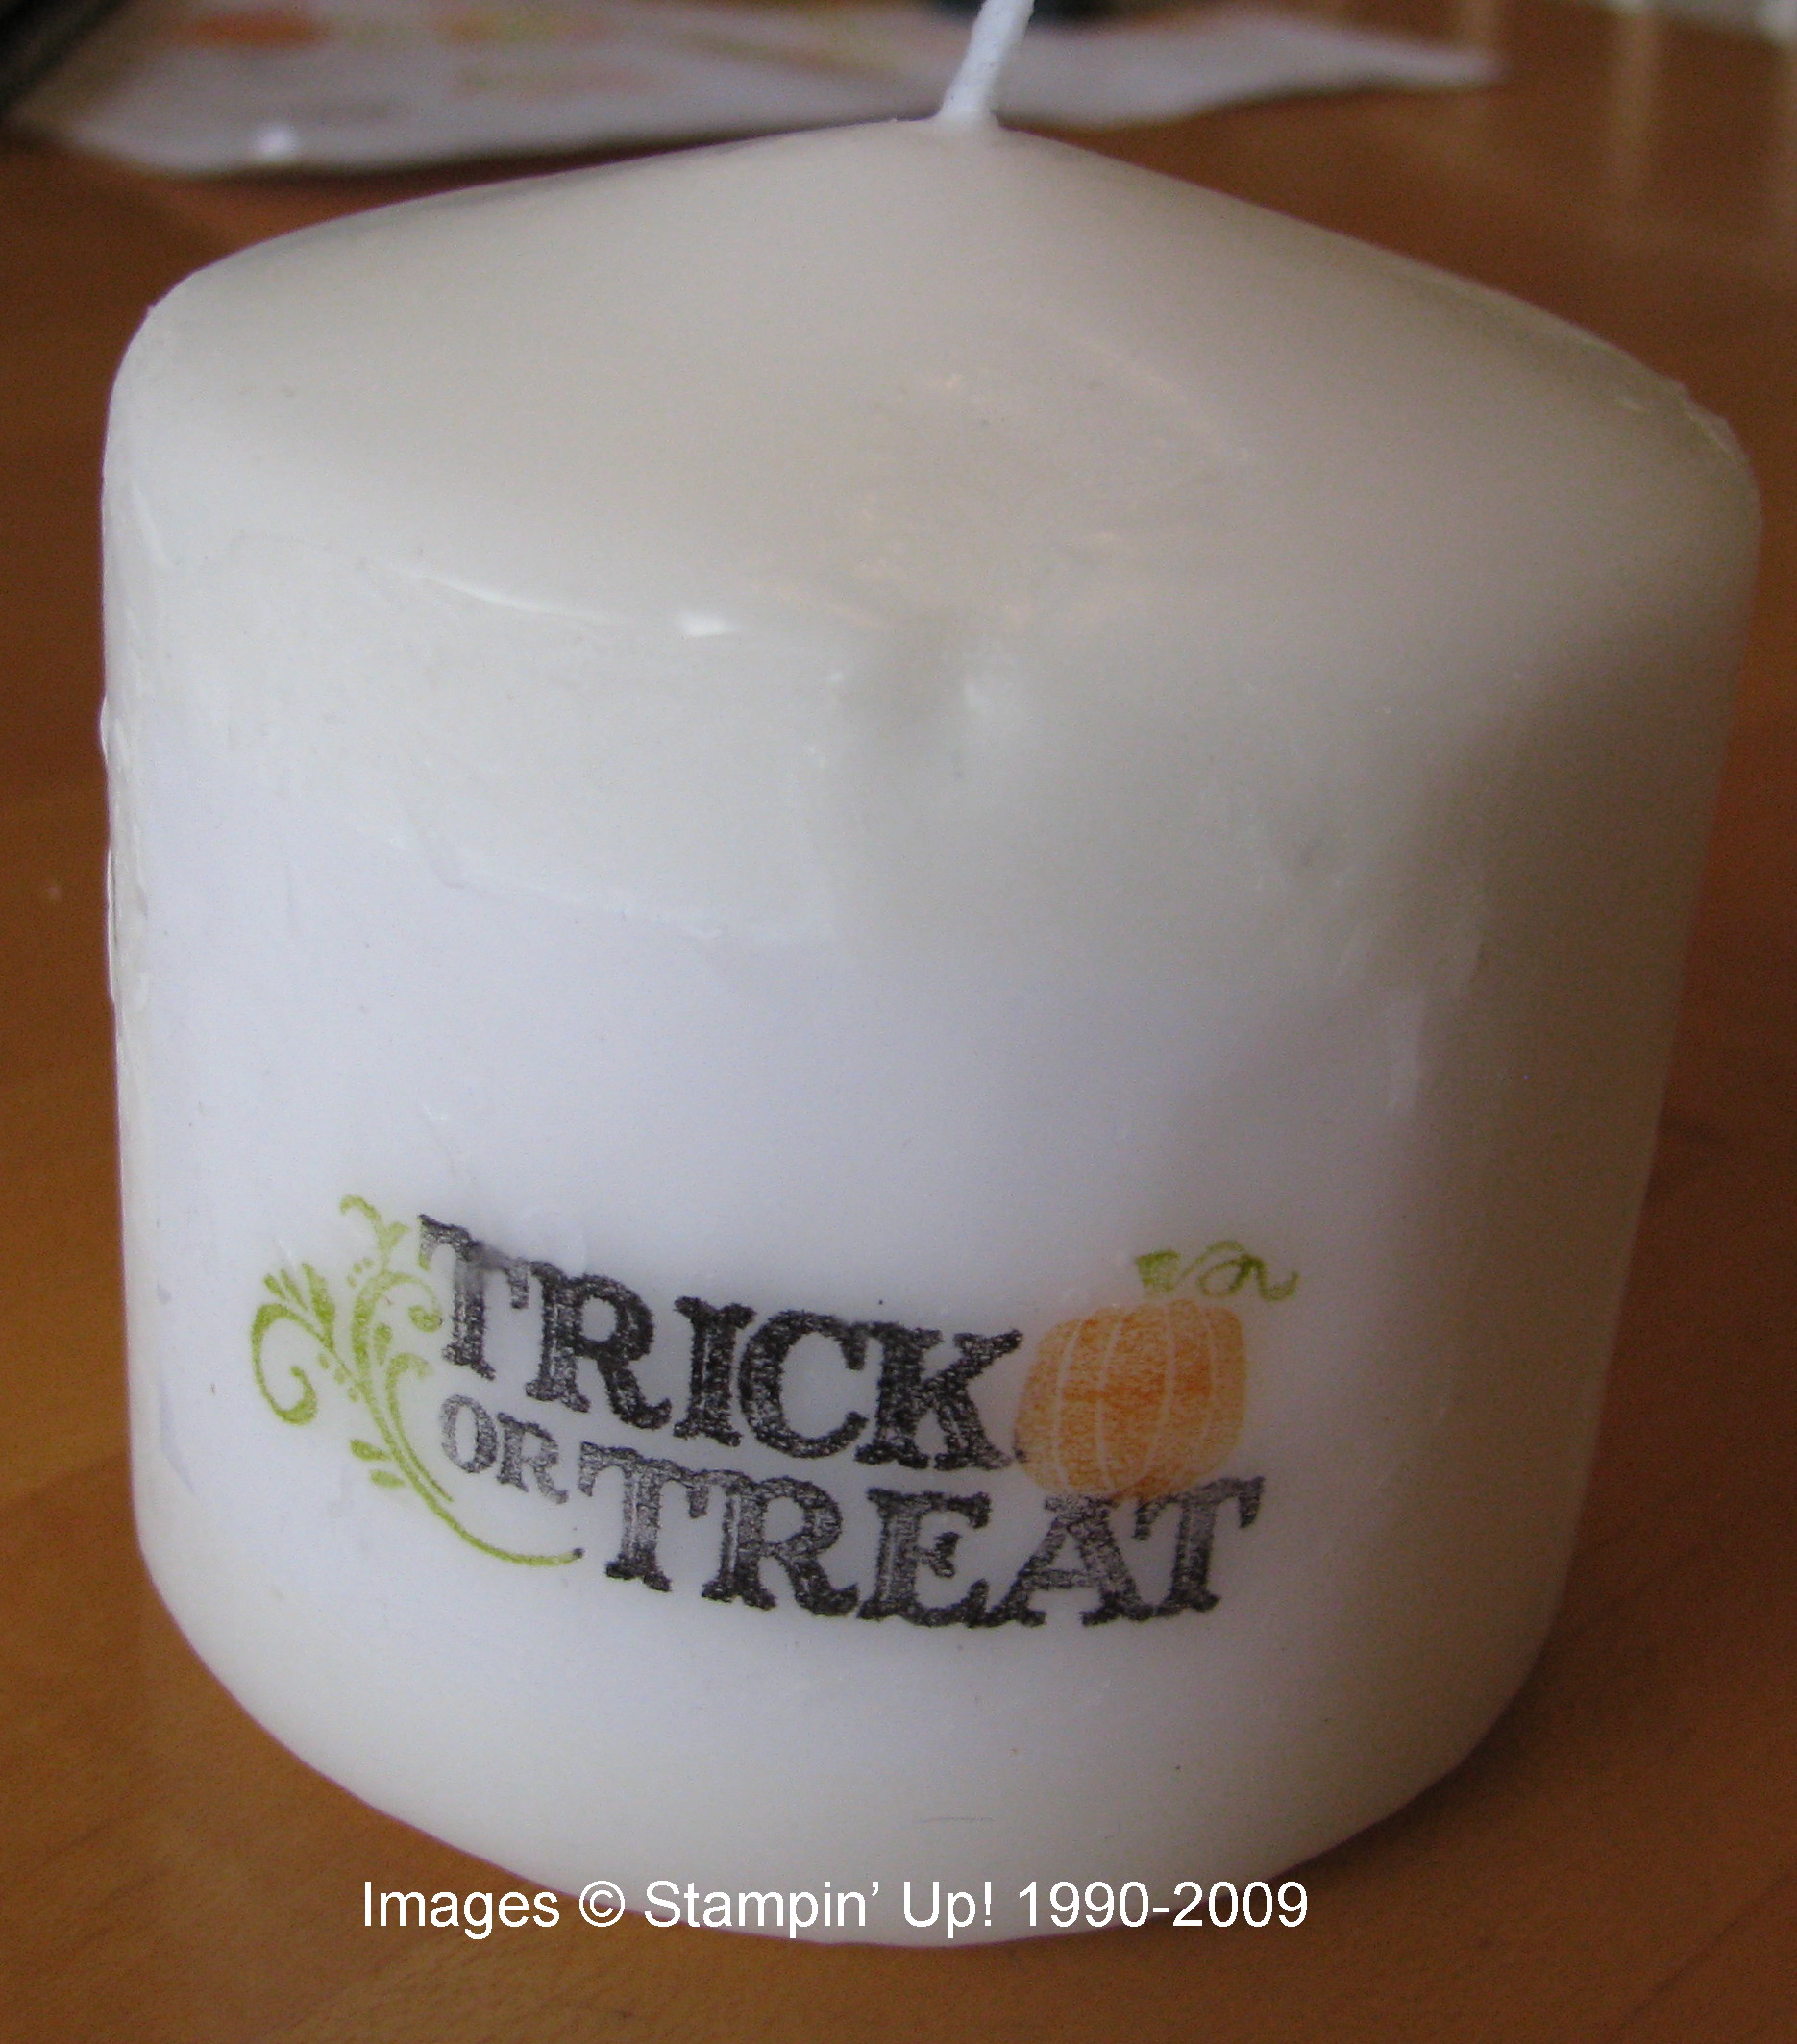
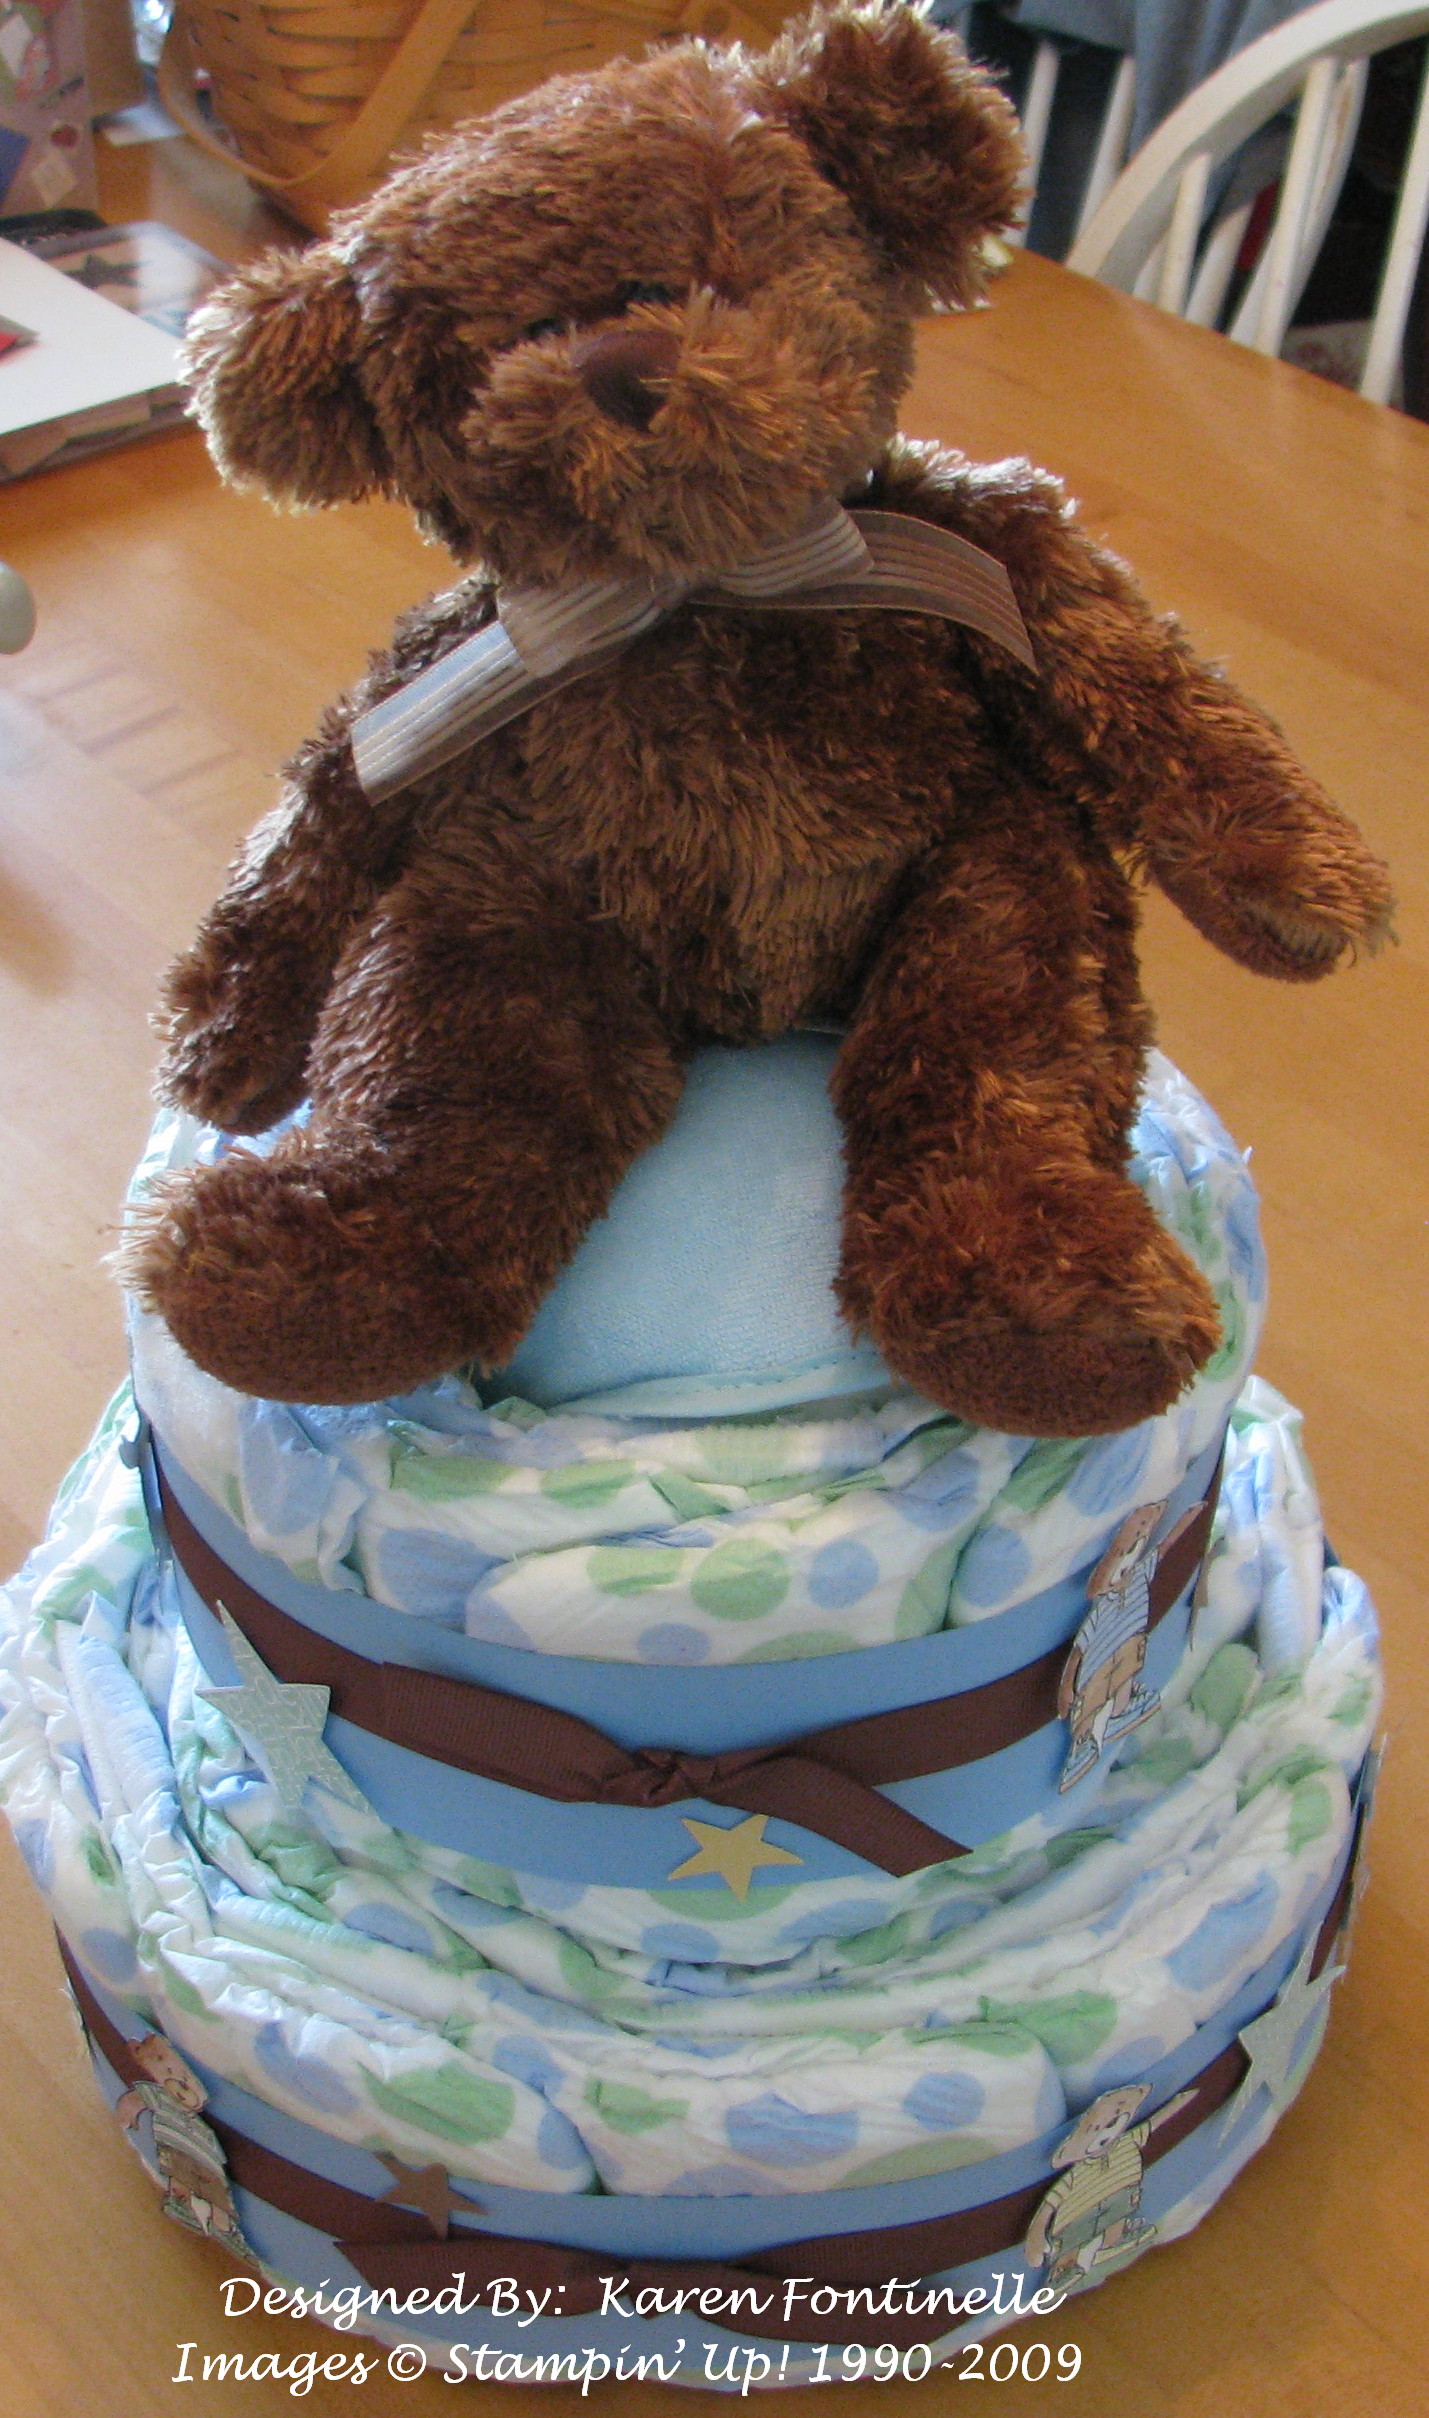
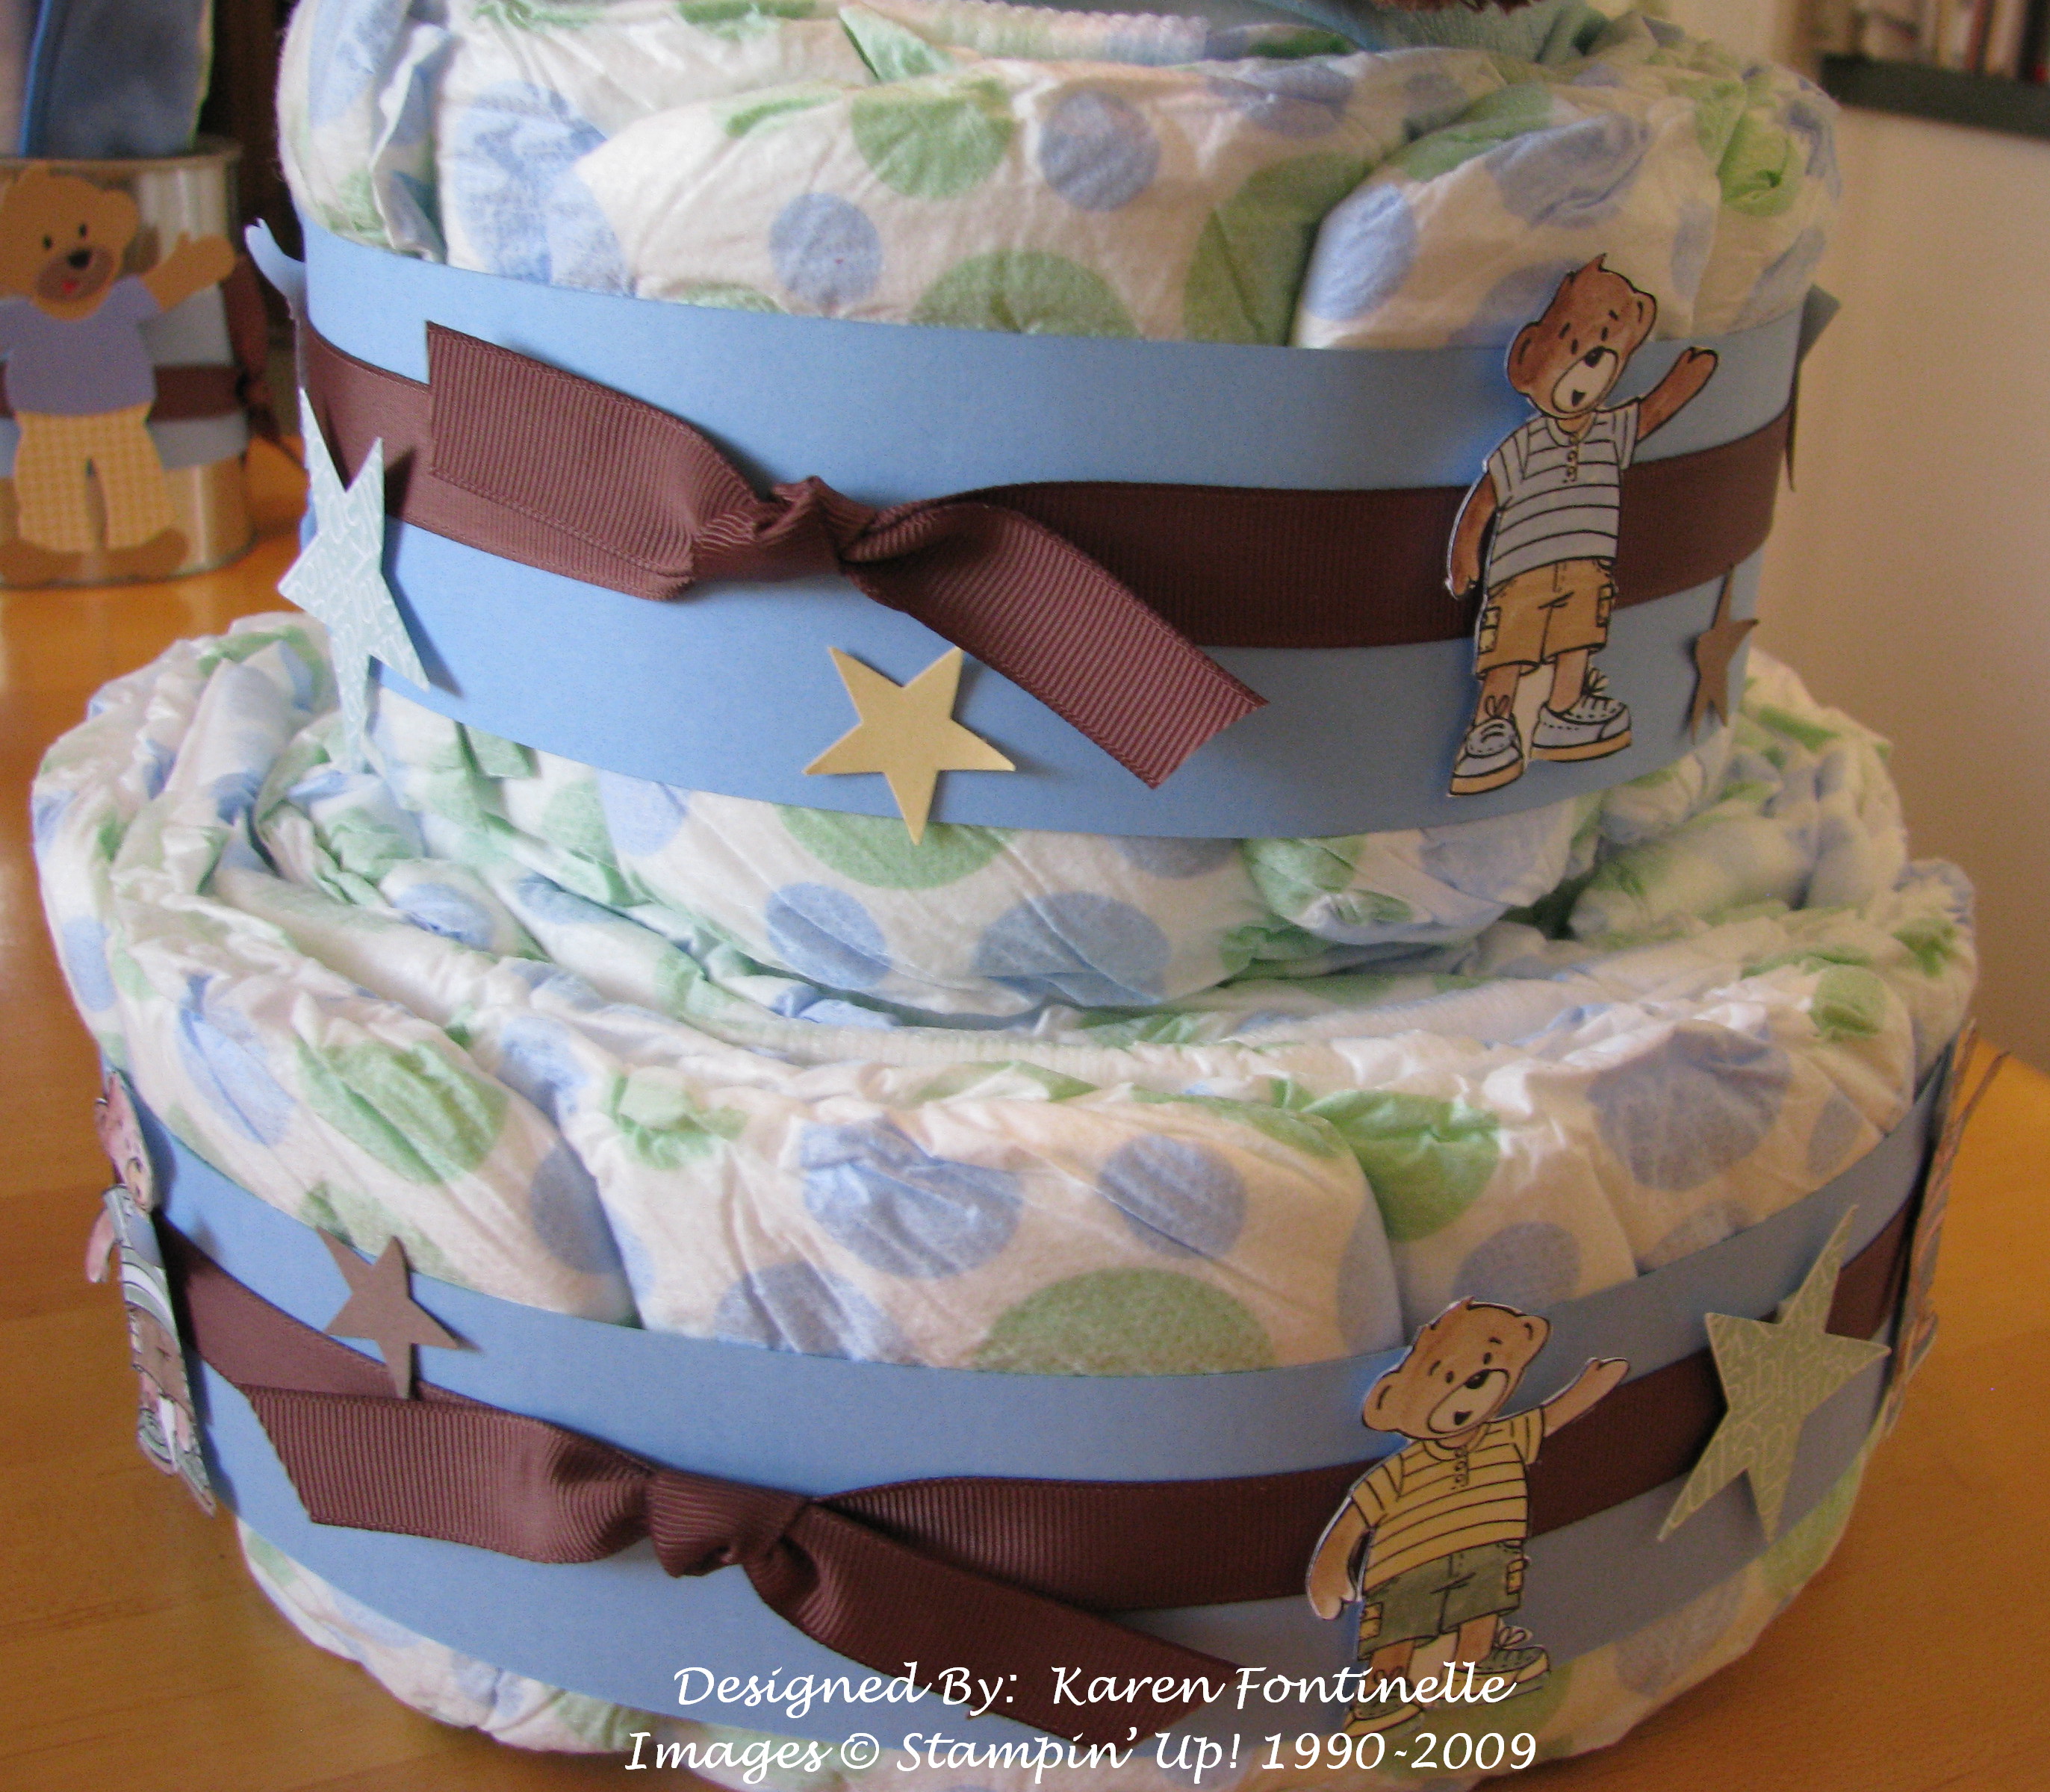
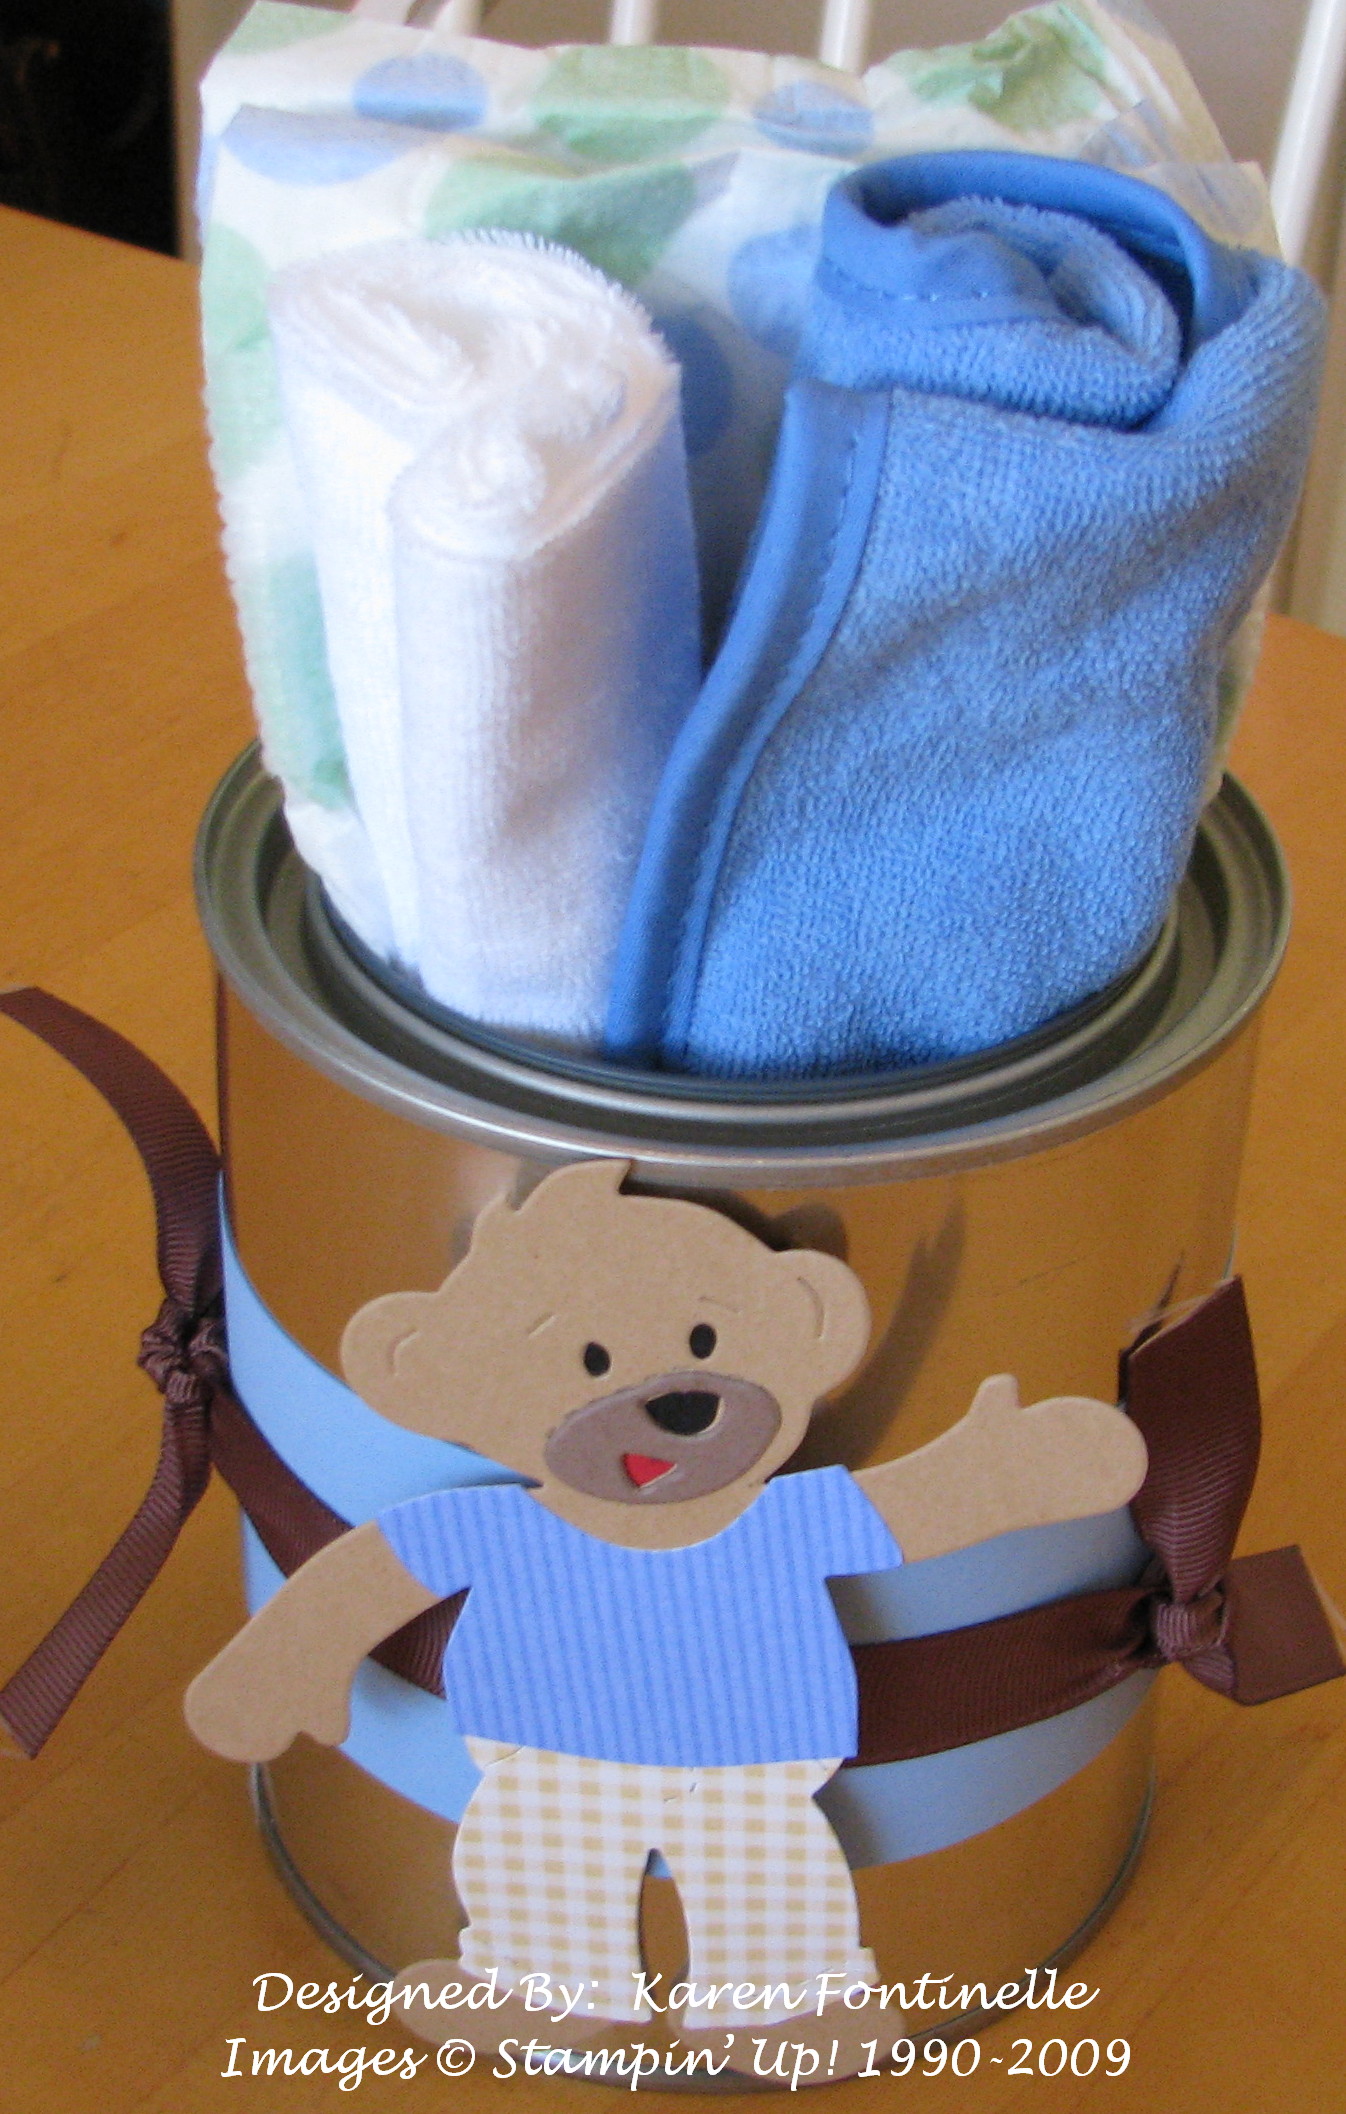
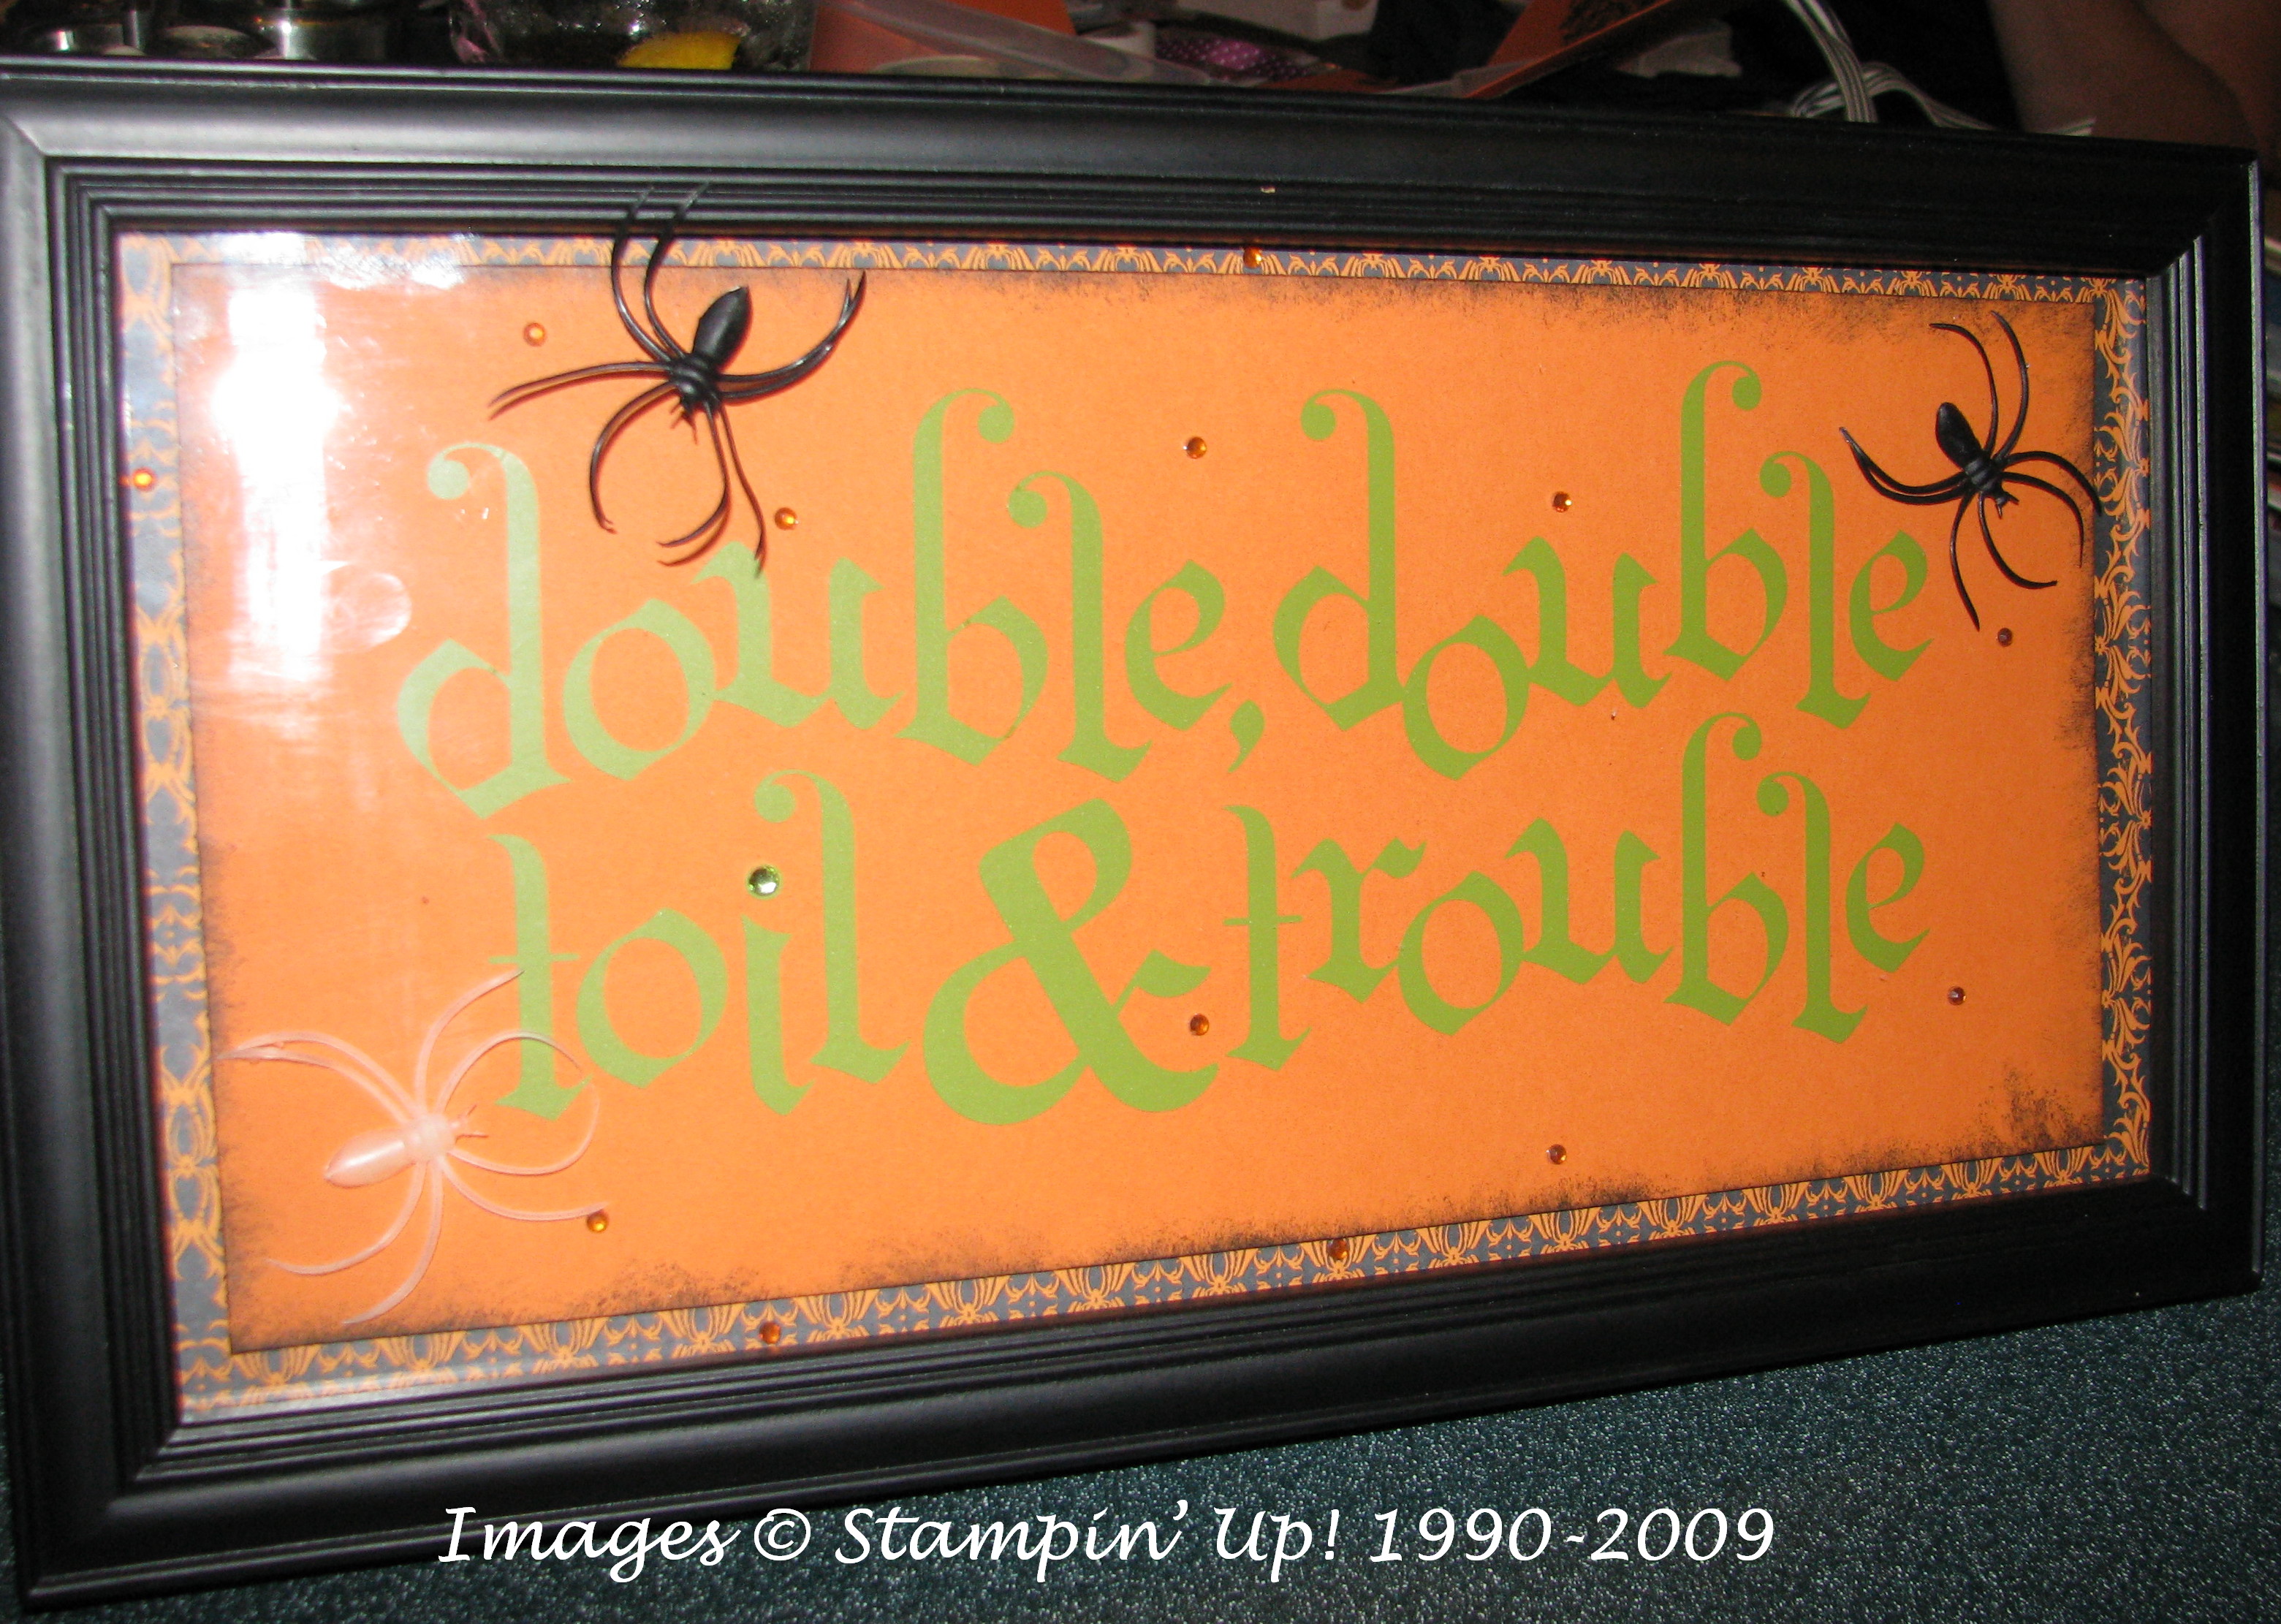
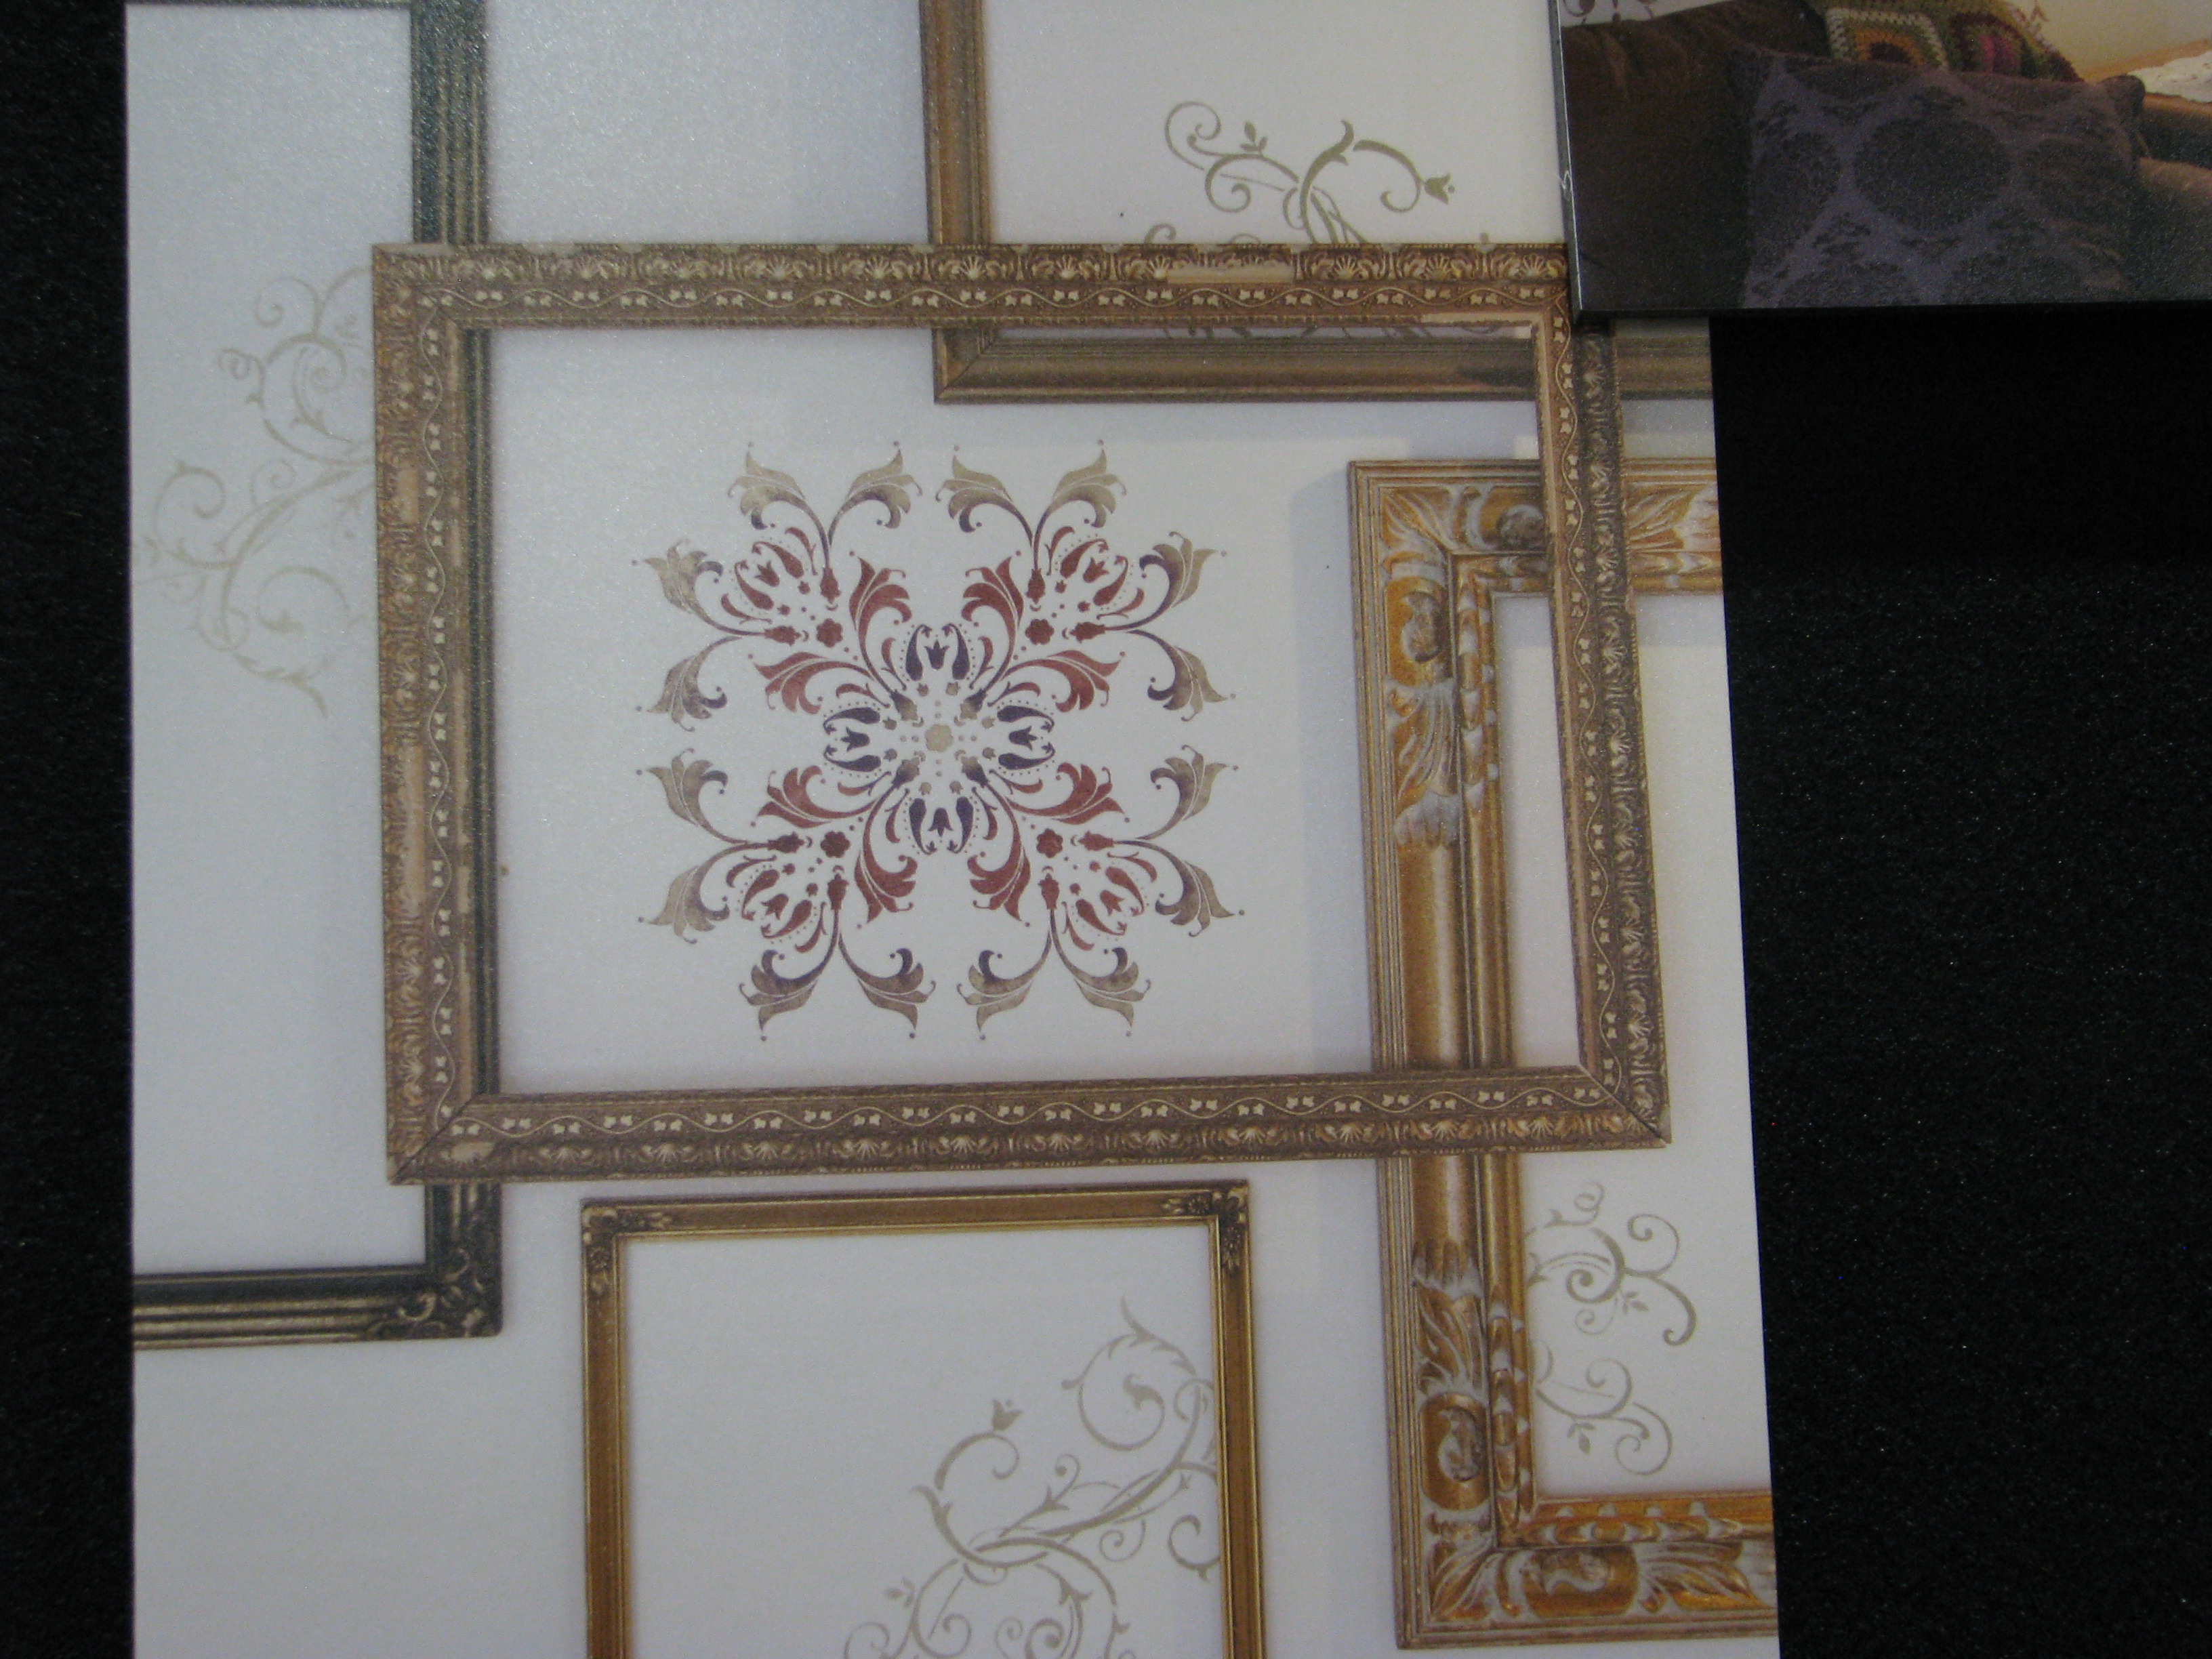
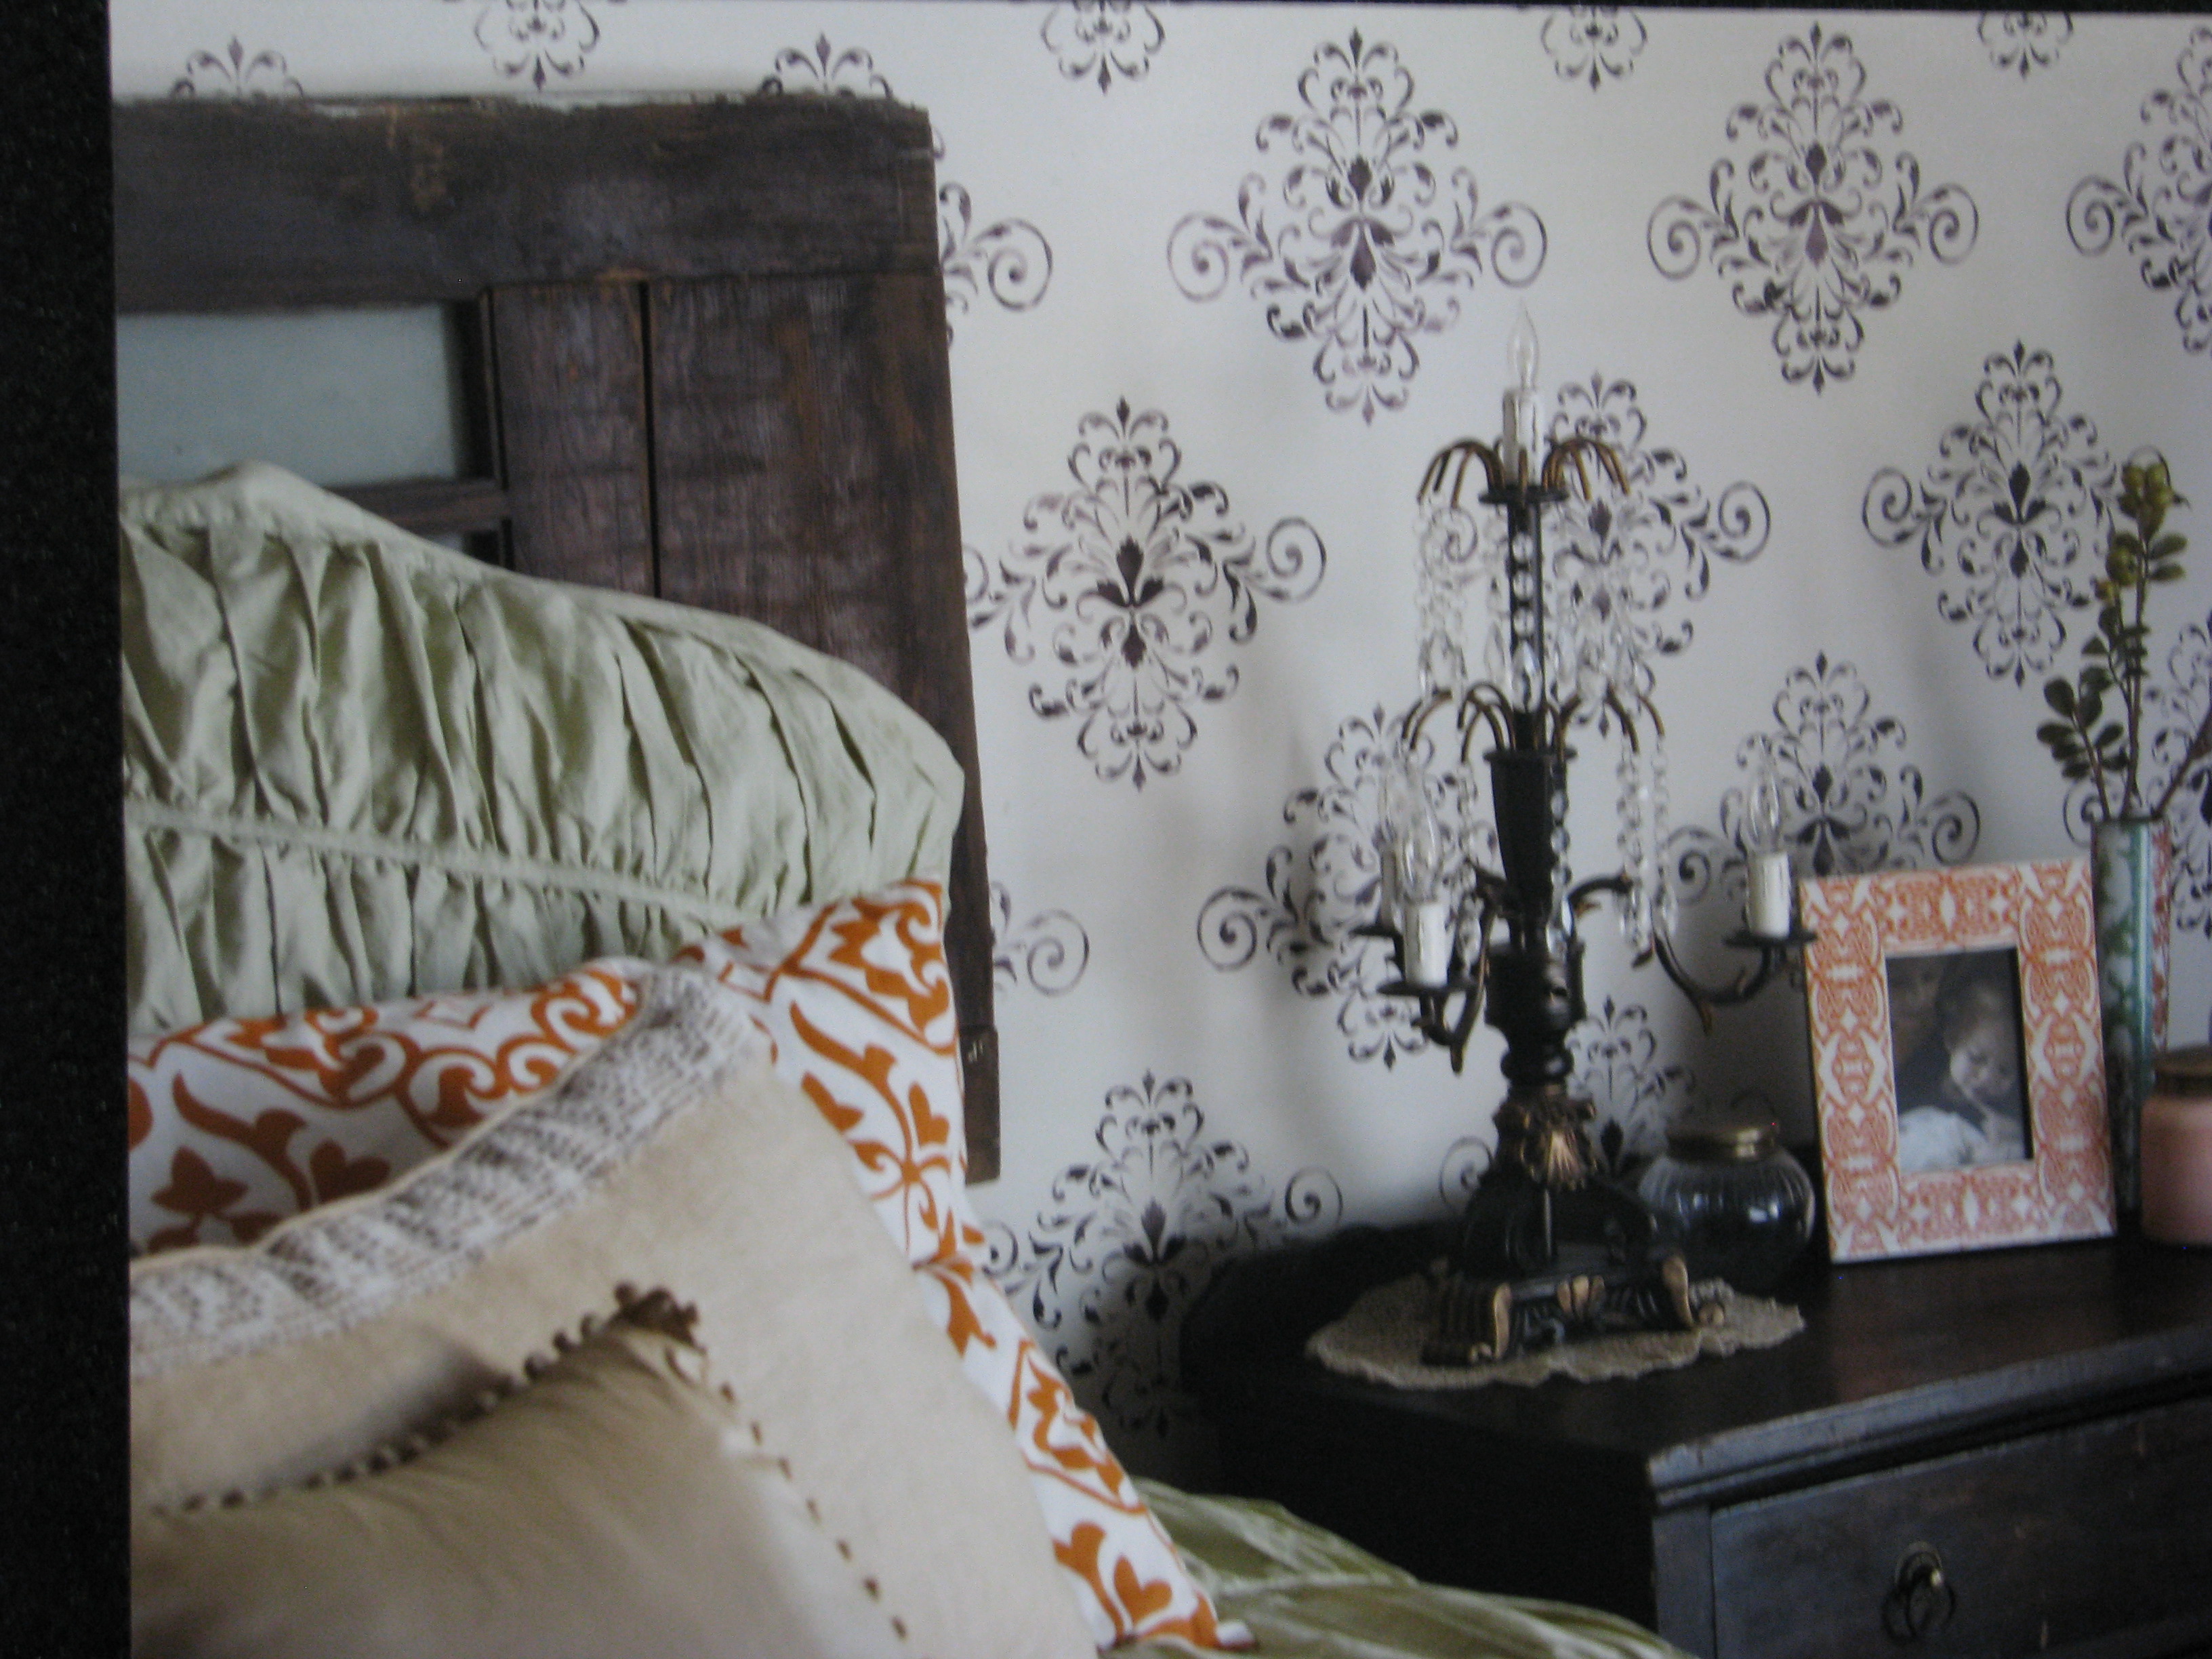
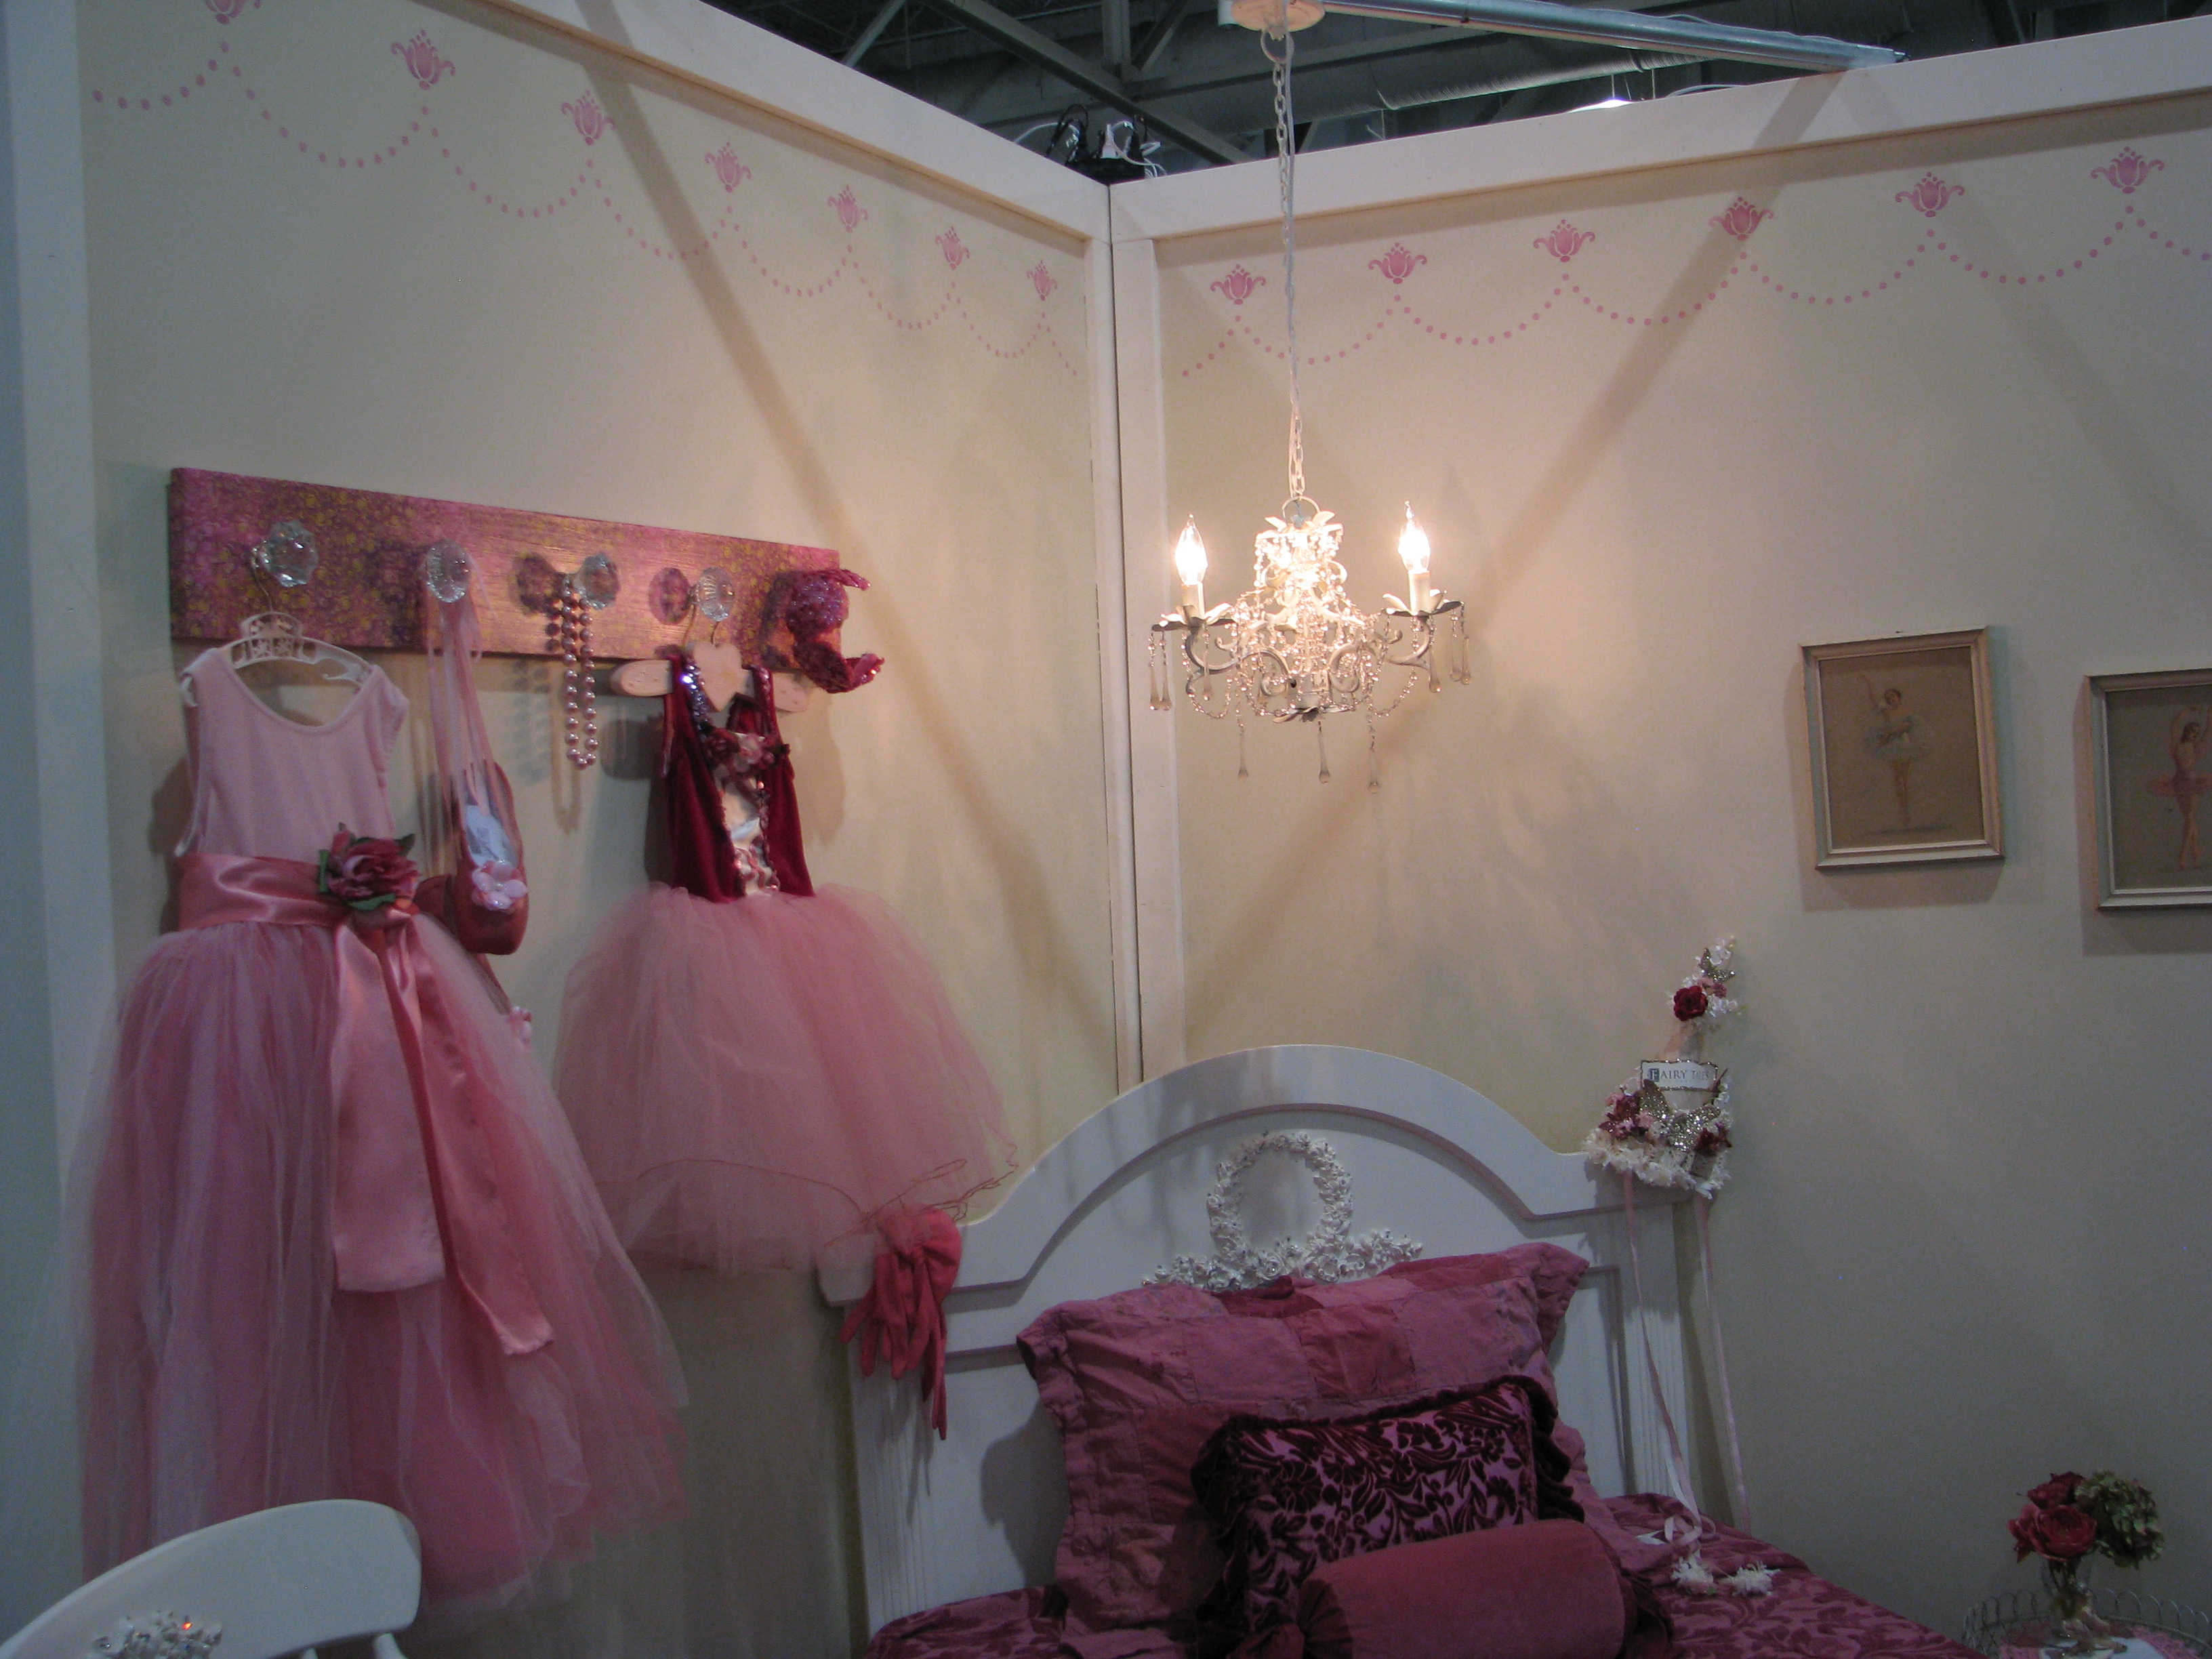
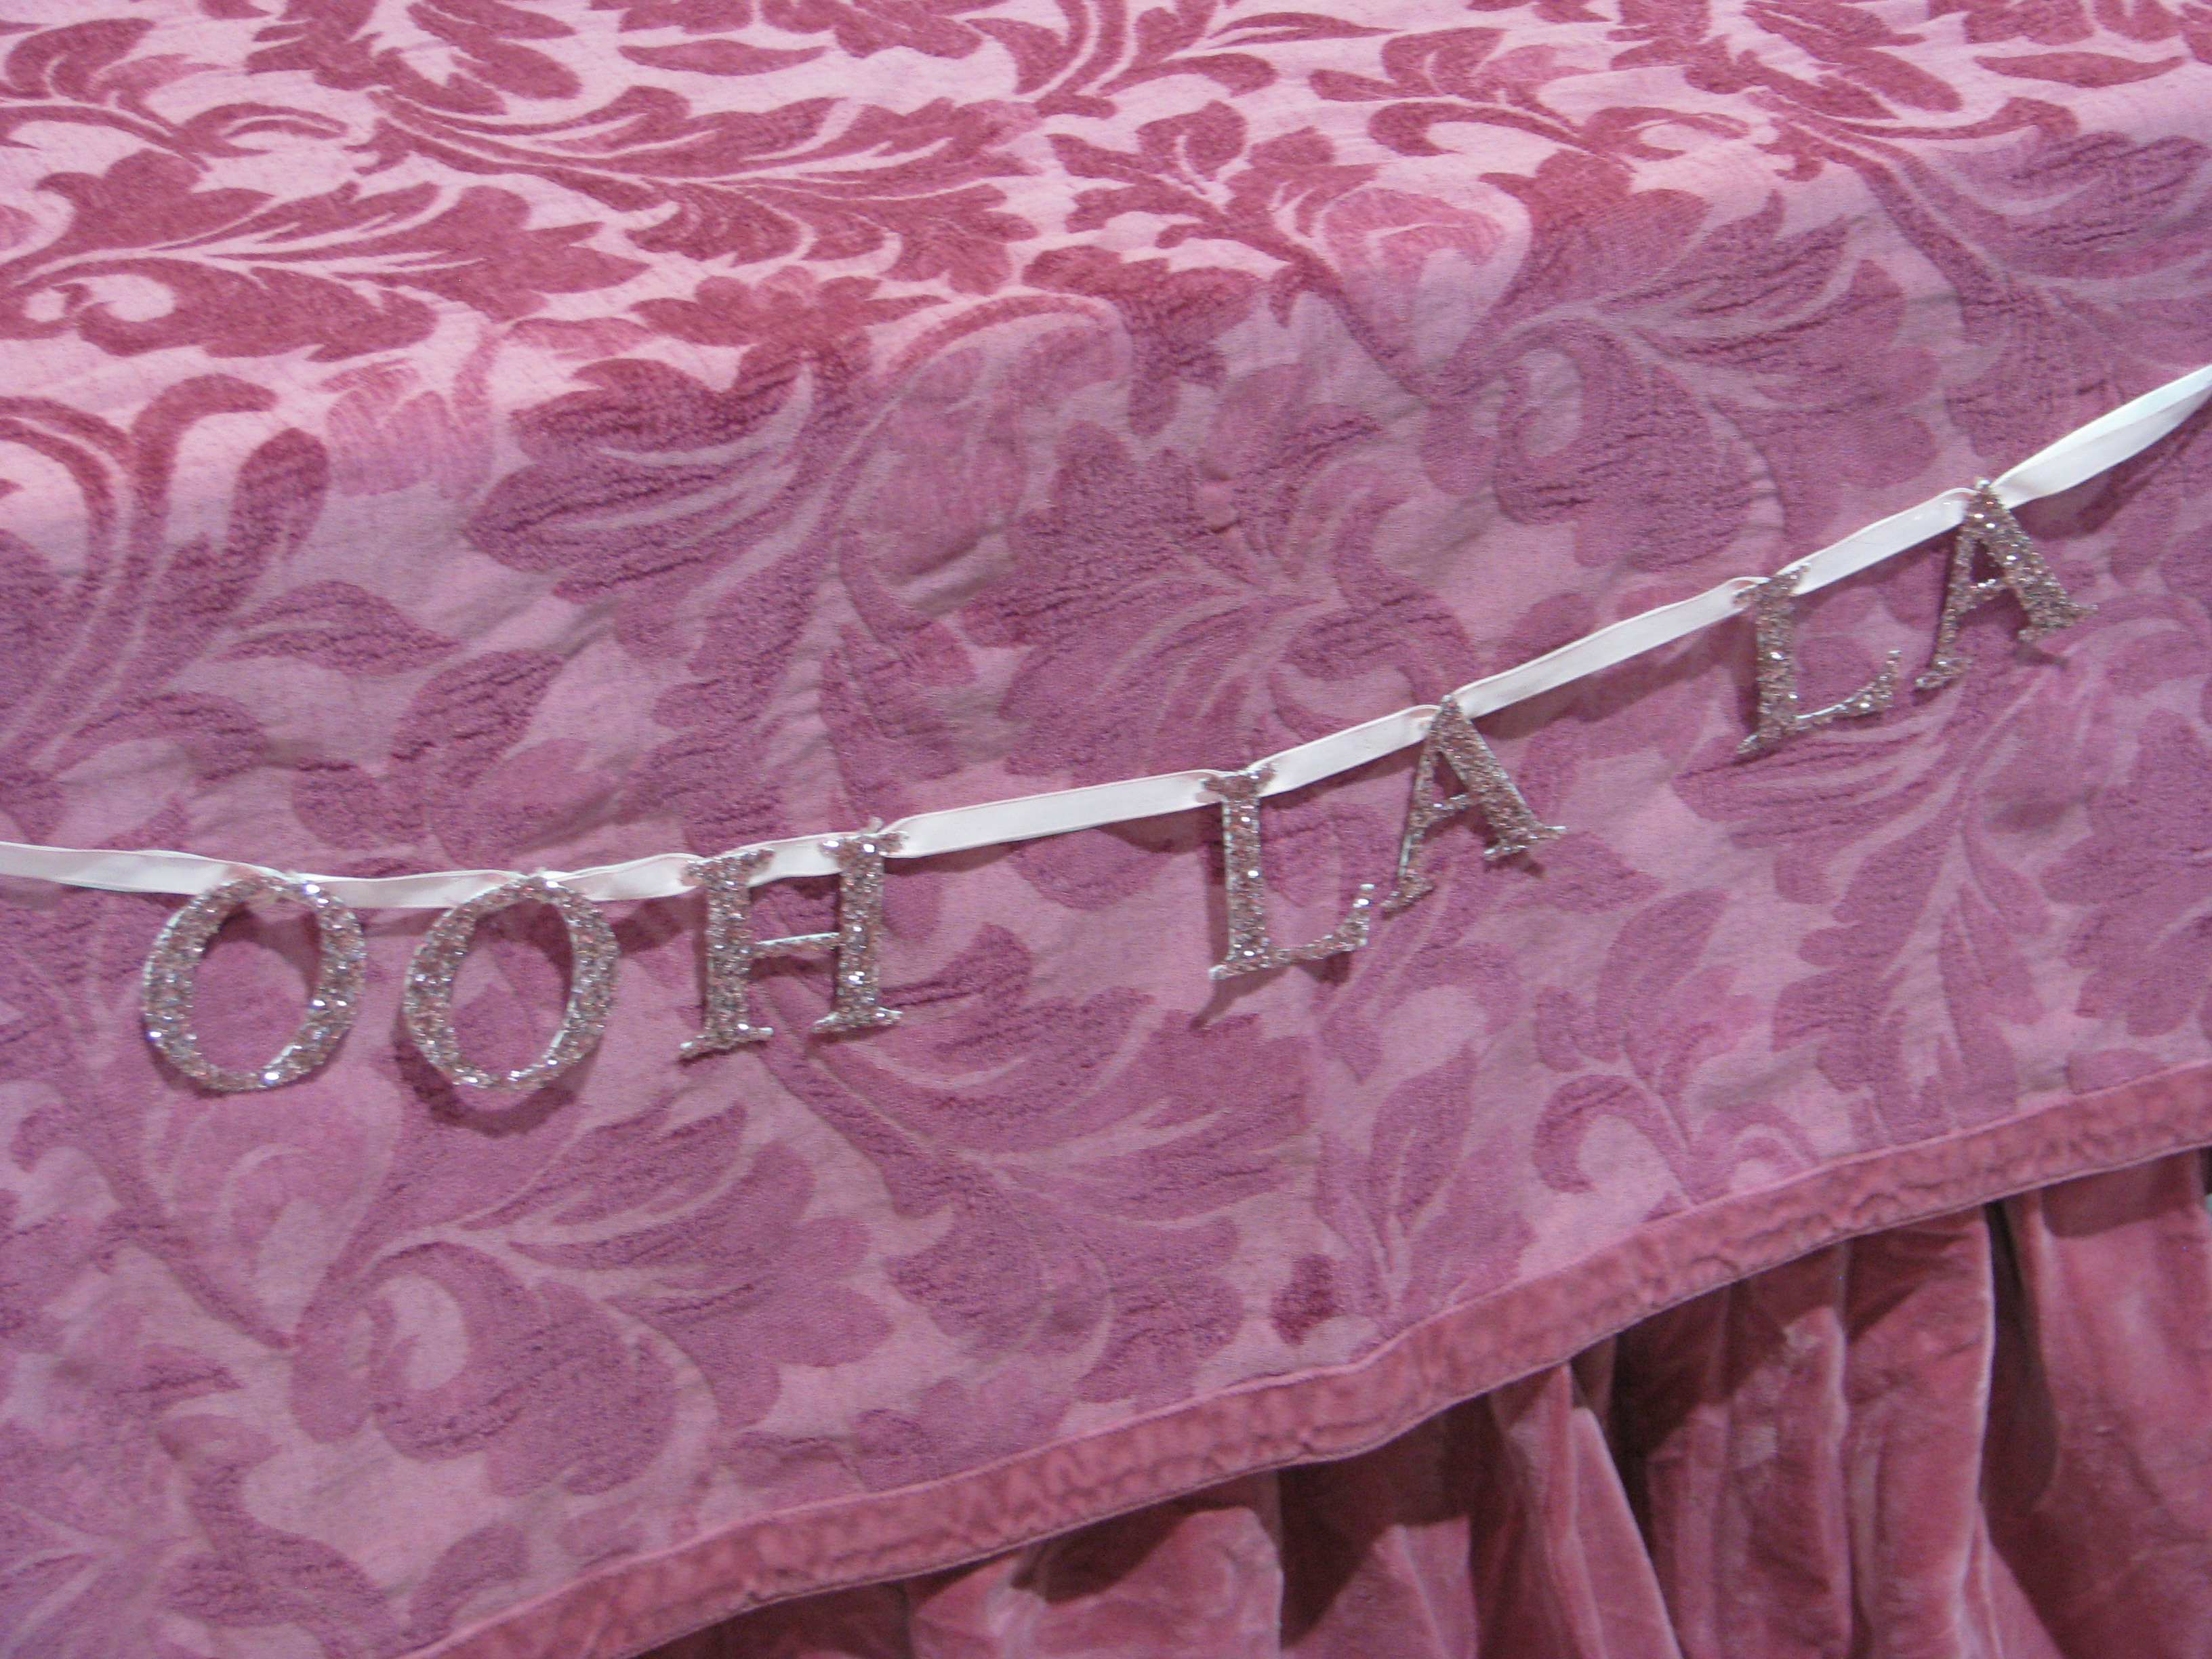
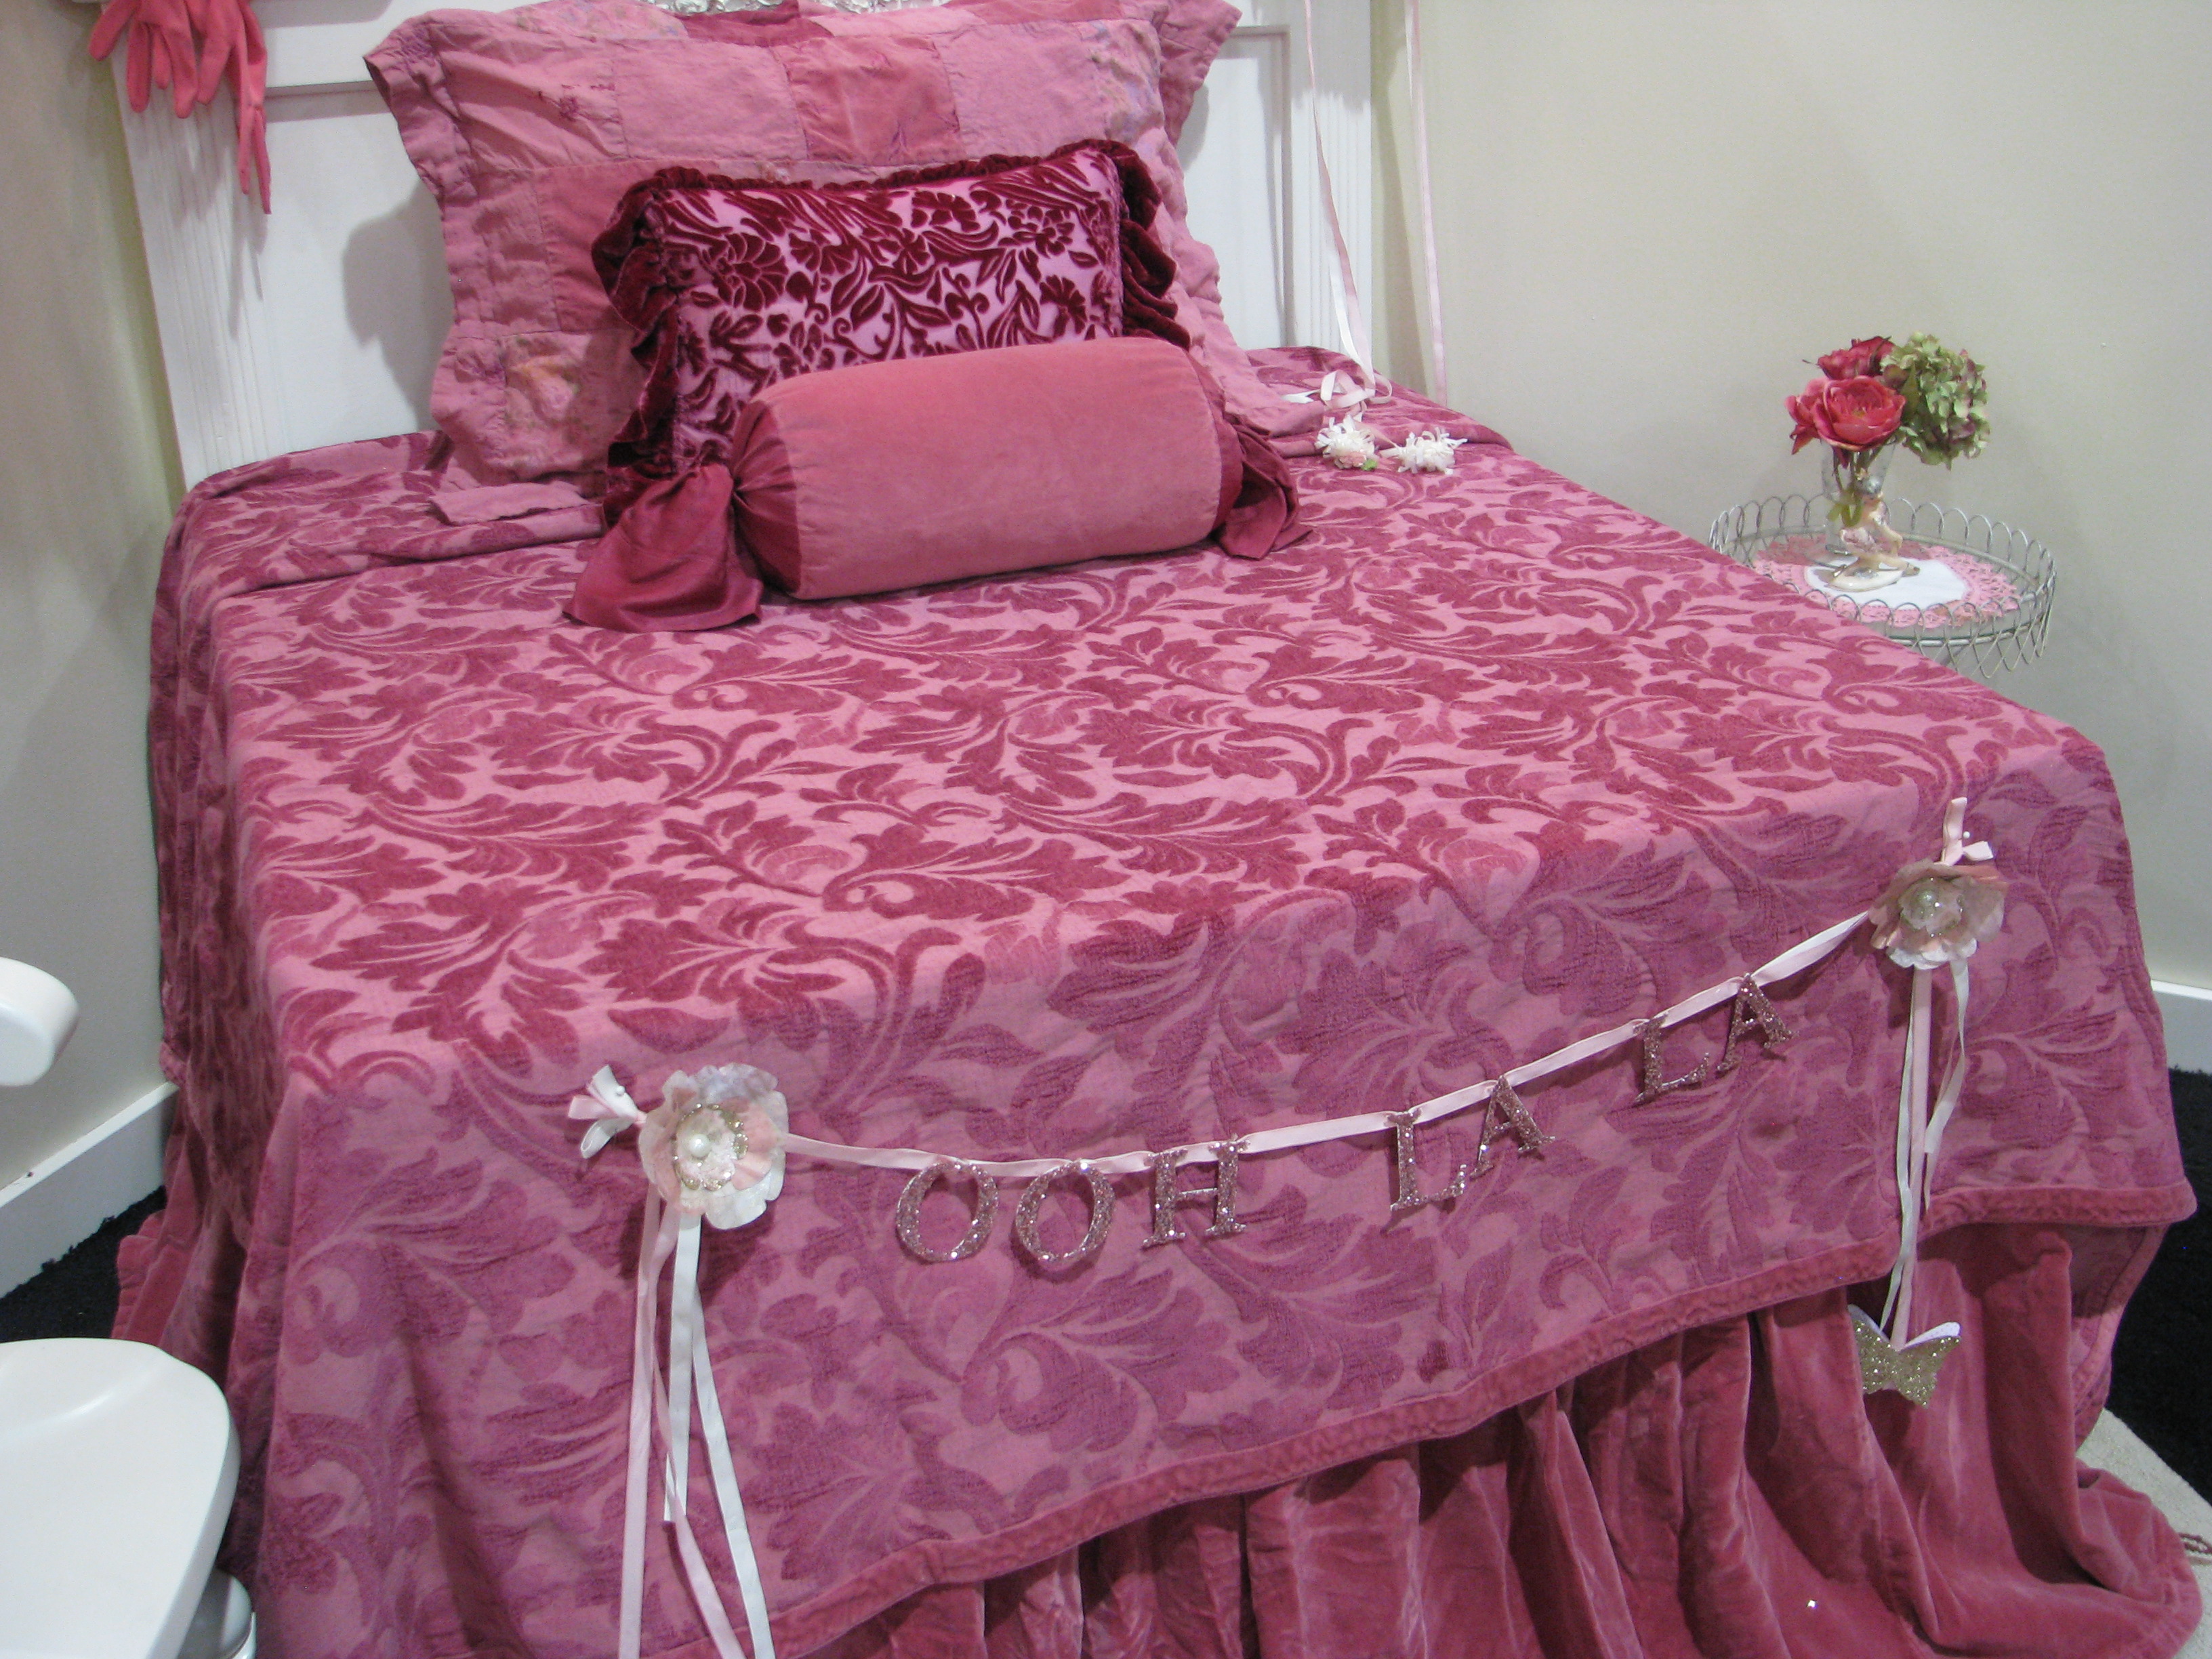
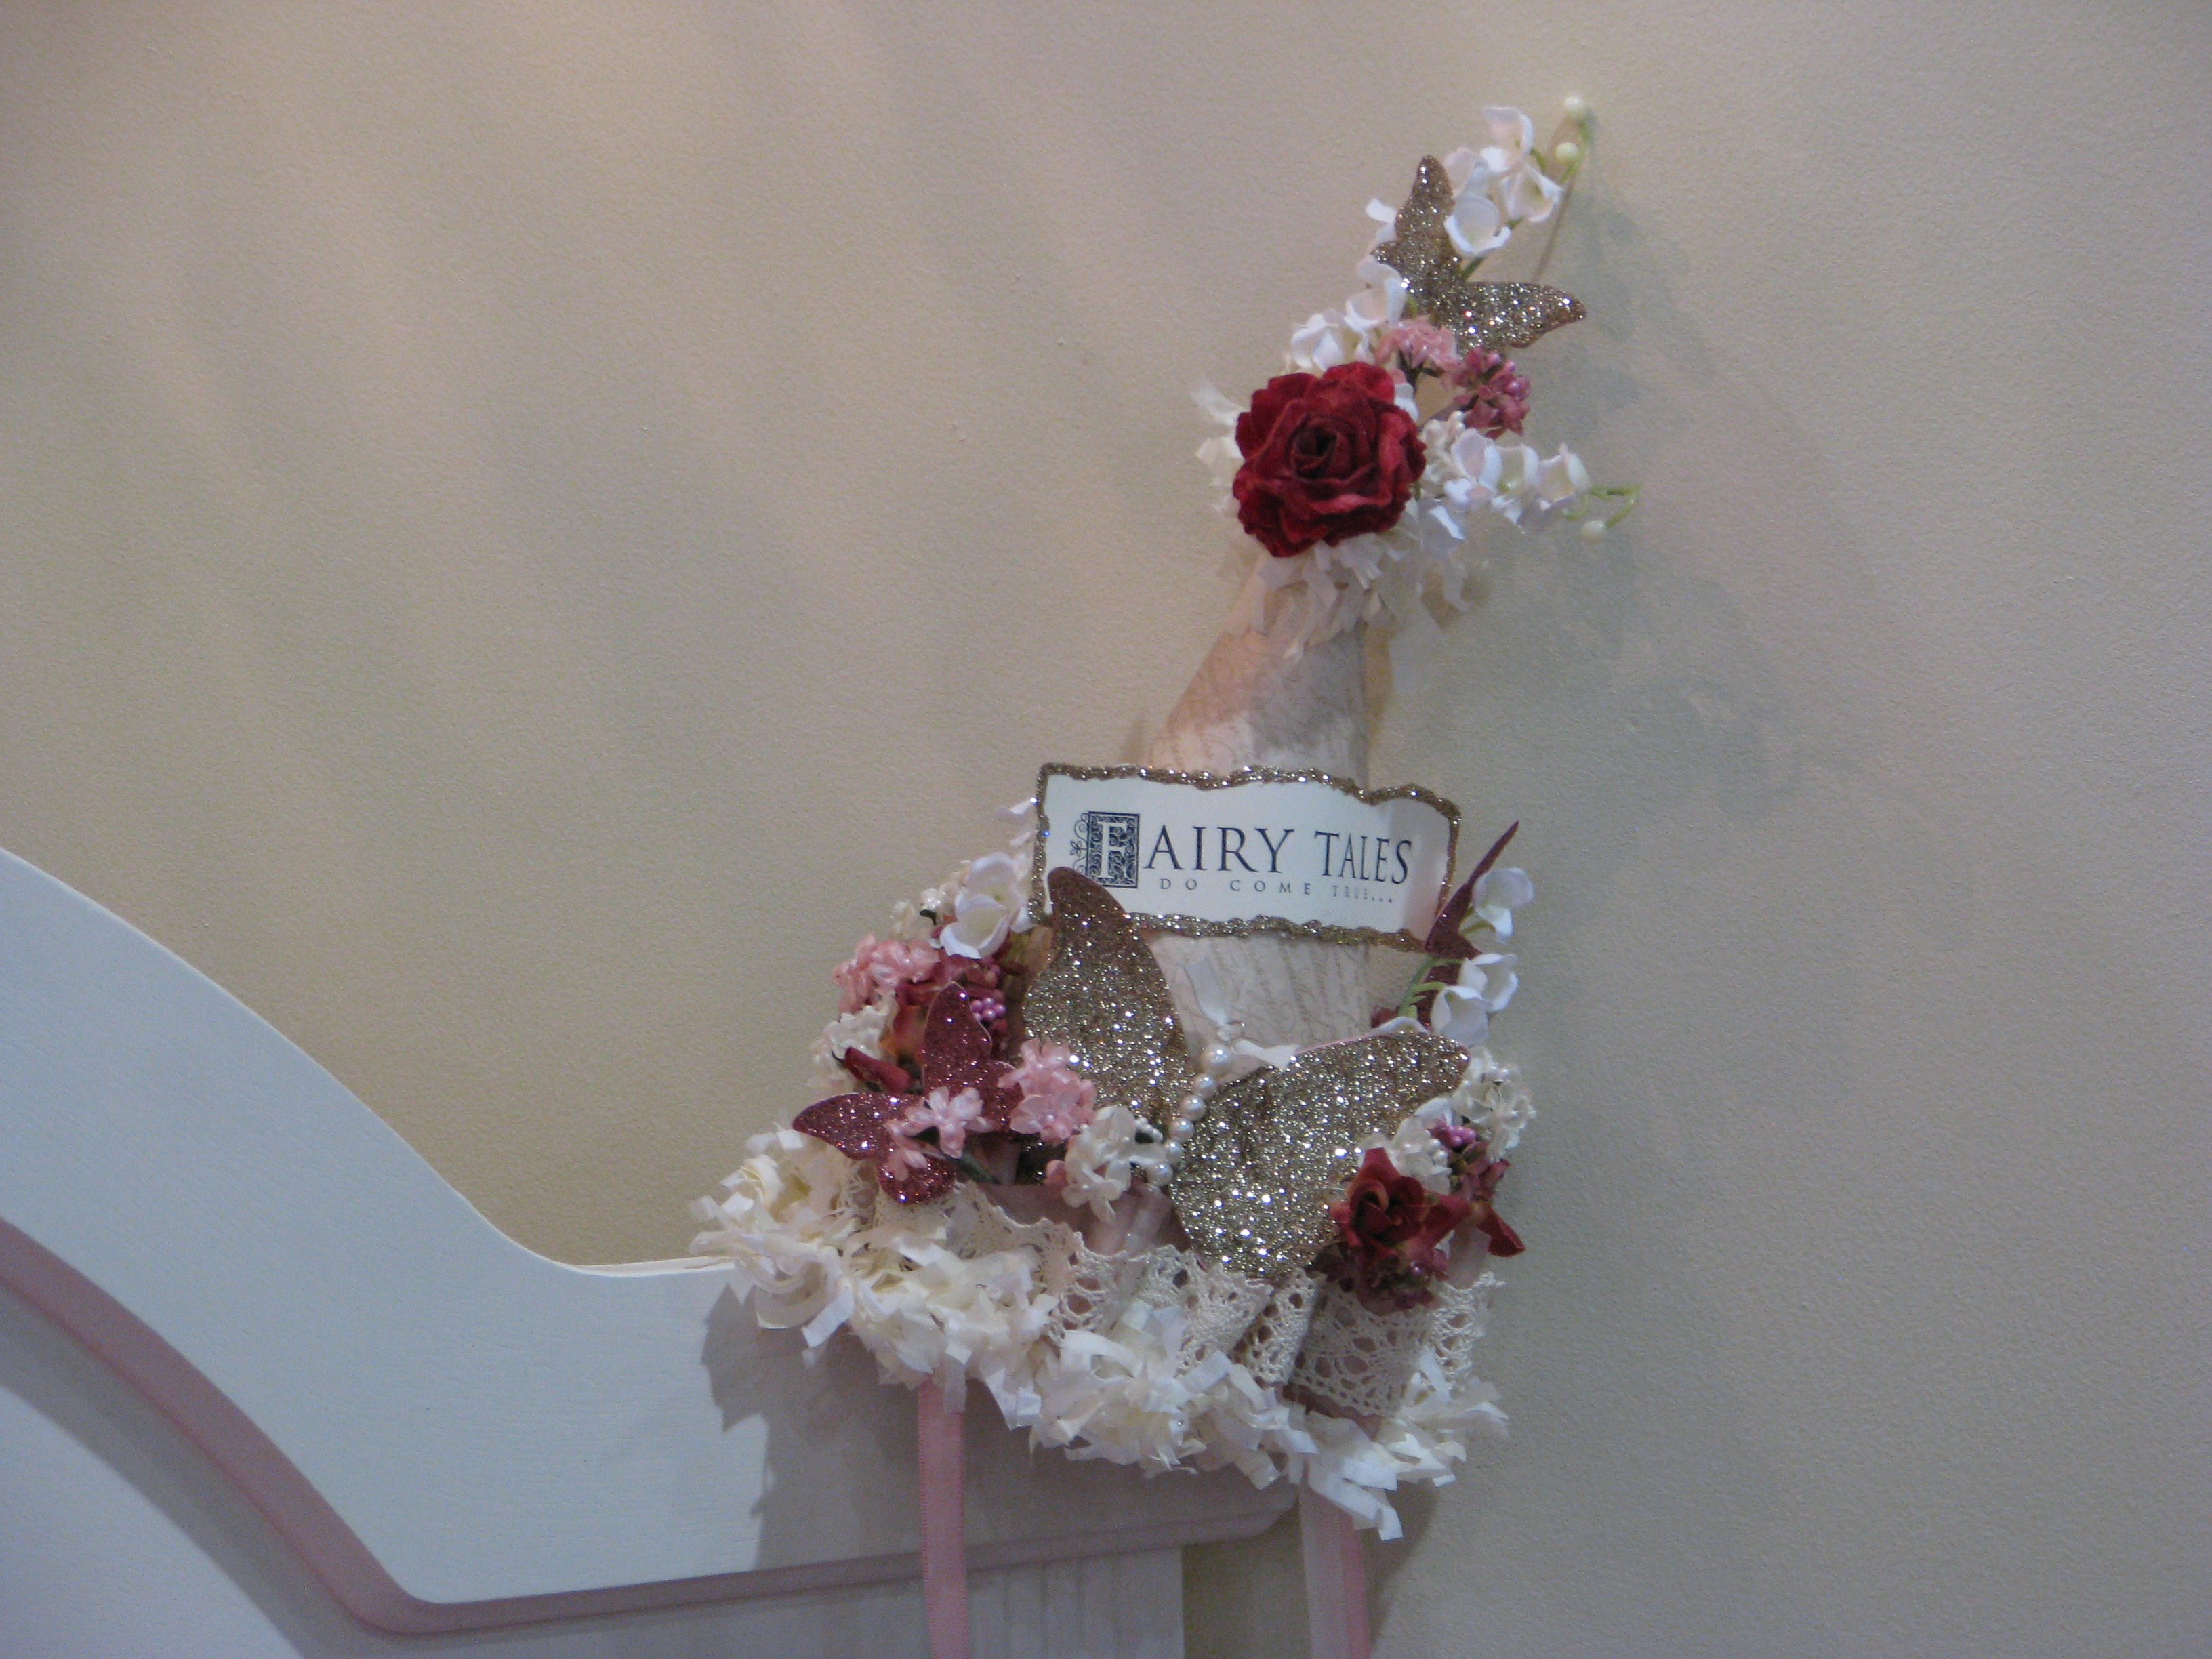
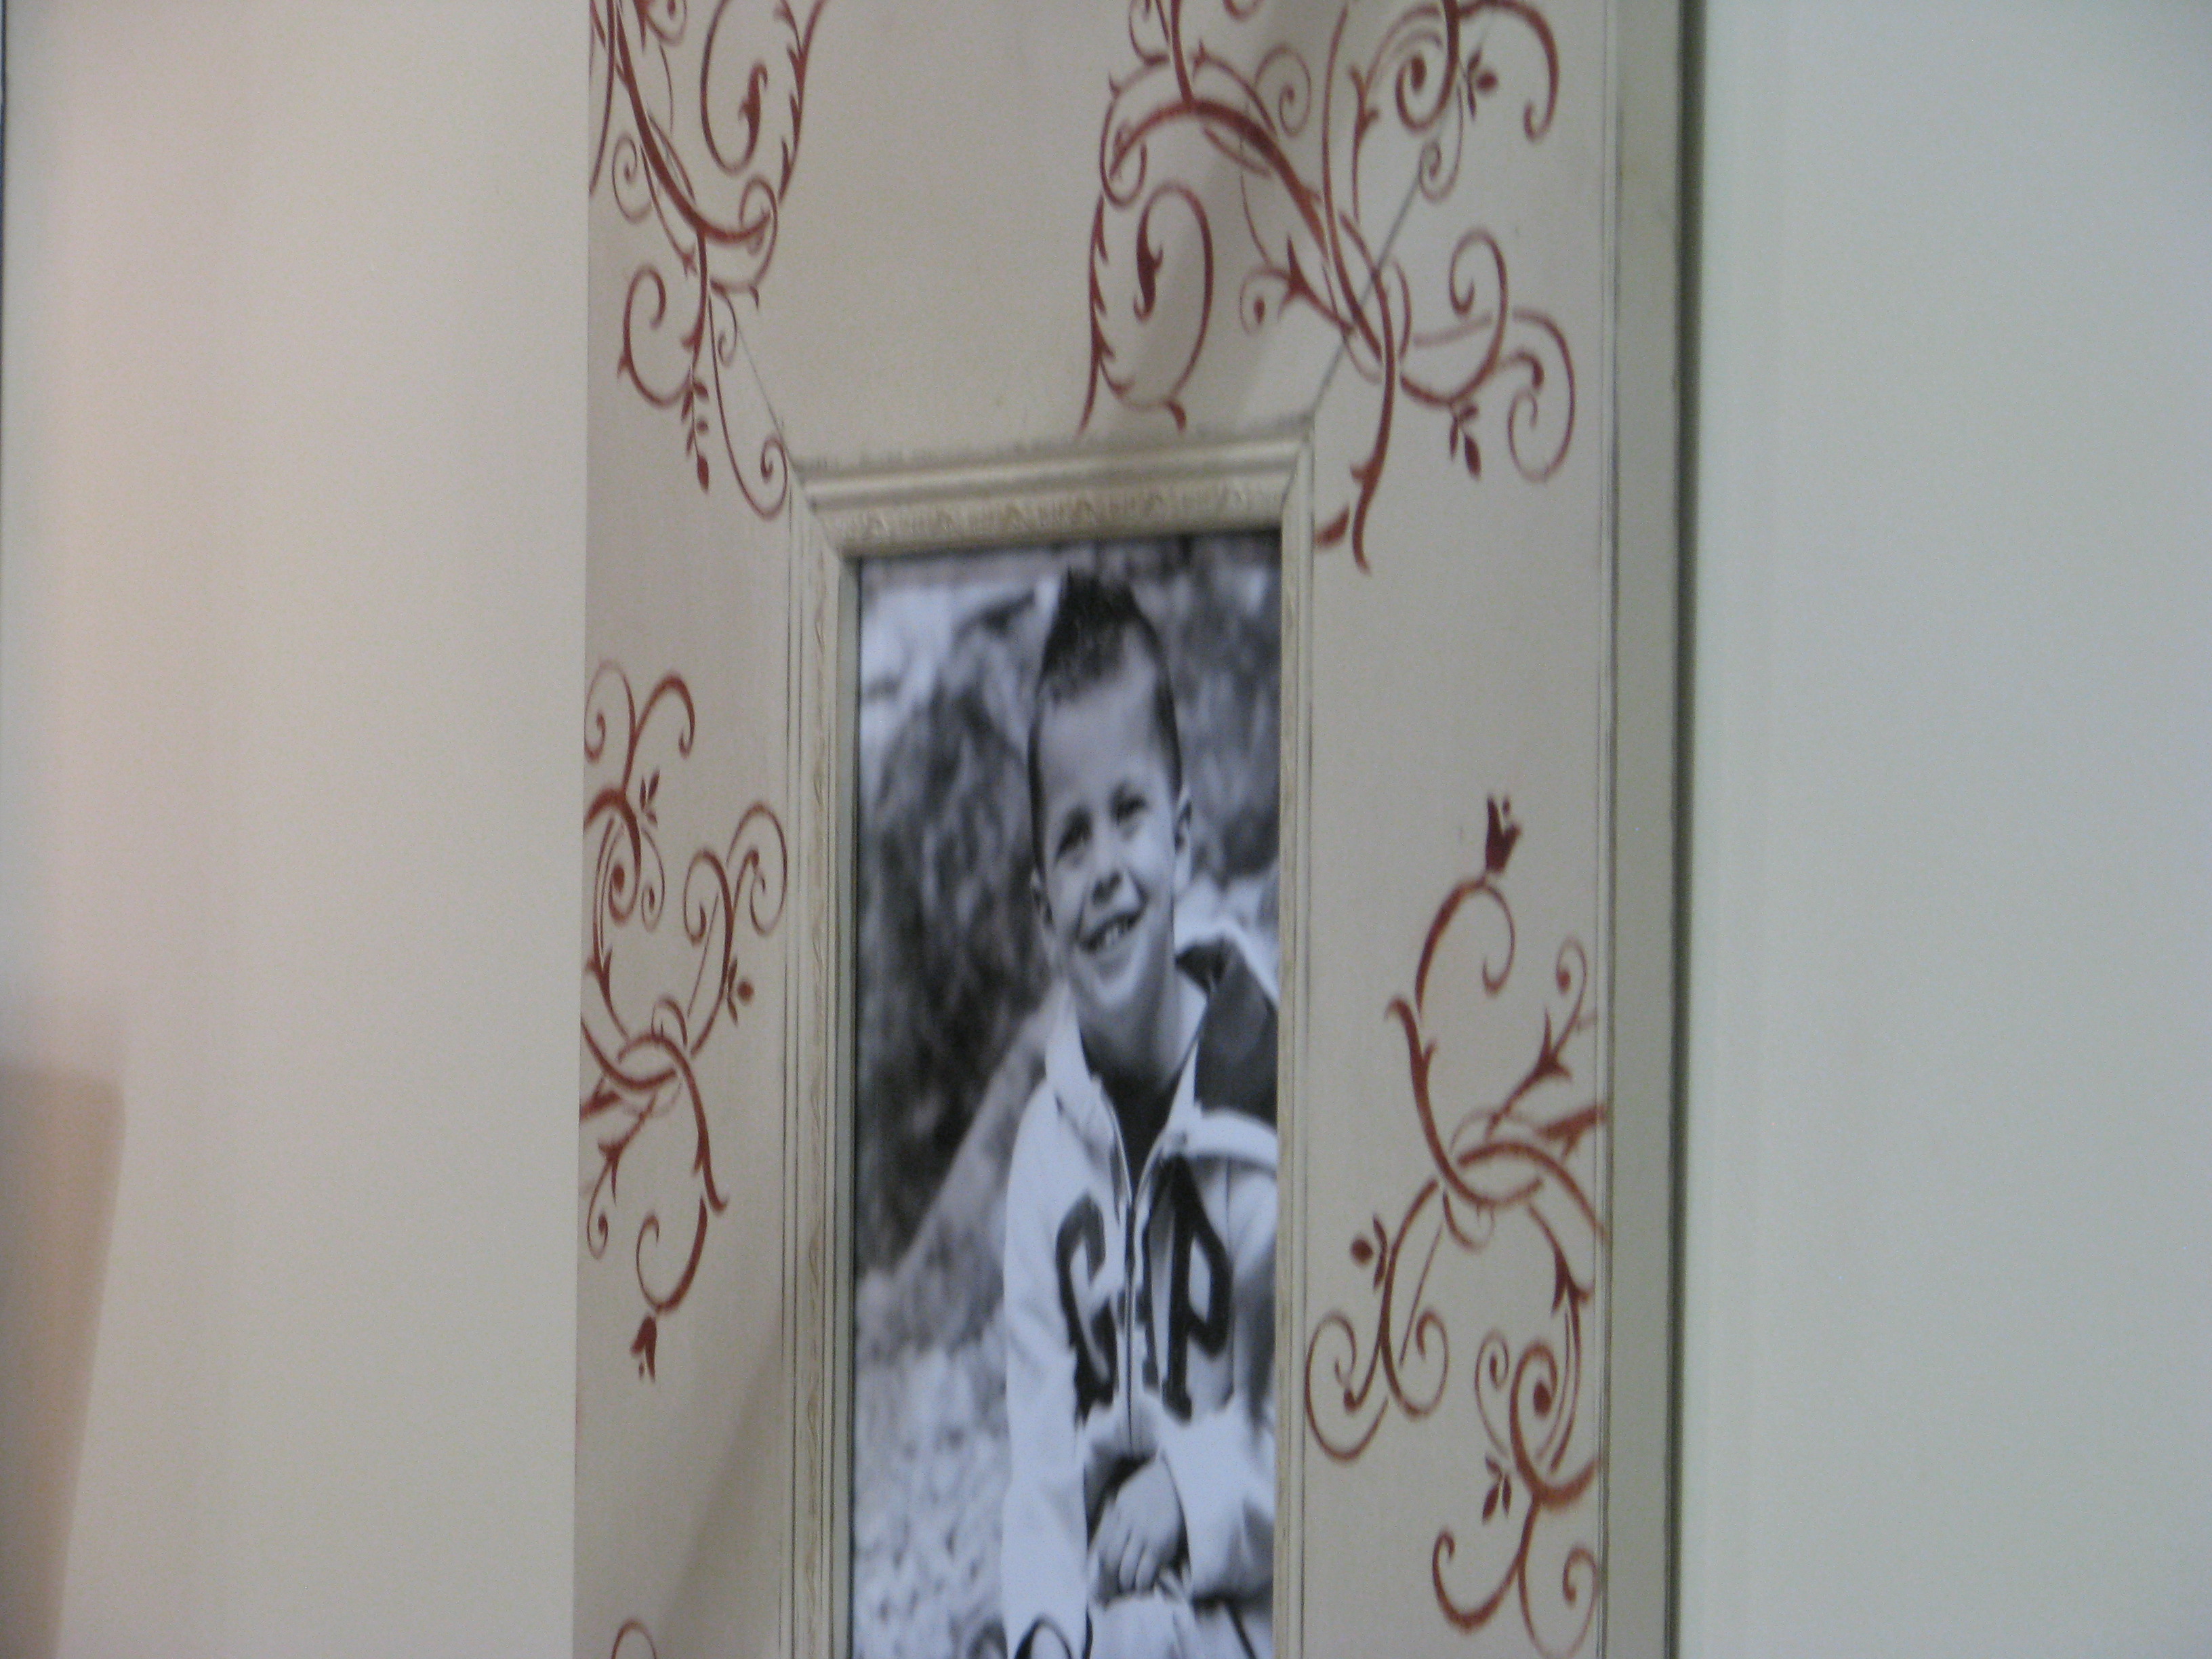
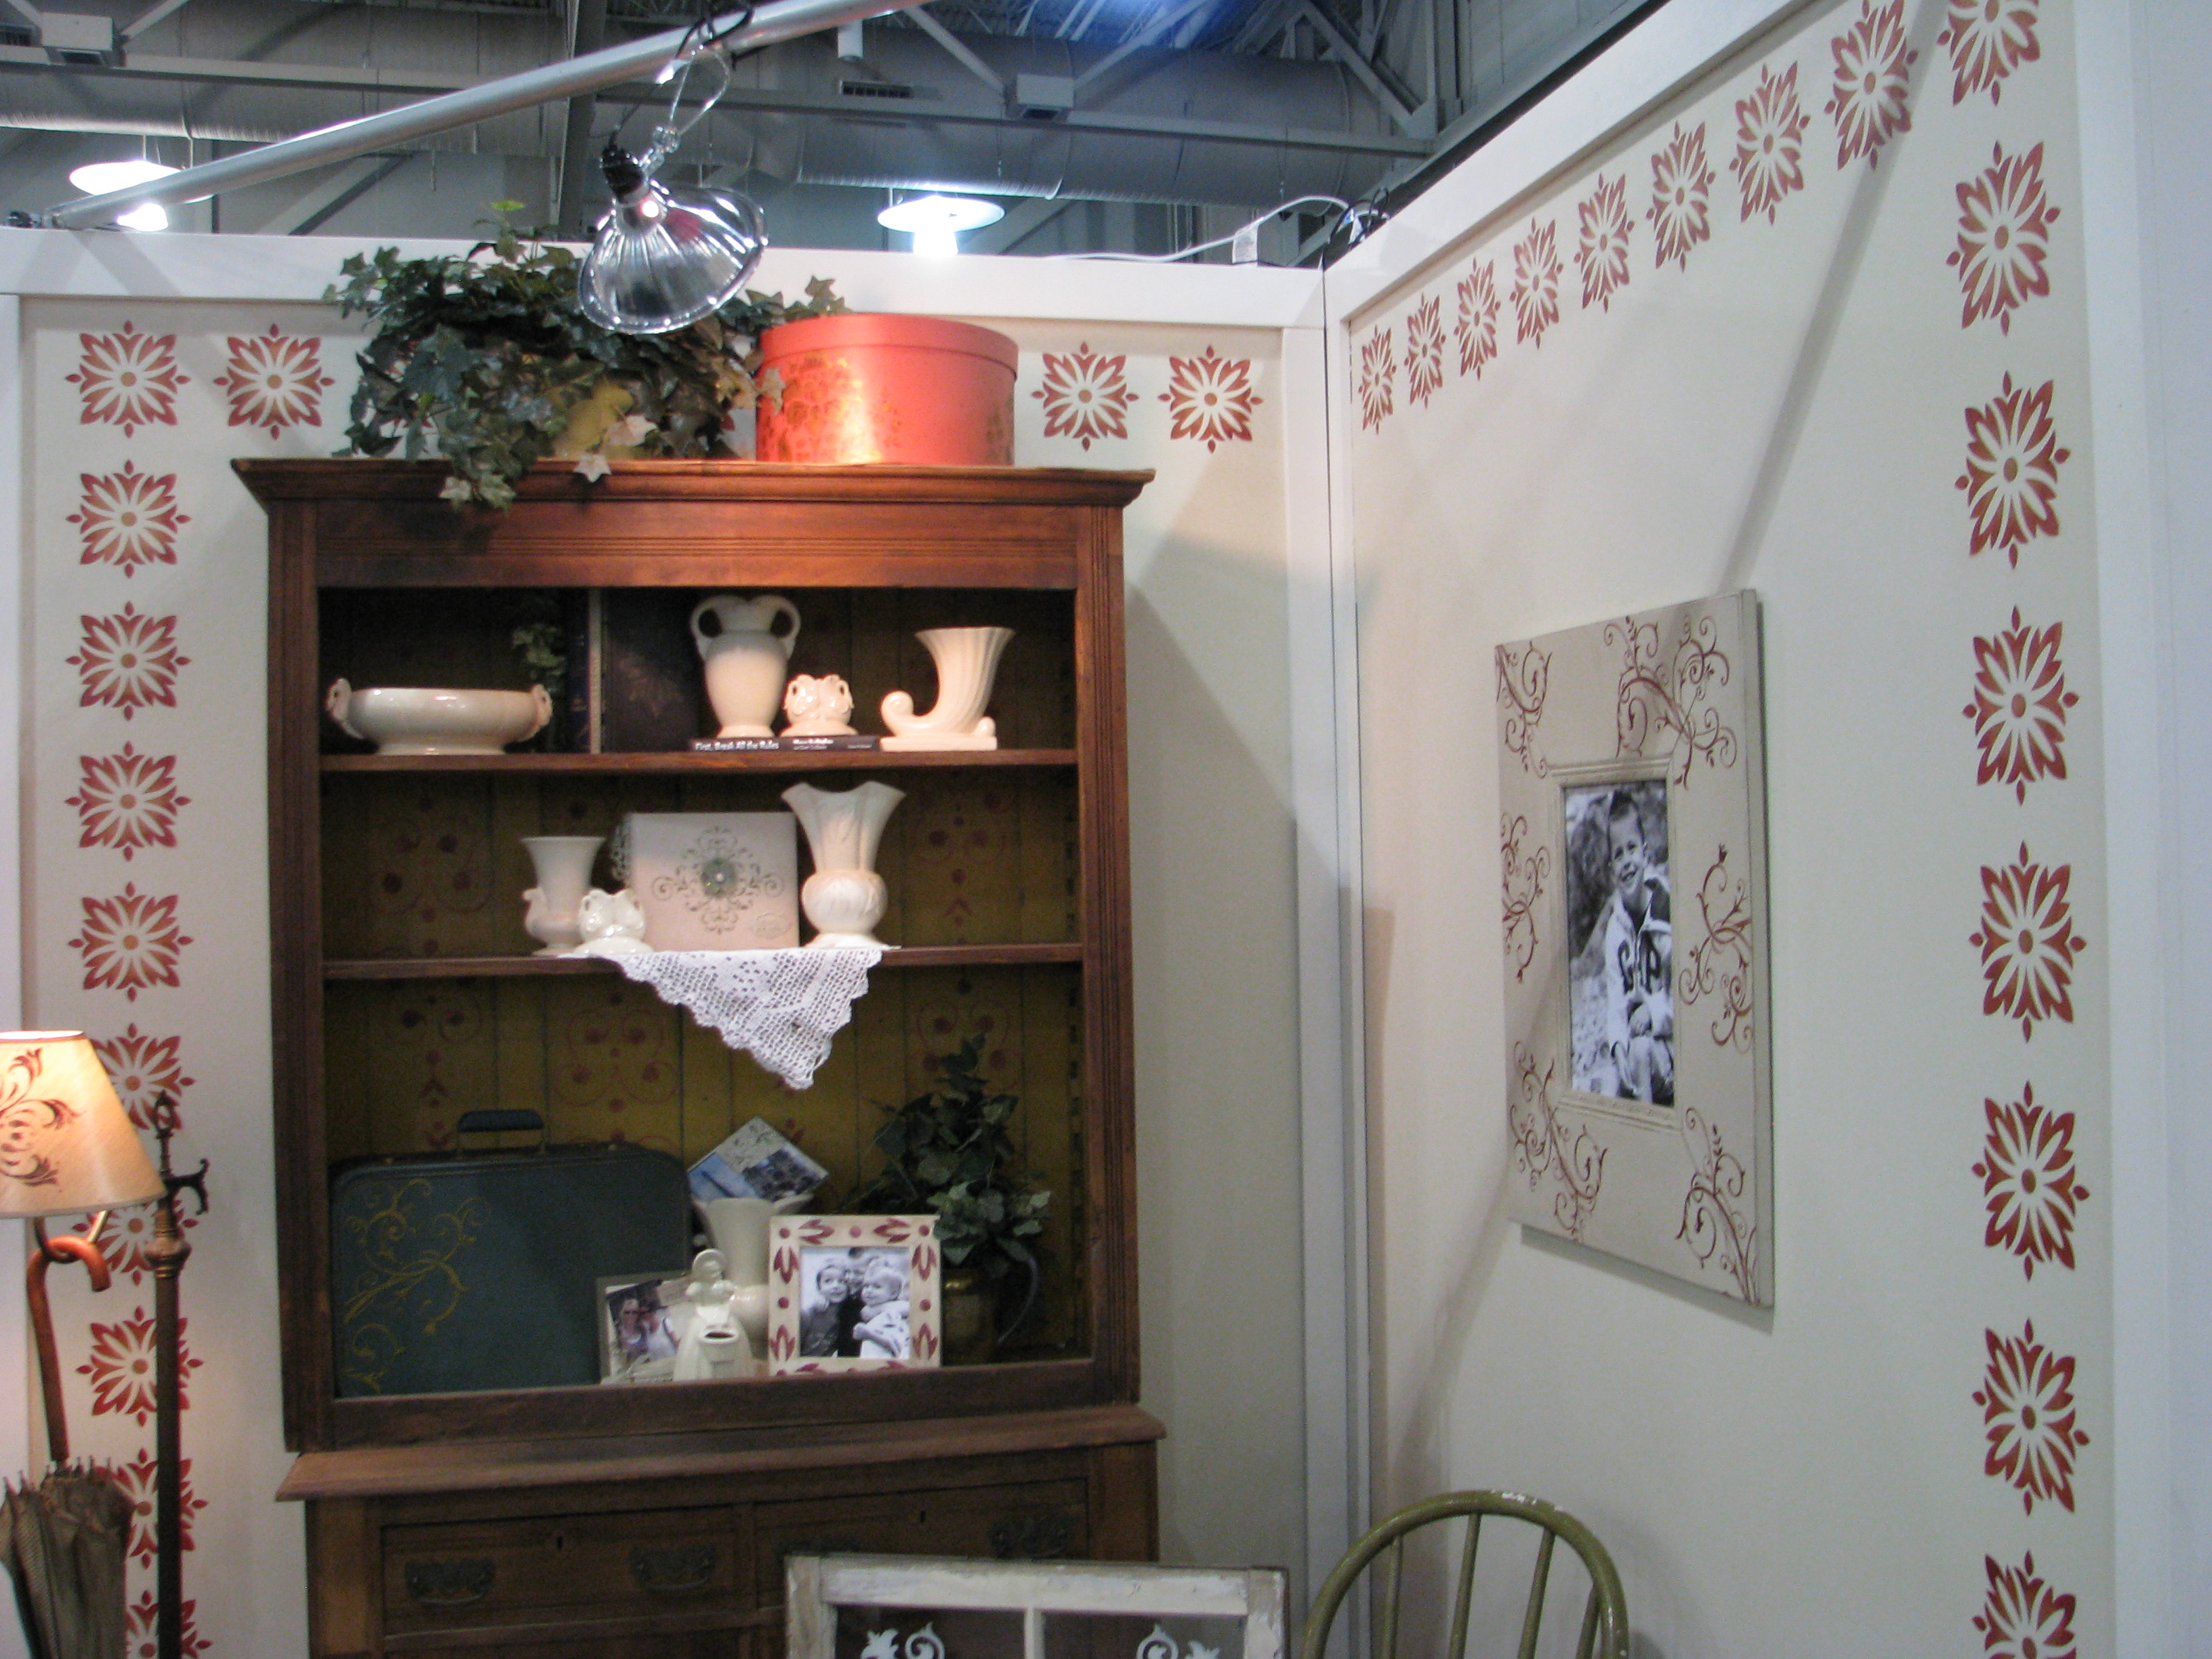
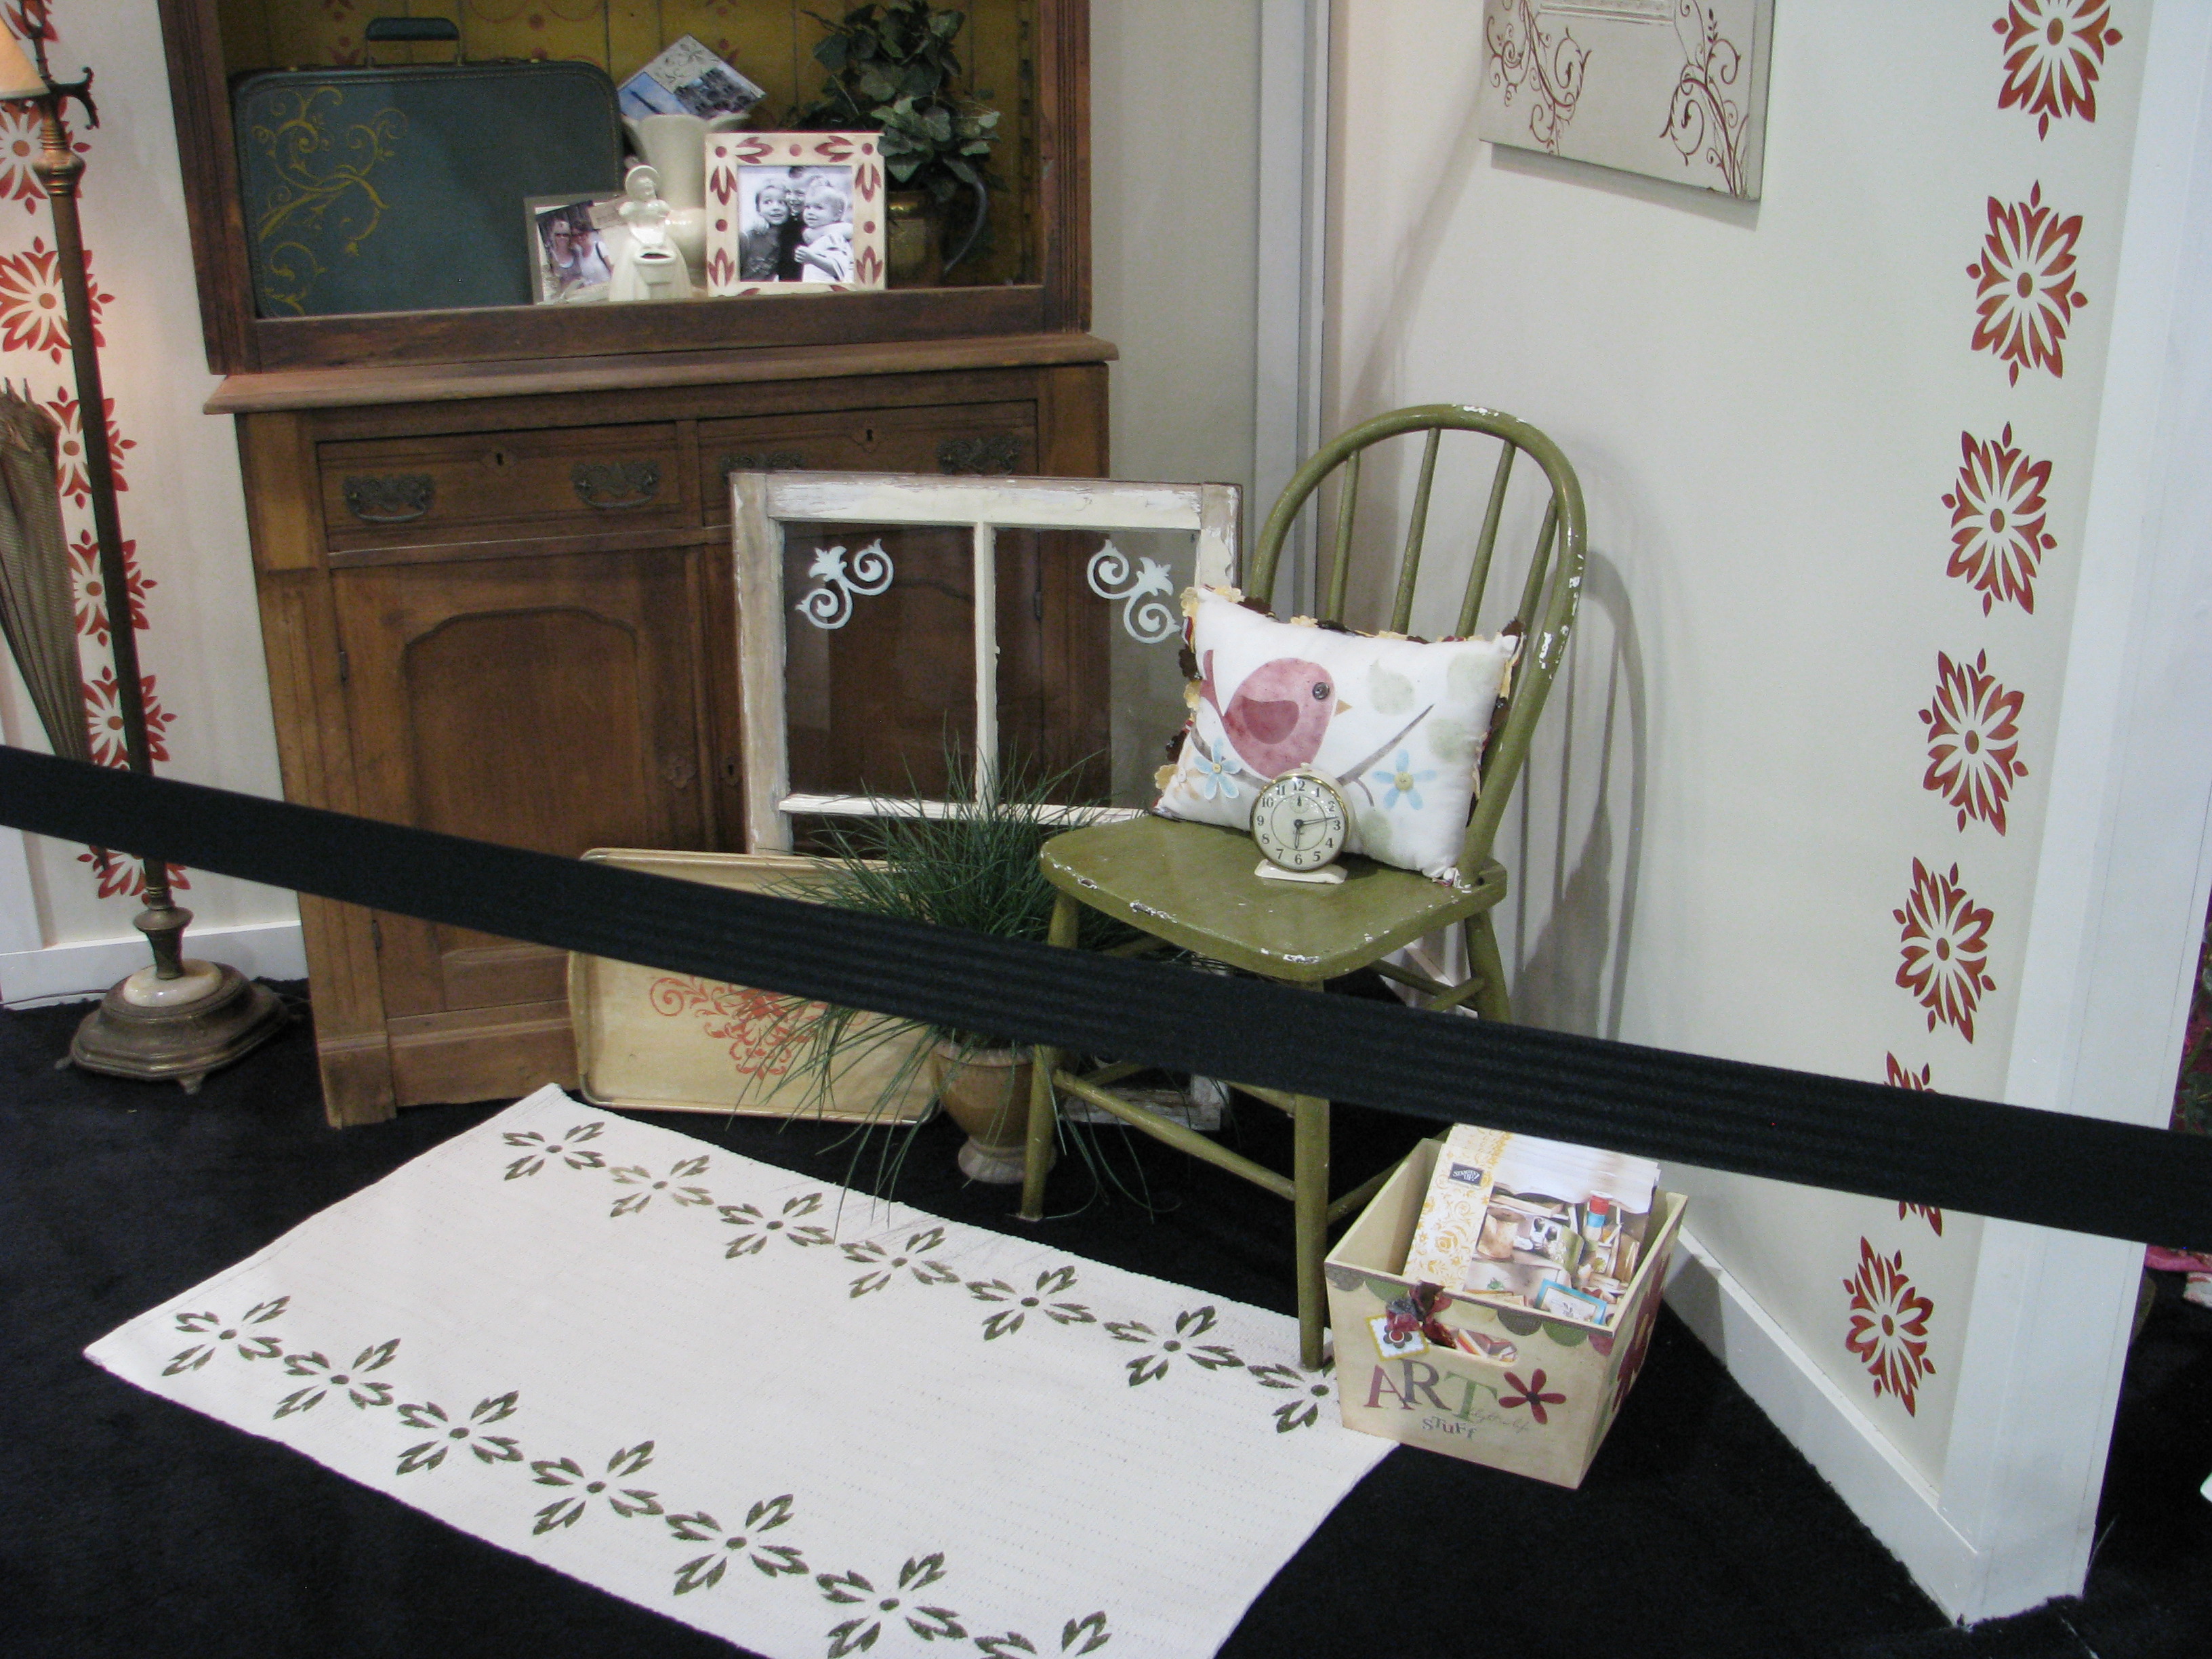
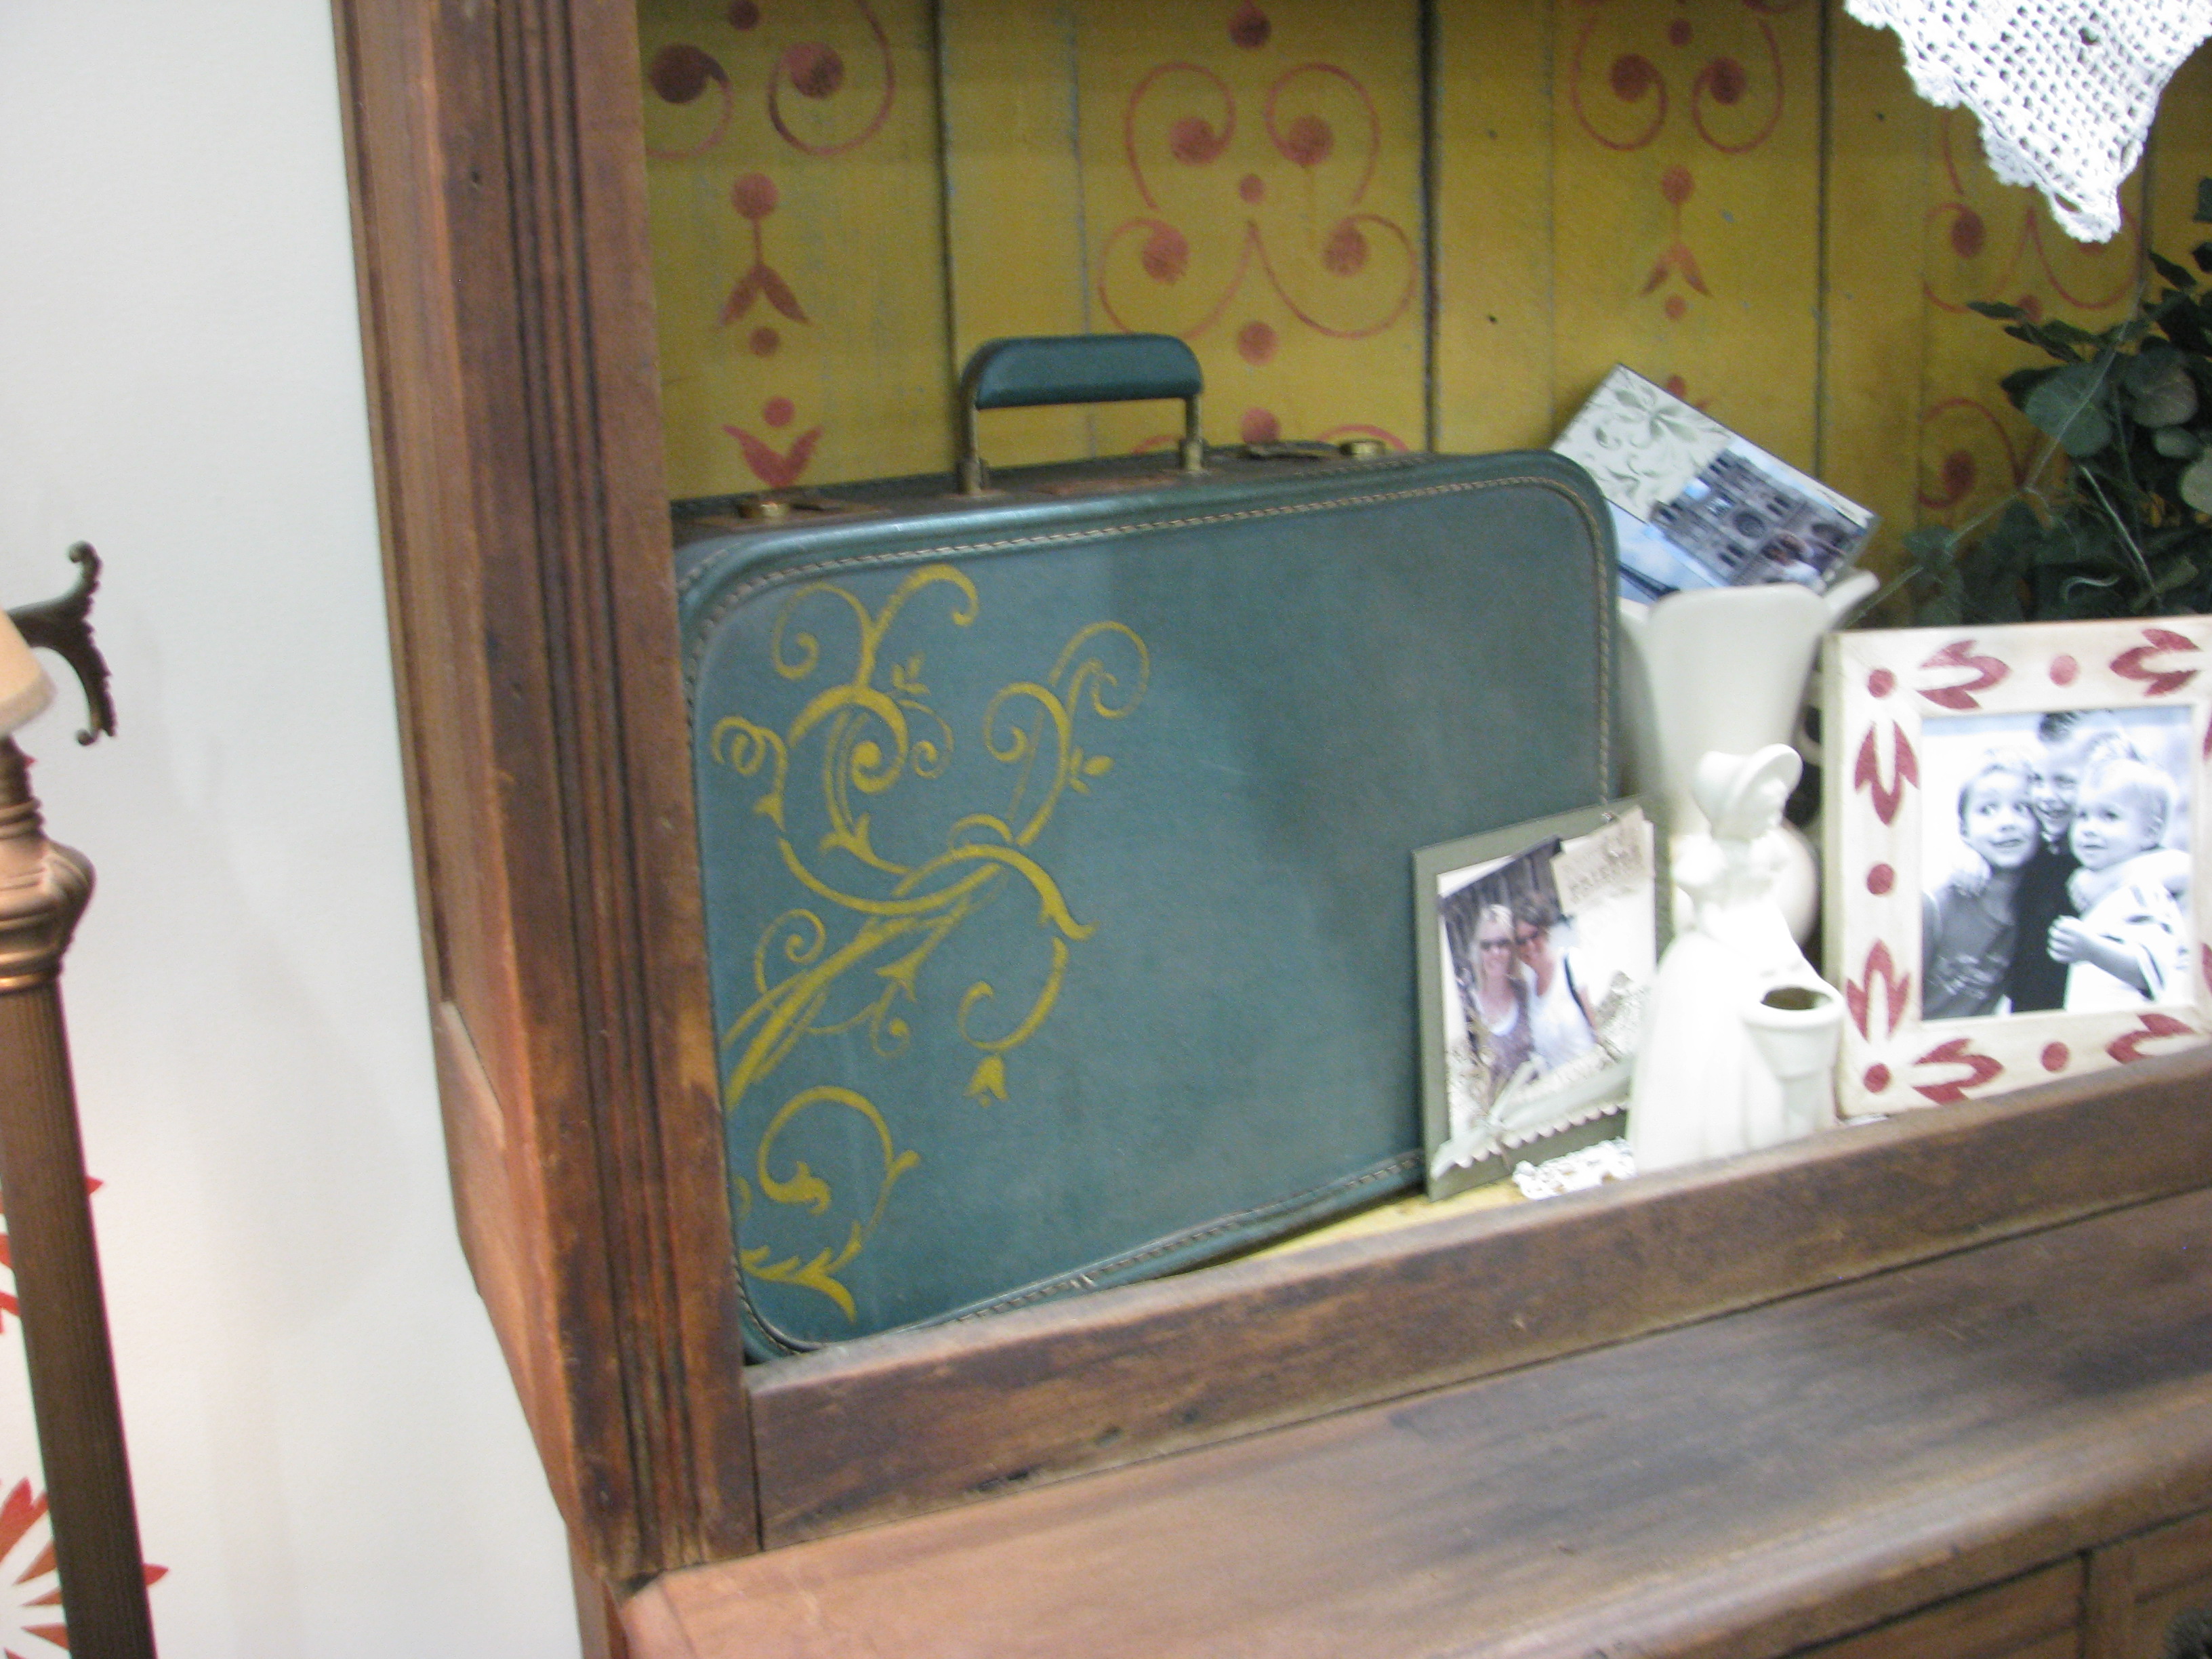
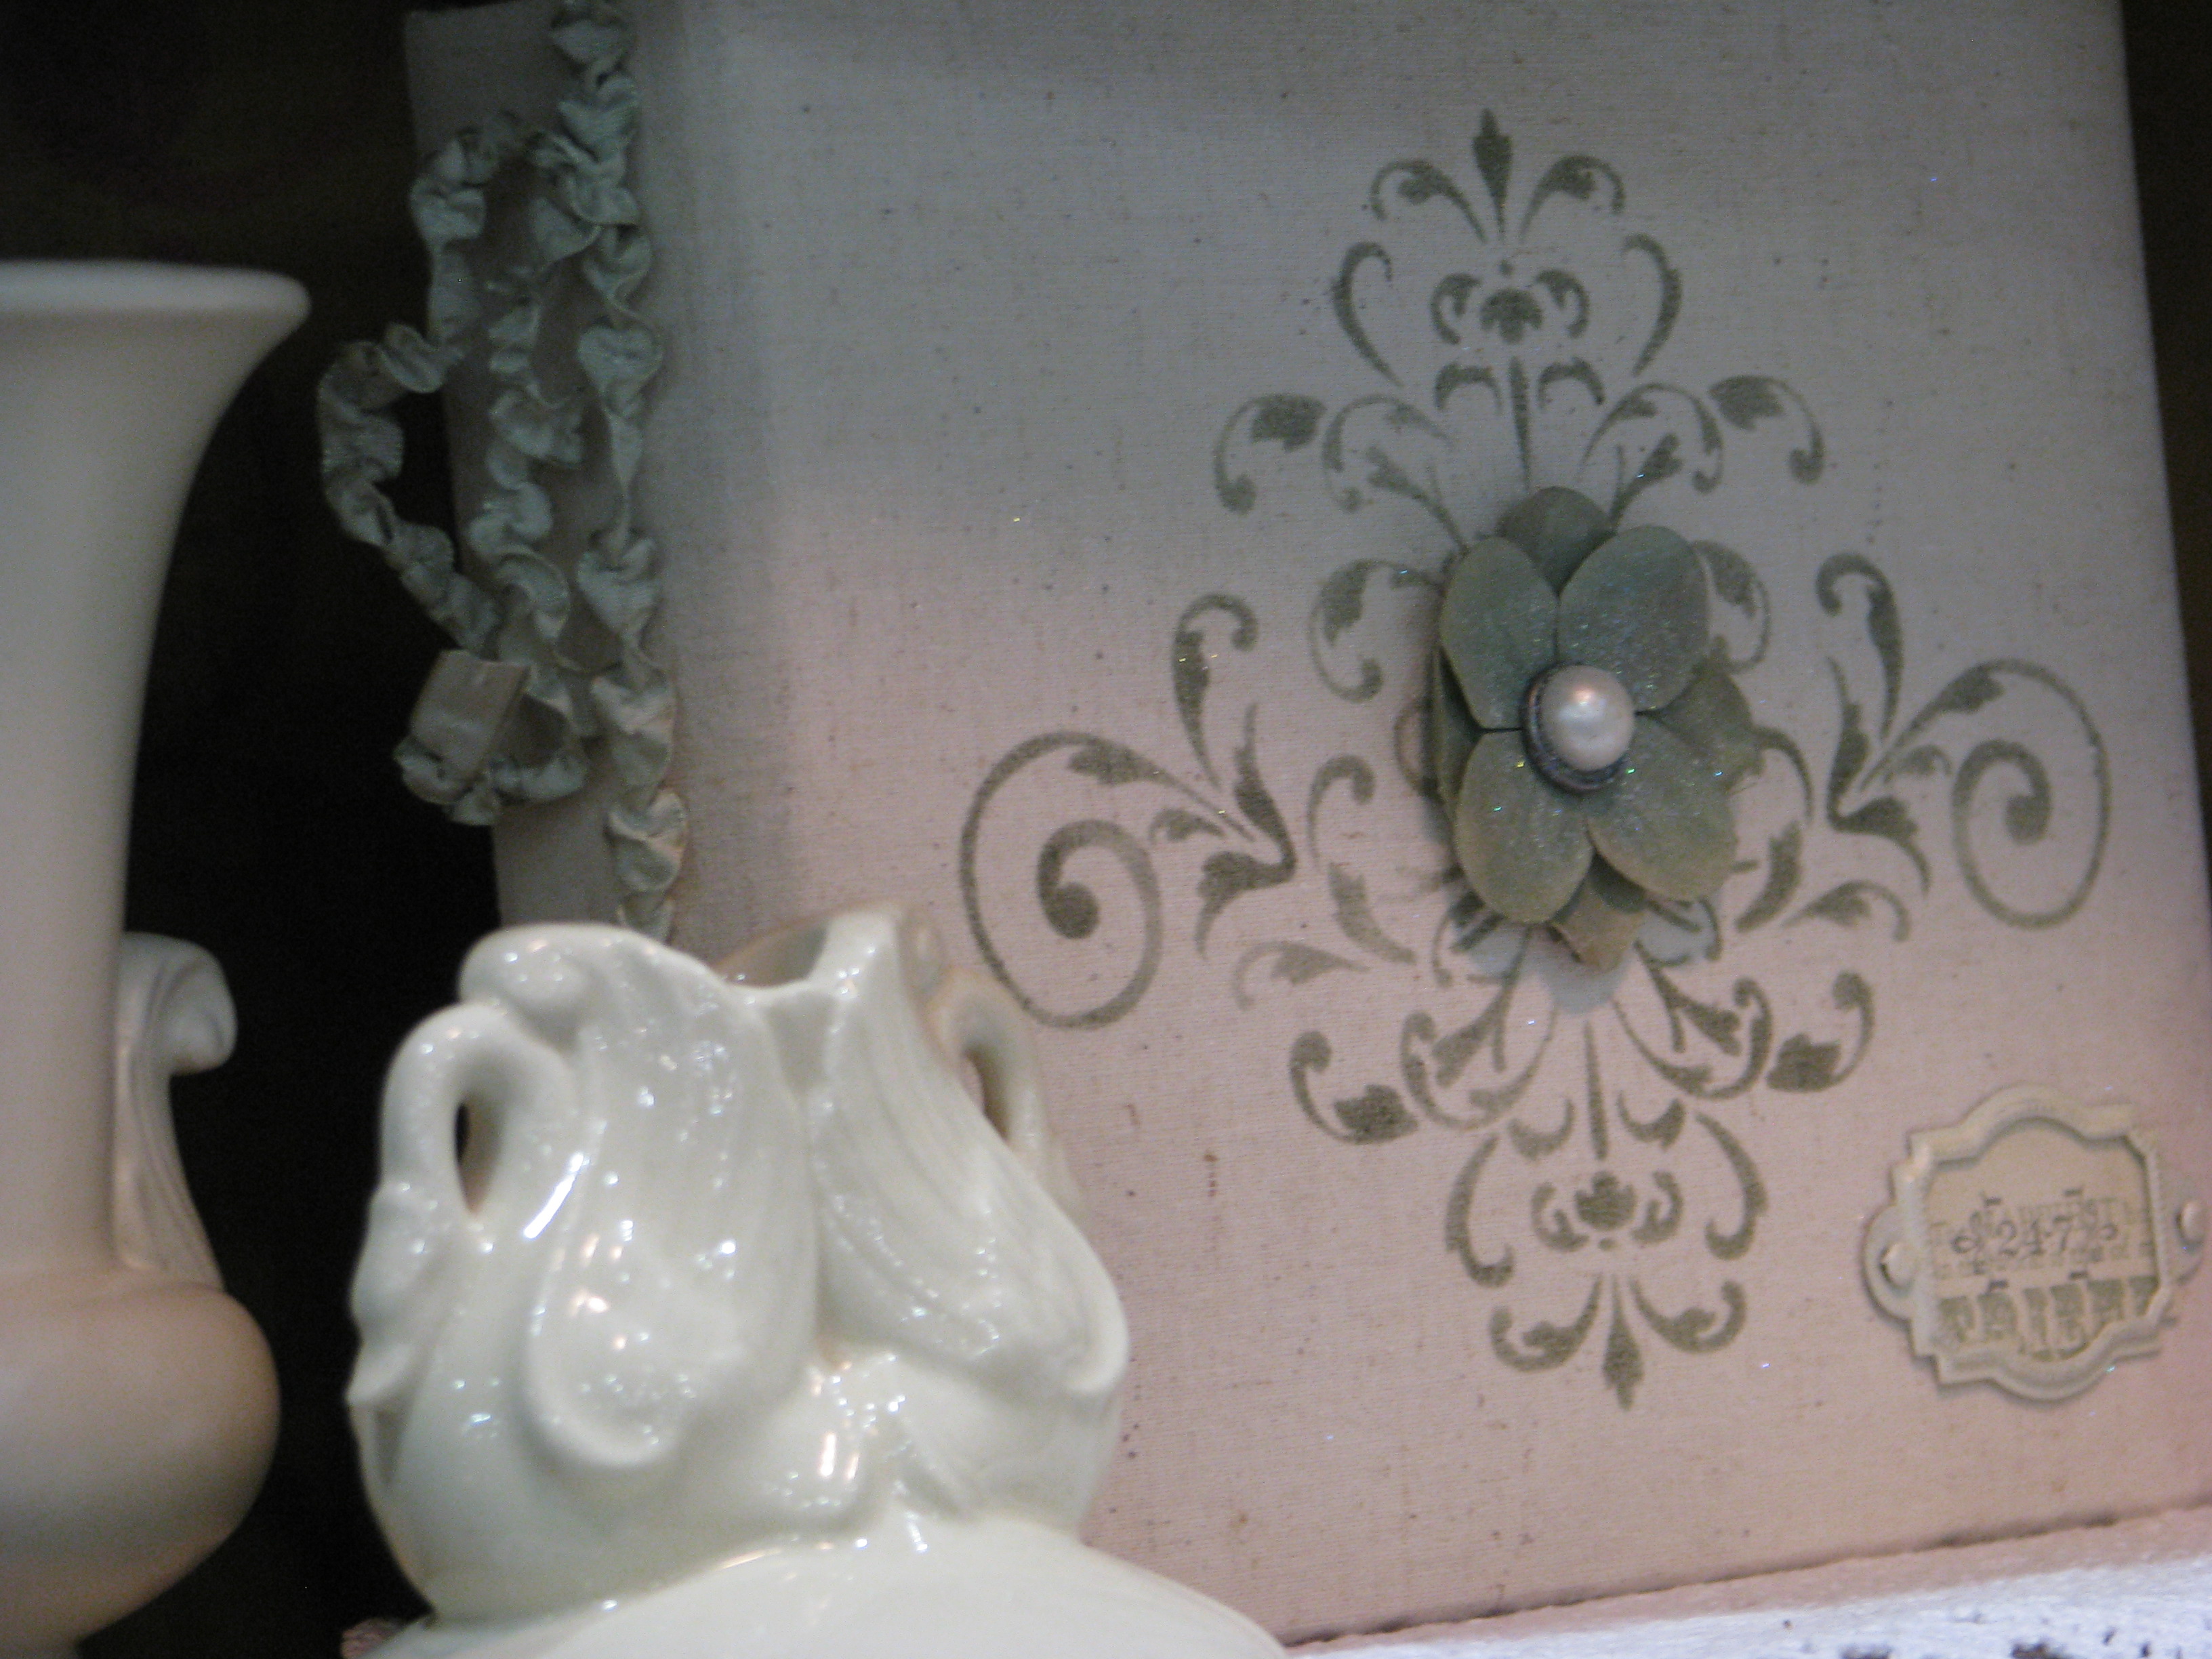
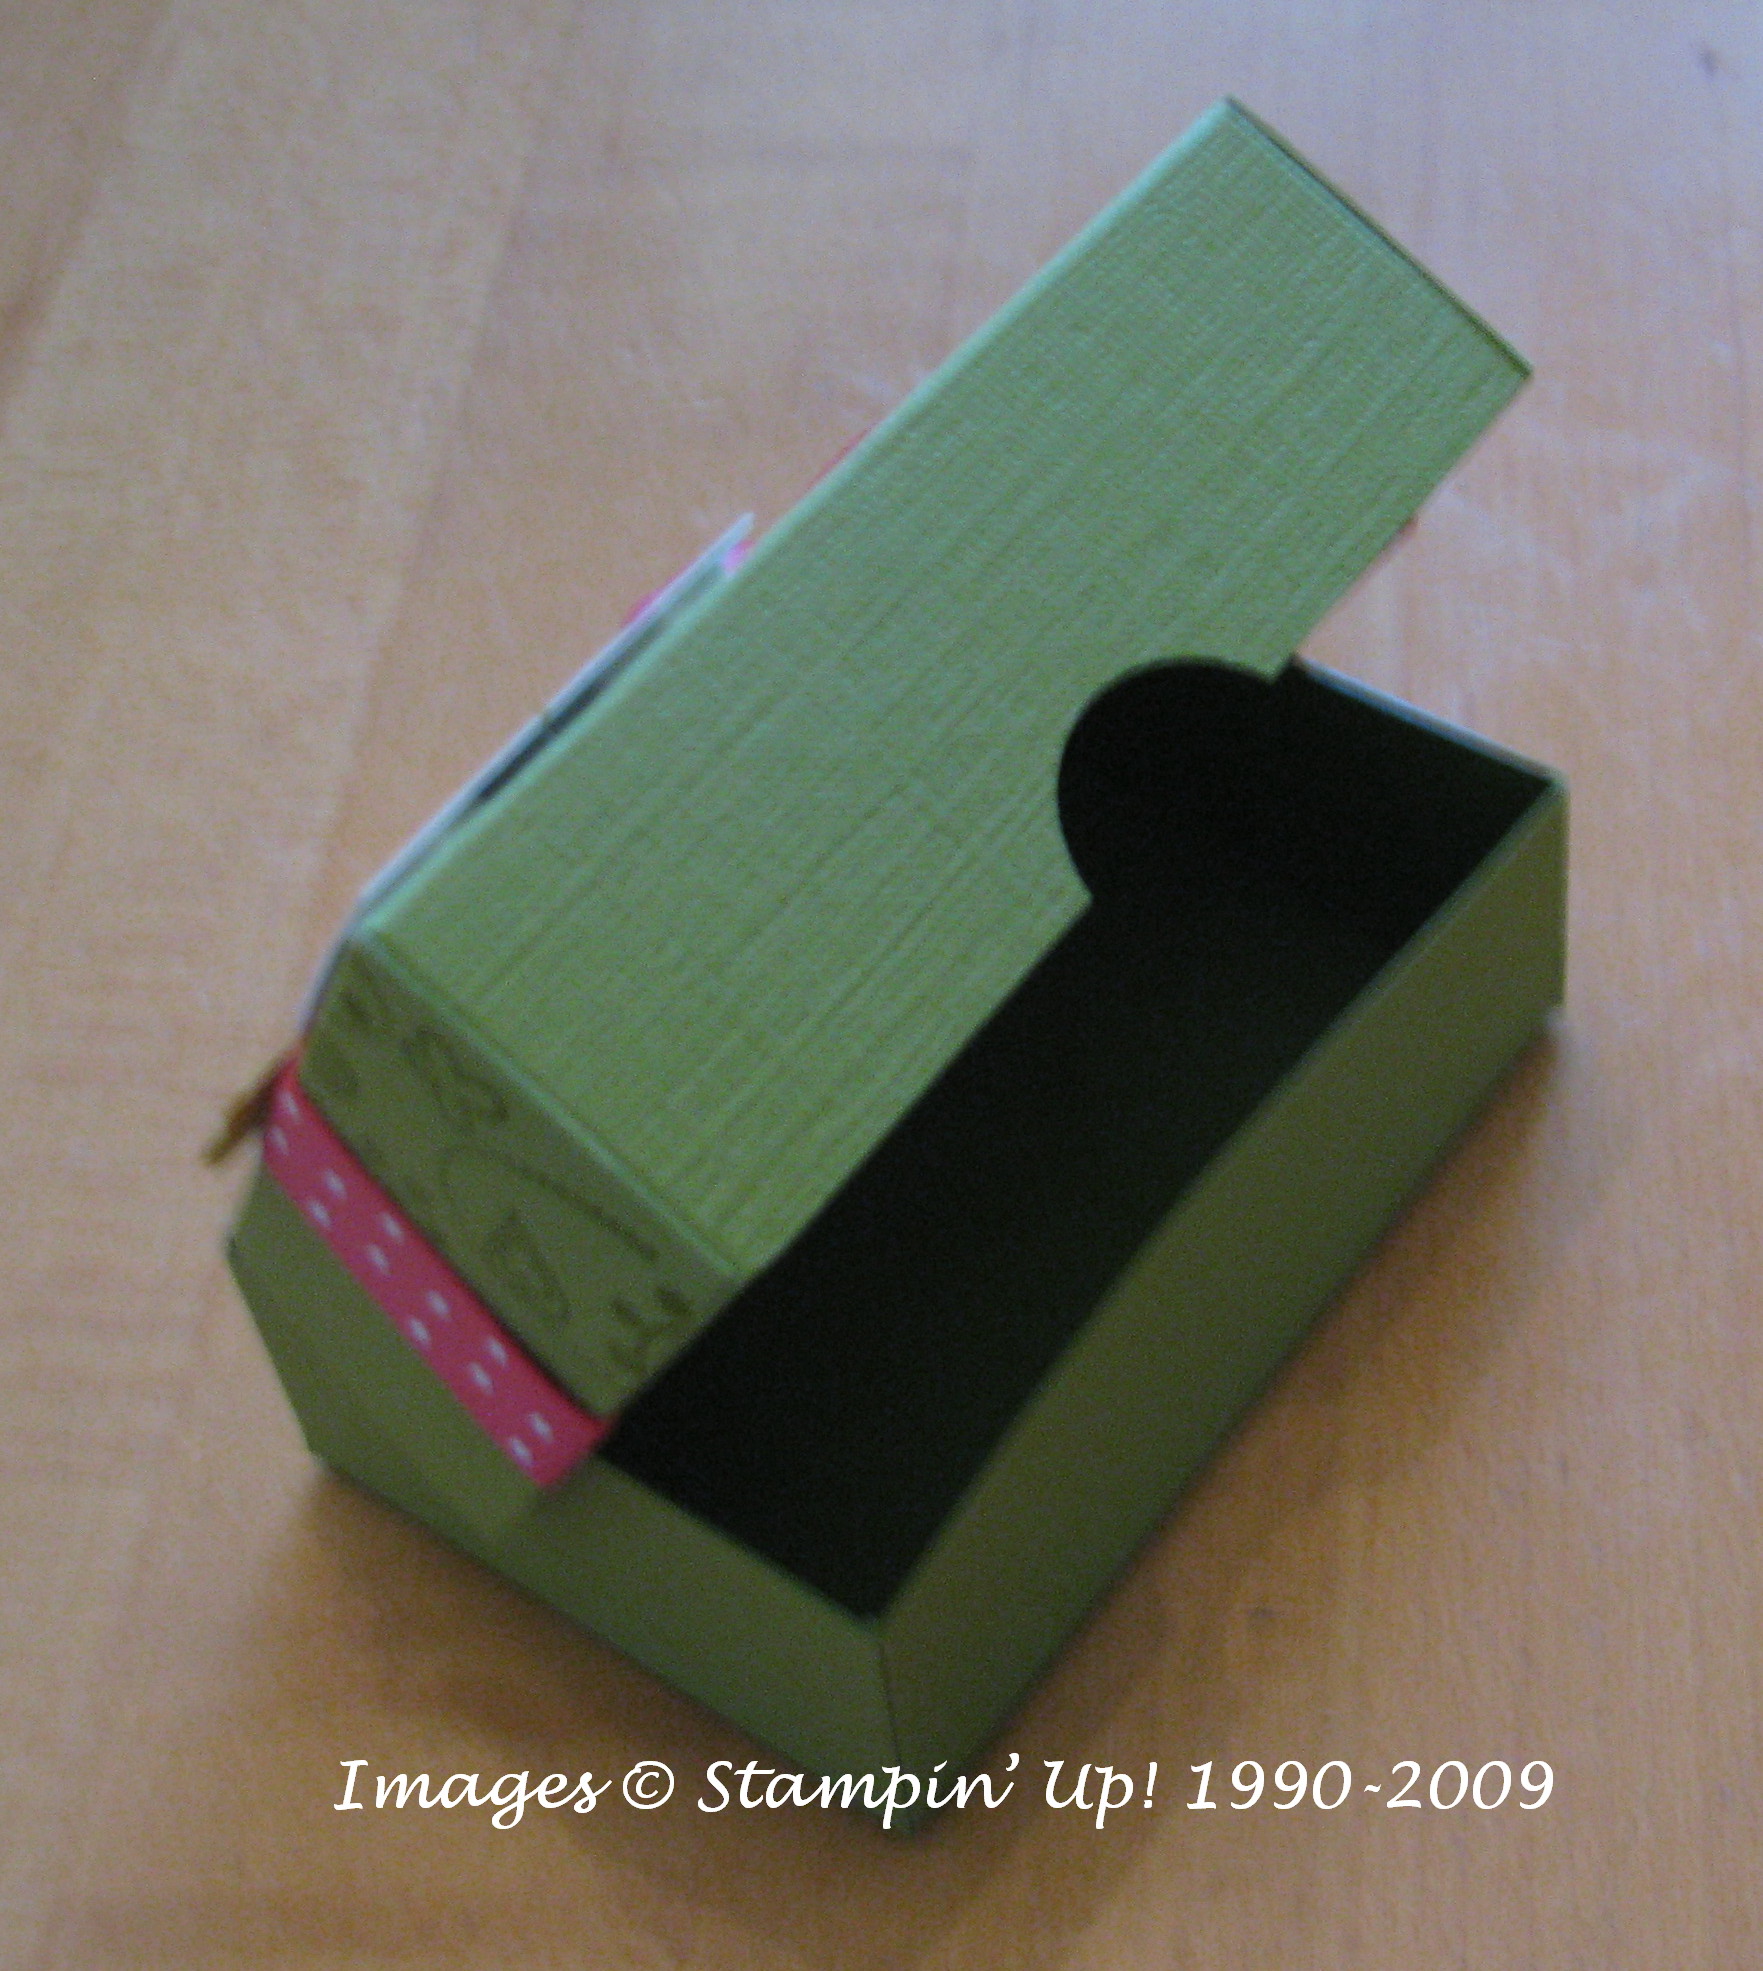
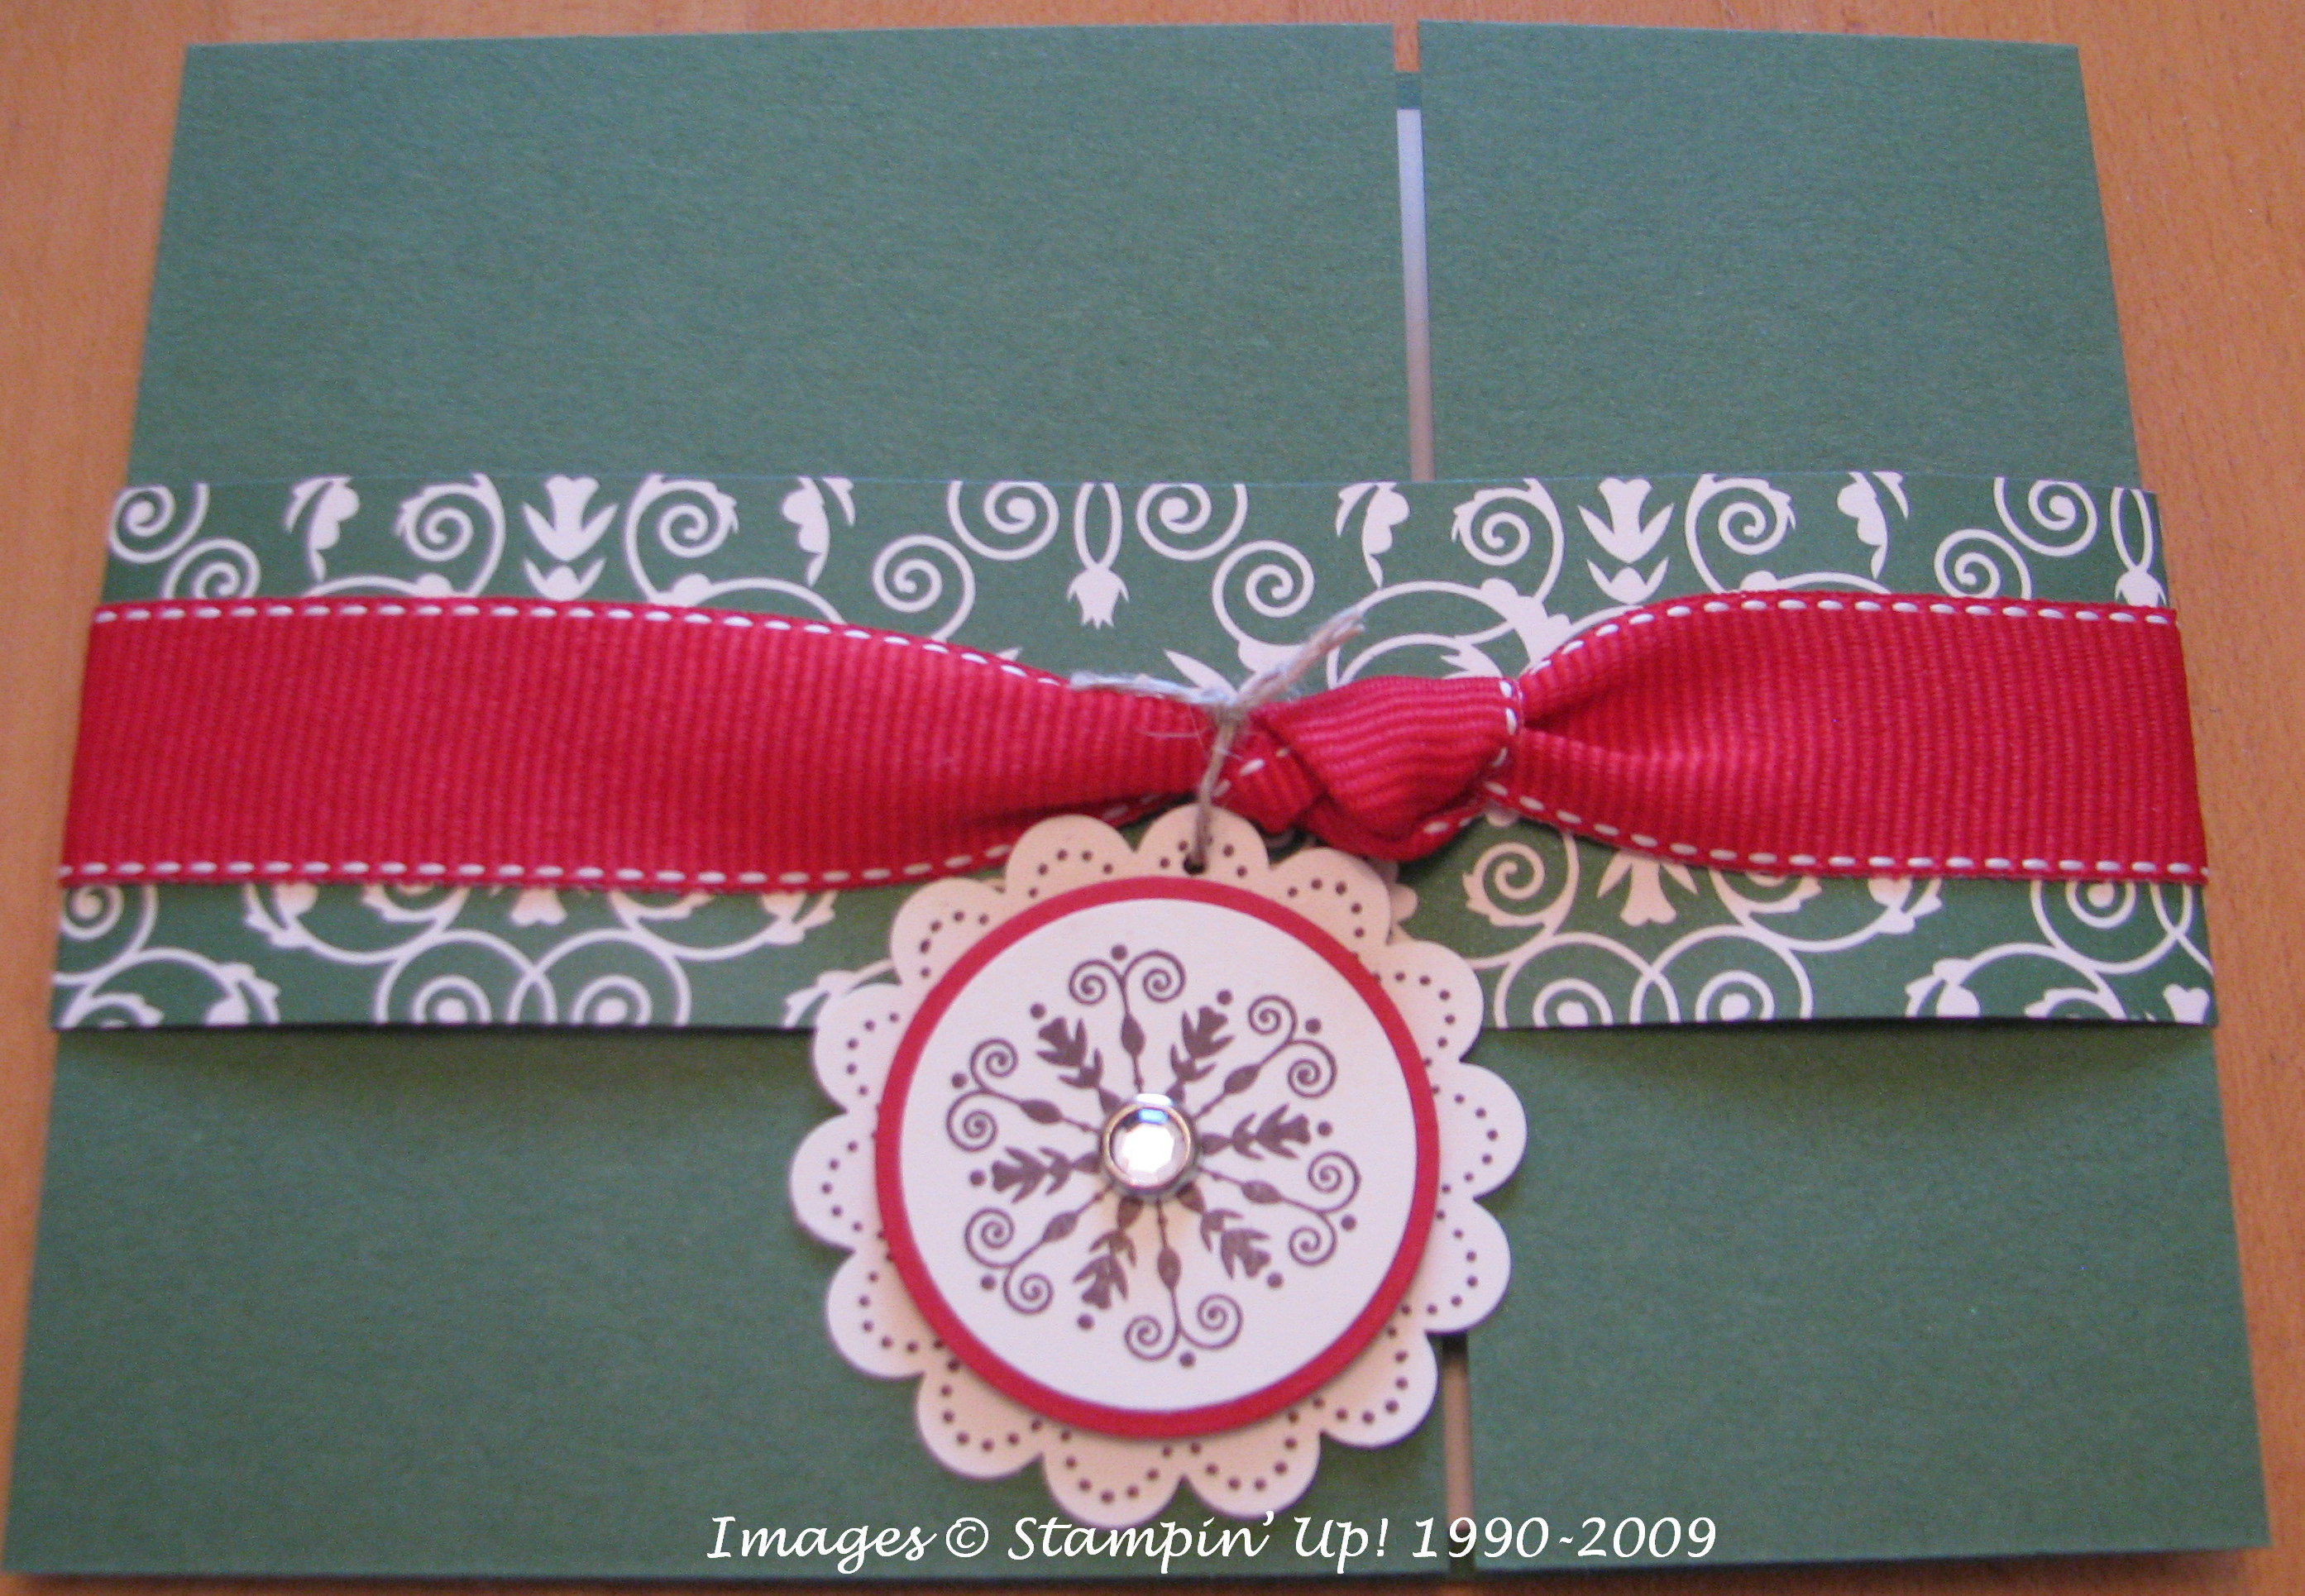
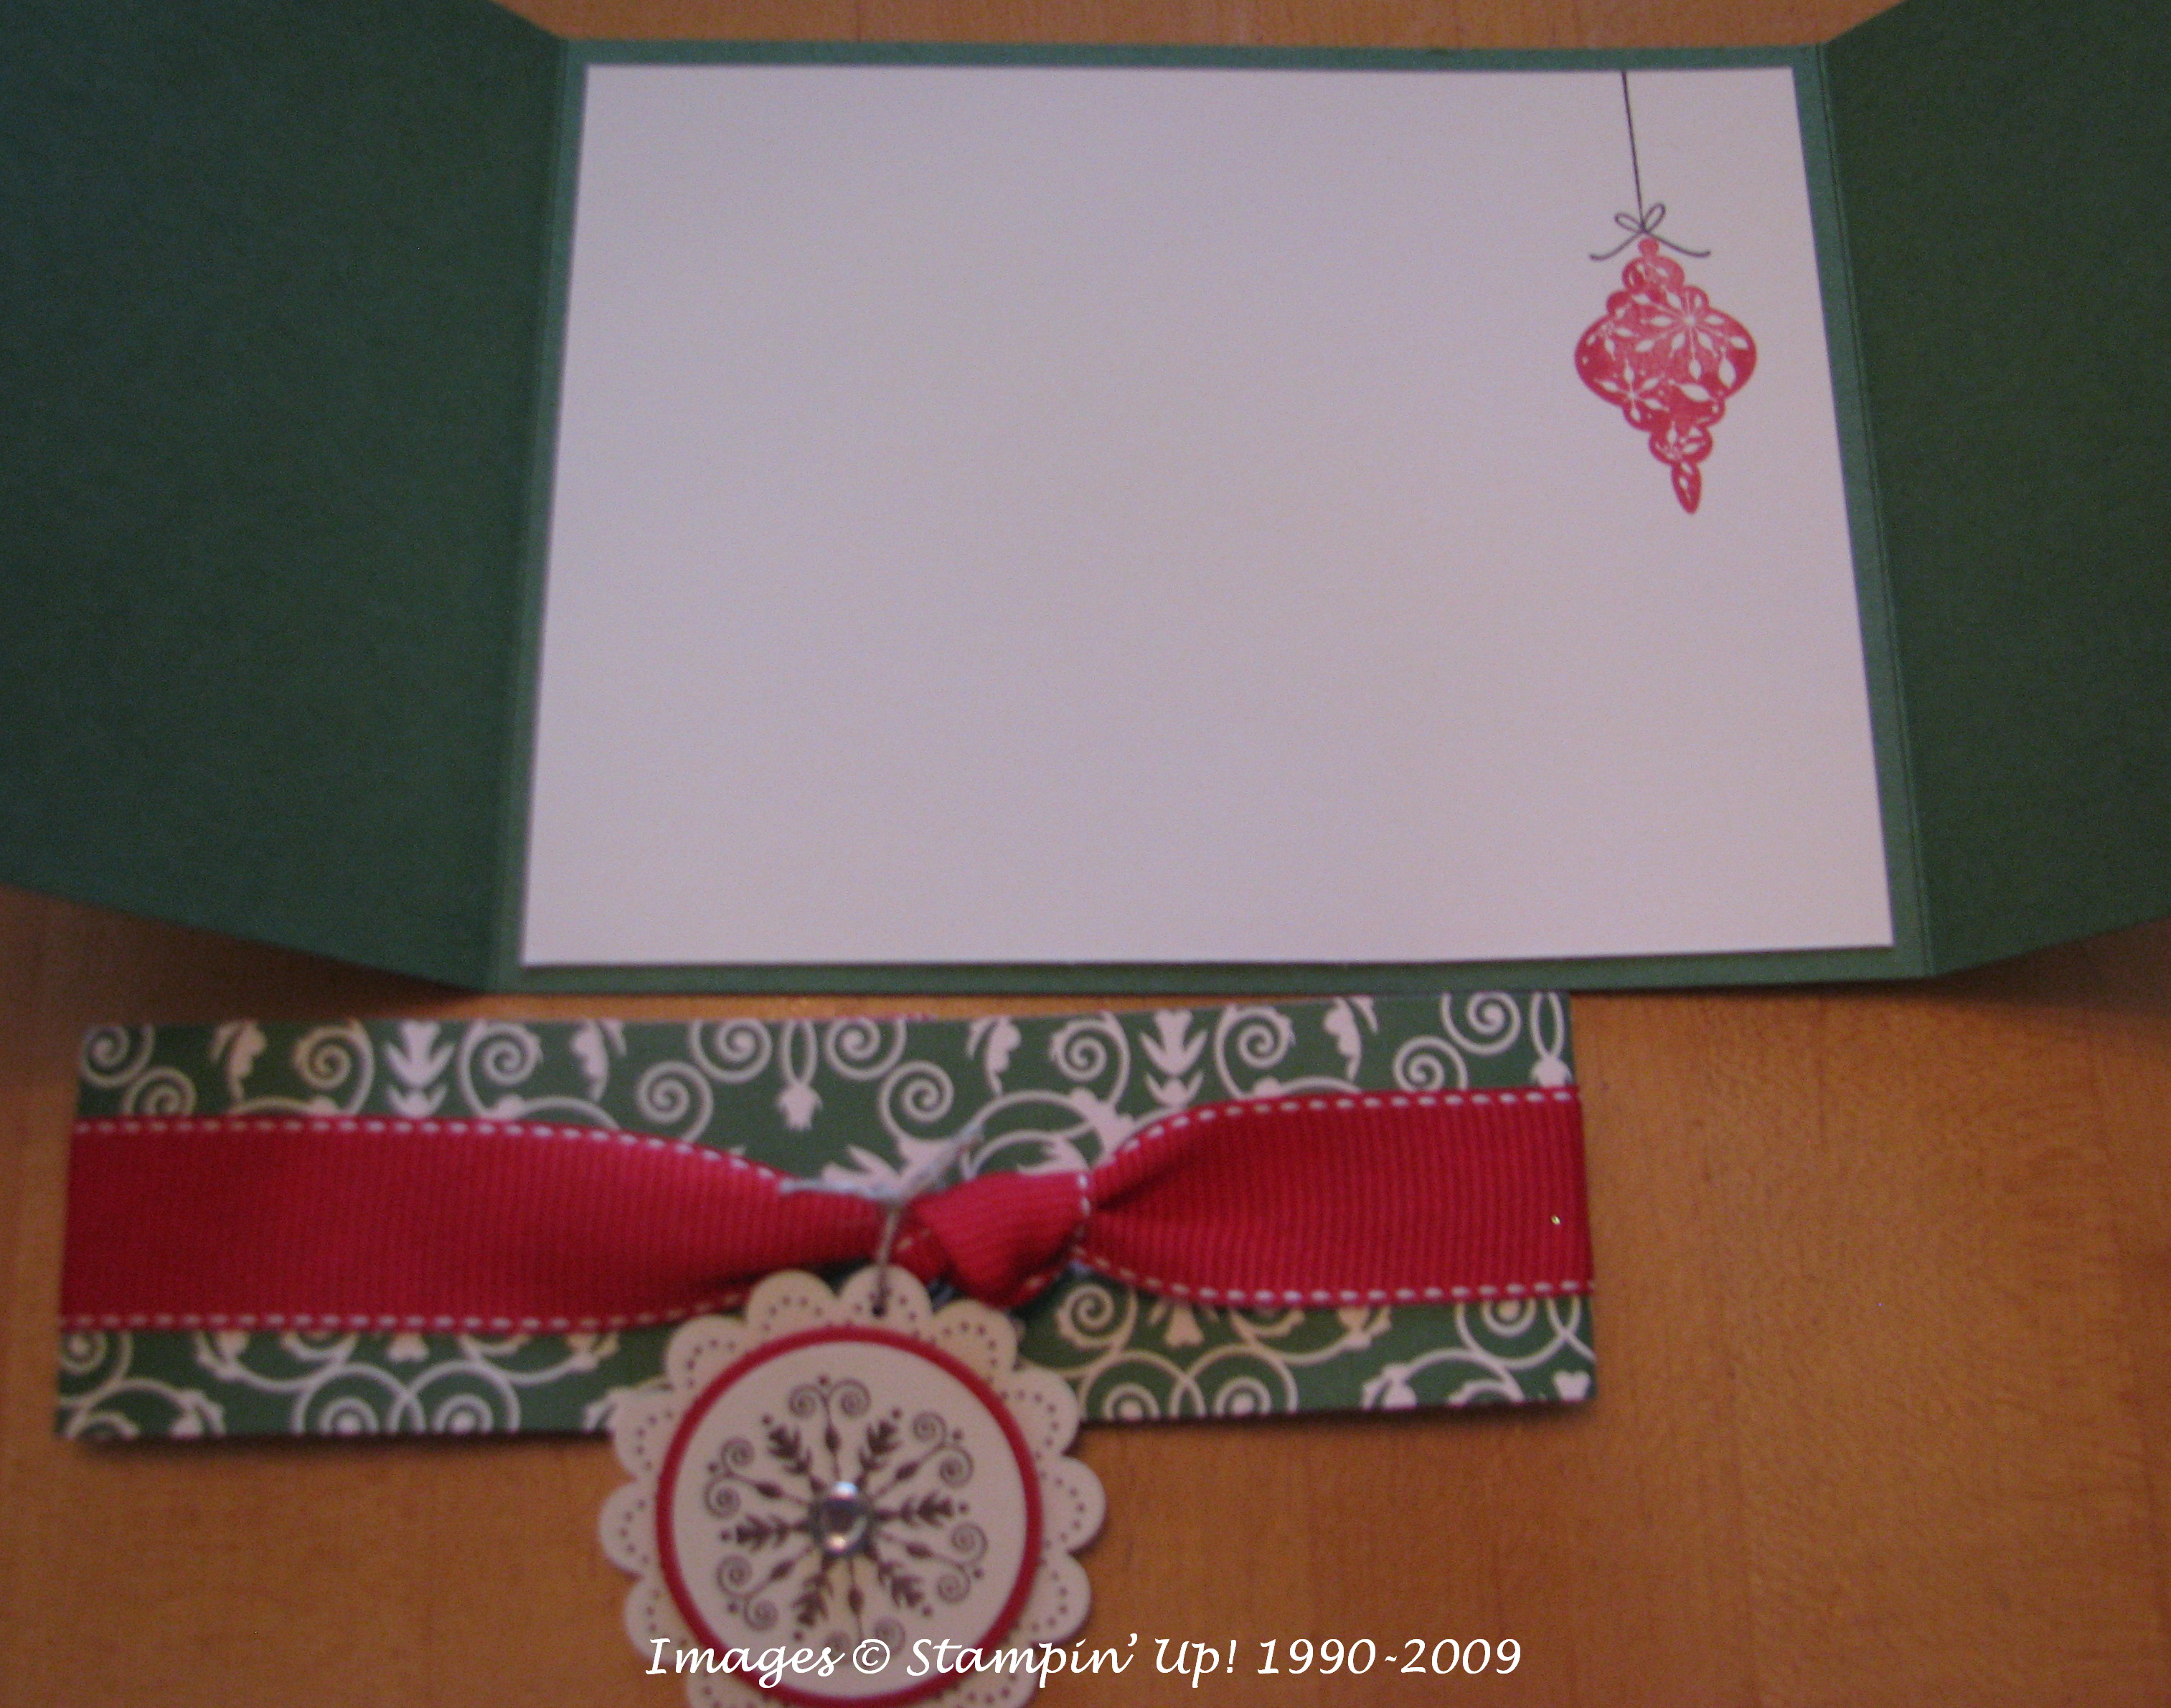
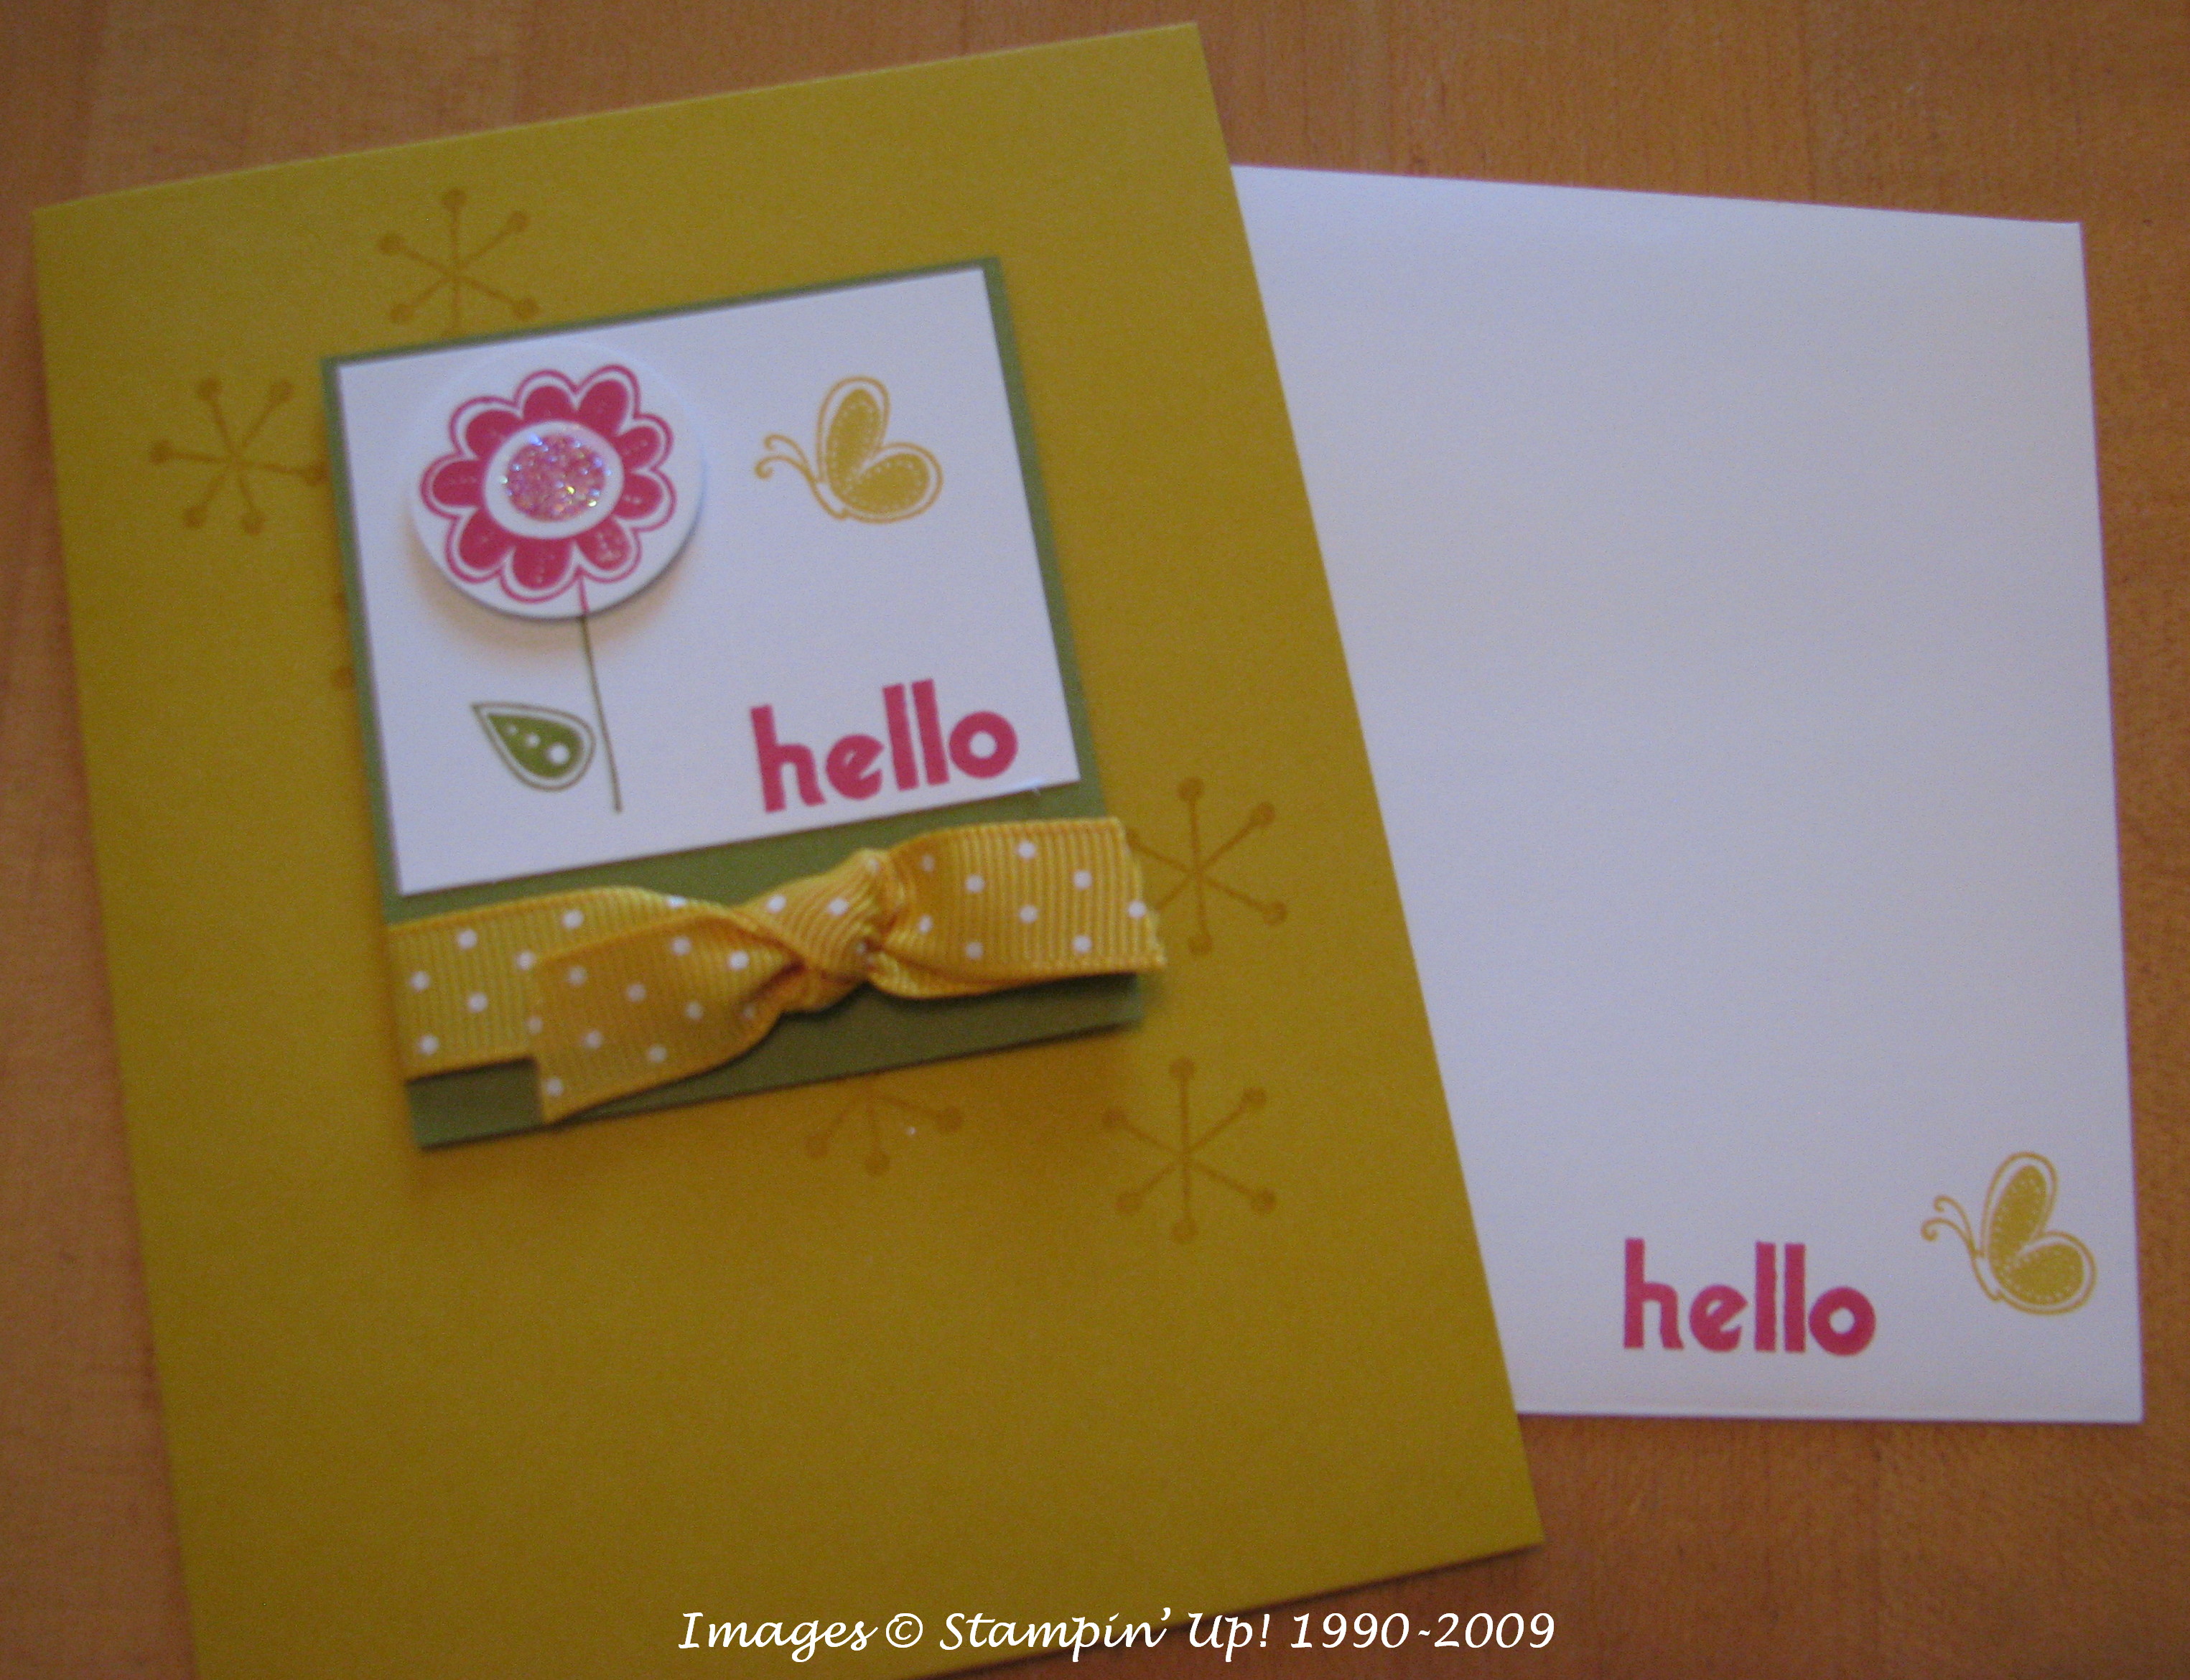
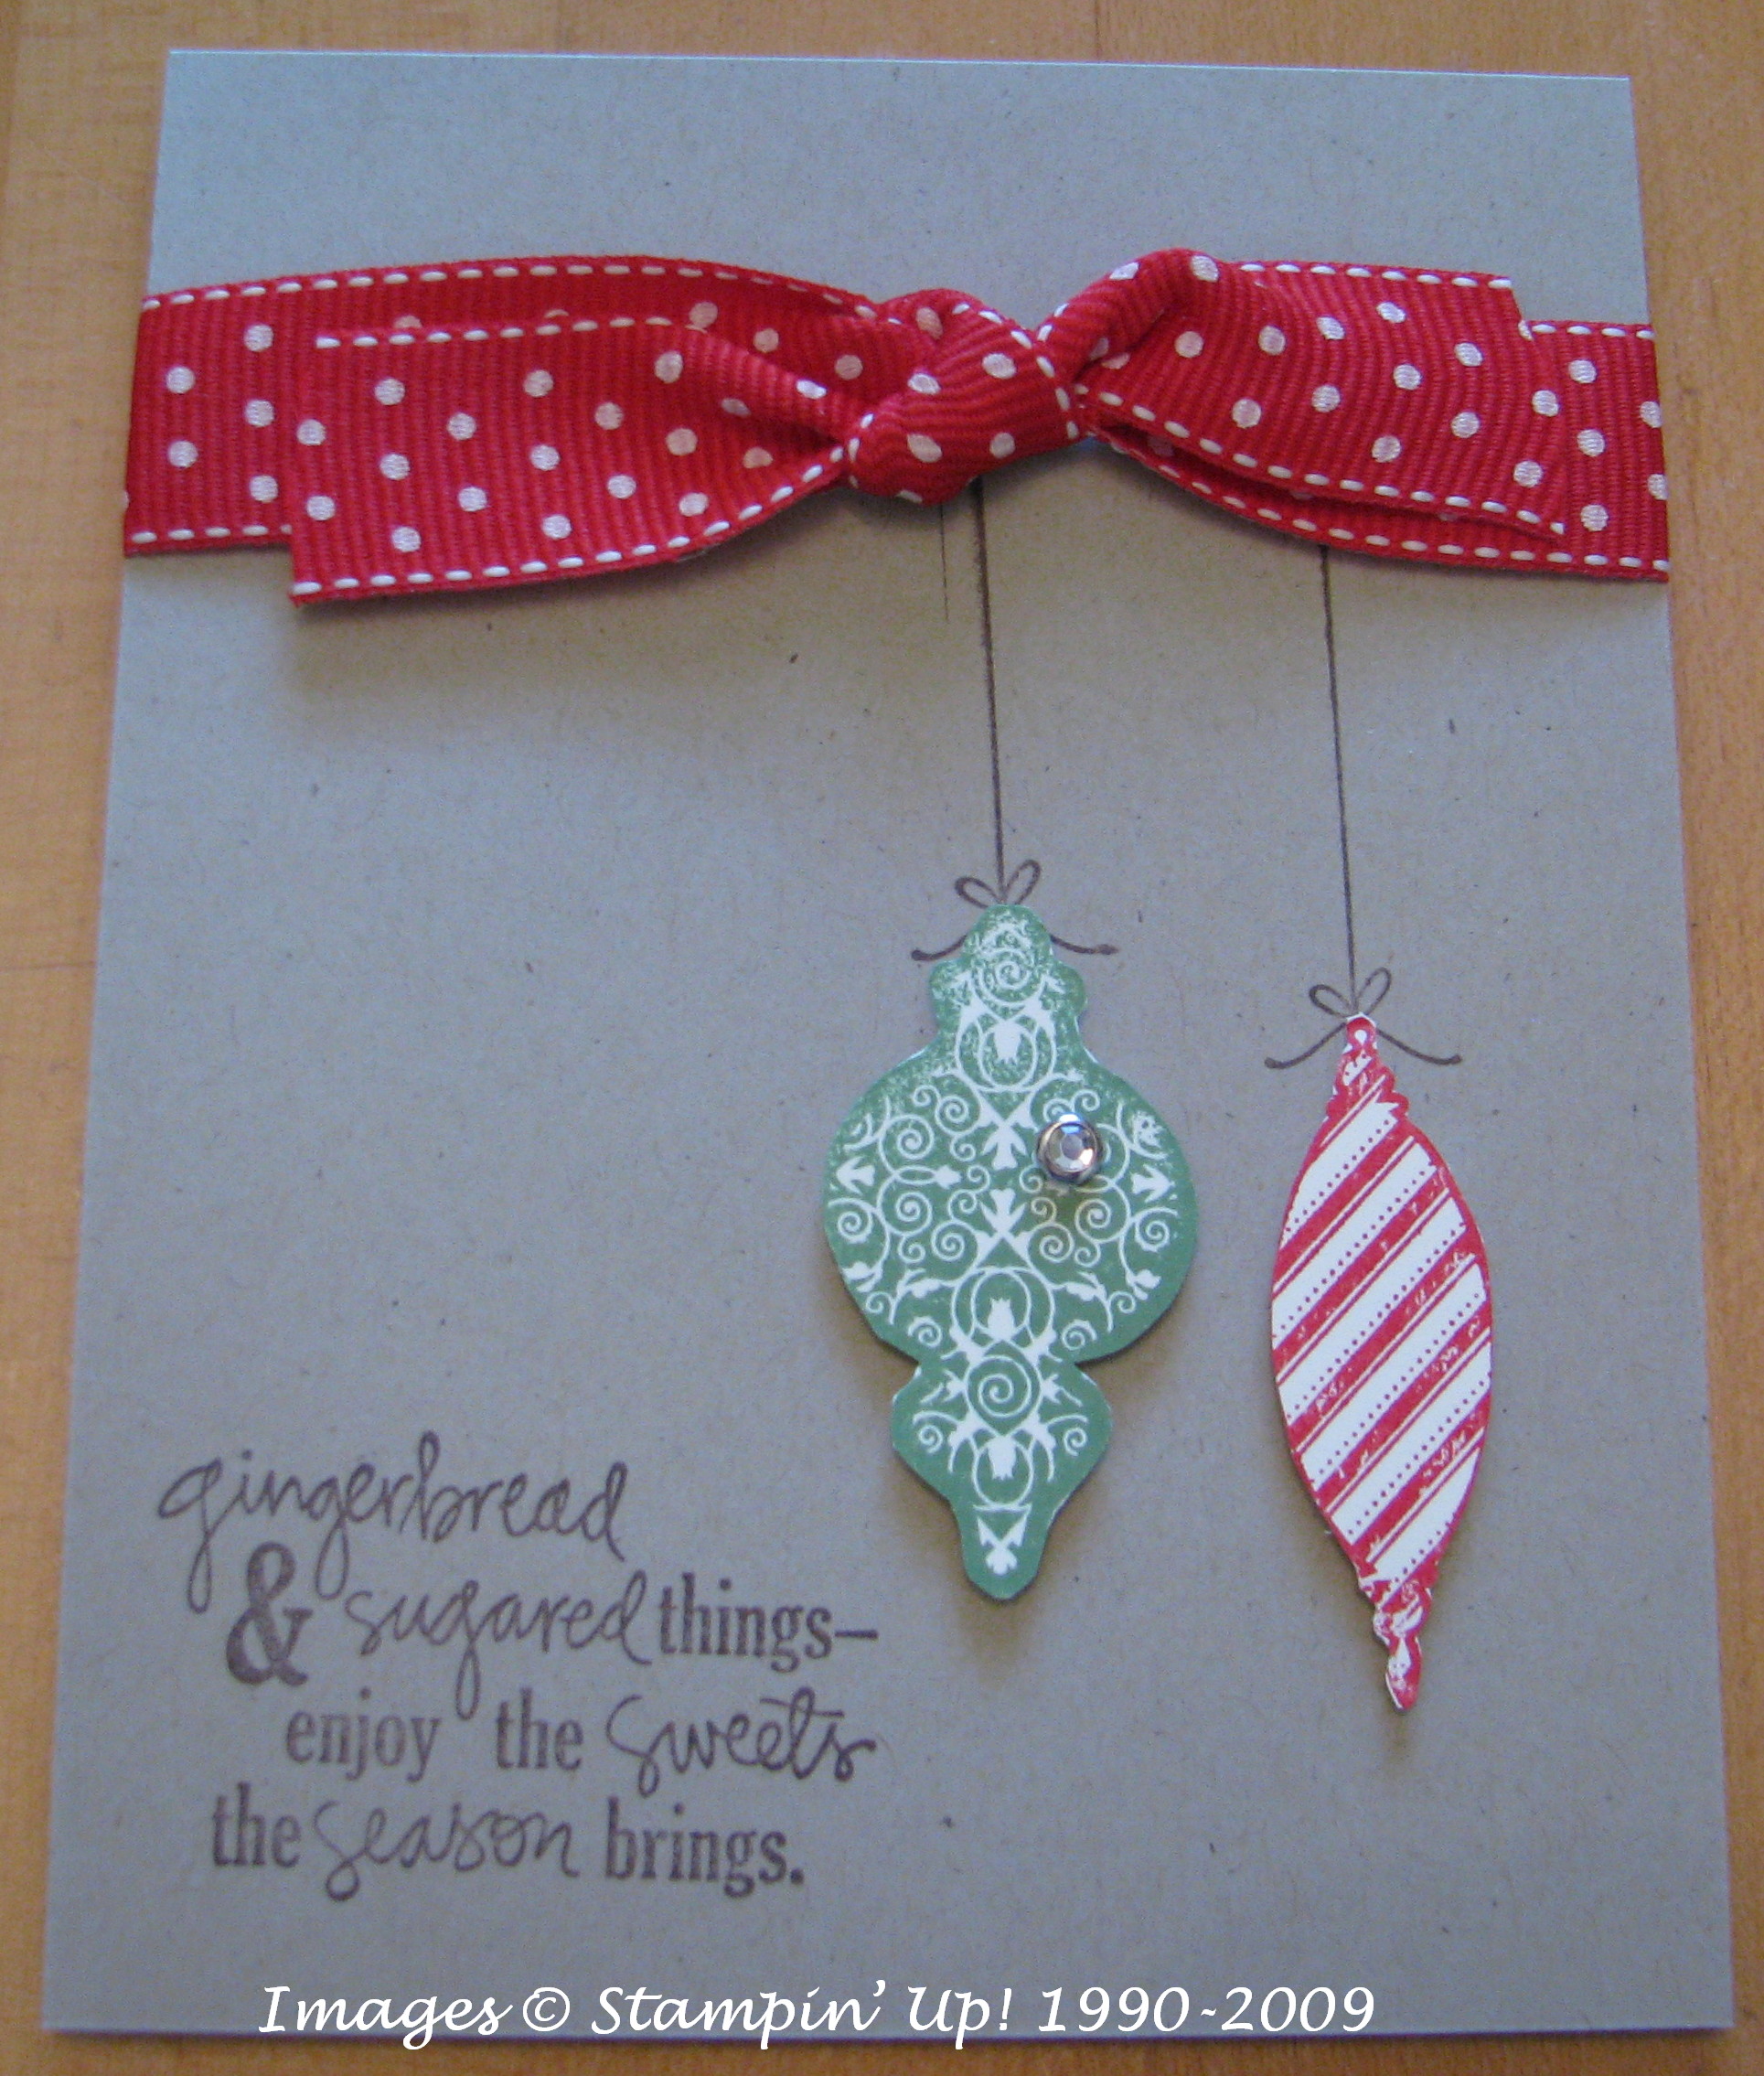
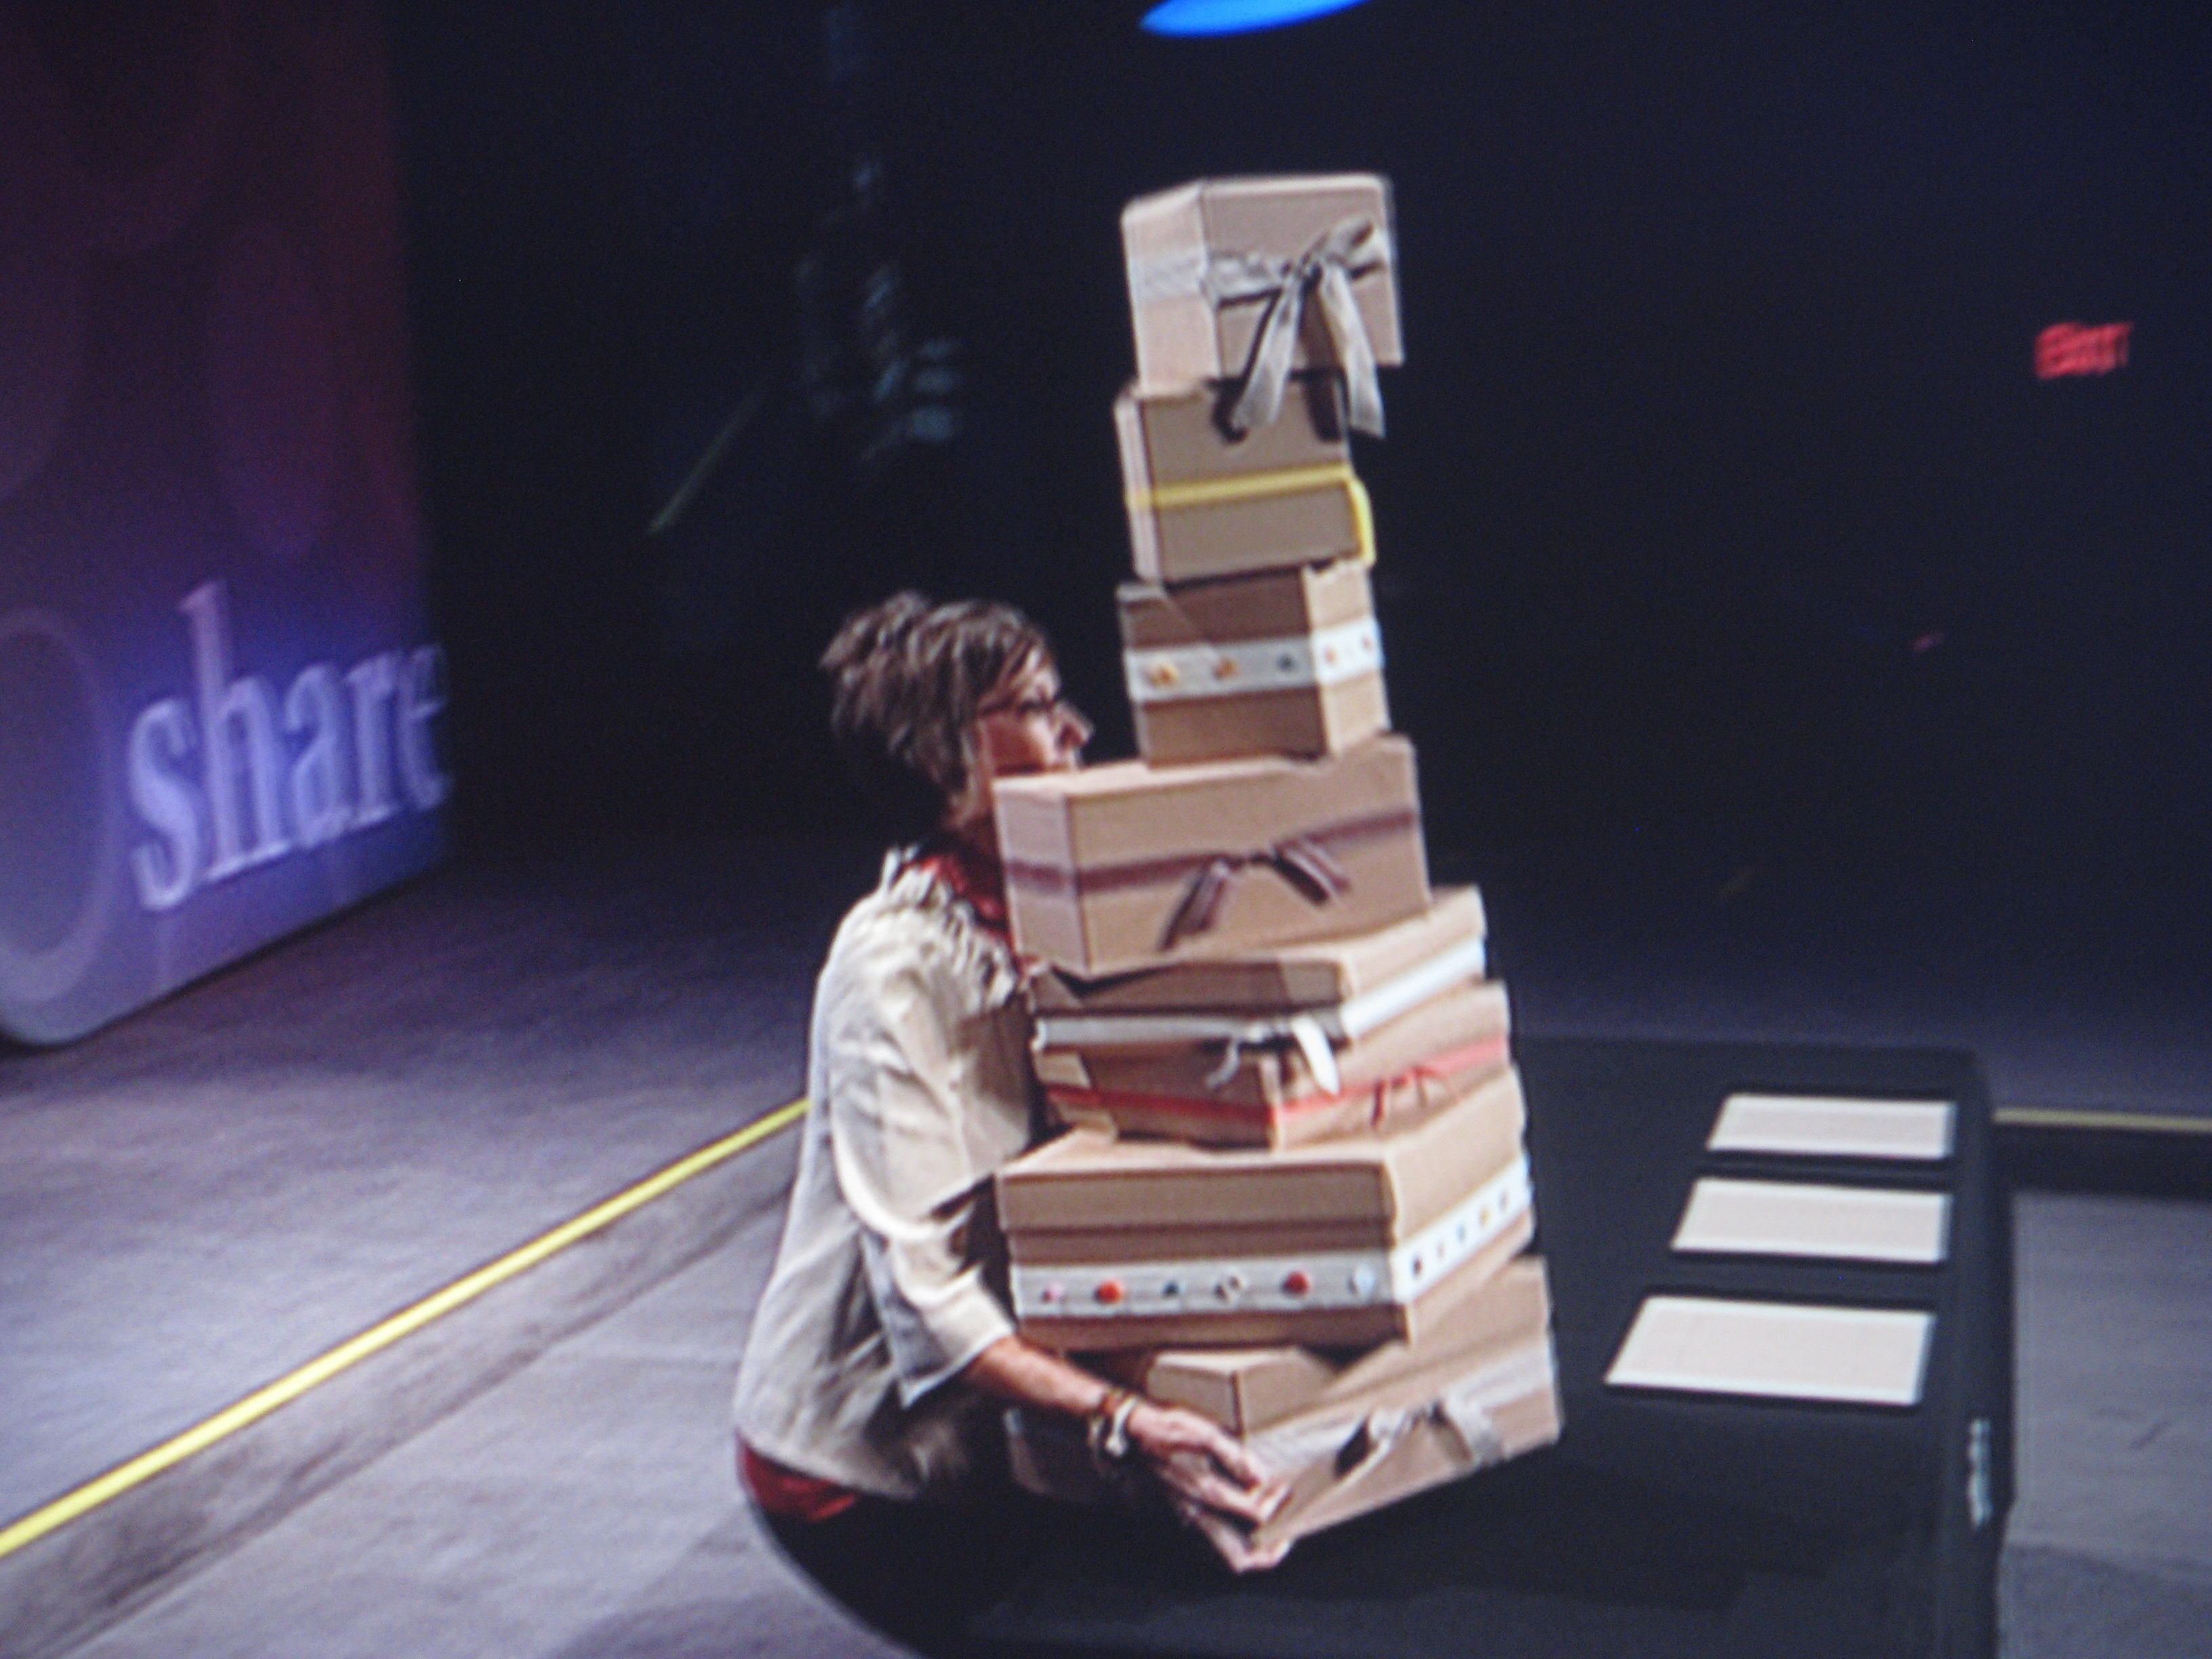
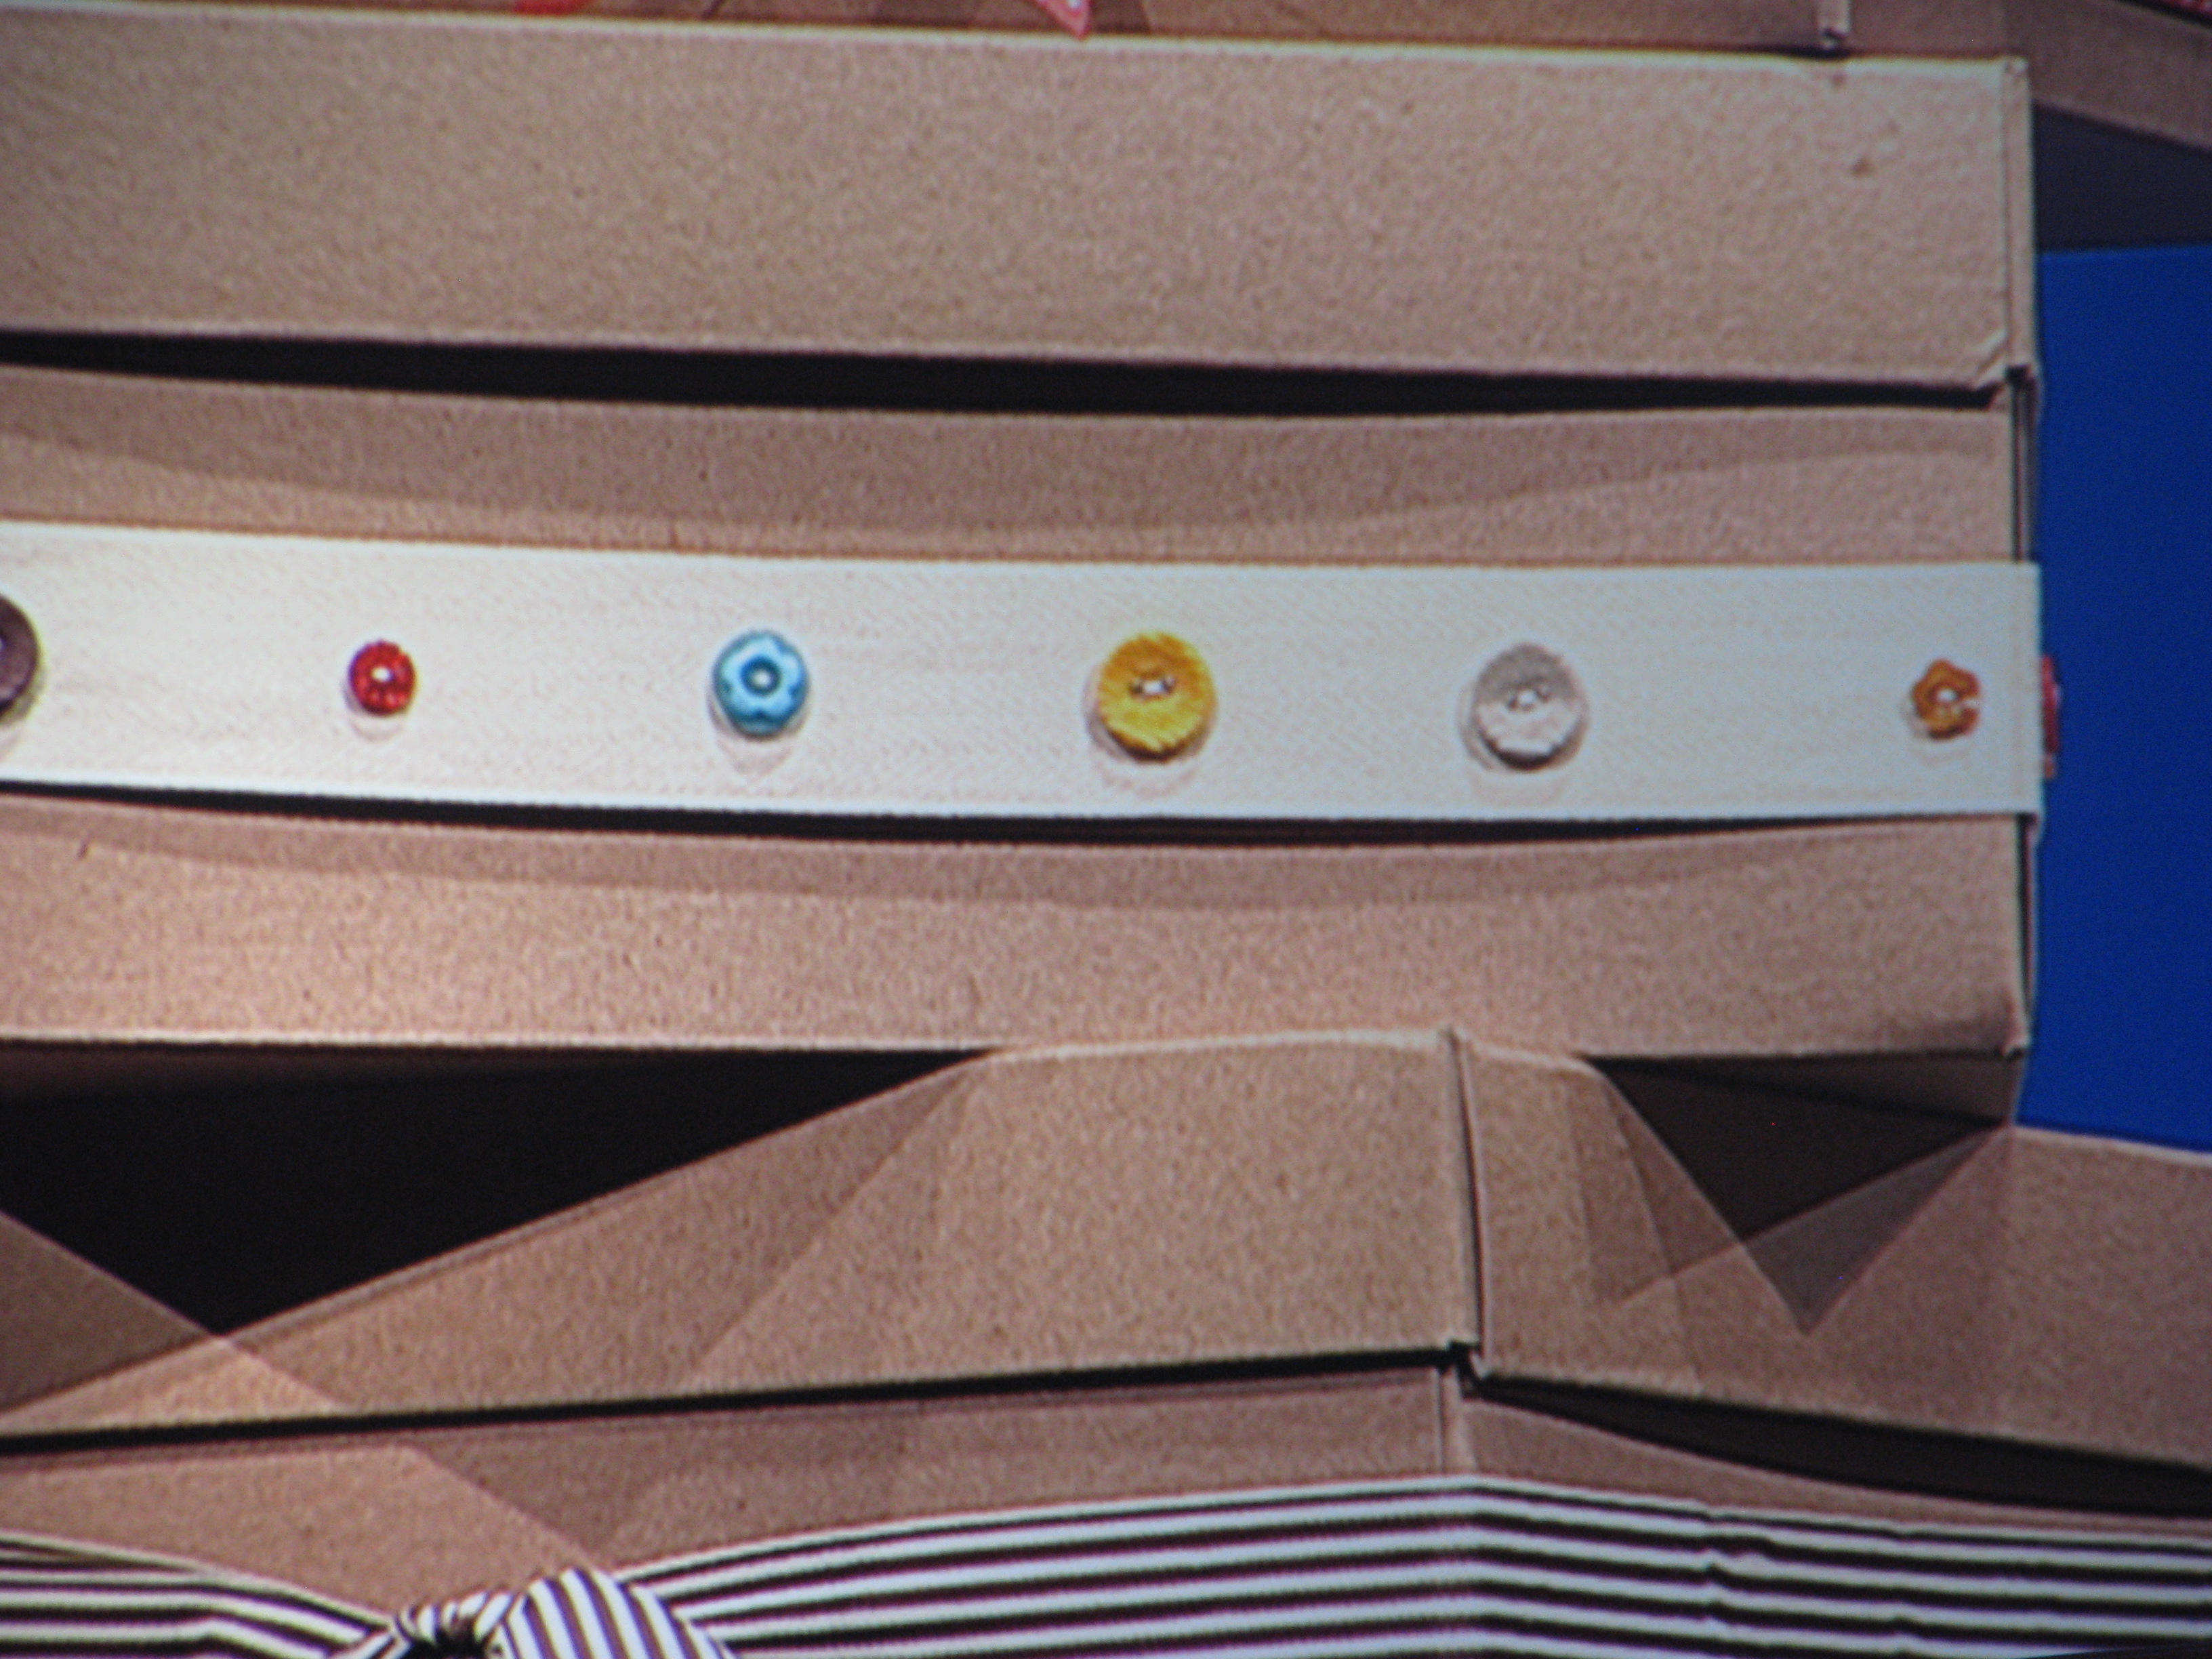
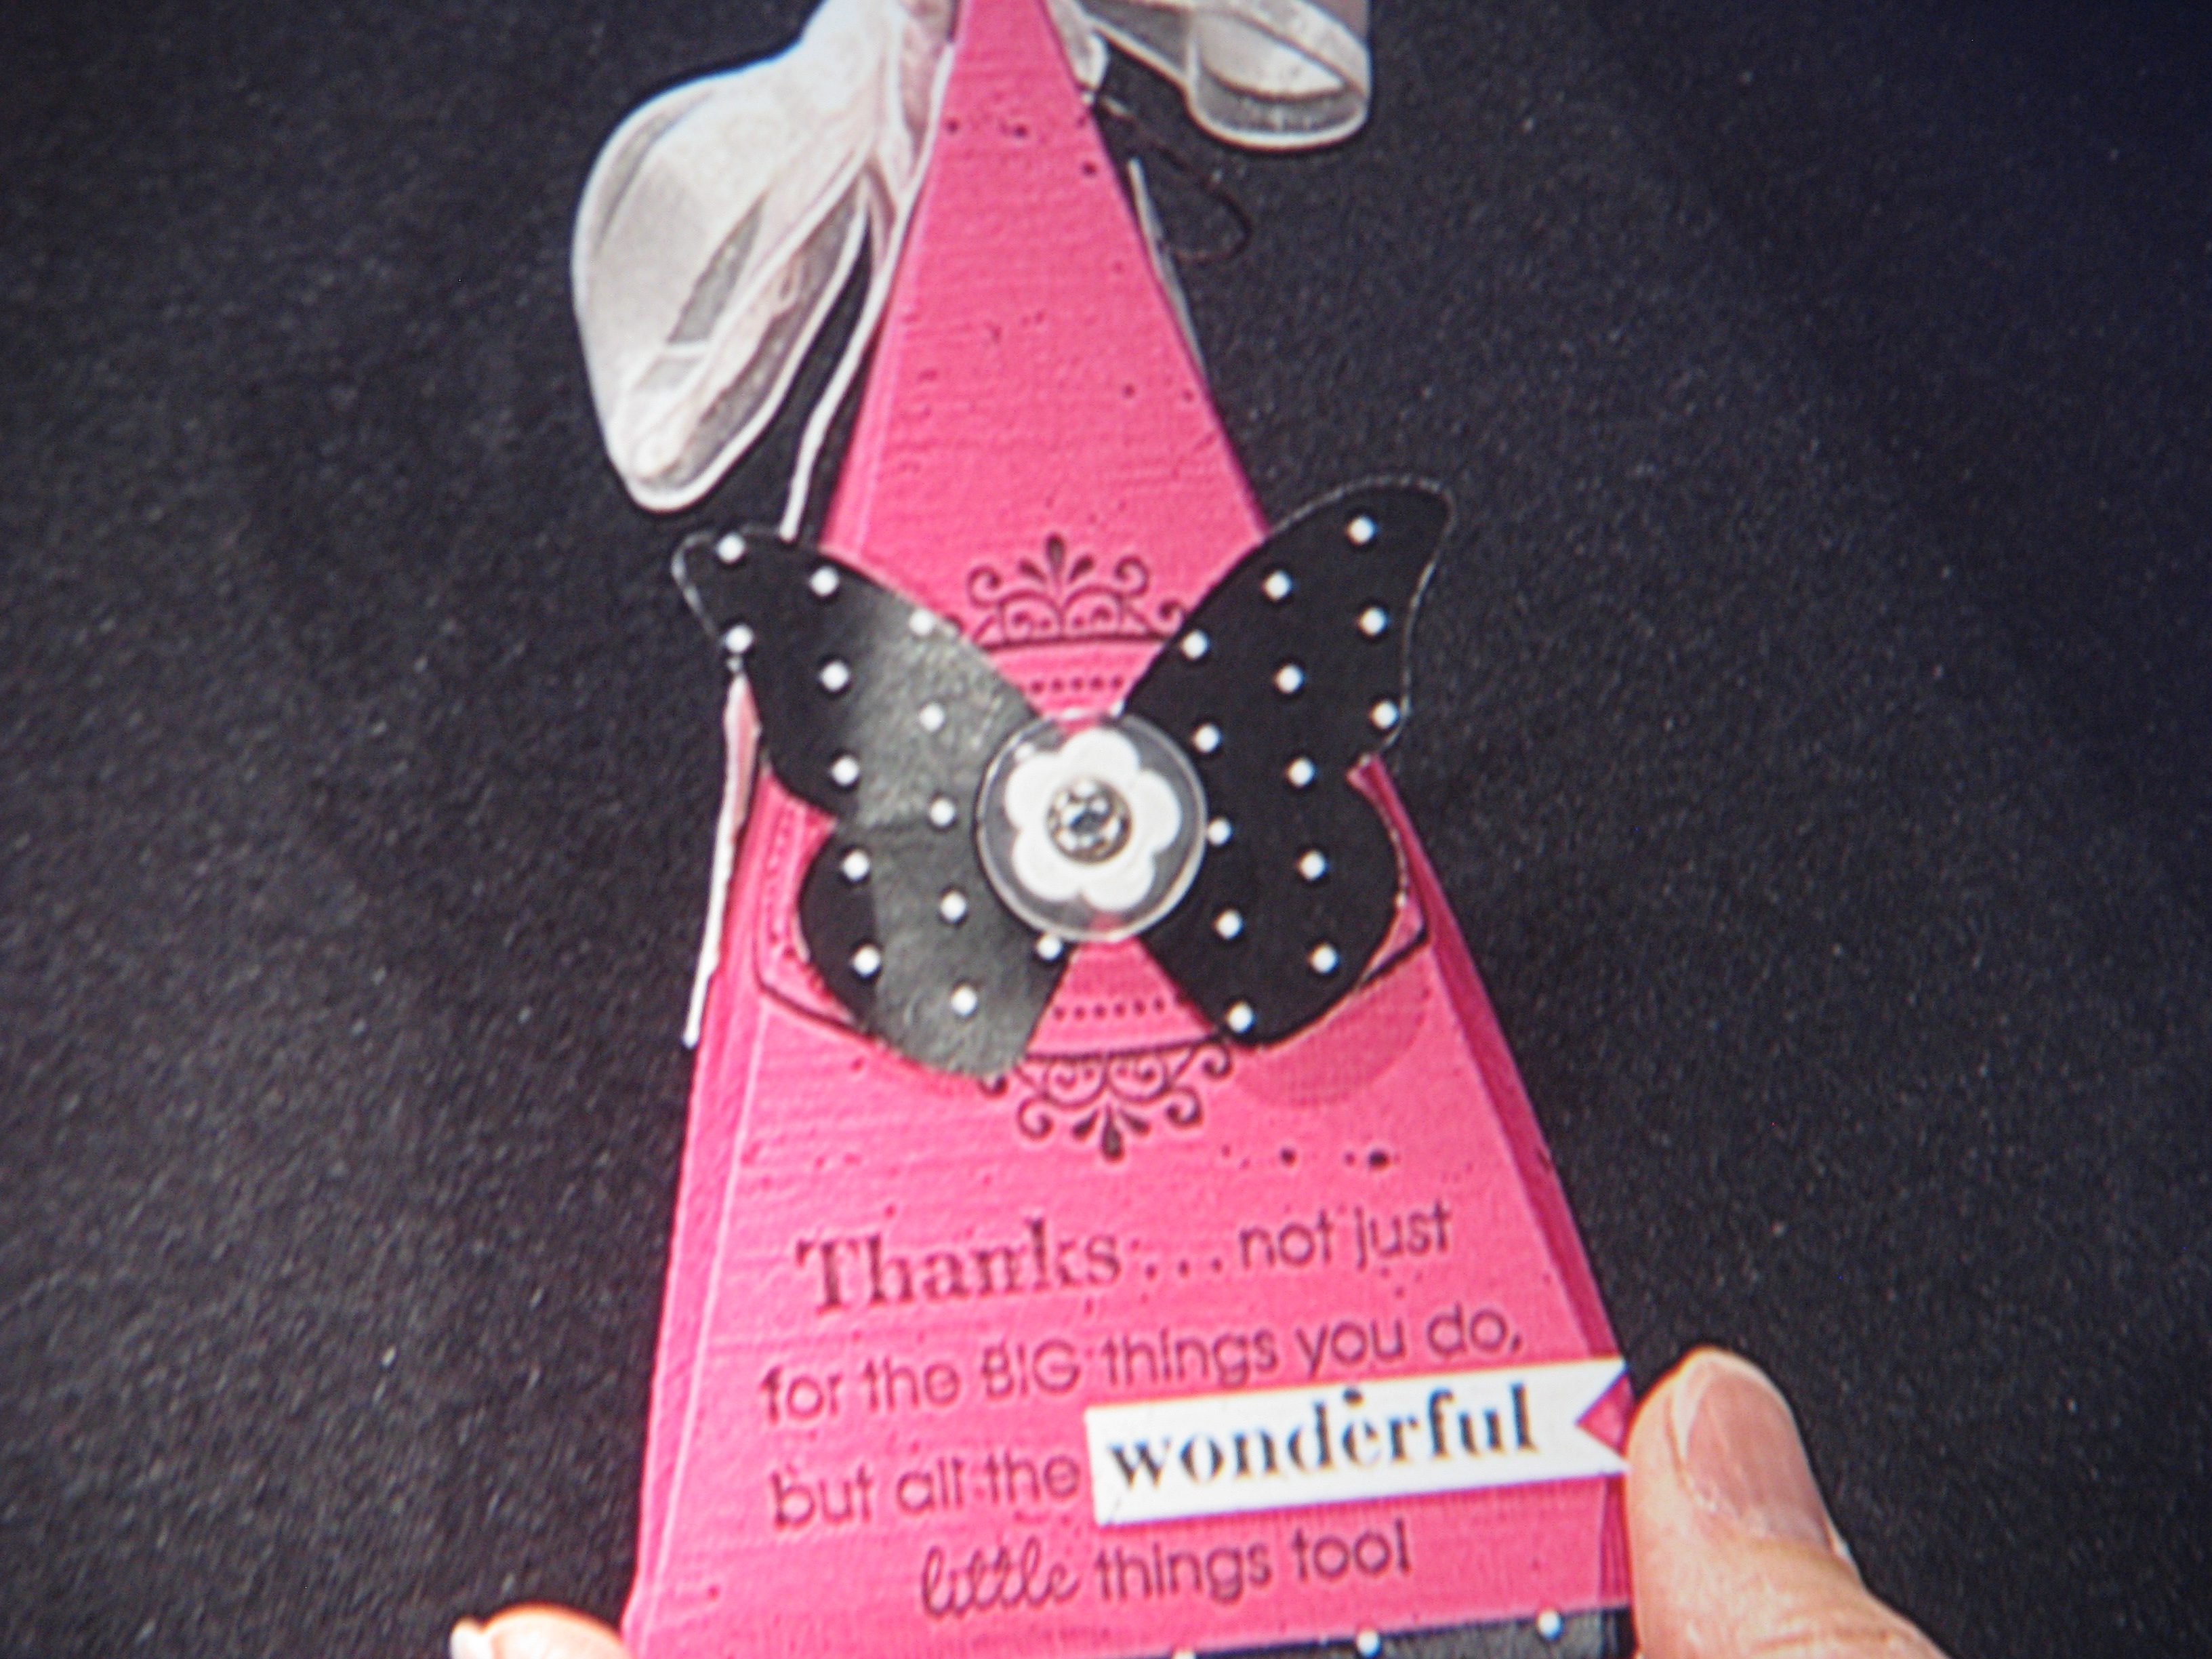
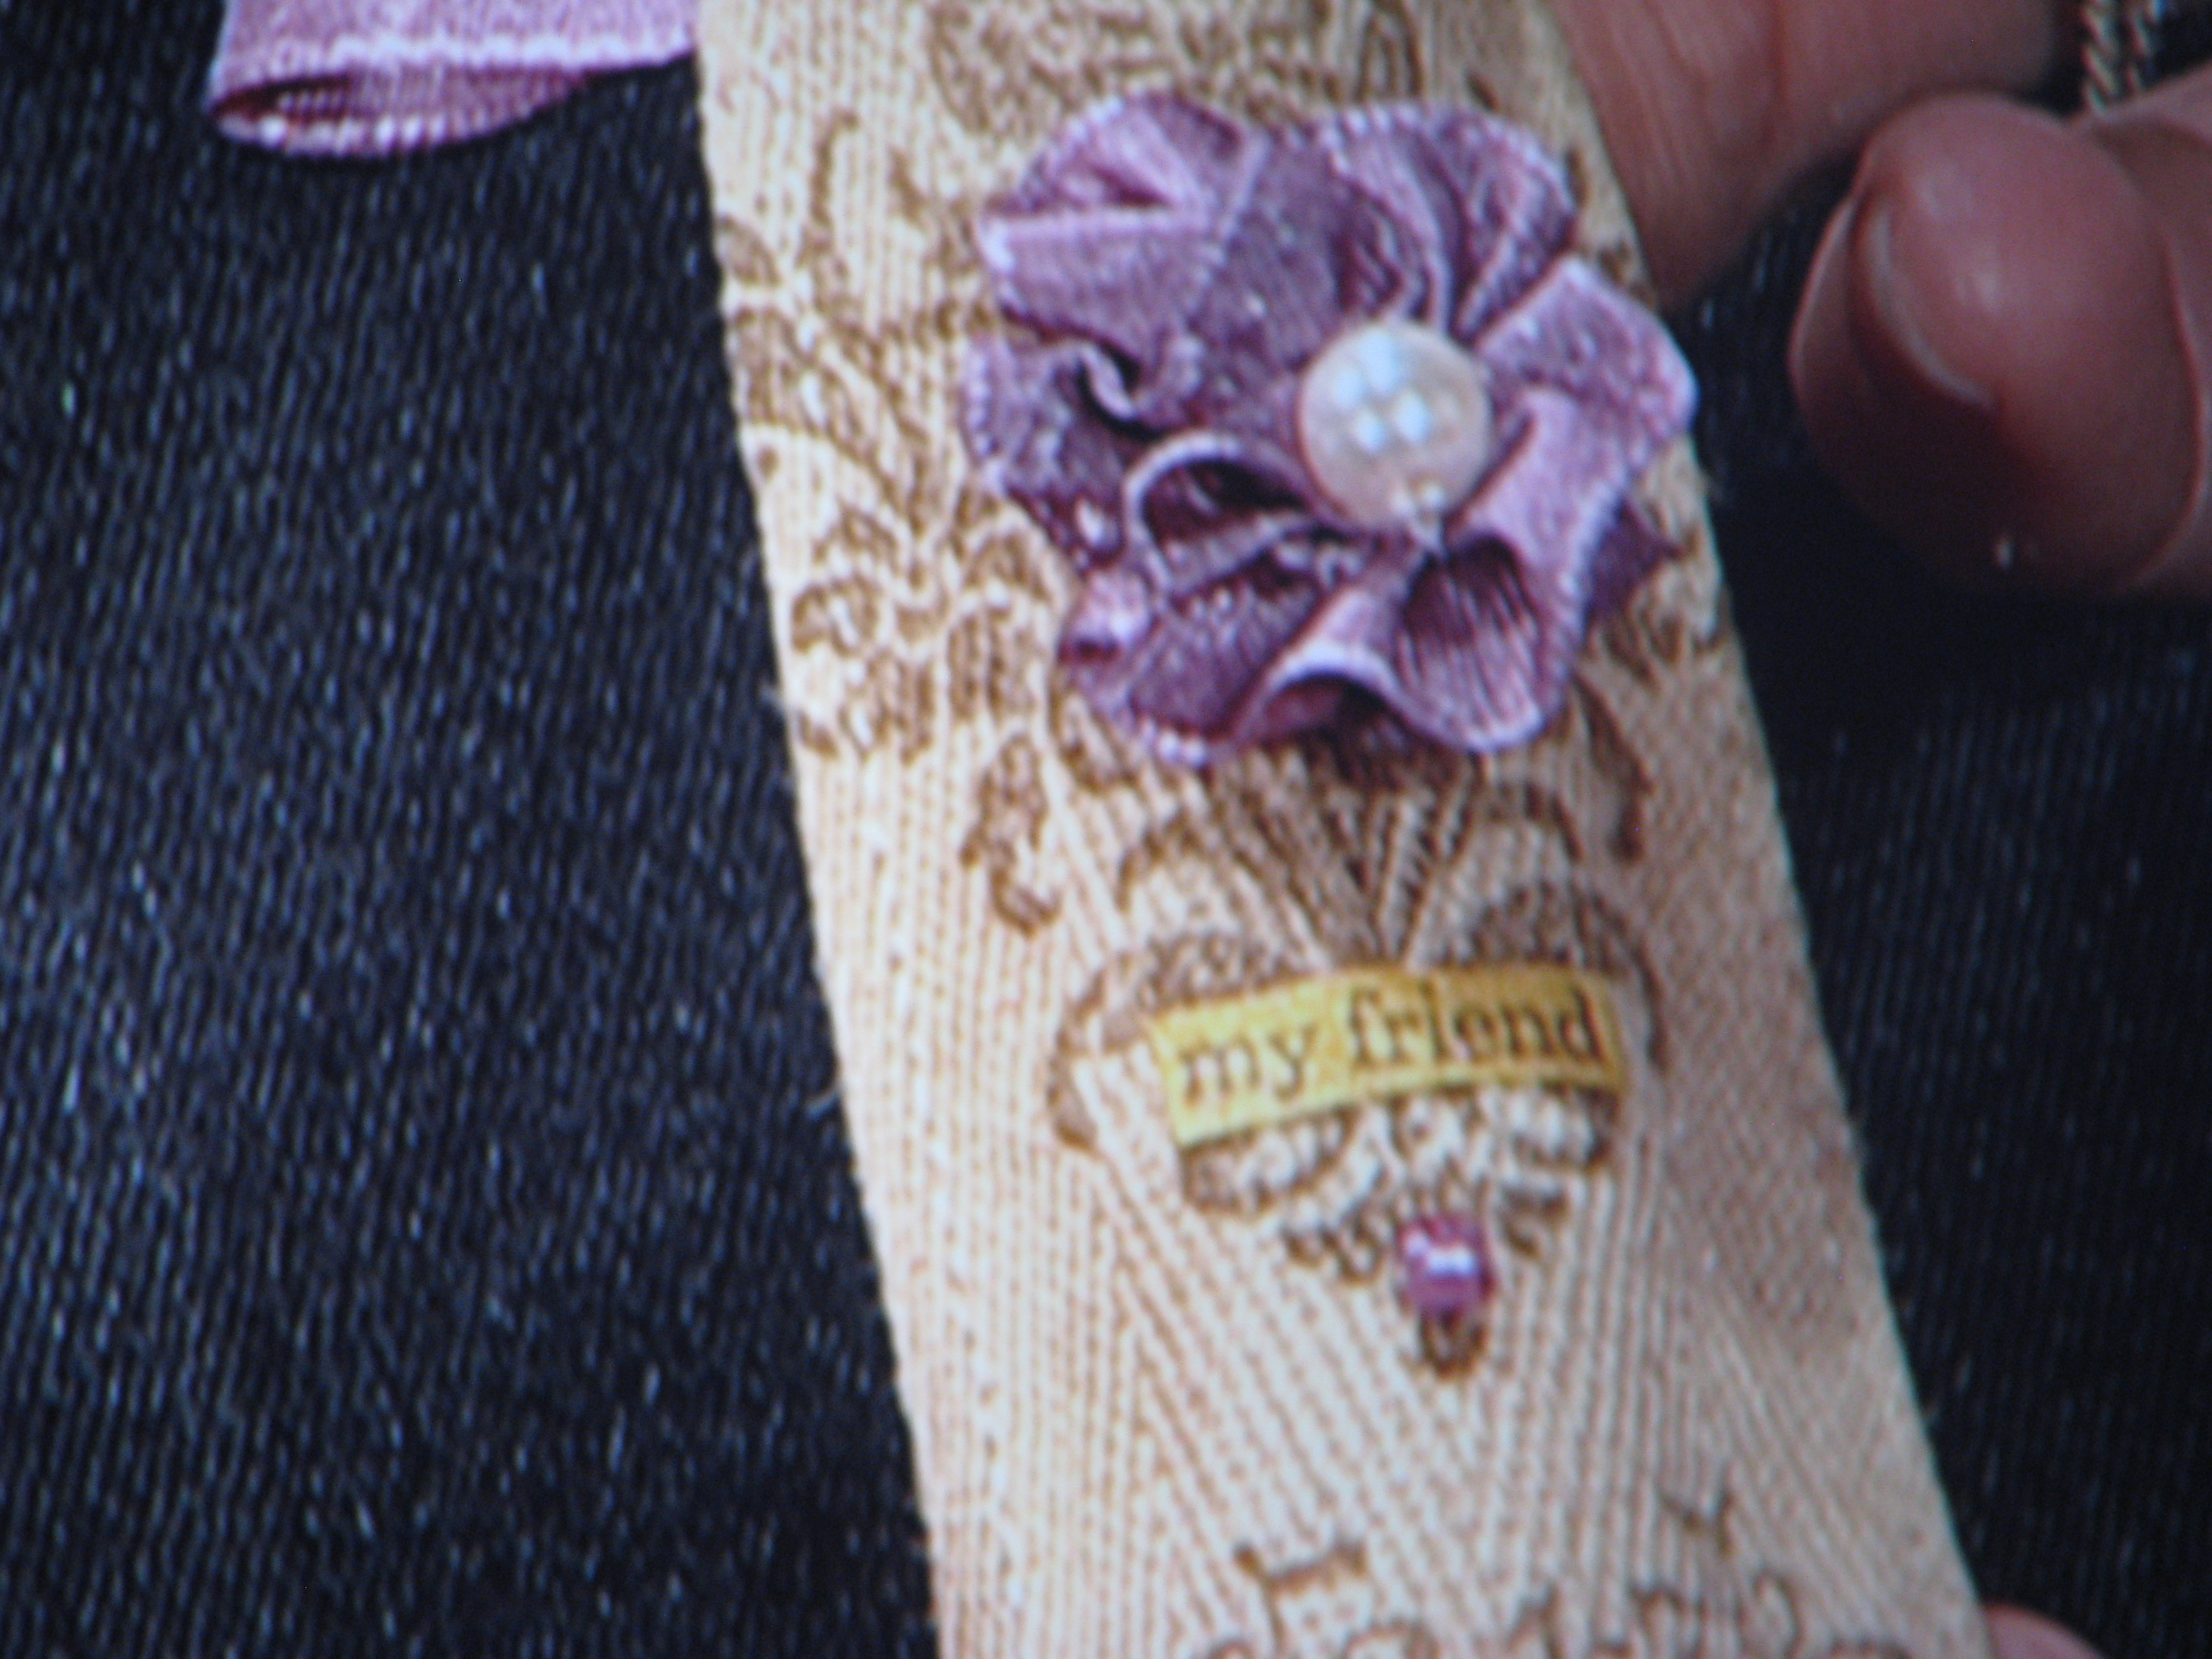
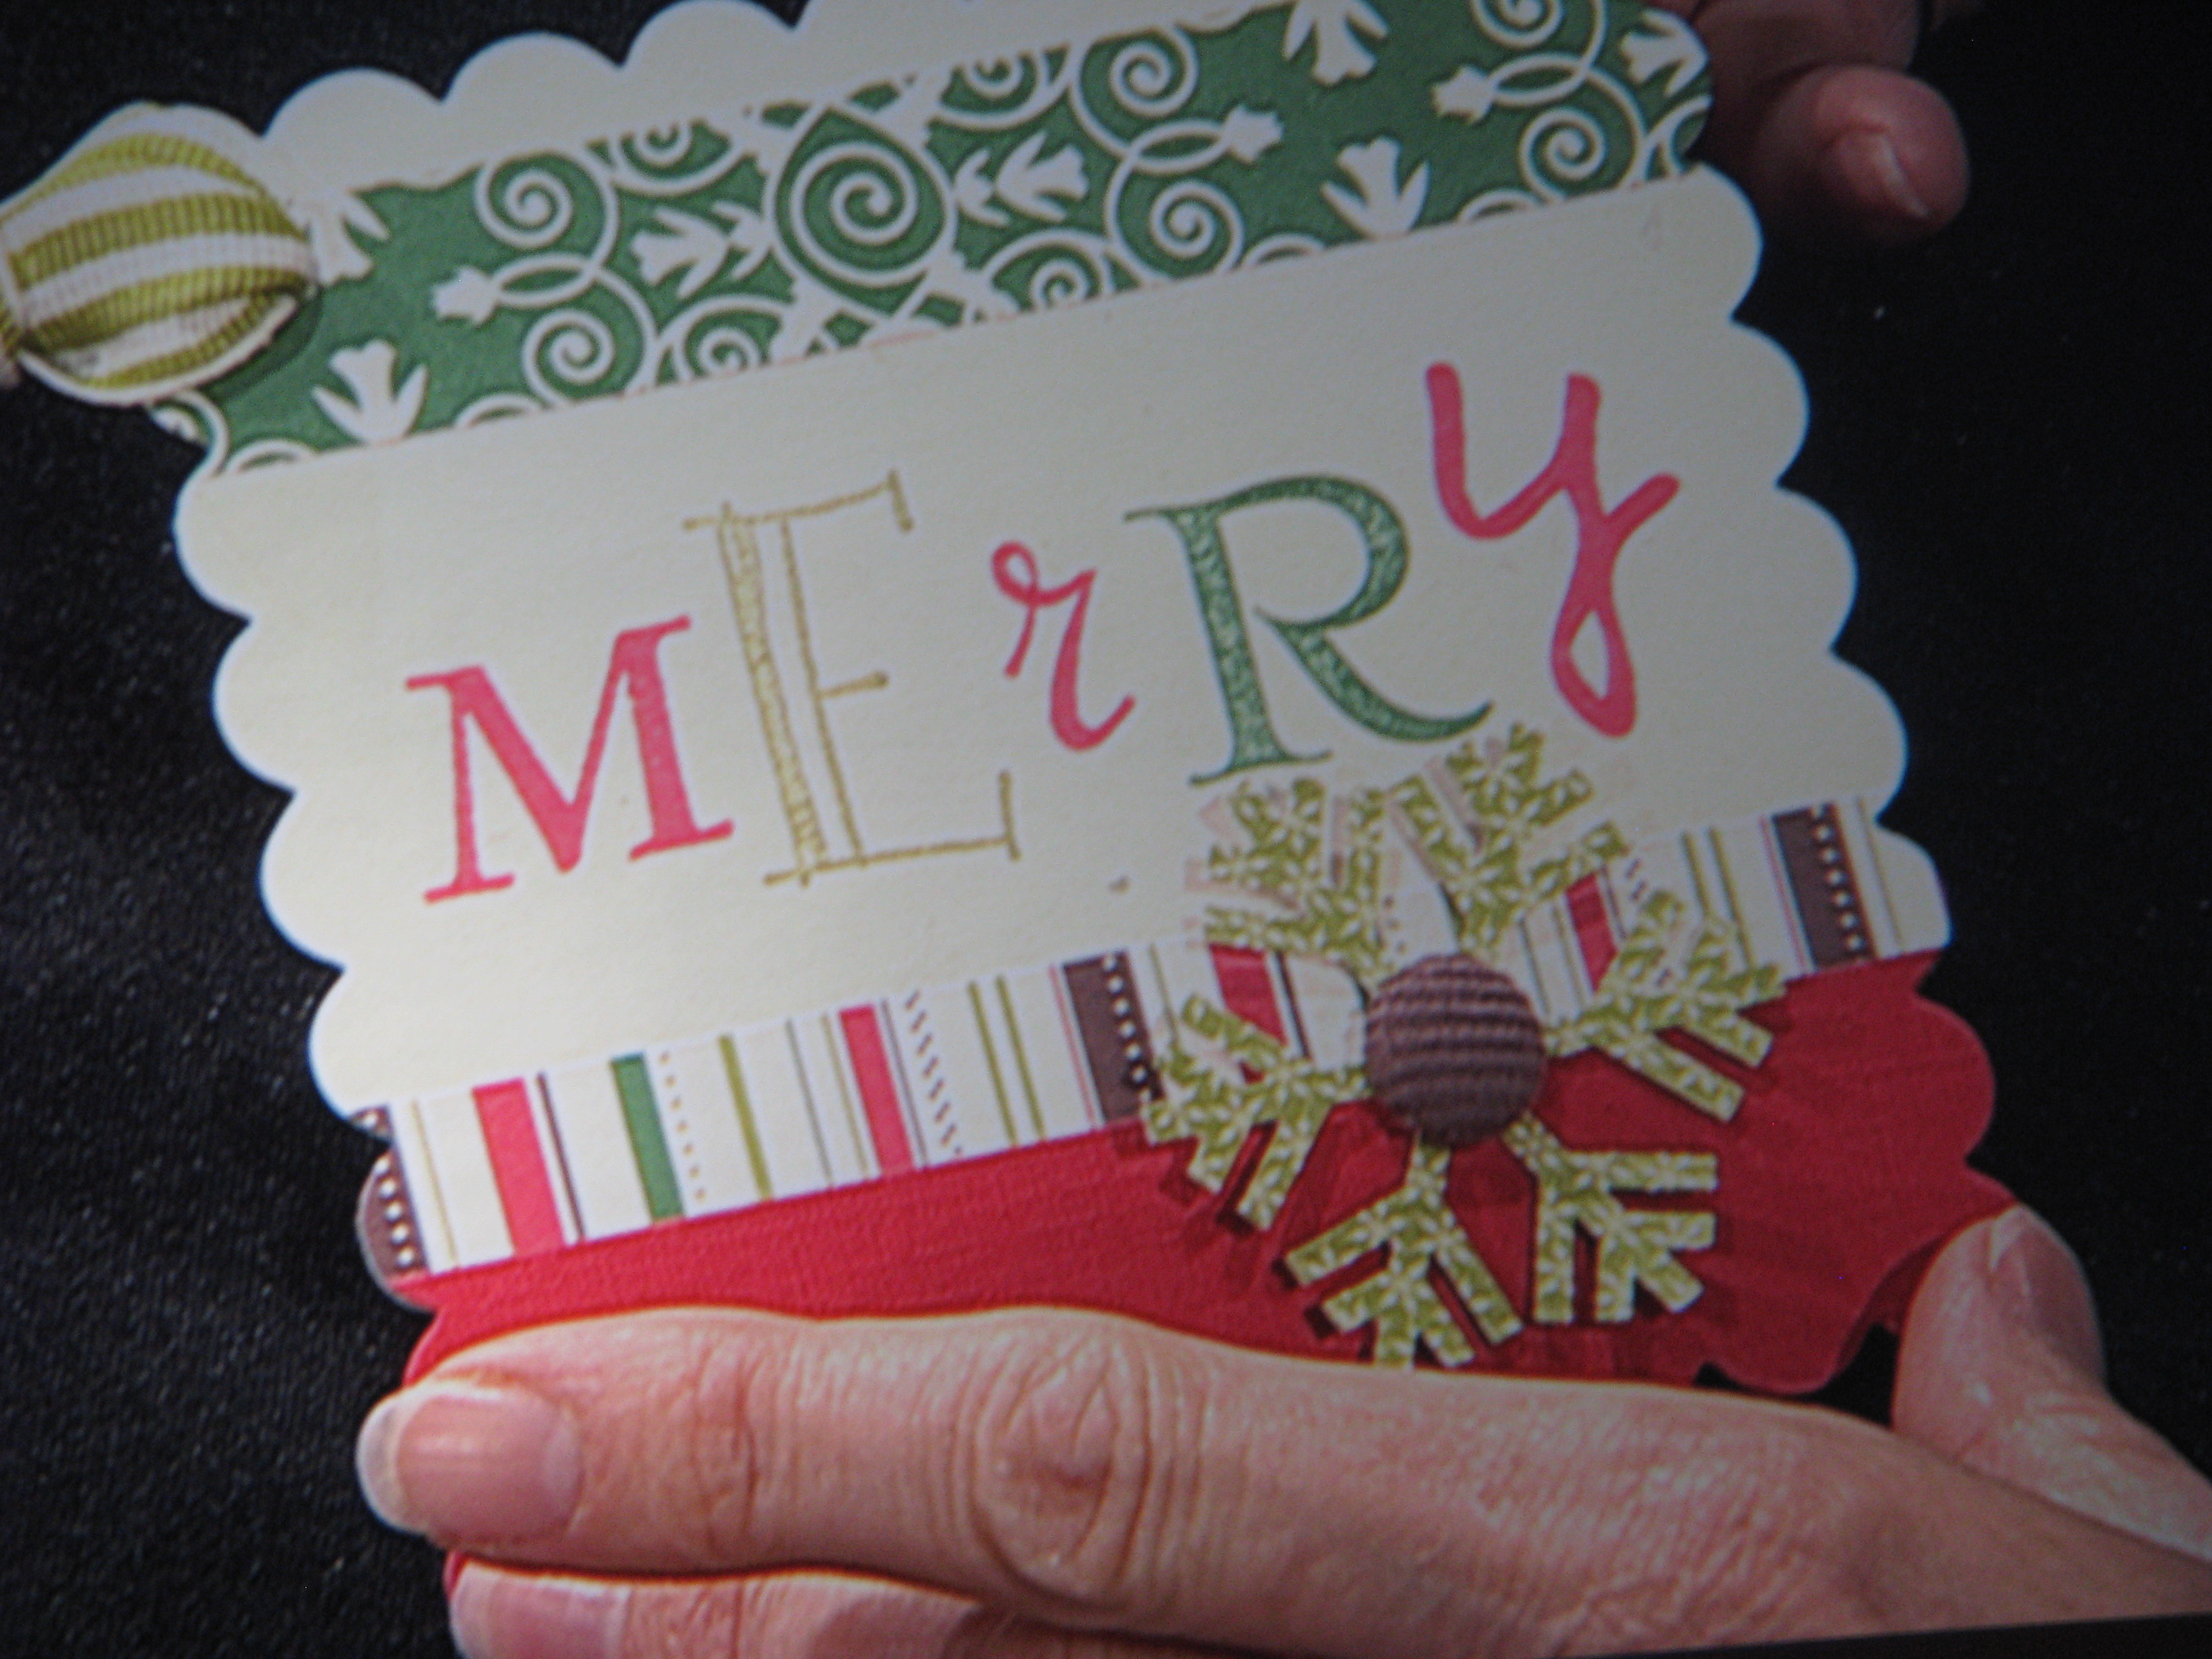
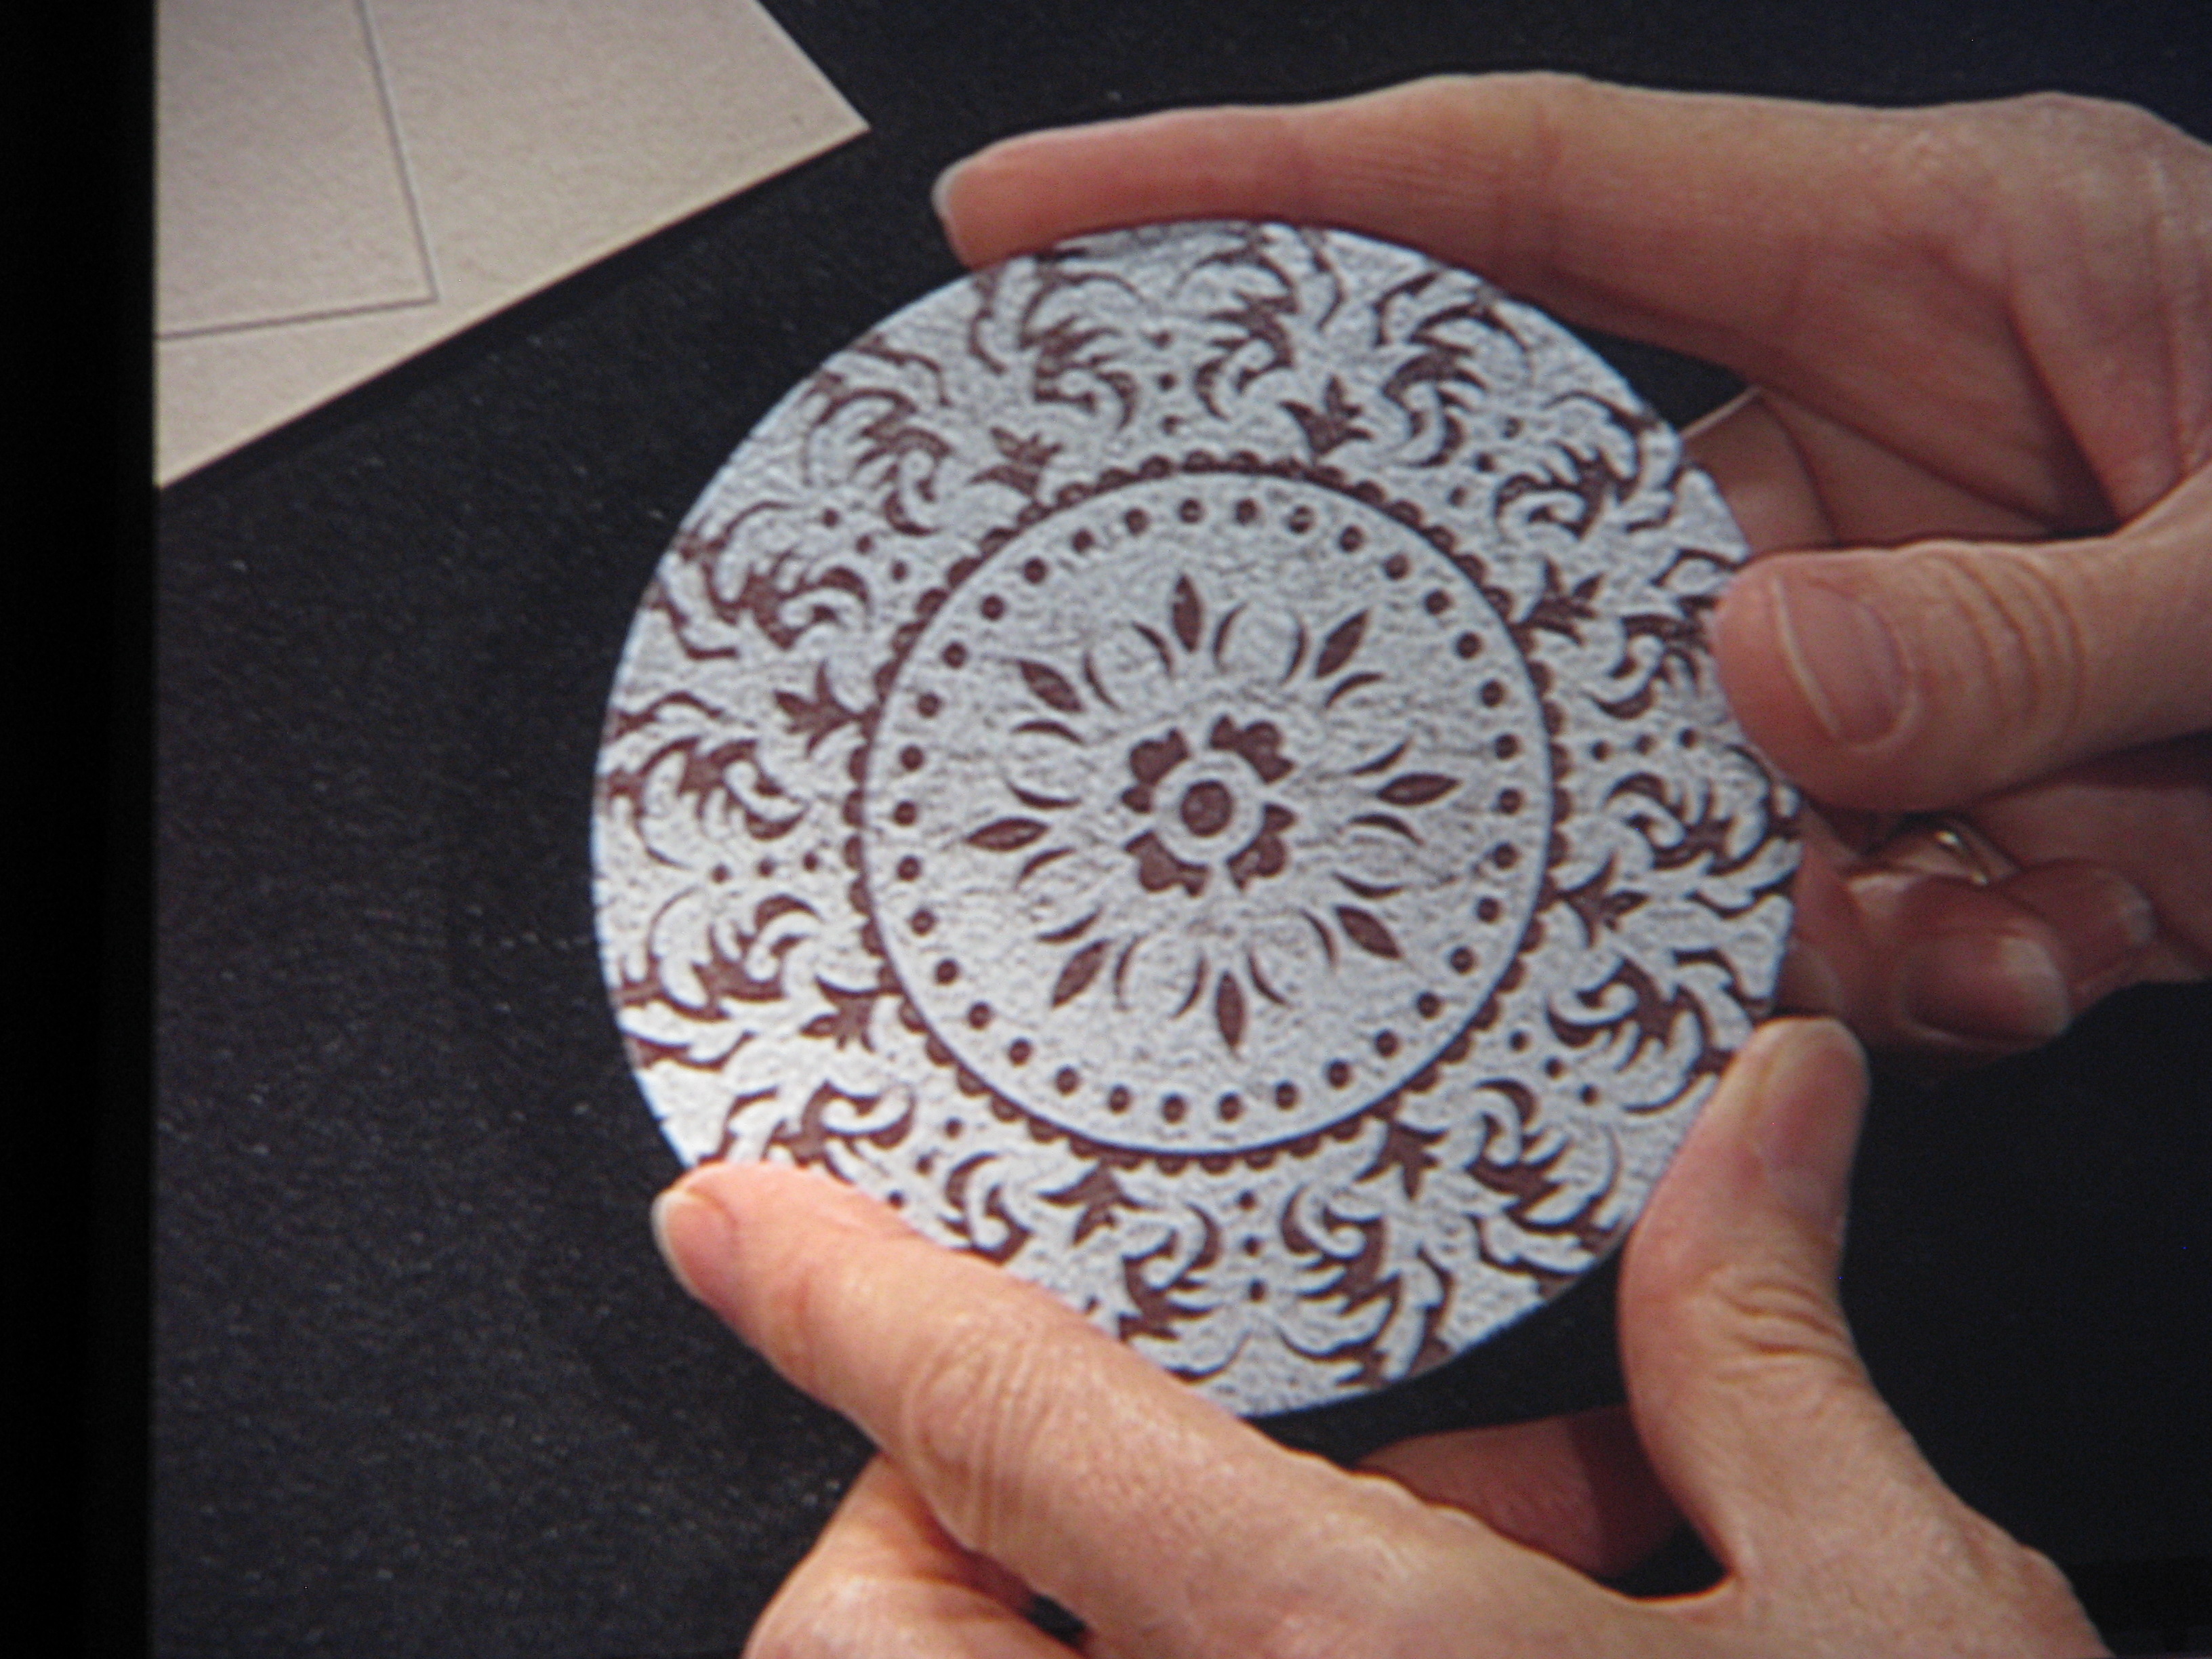
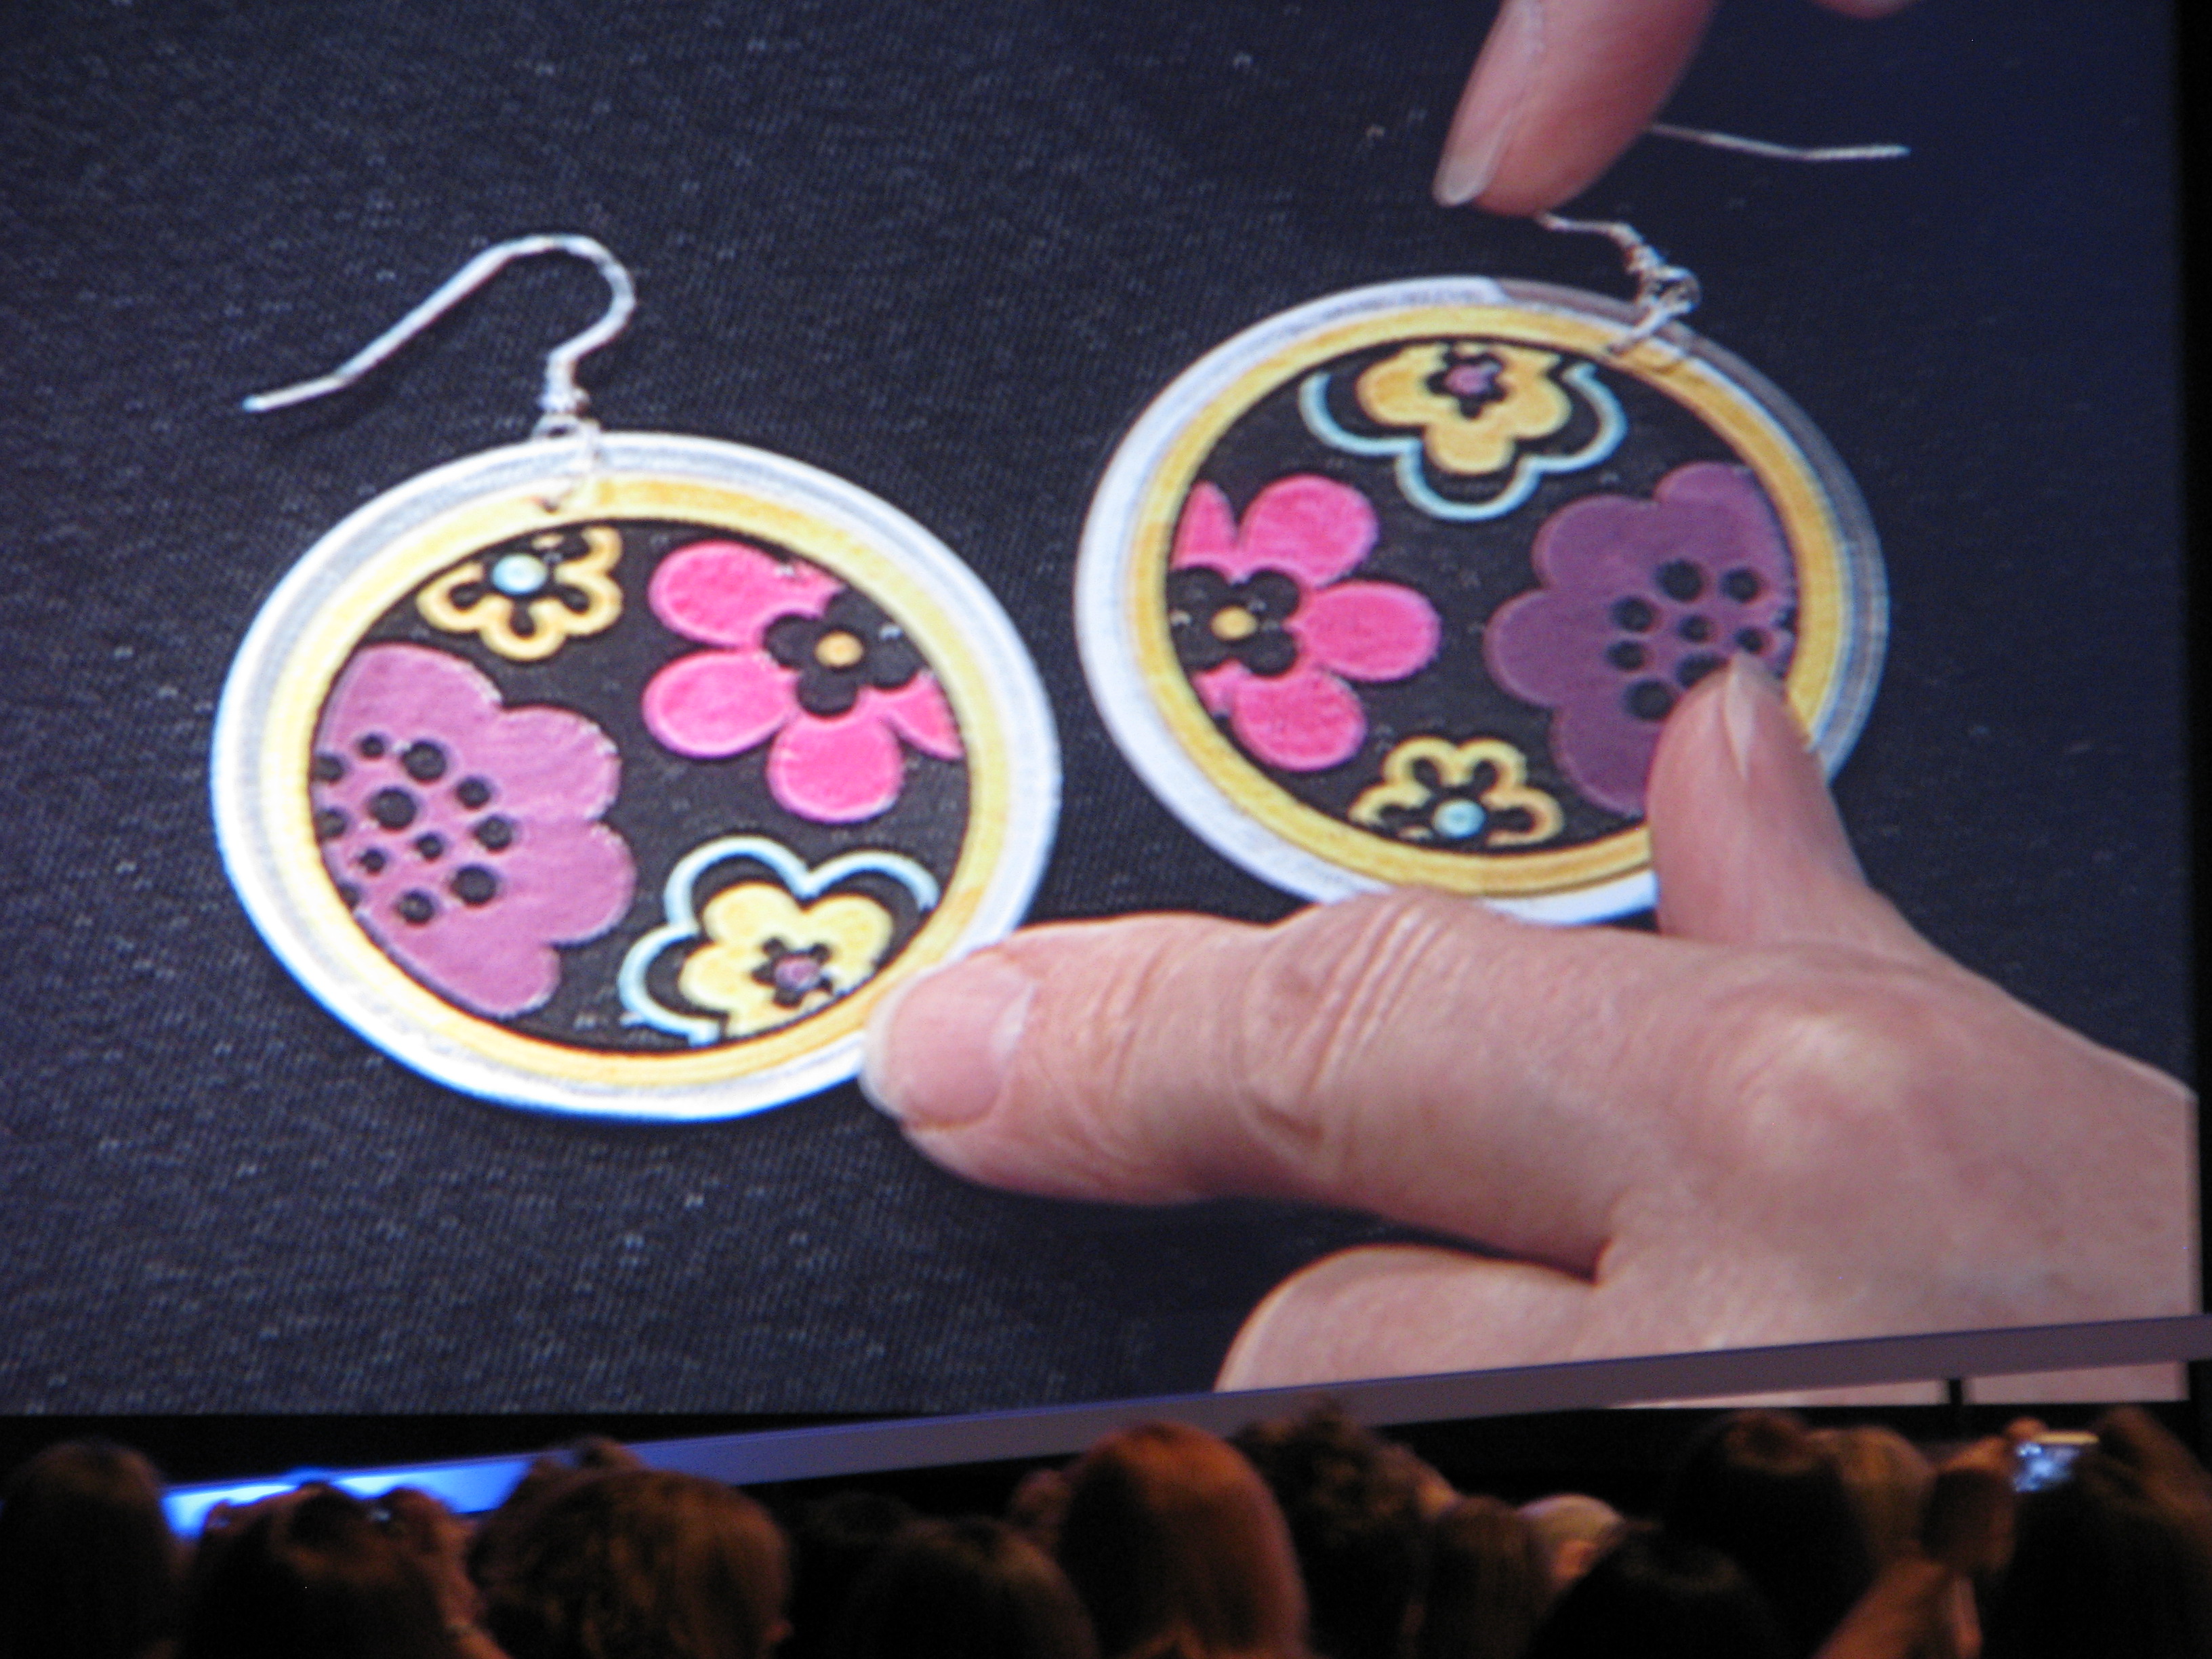
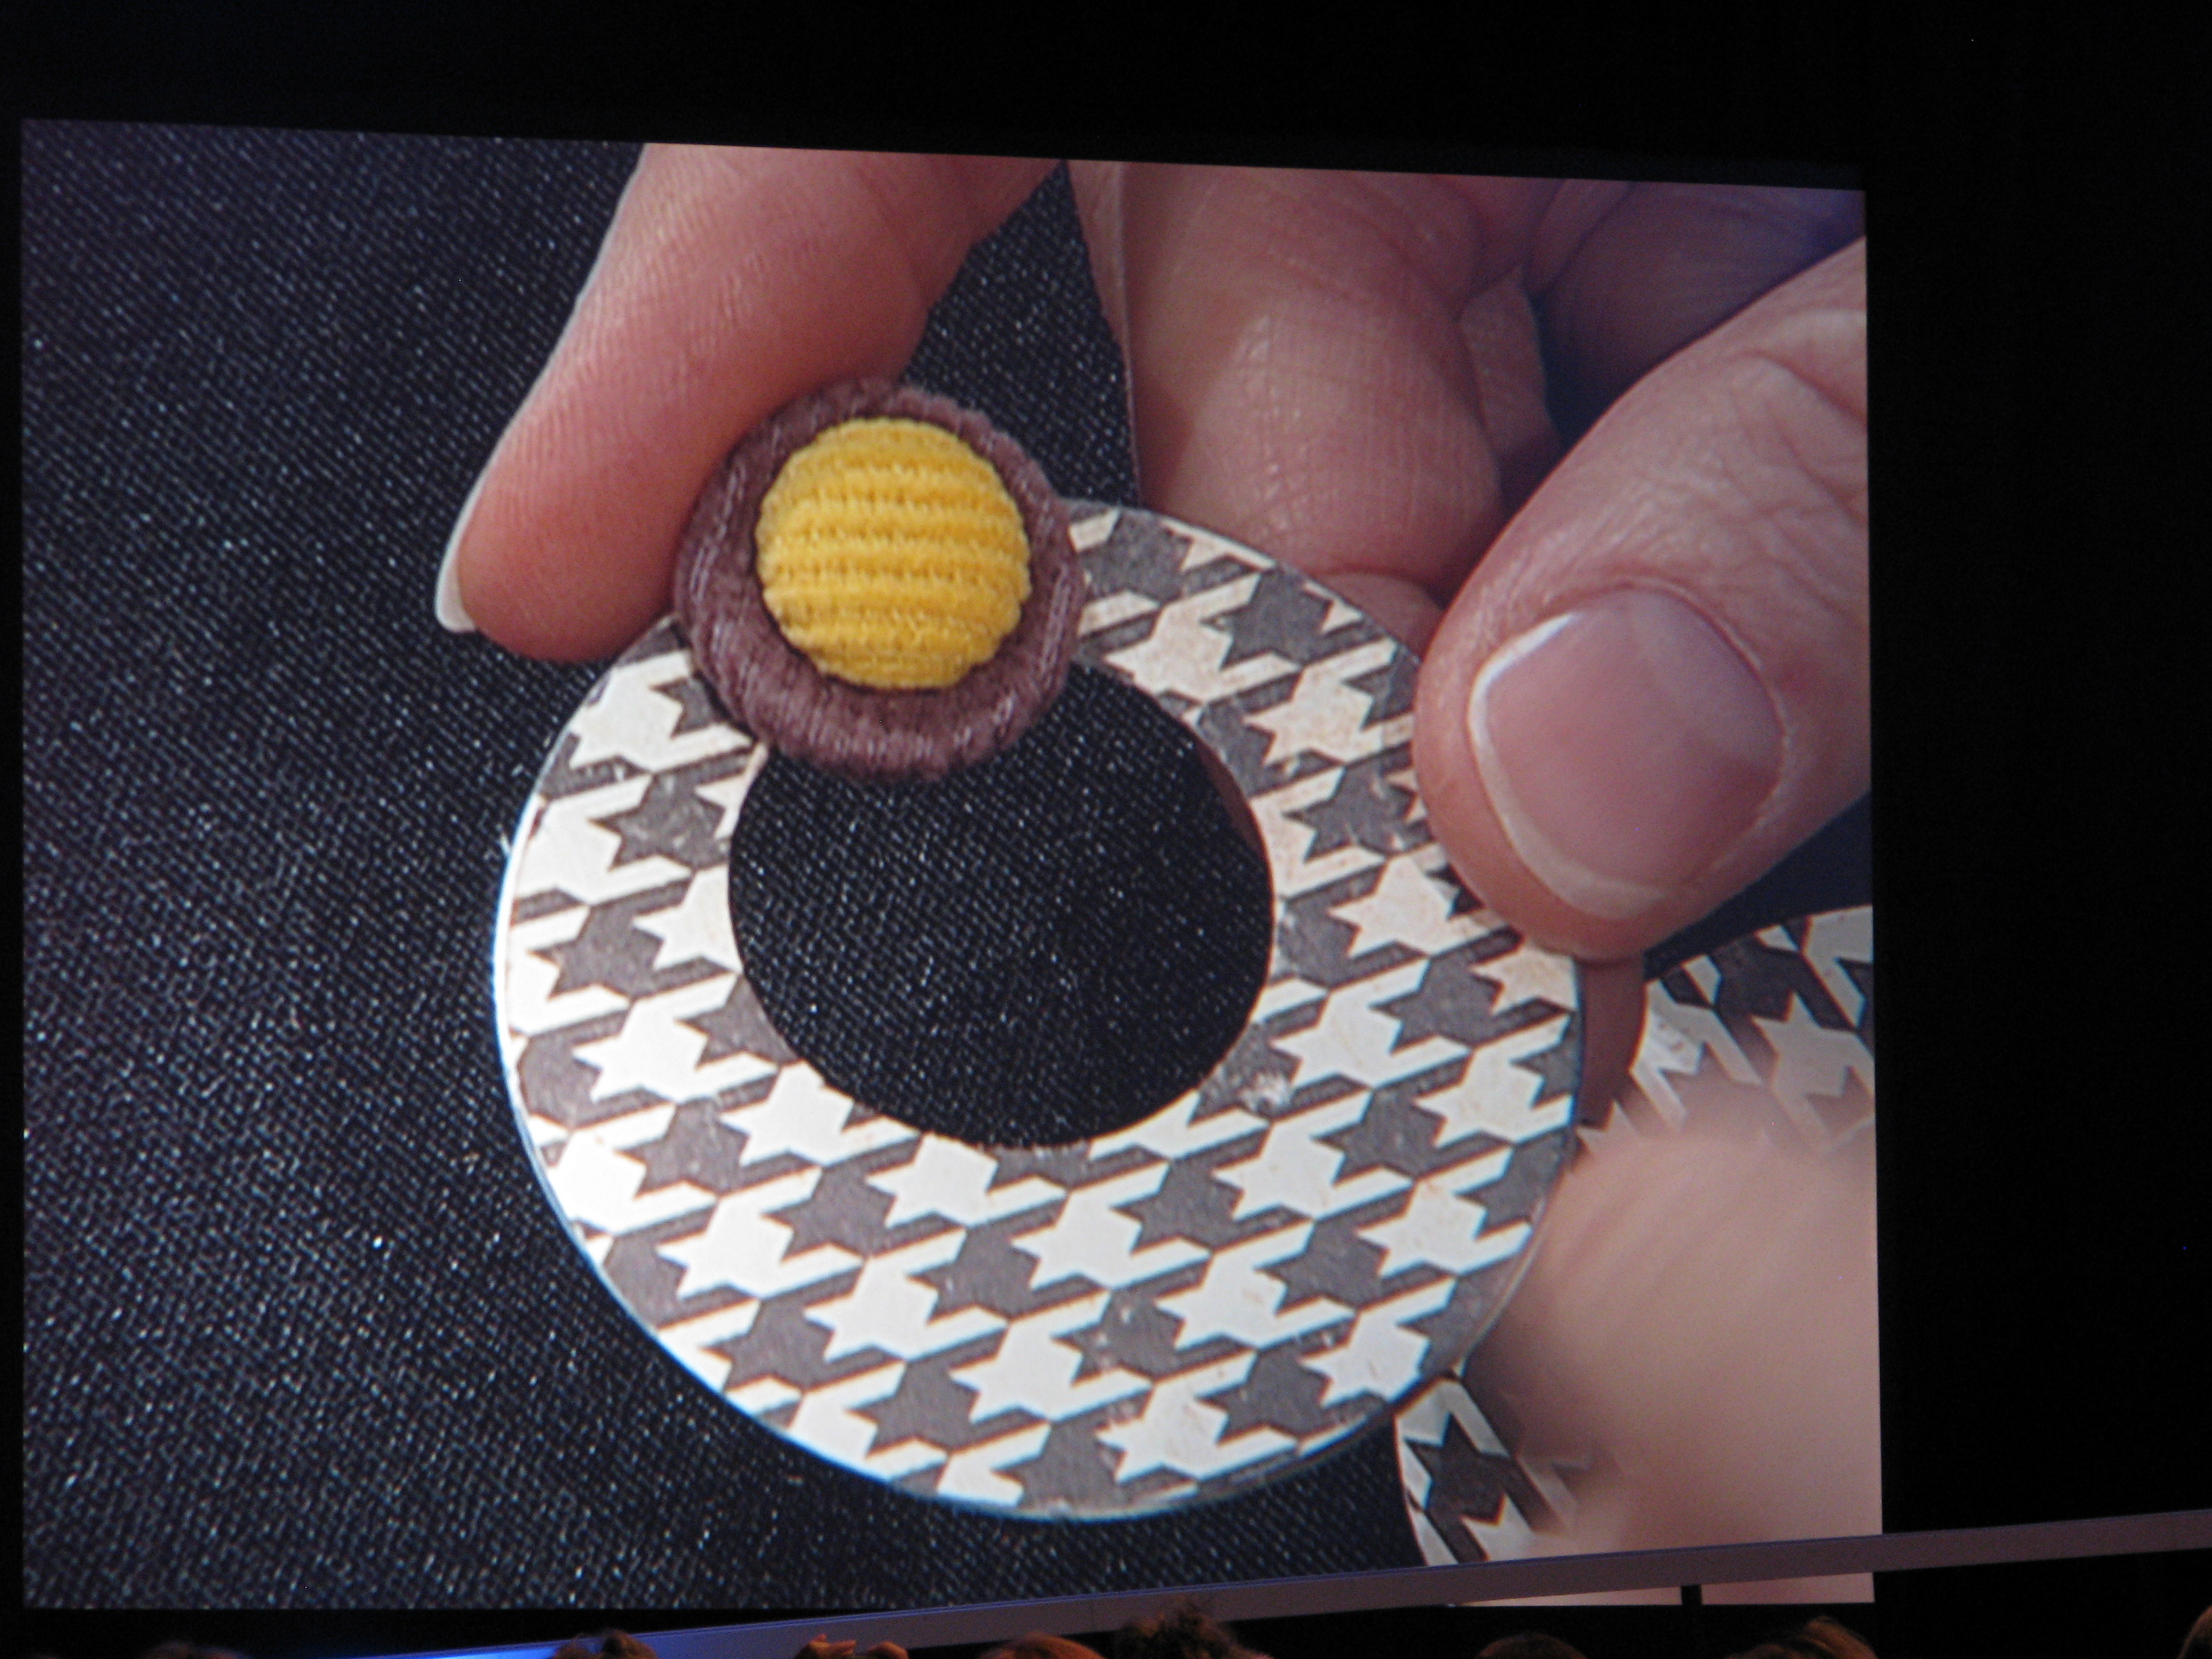
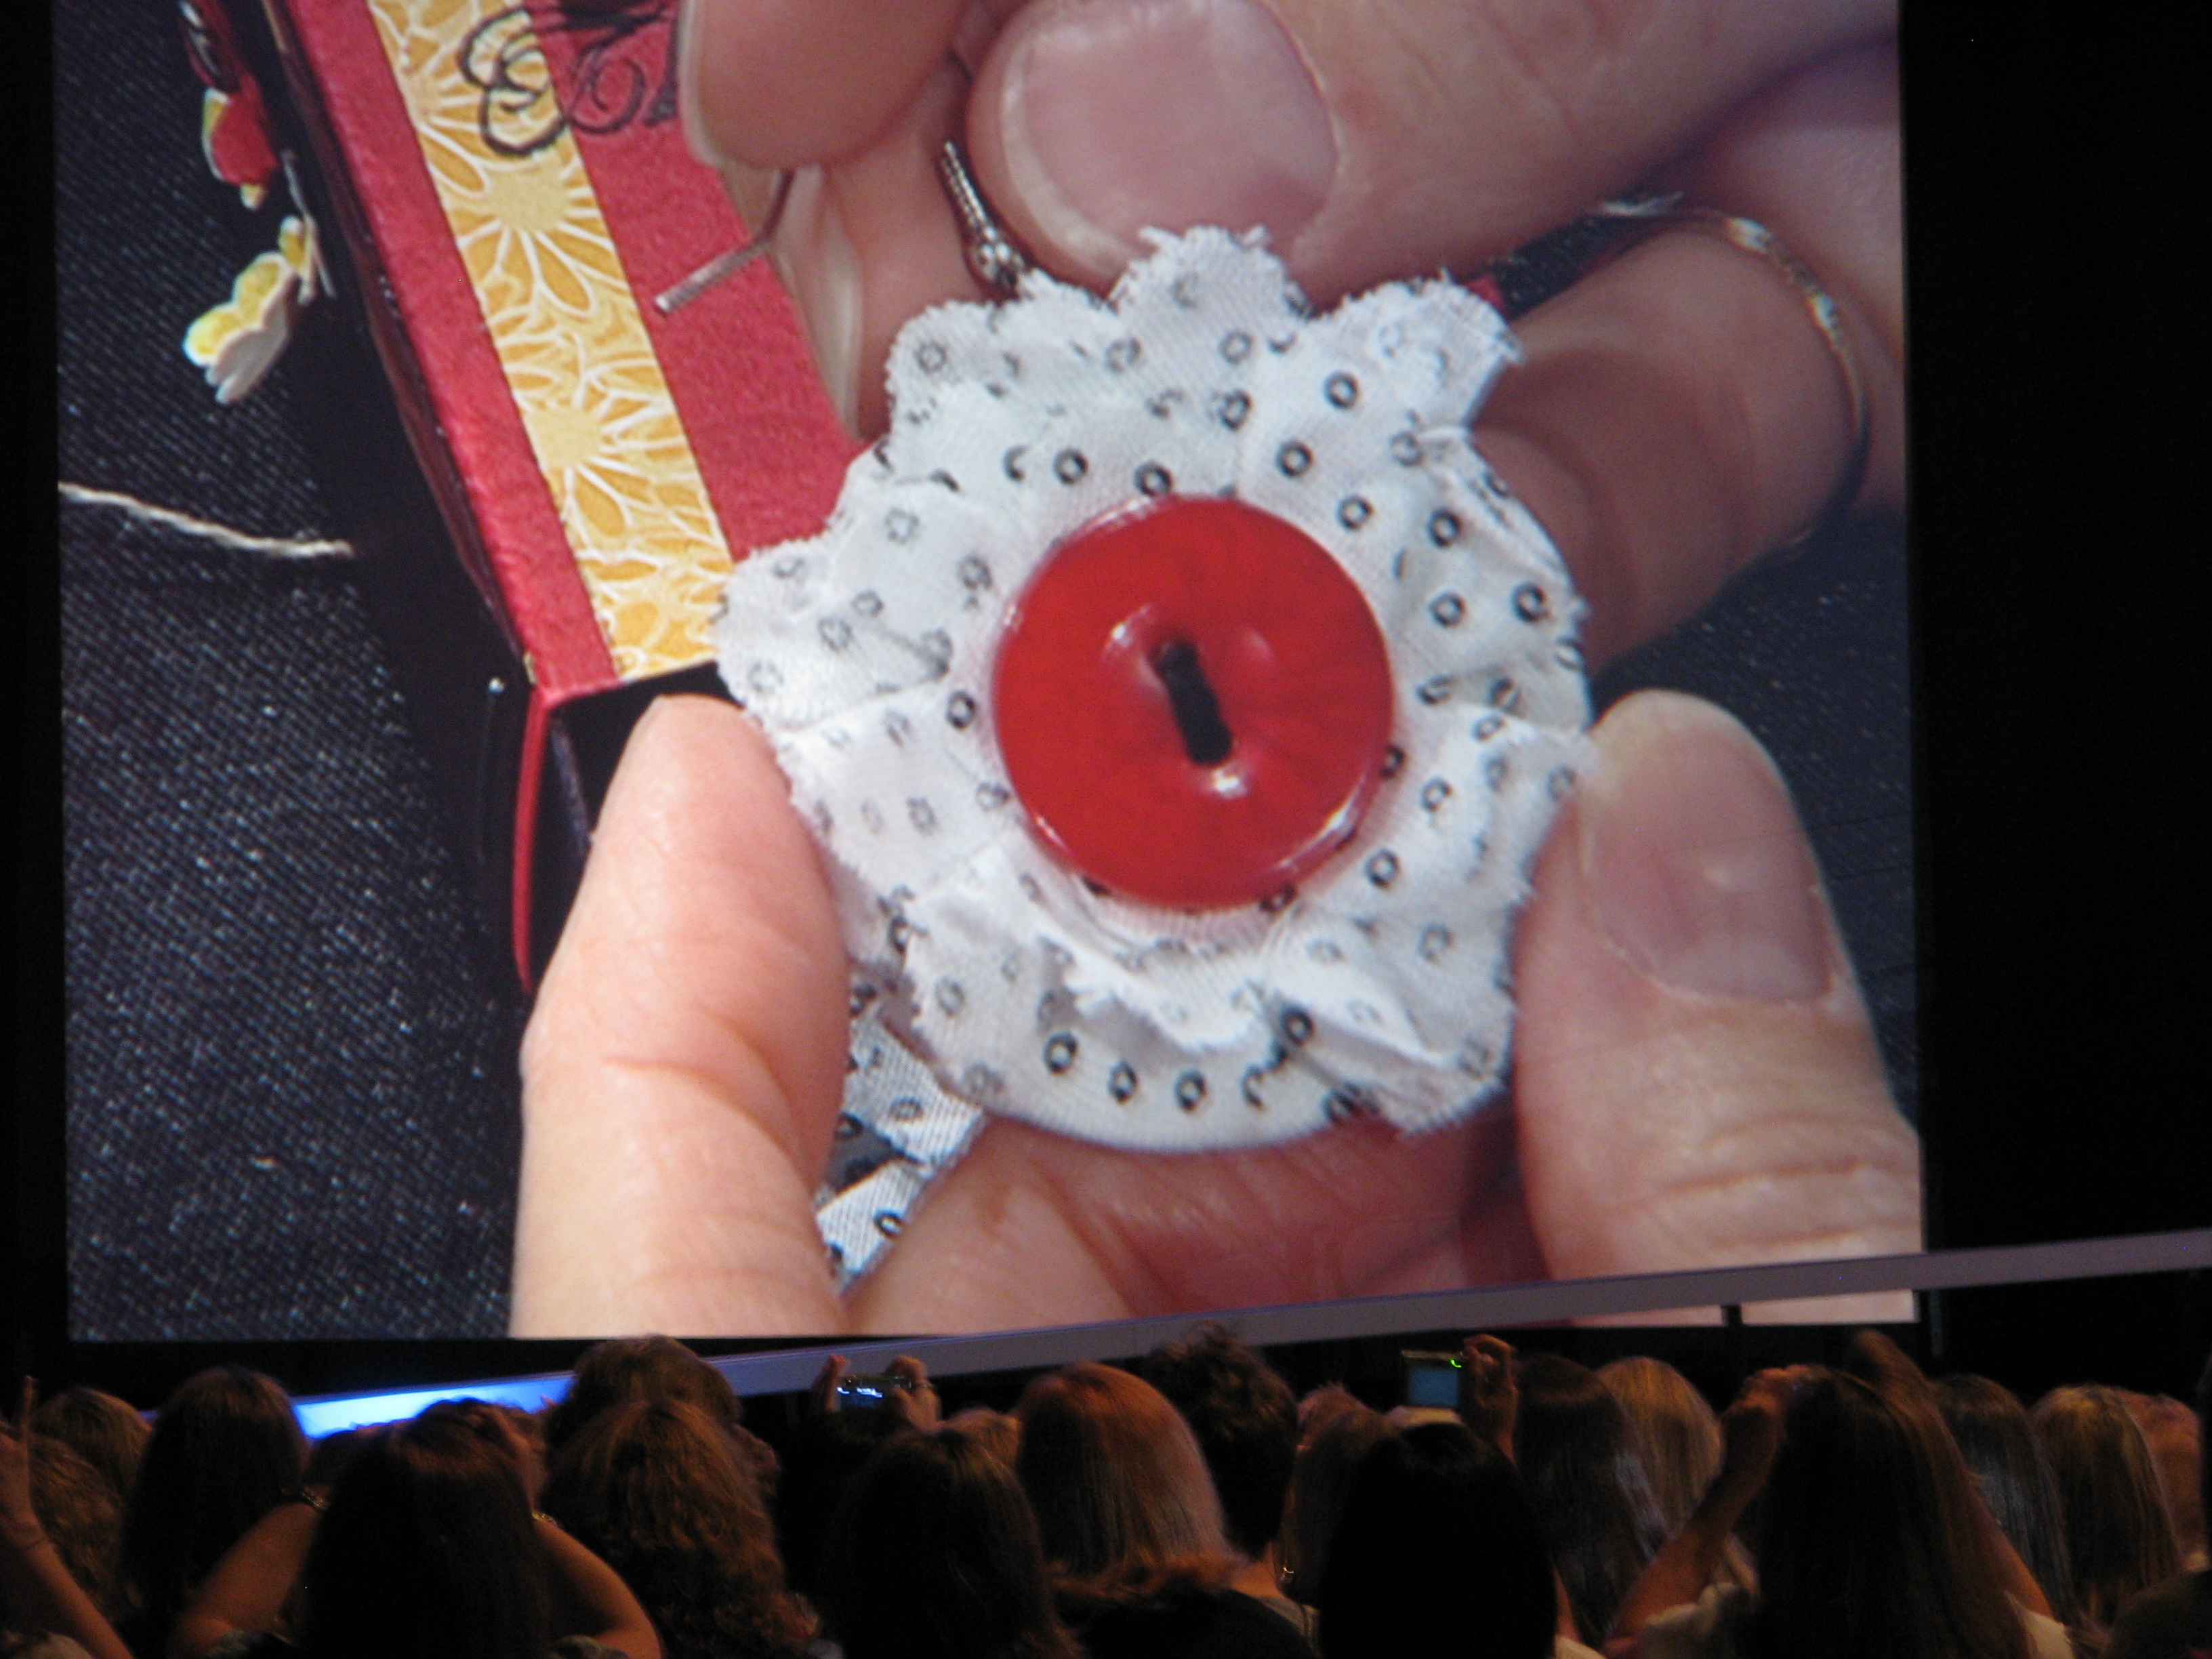
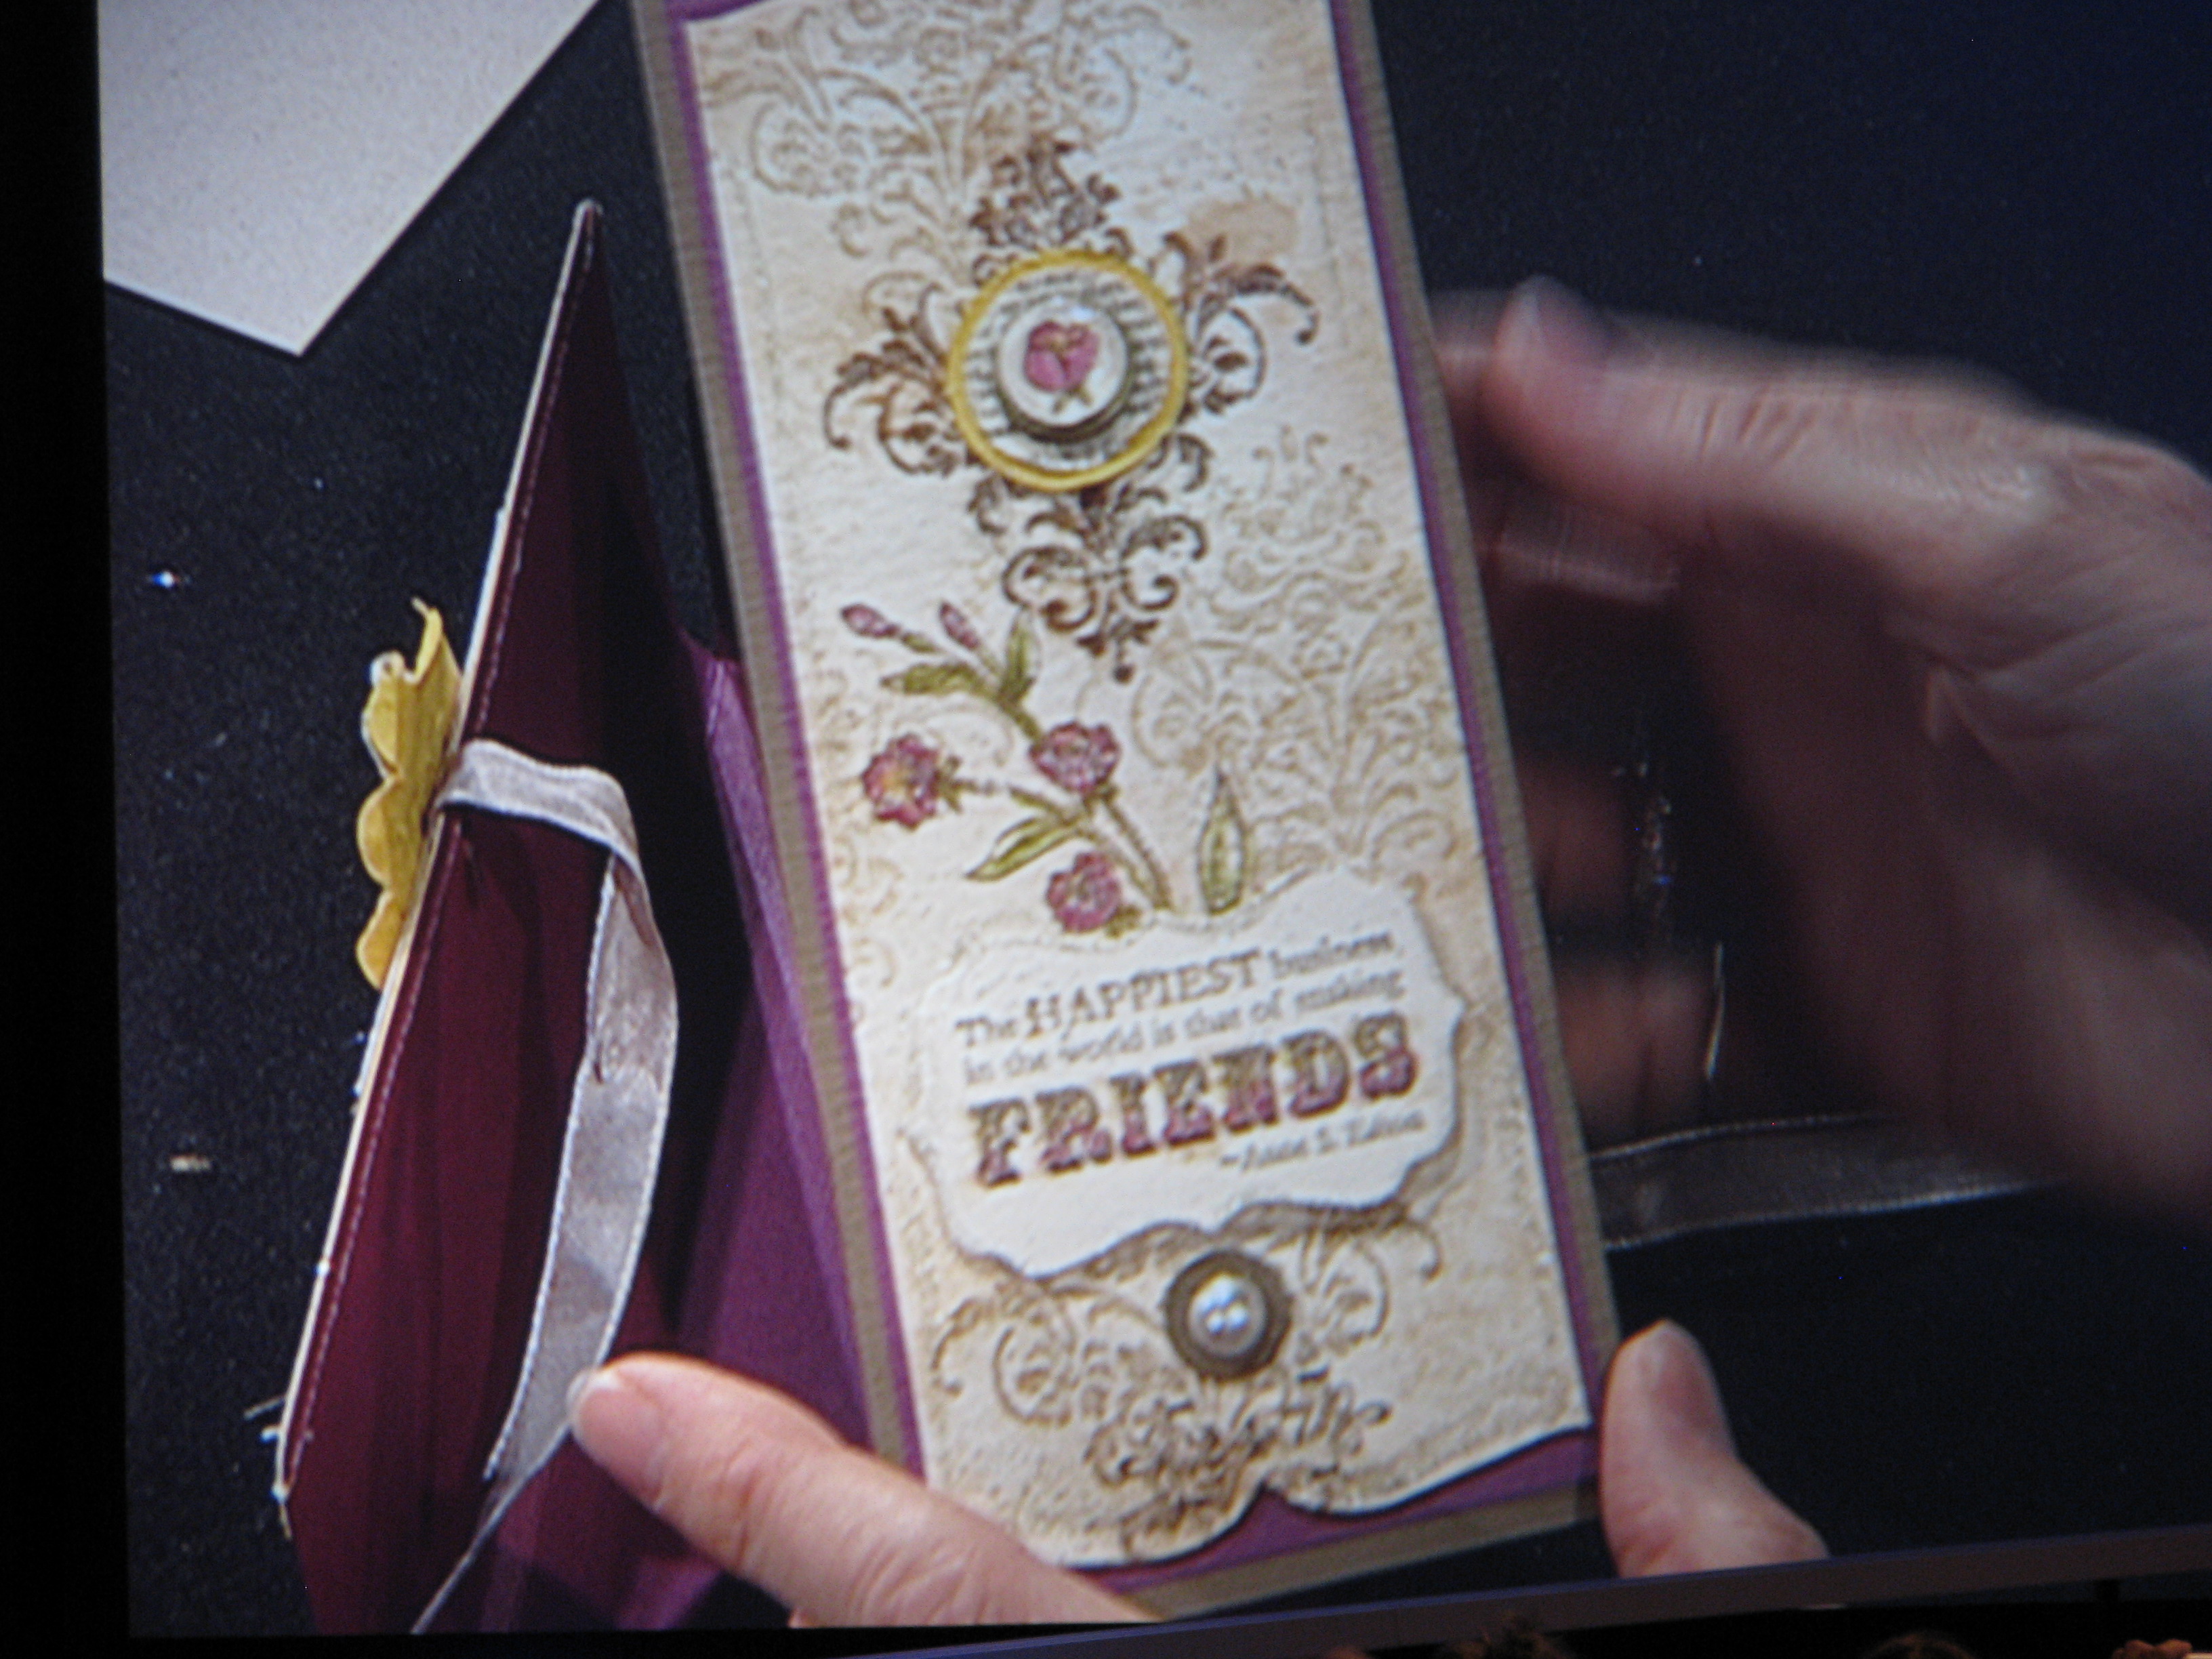
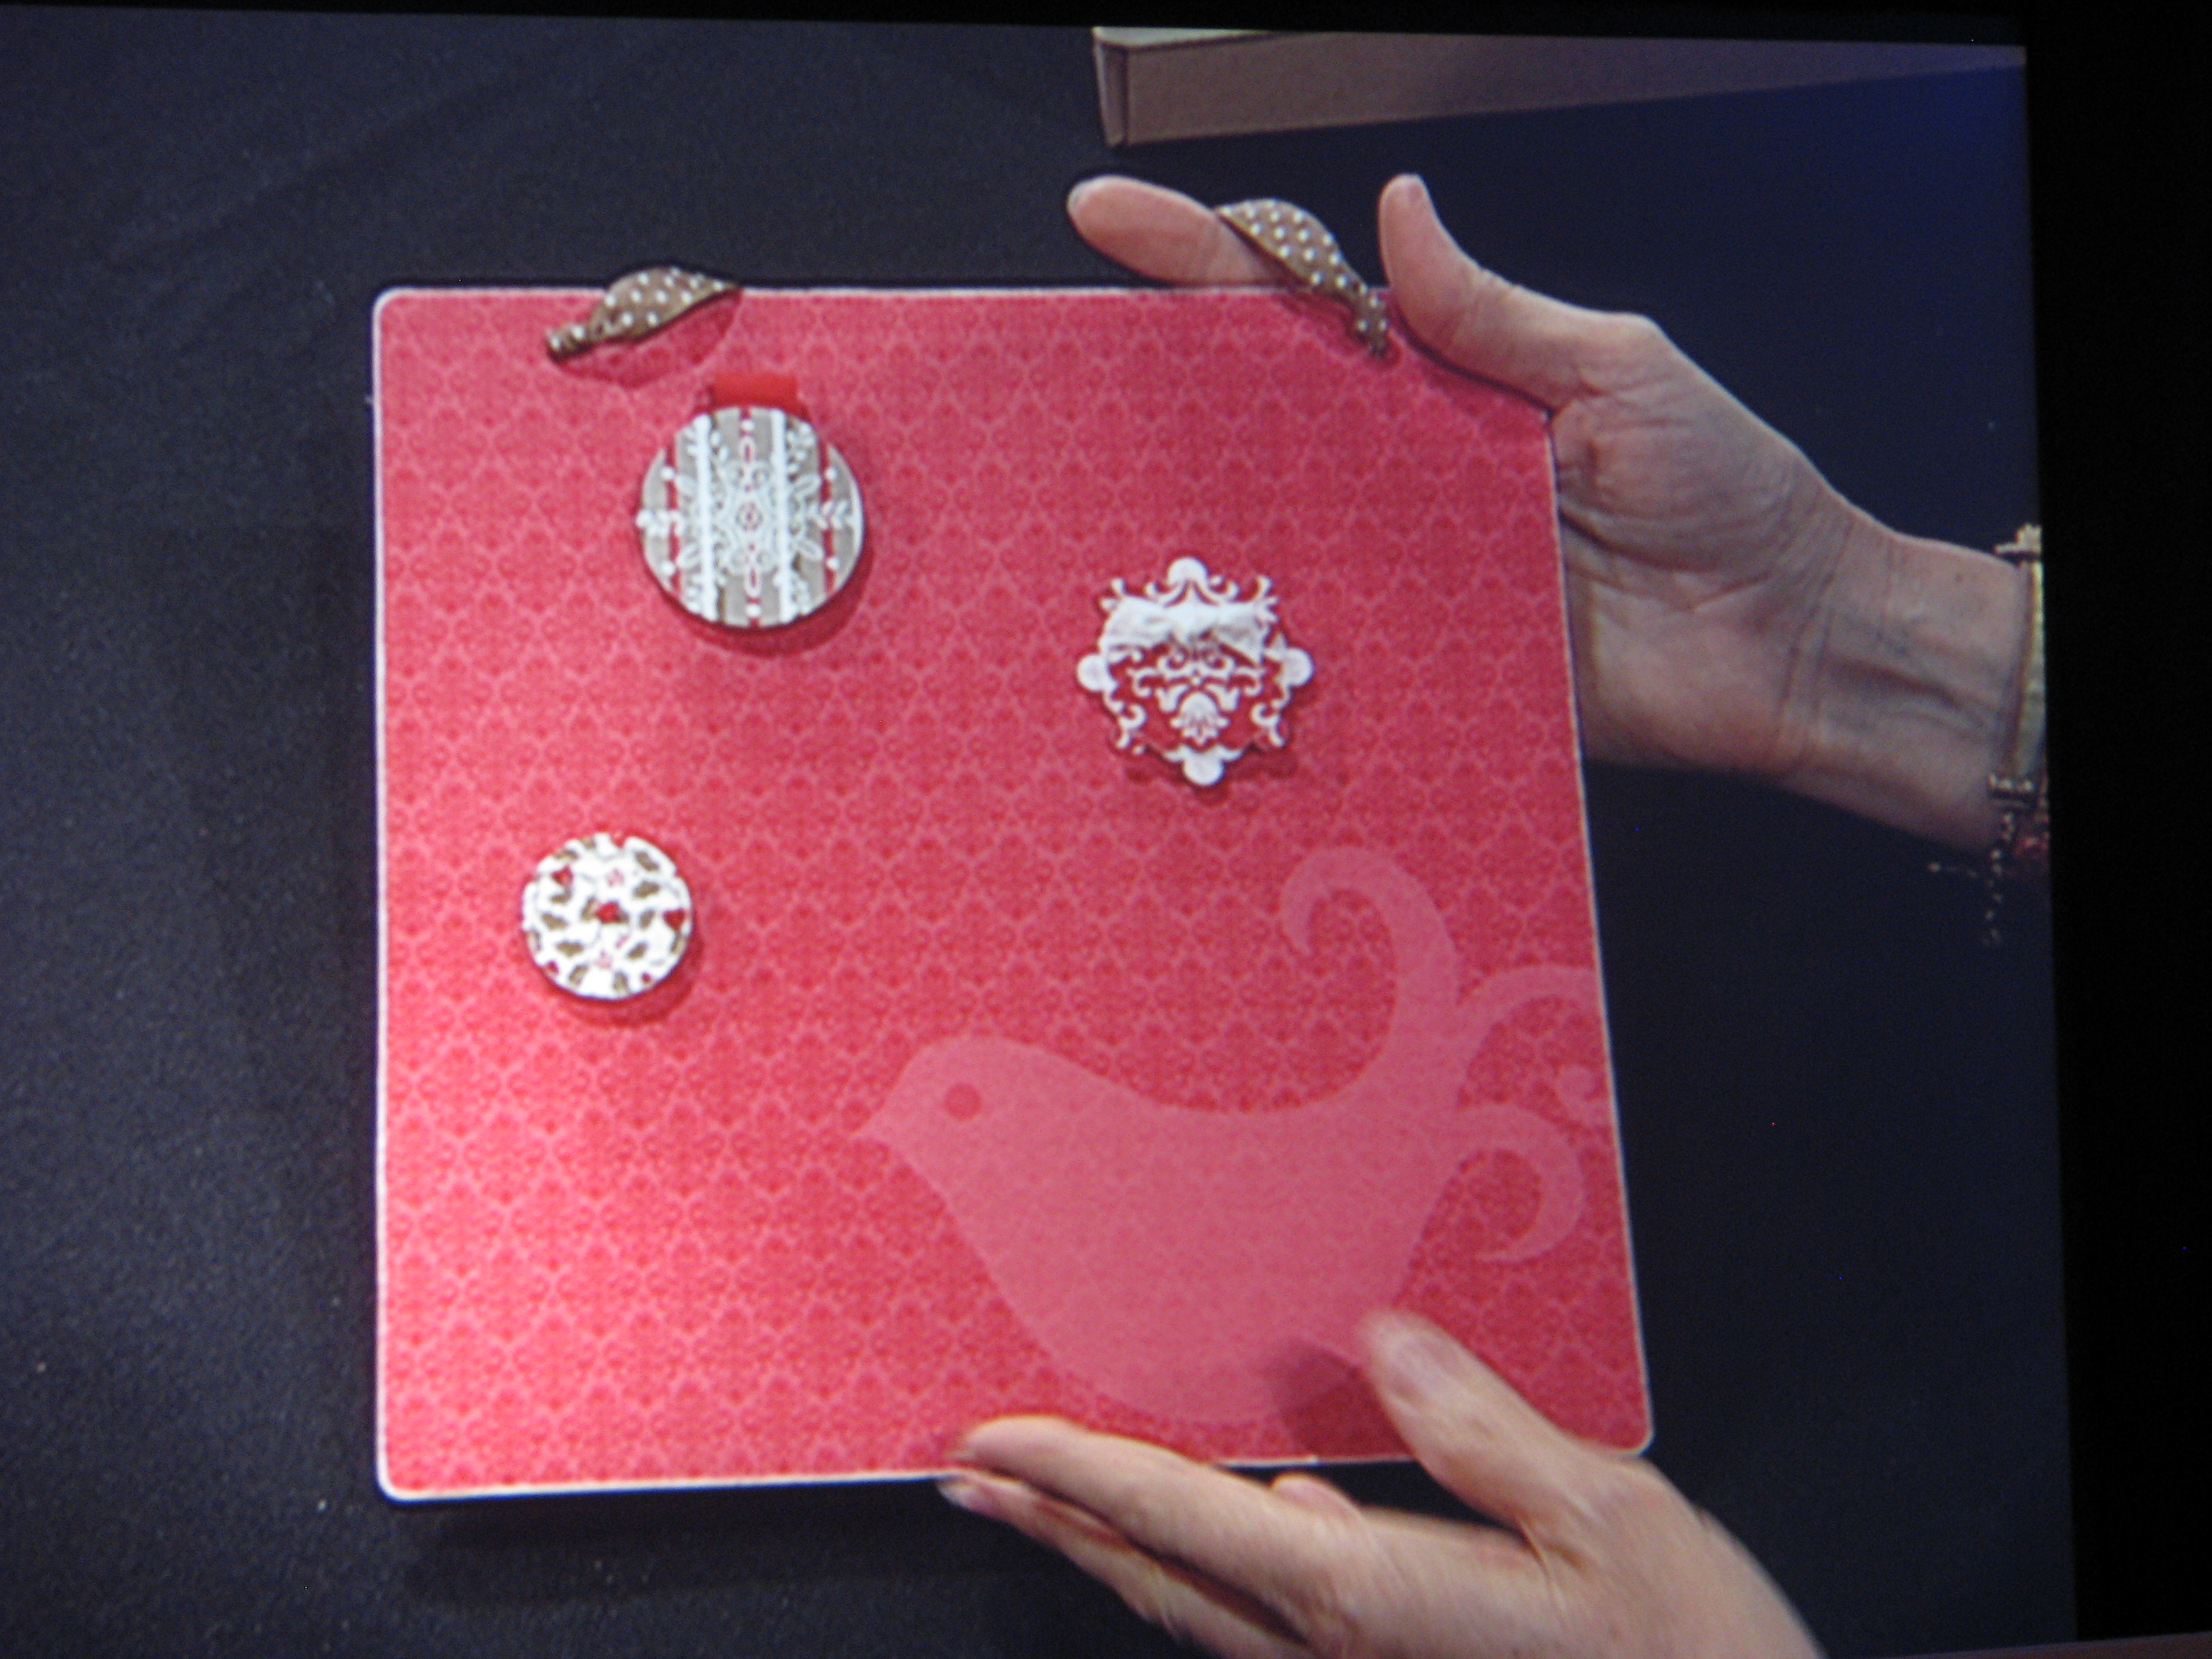
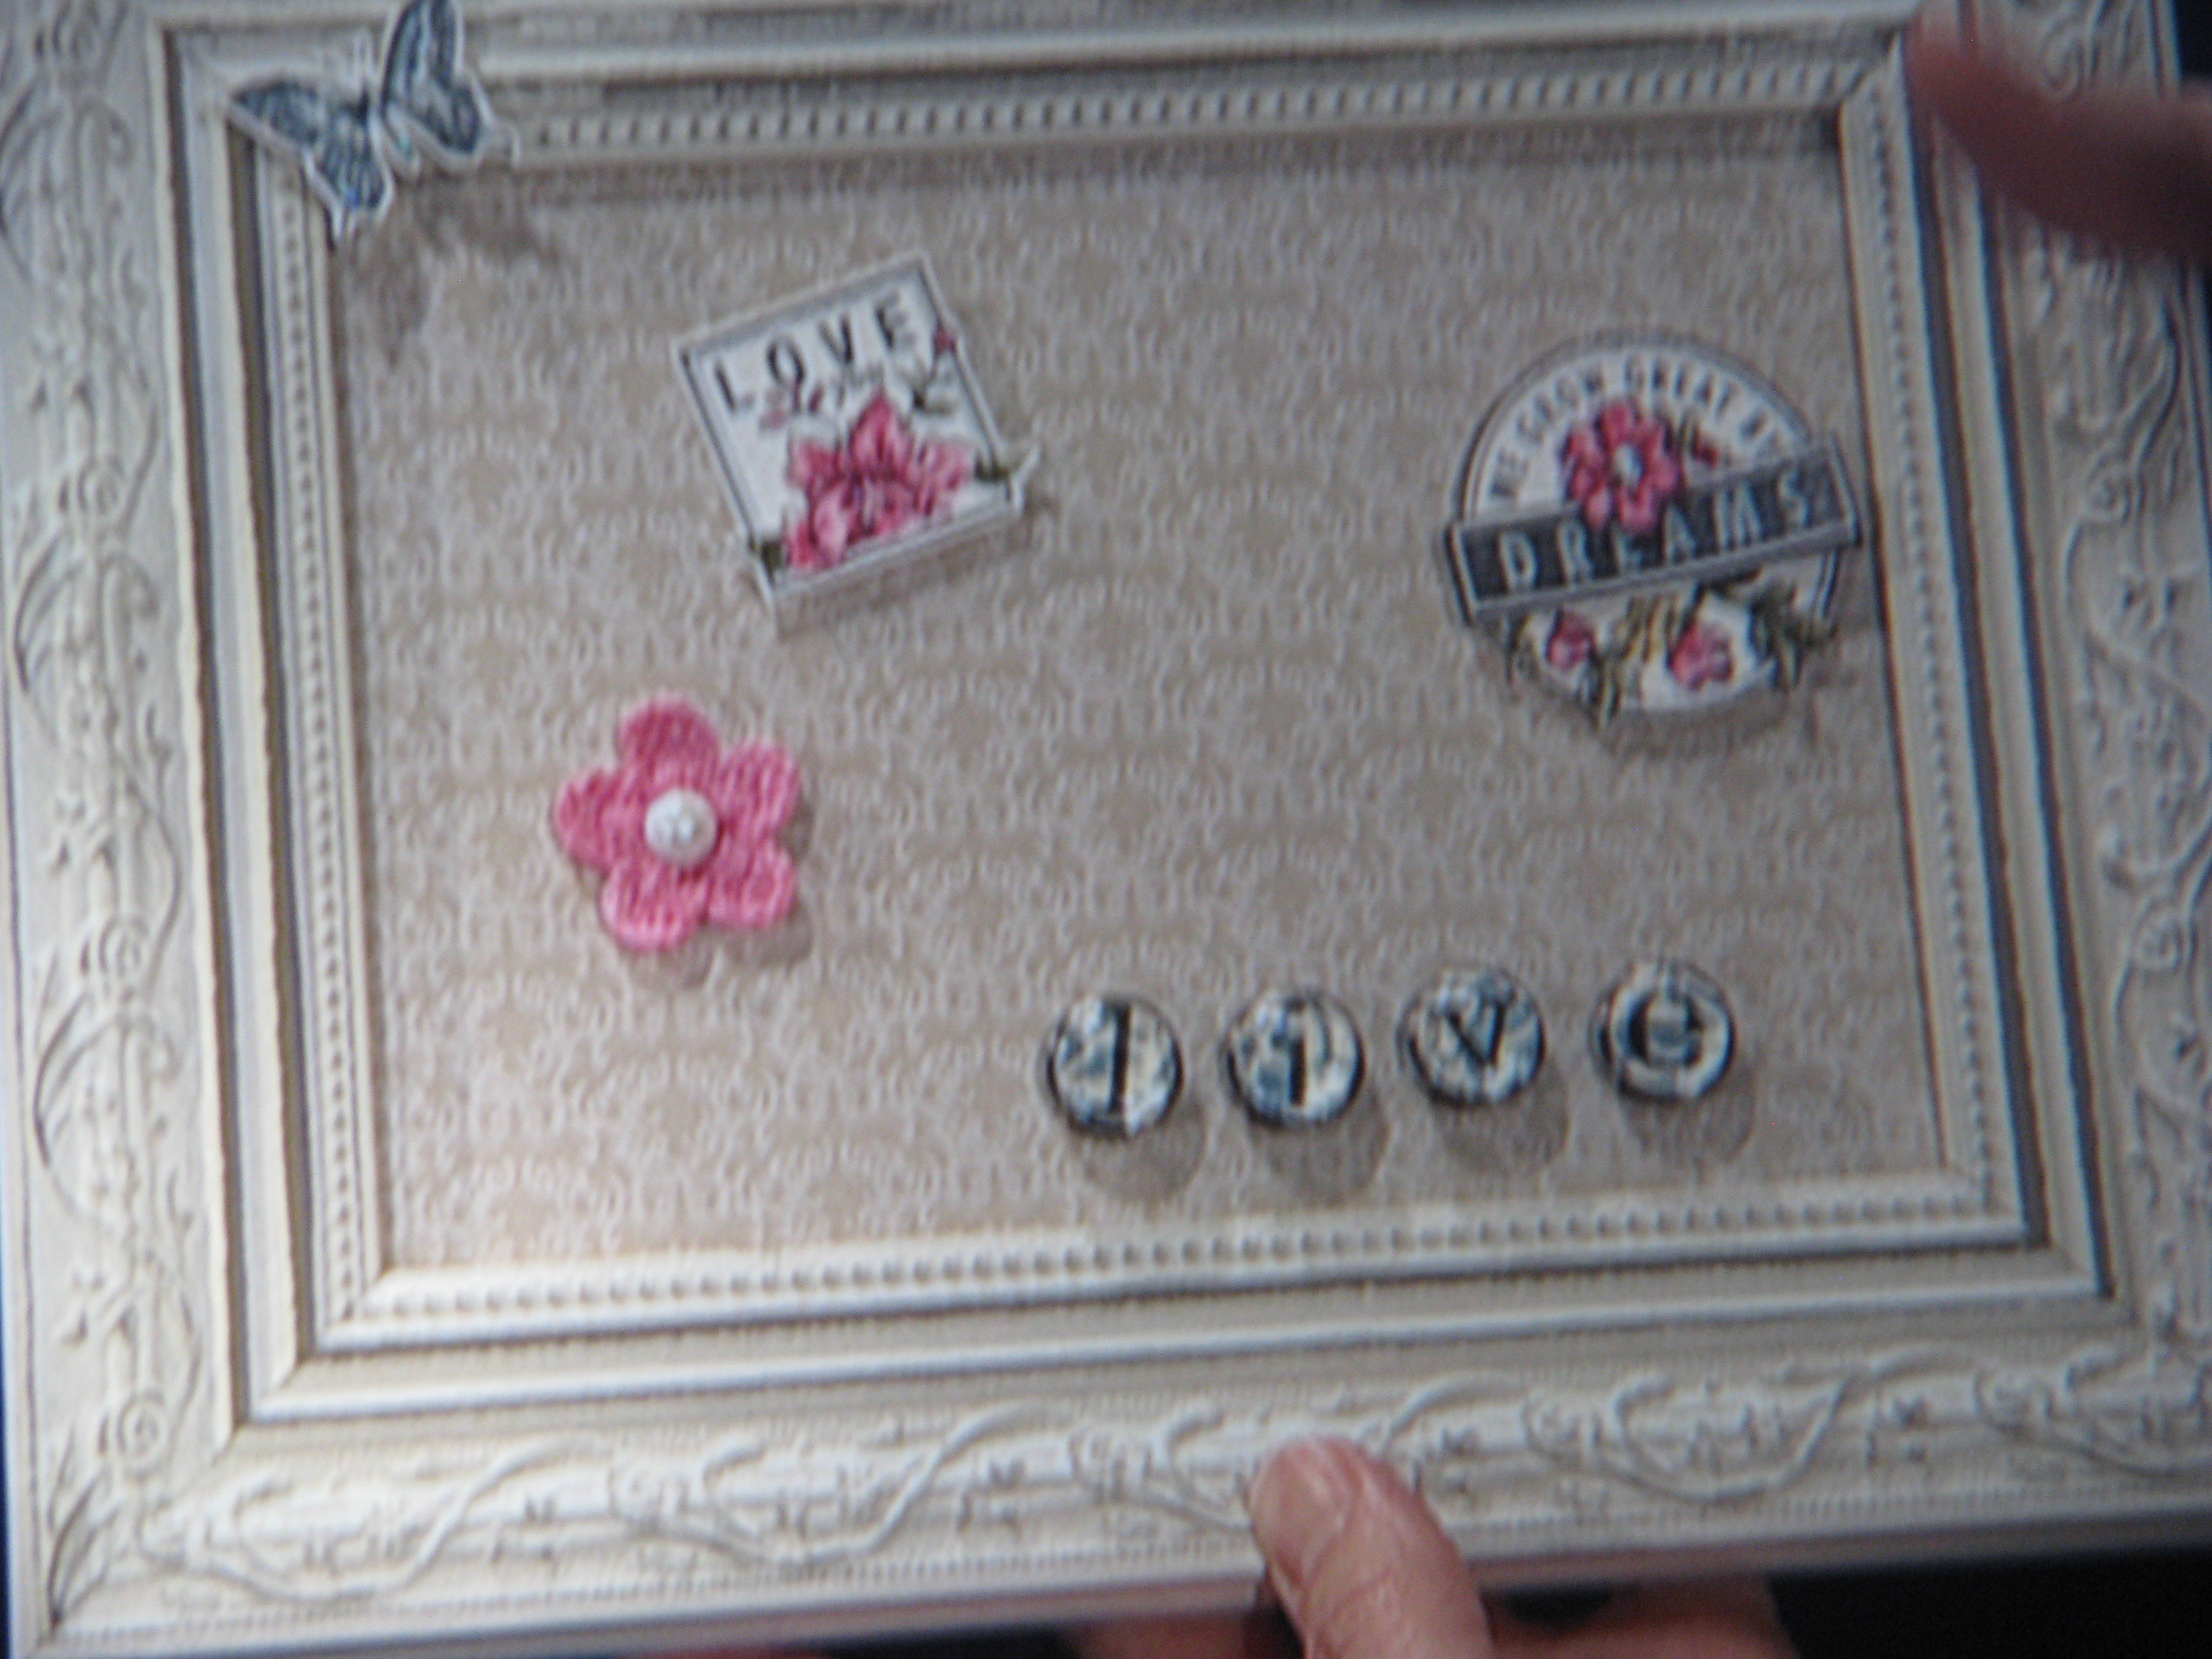
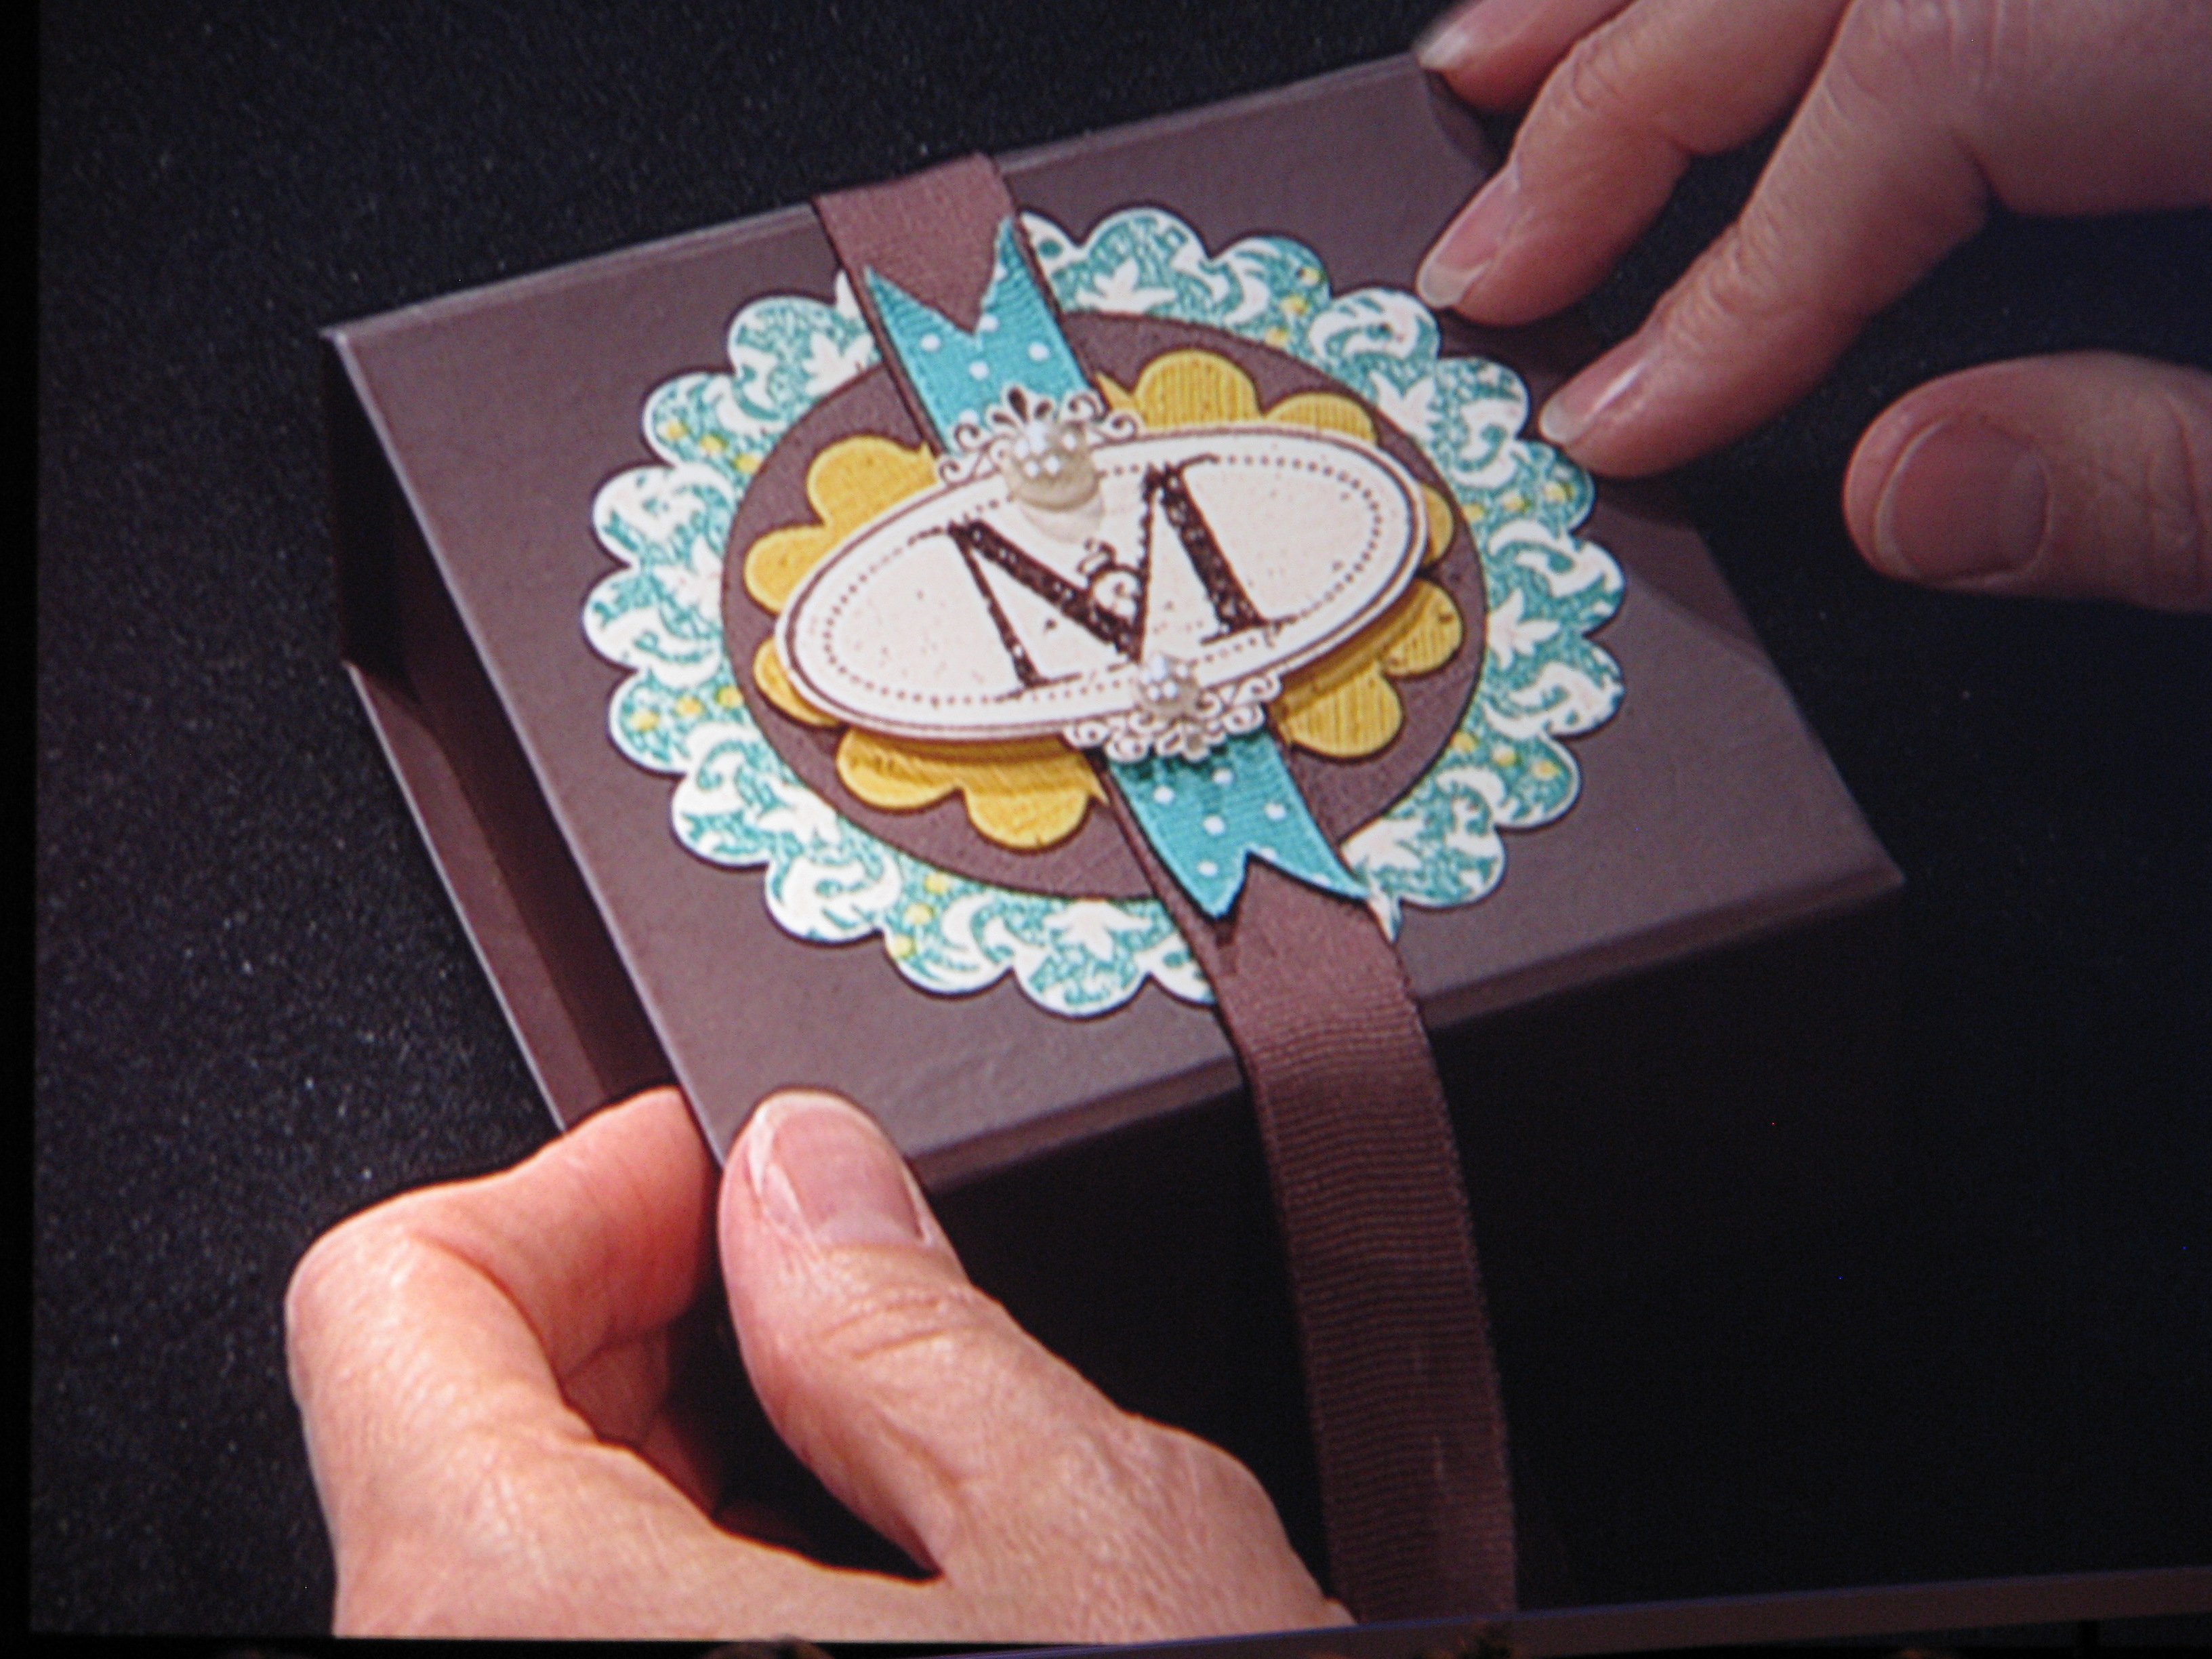
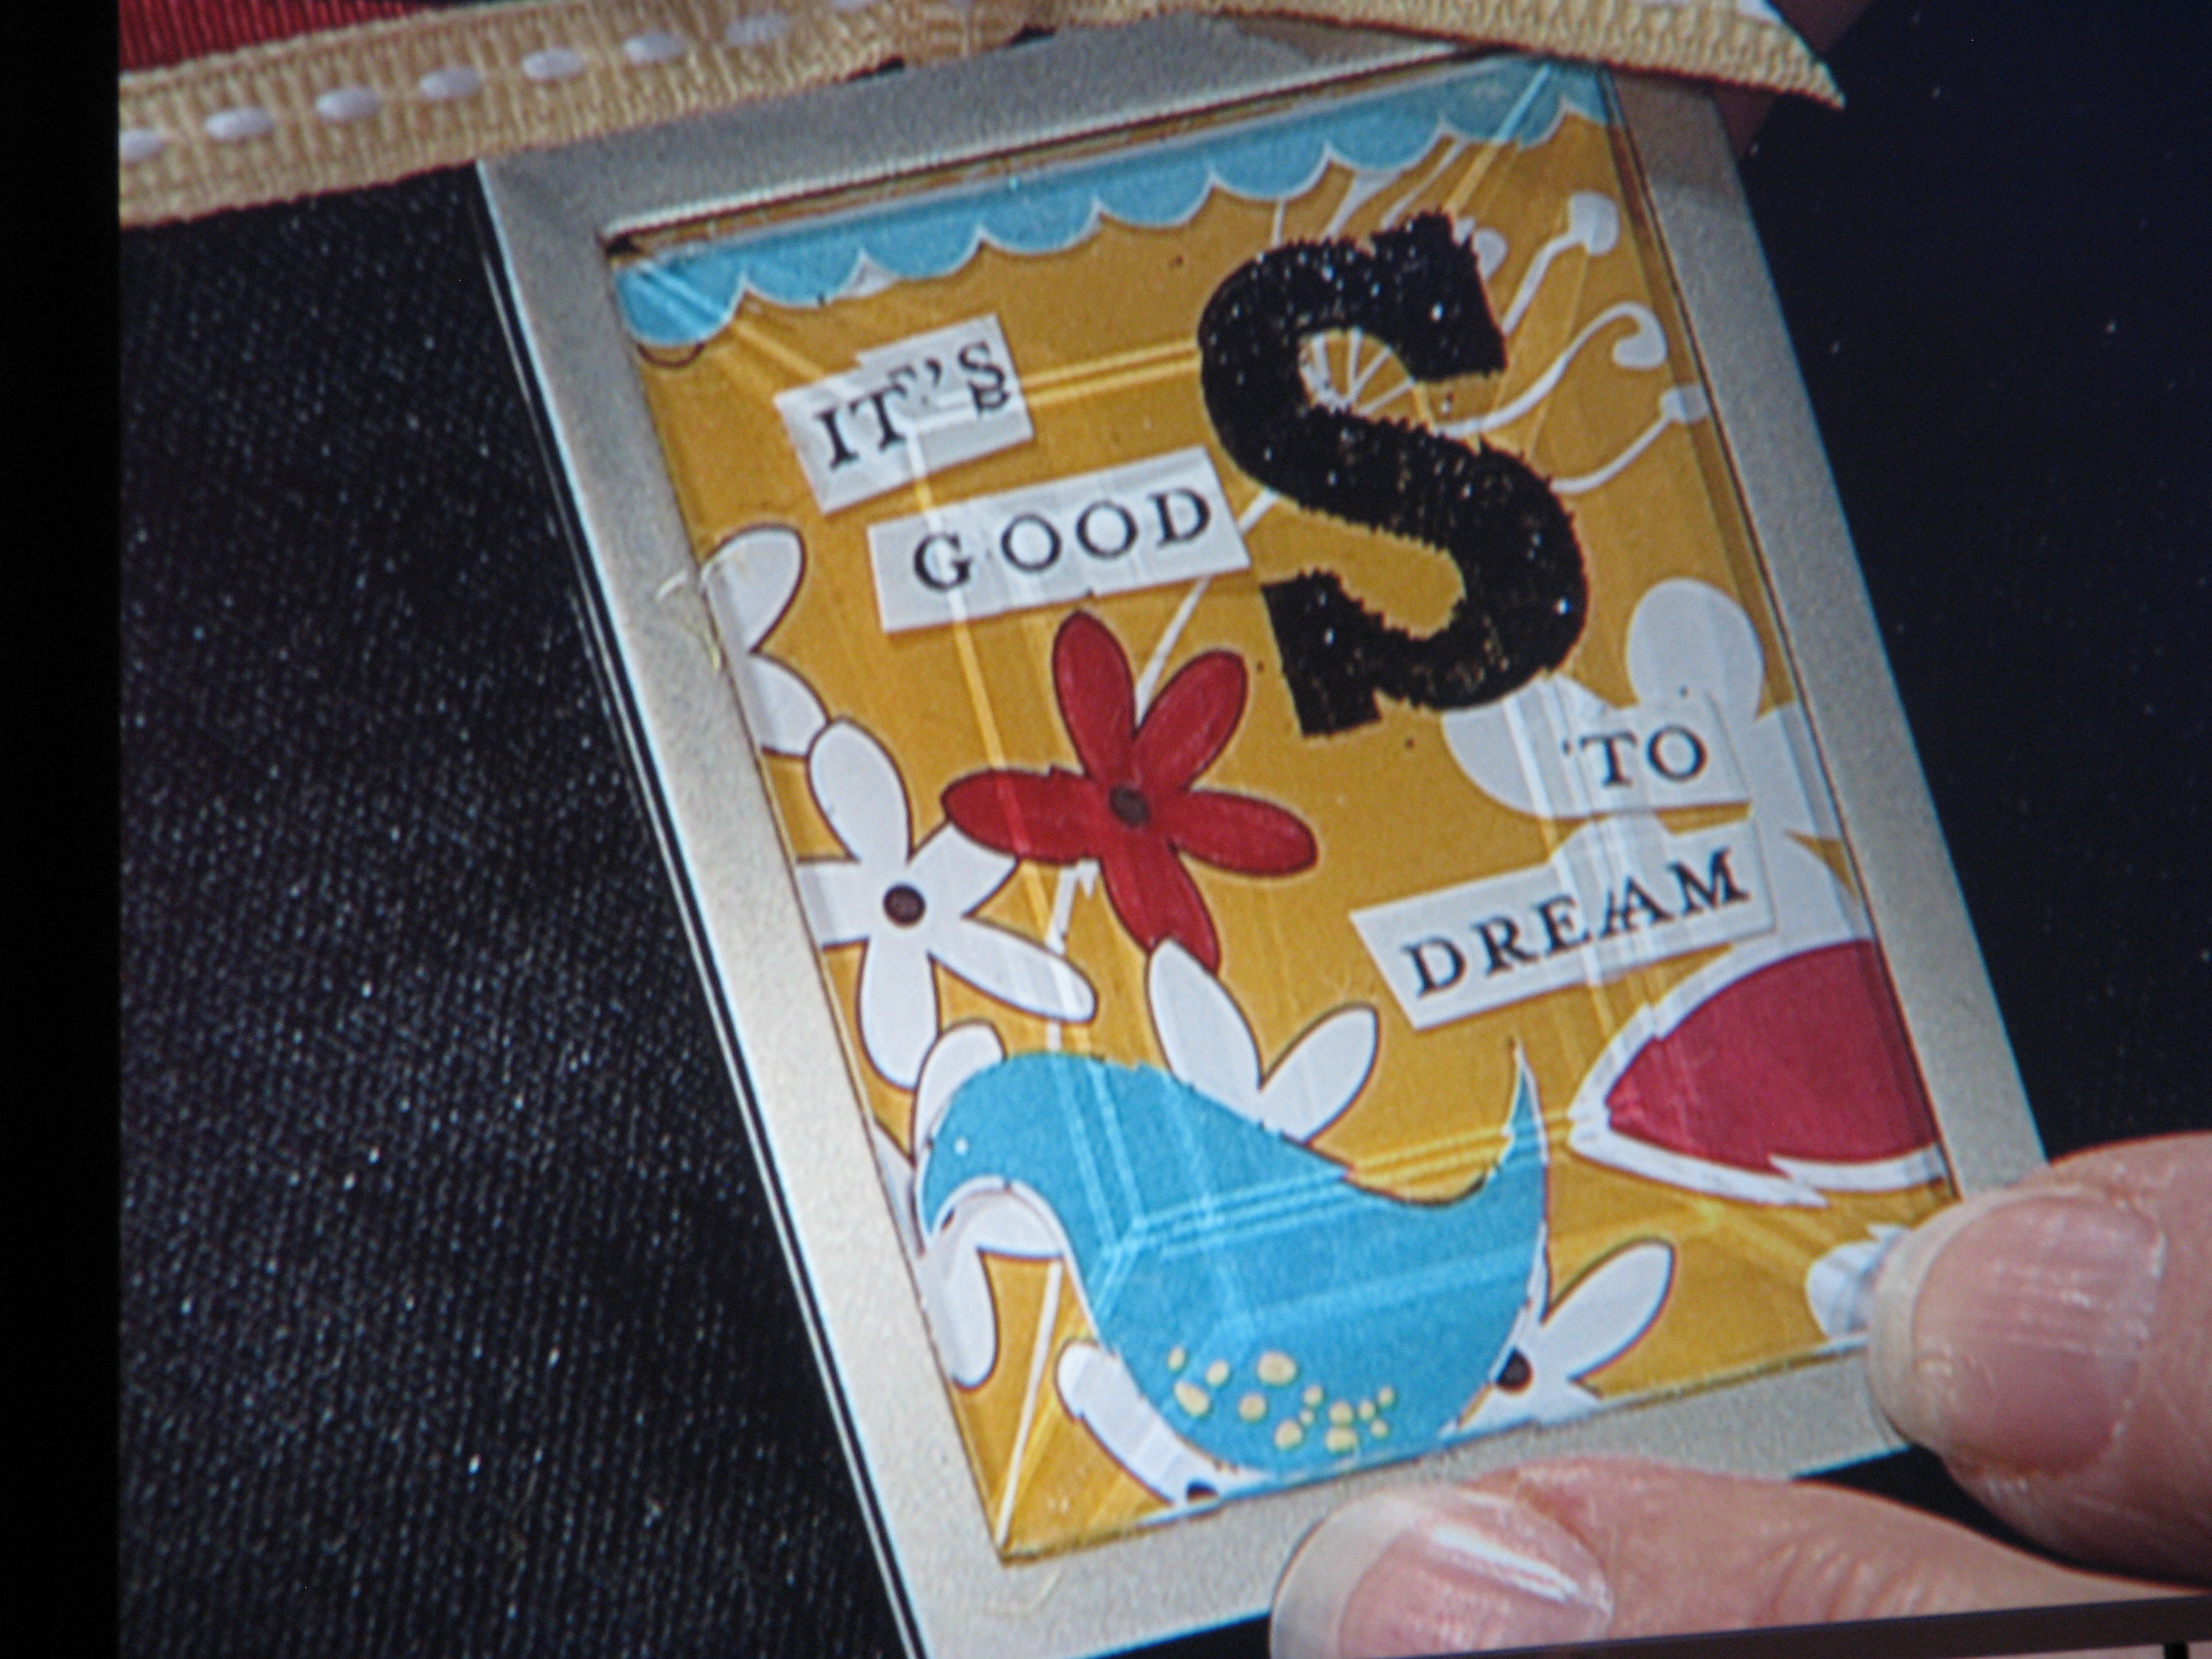
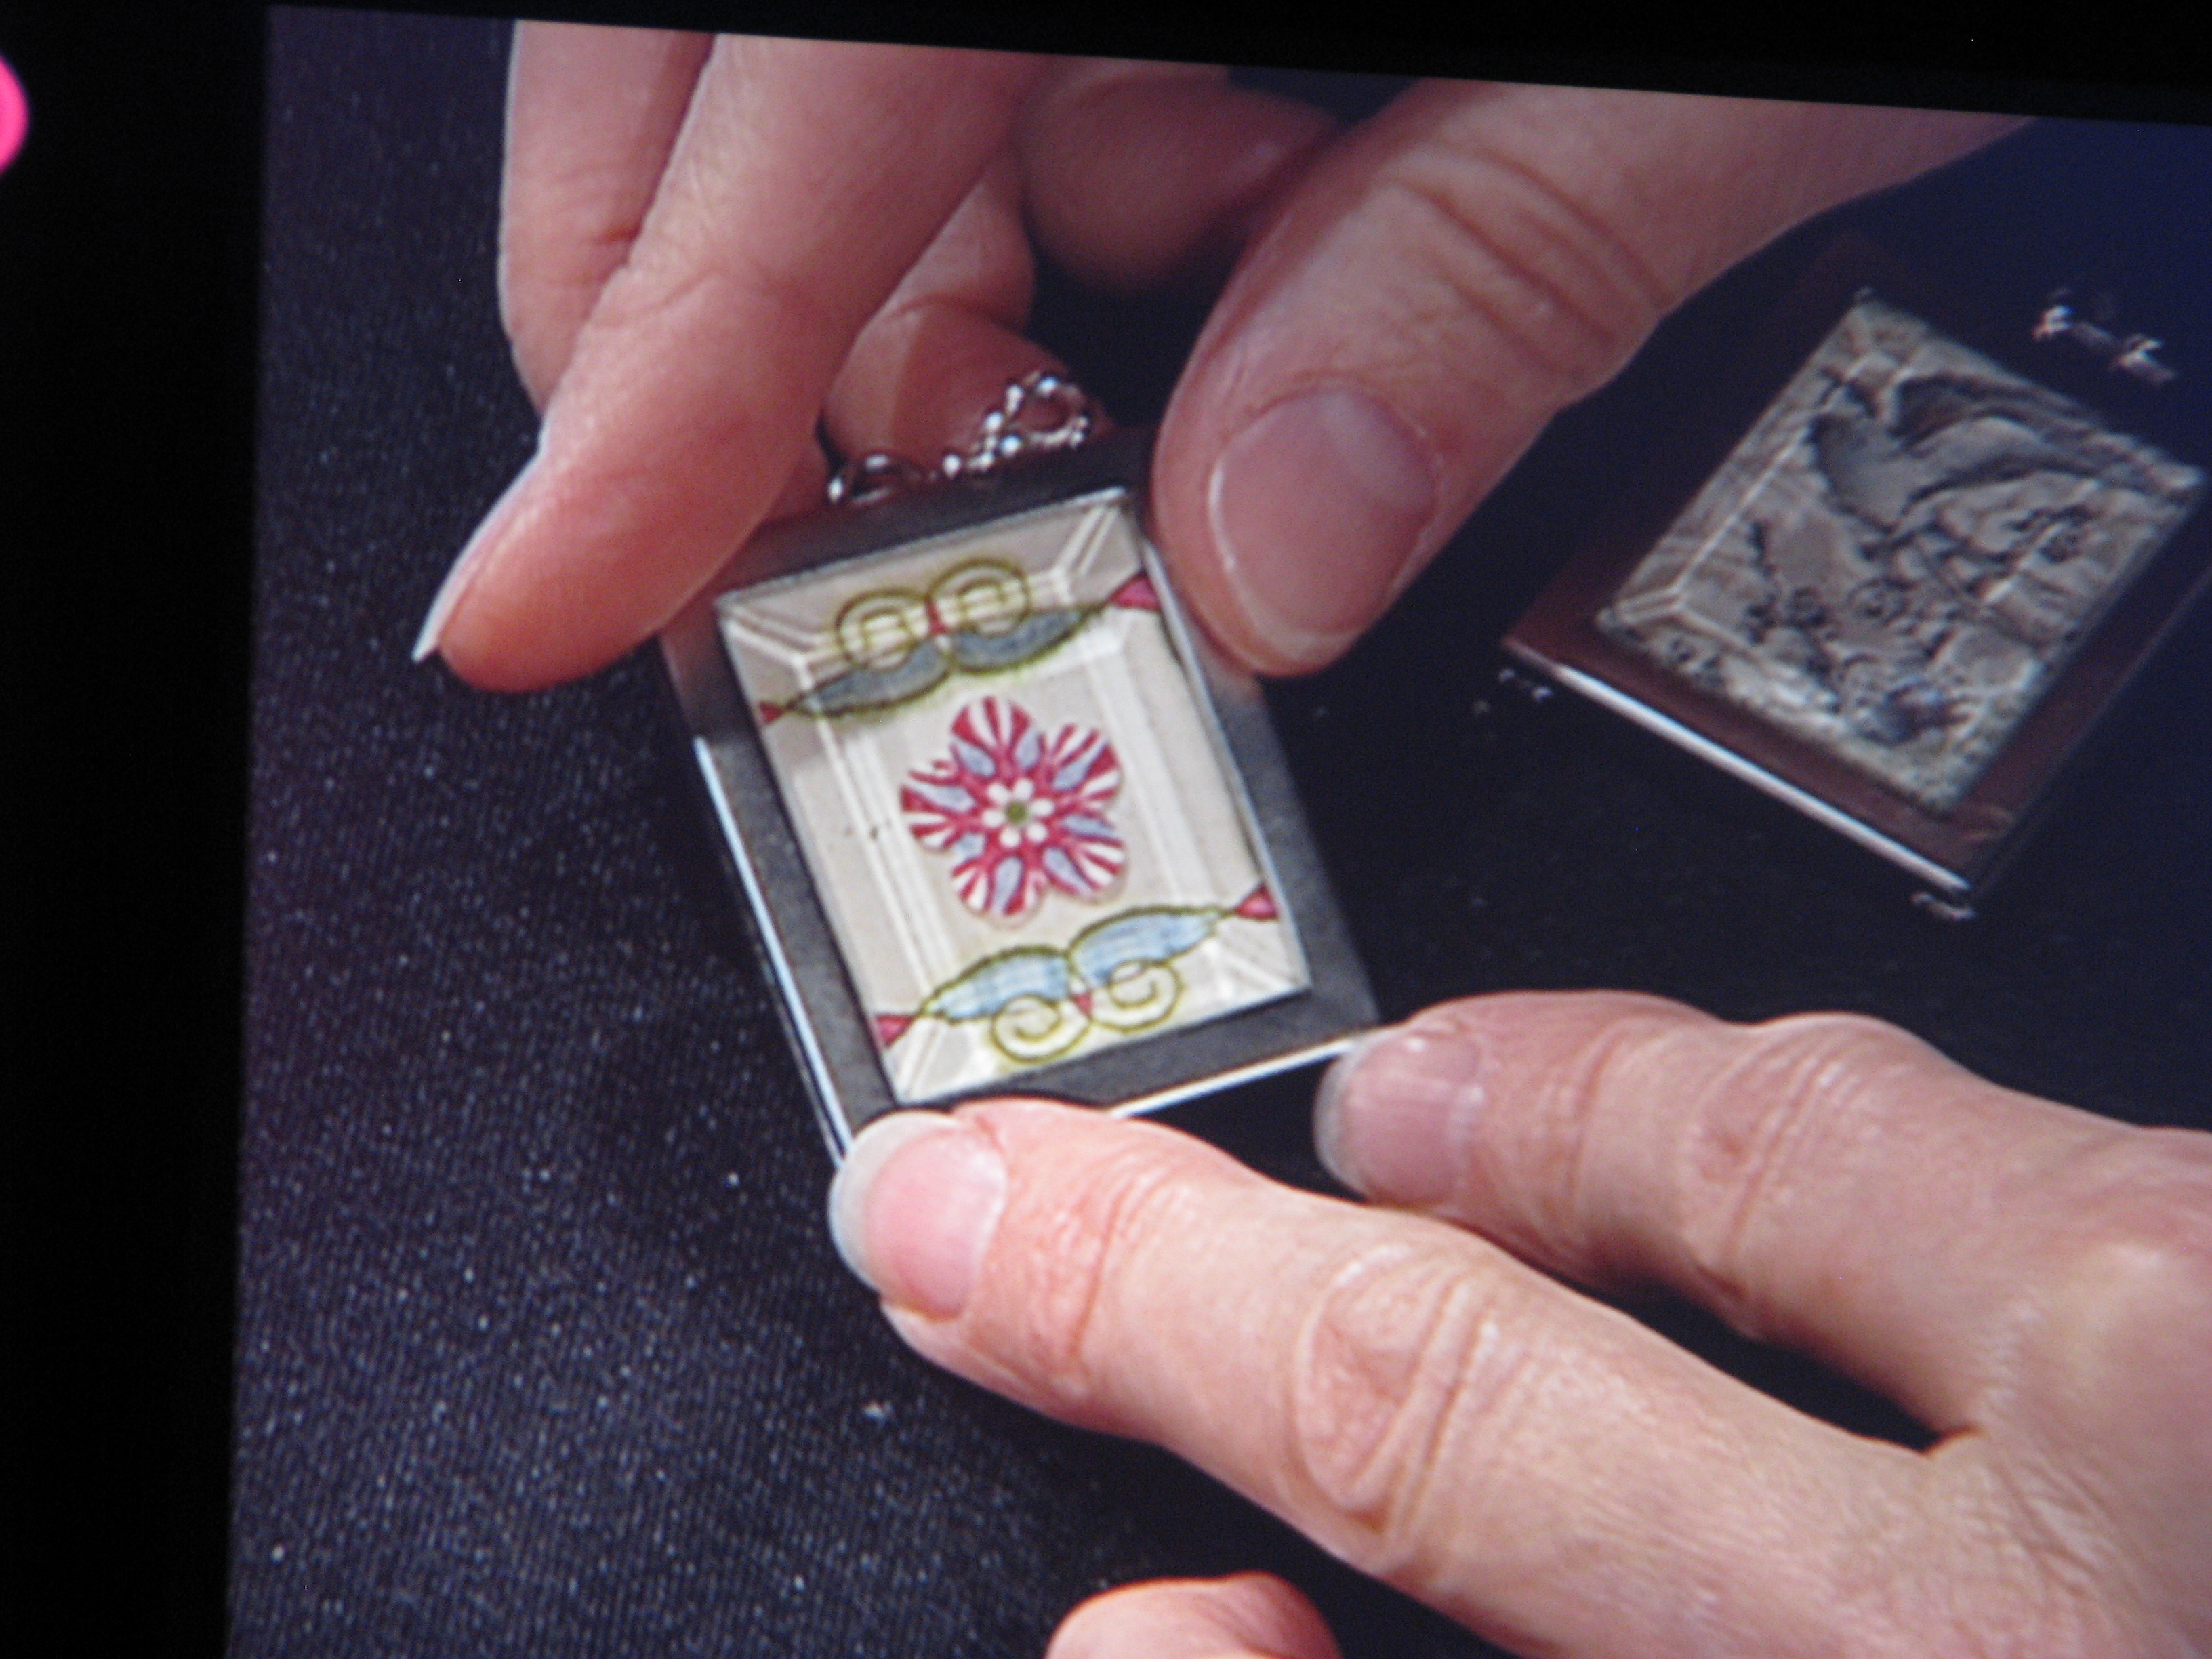
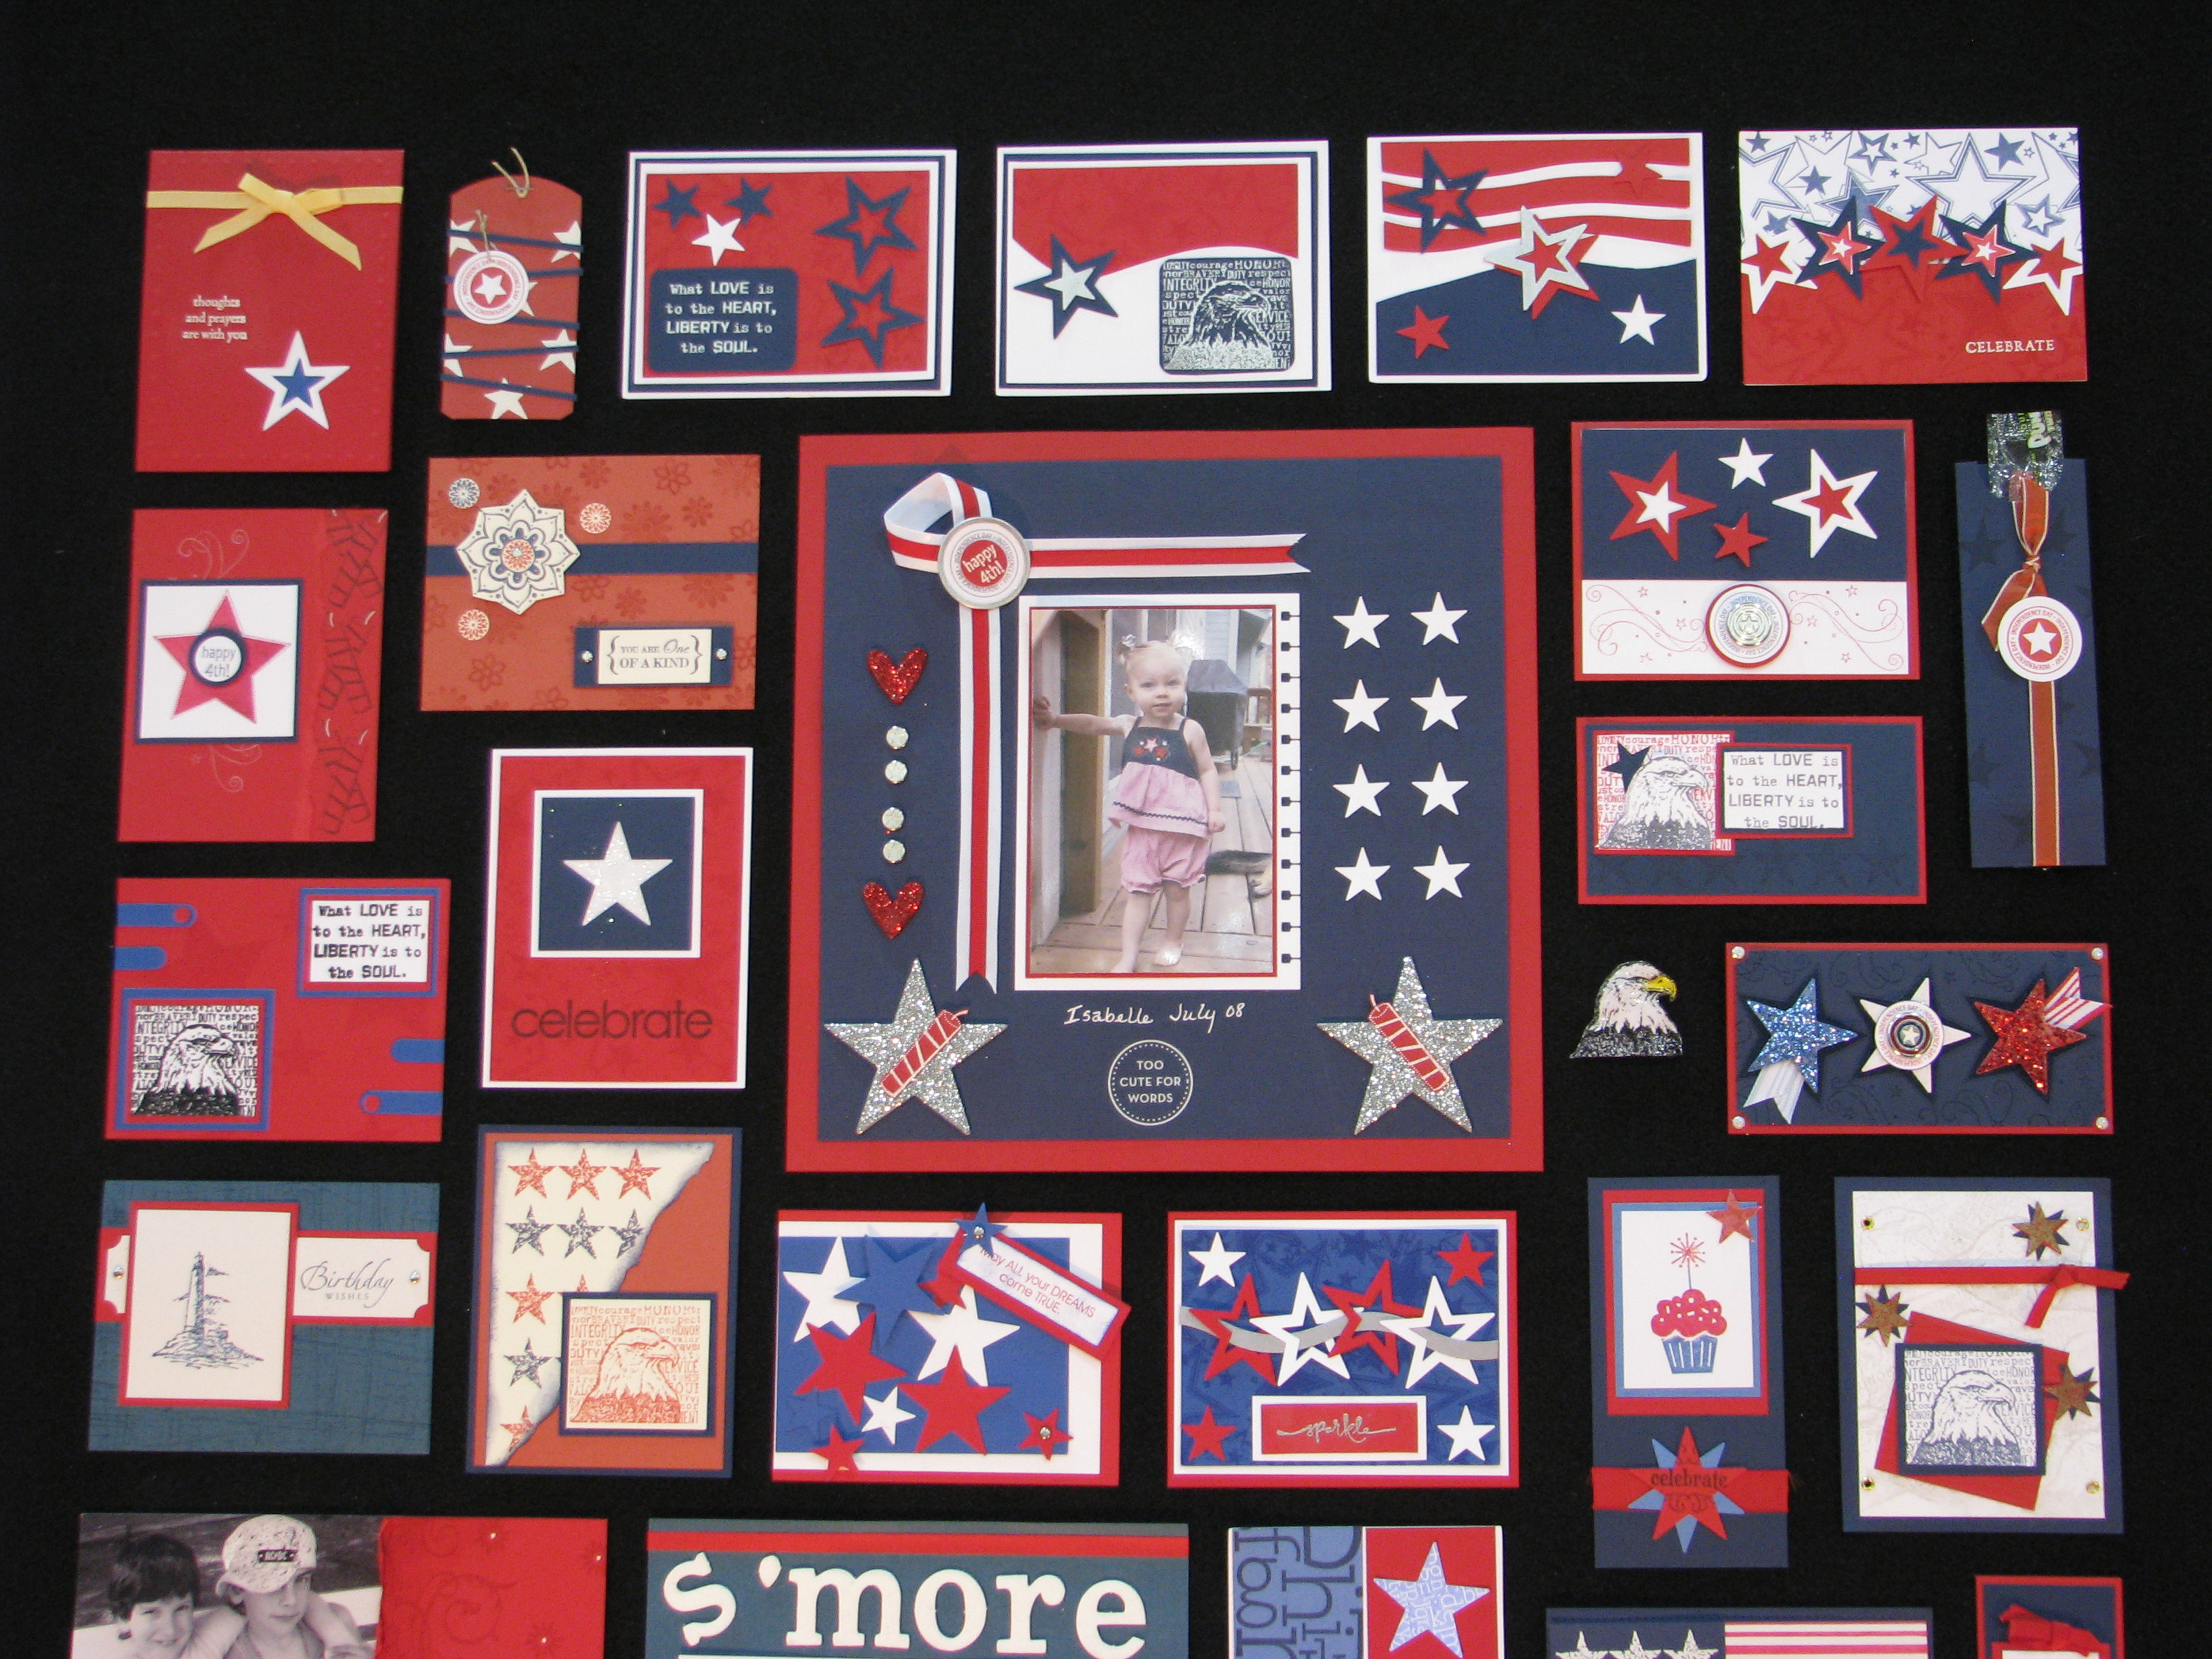
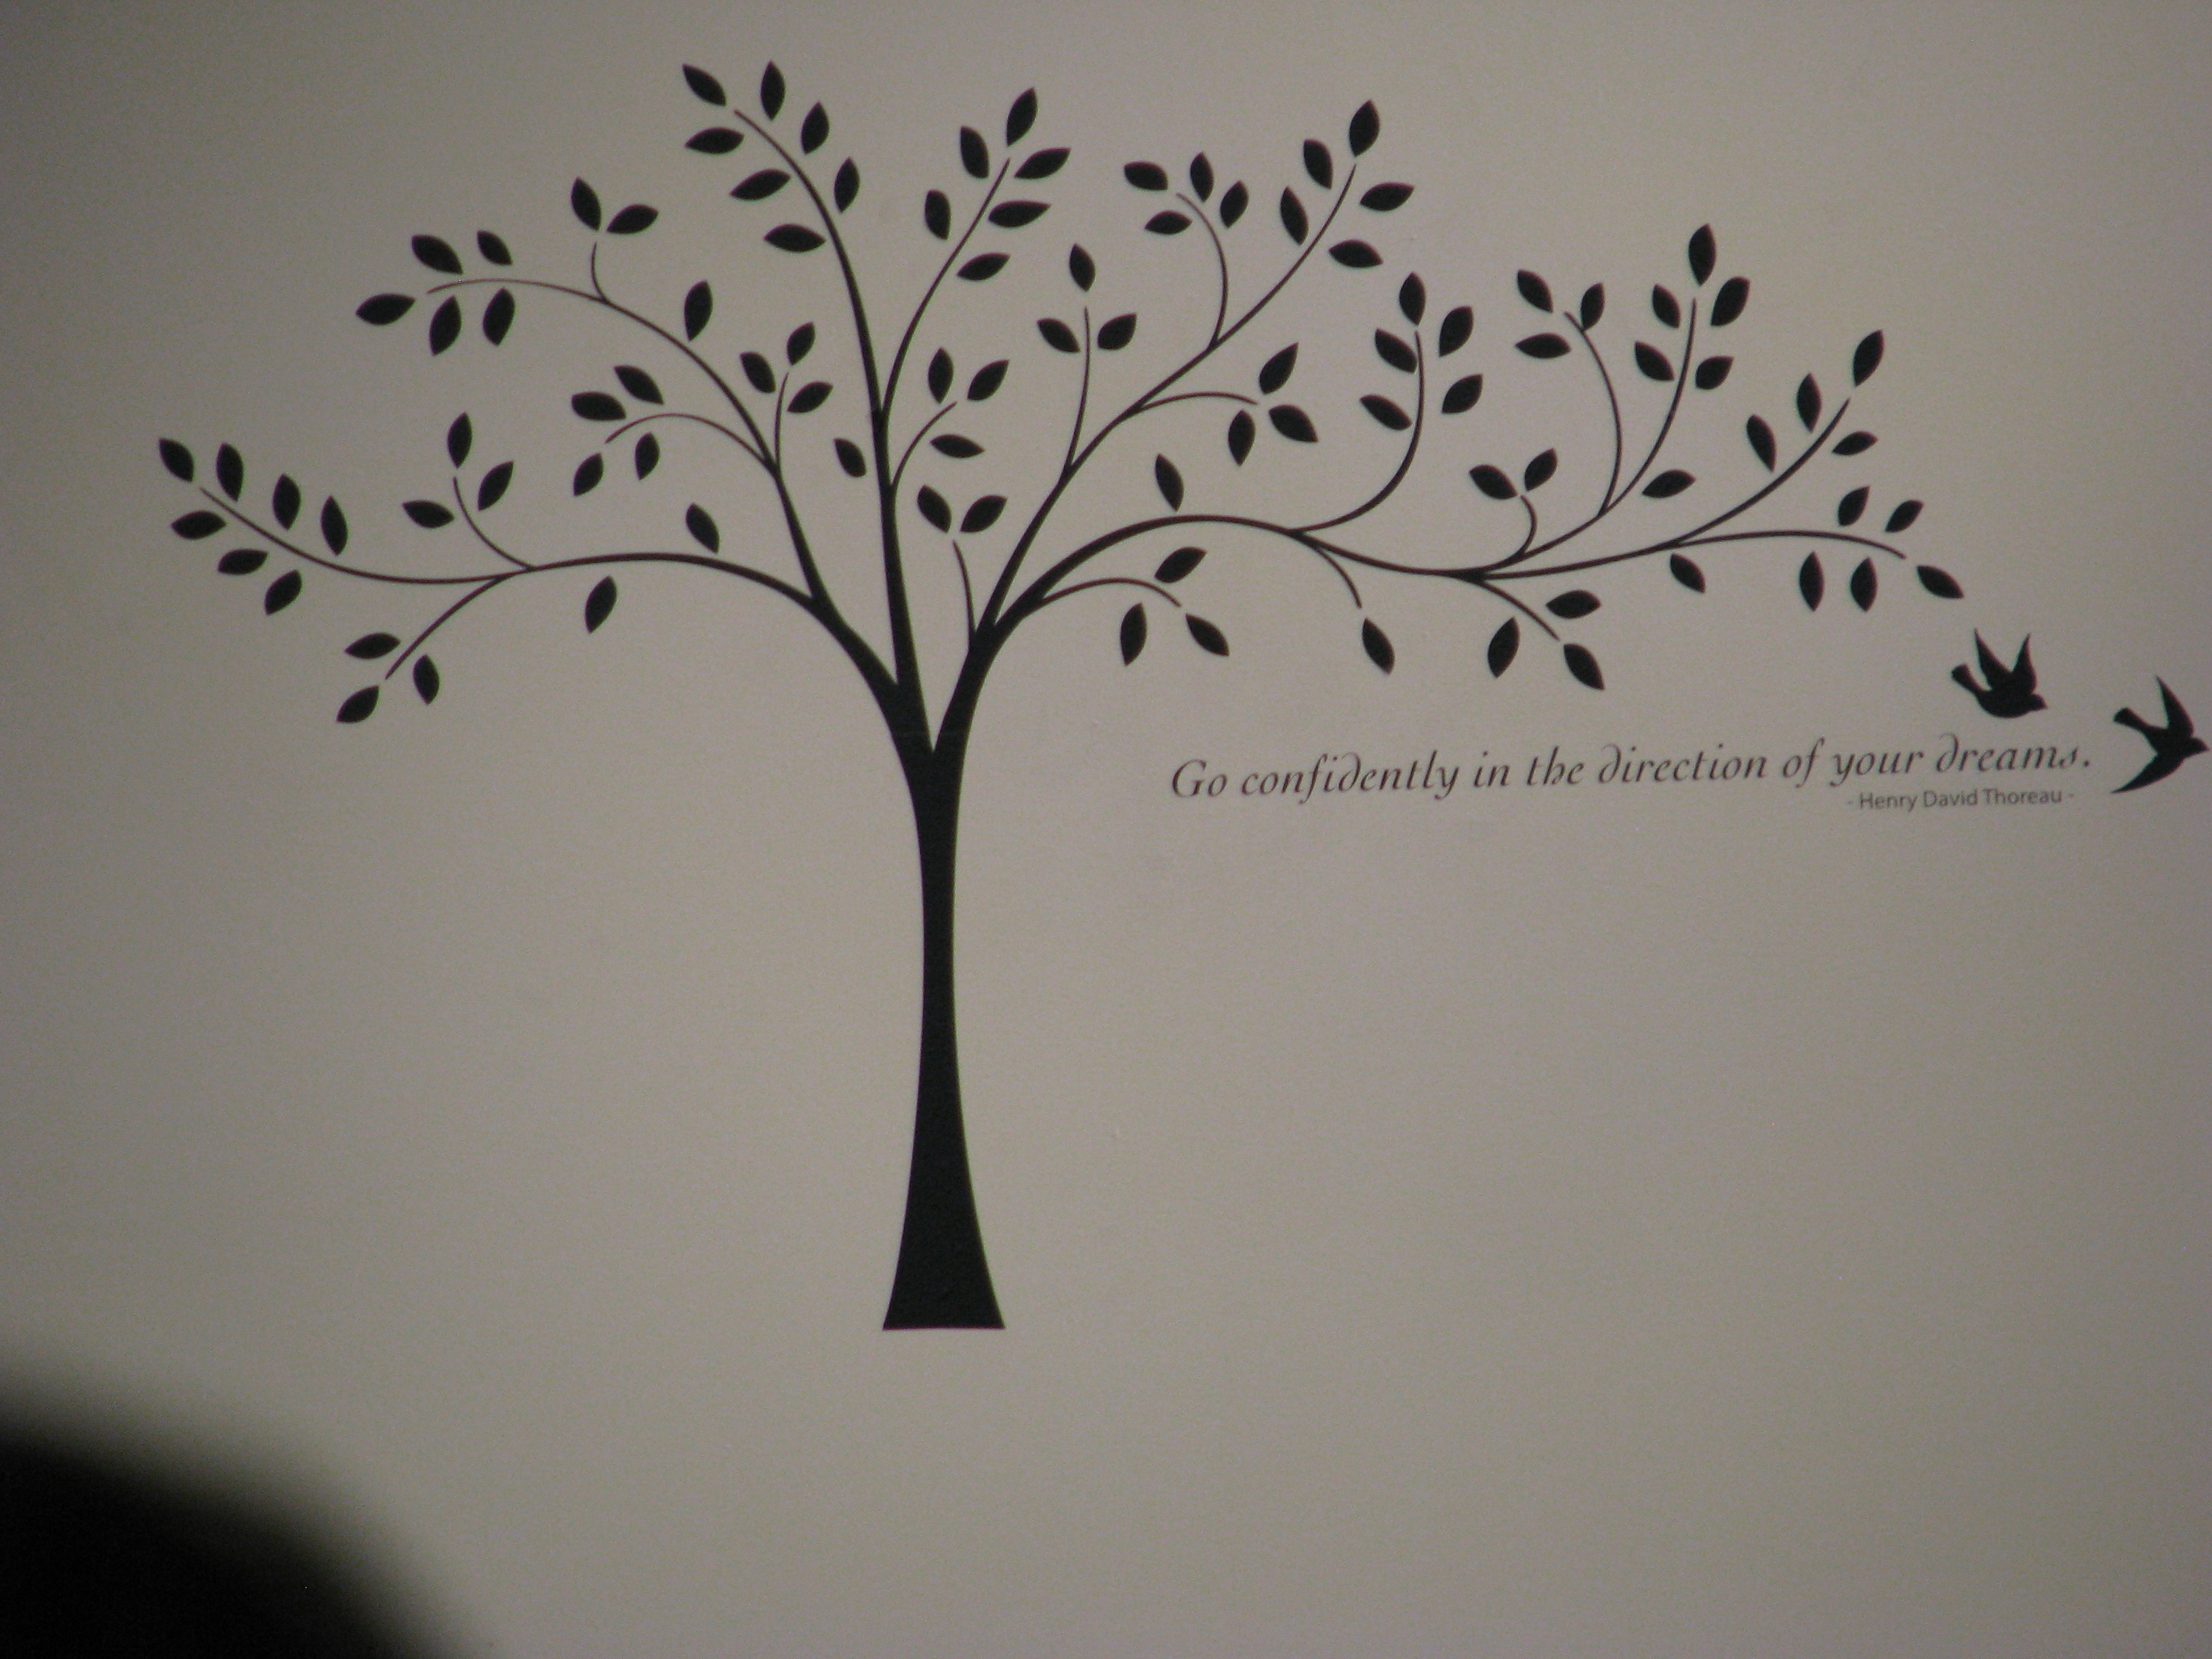
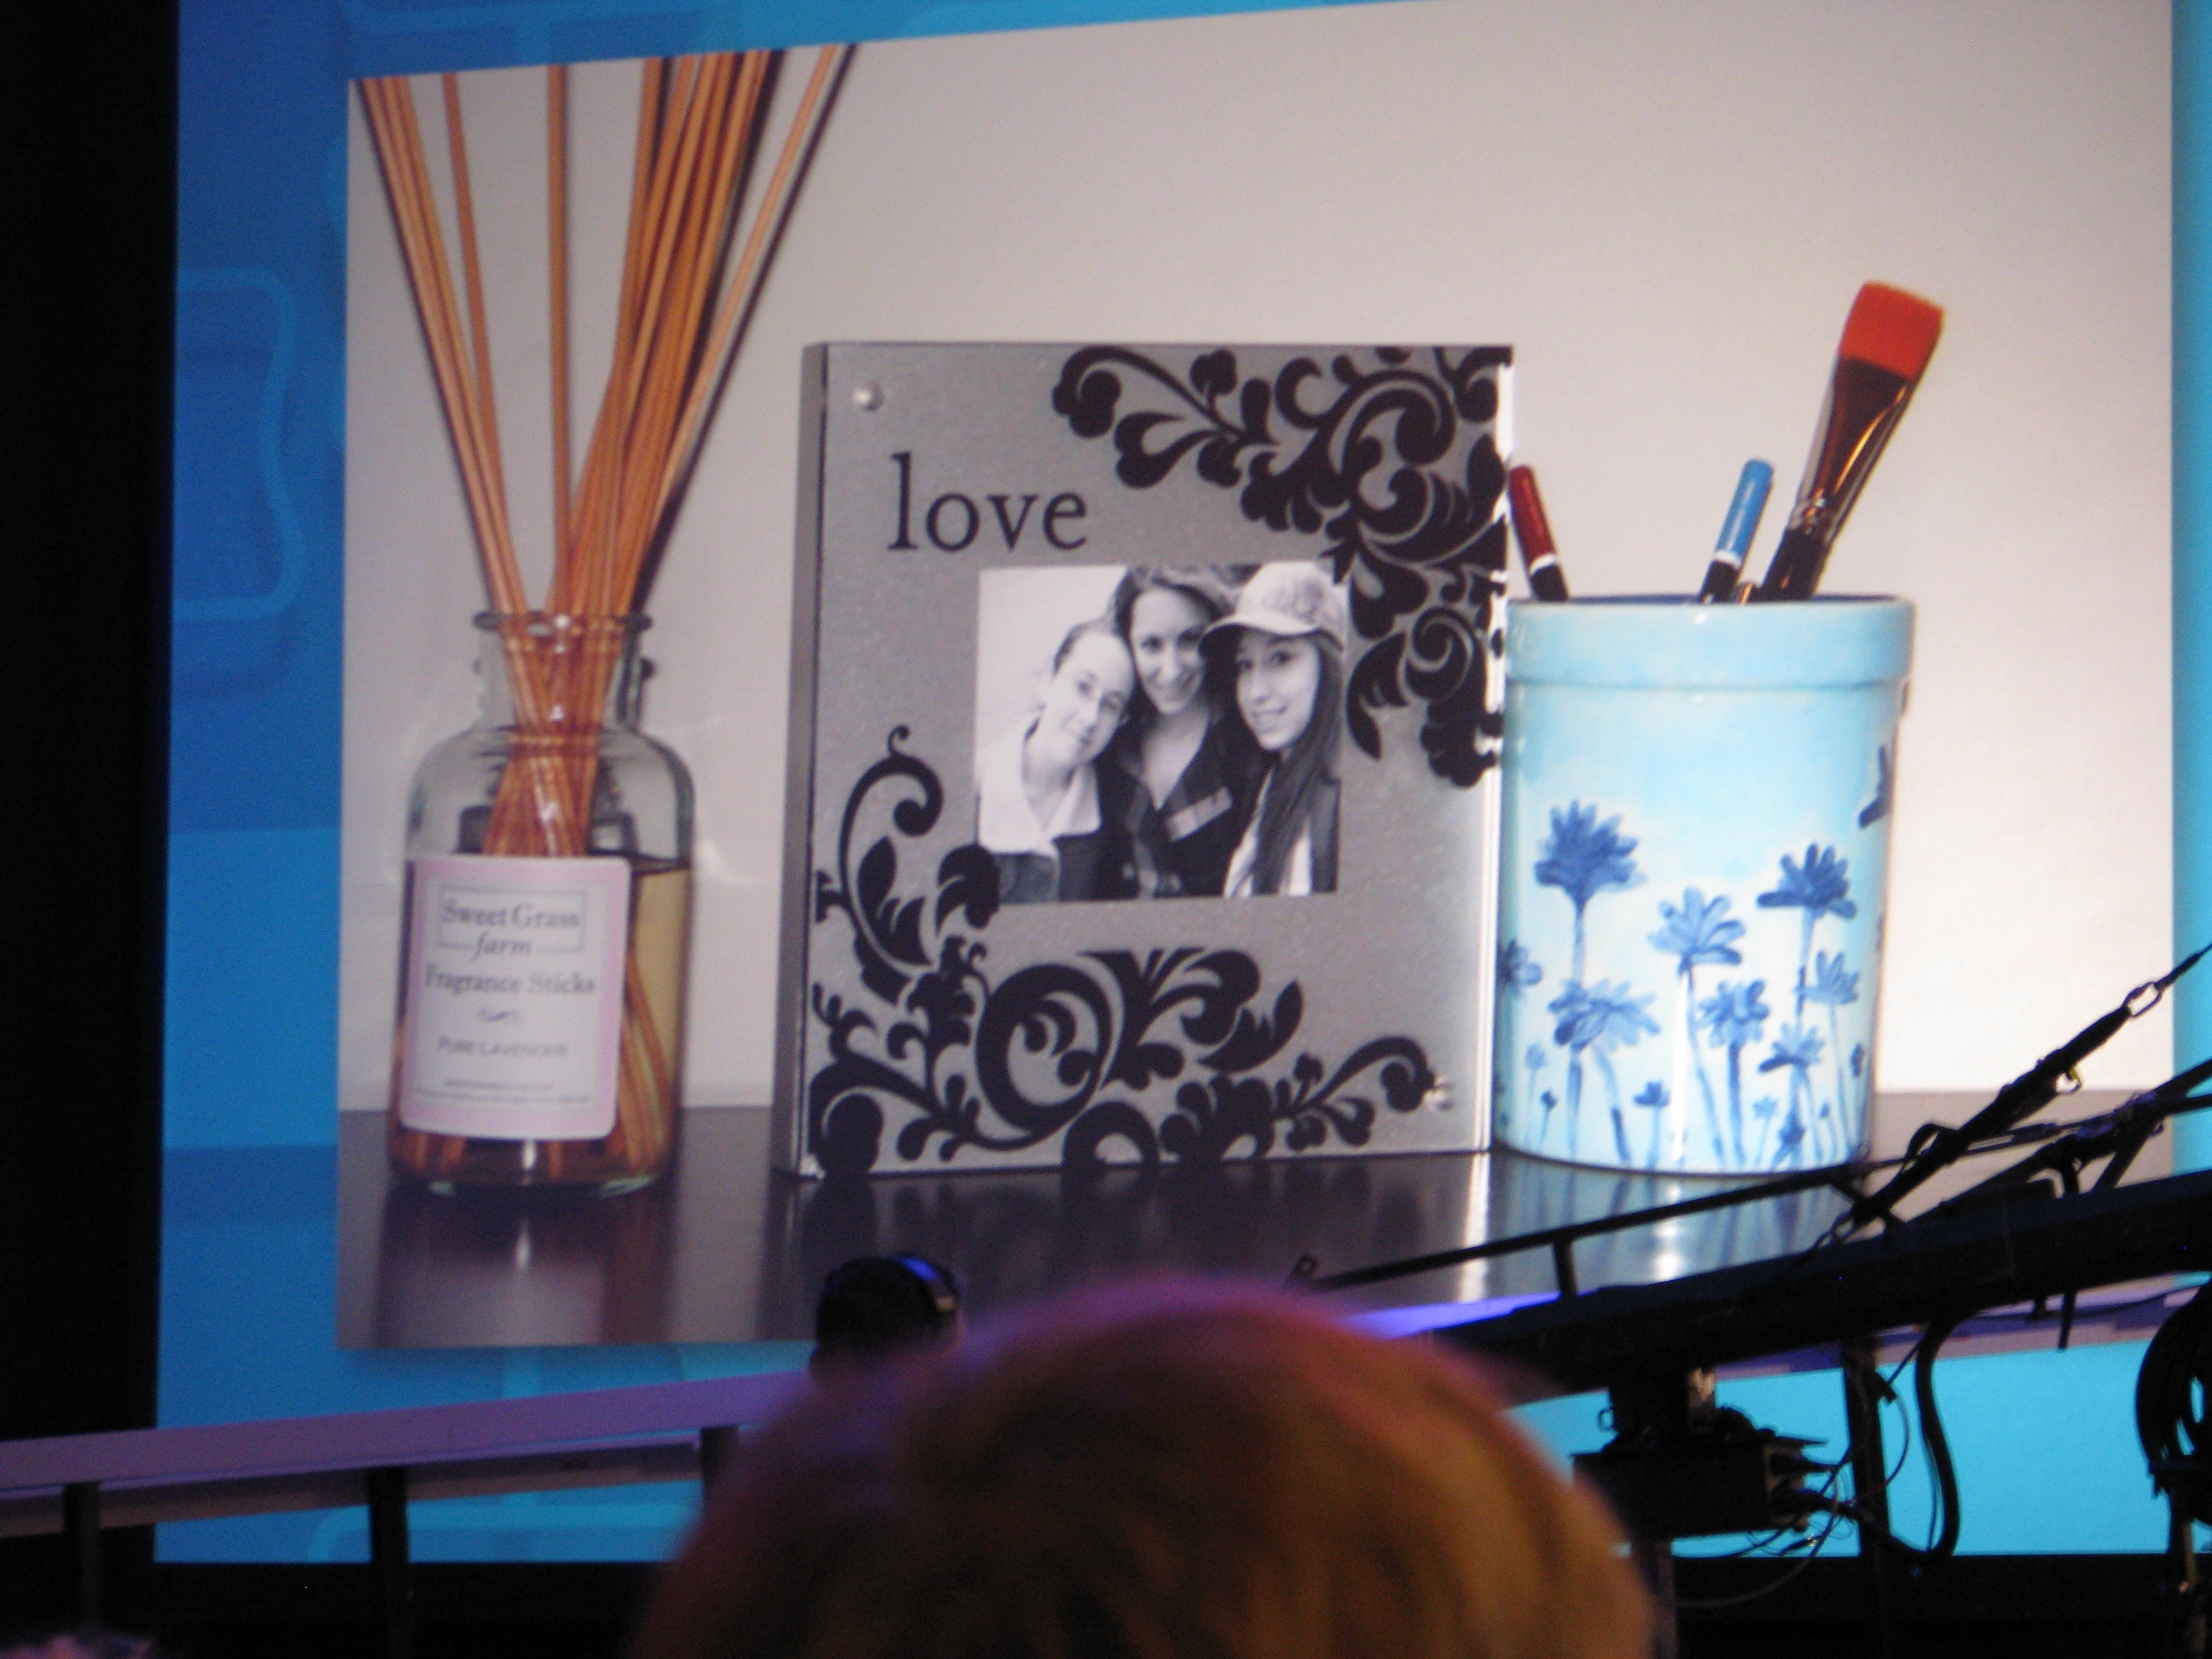
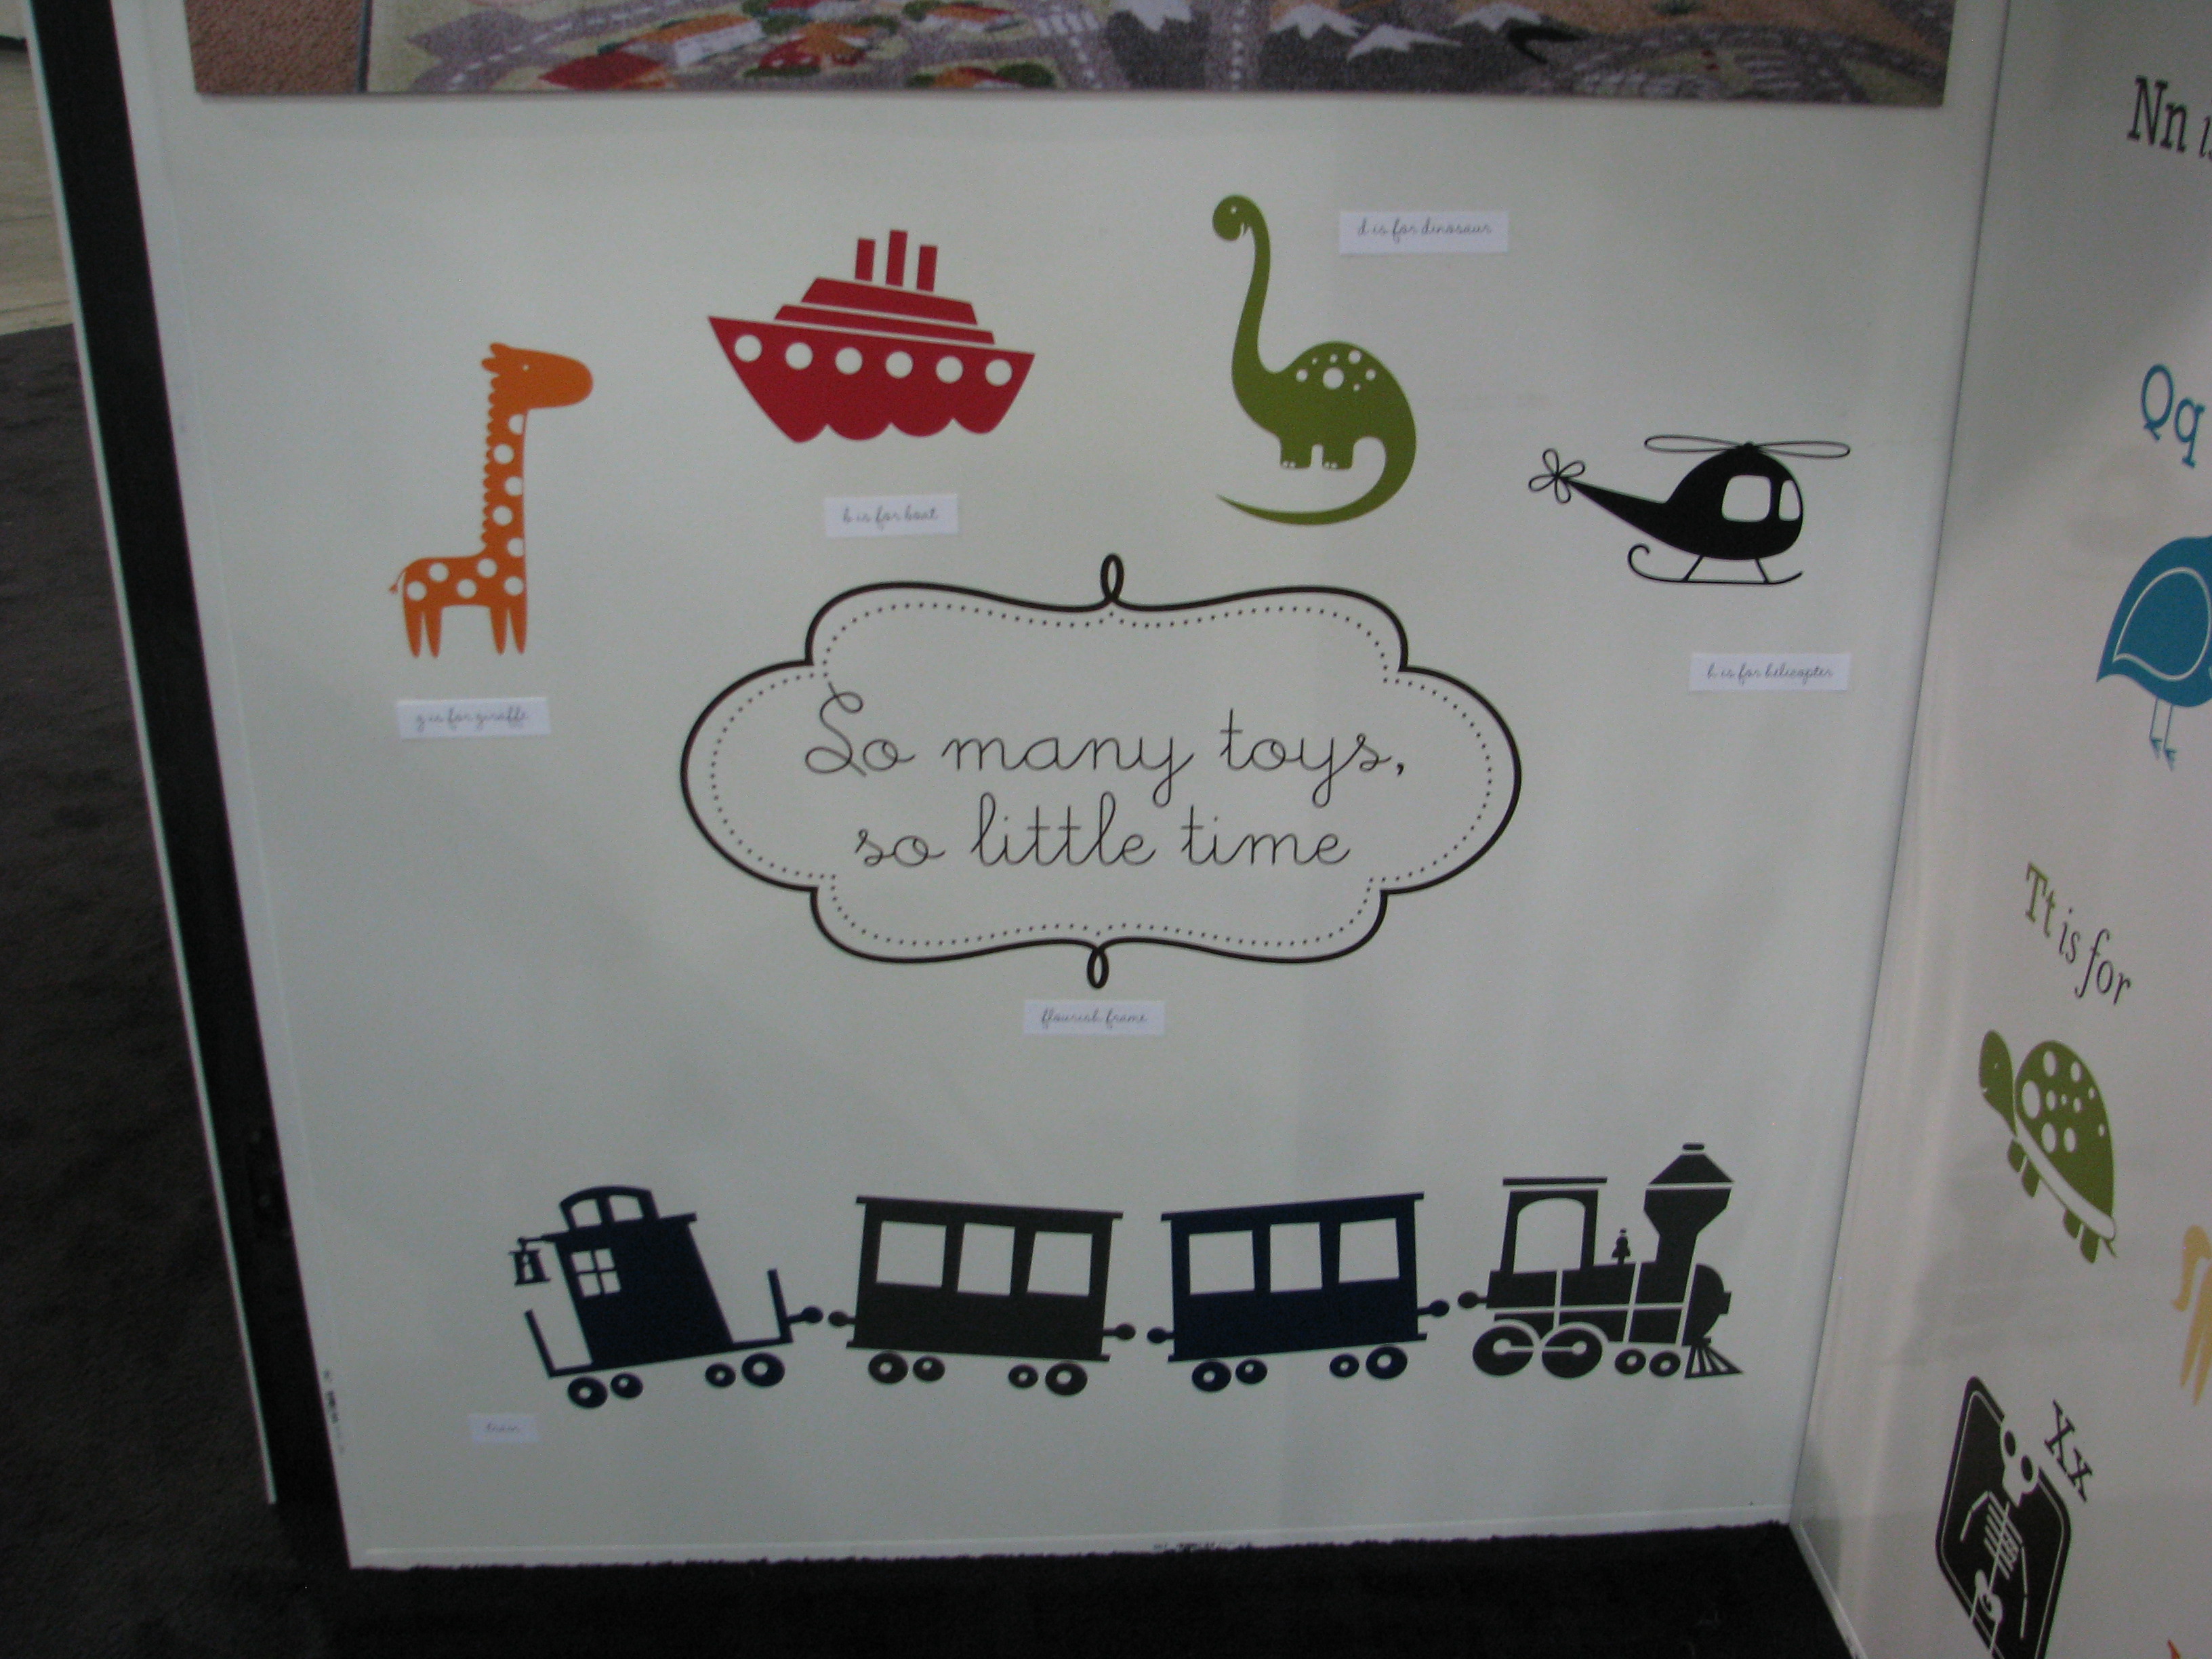
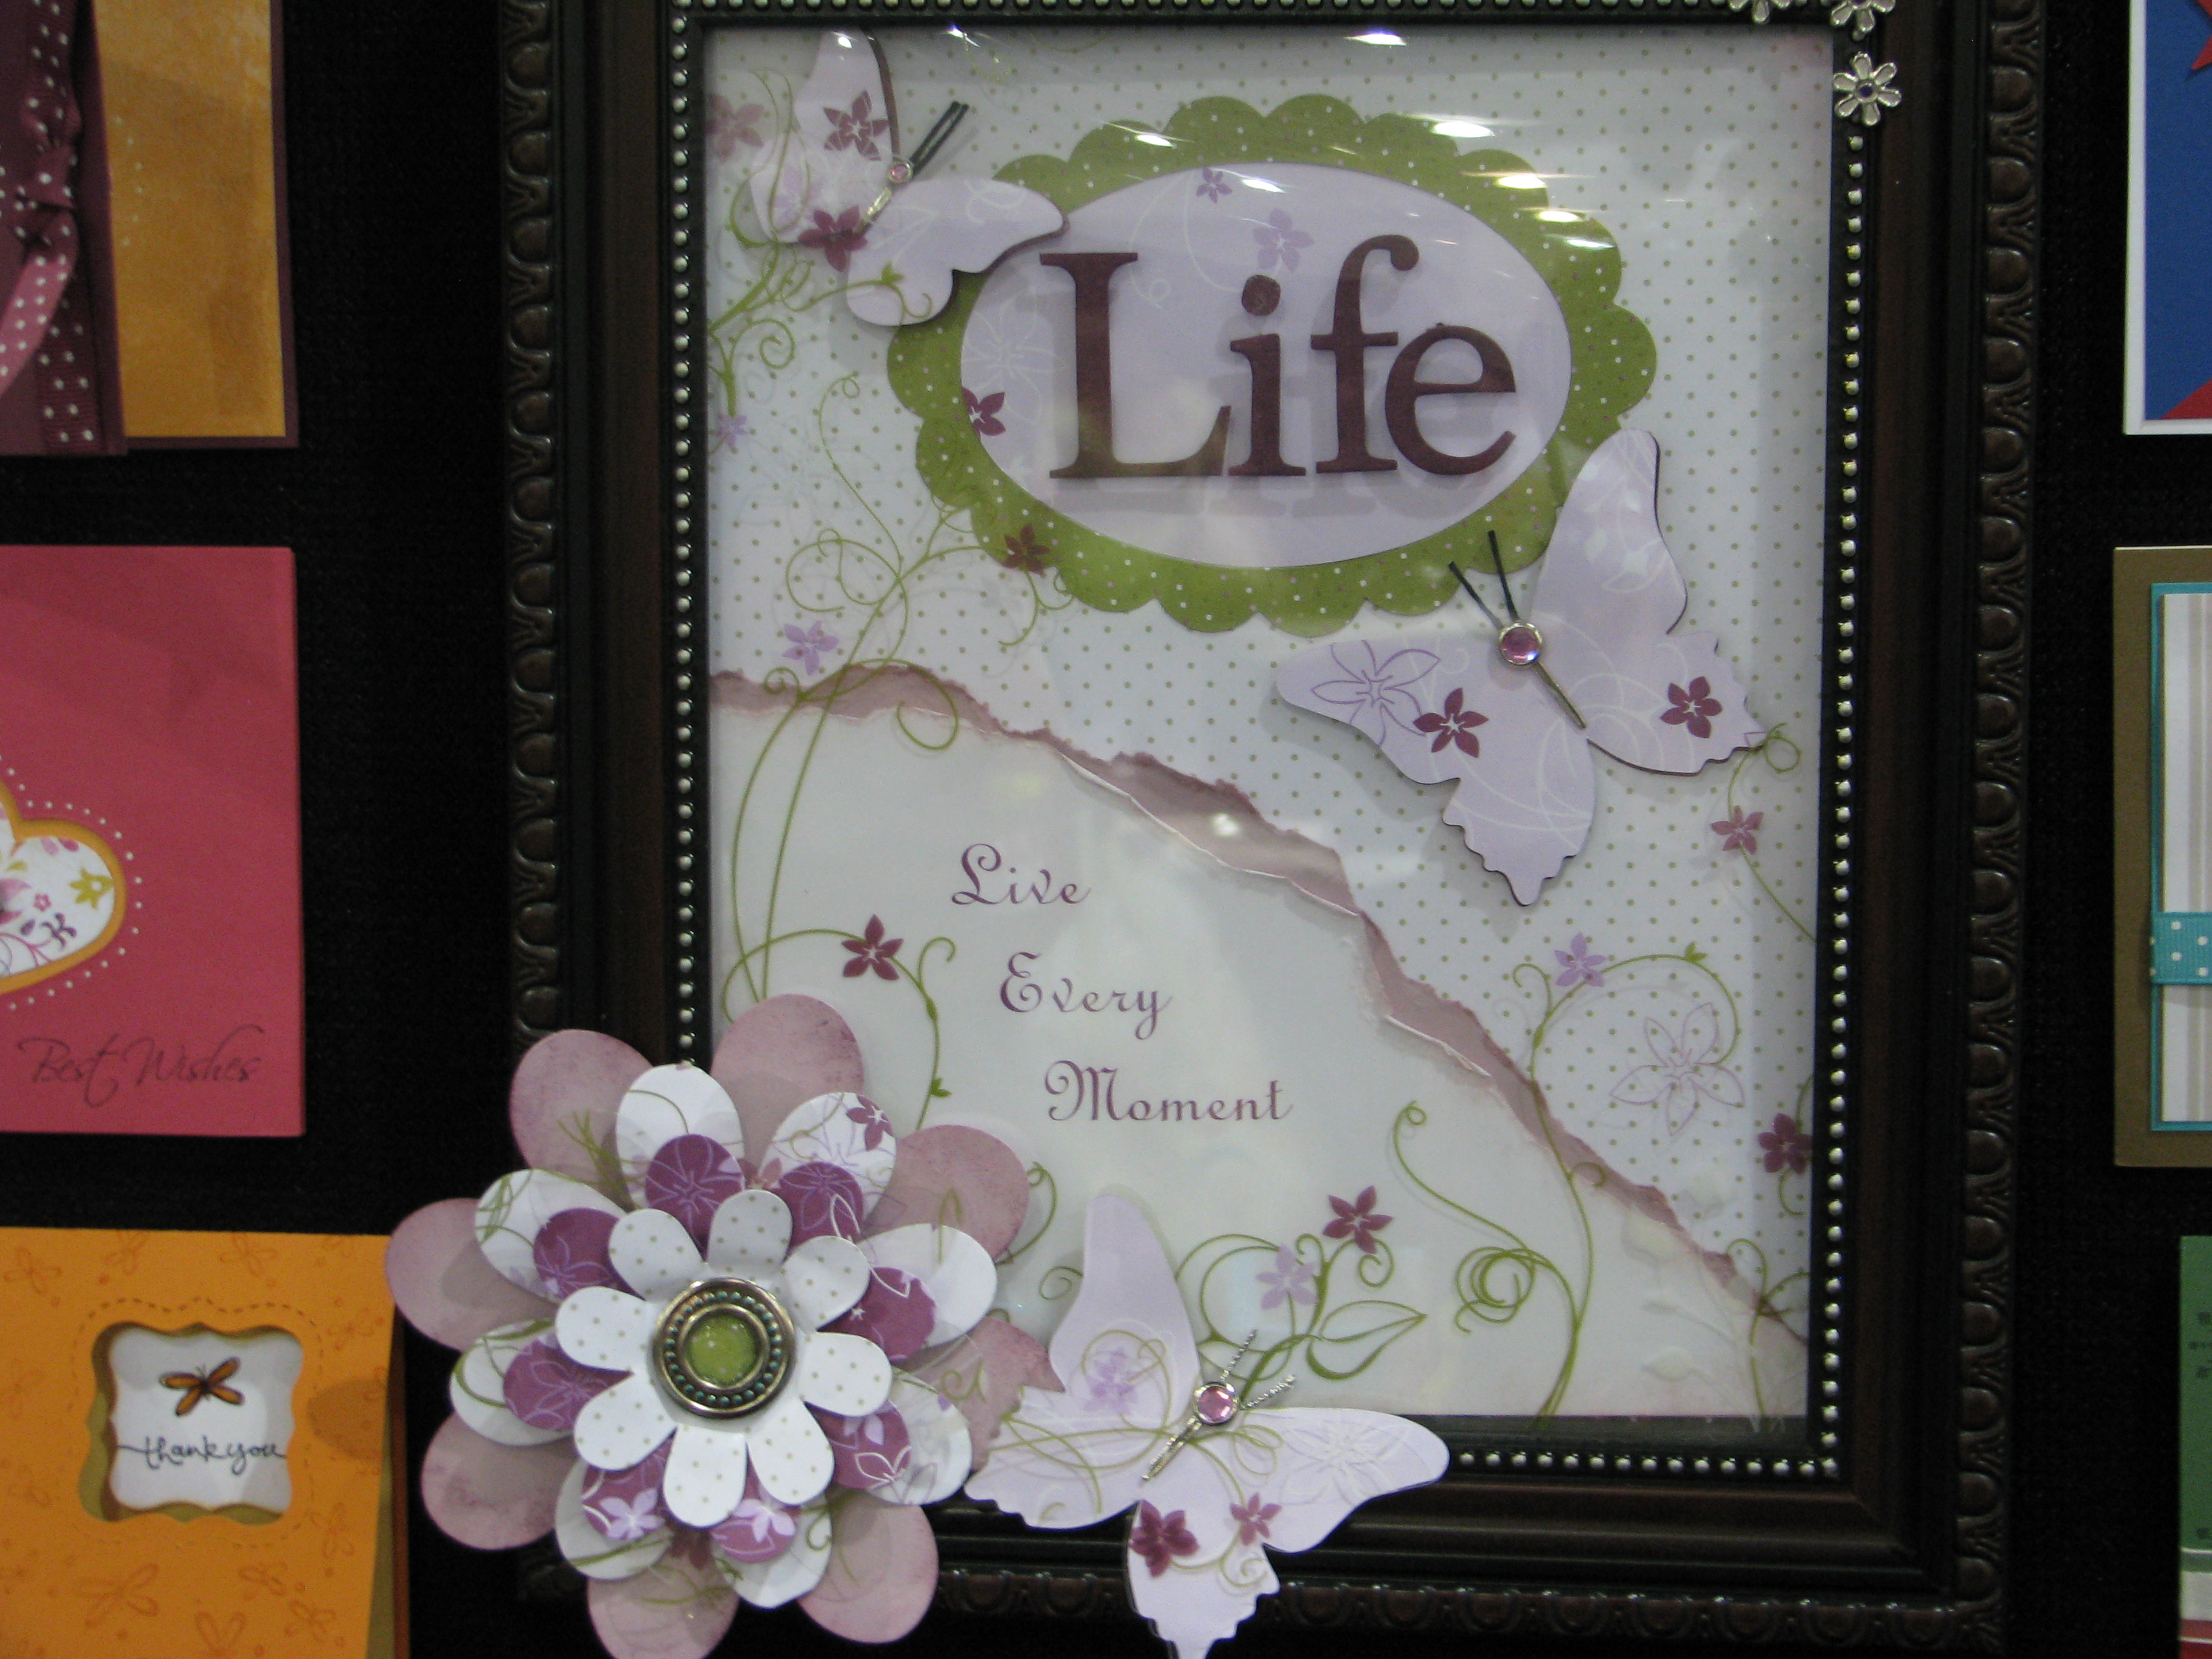
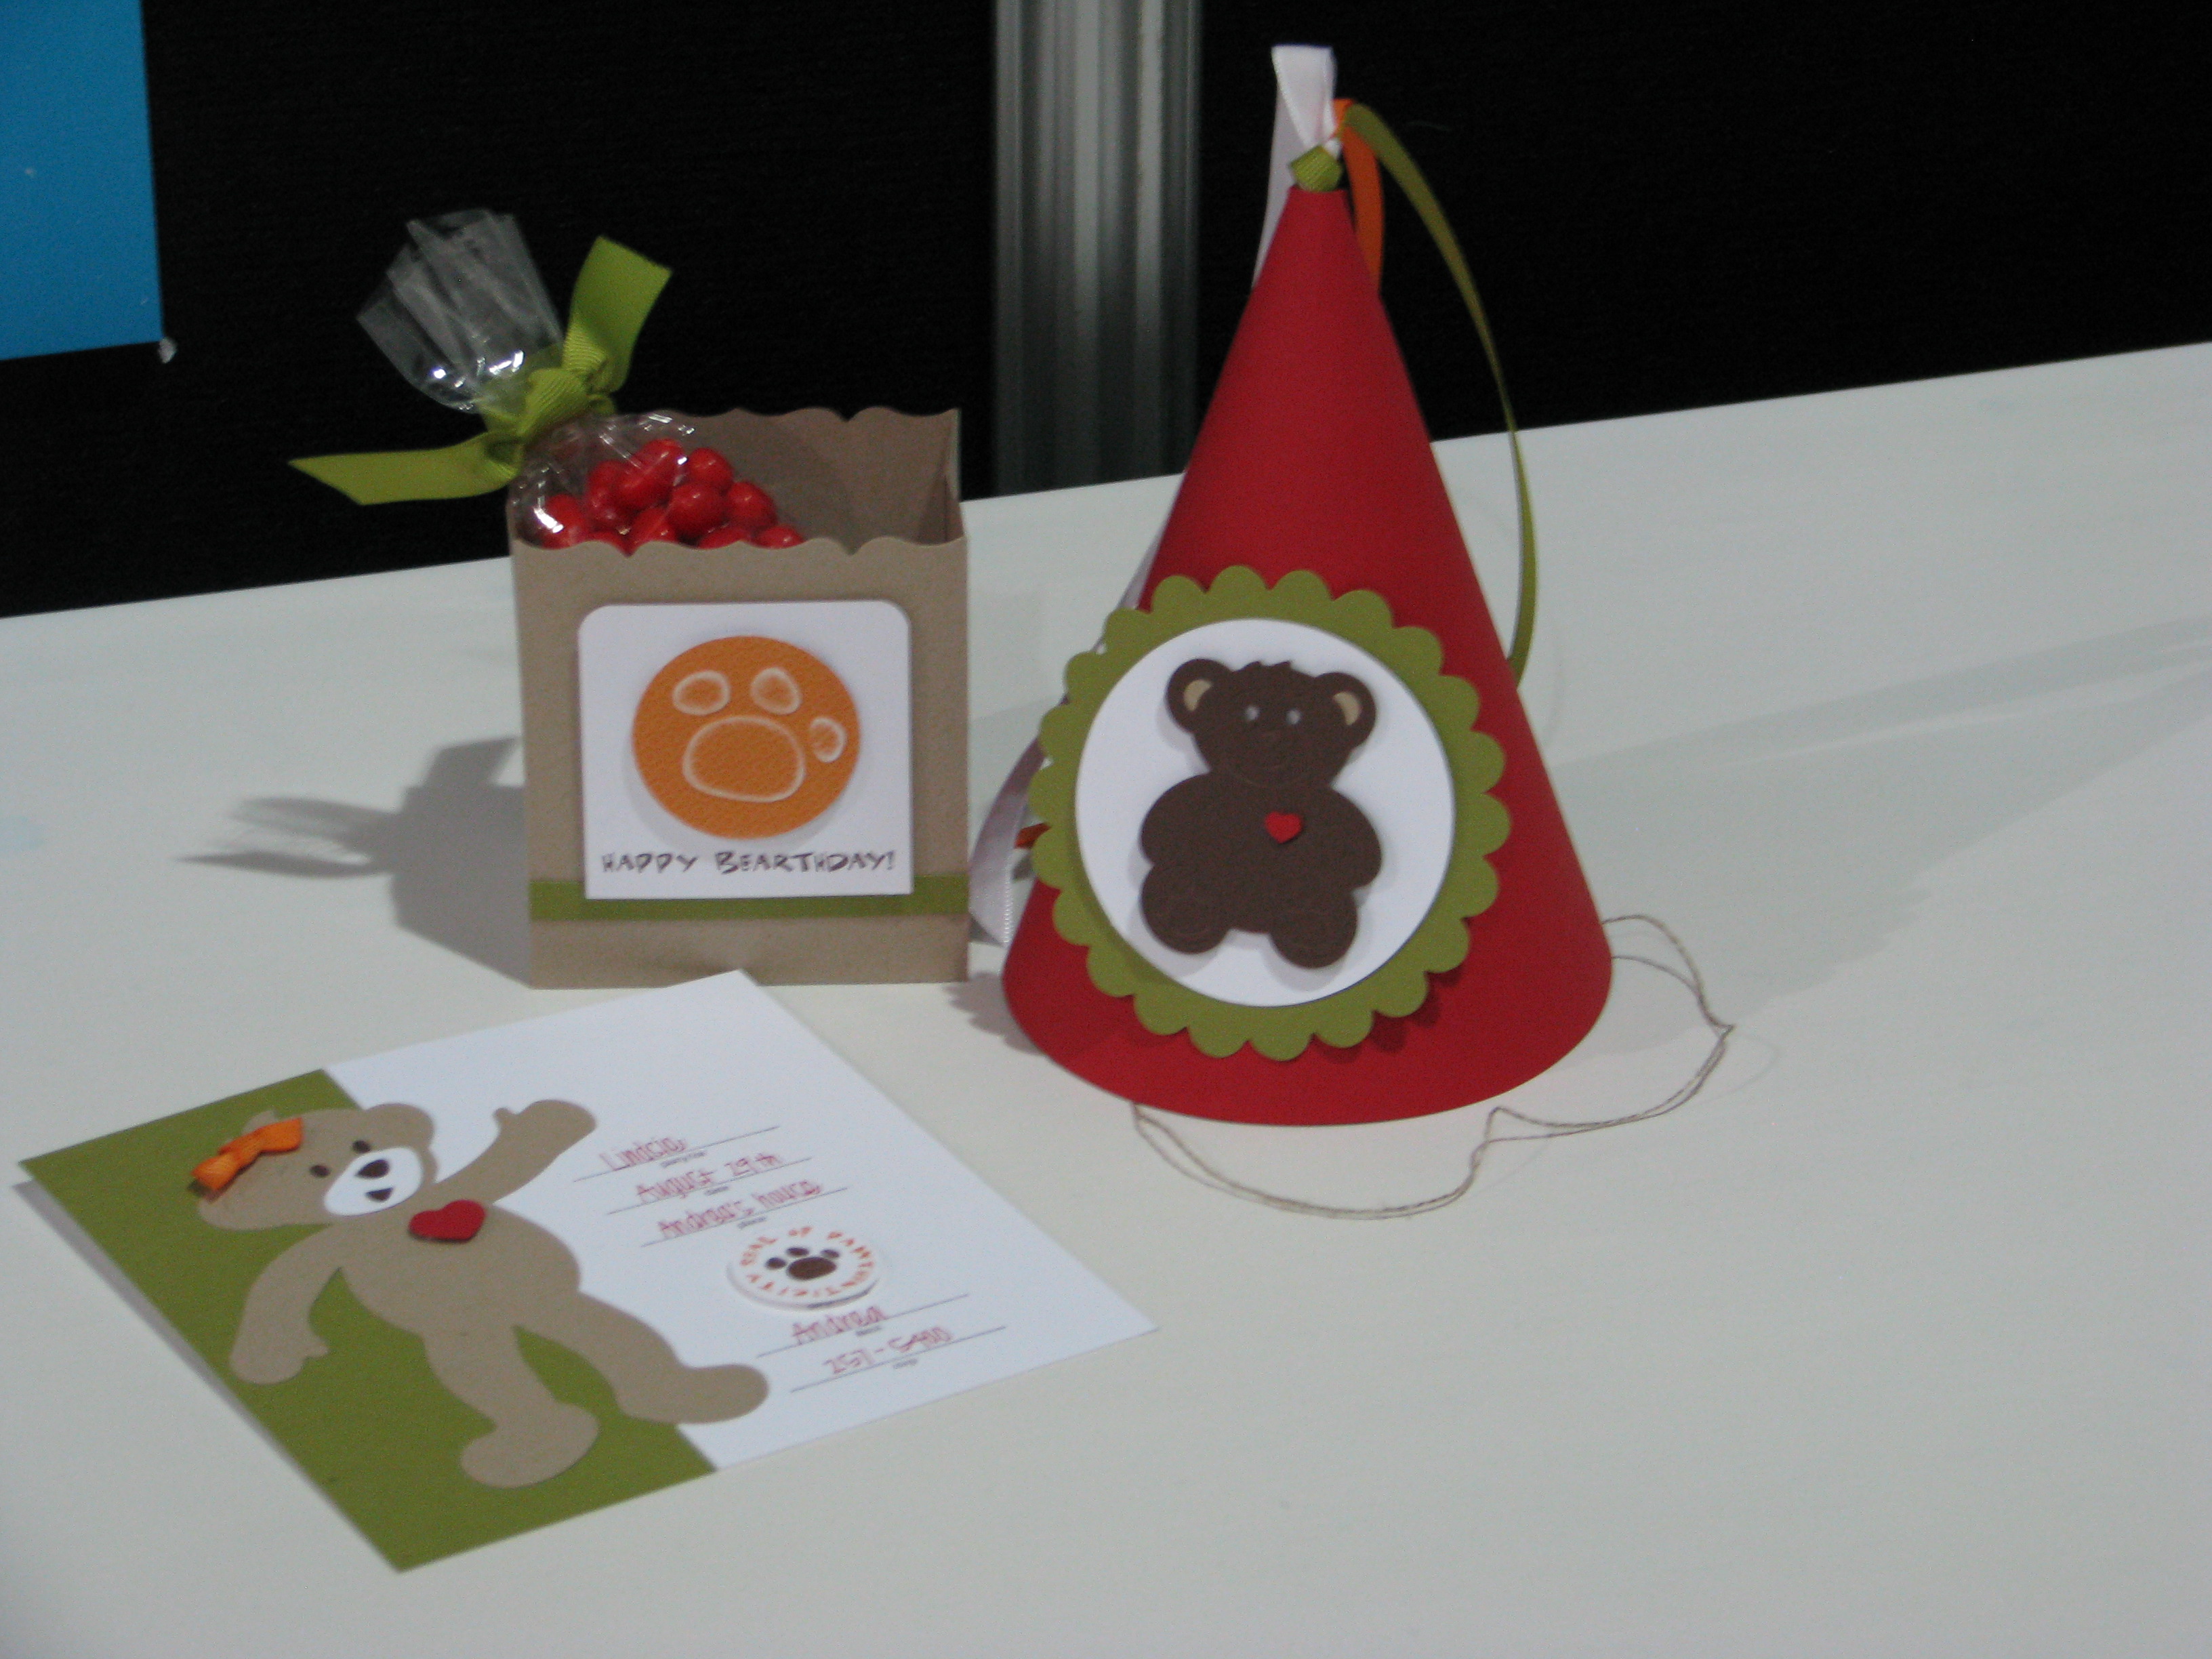
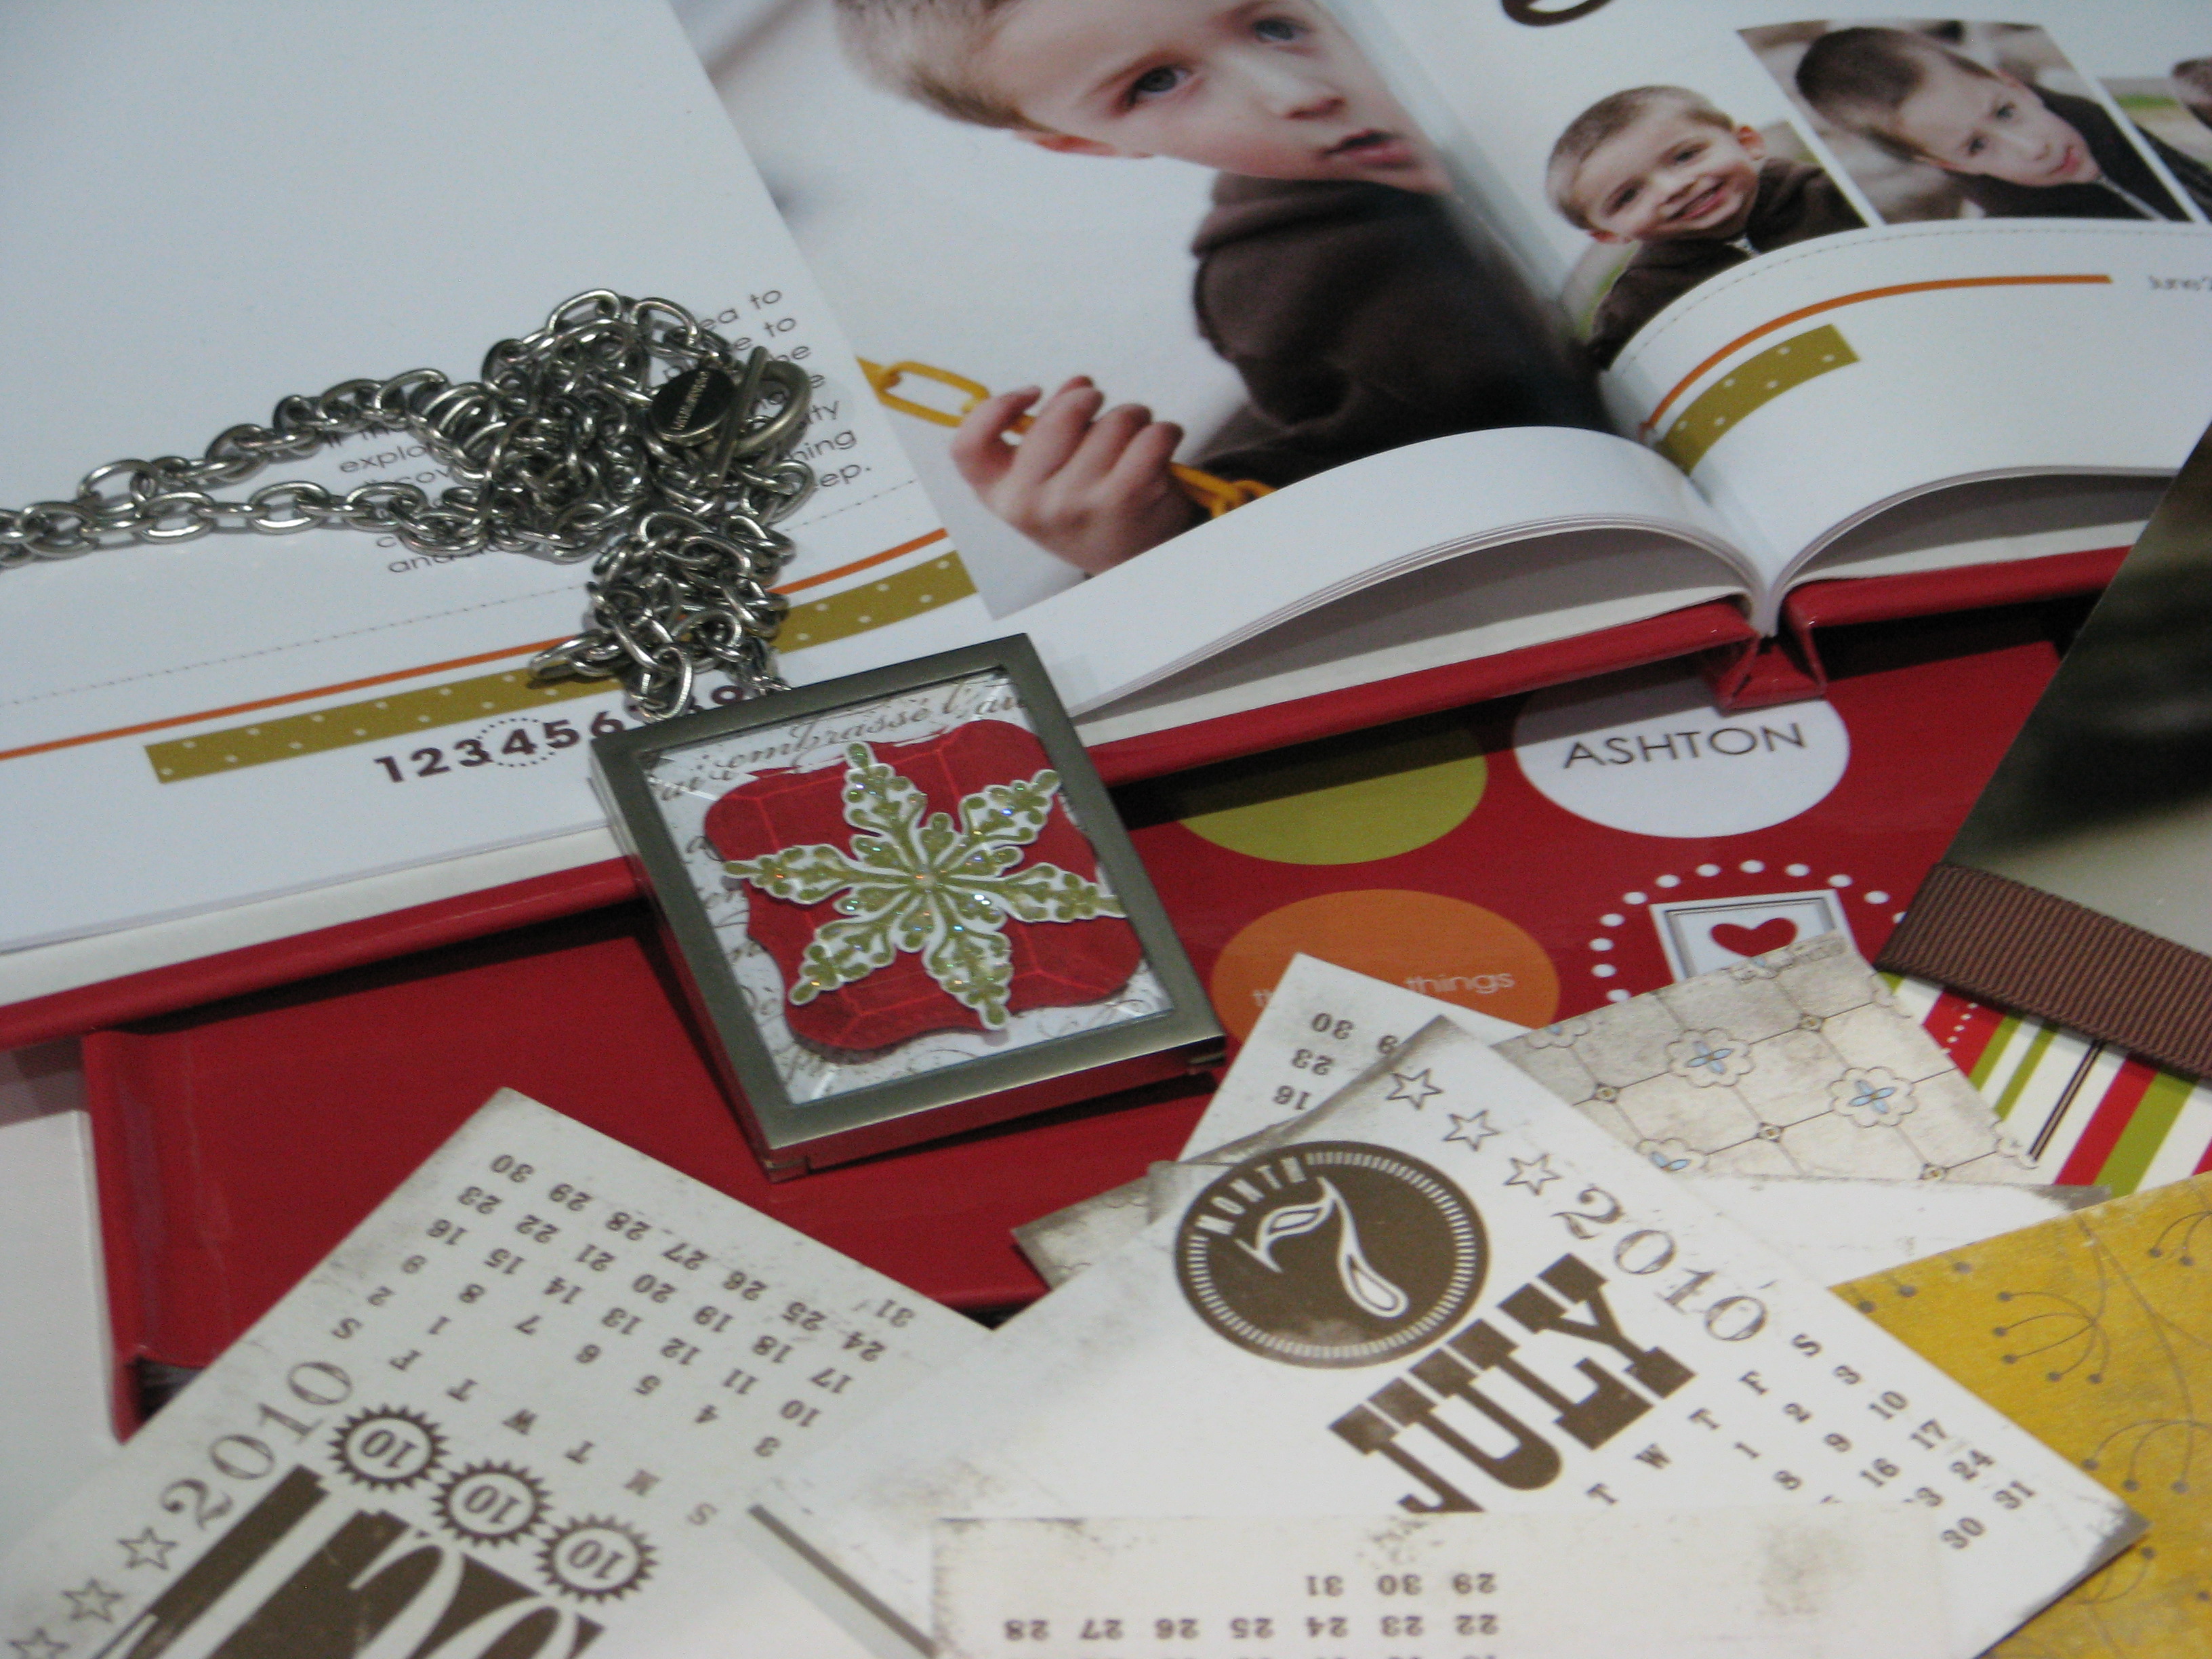
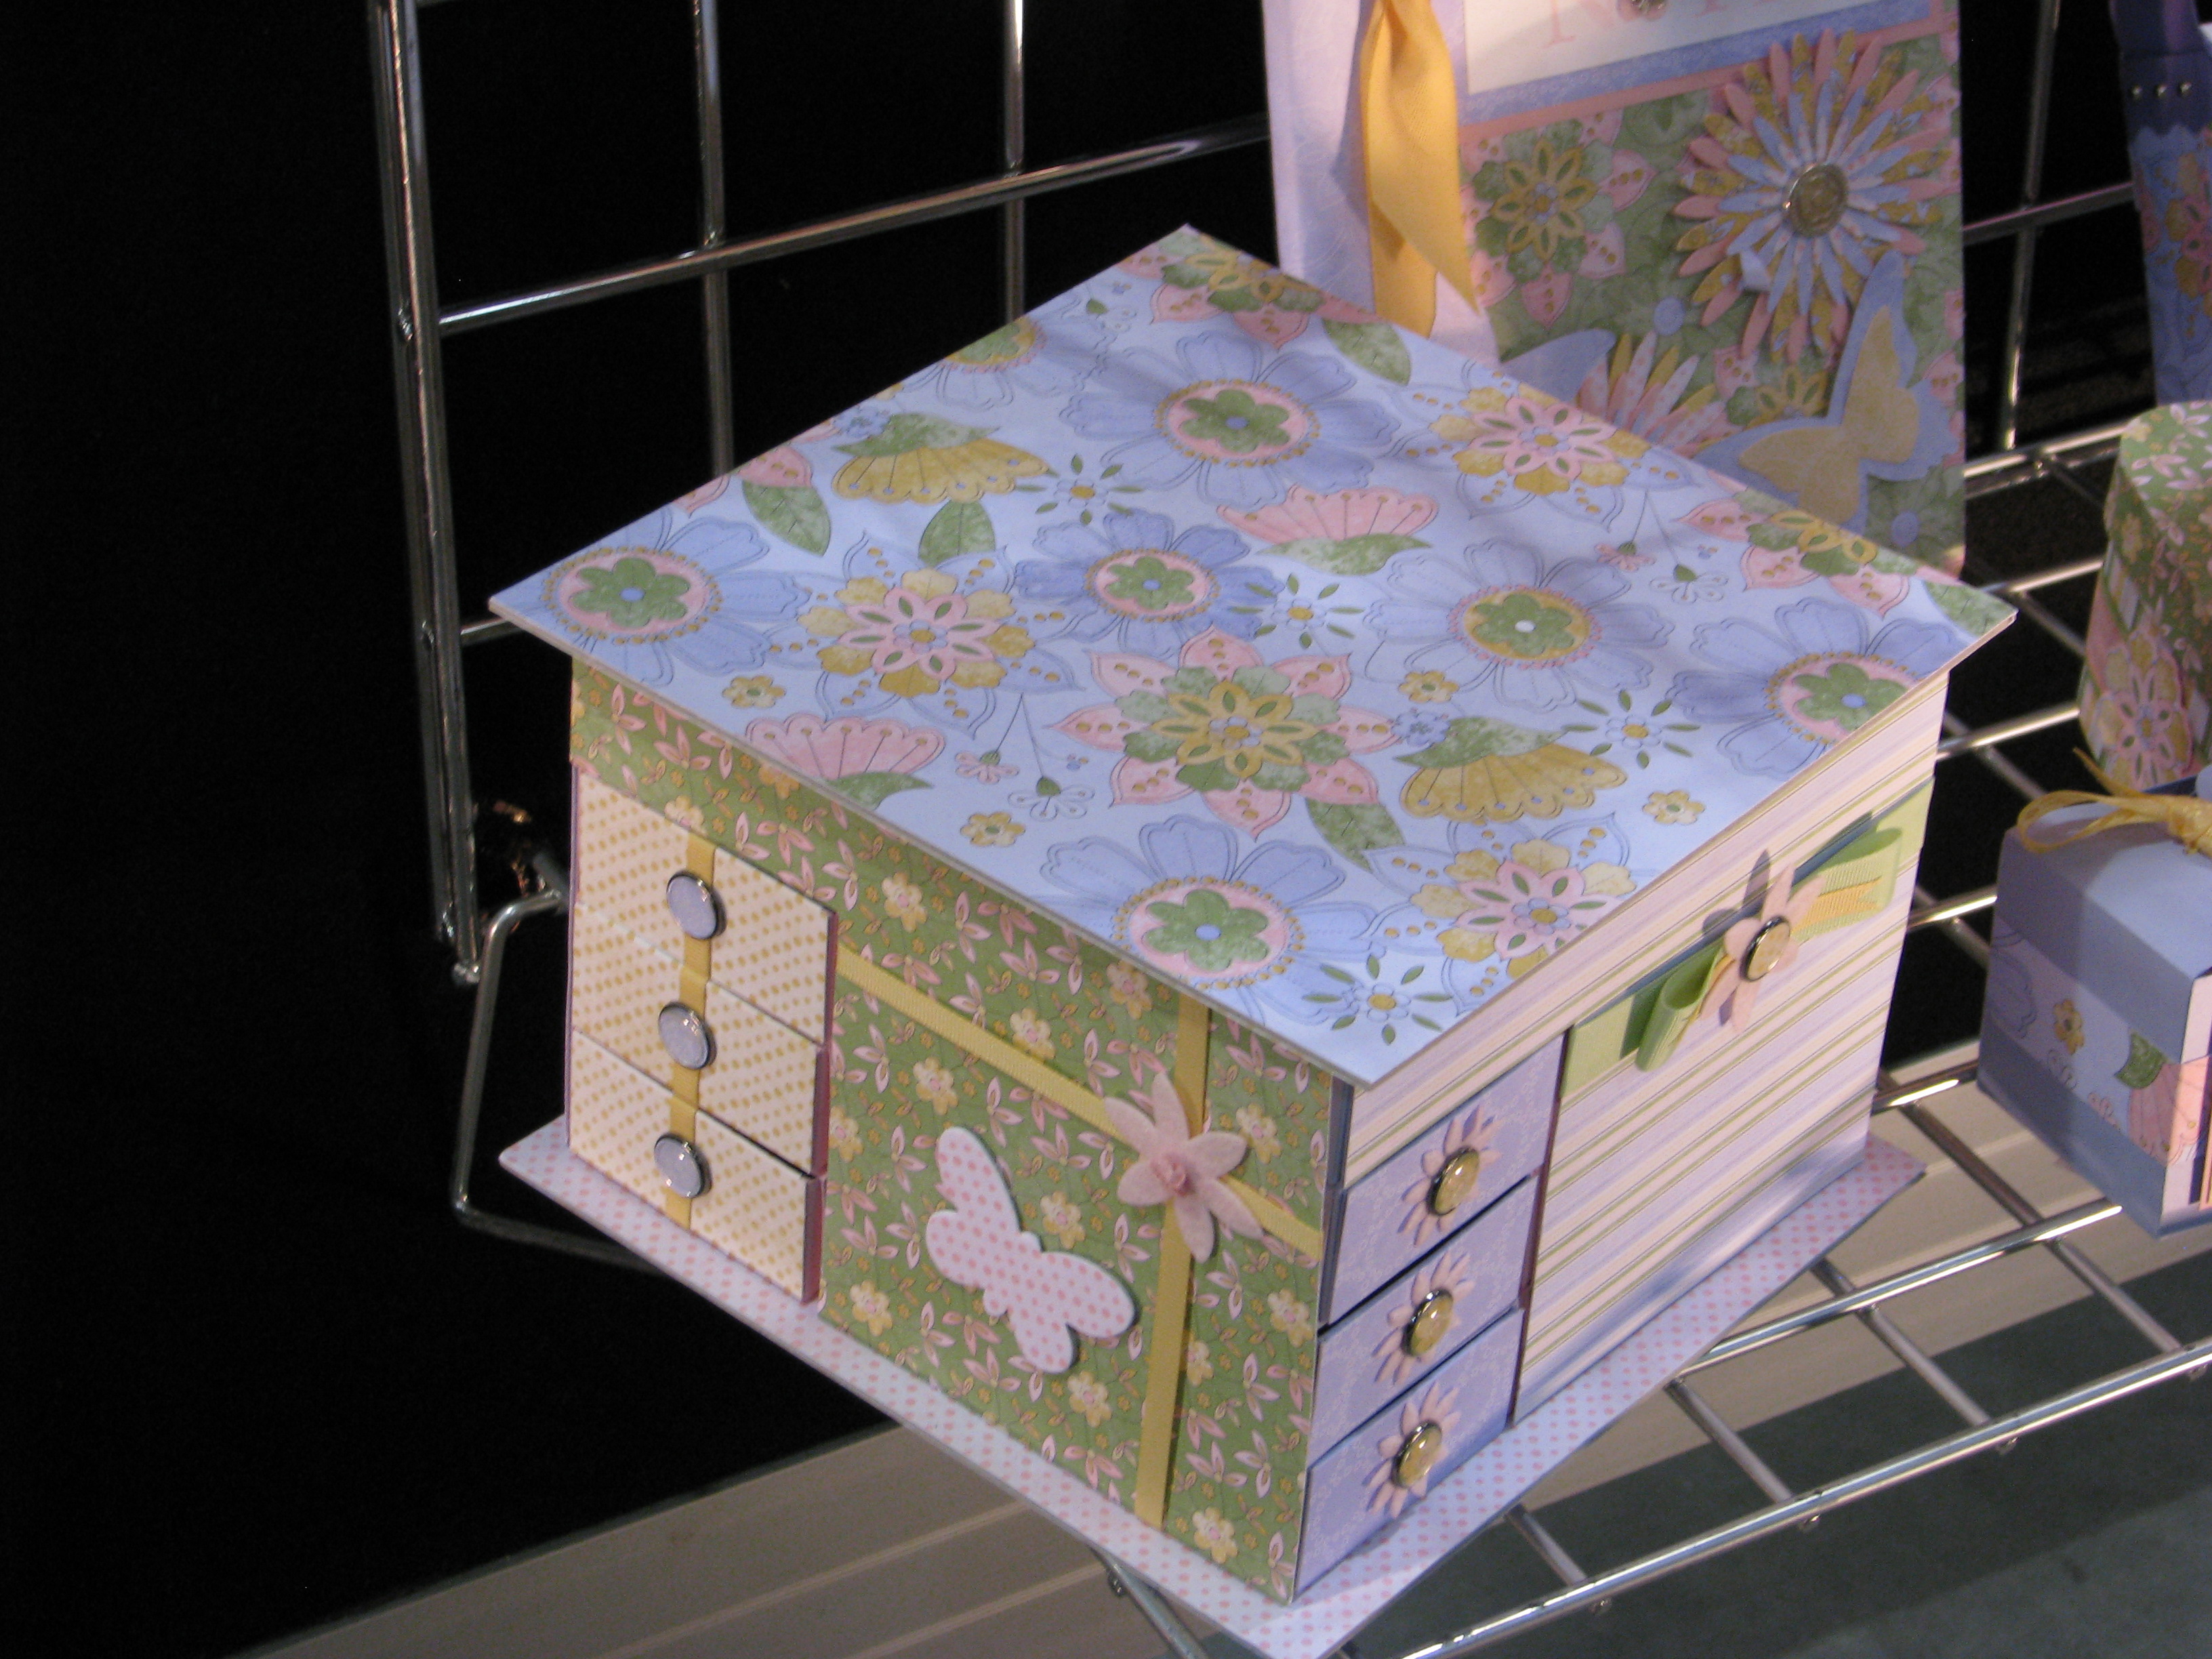
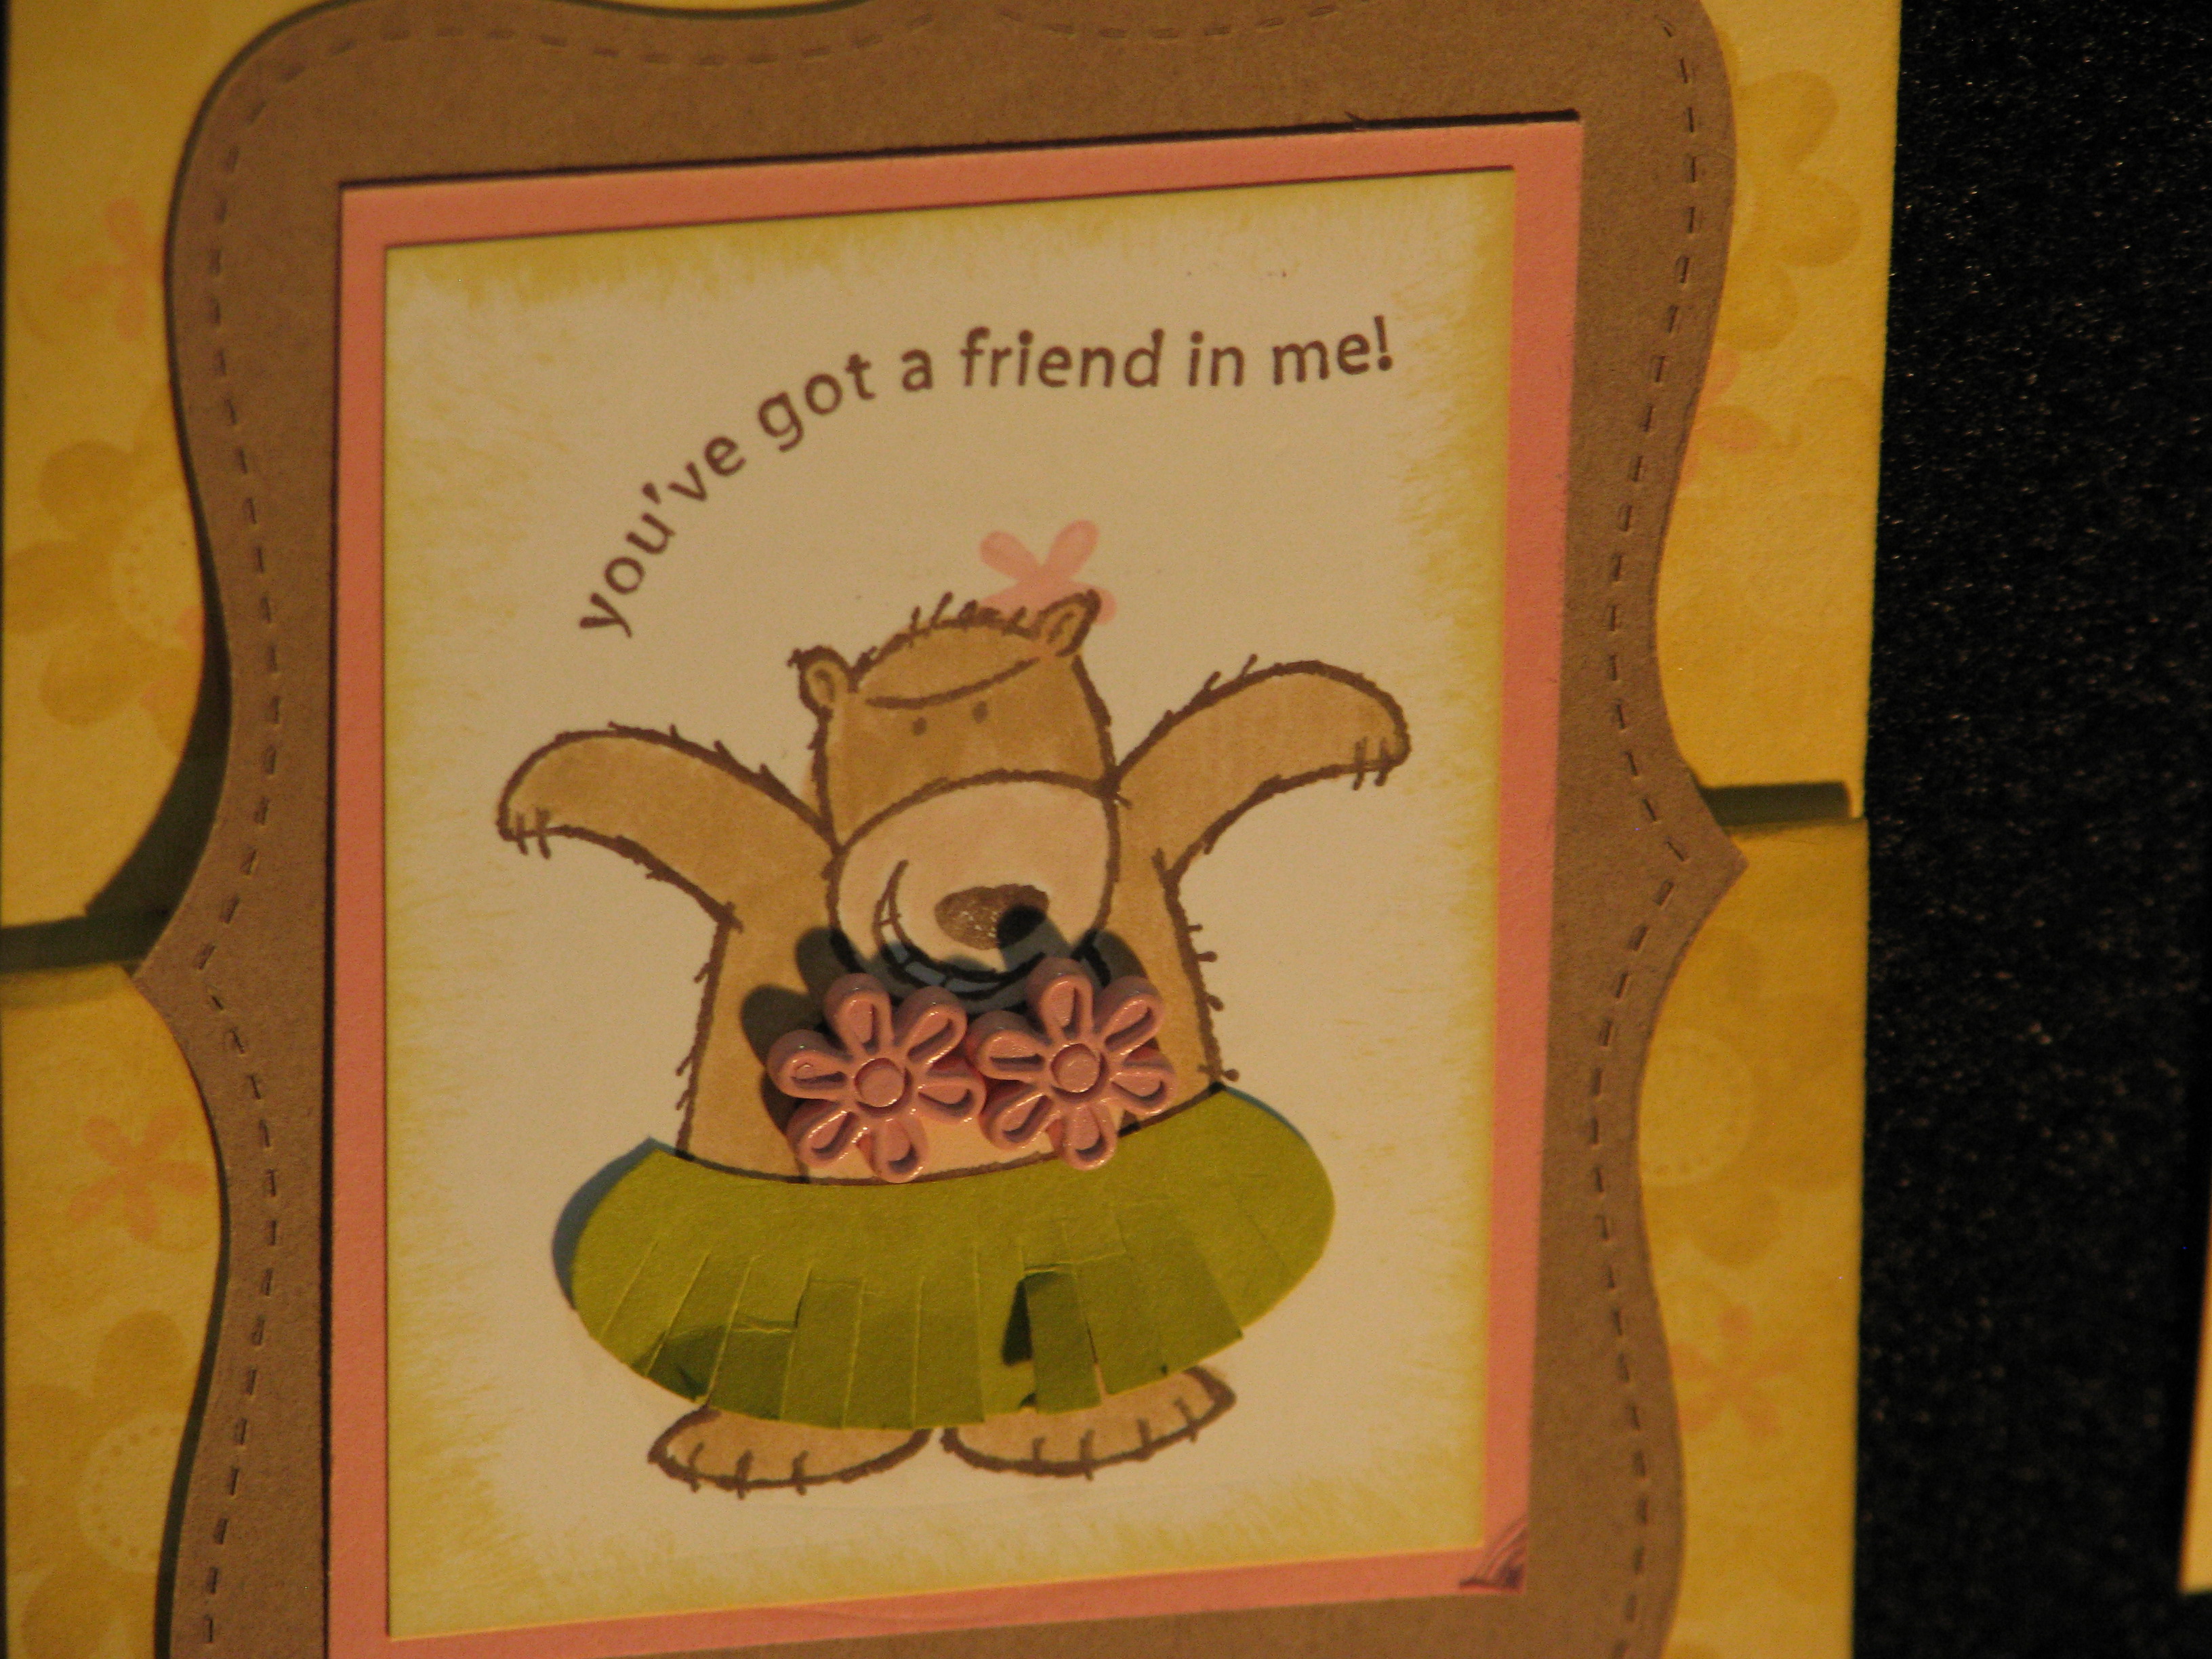
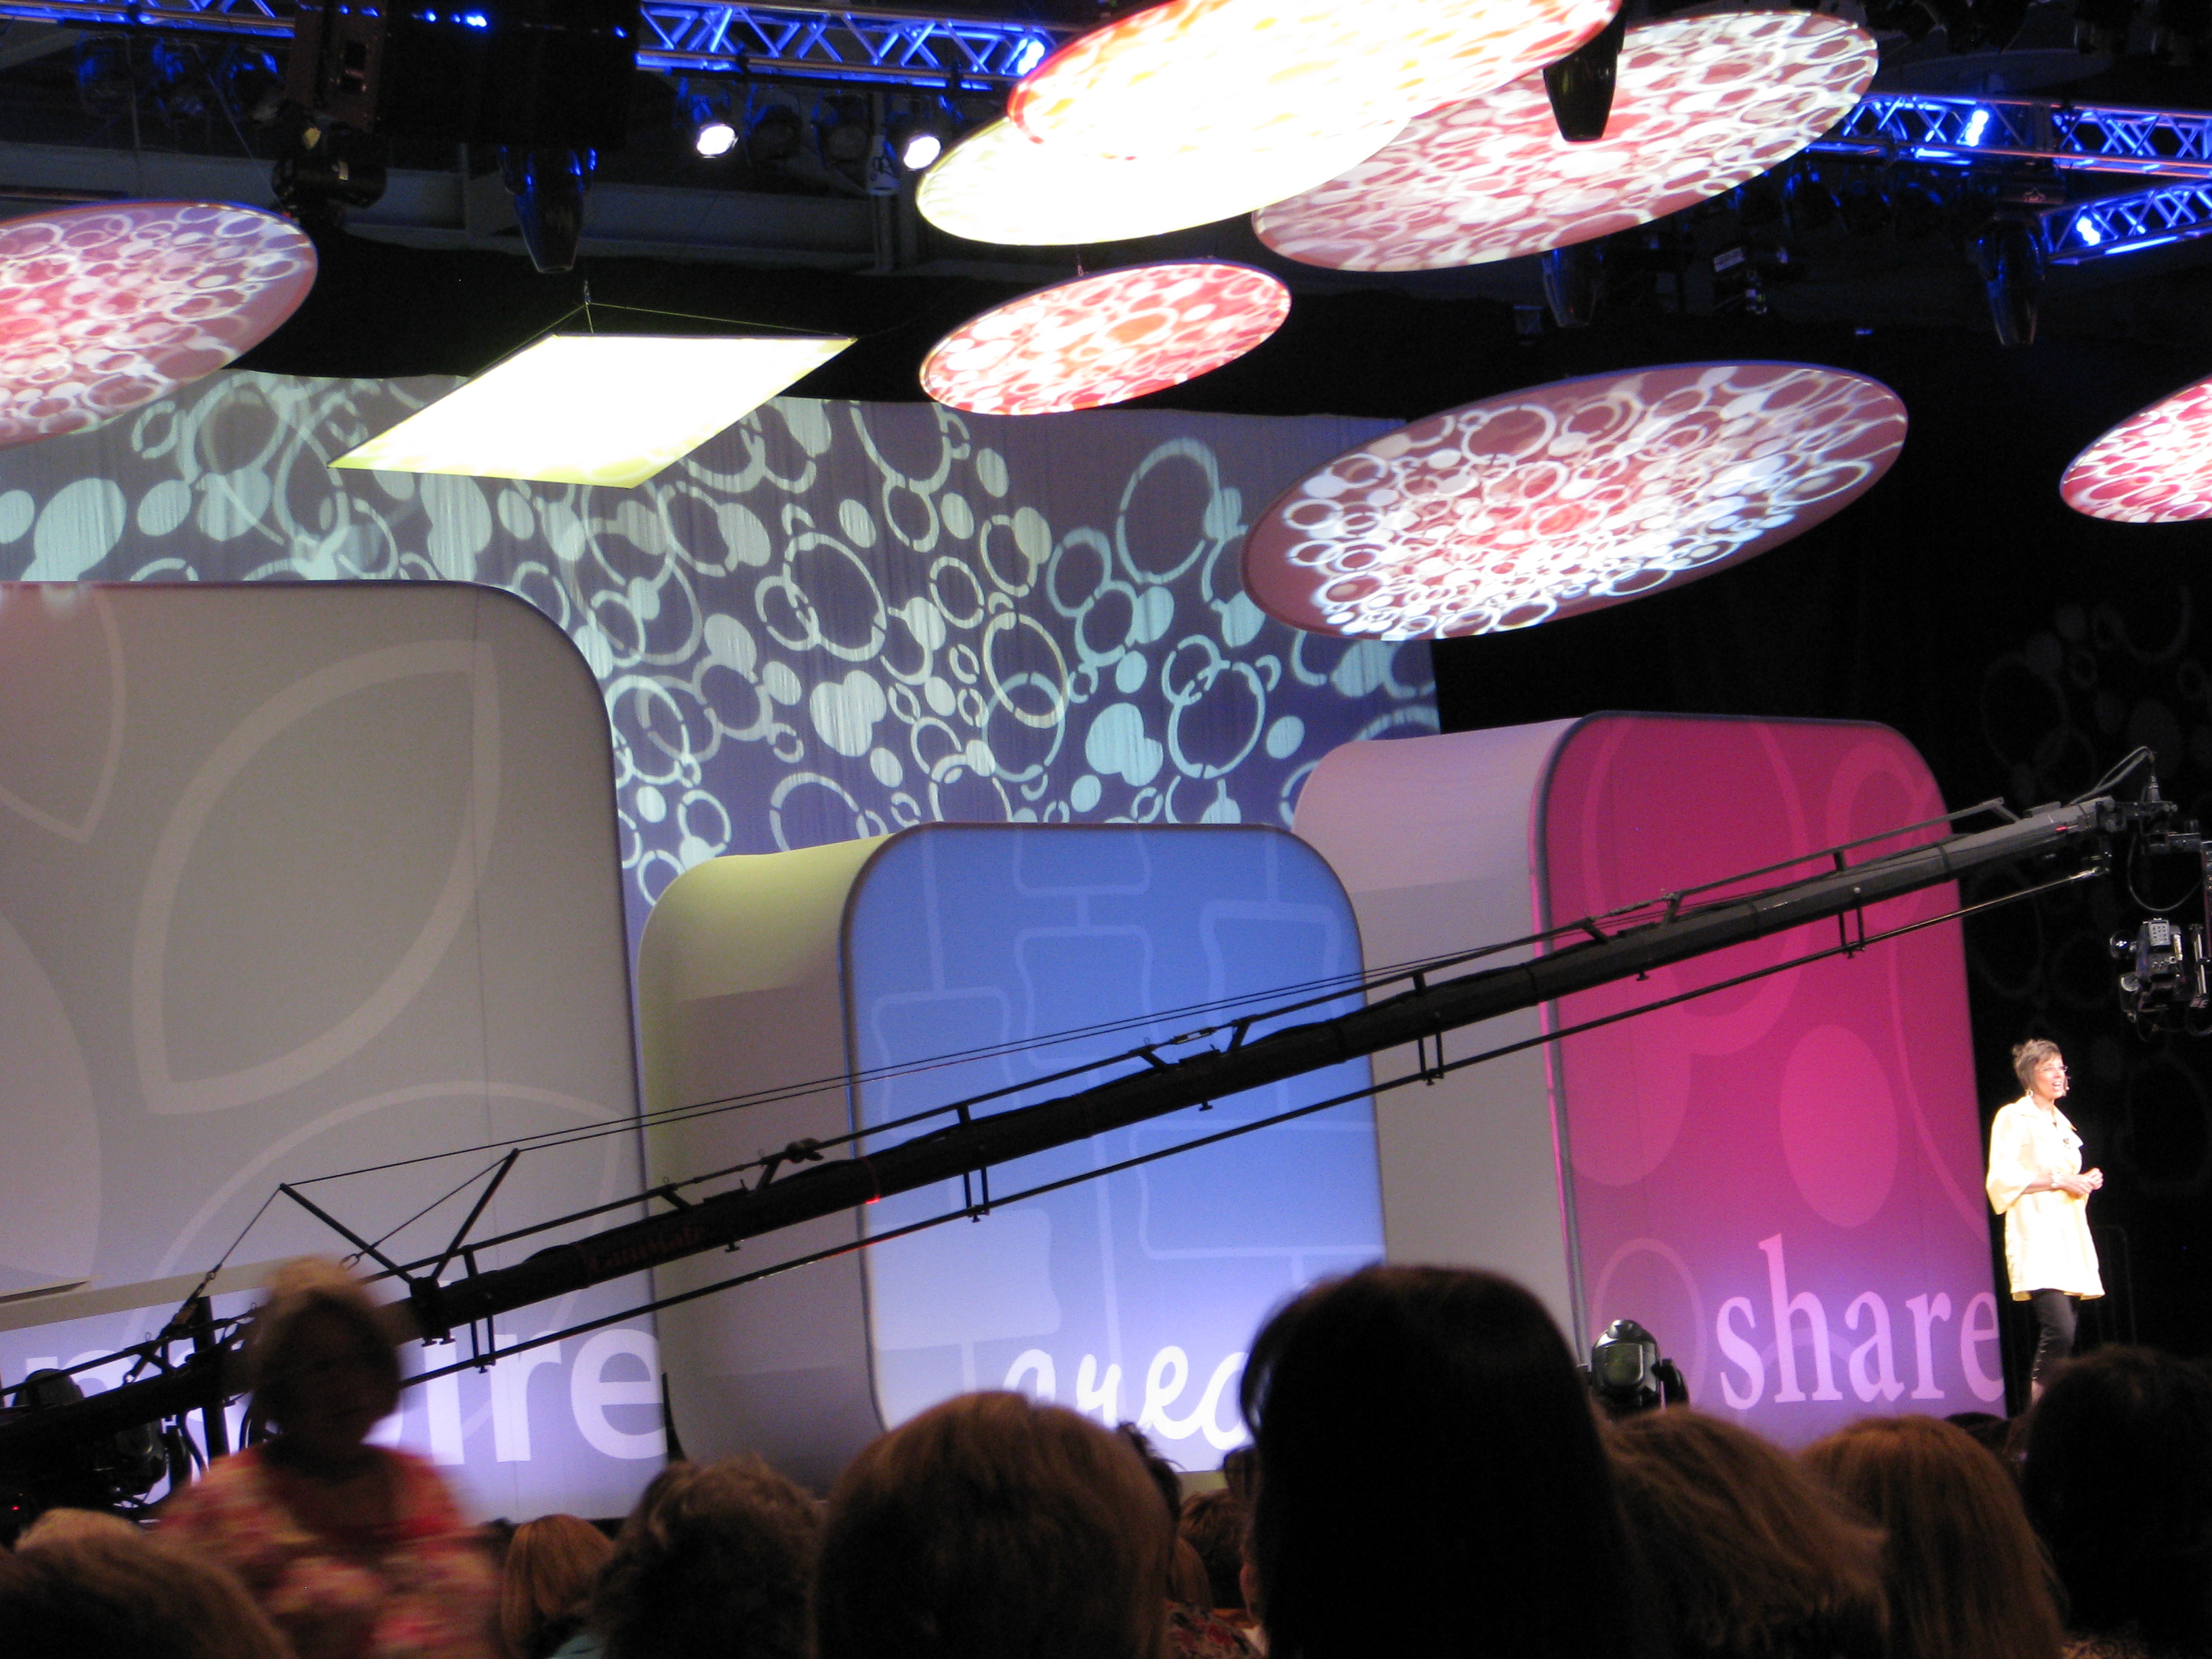
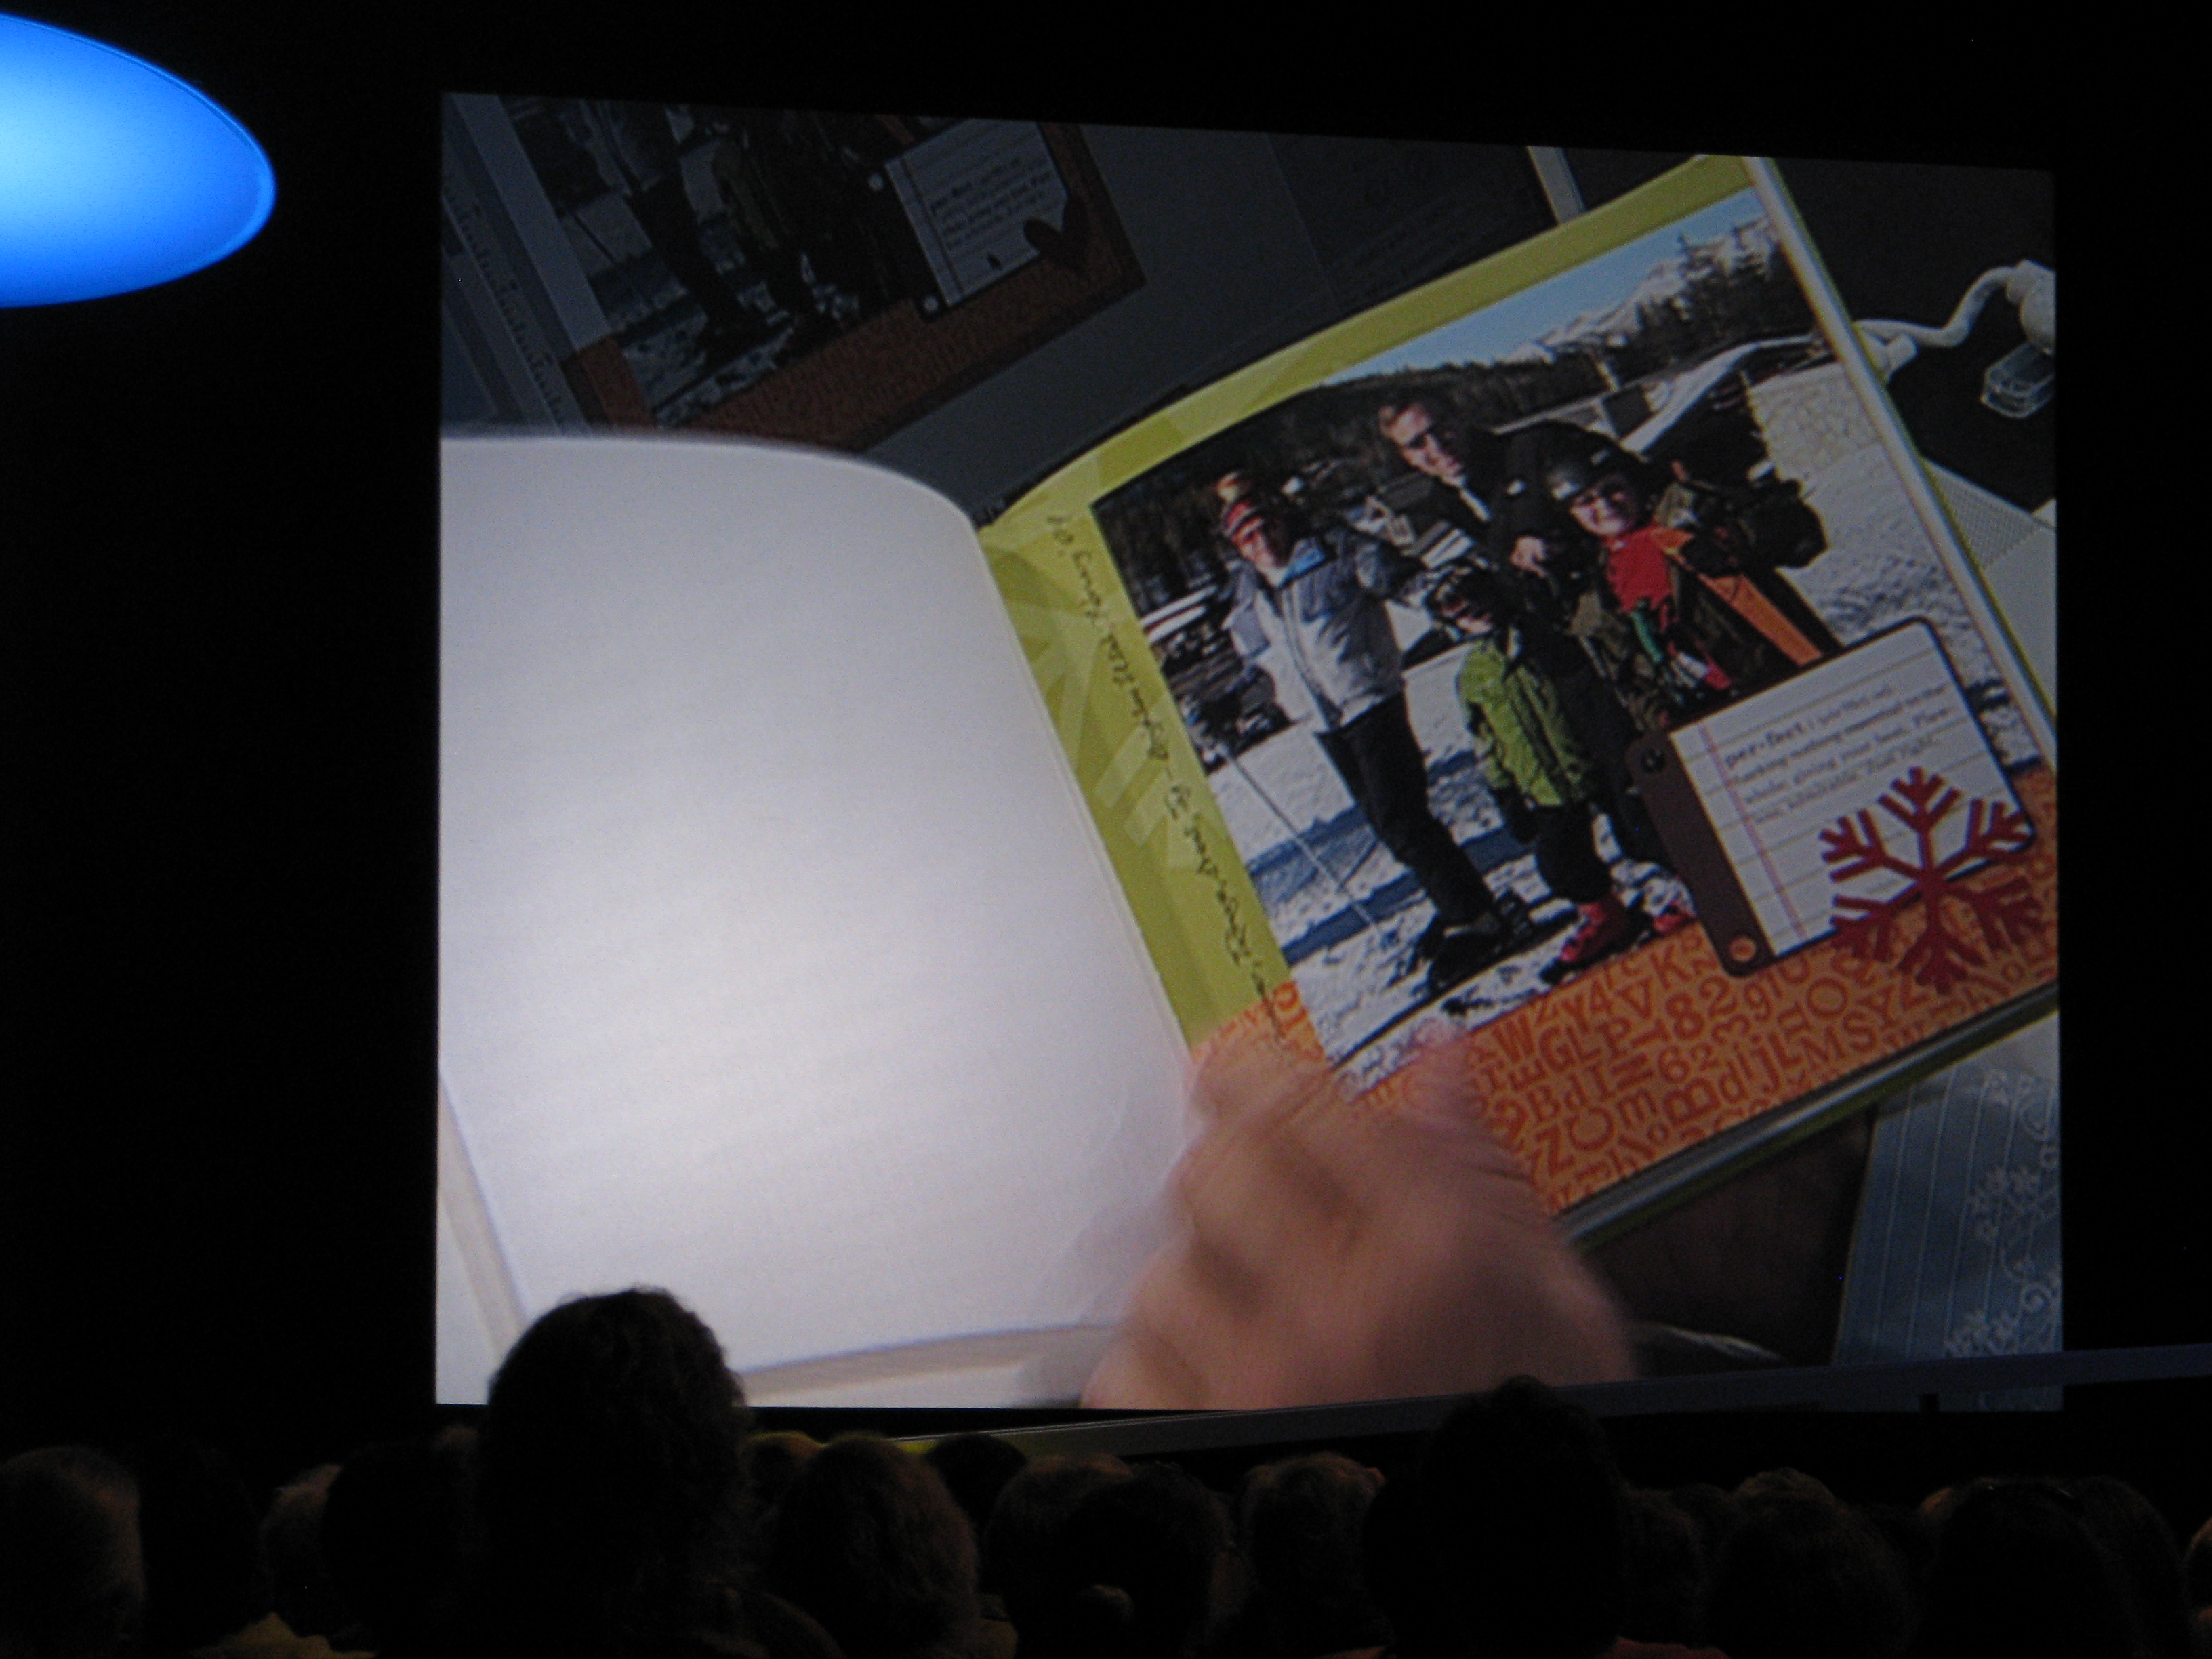
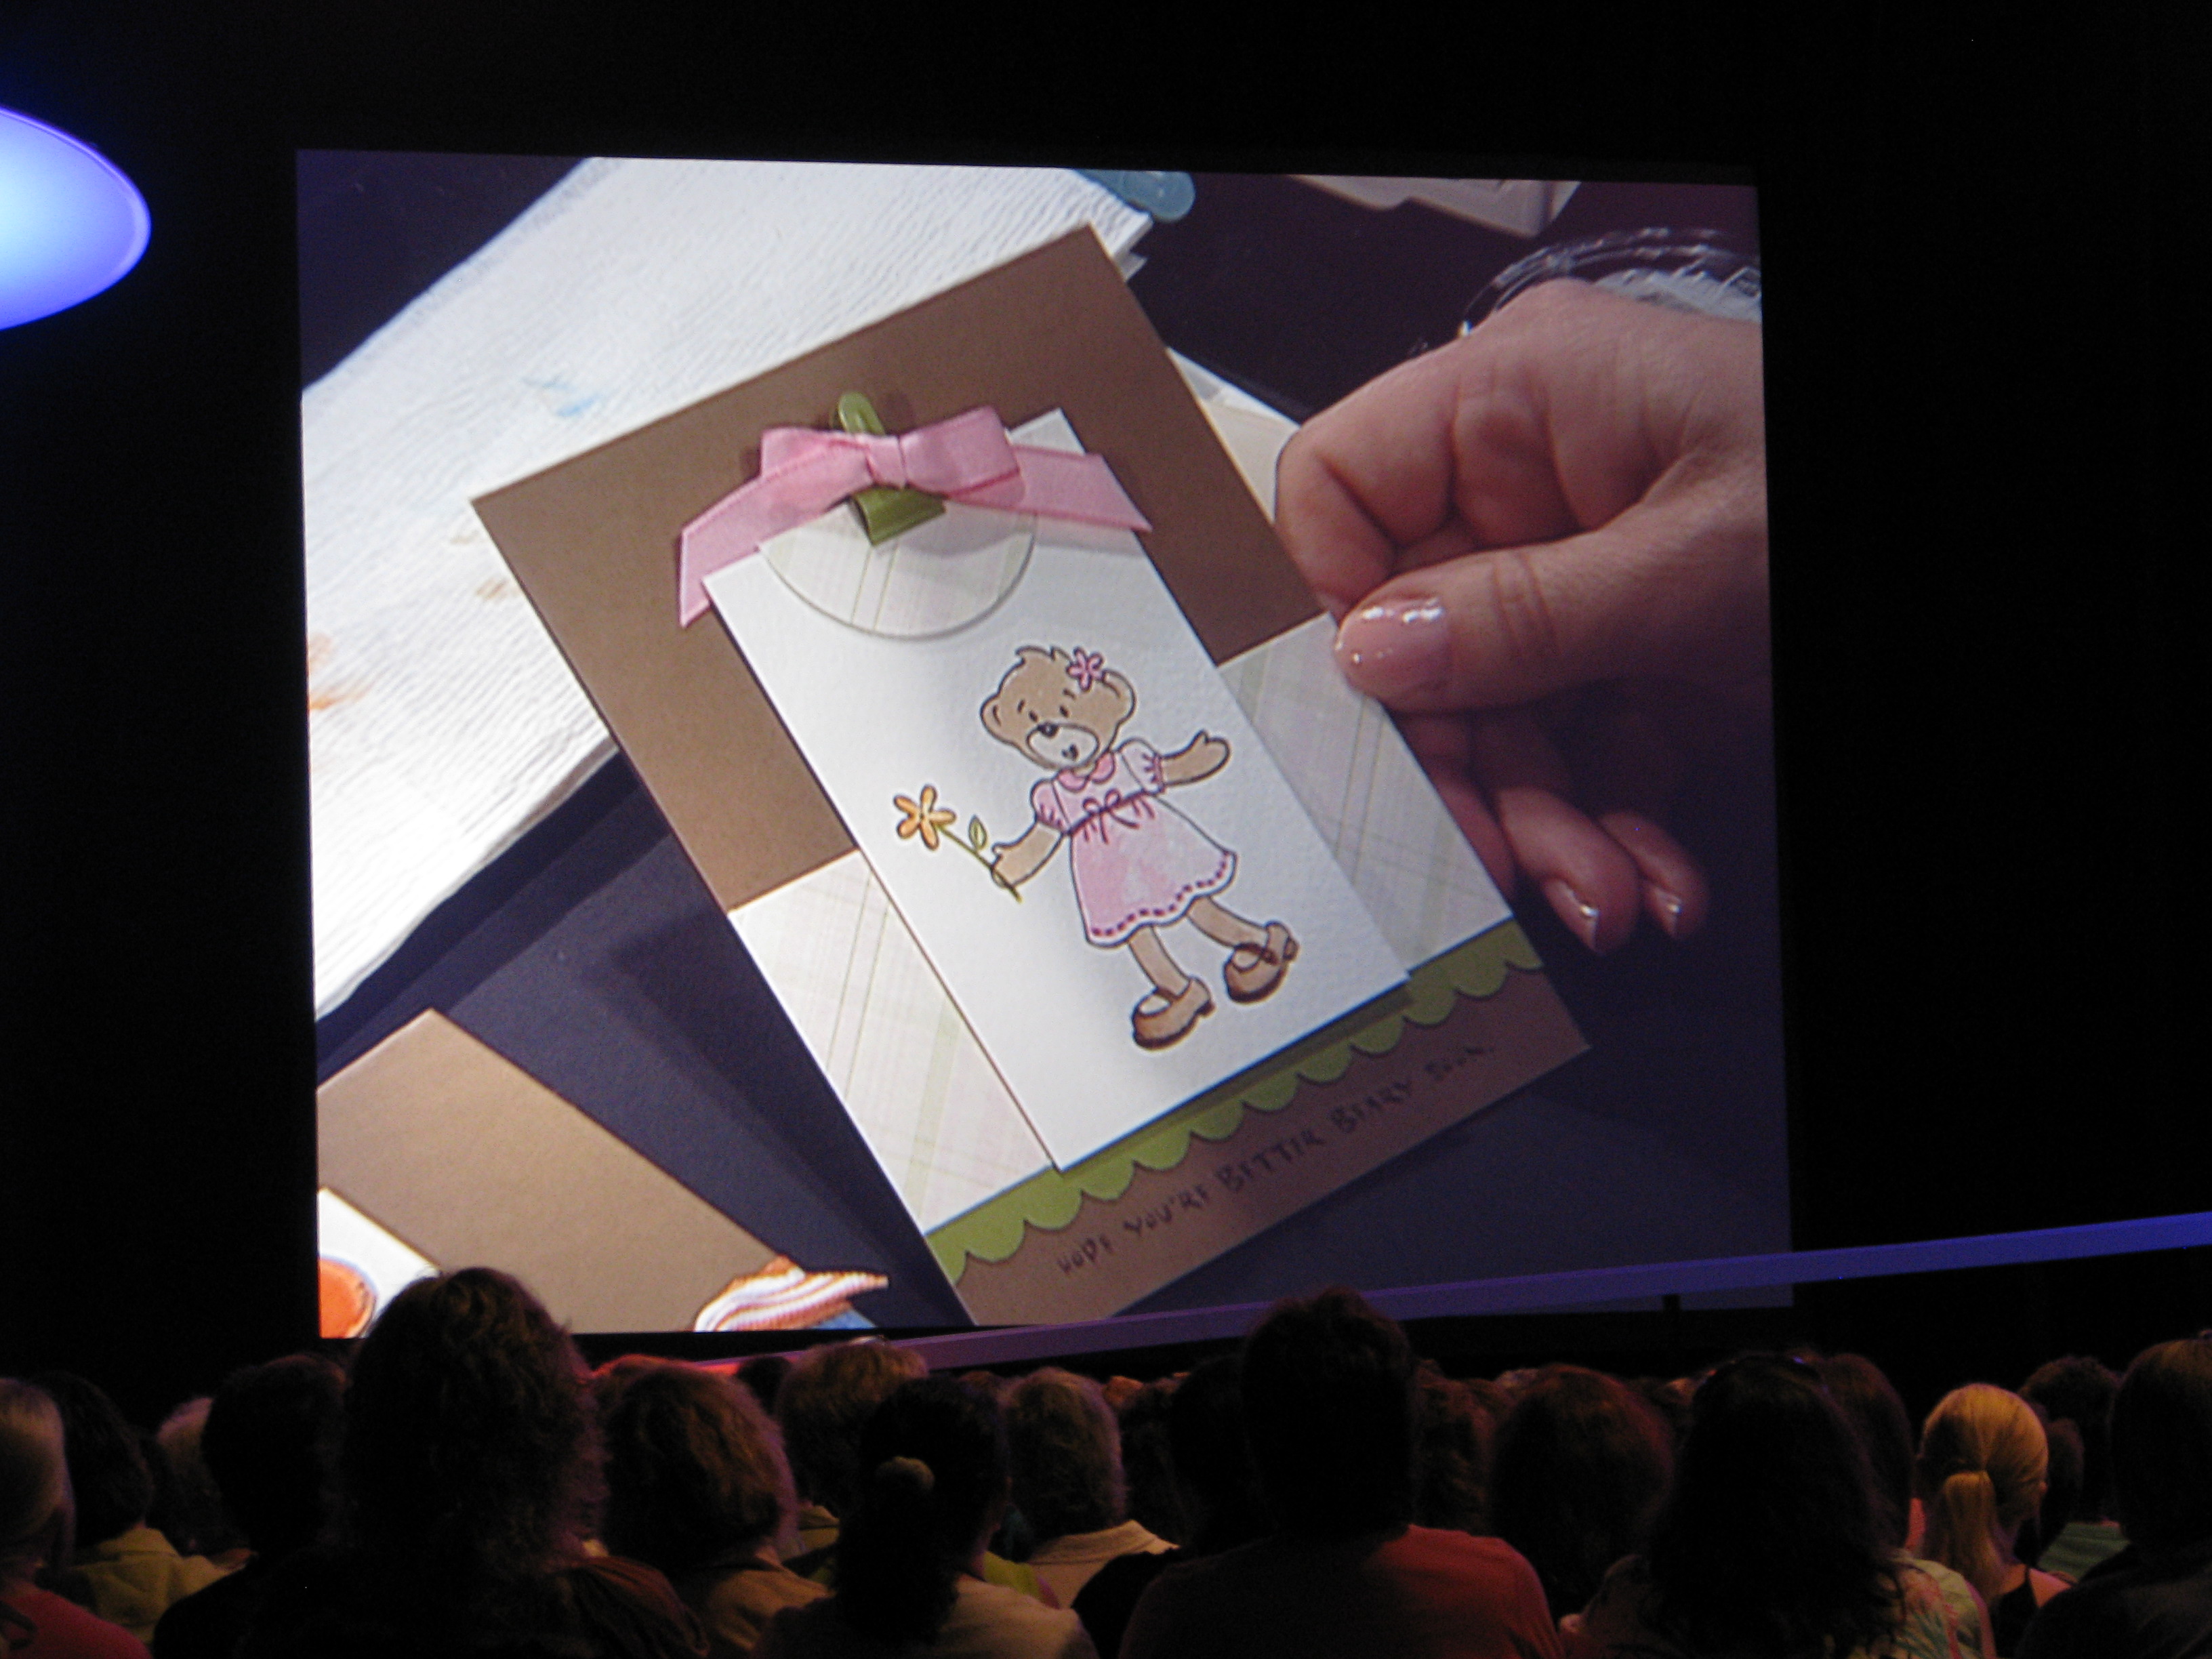
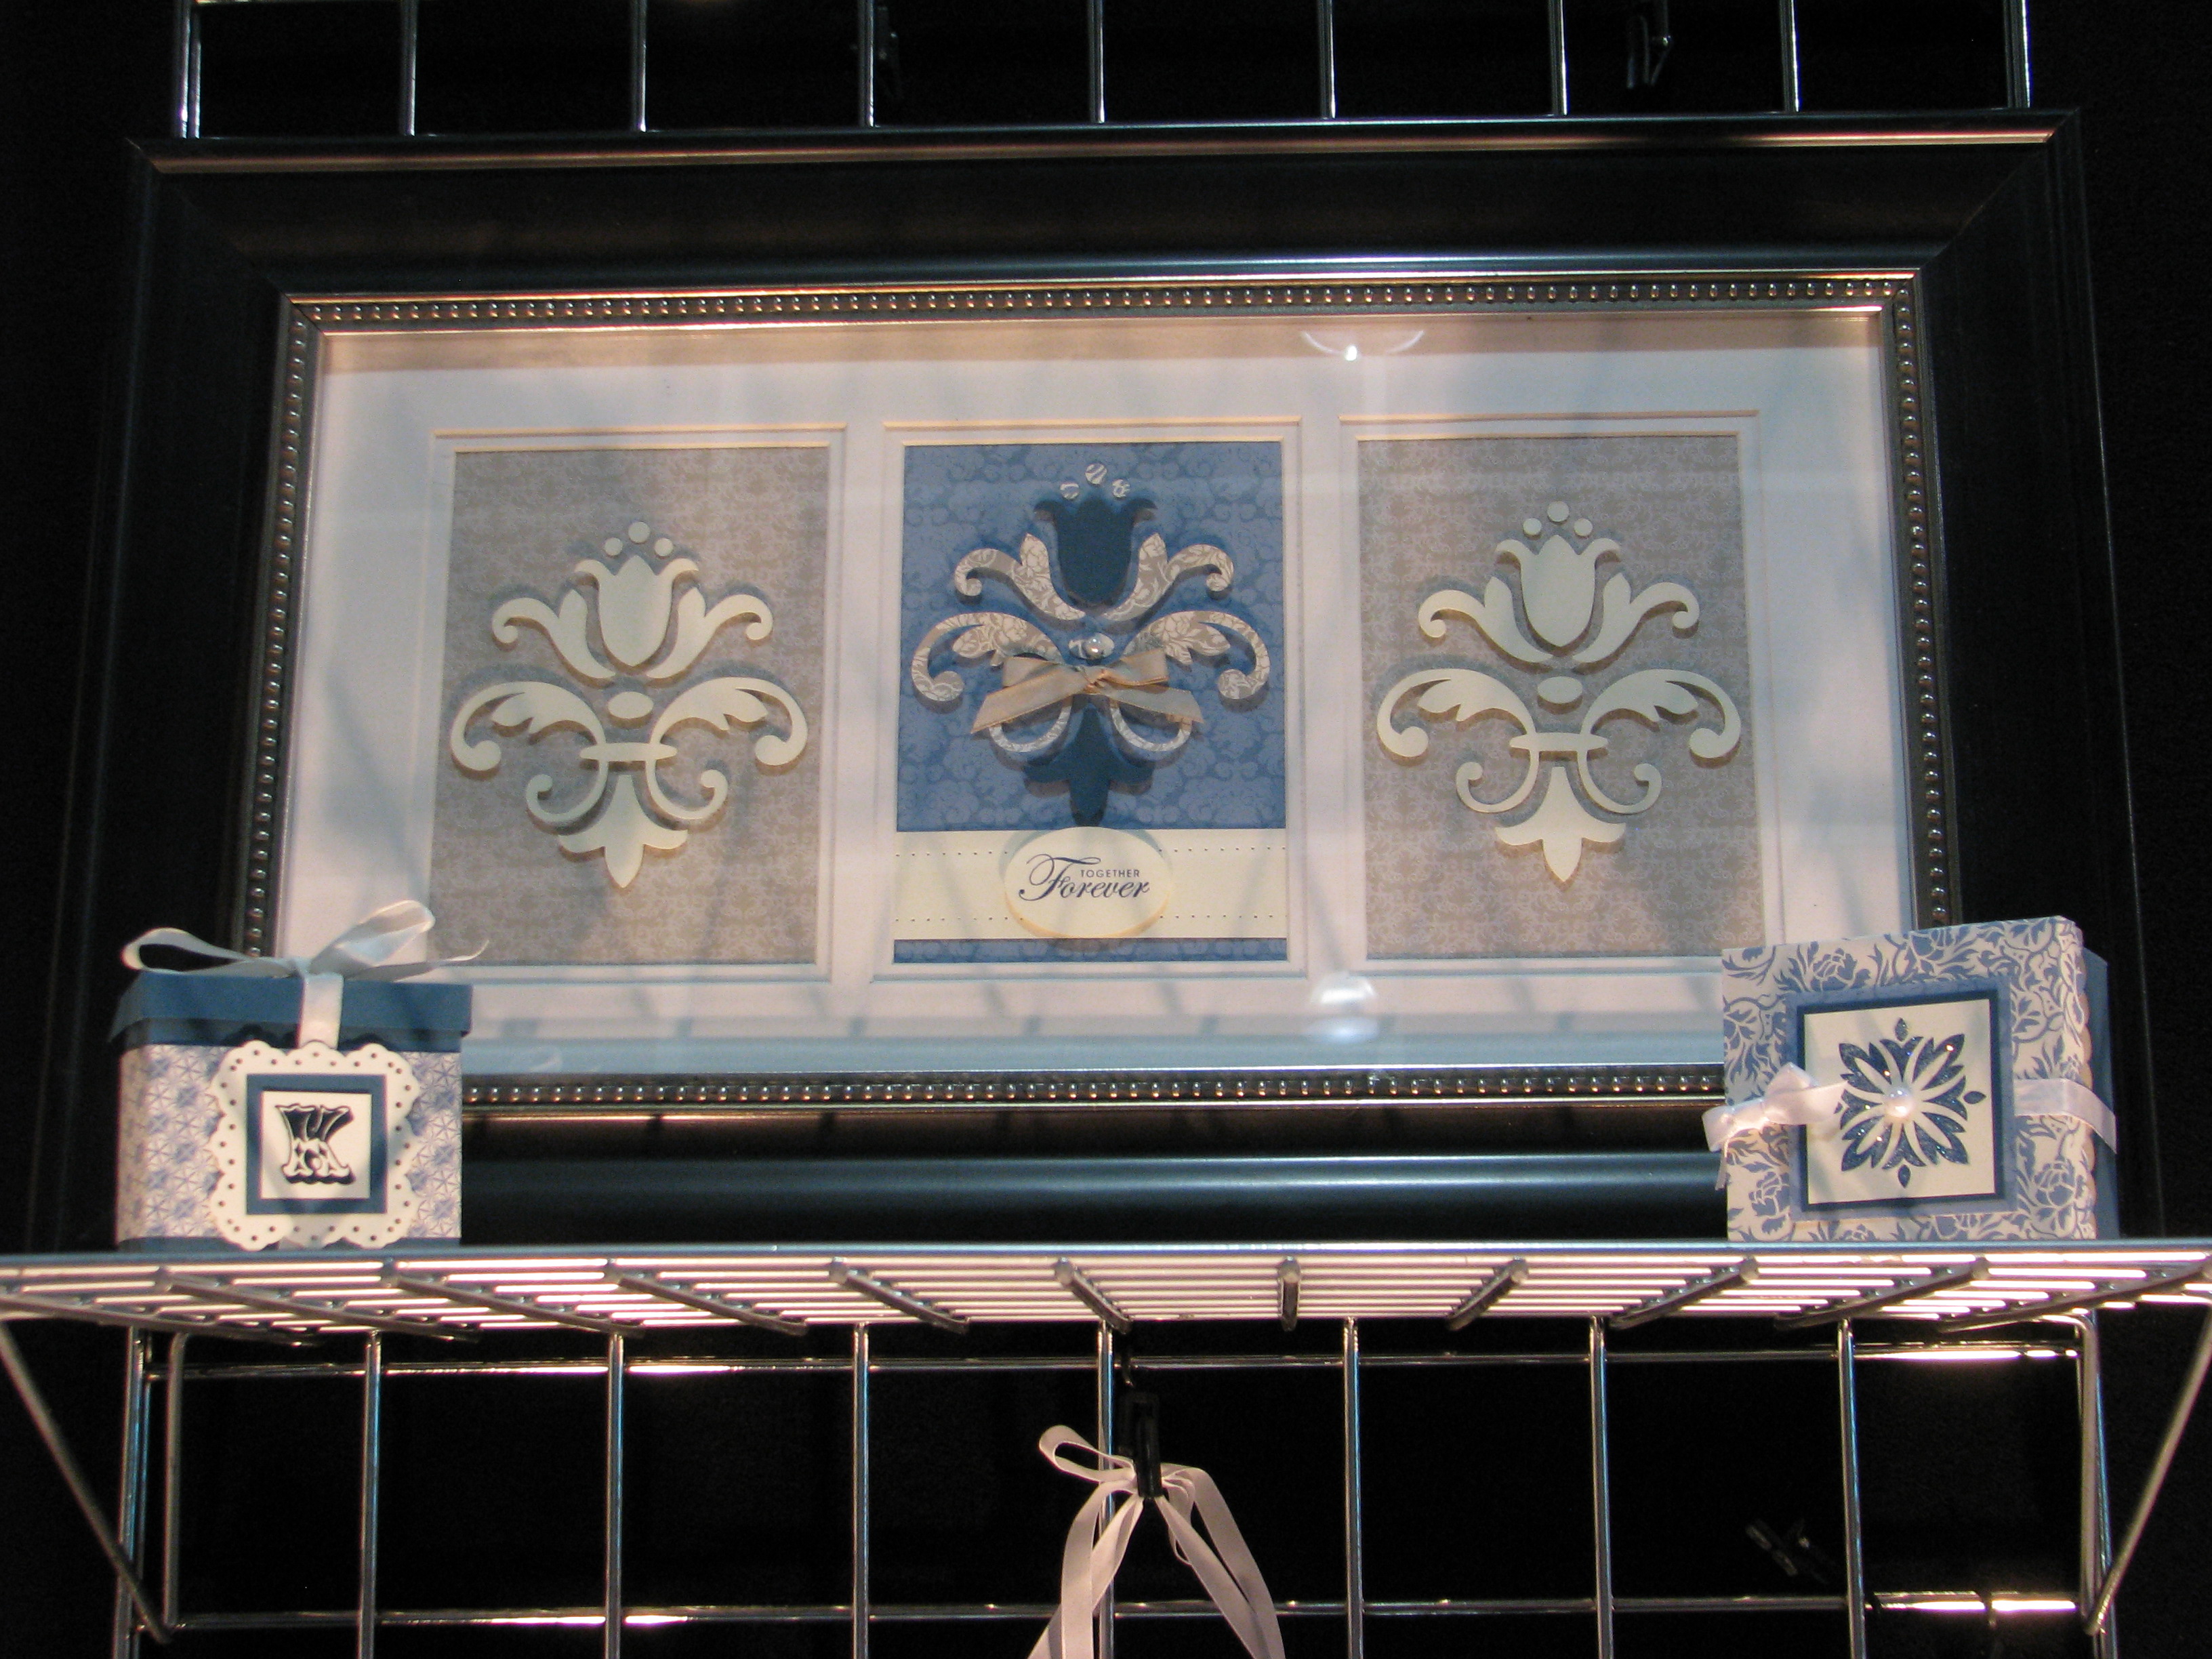
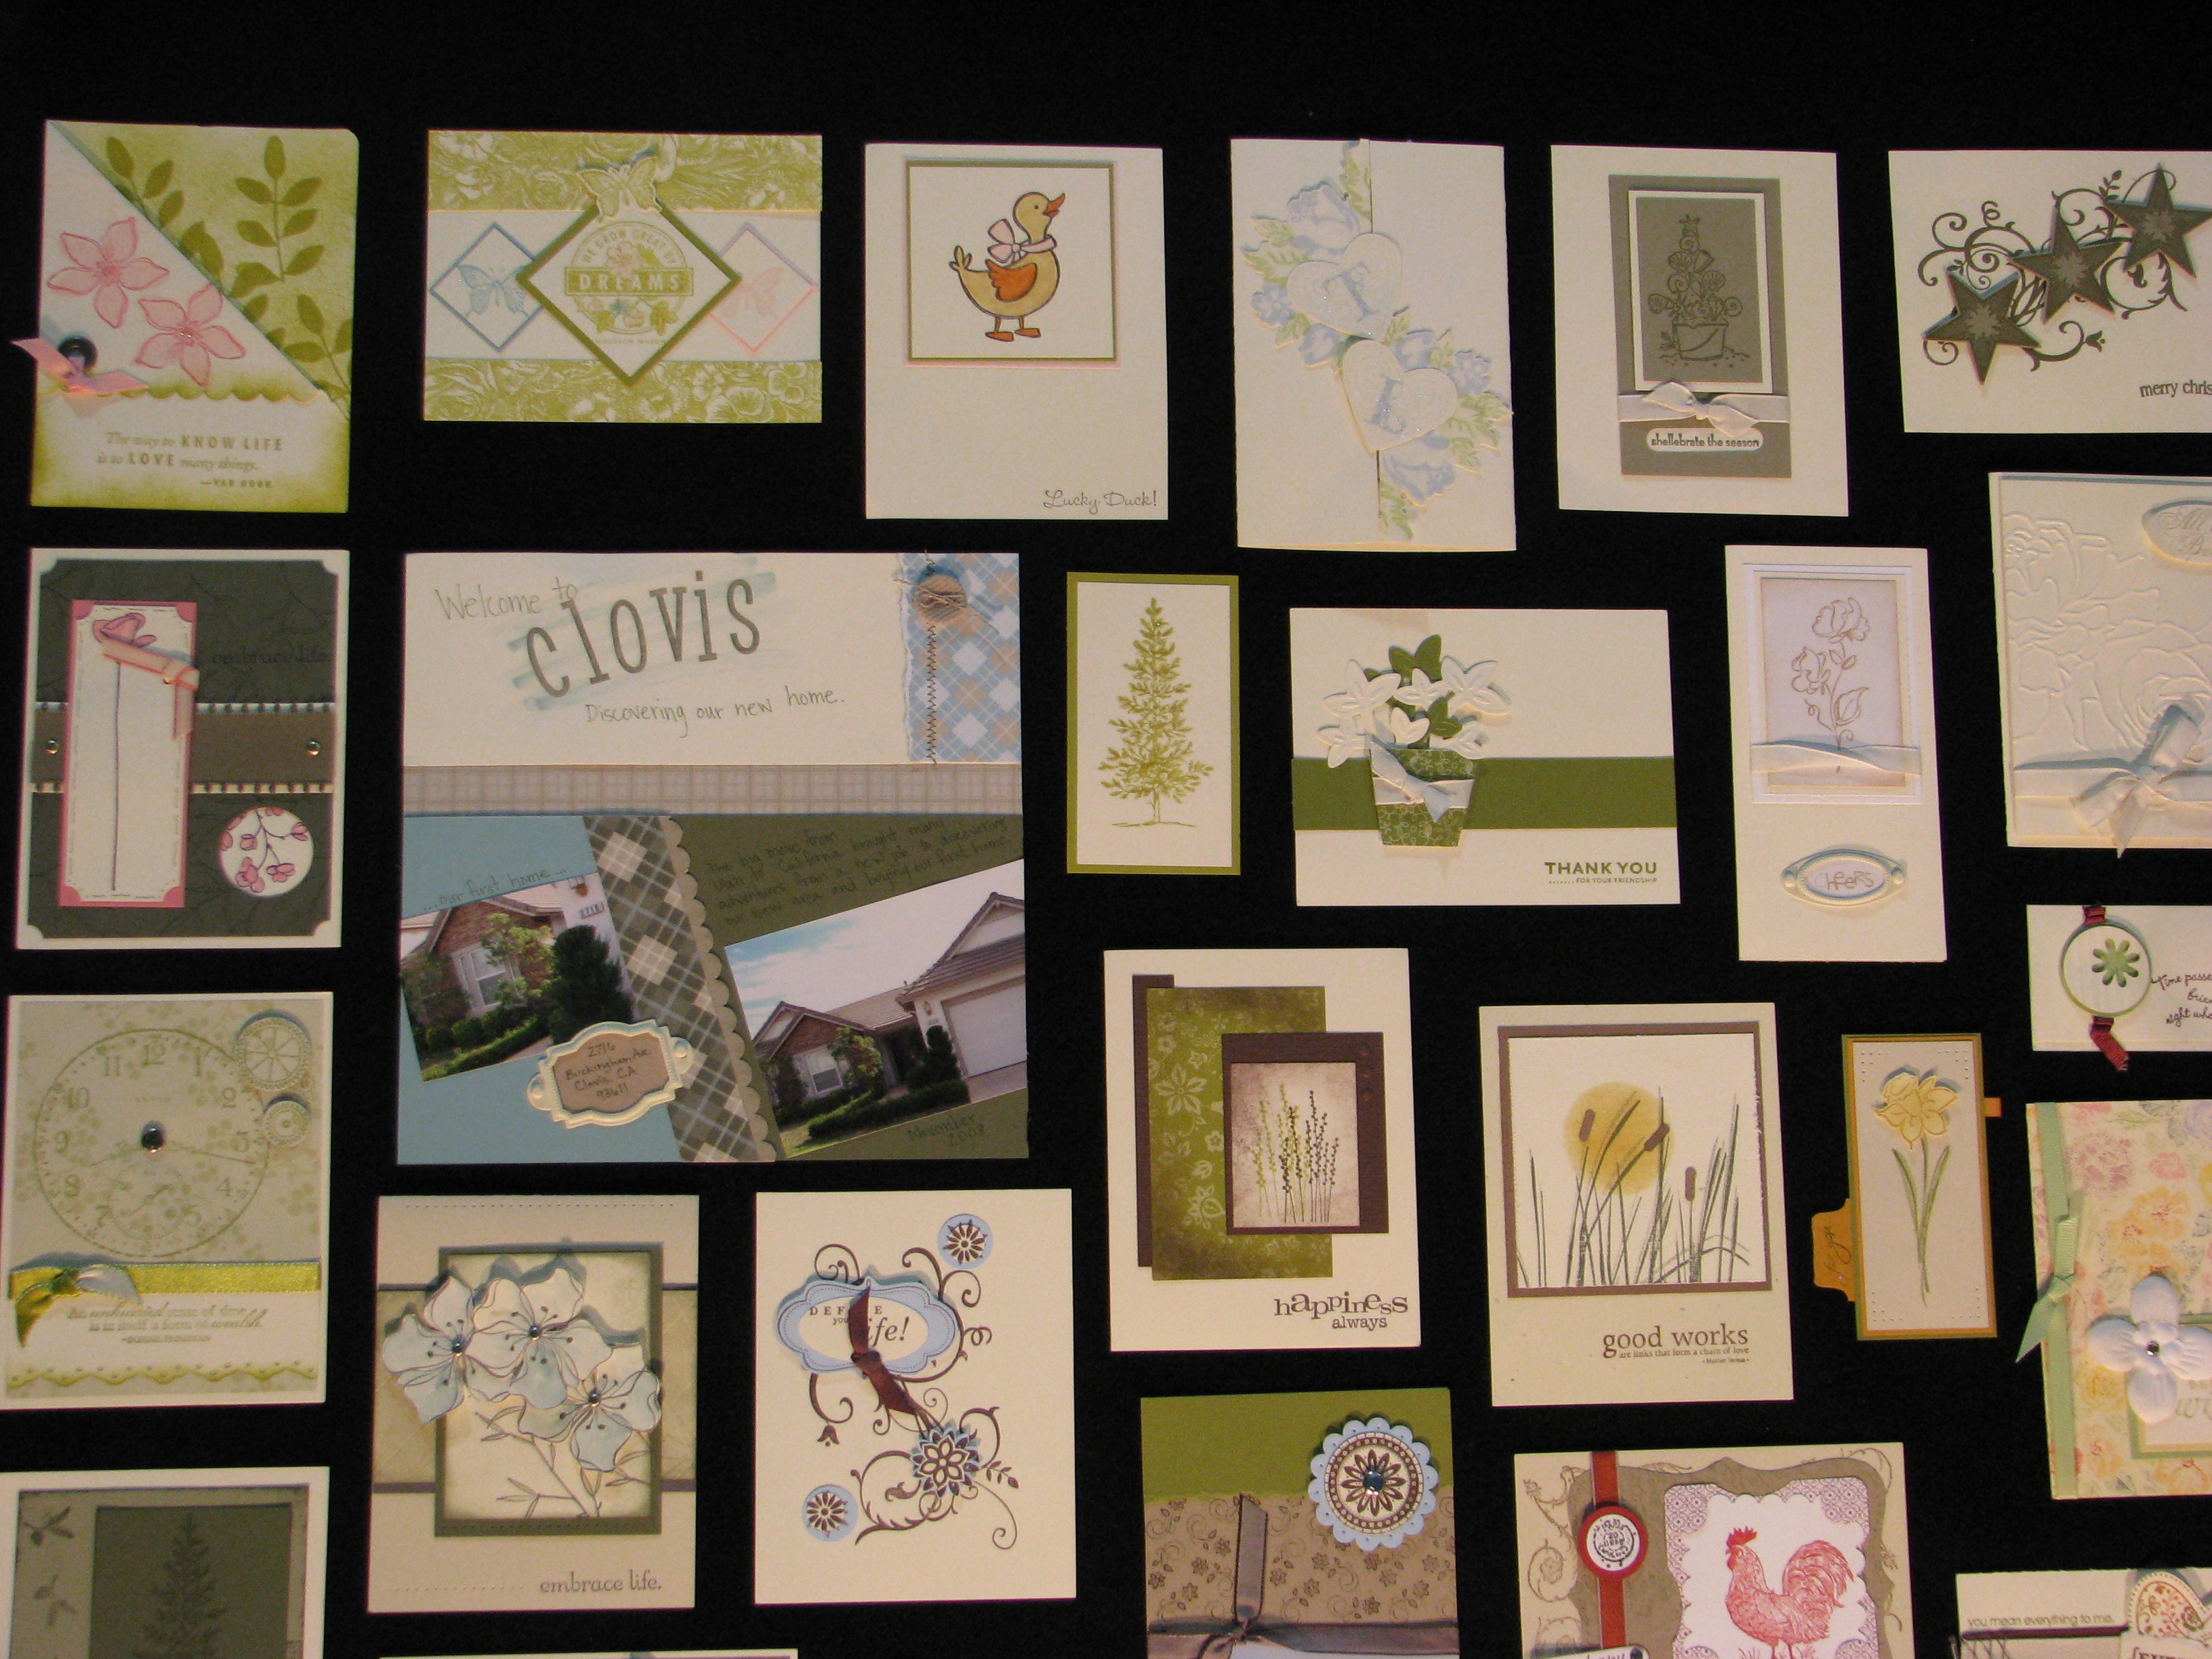
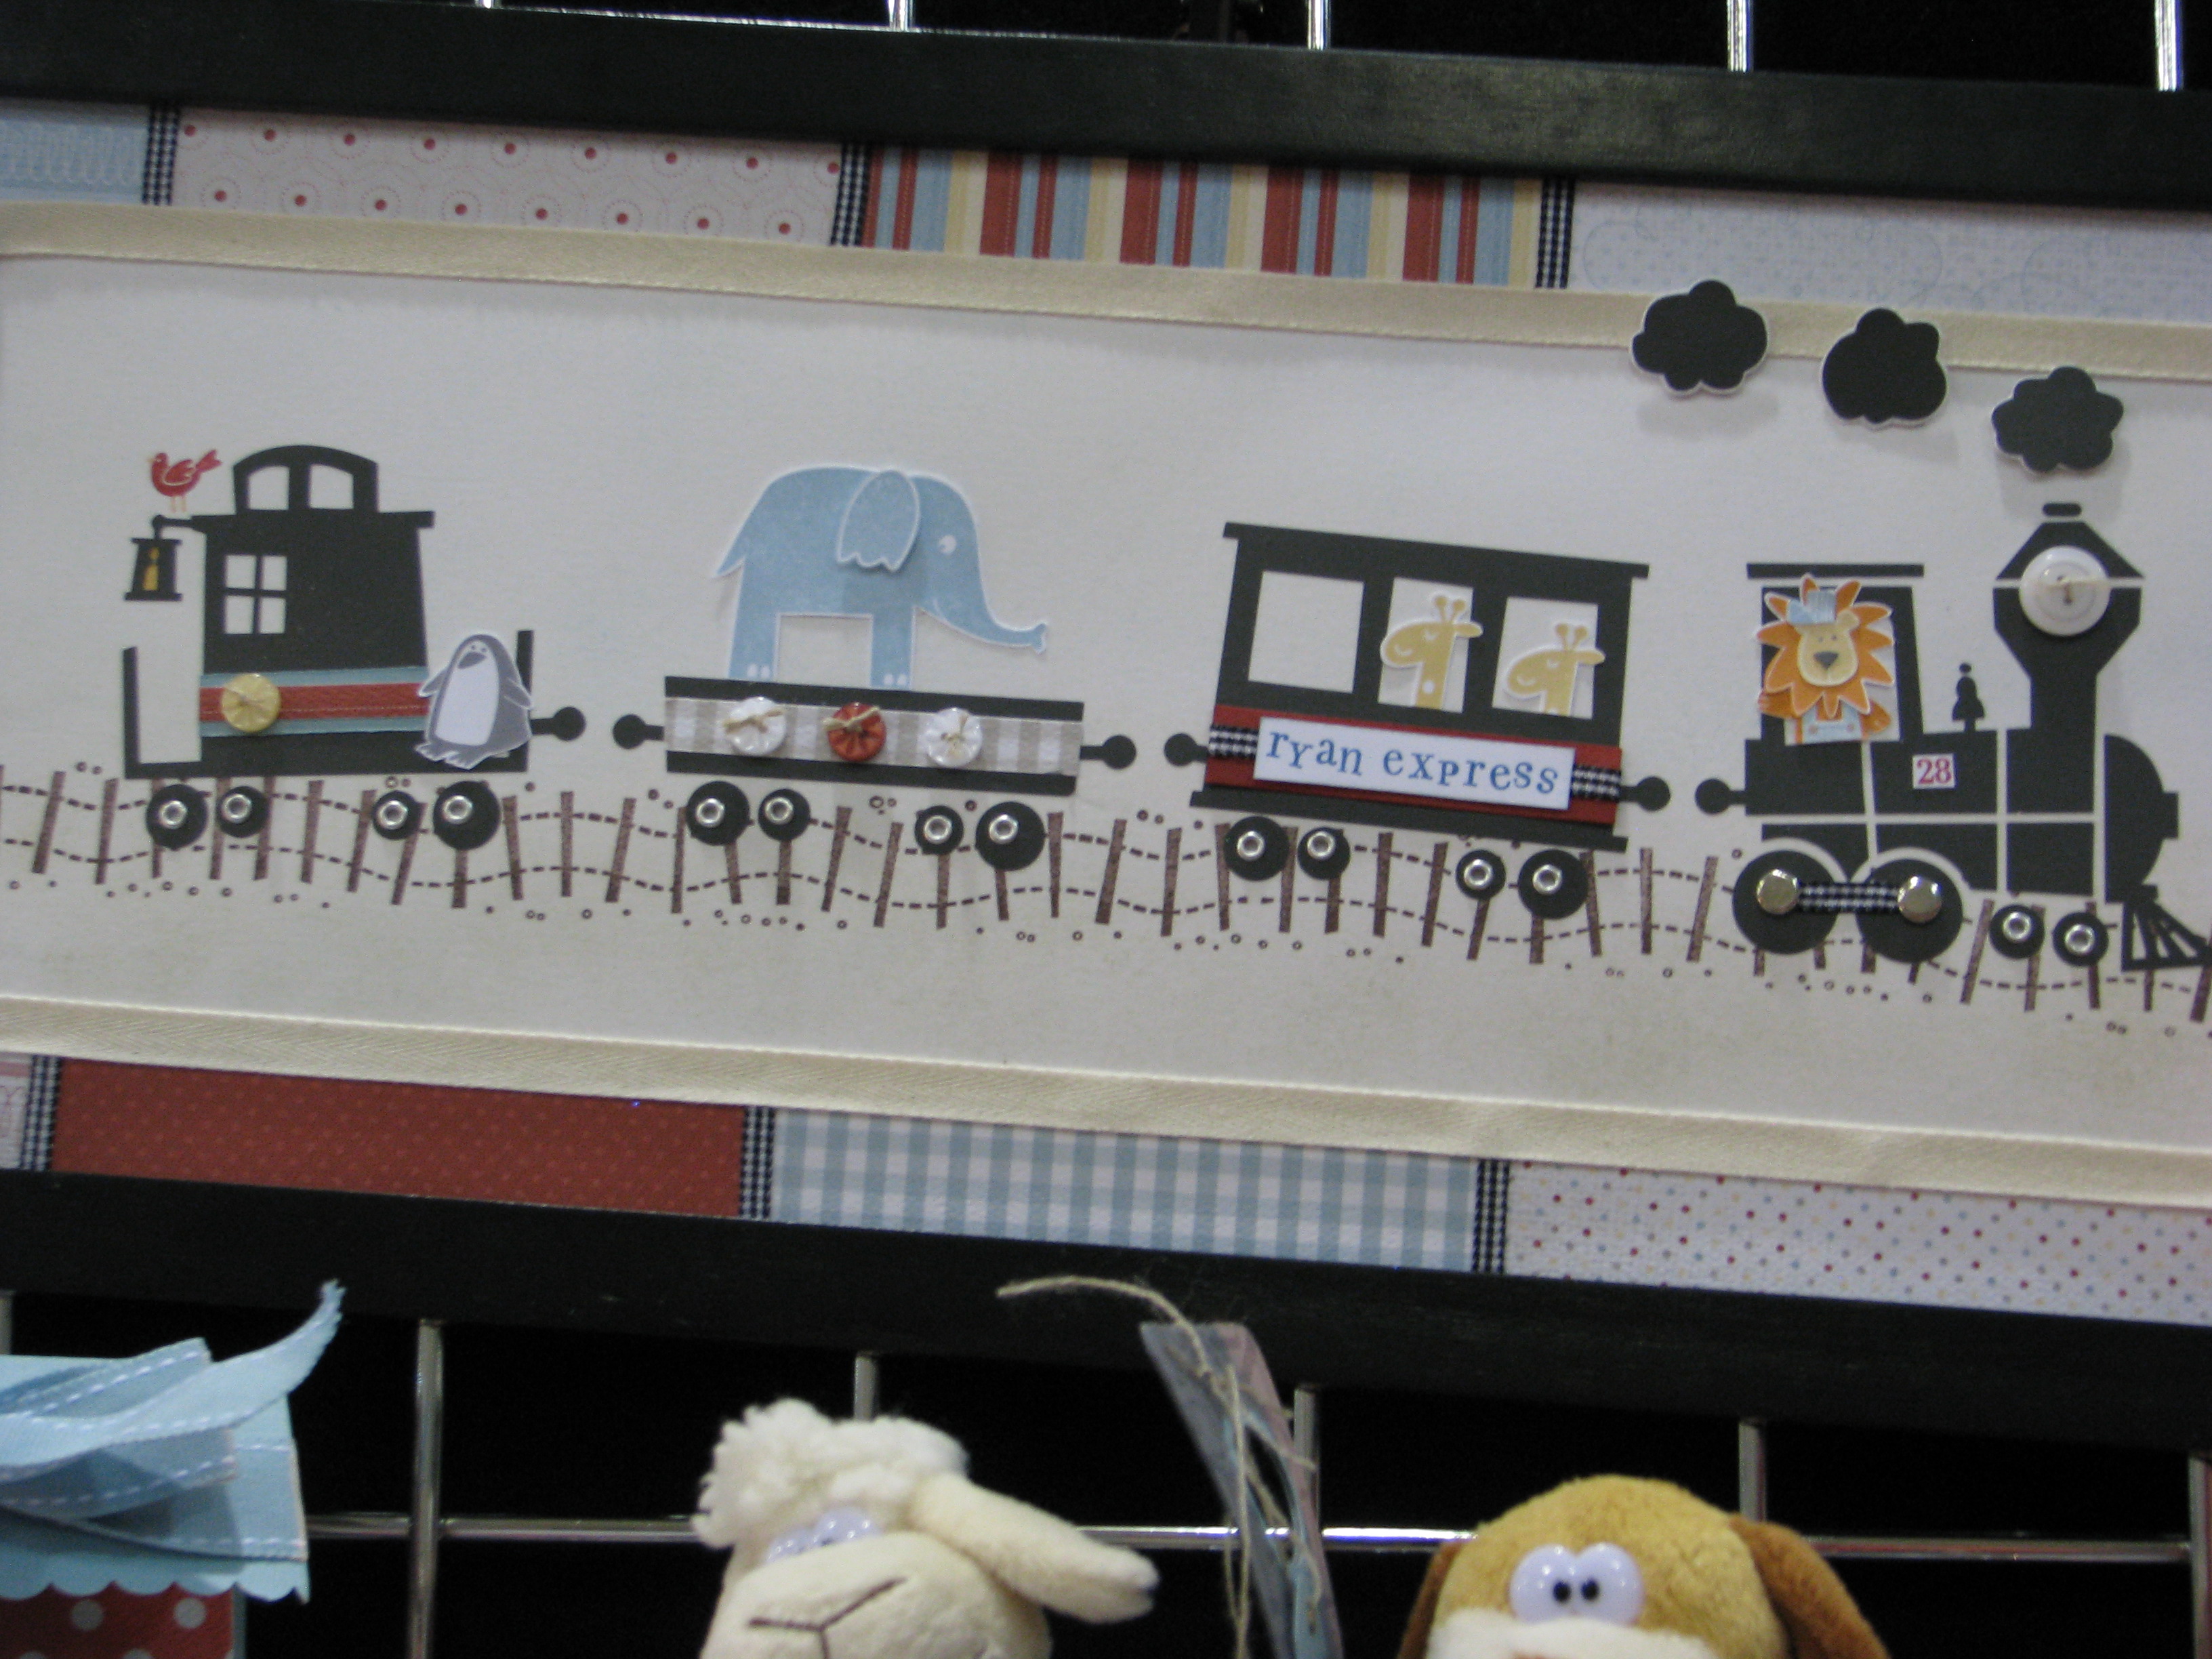
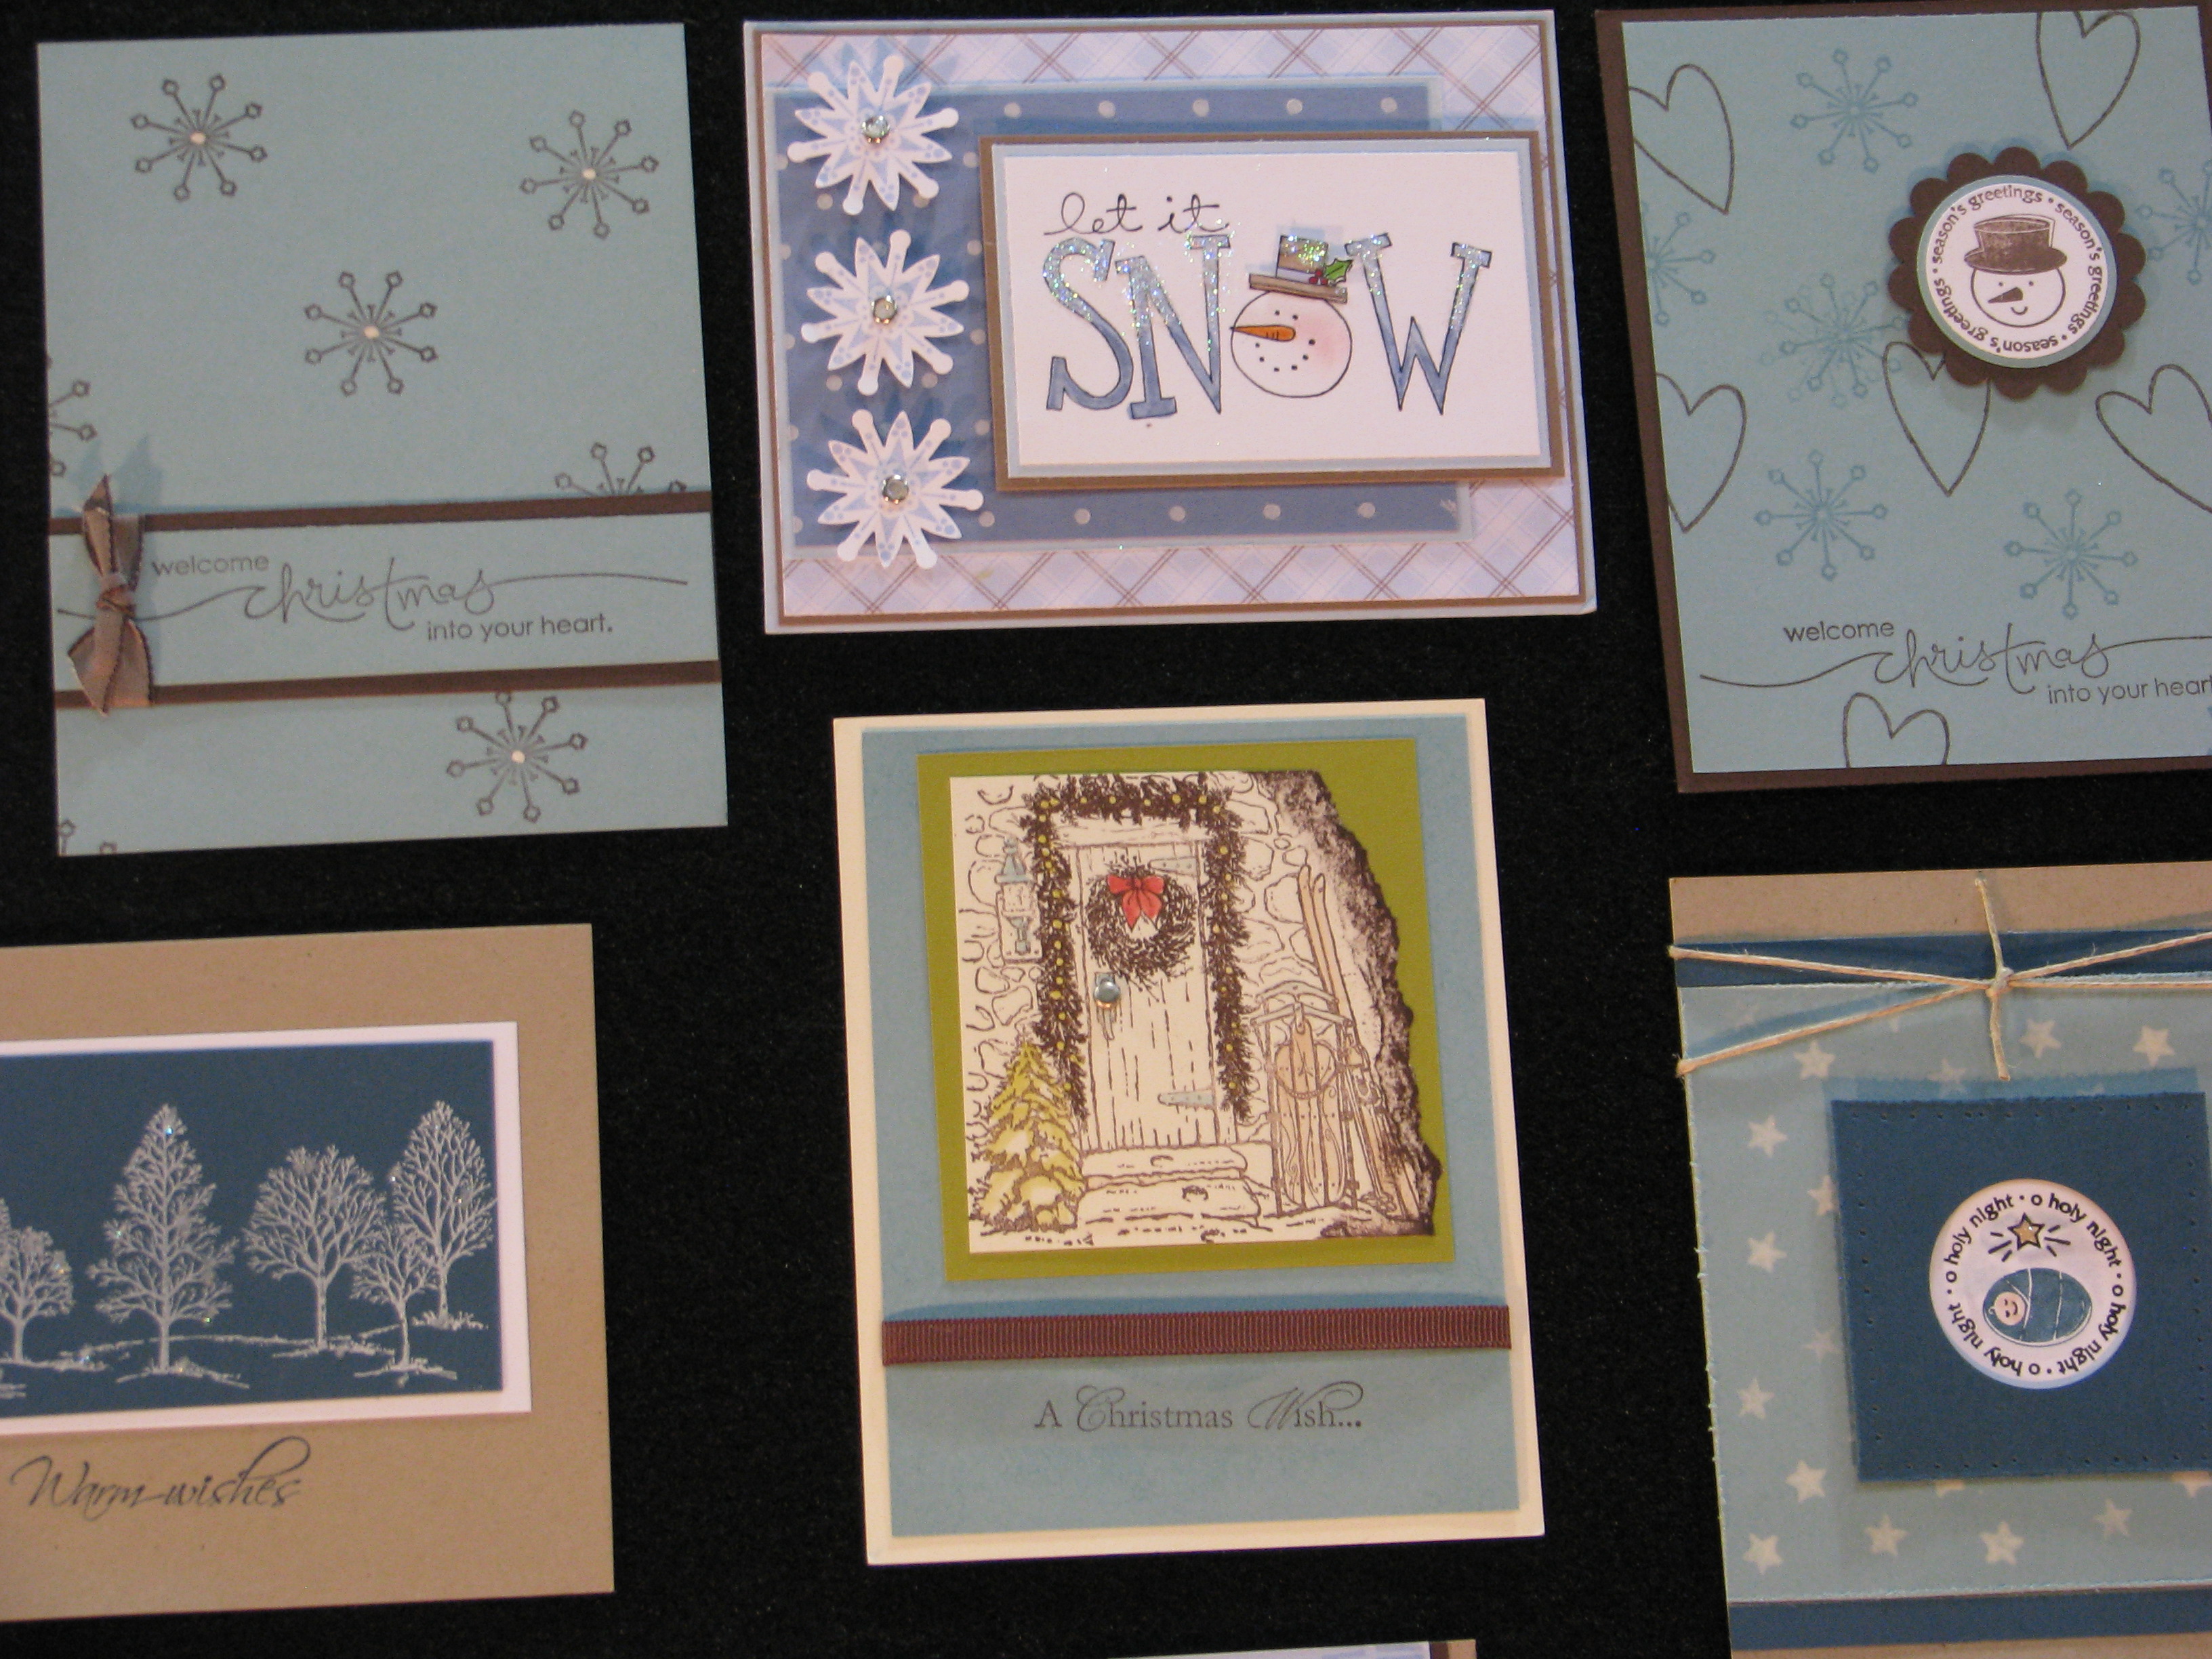
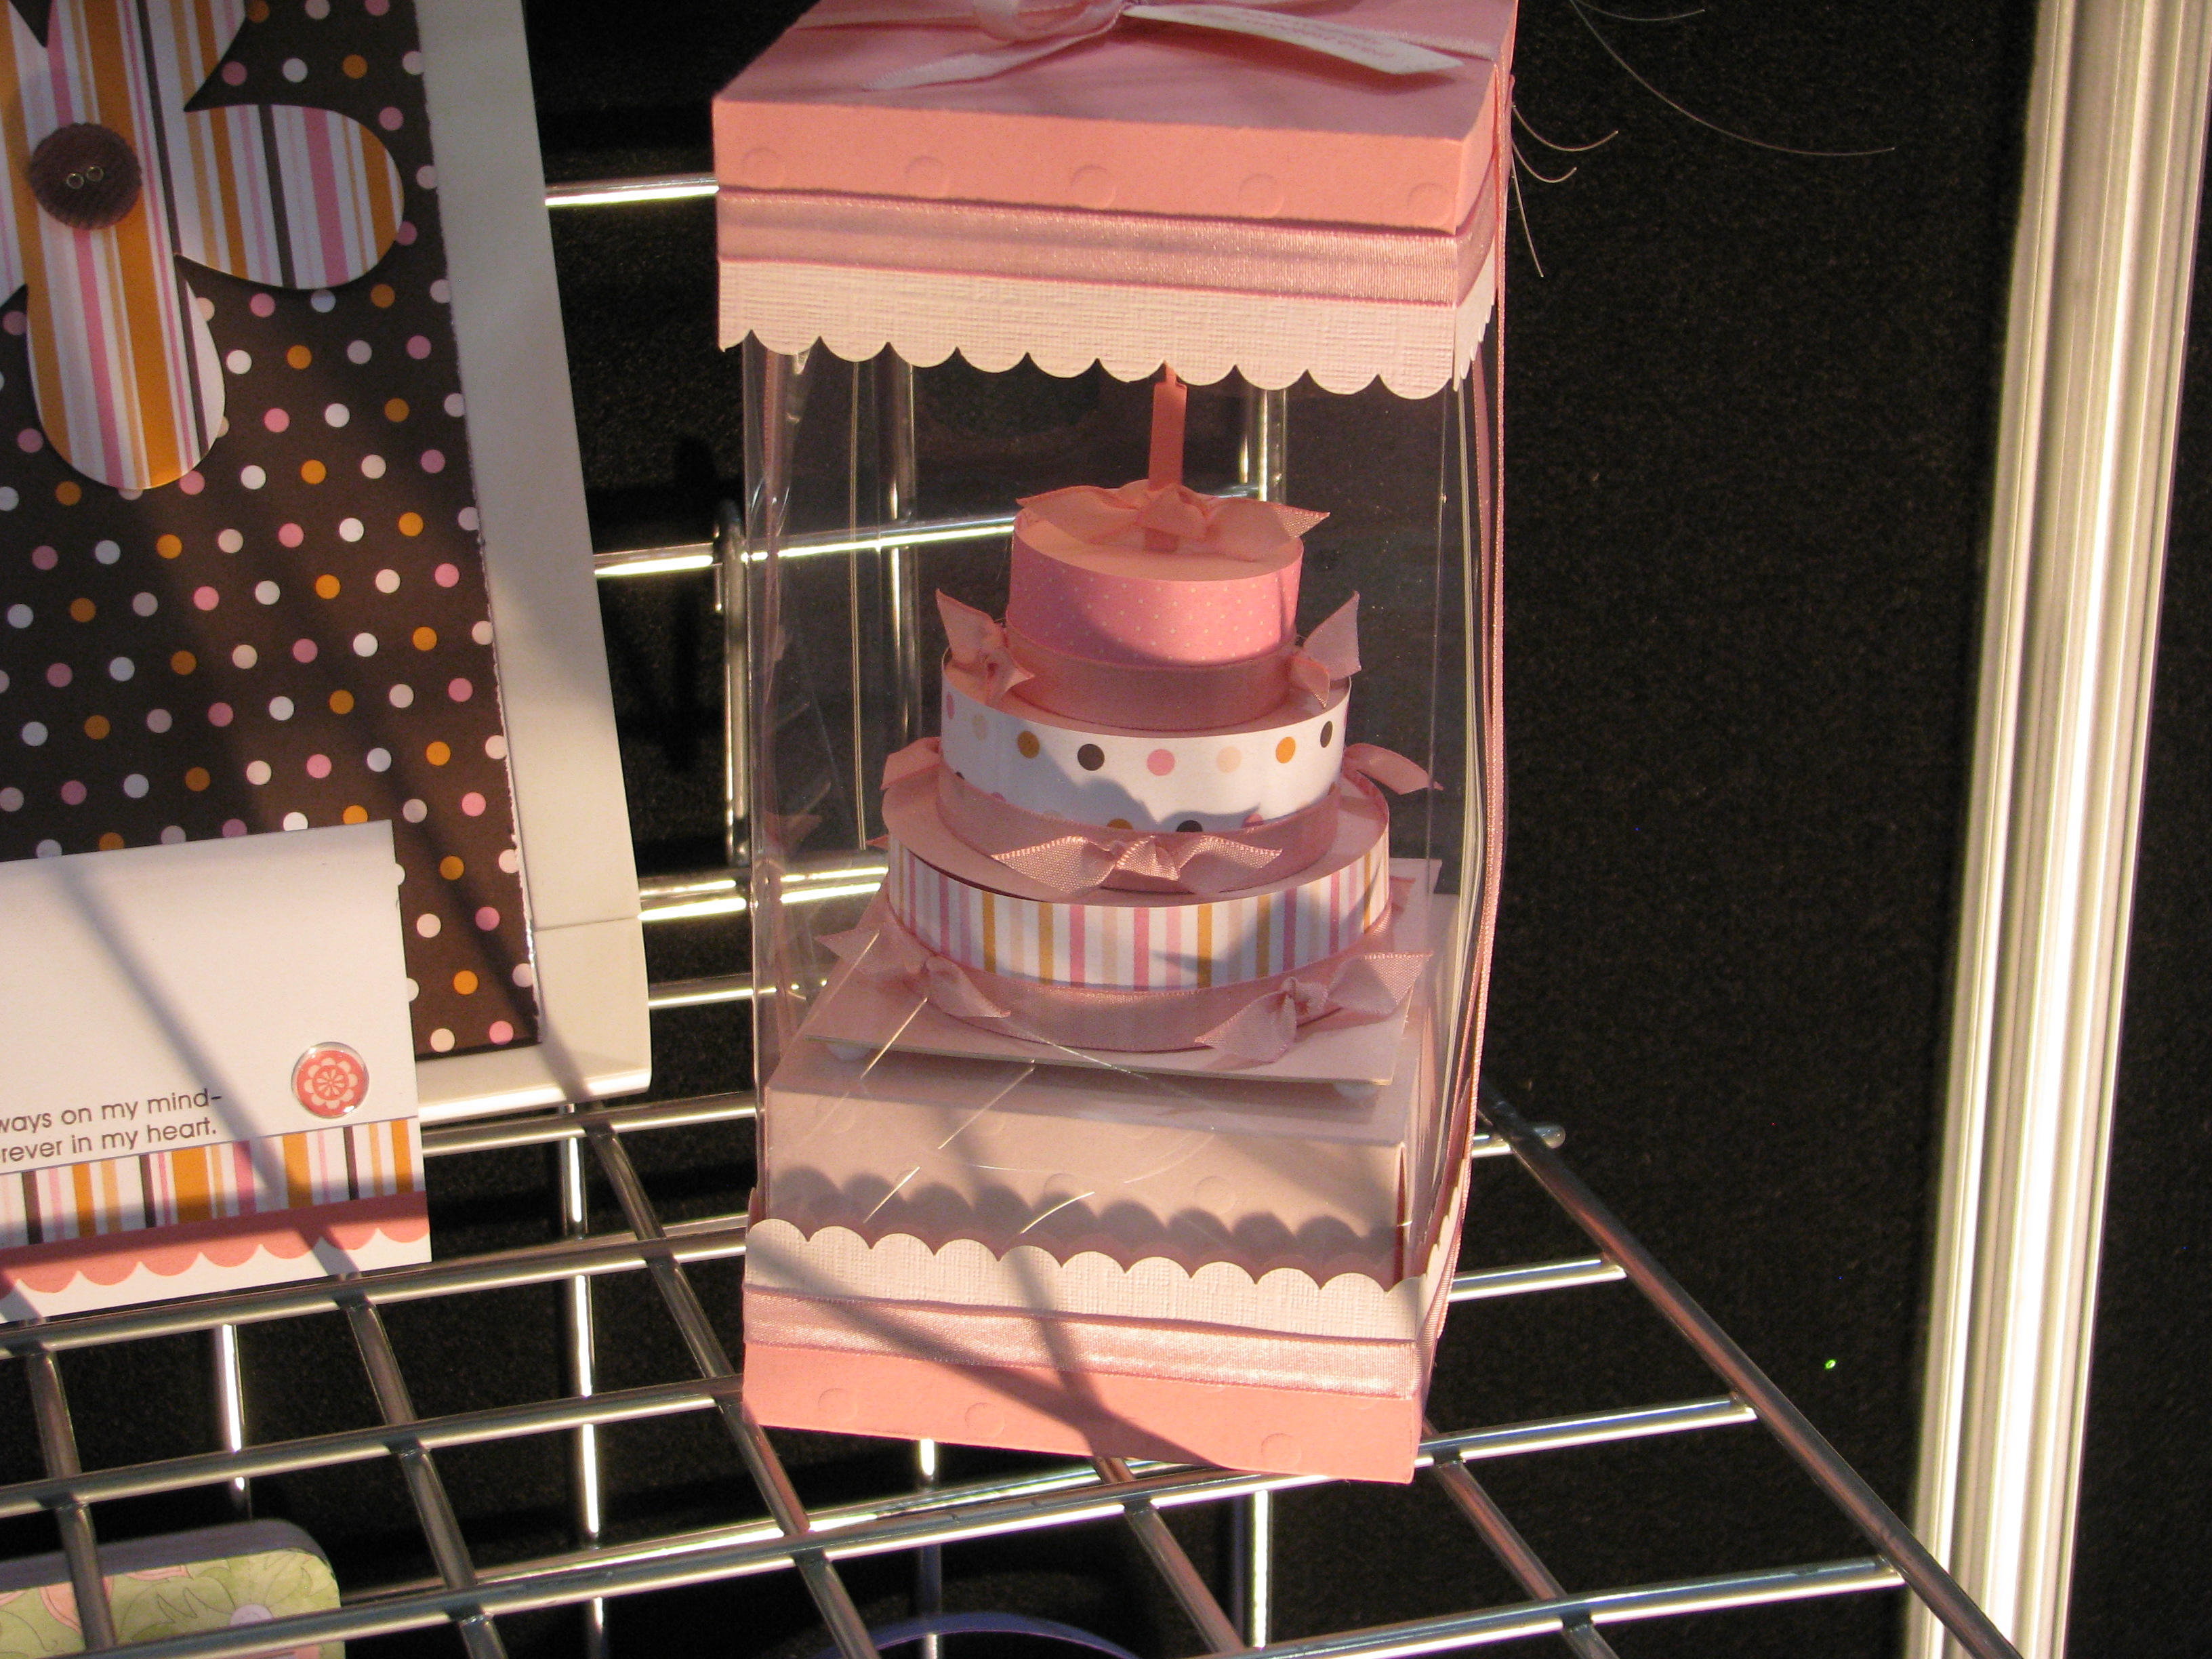
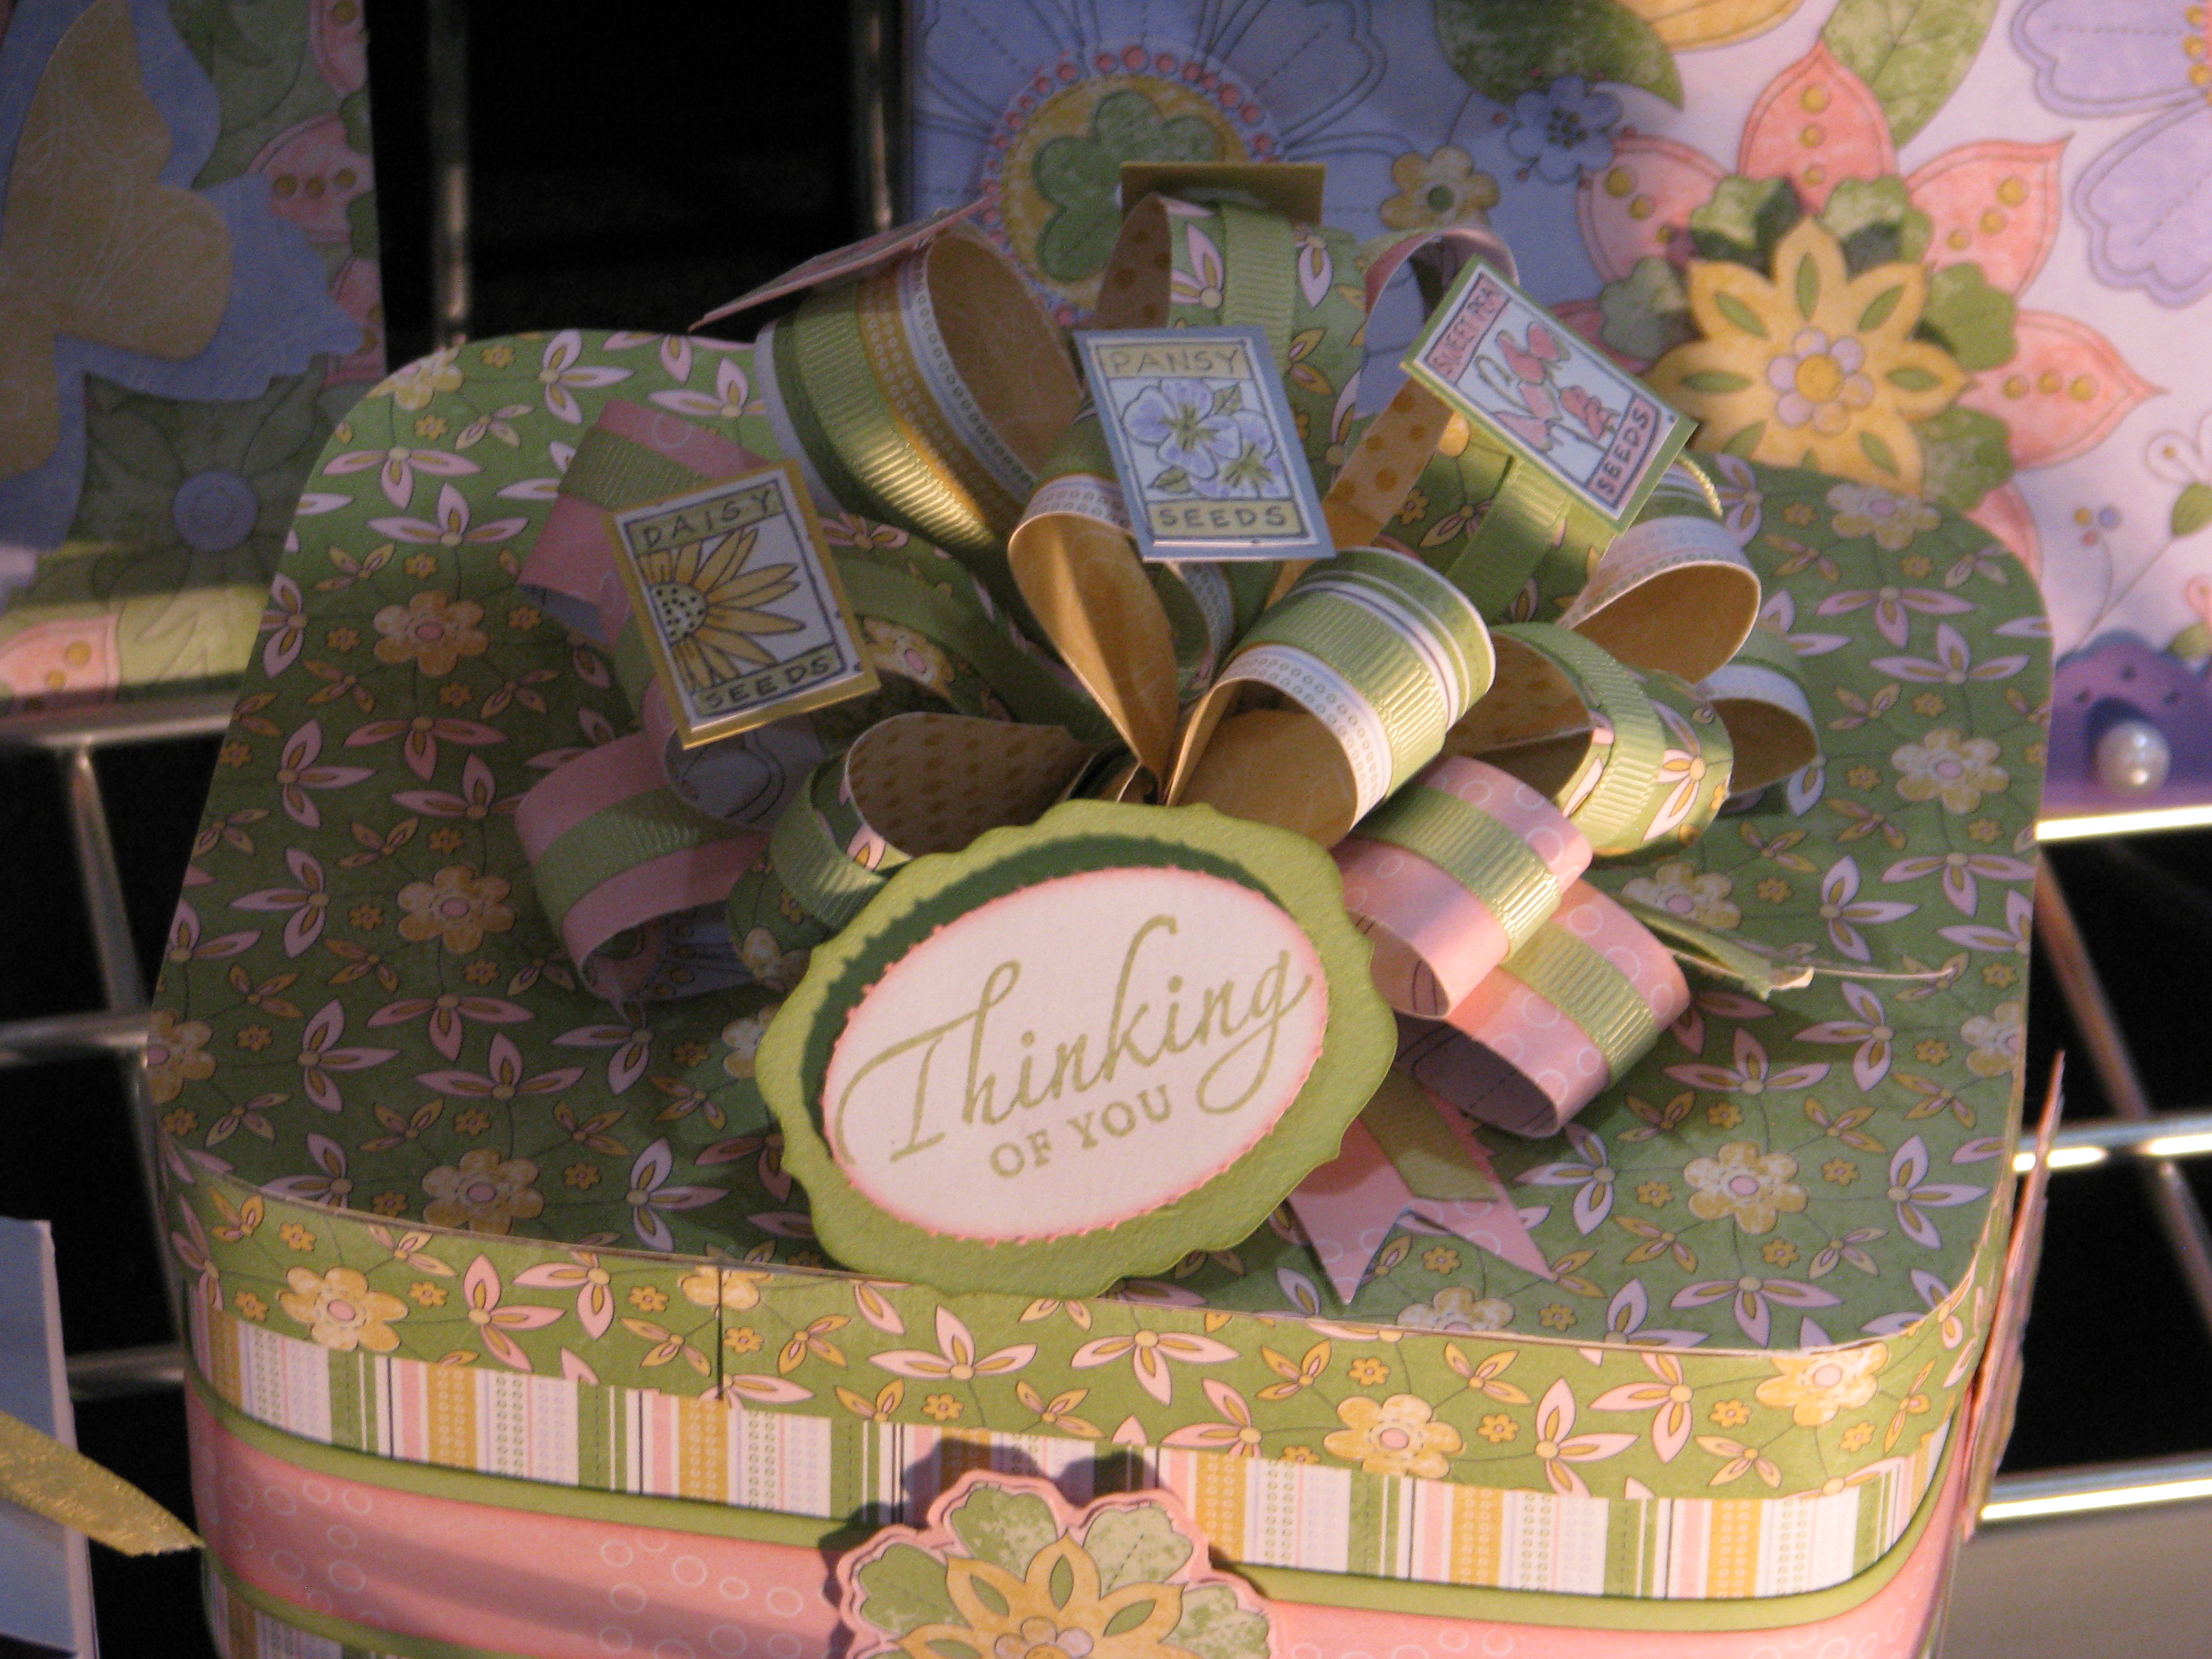
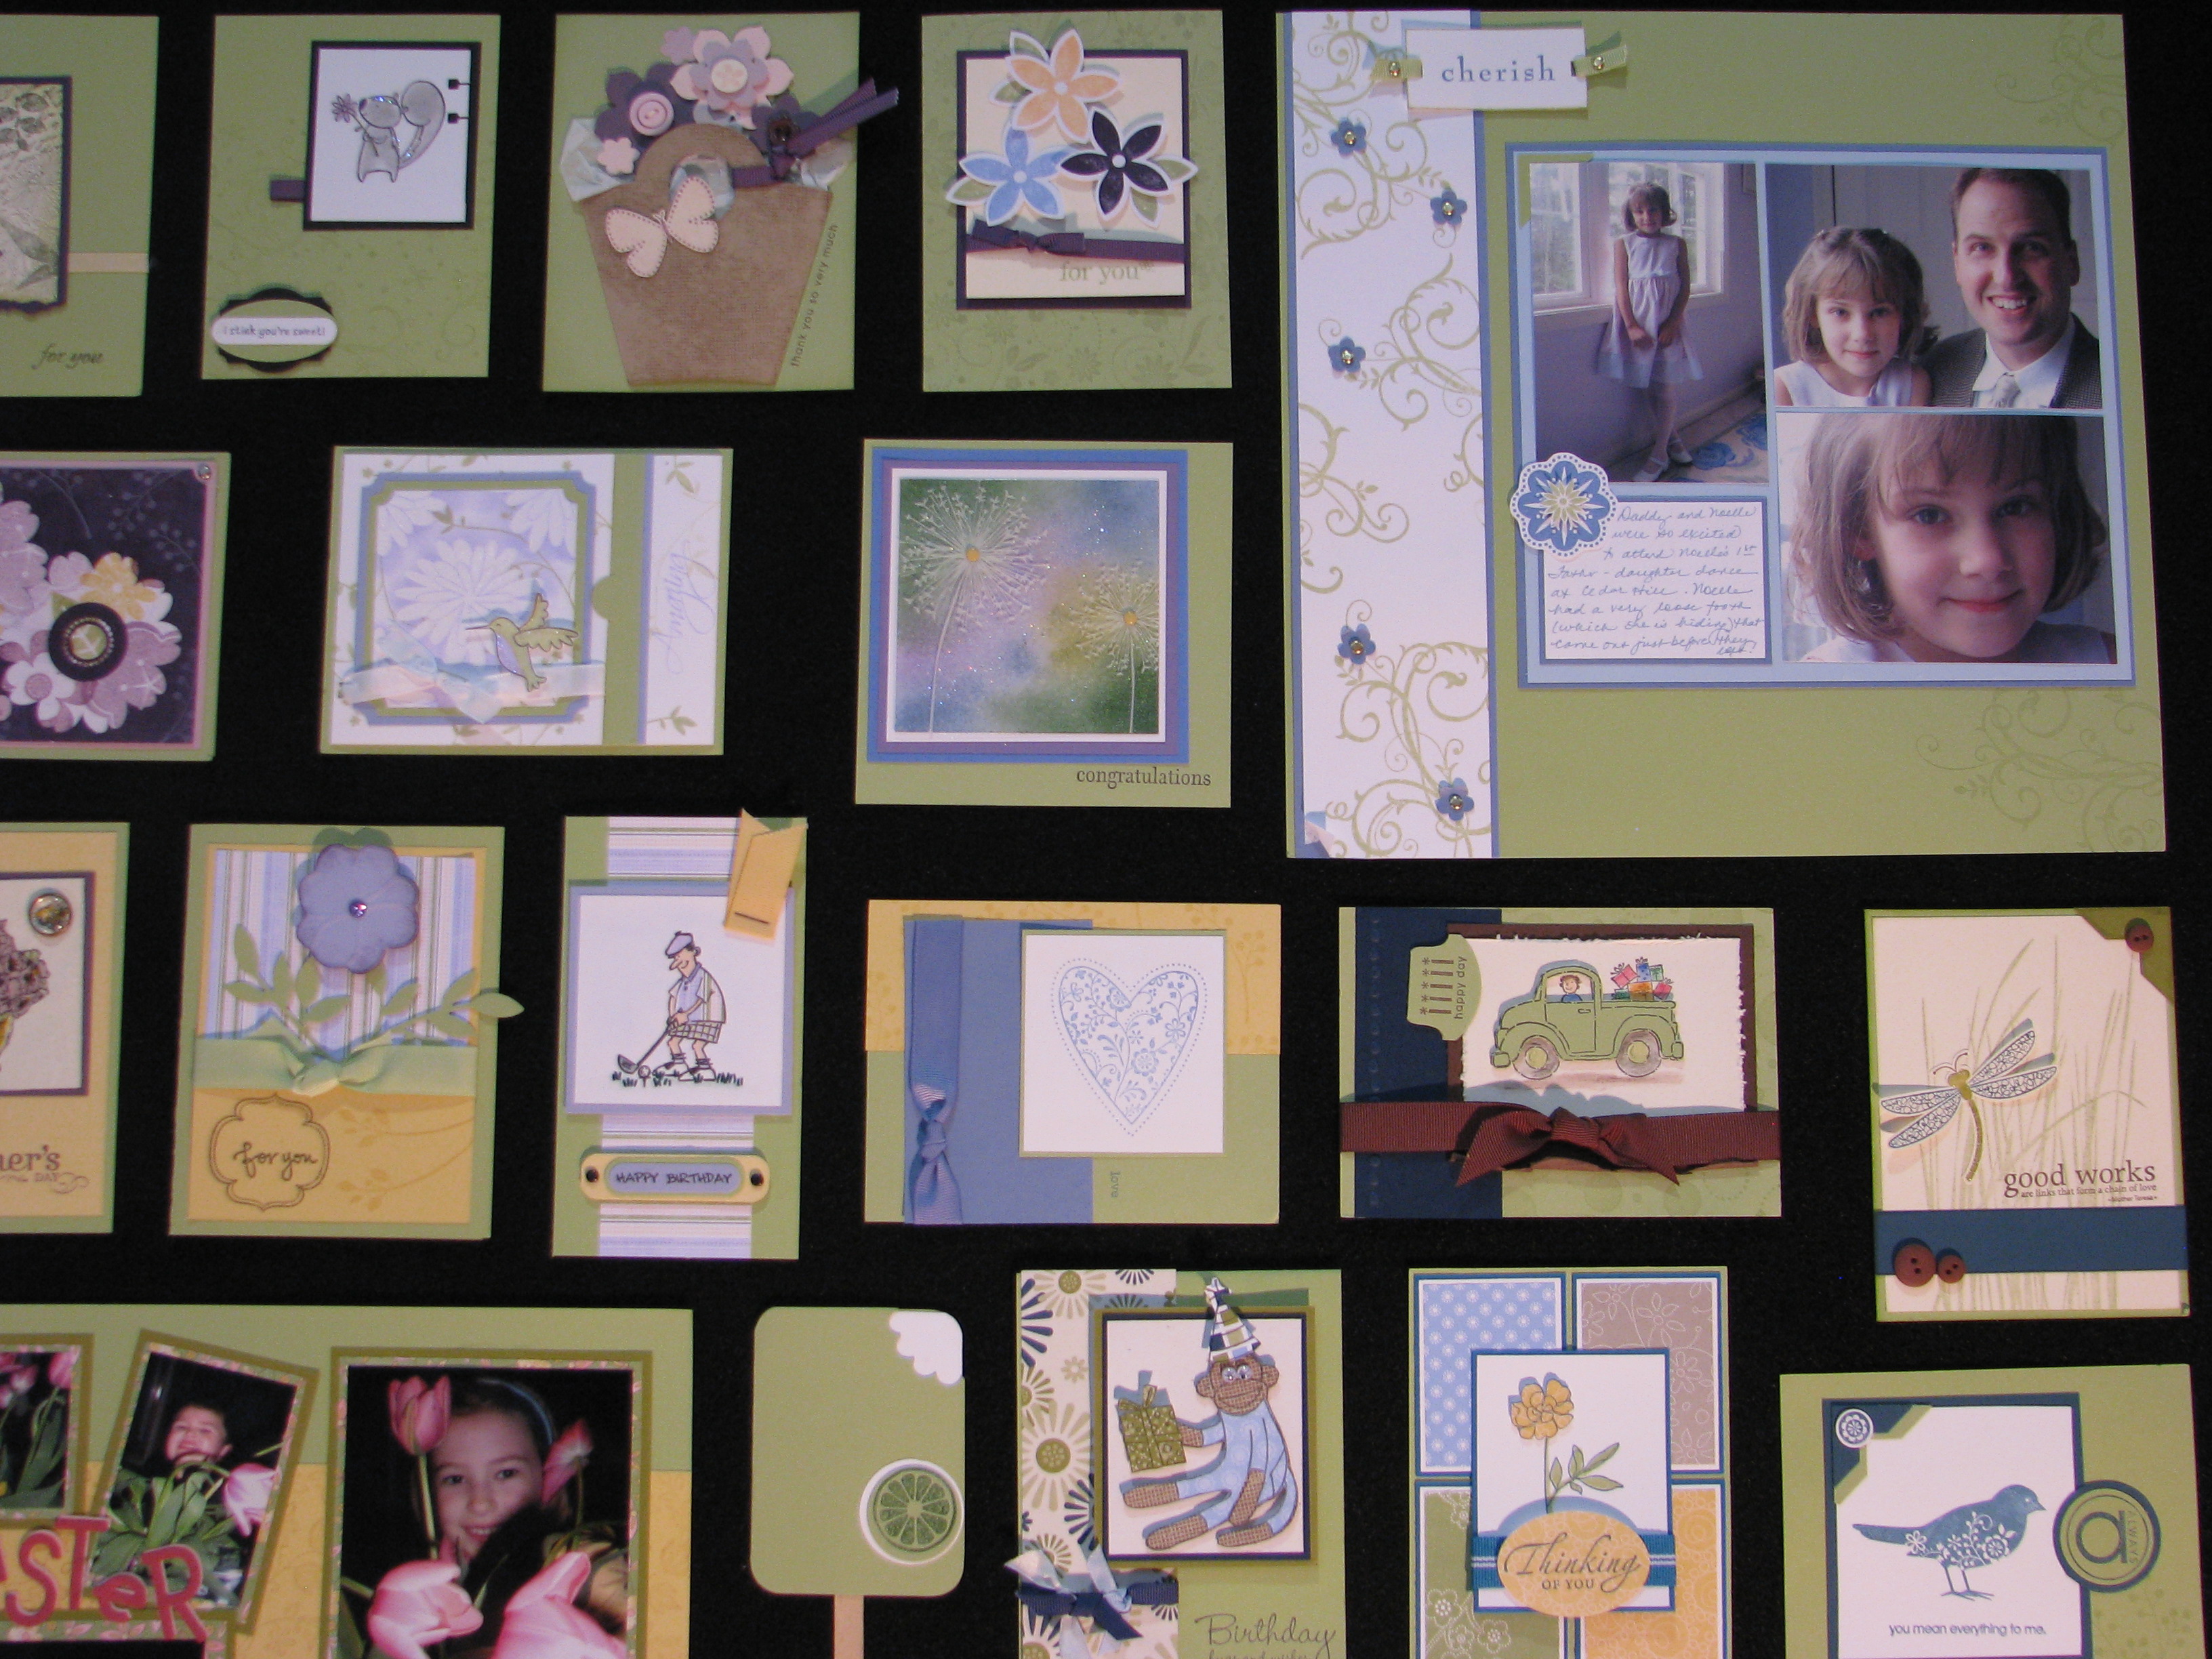
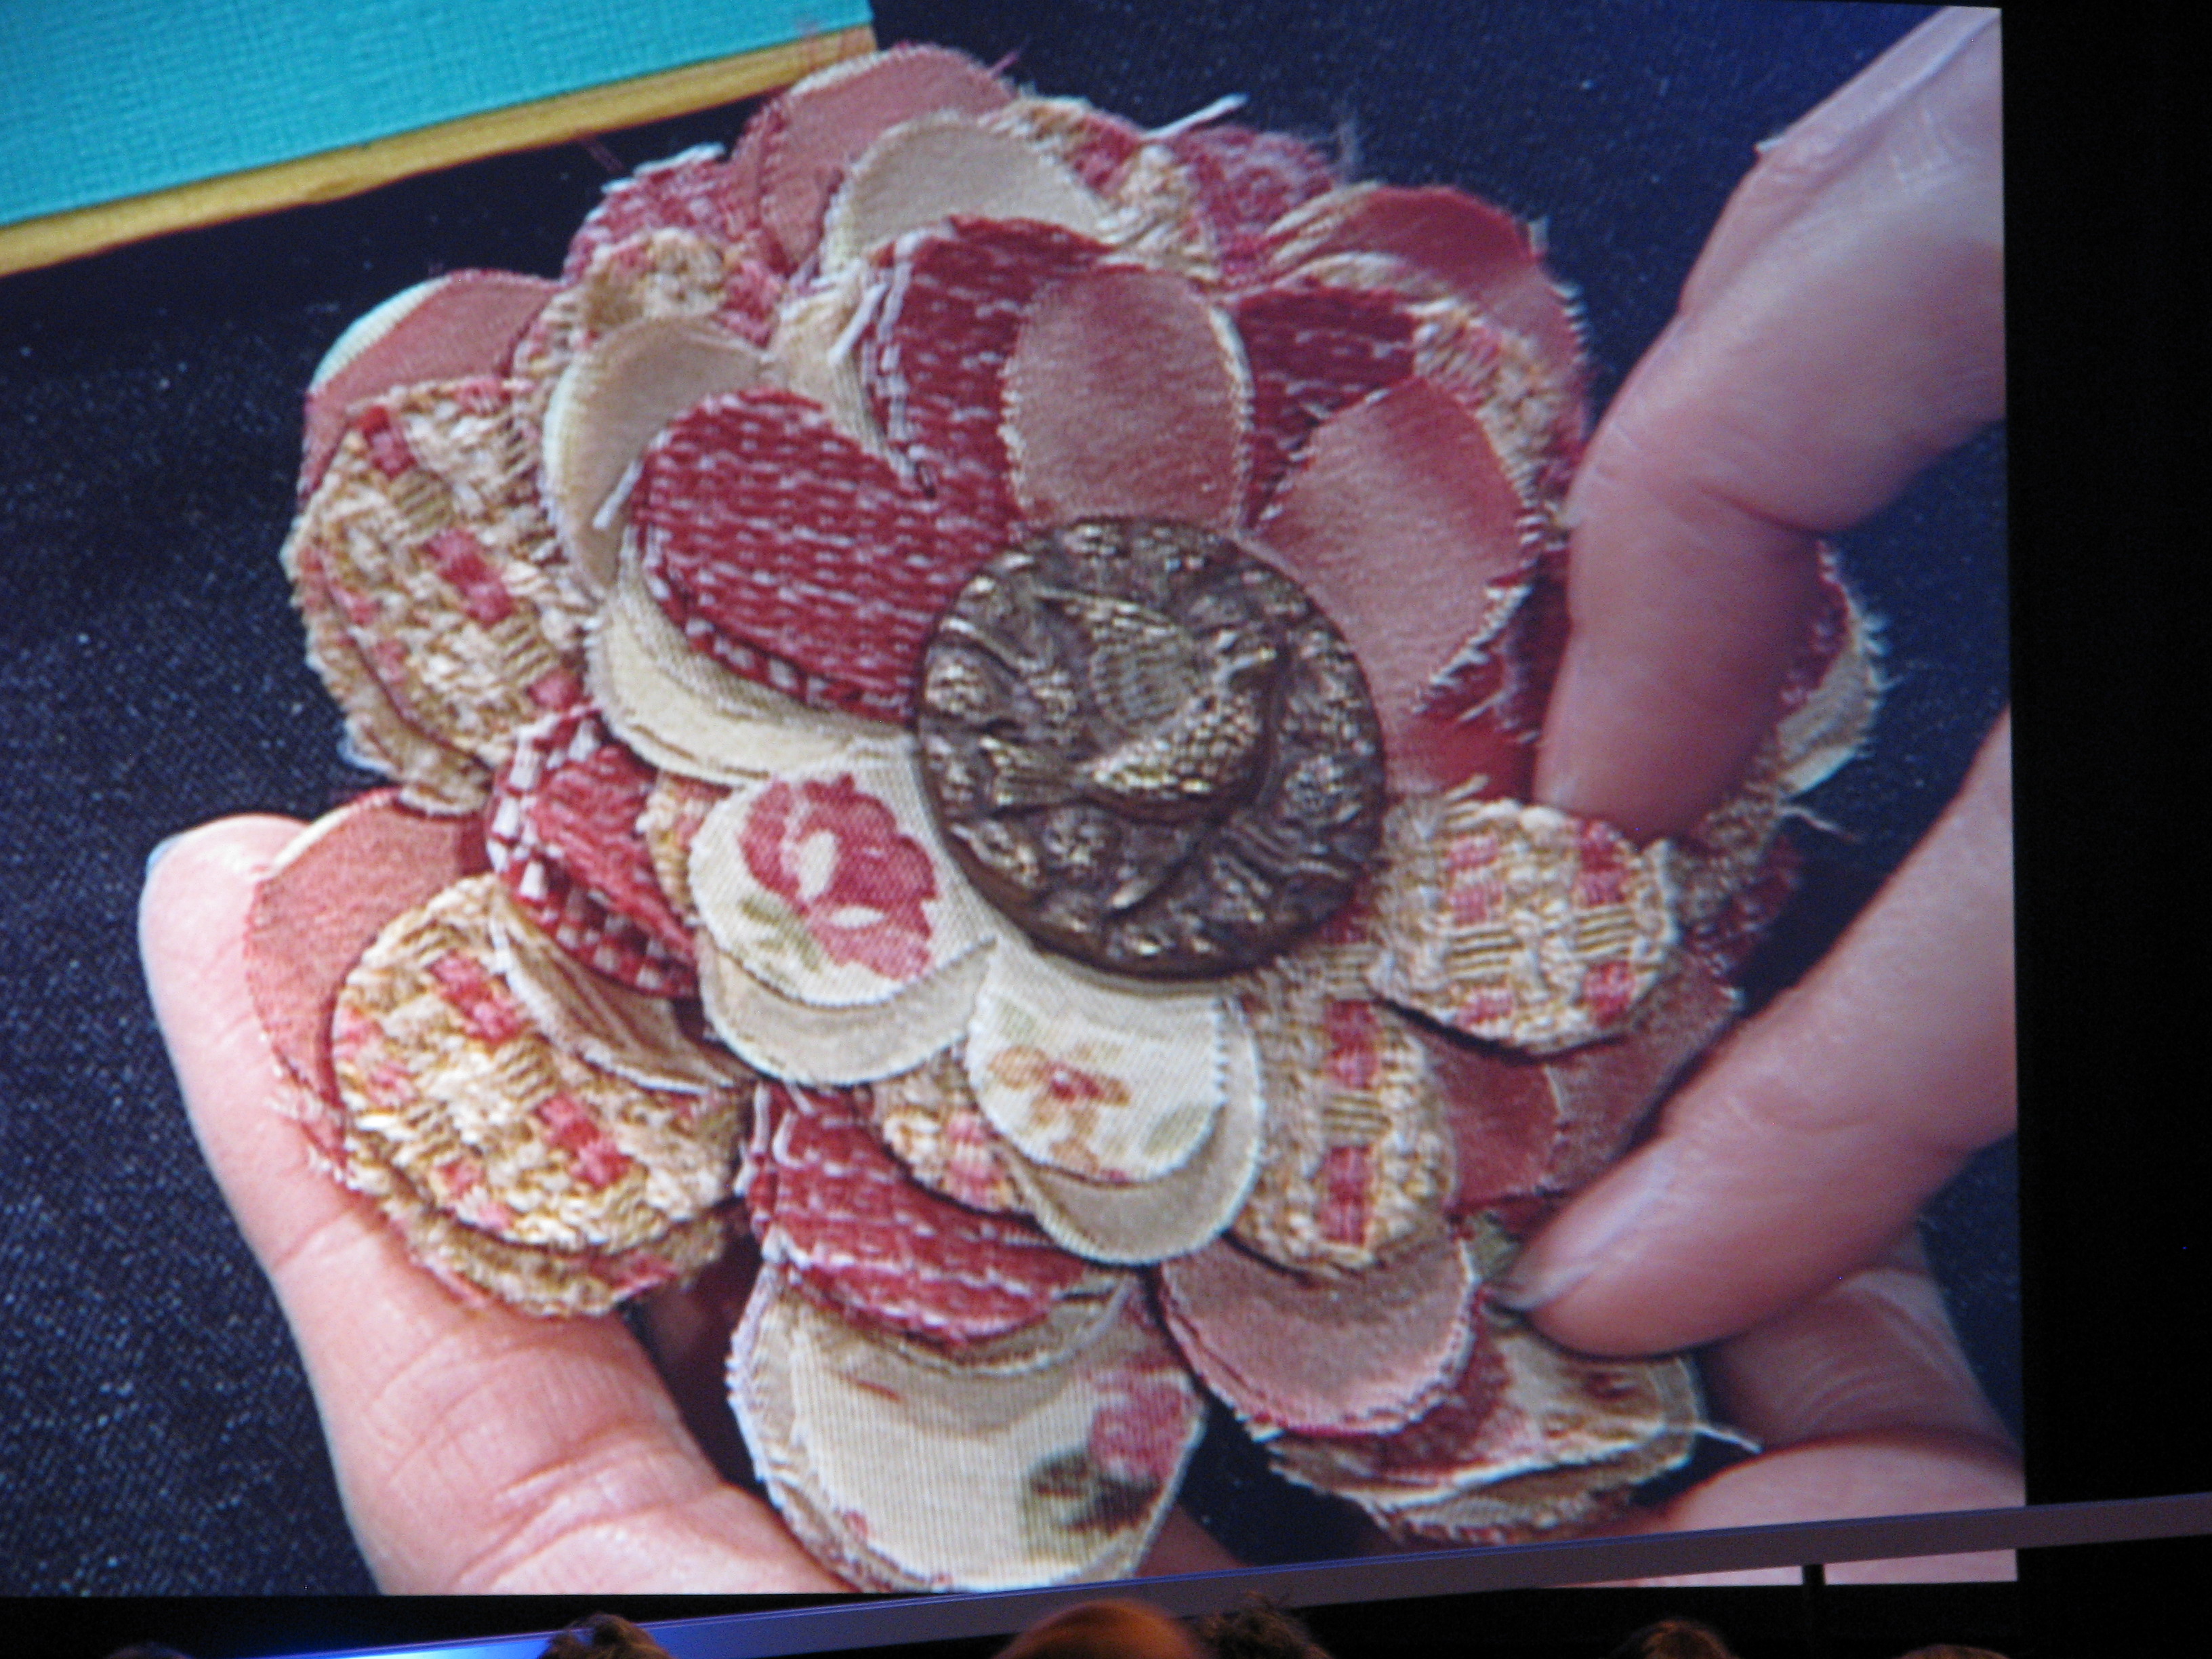
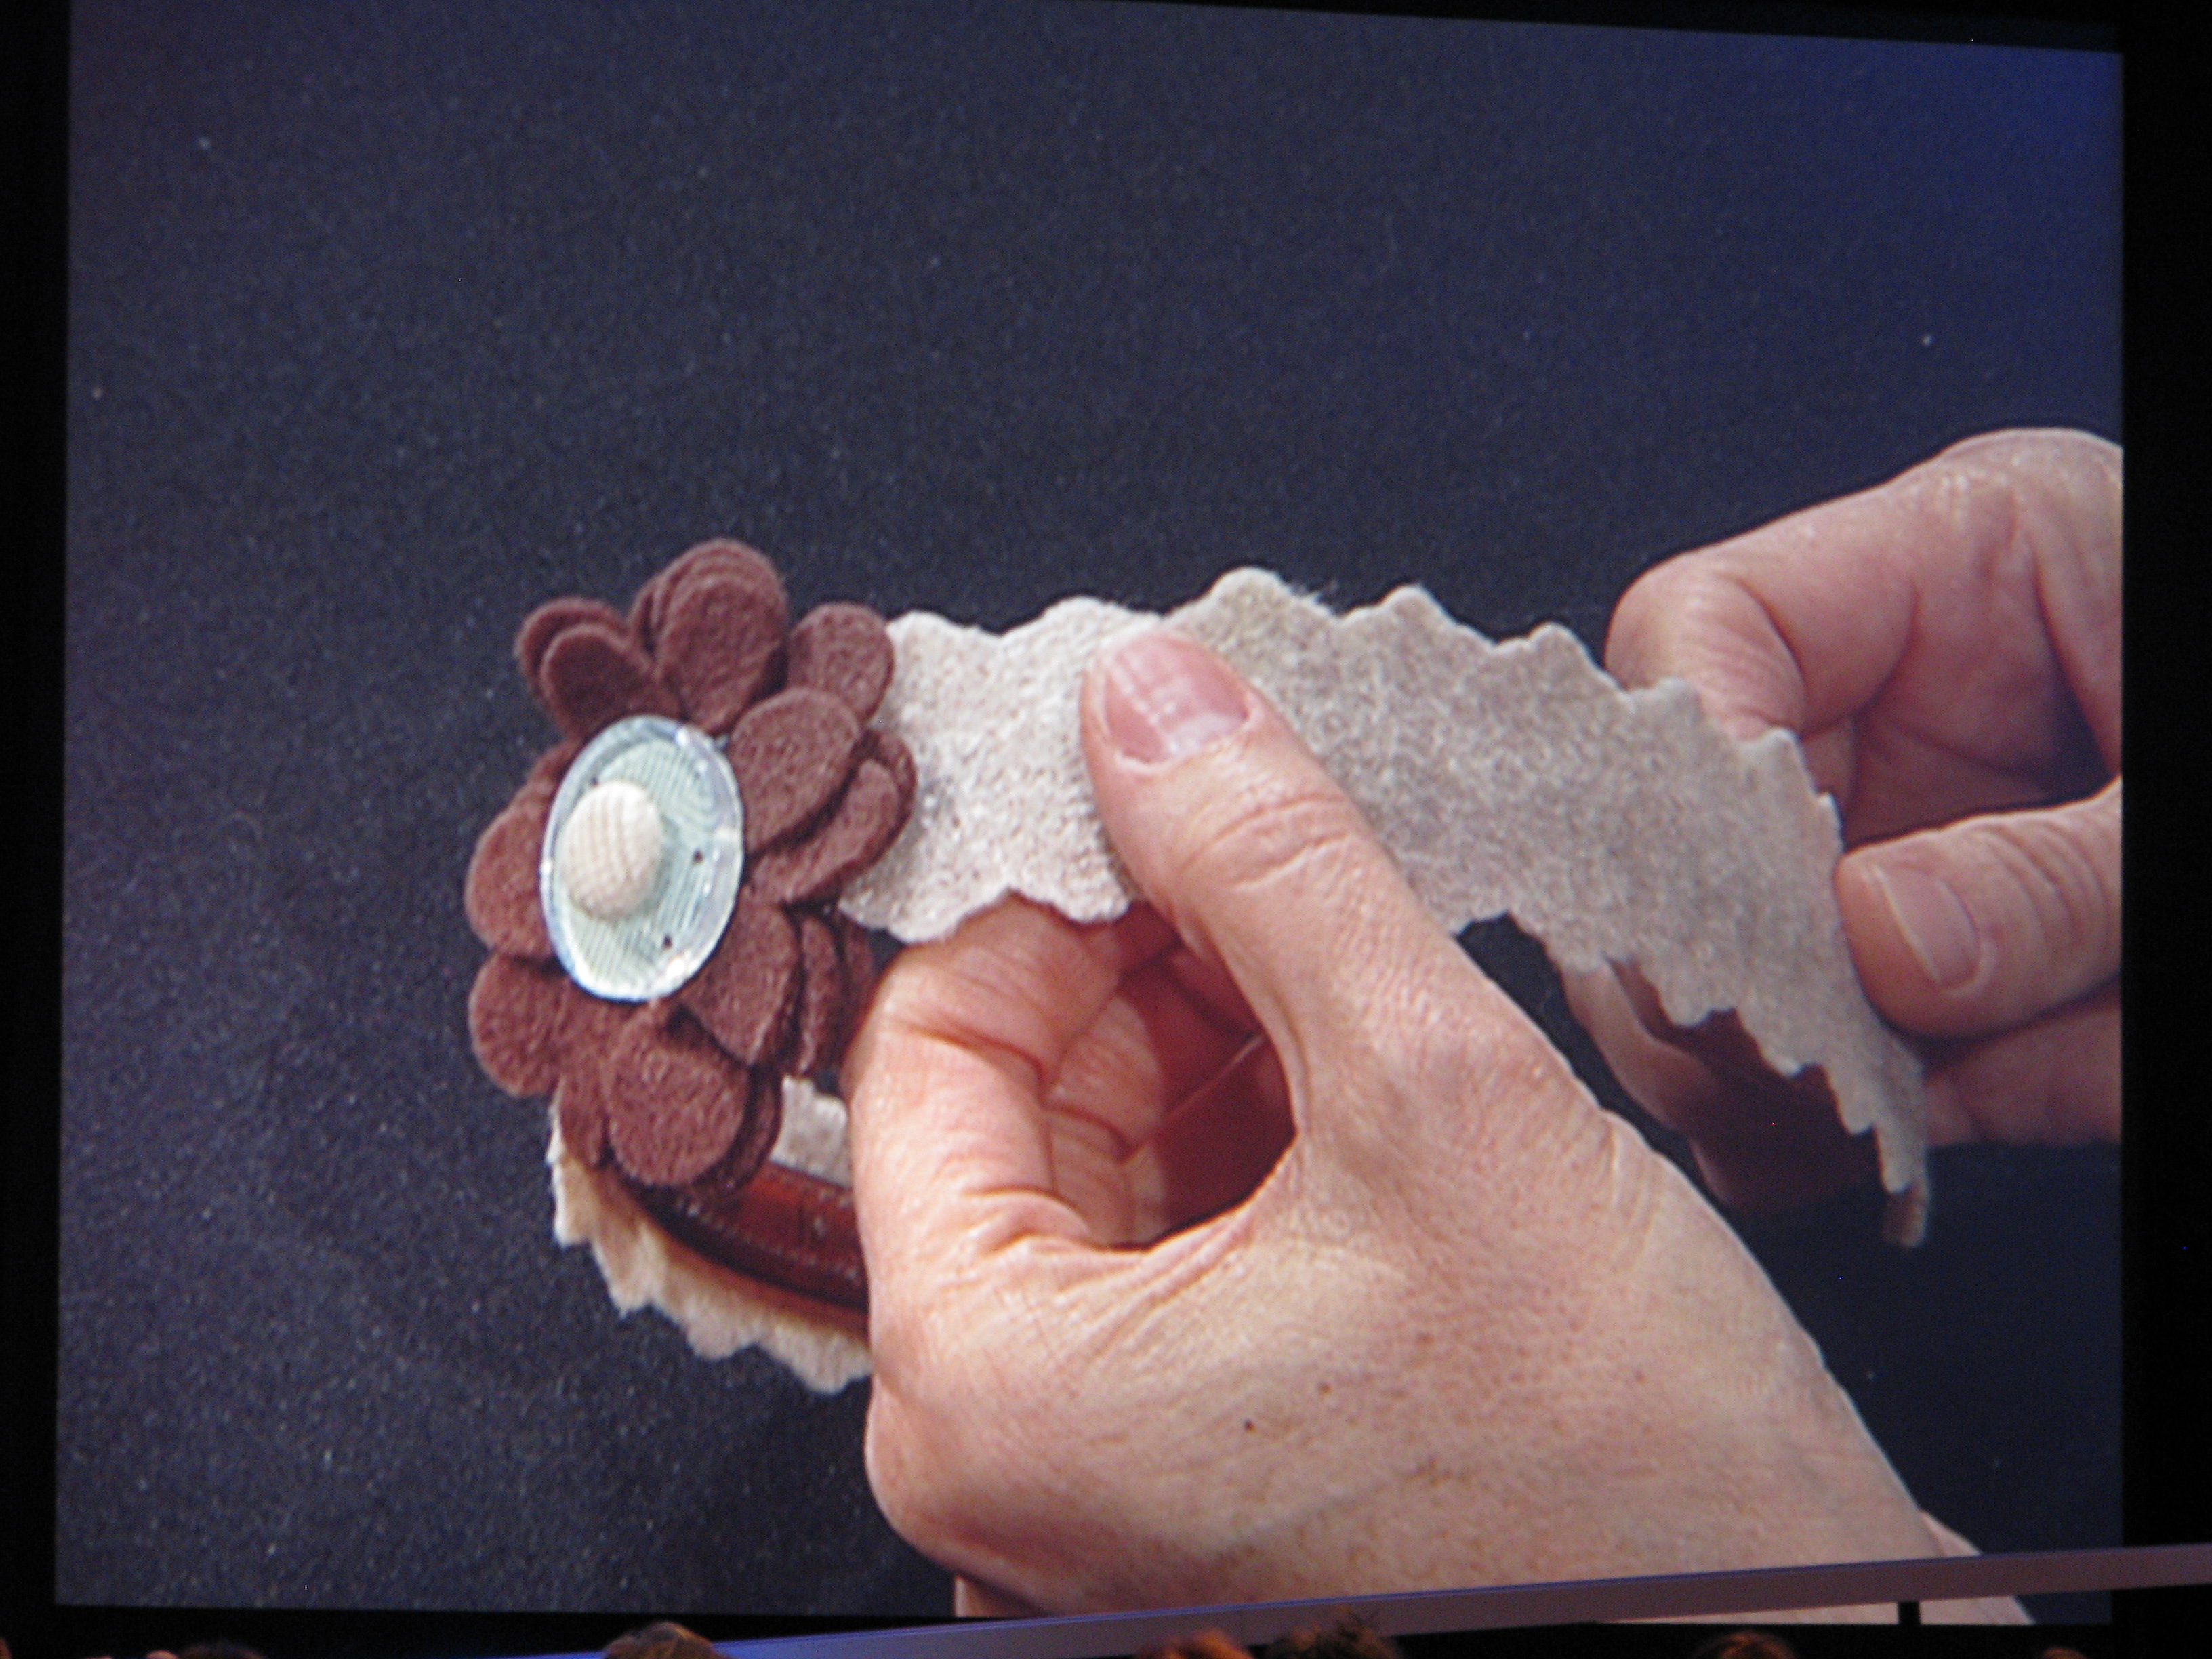
While you're waiting for the mailman to deliver your Holiday Mini (click link to download Mini) I thought I'd post some photos I took of the home decor displays at the Stampin' Up! Convention. Enjoy!
|
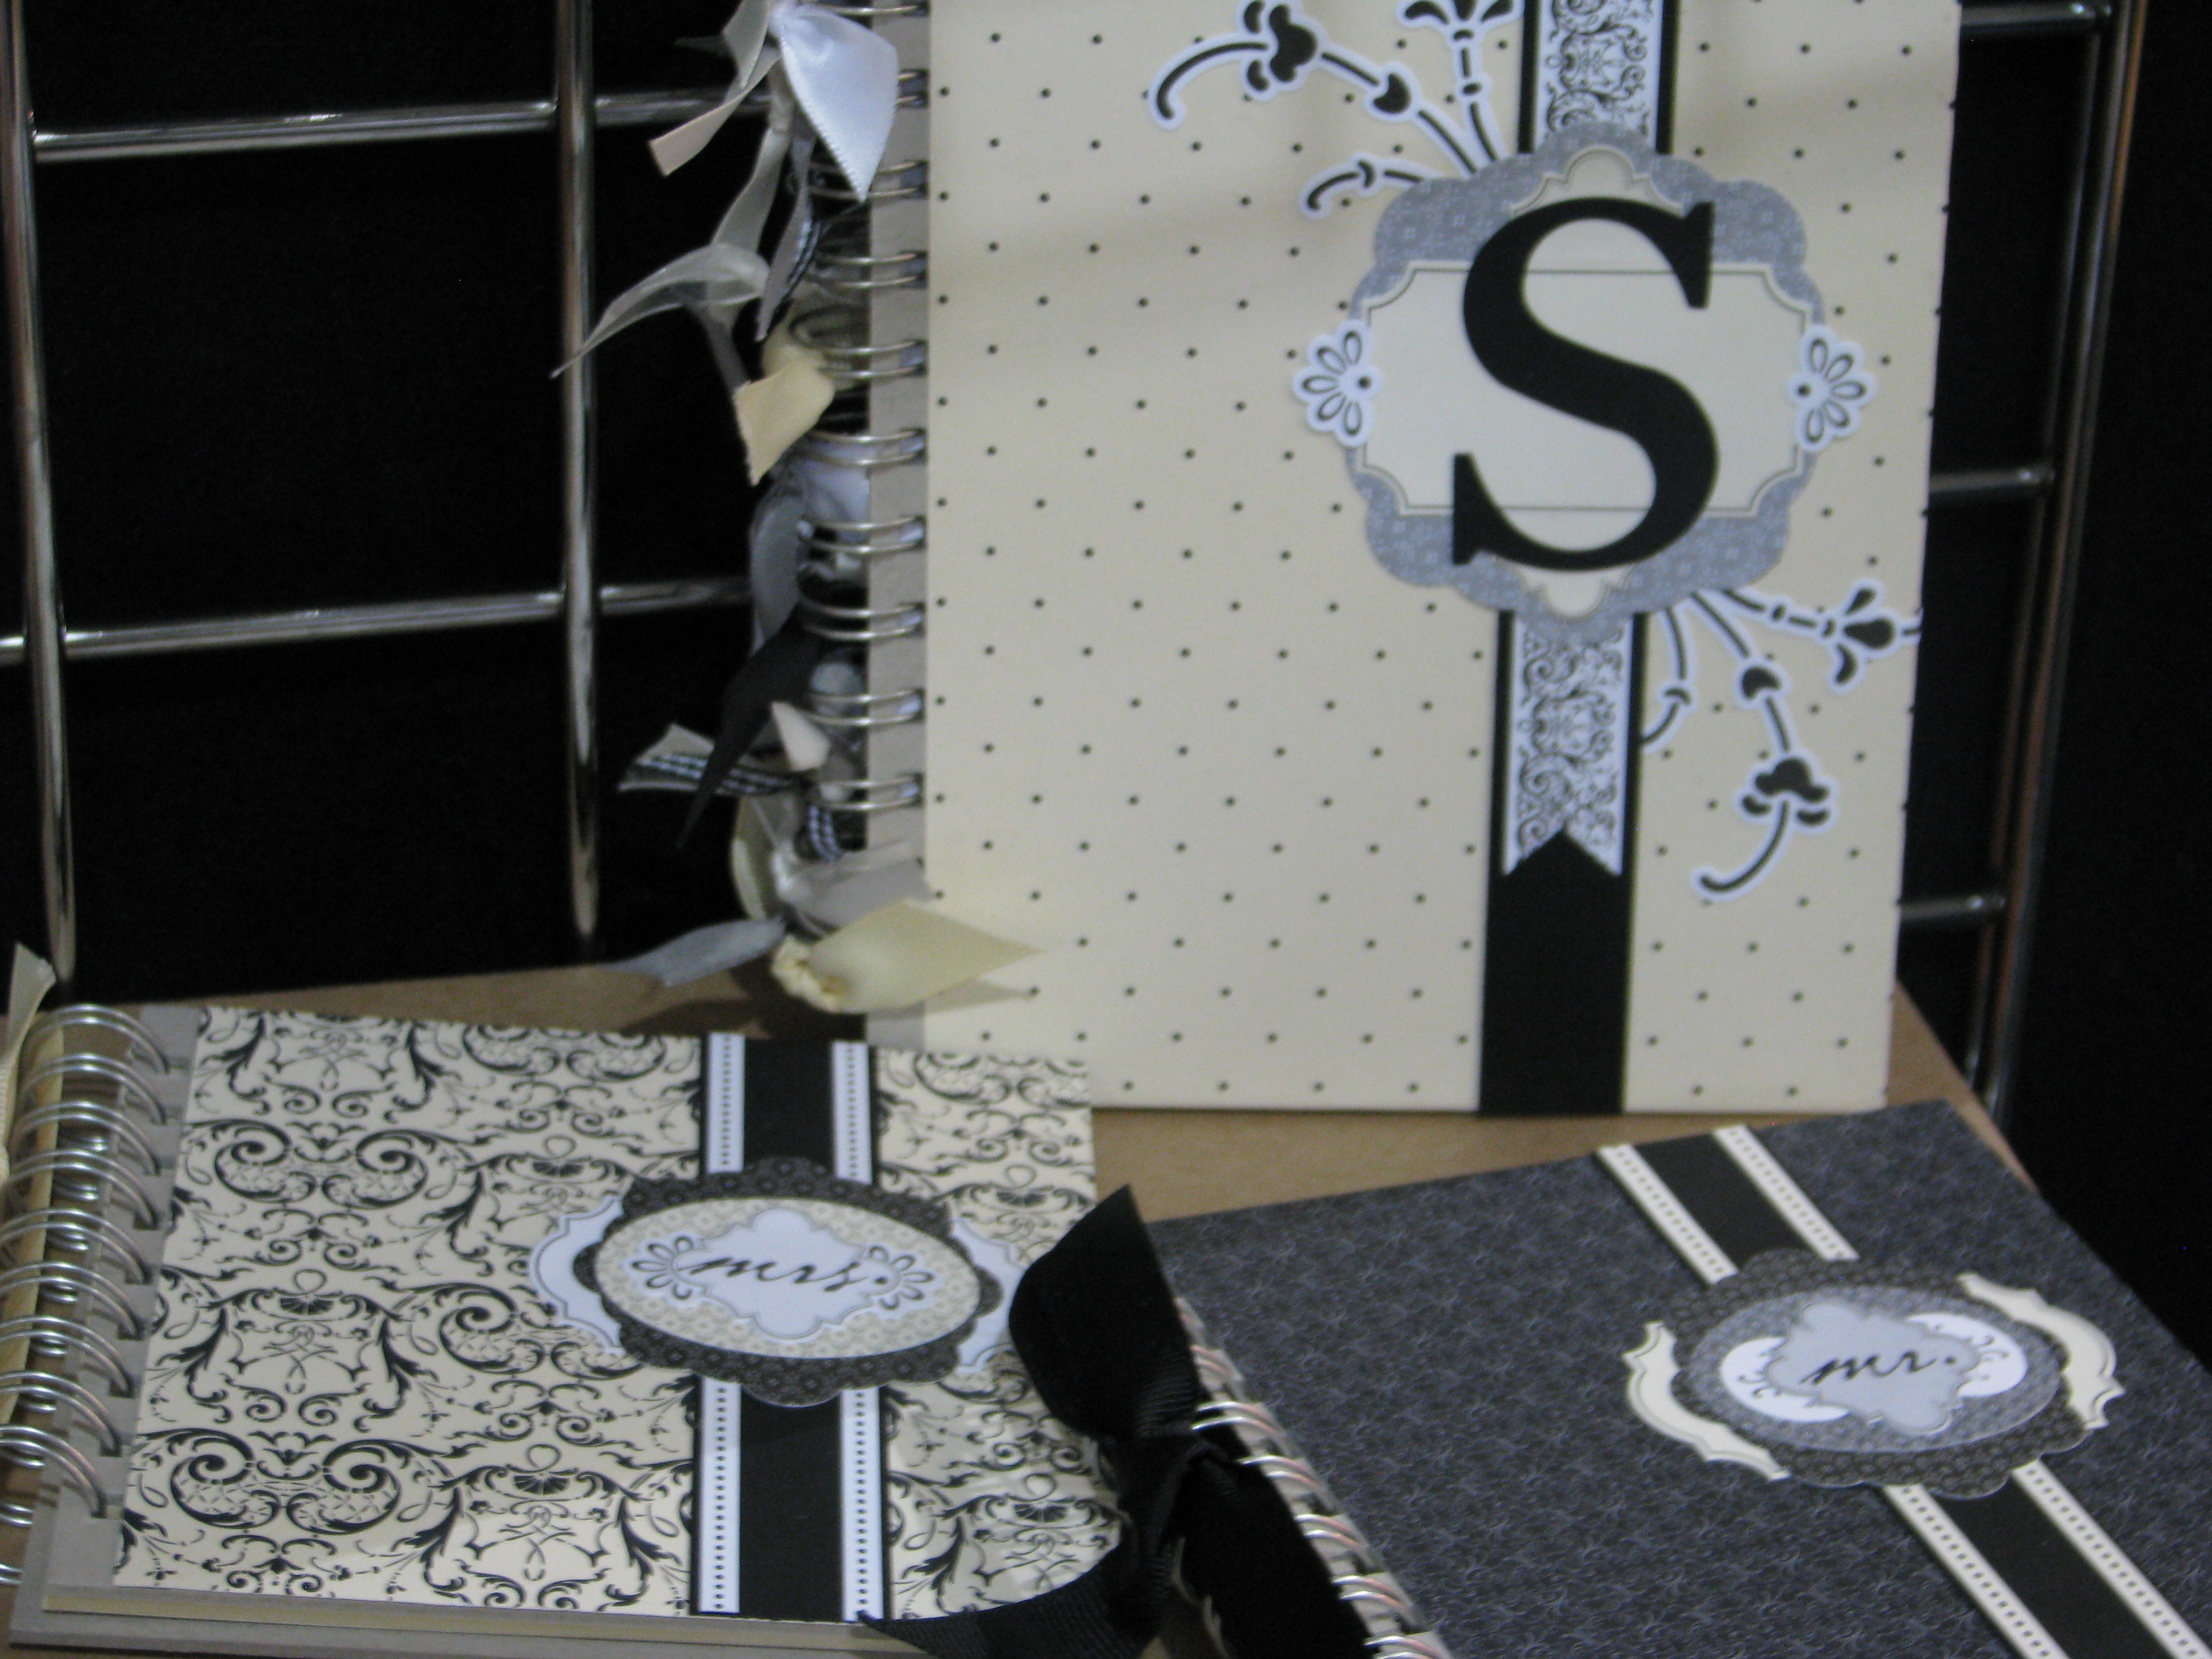
The kids are back to school here in Houston and many other places around the country. I was reminded of a journal I made for each of my children during their senior year of high school. Just get yourself any notebook…..I used these Composition notebooks that you can pick up on sale now….and every night write an entry about your senior's day. It is supposed to be positive. The more often you write in it, the more valuable it will be to them in the future. It's very easy to do if you put it beside your bed or wherever a good spot for you is to see it and remind yourself to do it! My kids did seem to show at least a smidge of appreciation for it when I gave it to them as one of their graduation gifts, but what I really intend is that someday when they are middle-aged adults they will come across this notebook and have some fun reading what went on in their life when they were 17-18.
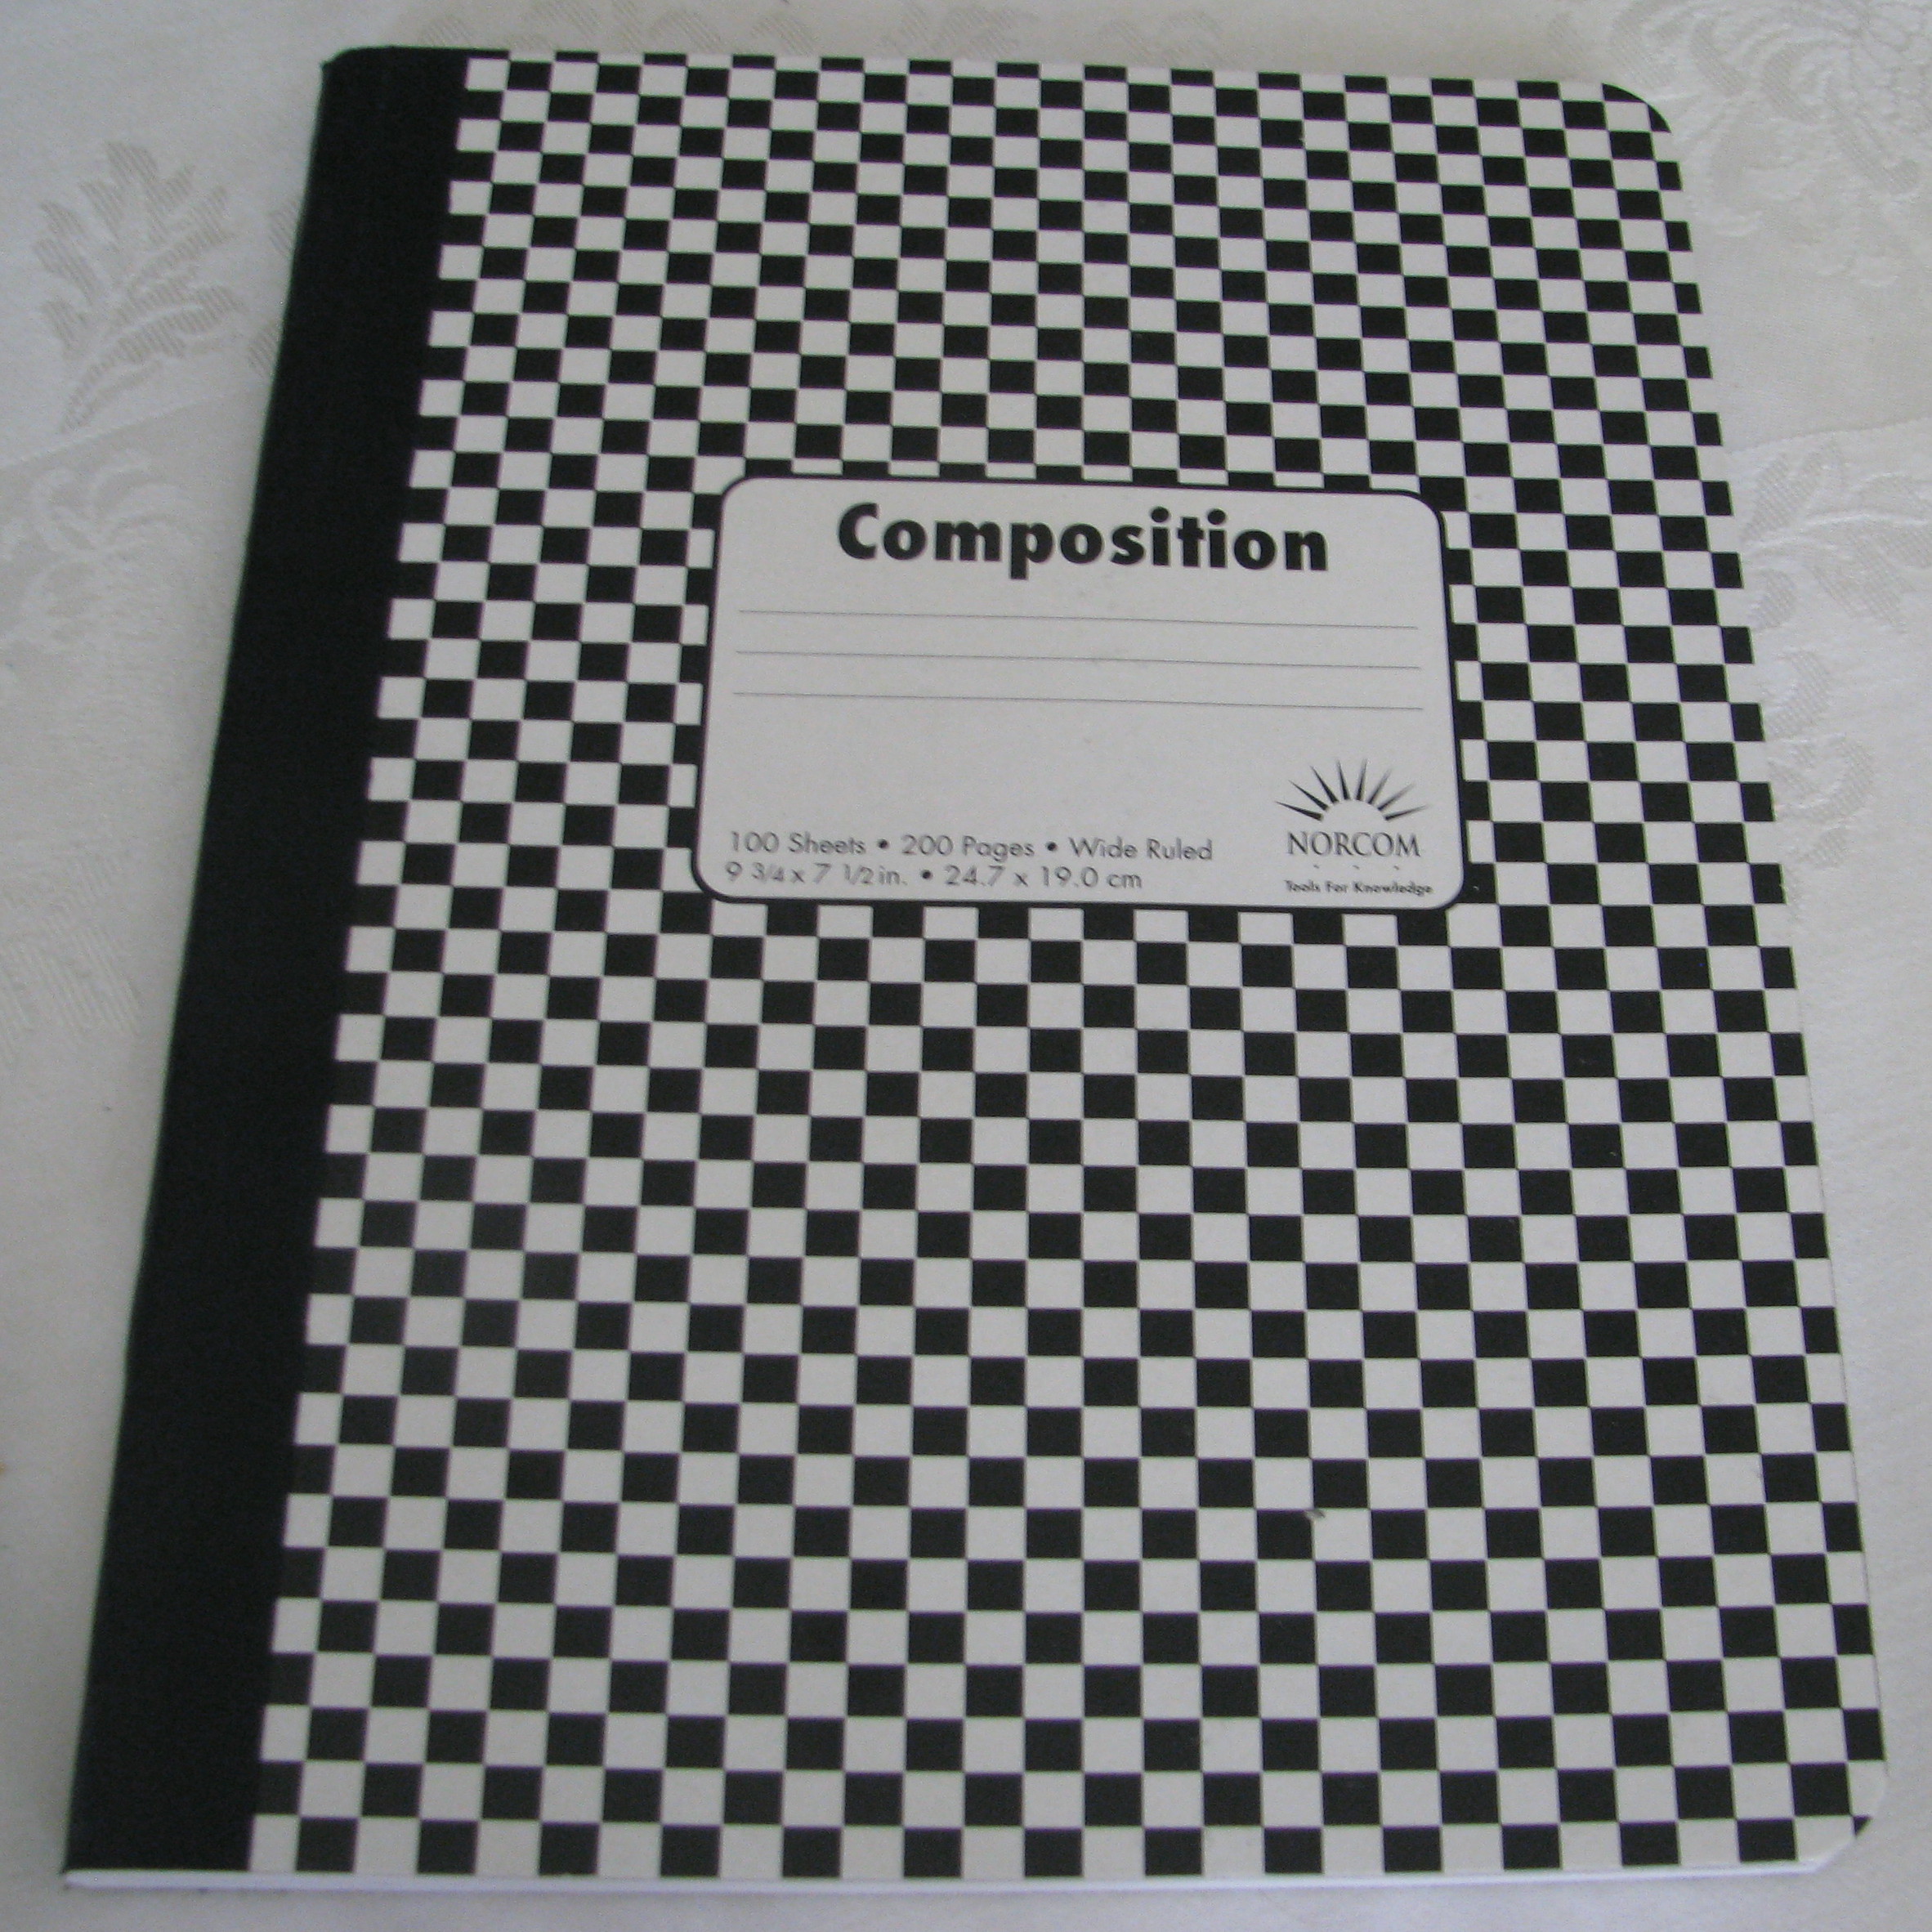
Just start with a plain notebook like this:
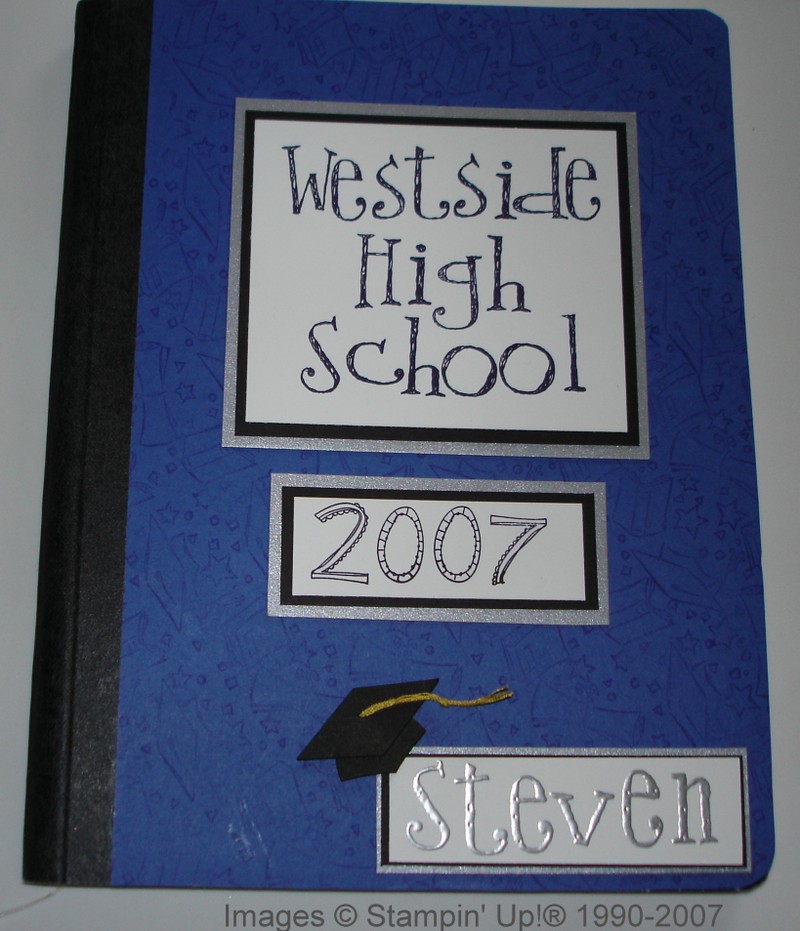
And when it is time for graduation, just decorate the cover with cardstock and stamping…..that's why I like this composition notebook because it is easy to decorate.
Here is the one I made for my son back in 2007. You can decorate with school colors or whatever you like.

We got lots of Make & Take projects at Convention plus the four stamp sets and a wheel to do them with! I'm sure everyone loved getting so many things to stamp, but it was a little too much to do in the time allotted. However, I didn't mind because after stamping a couple of things, I opted to just save mine to do at home…..and instead I went to stand in line for Memento Mall to open so I could buy my Stampin' Up! Bear!! So I had the best of both worlds! The stamp sets we received were:
Here are the projects:
Will I ever get tired of talking about the Stampin' Up! Convention?? I don't think so!! There was so much good information, so many IDEAS, so much fun, so much friendship….even extra treats at lunch!…..popcorn, ice cream, candy!!
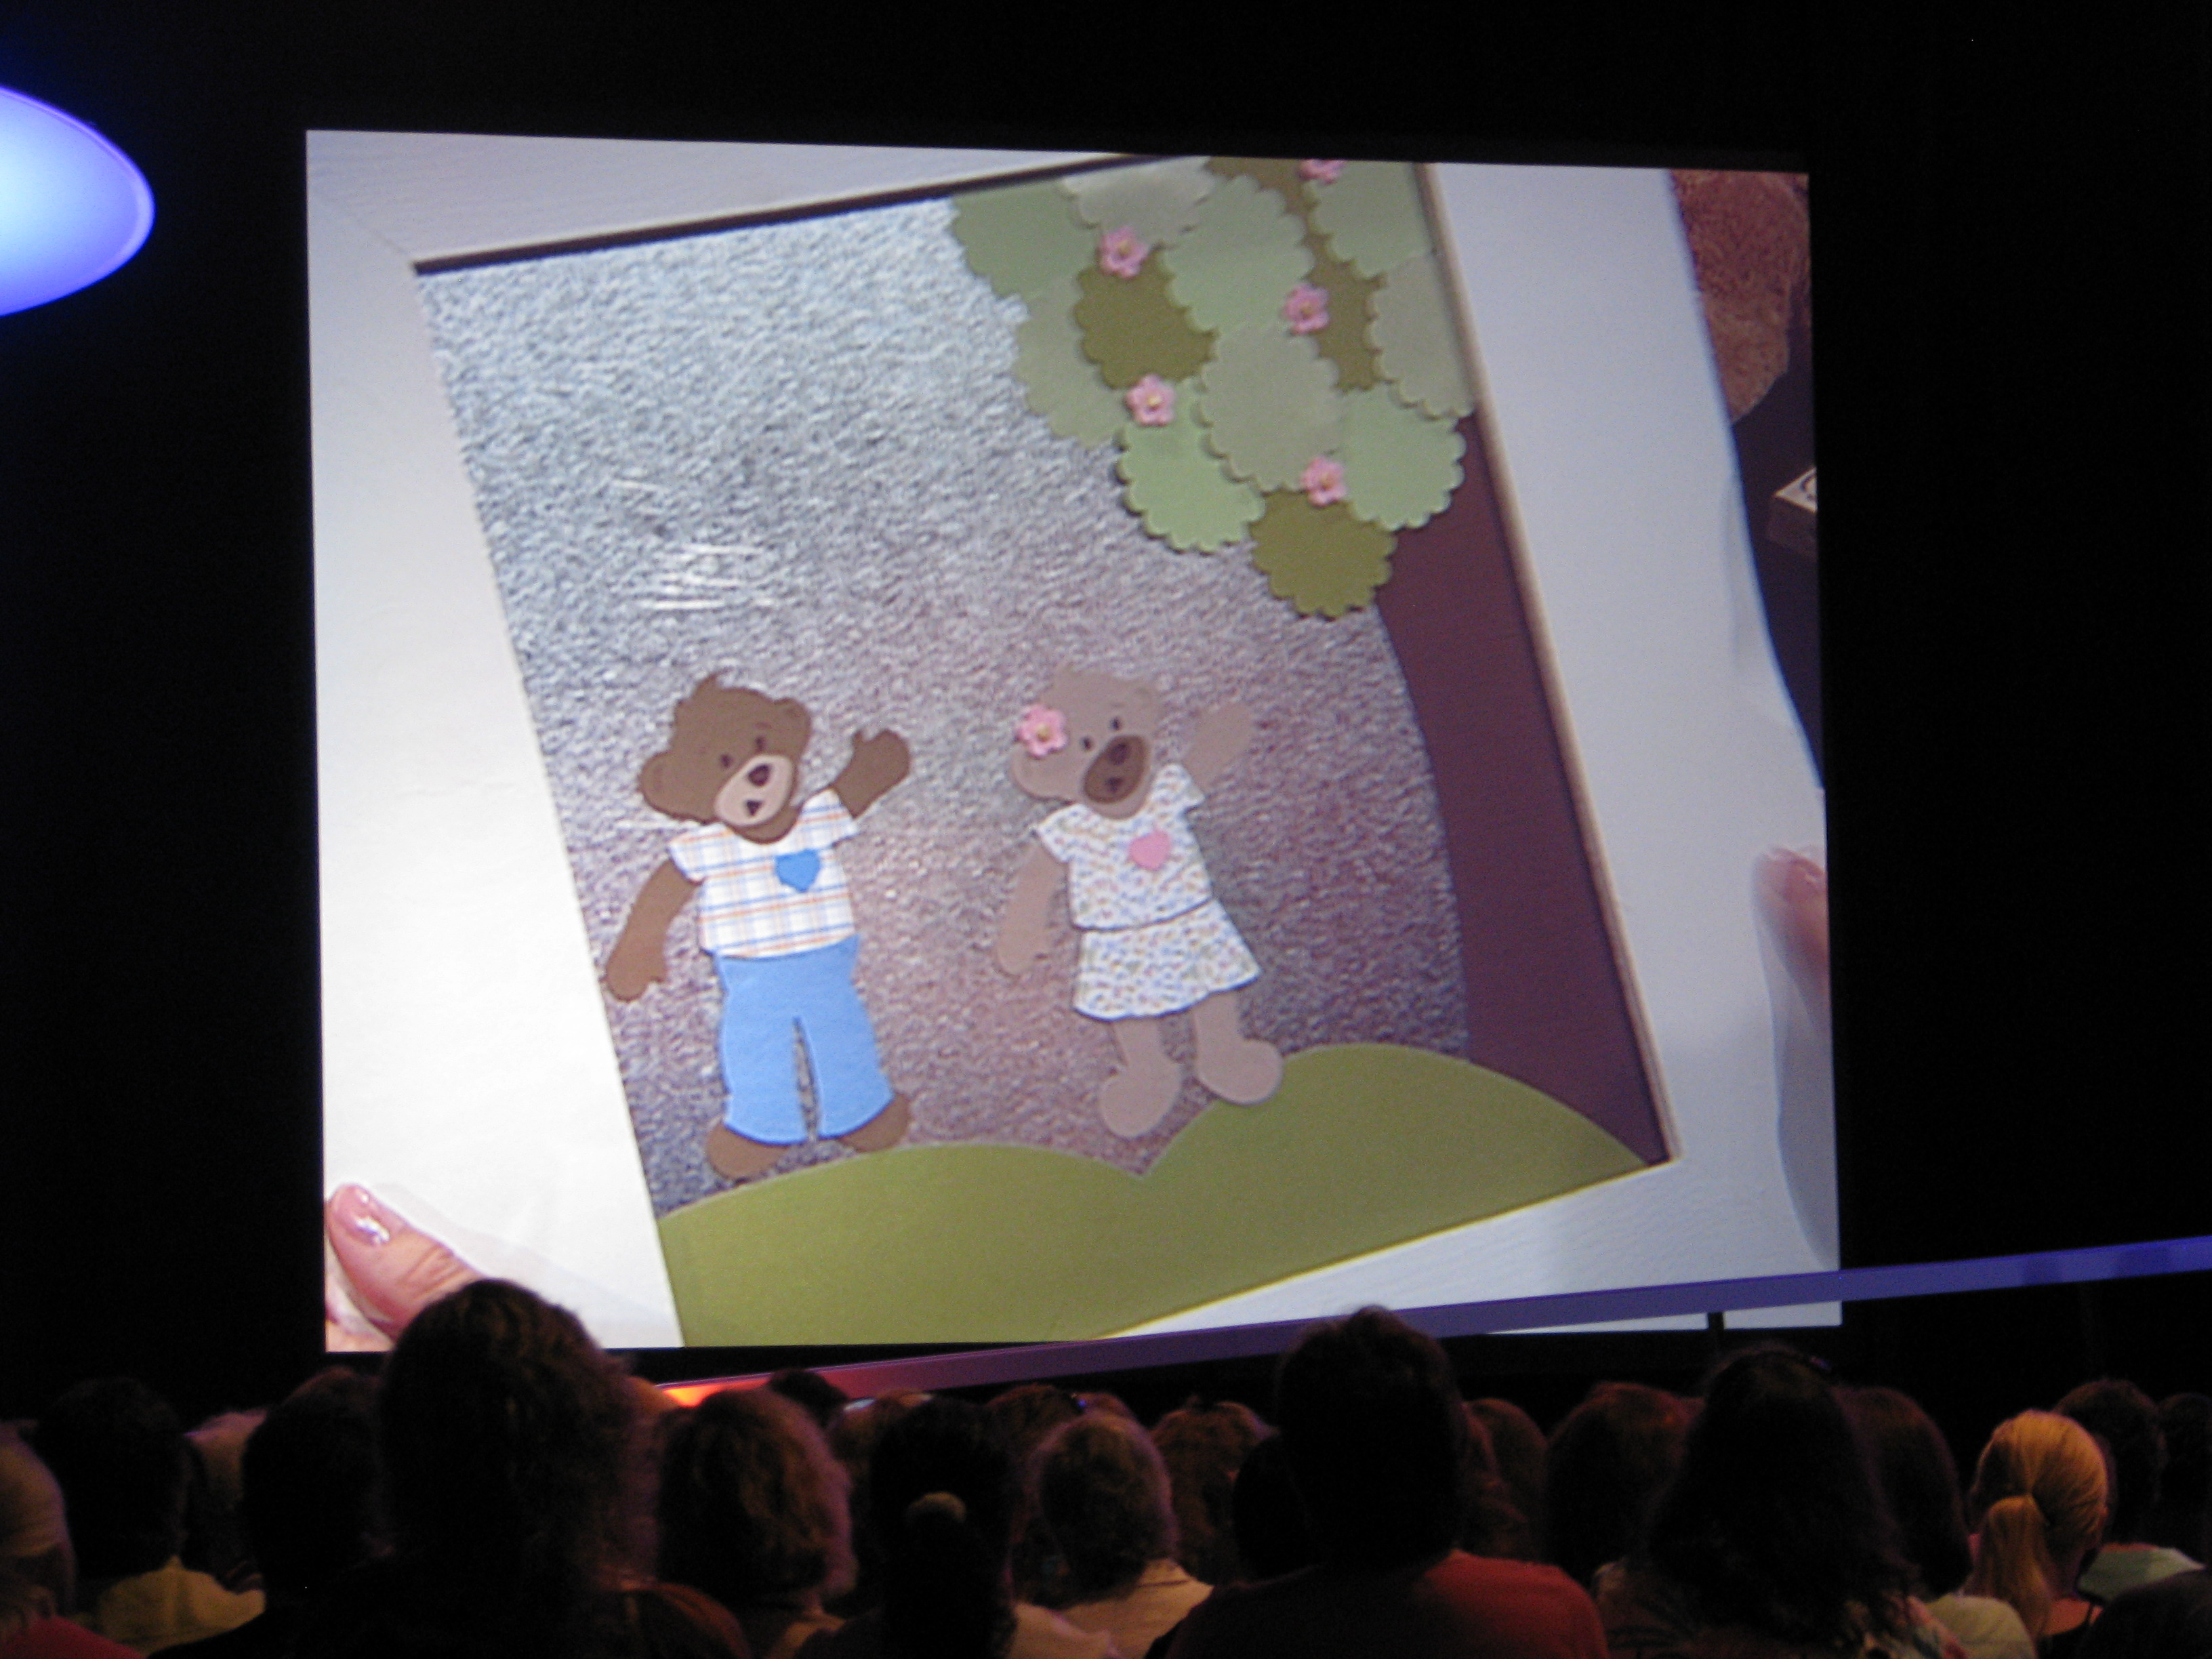
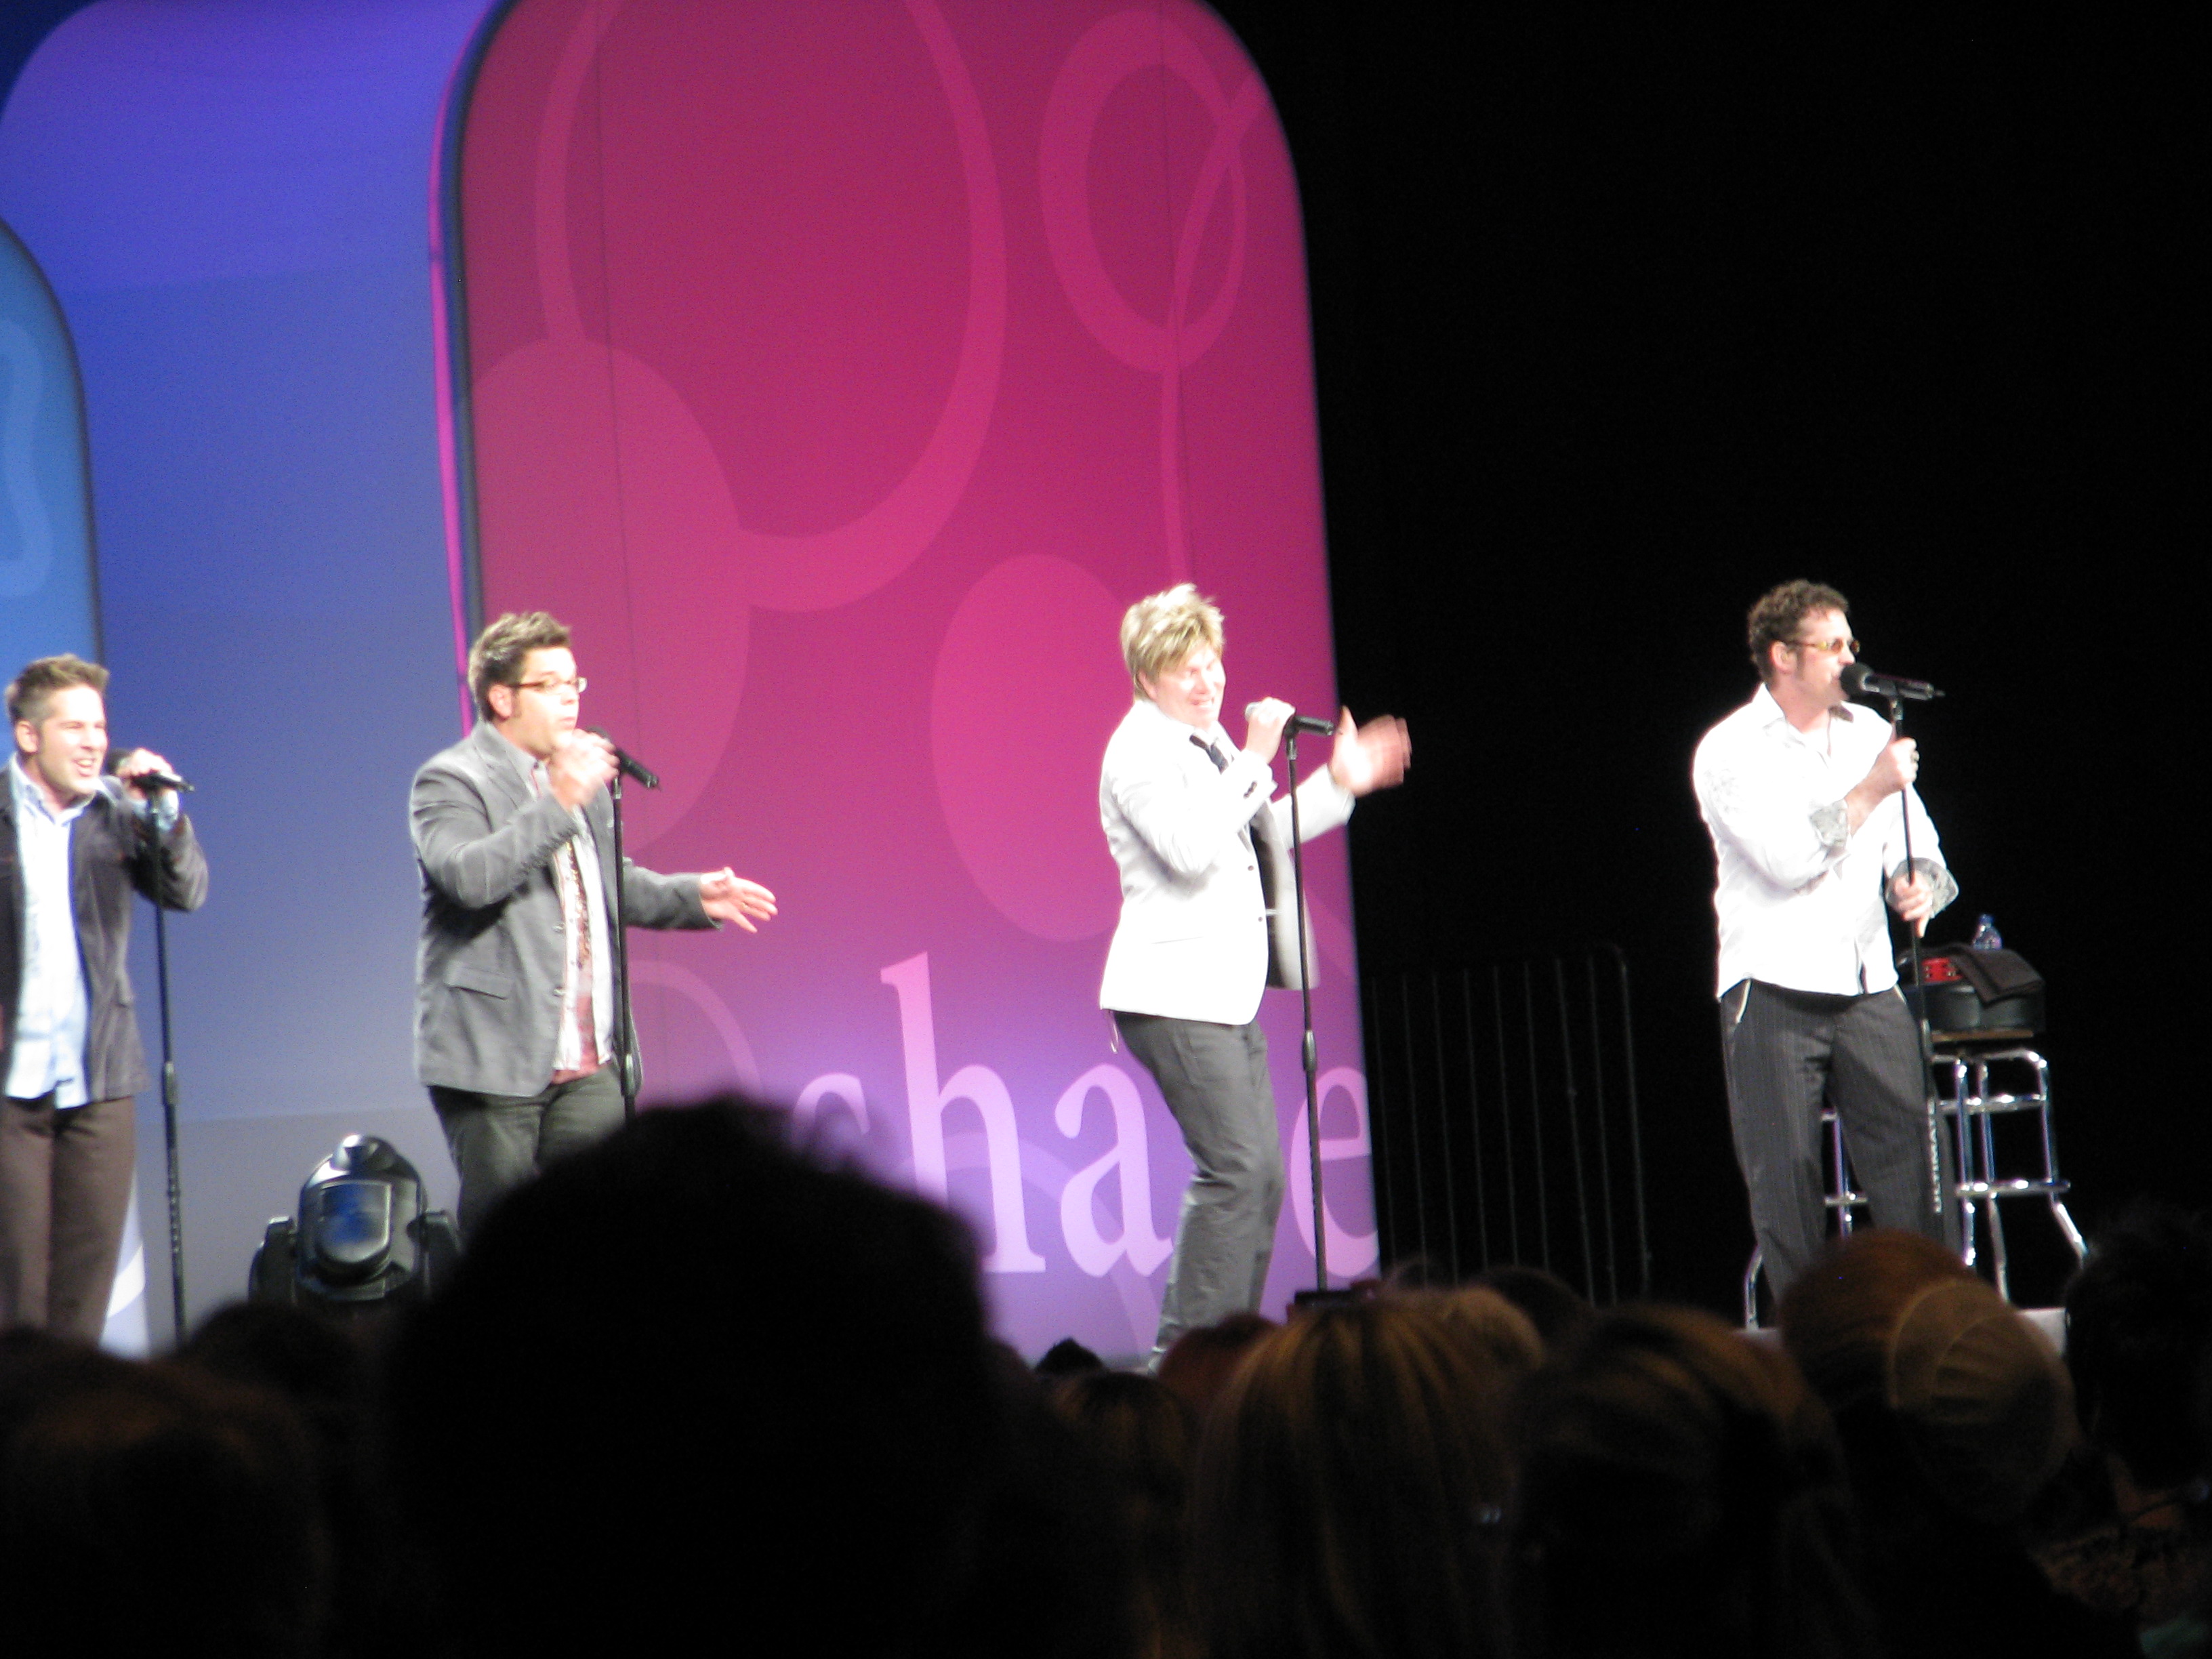
Here are some more random photos from Convention! I think you can click on the photos to get a larger version.
All Images © Stampin’ Up! 1990-2009
That's all for today but I have more!!!
I'm starting to feel like I can hardly believe I was there at the Stampin' Up! Convention!
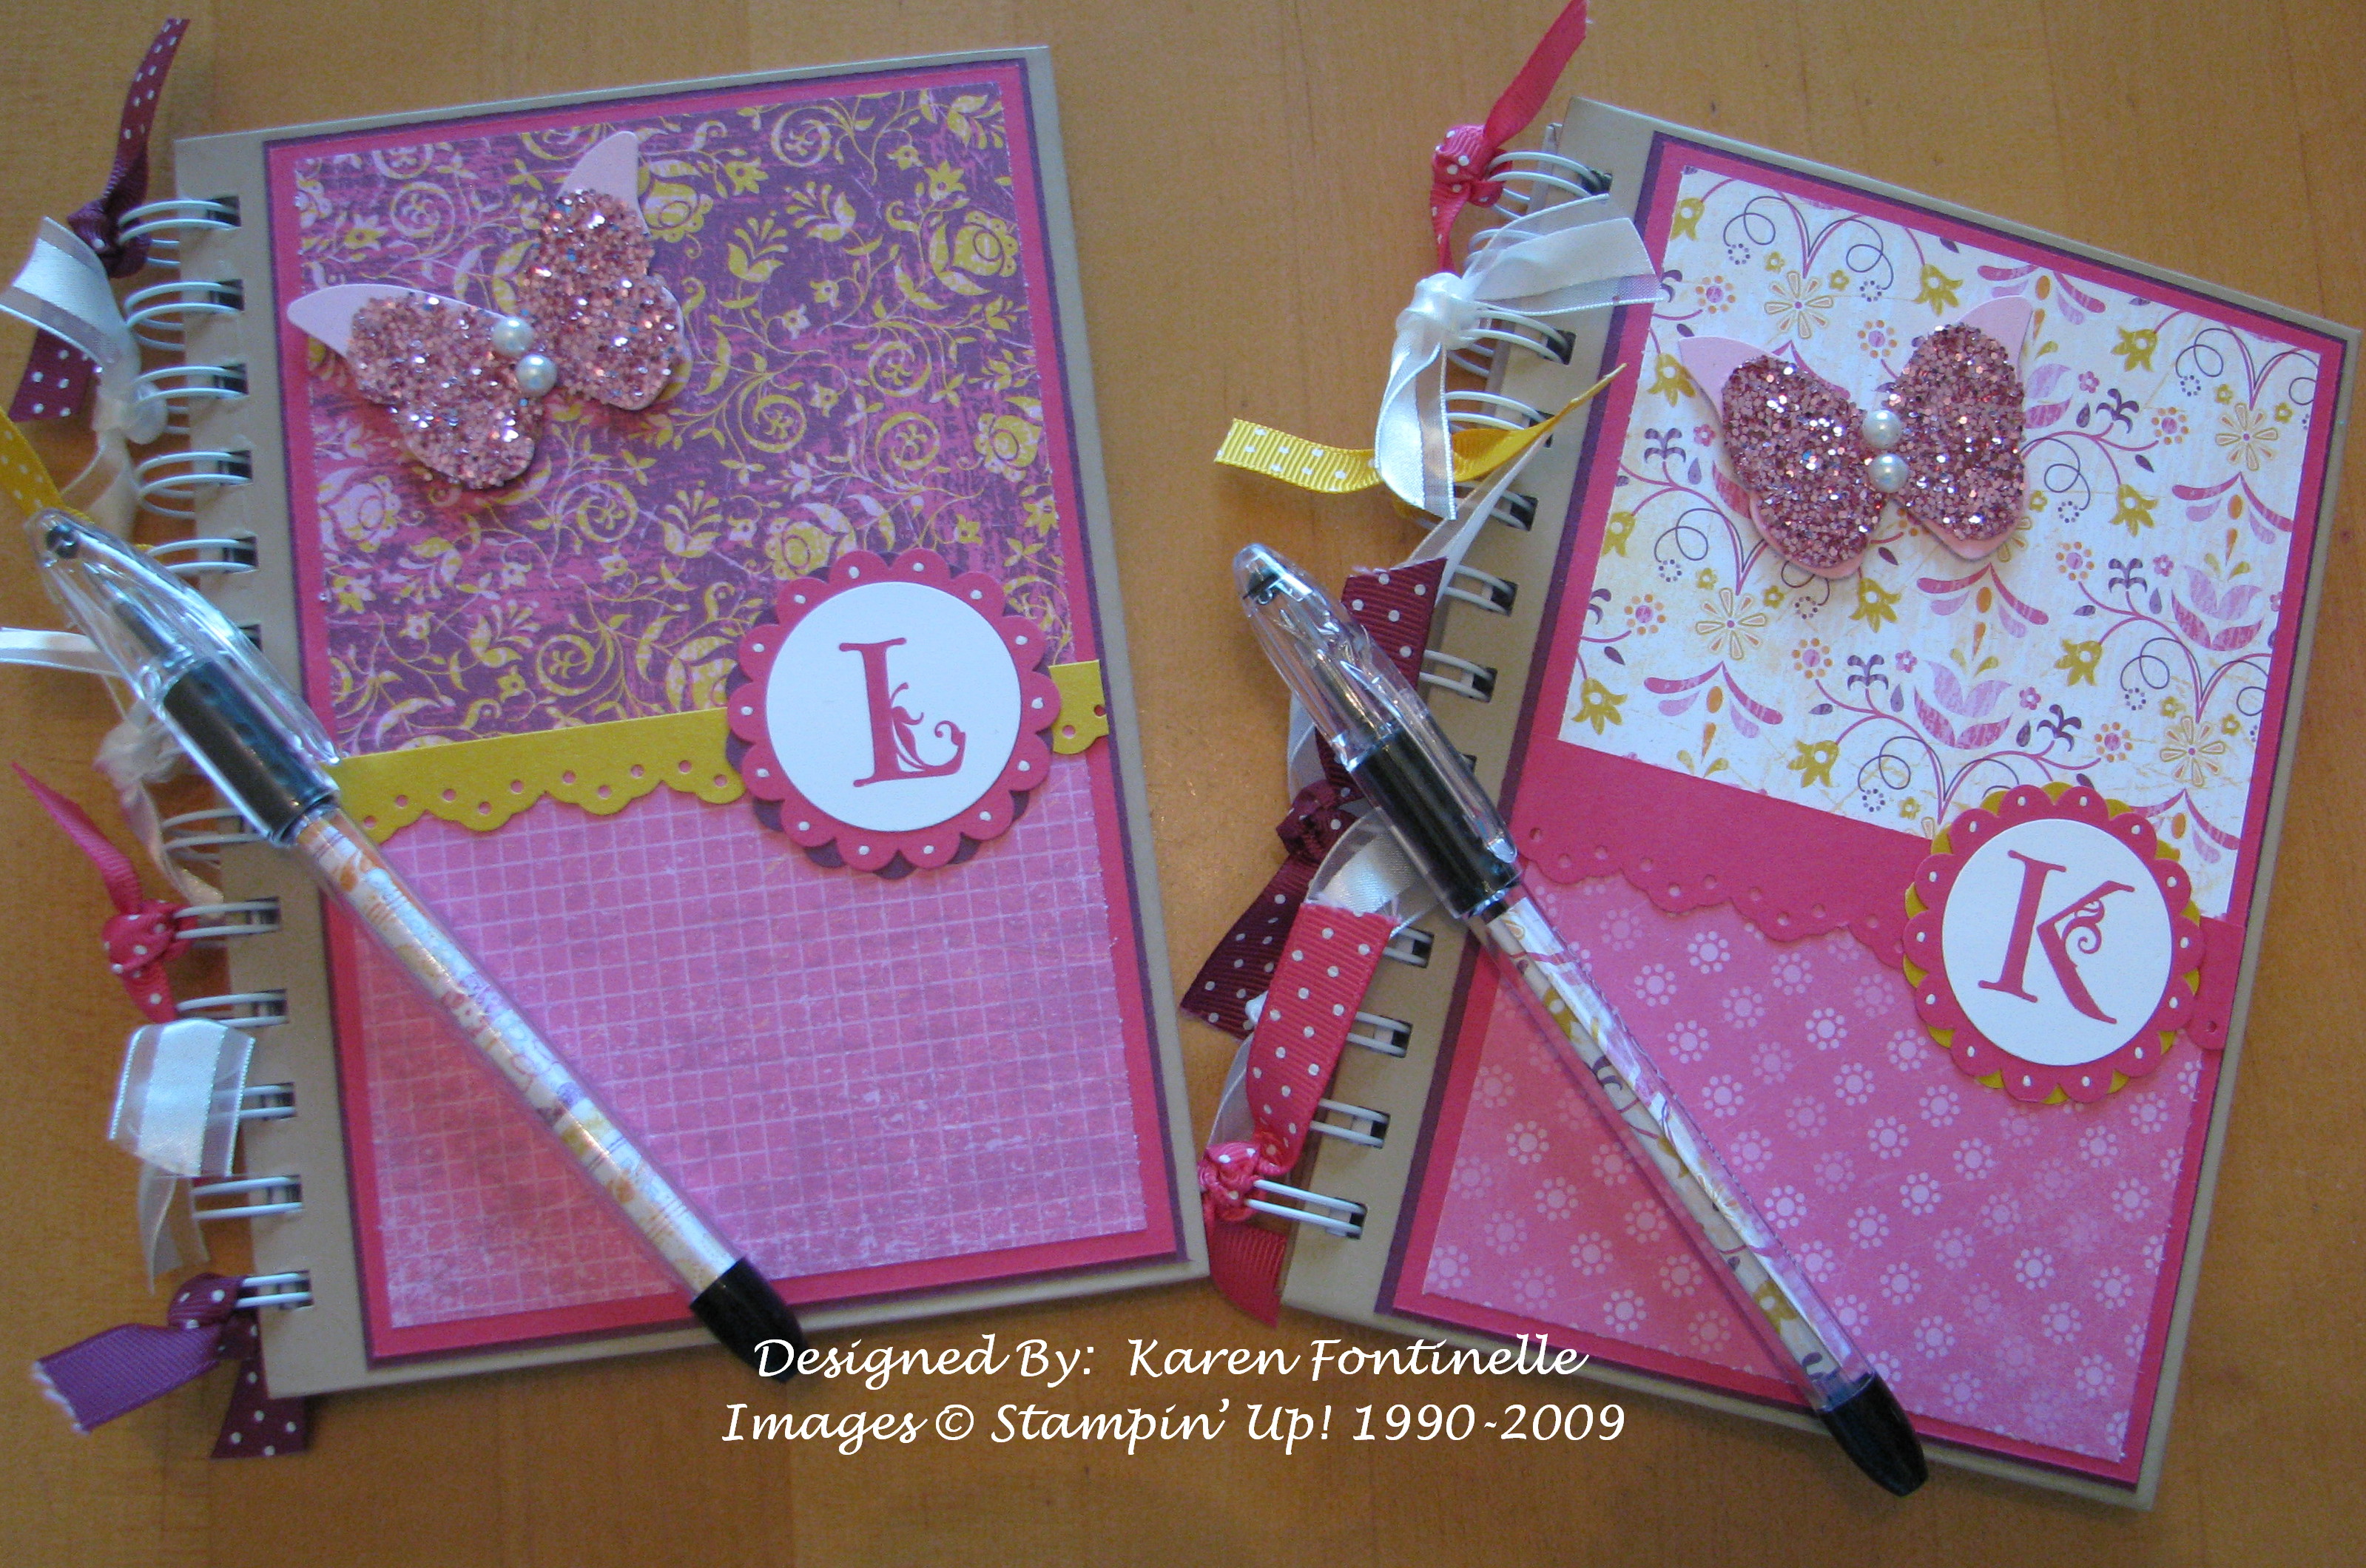
When I found these notebooks in the Dollar section of the craft store I knew I could make them into a nice gift! One for me and one for my downline Linda going to Convention with me! And an RSVP pen lined with designer paper to match! The background butterfly is made with the Big Shot. The sparkly one is punched with the Butterfly Punch from a Sticky Sheet and then glitter applied! Very fun! Love that Razzleberry Lemonade Designer Paper, can you tell??
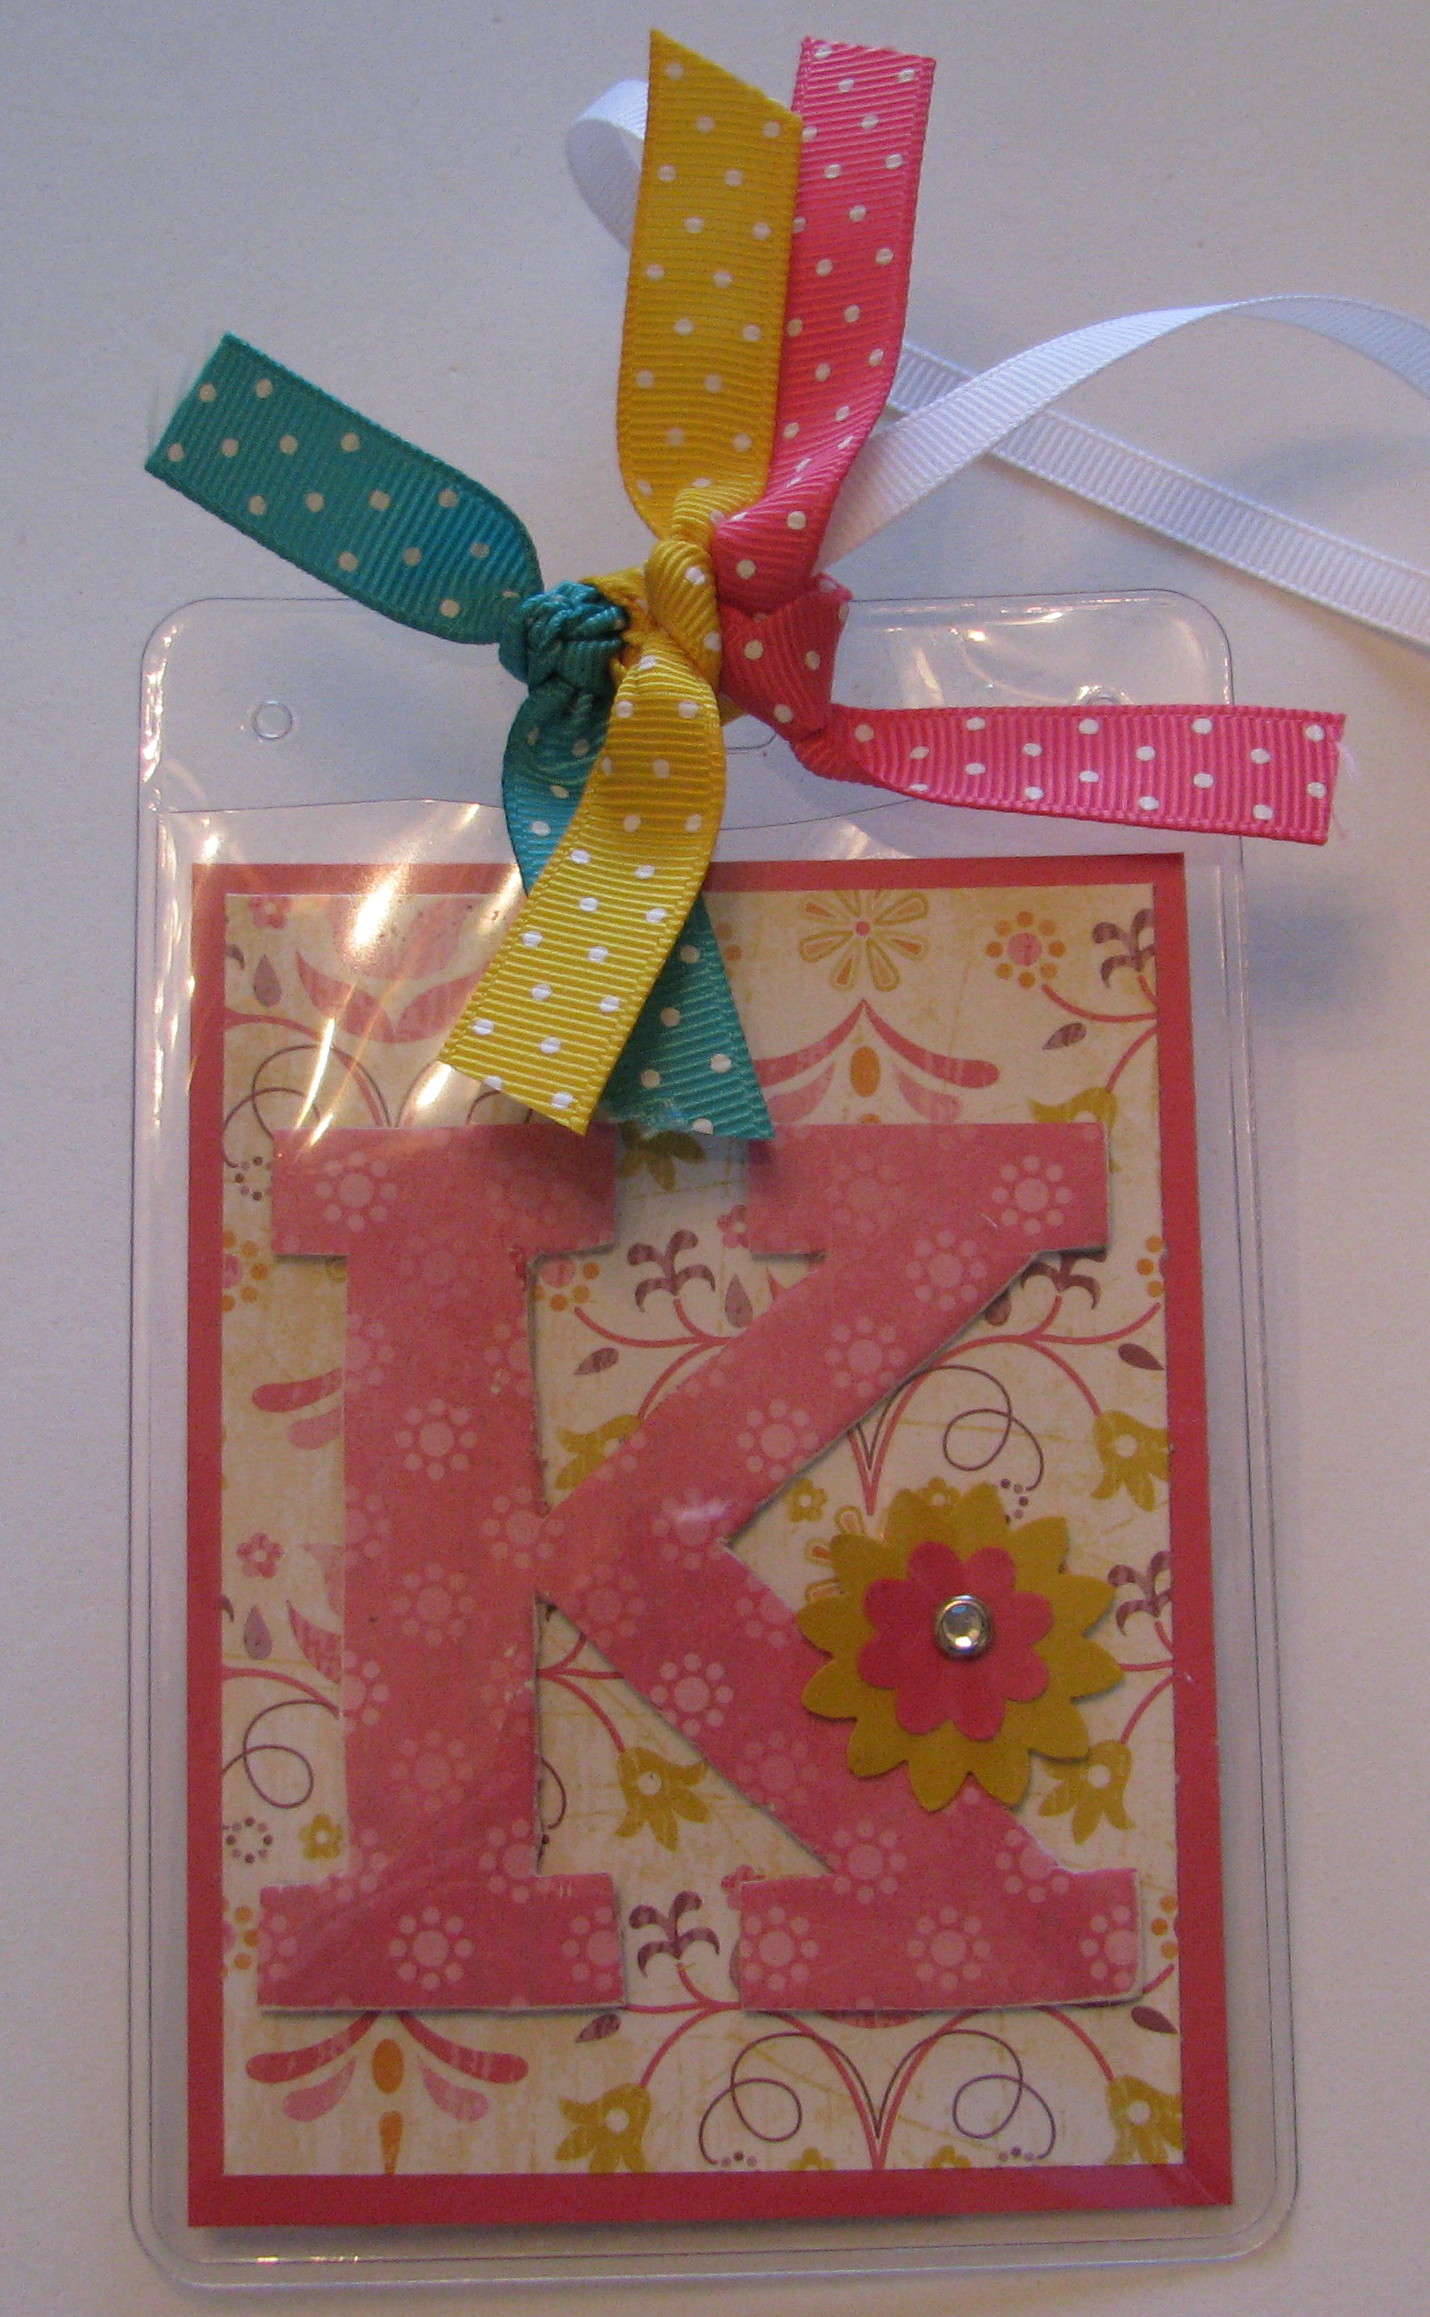
Here’s sort of a sneak peek! This is a tag I made to put on whatever bag Stampin’ Up! gives us at Convention! With thousands of the same bag, it’s nice to have something different on yours to identify it. I was going to use some other DSP, but could not resist using the bright and colorful Razzleberry Lemonade Designer Series Paper…and a chipboard letter from Onboard Timeless Type. It’s so easy to cover the chipboard letter using our Stampin’ Up! Glue Stick. Just place the paper over the chipboard and then trim away with your scissors. On the back of my tag I put the Convention logo and my contact information in case the bag gets lost….heaven forbid! The plastic holder is called a Badge Holder and you can buy them in a package at an office supply store.
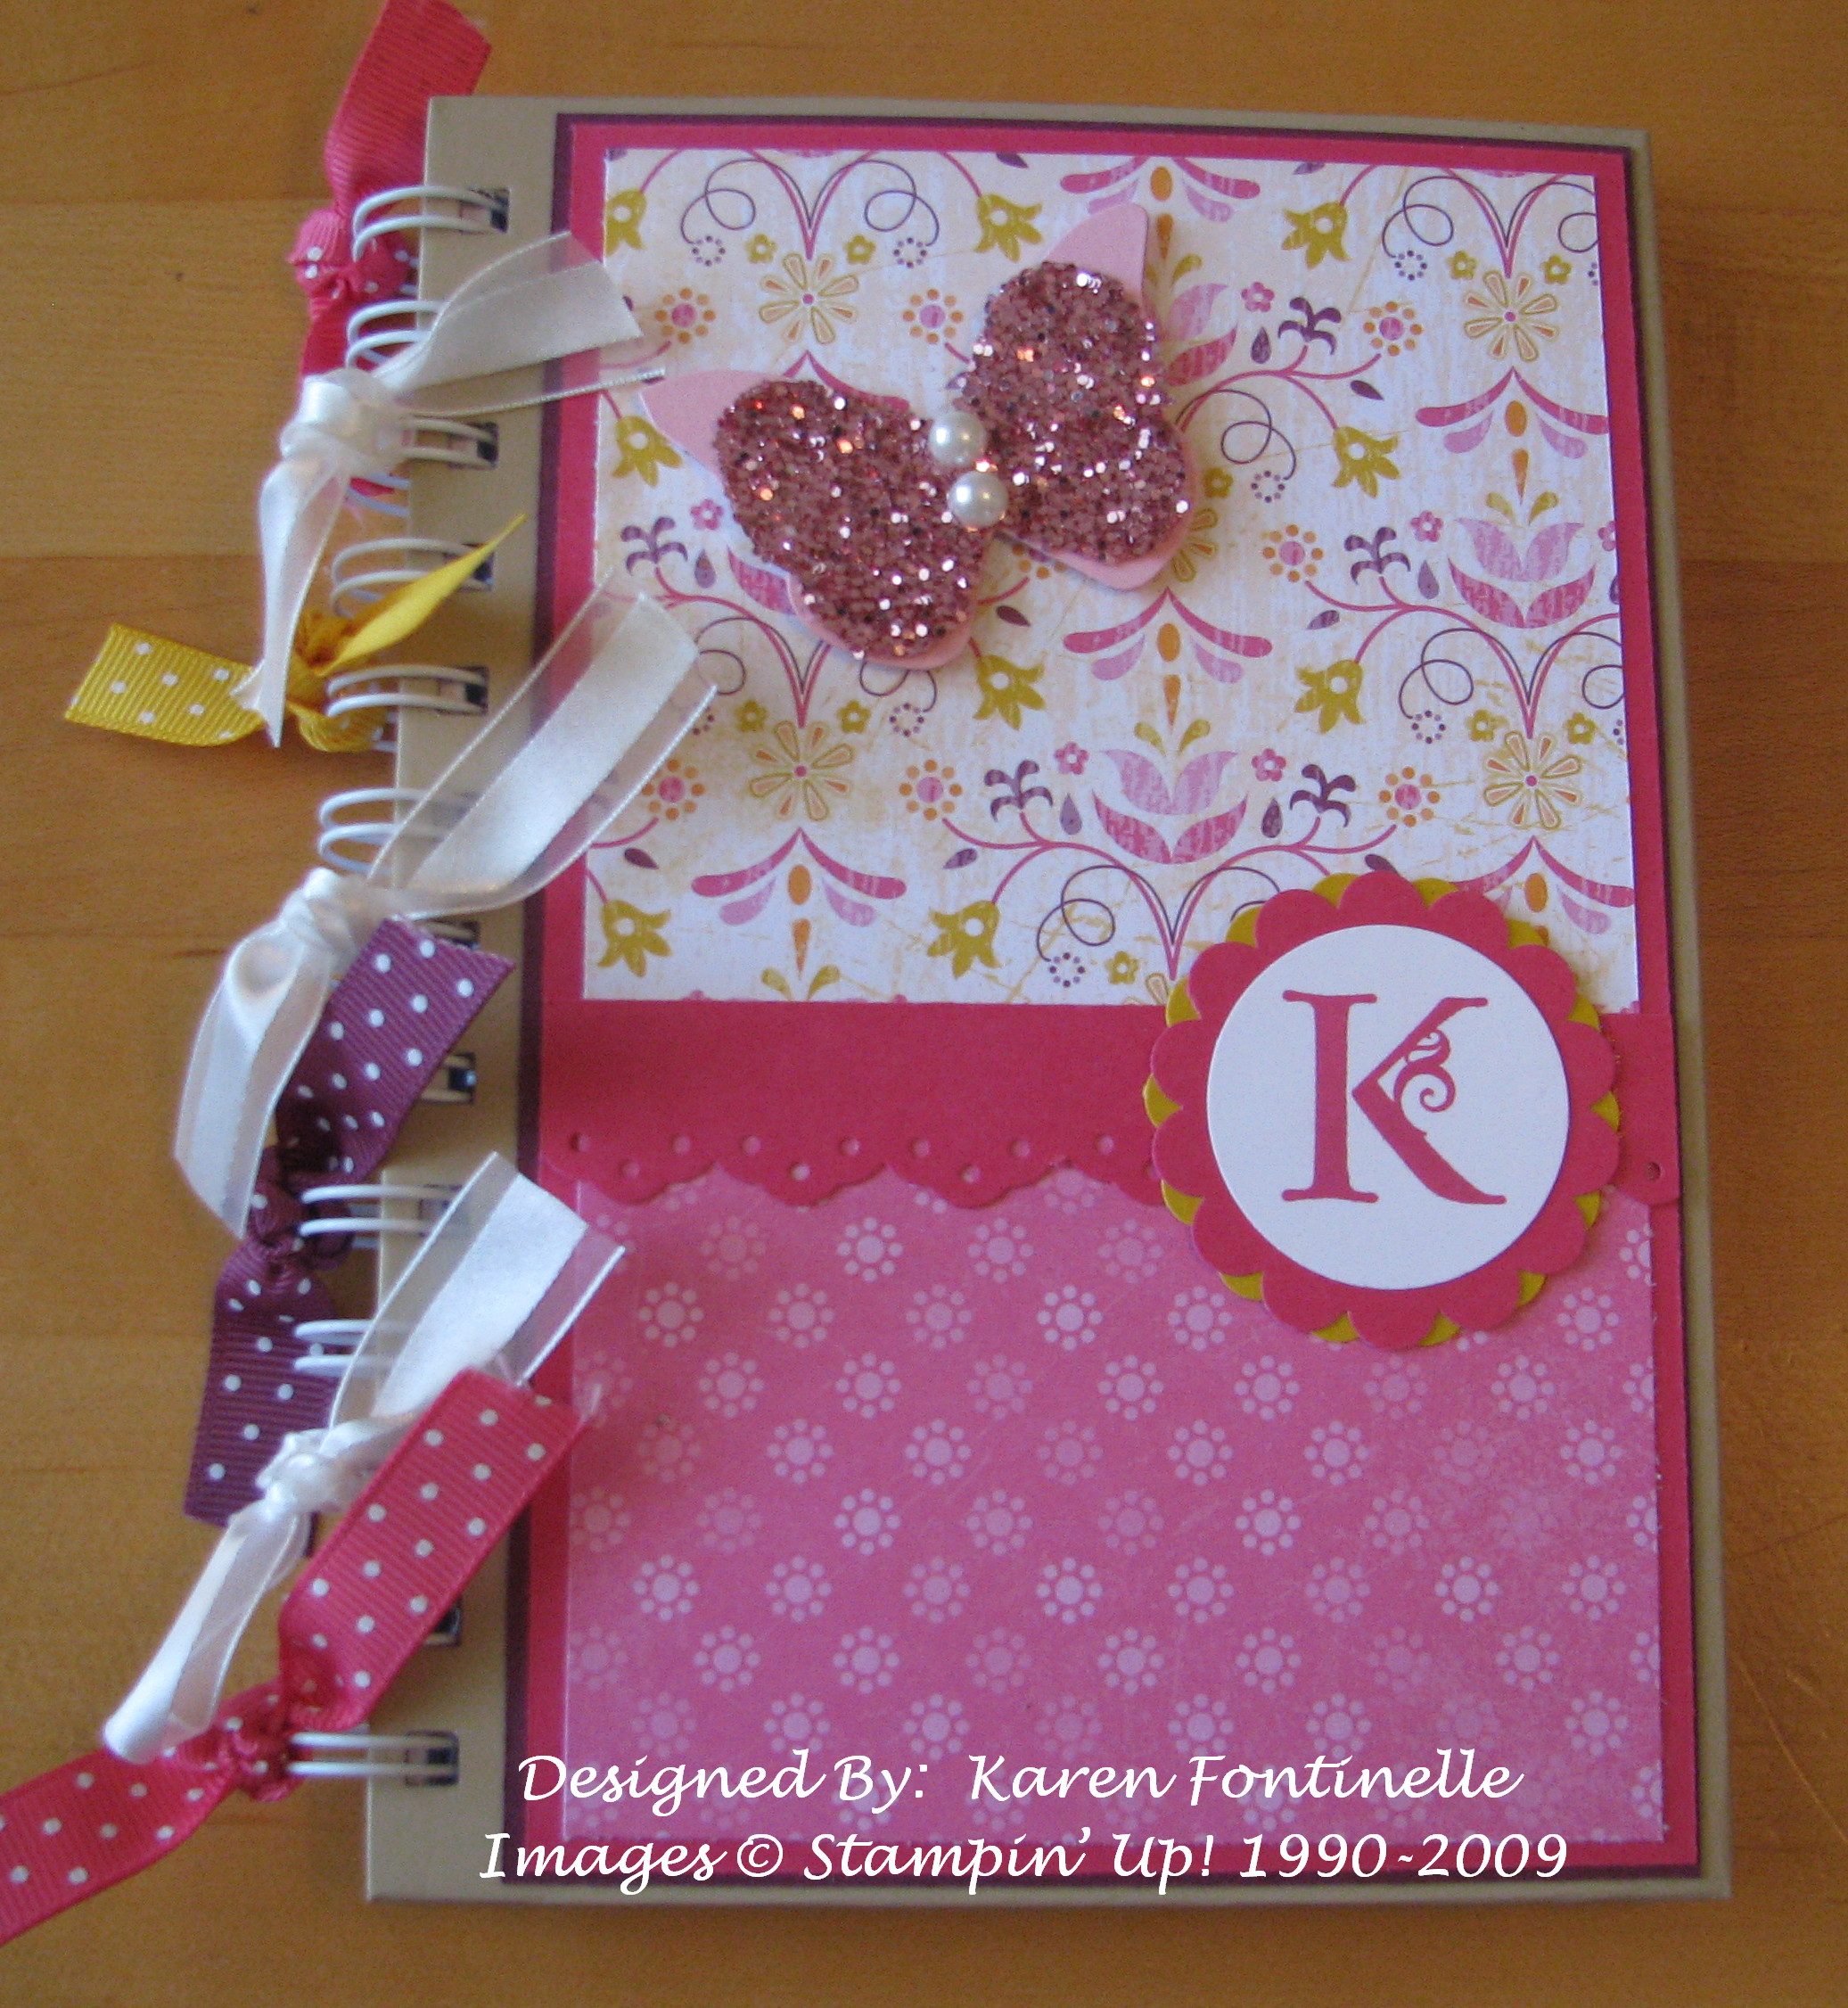
This is what you can do with a little notebook in the Dollar Bin! I covered it with the new Stampin' Up! In Colors…..Rich Razzleberry and Melon Mambo, then some Razzleberry Lemonade Designer Series Paper. Of course the Lovely Letters Alphabet is perfect for a monogram. For the butterfly, I finally tried out my Big Shot Die "Beautiful Butterflies" with a layered butterfly on top punched out of Sticky Pages with the new Butterfly Punch and covered with Chunky Sprinkles Glitter plus two little half pearls from the Pretties Kit. I love the new In Colors Polka Dot ribbon and the Organza Ribbon.
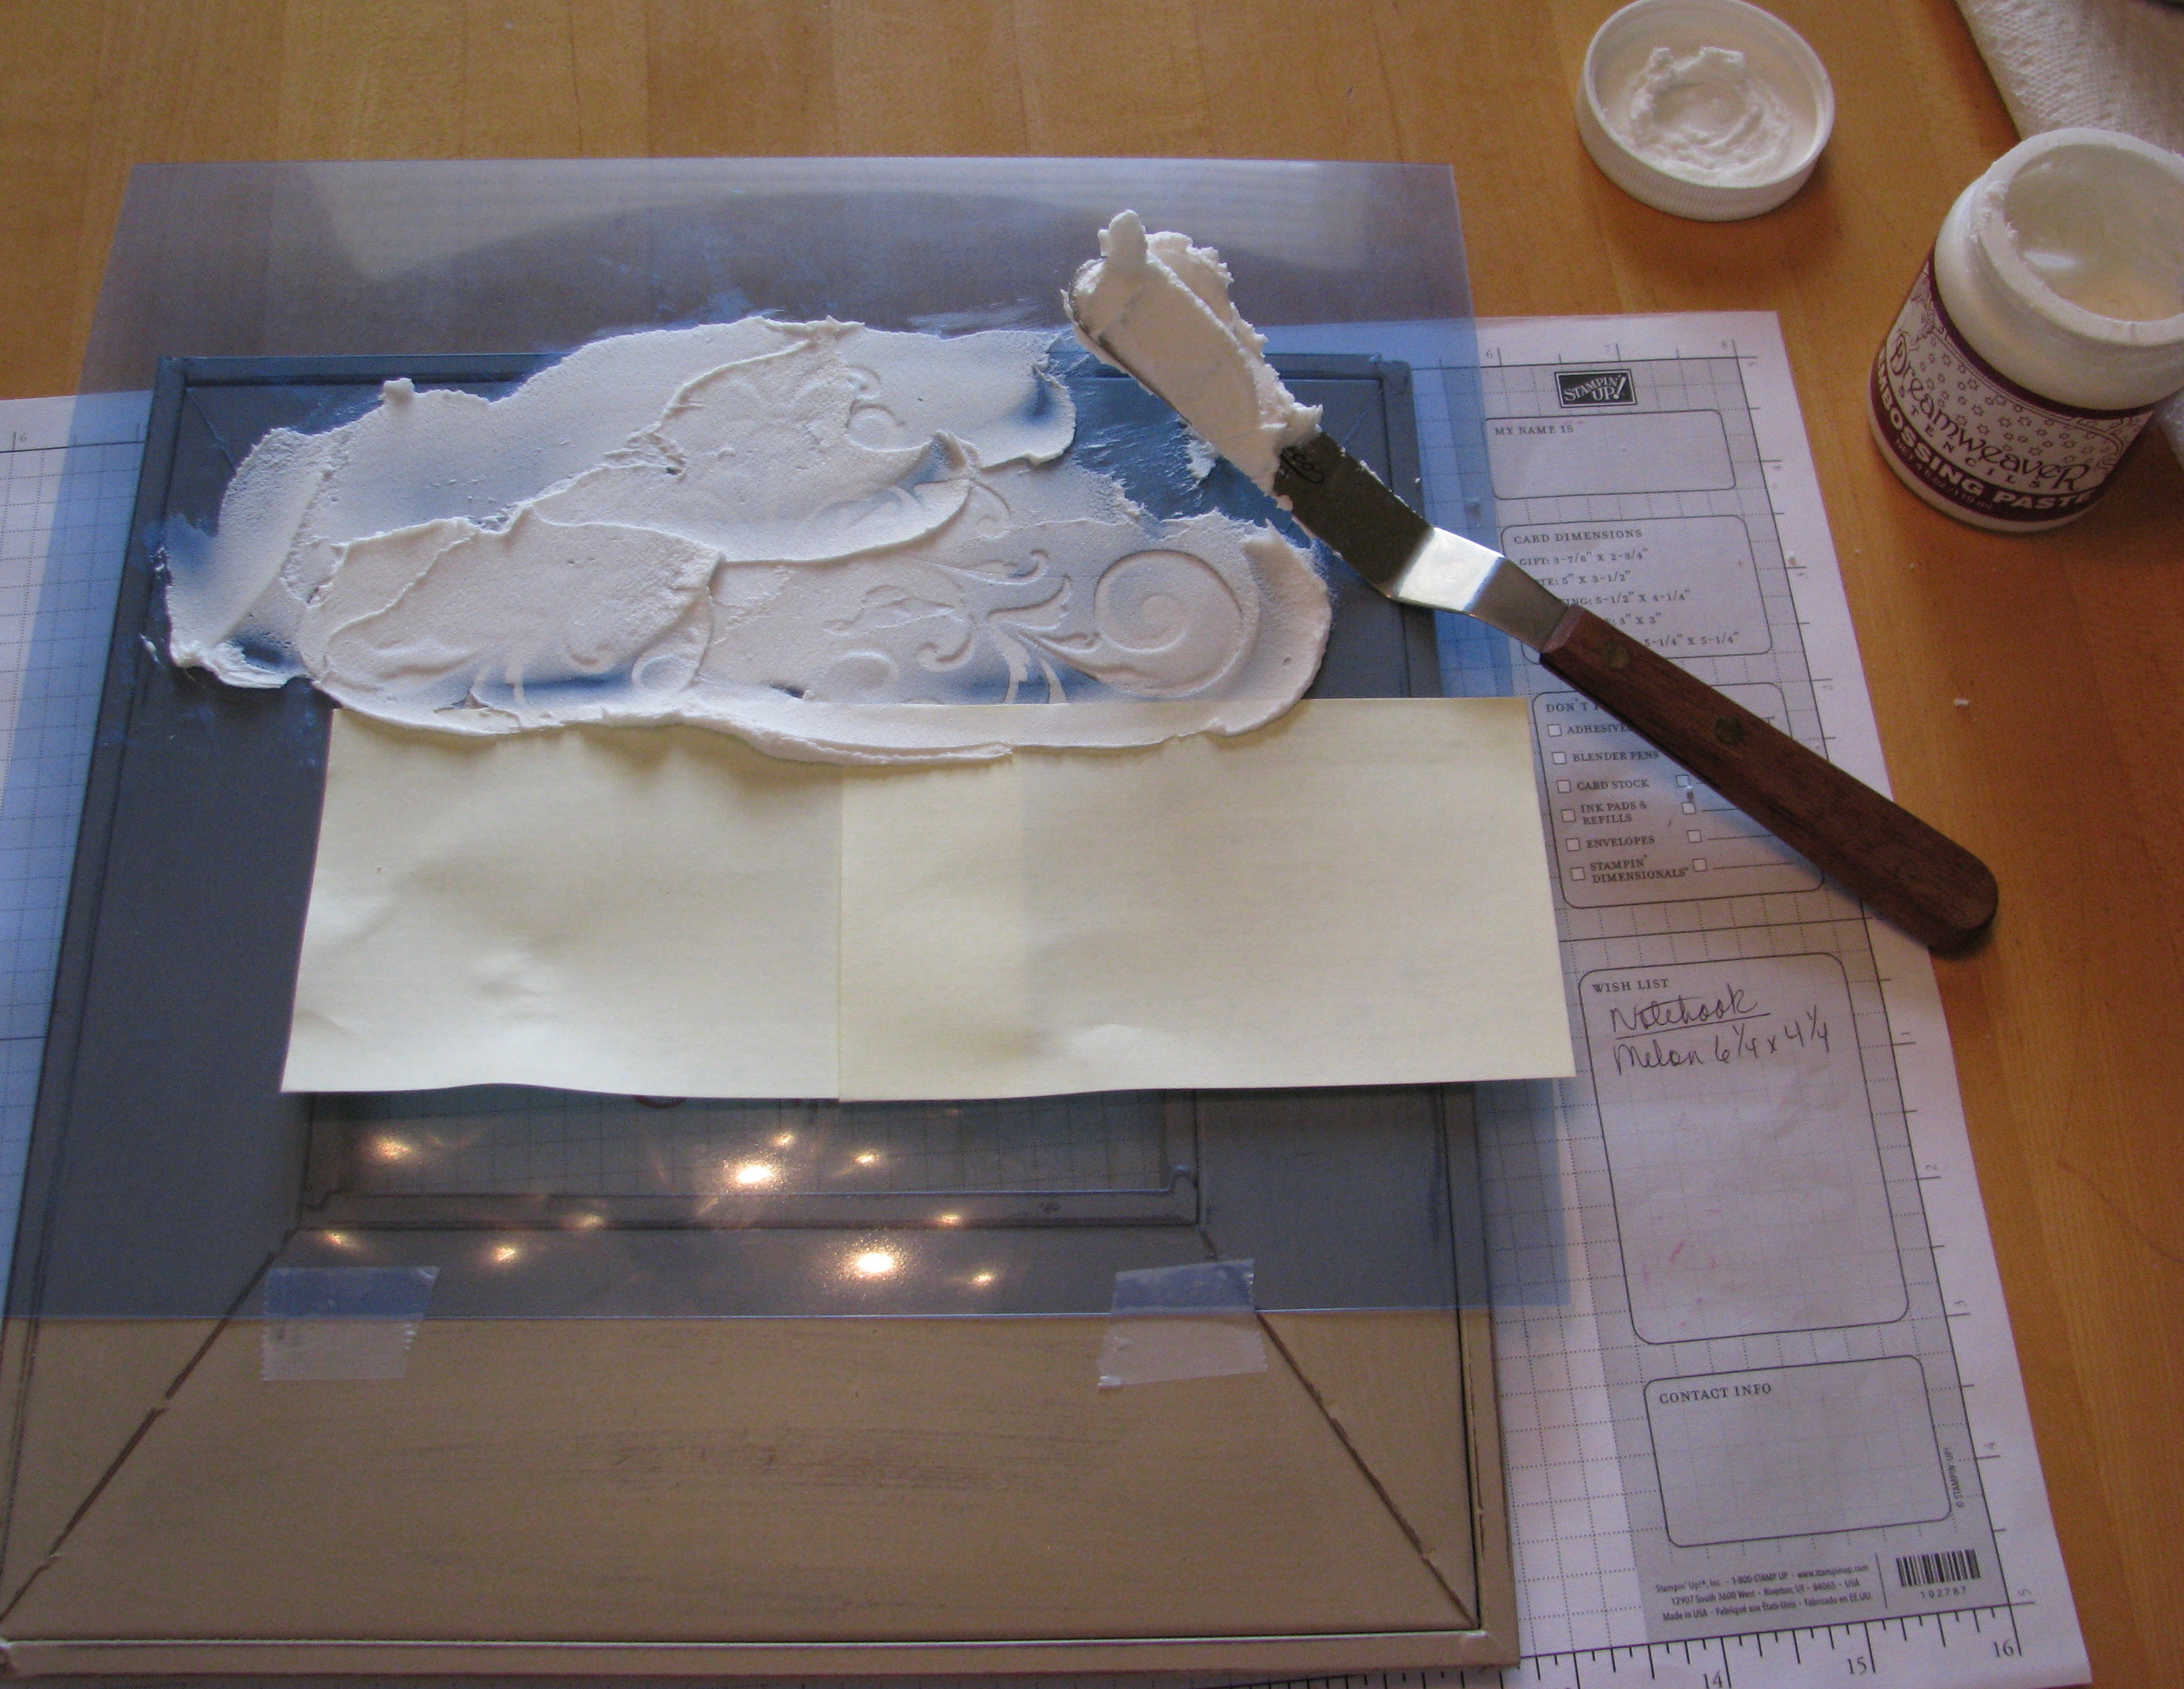
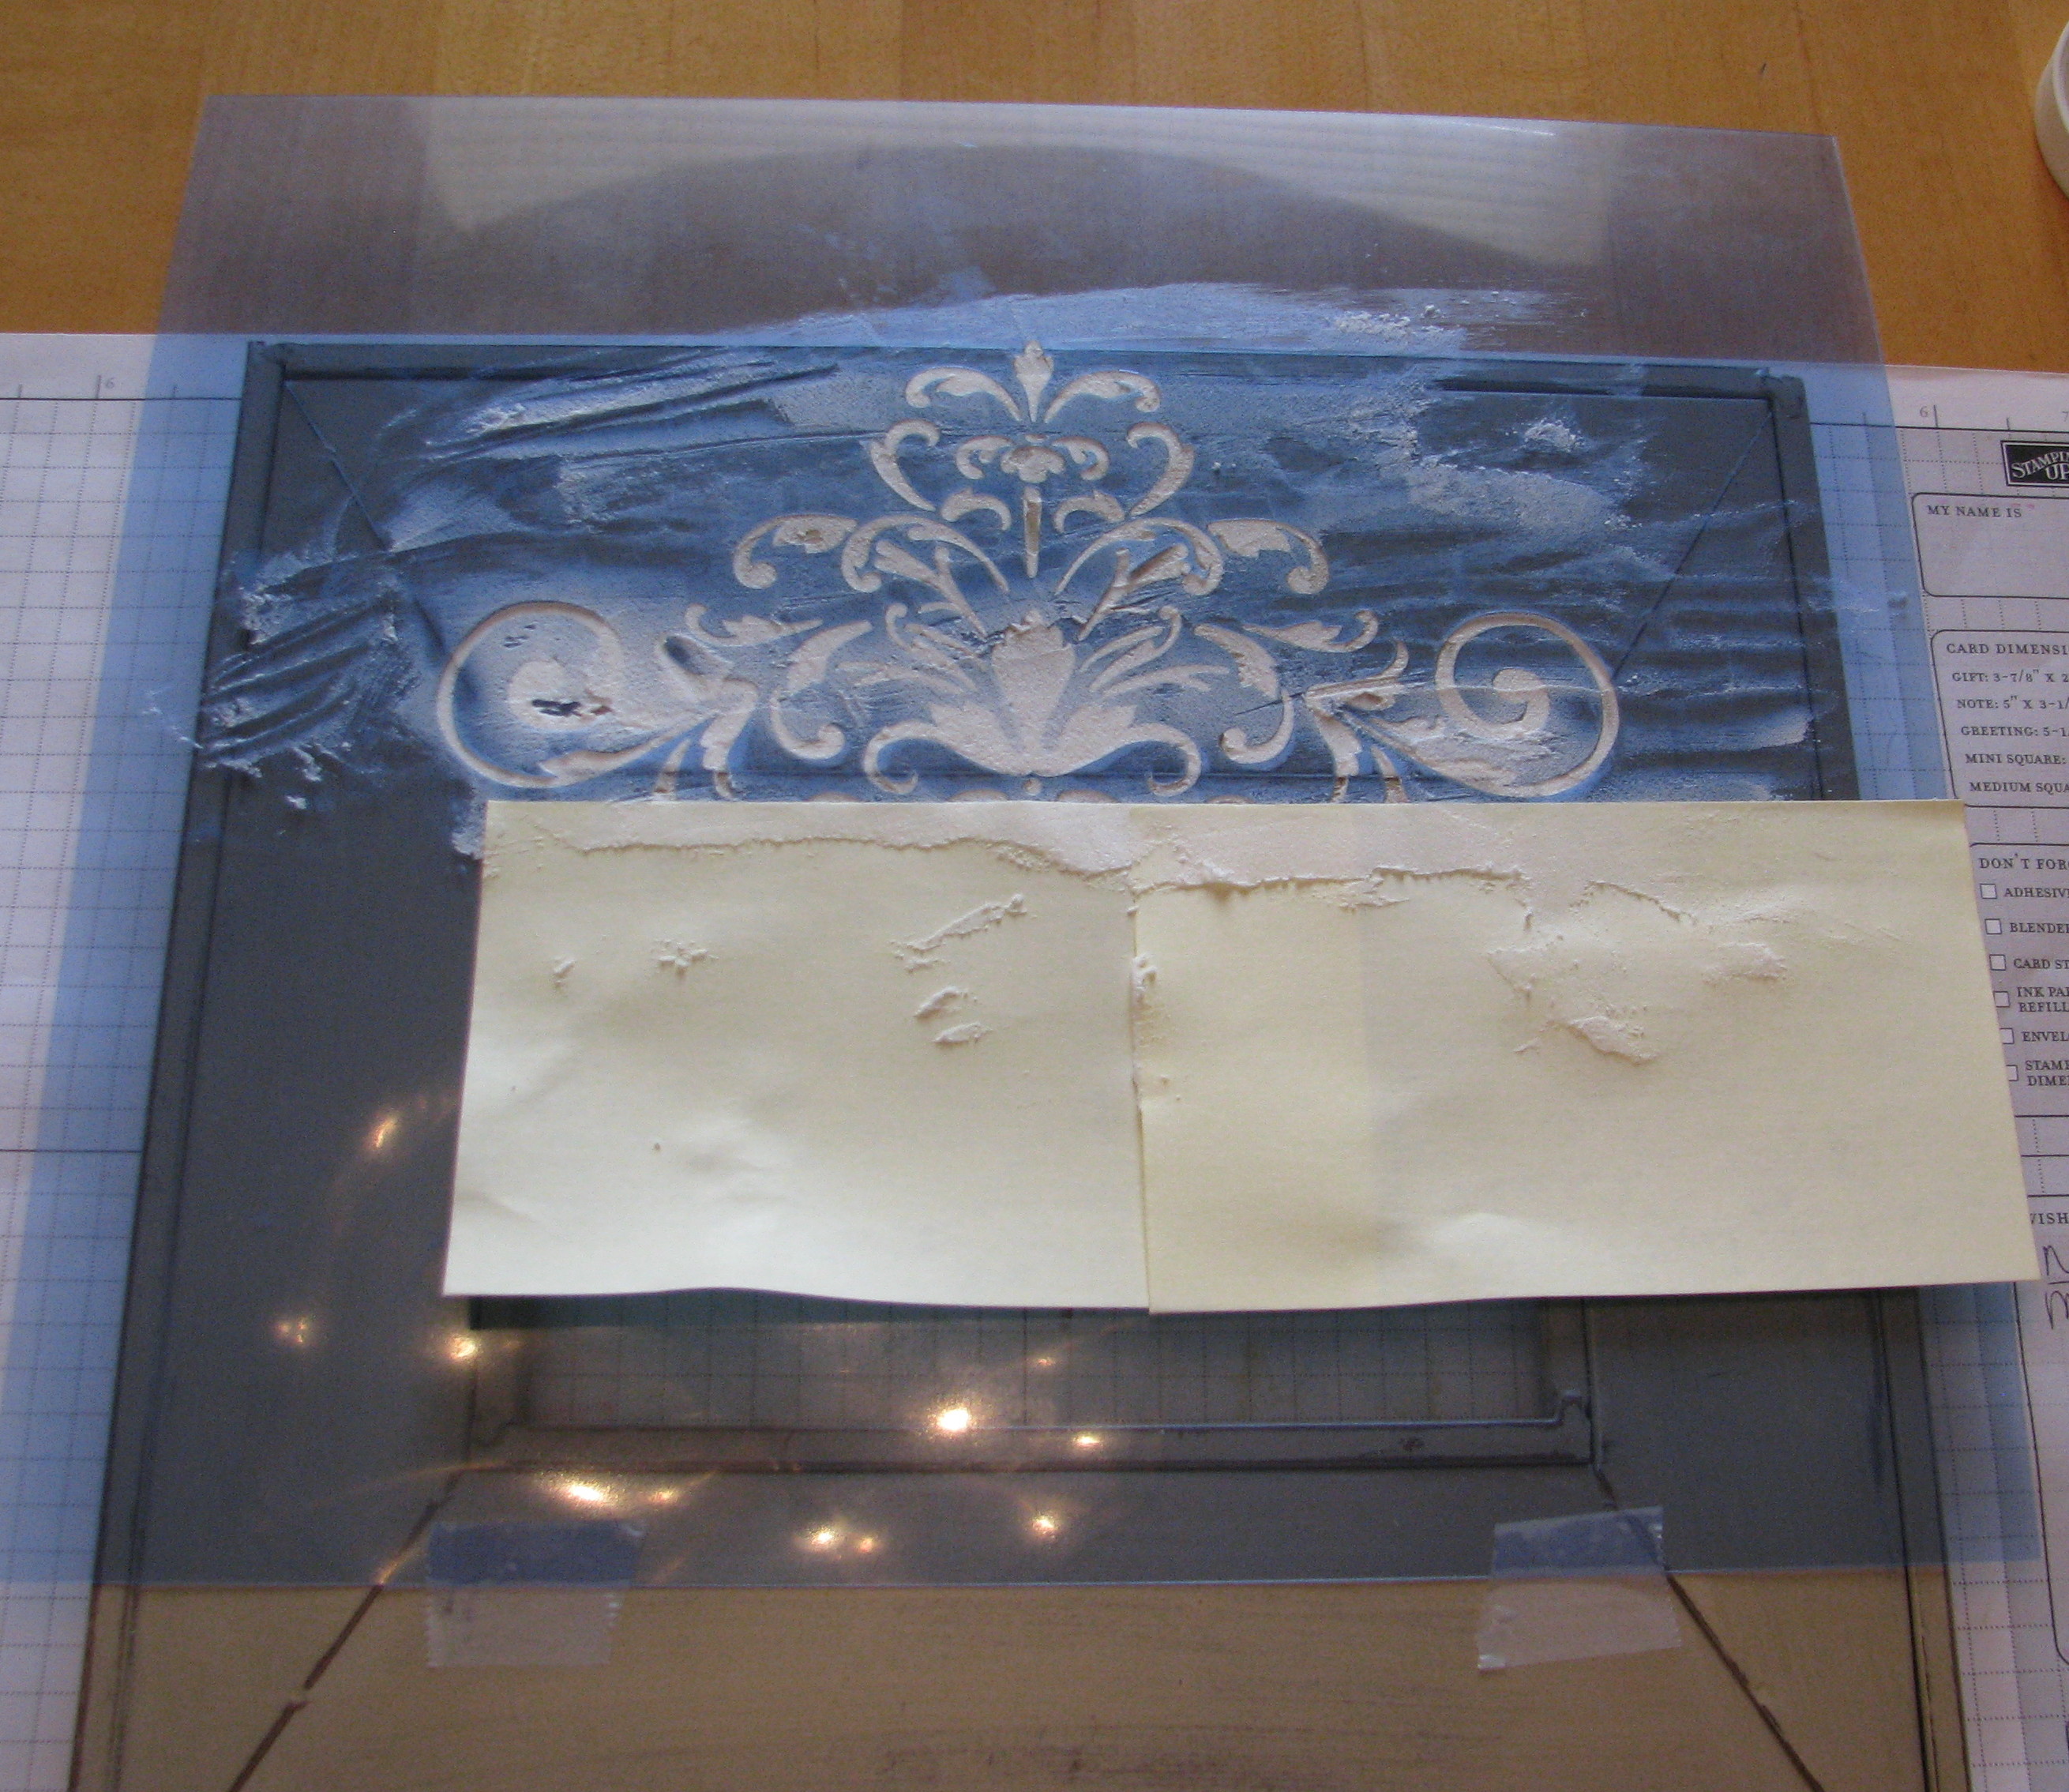
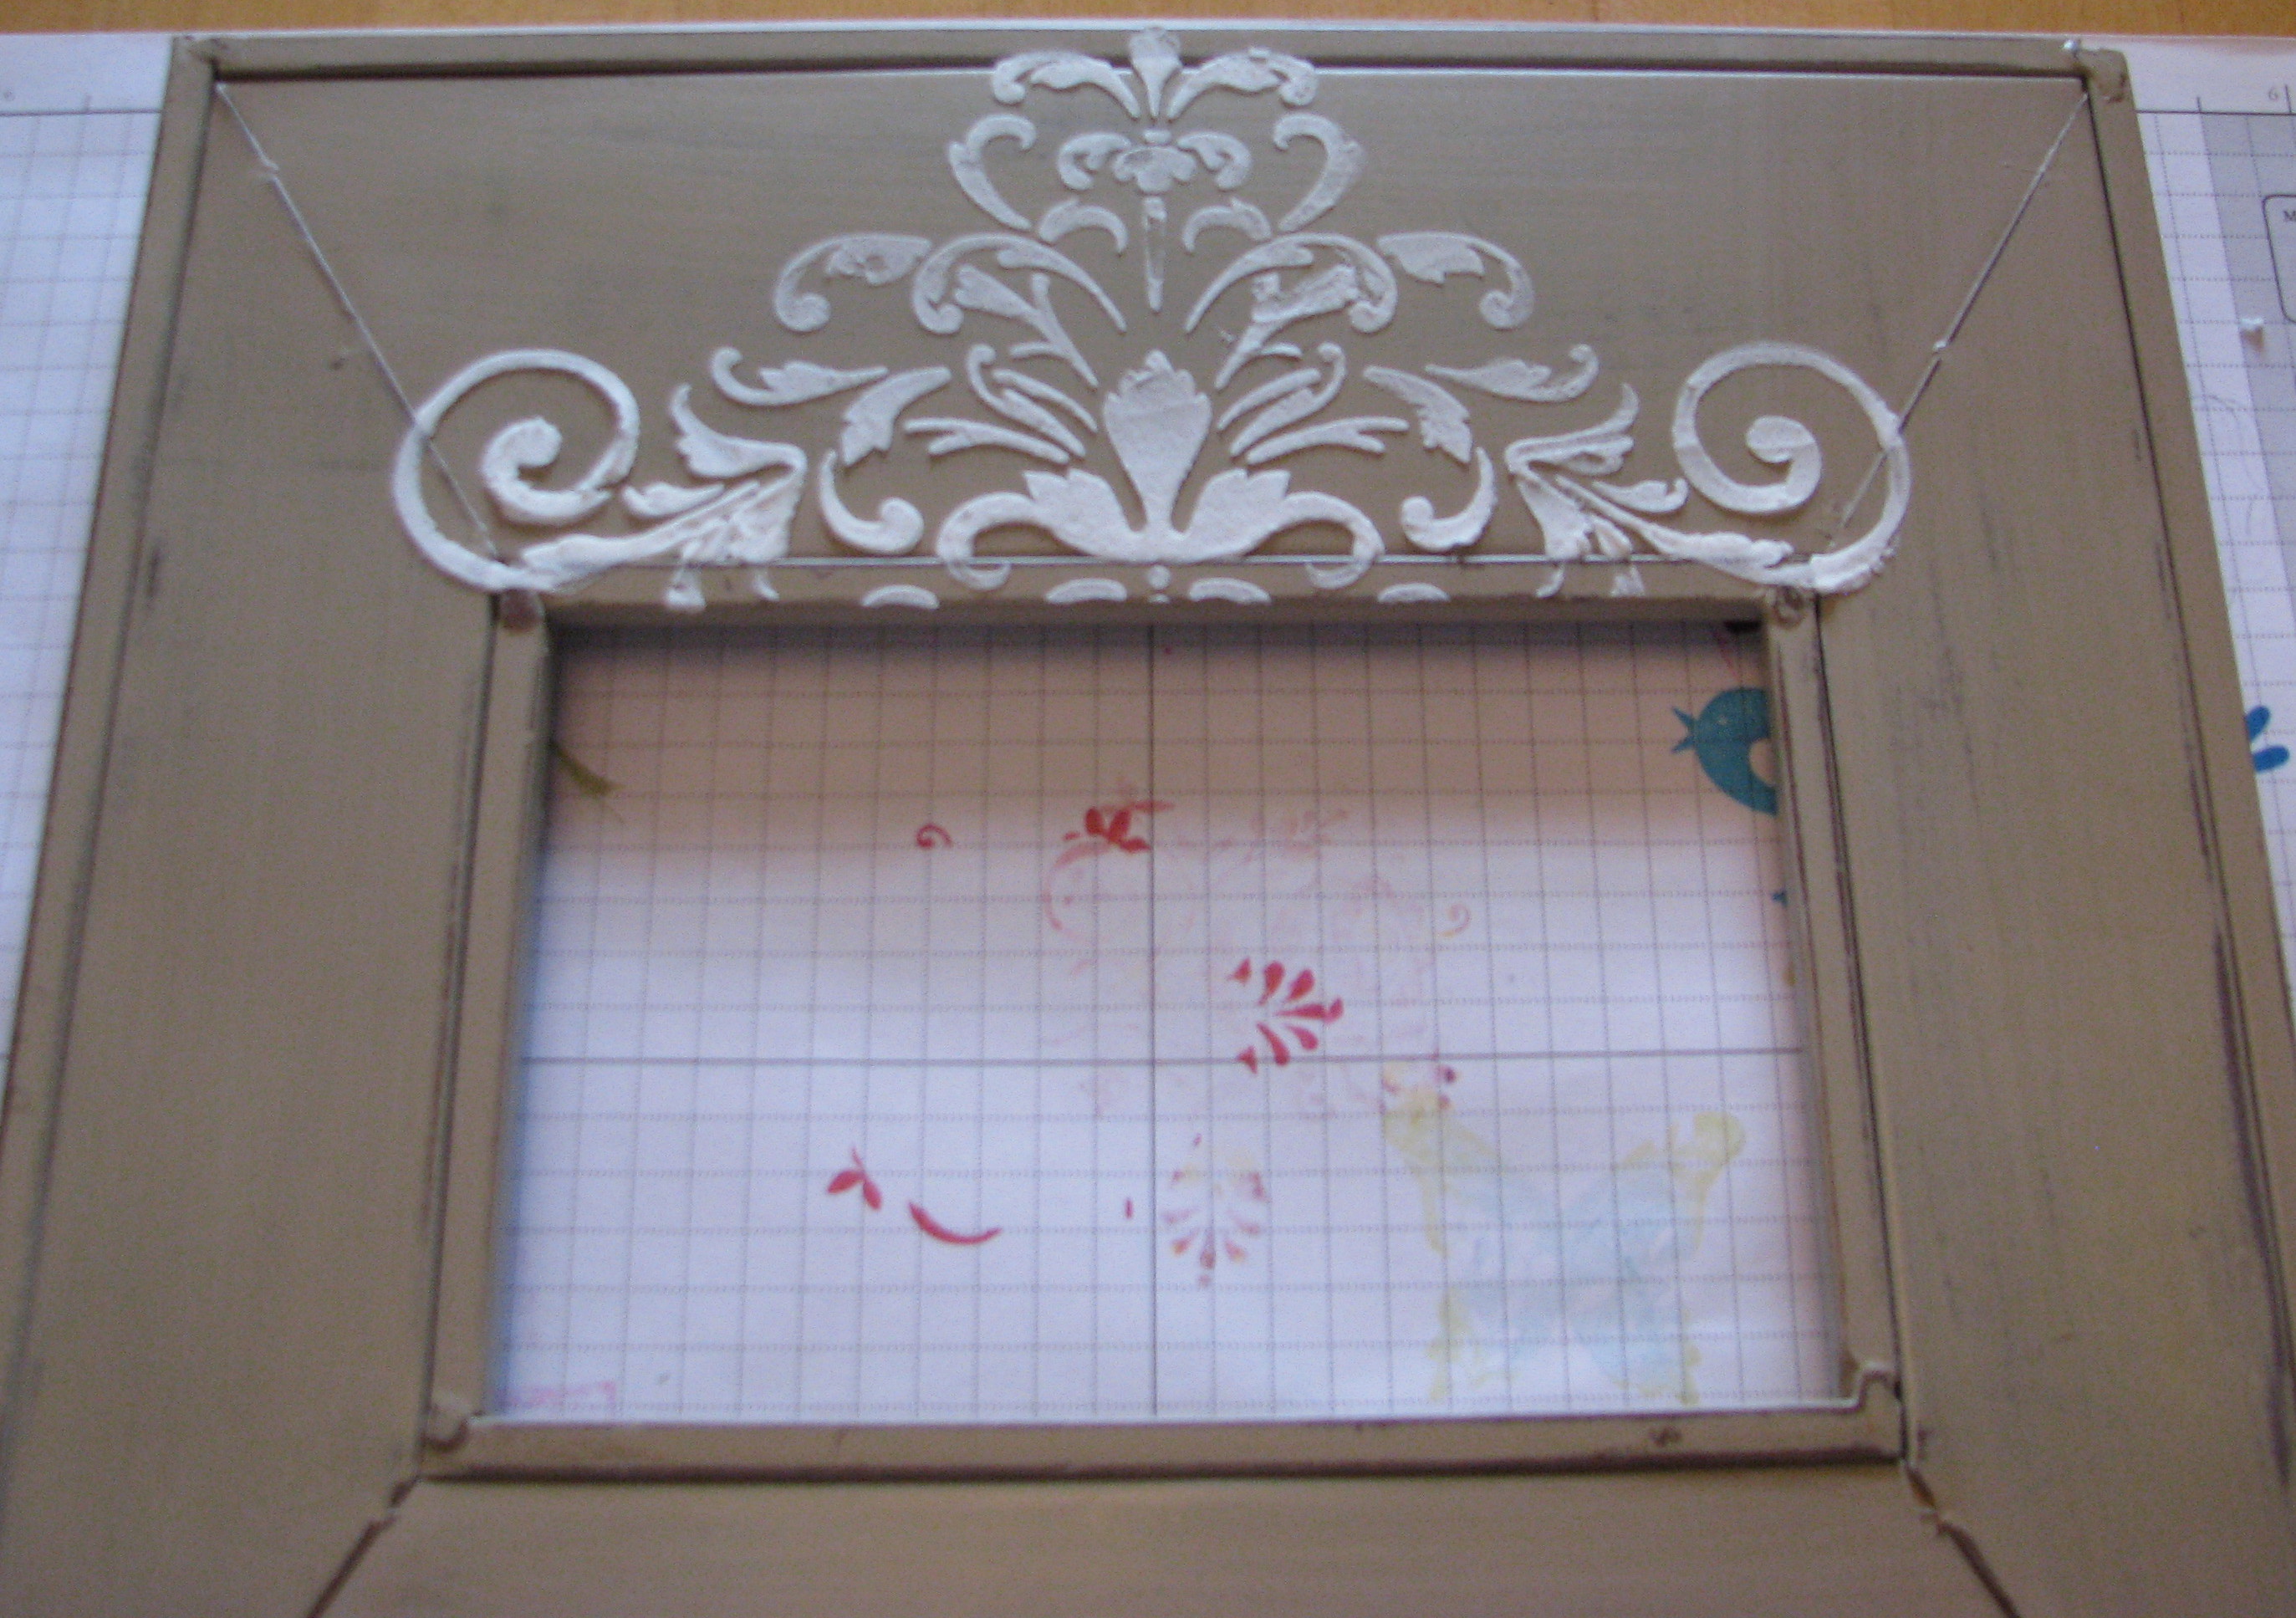
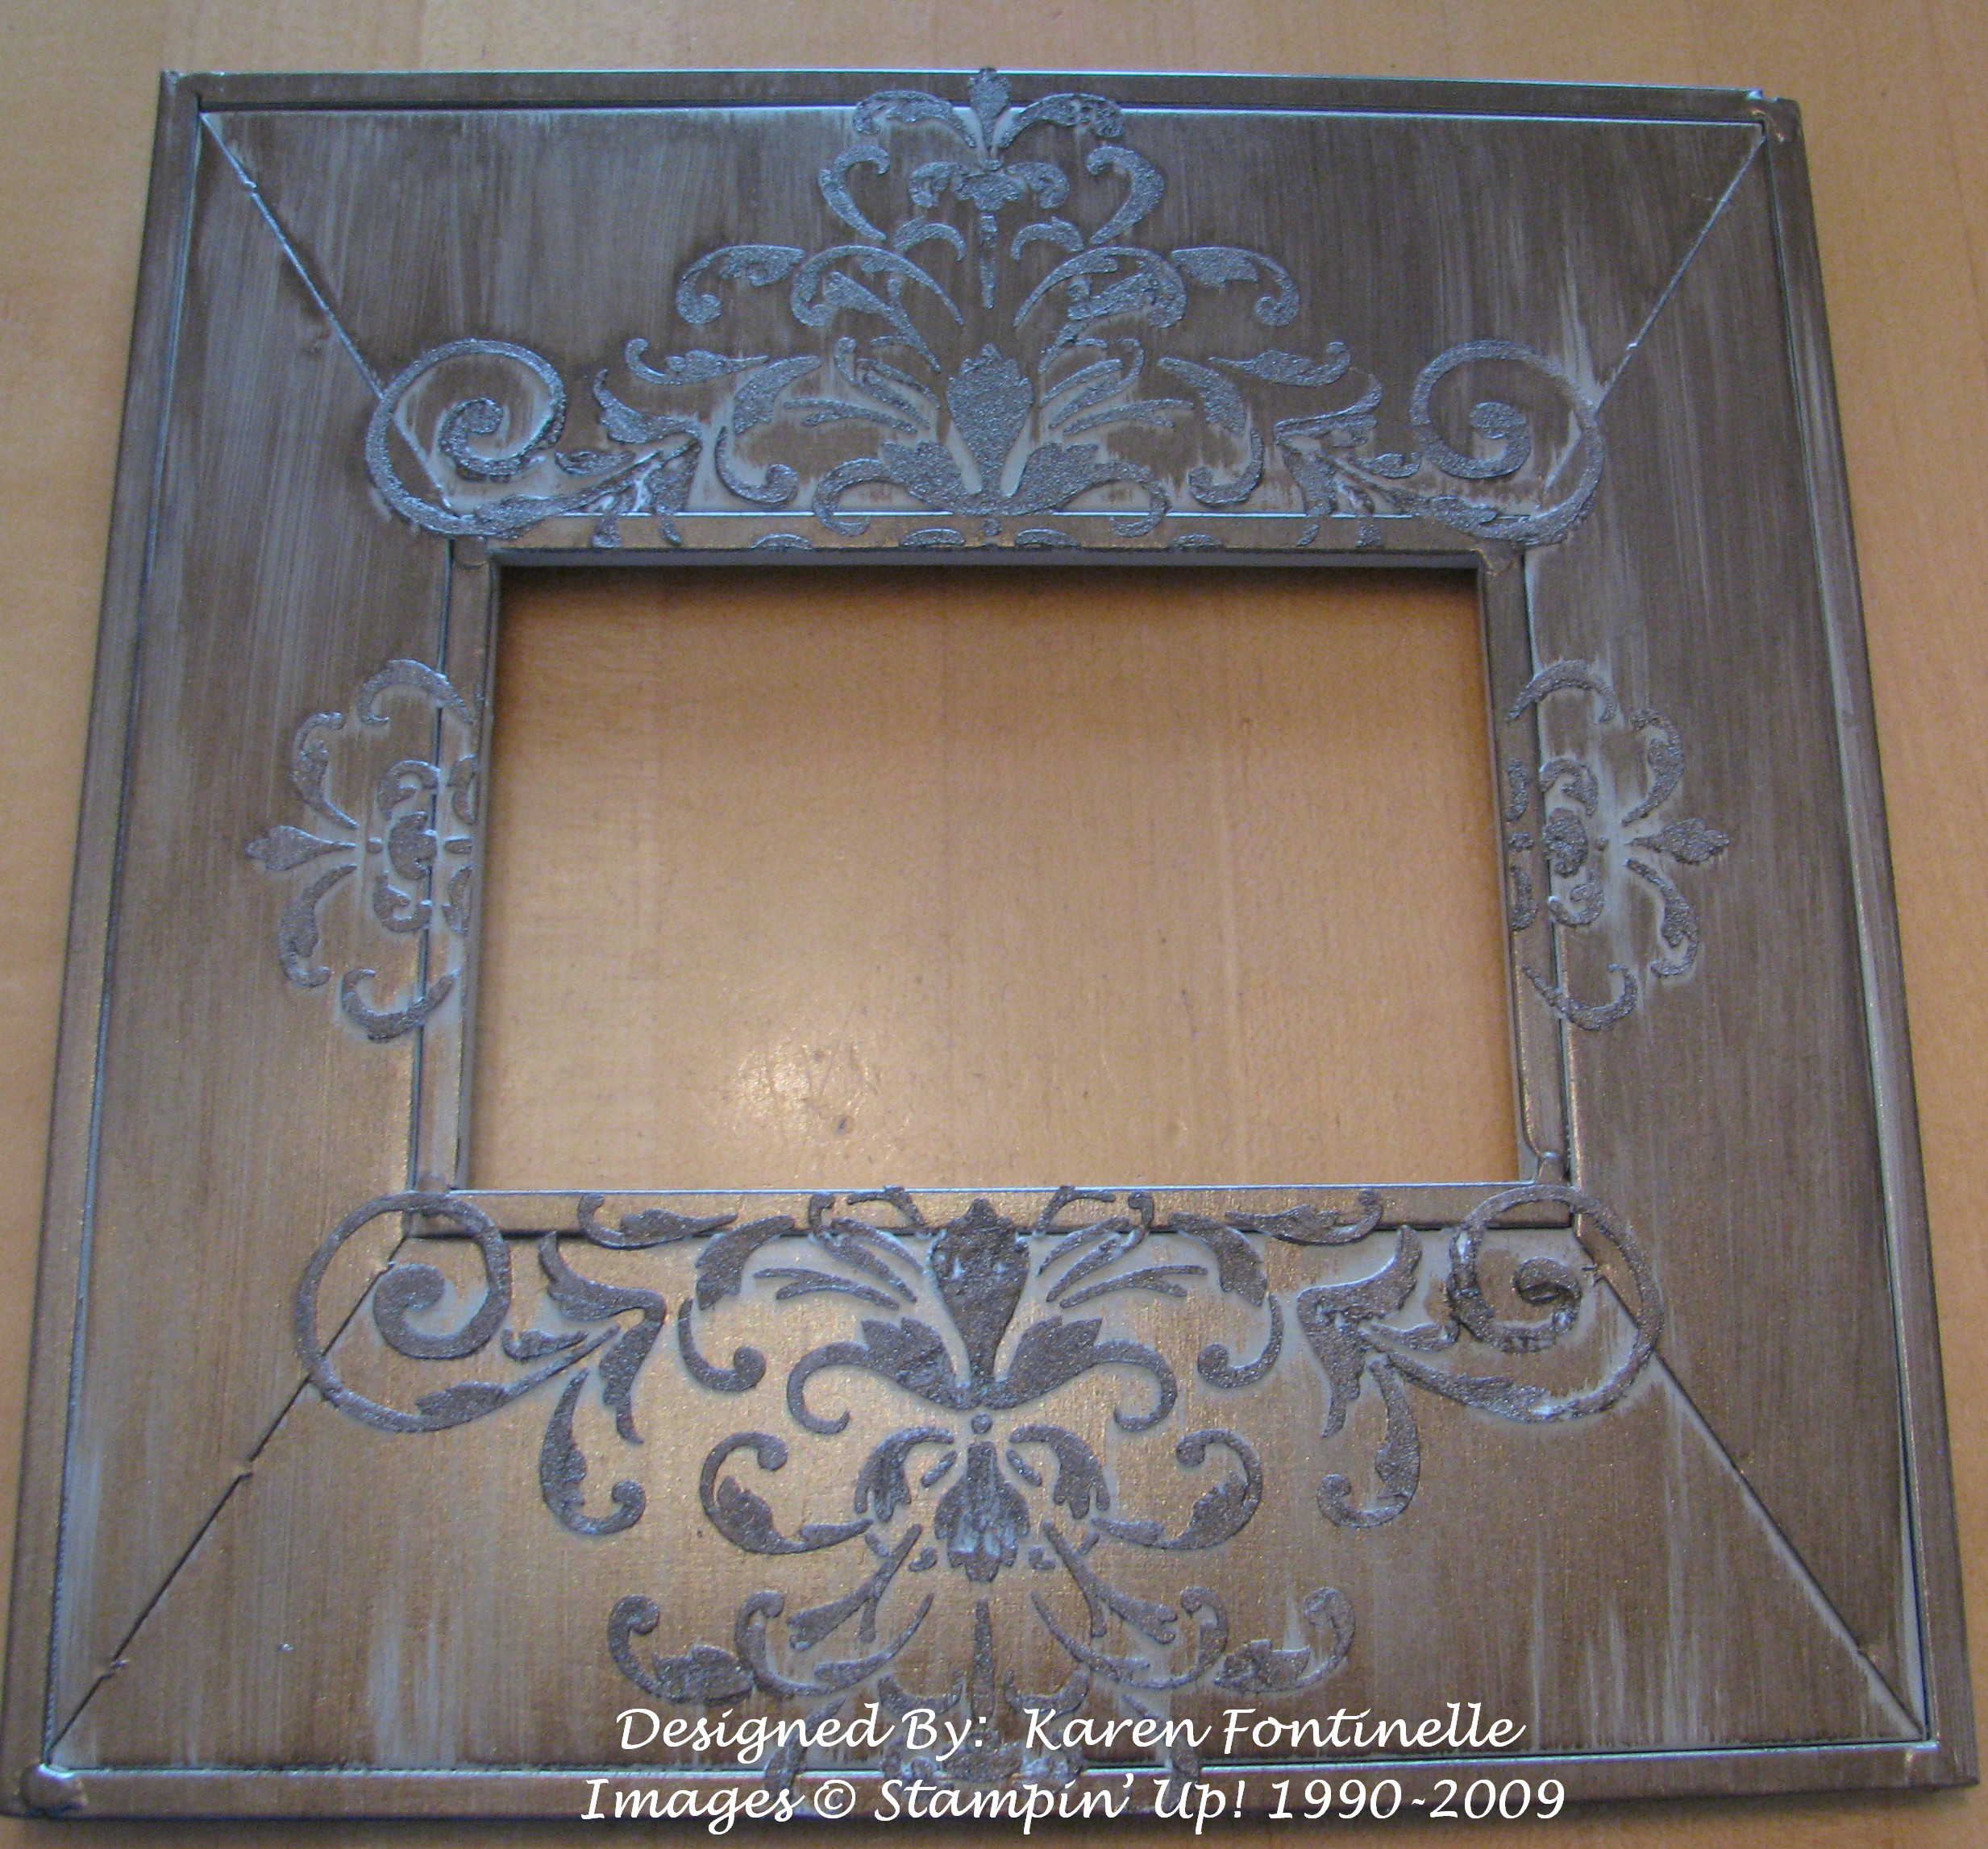
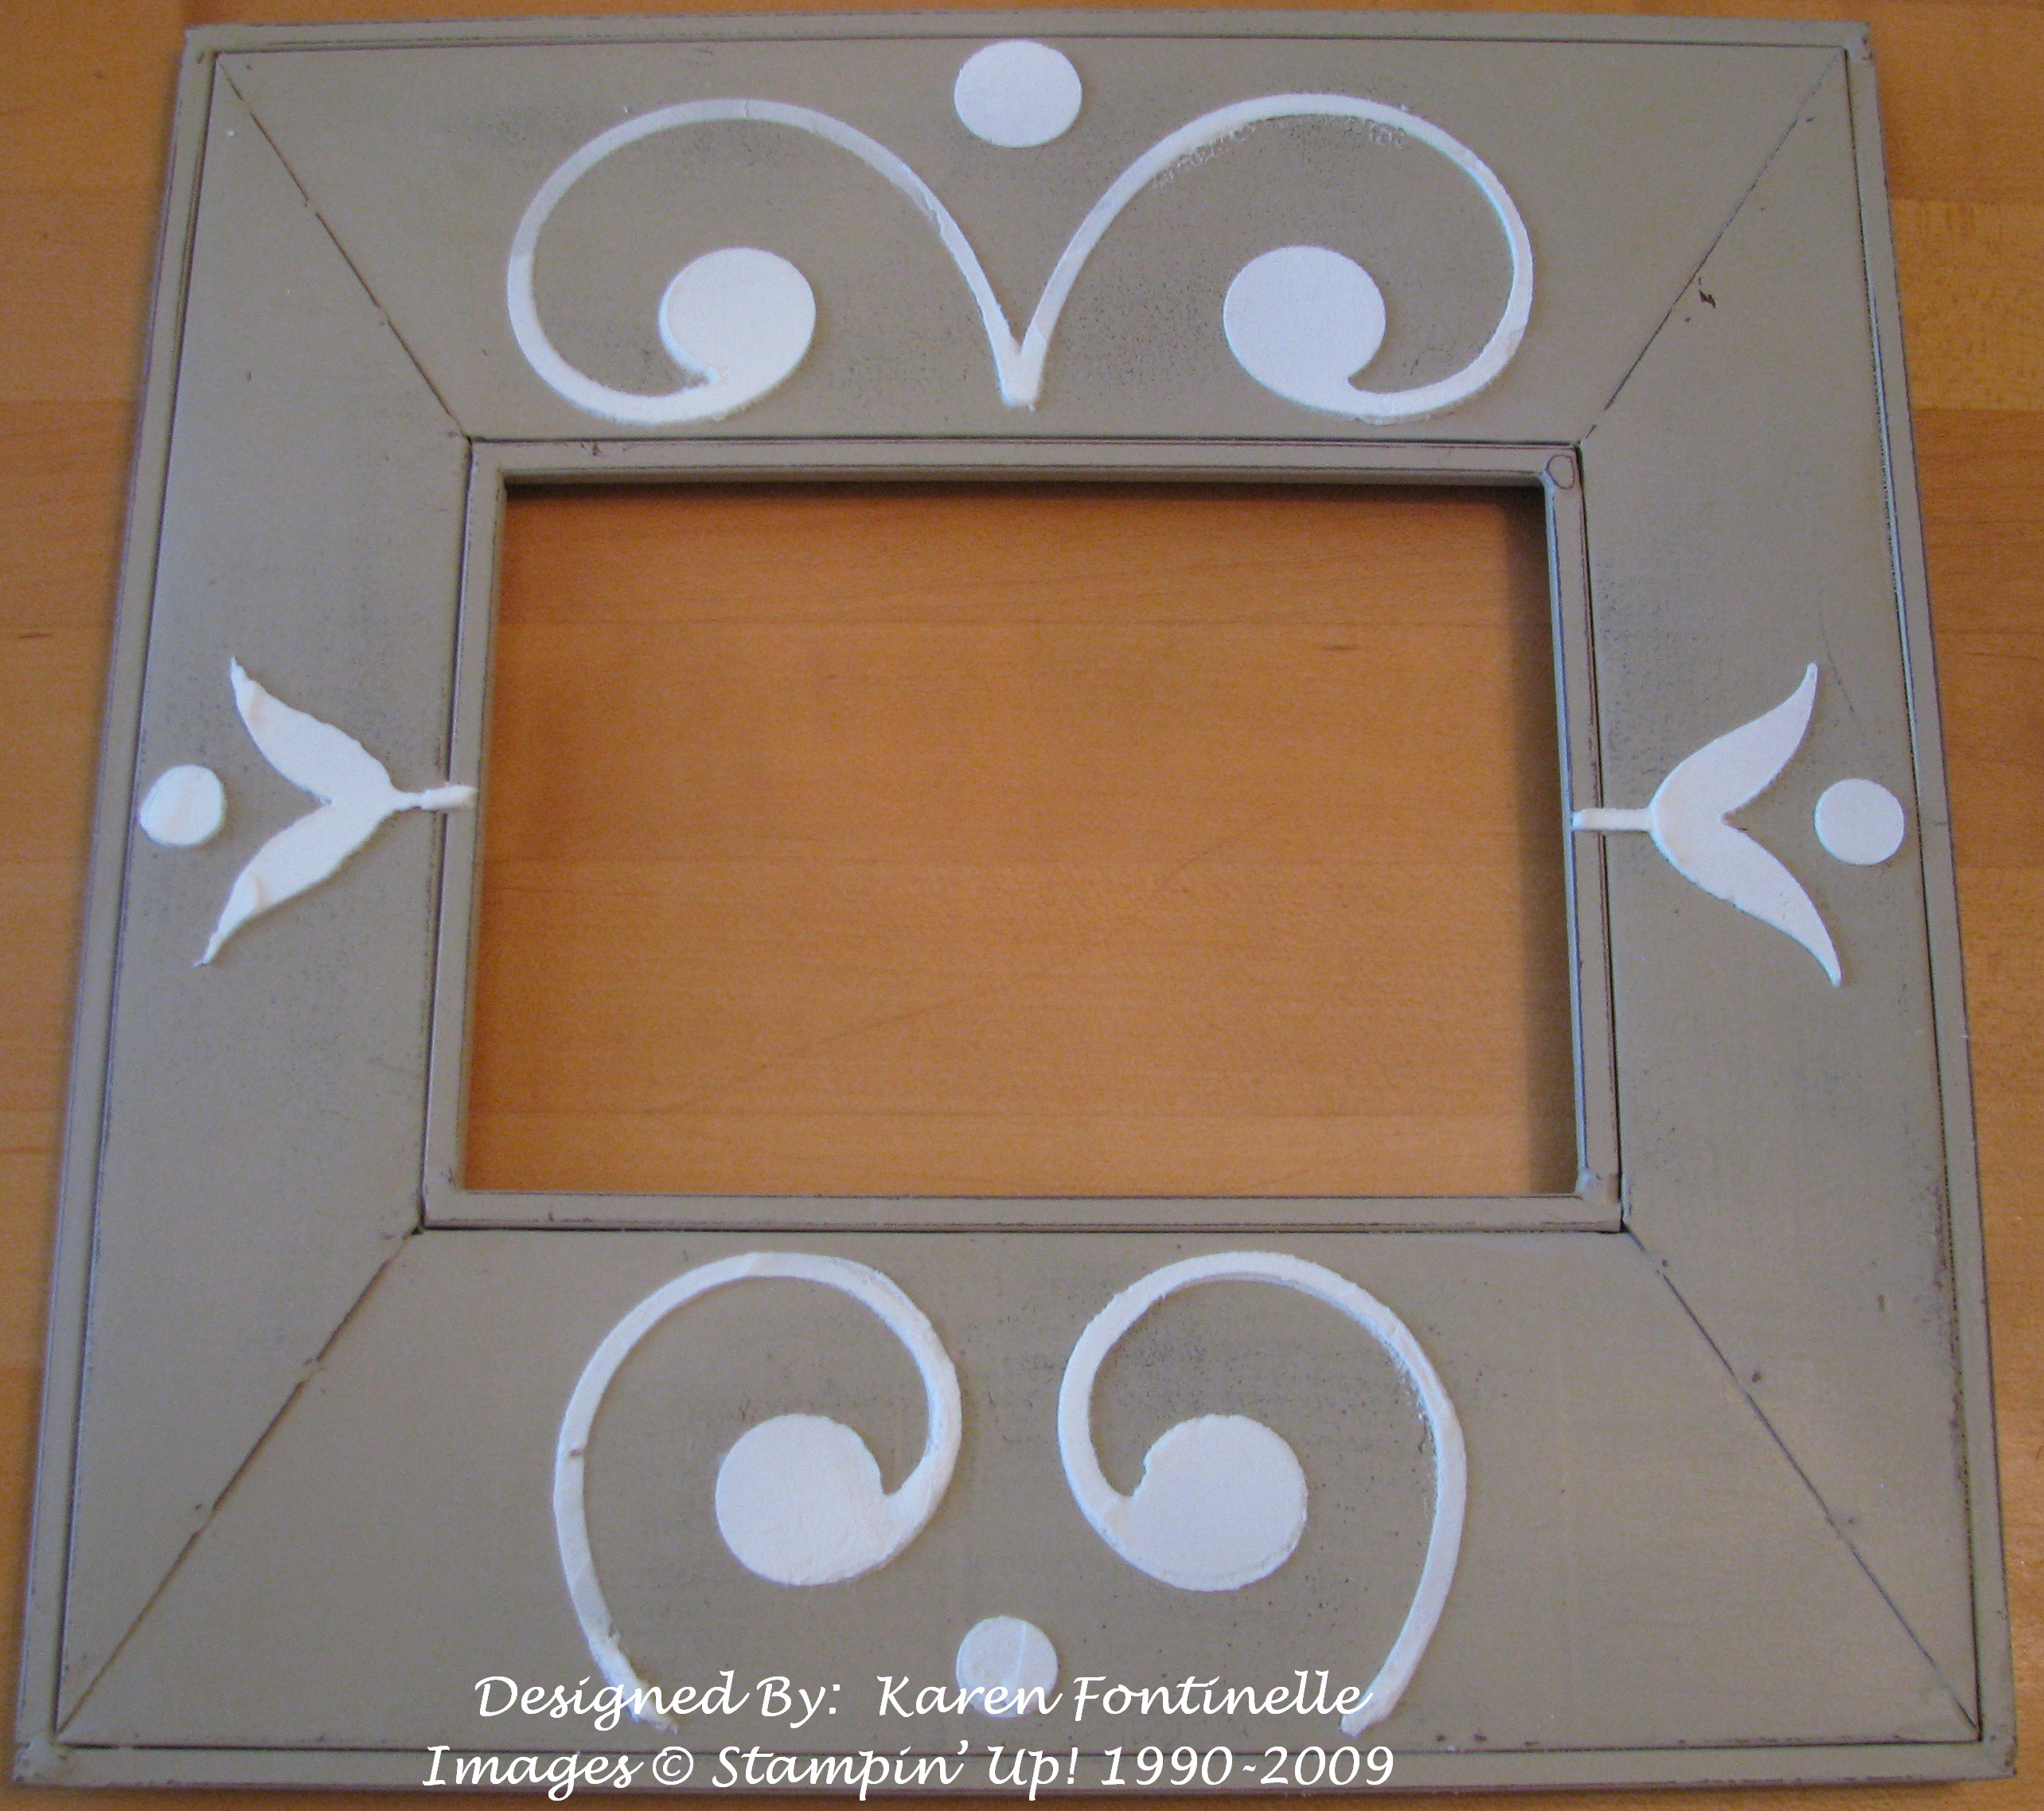
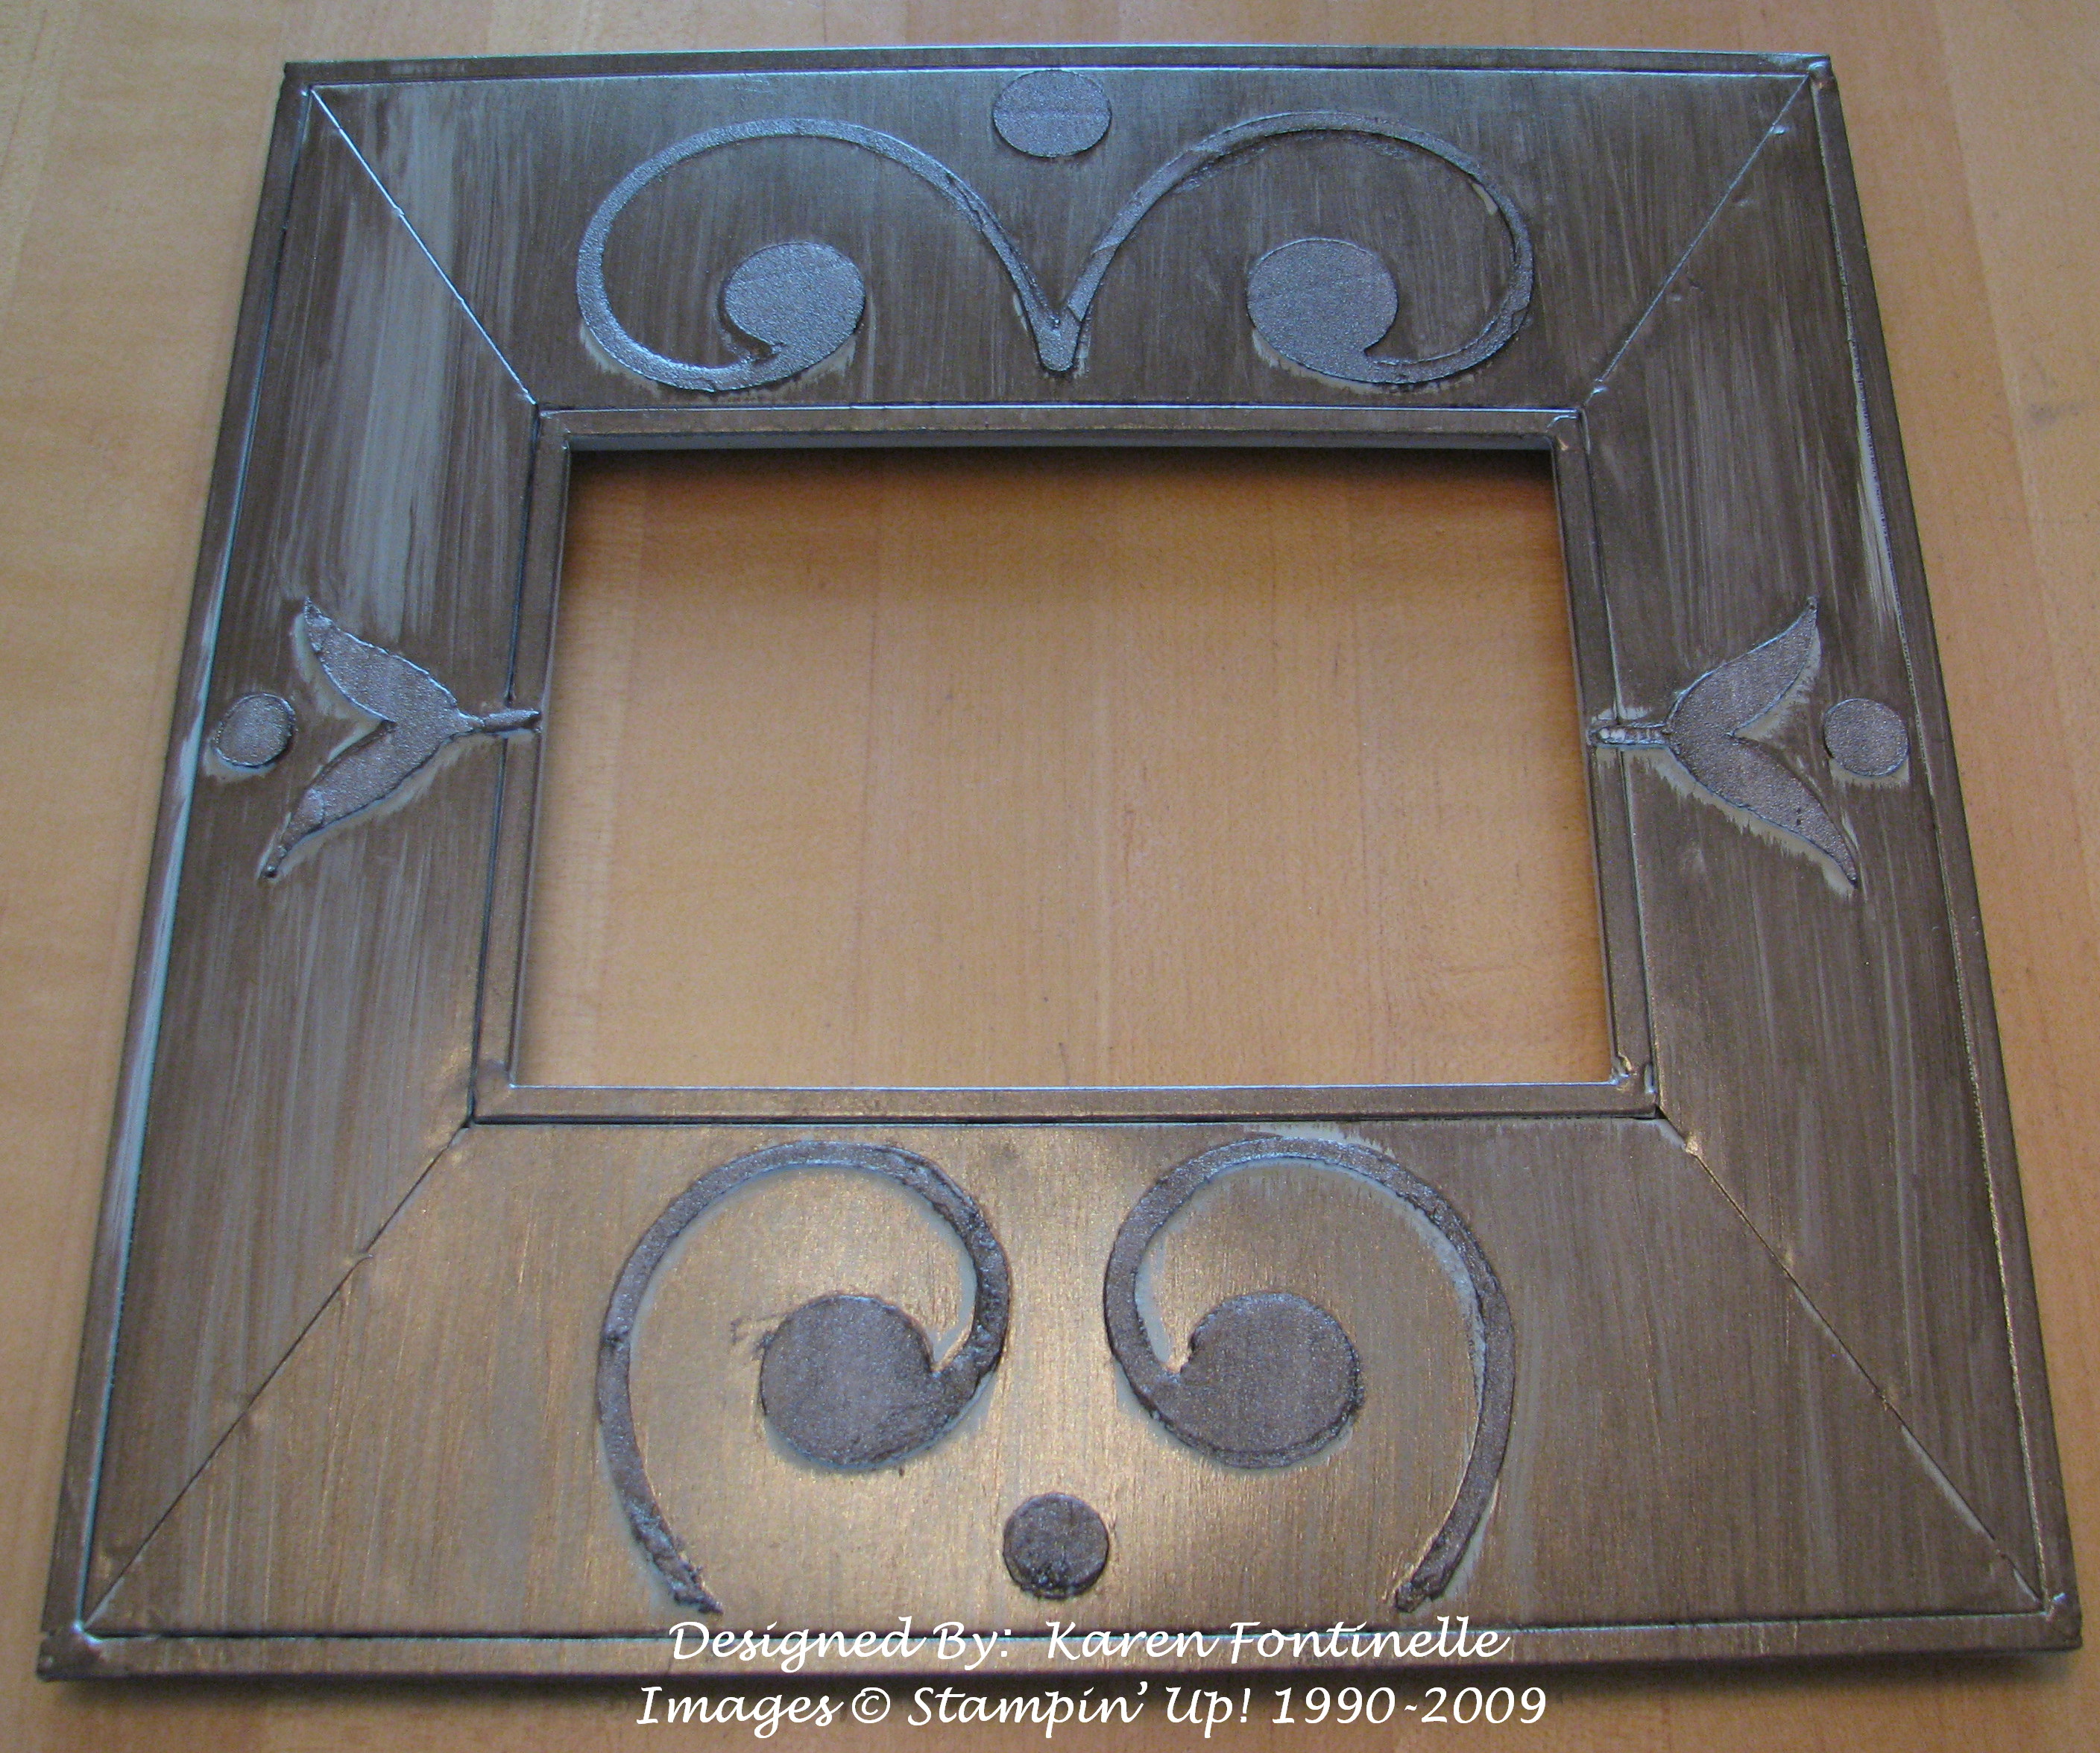
Since I loved doing the picture frame in THIS post, I had to run back to Hobby Lobby and get more frames. This time I got the light-colored frame. It gives a whole different look, which of course you can control depending on how much glaze you apply or wipe off. Here are some photos of the process and the end result. The first stencil is "Kind Thoughts Brocade" and the second stencil is portions of the "Brocade Flourish" stencil. You can find these in the Definitely Decorative Catalog.
Let me know which design and look you like the best!
Our Styled Vanilla Hodgepodge Hardware adds class to any project. Get them for just $18.99 (over 30% off the regular price of $29.95)—only July 20-26!
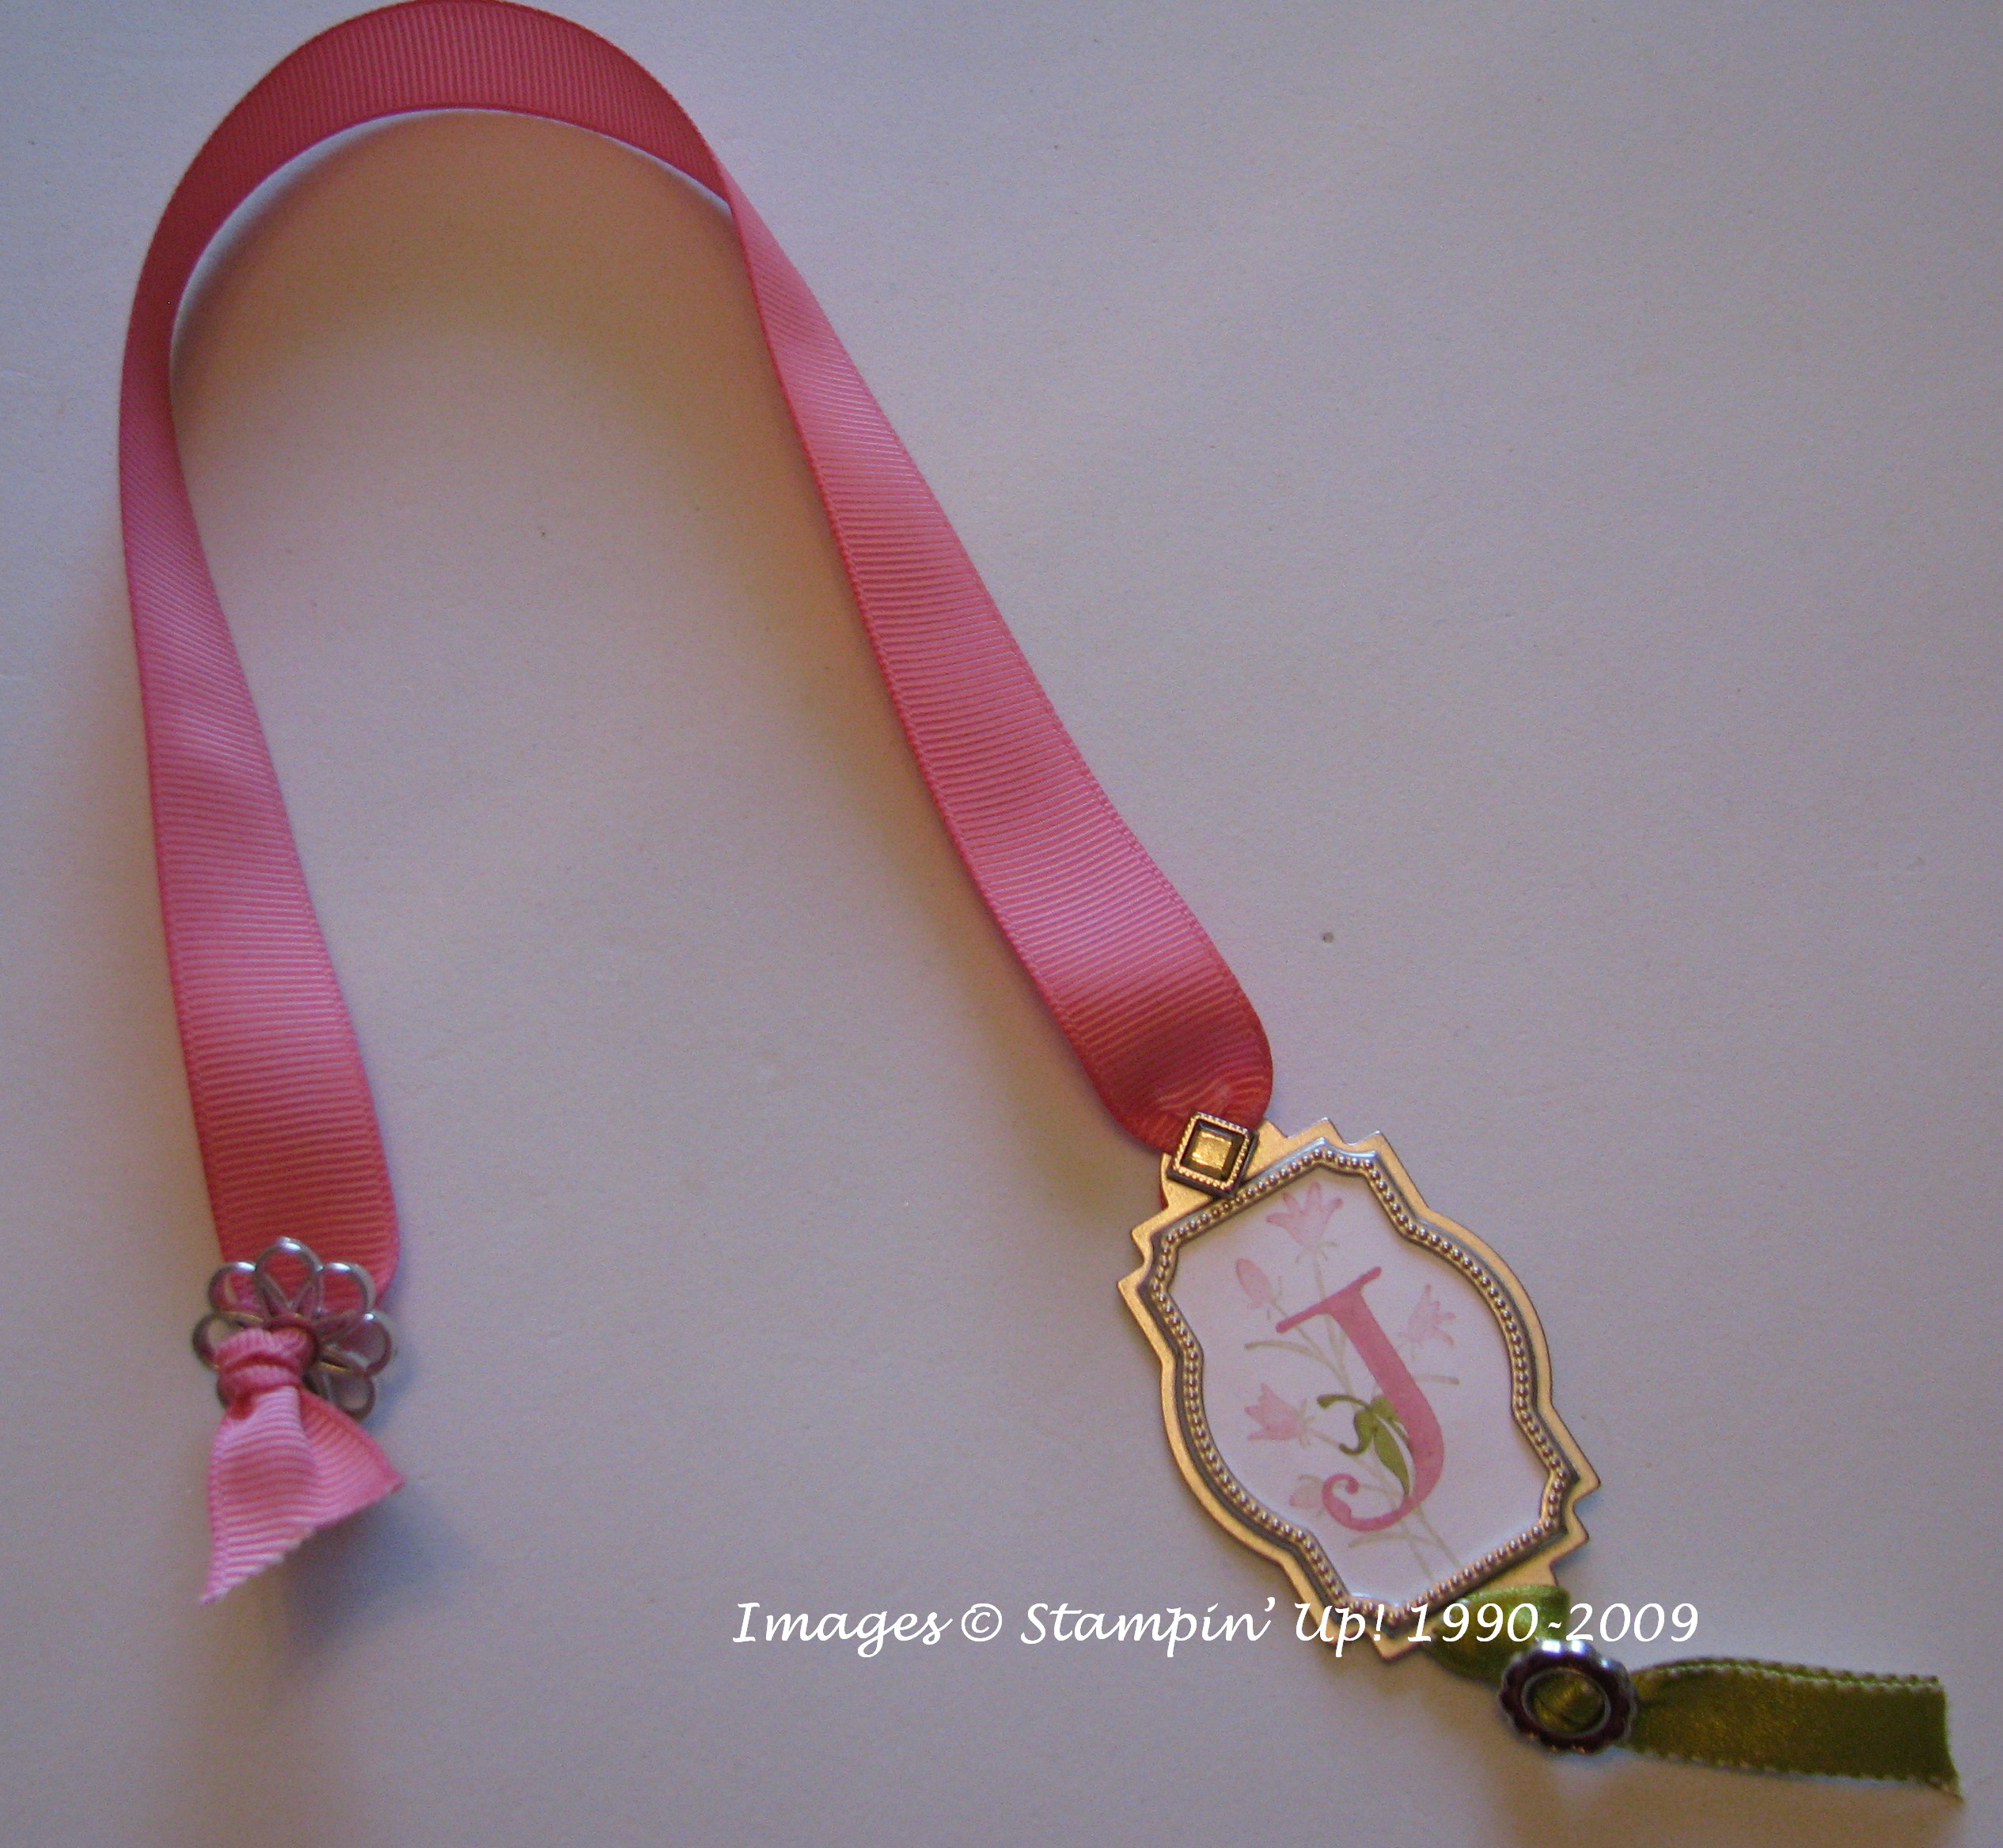
Here's a fancy bookmark I made for a gift. Although it is made with the Silver Hodgepodge Hardware, all you have to do is substitute with a Vanilla piece if you like. With this special offer you will have lots of hardware pieces to play with on your cards and scrapbook pages!
Last week I saw this project on Kimberly Van Diepen's blog and I loved it so much I ran right out to Hobby Lobby to find the same frame! In case you do the same, I'll save you a few steps and tell you it is back in the Crafts section, not in with the picture frames or home decor. I didn't realize she had made hers with the light colored frame so I bought a dark frame. Next time (and I can't wait to go back and get another one or two!) I'll choose the light colored one, I think you get a better contrast. But it's neat either way, I think!
So let's back up…..I bought the metal frame, called "Craft Photo Frame" "Time to Decorate!" 4×6 inch. I had already purchased the Stampin' Up! "Kind Thoughts Brocade Stencil" in the Decor Elements line. Mine is the "Small" size but I think it worked just fine. I already had some "Dreamweaver Stencil Embossing Paste" (you can see it in the corner of the photo) from my pre-Stampin' Up! days and a palette knife. I placed the stencil where I wanted it on the frame, taped down two sides, and slathered on the embossing paste with the palette knife….just like frosting. Then I turned the palette knife on its side to scrape off the excess paste. Just lift the stencil up and you have your design on your project. Now be very sure not to let the paste dry on your stencil, so be ready to wash it off right away.
I let mine dry overnight since it was late anyway, but a couple hours should do it. This morning I used a foam brush to apply the "DecoArt Elegant Finish Metallic Glaze". Mine is the Renaissance Brown color. This step was SOOO easy. Just brush the glaze on rather lightly. You can go over it a little bit if you get too much on or not enough. You could probably even do a little wiping with a soft cloth if you want, but I wouldn't rub on the embossing too much.
That's all there is to it! Now you can see stencils aren't just for walls!! If you want to see the Decor Elements Catalog so you can order your stencil, click HERE. Contact me if you have any questions or want your own copy of the catalog.
I came across this video this morning of Spencer Willis of Stampin' Up! doing a project on a TV show. It is essentially a scrapbook page but put in a photo frame. I've seen Spencer demonstrate at Stampin' Up! conventions, and he is great! (a good singer, too, although unfortunately he doesn't break out in song after this demo!). The project is done with a retired set, Big Blossoms, so you will have to change the flowers a little bit. Enjoy!
Today already "feels" like the 4th of July since a lot of people are off work. I'm going to put my flag out soon since that will make it feel even more like the July 4th holiday. Here is an easy little box I just made with my beloved Big Shot, Box #2 die. I have used this so much and I think you would too!
I used Whisper White card stock for the box and stamped red and blue stars from Nursery Necessities (a baby stamp set!) all over it. The little "Celebrate" tag is from "Matchbox Messages". I punched the word "Celebrate" with the Word Window Punch and the Real Red card stock behind it is punched with the brand new Modern Label Punch (page 187) #116630 $15.95 I inserted a couple of little brads on the sides and tied the box with the Real Red 1/2" Striped Grosgrain Ribbon. Honestly, I planned to stick punched out stars all over the box and even embossed a gold one from "Fun & Fast Notes". But it wasn't looking right and once I played with the ribbon, especially tying it around the top of the box, I felt like I had my design! Sometimes you have to know when to stop!
Happy 4th of July!