Will I ever get tired of talking about the Stampin' Up! Convention?? I don't think so!! There was so much good information, so many IDEAS, so much fun, so much friendship….even extra treats at lunch!…..popcorn, ice cream, candy!!
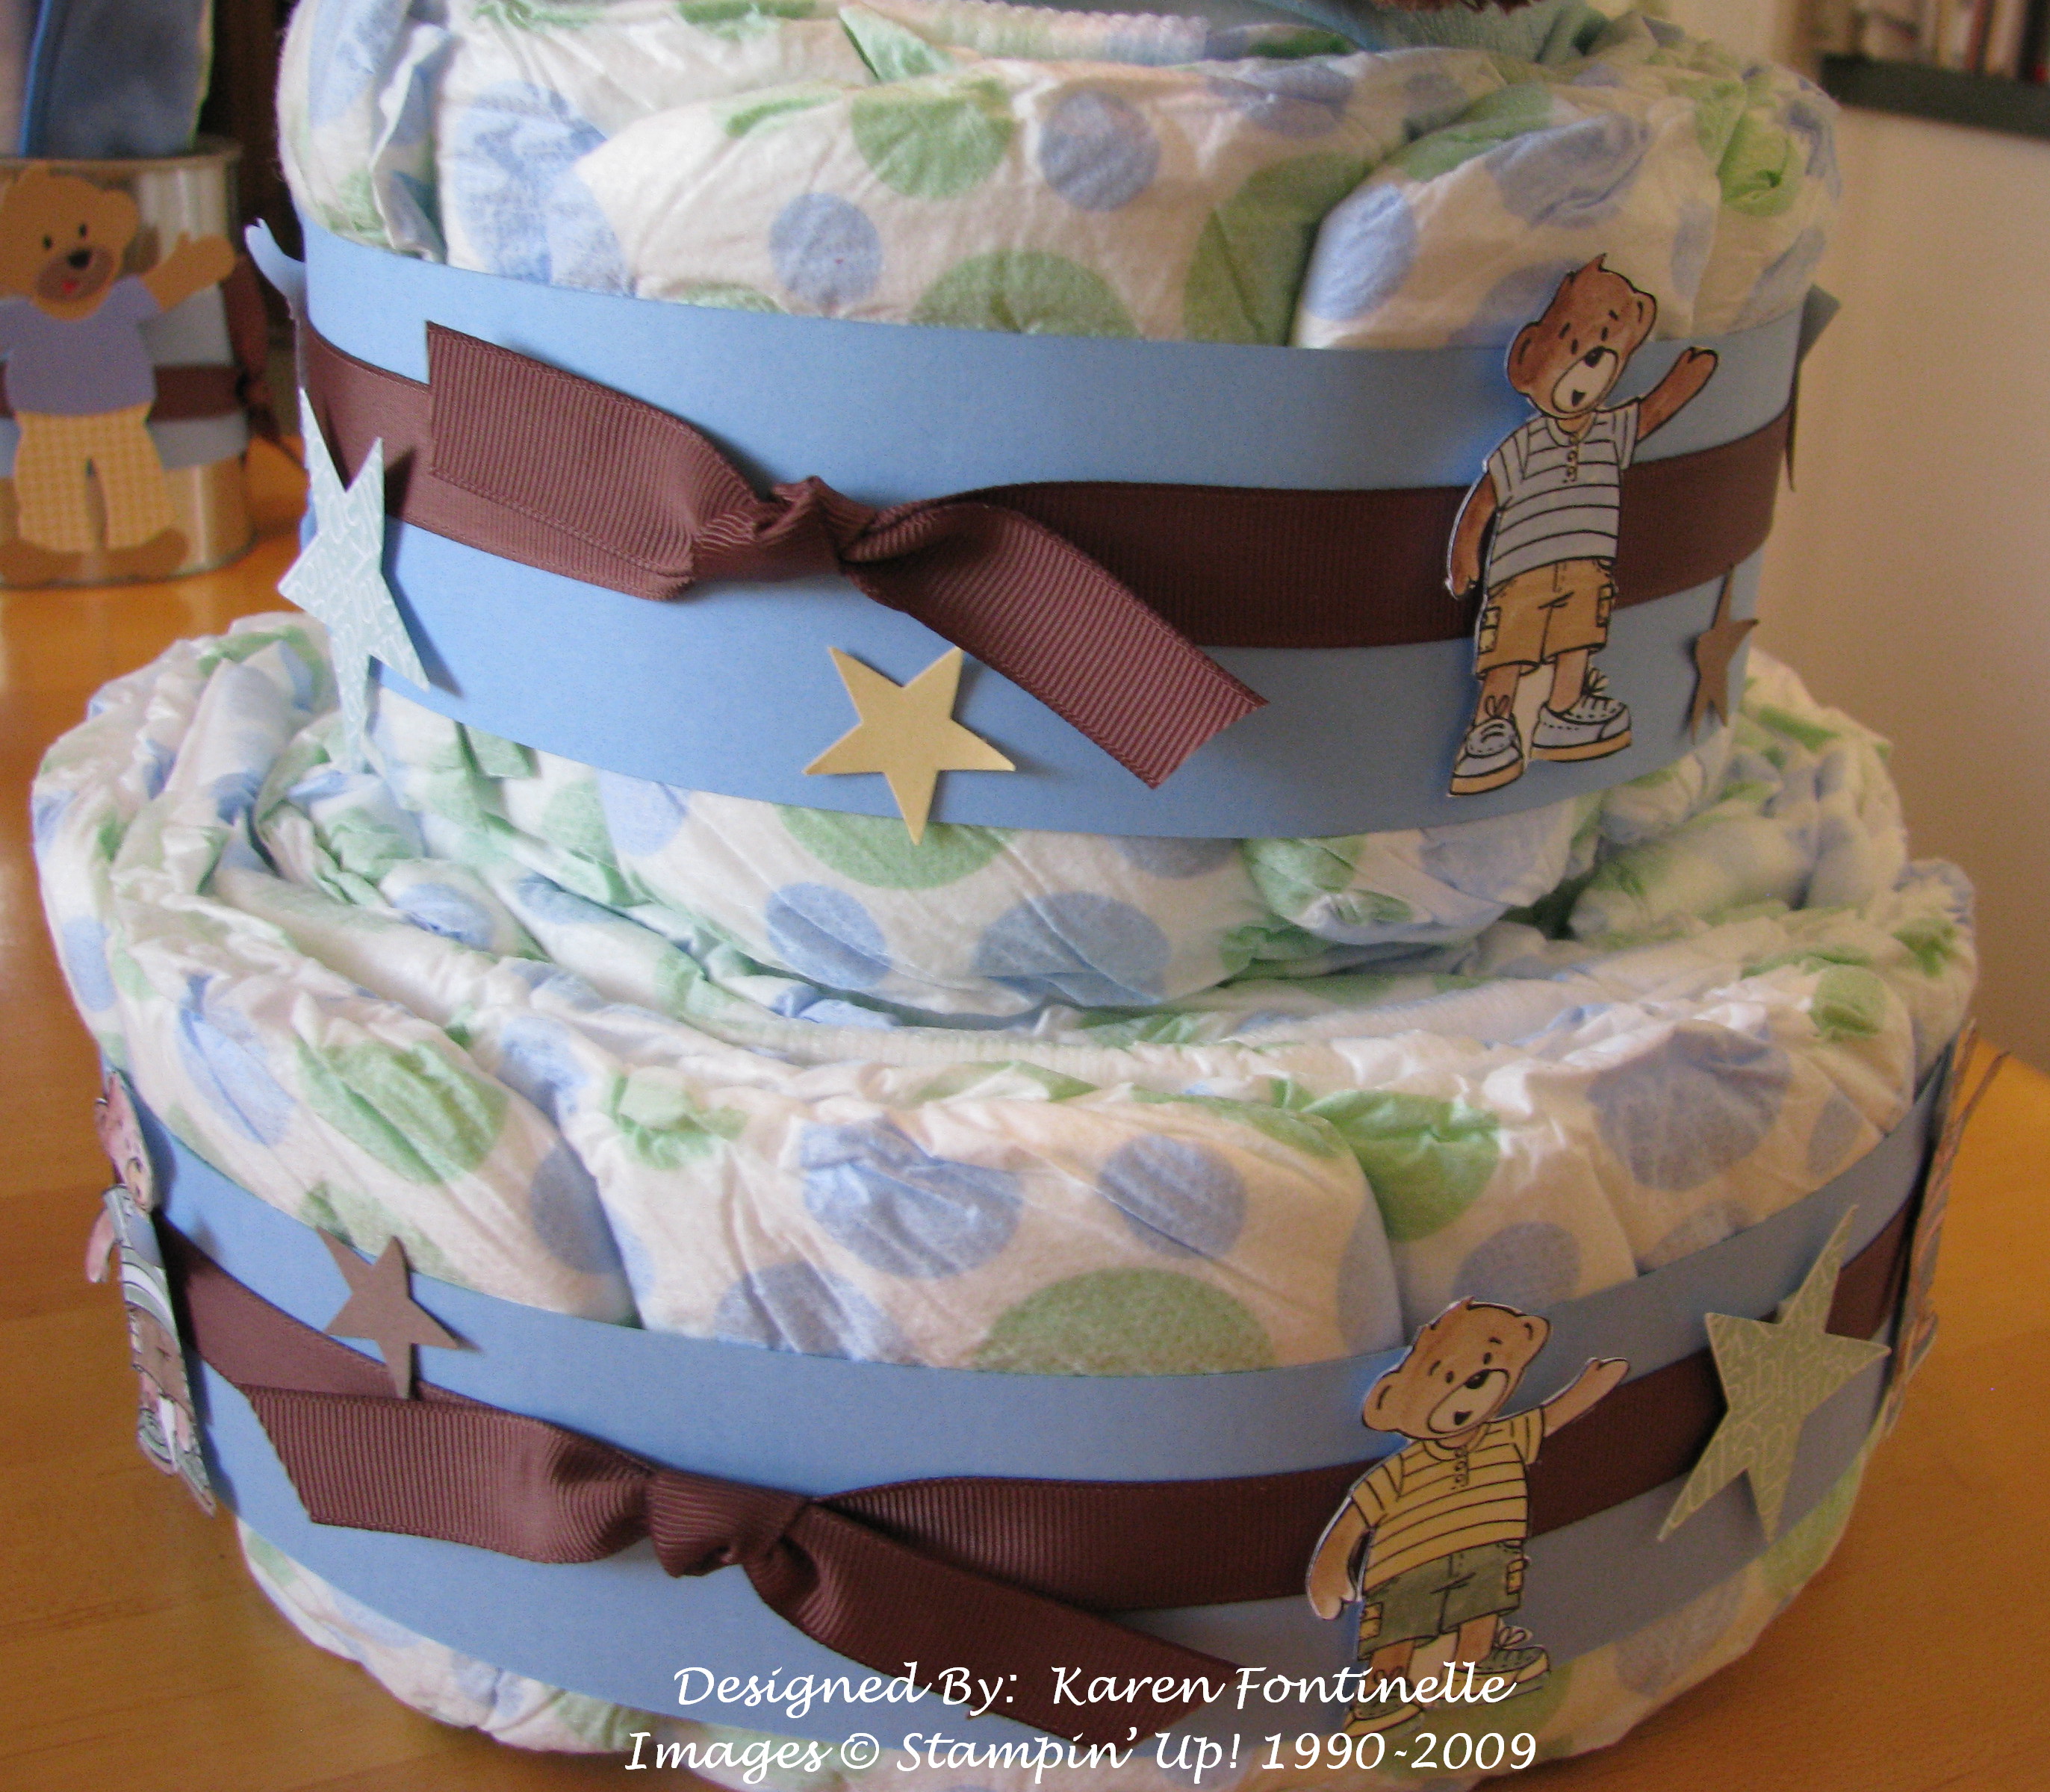
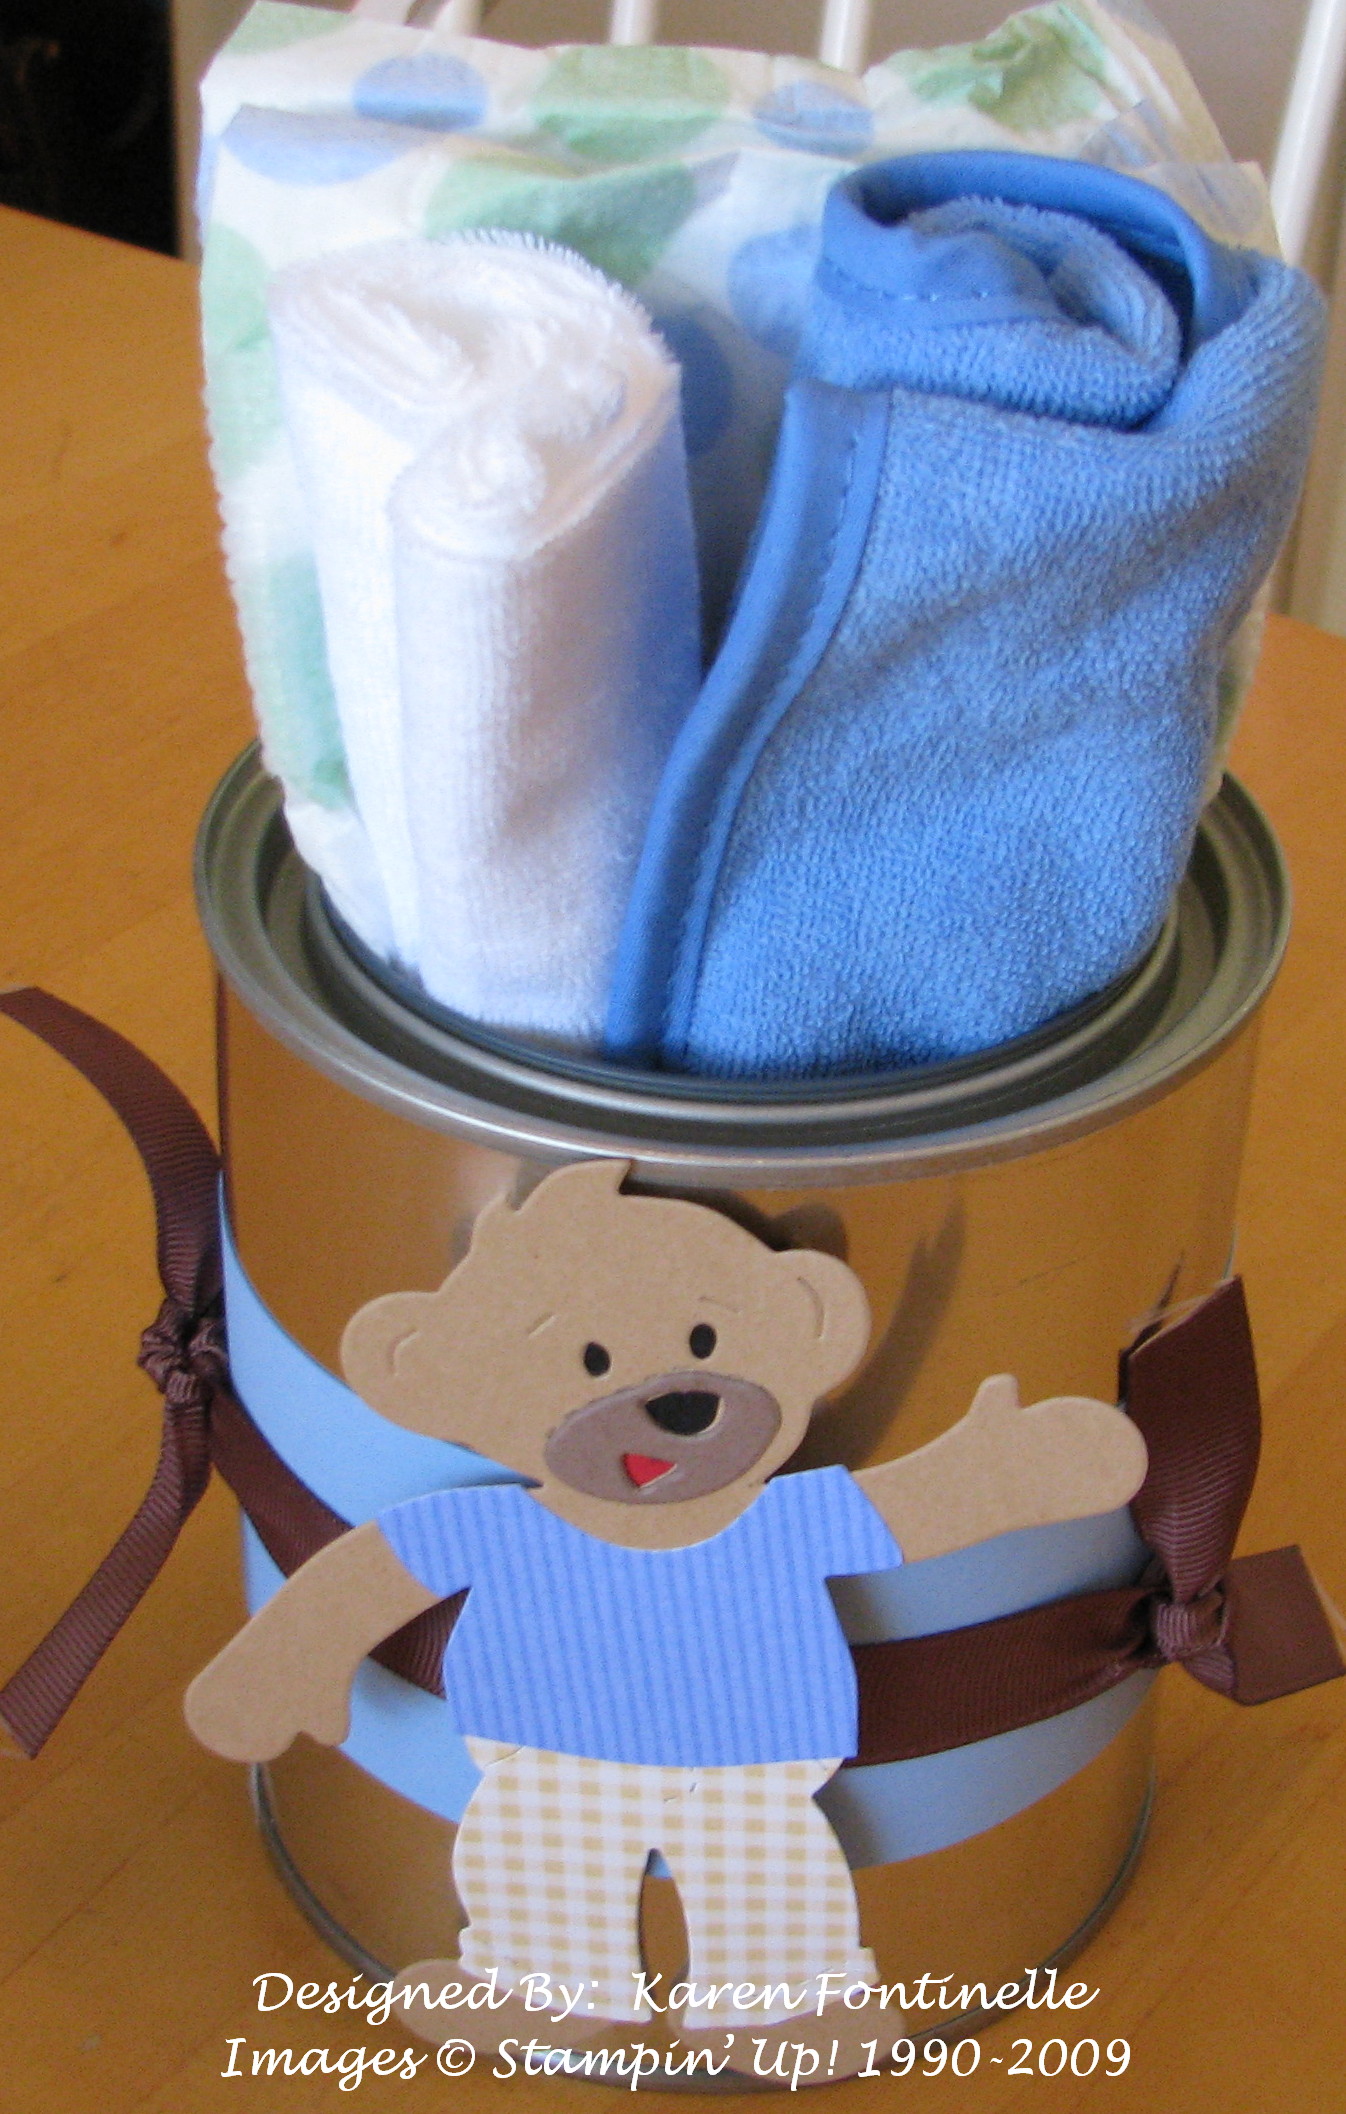
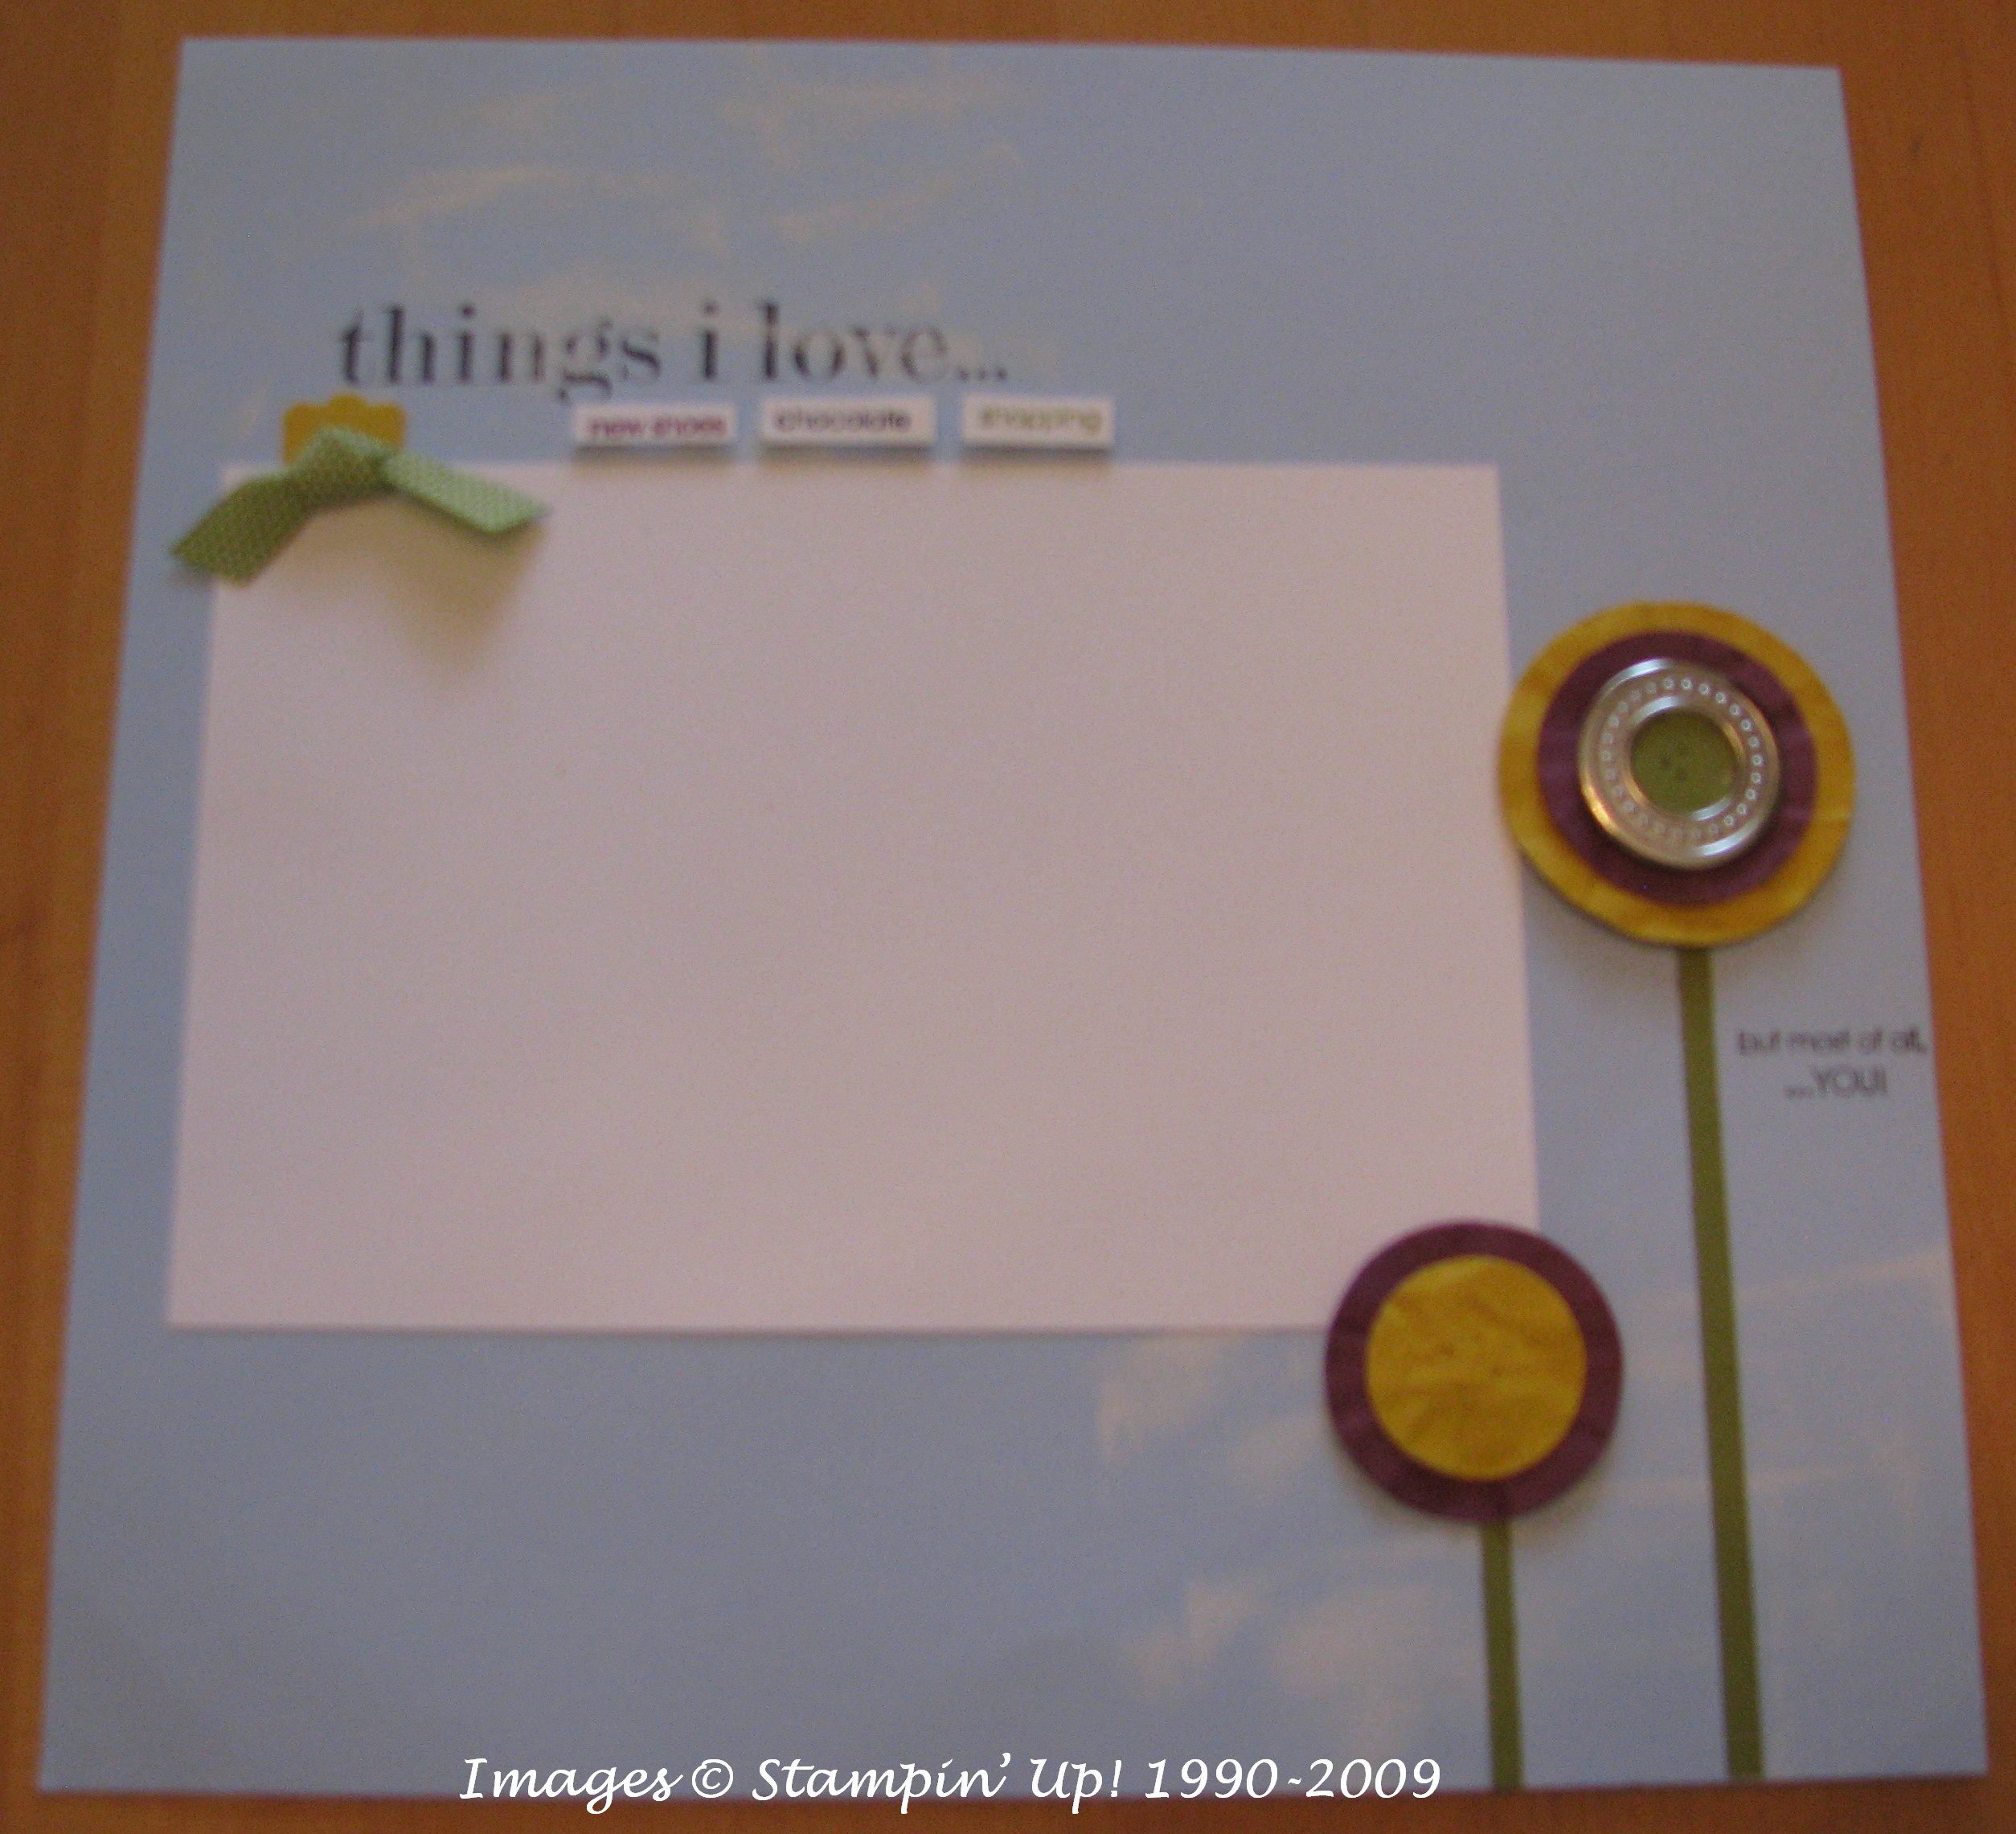
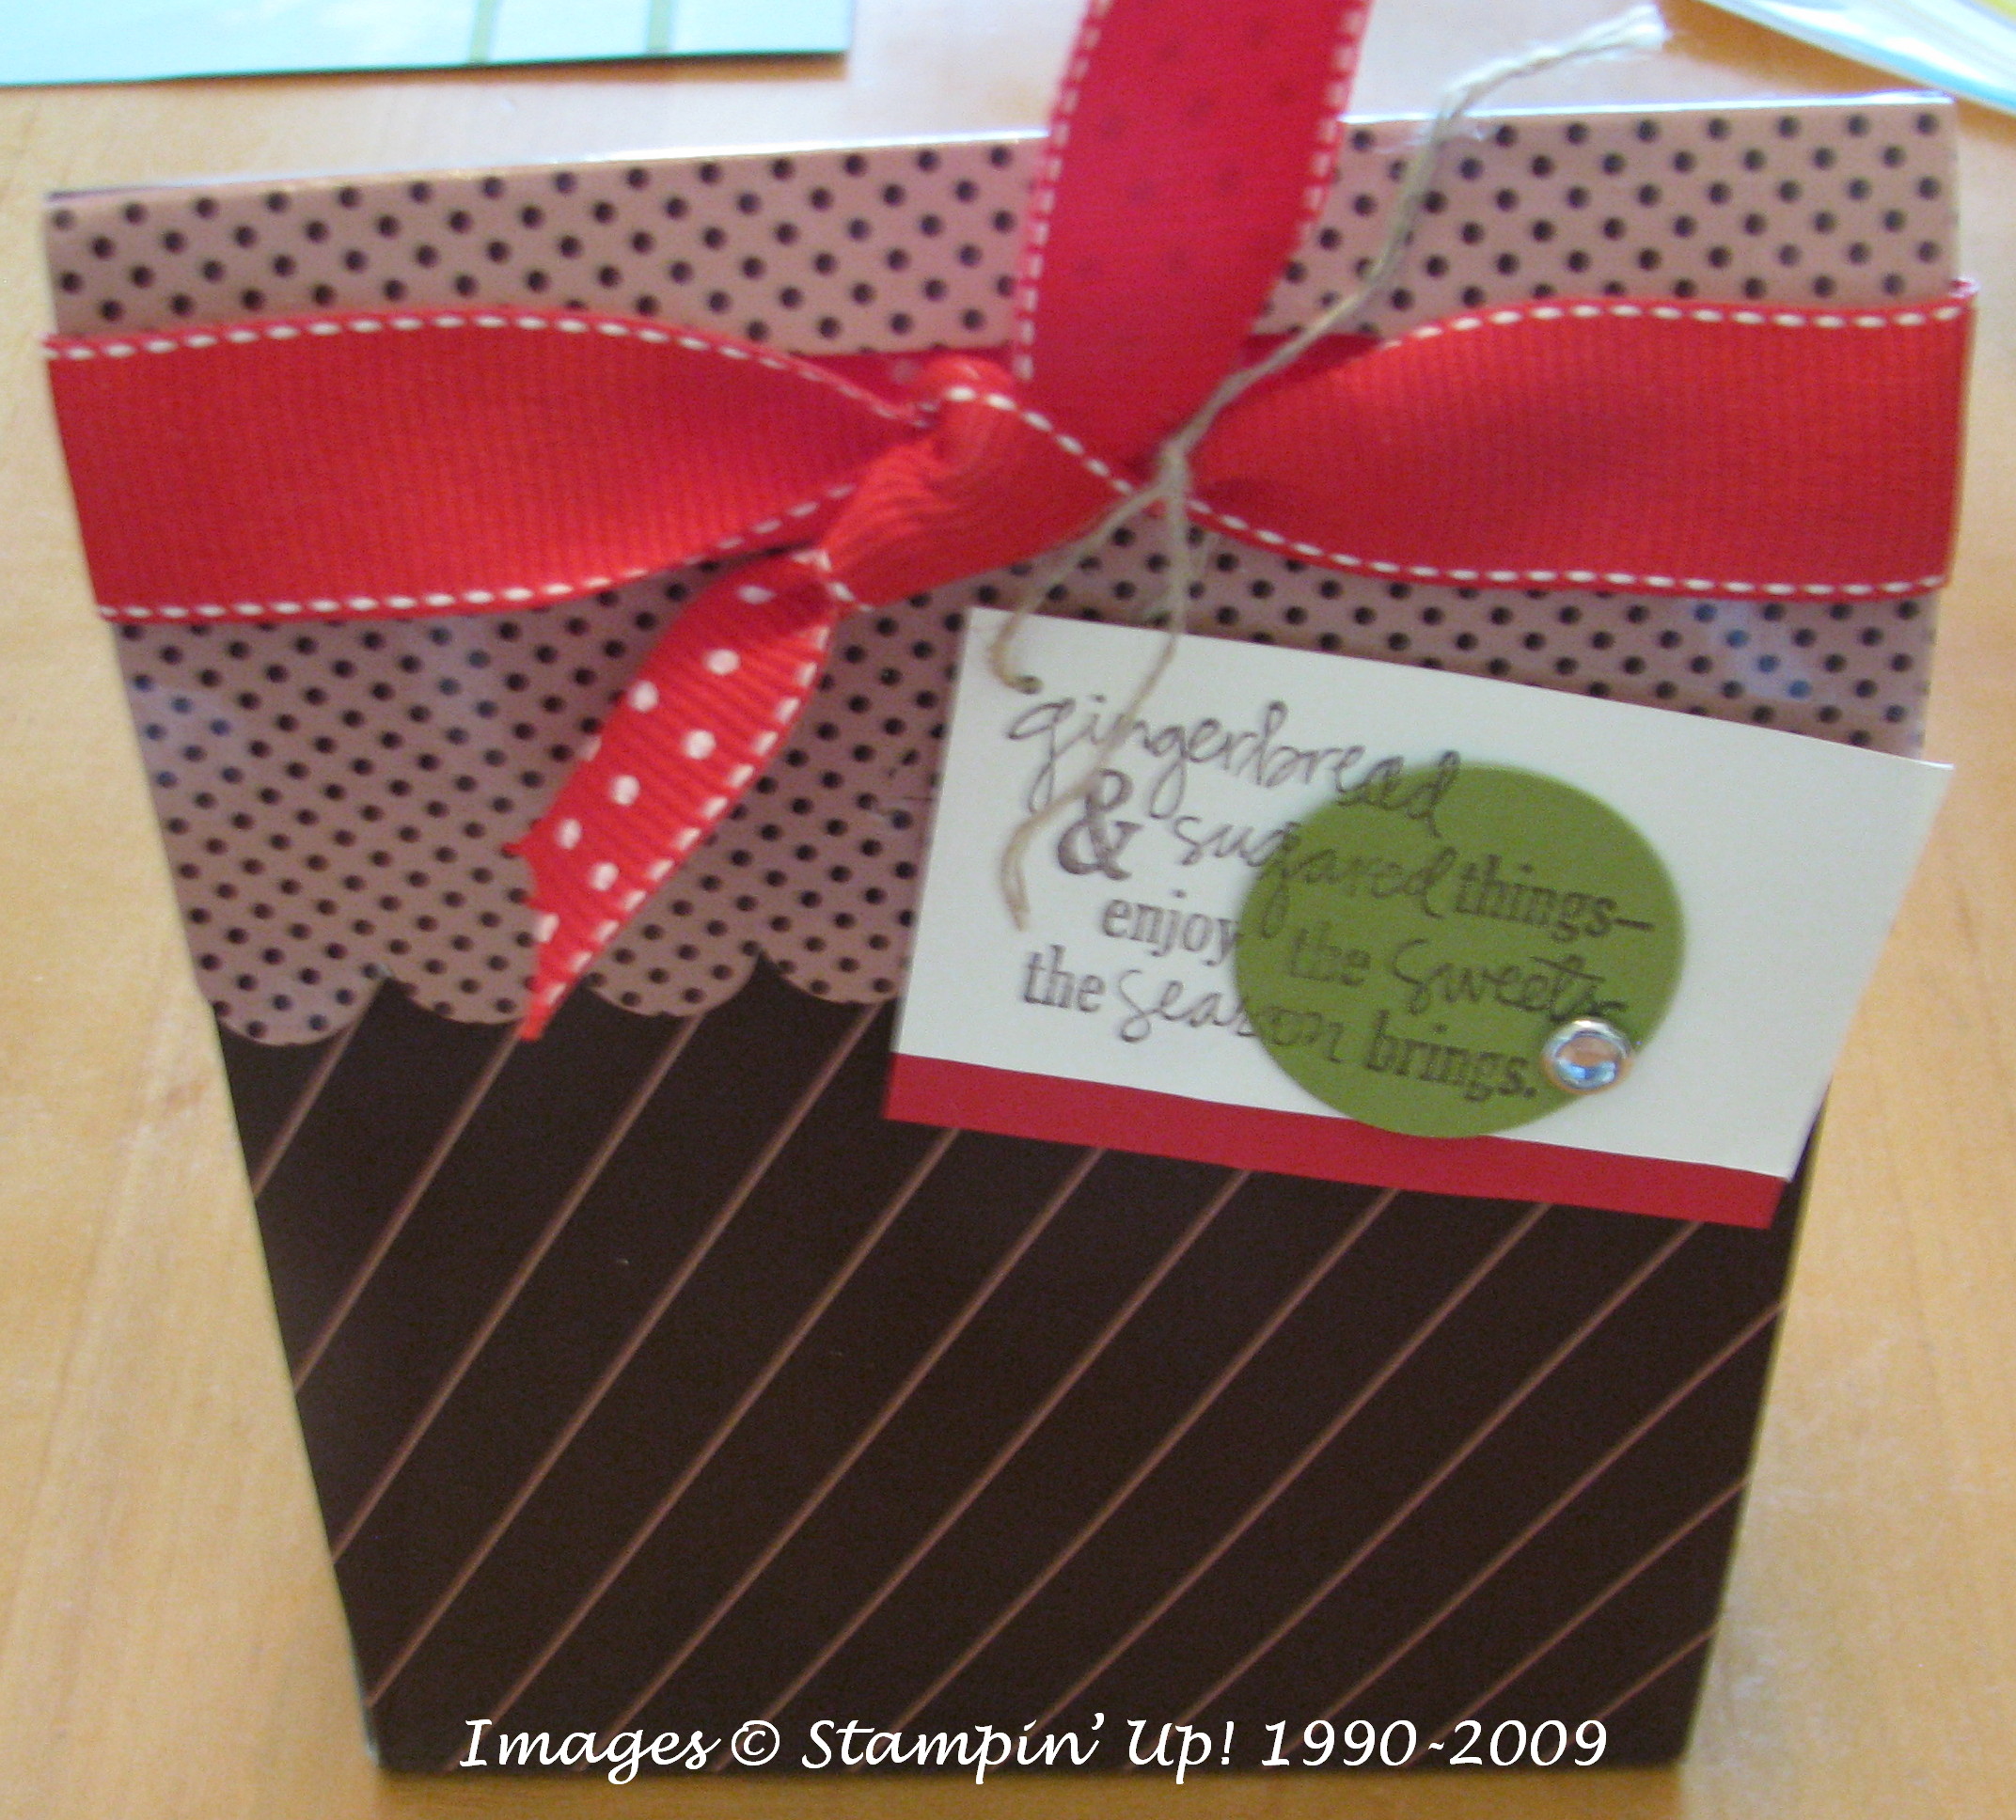
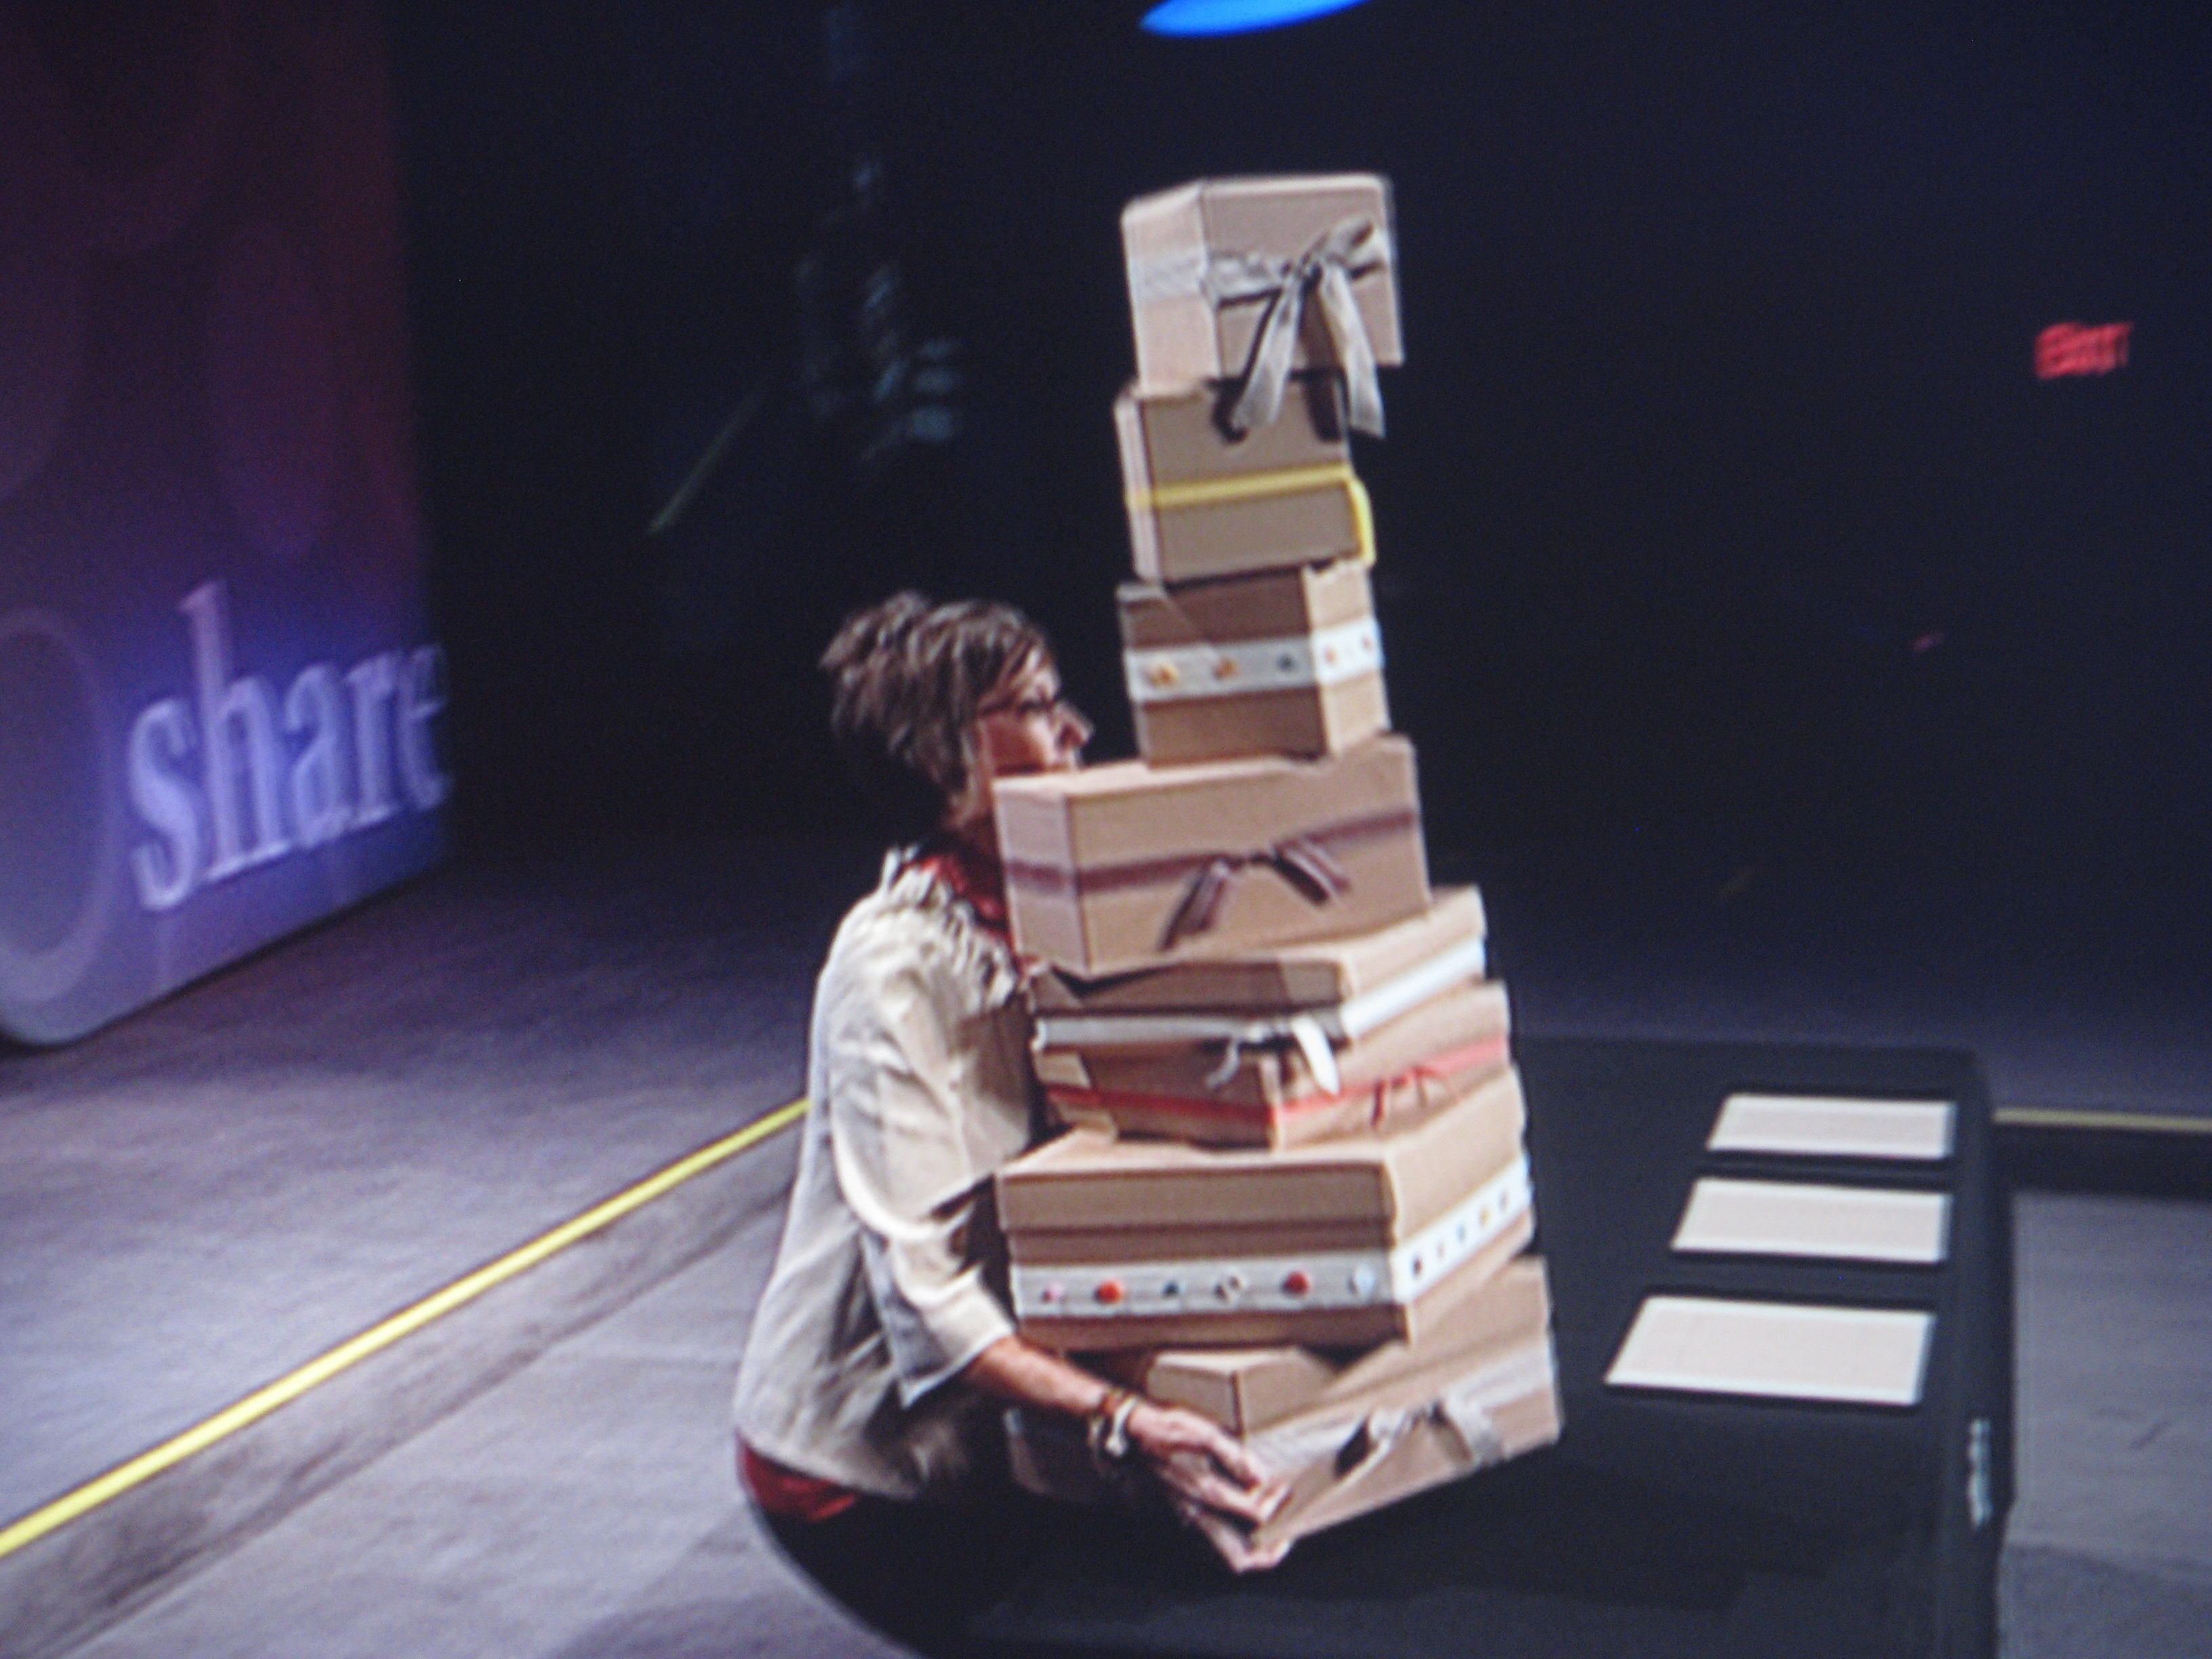
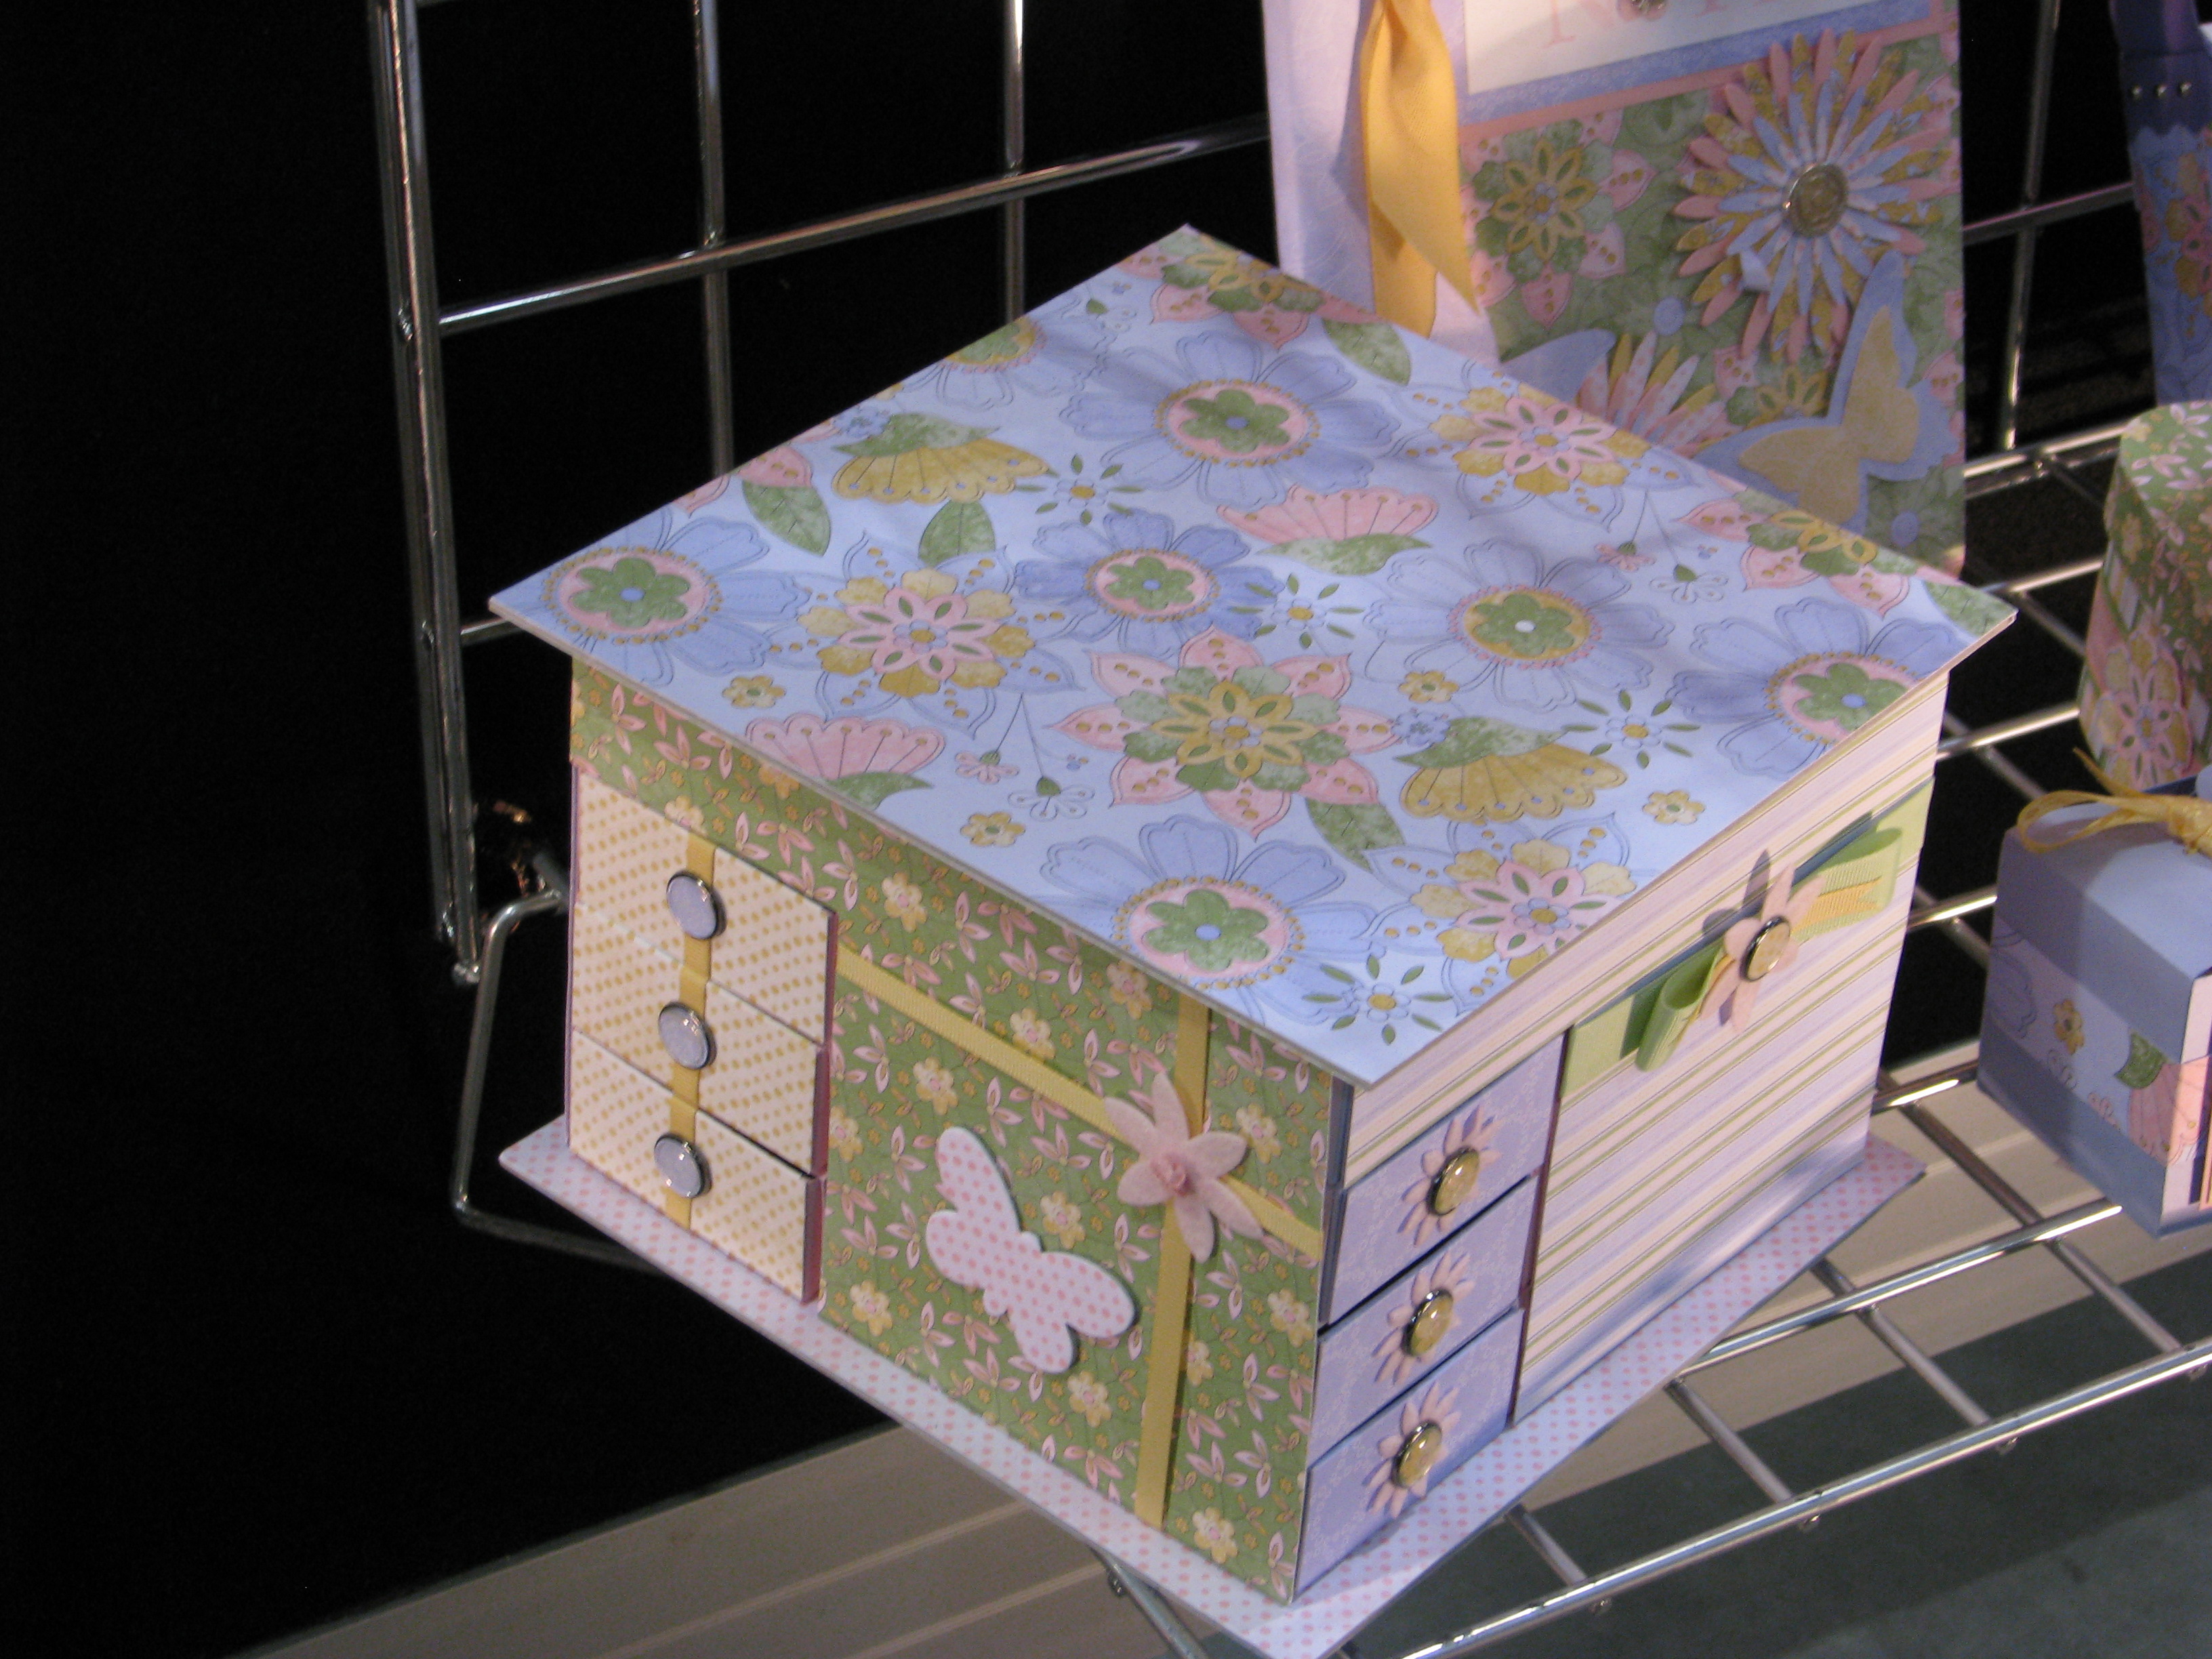
Shelli Gardner has a fabulous presentation at Convention! She literally walked out on stage carrying ALL of these boxes in which she had handmade gifts that are so easy to make. Who wouldn't want to receive (or make!) one of these gifts?! Think how much easier your holiday shopping would be if you got started now at your kitchen table or desk, enjoyed what you were doing, and wouldn't have to fight the crowds at the mall come holiday time! A substantial savings in money for you and a gift with more meaning for the recipient!
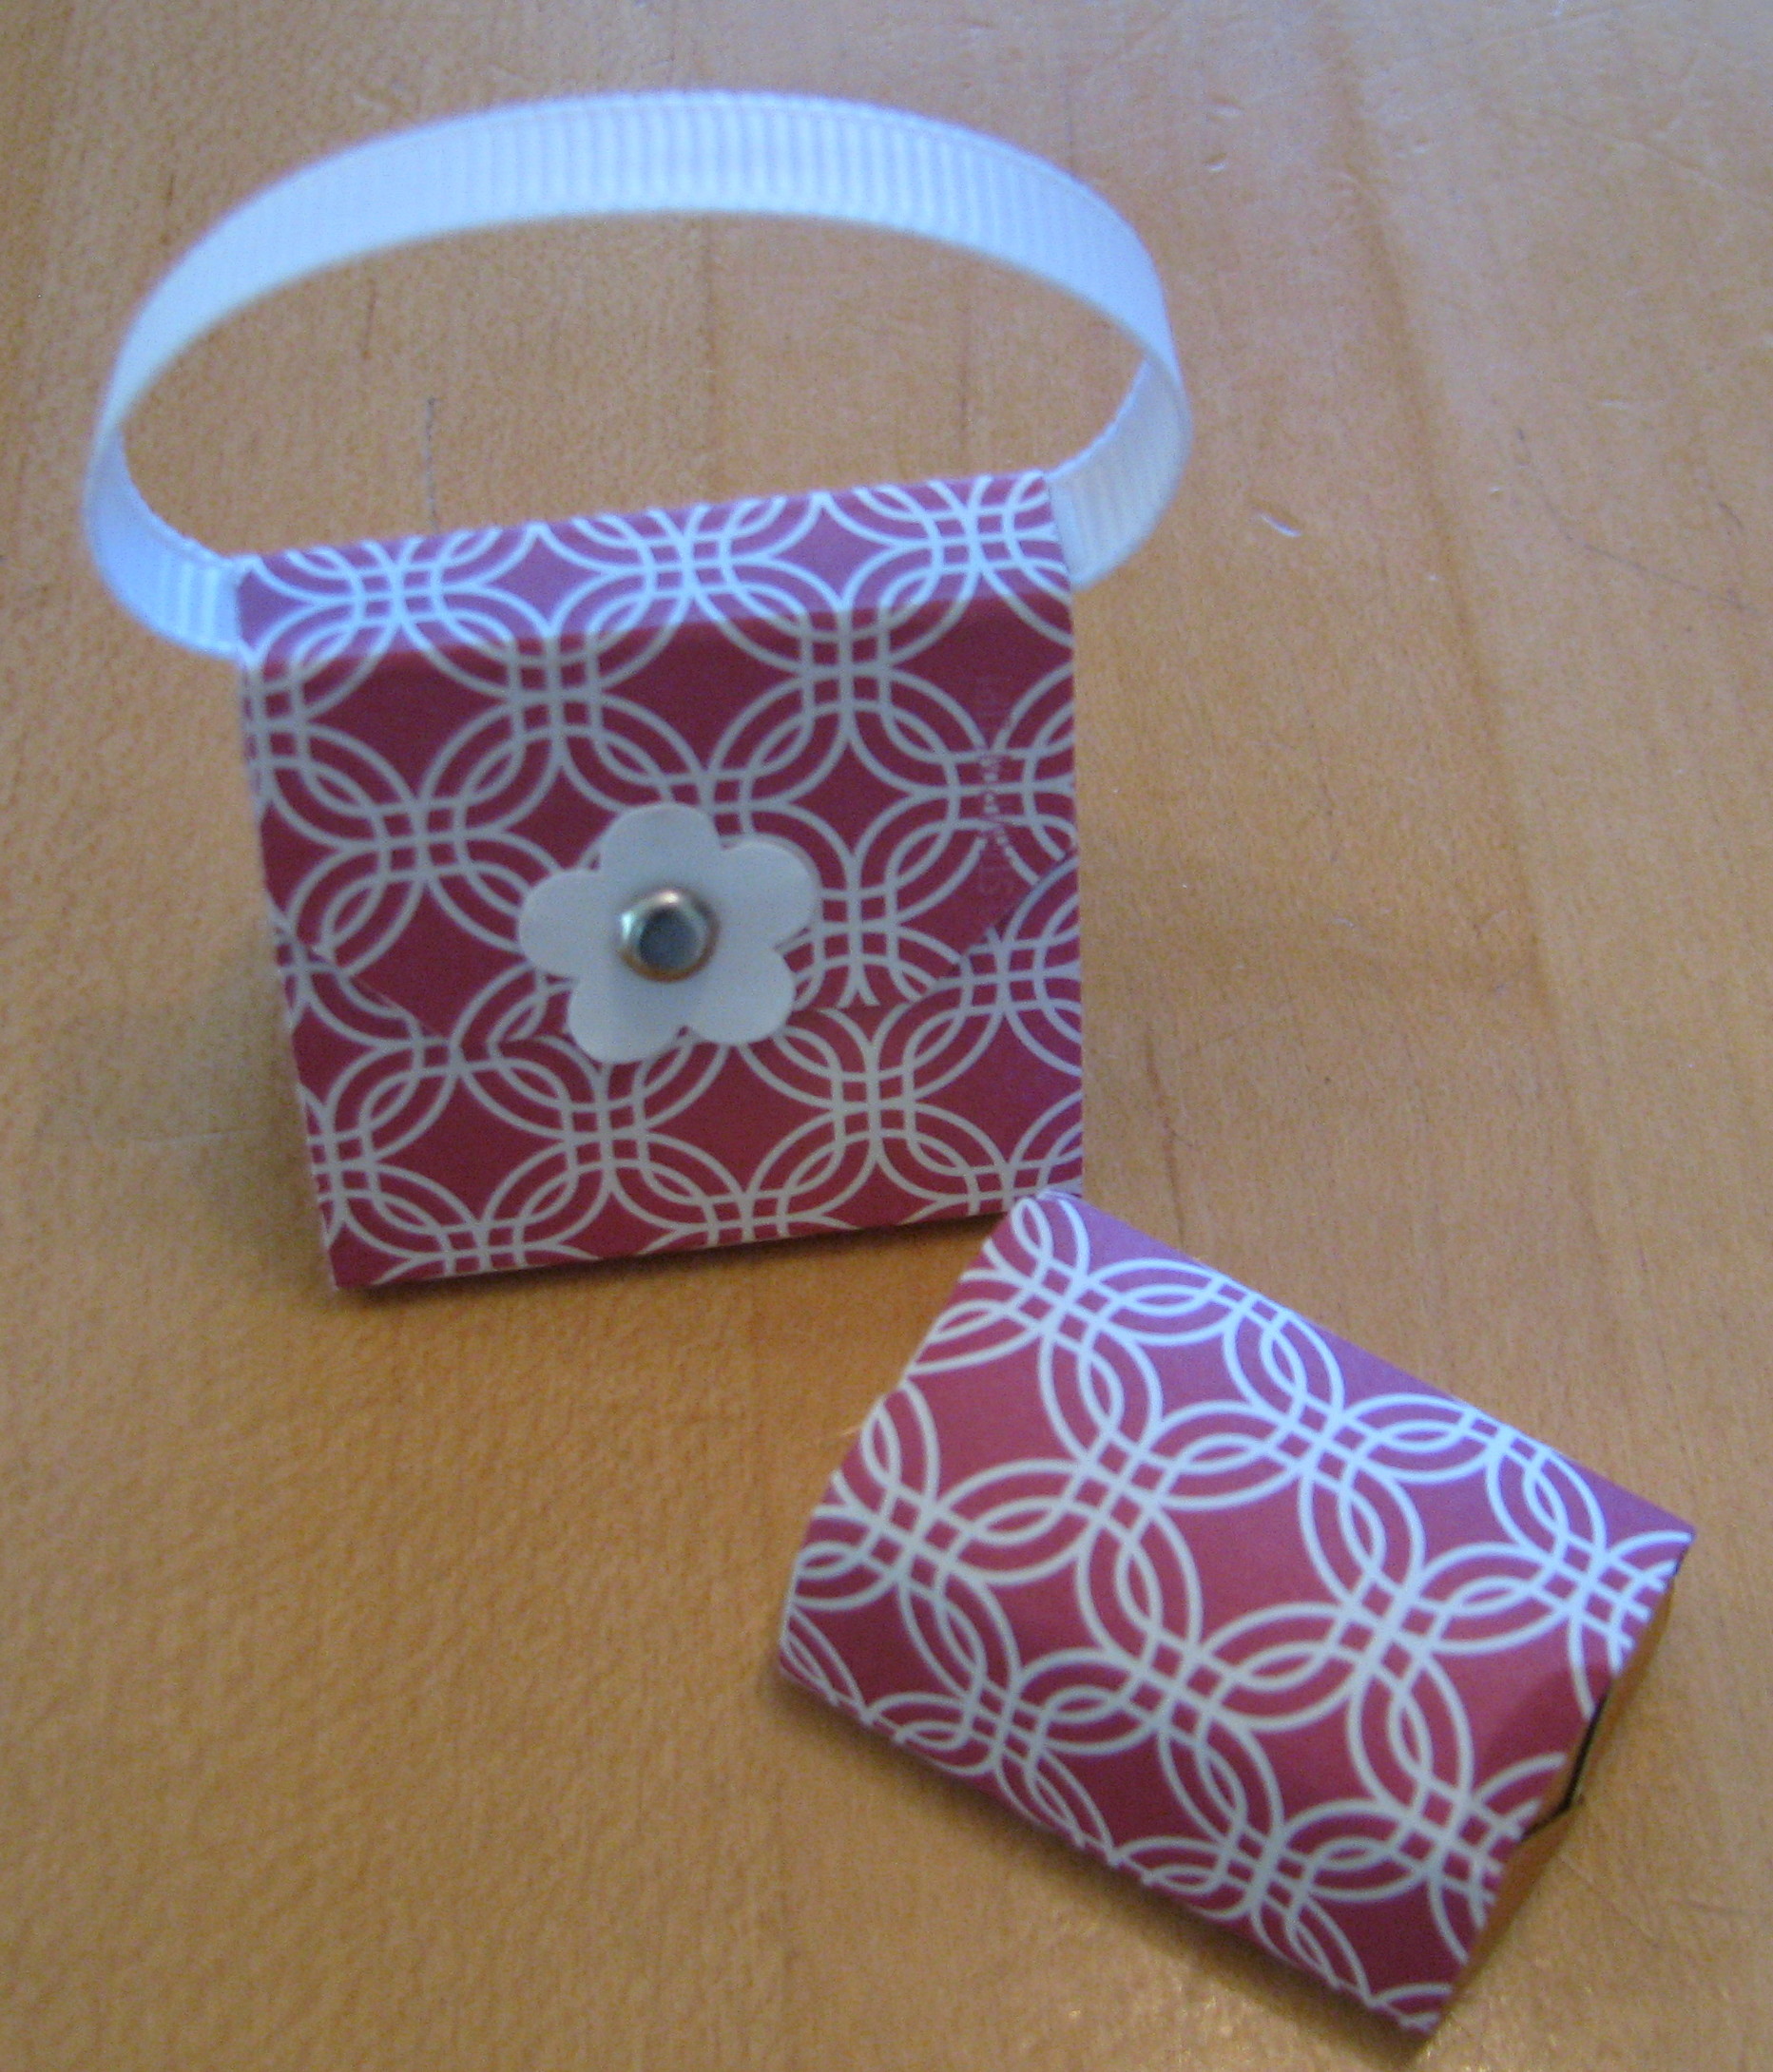
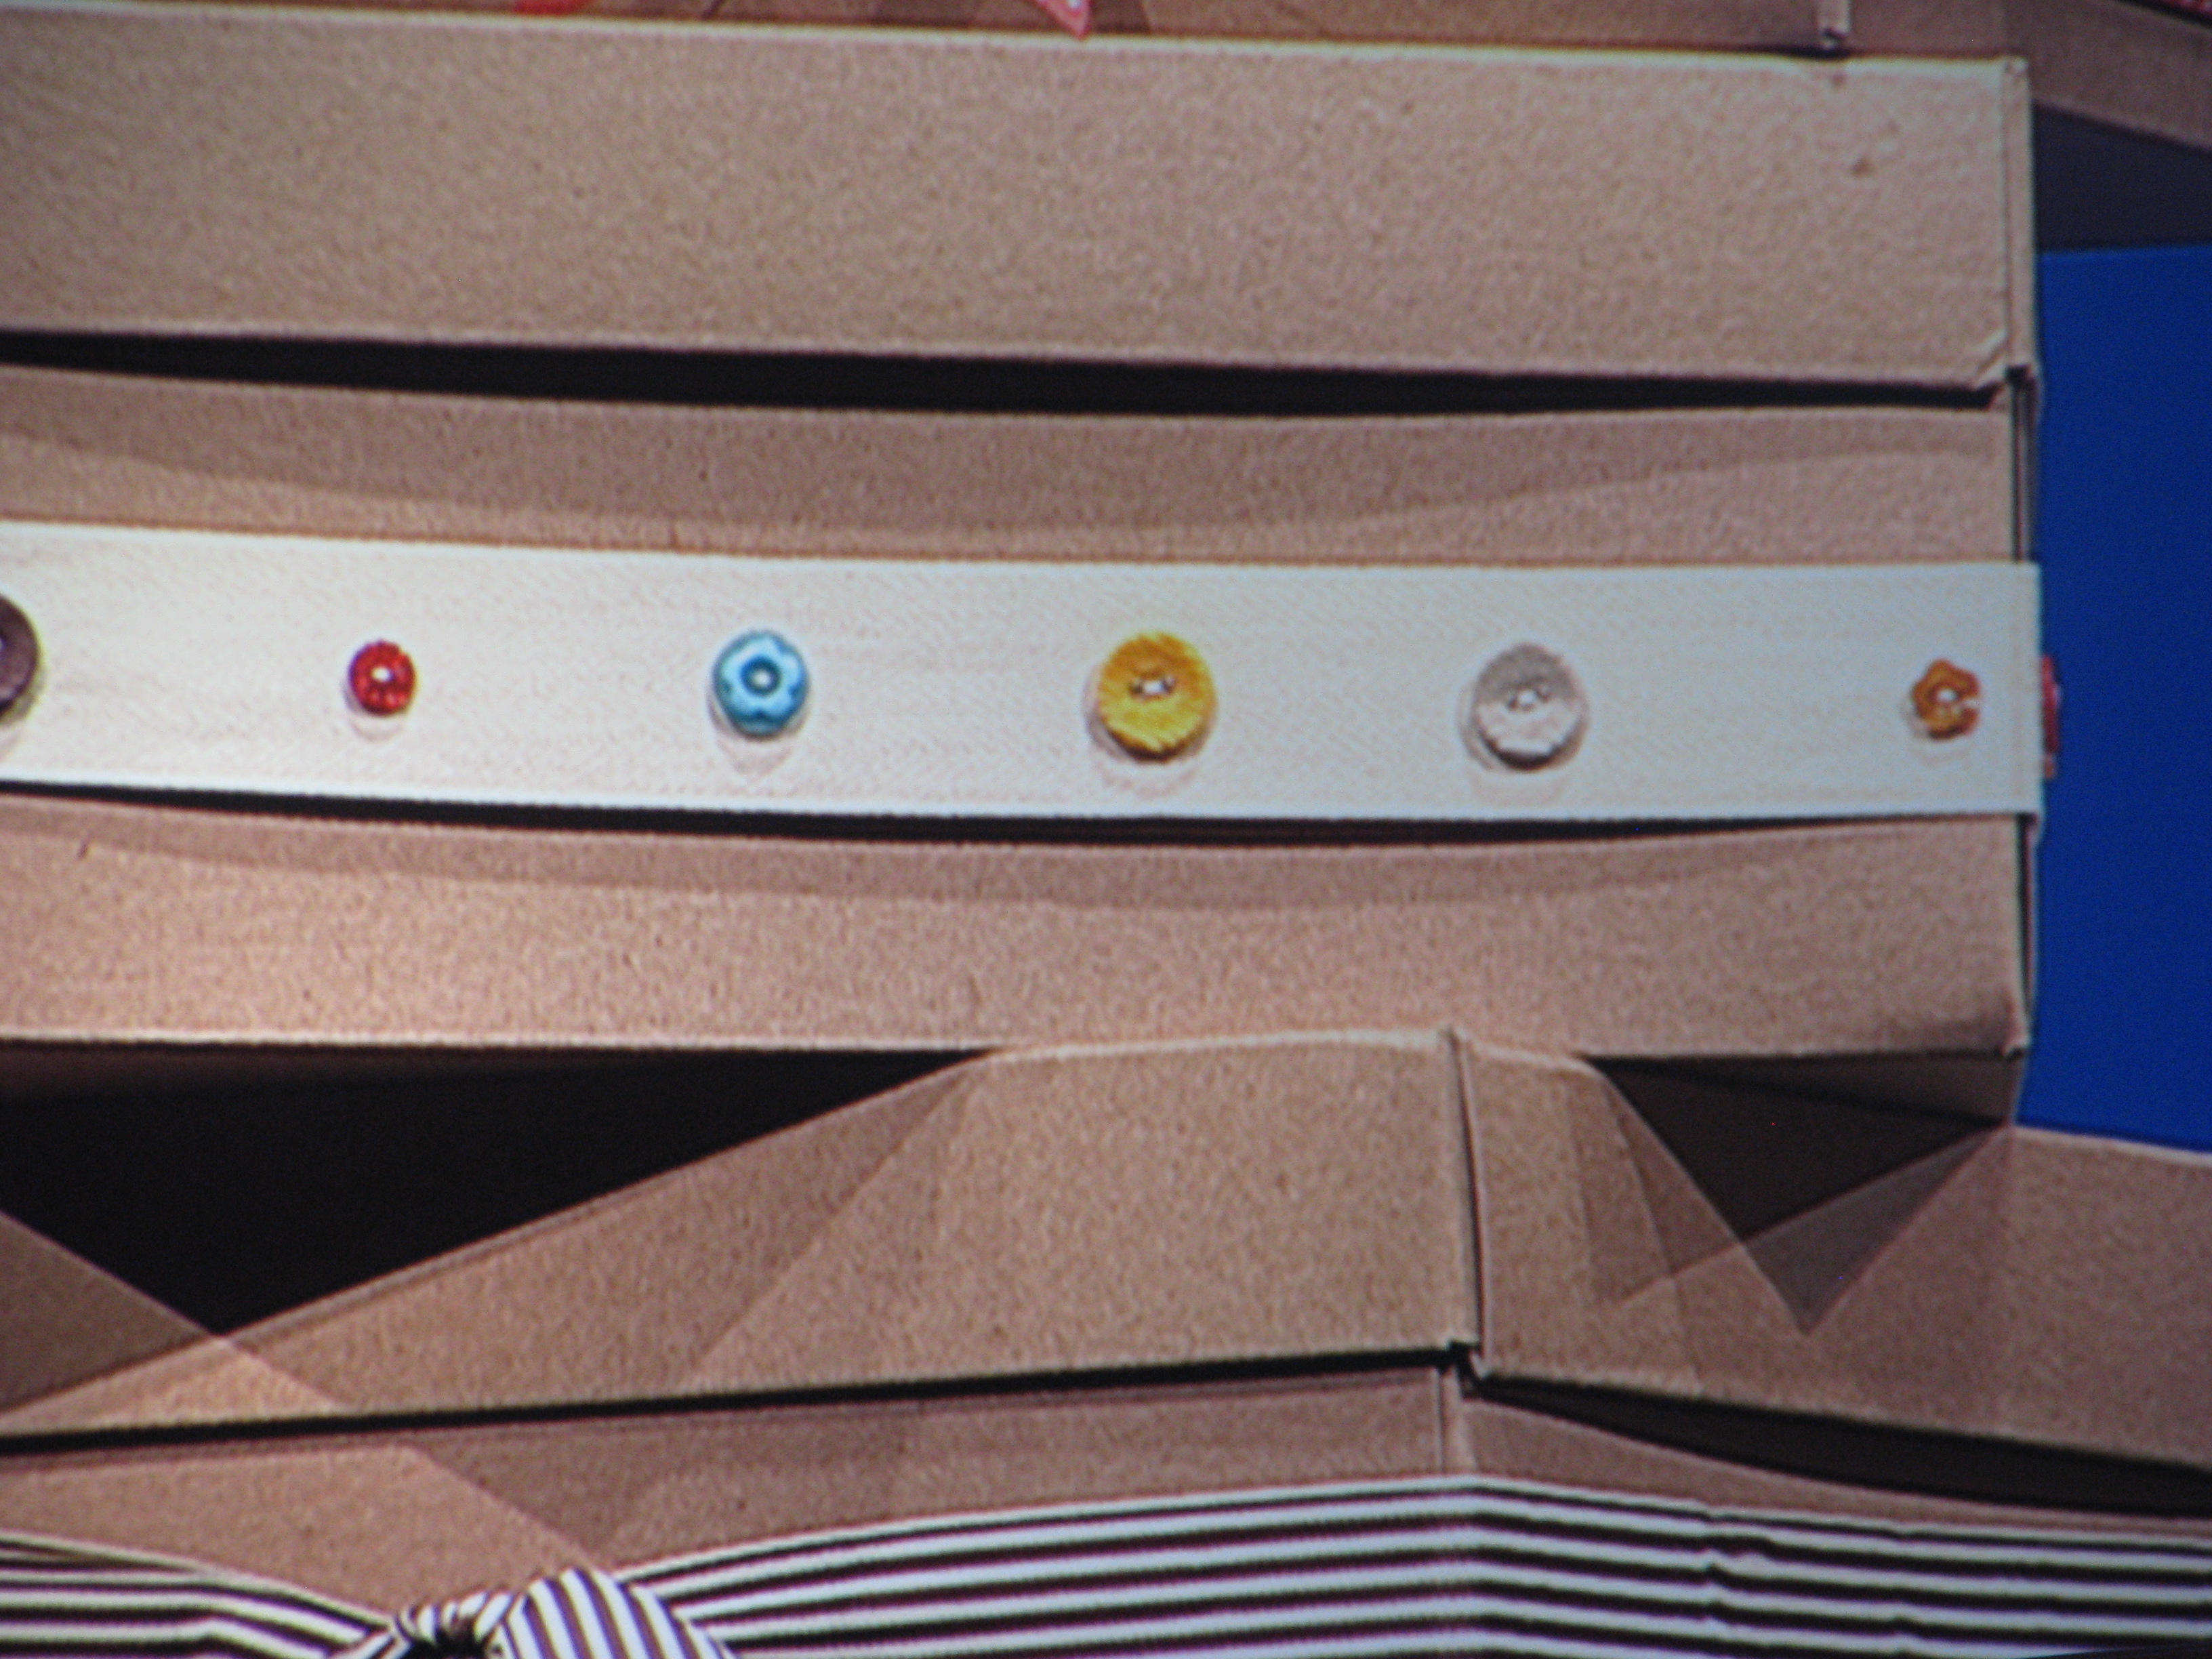
Notice how she just used plain boxes and then tied our Stampin' Up! ribbon around. She even used the wide twill tape and attached Stampin' Up! buttons, apparently like they do at expensive stores.
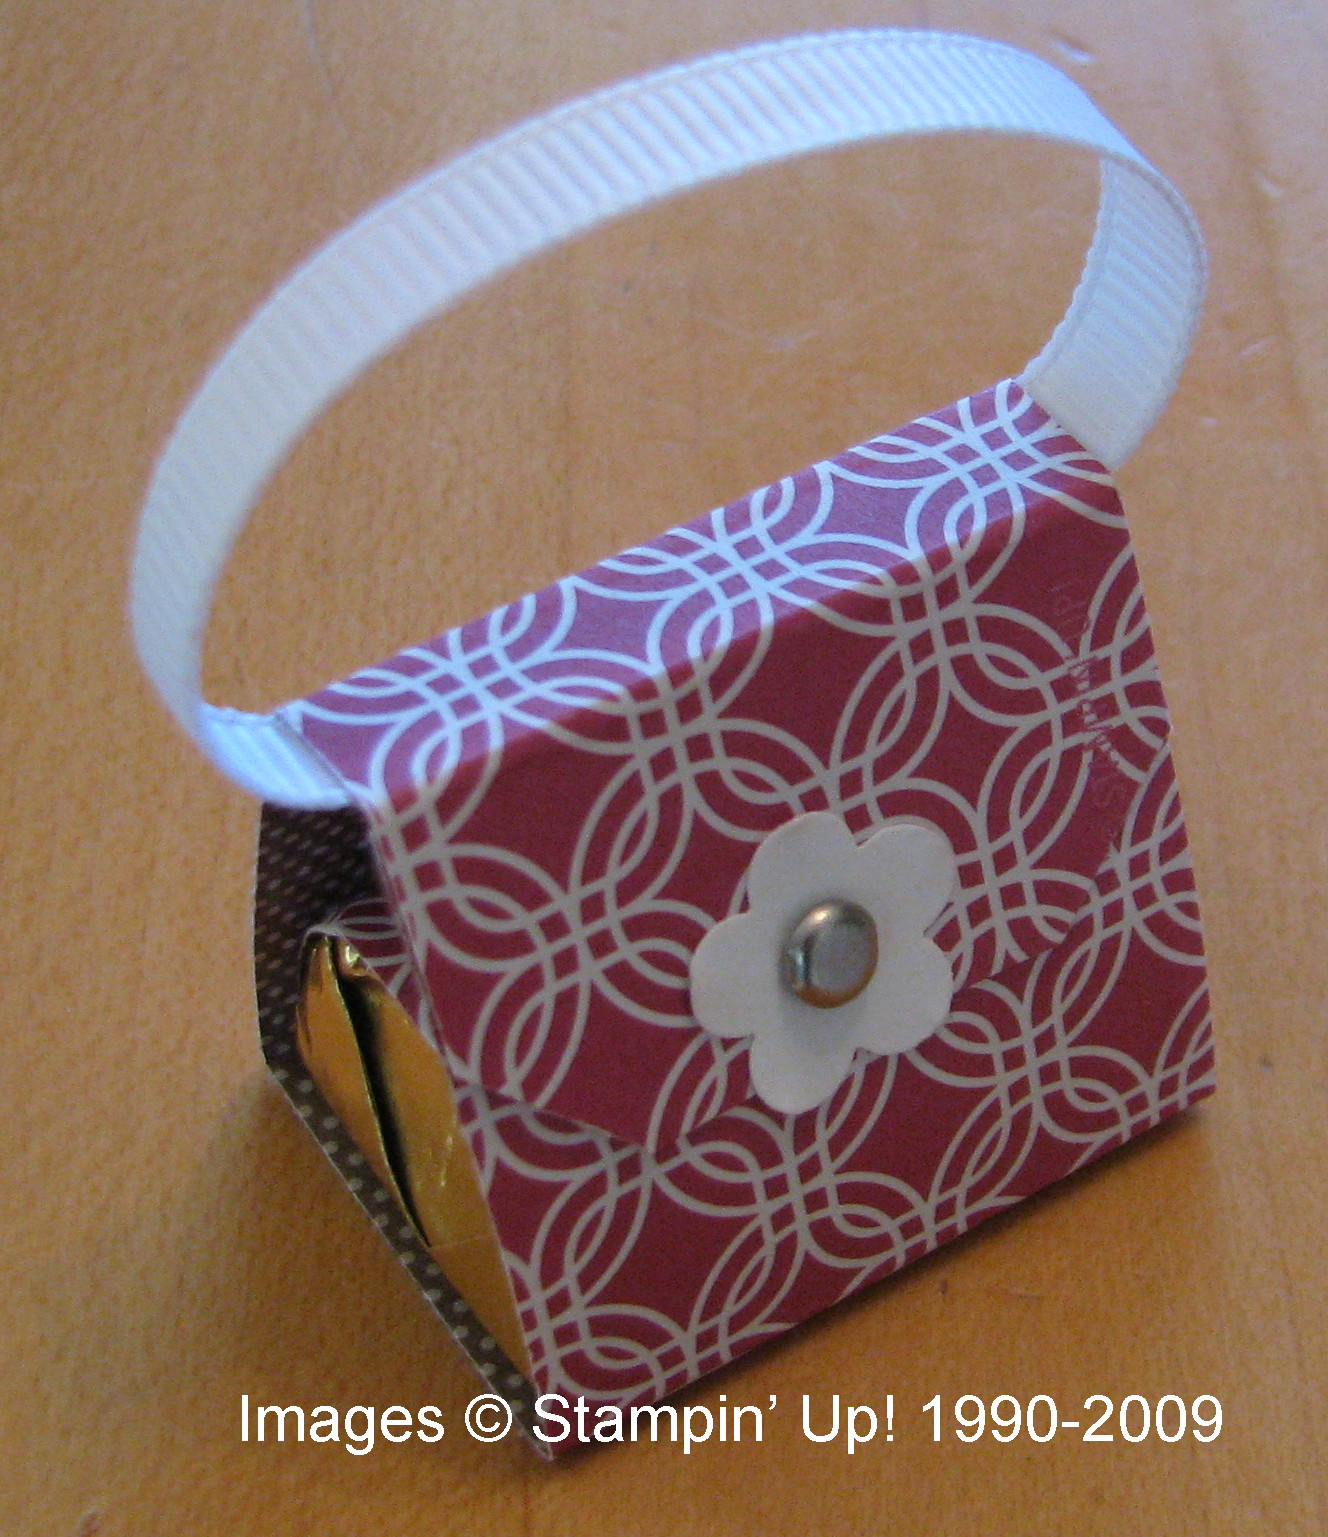
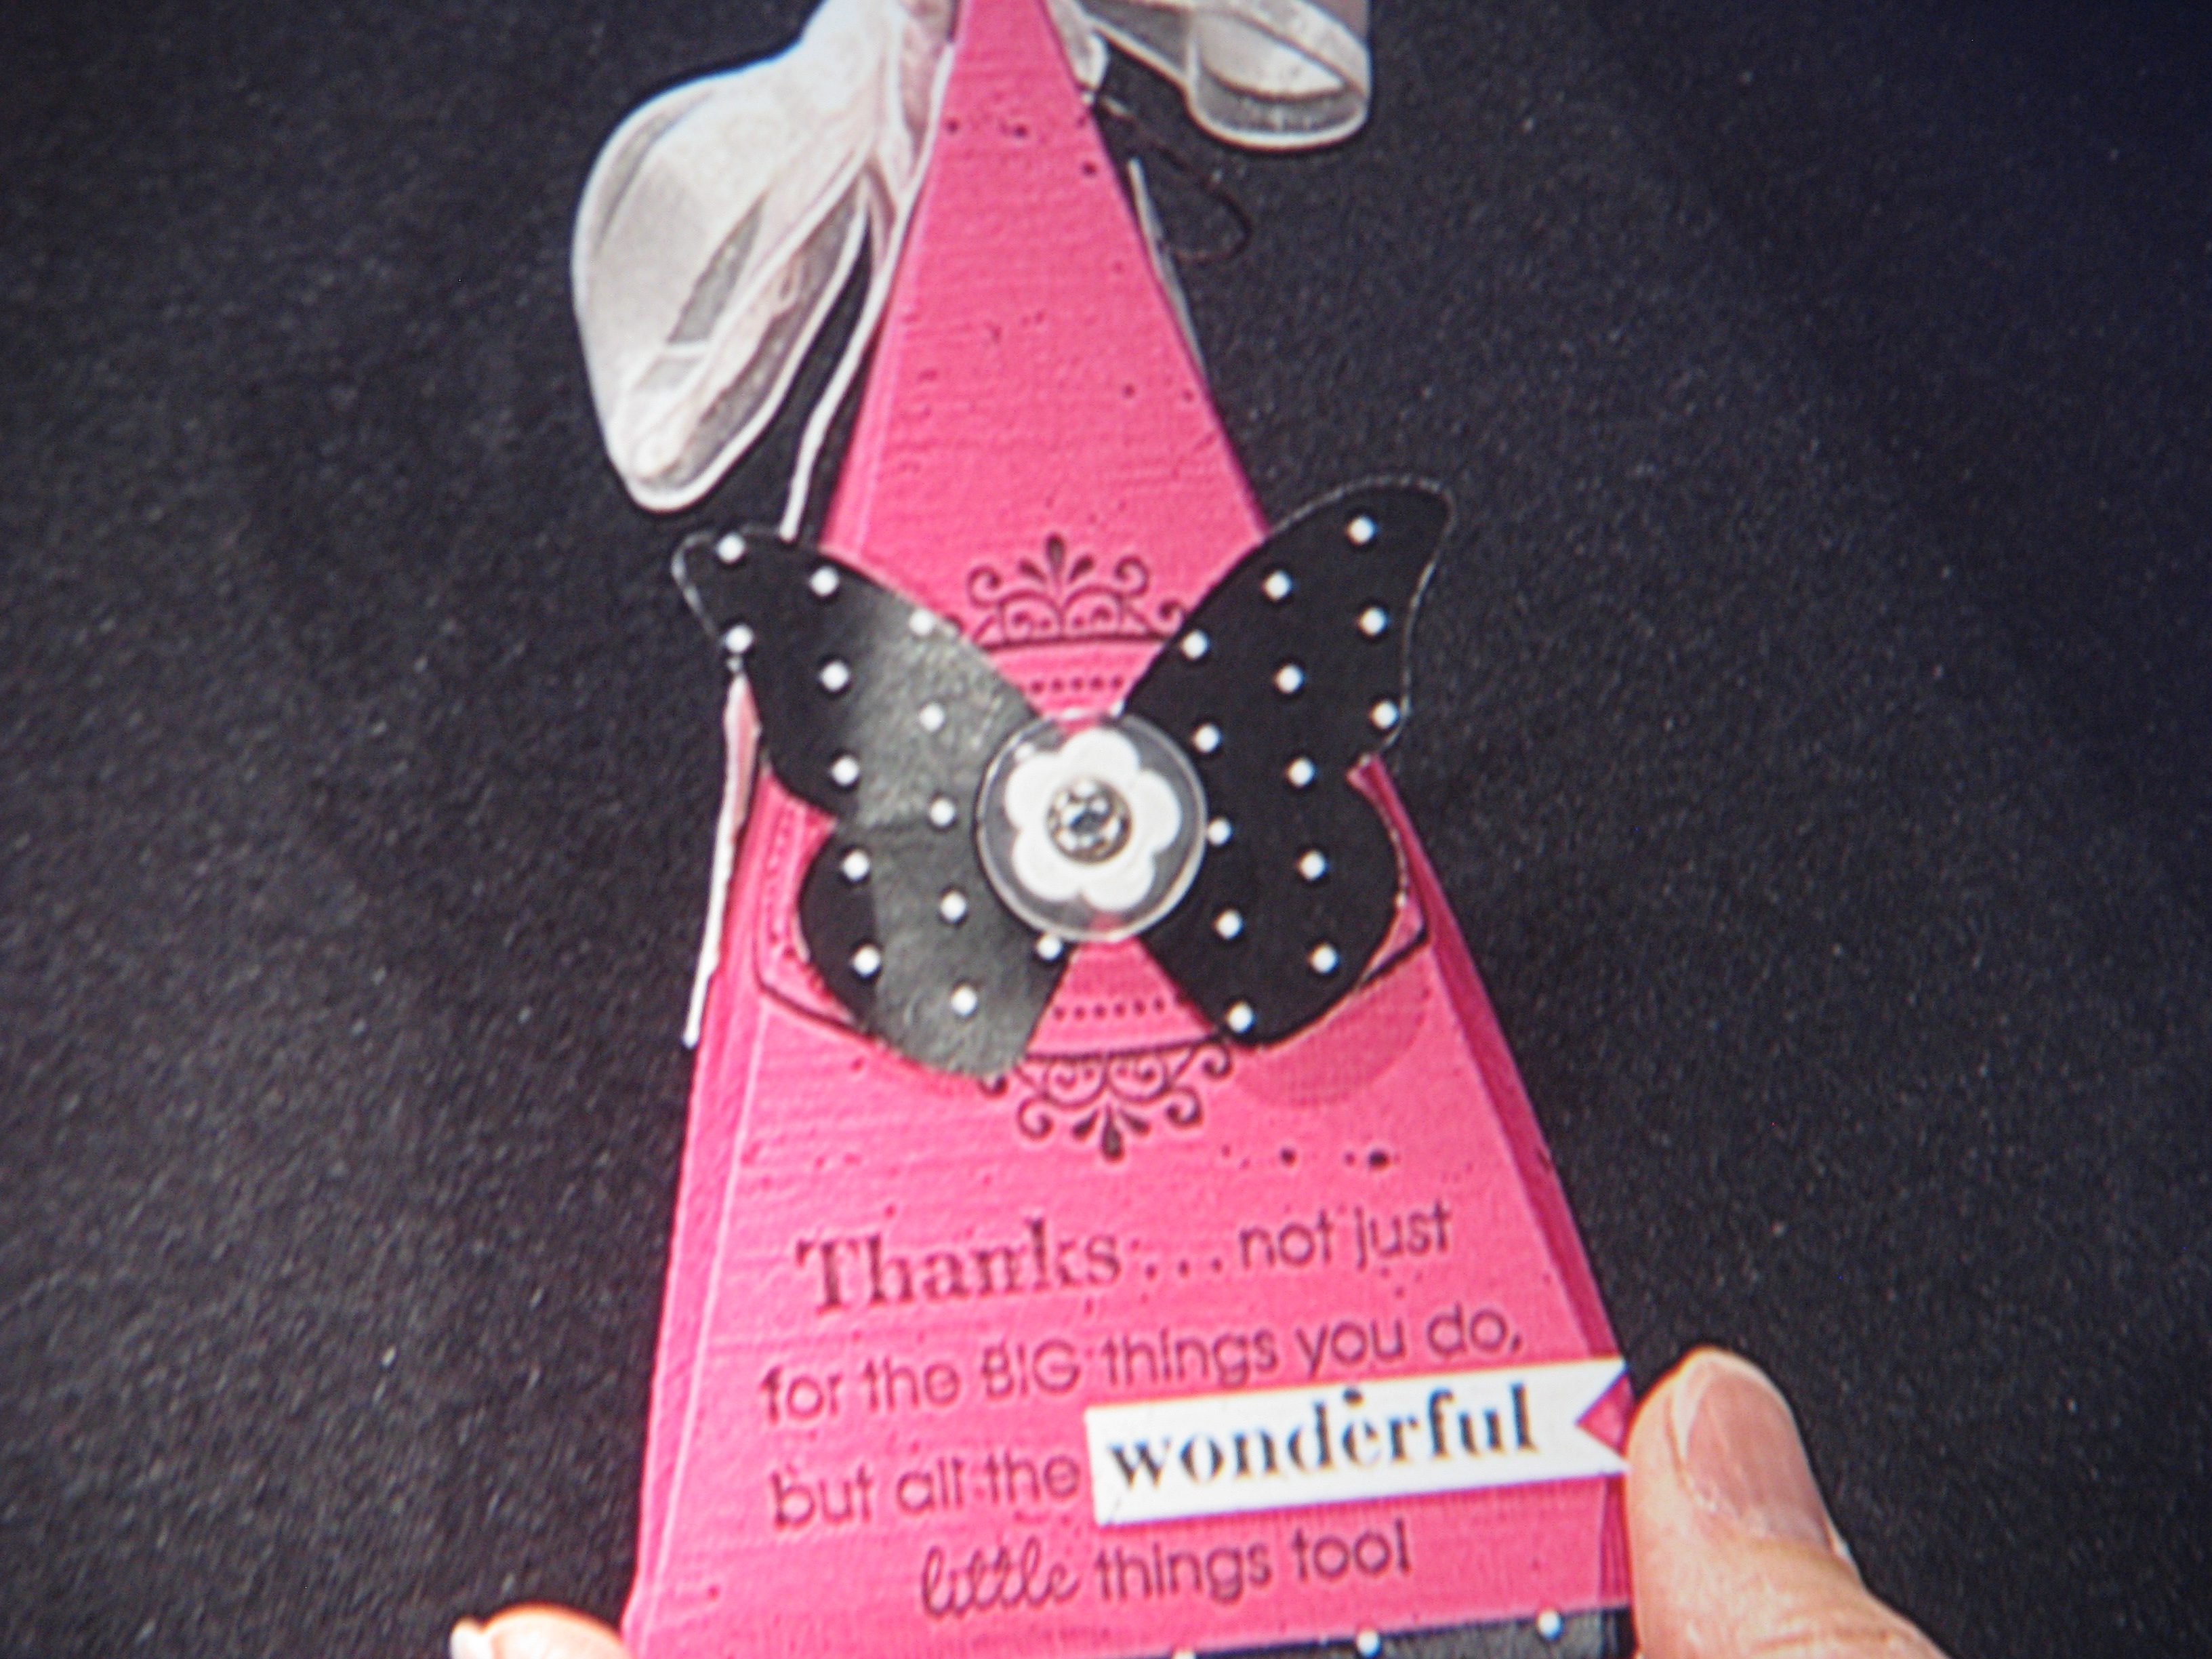
An easy little triange box Shelli made:
A little lip balm holder:
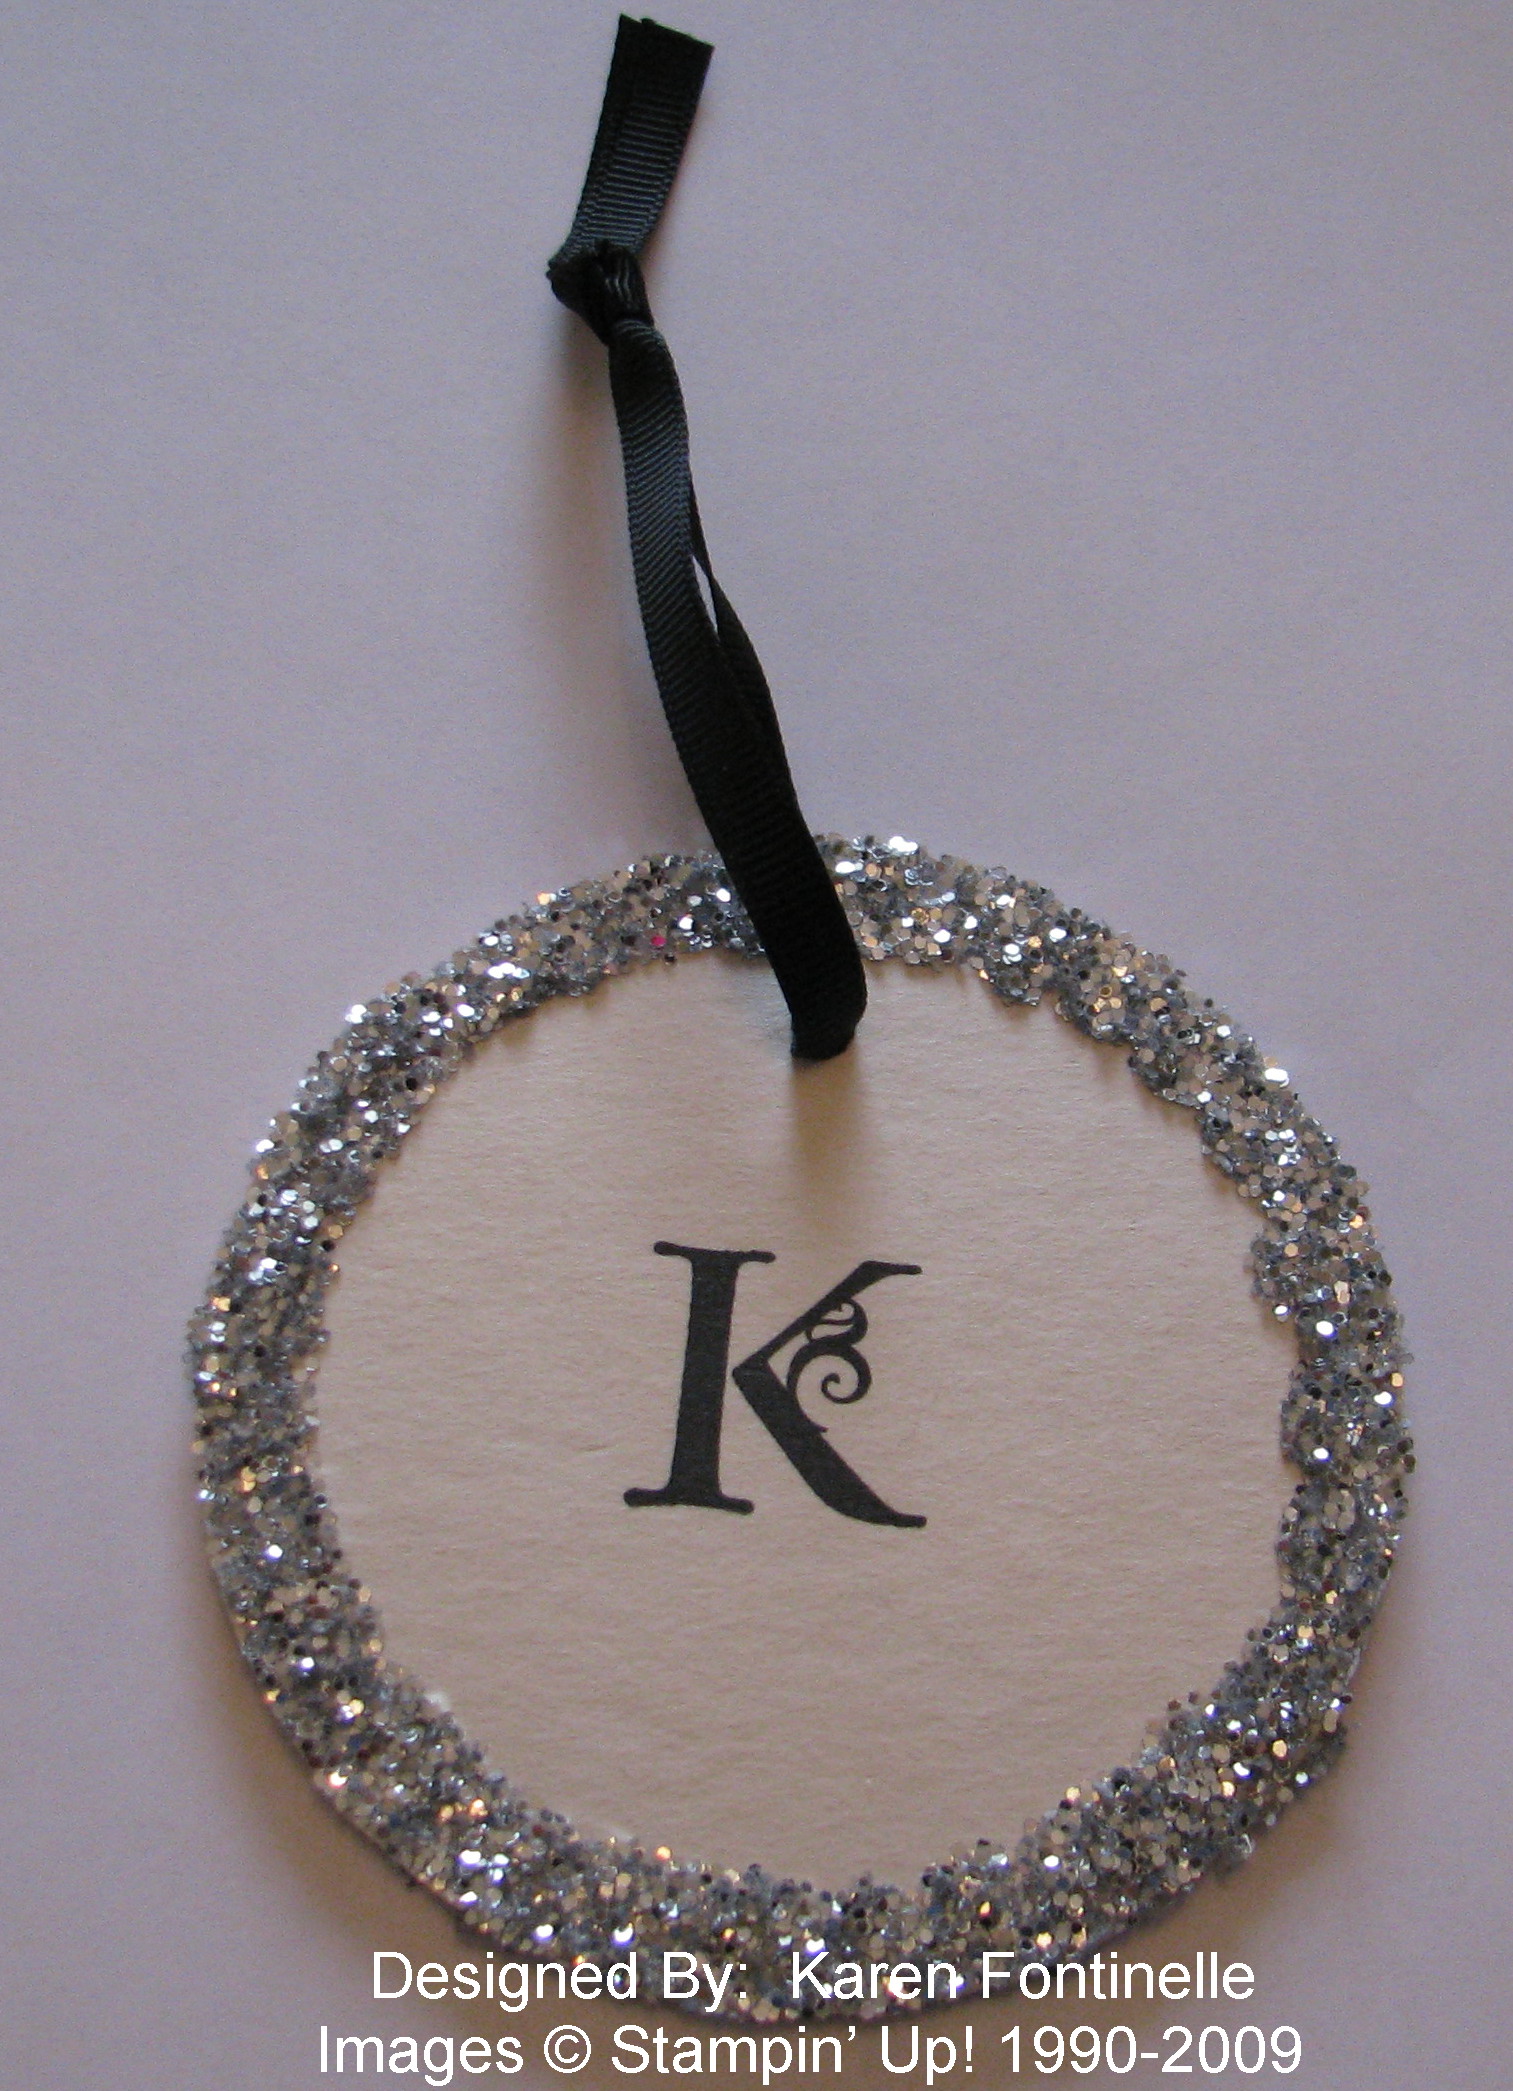
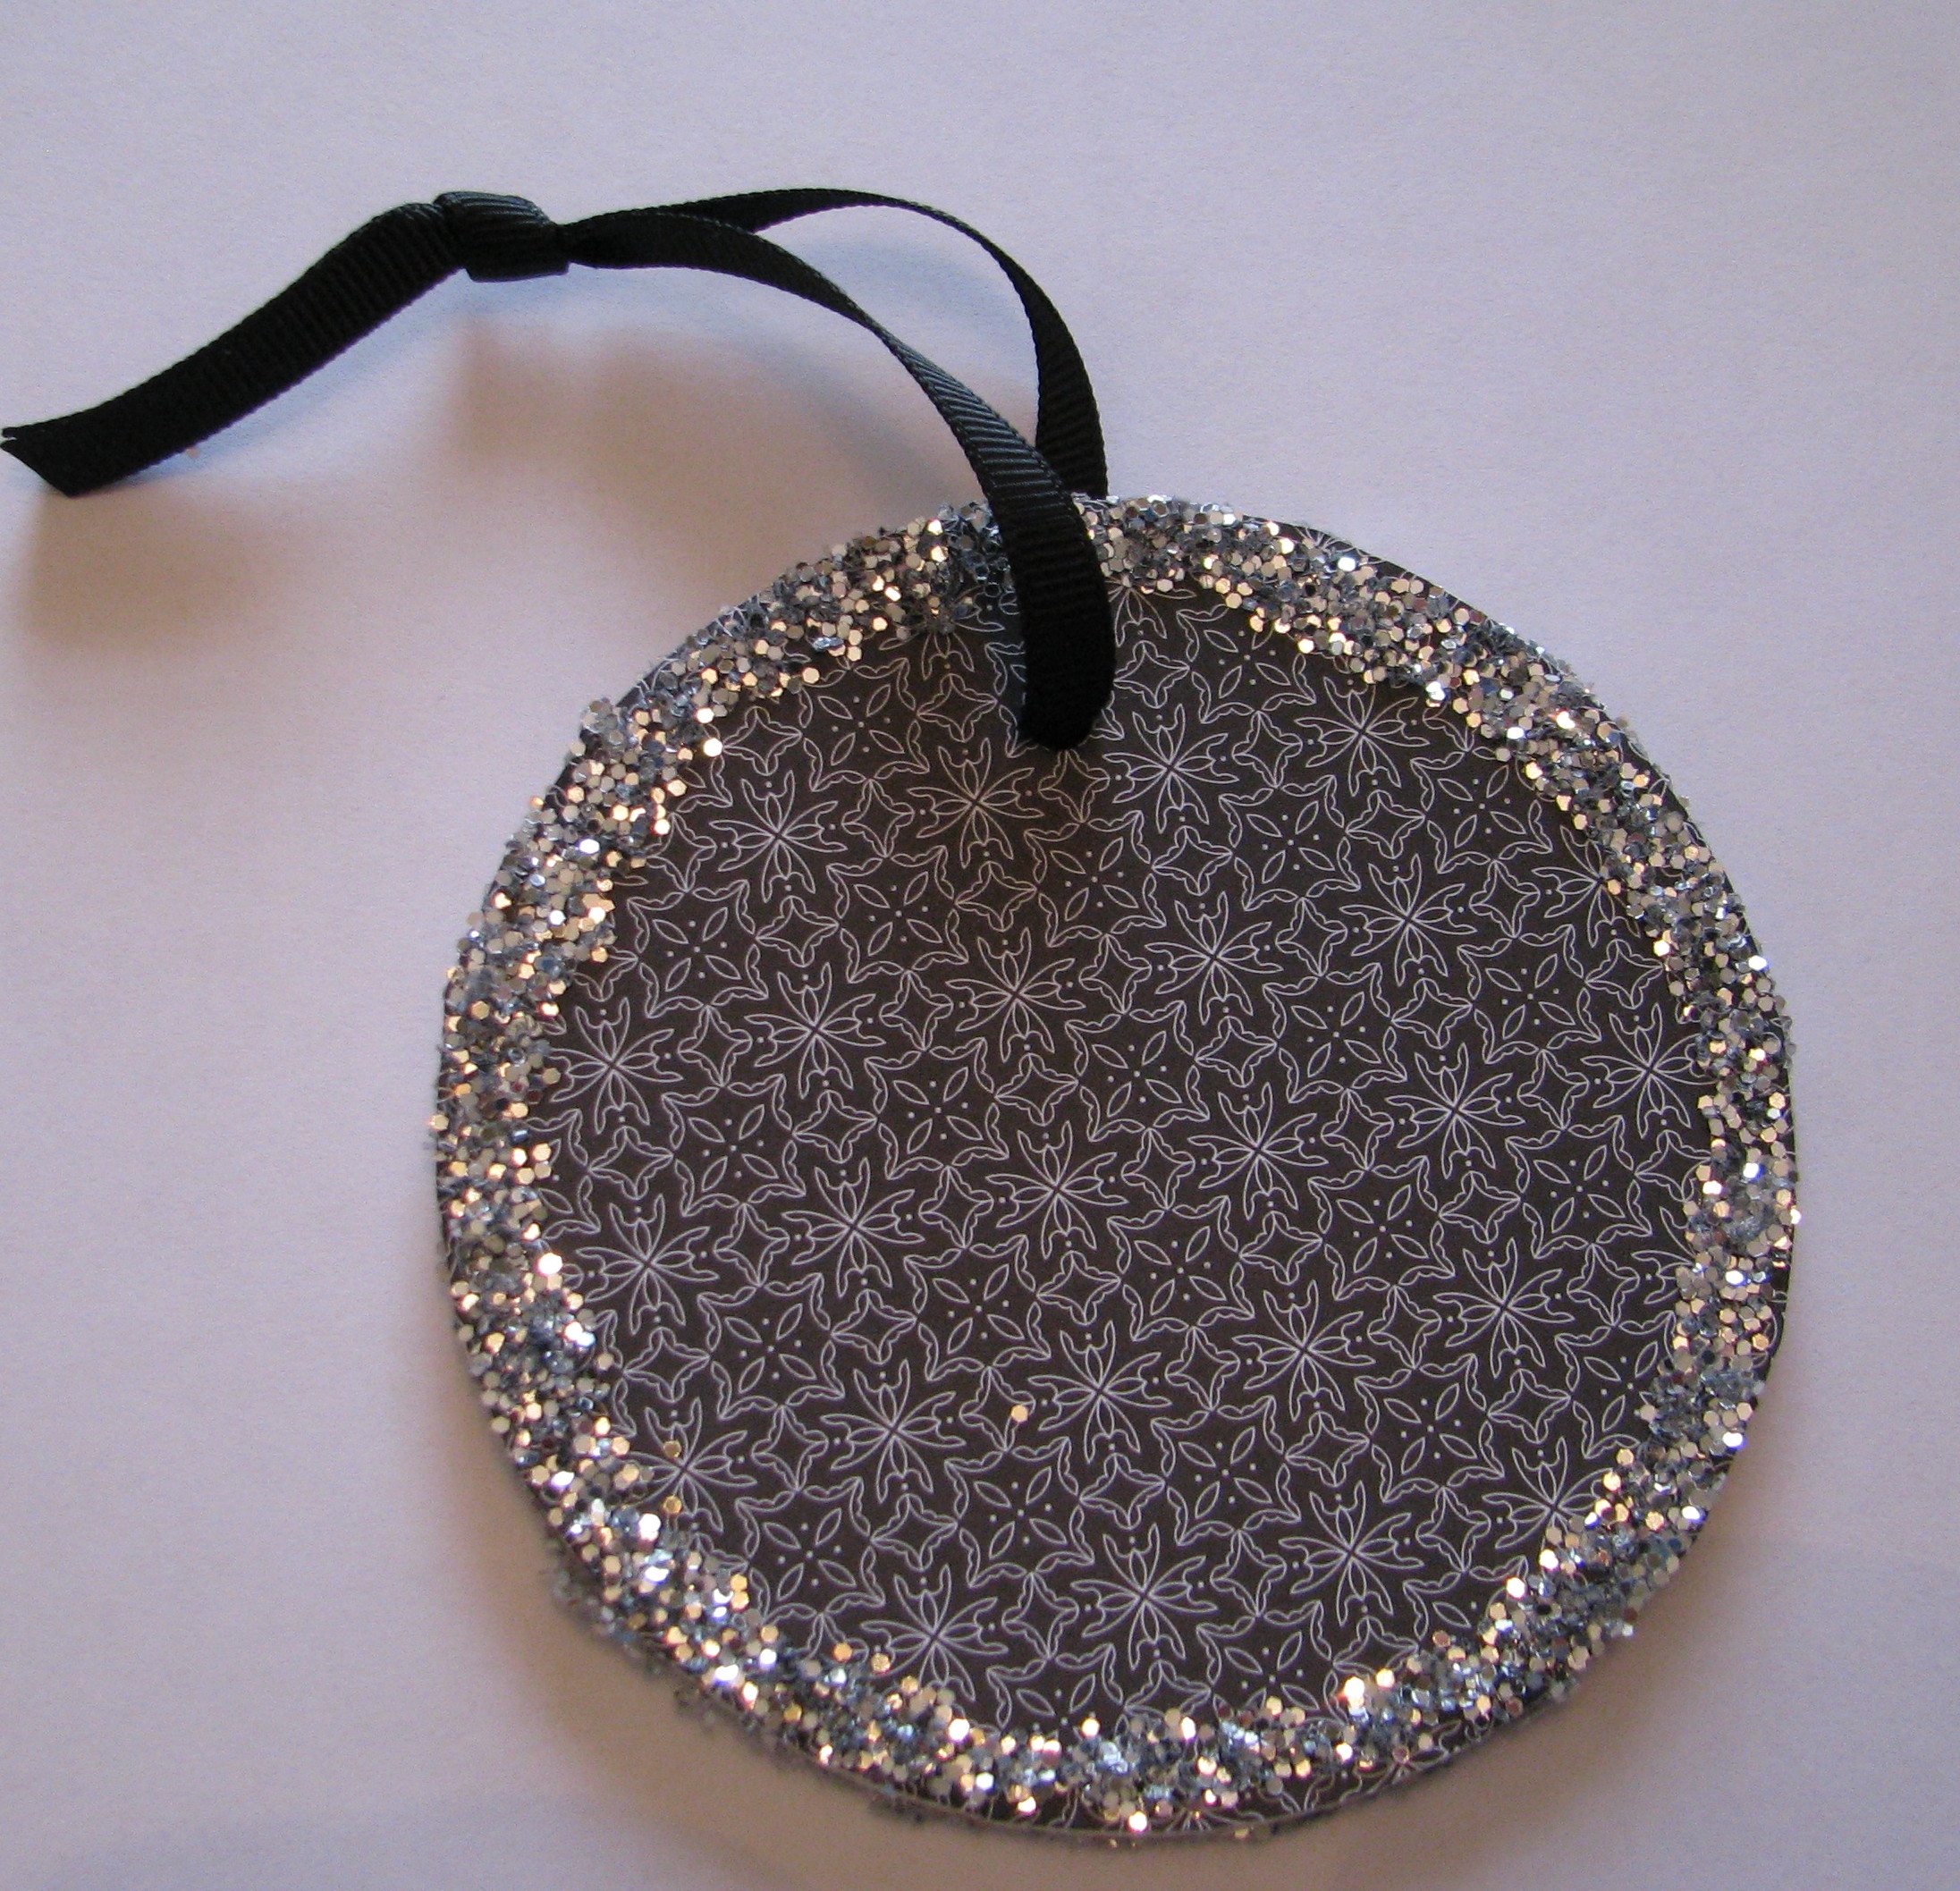
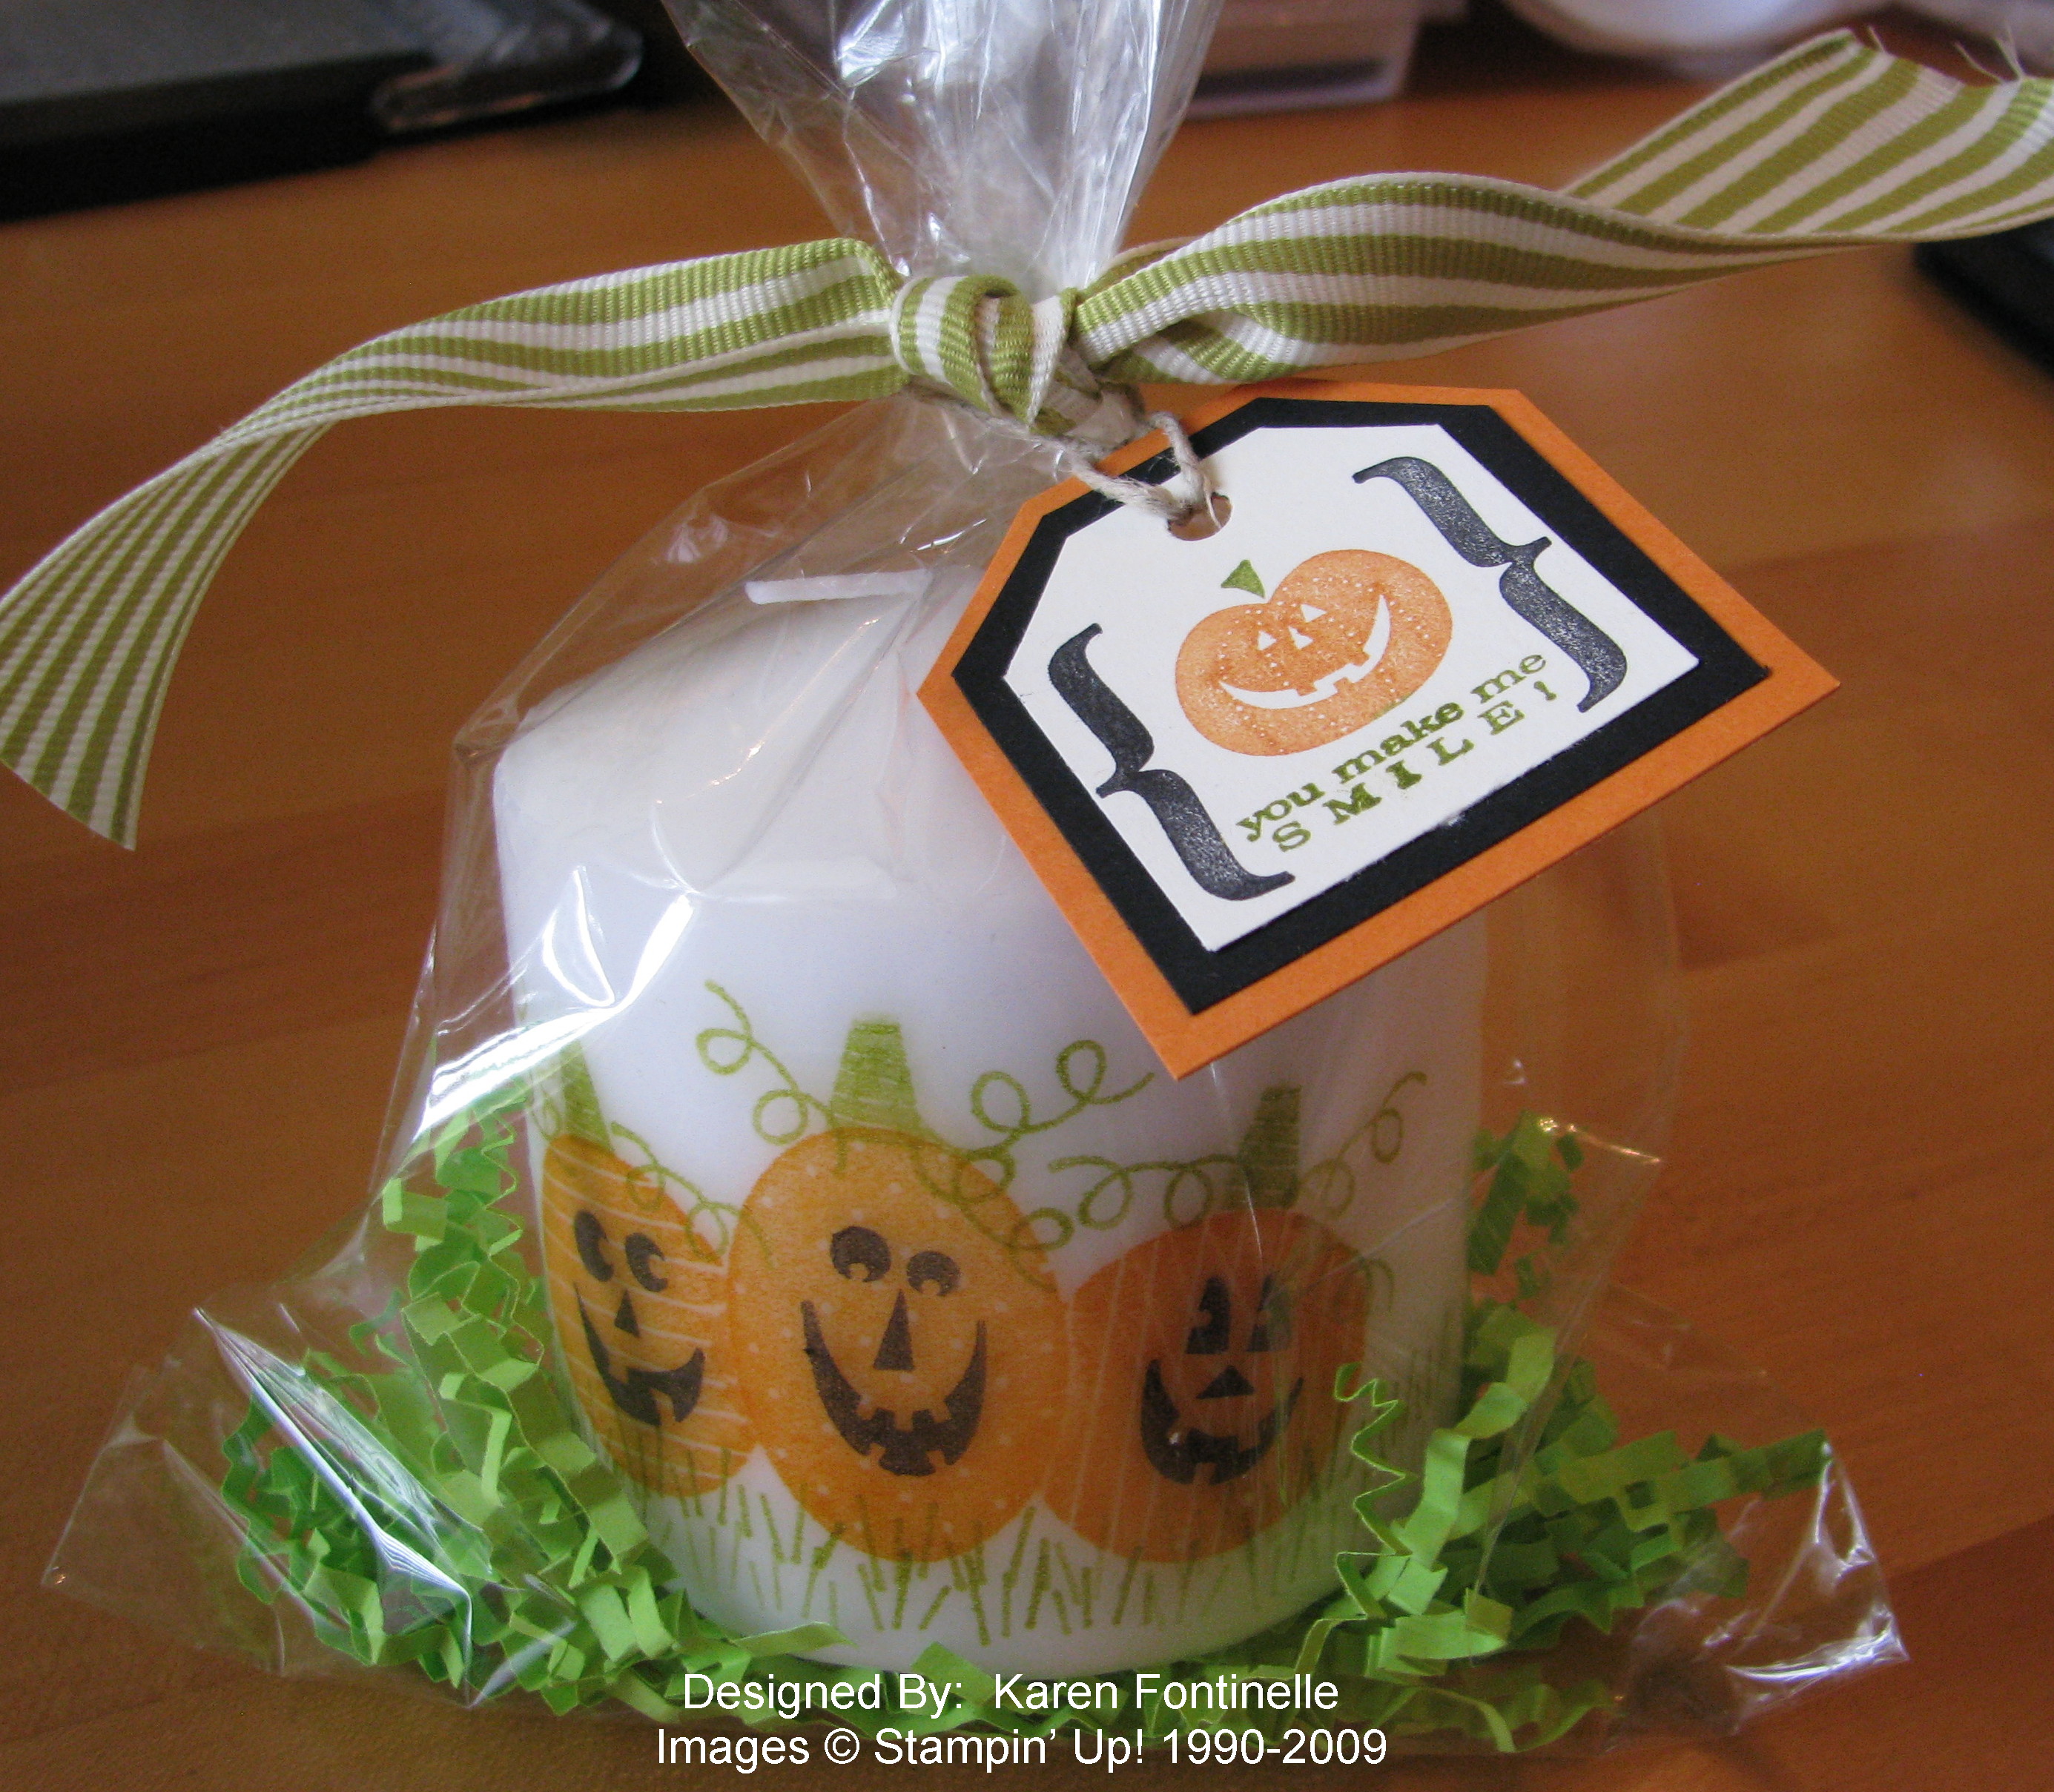
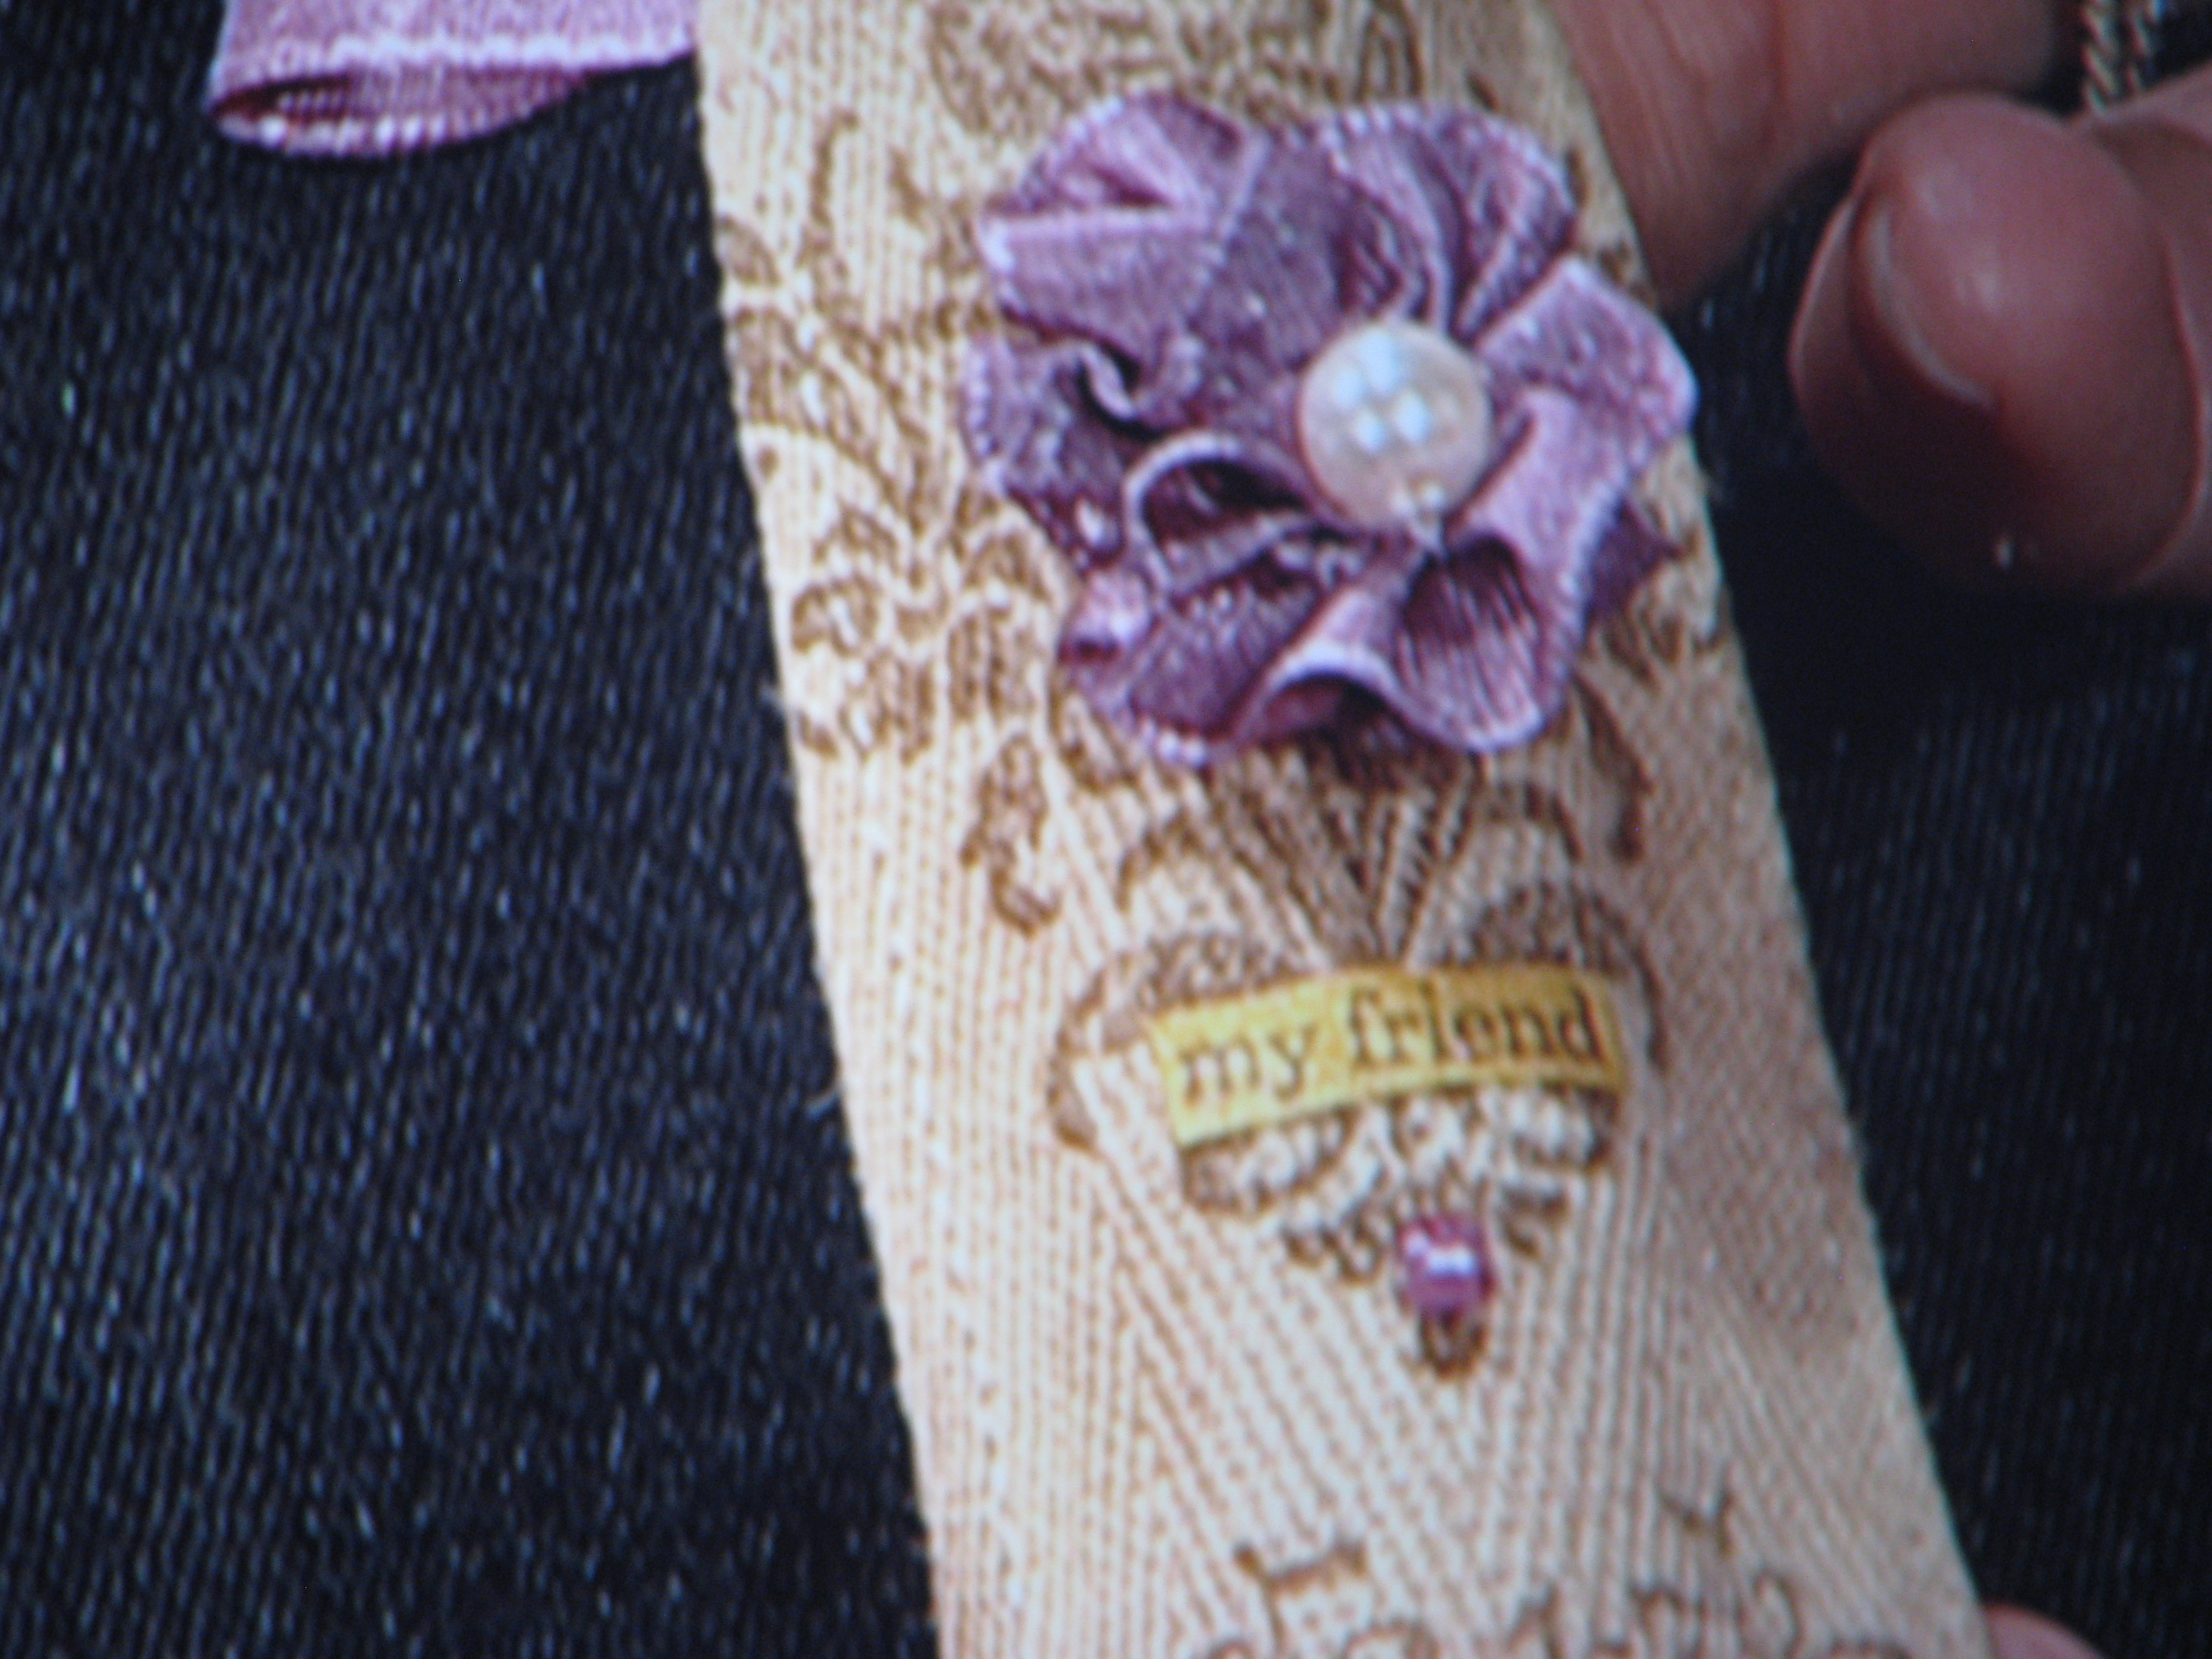
A tag:
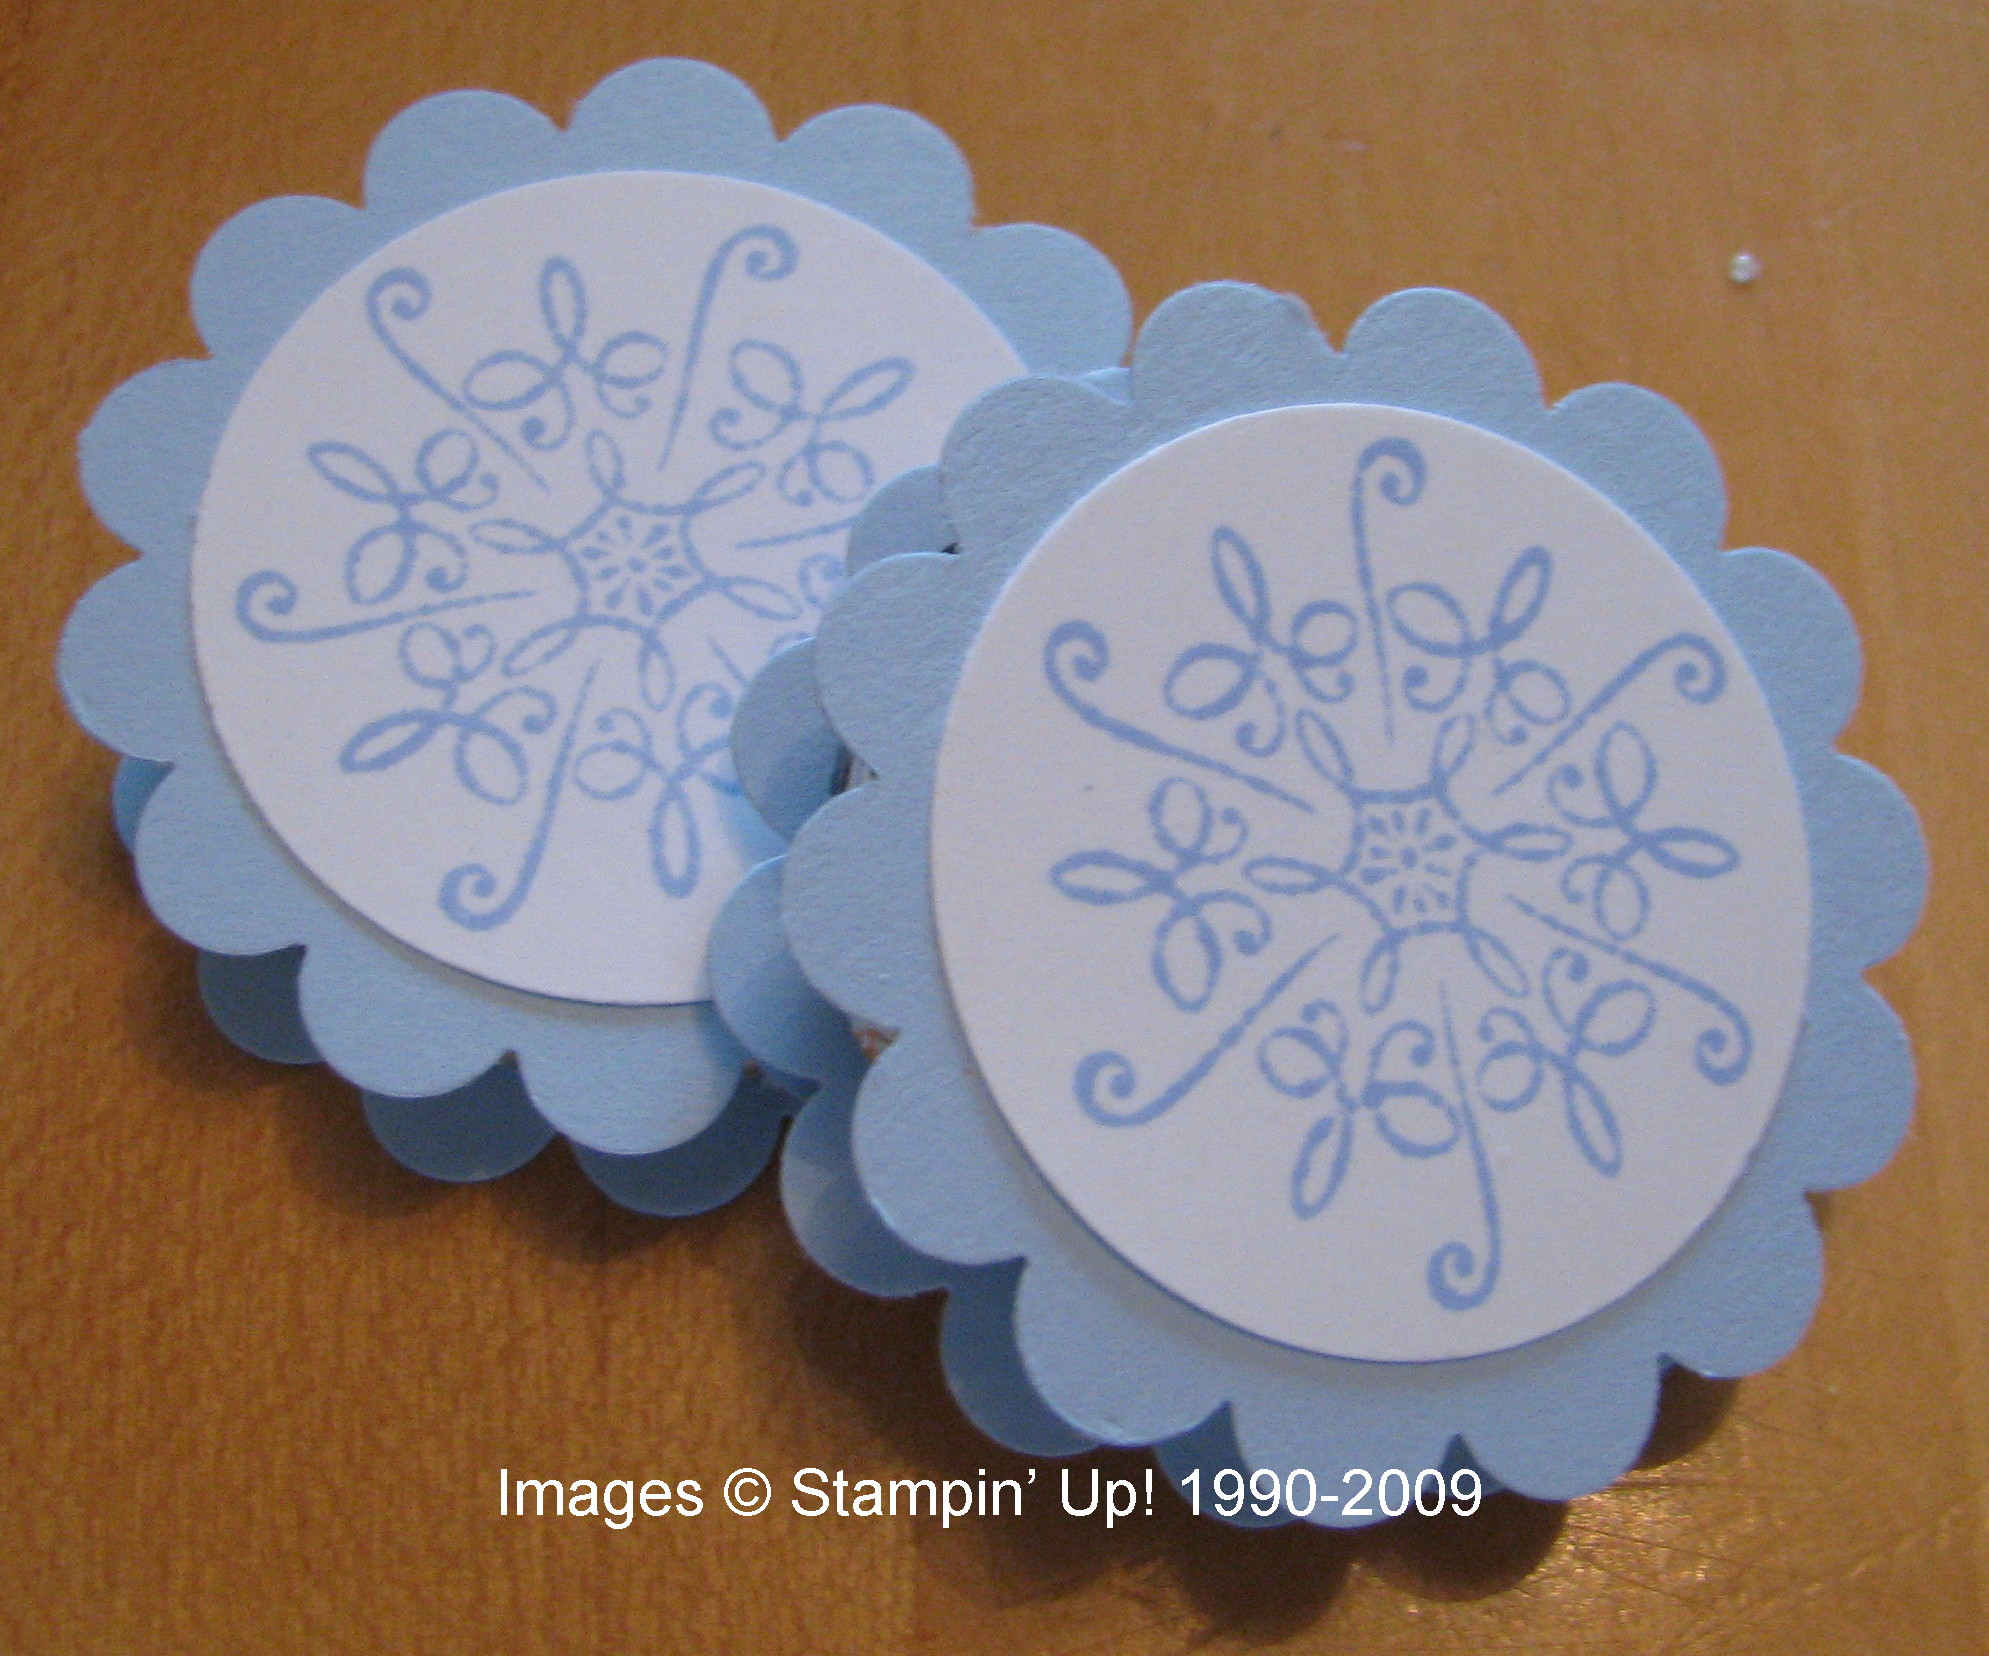
A coaster stamped with the new Medallion stamp!
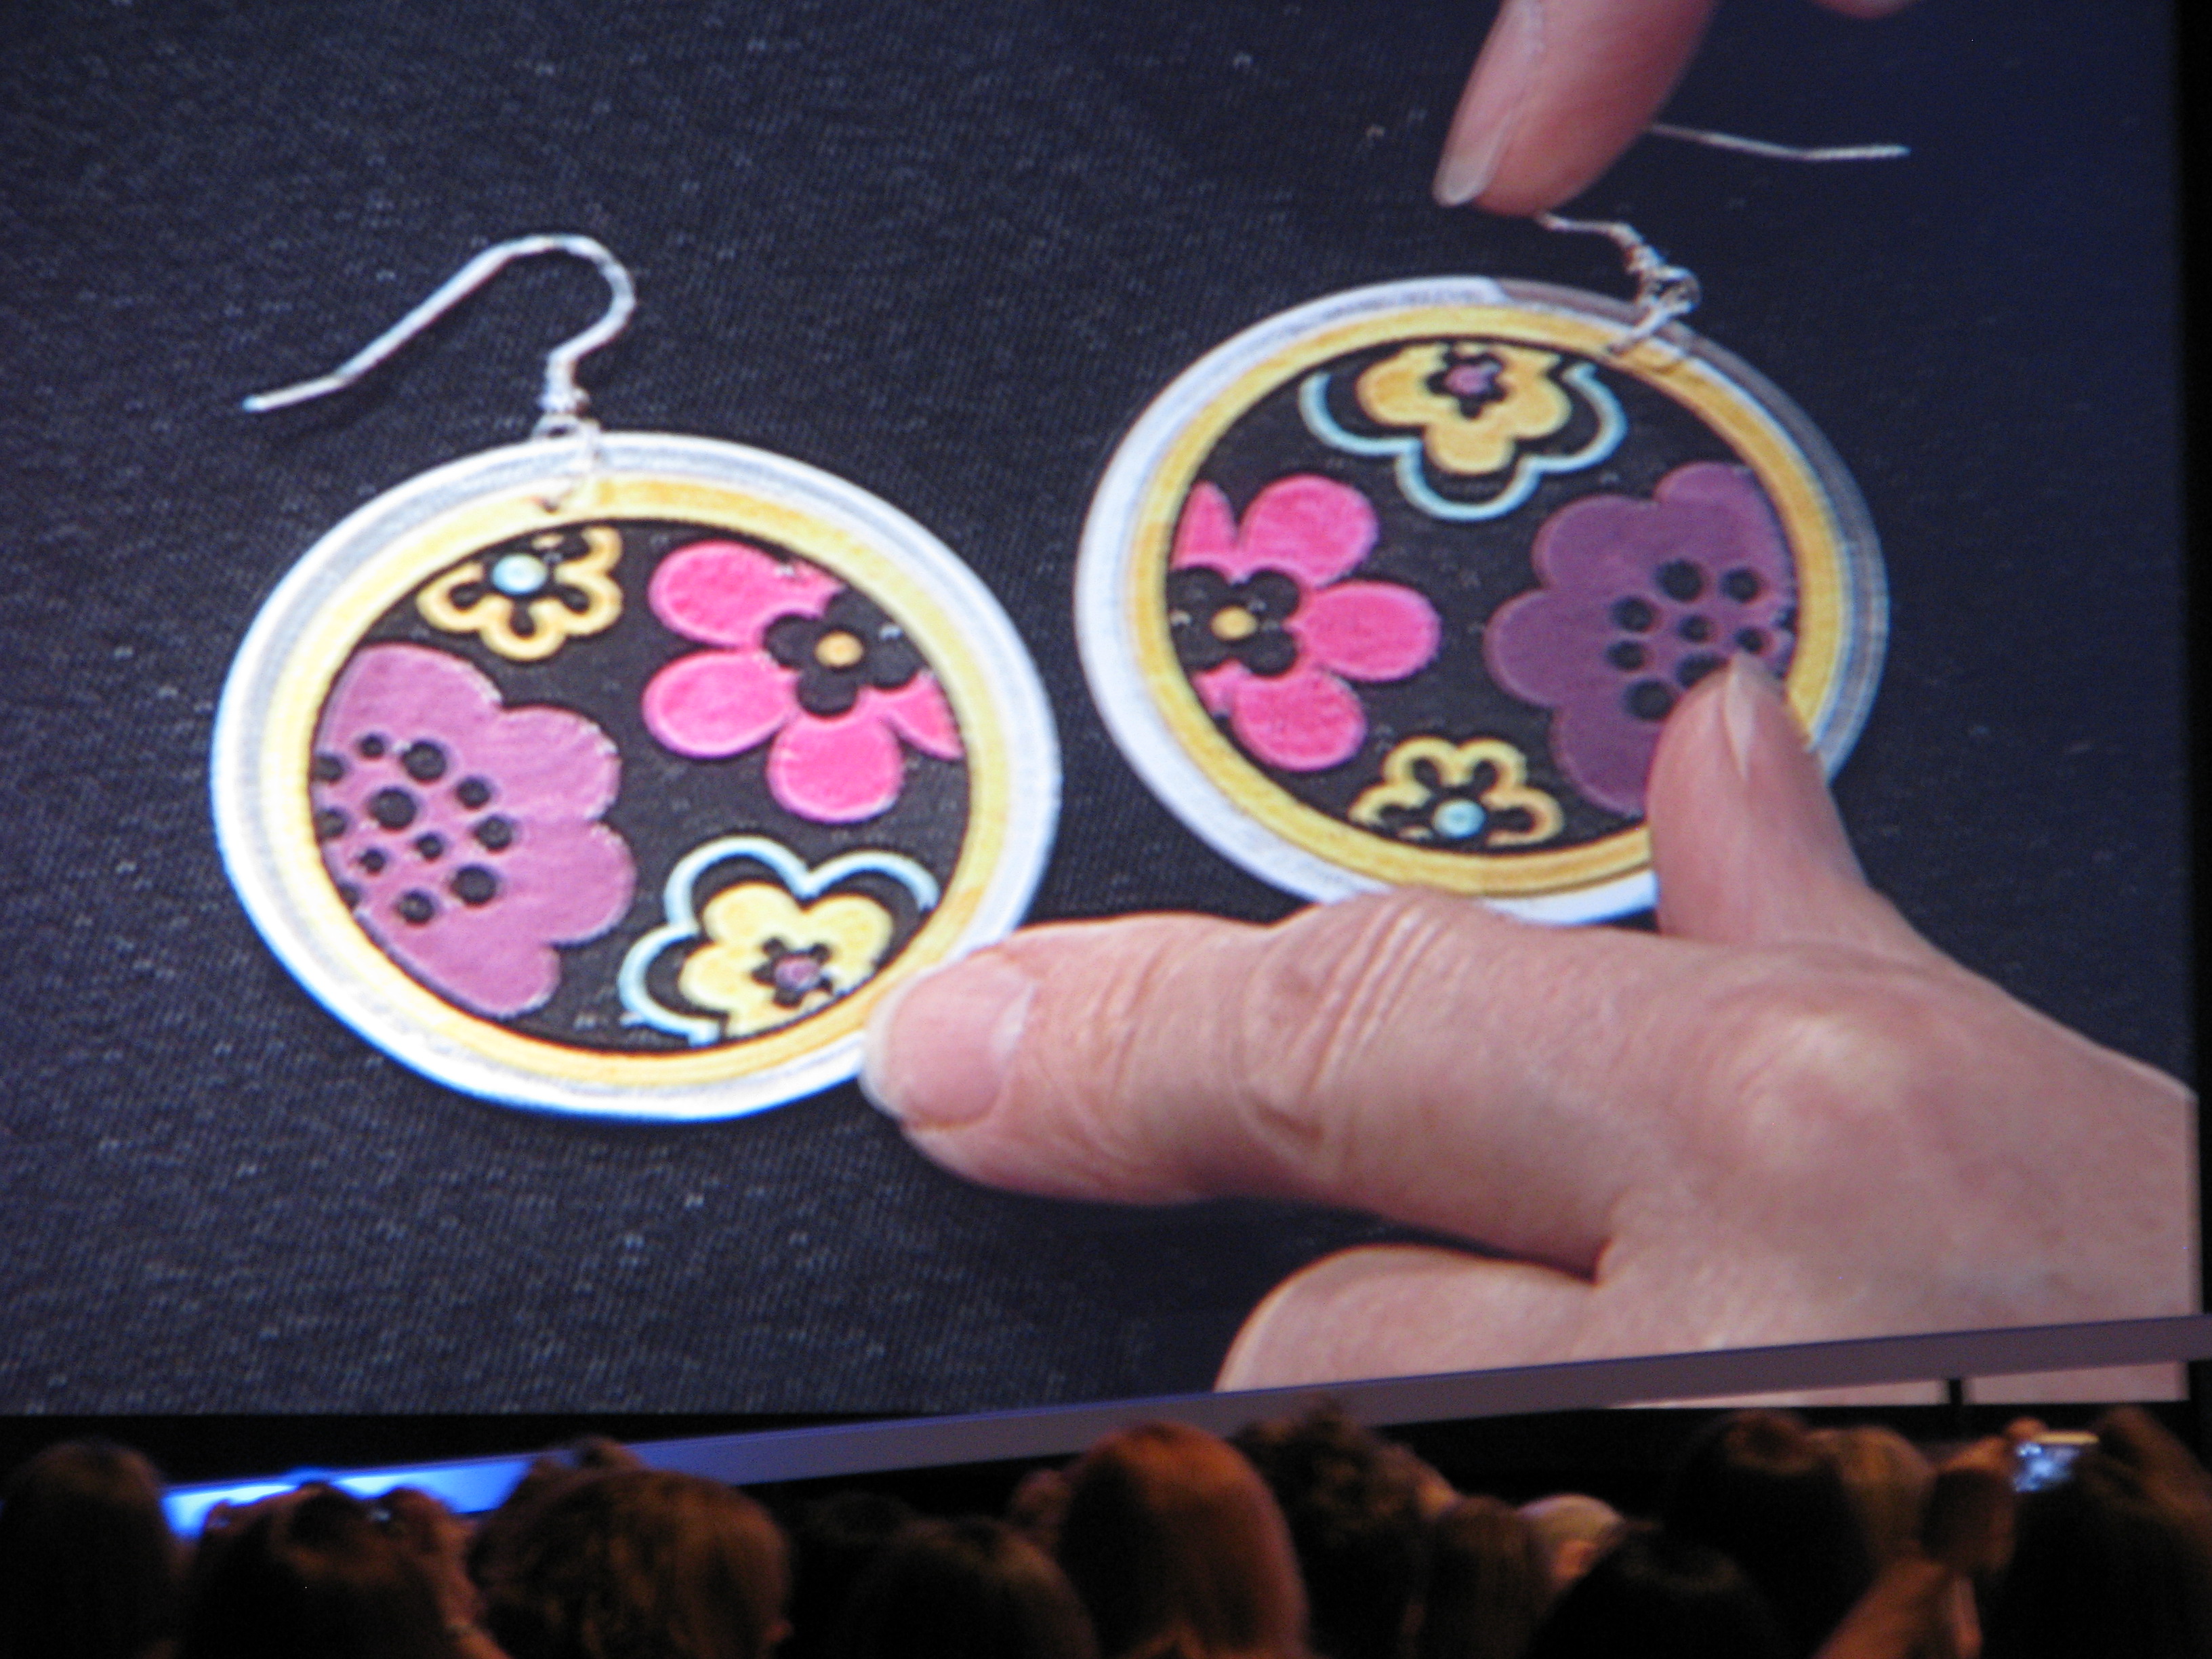
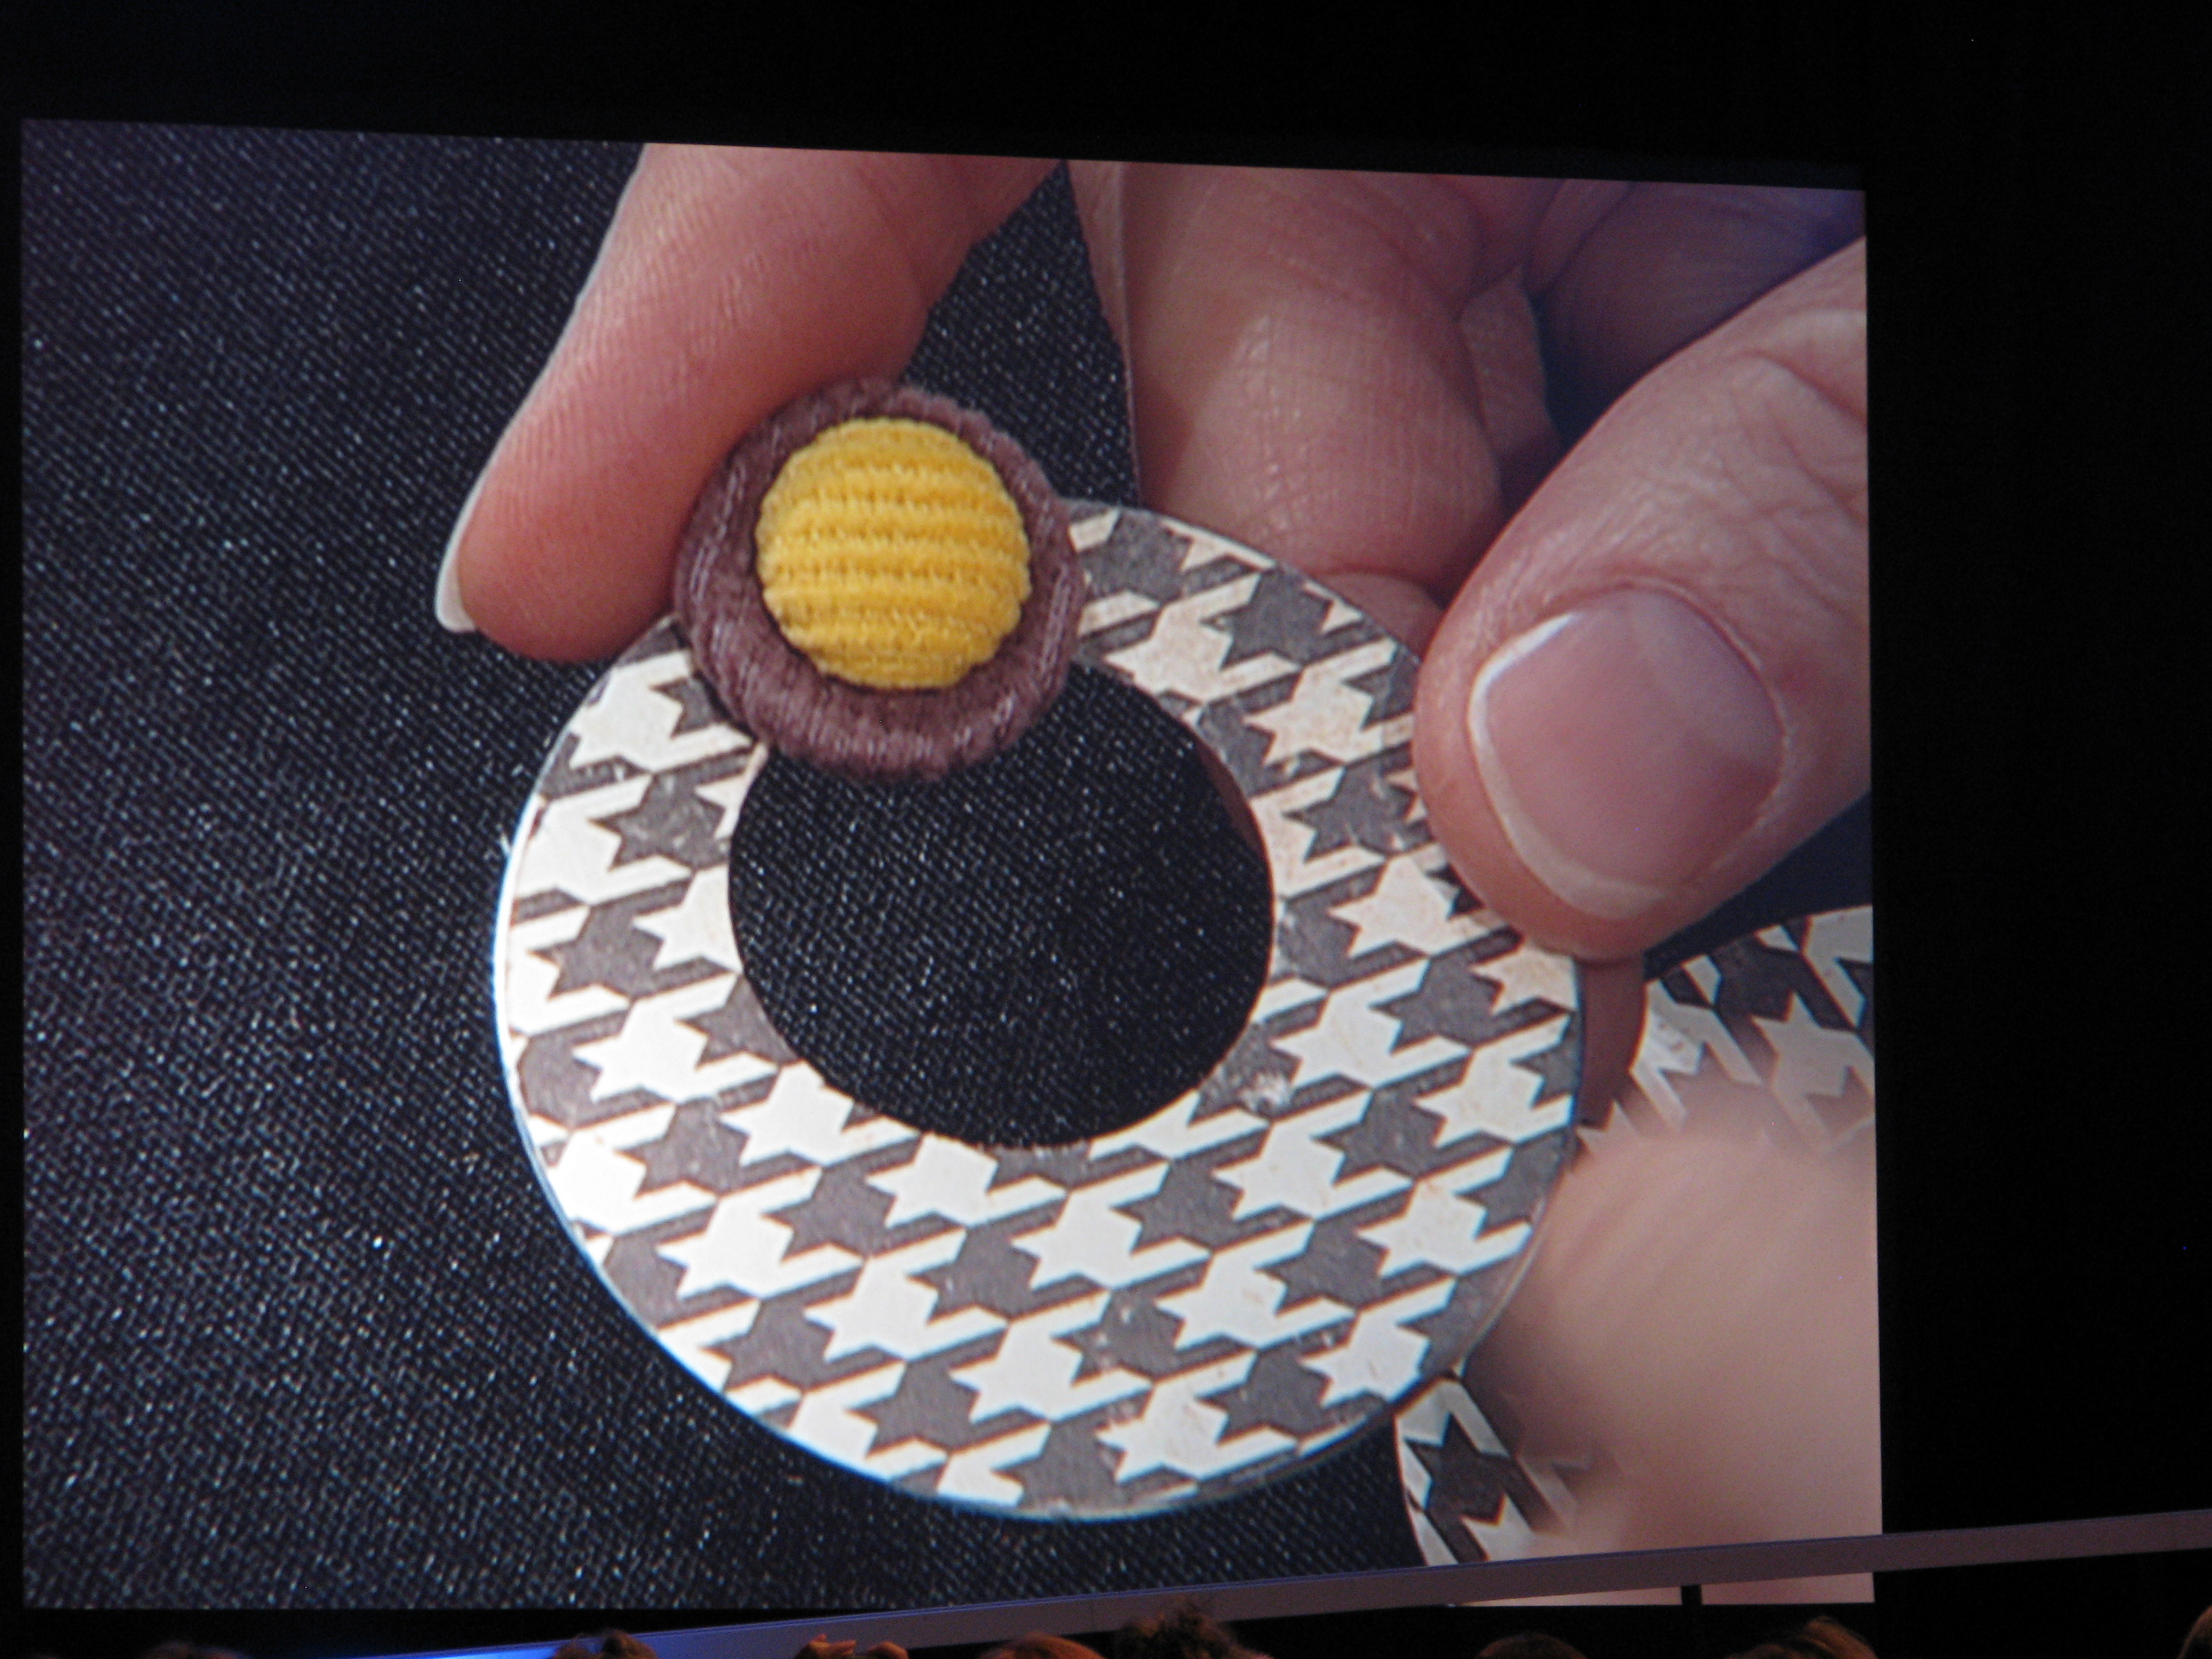
Earrings made with the metal edge tags!
More earrings:
More earrings:
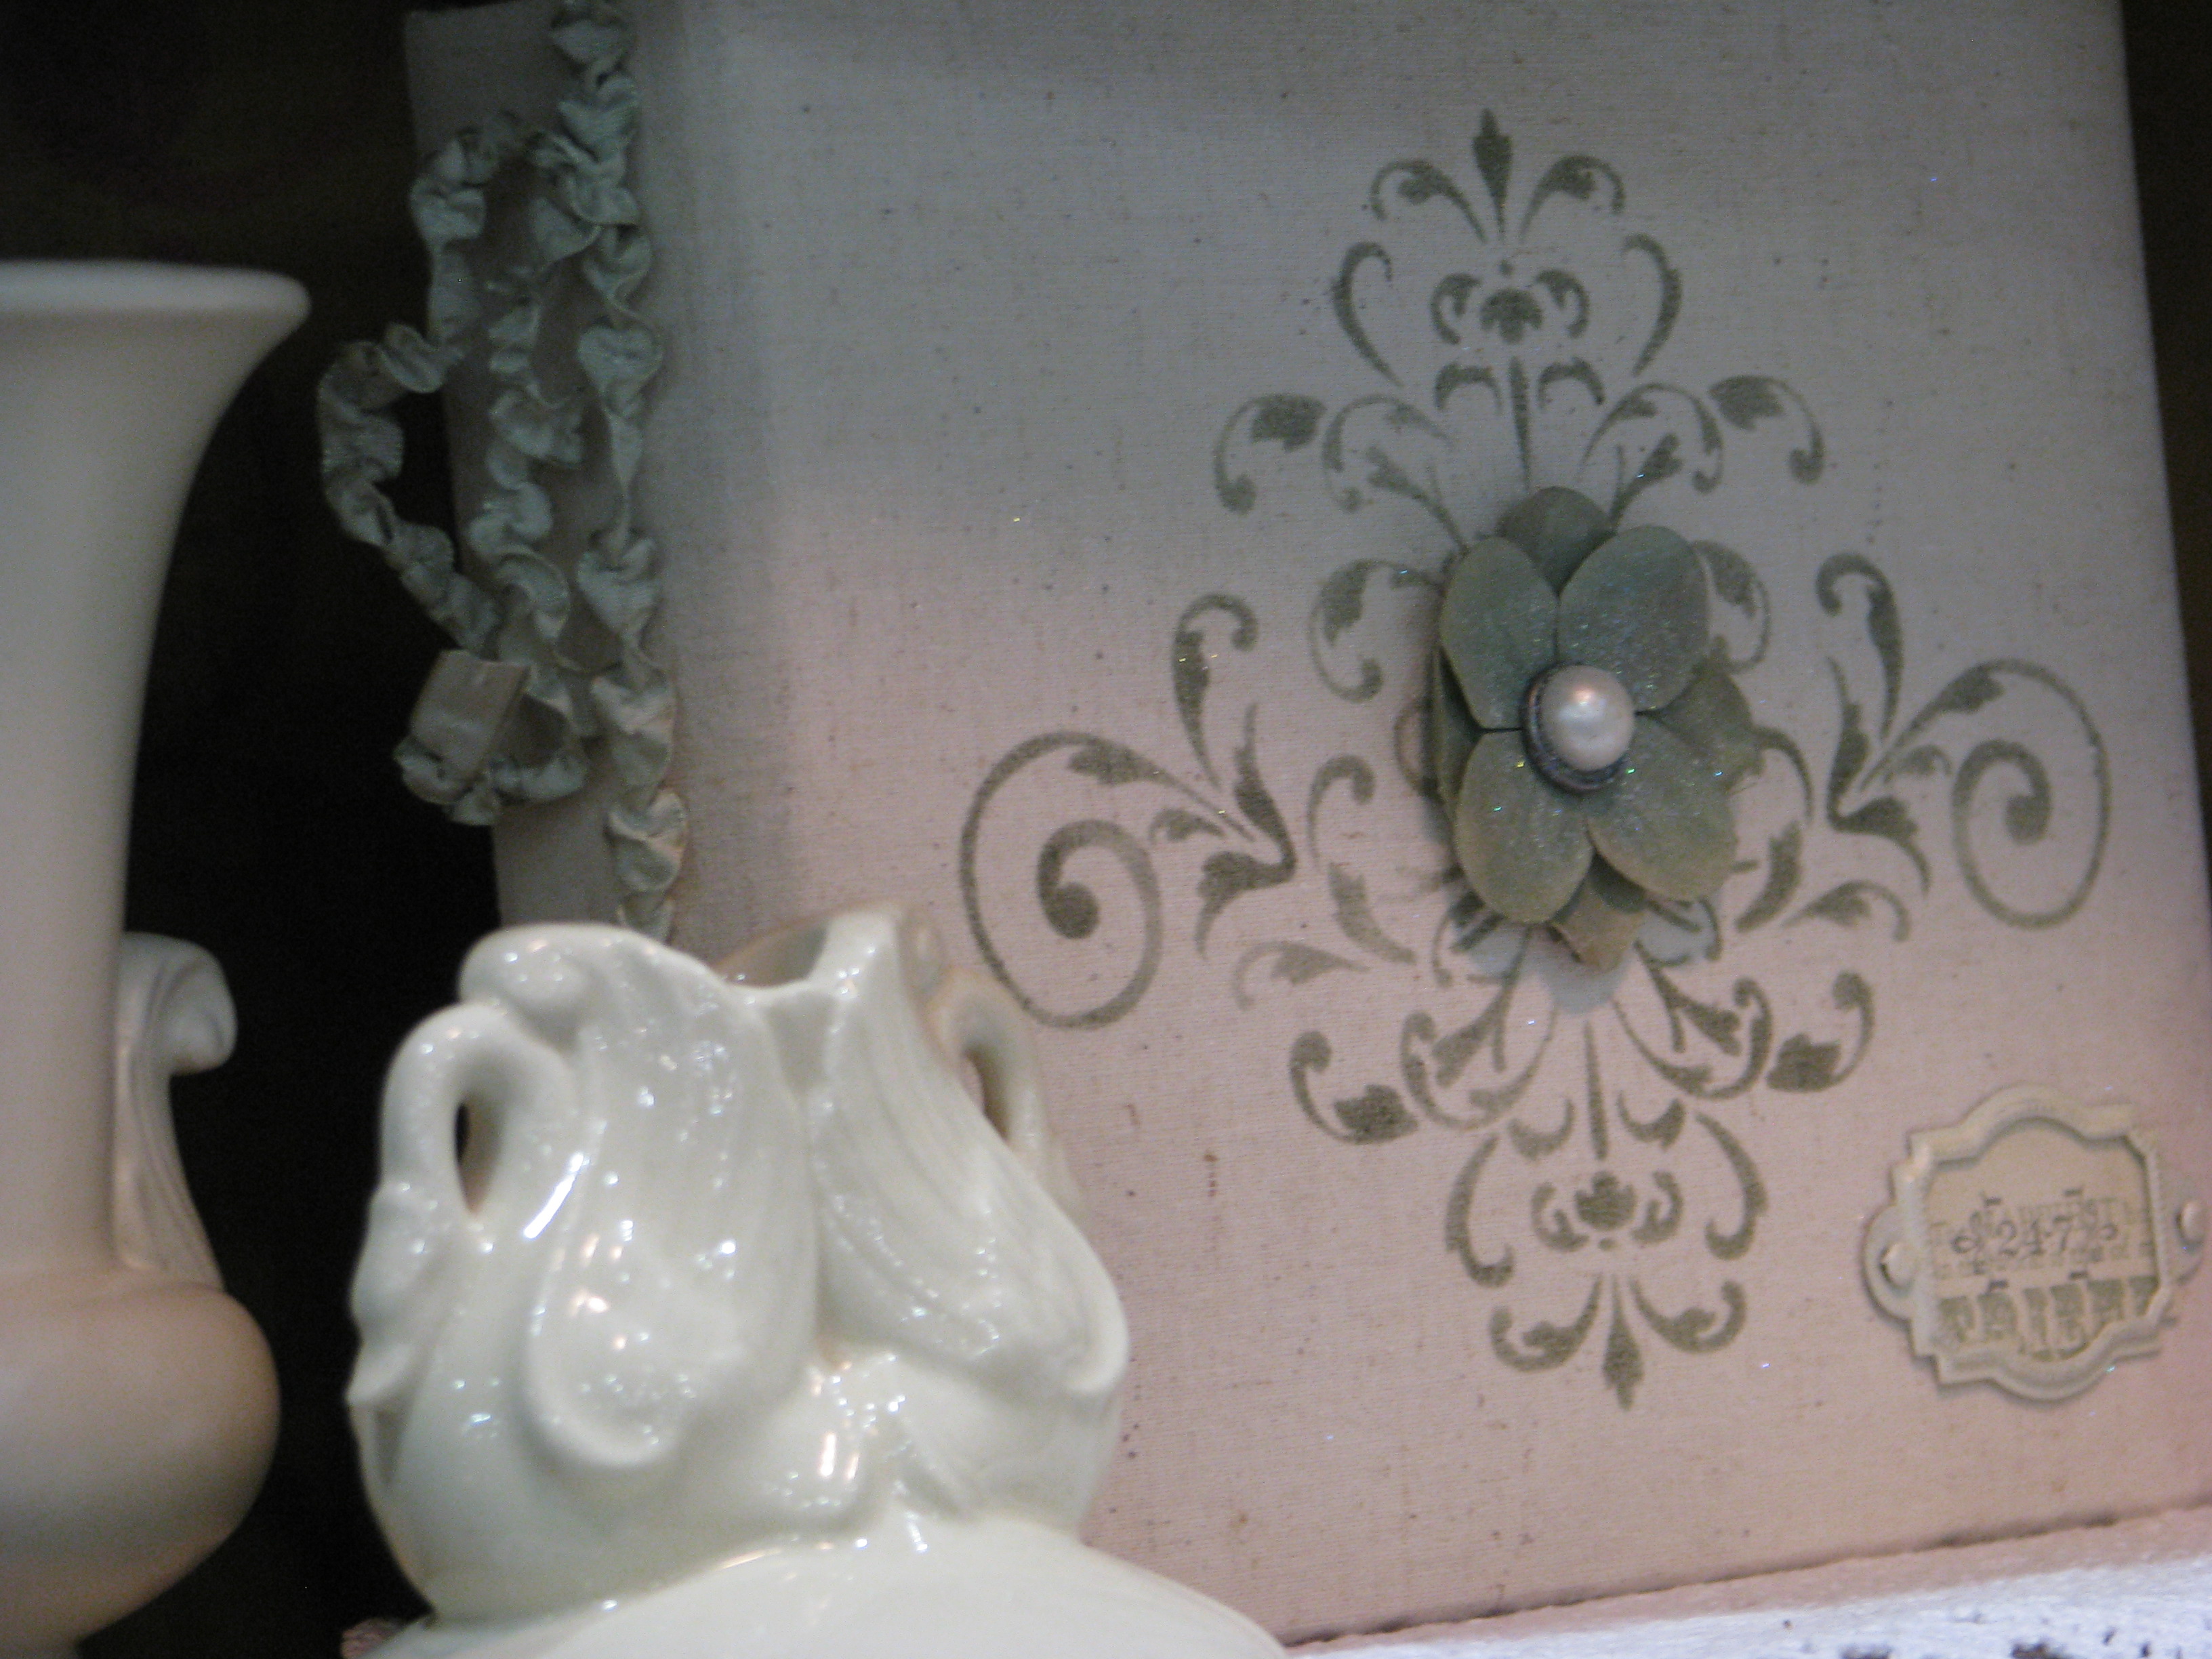
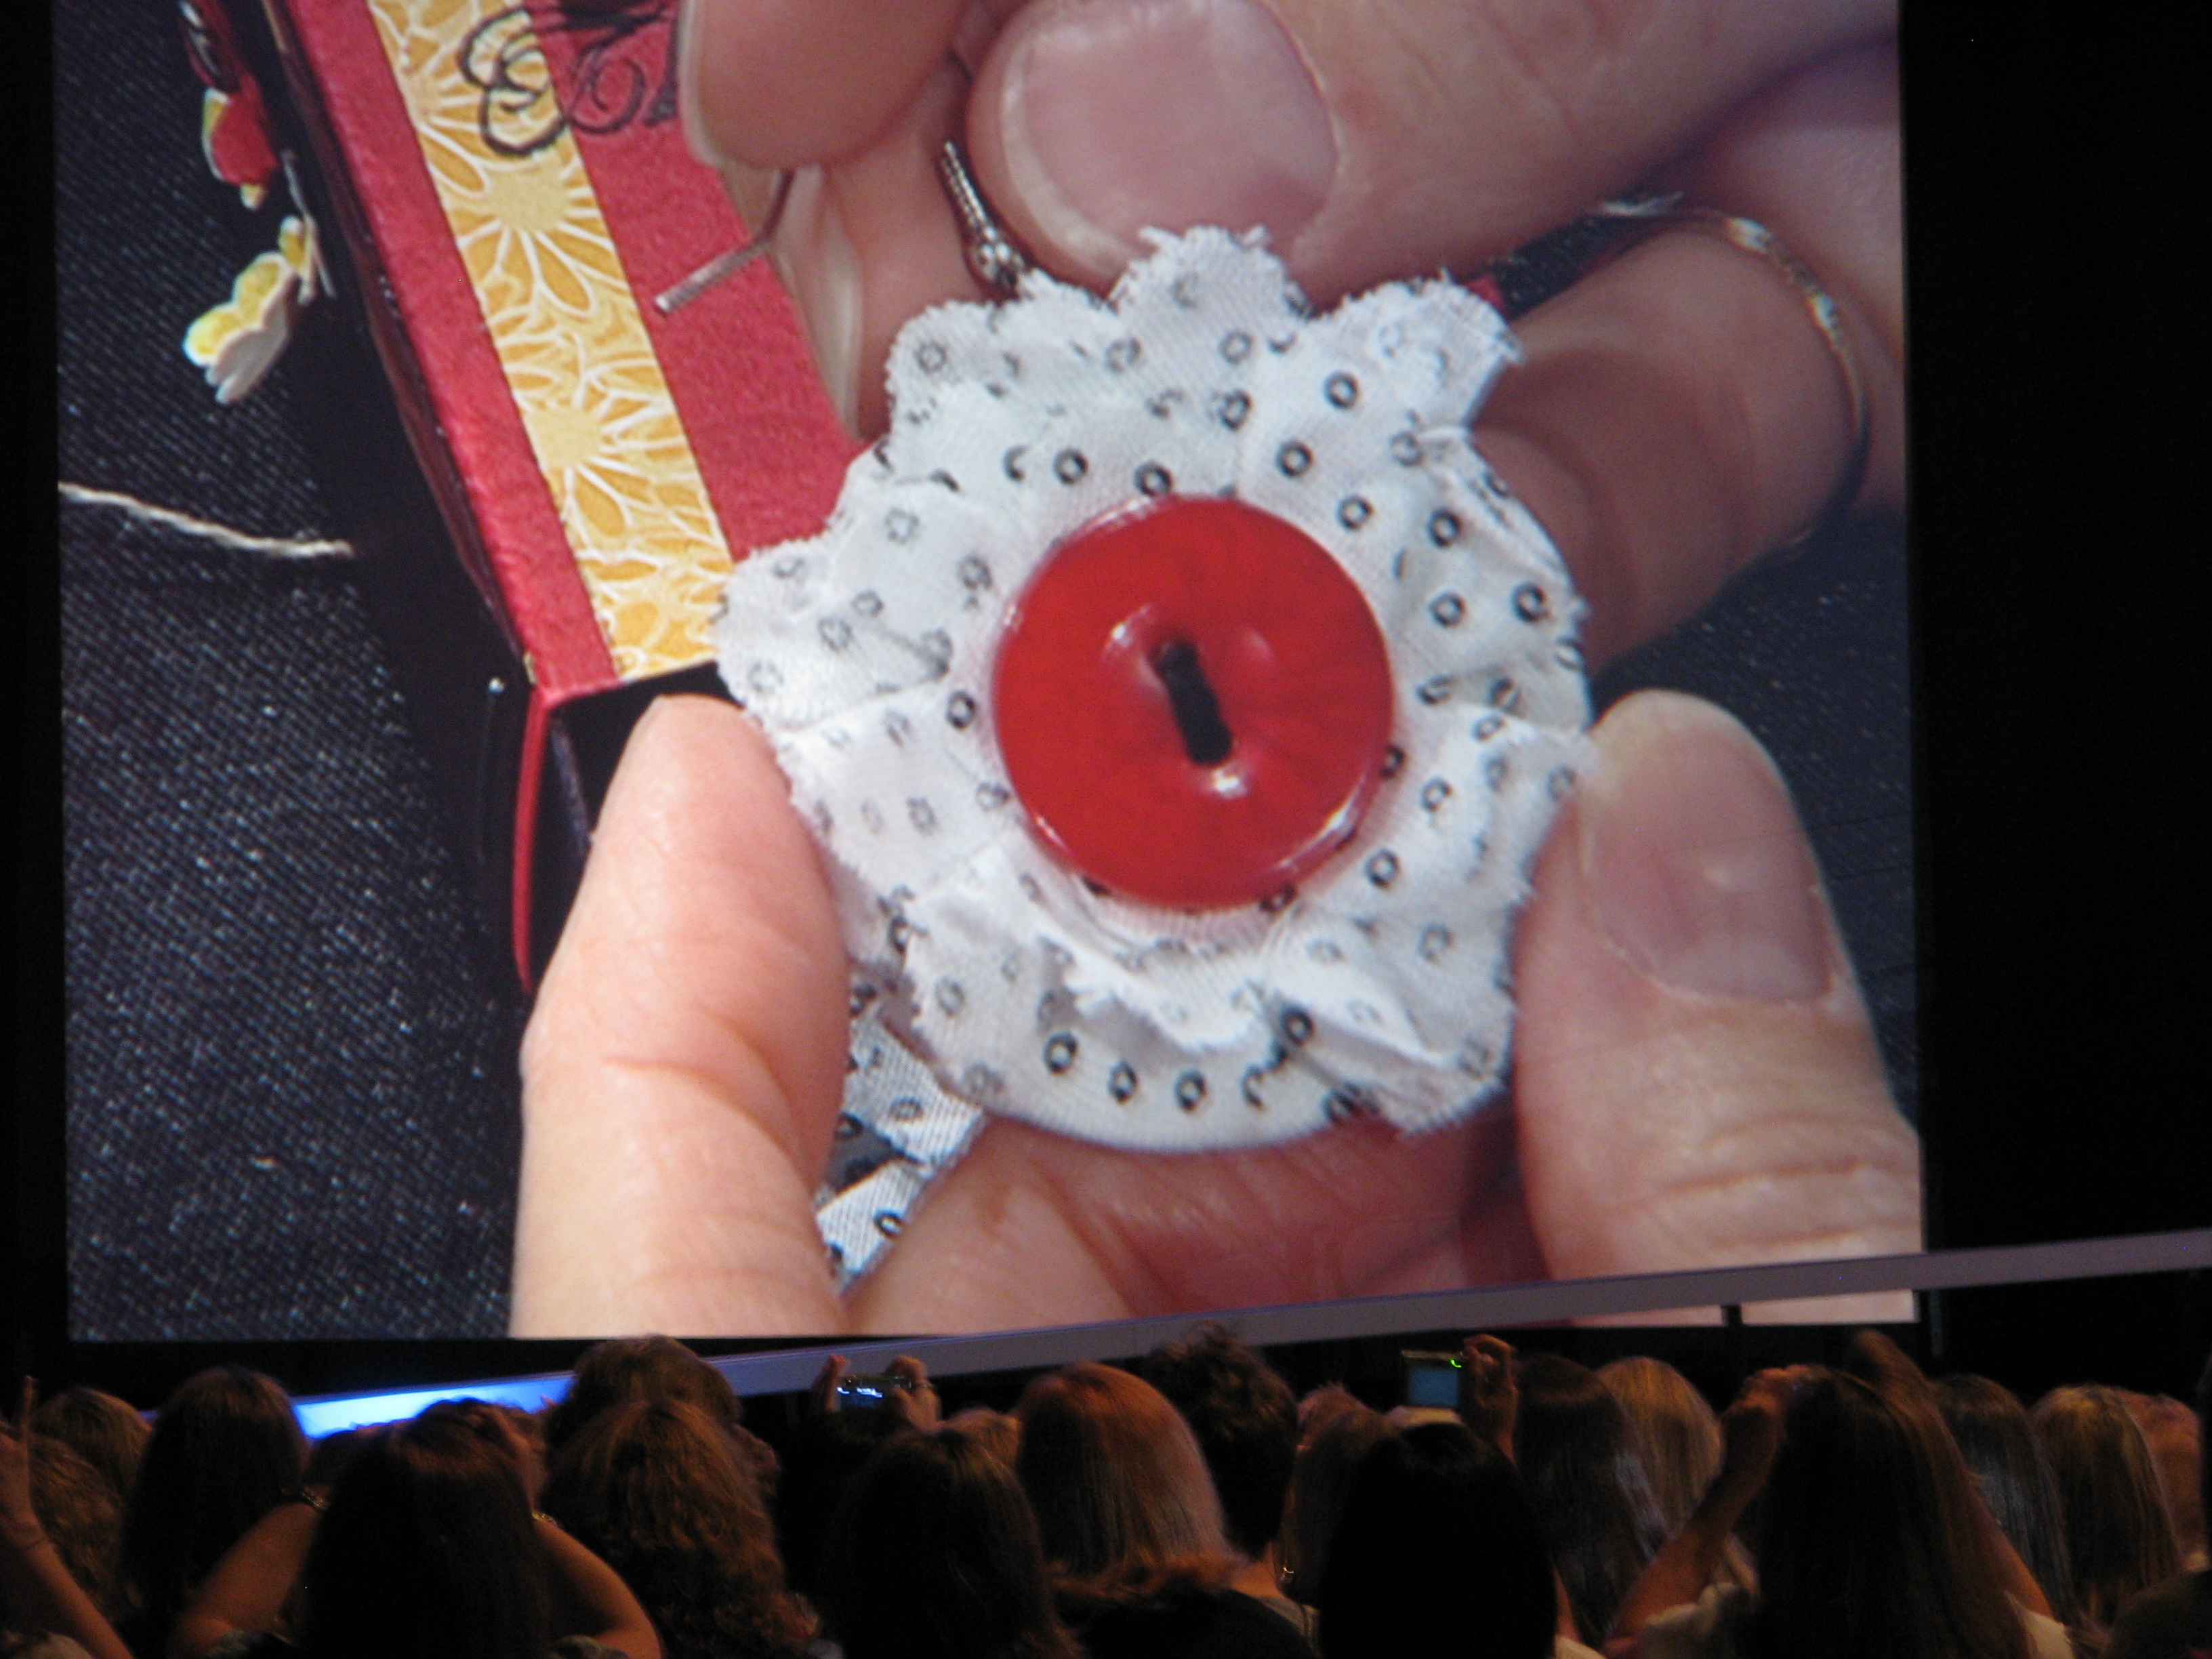
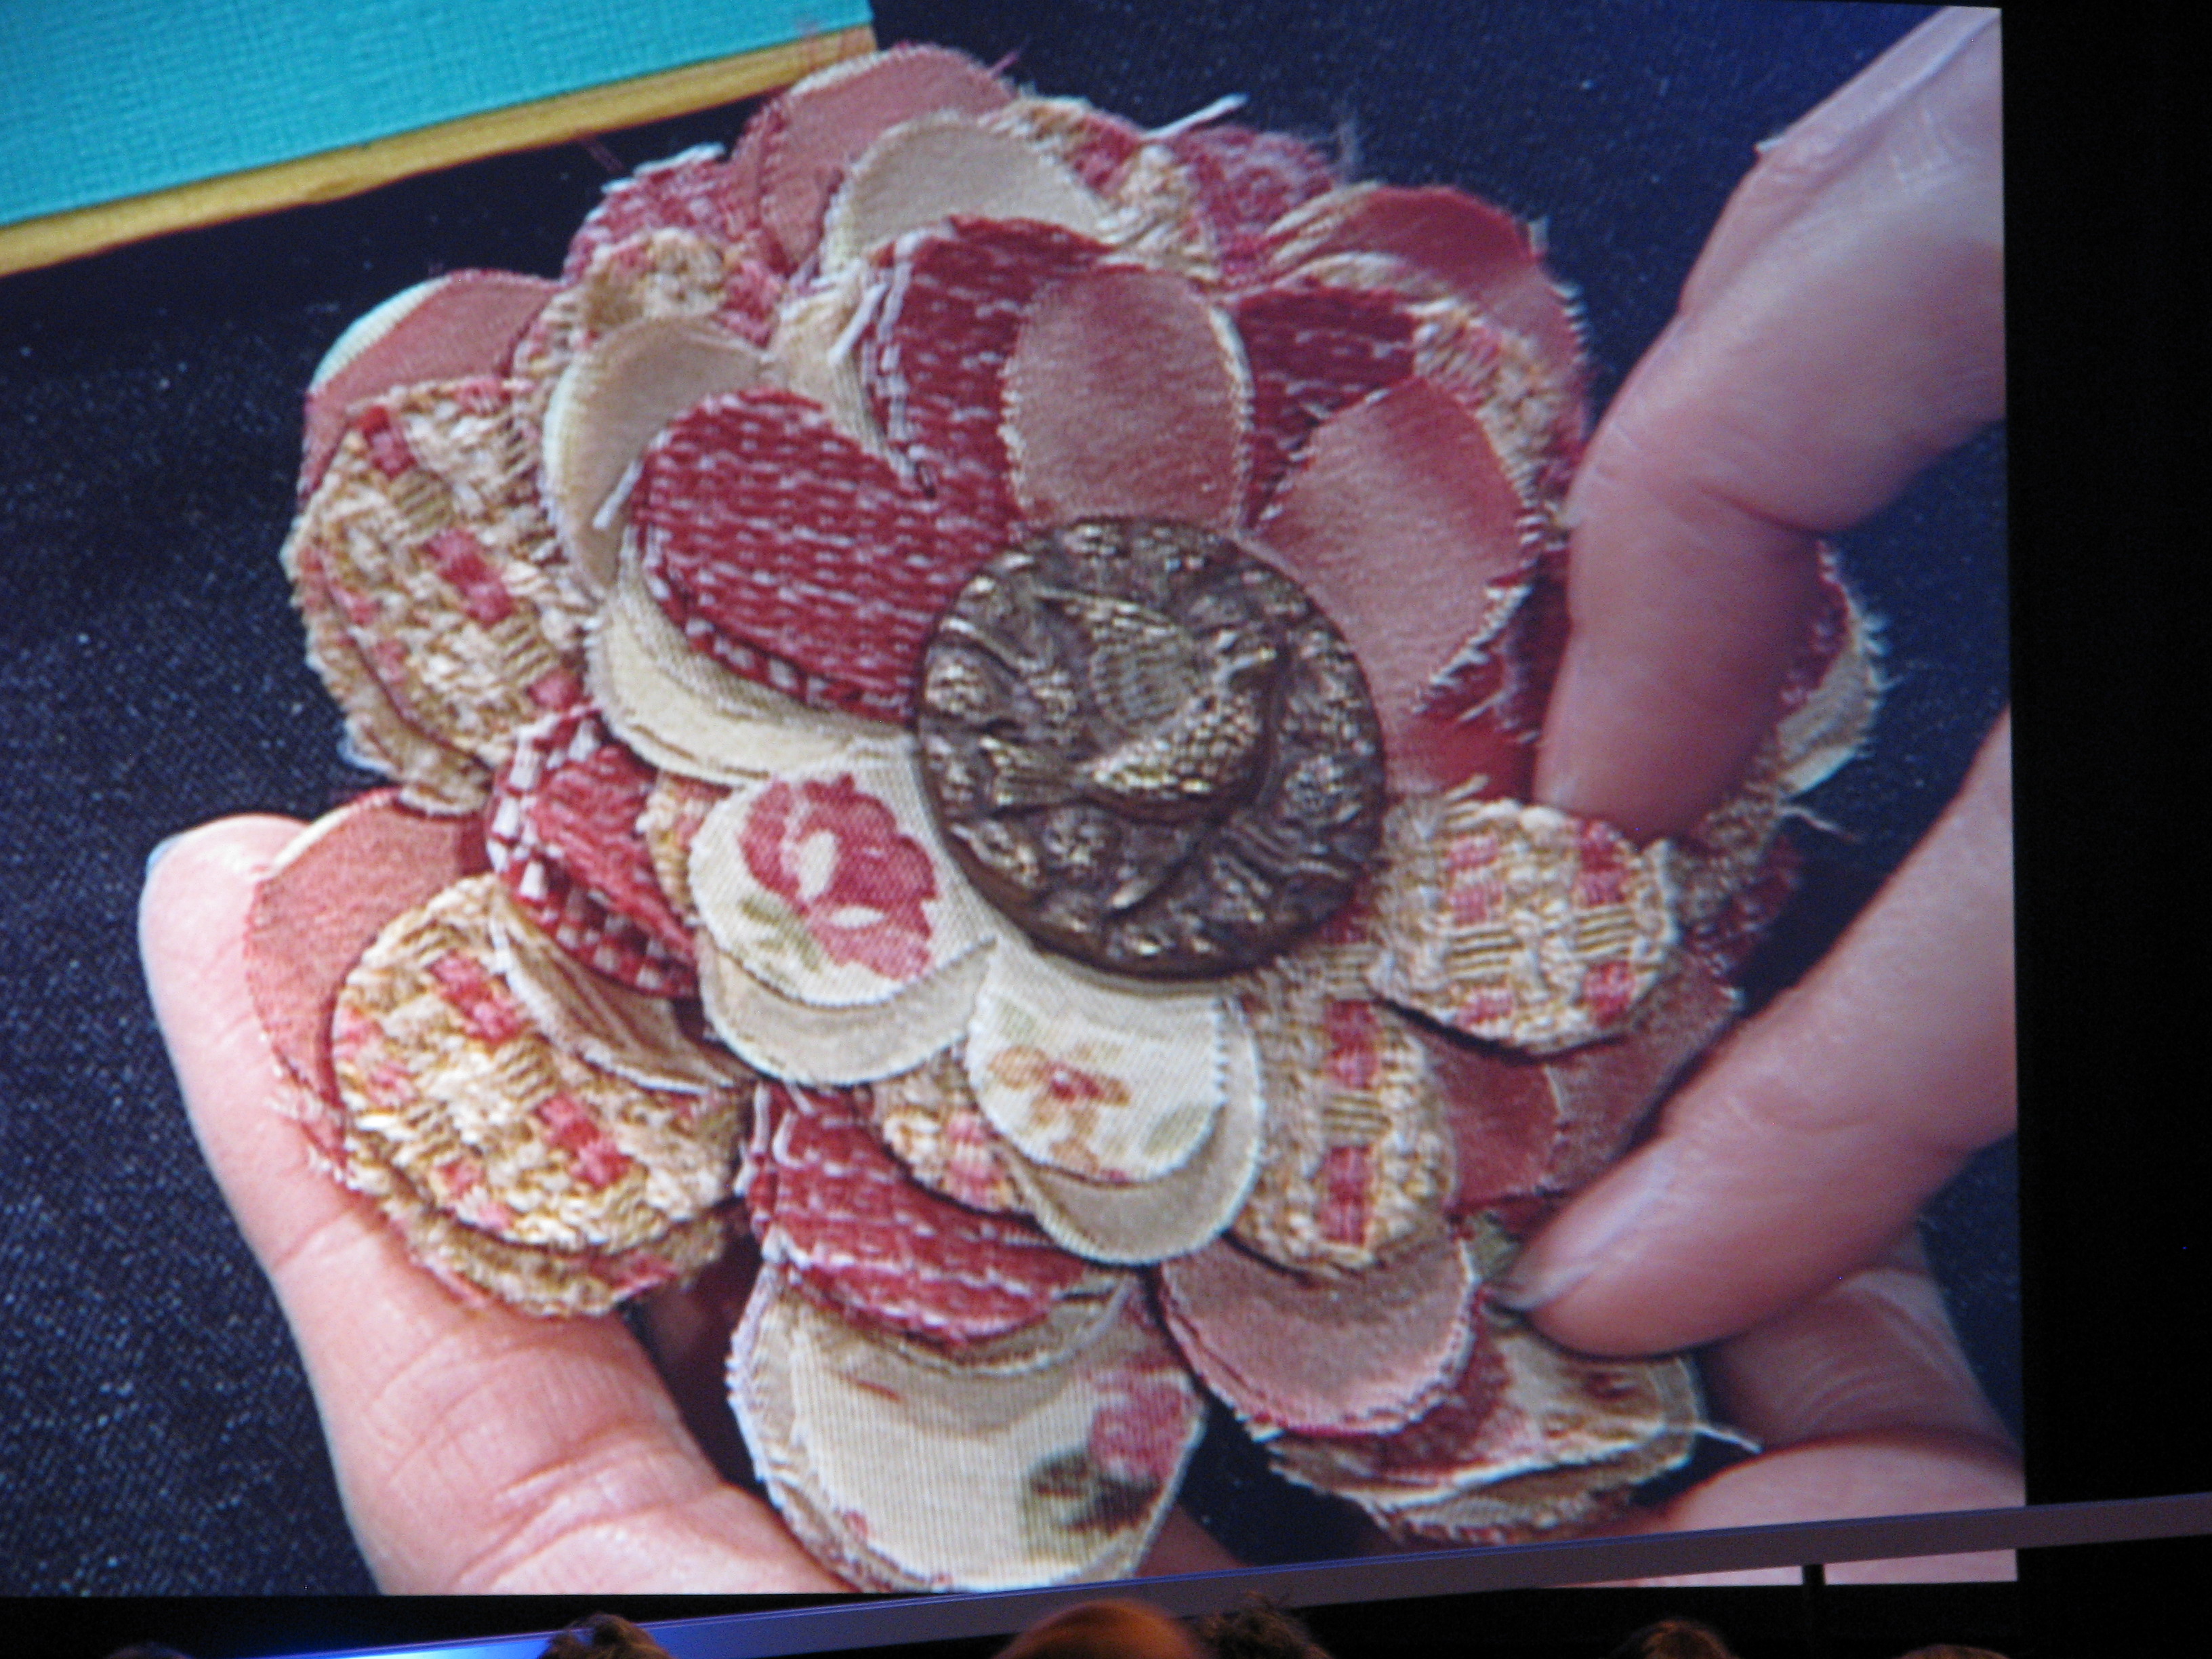
A beautiful brooch to wear, fabric cut with the Big Shot! Loved it!
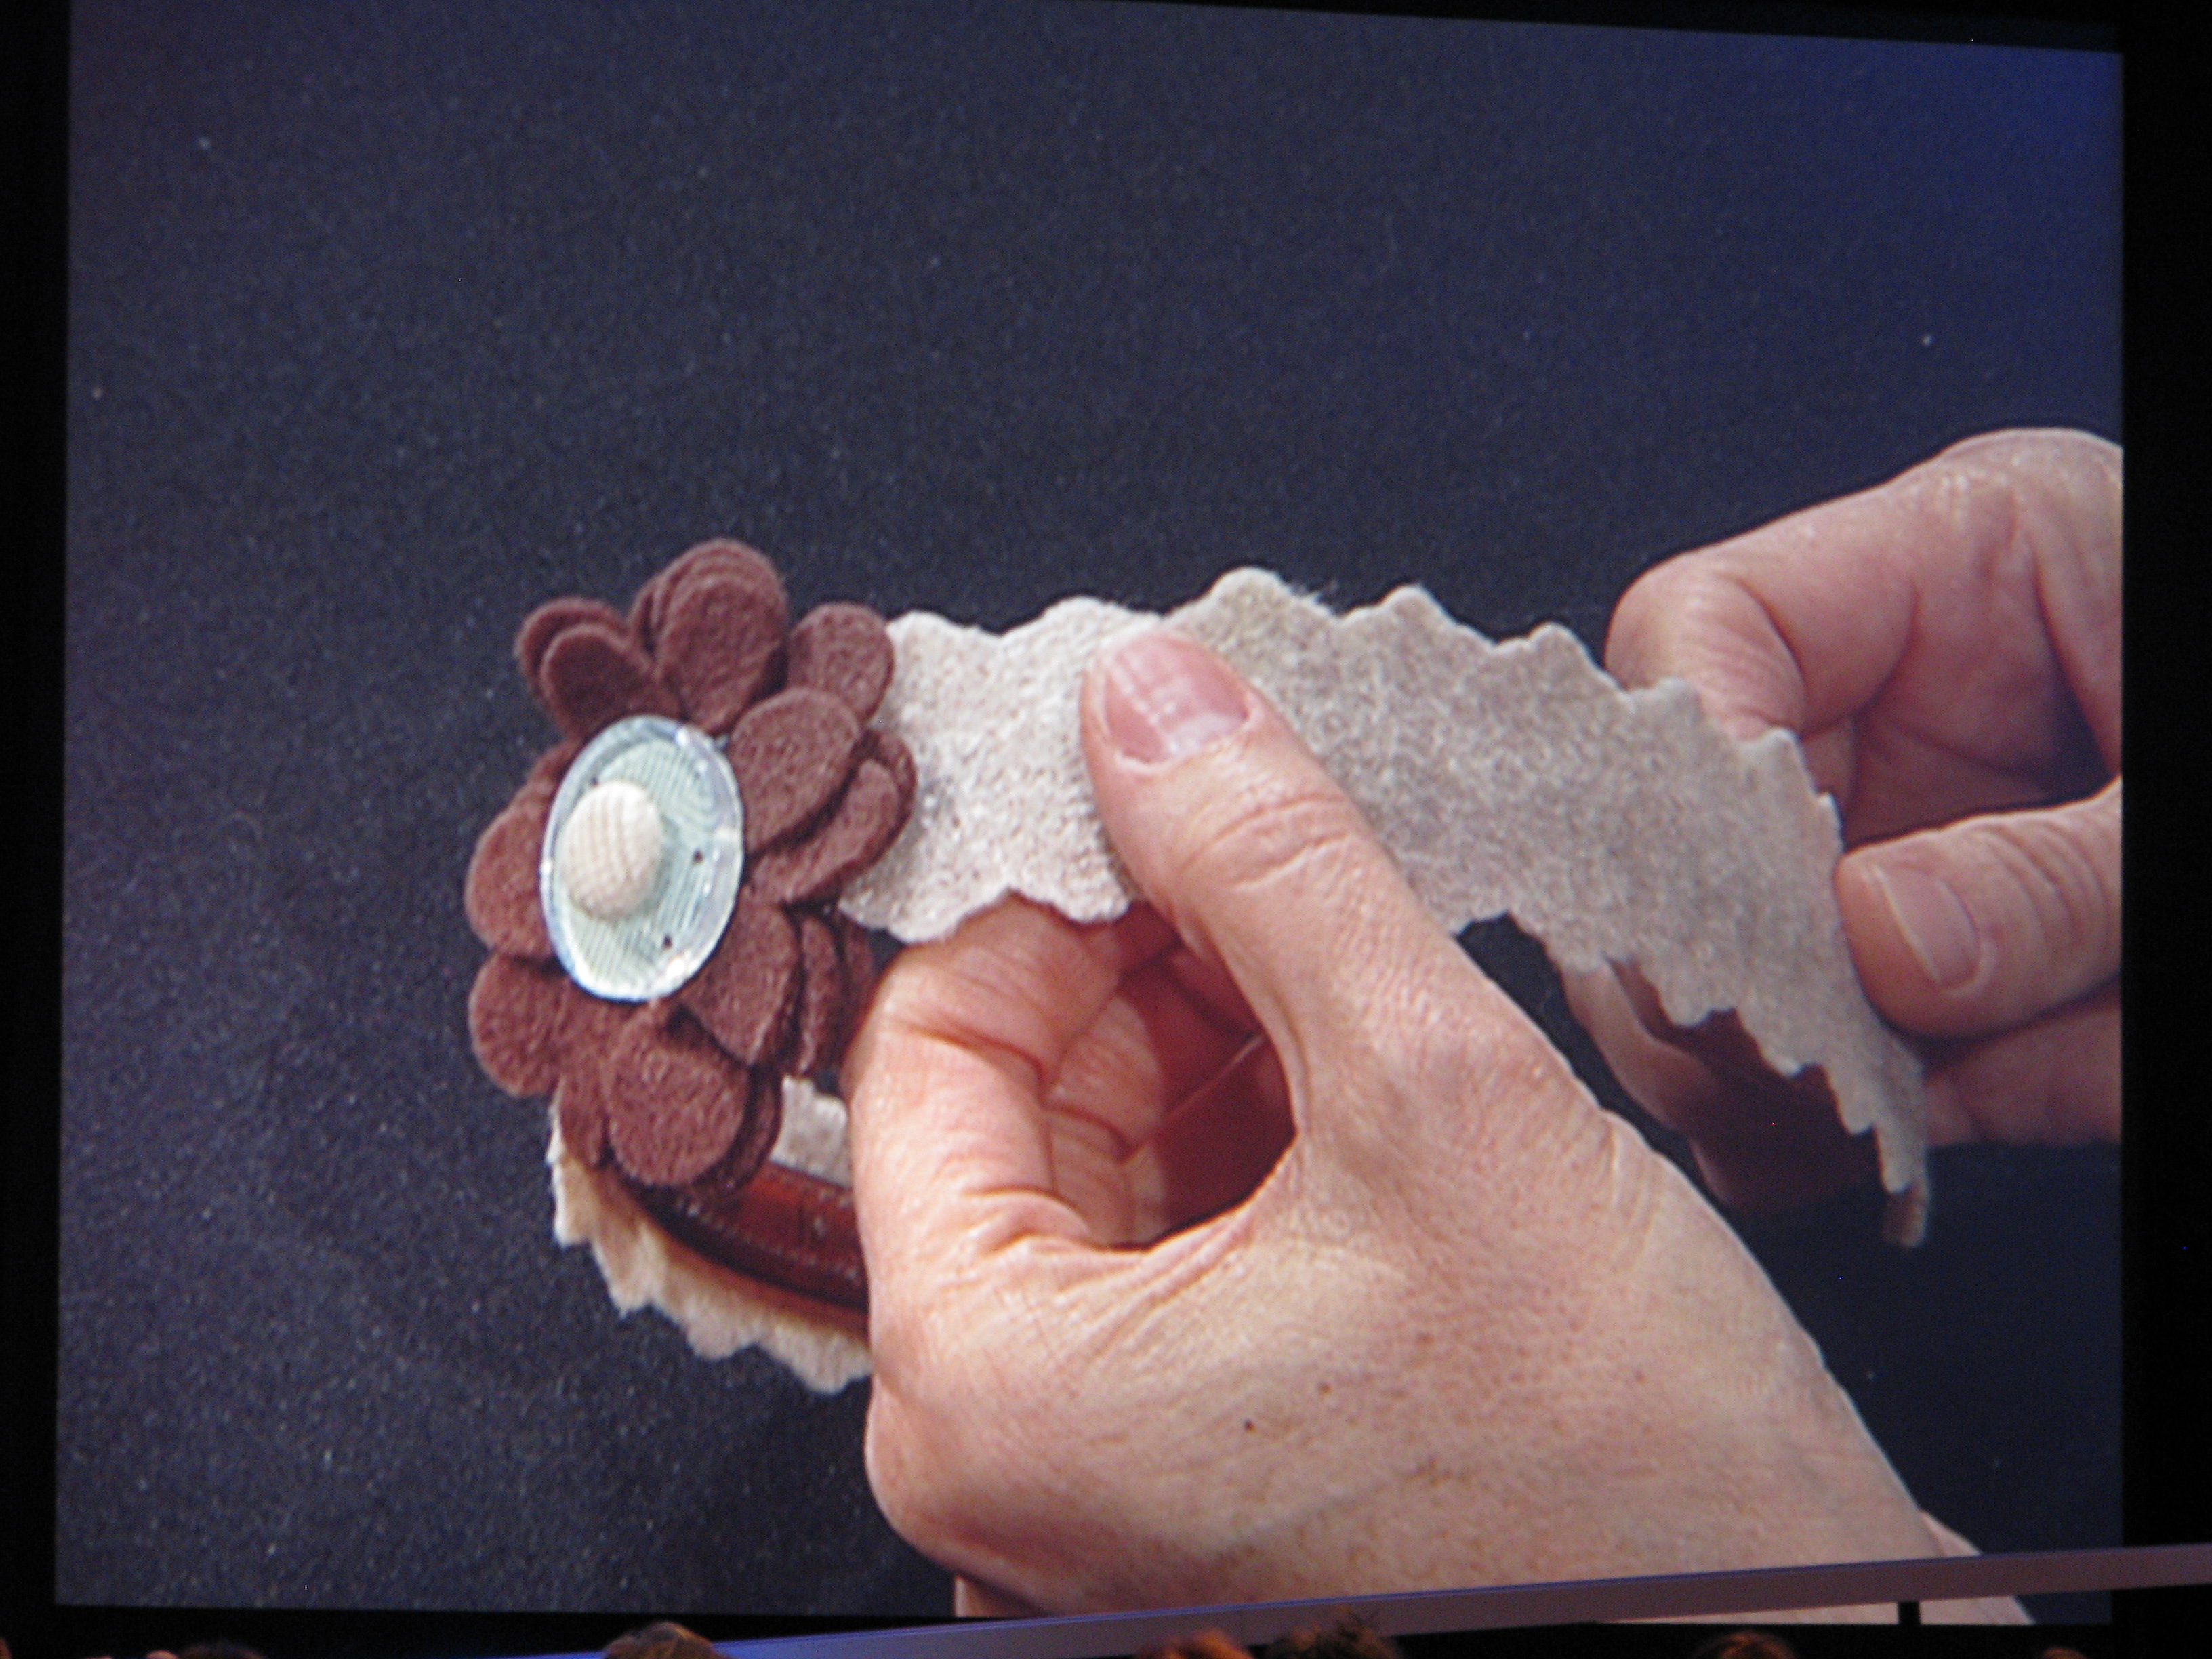
A headband covered with fabric cut with the Big Shot!
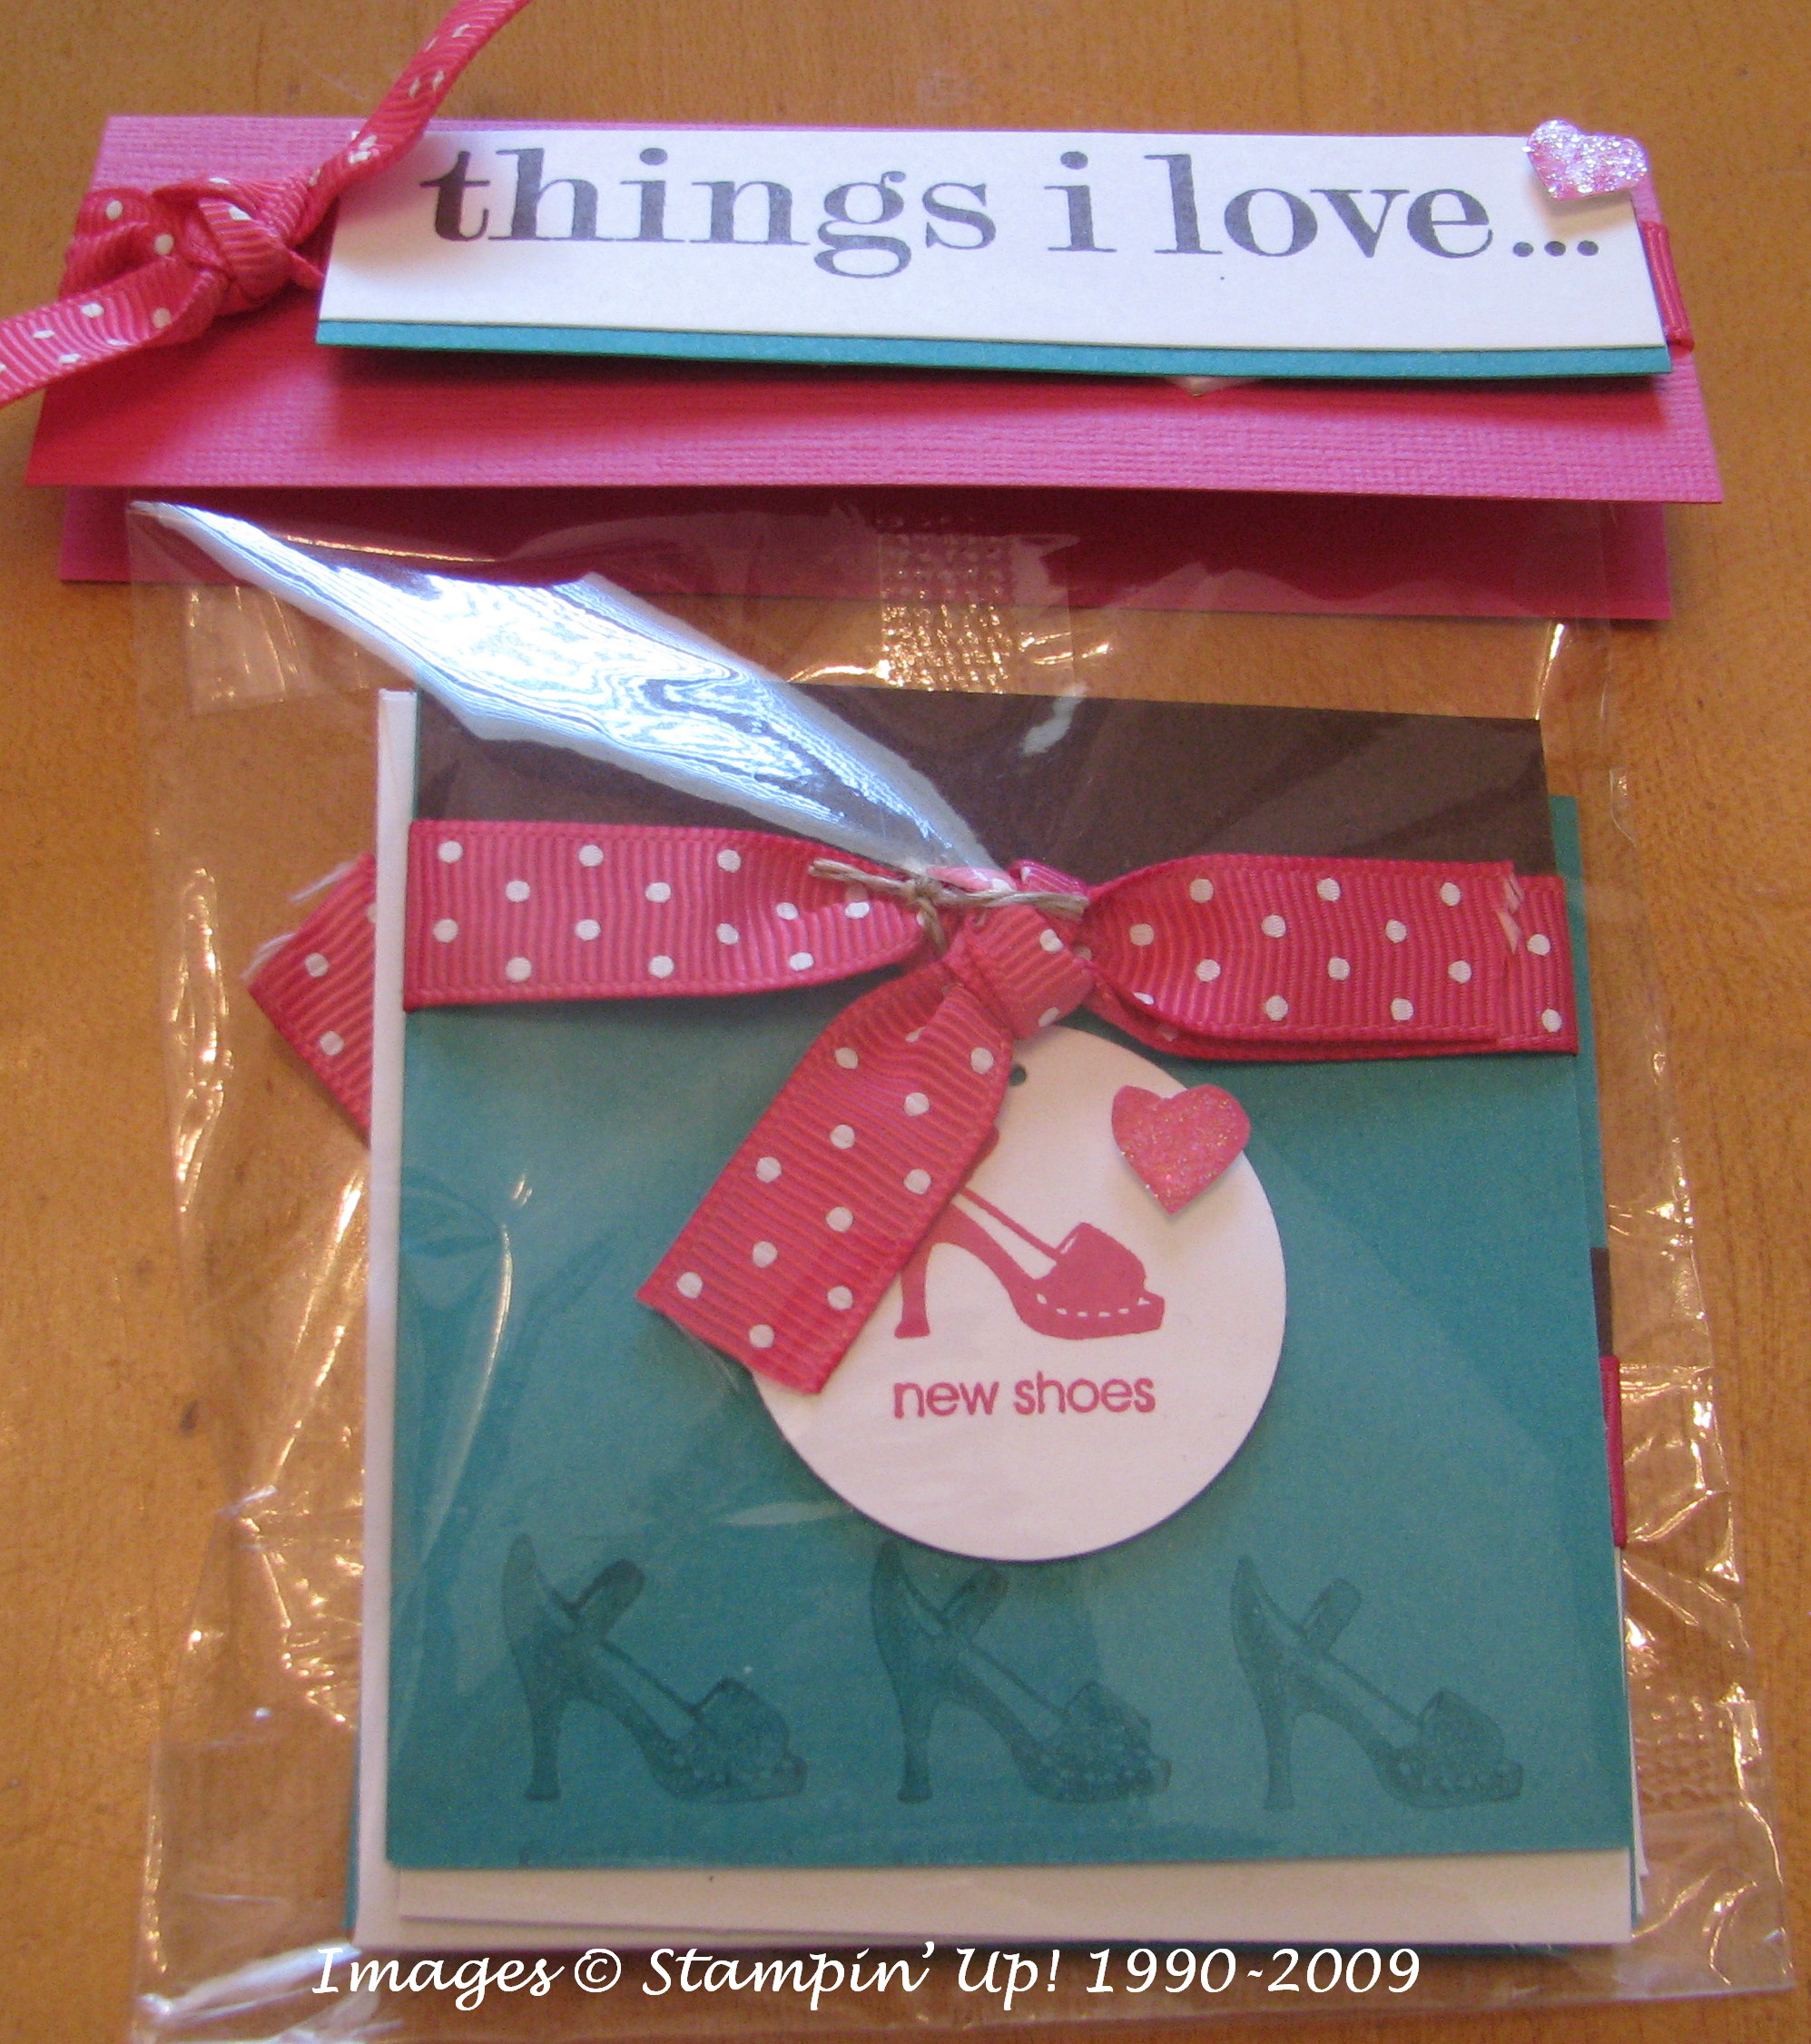
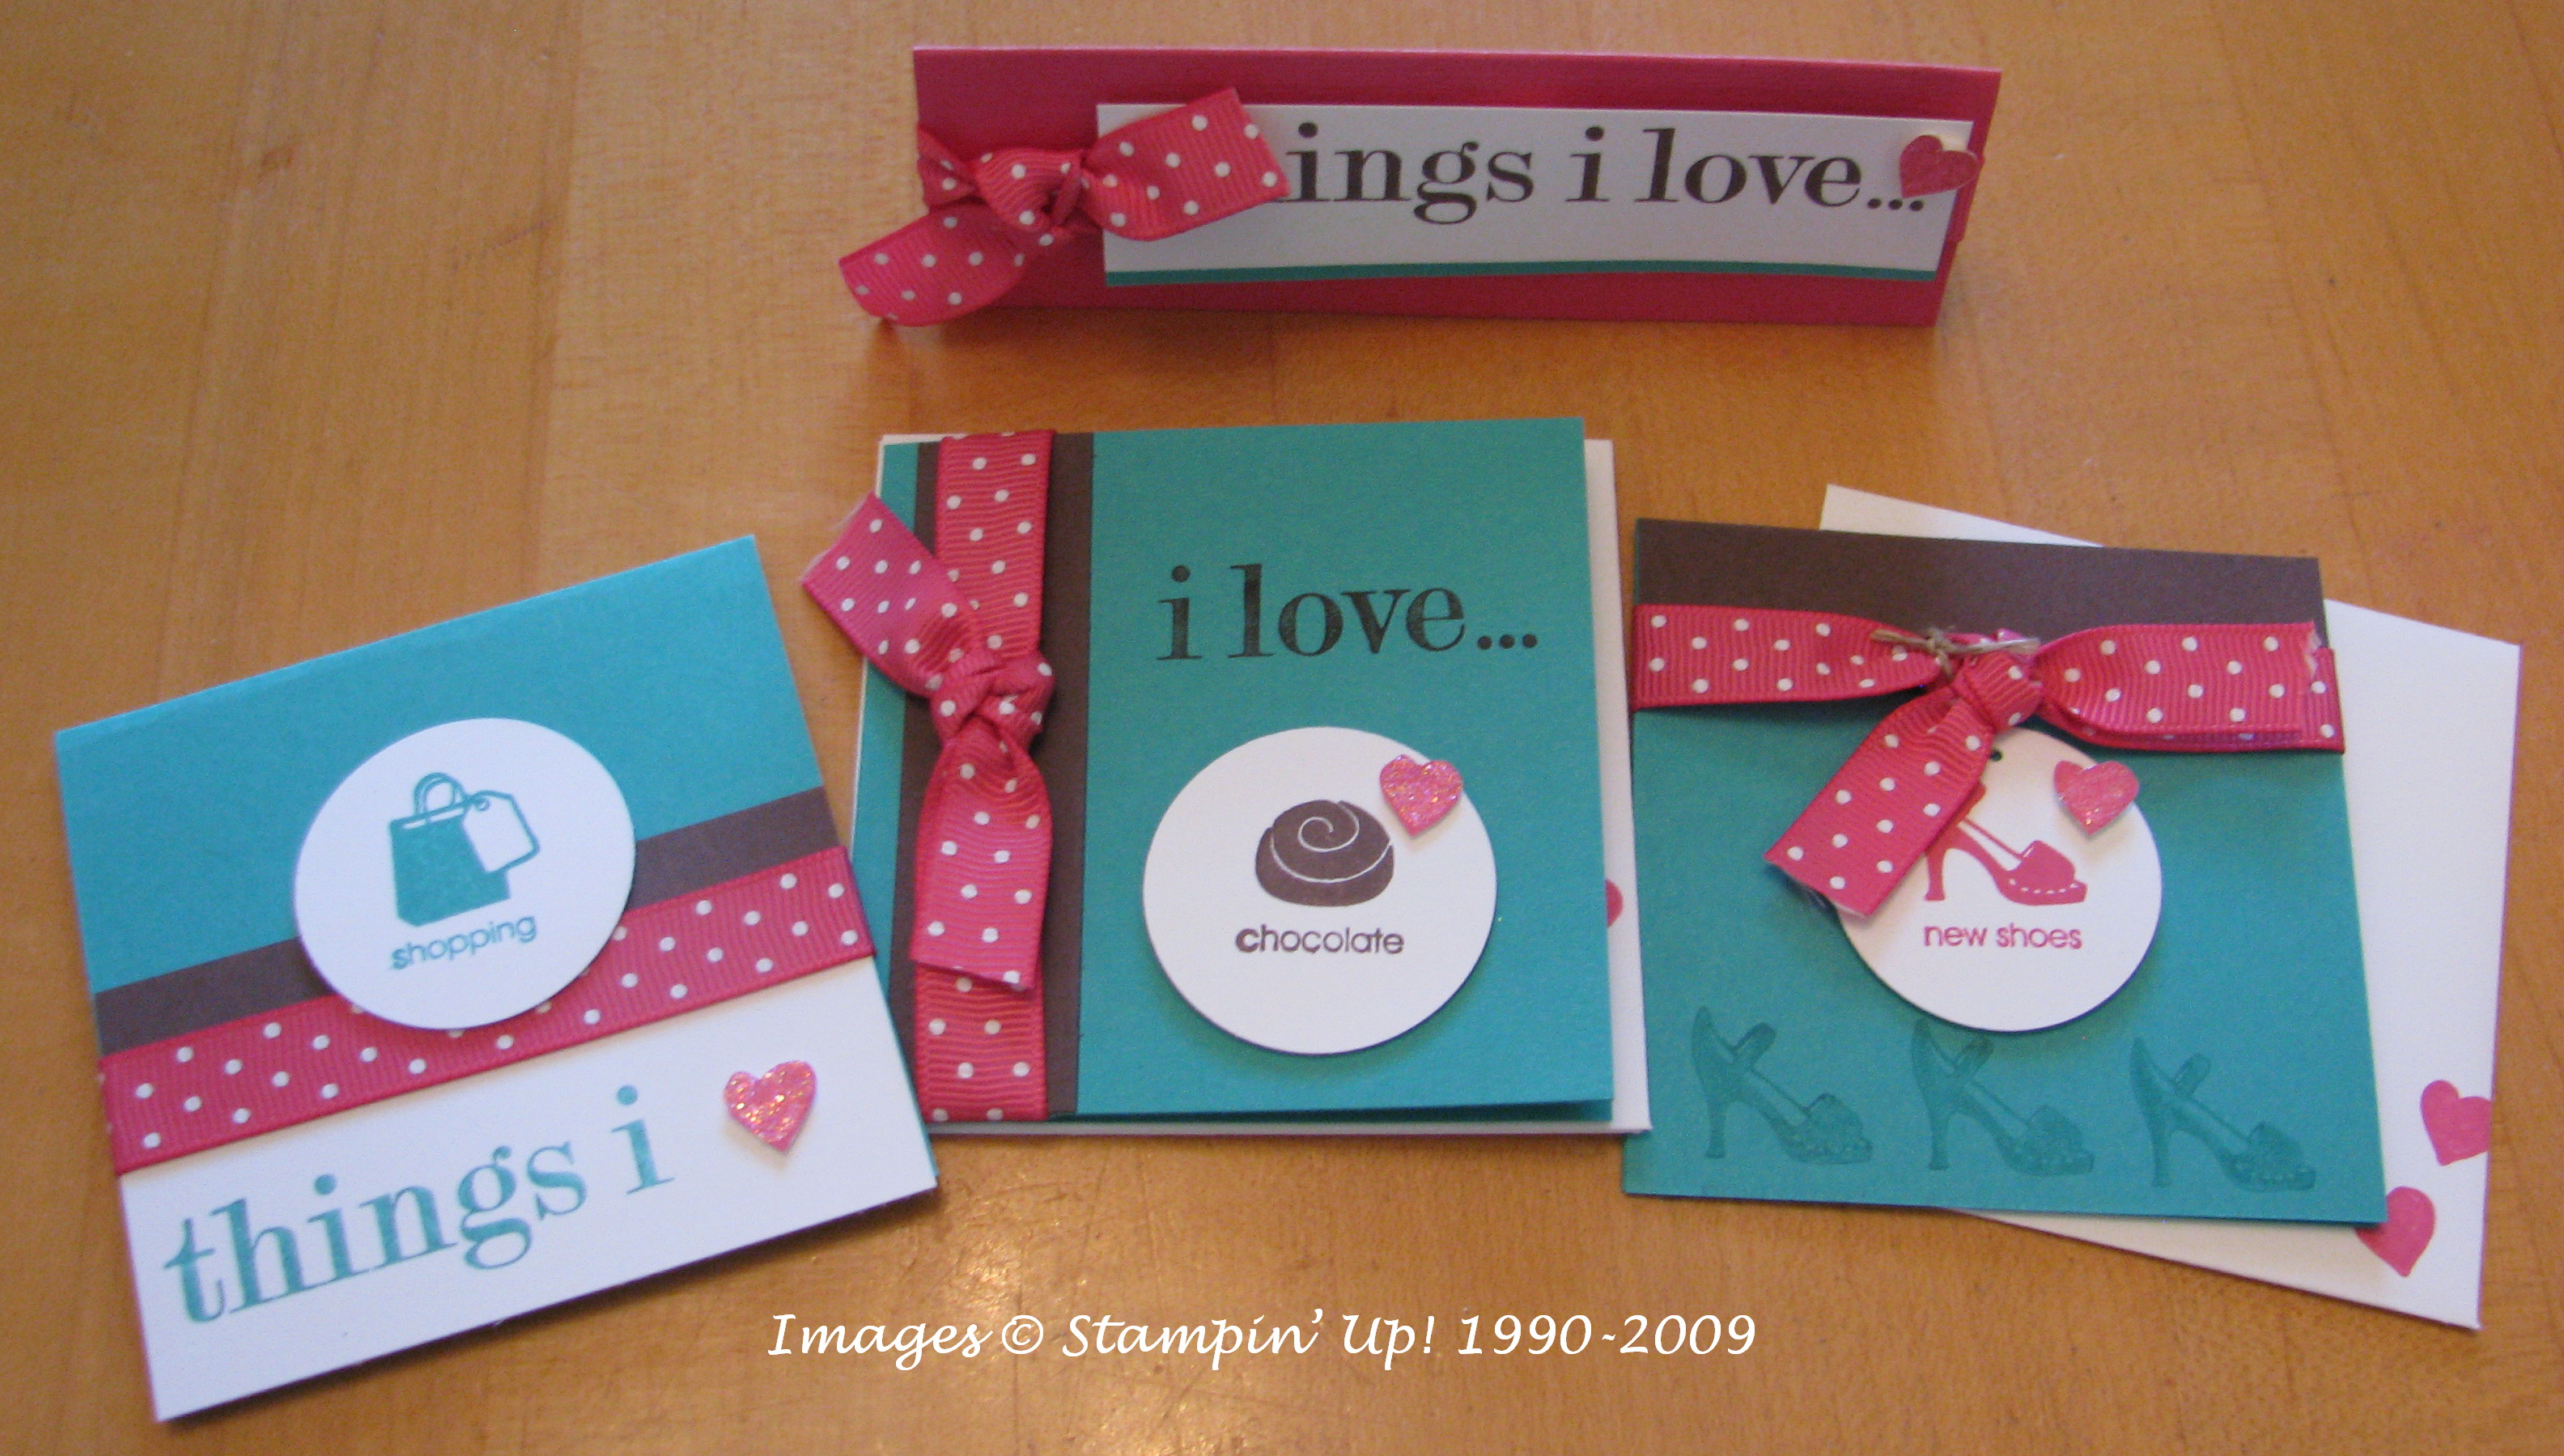
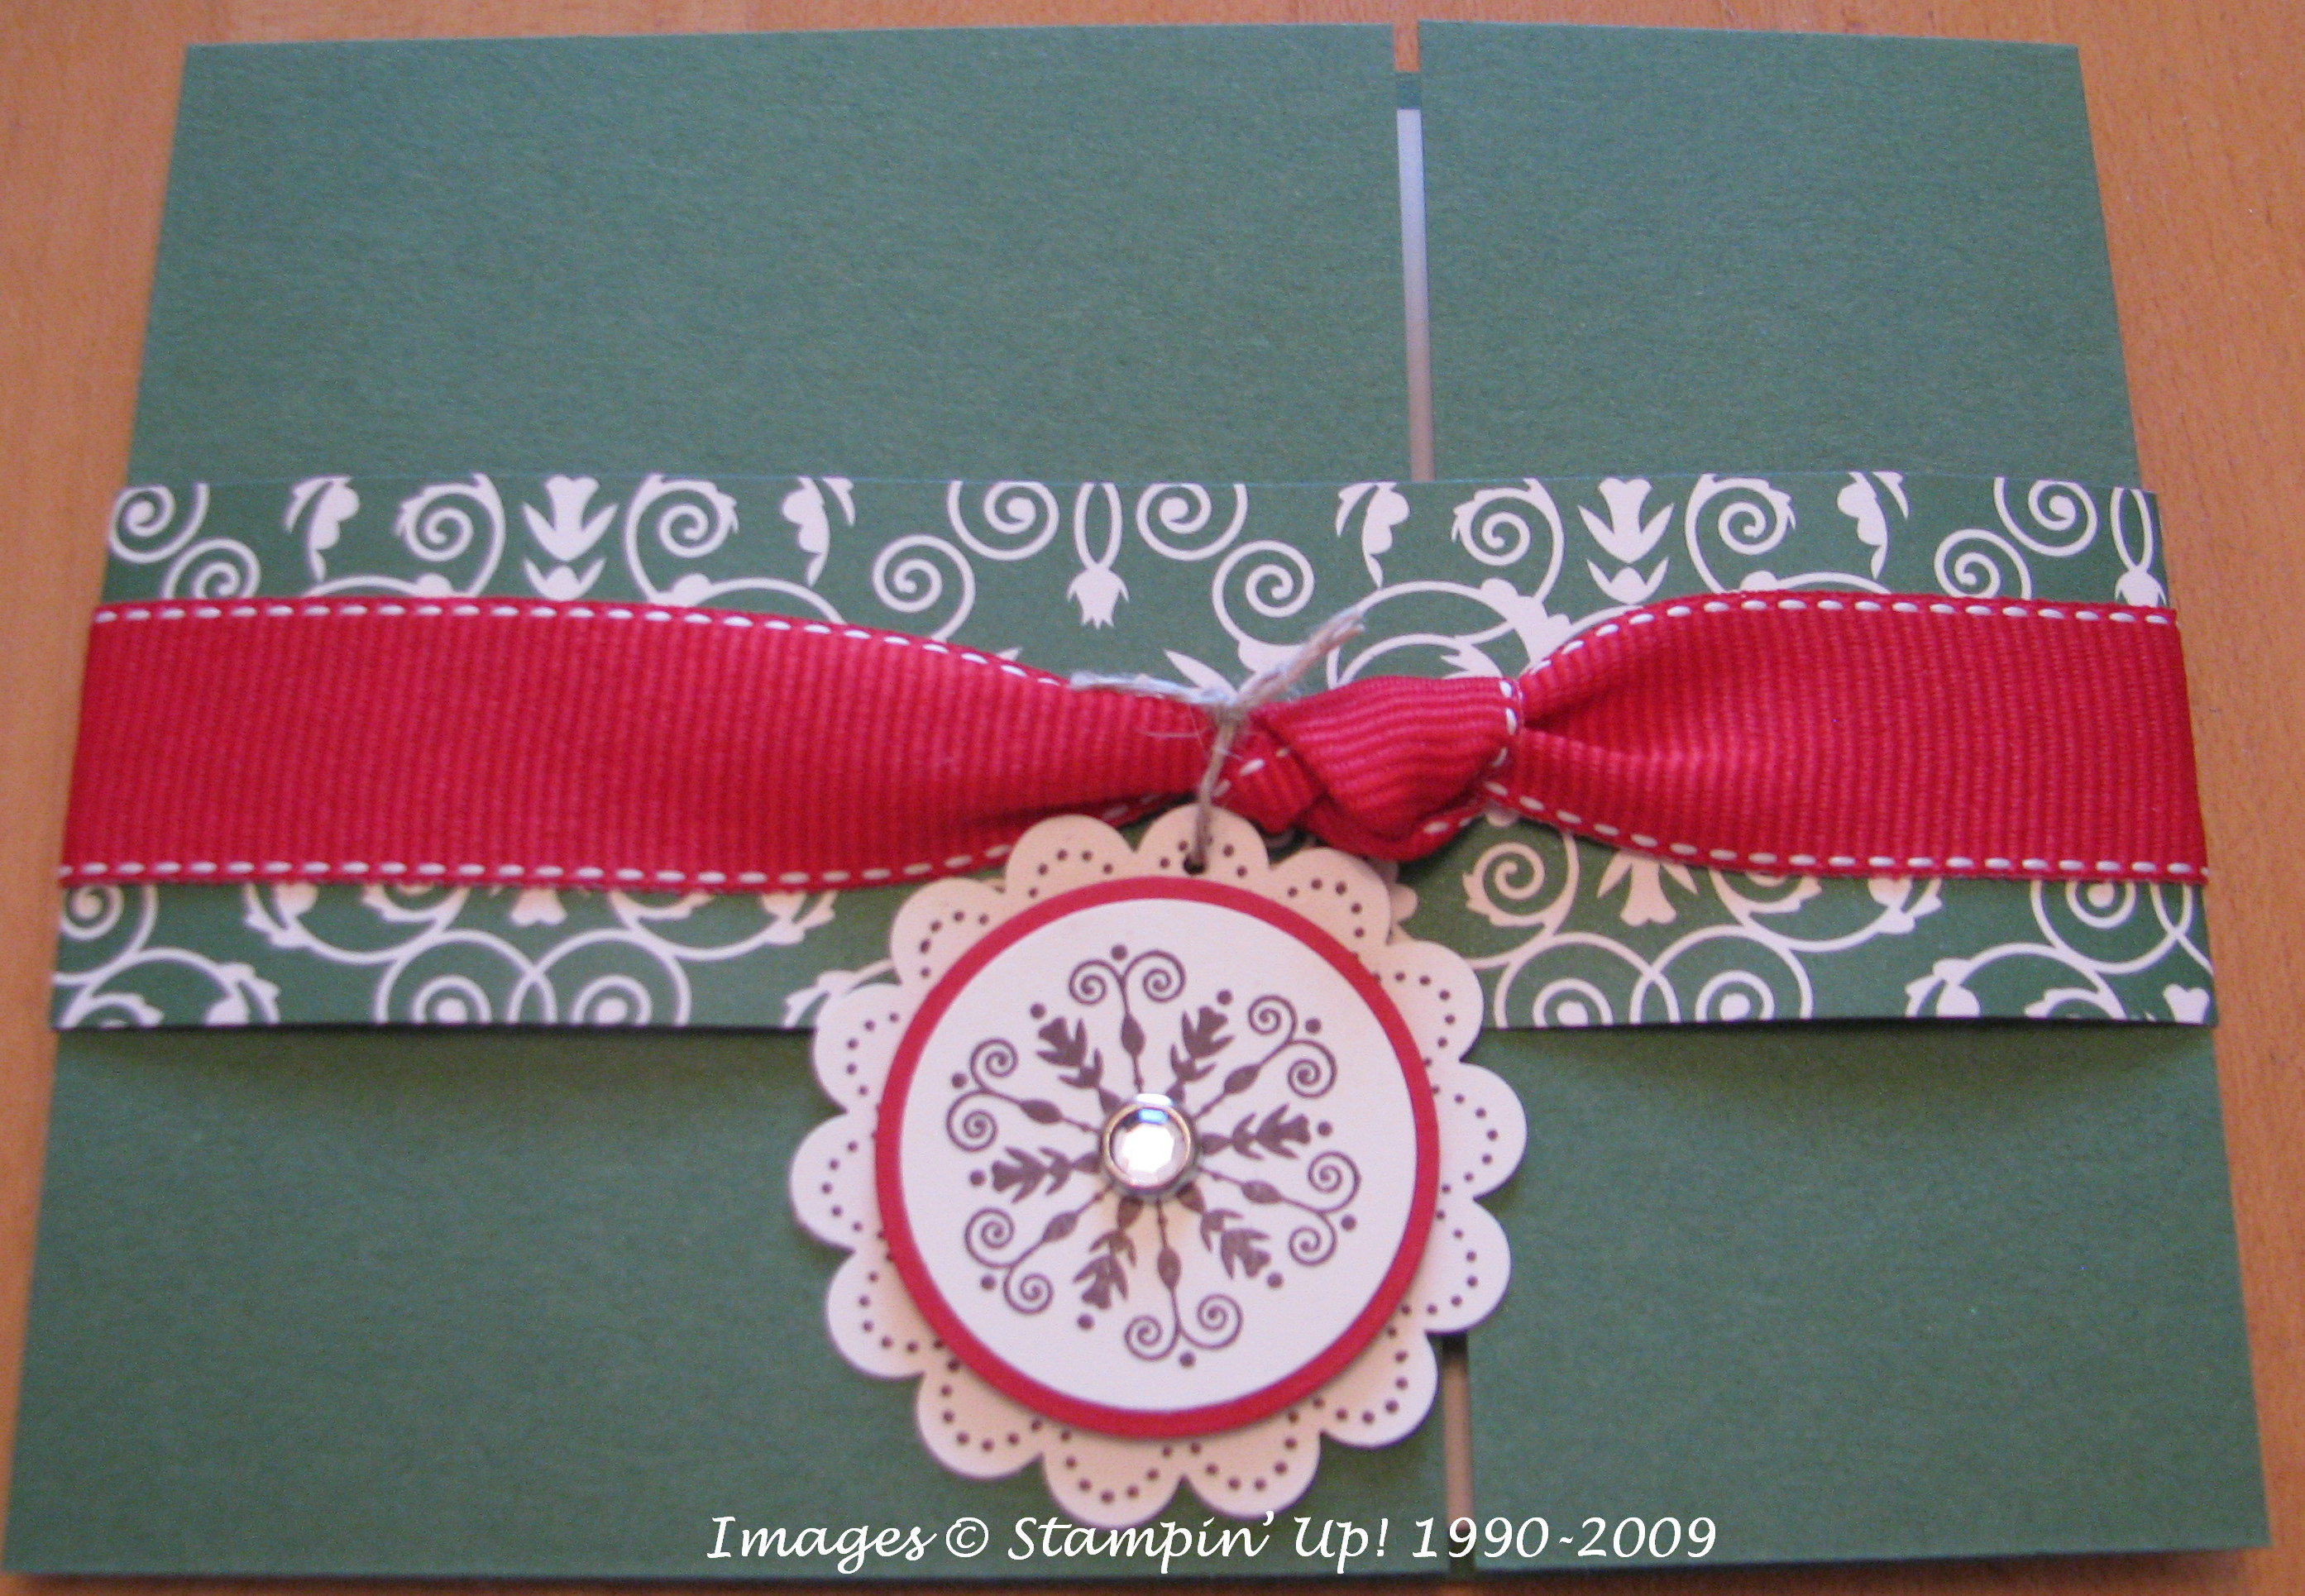
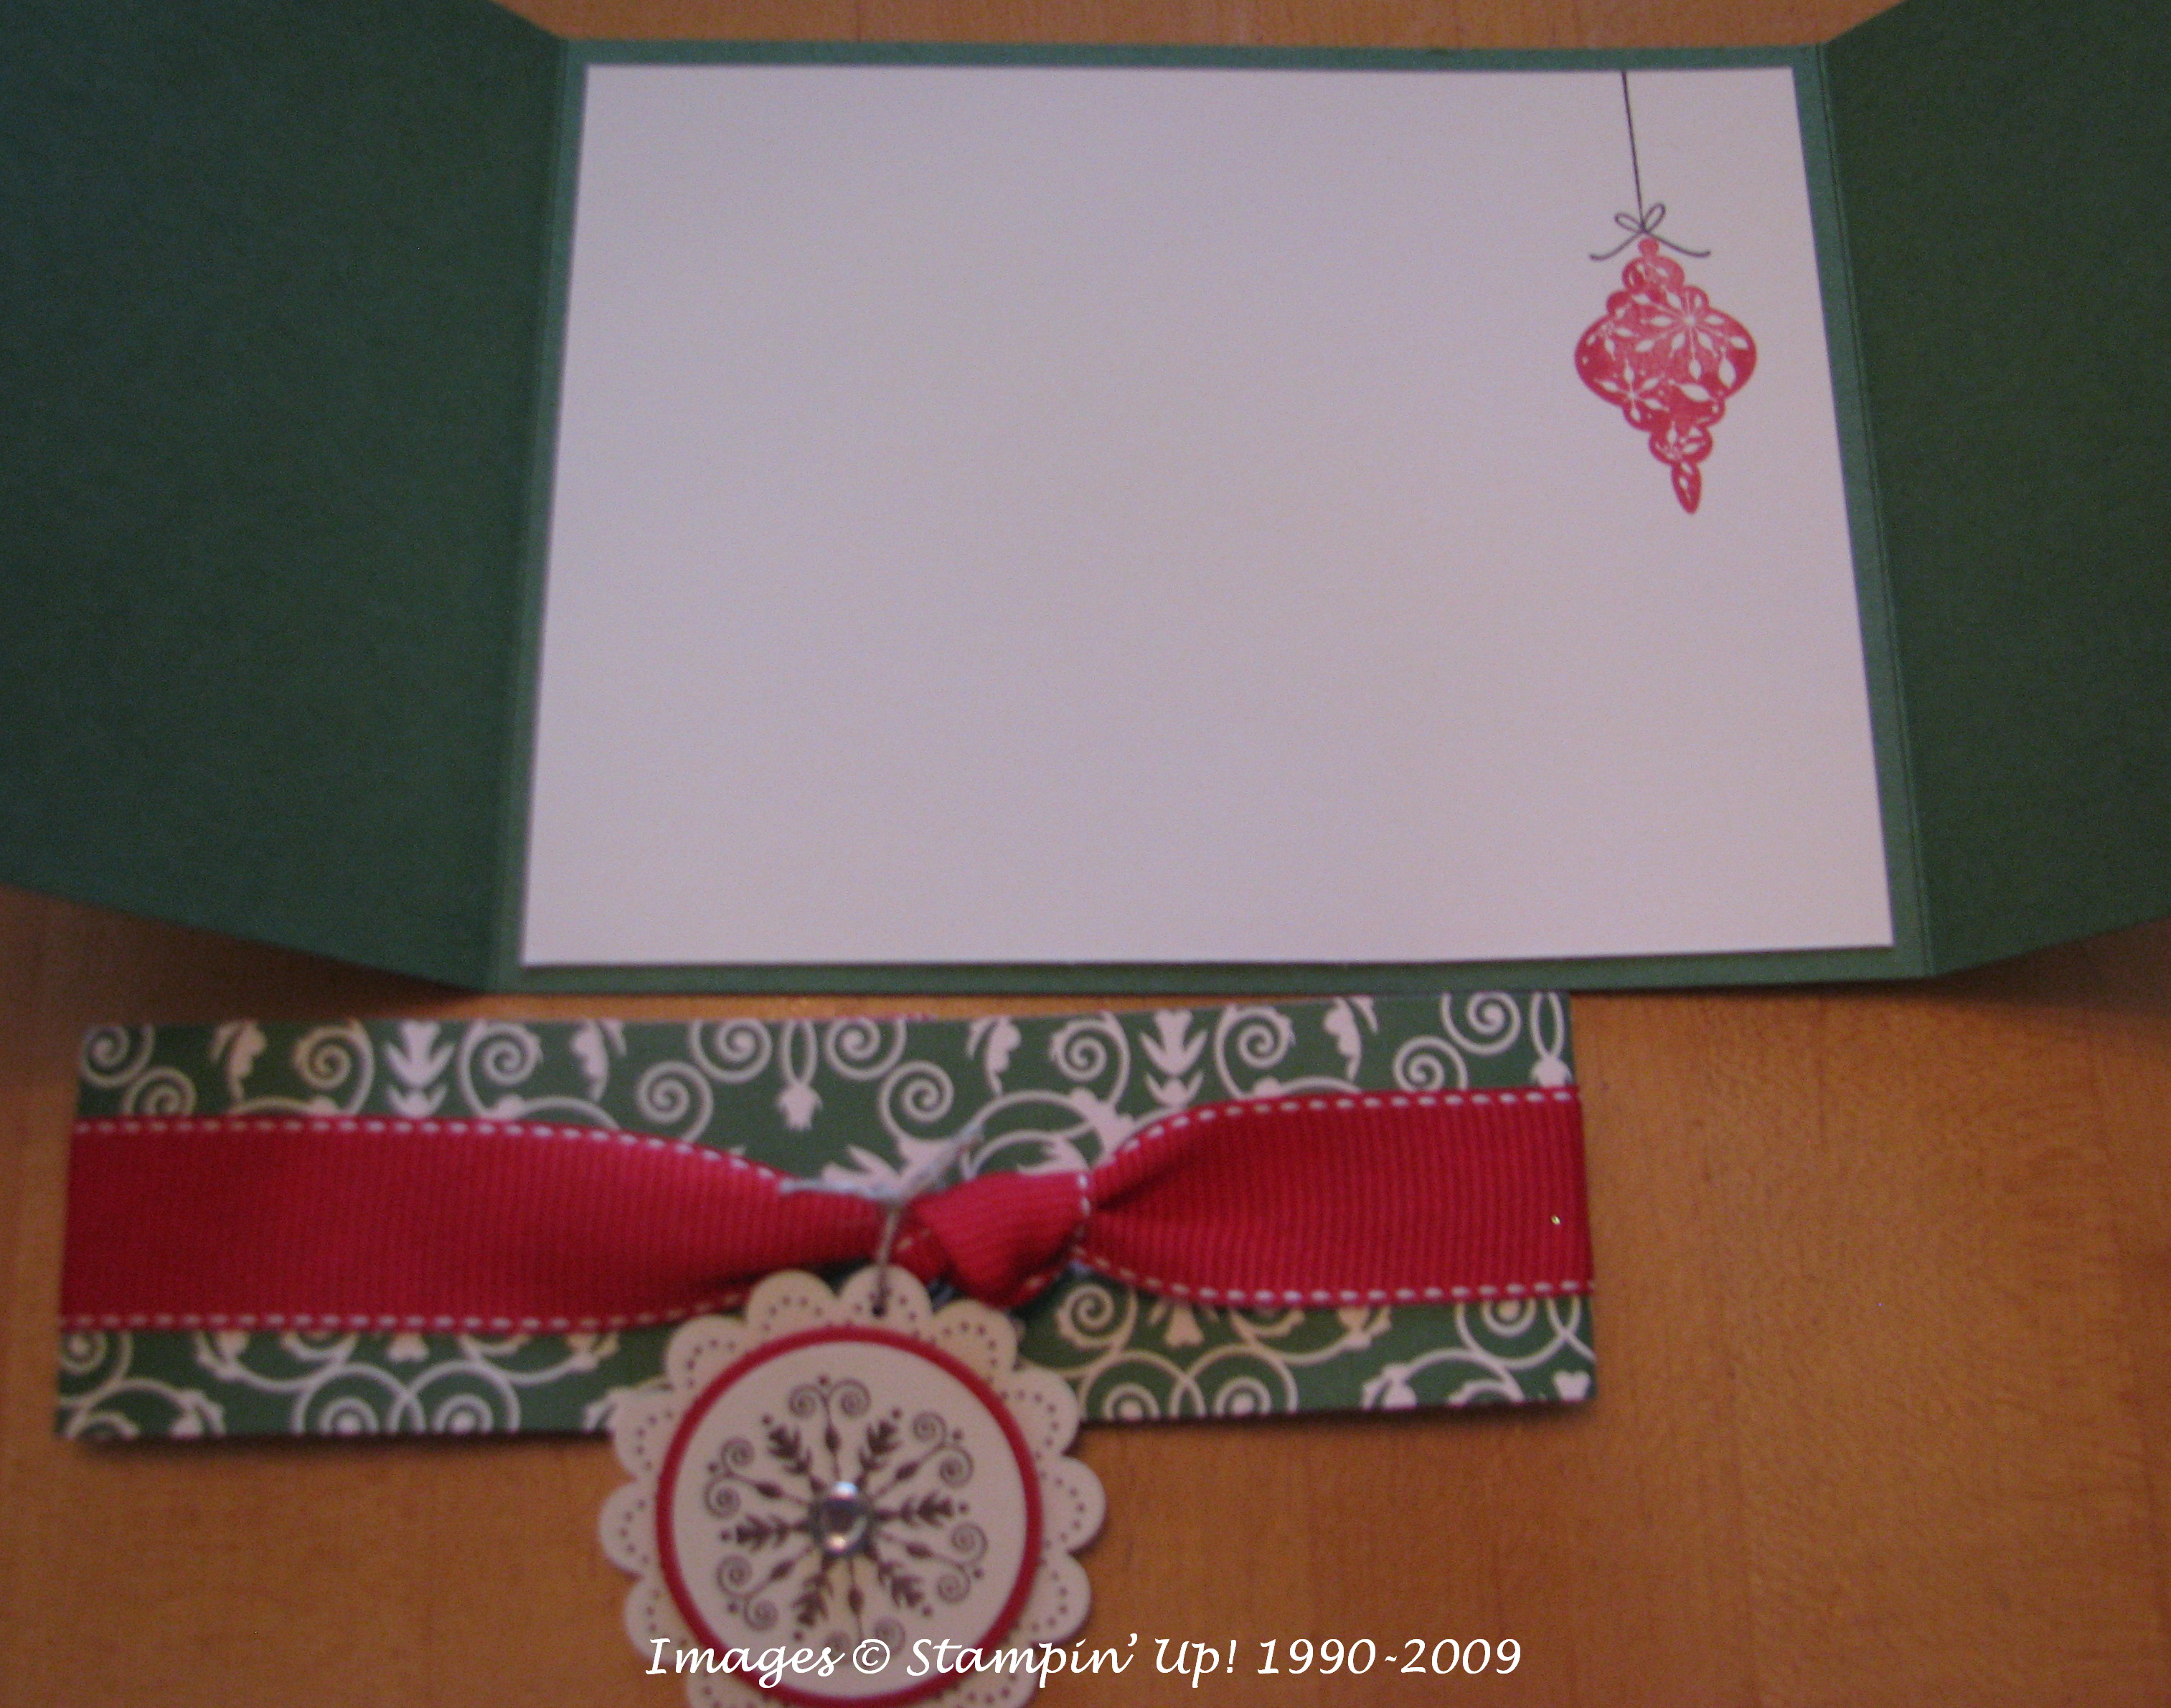
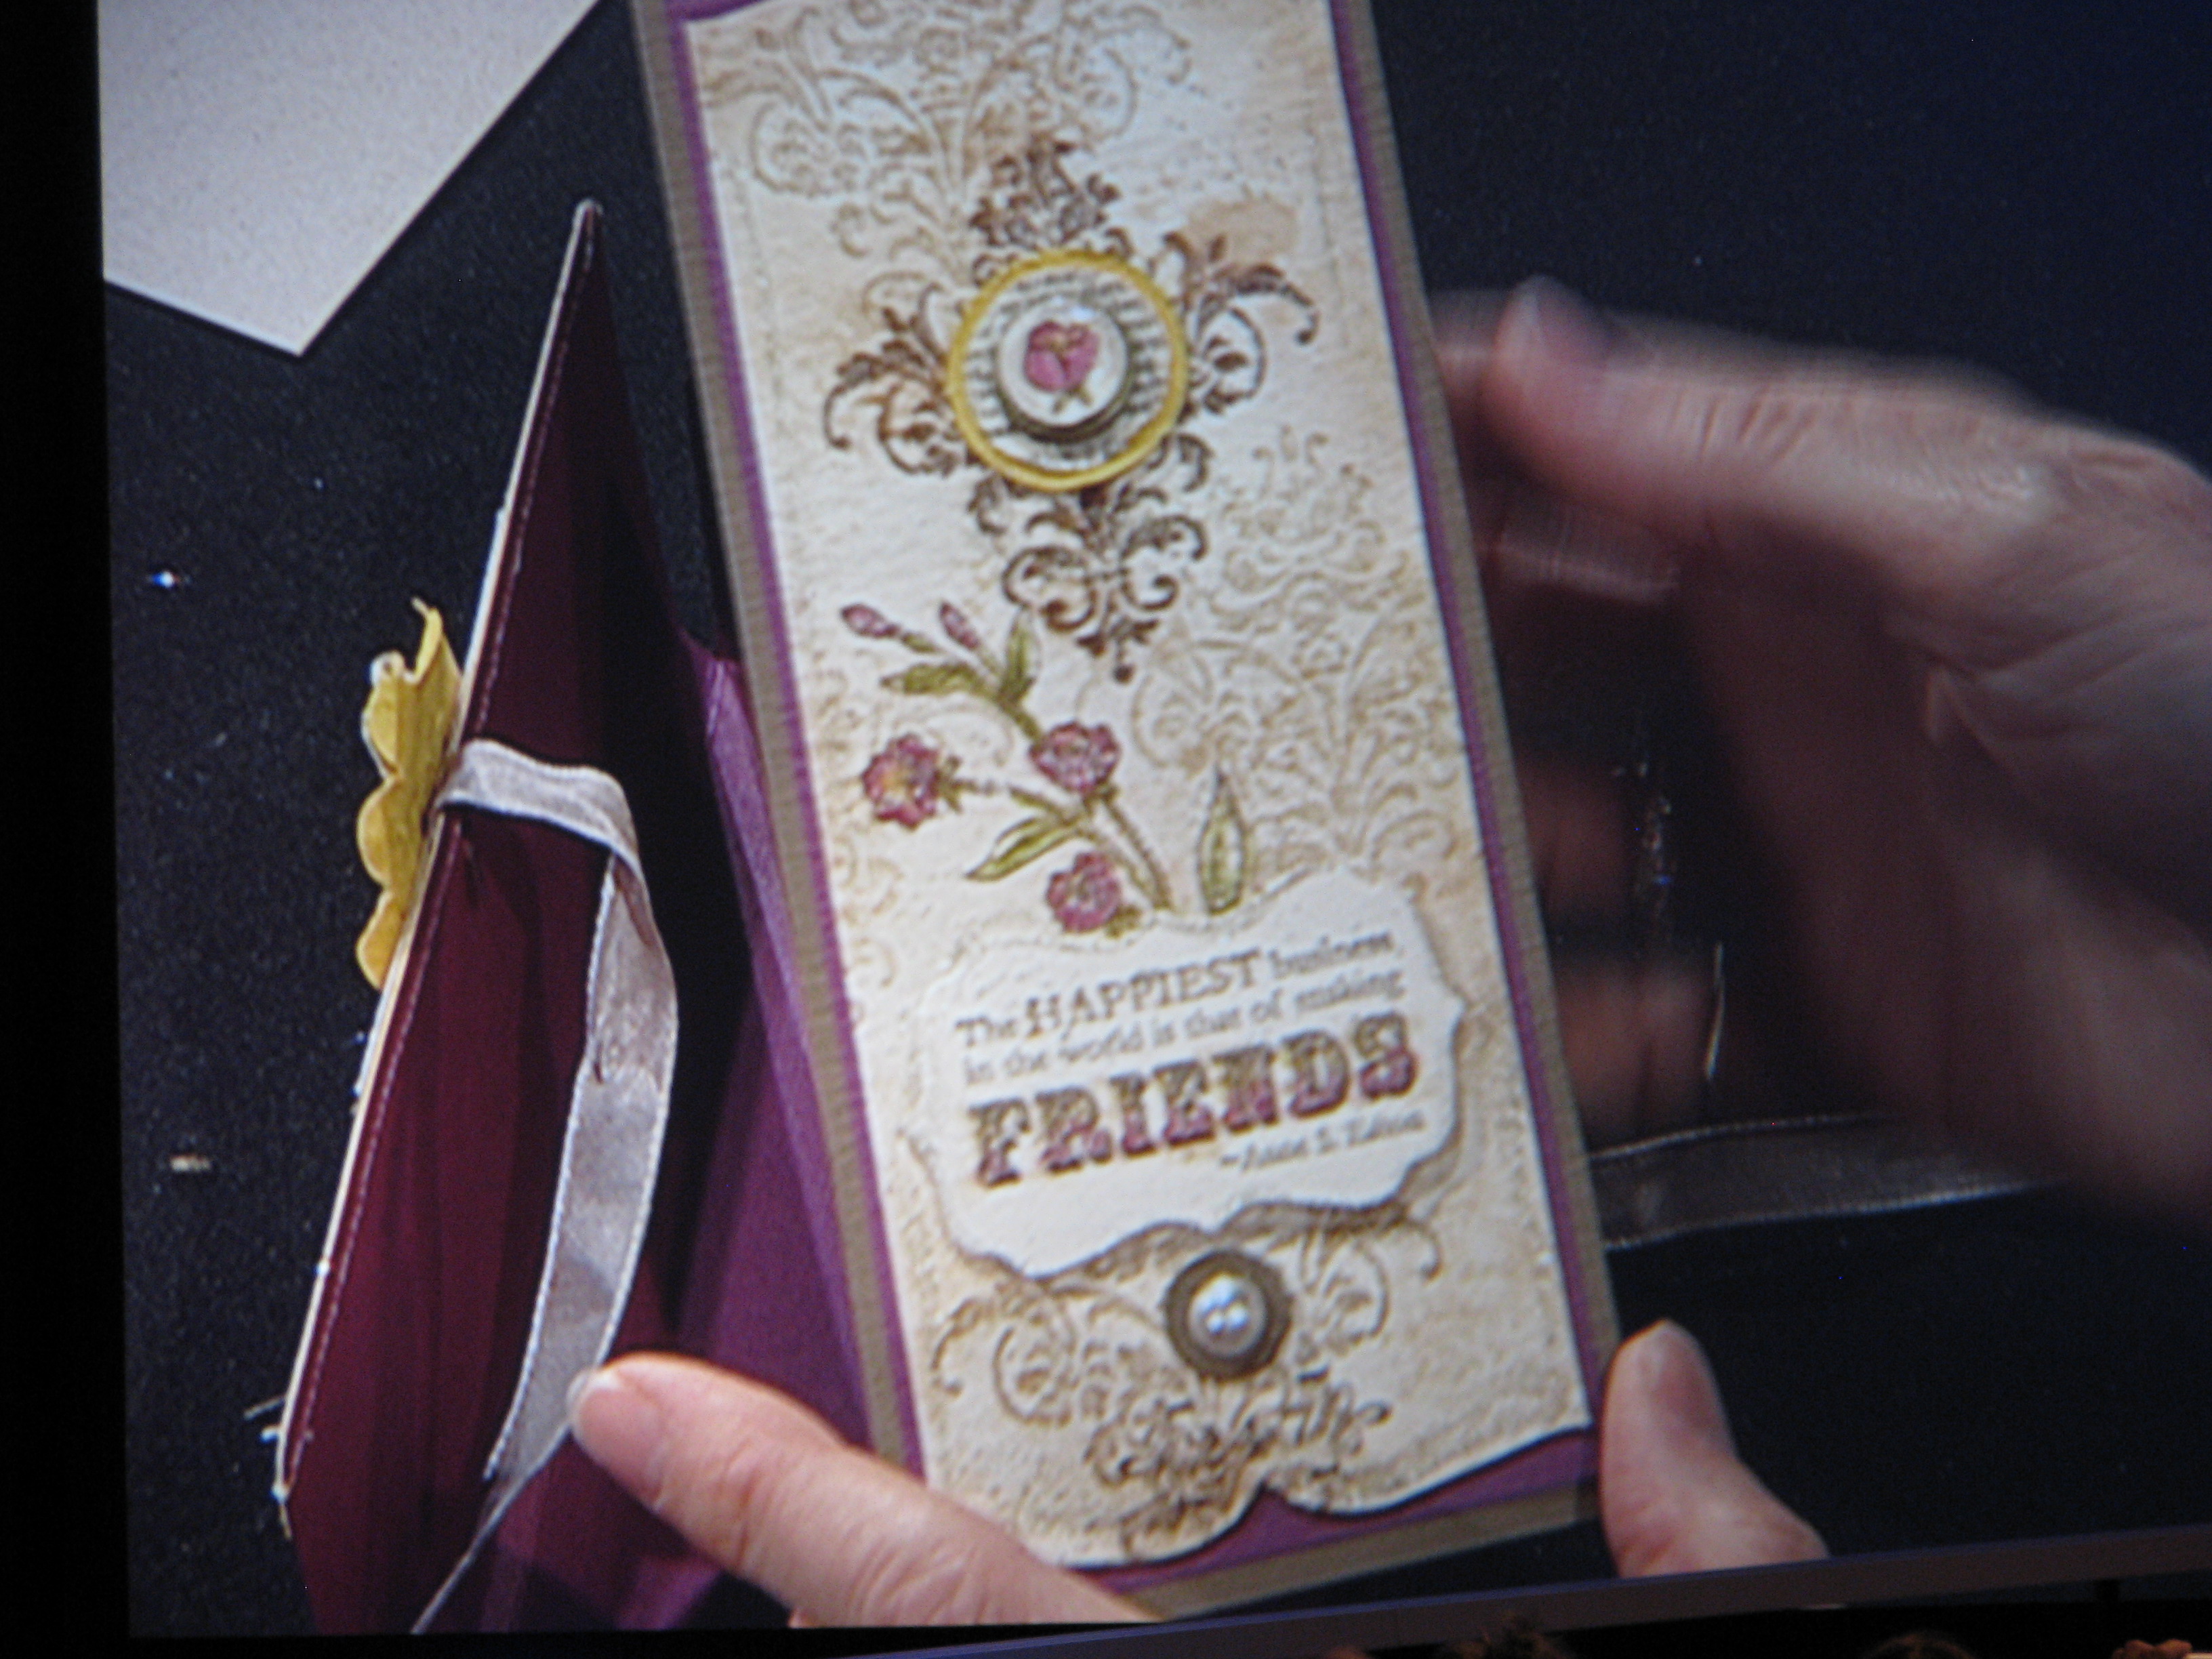
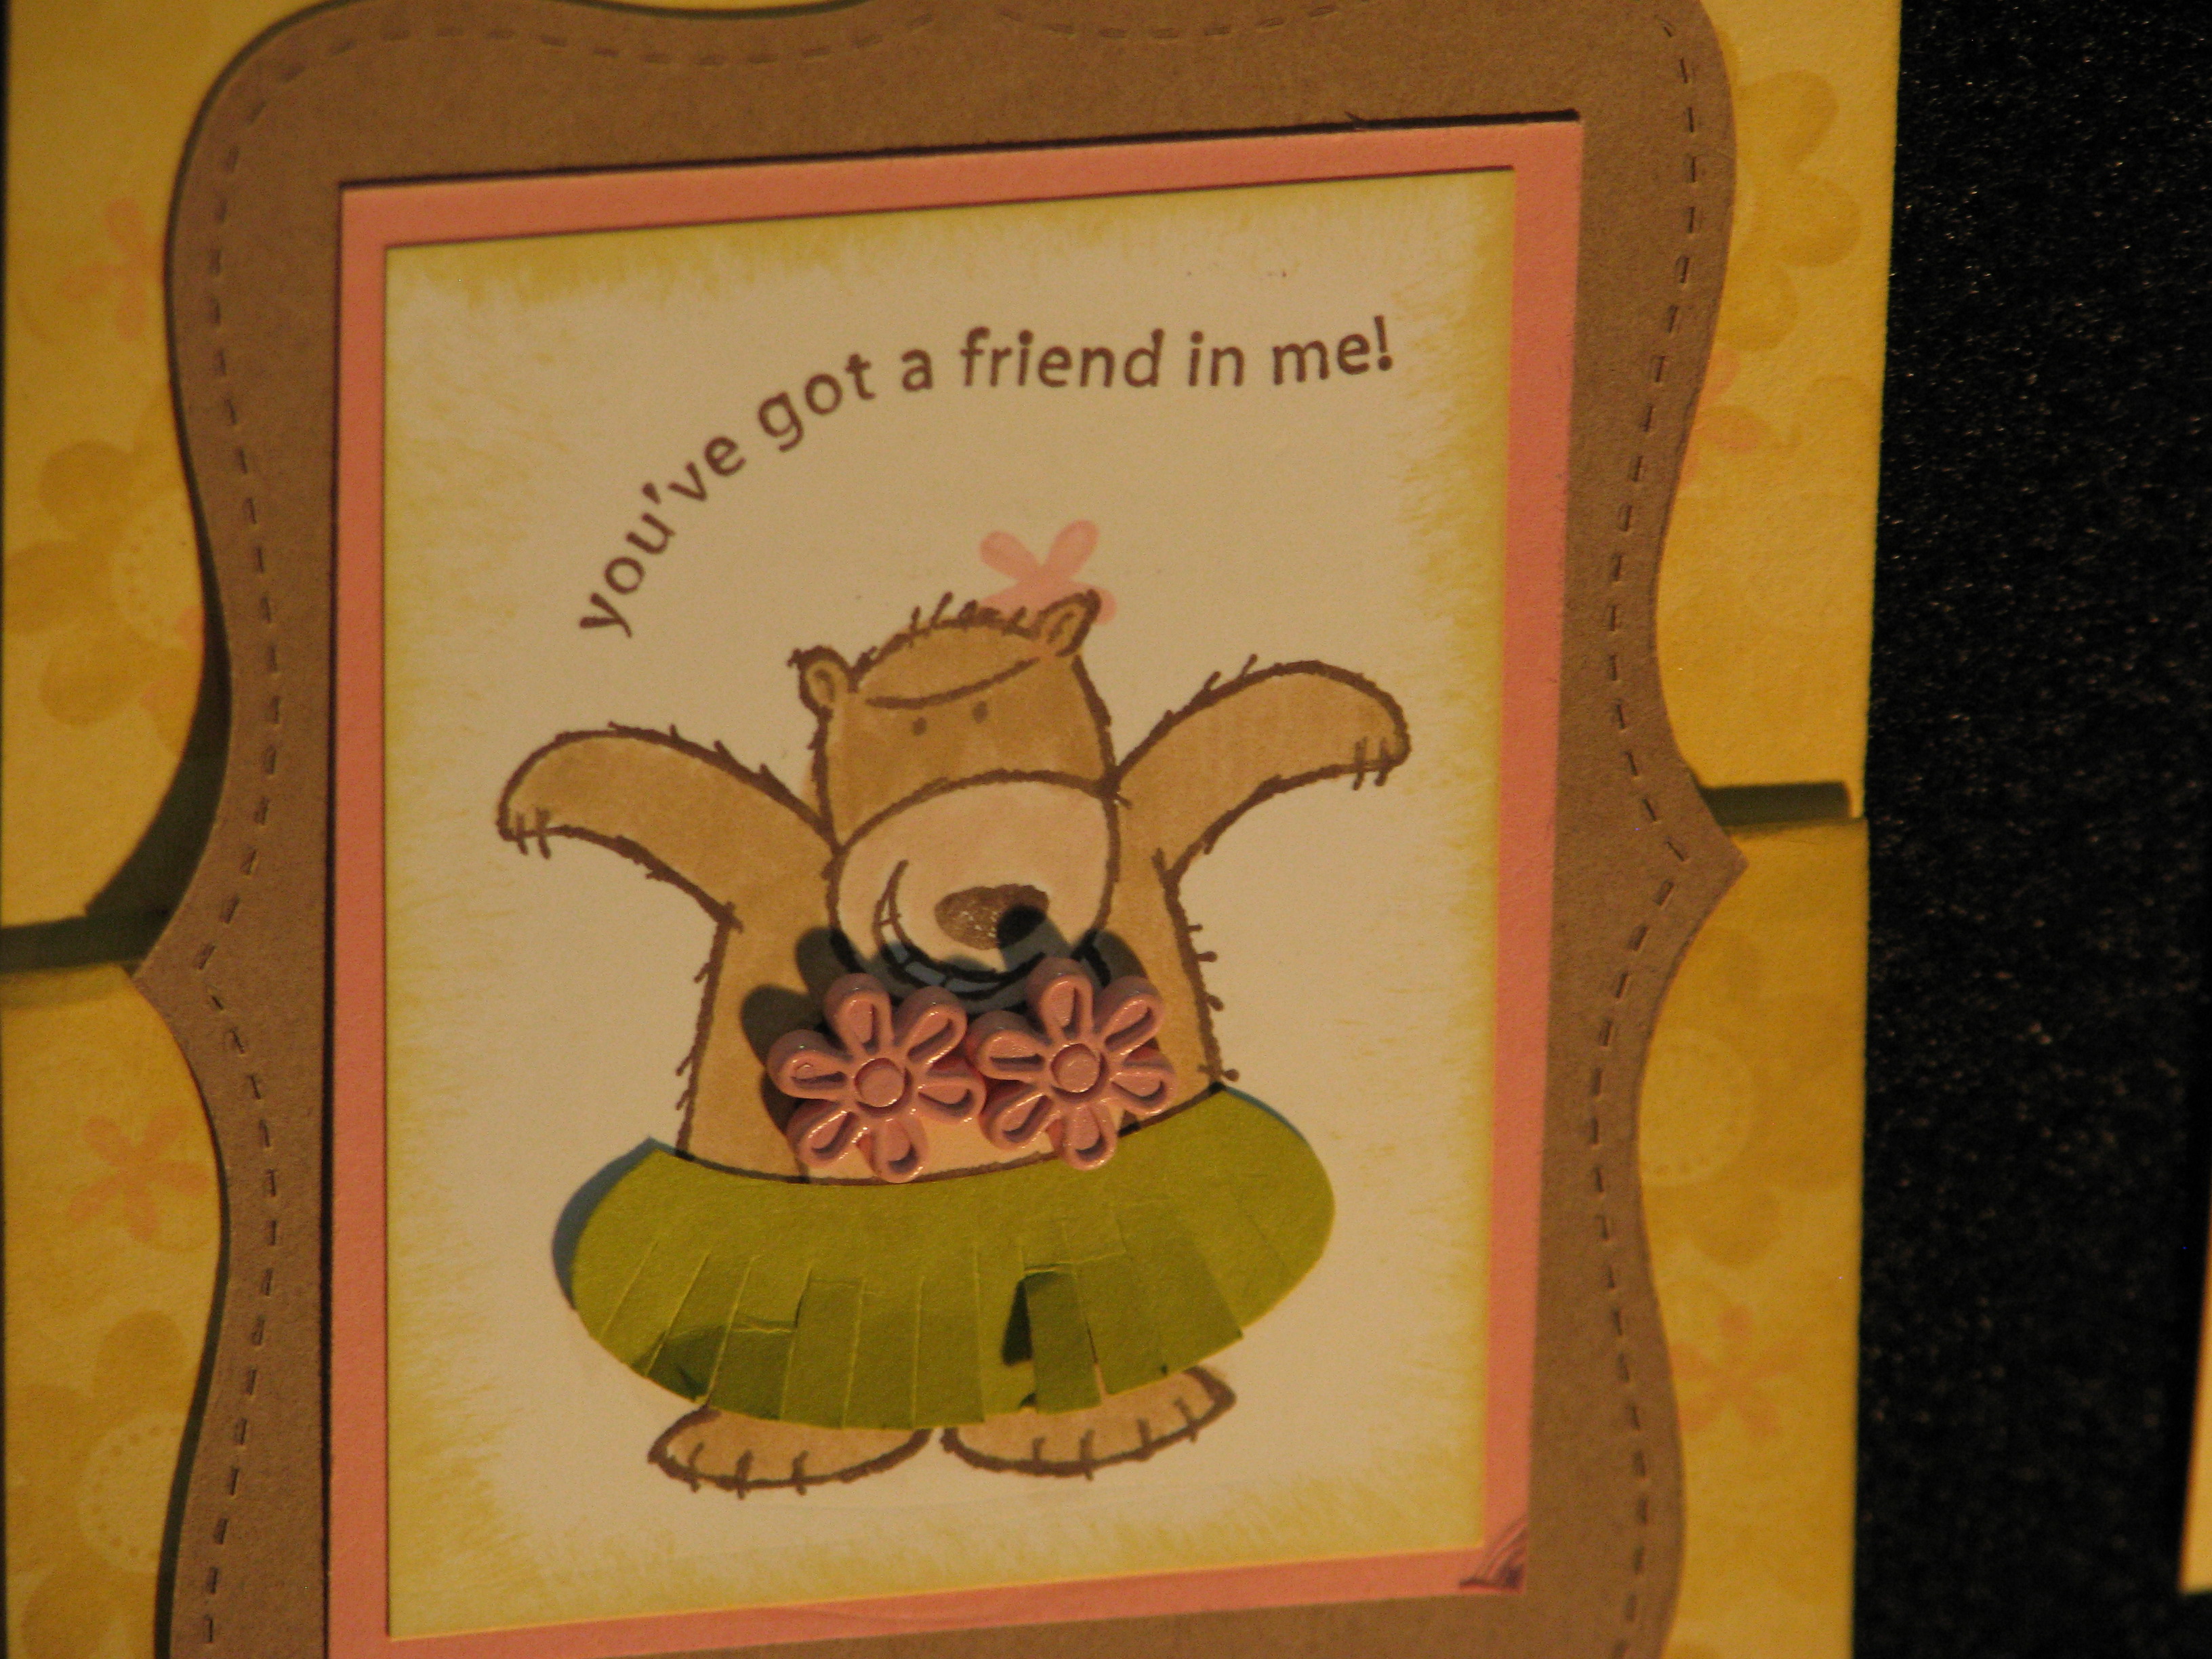
I think this was a card with a bookmark inside or you could put a gift card:
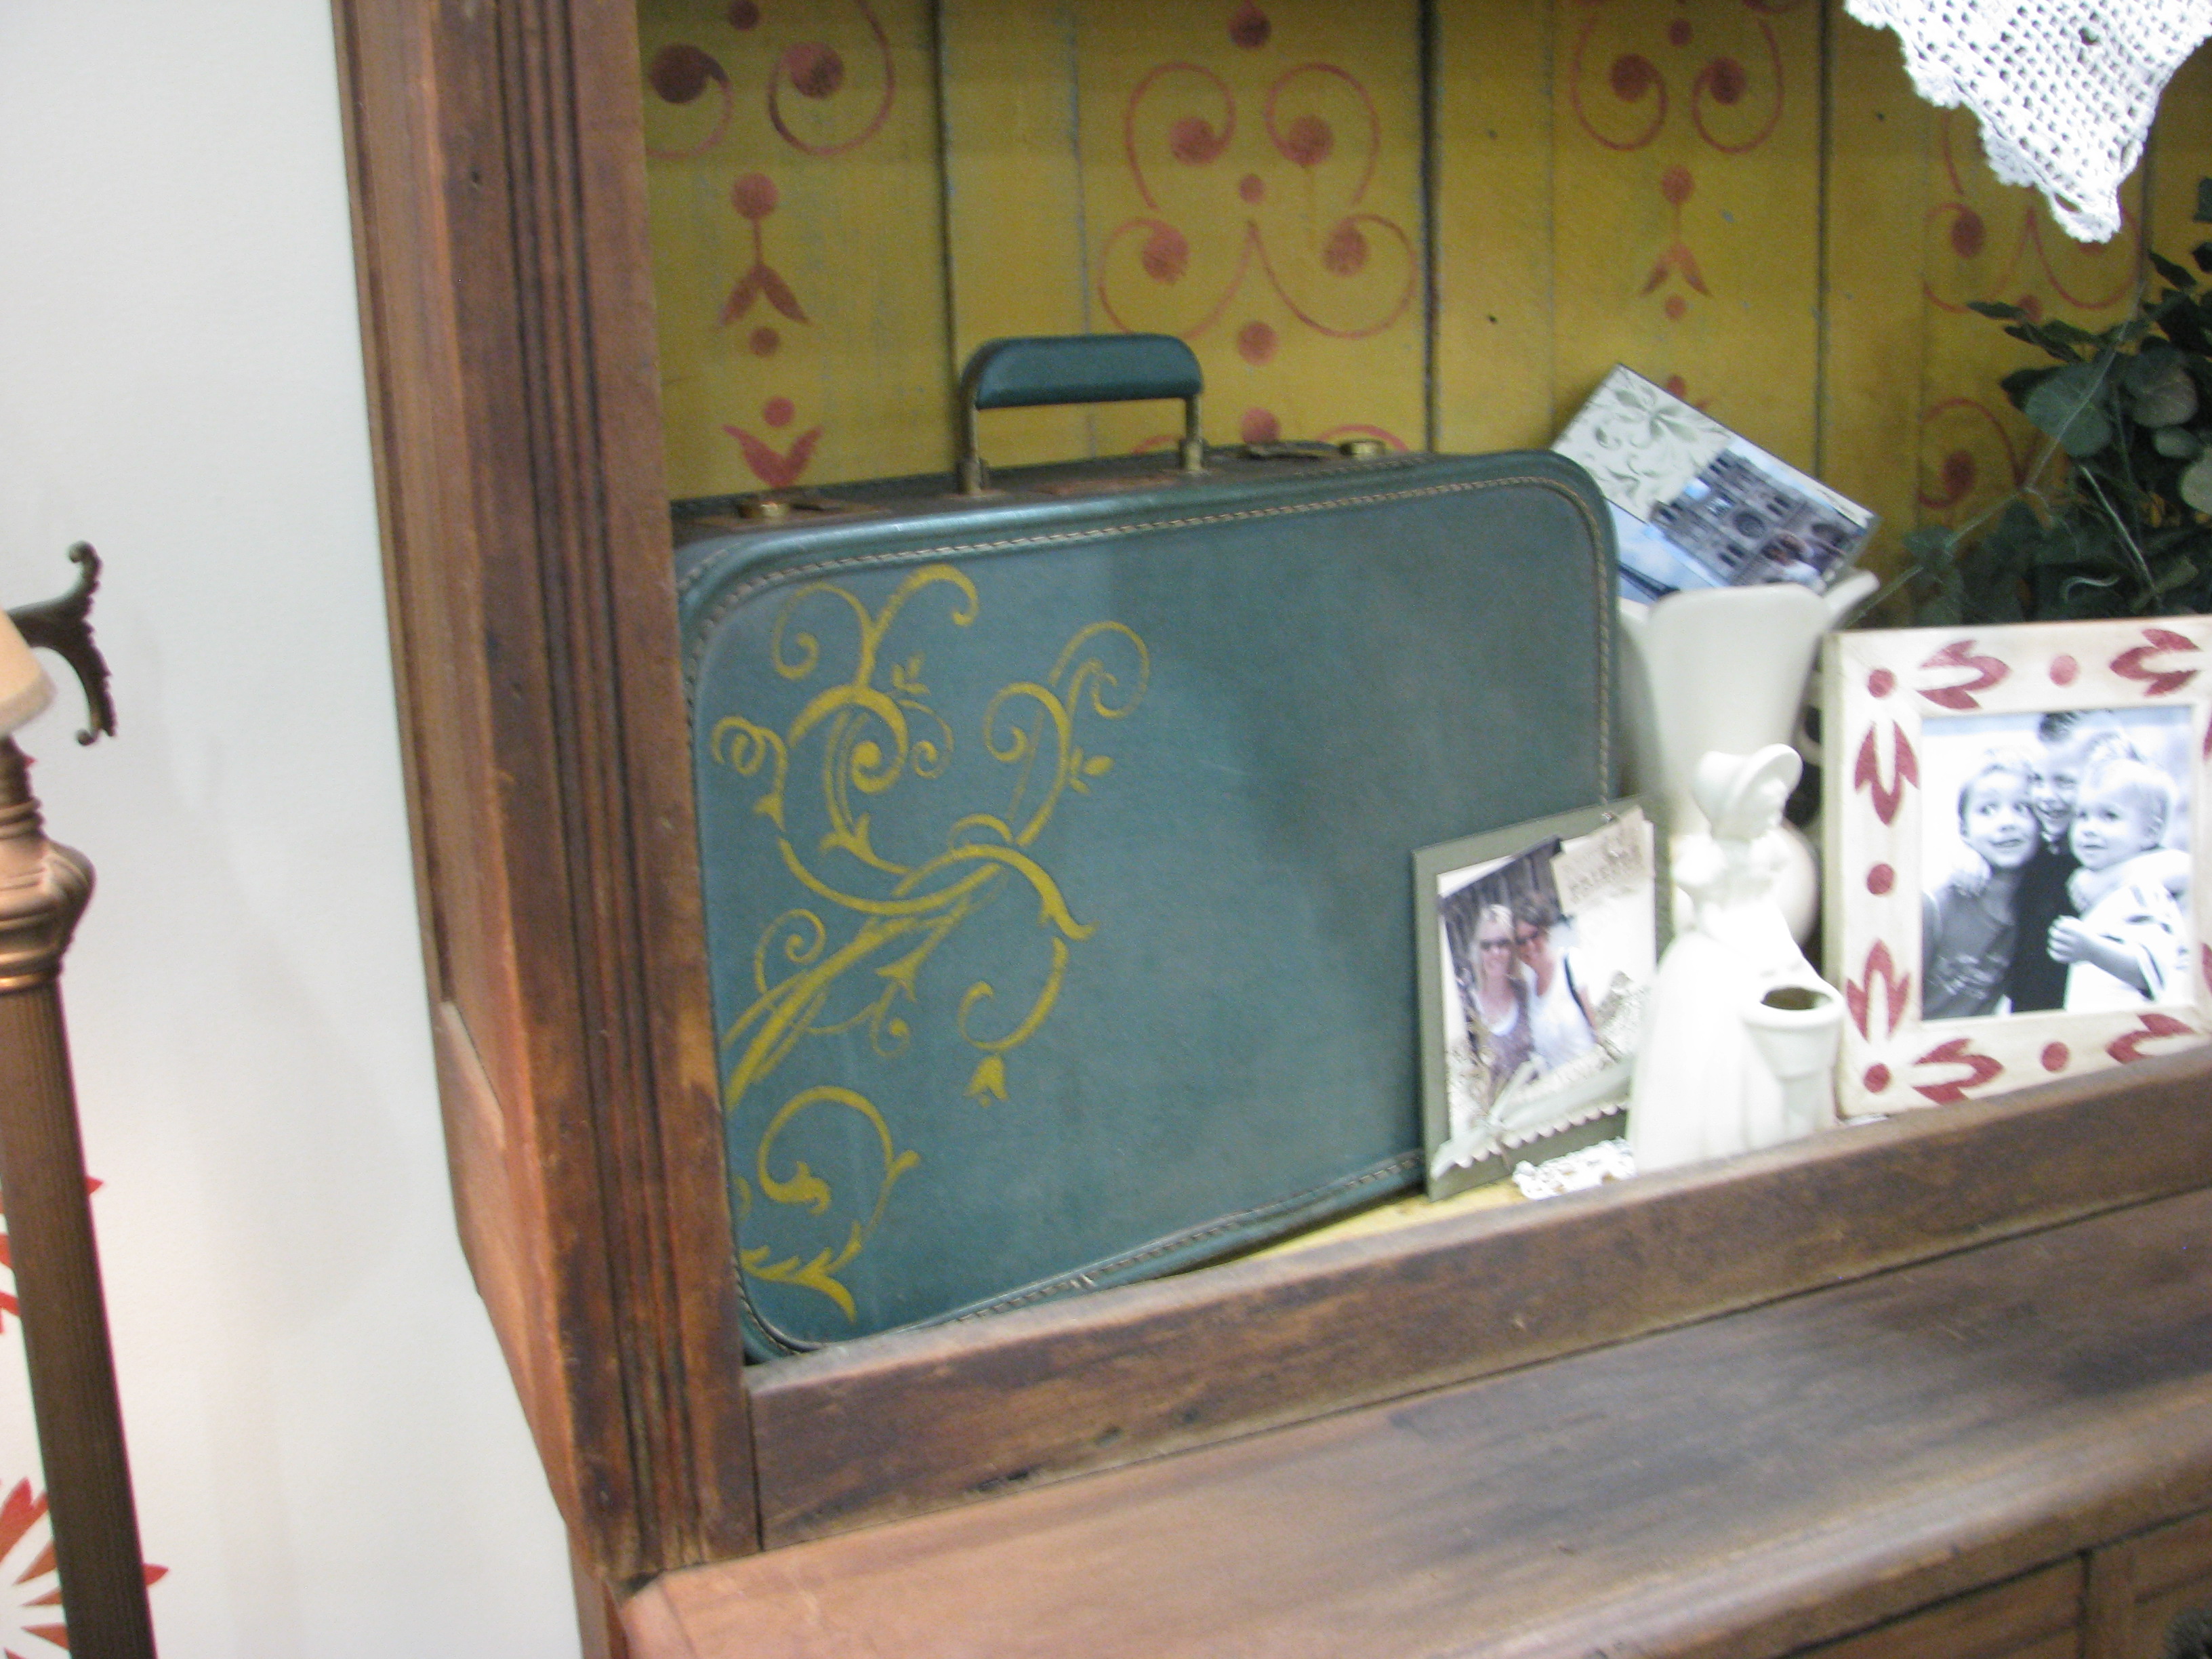
Shelli made these with her relatives at a family reunion out of sheet metal, covered with Designer Series Paper…..so they can't be too hard!
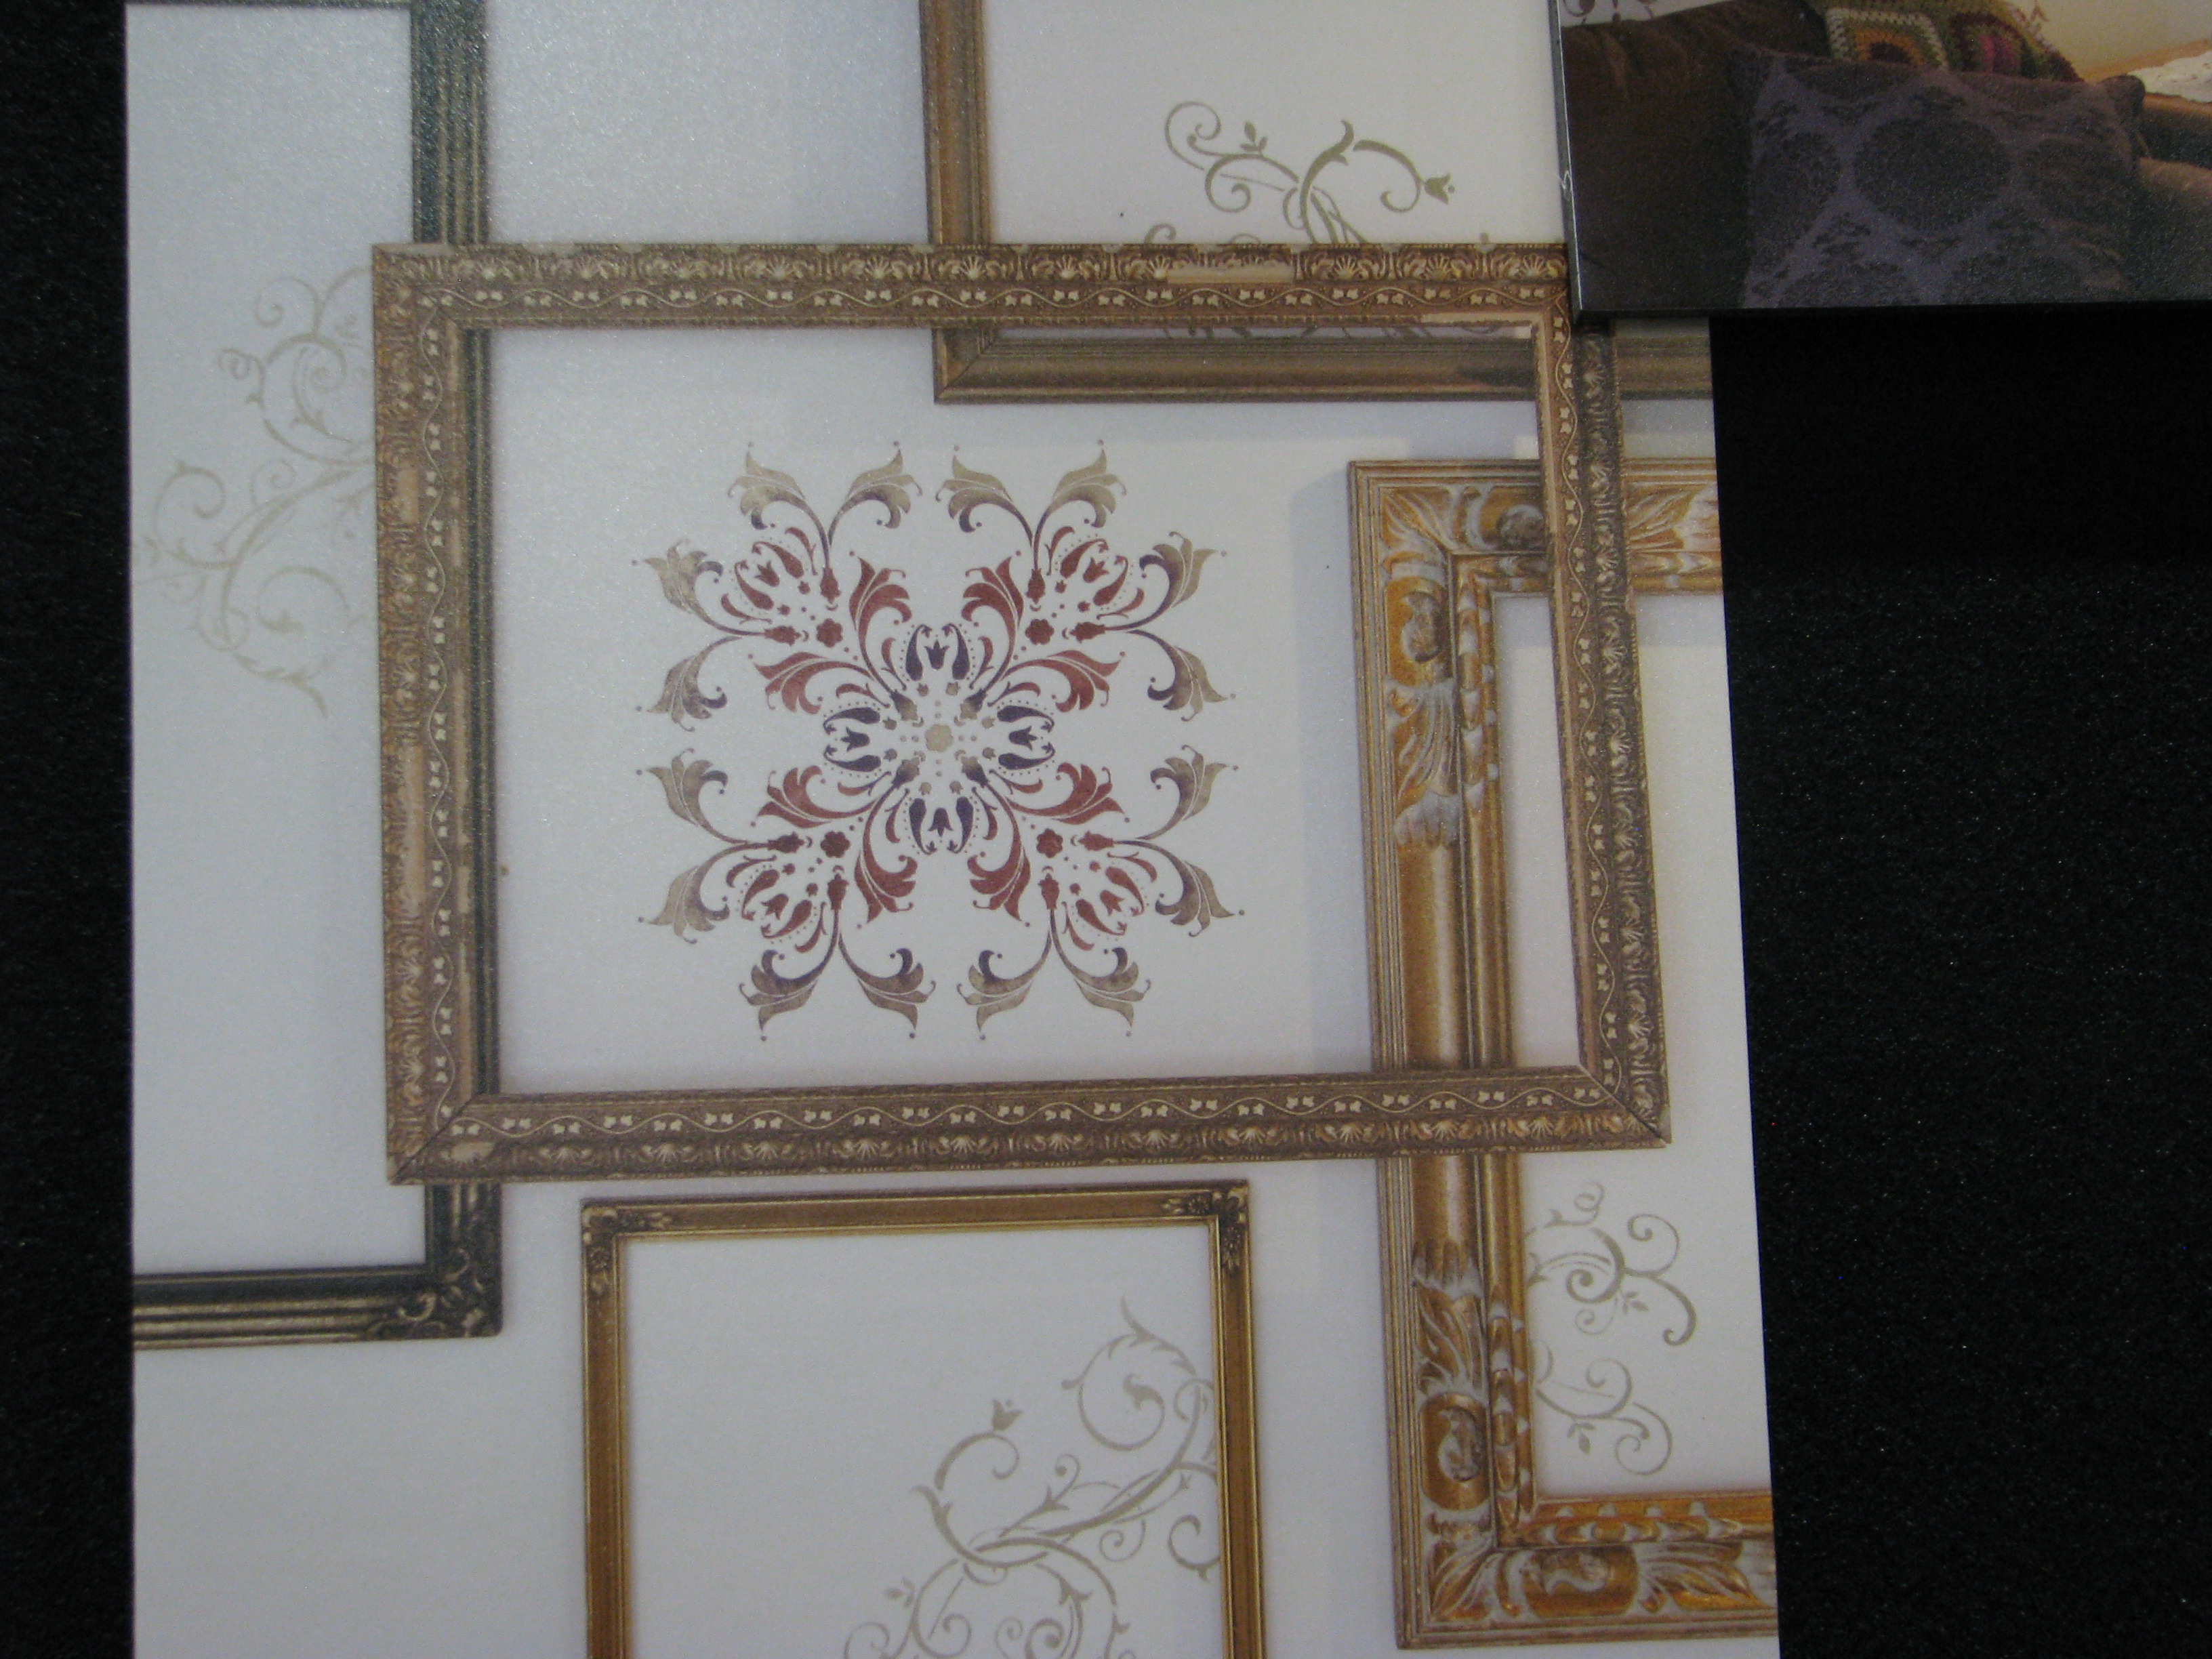
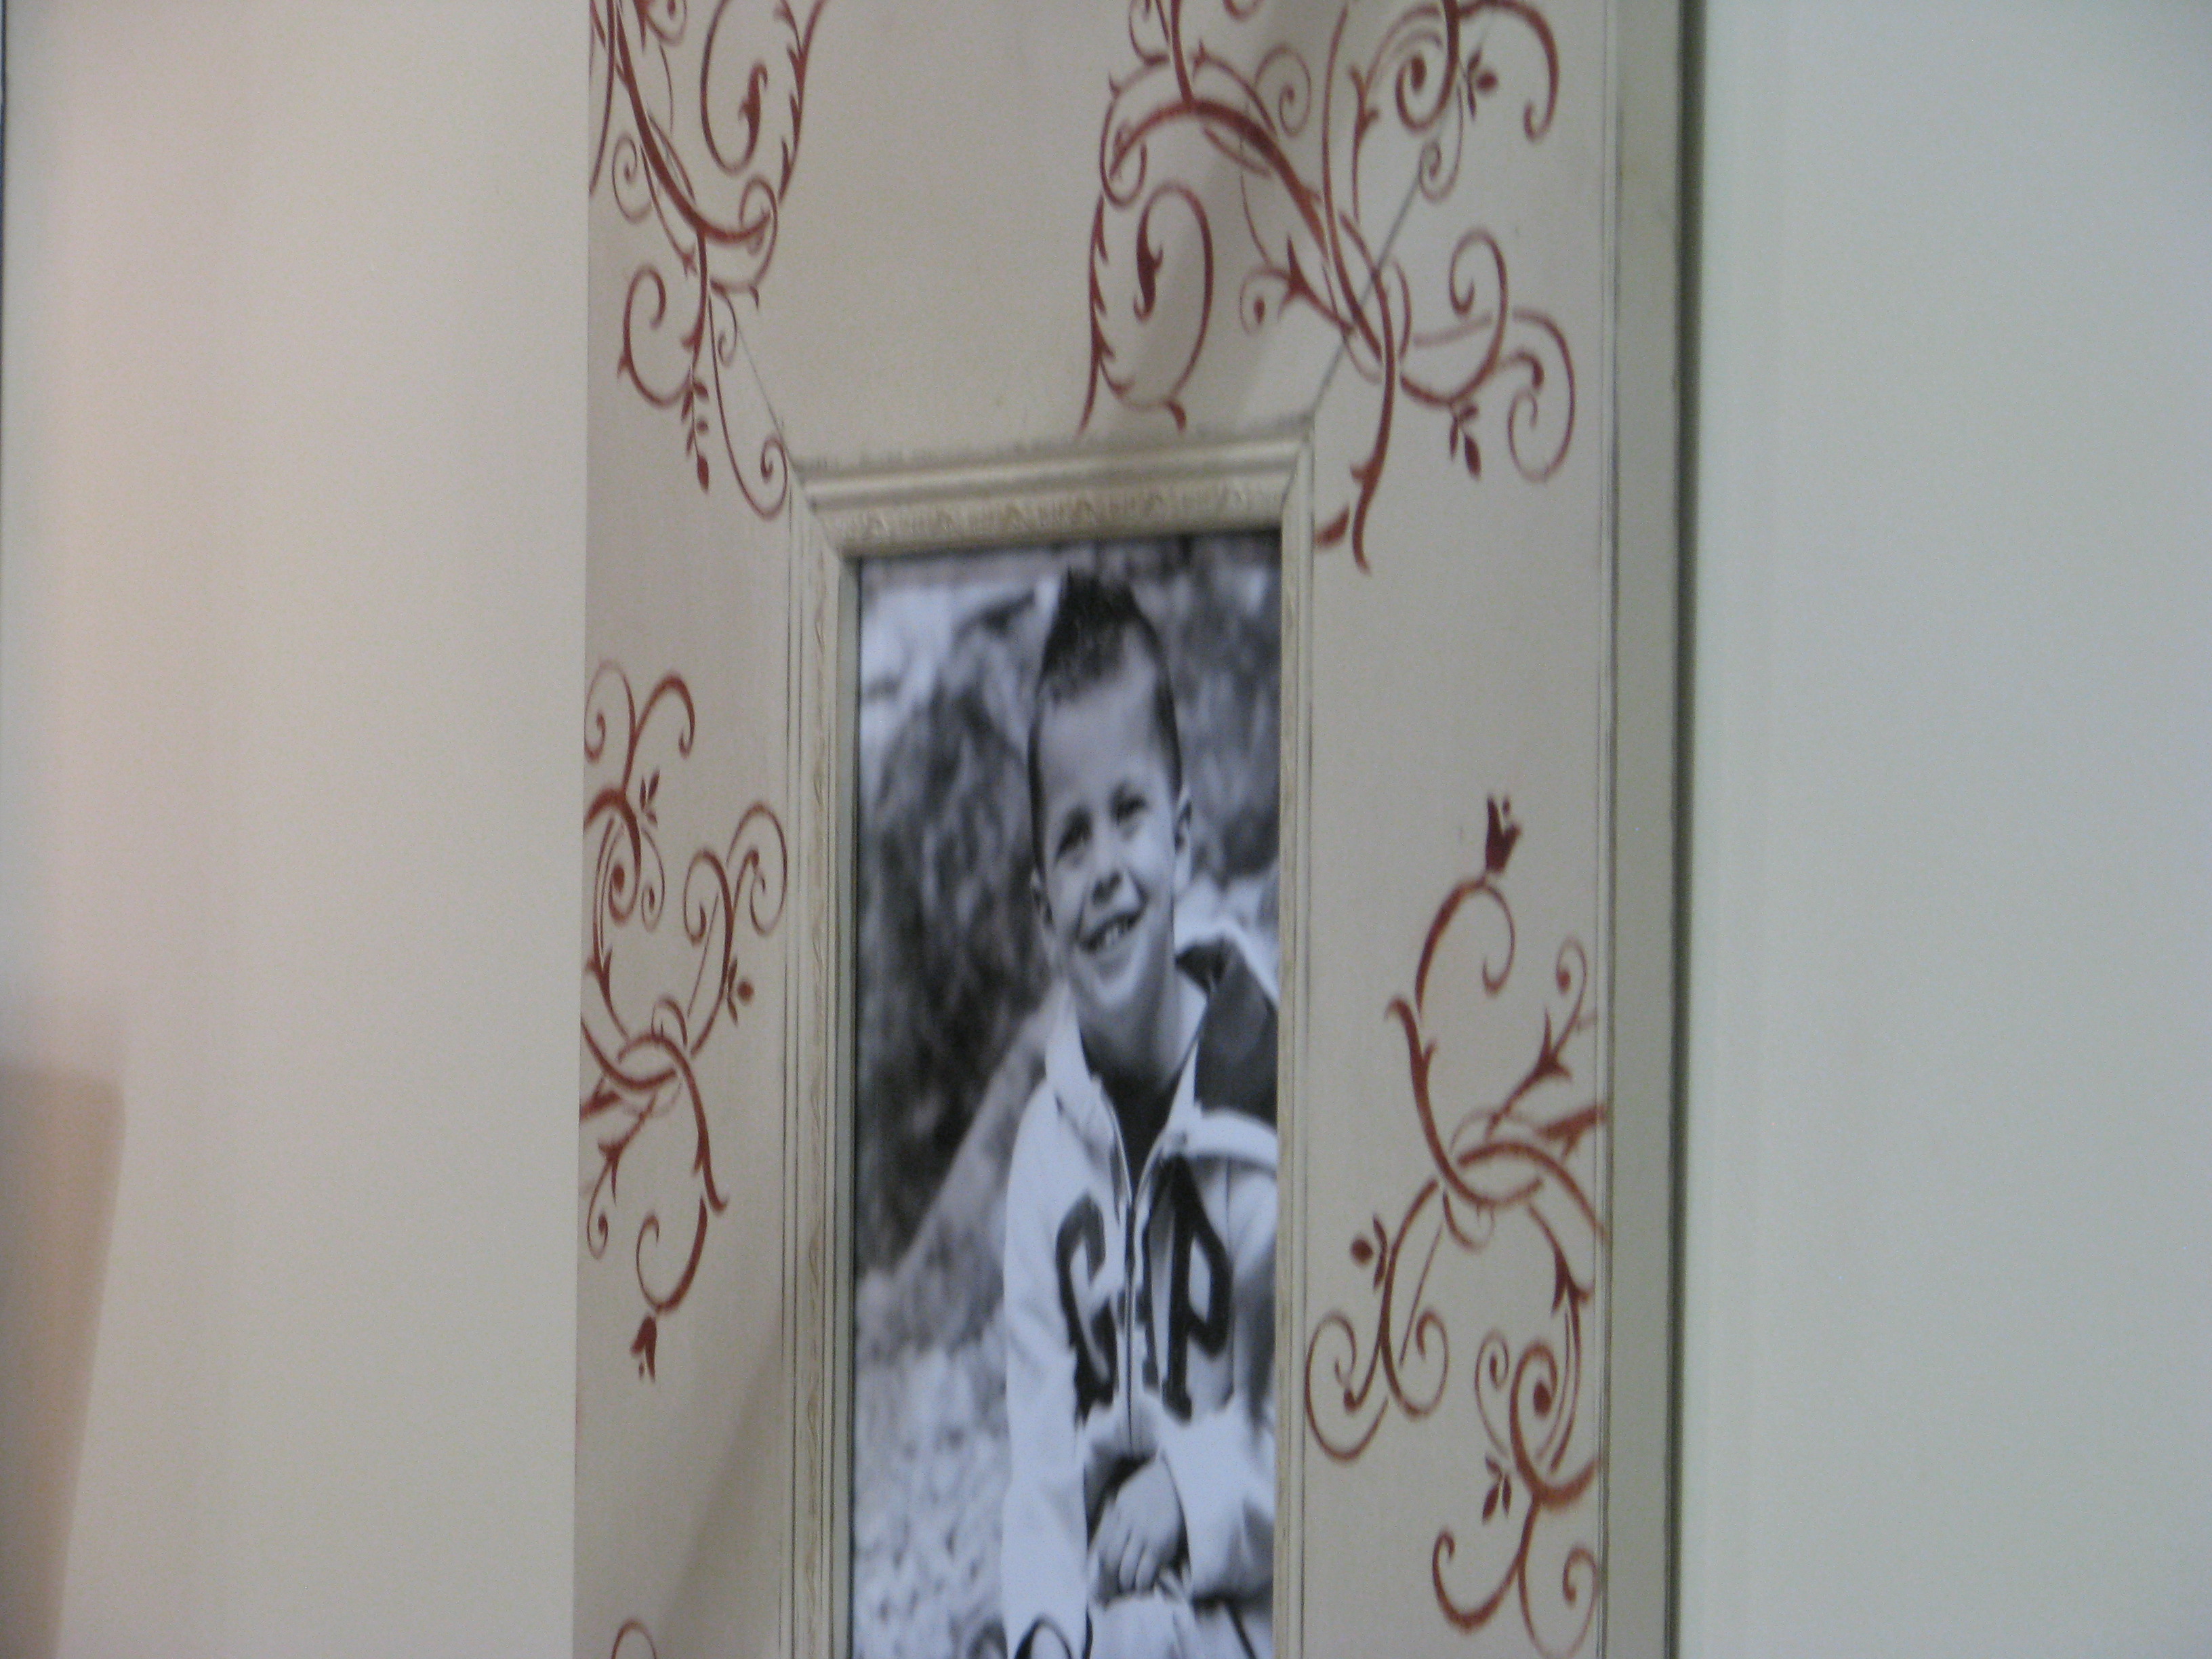
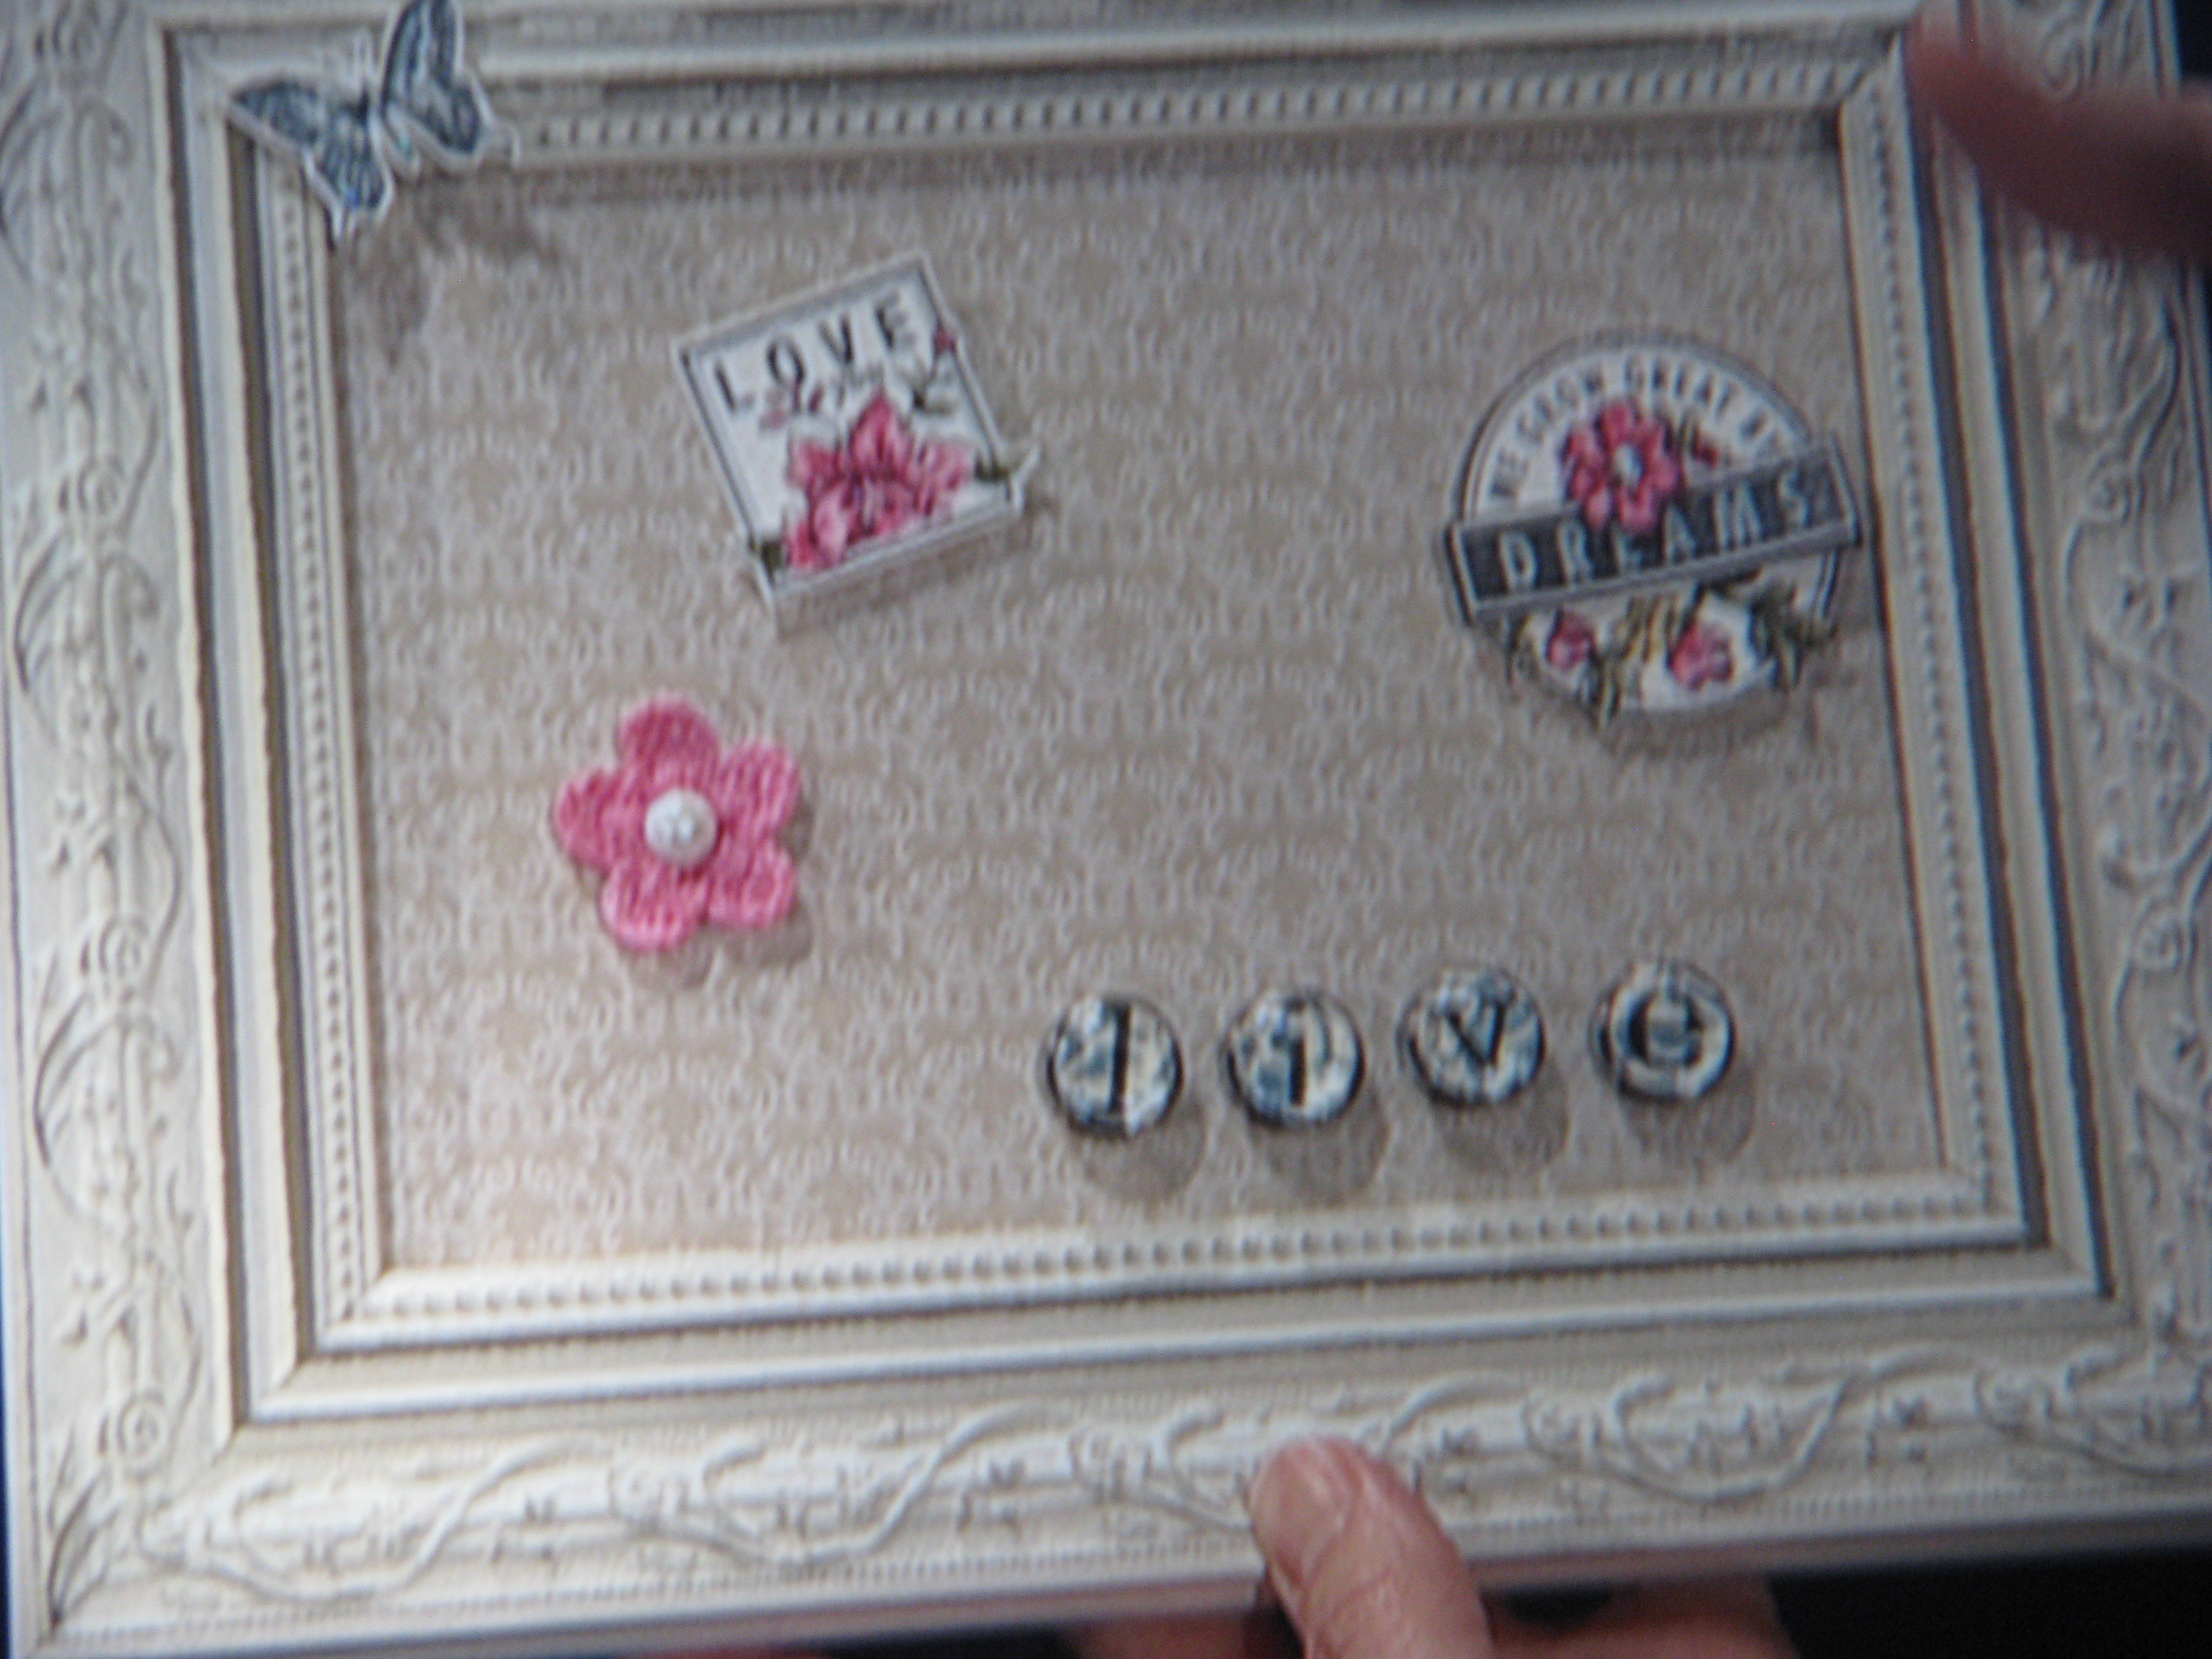
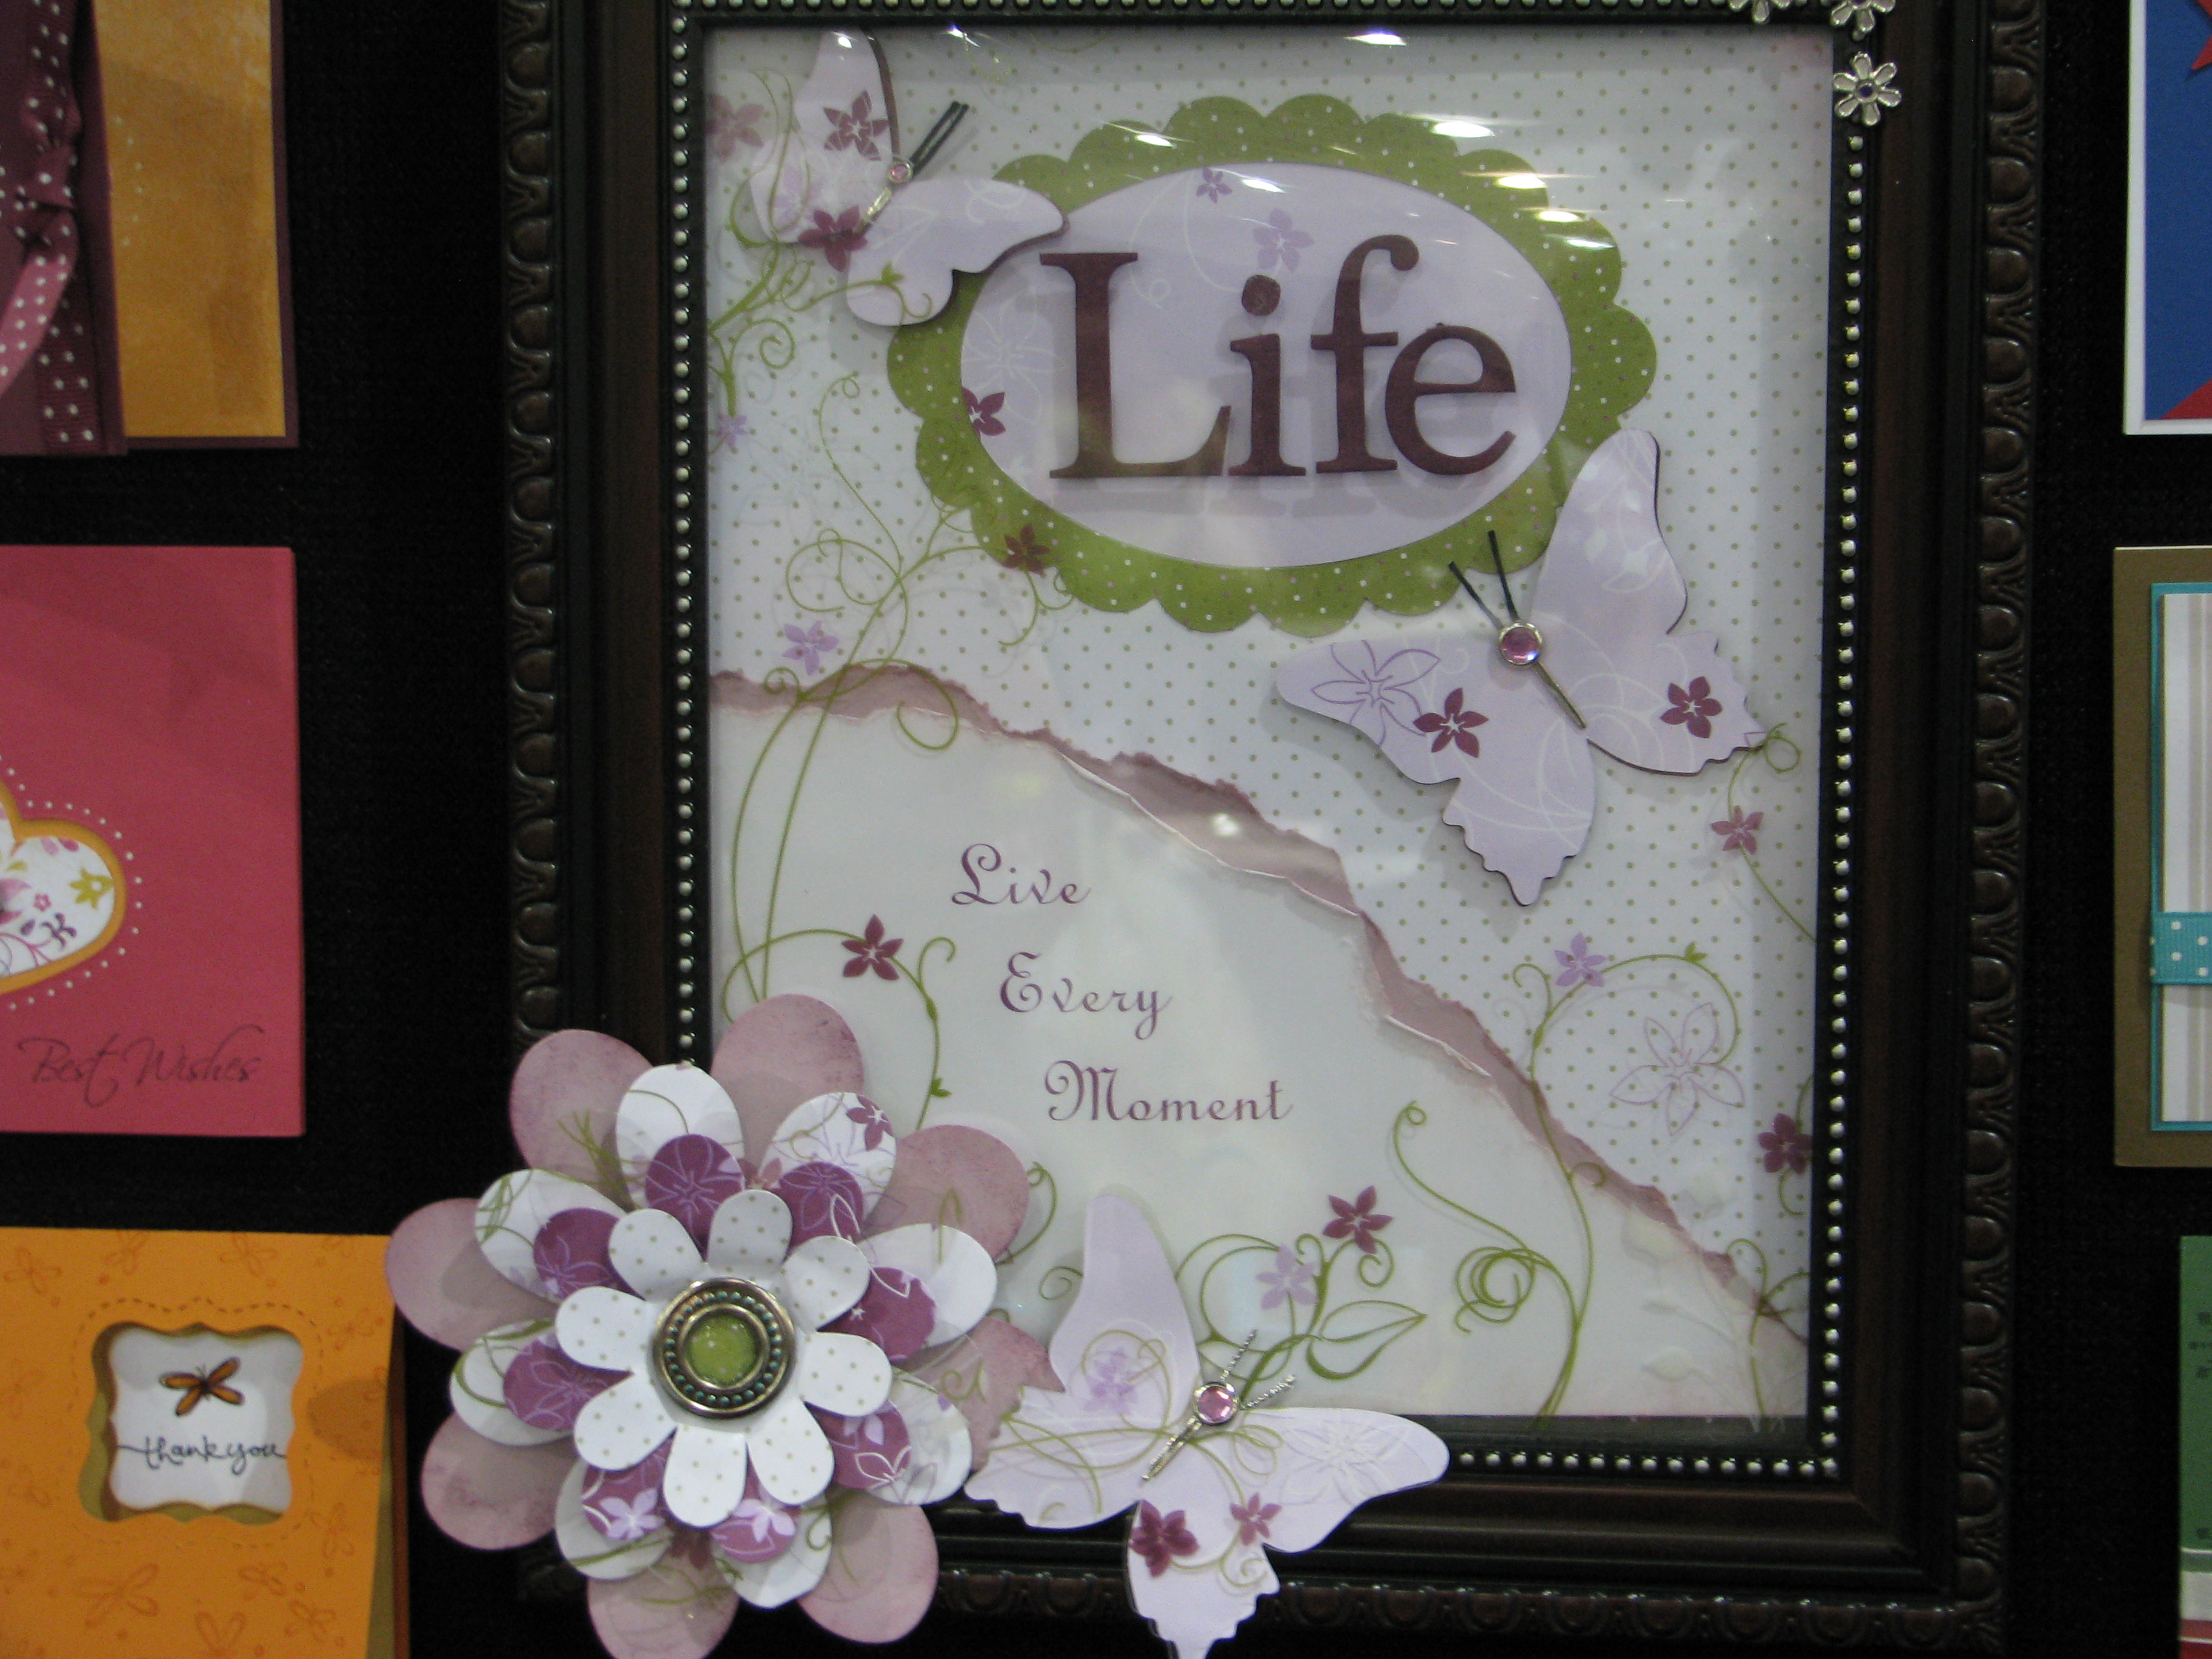
A similar magnetic board but enclosed in a picture frame:
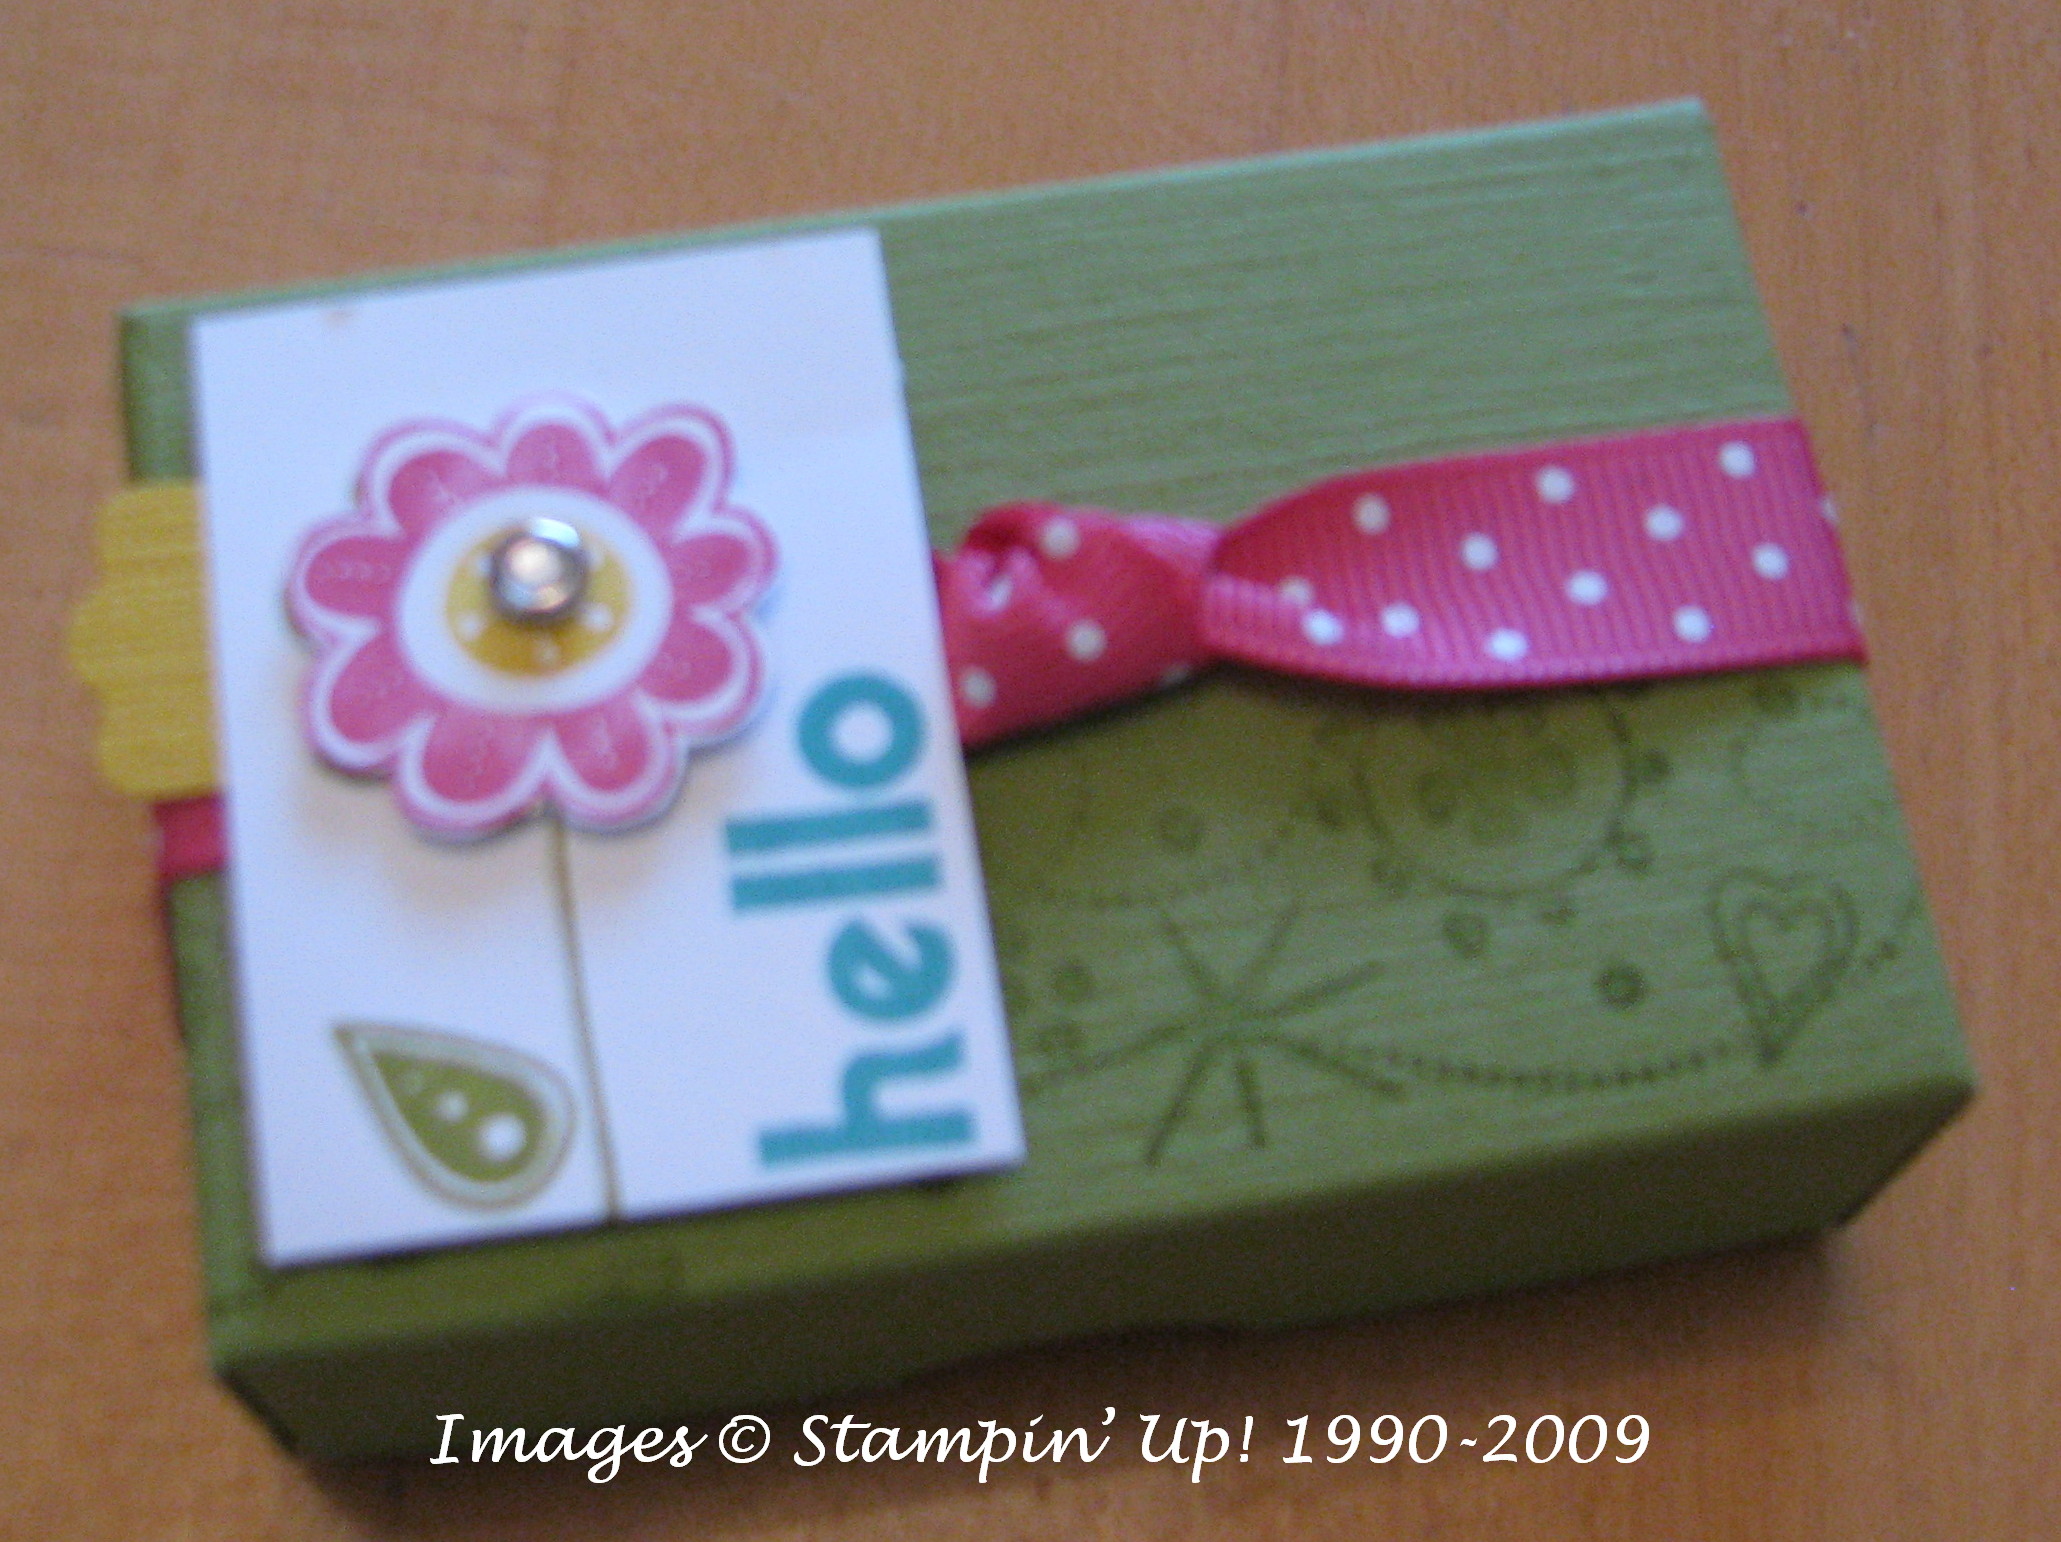
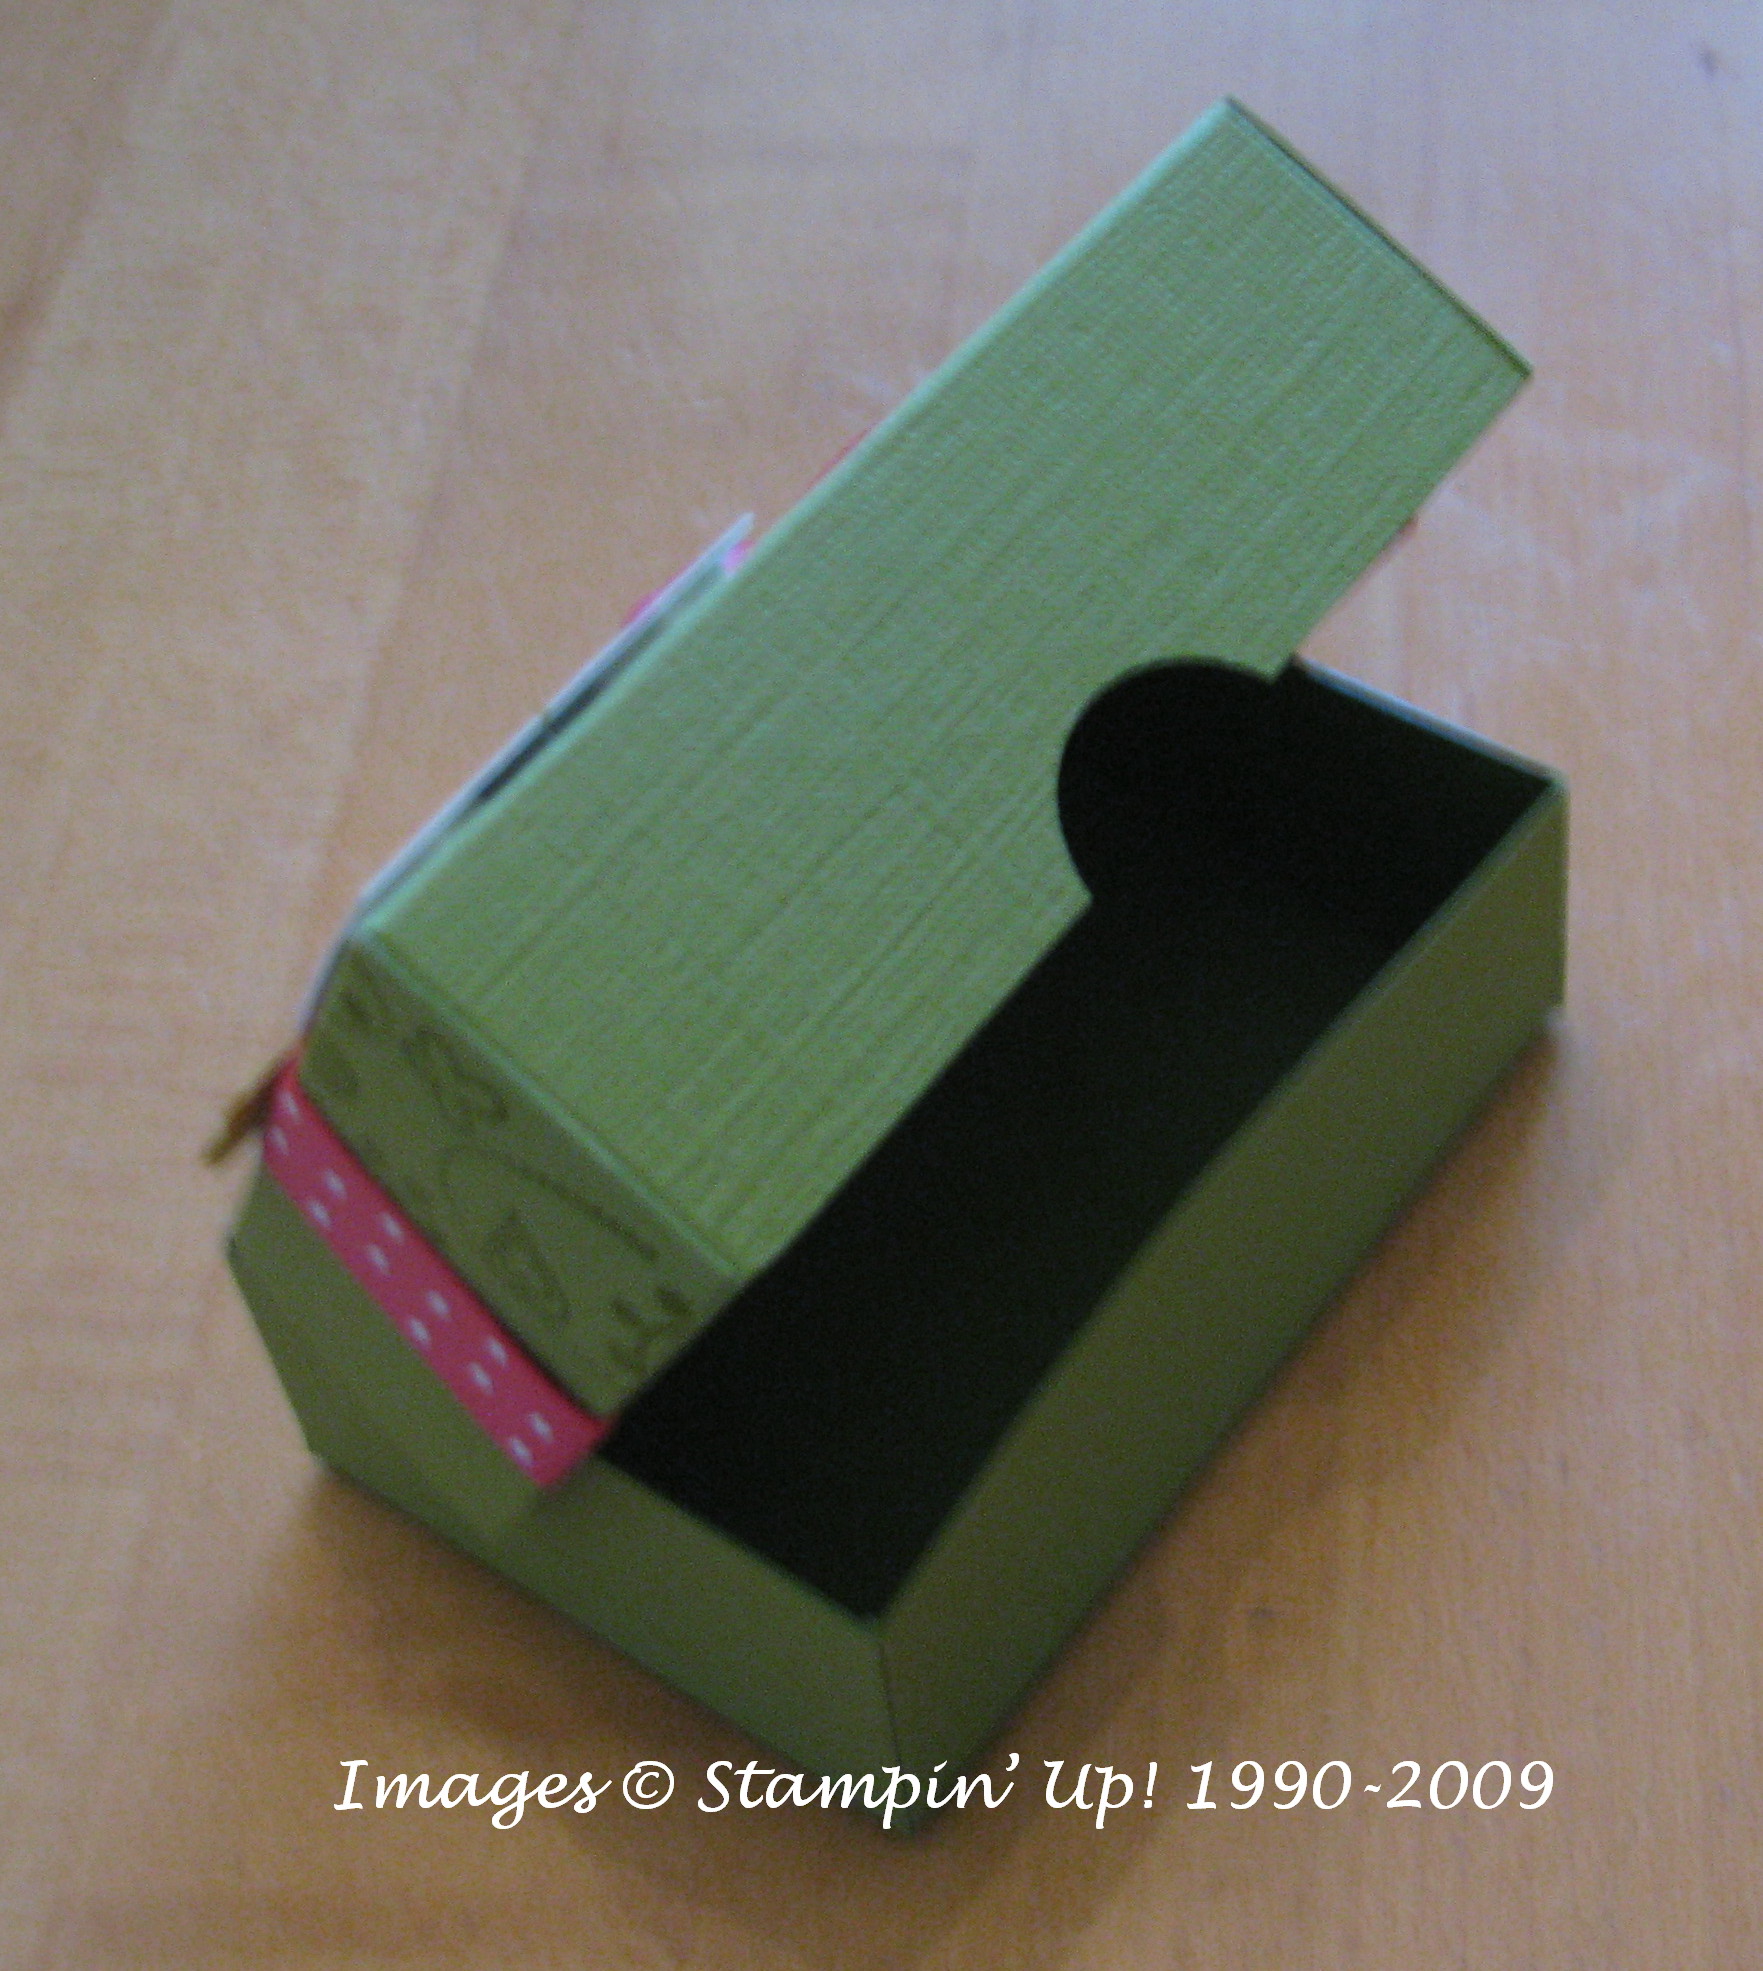
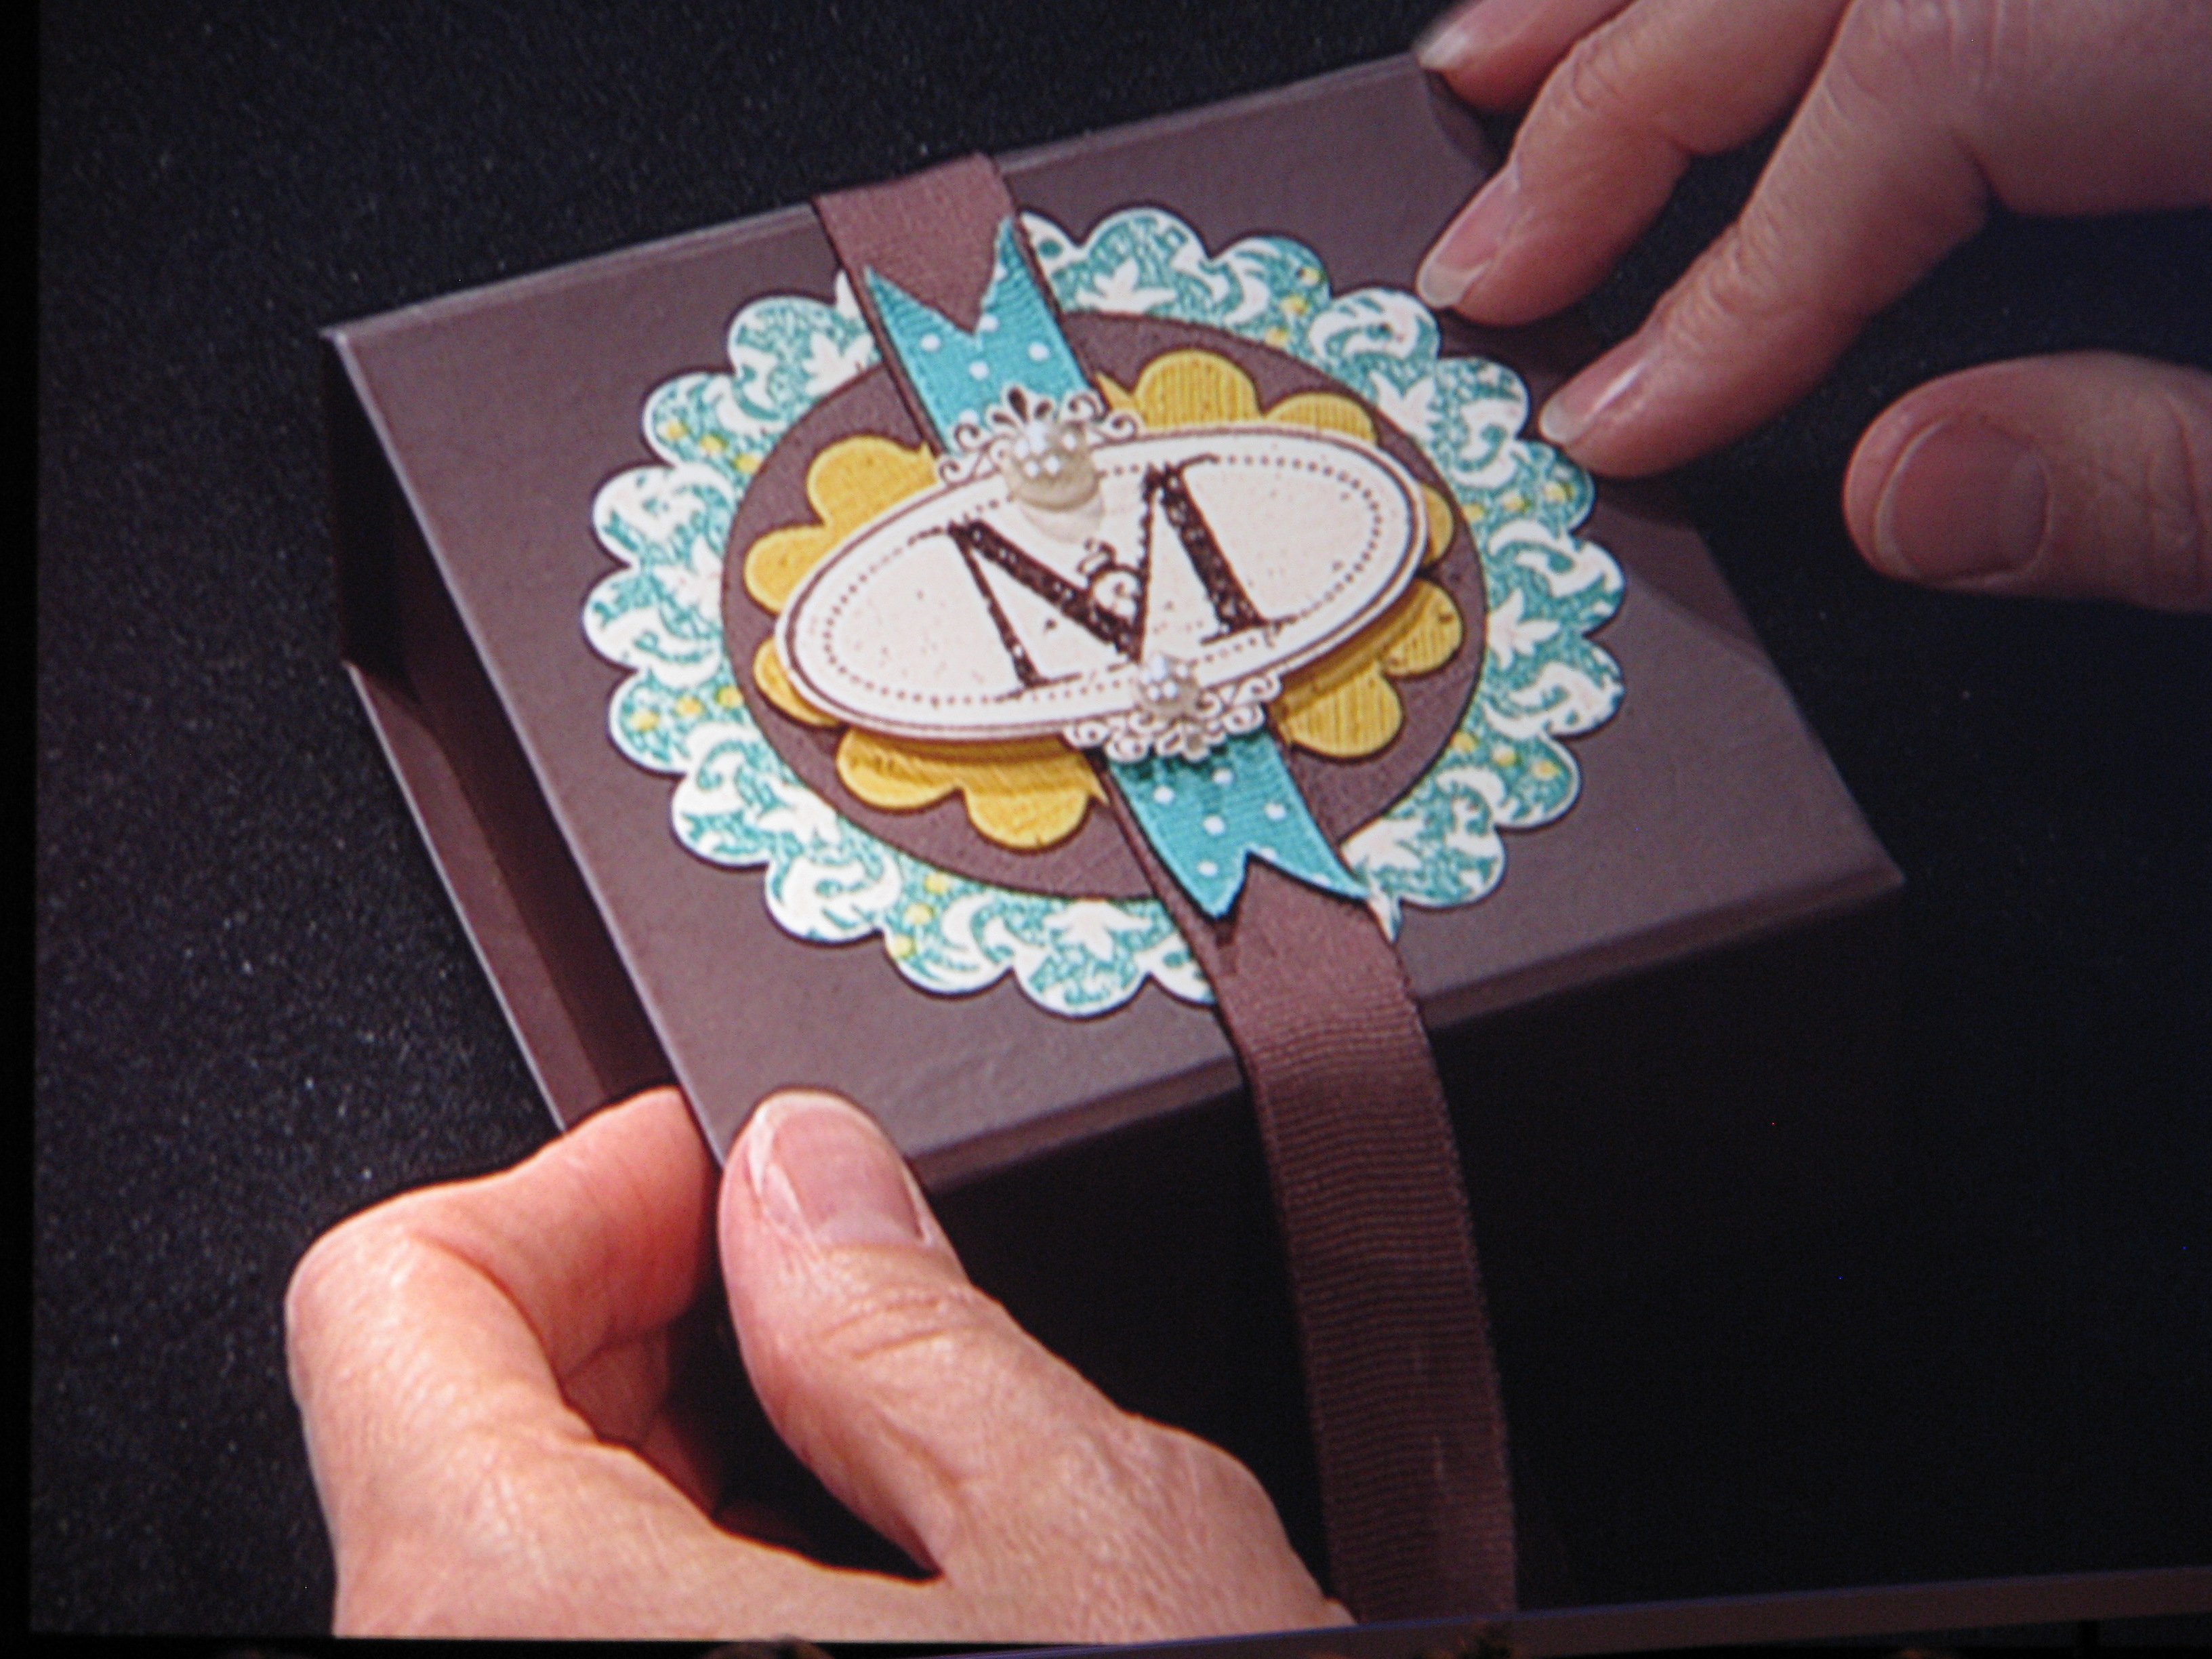
One of the new magnetic boxes you will find in the Holiday Mini:
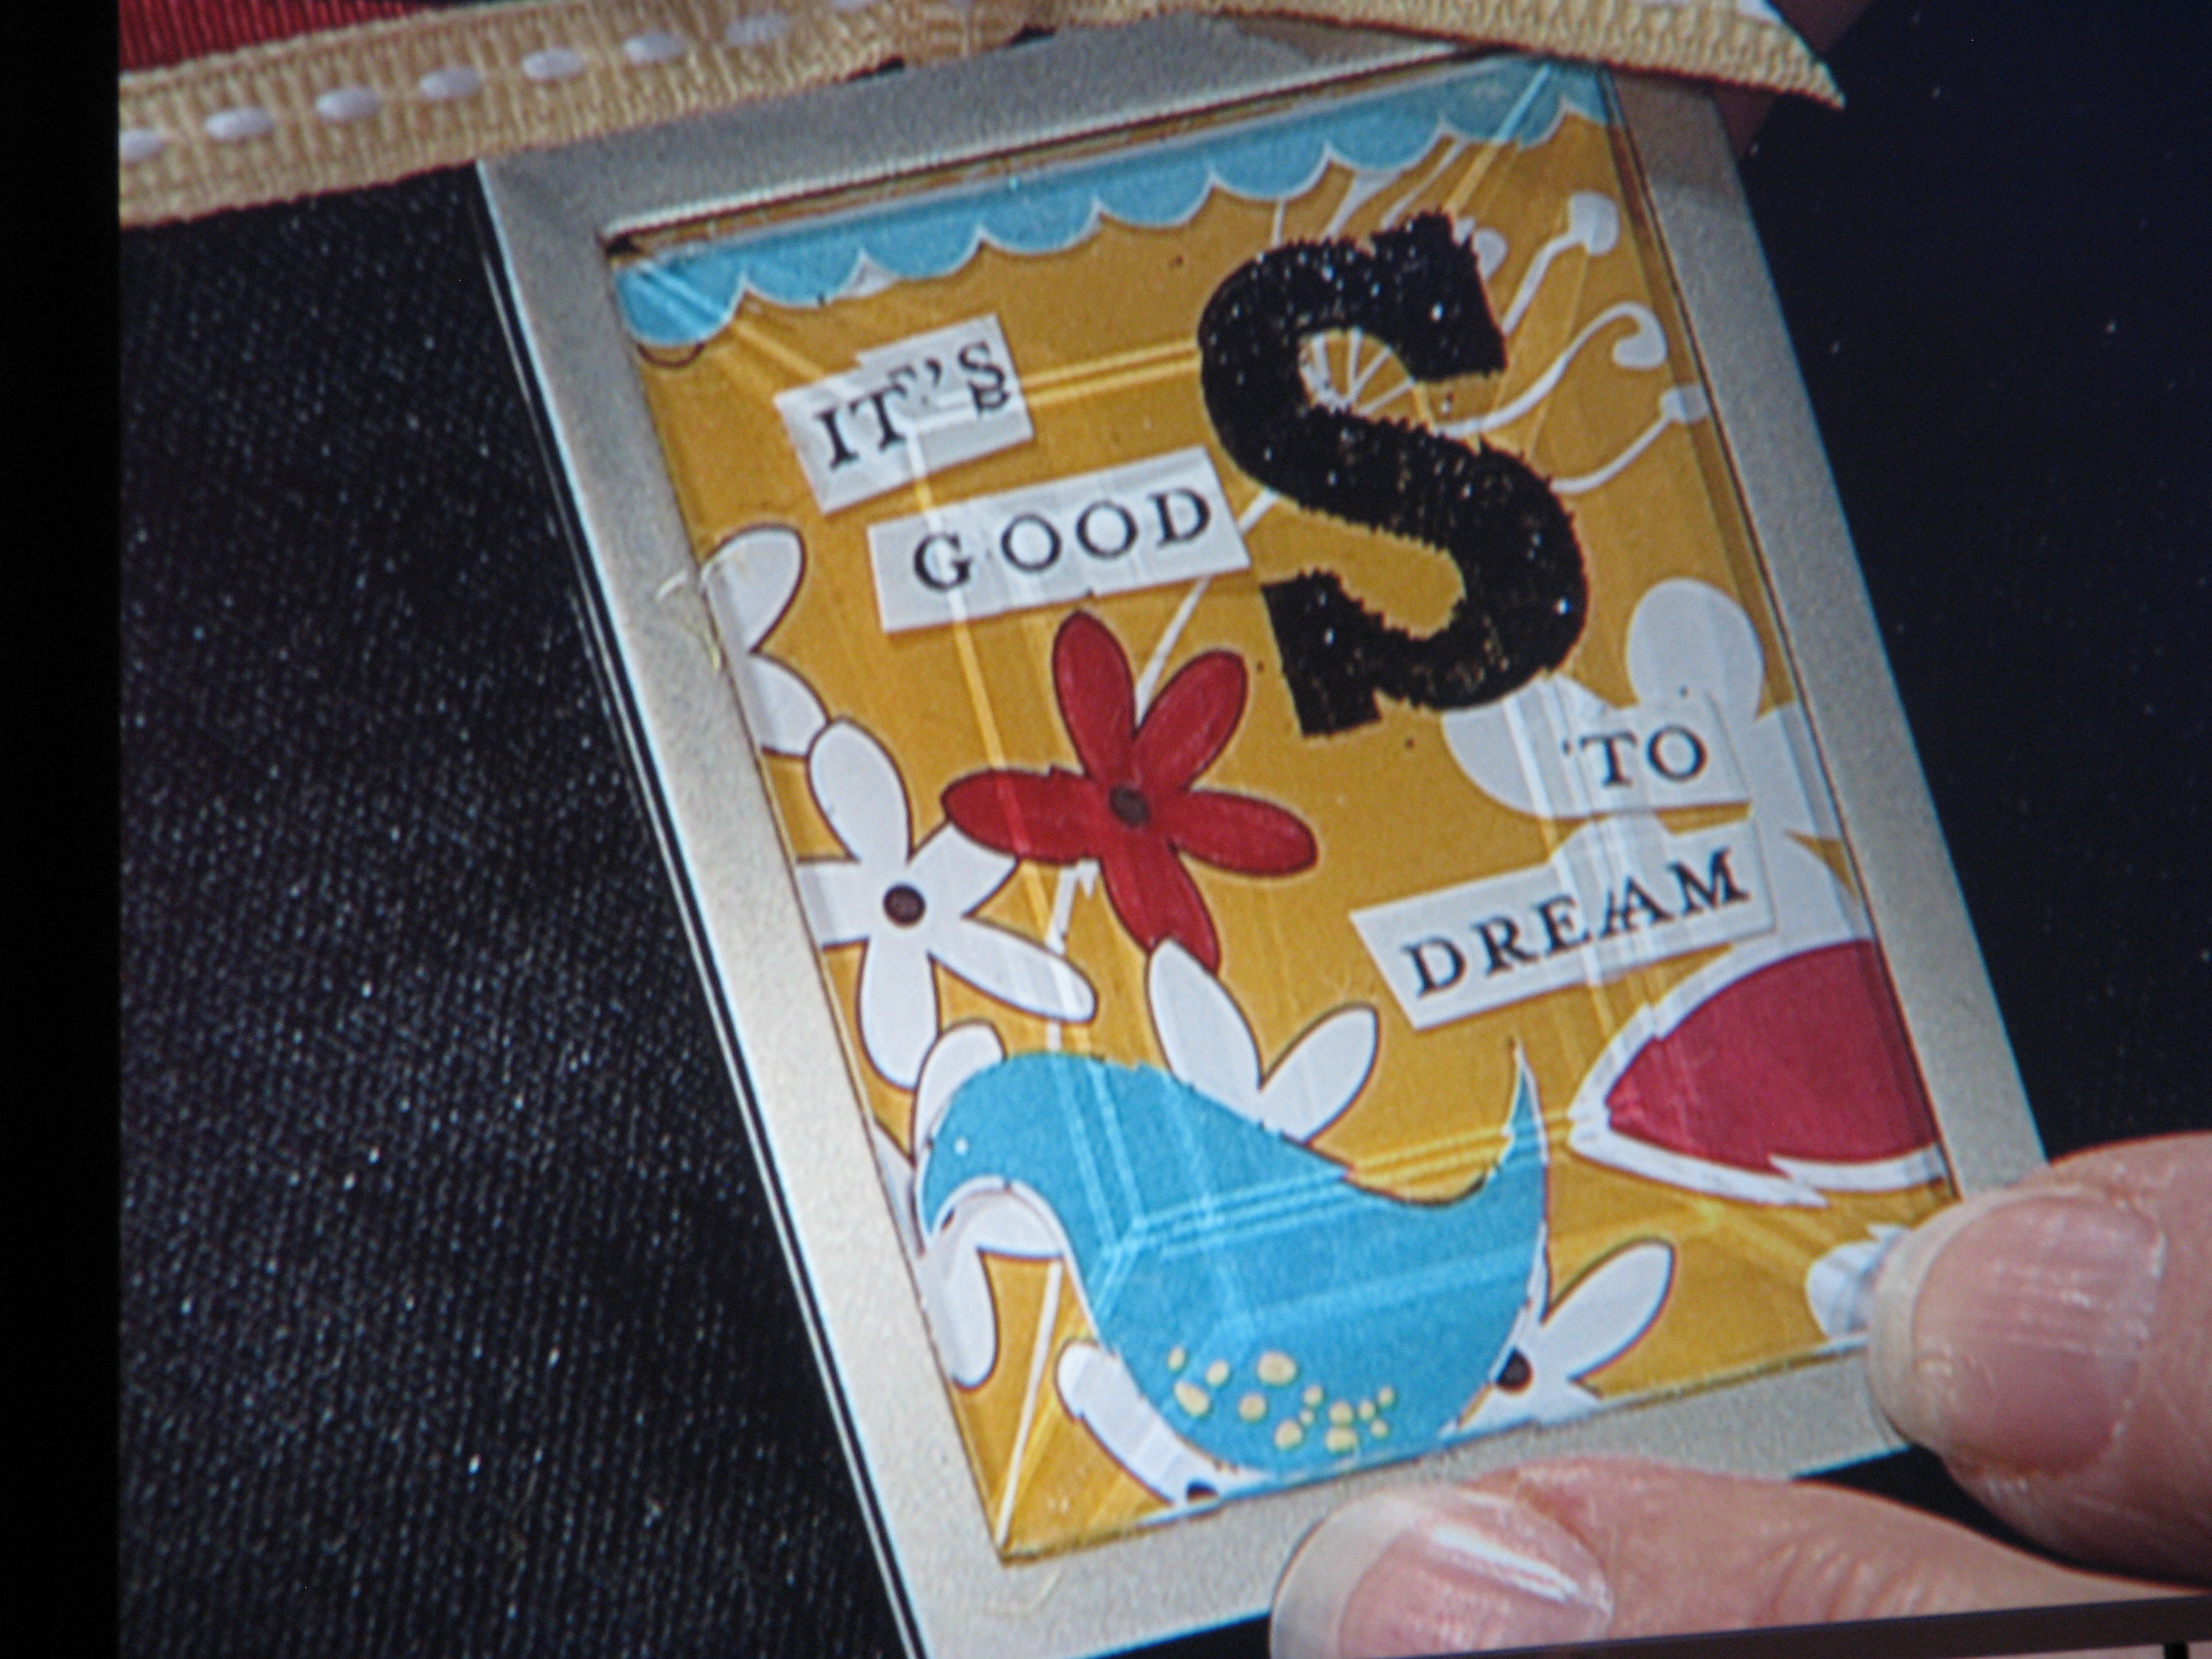
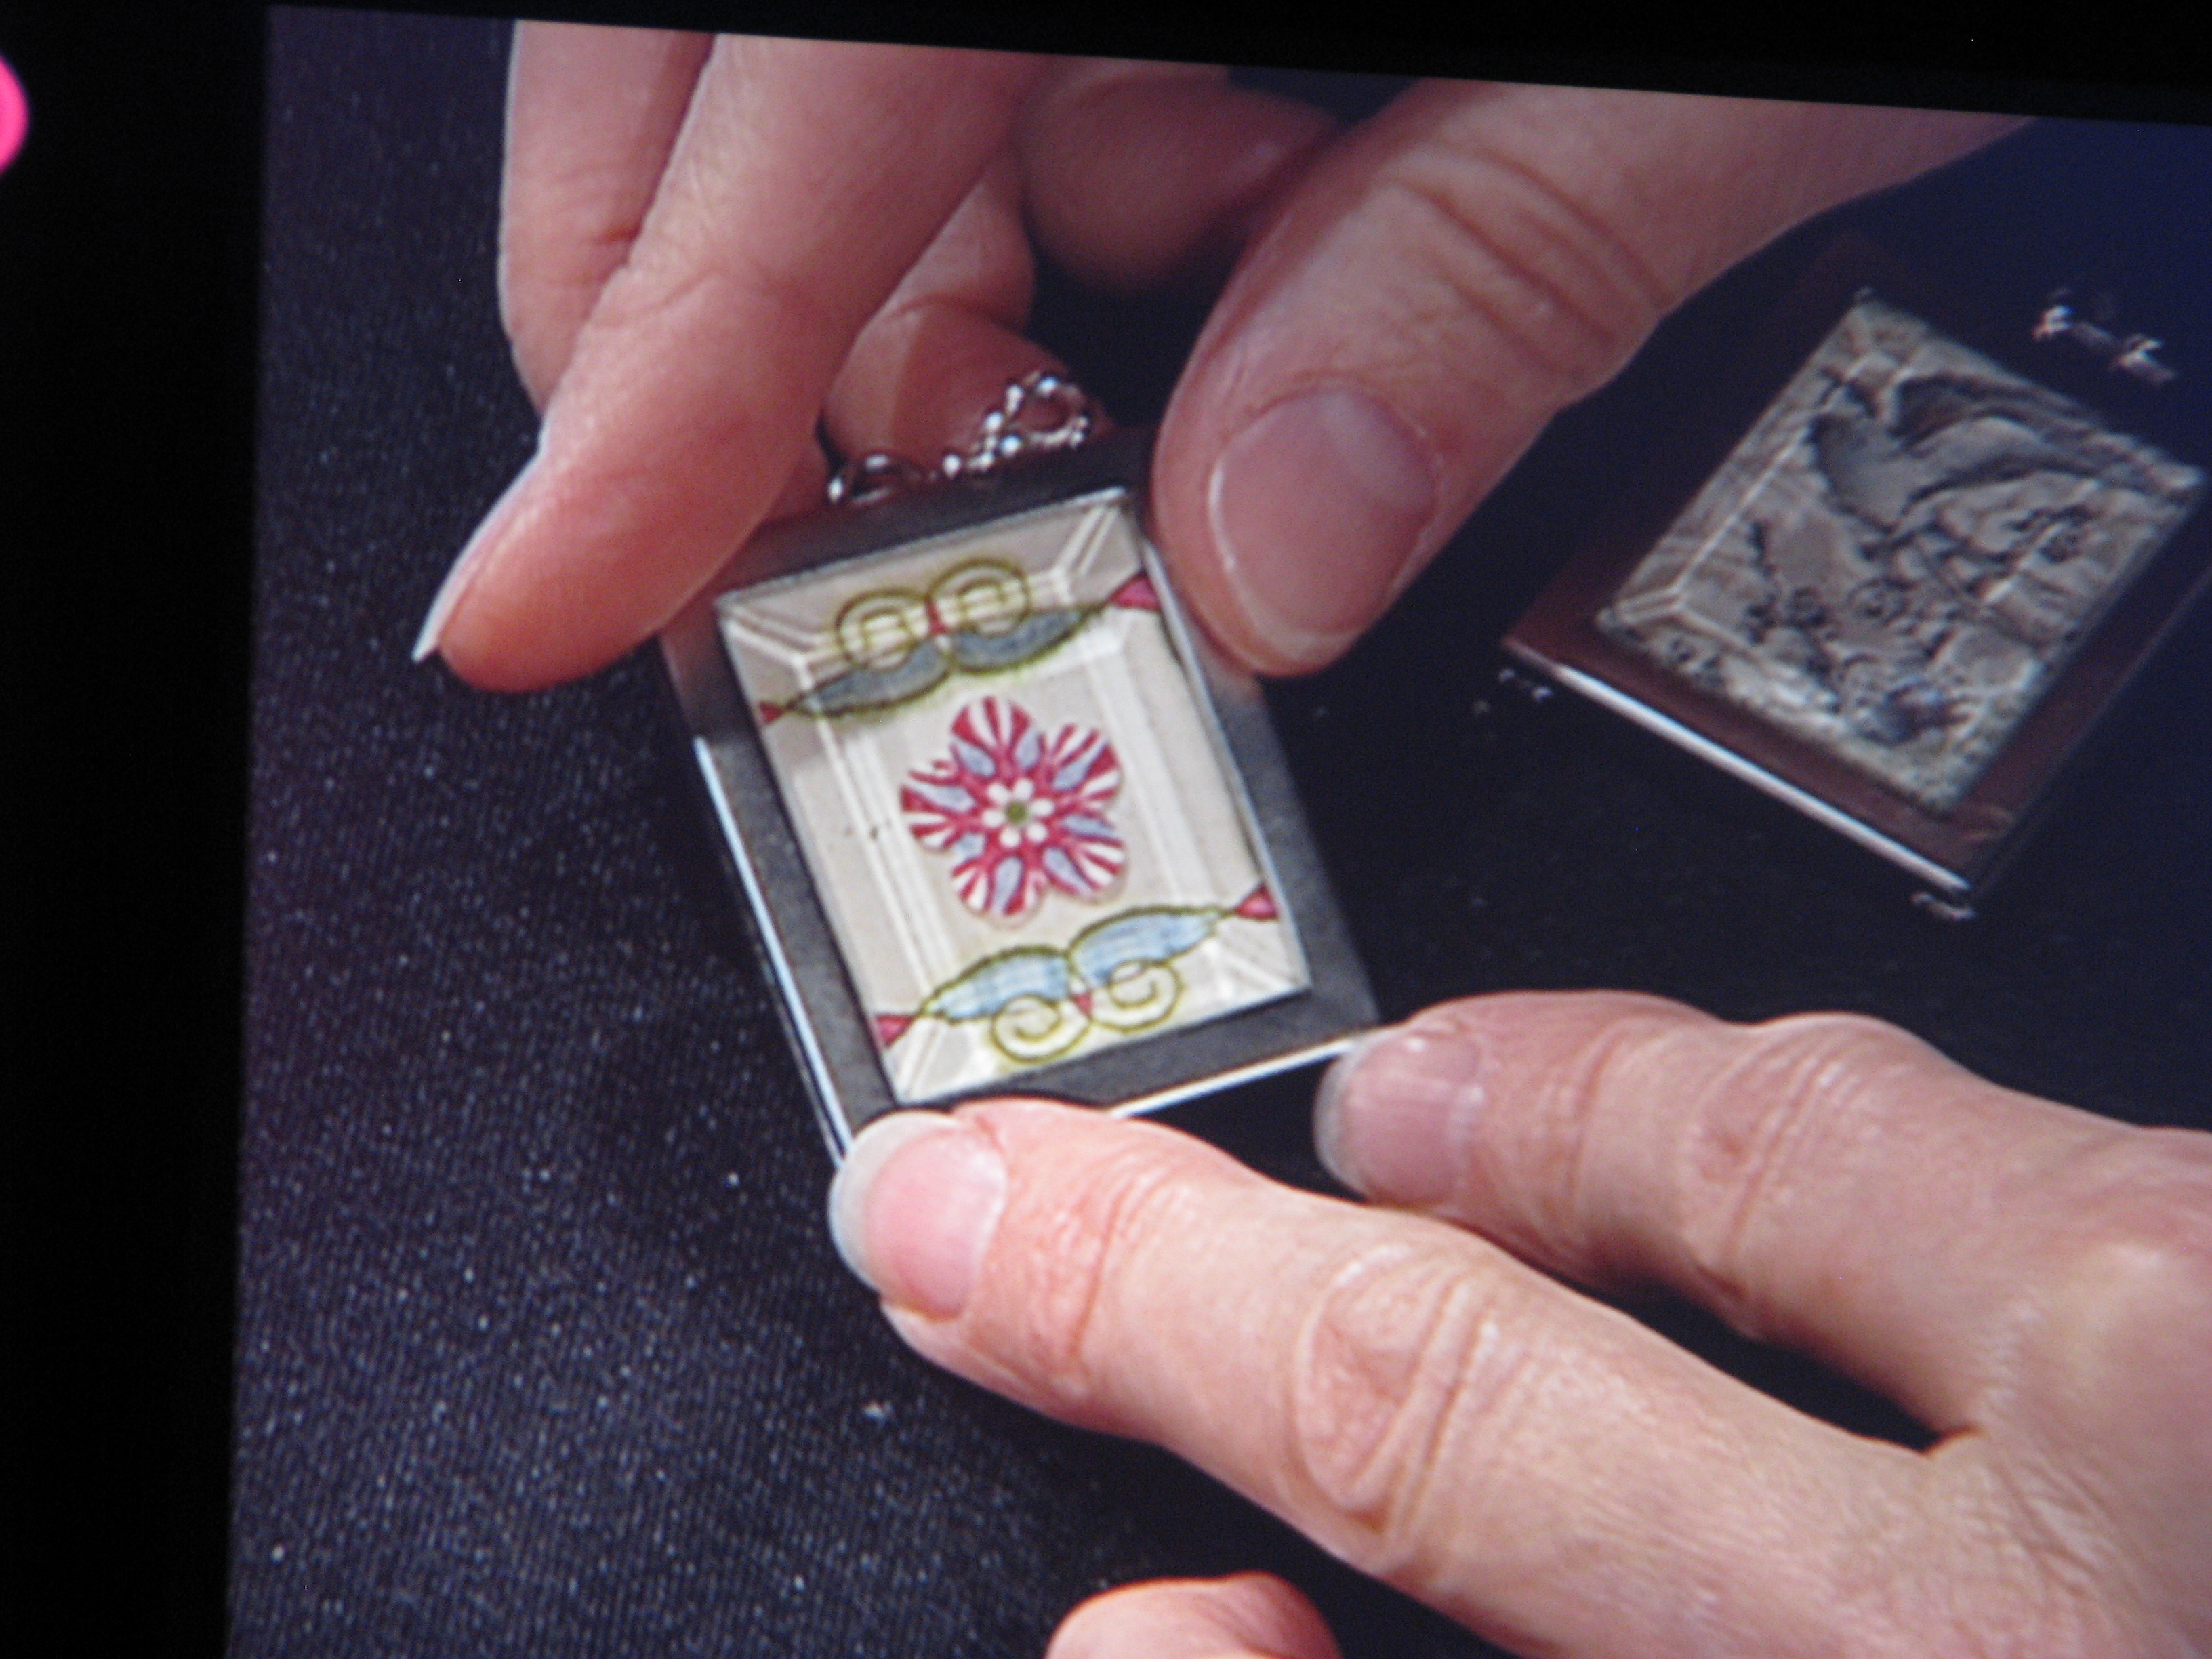
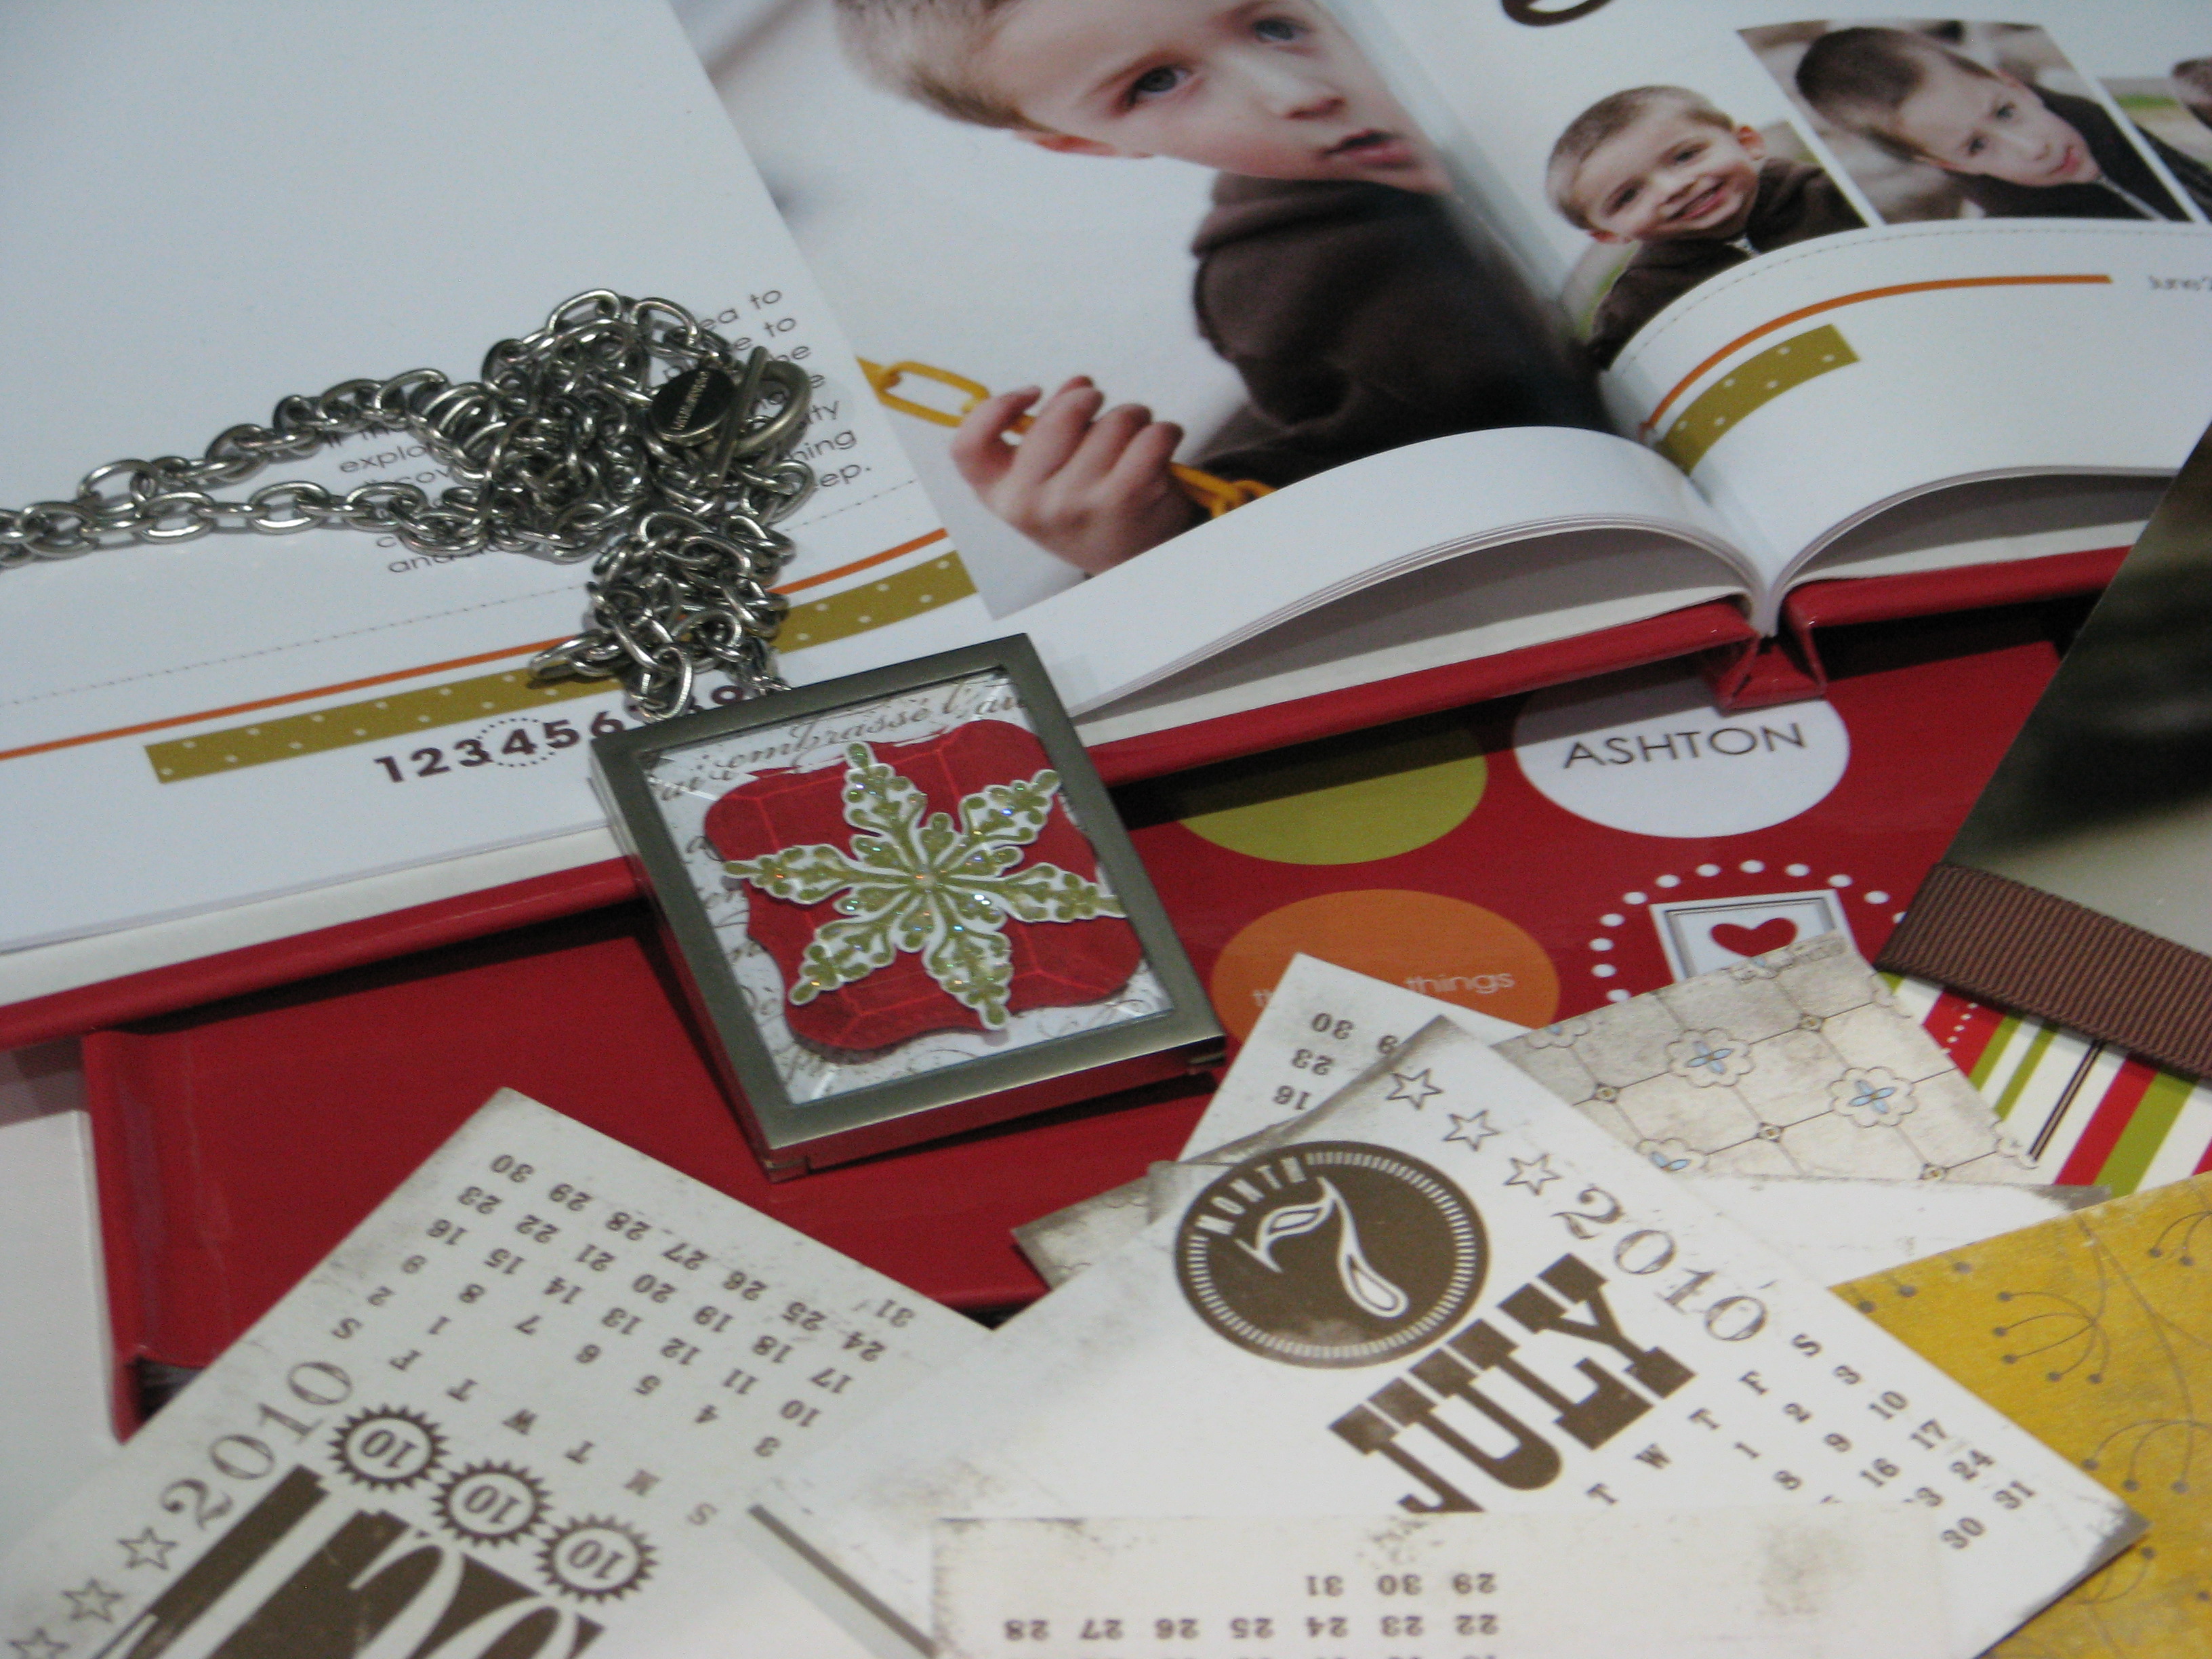
One of the new Simply Adorned Charms that is in the upcoming Holiday Mini. Shelli made a bunch of these for the "Prize Patrol" to give away, signed on the back! I dare say it was one of the highlights of Convention, for those who won one. Unfortunately, it was not me! They called out "Yellow…. (and I had a yellow wristband!)….Swirls!" Darn! So close, yet so far! But I will be ordering one (or more) because they are beautiful and you can change the artwork inside any time you want.
Another charm:
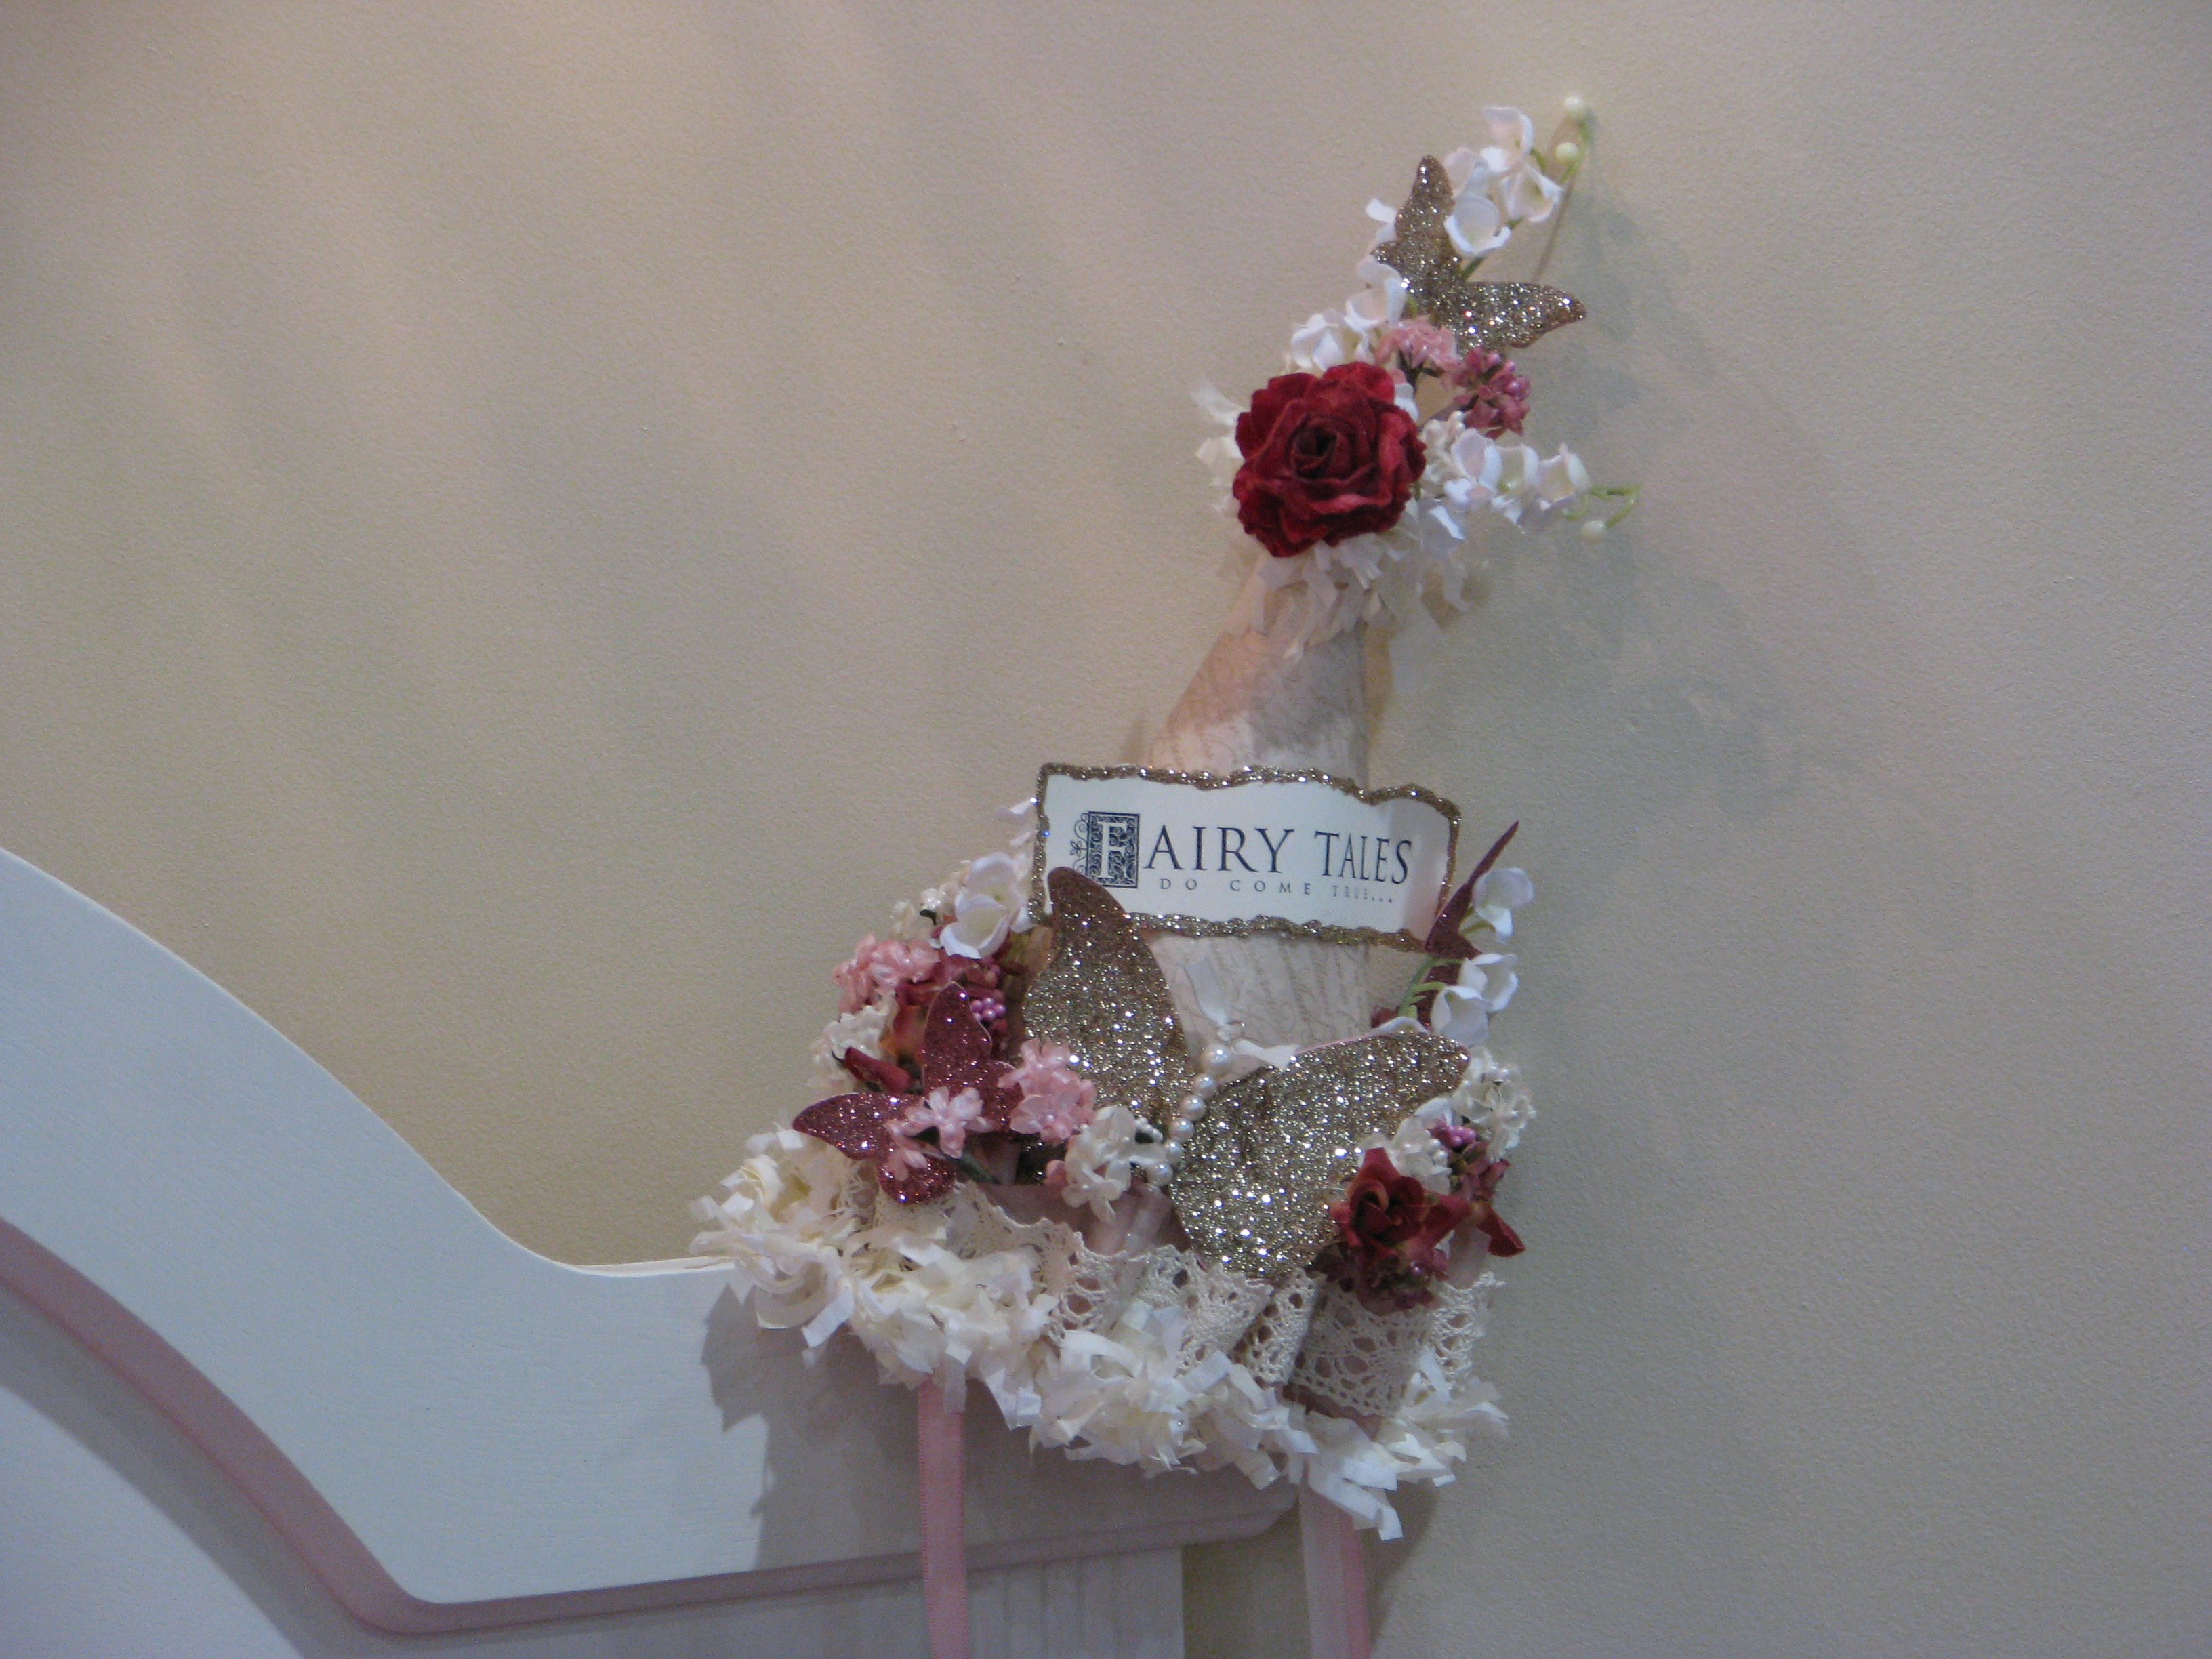
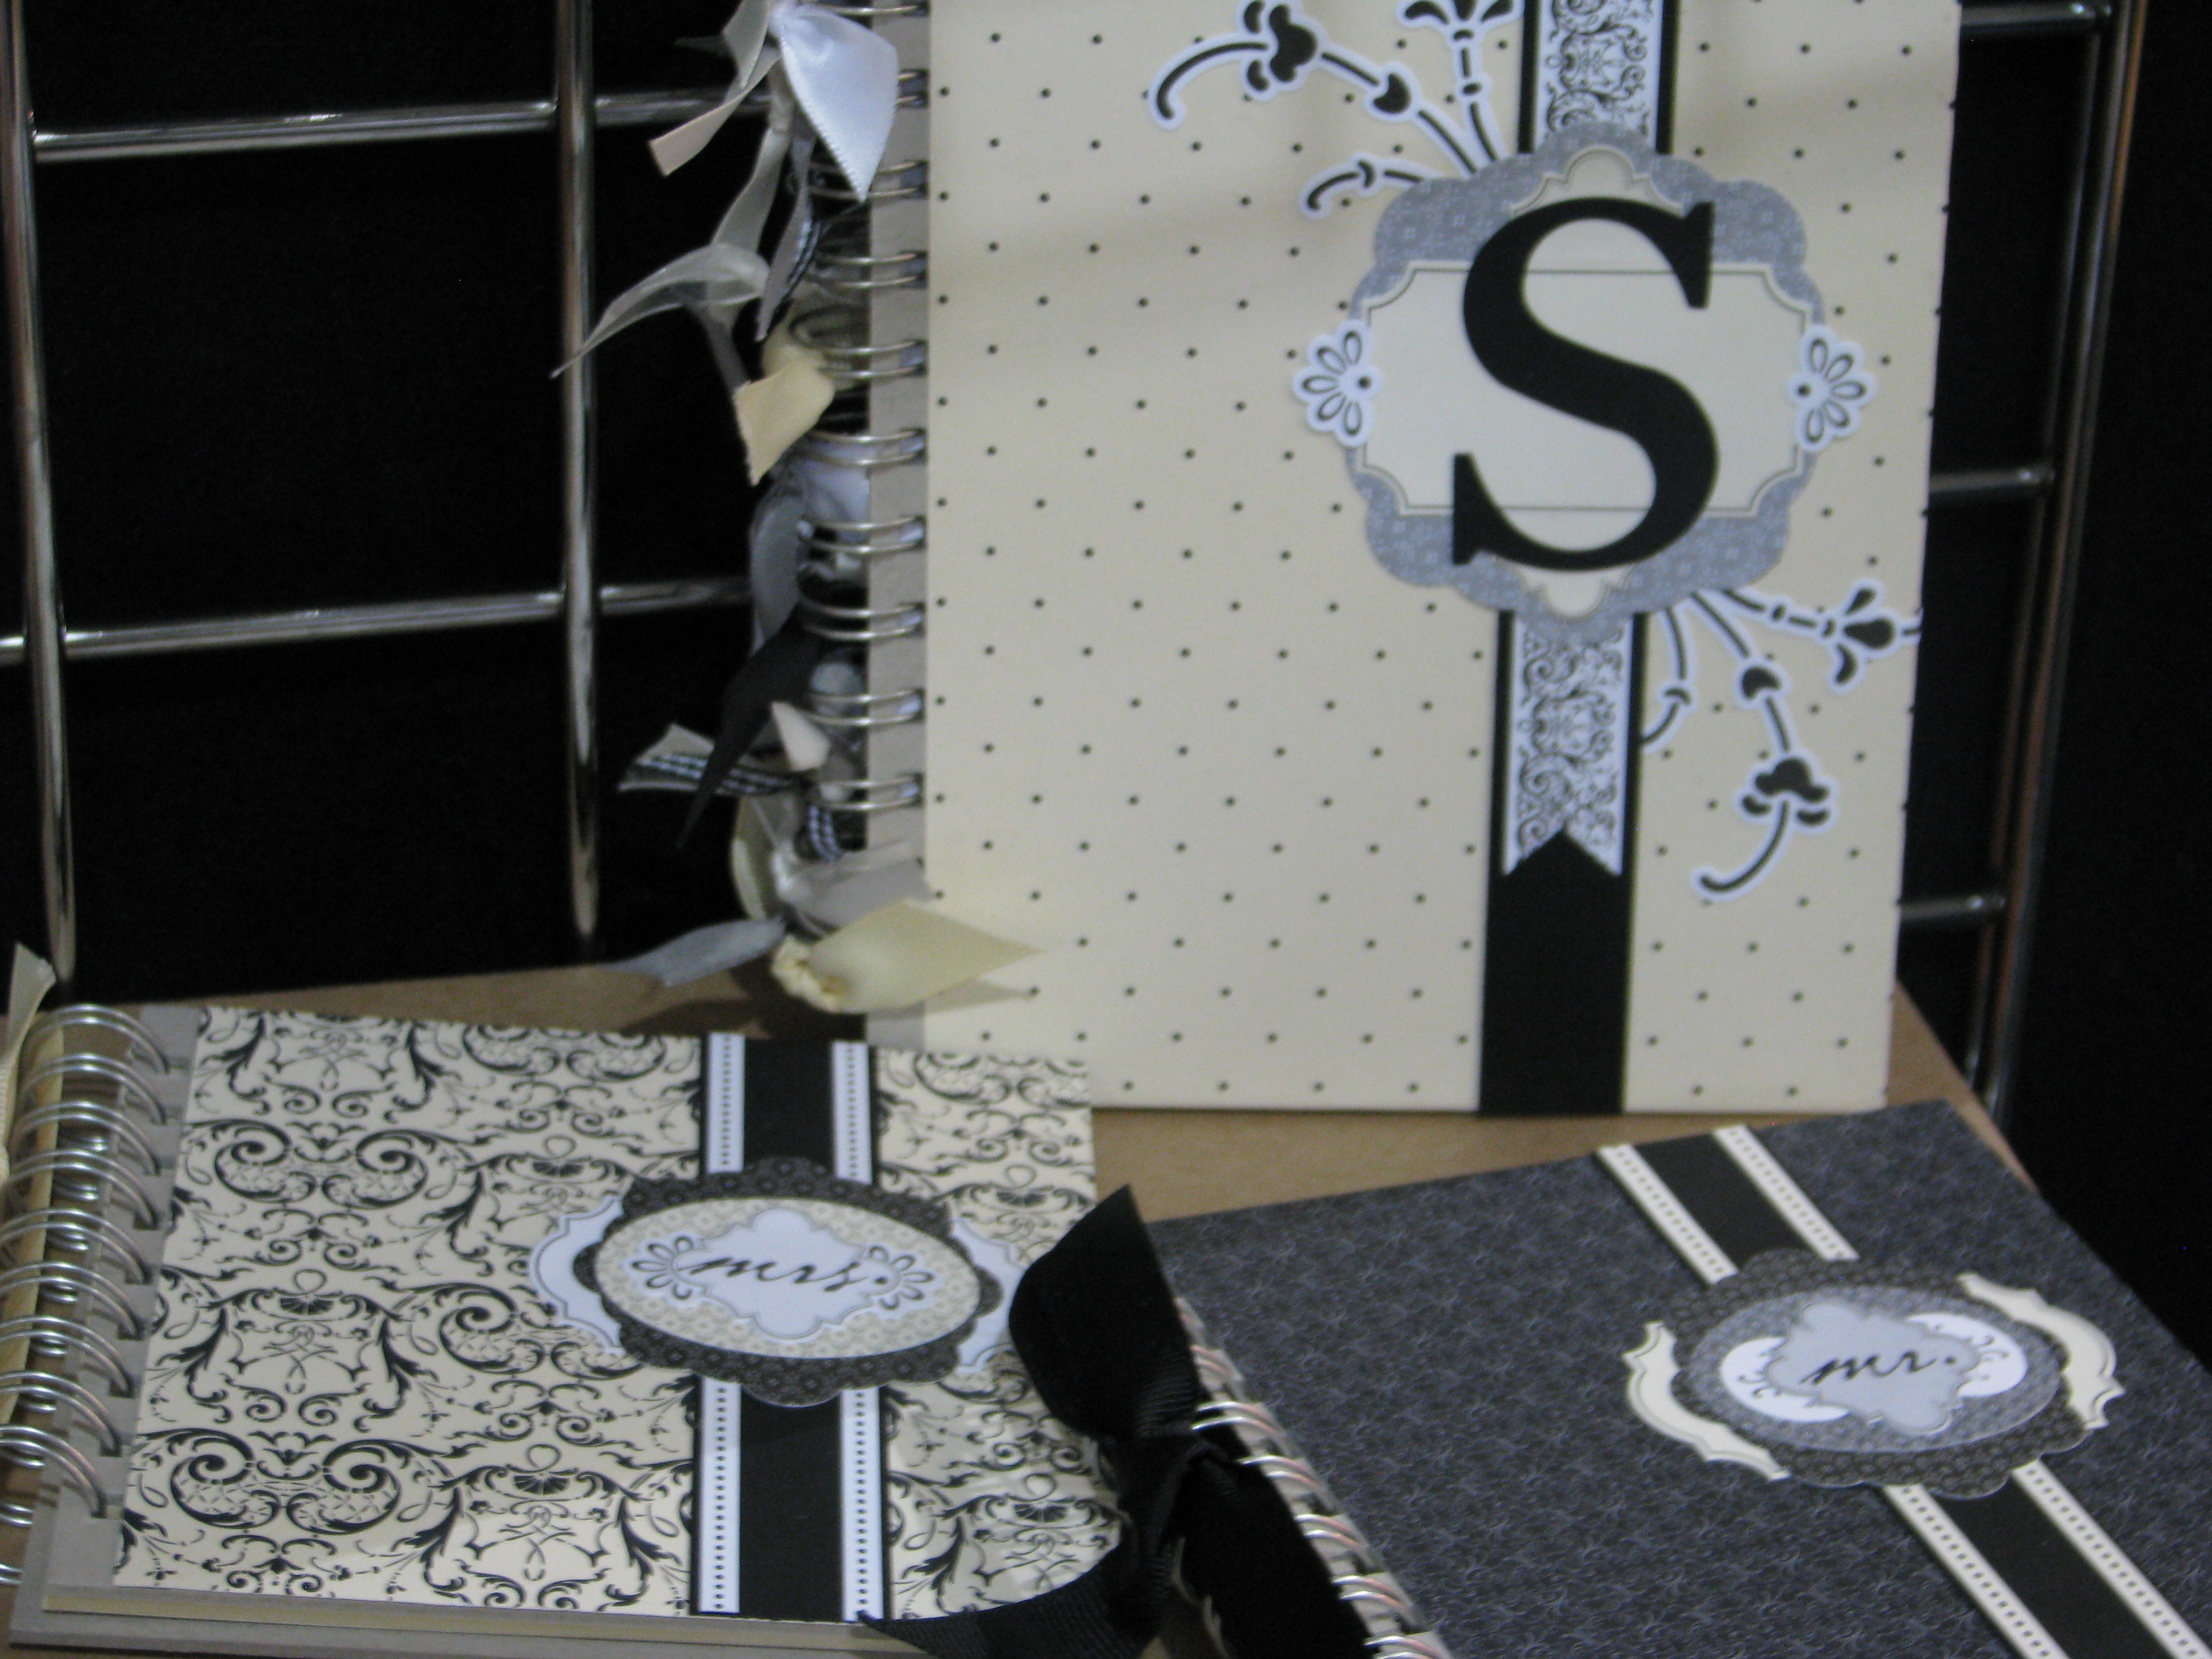
Wedding gifts: