Category Archives: 3-D, Gifts & Things

Decorating a Baby Gift Bag

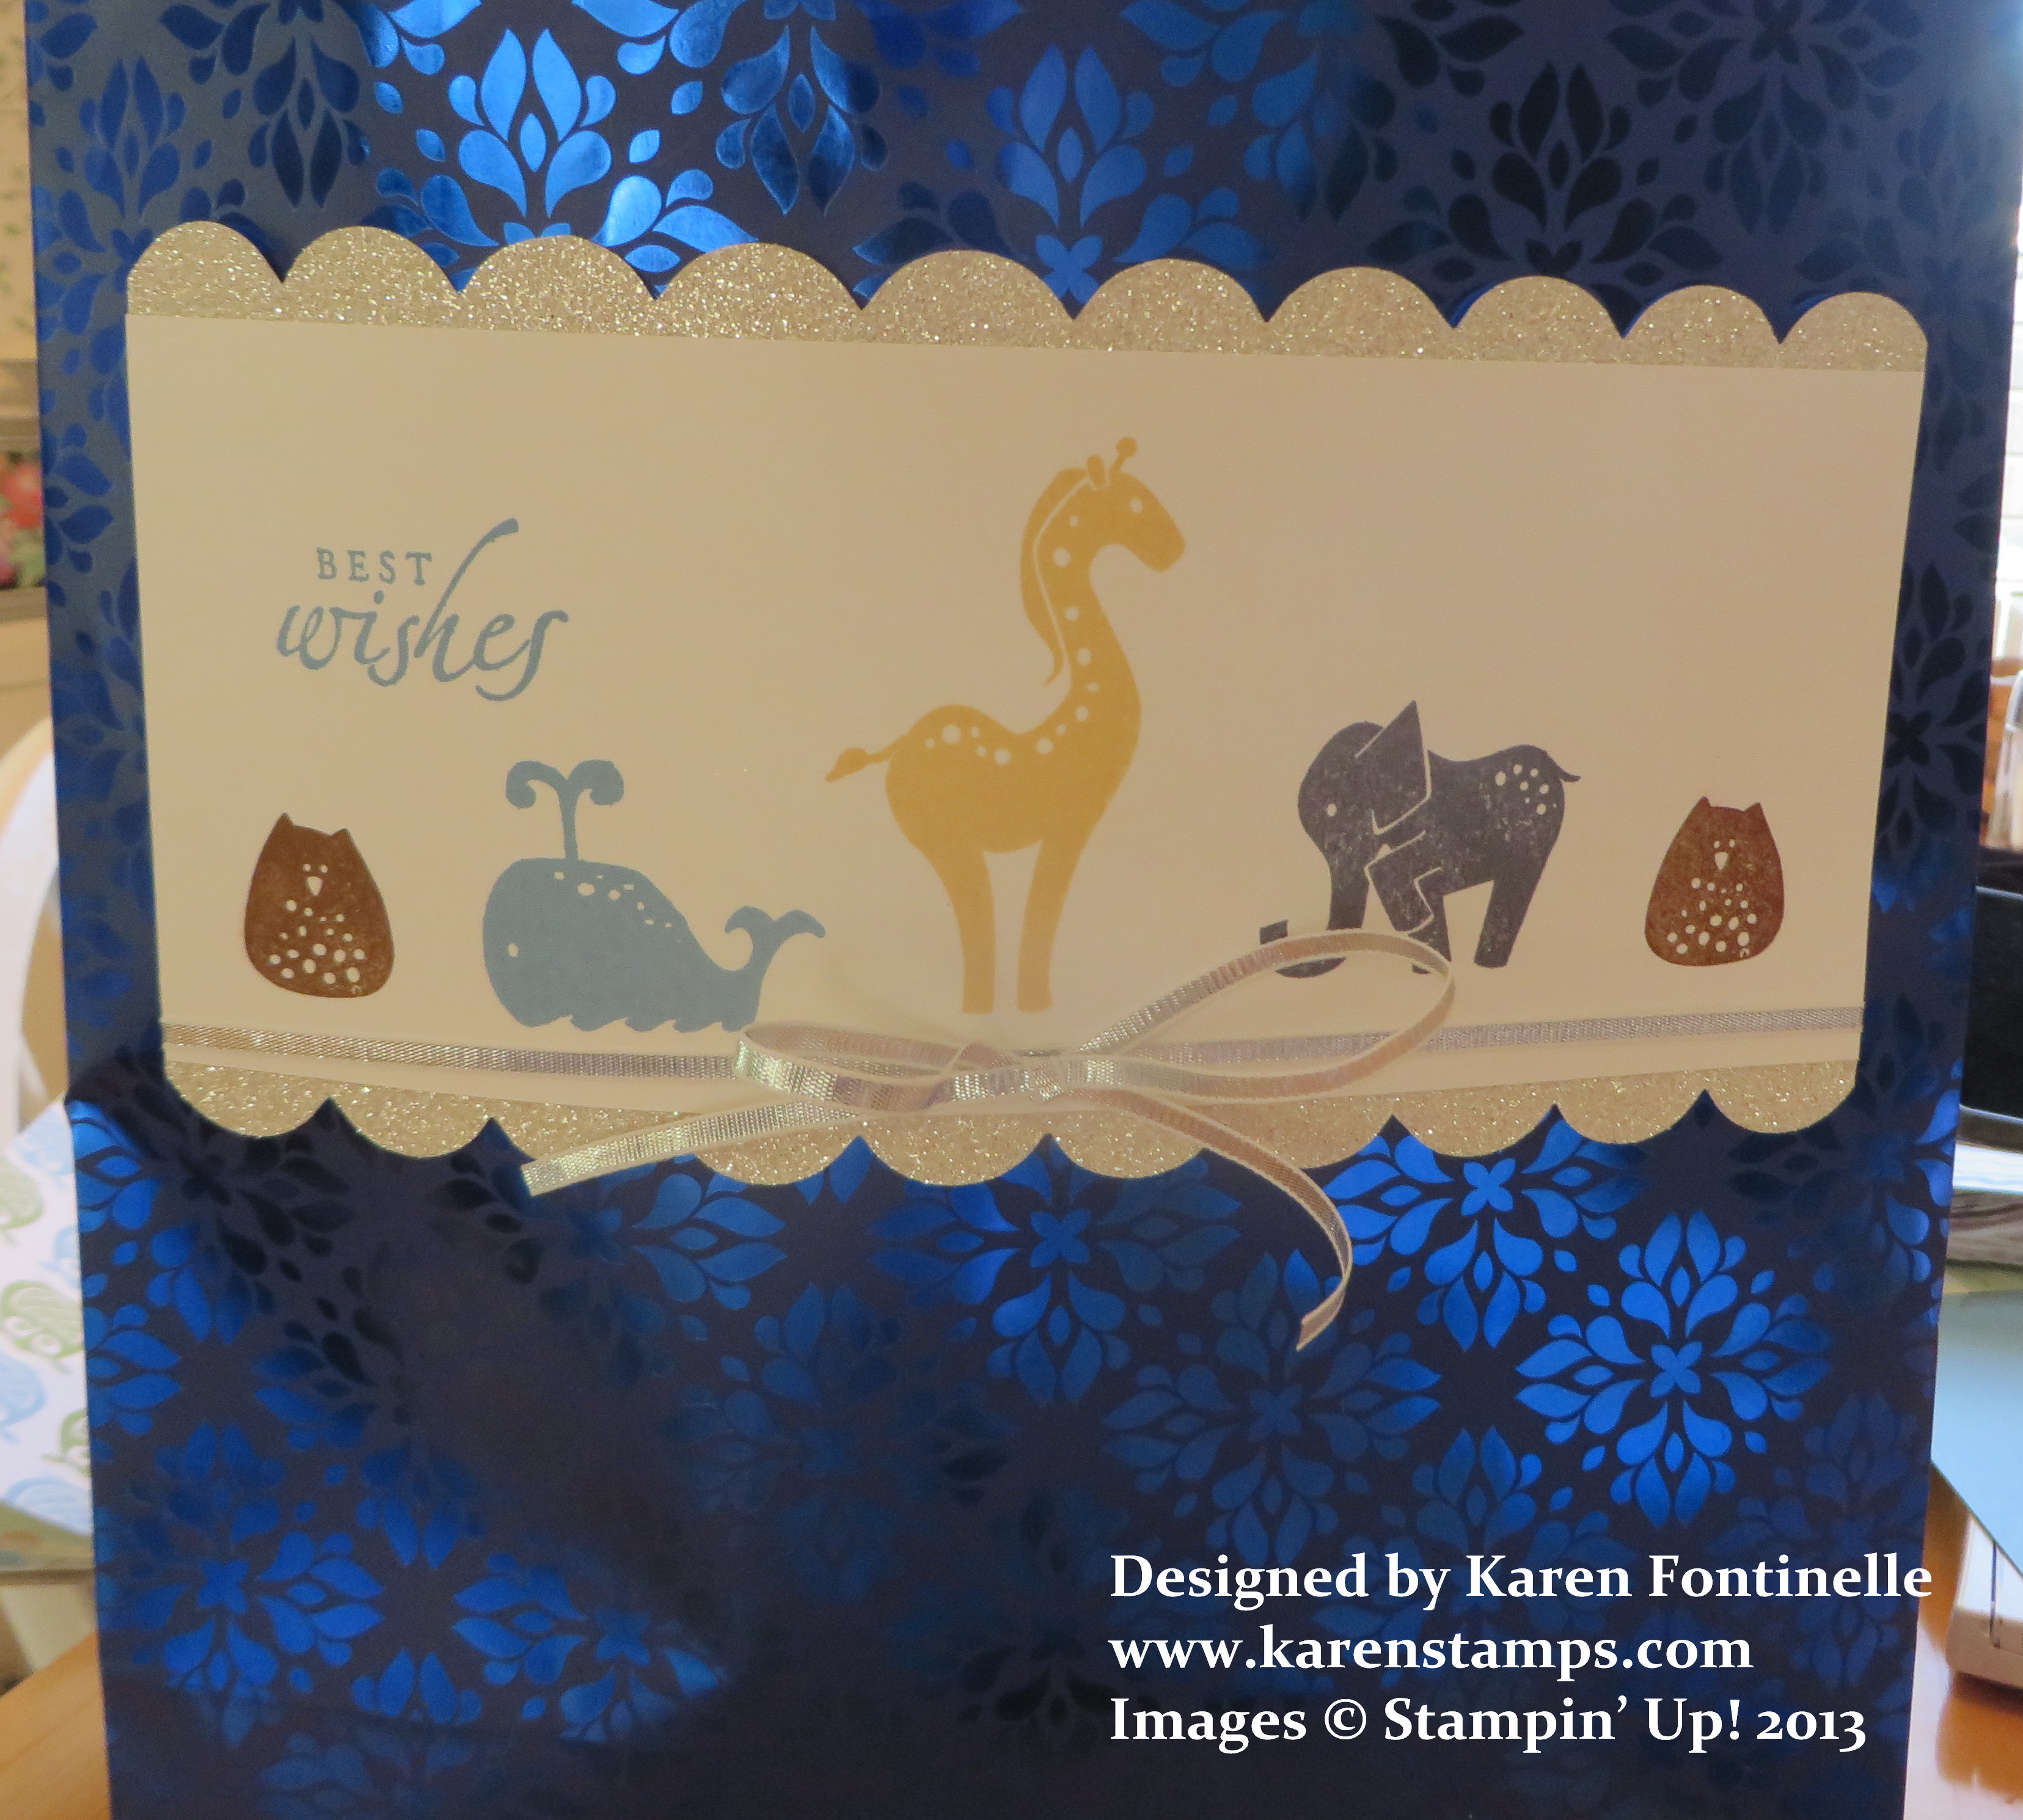
Decorating a baby gift bag

While I had this shiny blue gift bag, it needed something to be appropriate for a baby gift.  I just stamped a panel to put on the front of the bag. The animals are from the retired stamp set “Animal Stories” (do you have it in your stash?). Even the greeting is retired but from one of my all-time favorite, how-can-we-live-without-it stamp sets, “Sincere Salutations”. Of course the panel still needed some jazzing up. I used some pieces of the Silver Glimmer Paper die cut with the  Tasteful Trim Bigz Die for the top and bottom edges and tied some Silver 1/8″ Ribbon in the Holiday Catalog around the panel.

You can do this with any plain gift bags you have.  I like to save the handled gift-bag-type bags you sometimes get at stores or you can buy at the craft store. Then you can use those for gifts after you decorate them!

If you are looking for a similar cute animal stamp set, perfect for baby cards and gifts, try Zoo Babies available in wood- or clear-mount.

Decorated Halloween Candy Tin

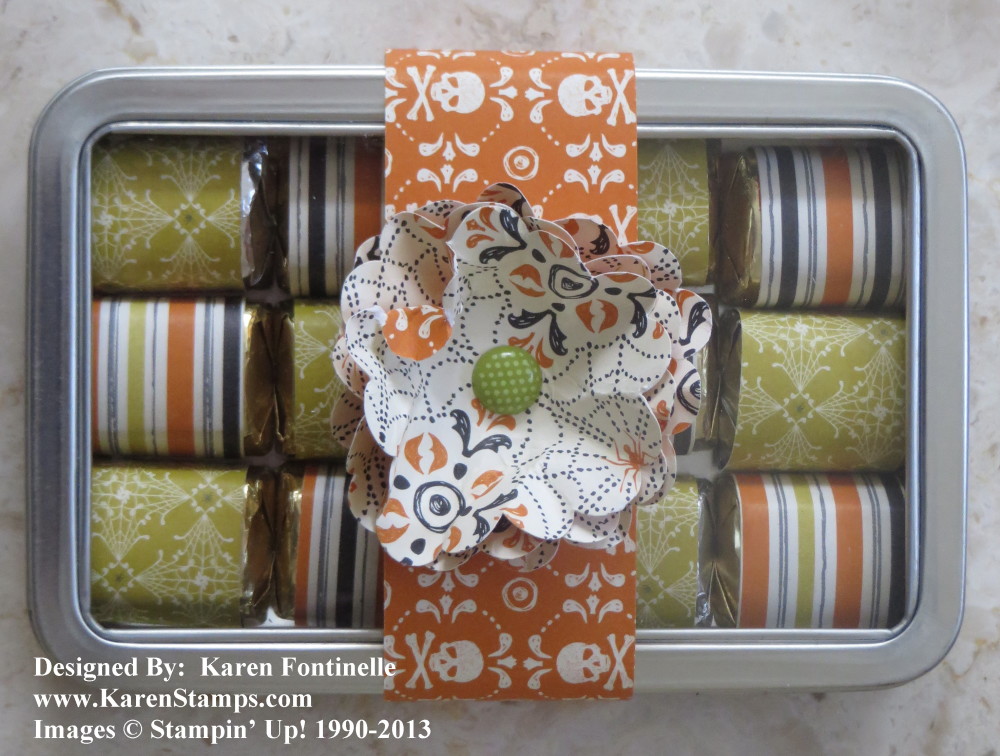
Halloween Candy Tin

What could be more fun than decorating some candy and a tin for Halloween? I had this tin with the clear window on top in my “stash” but if you couldn’t find an exact match, I’m sure any tin or container would do. I have always loved these tins because they make sure cute, quick and easy gifts to make up in minutes for someone. Of course you could use different types of candy or other contents in the tin, but this is just to give you some ideas!  I used Hershey Nuggets for my candy and wrapped each one with a 1″ x 3″ strip of designer series paper. You just want to be sure when using adhesive and candy that you don’t let the adhesive make contact with the candy. I just used a Mini Glue Dot to secure the strip of paper to itself so it is not attached to the candy piece.

To decorate the tin, I just took a strip of designer paper and wrapped it around the tin for a bellyband. You could also layer it on a strip of card stock if you wanted. For the flower on top, just use one of the flower punches to punch about three or more flowers or even one of the scallop punches. Crinkle up each layer of the flower if you like that look, then reopen and layer one on top of the other.  Secure in the center with a brad of some sort (looks like I used a retired one!). Adhere to the bellyband with Stampin’ Dimensionals or Mini Glue Dots.

The Witches’ Brew Designer Series Paper was used in this project. My friend I gave this gift to really liked the little skulls on the paper!

If you would like some Witches’ Brew paper for your Halloween projects and cards, now is the time to order some! Just go to my Stampin’ Up! Online Store here for all your stamping supplies!

***Don’t forget the 25% Off 25 Stamps Offer only available through October 28th!***

Halloween Framed Art for a Friend

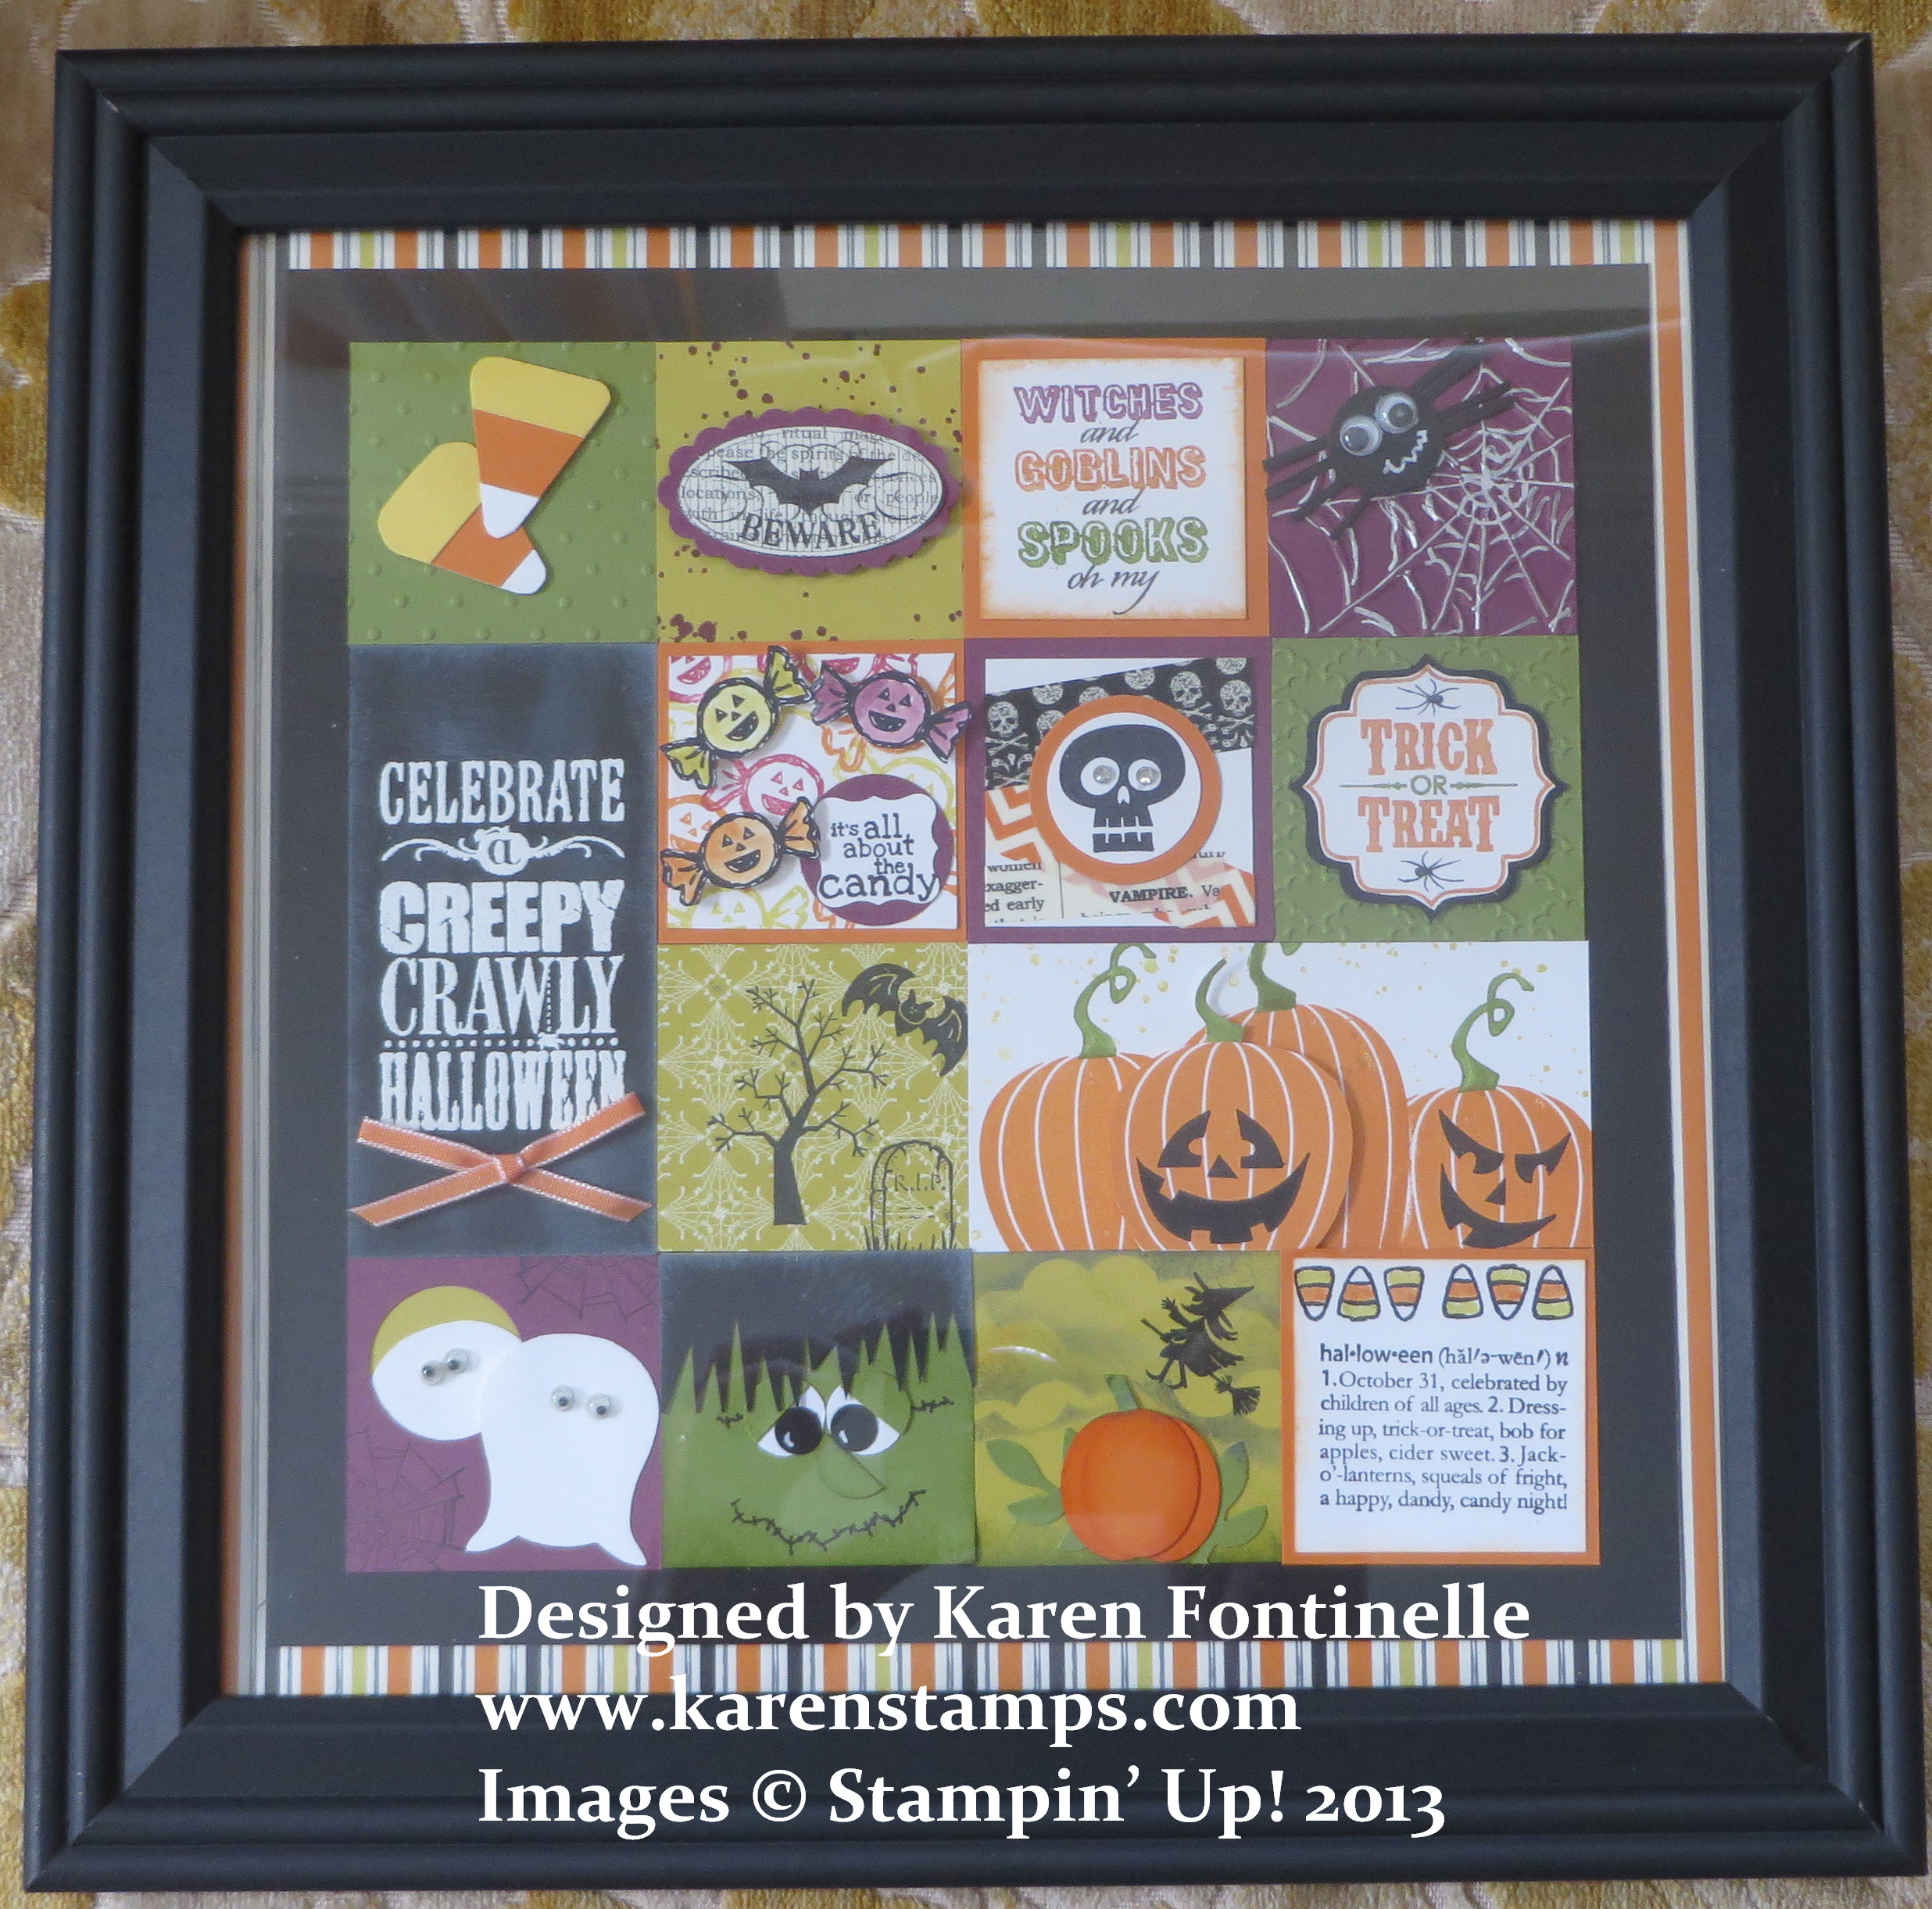
Halloween Framed Art

We got back home Saturday from a wonderful fall vacation to Michigan! There has been no sign of fall here in Houston, Texas except for the date on the calendar, so to see REAL fall, with colored leaves beyond expectations, cooler (okay, sometimes COLD!) weather, that overcast fall look was just a wonderful change! The people up there decorate for fall, not just Halloween, because it IS fall there!  I saw so many pumpkin stands and corn shucks and fall flowers plus Halloween decorations. I loved it all!

The Halloween framed art above was a gift for my friend we were visiting. I happened to have a frame with a square opening of 10″ x 10″  so I was able to use 2″ squares for the “art”. As you can see, I made two elements 2″ x 4″ to fit into the design.  Some of the stamps were retired ( I couldn’t resist going through some of my “old” Halloween stamp sets) and some designs were ideas I got online or at least got me started on my own ideas.  It was fun to make and an easy project for anyone to make.  Make it as small or large as you want.  Check to see what picture frames you already have in your stash and start there.  You could do something with four squares or 16!  Whatever you like! There’s a glare because I did put the glass in the frame but you can also omit the glass, especially if you want to put a lot of 3D layers on your art.

I’ll tell you more about my trip when I get all the photos sorted out. The trees were unbelievably gorgeous – if they weren’t at “peak” color, I don’t know how they could be any more beautiful. A lot of my photos were shot through the car windshield or passenger window, sometimes through the windshield wiper and raindrops!  Here’s a sneak peek of some trees along the highway when we first arrived!  I just held my camera in my hands at all times as we were driving!

Fall trees in Michigan

Make Your Own Holiday Gift Tags Easily and Early!

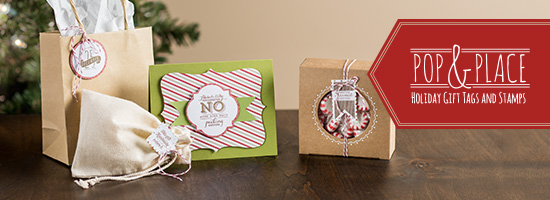
Pop & Place Holiday Gift Tags

Images copyright Stampin’ Up! 2013

The other day I told you about the new Stampin’ Up! Pop & Place Holiday Gift Tags and the coordinating Christmas Tagables Photopolymer Stamp Set and the combination bundles you can purchase. These all look to me like a fun way to get a head start on your gift wrapping by making these tags NOW so they will be ready when you start wrapping your holiday presents!

Watch this video from Stampin’ Up! that shows you what you get with this new product and then go to my Stampin’ Up! Online Store to place your order!

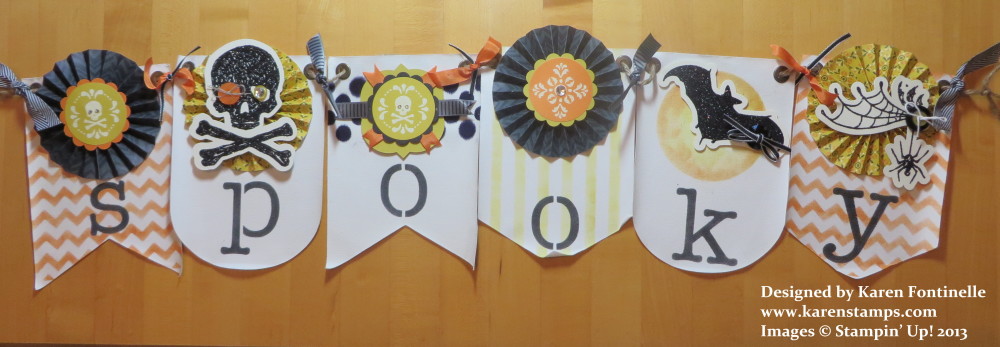
Simply Created Spooky Halloween Banner

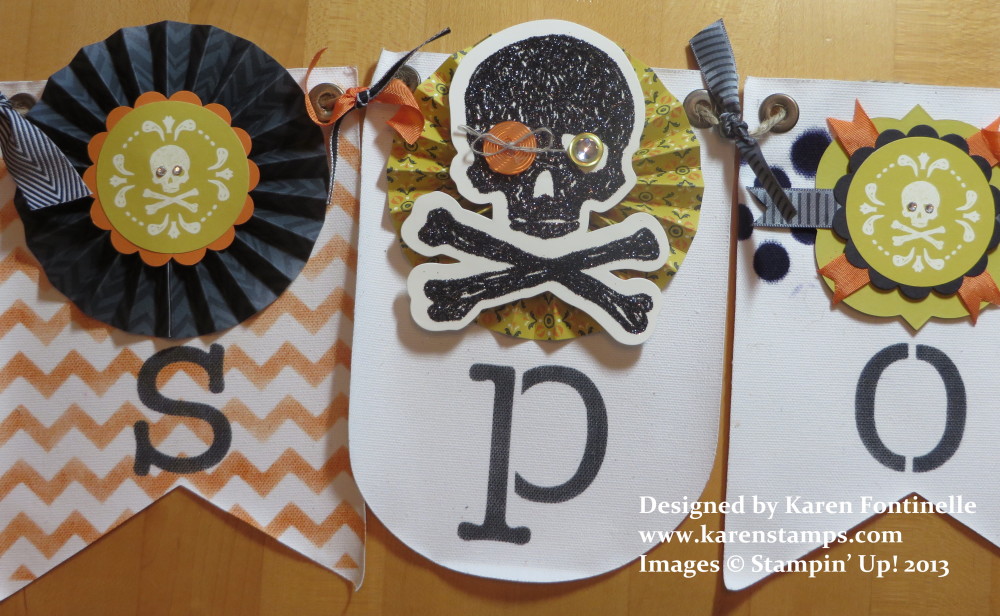
Spooky Halloween Banner

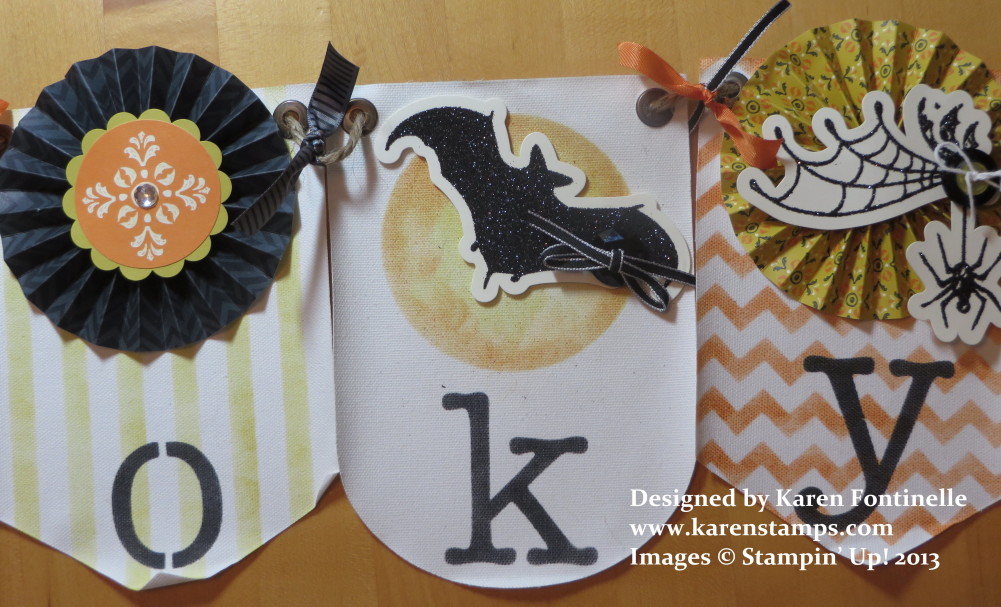
One thing I easily passed up in the Holiday Catalog  was this Build a Banner Simply Created Kit.  But after seeing several banners created at the Stampin Up! Convention this summer, it was one of the first things to go on my next order!  The Build a Banner Kit has the canvas pennants with grommets and all the stencils.  All you need to do is decorate it!  To make that easy for you, purchase the Halloween Banner Simply Created Accessory Kit and you’ll have everything you need!

I found it worked well to use Sponge Daubers to dab on the ink from the ink pad over the stencils onto the pennants.  Most videos show using alcohol and reinkers sprayed on (lightly!) with the Spritzers, but some people were having trouble with that, and it just seemed easier and cleaner to use the sponge daubers.  I think the Black Stazon works better than the Basic Black, although then you have to scrub that Stazon off the stencil!

This might look like a complicated project, but I really found it pretty simple and quick.  I could have made two more rosettes on my own, but I mostly stuck with what came in the kit, although I used my own modifications a little bit.

Put these supplies to make a Halloween banner on your next order!  I’m sure you will enjoy making one!

Here are some close-ups!  You can use your own imagination and decorate yours how you like.

Spooky Halloween Banner close-up

Spooky Halloween Banner Close-up end

Please order your supplies on my Stampin’ Up! website HERE or contact me with your order.

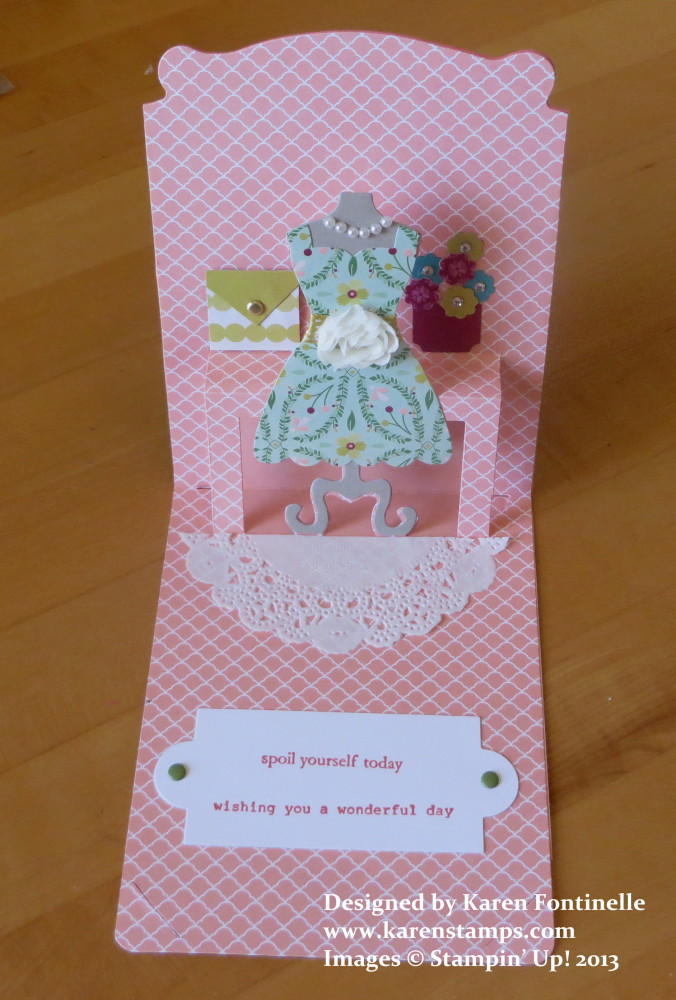
Pop’ N Cuts Dress Form and Card Base Birthday Card

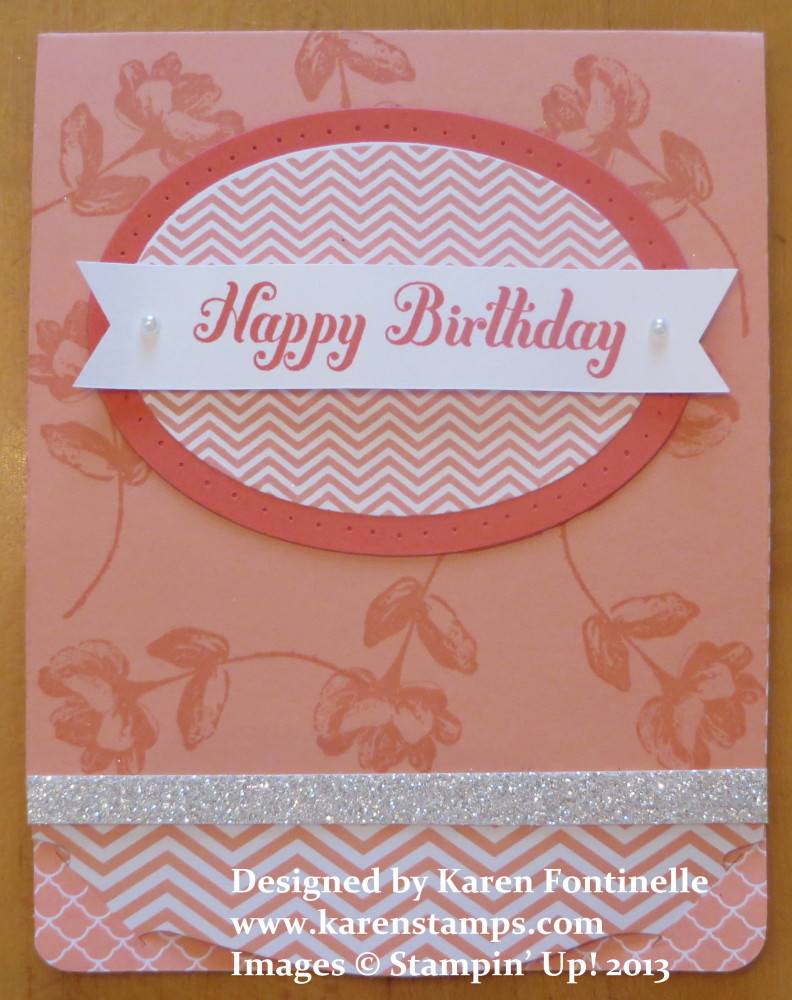
Pop n Cuts Birthday Card

These Pop’ N Cut Dies were introduced in the Stampin’ Up! Spring Catalog and honestly, I didn’t pay much attention to them.  I think I had already added so many things to my order that by the time I got to their page in the catalog I wasn’t interested. I didn’t take any time to see what they were about, although I did order the Dress Up Framelits Dies.  Those seemed easy enough.

But then as so often happens, I started to see really cute things other people made and also watched some videos made by the designer of the dies, Karen Burniston. That’s when I put them on my next order!  The shape of the Card Base Pop’ N Cuts Die is a Stampin’ Up! exclusive, made with the decorative edge and made so you can tuck it into the slits to close. You can use just this without the pop up portion.

Pop n Cuts Birthday Card Inside

The pop up portion is easy to do once you get the hang of it. You want to be careful not to fold things that shouldn’t be folded.  In order to get the pop up going, it works best if you get your fingers behind that table part and then you will see and feel where the score lines are and how to get the pop up to pop up!

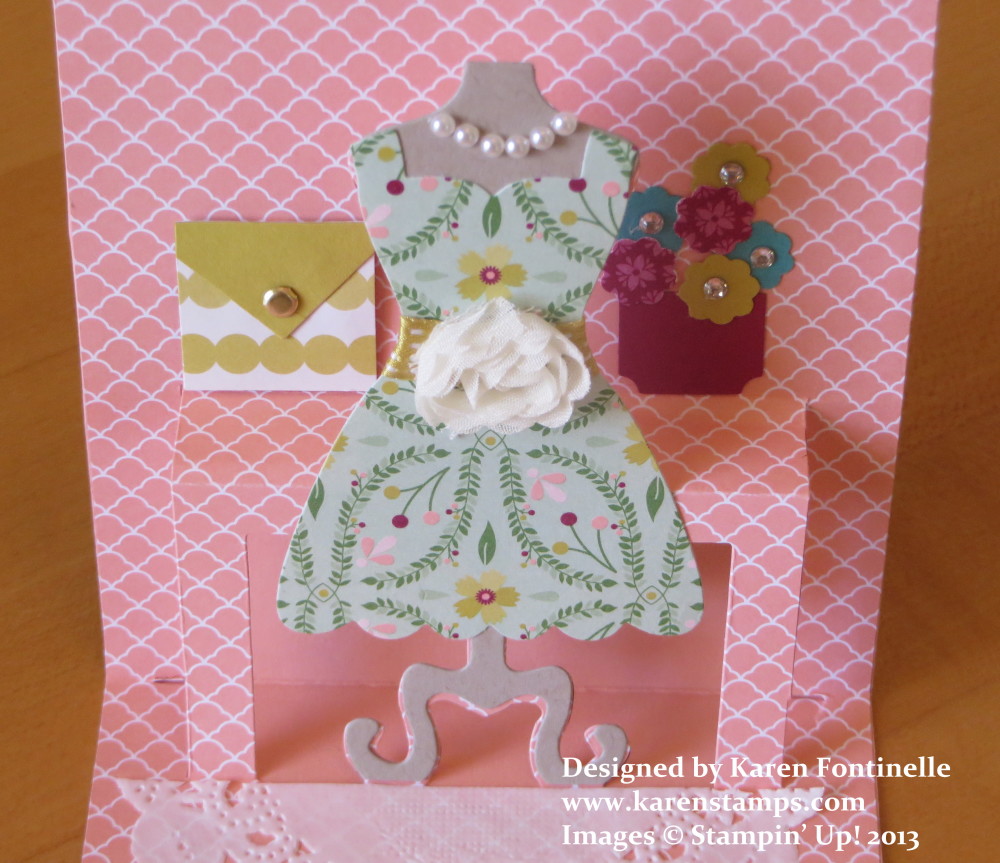
Dress Form Pop n Cuts Inside Card

Once you get the pop up popped up, you can adhere it to the card base.  Just be careful to see where the adhesive should go and shouldn’t go.  I haven’t gotten the hang of that yet! Even though I think I’m being careful, I always get adhesive where it shouldn’t be!  But as long as you pay a little bit of attention, you’ll be okay!  Then you can embellish and decorate your card however you like on the inside and on the front!

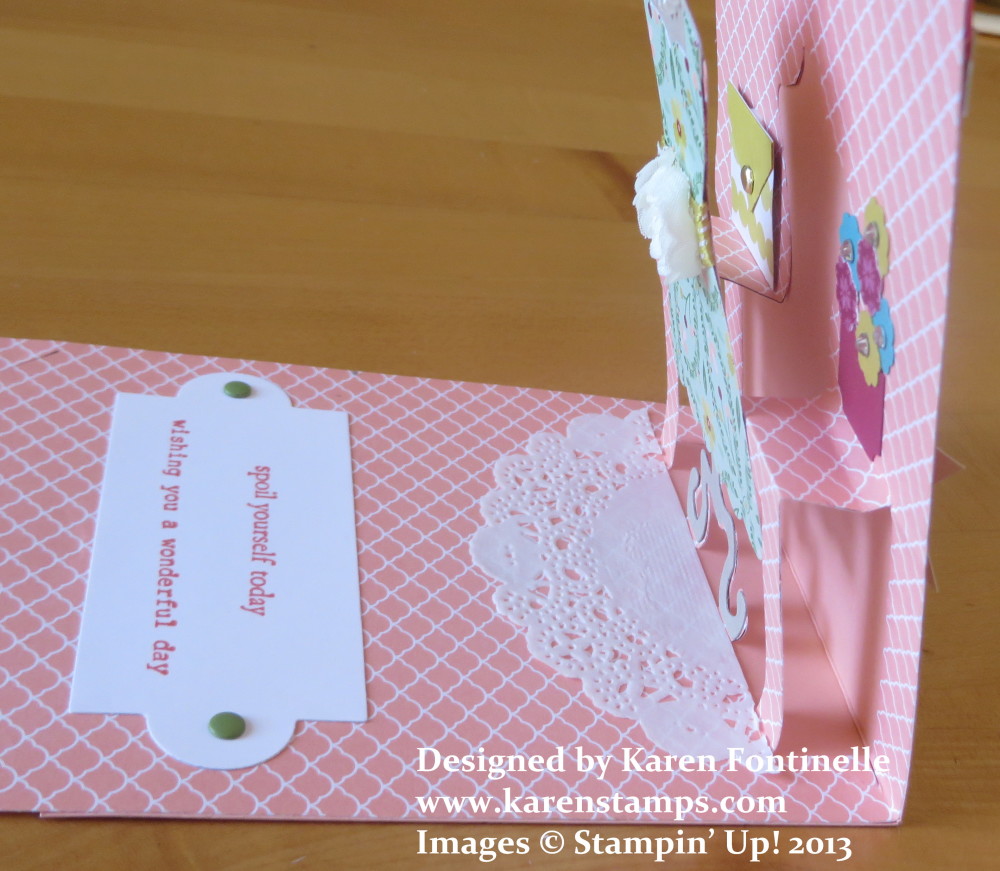
Pop n Cuts Birthday Card Side View

This is what the pop up looks like from the side.  You want to get that rectangle shape from the side.  That’s how you know you have it right!  Once you get that shape, then the rest will take care of itself.

These Pop’ N Cut dies are easy enough to use and fun besides!  You can also trim that dress shape off the pop up and add another piece of card stock for a gift card holder or for a message or other design.

Here are the Pop’ N Cuts dies I used plus the framelits:

Just go to my Stampin’ Up! Online Store any time! Just think what magical cards you can make with the Pop’ N Cuts Dies!

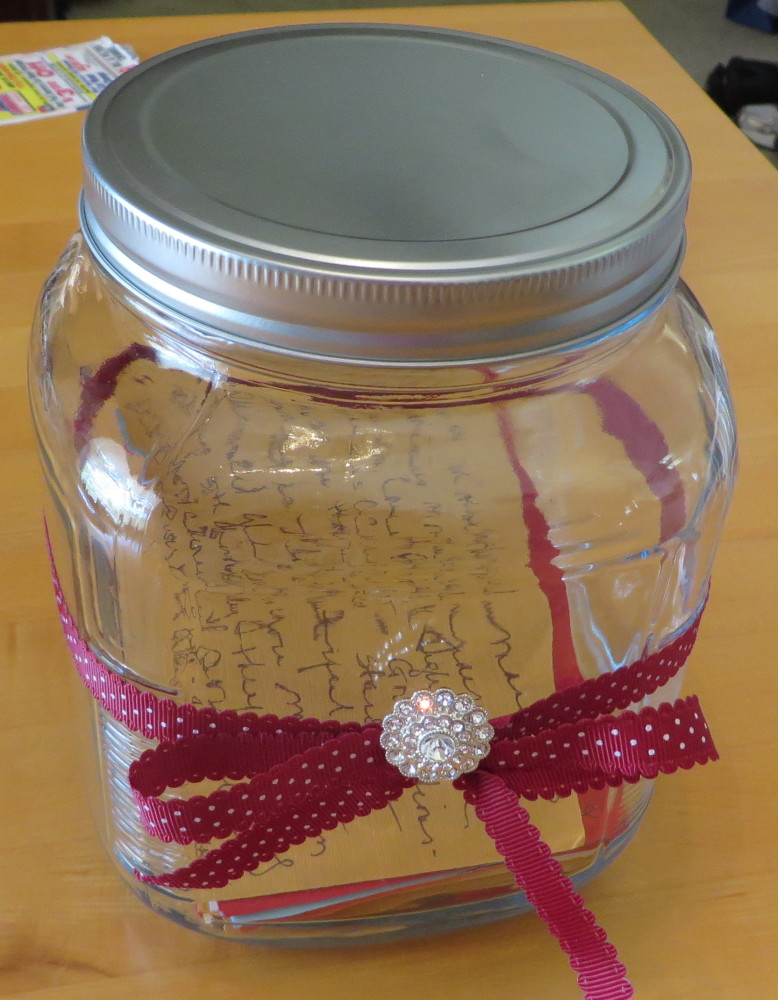
A Birthday Jar of Notes!

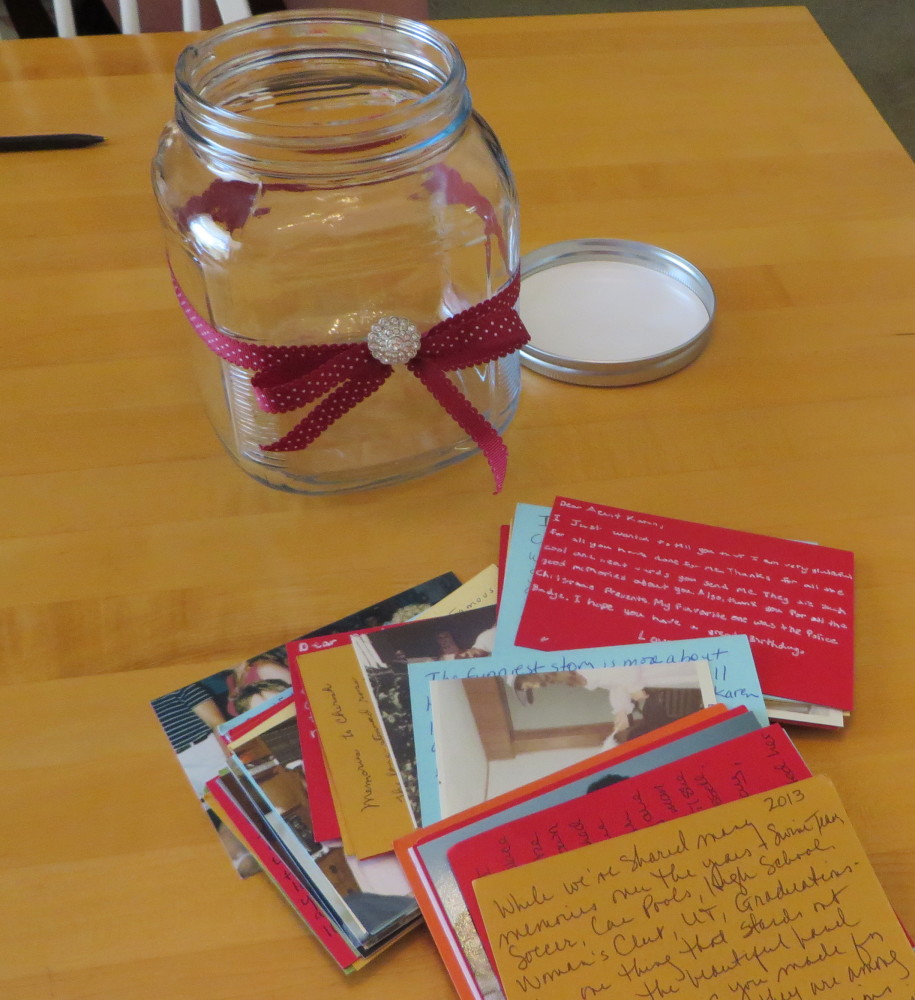
 Birthday Jar of Notes

My daughter, last weekend, did so many things to make my $%&^th birthday the best one I ever had! I’ll just say it was one of the milestone ones!  She took all the sting out of turning this age with all her surprises, the best one being her flying in from California and surprising me! In addition there was a beautiful birthday cake and a mother-daughter cooking class at our neighbor’s house. I couldn’t have imagined anything else, but she had one more surprise up her sleeve!

I don’t even quite know the FULL story, but apparently months ahead of time she contacted friends, neighbors, and relatives and sent them packets with colored note cards and asked them to write some special memory or story or birthday wishes to me or about me.  Then they sent them back to her and she put them all in this jar she decorated with a ribbon and button.

It was SO much fun to read all of them, see who they were from, and see the old photos some people included!  Even all 8 of my brother’s children wrote notes! My one long, long, long time friend and college roommate even copied excerpts from her diary when we were in college and about when I met my husband. My other equally long-time friend sent photos of when I was a bridesmaid in her wedding and our story about how hard we’ve laughed over all my Quilt Show purchases through the years (before stamping) that I would drag out when she visited. Some neighbors talked about all our activities with our kids through the years; swim team, Cub Scouts, even college graduations! My sister-in-law mentioned her visit when our girls were little-bitty and I bought them matching outfits. Not only were the memories and nice notes great, it made clear the connections I have with all these people, built up through all these years. If you are looking for an exceptionally special gift to give someone for whatever occasion, this idea is certainly it!!

birthday jar of notes


Projects on Display at the Stampin’ Up! Convention

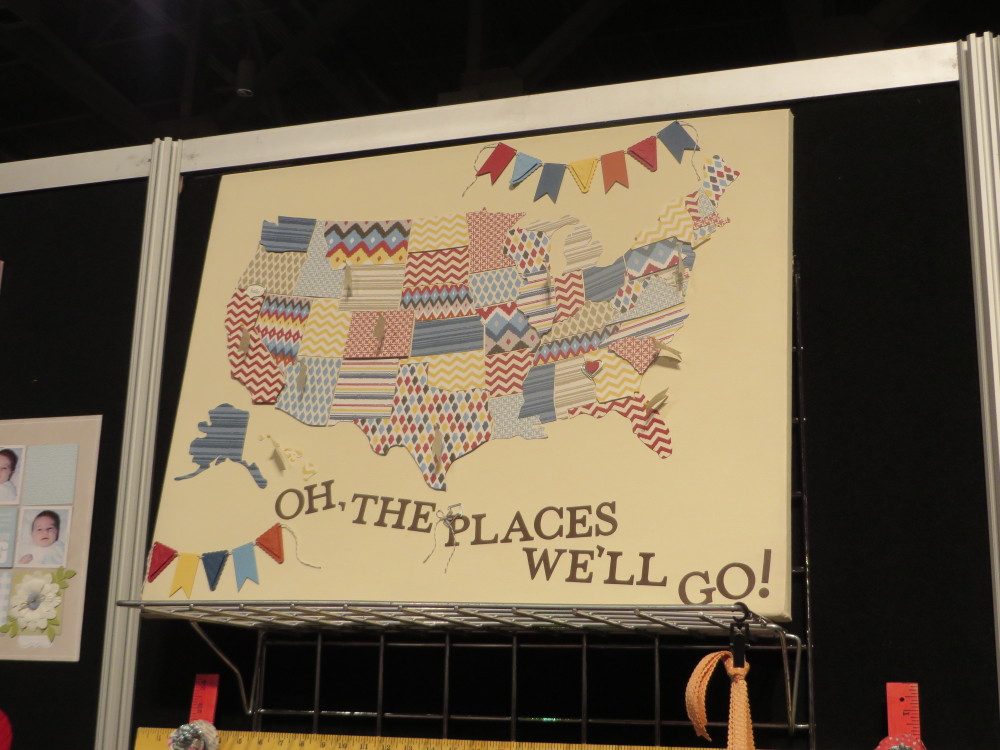
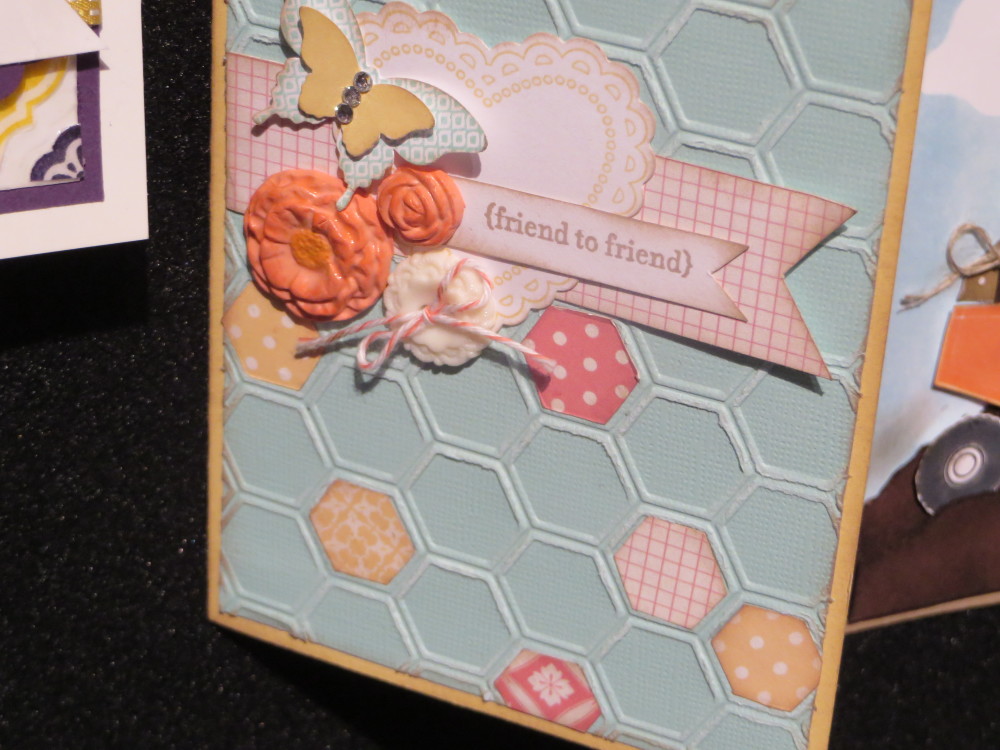
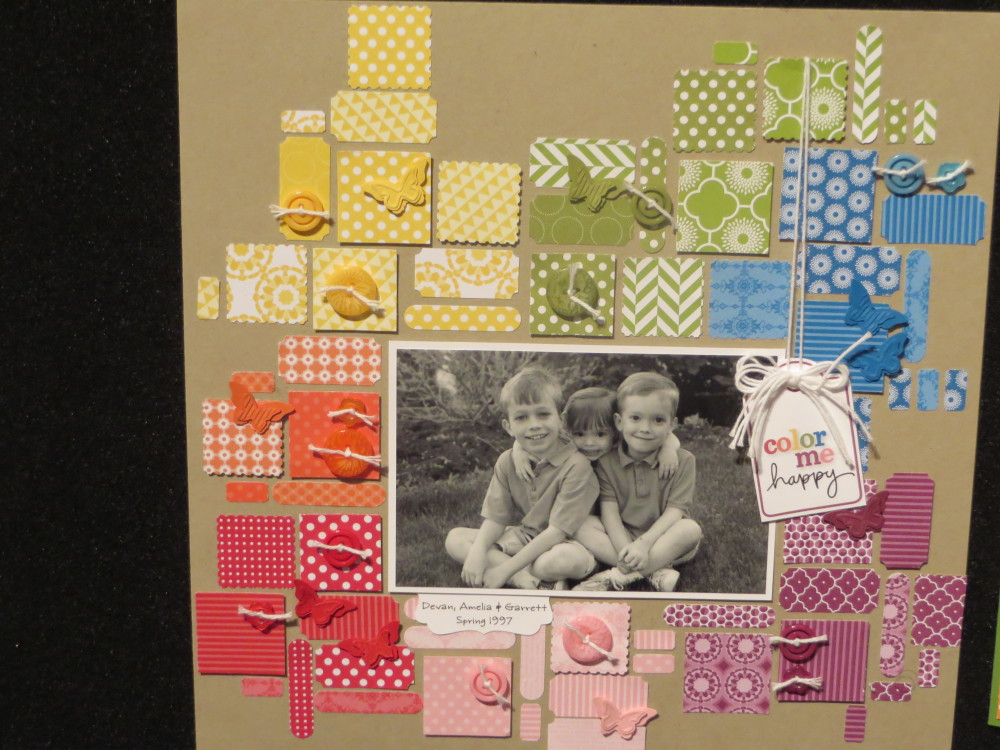
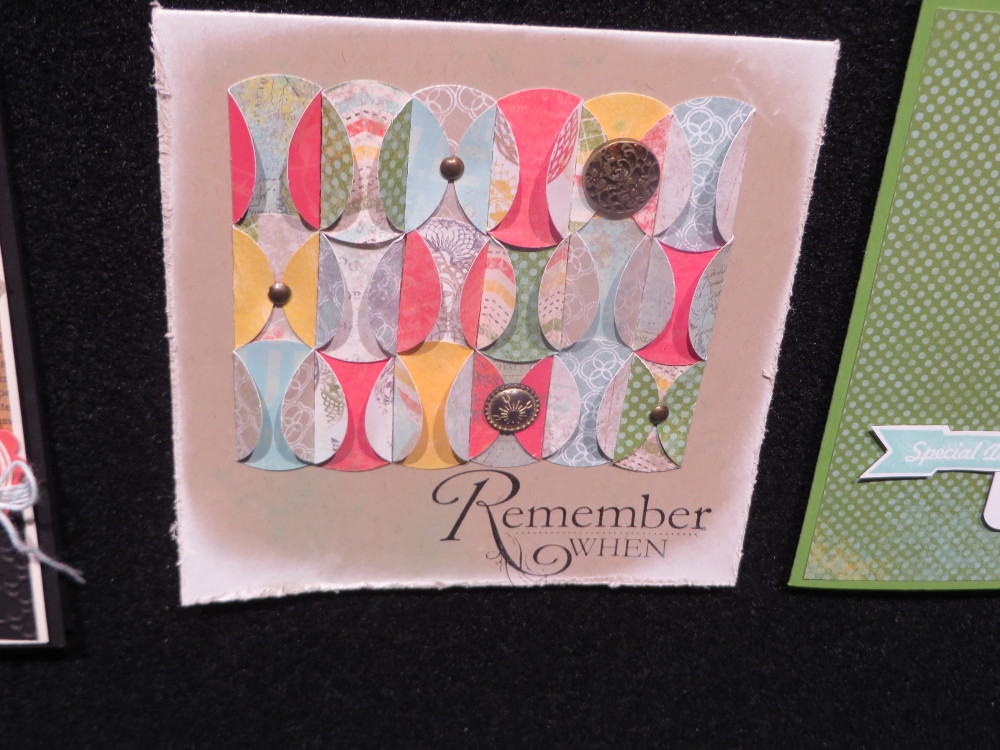
I can’t get enough of these photos I took of the display boards at the Stampin’ Up! Convention! Such creative projects and cards!  It’s amazing!  You should be able to click on each photo to enlarge.

USA MapImages copyright Stampin’ Up! 2013

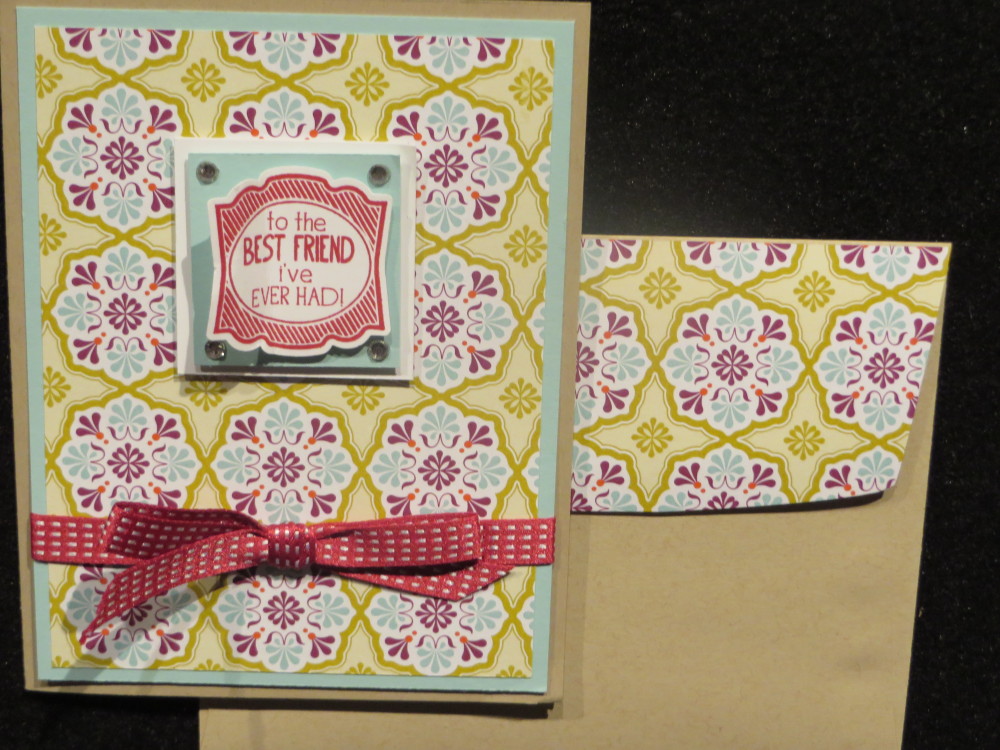
Honeycomb Embossed Friend CardImages copyright Stampin’ Up! 2013

Designer Paper bits and pieces on a scrapbook page

Images copyright Stampin’ Up! 2013 

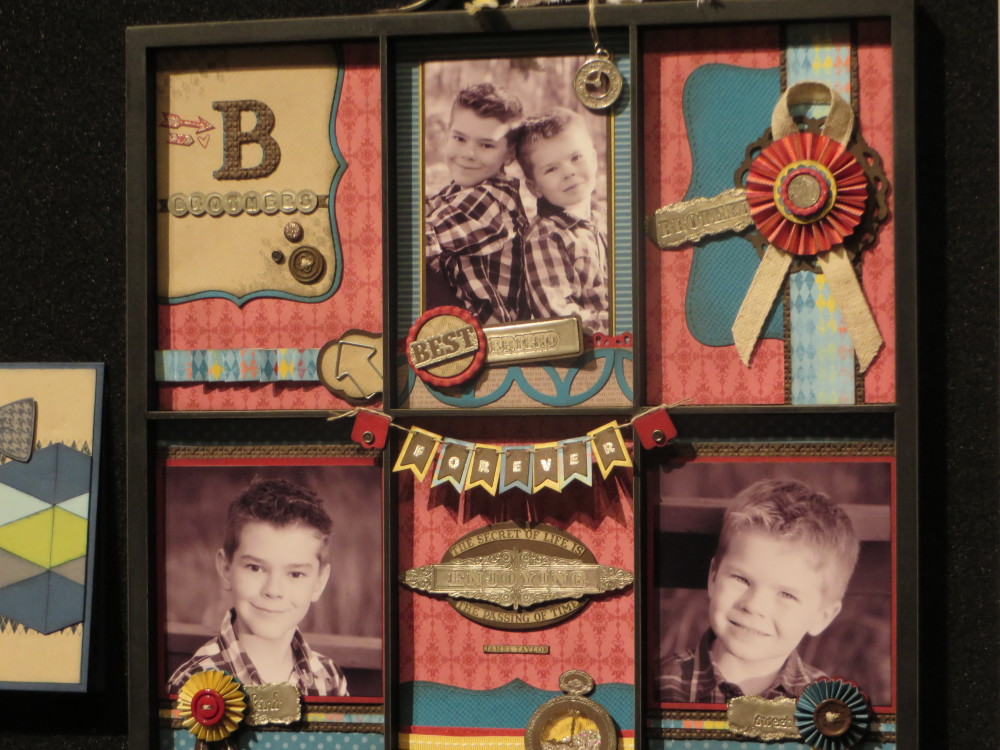
Altered Printer's Tray

Images copyright Stampin’ Up! 2013

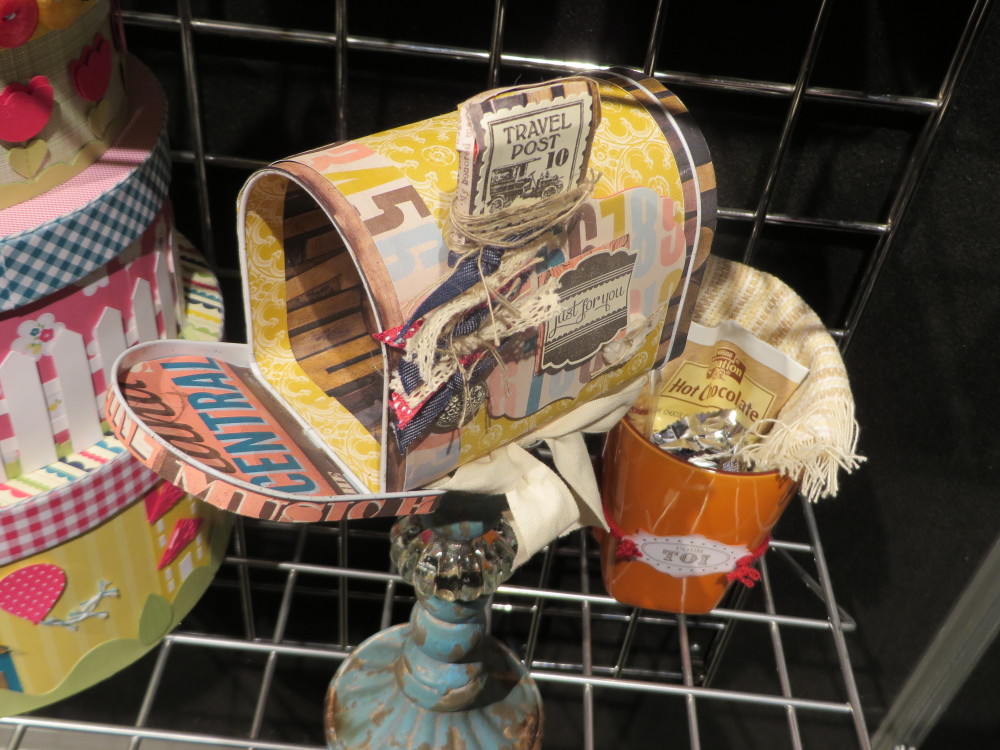
Altered Tin Mailbox

Images copyright Stampin’ Up! 2013

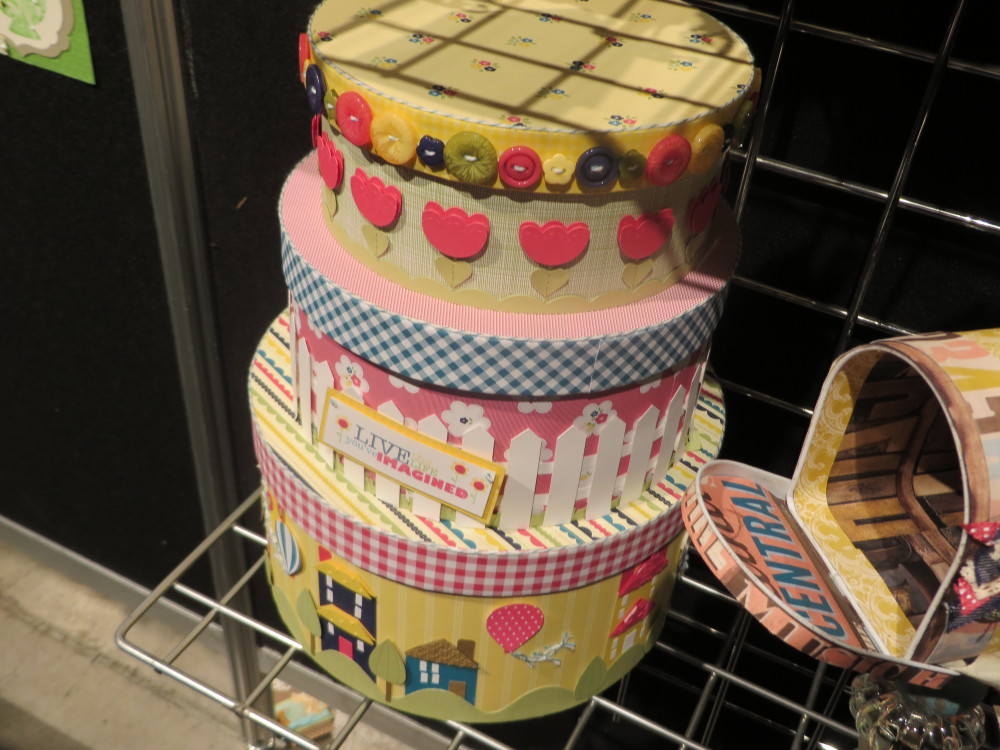
Decorated Round Boxes

Images copyright Stampin’ Up! 2013

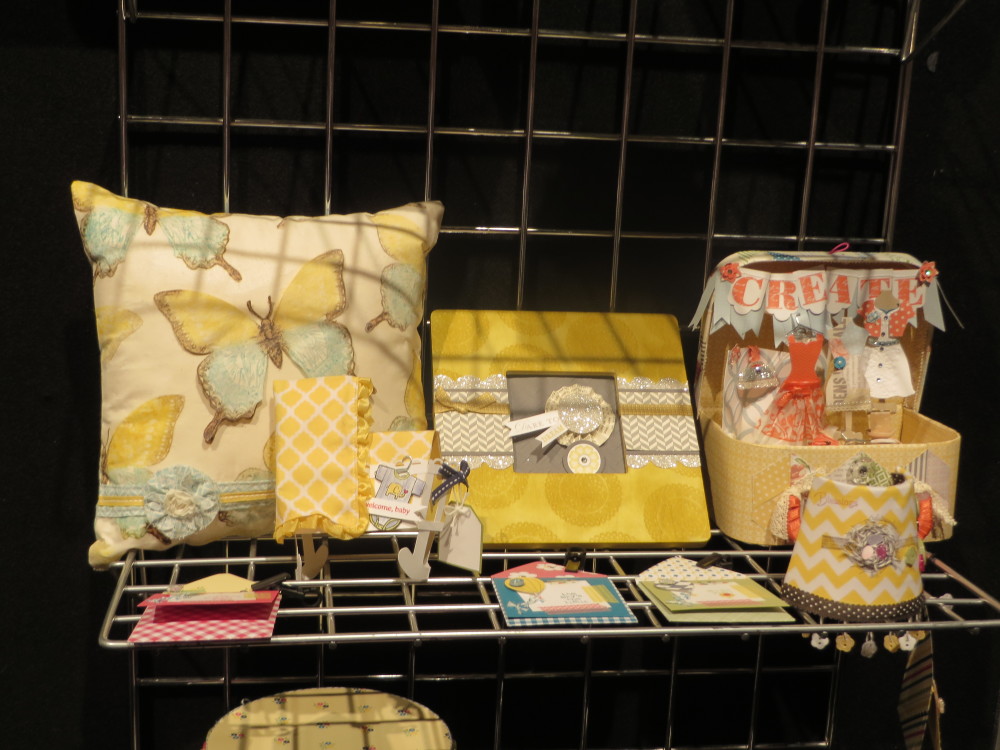
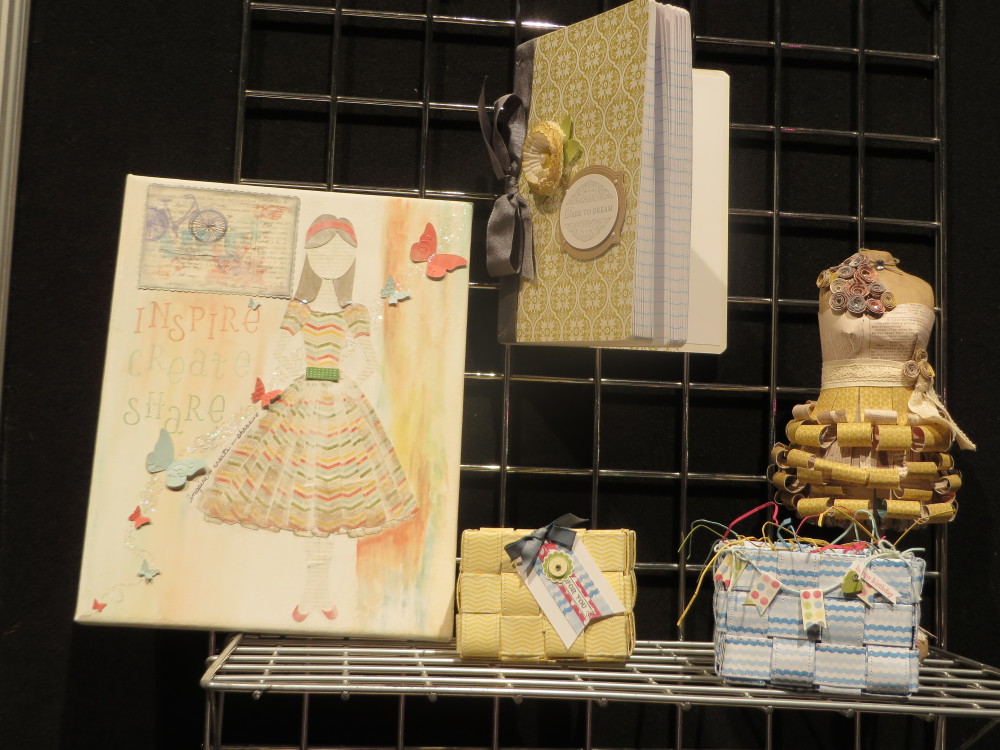
Convention display projects

Images copyright Stampin’ Up! 2013

Dressy Paper Projects

Images copyright Stampin’ Up! 2013

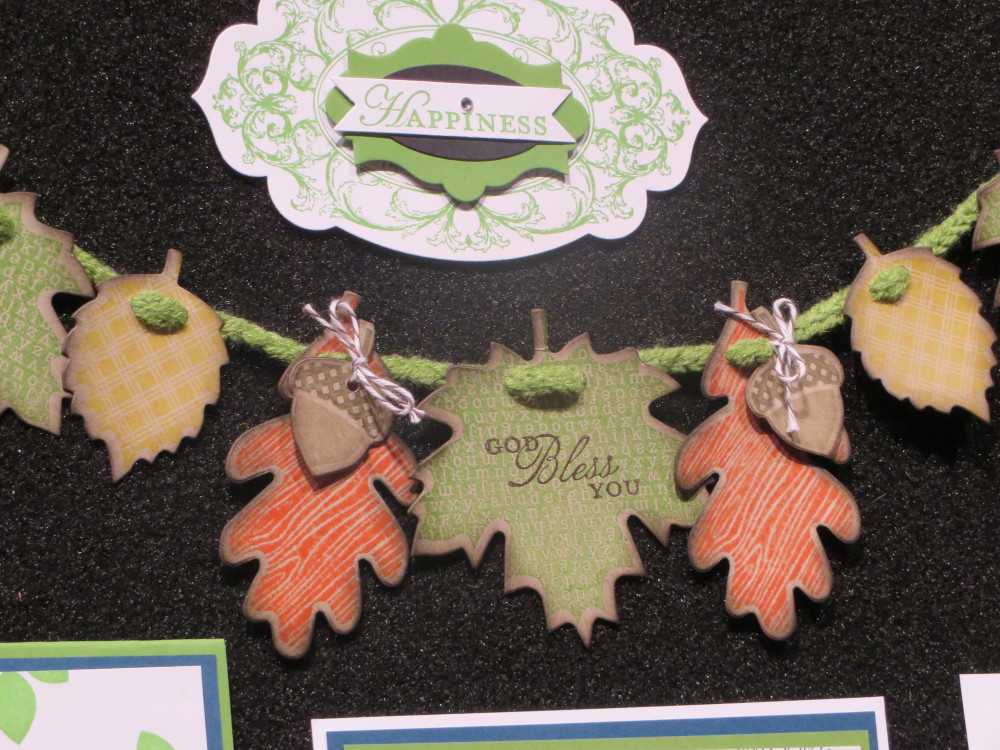
Fall leaf garland

Images copyright Stampin’ Up! 2013

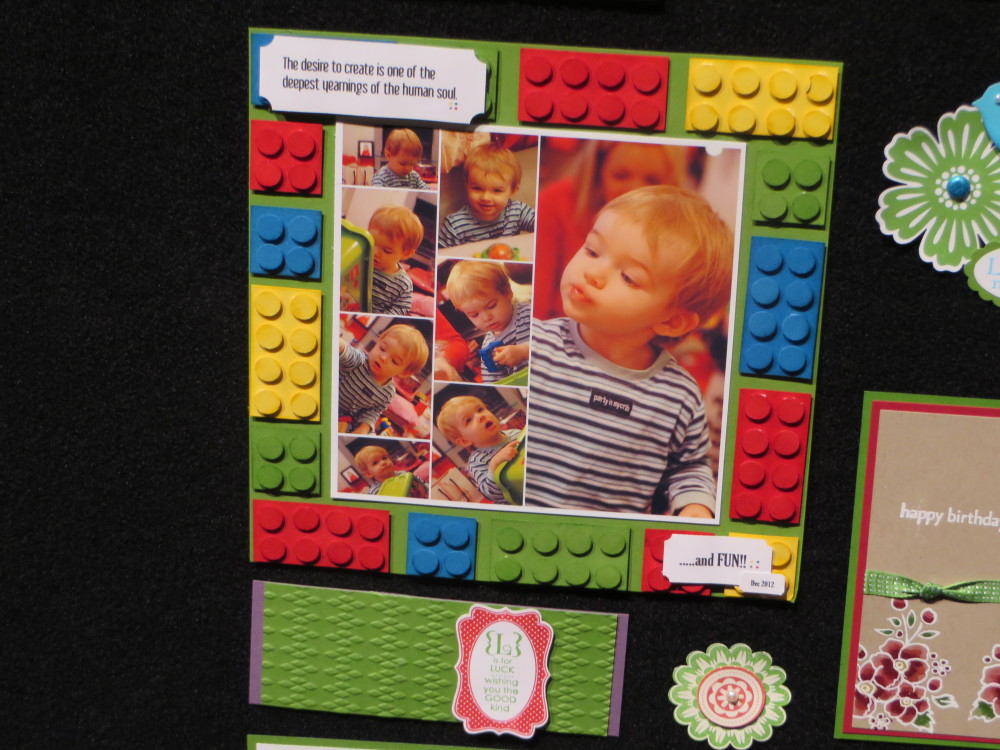
Lego Scrapbook page

Images copyright Stampin’ Up! 2013


More Stampin’ Up! Convention Display Board Samples

Just a few more I chose from my photos!  Enjoy!

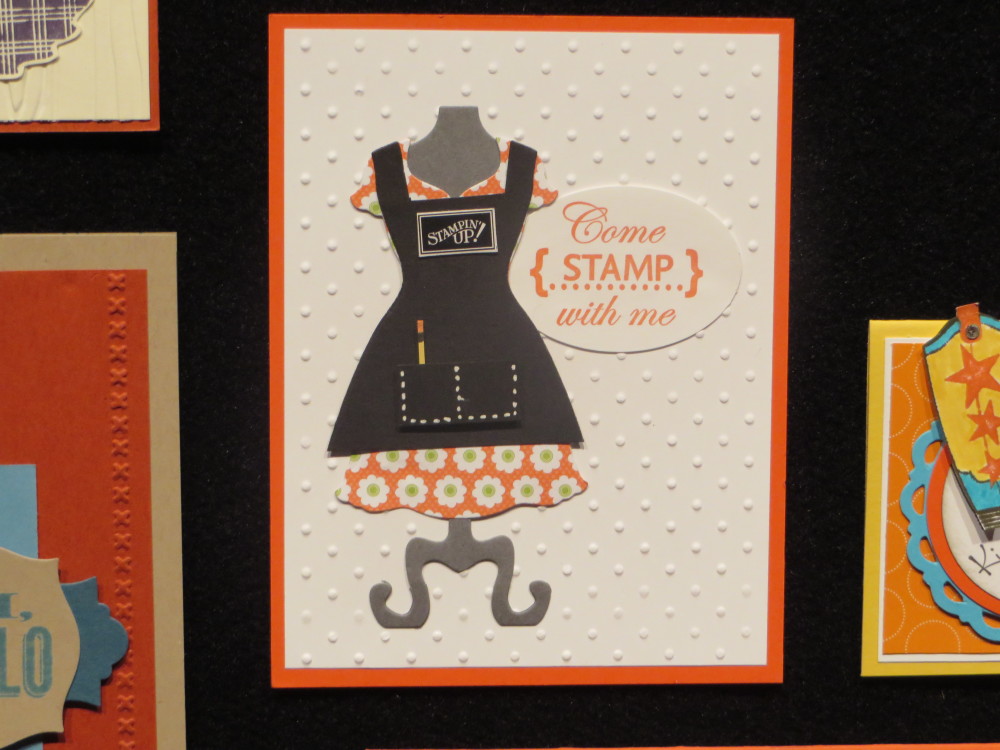
Stampin' Up! Apron Dress Up Framelit Die

Stampin’ Up! Apron Dress Up Framelit Die

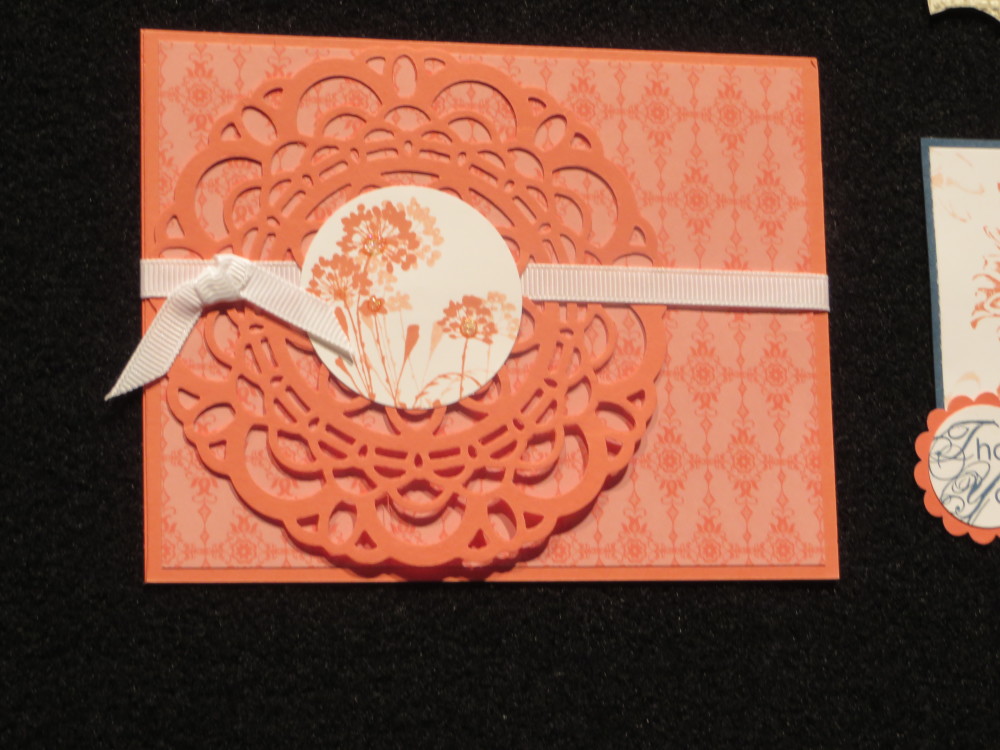
Paper Doily Die Card

Paper Doily Die Card

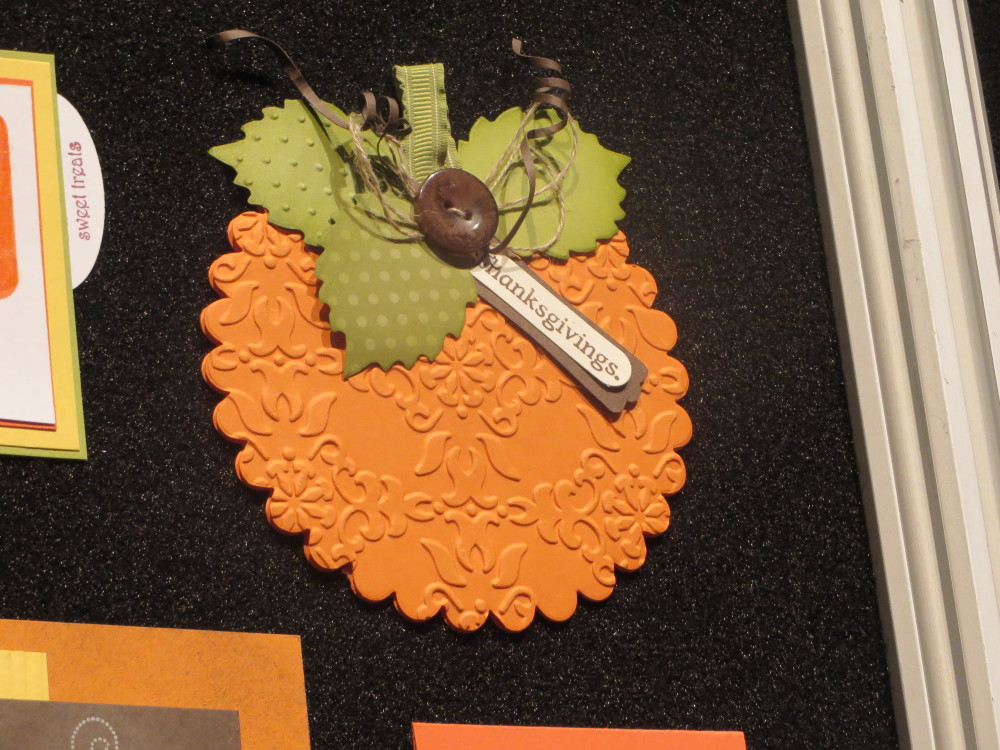
Beautiful Embossed Pumpkin Card

Beautiful Embossed Pumpkin Card

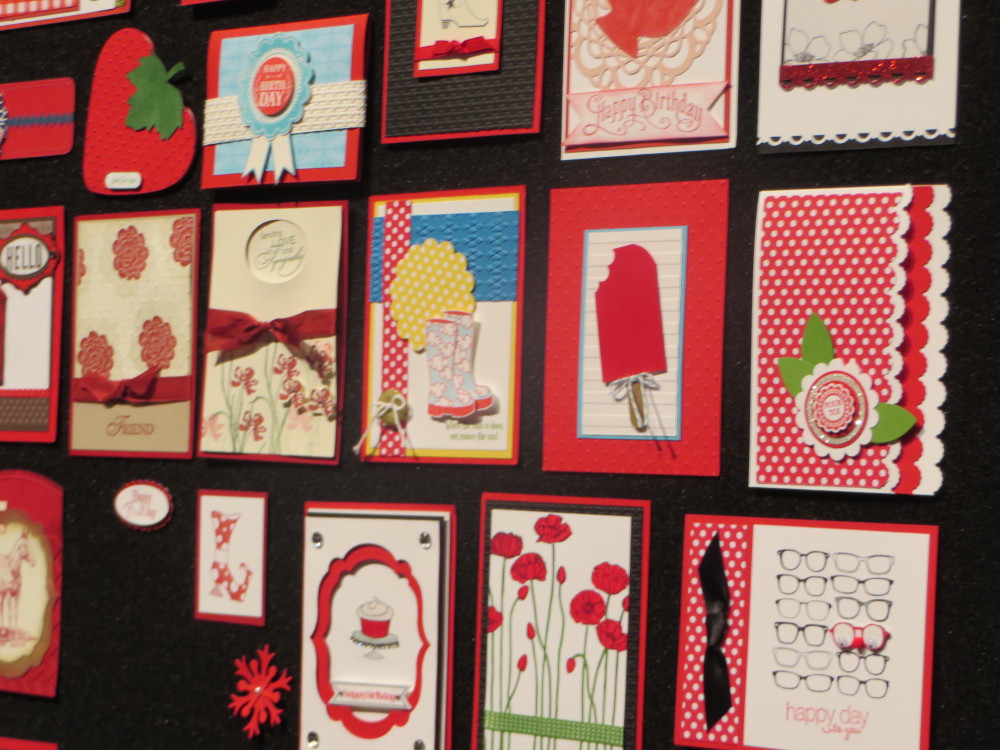
Sample Cards

Sample Cards

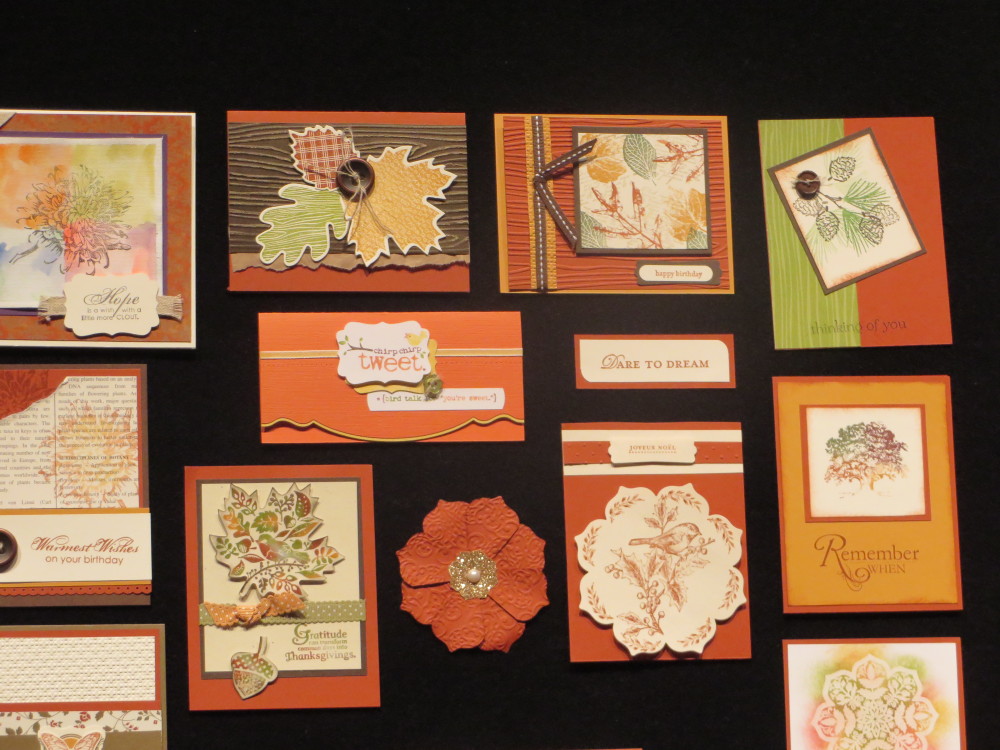
Fall Inspiration Cards

Fall Inspiration Cards

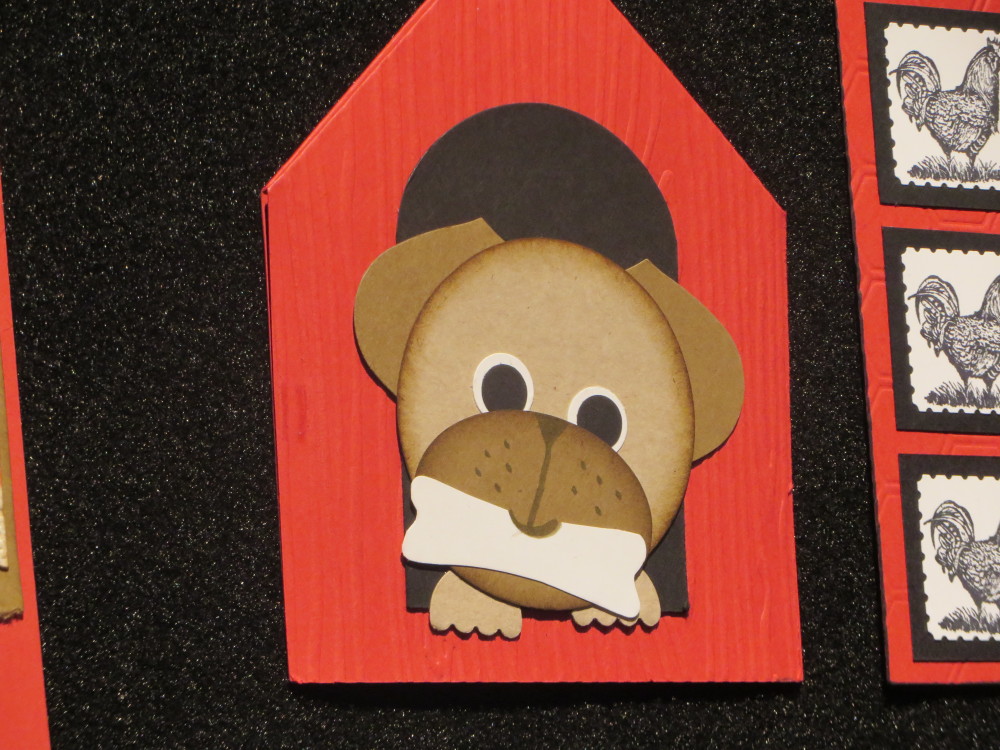
Doggie in the Dog House Punch Art Card

Doggie in the Dog House Punch Art Card

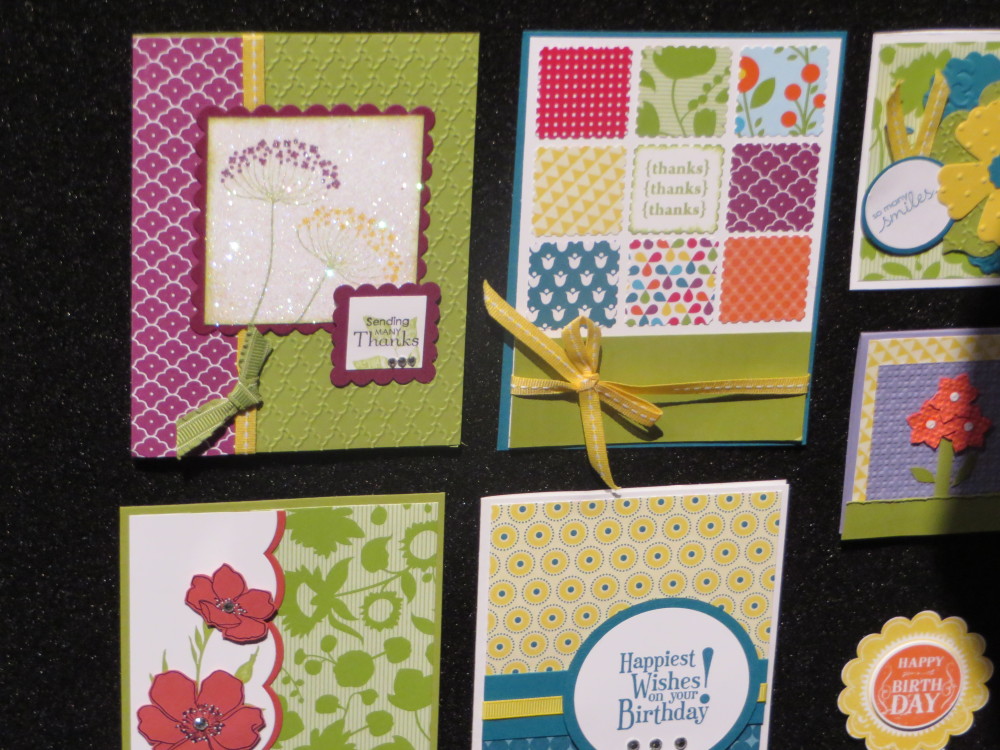
Summer Smooches Cards

Summer Smooches Cards

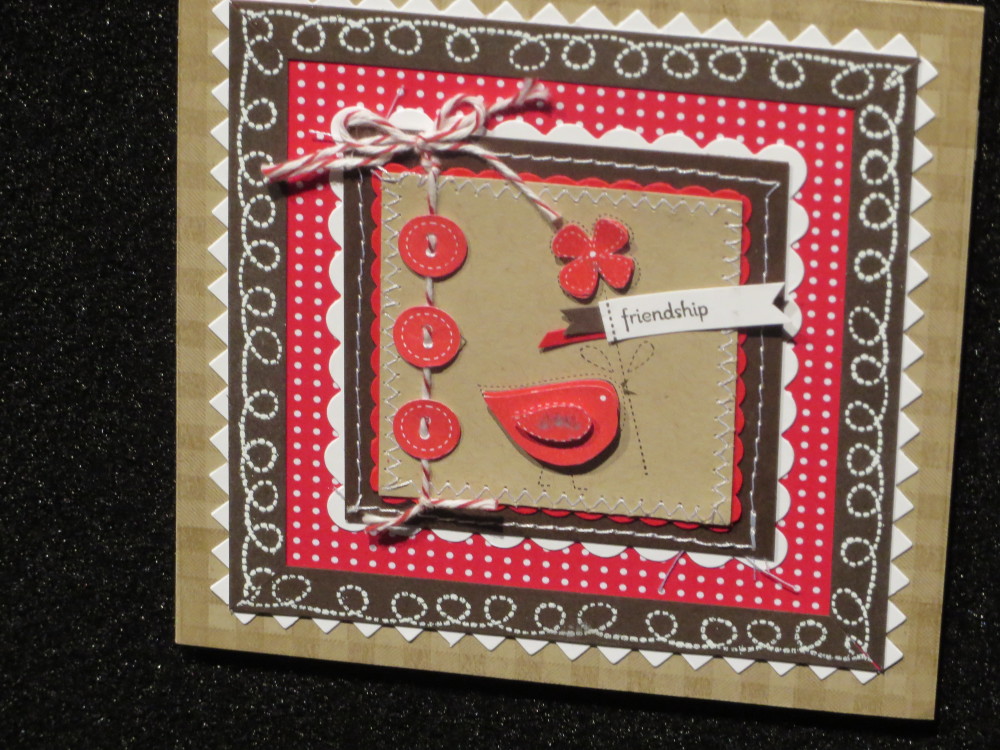
Cute Red Bird Card

Cute Red Bird Card

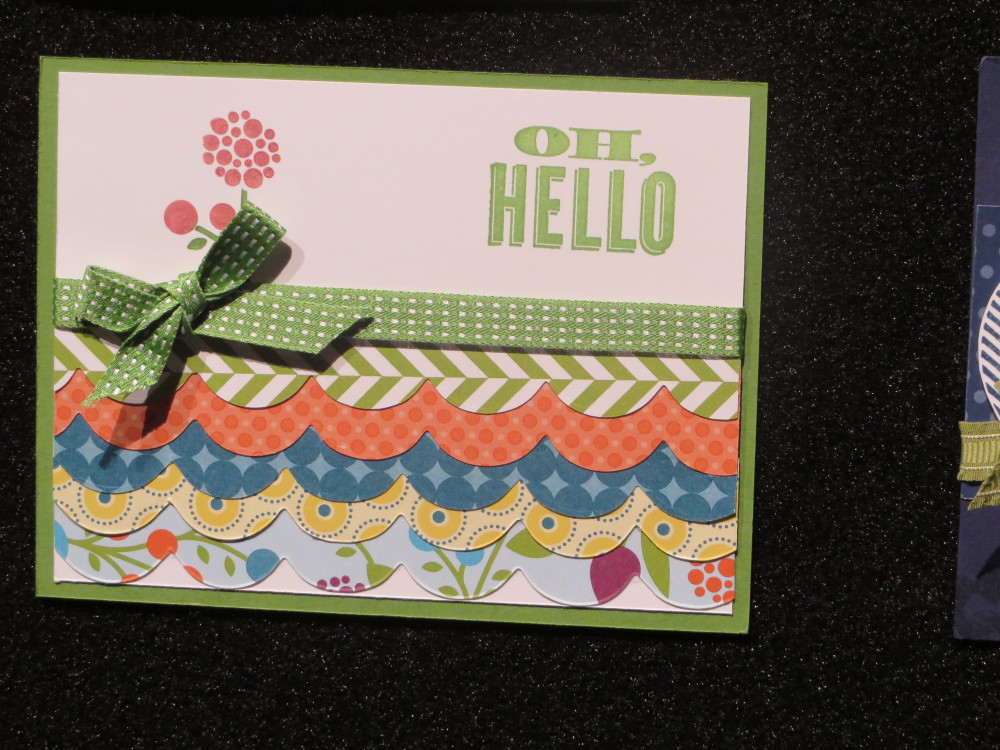
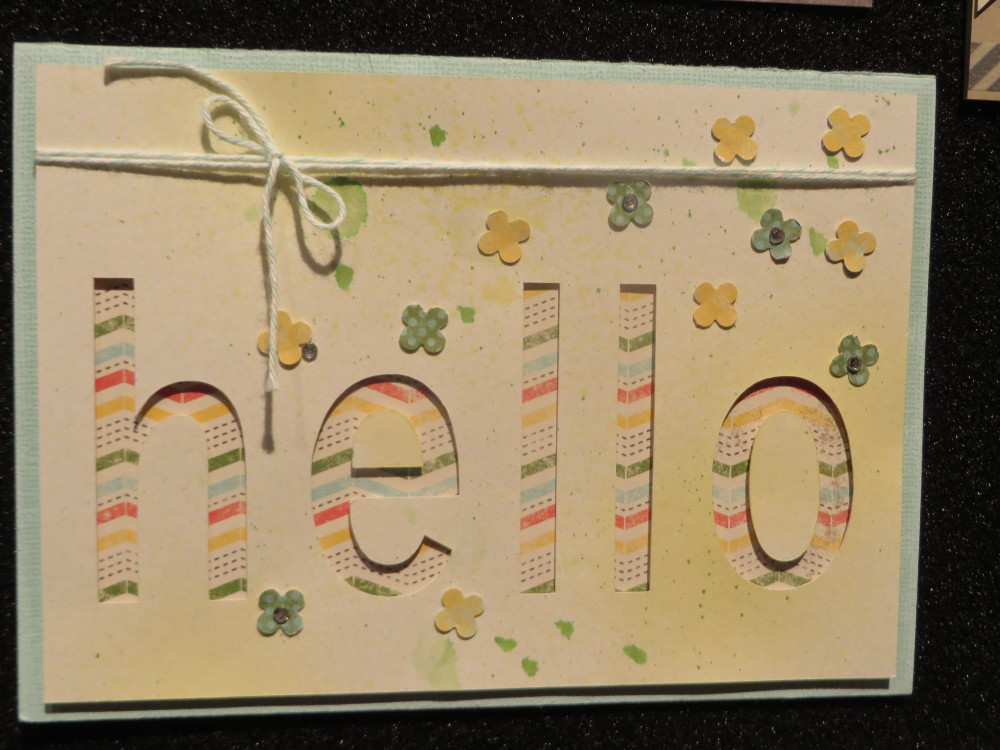
Oh Hello Scallop Tasteful Trim Card

Oh Hello Scallop Tasteful Trim Card

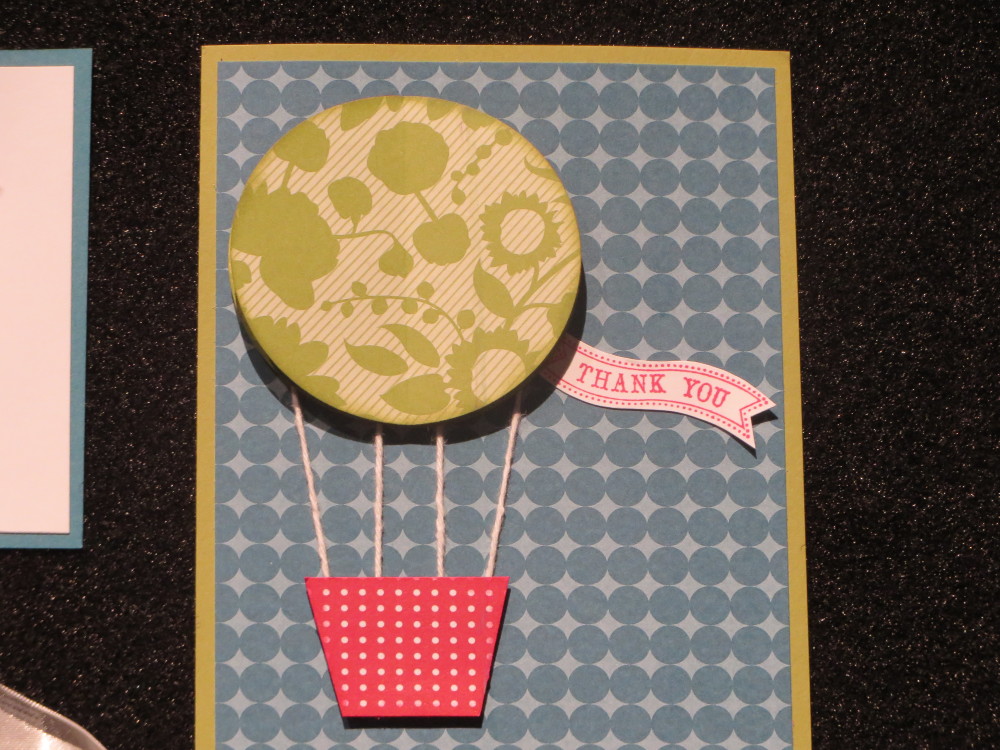
Make an easy hot air balloon card!

Make an easy hot air balloon card!

Epic Day Designer Paper Triangles

Epic Day Designer Paper Triangles

Hello Card with Epic Day This and That Designer Paper

Hello Card with Epic Day This and That Designer Paper

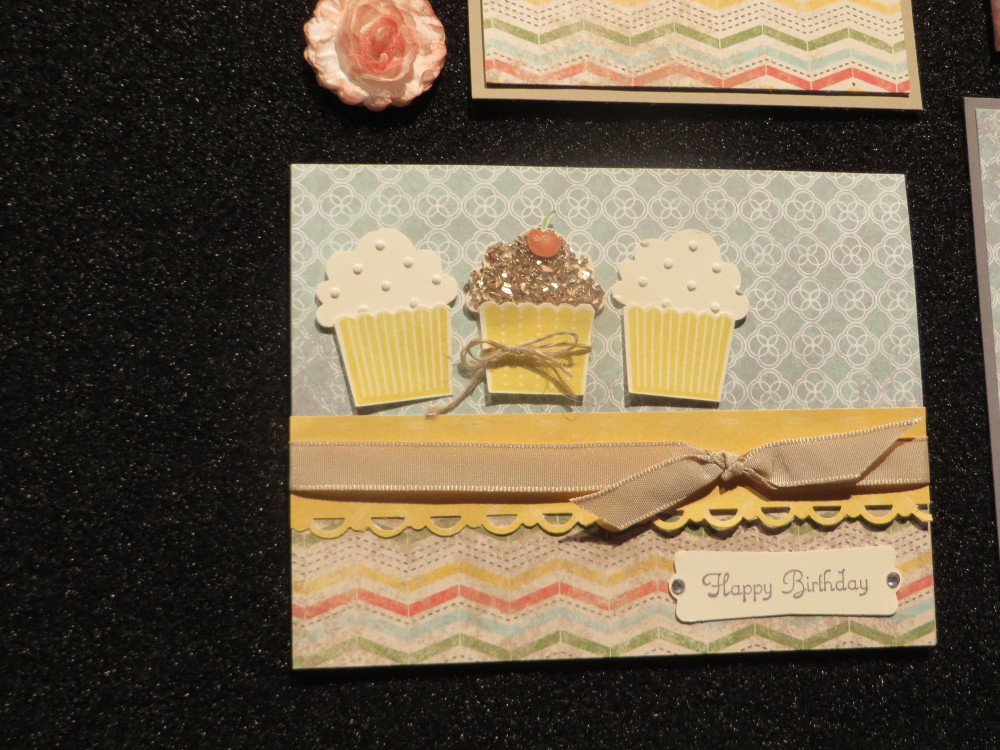
Cupcake Punch Birthday Card

Cupcake Punch Birthday Card

Apothecary Accents Framelit and Epic Day DSP

Apothecary Accents Framelit and Epic Day DSP

Epic Day This and That Designer Paper

Epic Day This and That Designer Paper

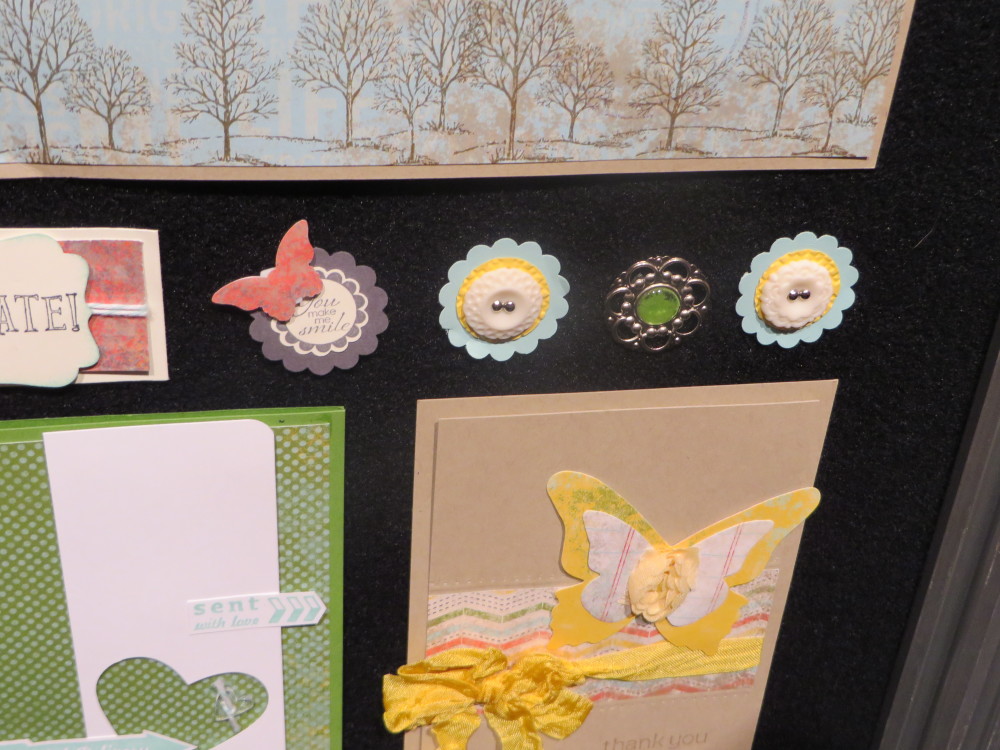
Cute Little Embellishments to Make

Cute Little Embellishments to Make

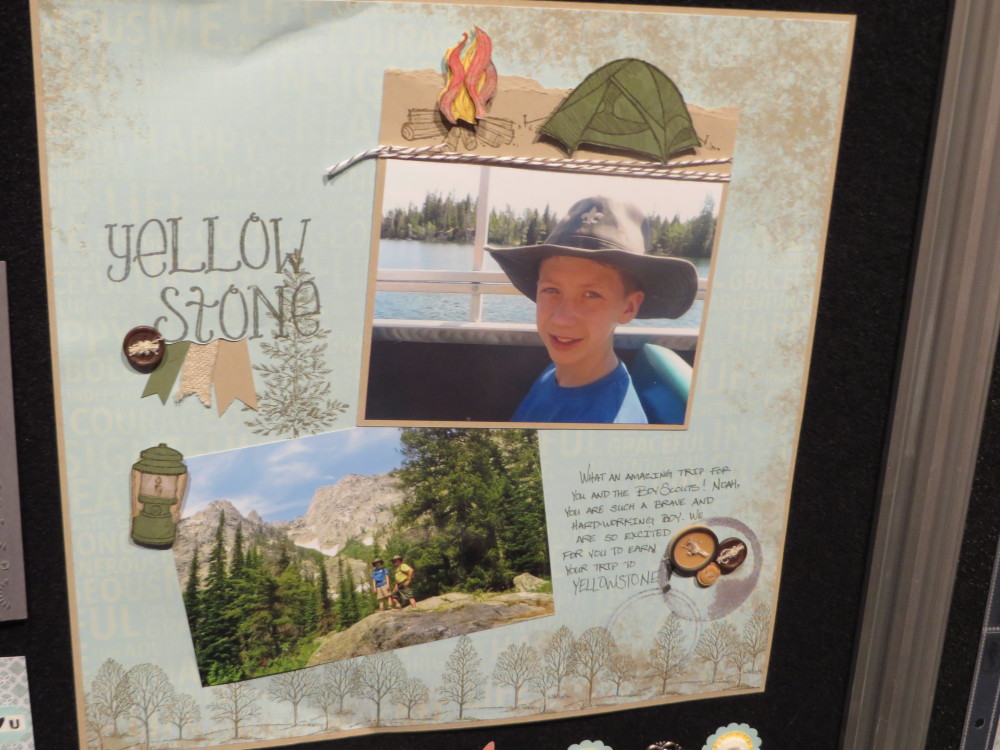
Yellowstone Natl Park Scrapbook Page

Yellowstone Natl Park Scrapbook Page

Patio Party Designer Paper

Patio Party Designer Paper (Retired)

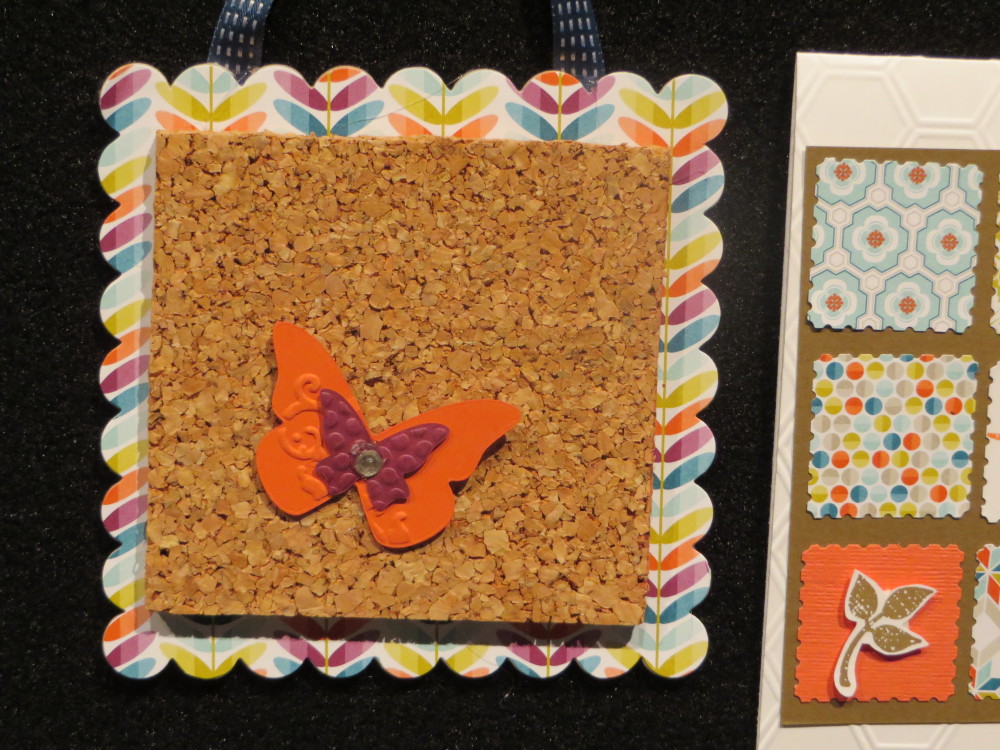
Cork board

Cute little cork board

Label Love

Label Love Stamp Set and Artisan Punch

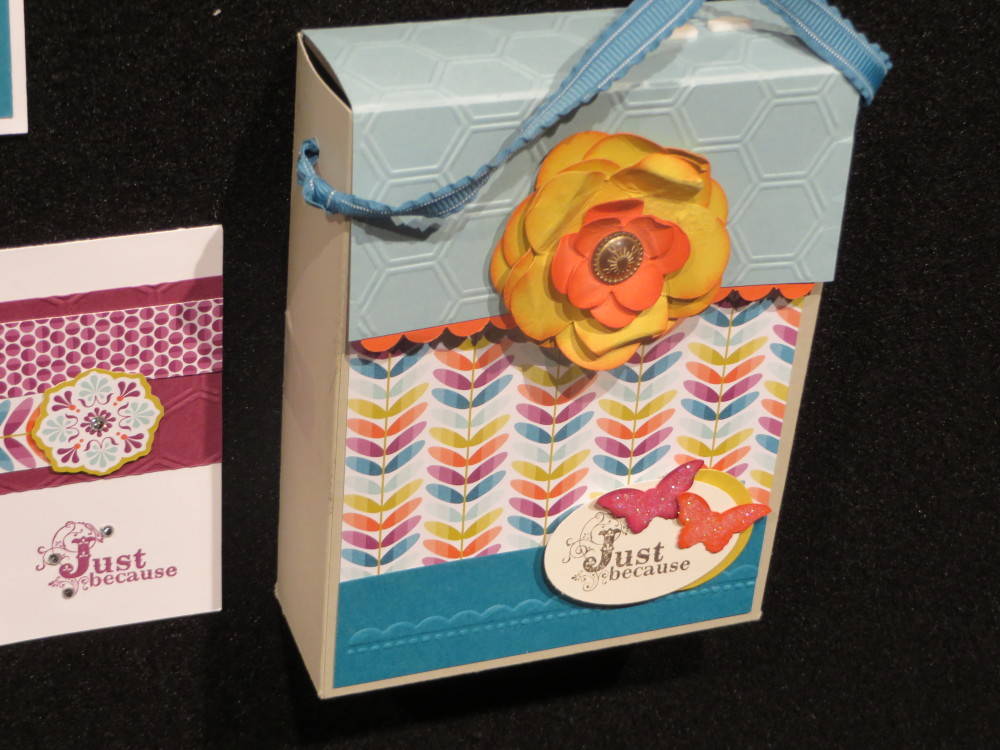
3D Box


Stampin’ Up! Convention Make & Takes

This year at the Stampin’ Up! Convention Make & Takes were just ONE of the many activities we could choose from to do.  Since I usually get frazzled at Make & Takes, I chose to do mine at home and partake of the other demonstrations and things going on, as well as taking pictures of the display boards.

We always get stamp sets at Convention with which to do the Make & Takes.  This year we received the “Hello, Lovely” Stamp Set, Gorgeous Grungeand the Ronald McDonald set, Tag It. With each purchase of the Tag It stamp set, Stampin’ Up! donates $3 to the Ronald McDonald House Charities.

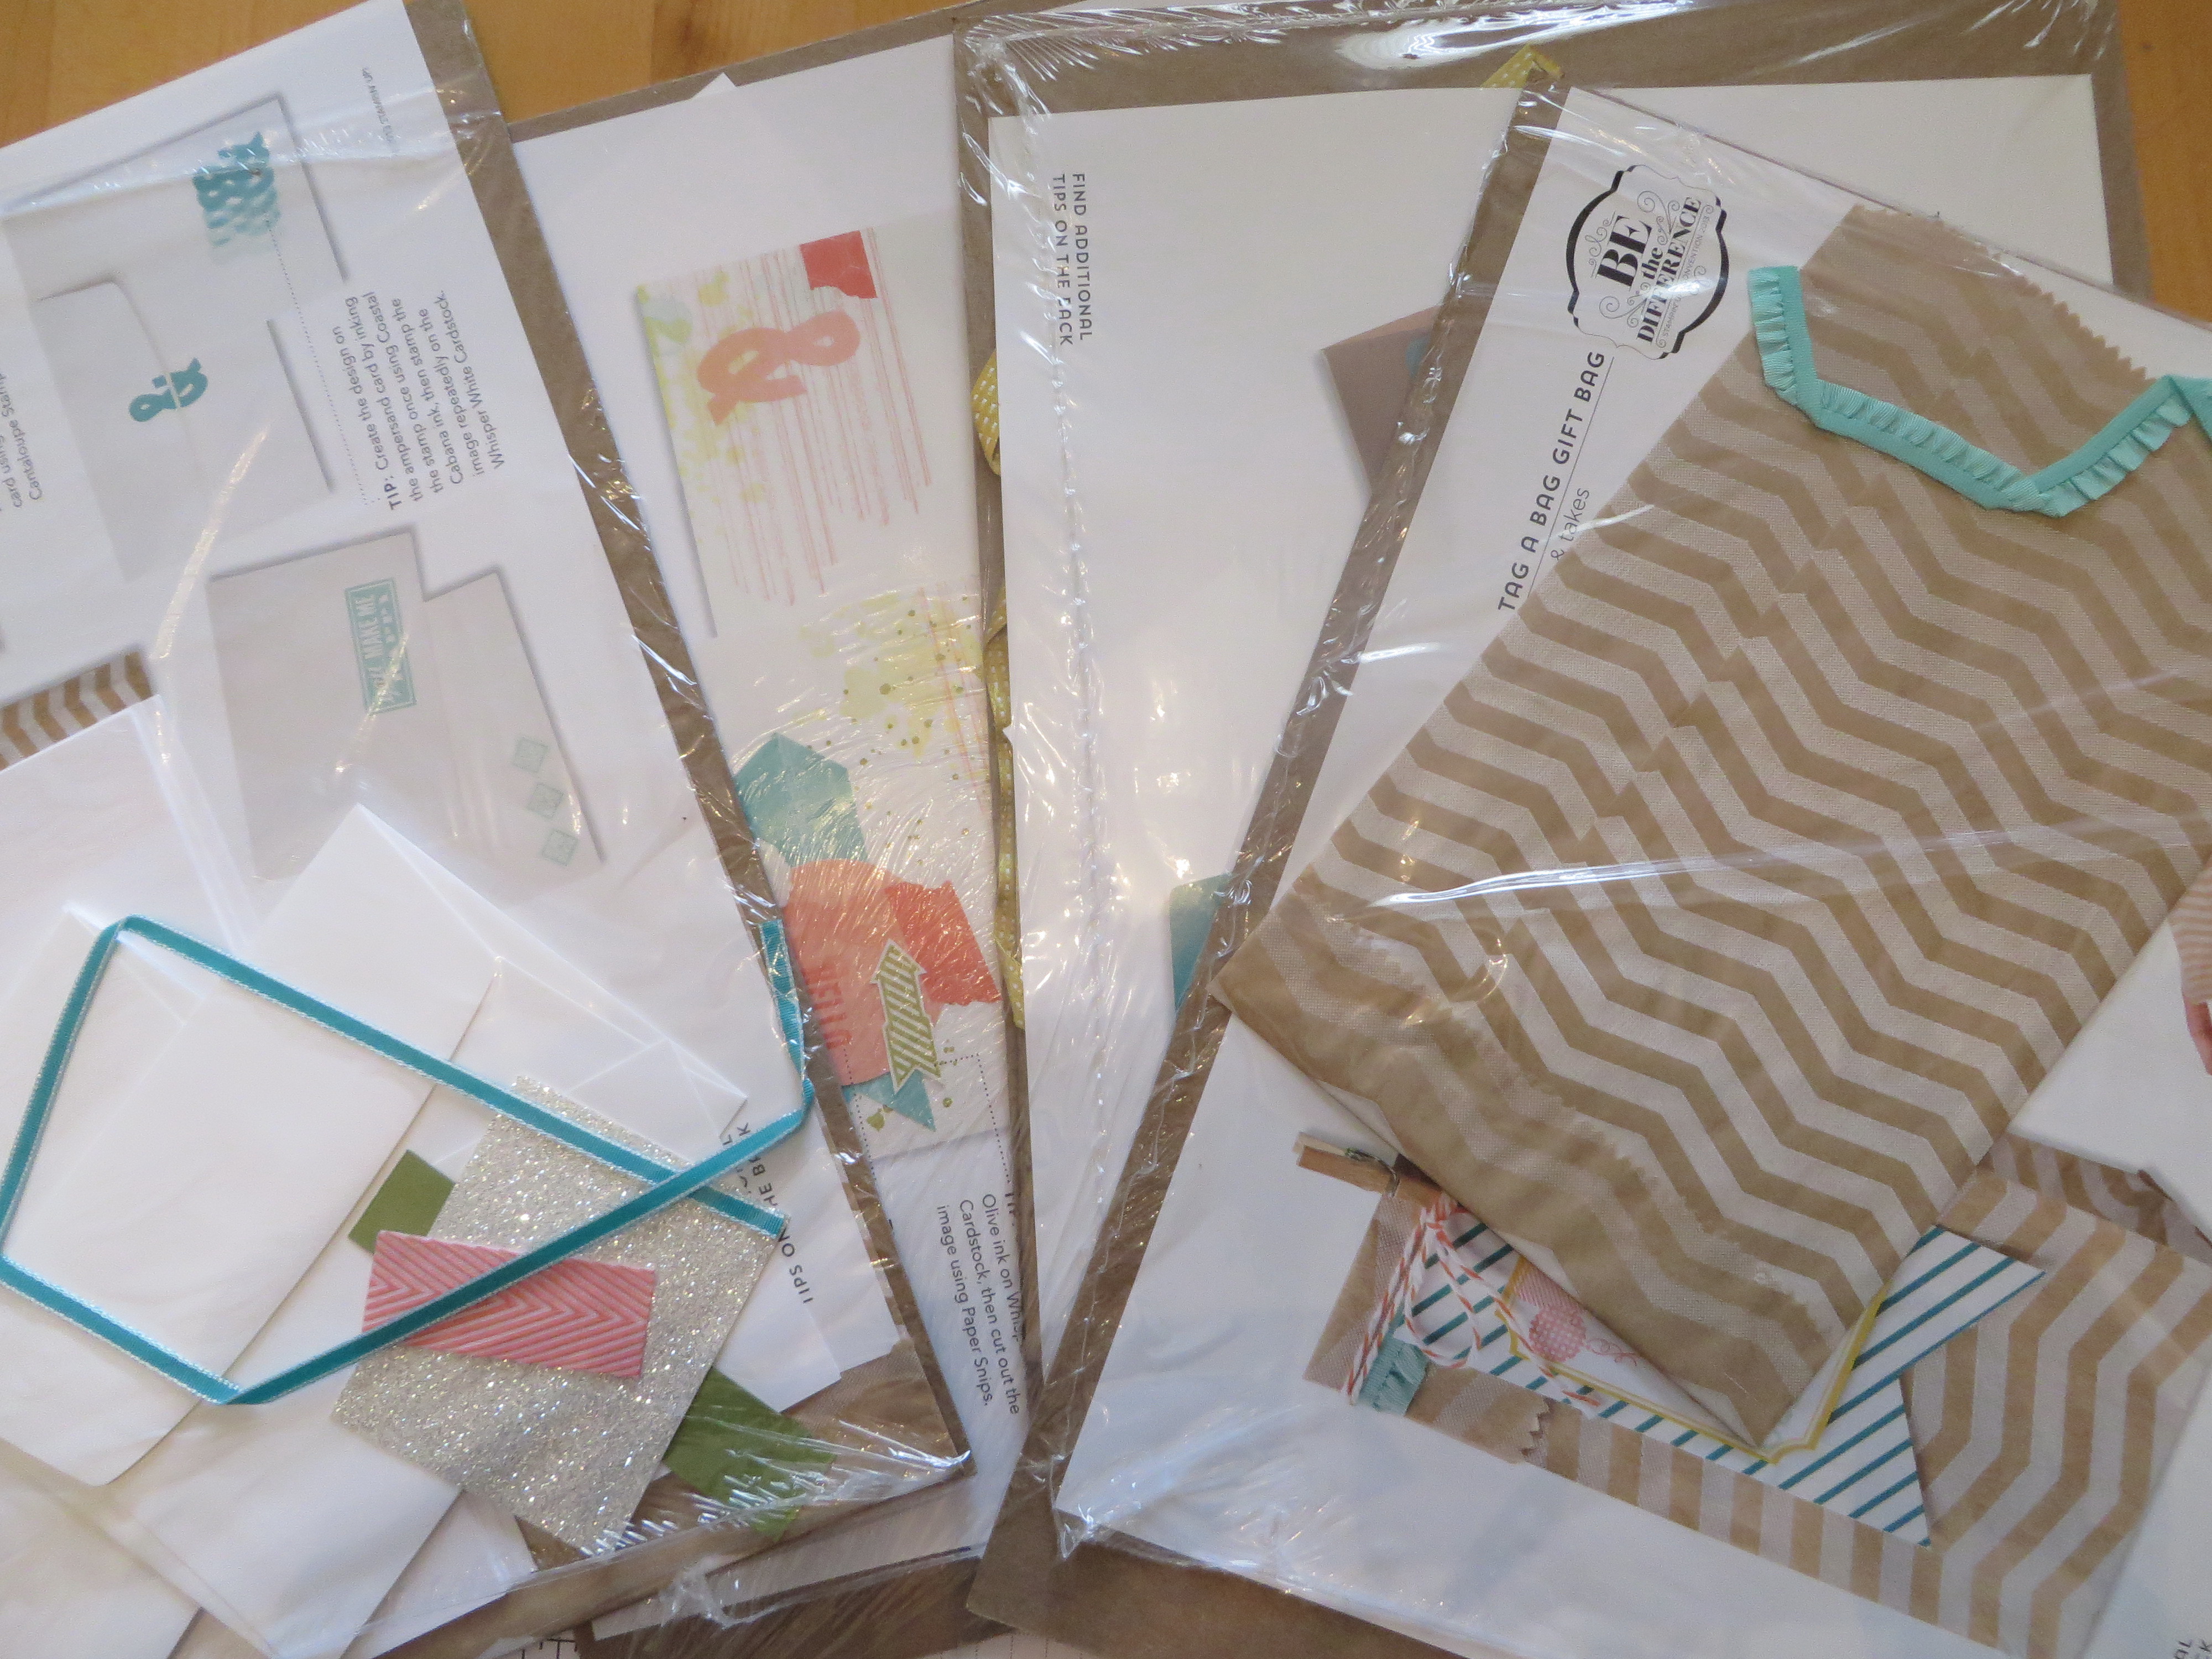
Here are the packets we received with all the materials to make the projects!

Stampin' Up! Make & Takes

And here are the projects completed!

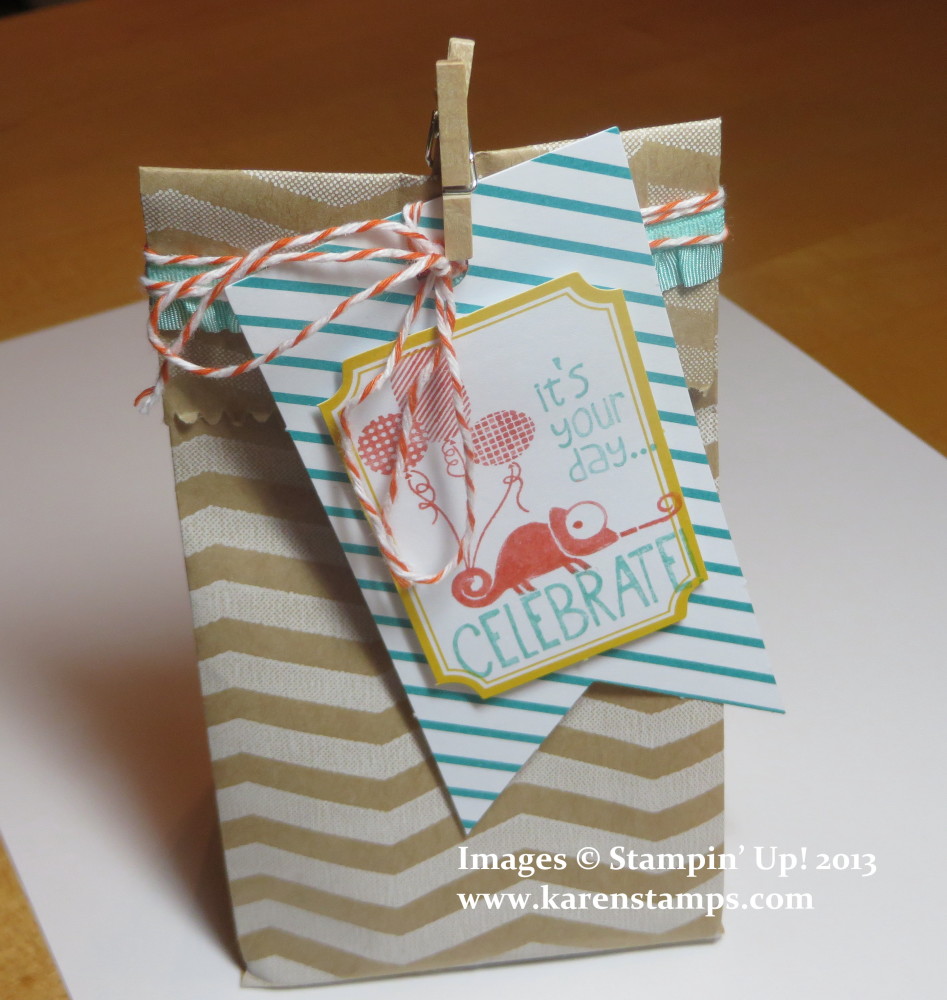
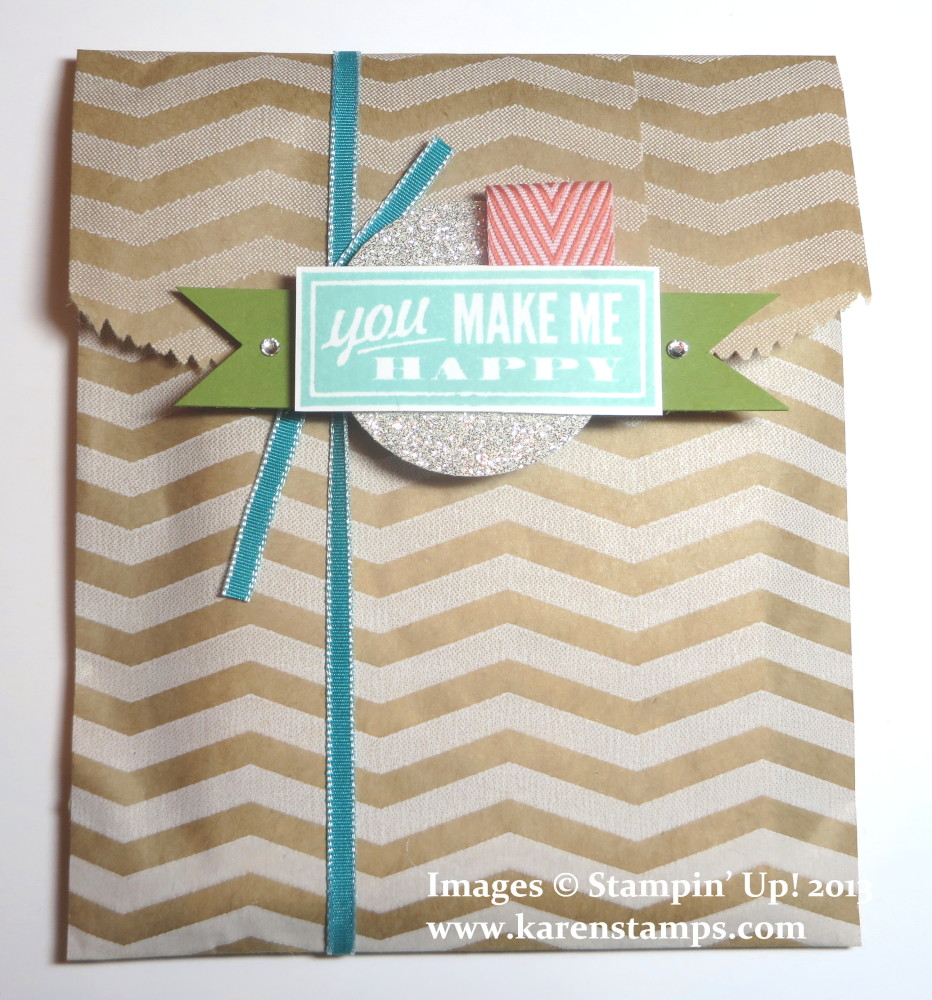
Tag a Bag Gift Bag

You can trim and score the Tag a Bag Gift Bags in order to make them stand up rather than just be flat. This one has a tag made from the Tag It stamp set and the Tag a Bag Accessory Kit plus some of the new Coastal Cabana Ruffle Stretch TrimYou can make lots of cute little gift bags with these tags and bags and buy them as a bundle.

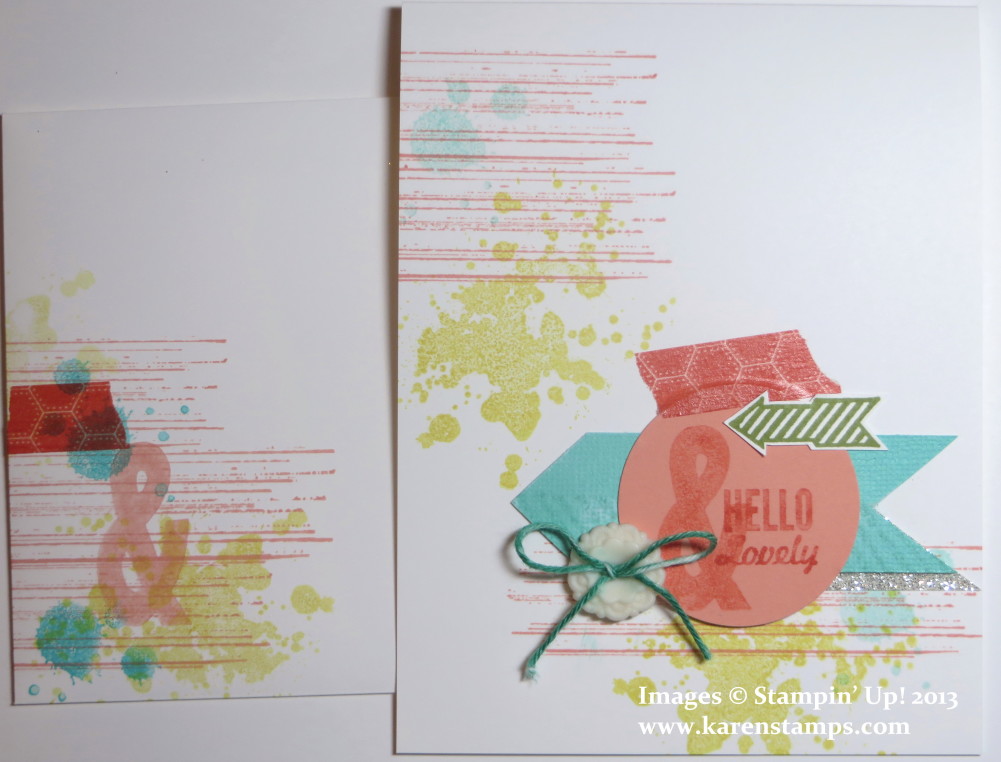
Hello Lovely Card

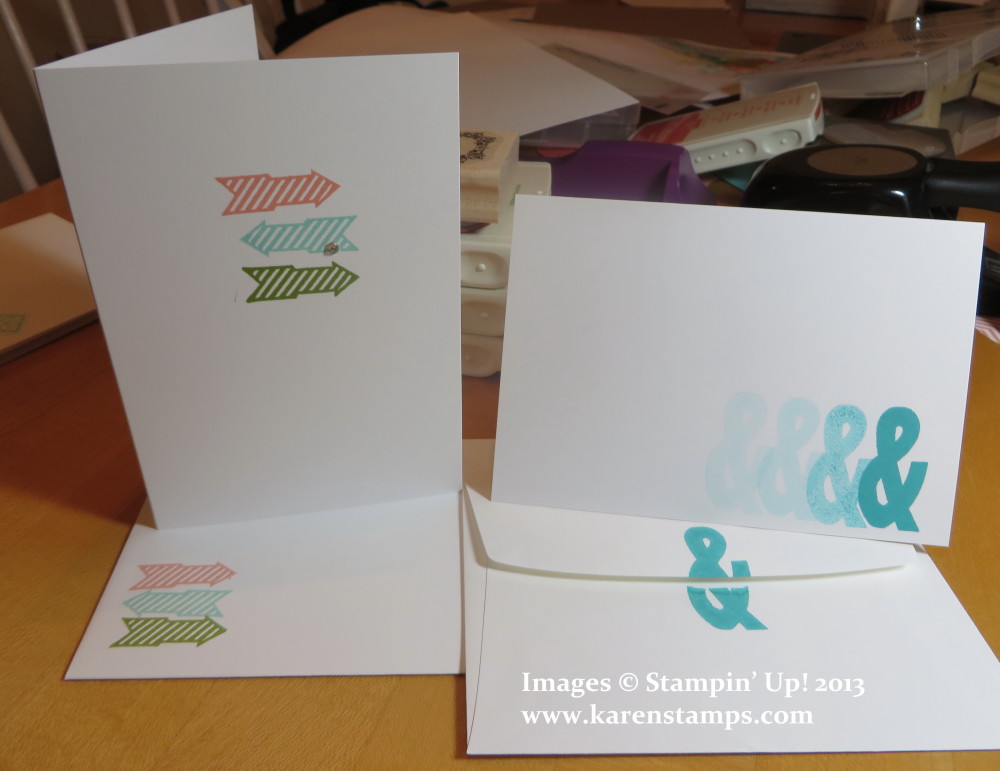
This was a fun card made with the Hello Lovely Stamp Set plus the Gorgeous Grunge Stamp Set.  The Gorgeous Grunge stamp set reminds me of the stamp set we had long ago, I think it was called “Itty Bitty” – something.  It was very handy for just adding a bit of texture or interest when you needed it.  This card and envelope also has a bit of Epic Day Washi Tape on them. And the little Baker’s Twine thread in the Vintage Button was dyed by holding the twine down on the ink pad with a piece of sponge and then pulling the twine through. Not sure I would want to bother doing this very often, but if you need a certain color, you can do that.

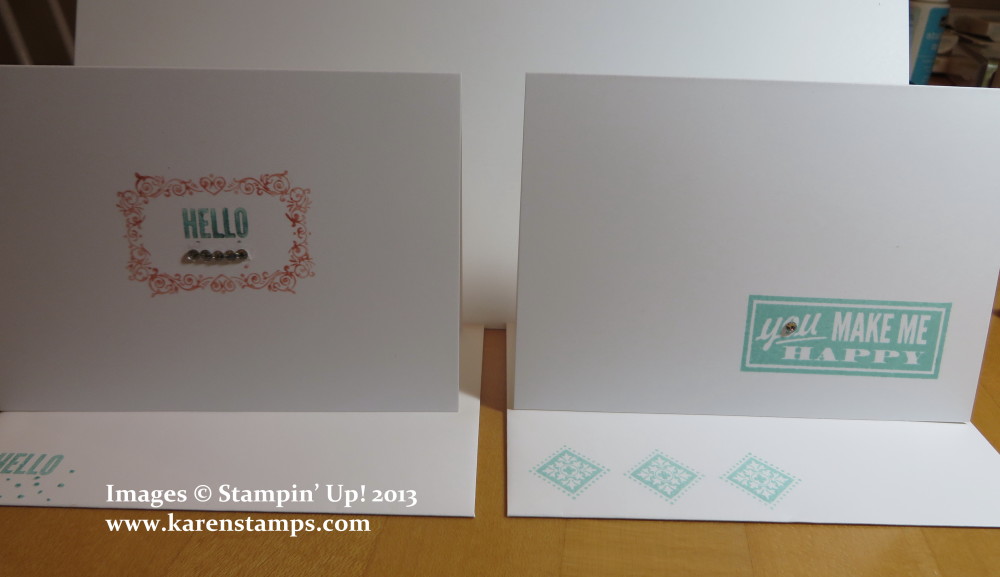
And here are several note cards and envelopes that go in the cute gift bag.

You Make Me Happy Notecards and Envelopes


You Make Me Happy Notecards


You Make Me Happy Notecard Gift Bag

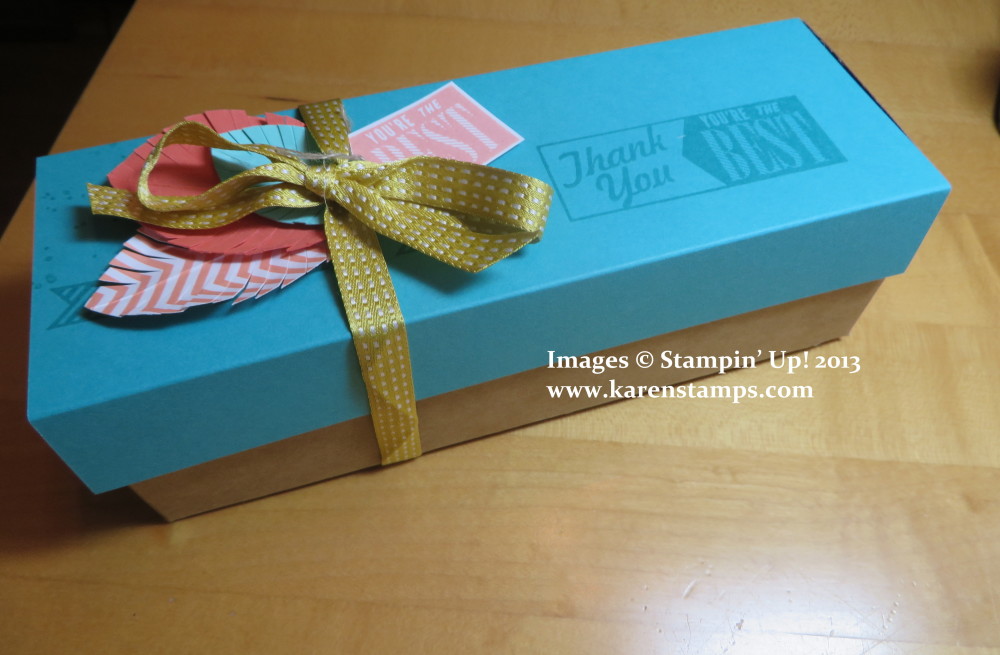
And here’s an easy box to make with the Tag a Bag Gift Box.

Tag a Bag Box

These boxes are going to be so good to keep on hand for those little gifts and things when you need something special.

For these or any other great Stampin’ Up! stamping supplies, please shop with me at my Stampin’ Up! Online Store!
Display Boards at the Stampin’ Up! Convention

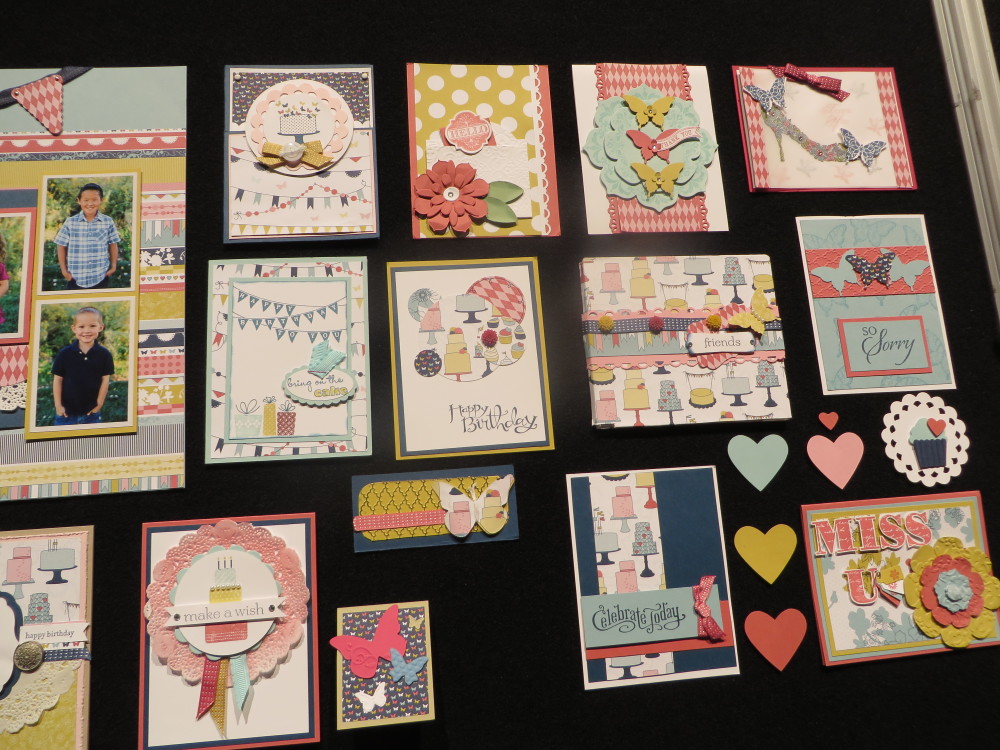
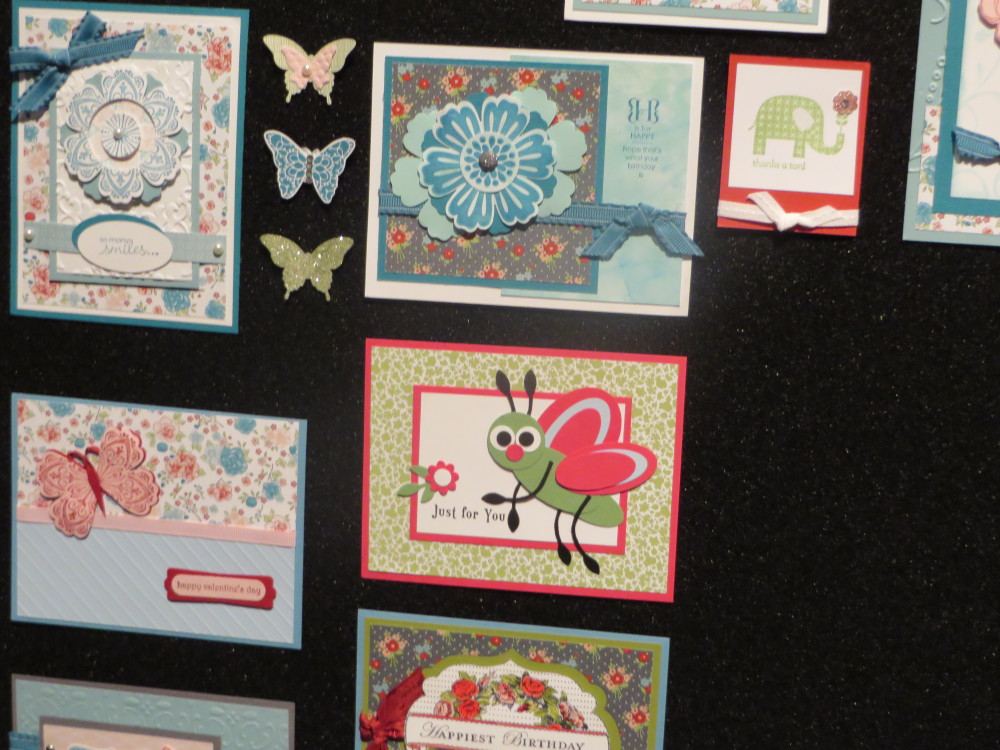
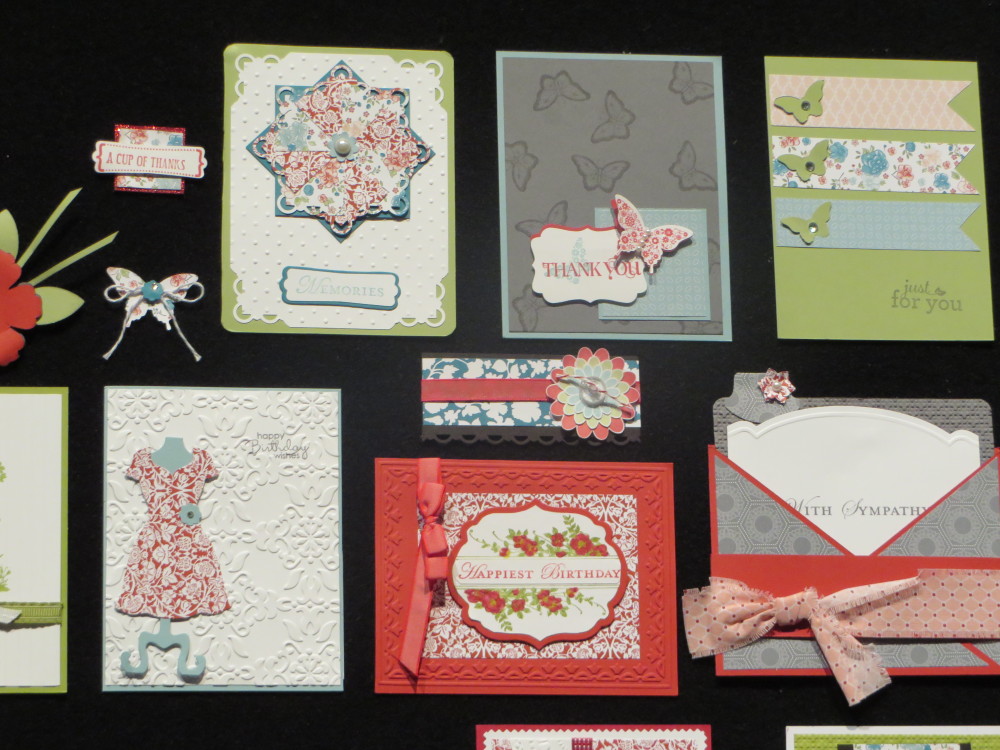
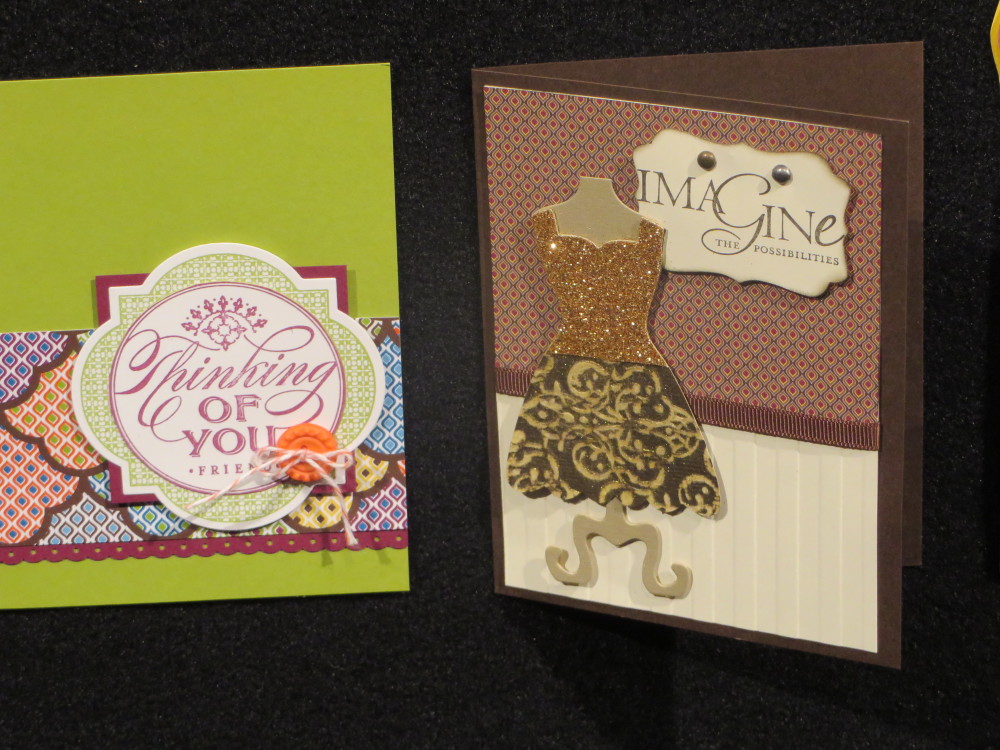
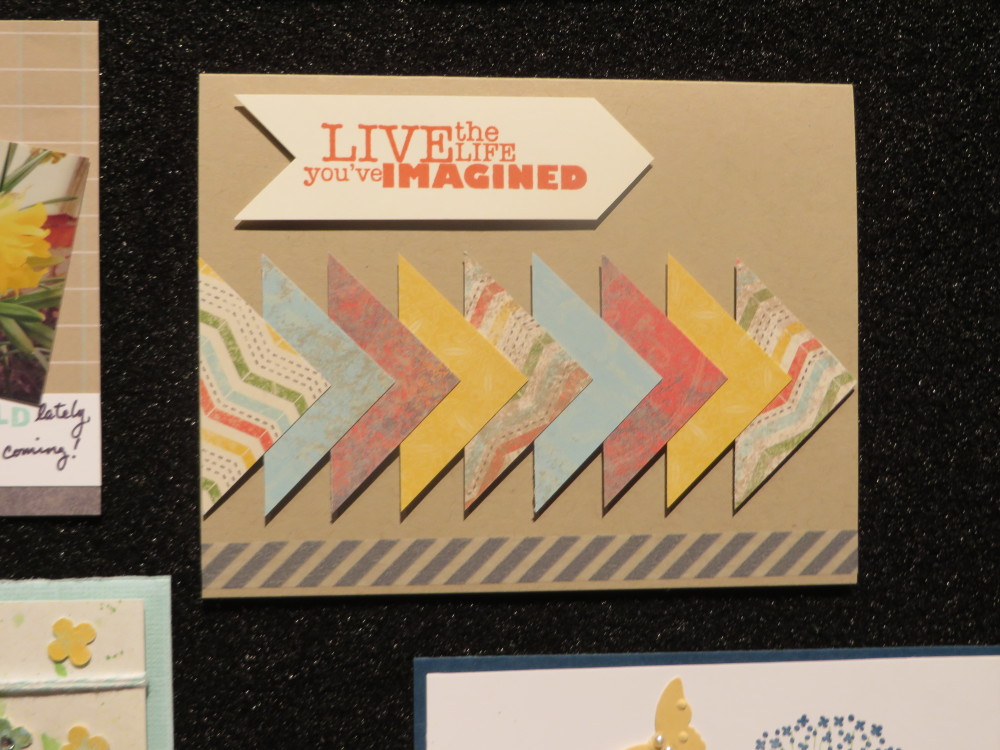
One of my favorite parts of any Stampin’ Up! Convention is looking at all the display boards with projects galore! Here are just a FEW photos of where I started photographing cards and projects on the display boards.  Yes, the paper and some embellishments might be retired but they are still fun to look at and perhaps you already have those materials and can duplicate some of these or get ideas for using new papers and products! Click on the pictures to enlarge.
All images copyright Stampin’ Up! 2013

Stampin' Up! Convention Cards on Display

Stampin' Up! Convention Cards on Display

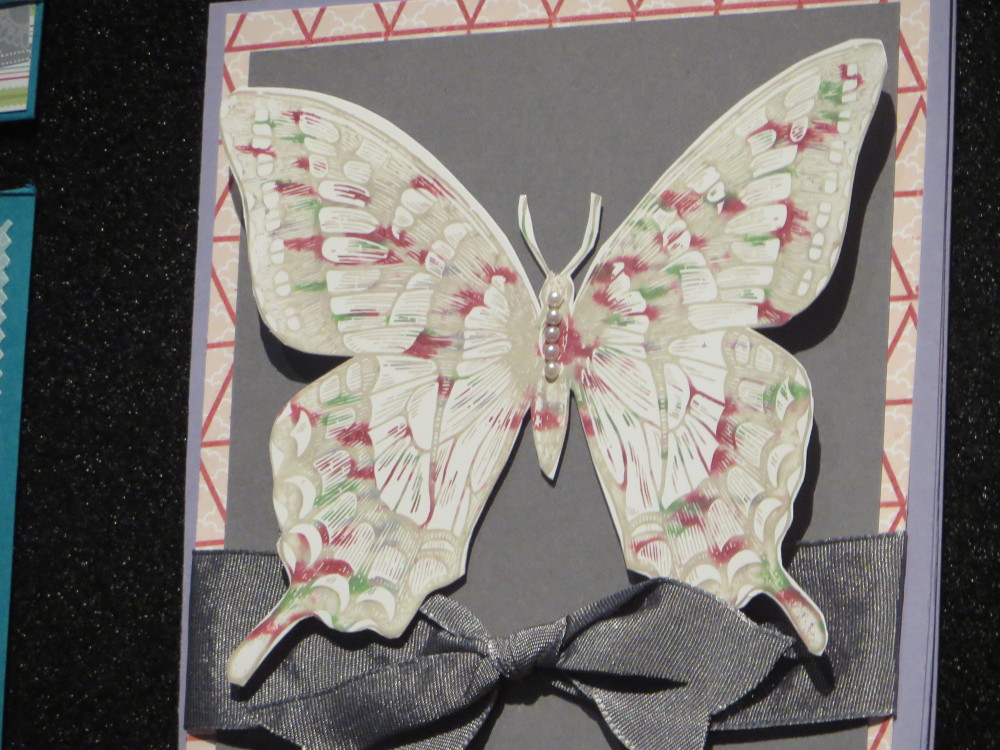
Swallowtail Stamp Set Butterfly Card

Beautiful Swallowtail

Beautiful Dress with Champagne Glimmer Paper and Core'dinations Card Stock and Dress Up Framelits

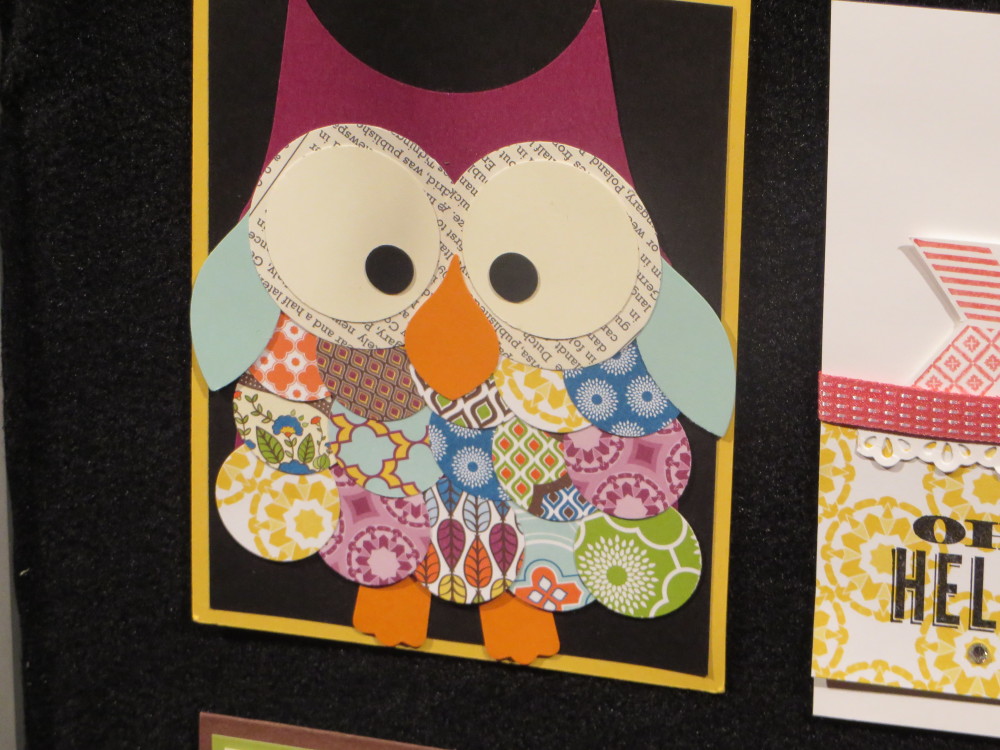
Beautiful Dress with Champagne Glimmer Paper and Core’dinations Card Stock and Dress Up FramelitsPunch Art OwlCute punch art owl!Stampin' Up! Display Boards at Convention

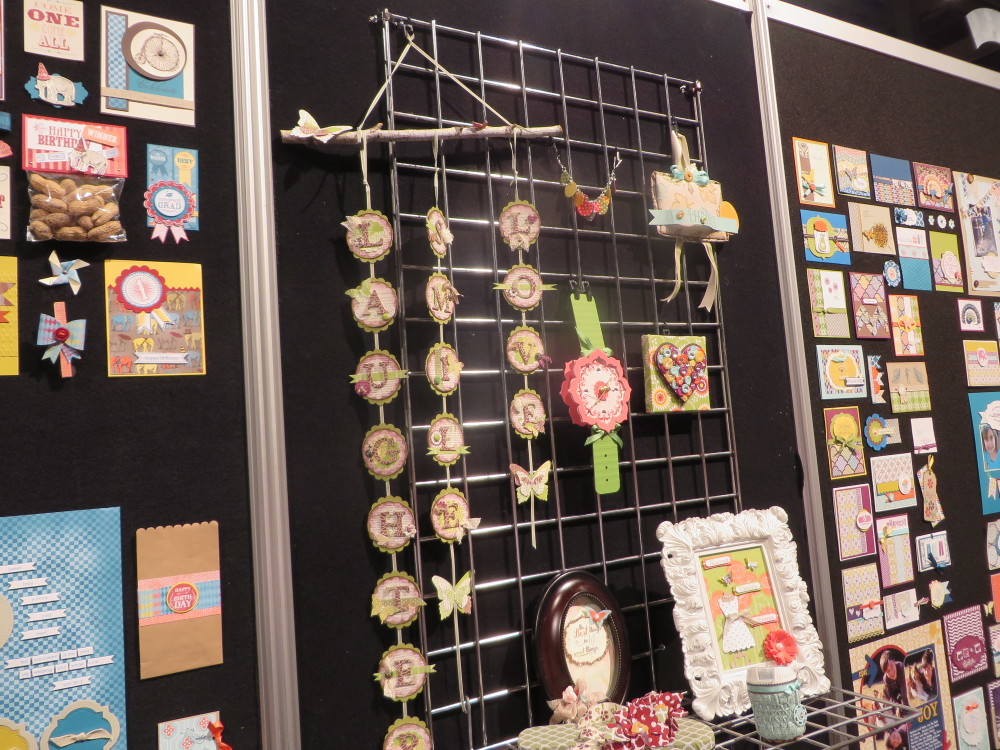
All Cute Projects!
Stampin' Up! Display Boards at Convention

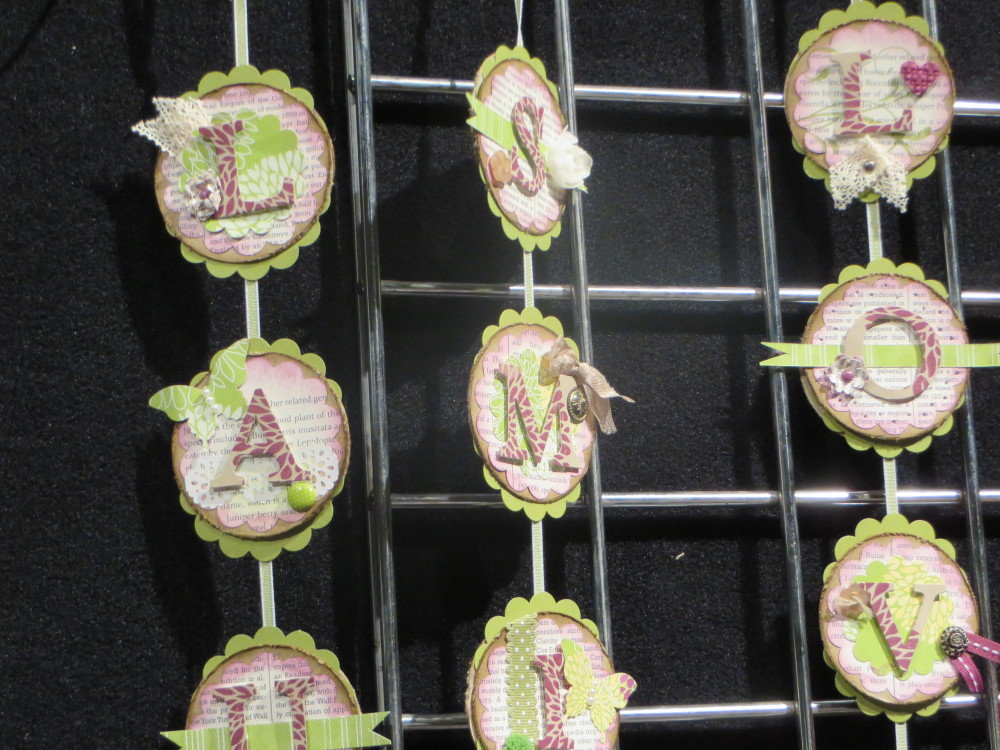
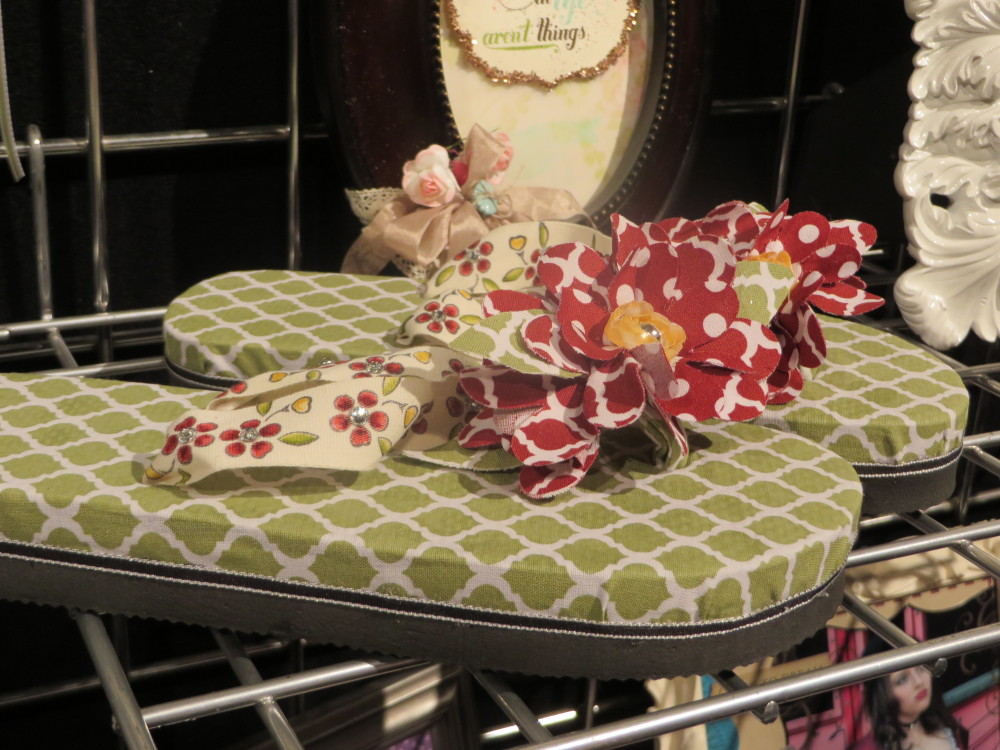
Close-up of hanging wordsDecorate your flip flops

Cute Flip Flops!
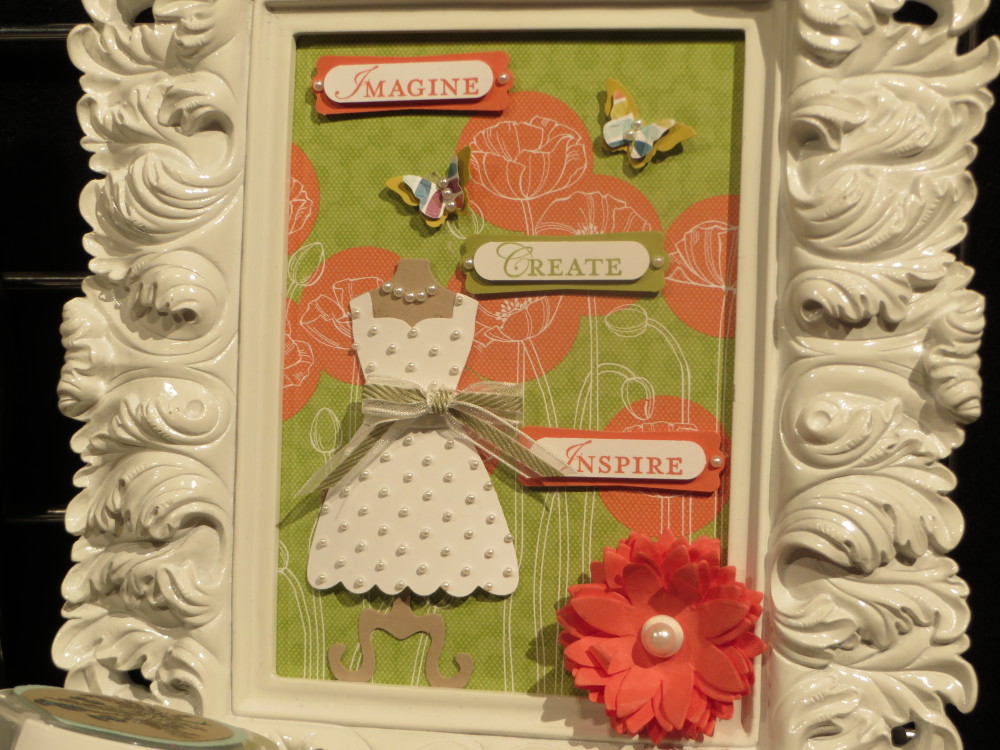
Dress Up Framelits art in a frame

Cute framed paper art

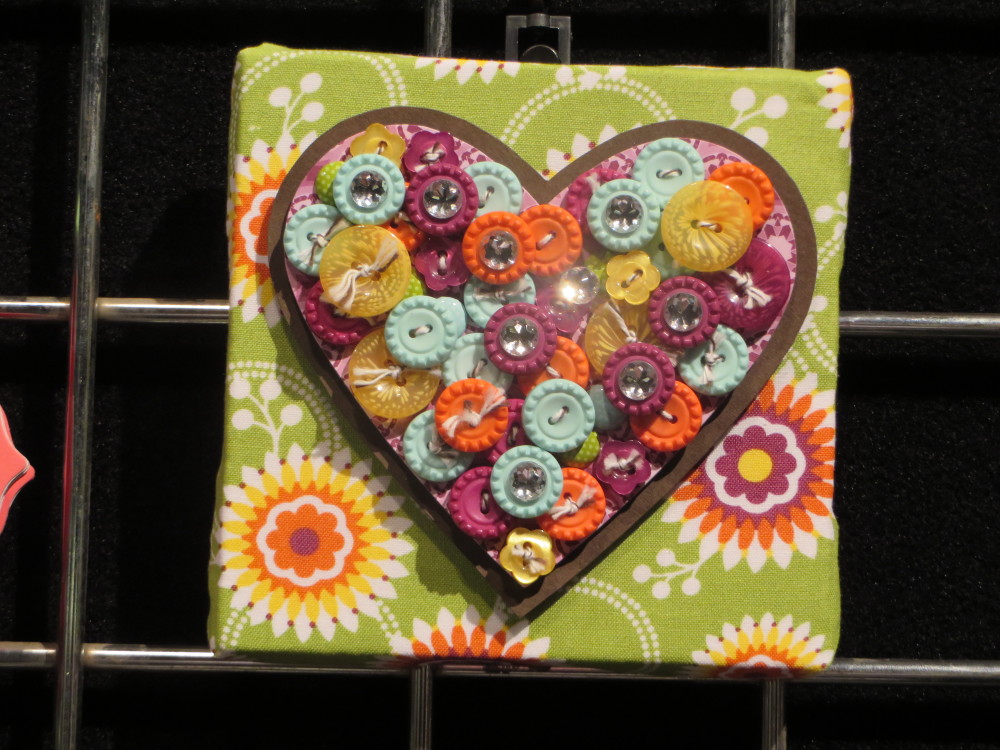
Use Stampin' Up! Buttons to decorate box

Cute way to decorate top of a box!

If this is getting you in a stamping mood, you can order more stamping and scrapping supplies at my Stampin’ Up! Online Store HERE.


A Fun Visit to the Stampin’ Up! Home Office

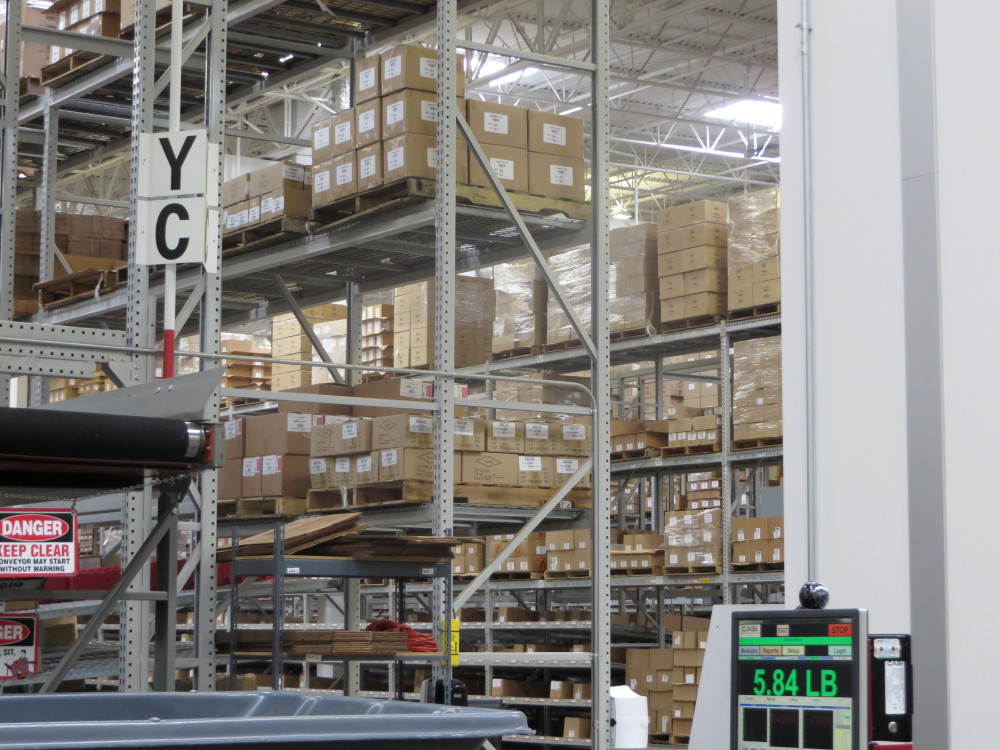
The first day of Convention, Stampin’ Up! provided buses for us to ride out to Riverton, Utah to tour the home office.  It was about a 25-minute ride and oh so beautiful out there! I could turn in a circle and see mountains everywhere! No wonder they picked that spot for the home office! This is where the offices are and the Distribution Center where our orders are packed.  However, the stamps are manufactured a few hours away at Kanab, Utah.
After being greeted by some Stampin’ Up! employees when we got off the bus, we went inside!

Stampin' Up! Home Office Tour

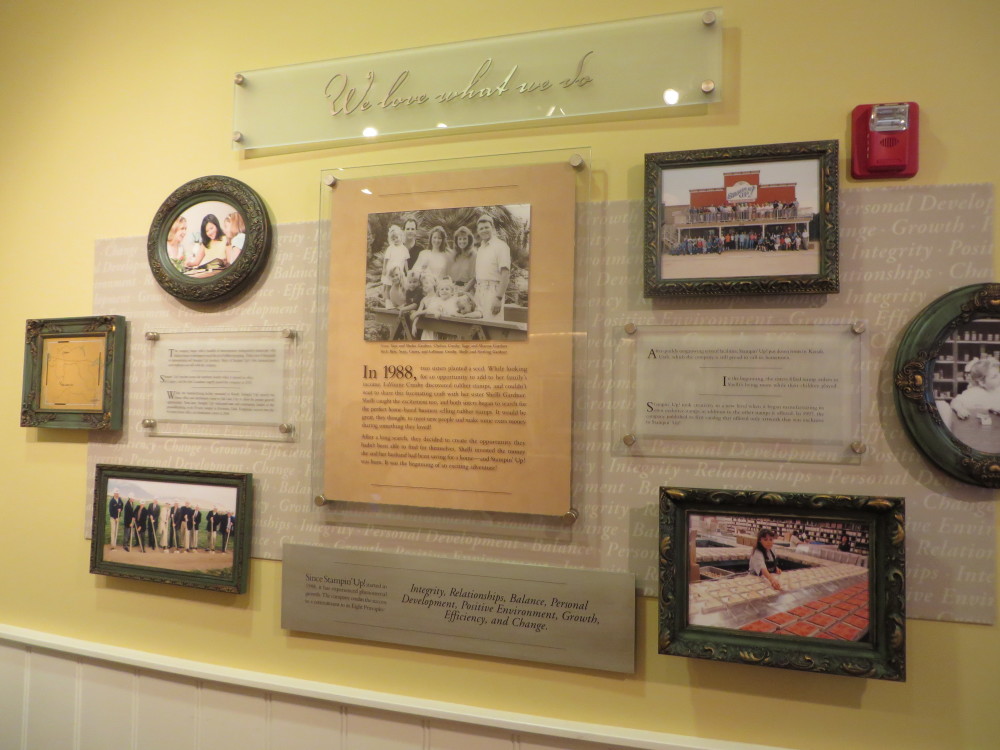
 the history of Stampin' Up!

In the Legacy Room, the History of Stampin’ Up!

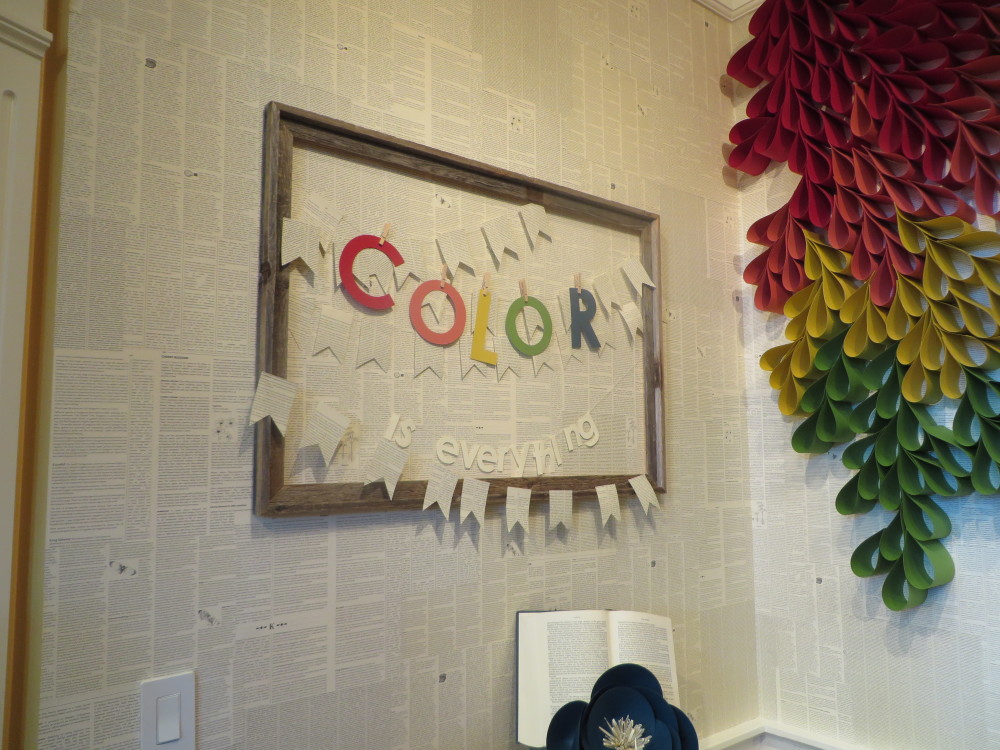
Covering walls with designer paperUsing (retired) First Edition Designer Paper to cover the walls

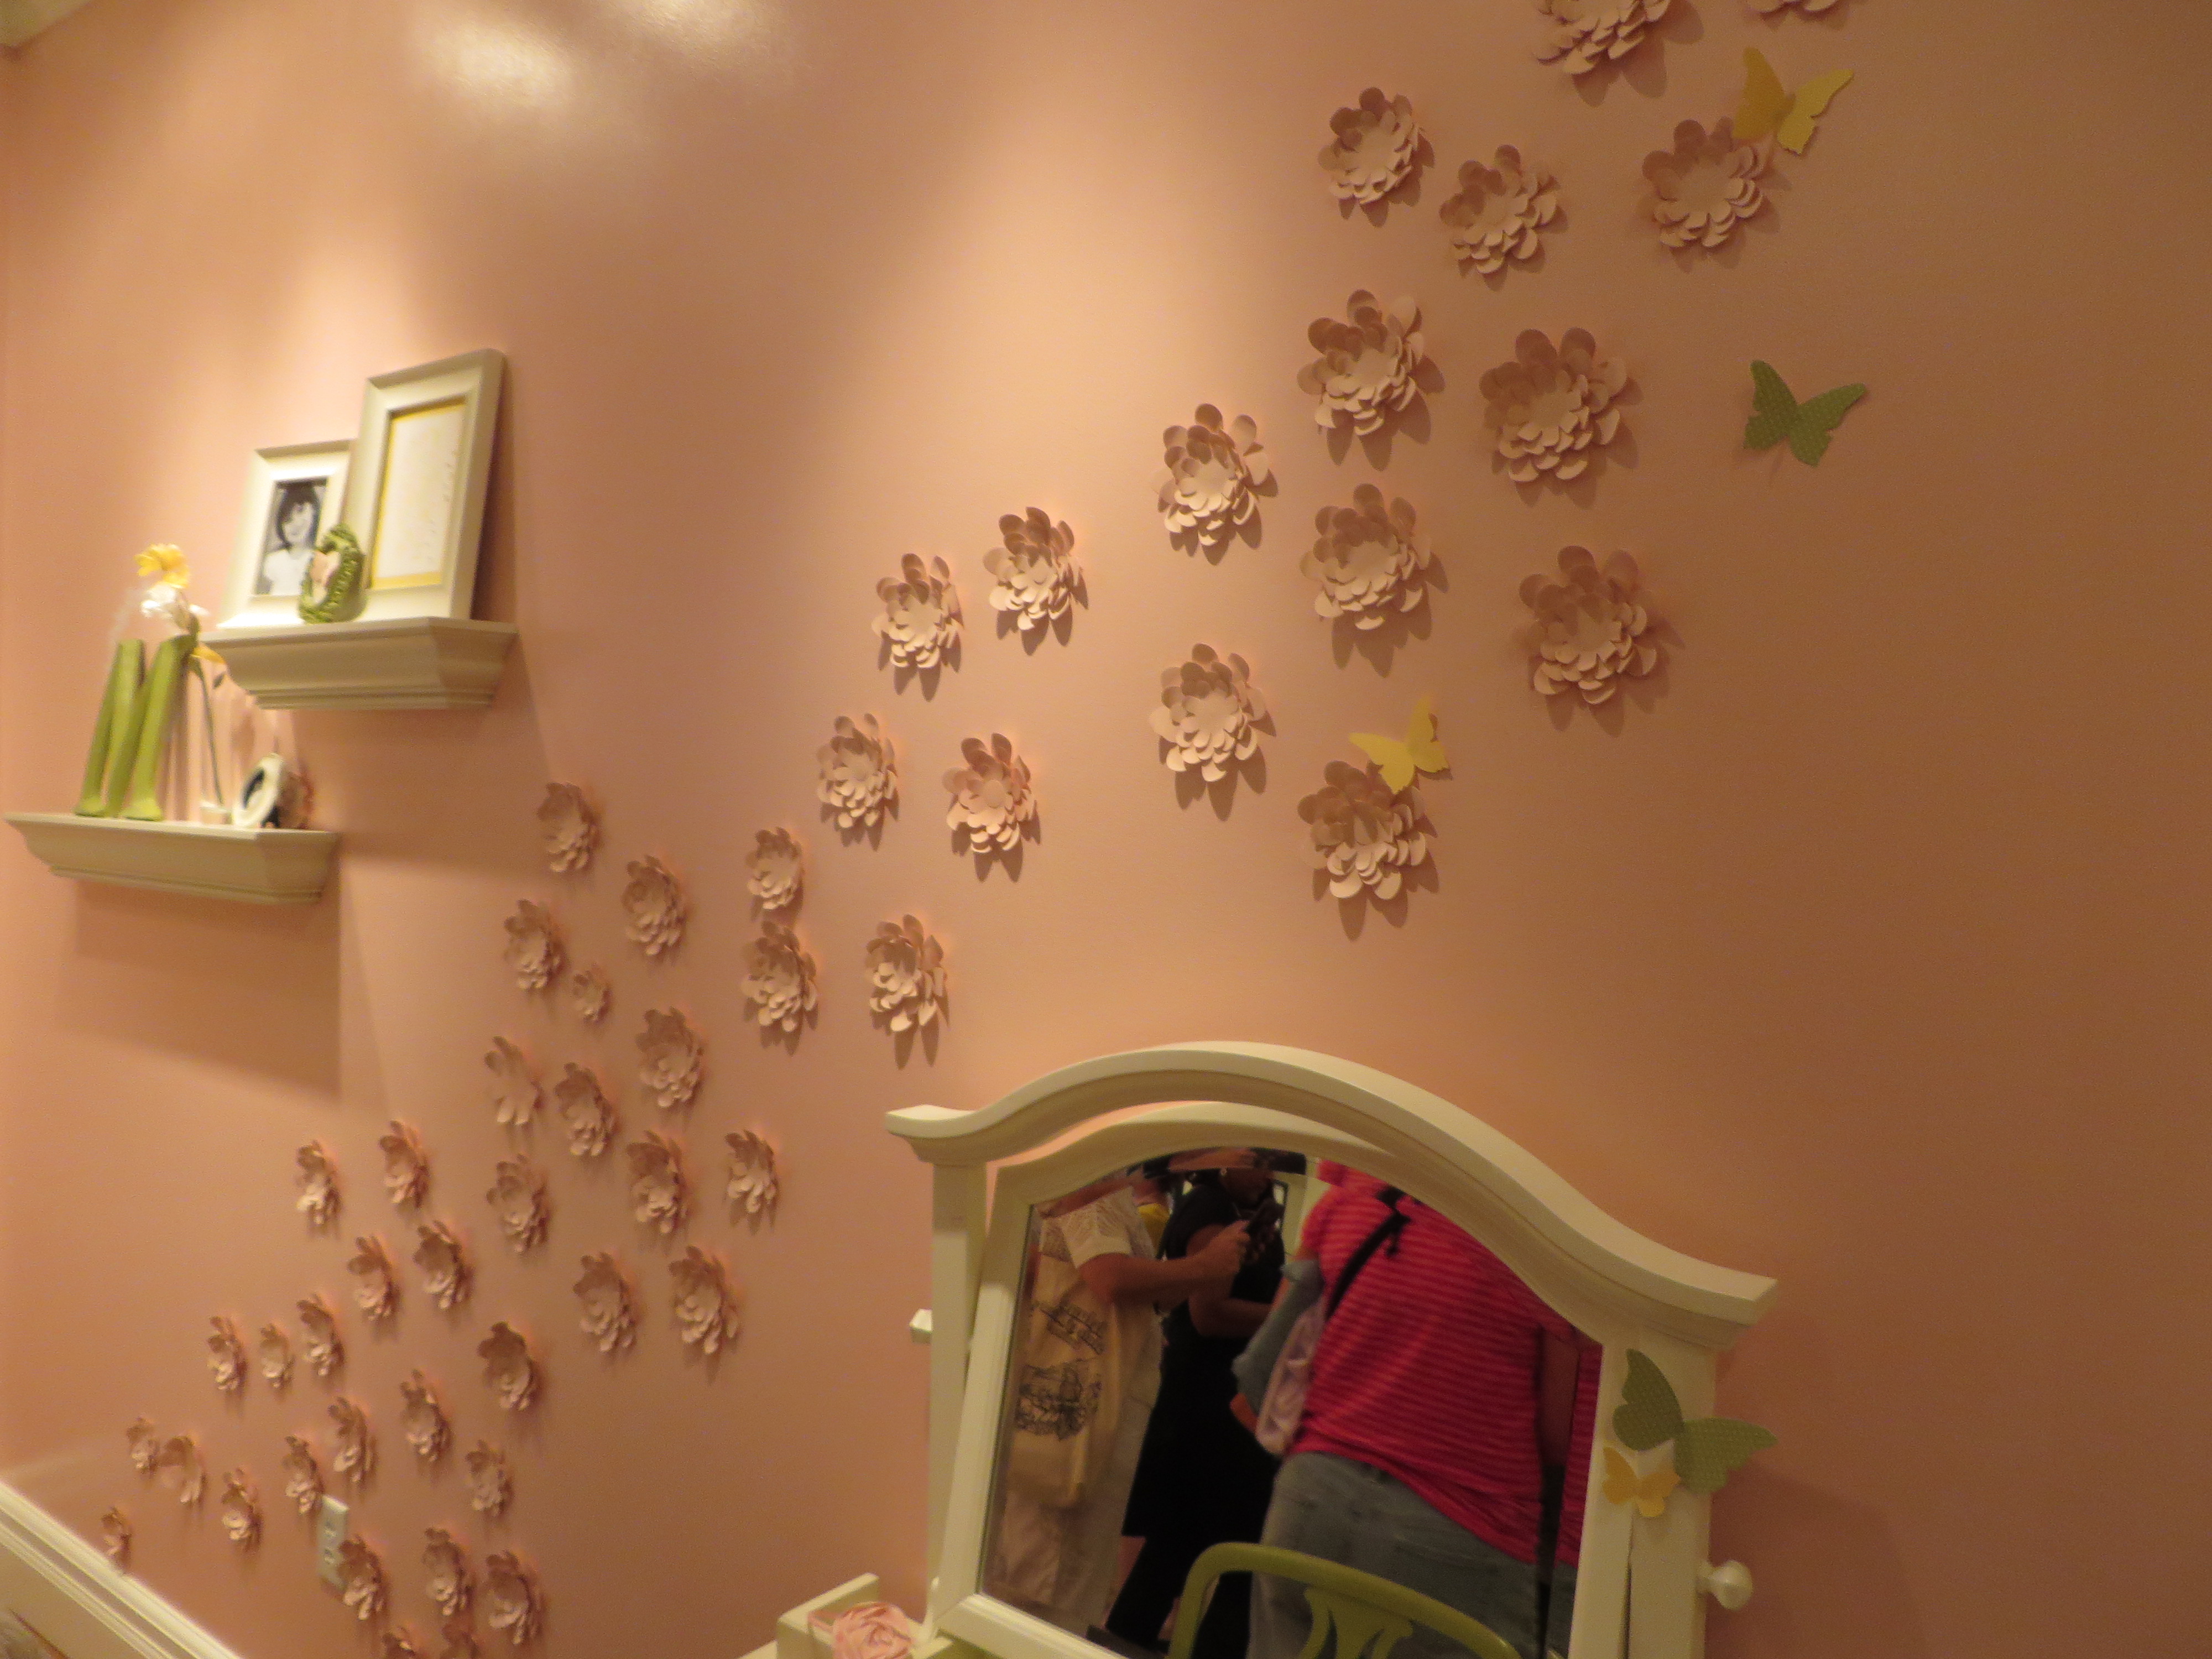
Decorate your wall with die cut flowers

Decorate your wall with die cut flowers

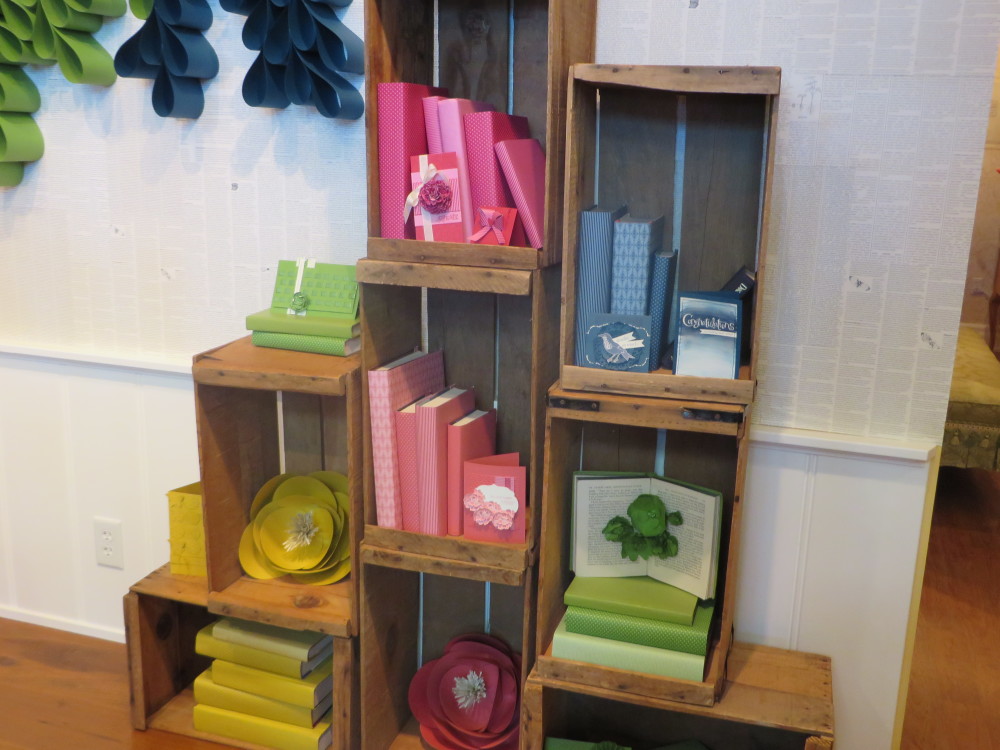
Books covered with designer paper

Books covered with designer paper

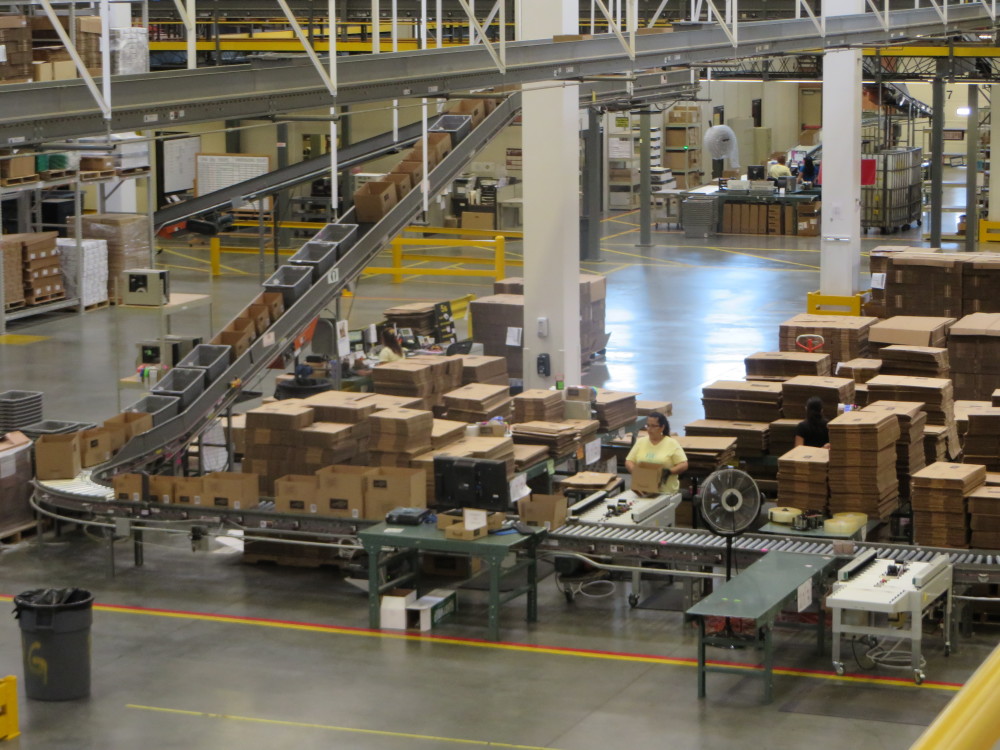
Getting the Stampin' Up! boxes ready to pack

Getting the Stampin’ Up! boxes ready to pack

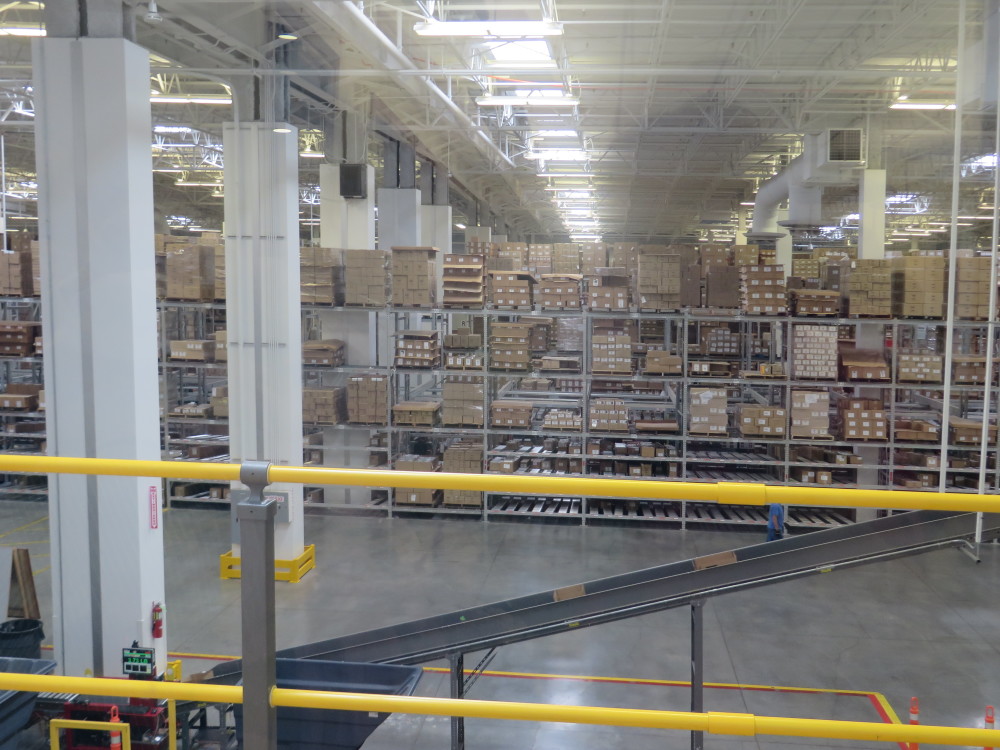
Stampin' Up! Distribution Center

Stampin’ Up! Distribution Center

Stampin' Up! Distribution Center

Where our orders get packed!

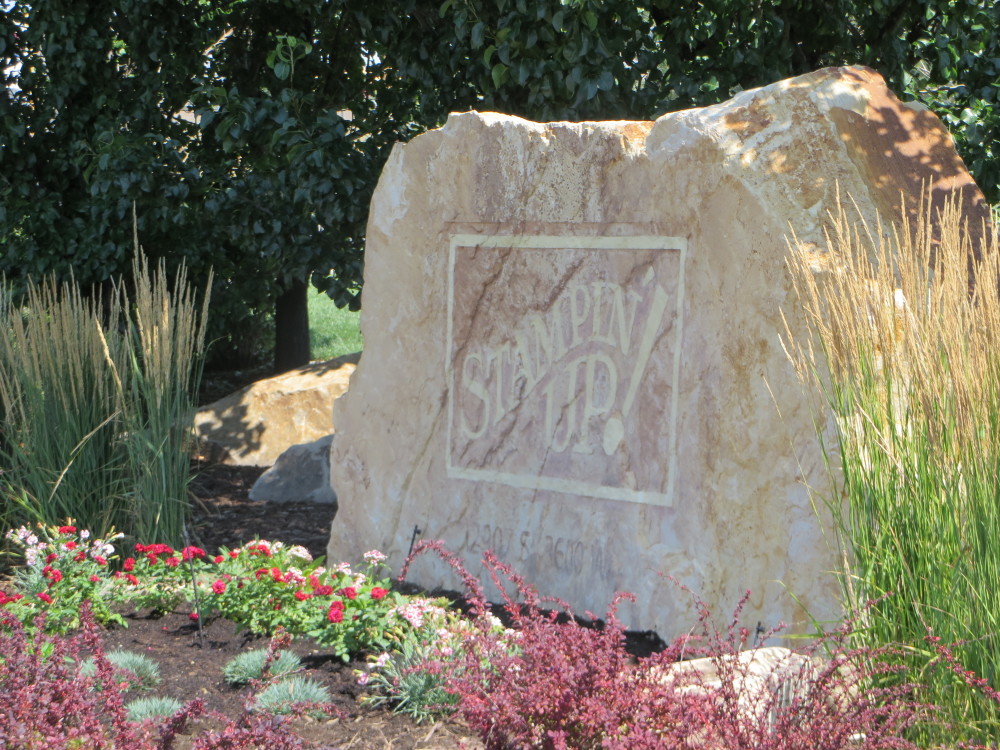
The Stampin' Up! Rock

The Stampin’ Up! Rock

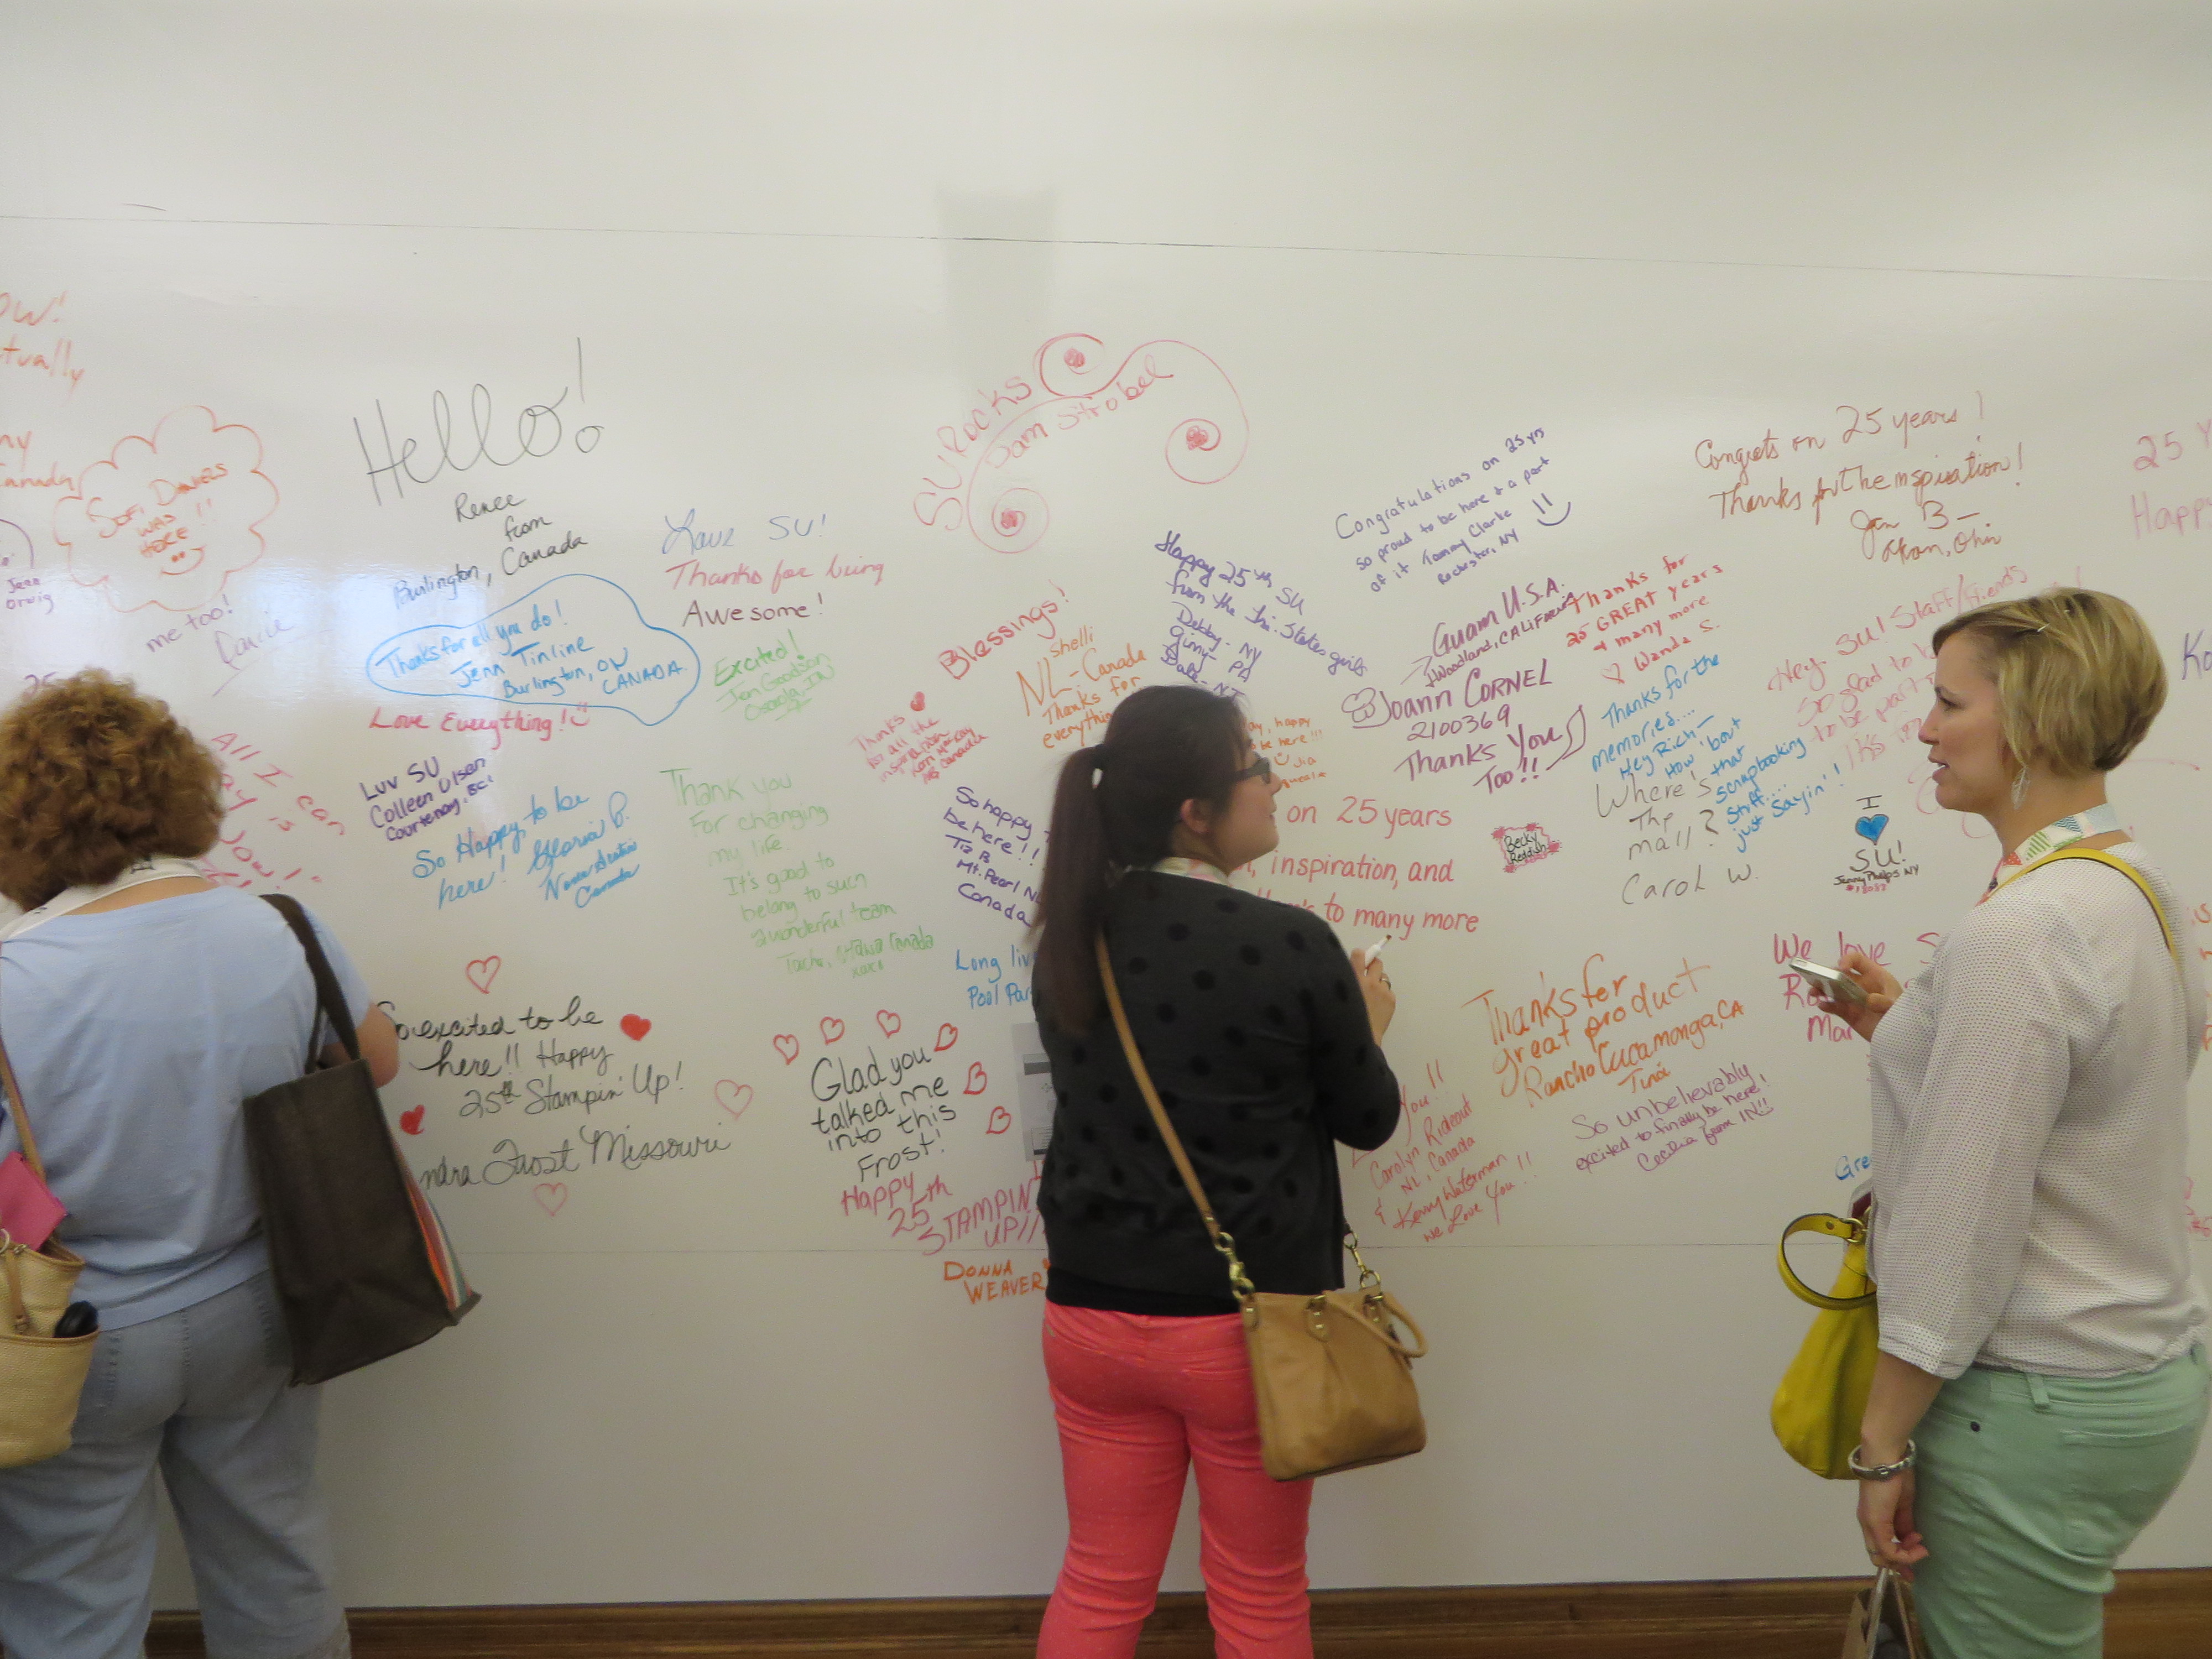
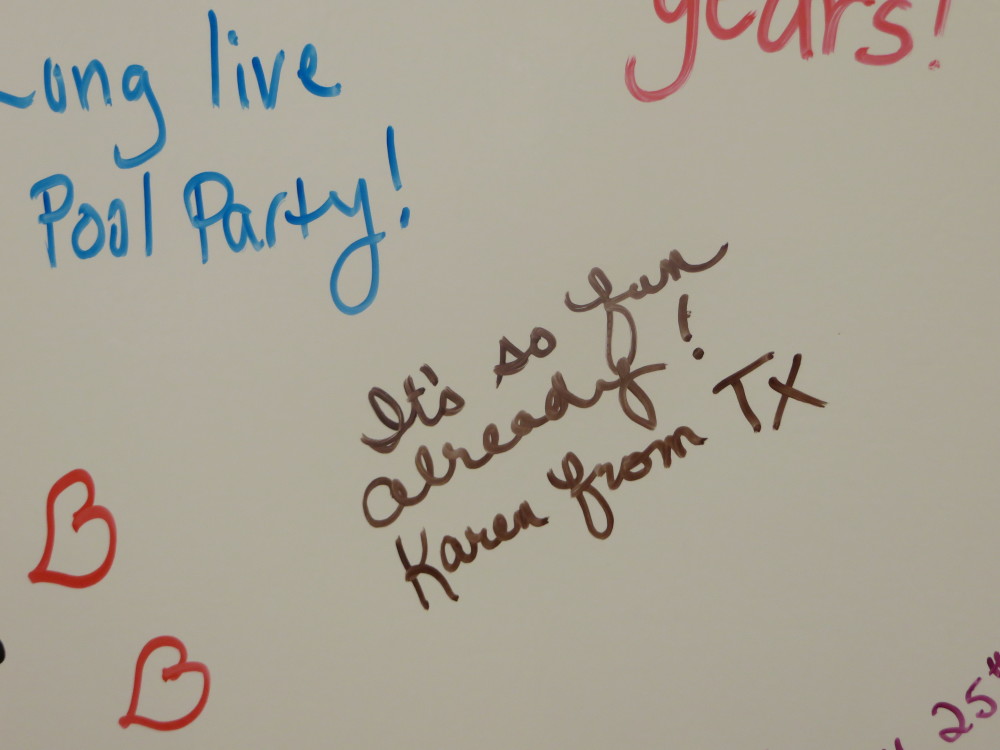
And I still have plenty of photos I would love to show you that I took at this place! I have to figure out how to make a gallery of photos! But at least this gives you an idea of the home base of Stampin’ Up! and what a lovely work enviroment they have. I also have photos of “The Idea Room”, a large room with bean bag chairs, a piano, games, stamping supplies, and one room where all the walls are those dry erase boards, I suppose for brainstorming.  Of course demonstrators had fun writing all kinds of messages all over the walls!

Writing messages in the Idea Room

Writing messages in the Idea Room

Writing on the Board in the Idea Room

Writing on the Board in the Idea Room

Even if you’re not a demonstrator, if you’re on vacation in the Salt Lake City area, you might call Stampin’ Up! and see if you could pay a visit to see the beautiful home office in Riverton, UT.


First Day of the 2013 Stampin’ Up! Convention

The schedule for the Stampin’ Up! Convention this year is rather different.  I’m not sure I have it all straight in my head yet.  But I do know first thing today is a bus tour out to Riverton to see the Stampin’ Up! Home Office!  I have been there before several years ago and it is a wonderful place (would Stampin’ Up! have an office that wasn’t wonderful??!) so I’m anxious to see it again.  As I remember, there were several rooms to walk through and see stamping ideas and even some Stampin’ Up! history.  The first General Session will begin about 5:30 pm tonight.  The excitement will be palpable!  Just flying in yesterday we were getting more excited the closer we got and when I got to my hotel I thought, “OH, it’s just across the street over there!  So close!”  So much excitement that will happen and so many memories we will all make!  My trip here was fun because I met one demo I already knew a little bit and enjoyed her company, plus we met two other ladies who were fun to be with as we ate lunch together in the Denver airport and rode the shuttle together over to the hotel.

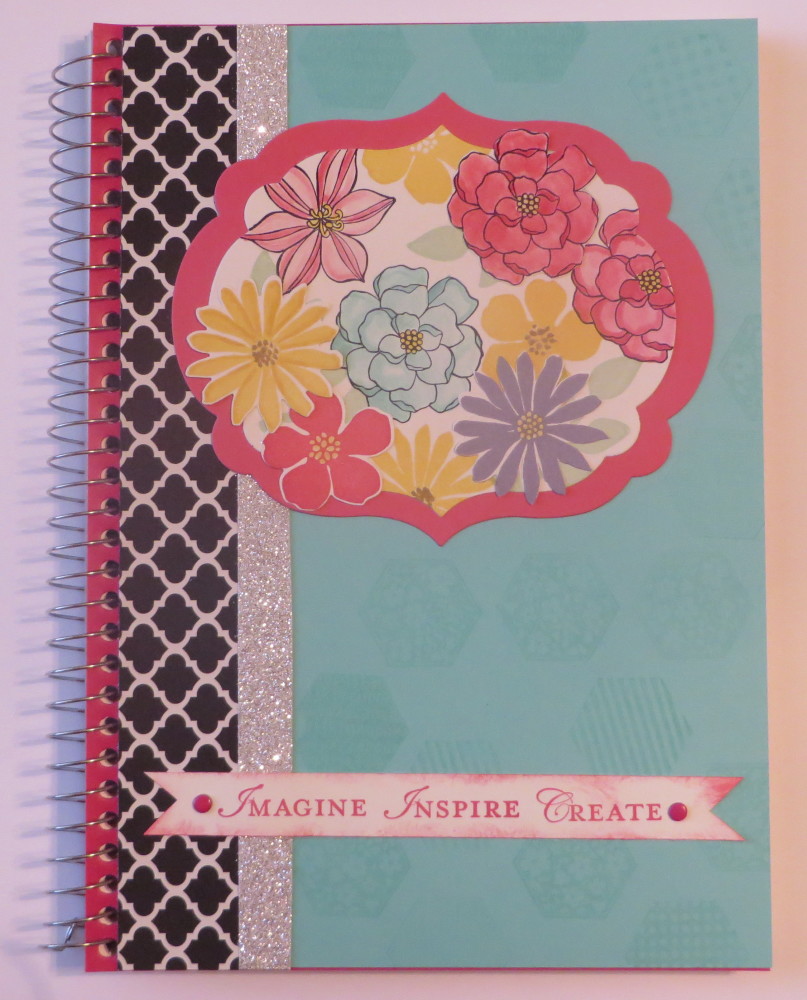
For Convention I always like to take my own notebook, even though they give us a workbook of sorts, but I like to decorate the cover and have plenty of writing and drawing space.  So this is what I came up with close to the last minute!

Convention 2013 Notebook

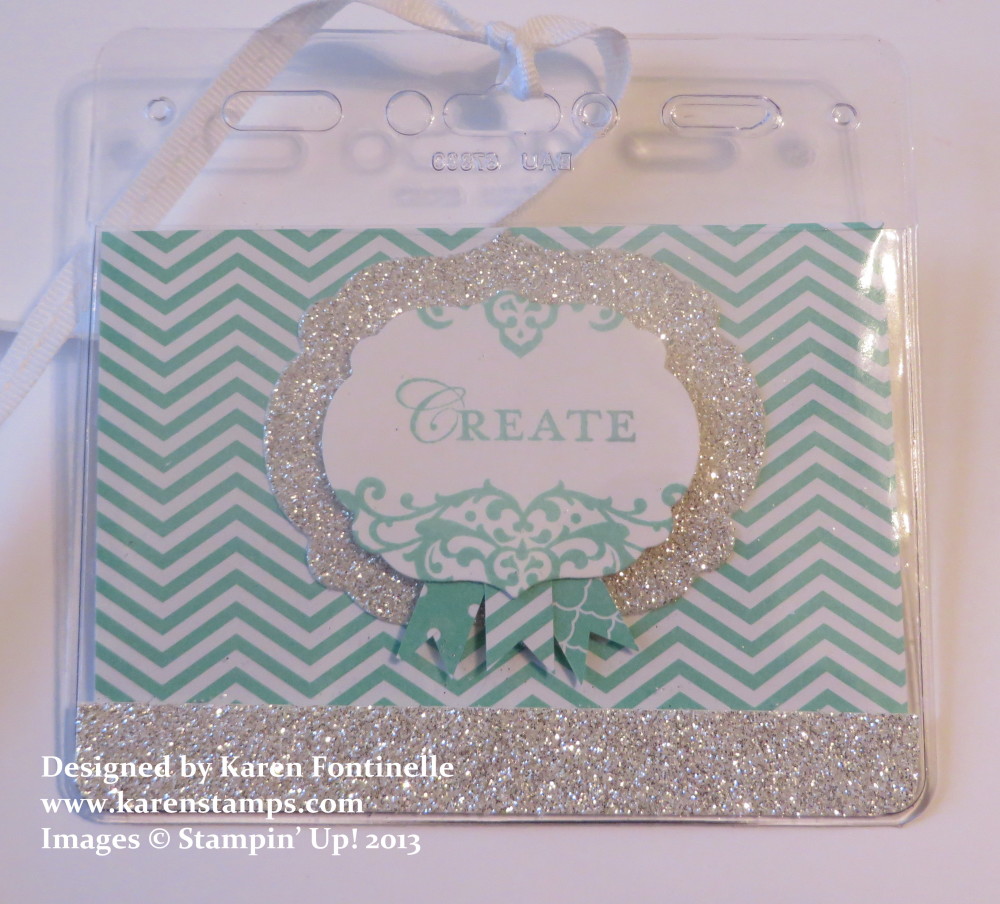
And since all 5800 of us will get the same bag, it’s a good idea to make some kind of tag that hopefully helps you keep track of your own bag.  Here’s the one I made, not knowing what the bag will look like!

Convention Bag Tag

That’s all I know so far!  Follow me on Twitter at www.twitter.com/karenstamps and especially my Facebook business page www.facebook.com/stampingwithkaren.  I’ll try to remember to post there now and then.

Modern Medley Houndstooth Petite Purse

Modern Medley Black Houndstooth Petite Purse

Use the new Stampin’ Up! Modern Medley Designer Series Paper to make a stylish purse with the Big Shot and Petite Purse Die! This is one of the new designer papers in the current Stampin’ Up! Annual Catalog. I added an edging of the new Stampin’ Up! Strawberry Slush Ruffle Stretch Ribbon. This is really pretty ribbon in one of the new Stampin’ Up! In Colors and SO easy to work with because of the stretch.  You will love it! Before I added the ribbon, I snipped off the little tab that would insert into the slit in the front of the purse in order to fit the ribbon. I also added an embellishment from the In Color Boutique Details package. These look like buttons without the holes! This one is a Strawberry Slush color.  I adhered it with a couple of Mini Glue Dots. In order to hold the purse flap closed, I adhered a small piece of velcro on the flap and on the purse so that it can be opened and closed.

This purse is very small but can be used decoratively or to hold a few little favors, perhaps a couple of chocolate nuggets or candies or some other little gift.  The die is easy to use. The paper is scored and easy to fold into the purse shape.  The little handle is a separate piece on the same die that cuts out at the same time.  I have attached it to the purse on the sides with Silver Mini BradsWhen designer paper is used, it may be difficult to see the score lines but using the die as a guide as to where the score lines are, you can easily feel them and then fold them.  It all works quite nicely.

If you are looking for a way to make cute little gift containers or party favors, this Petite Purse Die will make your job easy and fun!

You can find the Big Shot and all the dies, etc. to use with it as well as beautiful designer series paper at my Stampin’ Up! Online Store.  Don’t forget to take advantage of the special offer on Designer Series Paper this month!

Frame the Card You Make!

Five-Way Flower Framed

Yesterday when I made this card to put on my Facebook Page here I thought it didn’t HAVE to be just for the 4th of July, it could be for anything. Then I decided it would be cute just in a little frame! I found this plain gold one, made a larger Real Red mat to adhere the card to and slid it in the frame. There was room to leave the glass on the front, hence the glare, but I could have framed it without the glass.

The card is made with the single stamp, Five-Way Flower.  If you stamp the flower several times, you can use all your scallop circle punches to punch out different size scallops of the flower and then layer them one on top of the other, popping each layer up with a Stampin’ Dimensional.

The greeting is from the Perfectly Penned stamp set.

Think about whether the card you make could also be a piece of art to be framed!