Monthly Archives: December 2014

More Watercolor Winter Simply Created Kit Christmas Cards

Watercolor Winter Merry Tree

Besides the designed cards in the Watercolor Winter Simply Created Card Kit, I was able to make lots of other designs with the materials in the kit.  Some I copied and some I made up as I went along! That’s the beauty of stamping! The Watercolor Winter Kit is still on the Stampin’ Up! Year-End Closeout Clearance Rack, but is only available while supplies last! There are other holiday products on there that you might like to grab right away so you can use them this year – or save them for next year!

Here are some of the other cards I made from the kit and maybe with a few extra pieces from my stash.

Watercolor Winter Joy Sled Card

Watercolor Winter Card Sled Joy Snowflake

Watercolor Winter Card Bermuda Bay Snowflake

Festival of Trees 4″ x 4″ Card

Festival of Trees 4x4 Card

Sometimes it is fun to make a different size card, so this one is a Festival of Trees  4″ x 4″ Christmas card.  It fits in the envelope perfectly. The Festival of Trees Stamp Set offers so many possibilities for Christmas cards, Christmas treats, Christmas favors and projects! And who doesn’t love the Silver Glimmer Paper to set off the tree! If you purchase the Festival of Trees Photopolymer Bundle then you save 15% and also receive the Tree Punch which makes cutting out the tree so easy. I stamped the star from the set with Real Red and punched out with the star in the Itty Bitty Accents Punch Pack. I use these punches all the time. While I had planned to decorate the tree with Rhinestones perhaps colored with a Cherry Cobbler Blendabilities Marker, I opted instead for the Brights Candy Dots. Originally I was only going to use the red ones, but then decided why not use several colors?! This way for mailing the front of the card is flatter since I already have the tree popped up on Stampin’ Dimensionals. The Silver Glimmer Paper circle is punched with the 2 1/2″ Circle Punch. The Real Red background layer is embossed with the Decorative Dots Embossing Folder. The greeting comes in the stamp set and has another part that does on the inside of the card. Great stamp set!

If you would like any stamping supplies under your Christmas tree, please visit my Stampin’ Up! Online Store! You will find many great deals there including the Stampin’ Up! Weekly Deals, the Year-End Closeout Clearance Rack, the Holiday Catalog and the Holiday Supplement.


Making Watercolor Winter Cards from a Kit

Watercolor Winter Snowflake Trees Card
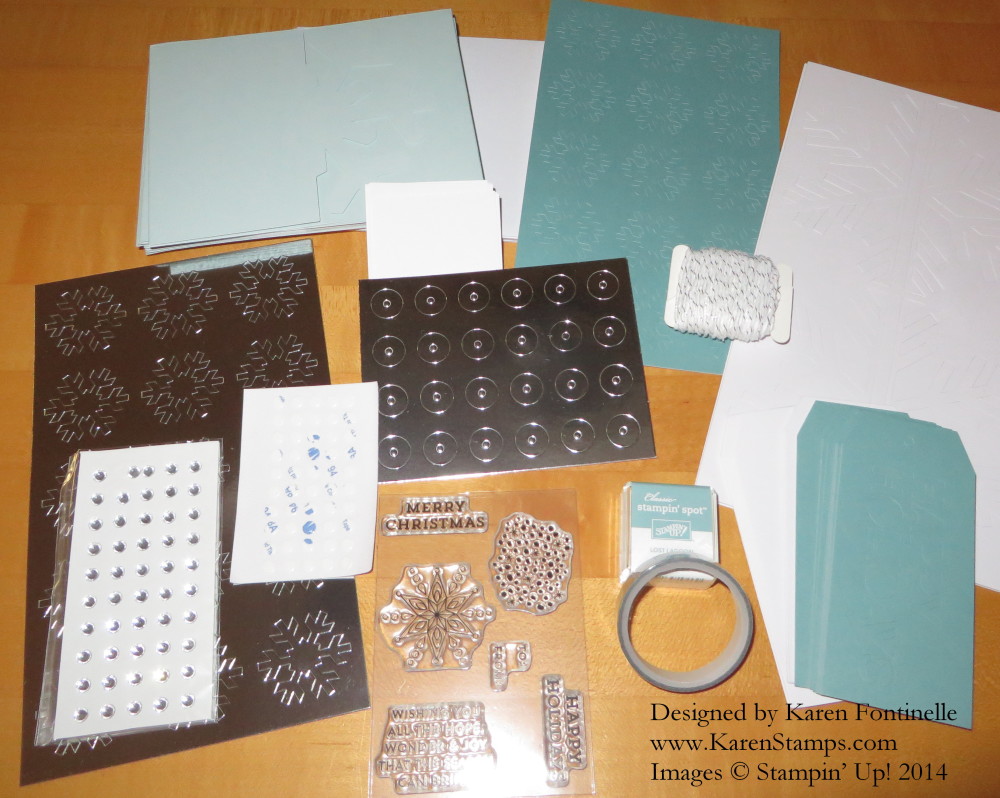
Yesterday I followed my own advice and just sat at the kitchen table and made Christmas cards! I used the Watercolor Winter Simply Created Kit, which made the card-making easier because the pieces were all there!  All I had to do was assemble!  Ok, I did do some watercoloring with ink refills (the trees, the letters, the sleds) but that was super simple with my Aqua Painter (even though a brush is included in the kit). No watercoloring skill required – just wet your brush, dip it into the ink refill puddle which can be in the lid of your ink pad, and brush over whatever piece you are coloring.  It helps to color the pieces before punching out because you can just color right across. Since the “ombre” look is so in style, it doesn’t matter if you get one part darker or lighter than the other.

There is also a coordinating stamp set that goes with this set, available separately. It is the Watercolor Winter Too Stamp Set. You can also use any greeting set you already have.

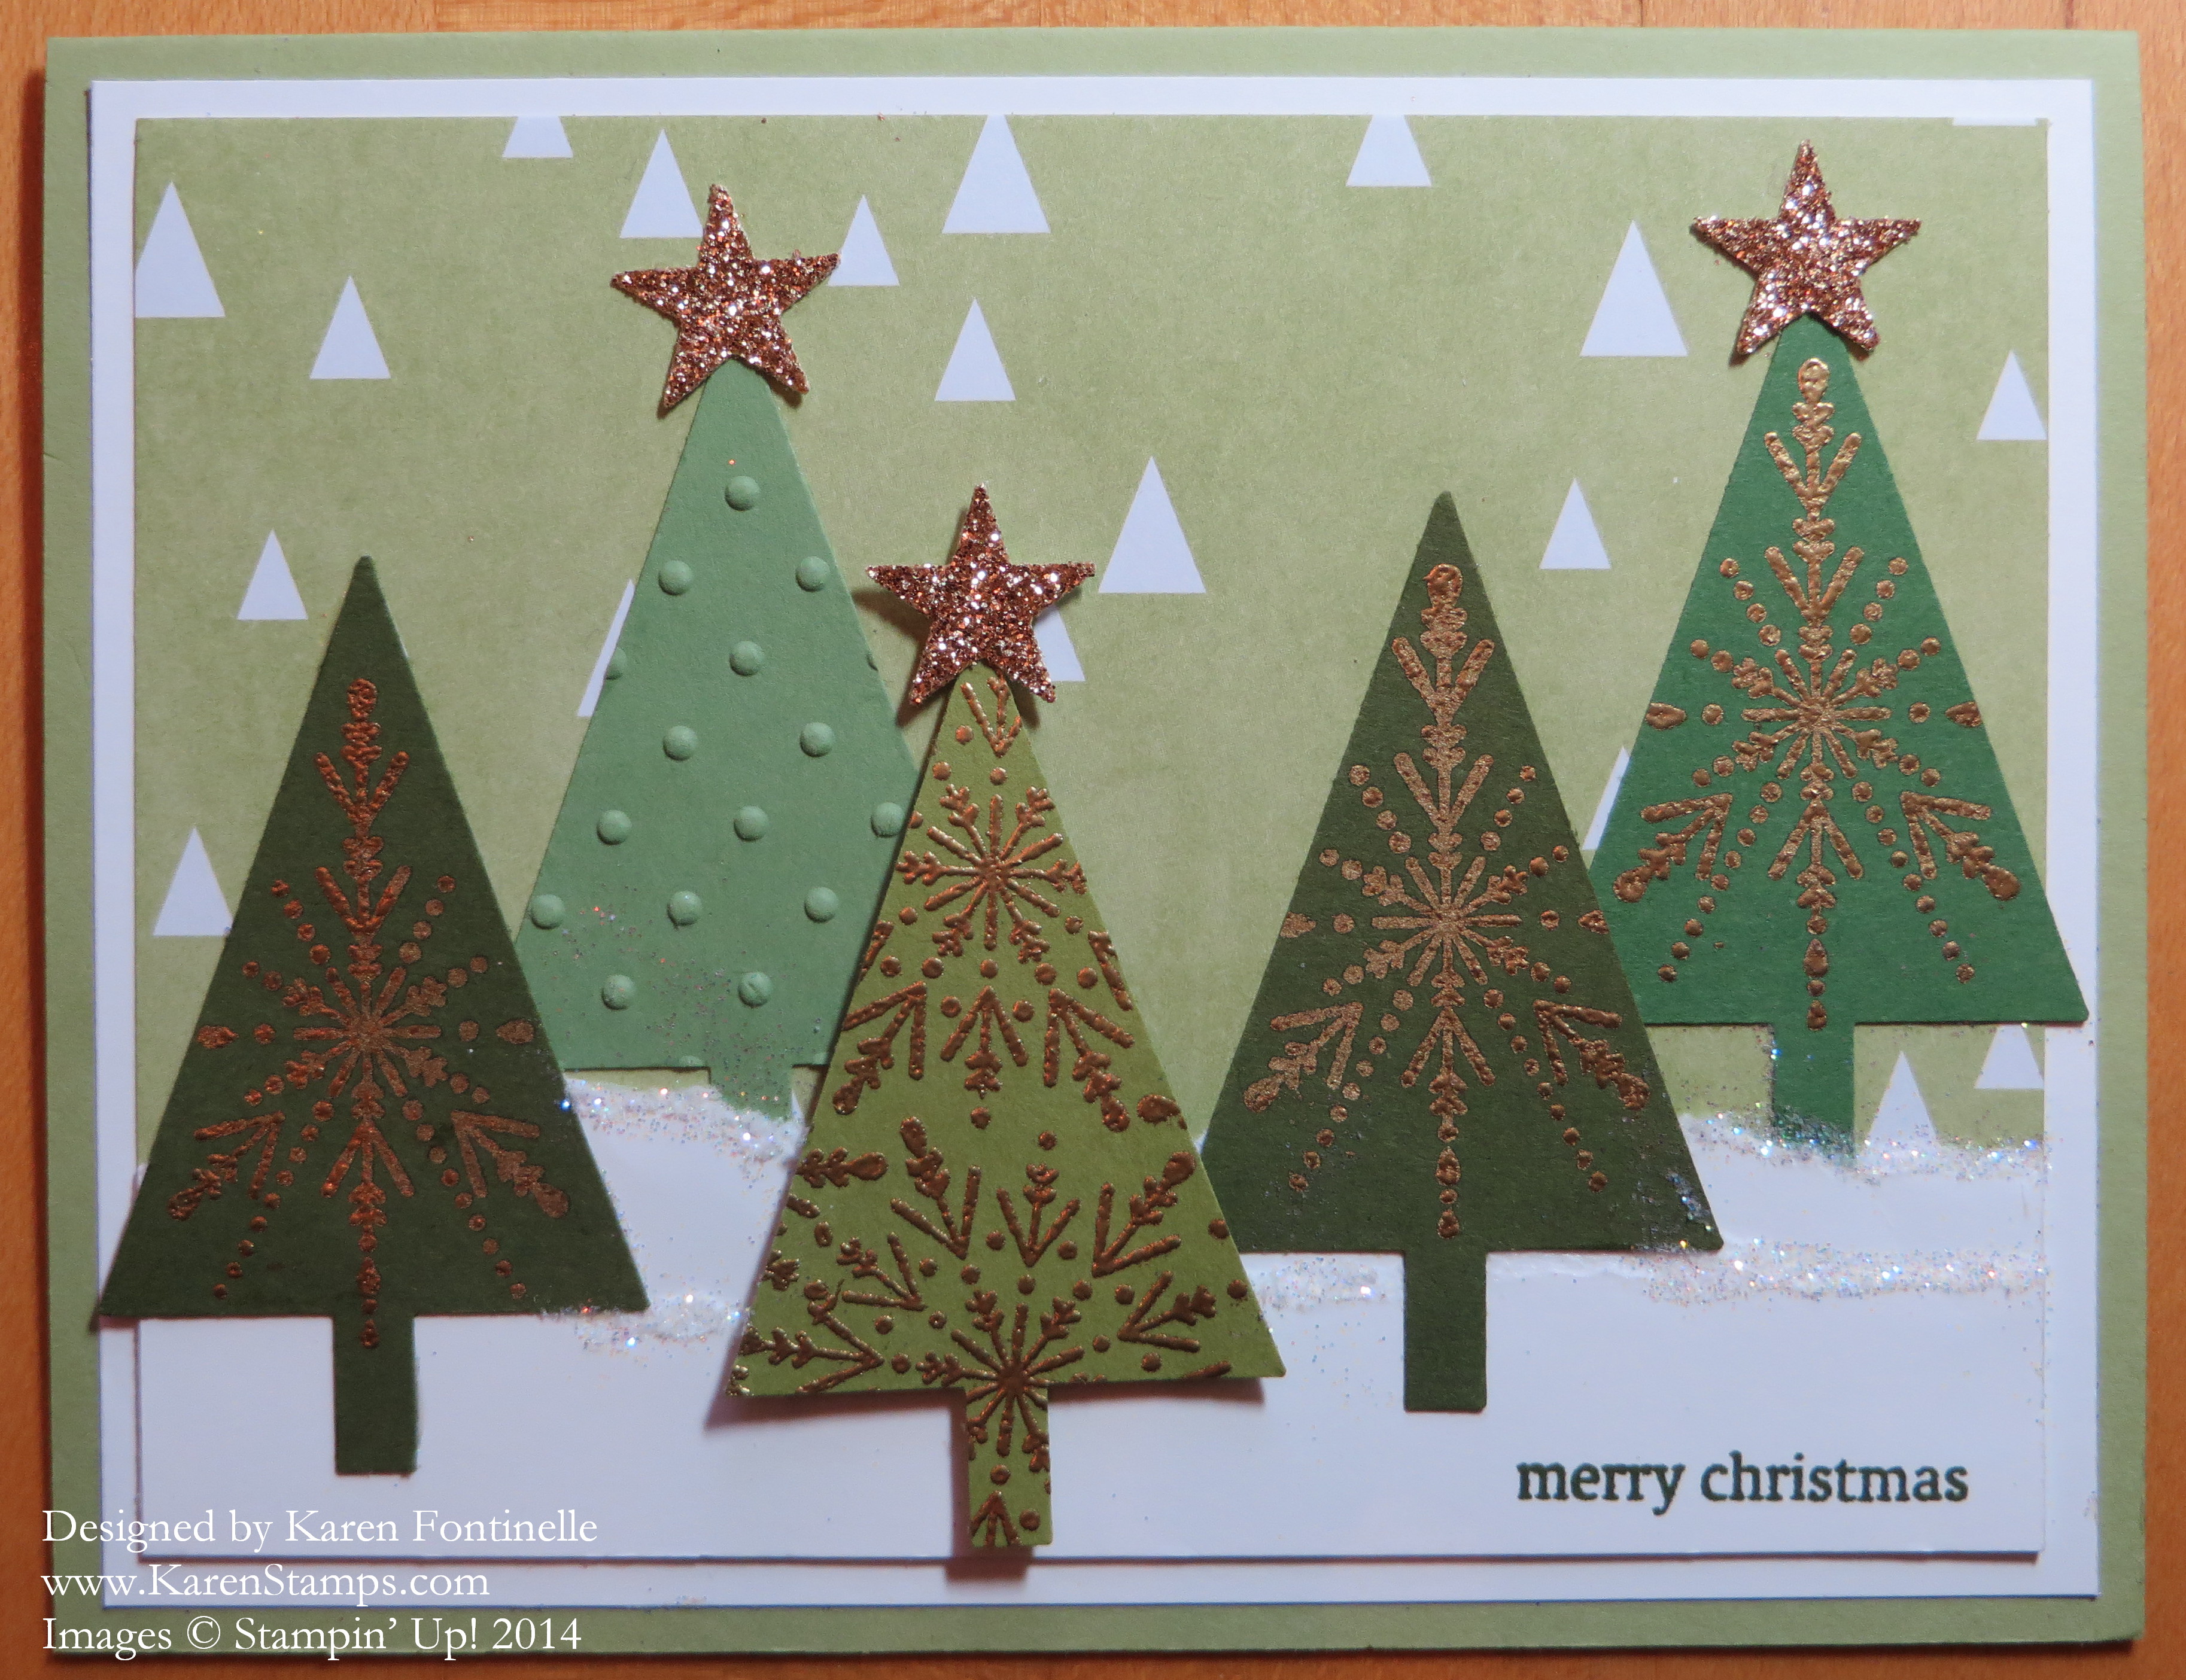
Since I have already made some of the cards exactly how the directions in the kit showed, I barely looked at the directions this time and just made my own designs or copied ones I liked on the internet. So in some cases, you will see I used a few other materials that did not come in the kit. But if you didn’t have any other paper scraps or materials to use, you would still be able to make the cards in the kit and even have leeway on how you wanted to make the designs.

This Watercolor  Winter Simply Created Kit, as I write this, is still available on the Stampin’ Up! Year-End Closeout Sale (Clearance Rack), but only while supplies last!

Here’s another card I made.  Love the sleds!!!! The striped card base comes in the kit, the woodgrain white layer, the snowflake, the glittery word, and the banner on which to stamp the greeting.

Watercolor Winter Card Kit


Shop anytime at the Stampin’ Up! Online Store!

Christmas Tree Triangle Box

Christmas Tree Triangle Box

One of the easiest projects to make for any occasion is the triangle box. This Christmas Tree Triangle Box is one I made for Christmas, to look like a Christmas tree. After cutting and scoring the card stock, I embossed the front half with the Beautifully Baroque Embossing Folder to make it look something like a tree. I tied the top of the box together with the 1/8″ Gold RibbonThen I was ready to decorate!  I thought the ornaments on the Nordic Noel Designer Series Paper were cute so I just cut them out by hand with my Paper Snips. They are adhered to the tree with Stampin’ DimensionalsThe Gold Glimmer stars are punched with the star punch in the Itty Bitty Accents Punch Pack and adhered with Glue Dots.

Here’s how the Triangle Box is made:

Triangle Box diagram

  • Cut card stock in half lengthwise:  4 1/4″ x 11″
  • Score at 5 1/2″.
  • Mark the center of the strip on both ends at 2 1/8″ with a pencil mark.
  • Score with Stampin’ Trimmer at an angle, putting that center pencil mark on the track on the Paper Trimmer while also lining up the middle score line on that track.
  • Score both sides of paper and both ends of paper. That will make two triangles, one on each half of the paper.
  • Fold all the score lines and put the box together.
  • At the top point of the box punch holes for ribbon to go through.

You can make these triangle boxes any size you like. Just follow the basic idea. Put a candy treat or small gift inside.

For any stamping and papercrafting supplies, please visit my Stampin’ Up! Online Store!


New Stamp Set, New Weekly Deals from Stampin’ Up!

Snuggles and Smooches Stamp Set

What a nice surprise this morning to check the latest Stampin Up! updates and find out they have a new stamp set for us! This one is called Snuggles and Smooches! It’s a photopolymer stamp set that CAN be used for Valentine’s Day but really can be used any time. The swirls match the trend of winding up some linen thread or twine as a design element on a card that you have probably seen. You can read more about the creation and use of this stamp set by the concept artist on the Stampin’ Up! Blog here. If you would like to order it, you can find it HERE in my Stampin’ Up! Online Store!

Snuggles and Smooches Stamped Projects

And the new Stampin’ Up! Weekly Deals are here! Click this link or the photo below!


Stampin' Up! Weekly Deal Dec 9 2014


Stampin' Up! Clearance Rack Year End CloseoutsDon’t forget to take advantage of the Stampin’ Up! Year-End Closeouts! You can add any and all of these items in this post to your order. Ask a friend if they would like to order anything, such as ribbon or scissors, and maybe you can reach the level for Hostess Benefits!

More With the Stampin’ Up! November 2014 Paper Pumpkin Kit

Nov Paper Pumpkin Christmas Tags

The thing about the Stampin Up! Paper Pumpkin Kits is that you can design alternate projects with the materials or even with the extra materials in the kit! This kit had such cute and clever Christmas cards and Christmas tags to make, that I didn’t think I could do much better on my own! But I did want to play around a little bit, so these are the extra tags I came up with. The top Happy Holidays tag just has a piece of Silver Glimmer Paper adhered behind the letters.  I love the glittery look it gives to the tag! Otherwise, everything else comes from the kit, including the glue dots!

Nov Paper Pumpkin Iridescent Ice Snowflake Christmas Card

Here is the punched-out snowflake for the designed card, but I put the two halves together and put the greeting across the line where they meet up. You can barely notice at the ends under the greeting where the two halves go together, I could have made the greeting a bit longer, but only a “professional stamper” will notice! I inked the snowflake with Versamark ink and embossed with the Heat Tool and Iridescent Ice Embossing Powder. I did adhere a little Dazzling Diamonds Glitter in a few spots where the Iridescent Ice didn’t stick or emboss well, but it is barely noticeable. The silver foil snowflake in the center comes in the kit, and since I didn’t add it until later, I just cut it in half and adhered both sides slightly underneath the greeting. I also added a few rhinestones from the kit around on the card. Of course the snowflake would have looked just as good just plain!

November Paper Pumpkin Christmas Cards and Tags

Look at all the Christmas cards and tags I made with the November 2014 Paper Pumpkin Kit from Stampin’ Up! And I still have some materials left over!

If you want to get in on the fun of the Paper Pumpkin papercrafting kit that comes in your mailbox just for you once a month, purchase one of these subscriptions and try it out!  No risk, no obligation! Add them on to your normal Stampin’ Up! order and it will count toward Hostess Rewards!

Paper Pumpkin Subscriptions make great Christmas or other gifts for your friends and loved ones! Make your shopping easy and a special treat for them!  Better than a gift from the mall!

Making a Christmas Card and Tag With Paper Pumpkin

Paper Pumpkin Kit Card and Tag Nov 2014

I’ve been saying that Paper Pumpkin has been getting better and better every month!  I think the November Kit hit it out of the park! Paper Pumpkin is the papercrafting kit that comes to you in the mail, all wrapped up in a cute red box, for your crafting pleasure! This kit contained contents to make a 3D Christmas card with snowflakes, rhinestones, silver baker’s twine, and washi tape and a coordinating tag for packages! There is so much included in the kit!  You can follow the directions and make the exact project provided or you can change it up or make something completely different with the materials.

Here are all the contents of the kit!

Paper Pumpkin Kit Contents Nov 2014

Looks like fun, right?! Read about Paper Pumpkin HERE.  You can either do a monthly subscription, which you can pause or cancel at any time (so no risk!) for $19.95 a month (which includes shipping!!) OR you can add a subscription to your regular Stampin’ Up! order.  You can see those subscriptions HERE.  These are paid with your order.  Either way, you get a kit in the mail once a month, it is almost always a surprise, and being a subscriber allows you access to past kits or refills (when available) if you want to make more or if you want a kit that you missed.

You can gift Paper Pumpkin subscriptions as well so consider that as you look over your people you have to buy for. Someone on your list might be the perfect person to receive a Paper Pumpkin Kit in the mail!

Paper Pumpkin Explanation

Paper Pumpkin Subscription Flyer Nov 2014

Be sure to check the Stampin’ Up! Online Store for the Year-End Closeout on the Clearance Rack!  Great Deals! Even Christmas products!  While supplies last so don’t wait!


New Items on the Stampin’ Up! Clearance Rack!

Stampin' Up! Clearance Rack Year End Closeouts New products added to the Stampin’ Up! Clearance Rack this morning!  Go check!  Available only while supplies last!

Details:

Promotion Dates: December 5, 2014 – January 5, 2014.

  • No minimum purchase required
  • No refunds or exchanges on Year-End Closeout items.
  • Items offered during the Year-End Closeouts are while supplies last.
  • Online customers can add non-Year-End Closeout items to their order.
  • Year-End Closeouts orders are eligible for hostess benefits/Stampin’ Rewards with qualifying orders.

Following the Year-End Closeouts, some remaining clearance items will be moved to the Clearance Rack.

Don’t forget the Weekly Deals, the Holiday Catalog and the Holiday Supplement!

Shop ALL Stampin’ Up! Products Right Here!


Iridescent Ice Snowman Coaster Magnet


Iridescent Ice Snowman Coaster Magnet

You’ll never guess where I got inspiration for this Iridescent Ice Snowman Coaster Magnet! I found it on Pinterest but what I thought was an outdoor Christmas decoration actually was a Snowman candy pop on a stick! So even if you see something cute to eat, you can also make it into a stamping project!

When I went looking in my stash for some round coasters to make an ornament, perhaps, I found these much larger 5″ cork coasters from a craft store, which I thought were great.  When I turned them over, here they all had a magnetic strip on the back!  So this is really a magnet!  Cute to stick on the fridge for sure!

I traced around a piece of Whisper White card stock to cut out, but ended up gluing the coaster to the card stock and trimming off the edges, but I think it would have been better to just cut out the circle in the first place. As I was getting ready to glue on the embossed cap, I remembered I had thought to stamp Versamark ink all over the card stock face of the snowman and emboss with Iridescent Ice to get the glittery sparkly snow look.  THEN I glued on the cap, the band at the bottom, and the tassel at the top.  I think I should have sponged some Craft White ink on all the pieces to make them stand out a little better. Then I punched out black circles for the eyes (1/2″ Circle Punch) and circles to form the mouth (Owl Punch) and just hand cut his carrot nose.  The little highlights on his eyes are with the Chalk Marker.  You should always put a little highlight in eyes.

If you need any stamping supplies, please visit my Stampin’ Up! Online Store!

FYI:  TOMORROW, Dec. 5, Stampin’ Up! is adding new items to the Clearance Rack so be ready to check it out and order your favorites right away.  You know they are only available while supplies last!

Shop the Stampin’ Up! Clearance Rack HERE!

Many Merry Stars Christmas Tree Card

Many Merry Stars Christmas Tree Card

Today I decided to make something with the Many Merry Stars Stamp Set and this is what turned out – Christmas trees punched with the Tree Punch rather than stars!  See, you never know when you start creating!  The one stamp in the set looked like it should be stamped on a tree shape so that’s where I got the idea. Maybe that’s not what it is really intended to be, but it doesn’t matter.  I stamped that shape with Versamark and embossed it with Gold Stampin’ Emboss Powder with the Stampin’ Up! Heat Tool. I used several shades of green colors (I think Wild Wasabi, Mossy Meadow, and Old Olive) and punched out with the Tree Punch. The one tree embossed with the Perfect Polka Dots embossing folder was just a scrap piece of paper in my bag of colors, and I thought why not use it?! Then for more variation, I stamped the snowflake in the Many Merry Stars Stamp Set all over a scrap of green, embossed with the Gold Powder and then punched out. The background paper is from the All Is Calm Specialty Designer Series Paper. It is layered on Whisper White and the card base is Pear Pizzazz, one of the coordinating colors in the All Is Calm set. What are Christmas trees without a little layer of snow, so I tore some strips of Whisper White and added some Dazzling Diamonds Glitter with the 2-Way Glue Pen. And of course I had to punch some stars with the star in the Itty Bitty Accents Punch Pack from the Gold Glimmer Paper but one for each tree seemed a bit much. And the greeting is from Holiday Home.  I needed something really small and this was perfect!

Tonight Stampin’ Up! Demonstrators all across the country will be attending livestreaming events at certain movie theaters to watch Stampin’ Up! unveil the new Sale-A-Bration and Occasions catalogs! I’ll be watching the livestream from home, which will be so much fun, although I miss out on getting the catalogs and “swag” by not being at the theater in person. But those of us at home livestreaming are eligible for the door prizes!  Not that I will win, probably! It’s hard to believe that it is almost time for Sale-A-Bration and spring things when we are right in the midst of Christmas, but crafters always have to be working ahead of the game!

Now go make a Christmas card! It’s time to get going!


Stampin’ Up! Deals and More Deals!

Stampin' Up! Online Extravaganza 2014

LAST DAY for the Stampin’ Up! Online Extravaganza!

Shop HERE at my Stampin’ Up! Onine Store, but please ask if you would prefer me to put the order in for you!

And with ANY Stampin’ Up! order today you will also receive my special bonus, a PDF with four easy and quick Christmas projects to make!

Karen's Christmas Project Bonus PDF

And MORE!  Stampin’ Up! Weekly Deals today through Monday, December 8, 2014.

Stampin' Up! Weekly Deal Dec 2 2014

 Build Your Own Bonus: Join Stampin' Up!

Want to be a Stampin’ Up! Demonstrator?  Last day for this great deal!  Buy the Starter Kit to join for ONLY $74.25 (regularly $99).  Choose $125 worth of product for your Starter Kit (you choose!). THEN you get an EXTRA 5% off on orders you place in December! It’s like a Christmas Bonus for you! For more information, just CLICK HERE. Then click the JOIN NOW Button, check off the Agreements, and then you will see the opportunity to start building your Starter Kit and take advantage of this special deal! I’m happy to answer any questions about being a Demonstrator and I will be your guide in getting your business started in the way you want to go.

Happy Cyber Monday! Last Two Days of Stampin’ Up! Online Extravaganza!

Project Life by Stampin' Up! Bundle

Two days left of the Stampin’ Up! Online Extravaganza and today has these two Doorbusters available, while supplies last! (Sorry, Blendabilities sold out quickly!)  If you have ever wondered about Project Life, a quick and easy memory-keeping solution.  Just slip your photos and any of these cards and embellishments into pocket pages, perhaps do a little journaling, and you have your special memories recorded.

Project Life Bundle – 15% Off  #140352
Black Leather 12″ x 12″ Project Life Album (135292)
Design 1 12″ x 12″ Project Life Photo Pocket Pages (135295)
Seasonal Snapshot Project Life Card Collection (135830)
Seasonal Snapshot Project Life Accessory Pack (135832)
Project Life Holiday Cheer Photopolymer Stamp Set (135188)

Stampin' Up! Gift Box Bundle

Gift Box Bundle! #140353 Save 30%! This bundle (retail value $17.85) includes these amazing products:
* Tiny Treat Boxes
* Decorative Window Gift Boxes
* Takeout Boxes

You can make so many cute projects and of course wrap gifts in these nice gift boxes!

Click HERE to see the whole Stampin’ Up! Online Extravaganza List PDF!

A BONUS for you!  Place any order today or tomorrow and receive a PDF of some easy Christmas projects from ME!

Bonus

Click HERE to shop at my Stampin’ Up! Online Store!

I’m happy to put your order in for you, if you prefer!