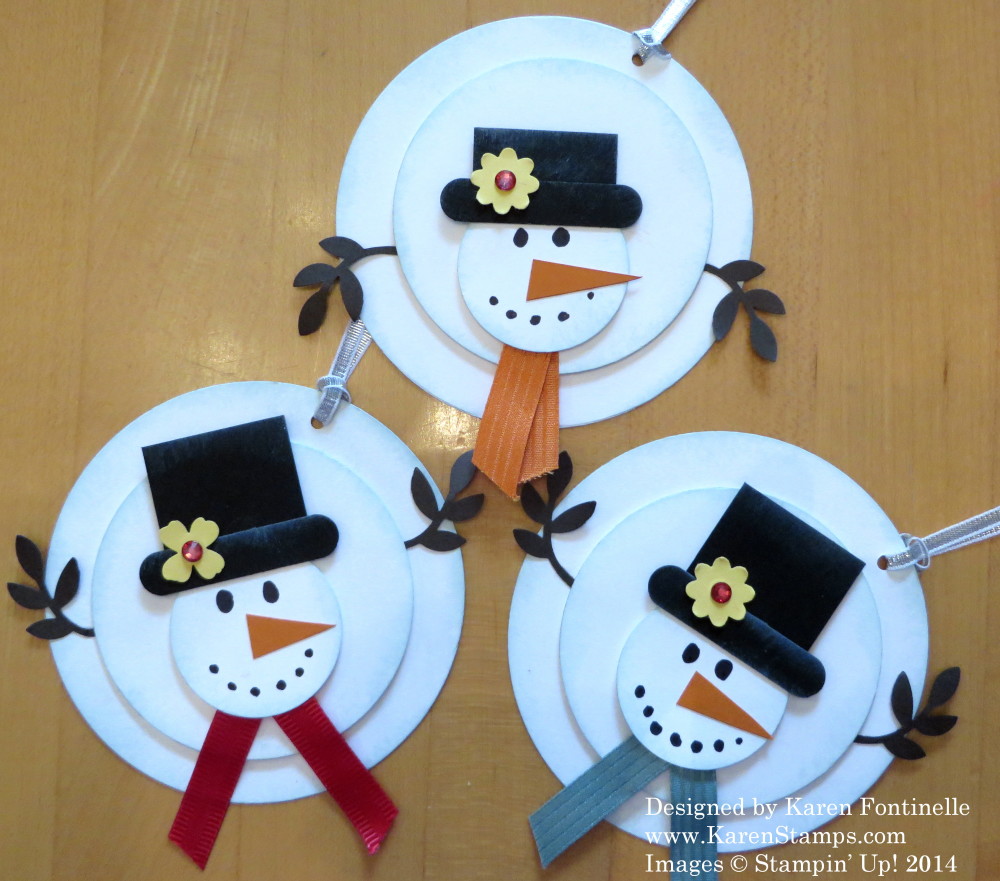
It feels like winter today, even in Houston,Texas! I even wore my real winter jacket this morning to go out since the temperature was about 43 degrees. That is pretty cold for Houston! I know there may be blizzards in other parts of the country, but cold weather here just means “put on a jacket of some sort”. So in honor of the polar vortex or whatever cold blast most of the country is seeing right now, I thought some snowman project was in order! Here are some super simple snowmen that could be placed on a card or scrapbook page or in this case, I have made them into tags.
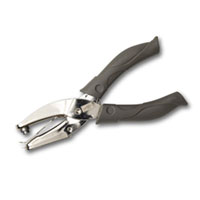
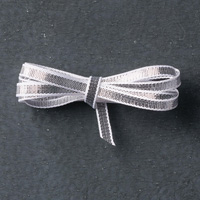
You can make them whatever size you like. Either use the Circle Framelits as I did for three different sizes or use your circle punches. You just need any pleasing sizes of small, medium, and large circles. Then cut a square for the hat (mine is 1 1/4″ square) and a piece from the Word Window Punch (who knew how handy THAT punch was going to be when it came out!). I sponged a little White Craft Ink on his hat and brim. The snowman pieces are also sponged with a little bit of Soft Sky Ink. We used to make the snowman arms with the old Snowflake Punch (don’t know if that was the name or not) but since that is not current, I just punched out the branches/leaves from the Bird Punch and those will be the snowman’s arms. Stick on a little piece of ribbon for his scarf, maybe a little flower on his hat from either the Itty Bitty Accents Punch Pack or the Boho Blossoms Punch. I just used a black marker to draw in his eyes and coal mouth, handcut the little snip of orange (any orange will do) for his carrot nose and popped all three pieces up with Stampin’ Dimensionals. You could do him flat as well. The hole for the tag is punched with the 1/8″ Handheld Punch and tied with Silver 1/8″ Ribbon. Before adding the Rhinestone to the flower on his hat, I colored it with the Cherry Cobbler Blendabilities Marker, but you could leave it plain. Another project that you can do as fancy or plain as you like.
Here are some of the main supplies I used for this project. Just click on any picture to see it in my Stampin’ Up! Online Store!


