Monthly Archives: October 2011

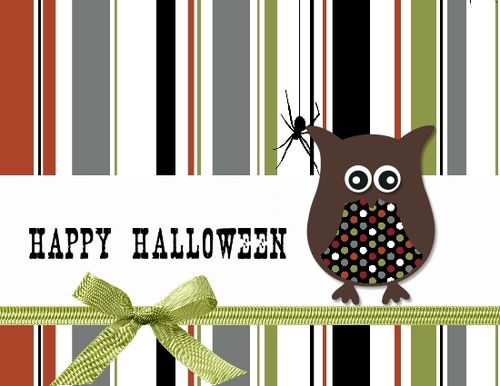
Happy Halloween!! My Digital Studio Halloween Owl Punch Card

Halloween Owl-001


My Digital Studio makes it so easy to create any kind of cards or scrapbook pages!  Here's an easy one I created in minutes in My Digital Studio by choosing a template in the program and just changing the background paper and colors. From any occasion to Halloween in minutes!  And then if you like, you can make the same card the traditional way with paper and embellishments and punches!  

Have a fun, happy and safe Halloween!!!


St. Louis Cardinals World Series Parade!

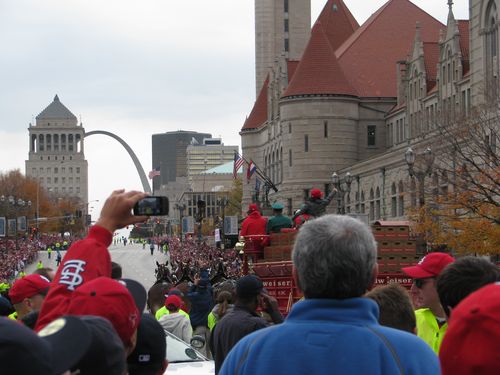
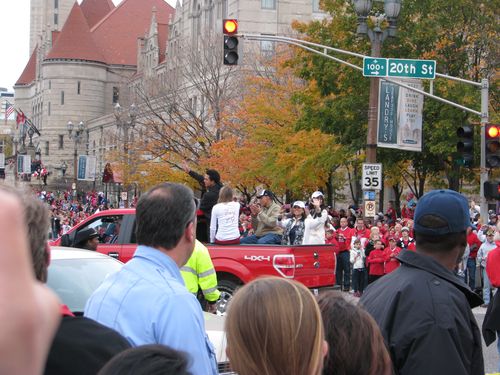
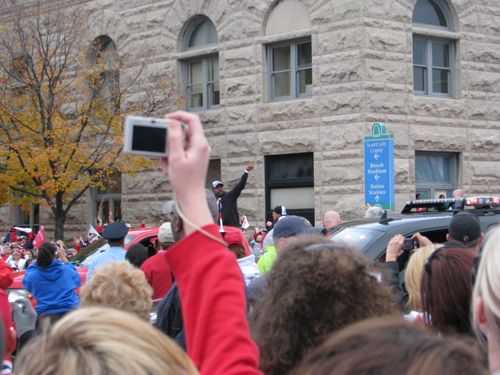
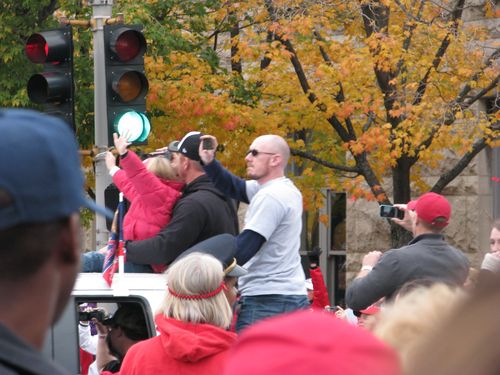
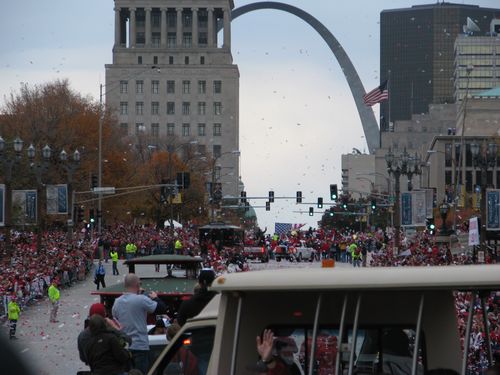
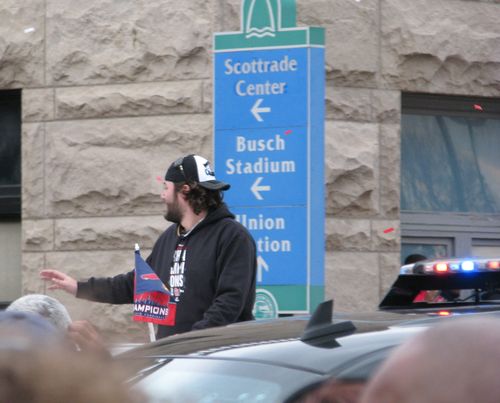
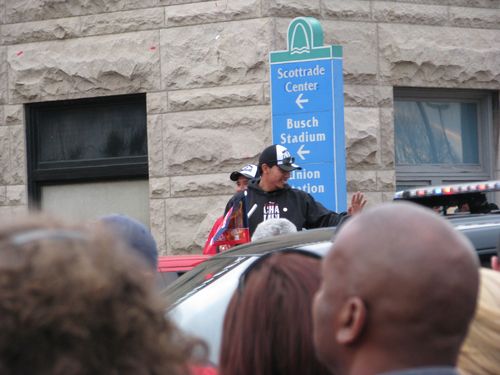
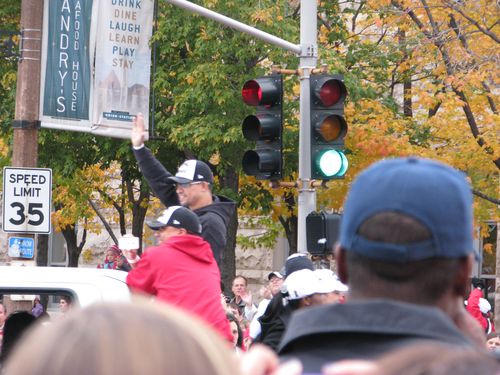
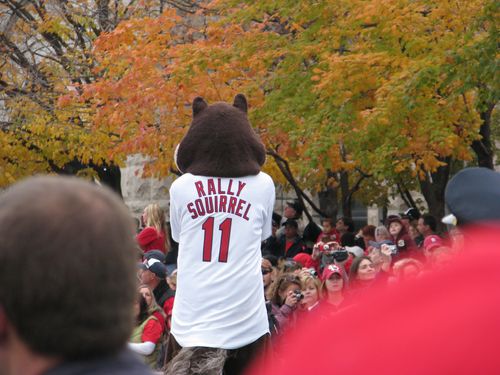
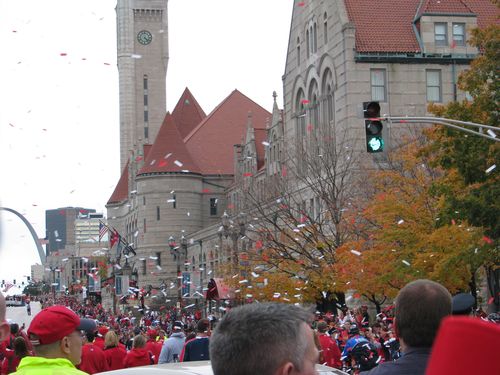
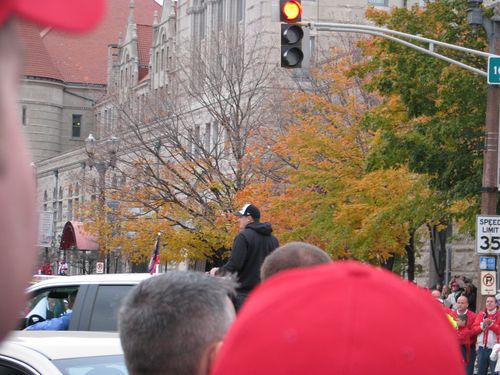
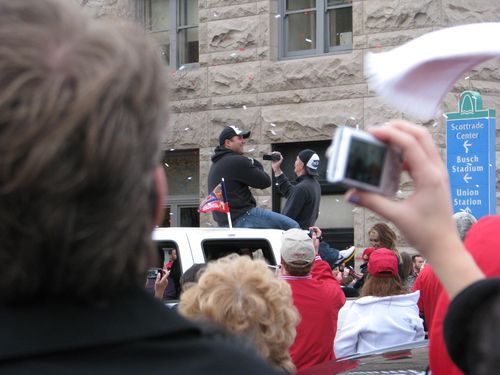
What a fun time to get to go with family to see the parade downtown for the St. Louis Cardinals, the new World Series Champions!! We got to our spot by Union Station just as the parade was starting.  It was pretty hard to get good photos of the parade and players, but if you are a Cardinal fan, perhaps you will recognize some of them.  At least I got a good picture of the Rally Squirrel! The Clydesdales led the parade with manager Tony LaRussa riding on the wagon.  Don't think I got a picture of Lance Berkman but he rode by early on, a former Houston Astro. I even saved some of the red and white confetti for a souvenir!

IMG_8918

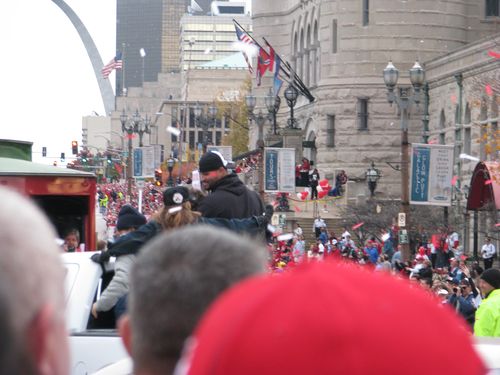
Walking to the parade. You can see the crowds of Cardinal red along the curb up ahead.  That's the old Union Station on the right with the red roof and of course the St. Louis Arch up ahead.  You can just about see the Old Courthouse at the base of the arch by the flag.


IMG_8919
You can barely see the Clydesdale horses pulling this wagon. Manager Tony LaRussa is the one in the red jacket with his back to the camera on the wagon.

IMG_8940

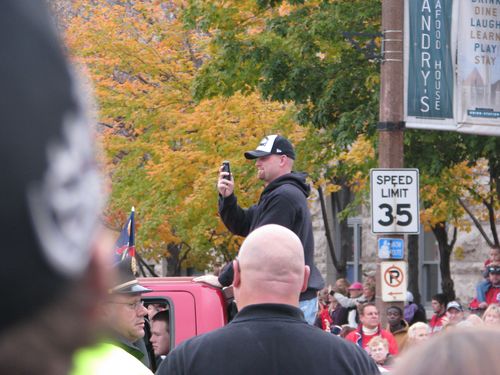
John Jay

IMG_8948

Arthur Rhodes

IMG_8958


IMG_8960

What a view!

IMG_8961

Lance Lynn

IMG_8963

Kyle Loshe

IMG_8965

IMG_8966

Adron Chambers

IMG_8973

Kyle McClellan

IMG_8977

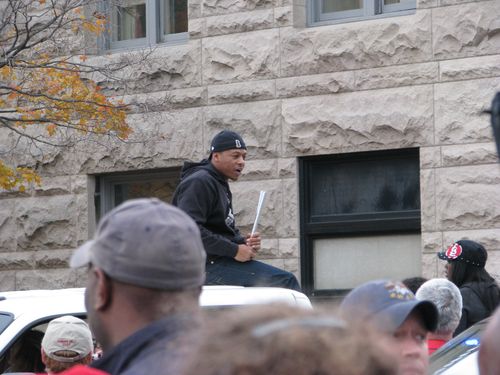
Albert Pujols

IMG_8984

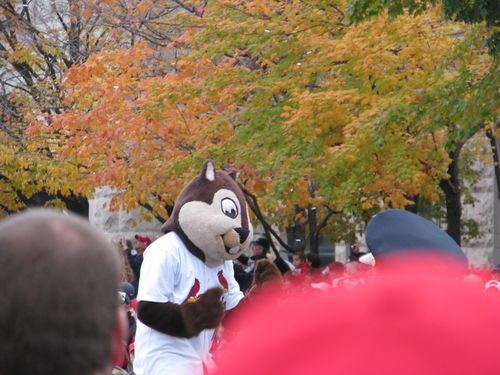
Rally Squirrel

IMG_8986

IMG_8987

IMG_8989

Daniel Descalso

IMG_8990

IMG_8992

IMG_8996

IMG_8998

Gerald Laird

And then dinner on The Hill at Guido's with delicious St. Louis toasted ravioli (that nobody understands anywhere else!), a pizza, and a glass of chianti! Fabulous day!


A Week of Halloween–Top Note Halloween Album

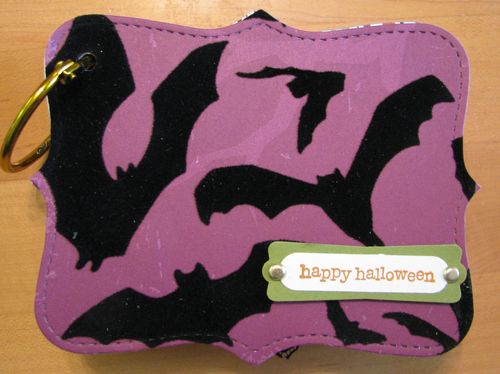
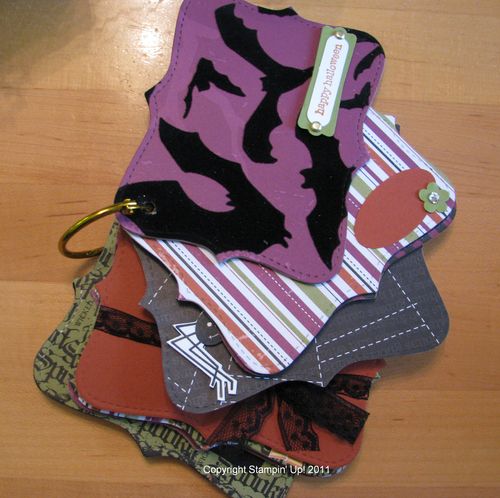
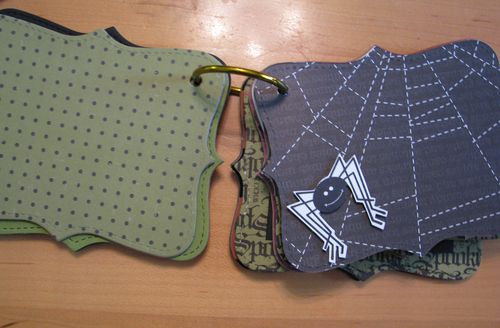
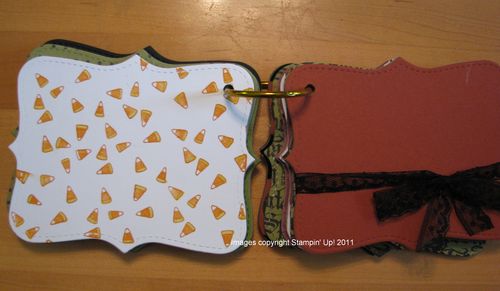
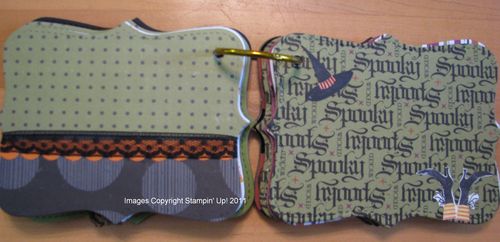
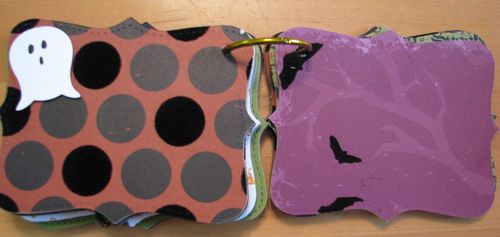
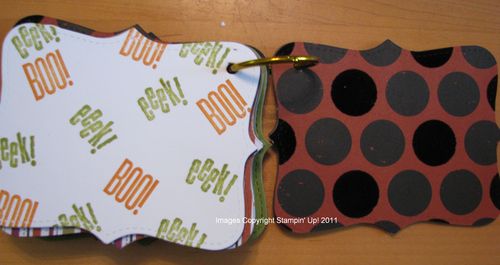
It's fun to make a little album with the Top Note die , especially for Halloween.  Here I used Halloween paper from last year to make a little album for my niece and her grandma to make a little Halloween scrapbook mini album. Just cut out your page shapes from chipboard and paper and decorate to your heart's content!

Top Note Halloween Album Cover

Top Note Halloween Album

Top Note Halloween Album 2

Top Note Halloween Album 3

Top Note Halloween Album 4

Top Note Halloween Album 5

Top Note Halloween Album 6


A Week of Halloween–Peekaboo Frames Halloween Boo Card

Peekaboo Frames Halloween Card

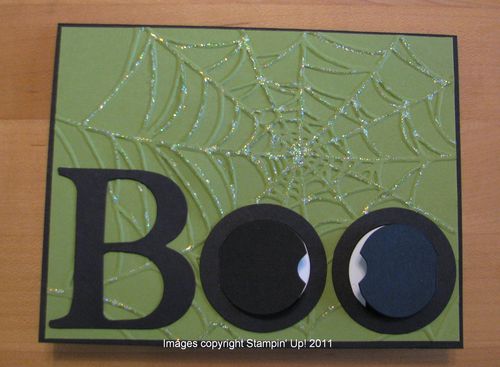
Love the new Peekaboo Frames die for making a Halloween card!  Here is a card I copied from someone and then really had fun decorating the inside!  Oops, guess I forgot to take a photo with the peekaboo frames open, to reveal eyeballs inside!

Halloween card Inside


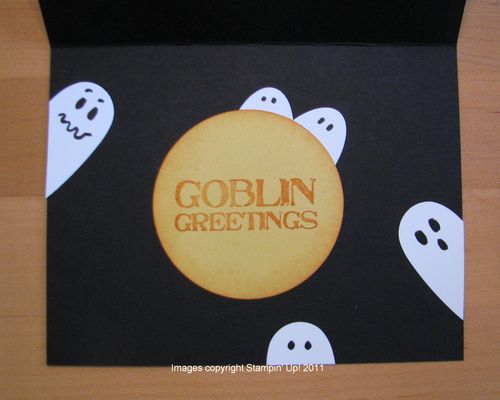
And here is the inside of the Halloween Peekaboo card with a greeting from Grateful Greetings and ghosts punched from hearts.  I added some Dazzling Details to the spider web on the front, made from a textured embossing folder.  My little niece loved it!

A Week of Halloween–Halloween Cookies with the Stampin’ Up! Cookie Stamp

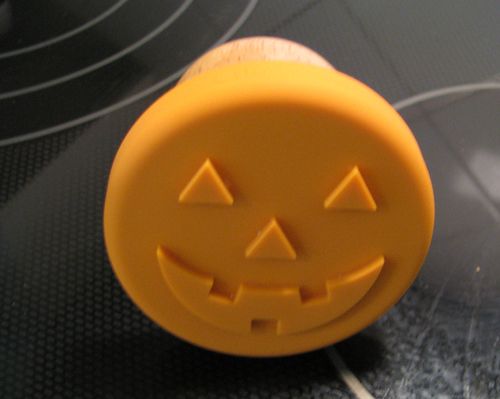
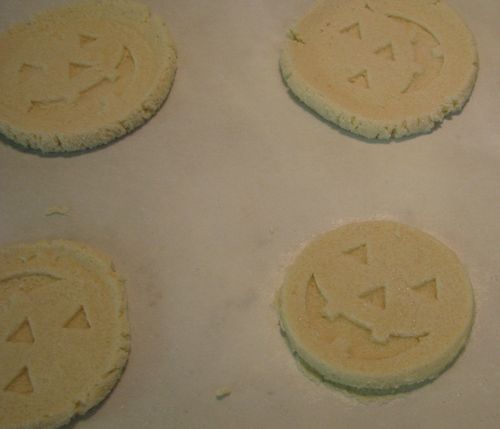
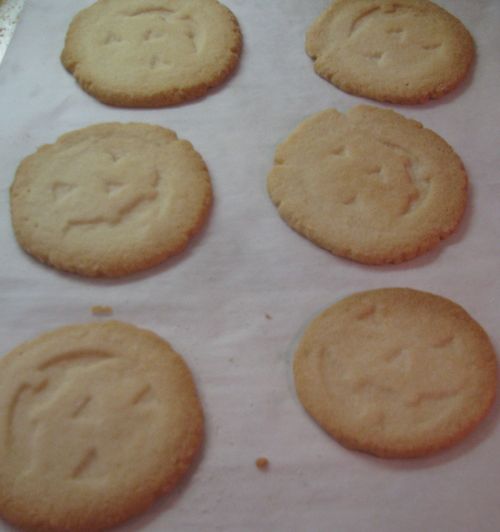
Don't try this when you're supposed to be getting ready for a trip….but be that as it may, I really like the new Stampin' Up! Cookie Stamps! There are recipes enclosed in the box.  I'm just rolling the dough into balls, rolling in extra sugar, dipping the stamp into sugar, and then pressing into the ball of dough!  The batter tastes good so I think the cookies will, too!  Be sure to put these on your next order!

Cookie stamp

Stamped cookies

Baked cookies

A Week of Halloween–Halloween Pennant Scrapbook Page

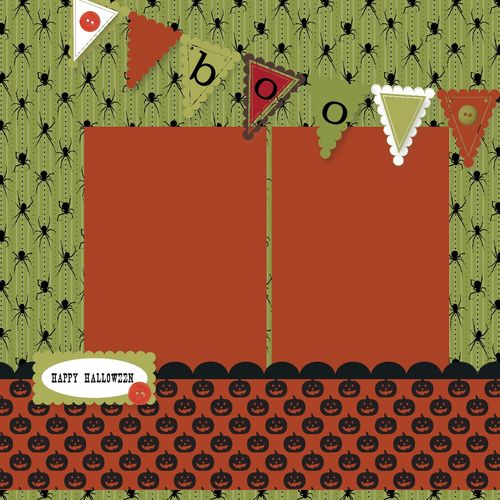
Halloween SB 2011-001

If you need a Halloween scrapbook page, here's one I made in My Digital Studio from a birthday-type template in the program.  But if you don't have My Digital Studio, all you have to do is make it the traditional way with the Frightful Sight Designer Series Paper #122351 and a few punches and embellishments.

***This is the last week for the FREE Big Shot for signing up to be a Stampin' Up! Demonstrator!  What a great deal for starting your own business!  Contact me at Karen@Karenstamps.com if you would like more information.

***Be sure you are signed up for my mailing list (upper left corner) so you will receive my monthly newsletter and right now, my weekly 12 Weeks of Christmas newsletter. Great ideas you can use for your holiday cards and gifts.

A Week of Halloween–Halloween Fancy Favor Bag

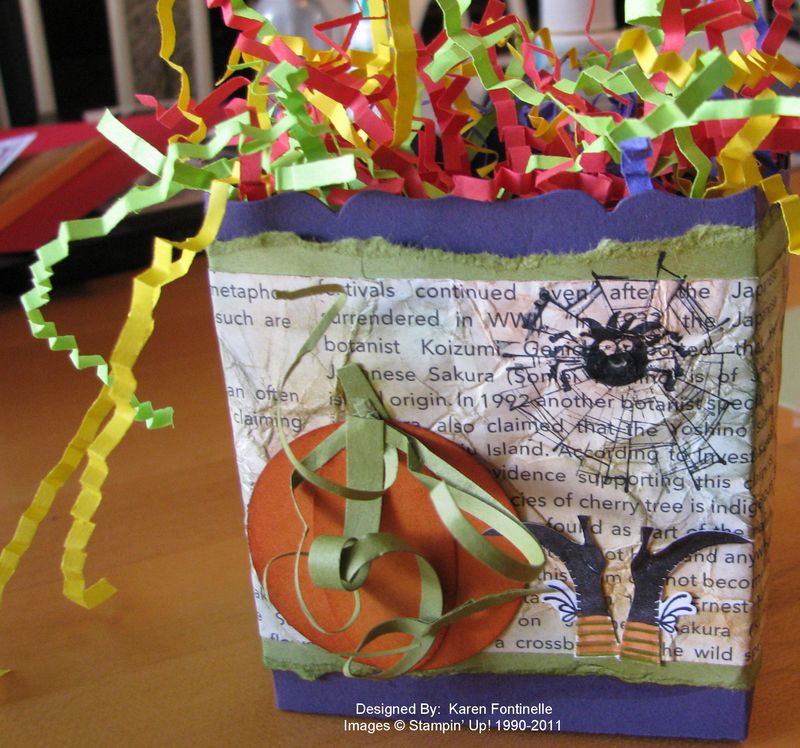
Halloween Fancy Favor Bag


The Bigz Fancy Favor Die for the Big Shot is so useful for all sorts of projects.  Here I have a made a cute little Halloween Fancy Favor Bag (or box). Just fill it with some crinkled paper and a Halloween treat and decorate the outside how you like.

Supplies I used:

Stamps:  Wicked Cool, Sooky Bingo Bits

Ink:  Stazon Black, Wisteria Wonder, More Mustard, Pumpkin Pie, Garden Green

Paper:  Pear Pizzazz, Pumpkin Pie, Whisper White, First Edition Specialty Designer Series Paper

Accessories:  Fancy Favor Die, Big Shot Die-Cutting Machine, 1 3/4" Circle Punch, Large Oval Punch, Sponge, Paper Snips, Paper Piercer

***********

I crumbled and sponged the First Edition DSP with several colors of ink. For the pumpkin I punched the 1 3/4" circle and the placed the punched oval over the center.  For the pumpkin vines, I cut slivers of card stock and curled around my paper piercer.  Just stamp and cut out the witch's feet!

Just have fun with it!  For stamping supplies, order here.

A Week of Halloween–Trick or Treat Card

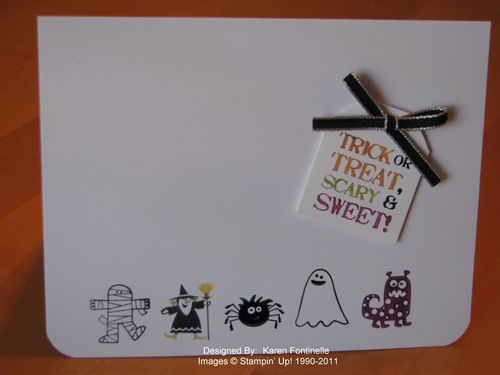
I got the idea for this Halloween card from a sample in a magazine.  The Stampin' Up! set Spooky Bingo Bits is just perfect for this card design. I used Glossy White card stock  #102599 for the card base and for the tag. The greeting is from Grateful Greetings.   Love that set!

Trick or Treat Halloween Card

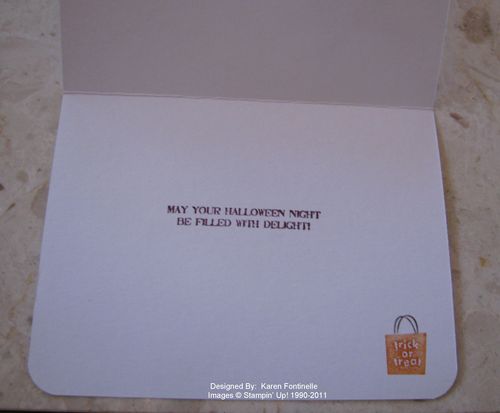
And here is the inside of the card, the greeting also from Grateful Greetings.

Trick or Treat Halloween Card inside

If you need to order either of these stamp sets or maybe some Glossy White card stock, just go to my website and place your order.  Or email me at Karen@Karenstamps.com and I can help you. You will have so much fun with Spooky Bingo Bits!

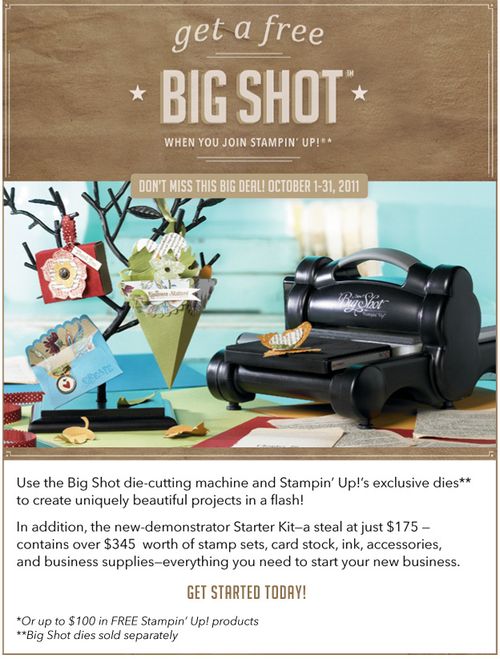
Be a Stampin’ Up! Demonstrator…Get Your Free Big Shot Before Oct. 31


Big Shot Promo
Click on the photo above!

Only one more week to take advantage of probably the best recruiting promotion Stampin' Up! has ever had!!  If you want to make a little extra money, if you want to start your own booming business, if you love stamping, scrapbooking, and/or papercrafting in general, then Stampin' Up! is the place for you!  Join our group of demonstrators and find out how far you can go with your own business! Creativity and skill not even required! Stamping is the easiest craft to learn, and you can tailor your business to your personality.

Please check out this great incentive to join Stampin' Up!  Let me answer your questions if you have any so that you can make the best decision for you! October 31 is next Monday so time is flying!!

Read all about becoming a Stampin' Up! demonstrator (don't you love the sound of that?!).

More information about the Starter Kit choices and Career Plan here.

All you have to do to join is to go HERE and click on the "Join Now" button on the left!

Don't miss this chance!!

Email me at Karen@Karenstamps.com

A Week of Halloween–Petite Pocket Halloween Treat

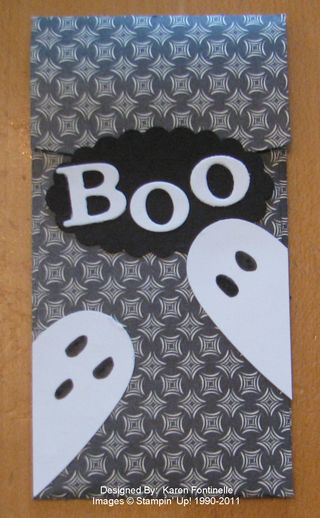
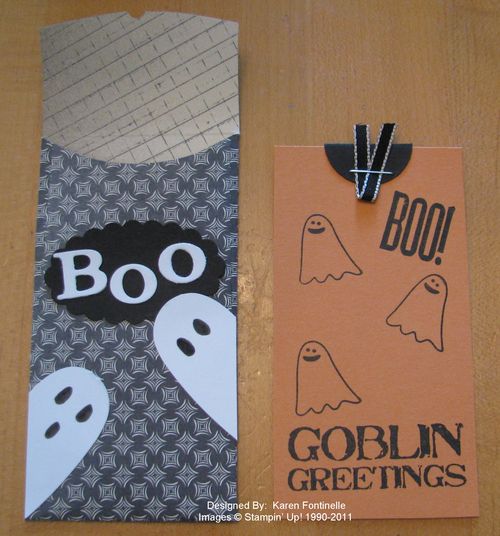
The Petite Pocket Bigz Die is a new one this year, and now that I have finally played with it, I think I am loving it!  You can make cute little gift card holders, cards, candy holders, treats for any occasion with it!  Here is a Petite Pocket Halloween Treat that I just made.

Petite Pocket Halloween Treat

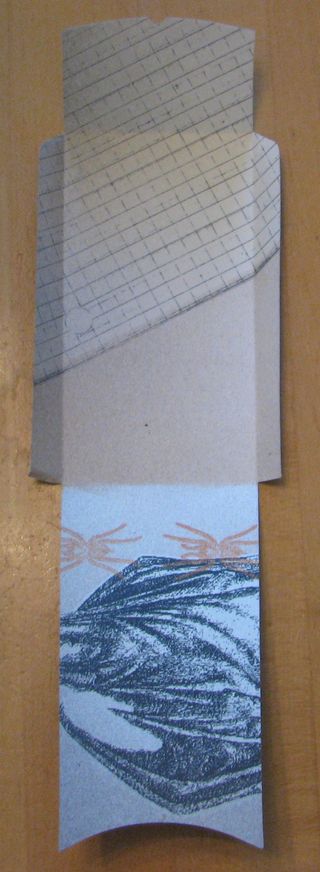
I started by die-cutting a piece of Pick Your Poison Designer Series Paper #124001.  It's about 10 inches long.

Petite Pocket Pick Your Poison

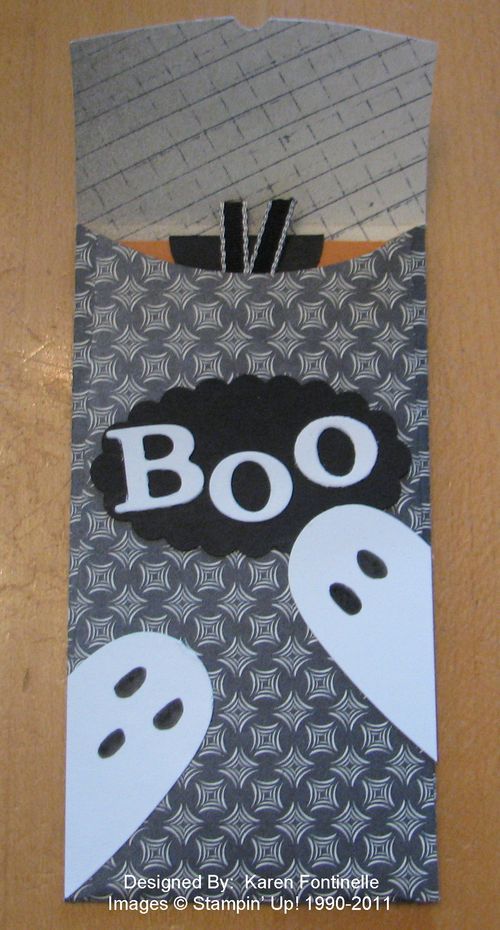
Folded up and decorated, with a little pull-out card inside, this is what it looks like.

Petite Pocket Halloween Treat card


Do you know how I made the ghosts?  I punched a heart and then cut it in half!  The features are just colored in with a black marker. The Scallop Oval Punch #119856 is placed and glued so that it holds the flap shut behind it.  Only put glue at the bottom of the oval.  The letters are die cut with the Naturally Serif Decorative Strip Die #113453.

The little pull-out card you can either cut with the die cut and trim down a hair or just cut something narrow that will fit inside.  It is stamped with images from Spooky Bingo Bits and the greeting from Grateful Greetings.  For a little tab to pull out, I punched a 1" circle, folded in half and stapled on with a little bit of ribbon.


Petite Pocket Halloween Treat Card open

Try this Petite Pocket Die!  It really holds lots of possibilities!


Tea Light Birthday Cake and Gift Box

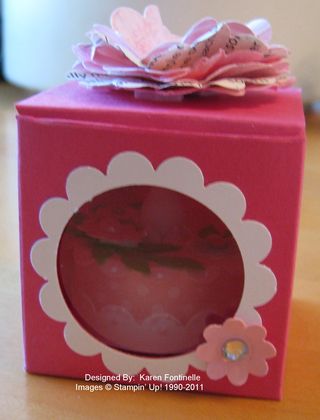
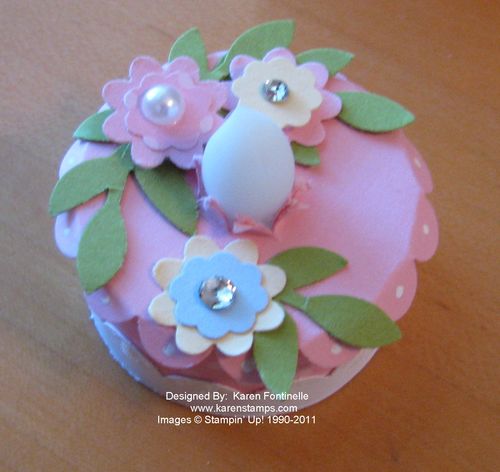
The first time I saw these tea lights turned into little cakes I thought they were the CUTEST things! So when I wanted just a little something for a friend to celebrate her belated birthday, I thought this would be perfect!

Tea Light Birthday Cake in Box

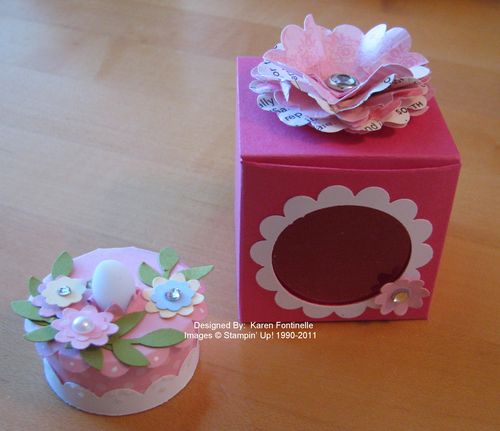
Tea Light Birthday Cake and Box

Tea Light Birthday Cake

These little tea light birthday cakes are so easy to make and so much fun!  You can pick the LED tea lights almost anywhere these days for pretty cheap.  Then just decorate with a 5" x 3/4" strip of paper around the side.  Punch a 1 3/4" Scallop Circle for the top.  To get it over the light bulb, you have to punch a hole in the center and cut little slits. You can make a template first if you want by folding a scallop circle in half, half again and half again and then snipping the point which is the center….or draw lines across the scallop to see where they intersect in the center.  Then use Paper Snips or a hobby knife to cut the little slits.

For the flowers and leaves, I used the Itty Bitty Shapes Punch, the Boho Blossom Punch and the Bird Builder Punch.  Then I added some rhinestones and pearls to the flowers.  Put a little Scallop Border on the side of the cake if you want.  I added some Dazzling Details, the new irridescent glitter glue in the Holiday Mini to the scallop border.  

If you need some birthday cake ideas, get some tea lights and try this! Really cute! It's an easy birthday cake to make and you can make cakes for all occasions!  Have fun!


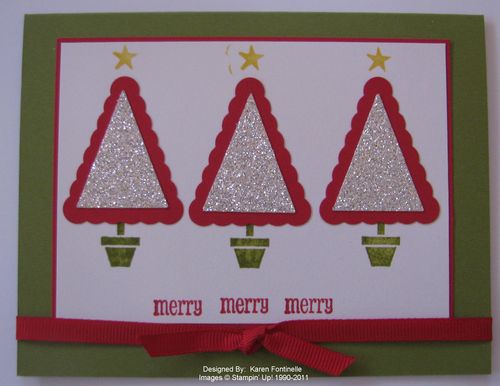
Pennant Parade Christmas Tree Card

Pennant Parade Silver Christmas Tree Card

The stamp set "Pennant Parade" and the matching punch "Petite Pennants" work together to make a great Christmas card. I'm not sure how I got red Christmas trees, but I was envisioning the red alongside the Silver Glimmer Paper!  Oh well!  The card still looks Christmas-y for sure! You can see a little extra ink from the edge of the tiny star stamp….but it almost looks like glow lines from the star so maybe I'll just add some on the other side!  As I heard someone say the other day, if you have a mistake it lets the person know it is truly handmade! But since there are no mistakes in stamping, I can probably "fix" my boo boo somehow!

For my Convention swap, I just eyeballed things, but today I did use my Stamp-a-ma-jig #101049 to get everything placed where I wanted.  It's a great tool to have on hand because you WILL use it.

As I've said before, the Silver Glimmer Paper #124005 is so beautiful but a photograph just doesn't do it justice.  You'll want it!

SUPPLIES  

Stamps:  Pennant Parade #122740w, #122742c

Paper:  Old Olive, Real Red, and Shimmery White #101910 card stock, Silver Glimmer Paper

Ink:  Old Olive, Real Red, Daffodil Delight

Accessories:  Petite Pennants Builder Punch #122361, 1/4" Real Red Grosgrain Ribbon #109034, Stamp-a-ma-jig #101049

Pick out some easy Christmas card designs you like and make a few cards! Send them to those on your list who are "worthy"!

Sweet Pressed Cookie Stamps from Stampin’ Up!
Sweet Pressed Cookie Stamps!! Who would have thought that besides talking about stamps, paper and ink we would also be talking about baking at Stampin' Up!?

We were surprised at Convention last summer to hear that the cookie stamps would be coming out!  We even got to sample them at lunch one day when Stampin' Up! gave us a surprise dessert!  What fun!

Listen to Shelli's daughter, Sara, talk about the new Sweet Pressed Cookie Stamps. I'm putting them on my order today and can't wait to try them! Yum!

"Take your love of stamping into the kitchen! Create fun and tasty stamped cookies for any occasion. Fit a silicone stamp over the bottom of the wooden handle and press into dough—it's that easy! Let the kids help! Food-safe, easy-to-clean and dishwasher safe. Each set includes 3 silicone stamps, 1 handle, and 2 great cookie recipes."

To order your Sweet Pressed Cookie Stamps just add #125152 to your order!  Better pick up some extras for gifts, too!


Start Your Own Business! Join Stampin’ Up! and Get a Card!

Join Stampin' Up! Card

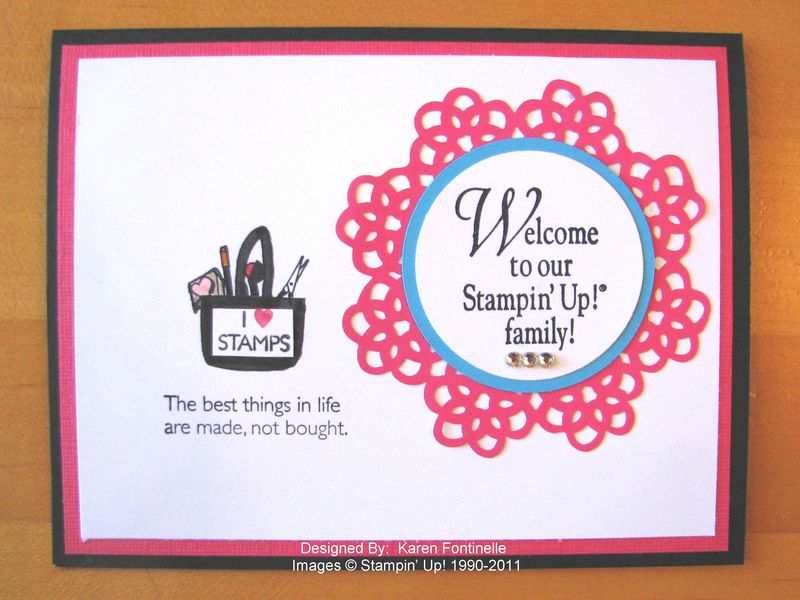
Want to get this card….or a similar one?  Just become a Stampin' Up! demonstrator on my team and I'll send you one!

Start your own business and be your own boss! Can you imagine how fun it is to HAVE to stamp and create and get together with other stampers for your JOB?!  

Join now in October and get a free Big Shot from Stampin' Up! (or $100 in product) after you purchase your Starter Kit.  Starter Kits are customizable…you can choose another color of ink or choose another stamp set other than the recommendation.  You can choose the Standard Starter Kit or the Digital+ Starter Kit. Check out this Stampin' Up! Starter Kit Order Form.

Ask me any questions you may have.  When you are ready, you can sign up online at my website….then just click the "Join Now" button on the left and become a Stampin' Up! Demonstrator in minutes! They will email you your demonstrator number and you will be ready to start your own rubber stamping and scrapbooking business…in whatever form you want to take it.

Want more information?  Just contact me at Karen@Karenstamps.com. It's that easy!!

You can become a Stampin' Up! demonstrator any time, but during October is the best time because you get a free Big Shot, which we all love! Think about it!  Offer ends October 31, 2011.  

Don't wait until Halloween night!

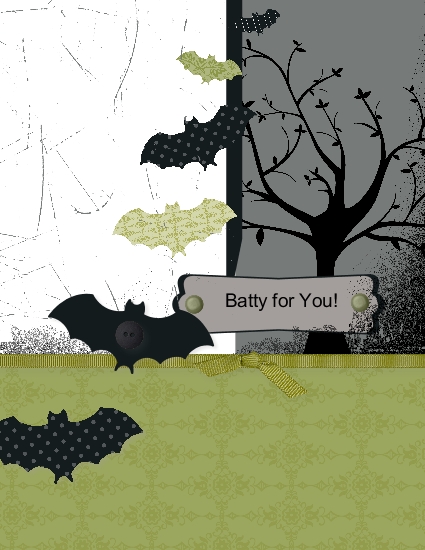
My Digital Studio Batty for You Card

My Digital Studio Halloween Batty for You Card

Copyright Stampin' Up! 2011

Part of the fun of My Digital Studio projects is that they literally only take minutes to make…..OR you can work for hours on one if you want to.  In this case, I just used a designer card for Halloween already made up, but changed a few things.  I added the sentiment on the front, the brads and the tree in the background.  Very easy!

Want to learn more about digital papercrafting?  It's not just for scrapbooking!  Check out My Digital Studio right now HERE

To purchase My Digital Studio, click HERE.