Category Archives: Tools and Accessories

Playing with Presto Patterns Specialty Paper

In the Summer Mini Catalog, Stampin' Up! is offering new Designer Series Paper called Presto Patterns Specialty #117175.  It is plain white, but then you can add ink to it to make the design pop out!  The new Smooch Spritz would also work great with it.

Here is the plain paper:

Presto Patterns Specialty Paper

Here I used my Brayer #102395  and Really Rust ink to cover:

Presto Paper Brayered

Although the design "popped" out as soon as I applied the ink, I also took a paper towel and just wiped the excess ink off the design.  Looks almost the same, just a little cleaner.

Finished Presto Patterns Specialty Paper 

Reminds me of fabric!  It's just like emboss resist, except you don't have to do the embossing first!

Now back to playing!!!

If you don't have a demonstrator and would like a copy of the Stampin' Up! Summer Mini Catalog, please email me.


Spring Ahead: Daylight Saving Time Starts March 14 at 2:00 am

Spring Happy Moments Flower Card for Daylight Saving Time 

For a reminder for all of us to "Spring Ahead" tonight to Daylight Saving Time (apparently it is Daylight SAVING time and not SavingS time!) I decided to make a bright and springy card!  It's just a little 3×3 card, but it is one of those things that once I made it I just loved it and want to make some more!  It's a happy card, as my friend would say.  I stamped the flowers from the Happy Moments Sale-A-Bration set (you can get it free with a $50 purchase!) with Black Stazon Ink and watercolored with my Aquapainter and ink refill bottles!  So easy….and you don't have to be perfect with watercoloring….in fact, it enhances the look to let your color get outside the lines.  I added some Melon Mambo ribbon (that will make you happy if nothing else!) and punched the corner with the new Scallop Trim Corner Punch in the Occasions Mini.  Sweet and fun!

So when you go to bed tonight, set your clocks ahead an hour (at least in most US states)…so if it is 10 pm set your clocks to 11 pm…..and they recommend checking the batteries in your smoke alarm at the same time as you change your clocks.

If you would like to make this project and many others, email me or use the online ordering button in the upper right corner of my blog!

Paper Flower

These paper flowers of all types seem to be the hottest thing right now so I wanted to try one!  This one is very easy…..just punch as many layers as you want with the Scallop Circle Punch (#109043) and cut down a little bit between each scallop.  Pile them all up and punch a hole in the center for either a small brad or a larger one.  I used my Crop-A-Dile (#108362) so I could easily insert a Rhinestone Brad (#109111) in the center and of course the Crop-A-Dile just punches through layers like butter!  Once you have your flower assembled, just "smoosh" it up!  I tried to gather up each layer and then smooshed it up around the center.  Just play with it until you have the look you like!

Paper Flower on Bitty Box

To use my flower on a project, I used the Big Shot Stampin' Up! die cut to make the Bitty Box (#115967).  This was a die I didn't buy at first until….of course…I saw so many cute projects made with it!  Did you realize the die also cuts a little envelope should you want to put little notecards inside this box?!  So cute!

And to make the top layer with Razzleberry Lemonade Designer Series Paper, I played with the the new Scallop Trim Border Punch (#118402) and Scallop Trim Corner Punch (#118870) to get the little scallop border all the way around.  If you have any questions about using these punches, please let me know!  Remember, you can get the Scallop Trim Border Punch for free with a $50 Sale-A-Bration order until the end of March!

Houston Livestock Show and Rodeo Coming to Town!

Right now there are several thousand trail riders, who have been out on thirteen trails in Texas during February recreating the Old West, heading back into Houston to signal the start of the Houston Livestock Show and Rodeo.  The rodeo is a huge event in the Houston area and kicks off tomorrow when the trail riders converge on Memorial Park in the covered wagons and on horseback!

Houston Rodeo Trailrider "Wanted" card 


To make this card, I started with Soft Suede for the base.  I used the Stampin' Up! stamp set "Wanted" to make my own designer paper for the background, stamping various images in the trendy In Colors Soft Suede, Dusty Durango, Bermuda Bay, and Crushed Curry and afterwards sponging some Soft Suede around the edges and around on the paper.

Making my own designer paper 

Sponged designer paper 

To make the horse panel, I stamped the horse from "Wanted" in Soft Suede, then continued to stamp it without reinking to produce the lighter images.  I distressed the edges with the tool in the Cutter Kit (#106958).  You could also use the edge of scissors or just your fingernails!

Wanted2 


I haven't used my "Wanted" set in awhile but I sure had fun with it today!  So if you are looking for a western stamp set, this would be a good one from Stampin' Up!  You can shop at my Online Store 24/7!  Email me with any questions.


Products Still Available from the Holiday Mini!

I know we always hate to see a mini catalog end and not know if any of those items will show up in the next new Idea Book & Catalog….and not be able to order from the mini again.  While we knew the Holiday Mini catalog was a little bit different with some of its products this time, it's nice to have the list put out by Stampin' Up!  These products are STILL available now from Stampin' Up! and will also be available in the next Idea Book & Catalog.  There could also be additional products from the mini, besides these products, that may appear in the next big catalog.  Happy Shopping!!!

 Item #  Description  Price
116794 Ornament punch $15.95
116806 Champagne Mist Shimmer Paint $5.95
116854  Frost White Shimmer Paint $5.95
116807  Platinum Shimmer Paint $5.95
116829 Décor Elements Blocks $9.95
116824  Stampin' Up! Textured Impressions Folder Petals-A-Plenty $7.95
116821 Stampin' Up! Holiday Windows Magnetic Movers & Shapers  $29.95
116819 Stampin' Up! Table Setting Bigz XL die $42.95
116820 Stampin' Up! Embosslits Merry die $11.95
116823 Stampin' Up! Sizzlits Merry Details die $5.50
116822 Stampin' Up! O Christmas Tree Pop-Up Bigz XL die $42.95
118140  Stampin' Up! Tree Decorations Sizzlits die $5.50
118108 My Digital Studio $79.95
116519 Charming stamp set  $19.95

Tip for Brads

Here's a quick tip for when you are using brads on a stamping project:  After taking the little bitty brads out of the container that you are going to use, PUT THE LID BACK ON. Then move the brad container away from your arm.  Especially when you are in a hurry to finish your valentines to get out in the mailbox before the mailman comes.  But if you like picking up things the size of a mosquito off your kitchen floor, then this tip is not for you!

Brads 

Here's another quick tip….if you have any inkling that a holiday is approaching, let's say…oh…Valentine's Day…..and you already have most of your cards made, go ahead and put those cards in envelopes and address and stamp them, just so you don't have to do it as the mail truck is coming down the street and it is pouring down rain outside.  Because getting an umbrella out of the closet will slow you down.


New Stampin’ Up! Border and Corner Punches

Want to see a Stampin' Up! video of Bonnie Thurber demonstrating how to use the new Border and Corner Punches in the Occasions Mini and Sale-A-Bration catalogs?  I knew you would! 

I know you'll enjoy Bonnie on this video!  I've seen her on stage at Convention and not only does she do a great demonstration, but she can sing also!!  She doesn't sing on this video though!

Clear-Mount Stamps Tutorial

It's time for an old dog to learn new tricks!  I'm not familiar with these other type of stamps except for regular wood-mount like Stampin' Up! has always offered so I thought I would carefully go through the steps of how to get started stamping with the new clear-mount option offered in the new Occasions Mini!

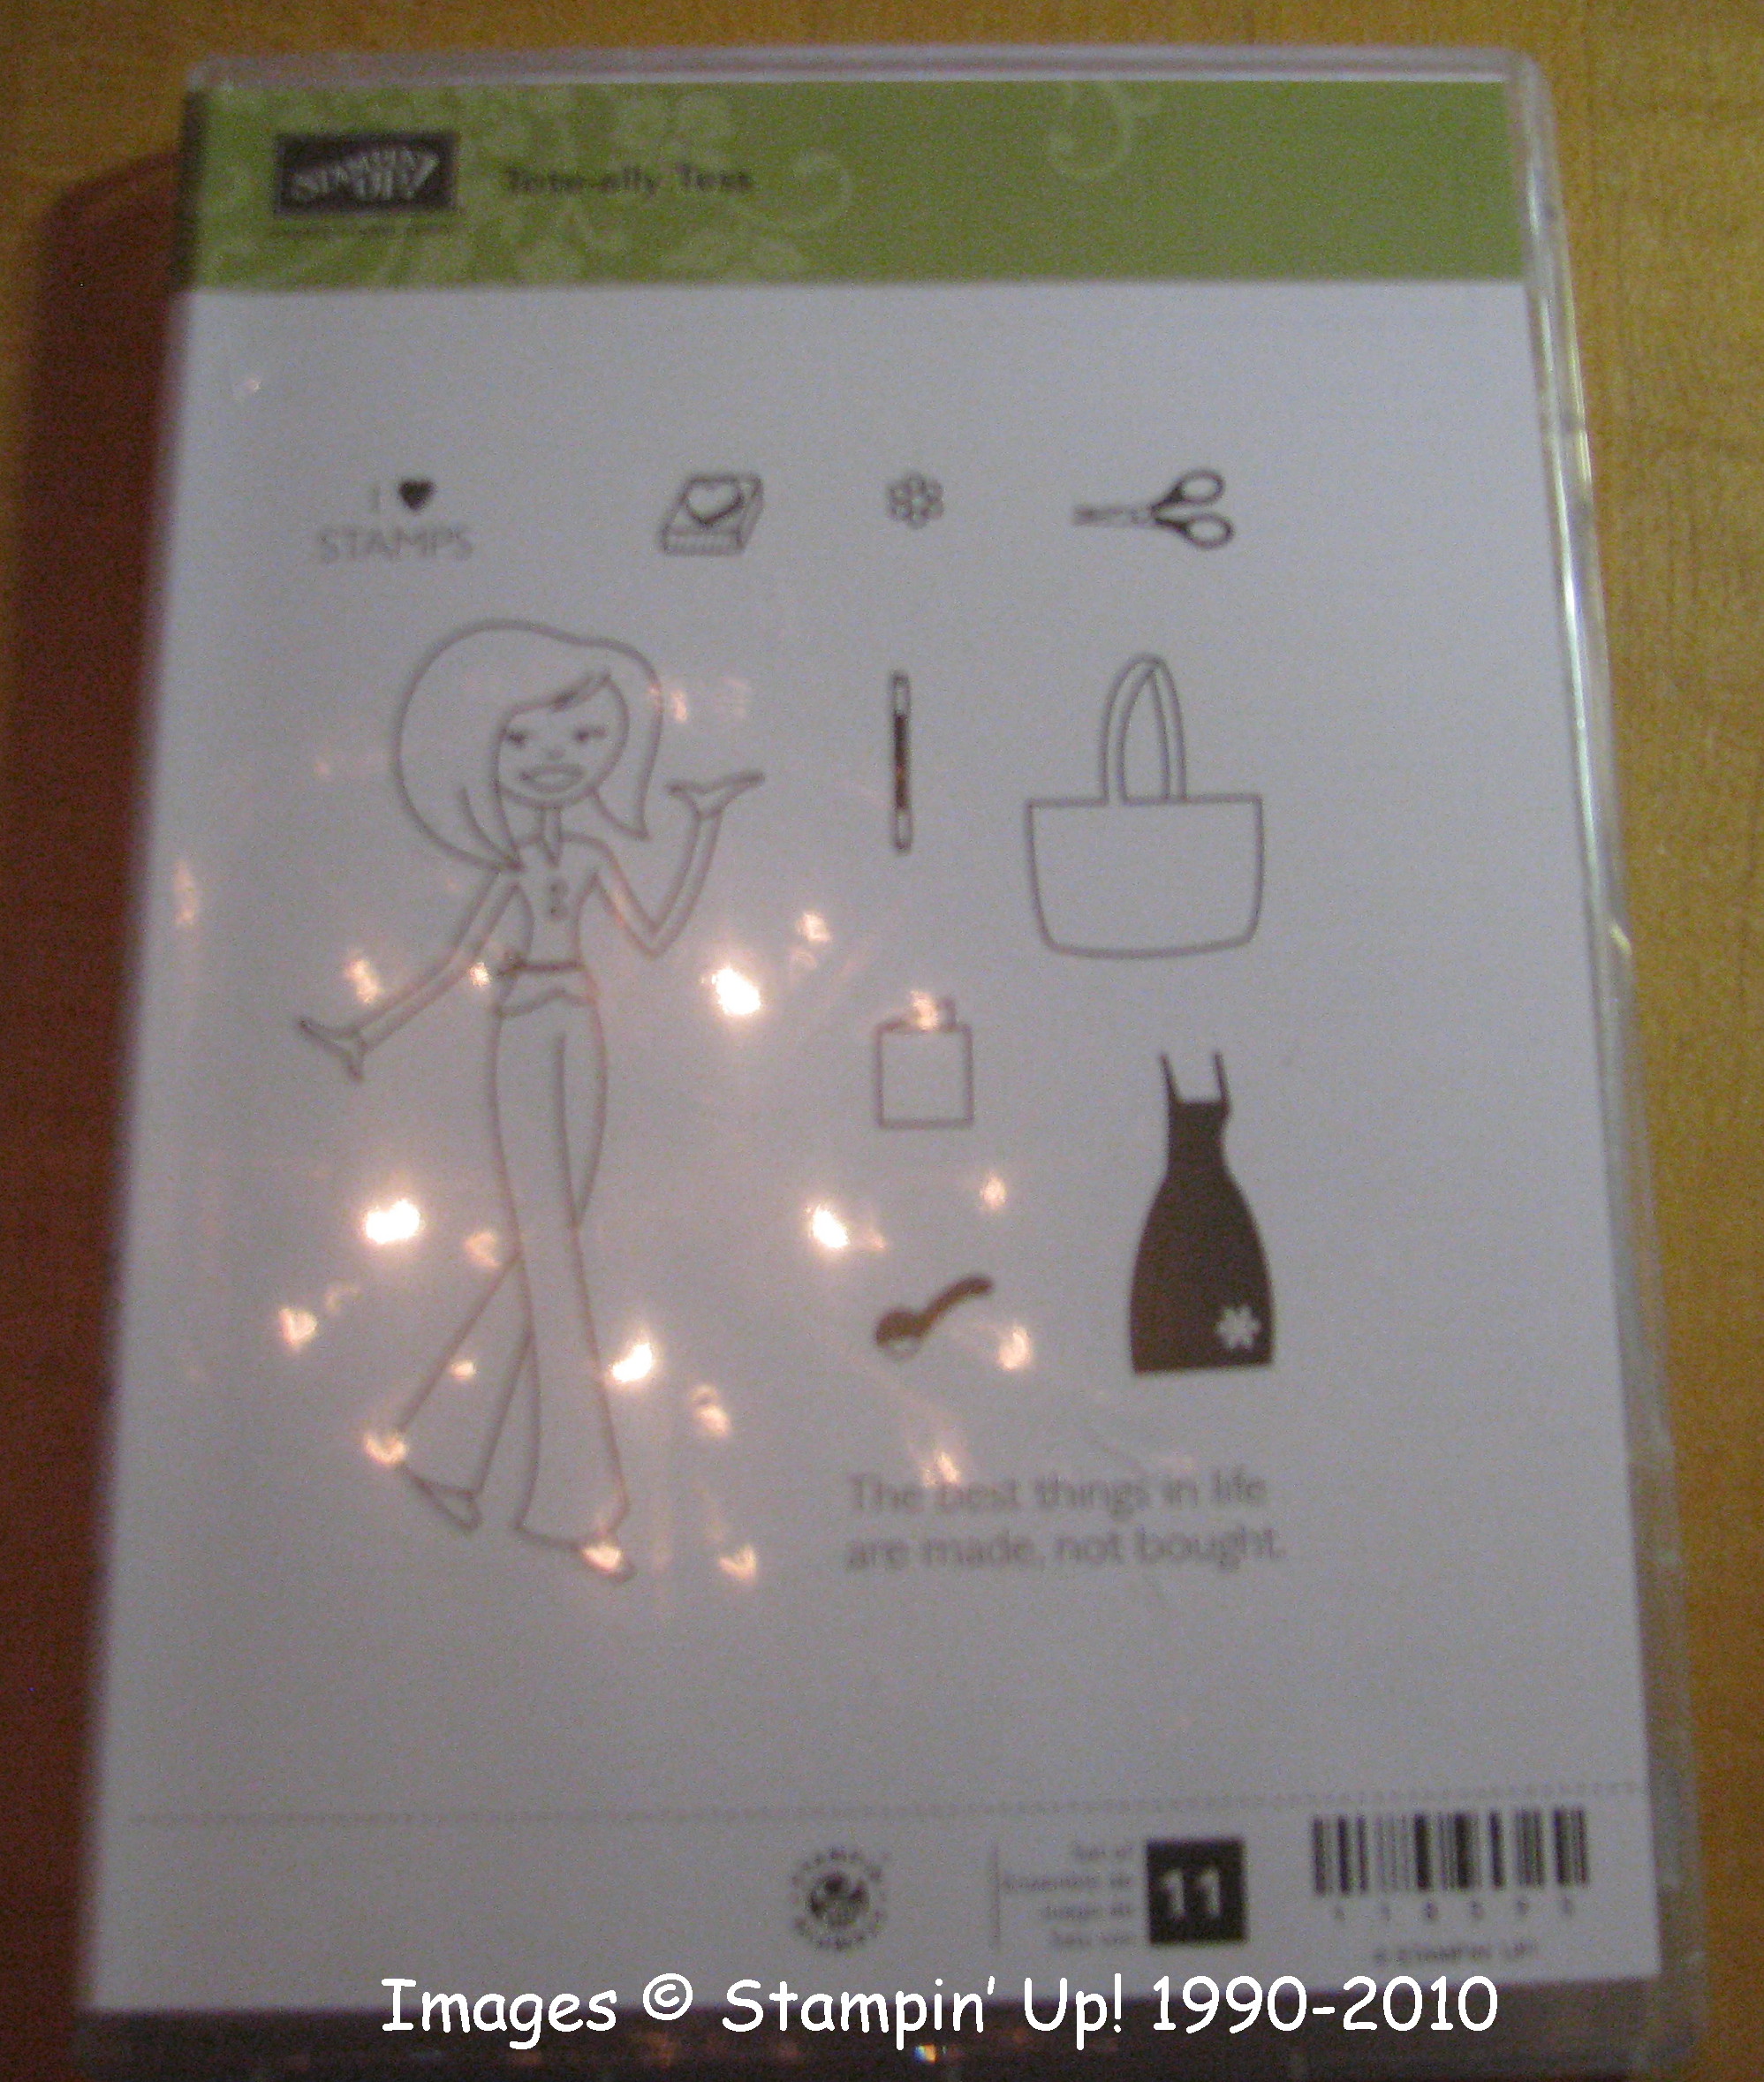
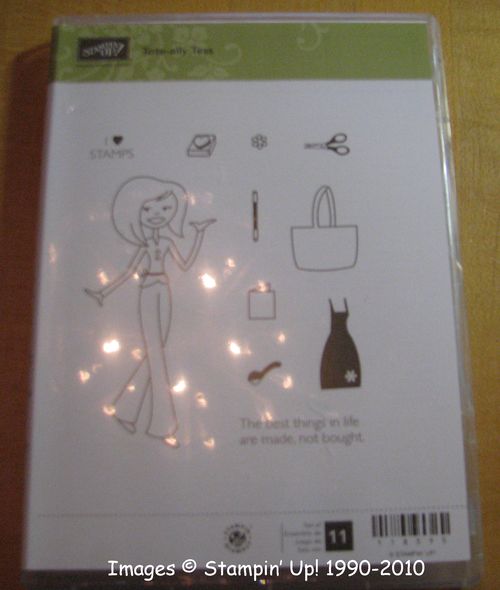
Here is a new set called Tote-ally Tess in the new skinny DVD-like case.

Tesscover 

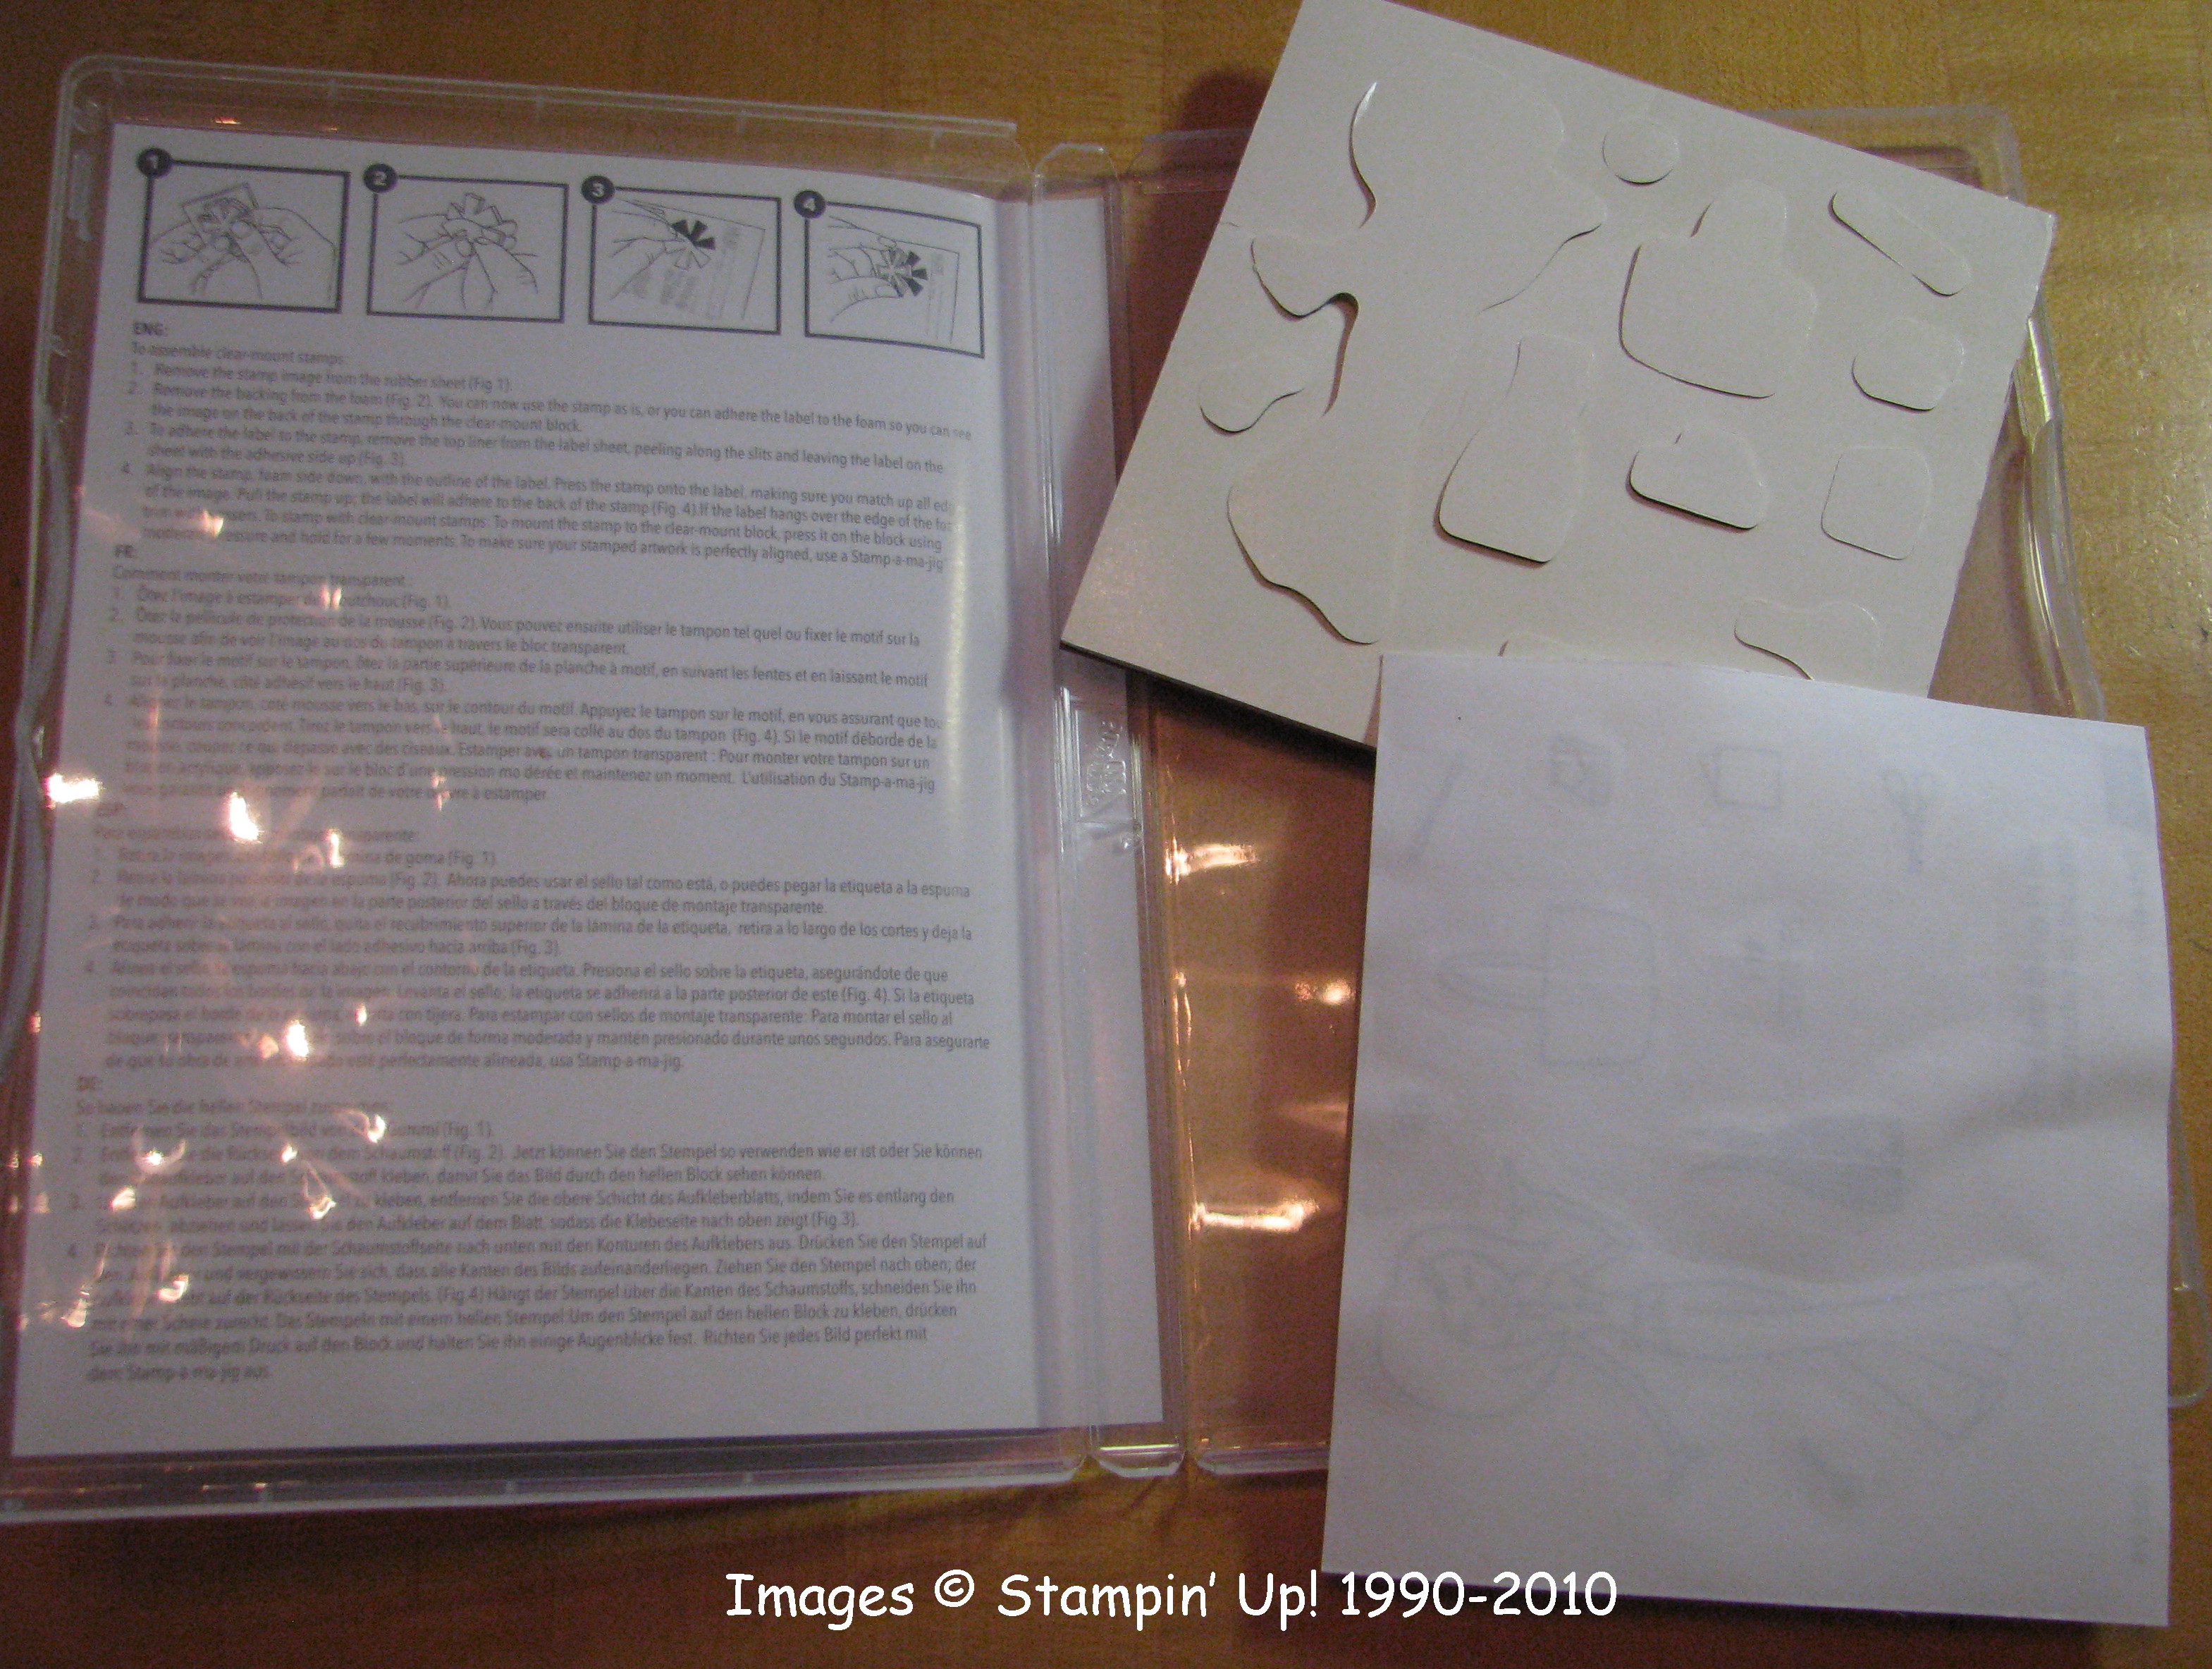
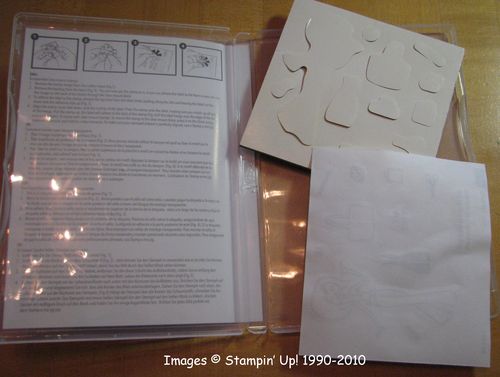
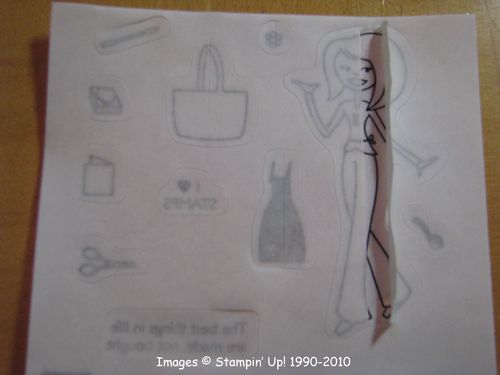
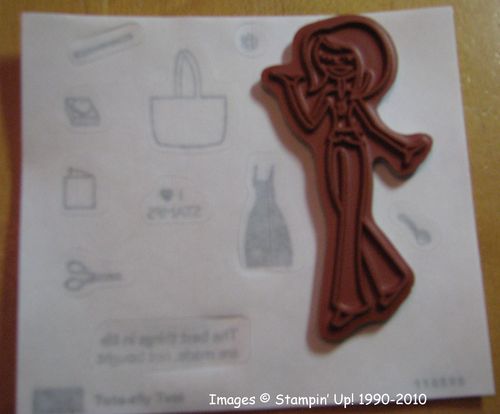
Here is what you get inside!  Directions, stamps, and label sheet.
Tesscontents 

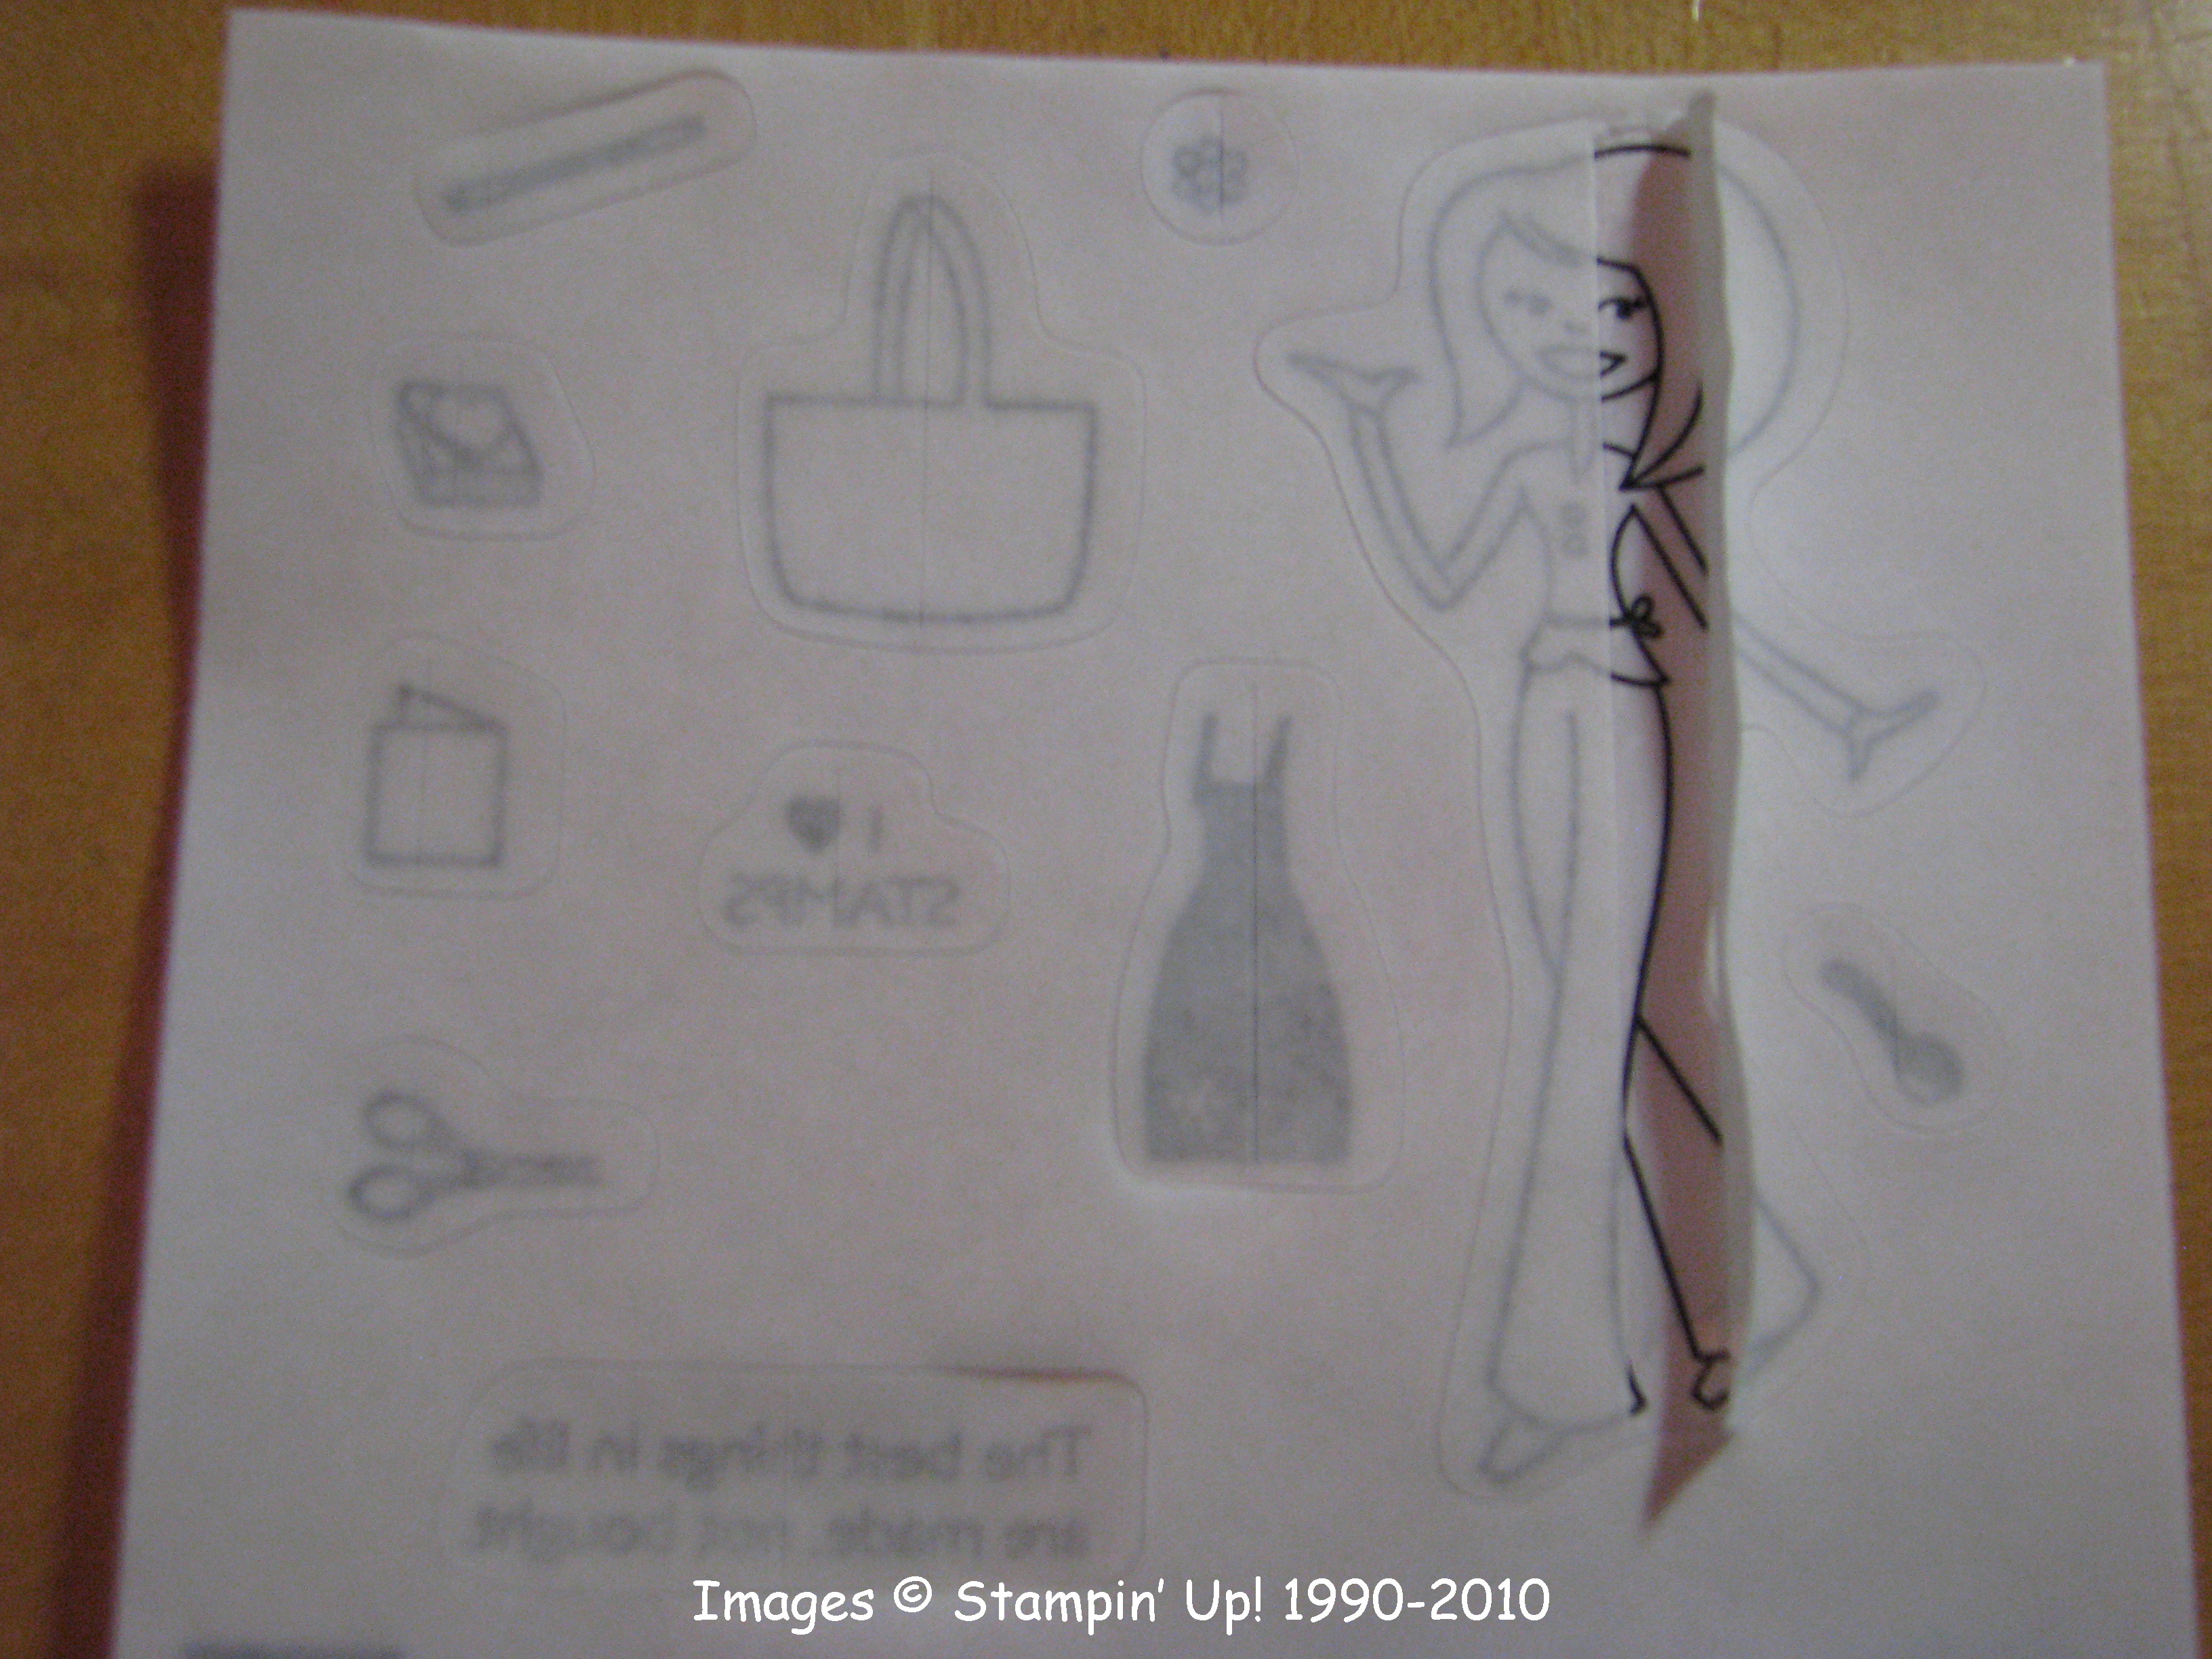
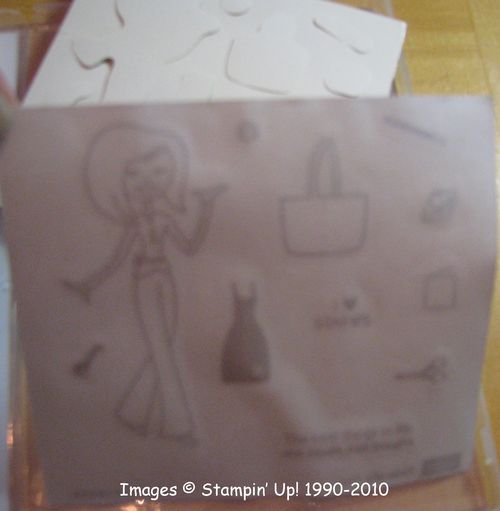
Here is the new label sheet, which appears to be all covered up!  How do you get the label??

TessSheet

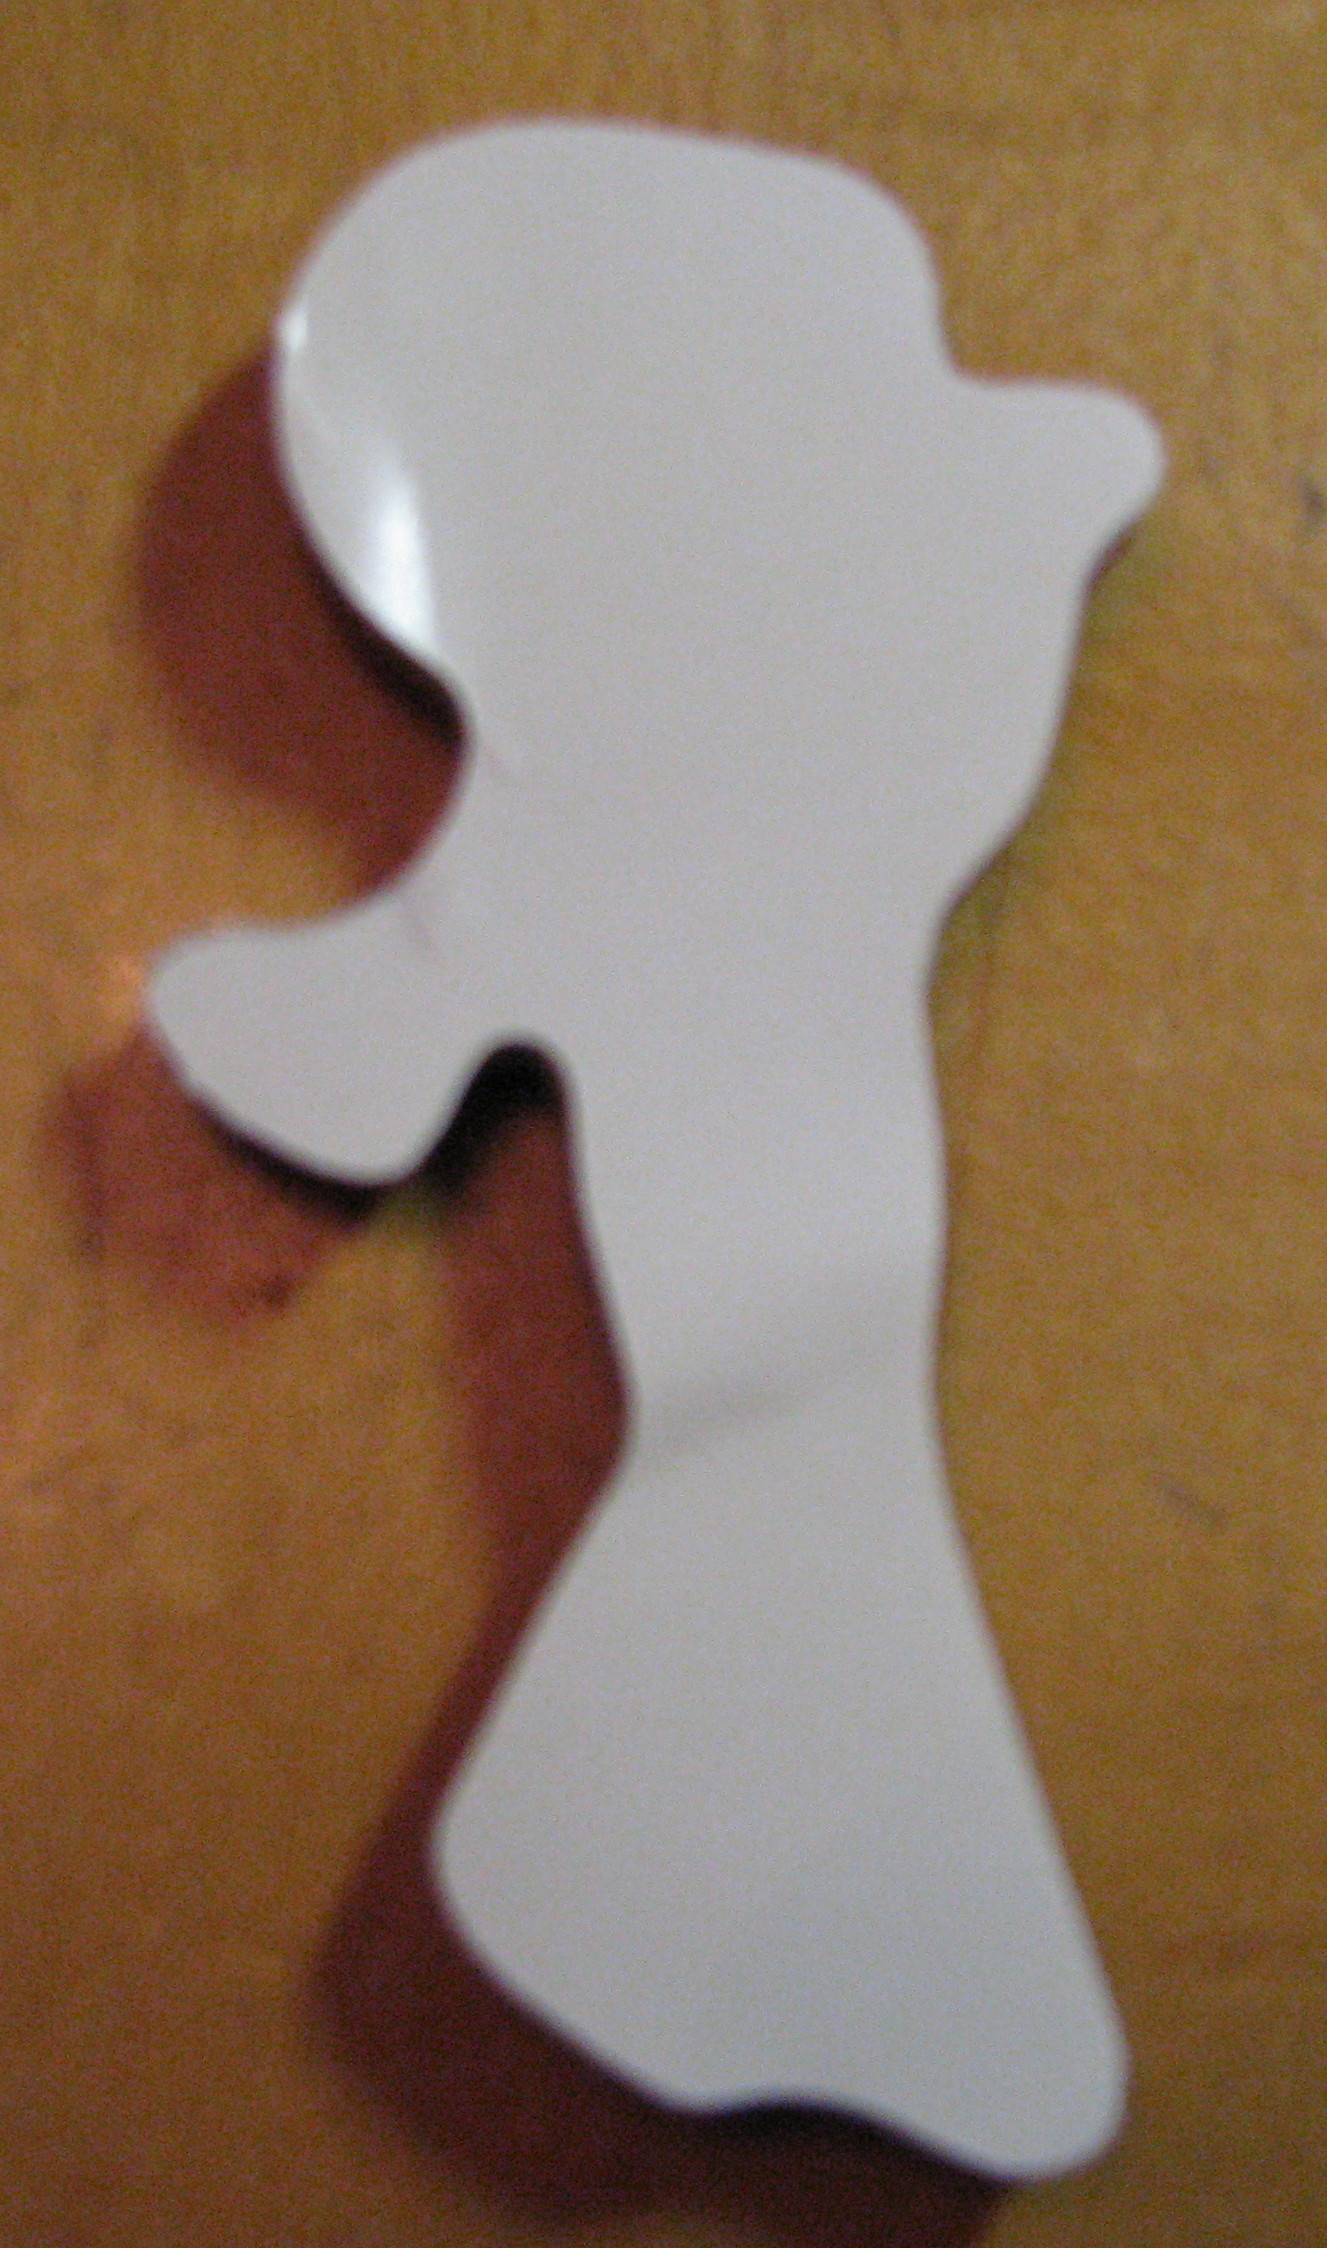
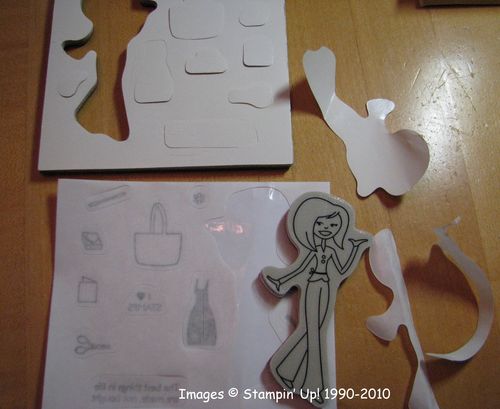
Punch out the die-cut stamp.  This is what the backing looks like.

TessStamp

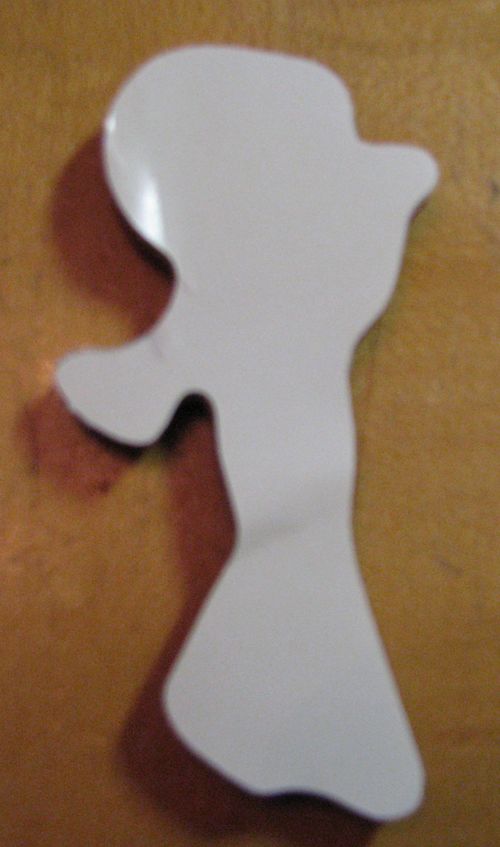
Peel the backing off to reveal the "cling" side of the stamp.

TessCoverOff

On the label sheet you will notice little slits on the paper.  Start peeling there (easier than starting at the edge of the label), leaving the label on the sheet.  It will be sticky-side-up and sometimes a little tricky to get the label to stay put there!

TessLabel

Here is the label fully exposed.

TessLabel2

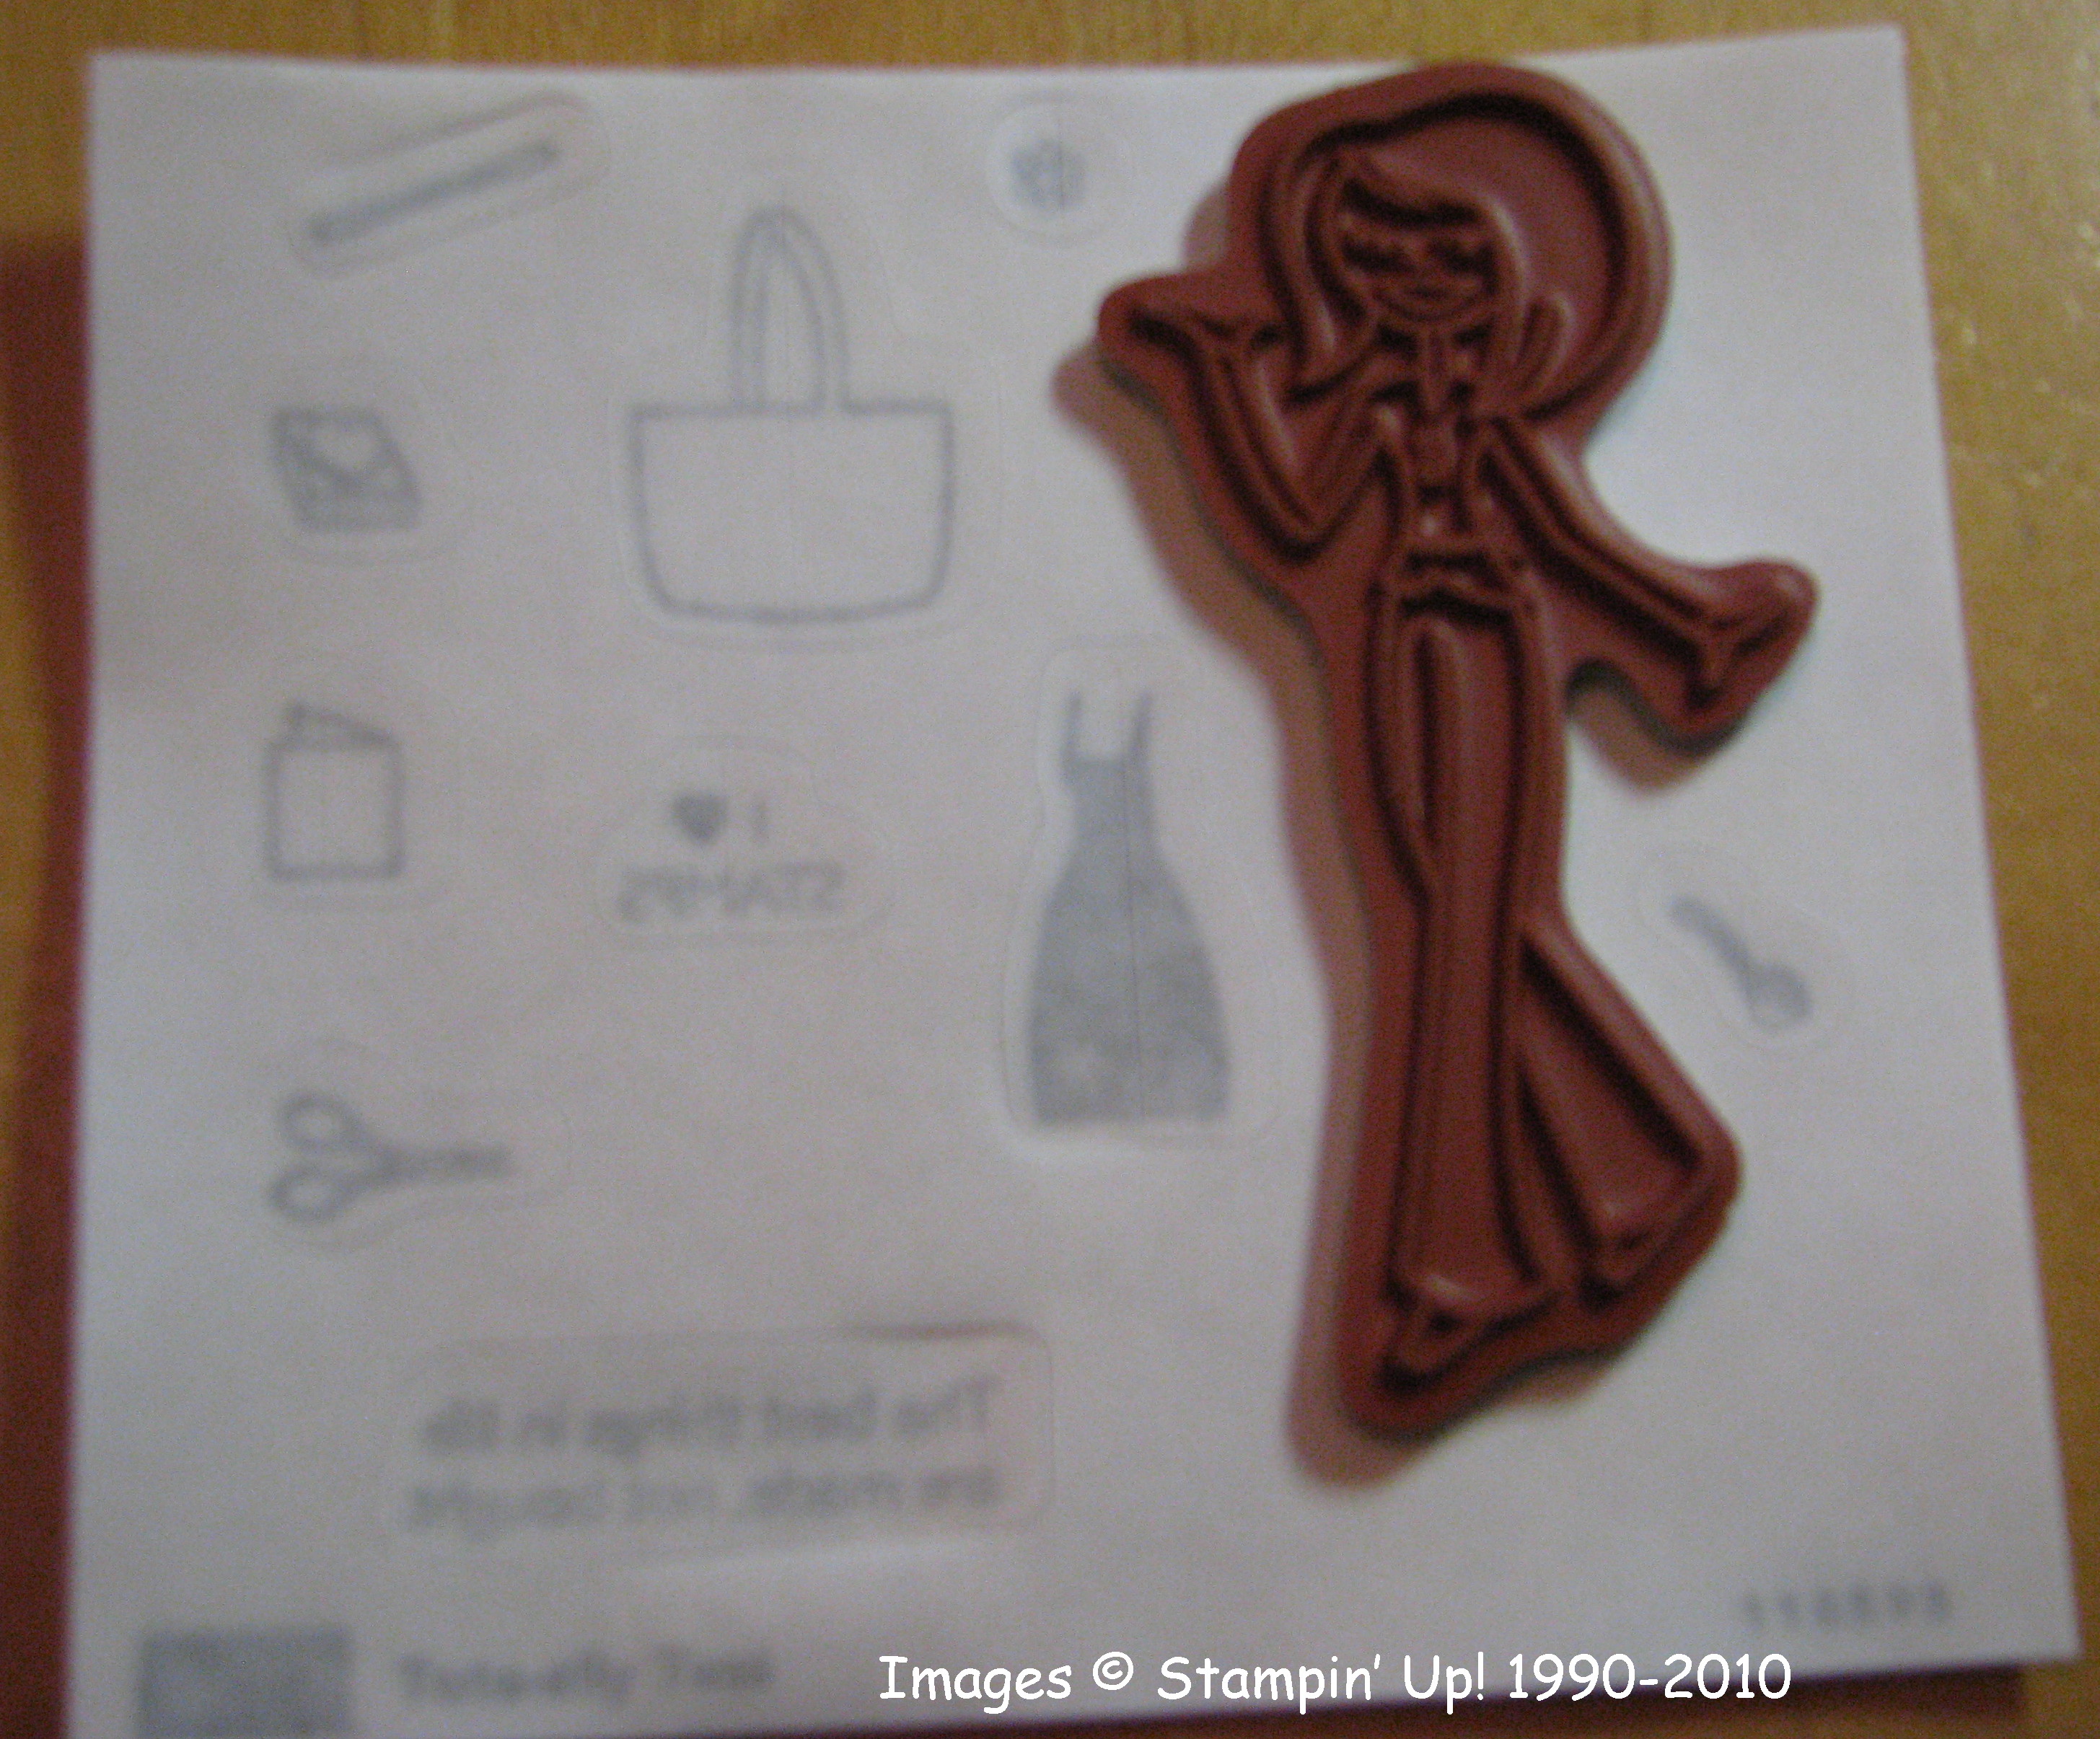
CAREFULLY place your stamp, cling side down, on the sticky label.  It should "fit" right in the space.  If you mess up, yes, you can peel the label off and do it again but it is probably better to get it right the first time!  Also, you do not HAVE to have the label adhered to the stamp….you will be able to stick the stamp to the block without the label, it is a guide and an option.

TessLabel3

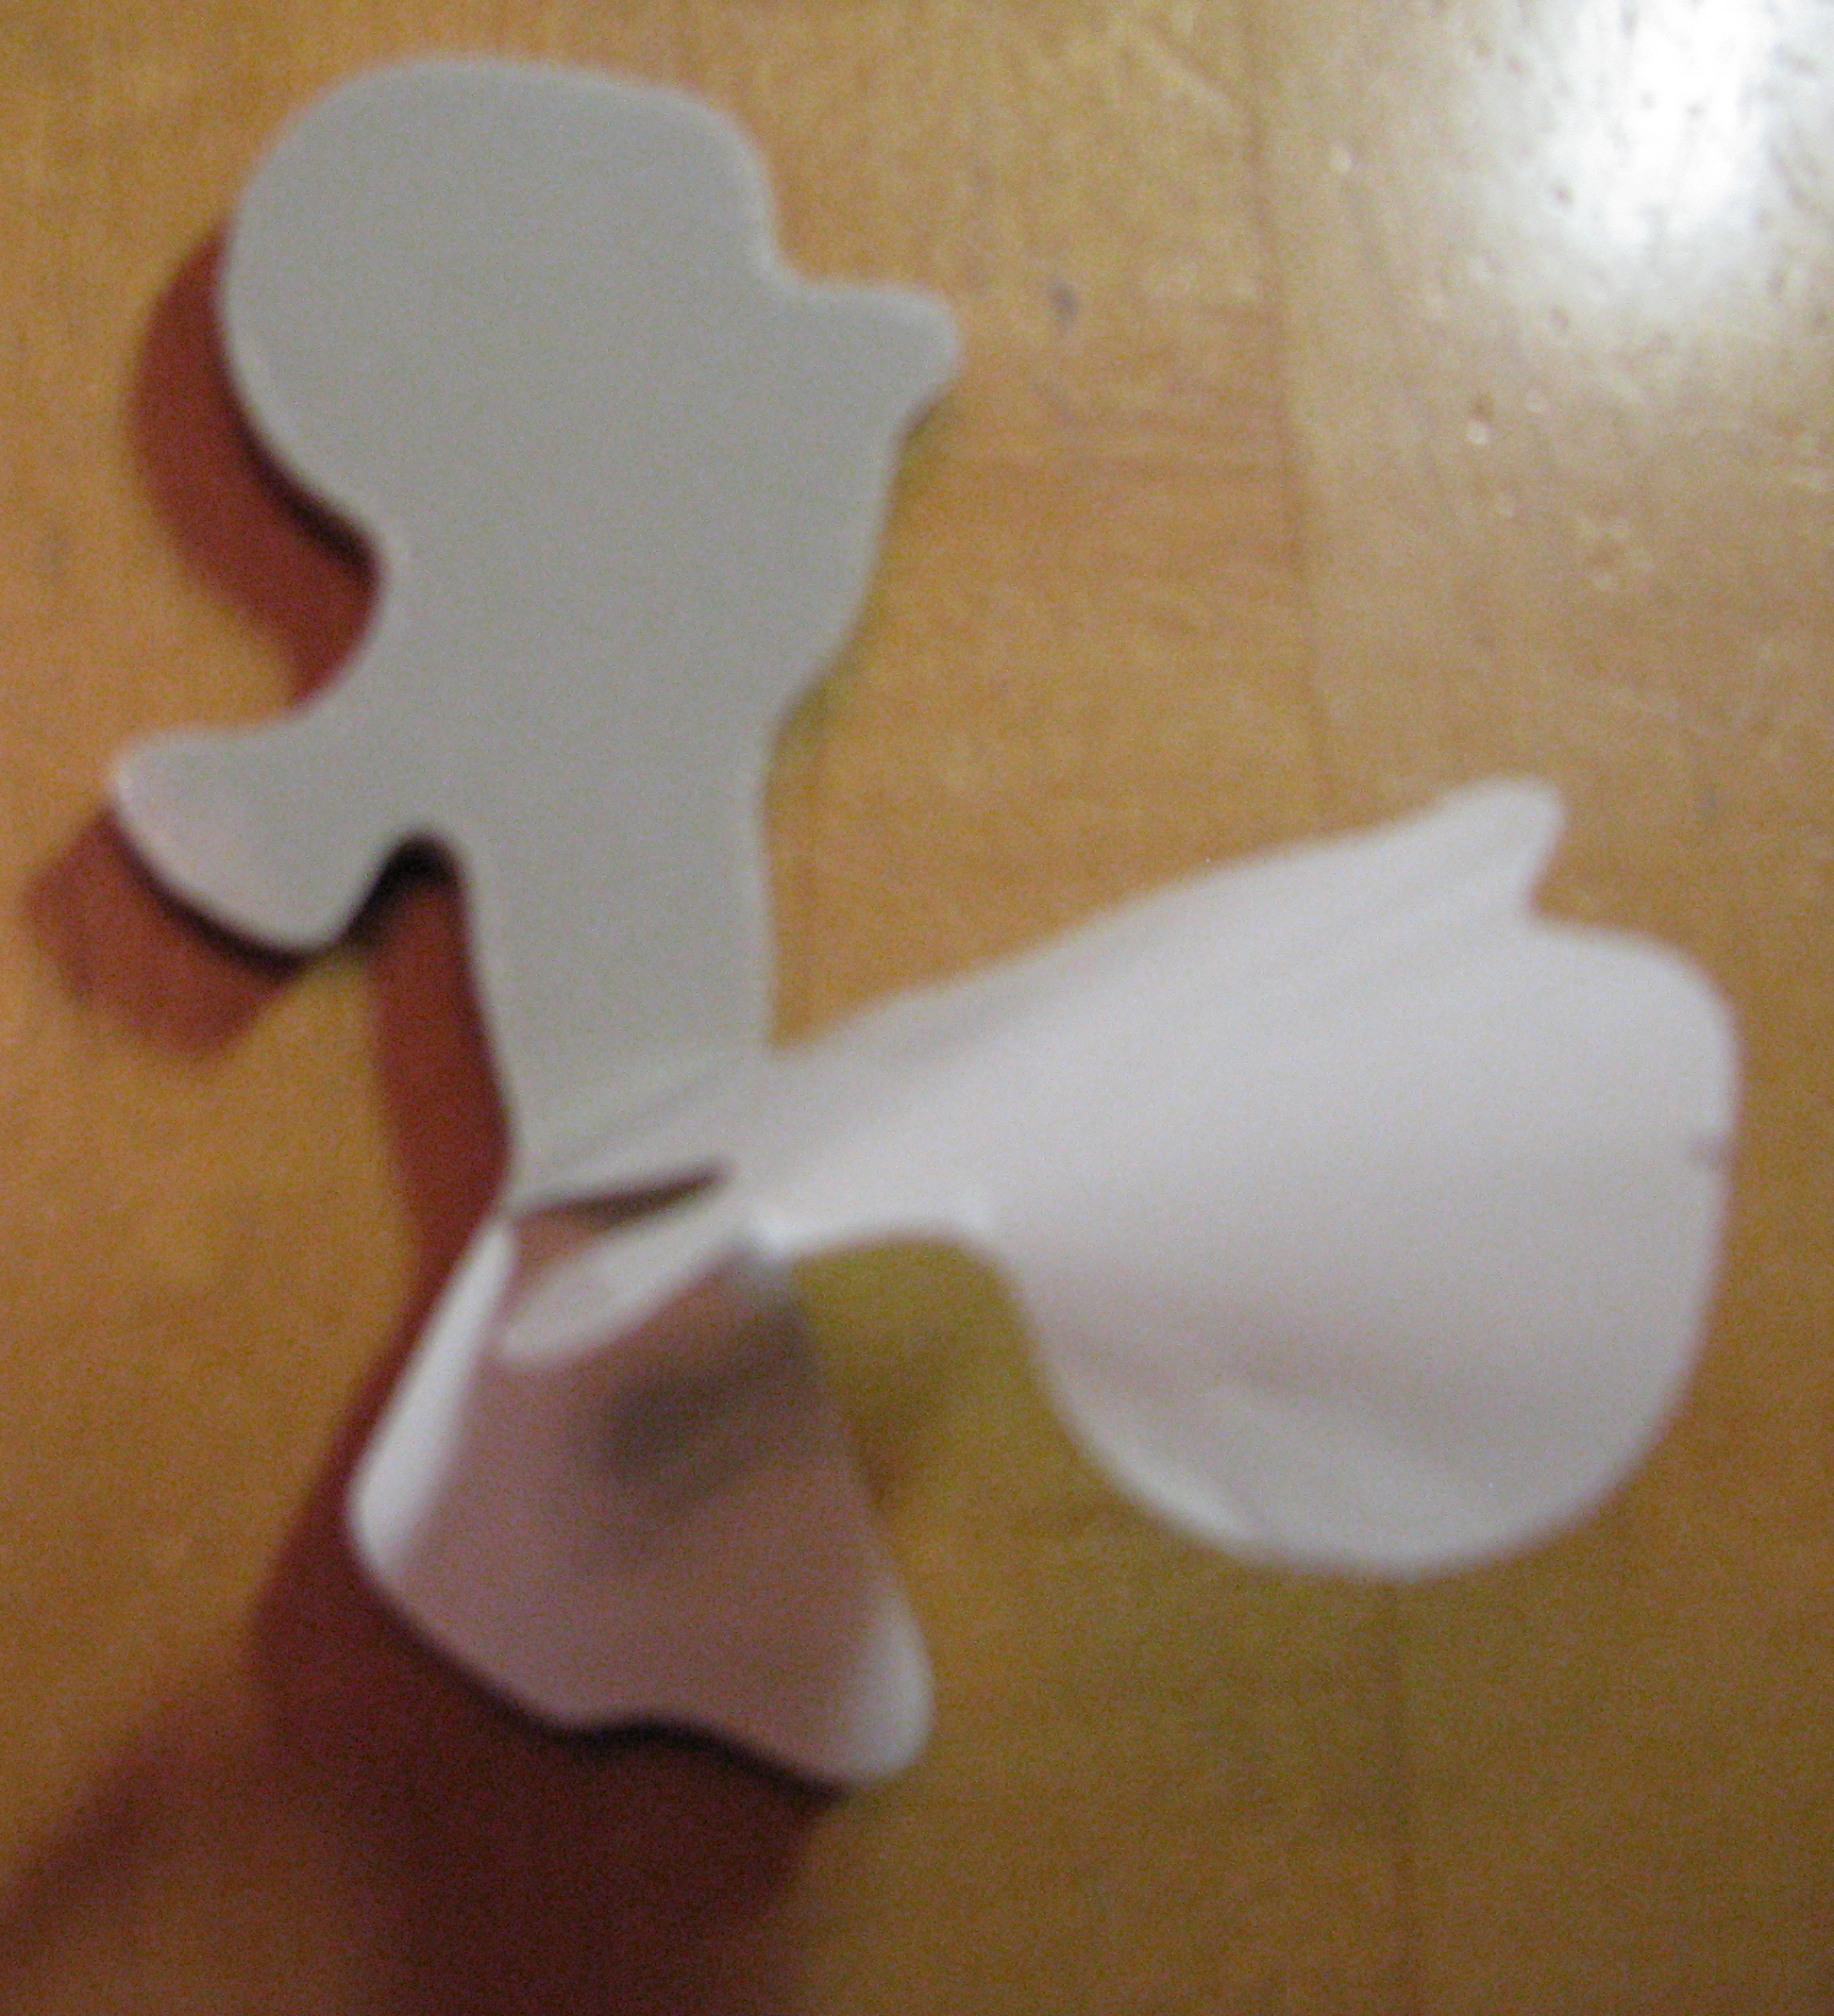
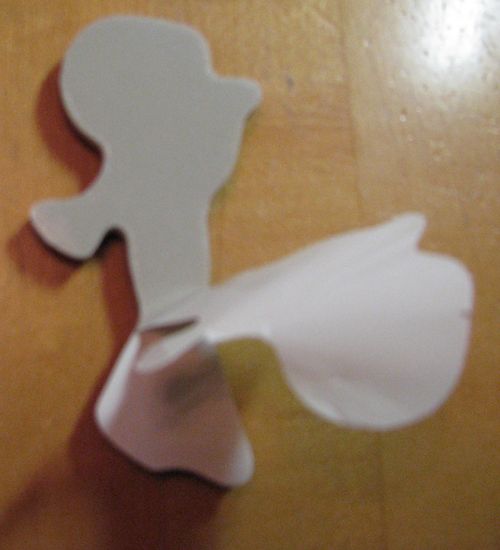
Now peel your stamp up off the label sheet, turn it over, and you have….Tess!  You can see in the photo my sheet of stamps from which I removed Tess, the paper I peeled off the back of Tess (don't forget this step before attaching the label….don't ask me how I know!), and the two halves of paper I peeled off the label sheet.

Tess4

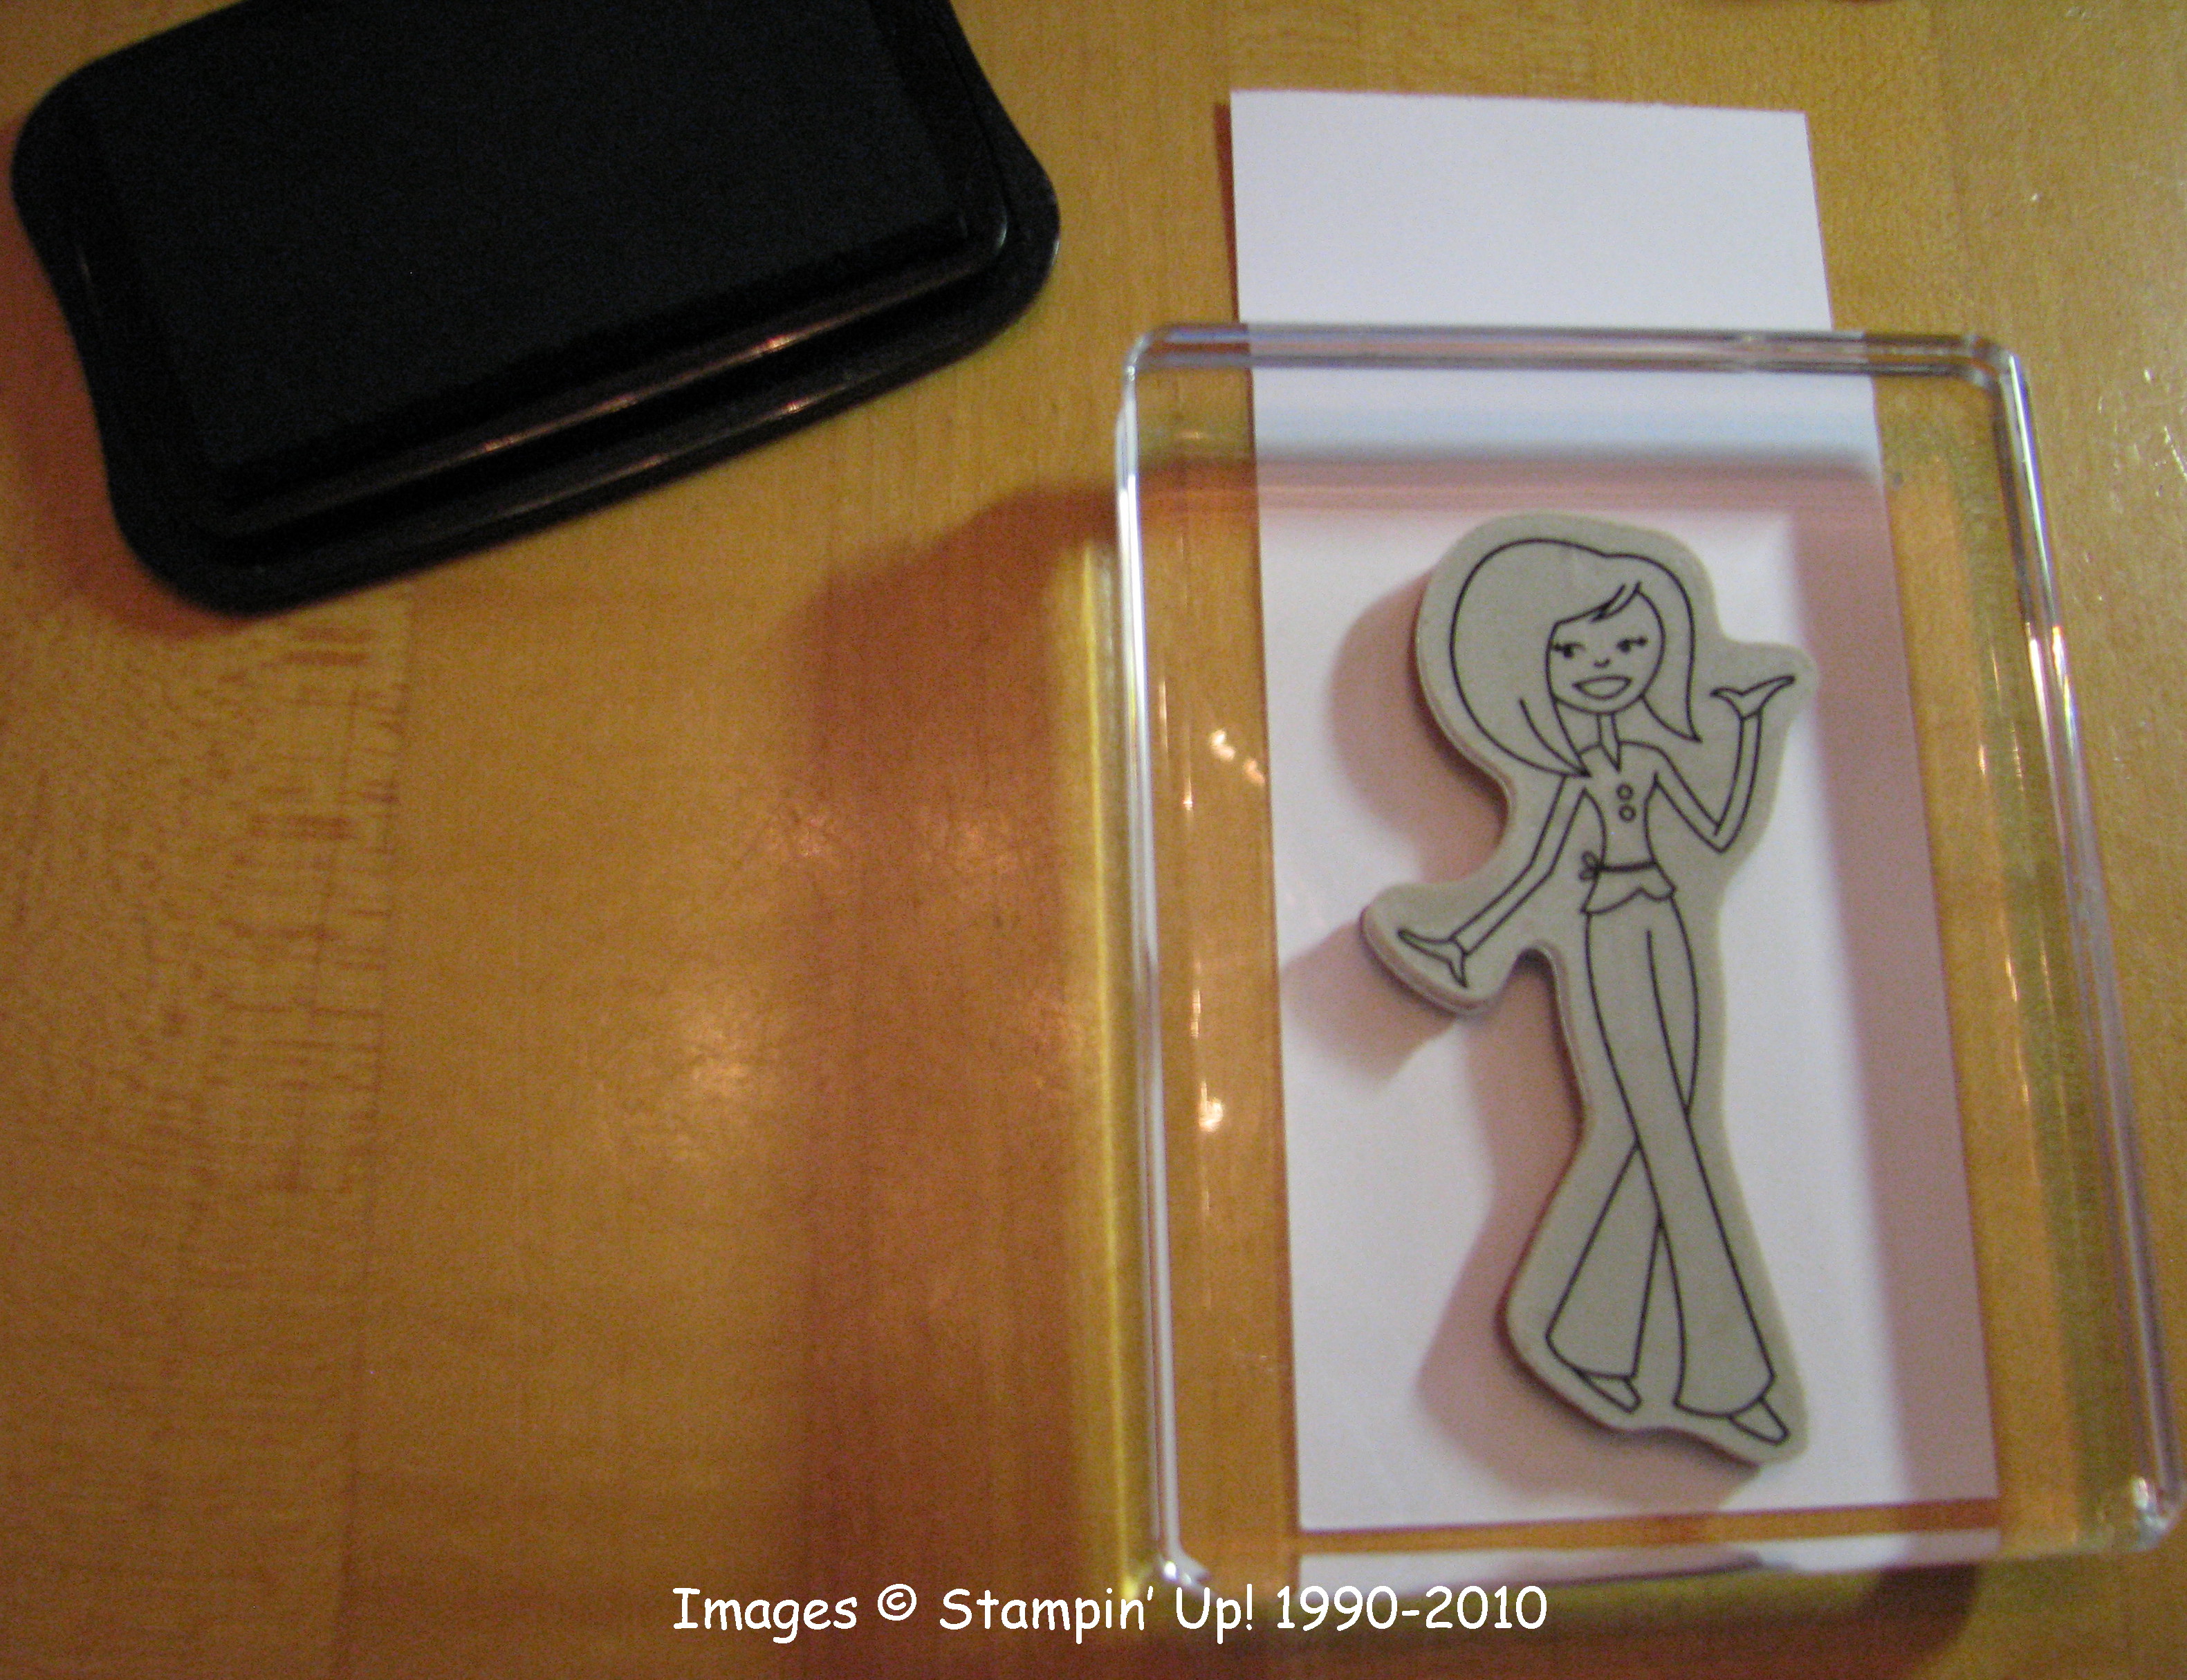
 Place Tess on an acrylic block (the closest size possible for best results).  You don't want to just stick it on and stamp.  Take a few moments to press the stamp onto the block or even look on the other side and notice the change as the stamp fully clings to the block.  Be sure to press on all areas of the stamp.  This will ensure that the stamp is well adhered to the block for stamping and cleaning.

TessBlock

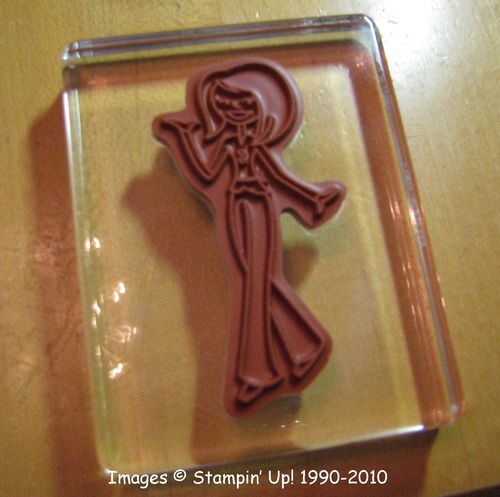
This is what the stamp looks like through the acrylic block.  If you do not use the label, you will just see the outline of the rubber stamp, which might be just fine for you.

TessBlockBack

Now stamp!  You can use Stampin' Mist to clean the stamp and your block as always.  It is recommended that you do not use Stazon Cleaner on your block as it may have an oily residue and cause your stamp not to adhere well.

TessStamping

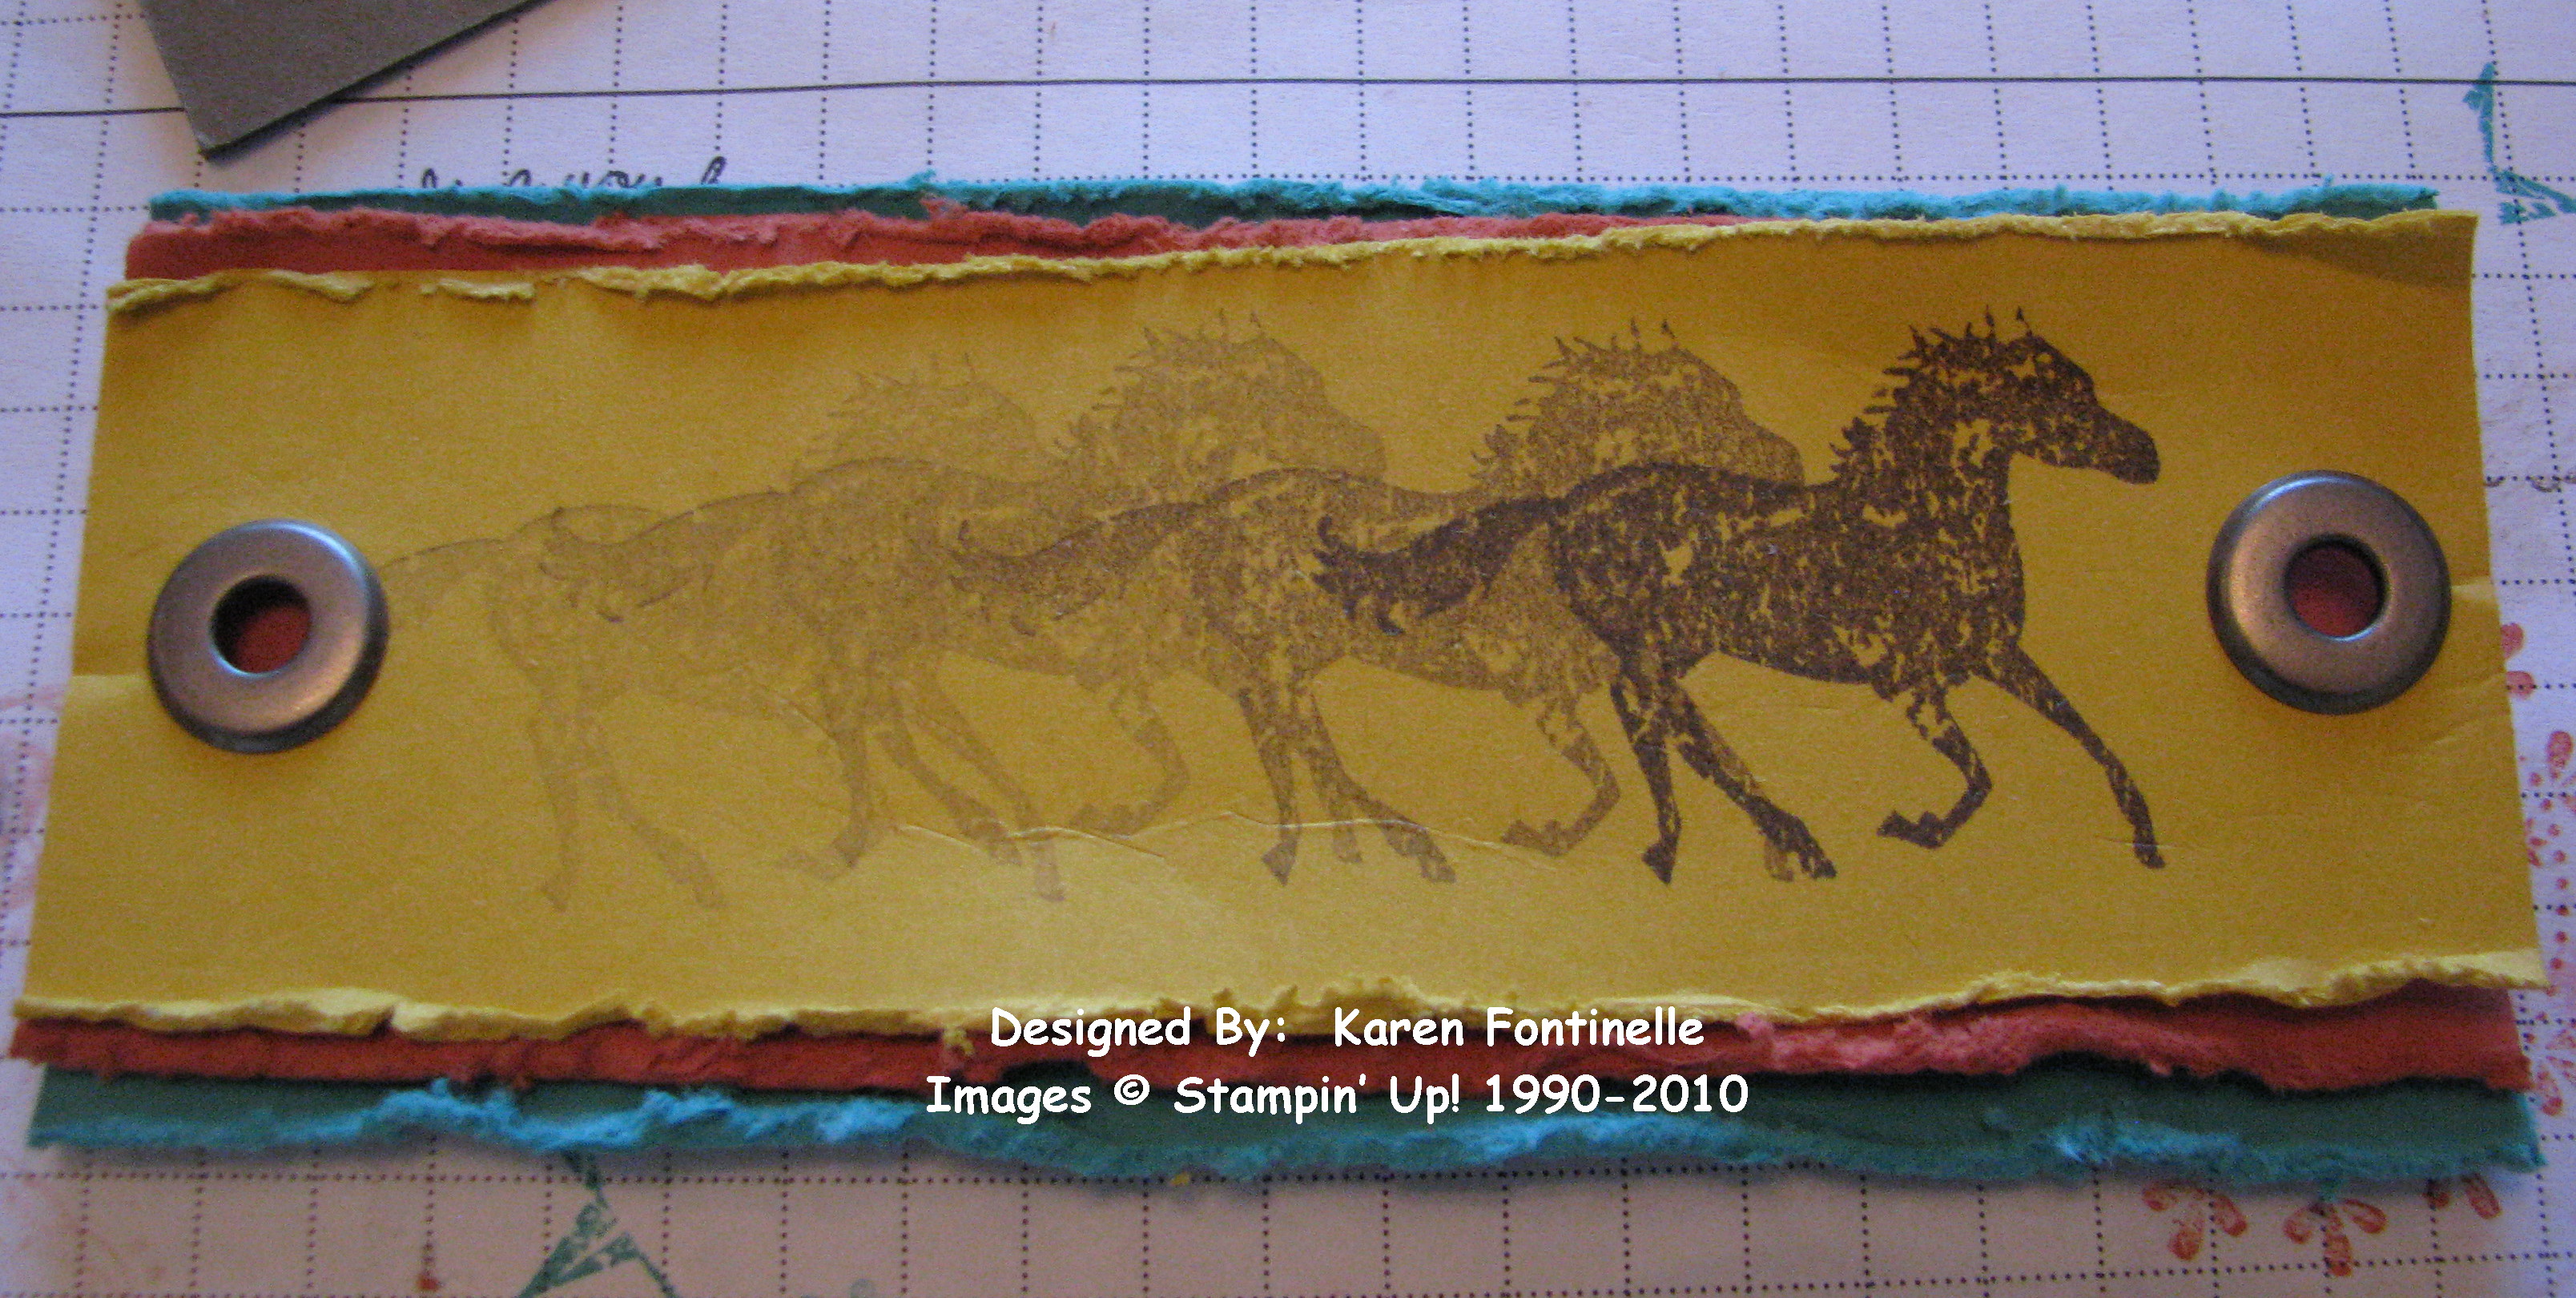
Tess stamped!  Same as wood blocks.  These acrylic blocks have grooves on all four sizes making them easy to grip.

TessStamped

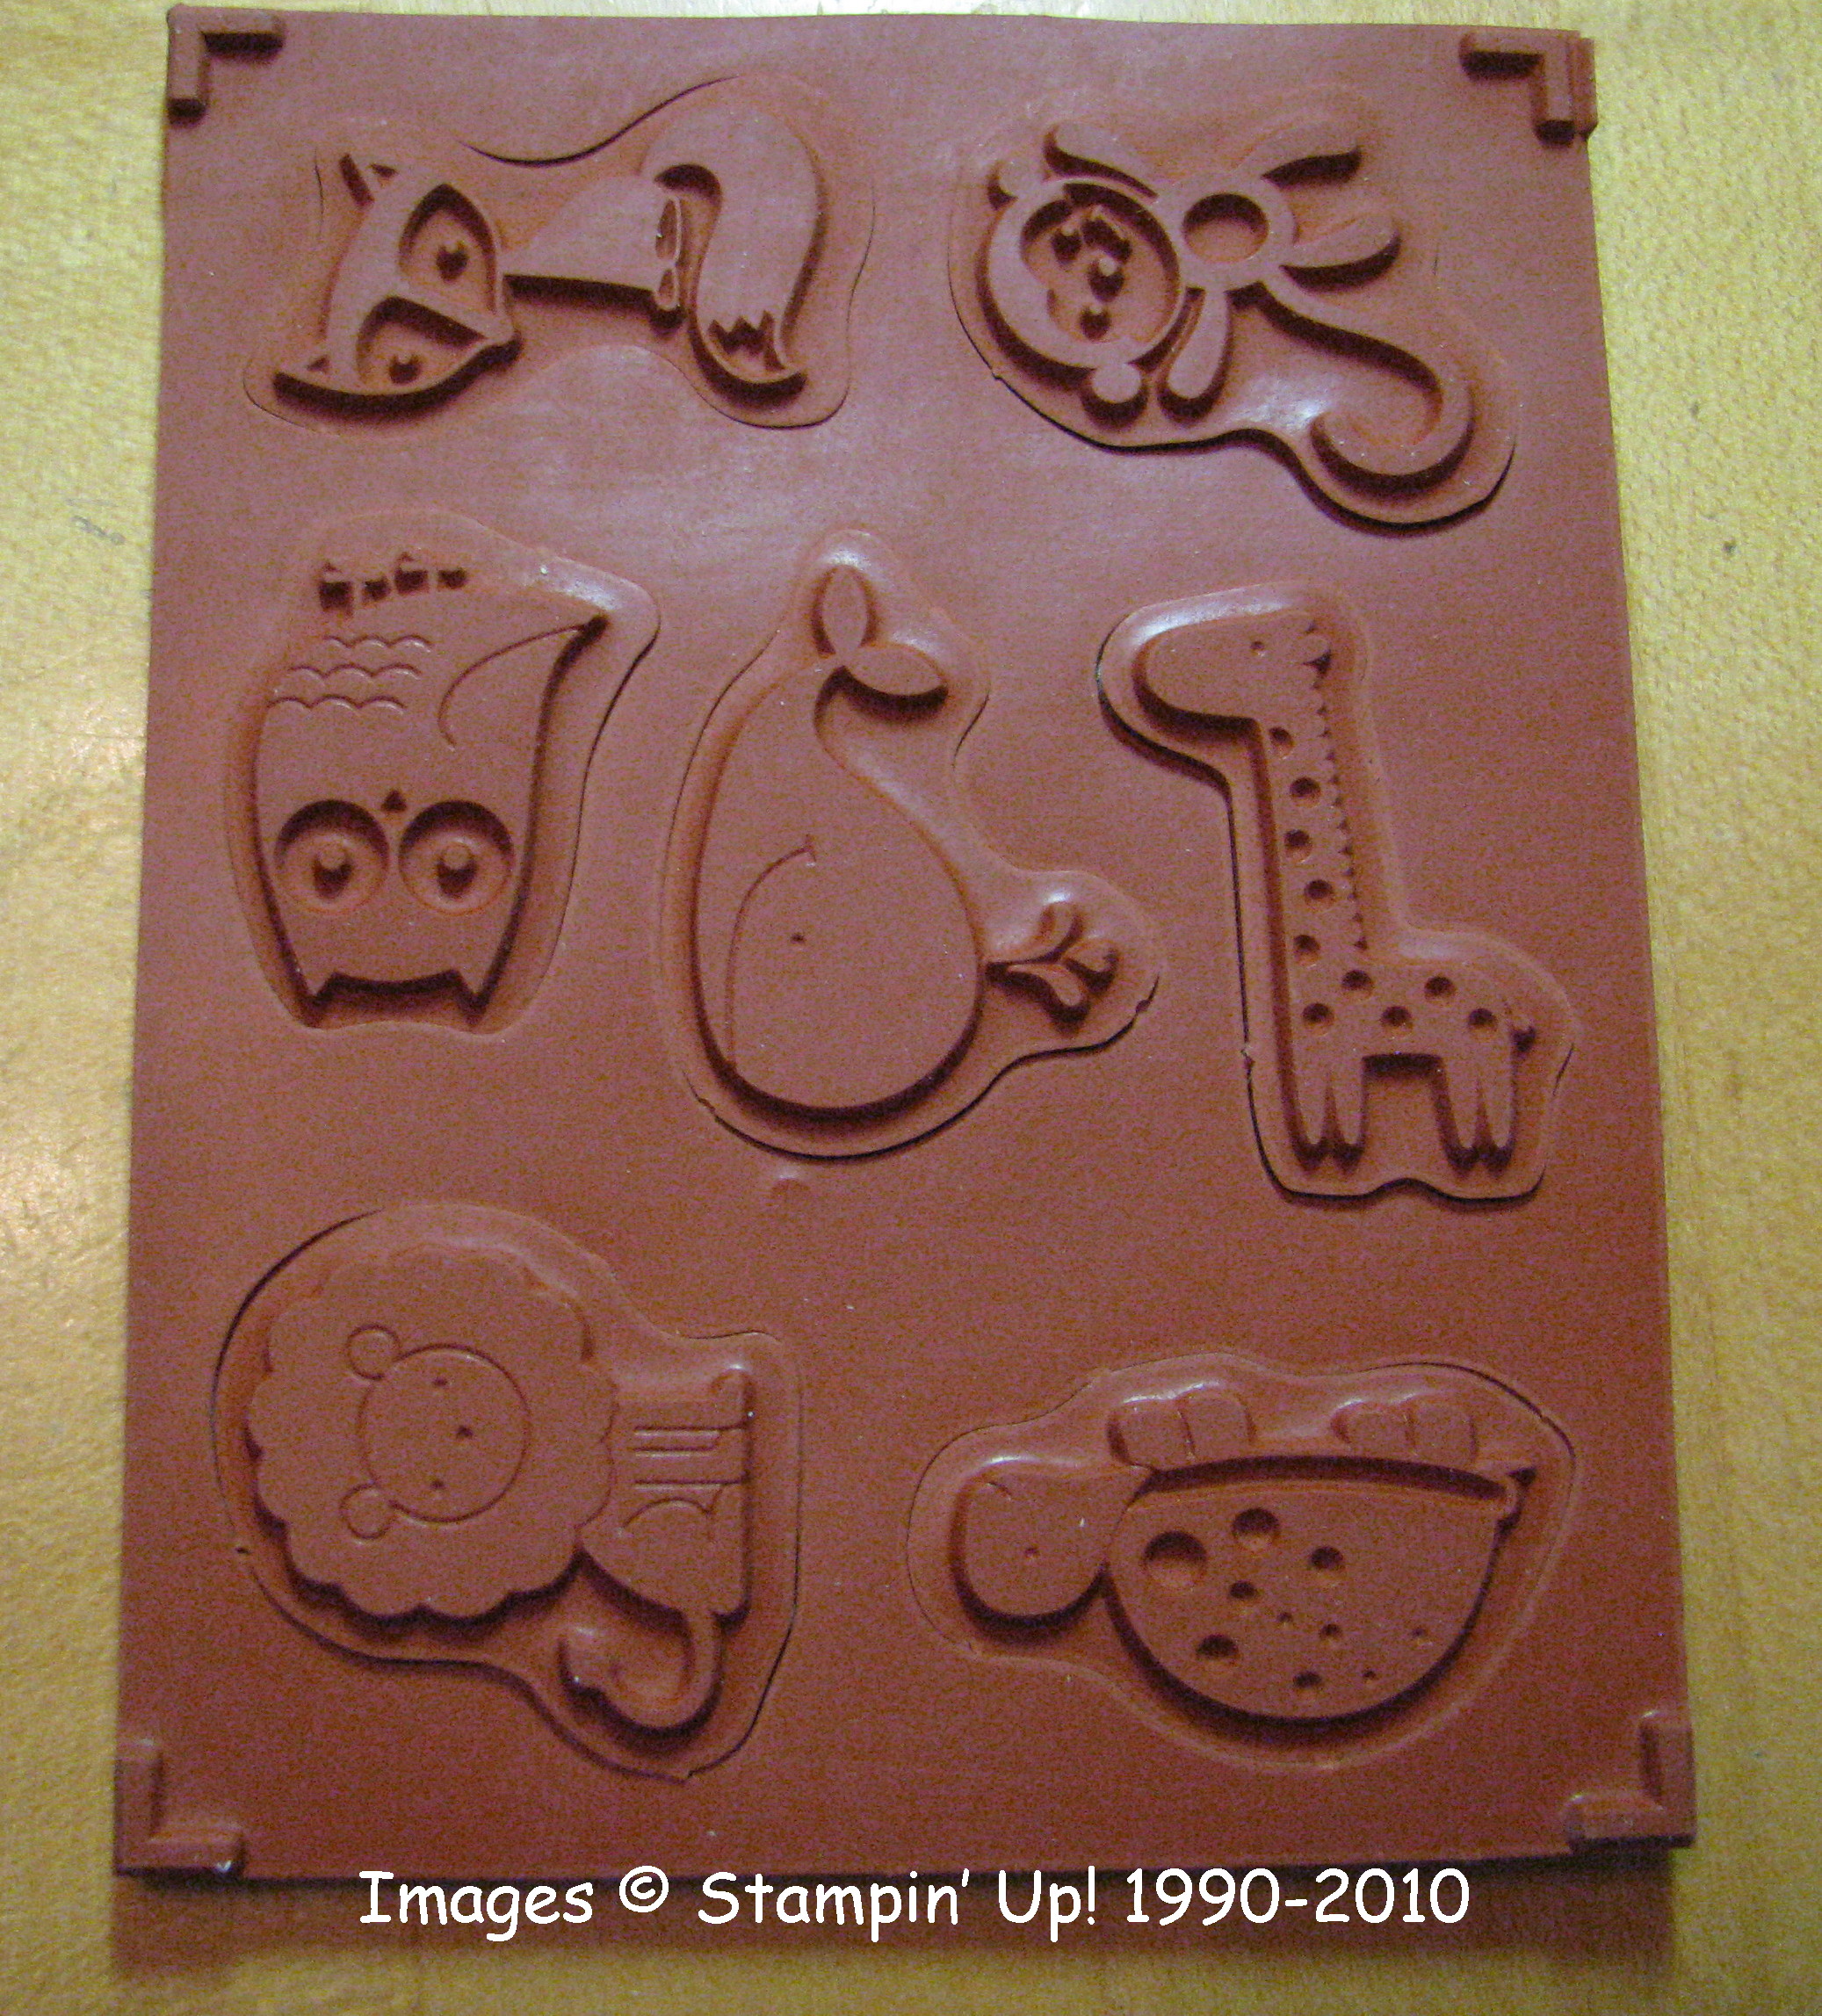
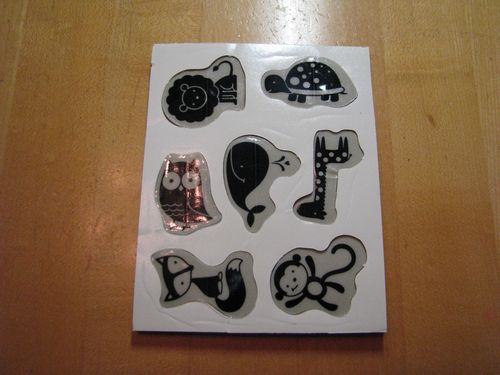
When finished stamping, just place your stamps back into the DVD case.  Some people recommend saving the "negative" rubber and inserting the stamps back into that to hold them more securely or to know quickly which stamp is missing and keep this in your case.  So many options with these new stamps!  This set is called Fox & Friends.

TessInserted2

The other side.

IMG_8069 

Images copyright Stampin' Up! 1990-2010.

You can find these stamps and blocks in the new Occasions Mini.  Be sure to contact me if you have any questions or if you do not have a demonstrator and would like an Occasions Mini mailed to you!  Or click on the link to see it online.

Shimmer Paints Still Available!

Exciting news!!  The Shimmer Paint in the current Holiday Mini Catalog has been so popular that even though the Holiday Mini ends on January 4, 2010 the Shimmer Paint will still be available as a write-in after that!

 116806  Champagne Mist Shimmer Paint  $5.95
 116854  Frost White Shimmer Paint  $5.95
 116807  Platinum Shimmer Paint  $5.95


If you haven't already tried the new Shimmer Paint you will want to in the New Year!  There are lots of ways to use it and a little goes a long way!

Here's an easy card I made stamping the snowflakes in the background with the Shimmer Paint.  They're very light and yet they add some beautiful interest to the card.  I think they show up pretty well in this photo for you to see!

XmasShimmer
Just use your sponge dauber to apply the Shimmer Paint lightly directly to your stamp! 

Shelli Gardner’s Christmas Ideas Using the Big Shot on TV in Utah!

Shelli Gardner, Cofounder and CEO of Stampin' Up! recently appeared on a local news TV show in Salt Lake City to demonstrate the Big Shot and Basket and Blooms die.  Wait until you see the clever way she used the Basket shape of the die and also incorporated the Christmas Jingle Simply Scrappin' Kit in the project.  The Simply Scrappin' Kits aren't just for scrapbooking anymore!  Enjoy!  I love watching these videos!

Don't forget……there is a Big Shot Gift Pack in the Holiday Gift-Giving Guide, which would also give you several FREE Decor Element pieces (each up to a $16.95 value) as a special.  AND in the 12 Days of Holiday Sales, from Dec. 11-22 only, you can purchase the Basket and Blooms Die on sale….as well as many other dies (you gotta have the Matchbox Die!).  You can even expedite your order for an extra charge!

Stampin’ Up!’s 12 Days of Holiday Sales!

Here it is!  The 12 Days of Holiday Sales!  Find great deals on select Big Shot dies and some supplies.  This sale is for 12 days only, beginning today and ending Dec. 22nd.  Discounts are between 15-25% on these items!

Click HERE to go to my website and see the products that are on sale now!  Remember to order by Dec. 15th for best chance of delivery by Christmas!  

See something you like but want to be surprised for Christmas?  Want more Stampin' Up! products??  Send me your long Wish List and the people to contact, and if they like, they can order from your list!  They will be happy not to wander around the mall looking for something for you!

To take advantage of this sale you can email me at KSFontinelle@gmail.com or shop online yourself at your convenience by going to my website HERE and clicking the SHOP NOW button in the upper right.  Then click on "12 Days of Holiday Sales" in the left column or any other category you are interested in.

Coloring Chipboard Letters

Sometimes the chipboard letters are good to use the natural way they come, but sometimes you want to color them.  One way to do that is to use a Craft Ink Stampin' Spot.  You could use a sponge dauber, but I like to just use the direct method where I apply the ink directly from the Stampin' Spot to the chipboard.  Just turn the spot upside down and pounce it on the chipboard piece.  You could also use the Classic  Ink Stampin' Spot but it might be a little lighter in color.

ChipLetters 

ChipLetters2 

You can order a set of 12 Stampin' Spots in each of the color families in either the Classic or Craft ink (see catalog pages 156-7).  Stampin' Spots are about 1" x 1" in size and are handy for carrying to crops or stamping events or a less expensive way to own all the colors in a family.  The majority of the time I think anyone would prefer the full-size ink pads, but the spots have their uses!  Let me know if you have any questions about the Stampin' Spots!

Tombow Multi Purpose Adhesive

TombowMulti 

I love this Tombow Multi Purpose Adhesive!  I'm using it on all my Convention swap cards, except where I need Mini Glue Dots or Stampin' Dimensionals.  It is easy to apply, you need just little dots of it so more economical than SNAIL Adhesive (although I love that too!), only occasionally gets all over your hands (and then it washes off!), and you can use the Adhesive Remover (#103684) to get it off areas where you don't want it.  Another advantage is that for a few moments you can move your piece around to get it exactly right since it is a liquid glue.  It is permanent if you adhere your pieces right away, but if you let it dry it can be a temporary adhesive.  Besides the small tip, it has a broad applicator at the bottom of the bottle, which I always forget about! You can use it for beads and glitter, too!  If you are making a box or something other than a card, you may have to hold it for just a few seconds until it sticks, but that is the only real drawback, if you want to call it that.  Now if flying in an airplane to Salt Lake City causes the glue to malfunction, then my swaps are in serious trouble!  But I don't think that will happen!  You might consider adding this on to your next order!    

#110755   Tombow Adhesive   $3.95

Cutting Your Patterns

When you find a pattern that you like for a project, do you usually place it on your cardstock, trace around it, and then cut it out?  Here is a way to make that process easier!  This was a tip in our demonstrator magazine, "Stampin' Success" and is a way I have been using patterns.

1. Print your pattern, but rather than cutting it out and tracing around it, just lightly adhere the whole pattern page to the cardstock you will be using.  Dotto is good for this or if you must use tape, stick it first onto your clothing to take off some of the "sticky" and then use it.  Adhere it also within the pattern area so it won't move as you cut.

2.  Cut out both the pattern and the cardstock at the same time.

3.  Leaving the pattern on, score both sheets if you need to using your bone folder or other scoring tool.

That's it!  Take the pattern off carefully and your project is ready to assemble!

Sign up to be a Demonstrator and get the "Stampin' Success" magazine FREE every month (let me tell you how we all look forward to receiving our magazines!) as well as access to a special pattern and template area on the Stampin' Up! website on the "Demo side"!


Stampin’ Up! Heat Tool to the Rescue–Again!

I know I have posted about this before (this post)….but I'm going to tell you again!  Stampin' Up! has a fantastic heat tool (on page 190 of the catalog) which we all know is sold for embossing, using Heat & Stick Powder, and also for heat-setting pigment ink.  But I think they should list one more use….unsticking Sticky Strip!  This week I have used the heat tool for lots of embossing, but last night I was working on a project, an album, where each page was attached using Sticky Strip.  Sure enough, when I got to the end, I realized I should have had one more placement of Sticky Strip and had to move all the pages since they were different sizes in this particular project.  I could have started all over (or left out one page), but I decided to try and see if I could redo it.  I just aimed that Heat Tool at the area adhered with the Sticky Strip and yes, I was able to peel back the cardstock without ruining it and got everything in the right place with new Sticky Strip.  I might have been able to restick it with the same tape but didn't want to take that chance since this is an album.  Sticky Strip is a great adhesive but when you do mess something up it is difficult to just unstick it……unless you use your Stampin' Up! Heat Tool!  Try it!