
You know you will need at least a few gift card holders for holiday gifts, so here is one version you can easily make! It is basically a strip of cardstock, folded in the middle with a slit so that a gift card can be inserted, and then decorate and personalize for the occasion. You will need gift card holders throughout the year so keep in mind how easy it is to make your own rather than just using an envelope.
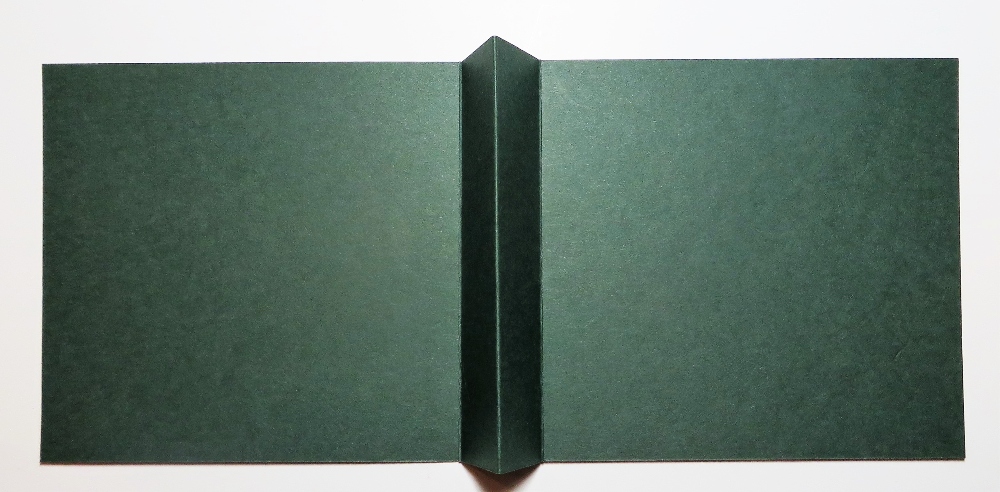
Start with a strip of cardstock that is 4 1/4″ x 11″. That is basically cutting a piece of cardstock in half, vertically. Score at 4 1/2″, 5 1/2″, and 6 1/2″. As you crease these score lines and use your Bone Folder on those folds, the center score line will be popped up (mountain fold) as you see in the photo above. This is where the gift card will eventually be held. It will be like a card opening on the side with this center fold inside the card.
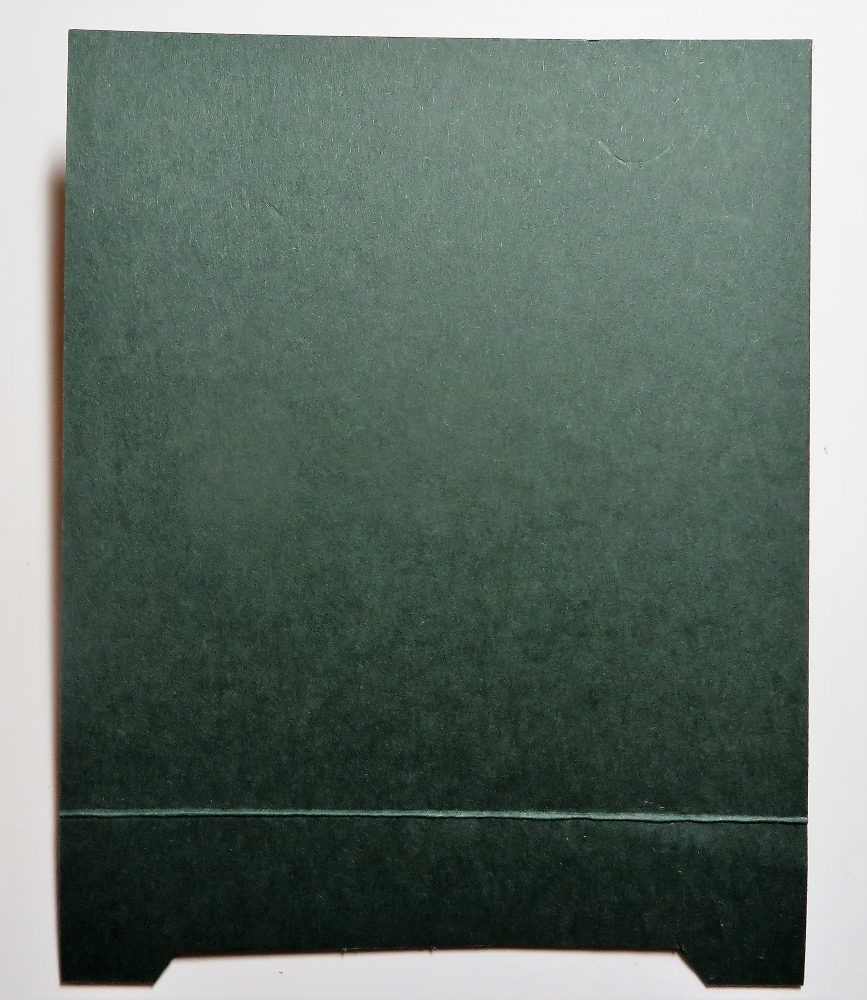
The next step is to cut a slit in that center fold to hold the gift card. I used my retired Classic Label Punch which was so perfect for a project like this. If you do not have the Label Punch, use your scissors to cut your own opening or use something like a craft knife. The opening does not go all the way across, of course. You just need it to be wide enough to hold the gift card, so have your gift card or any card or credit card handy so you can measure correctly.
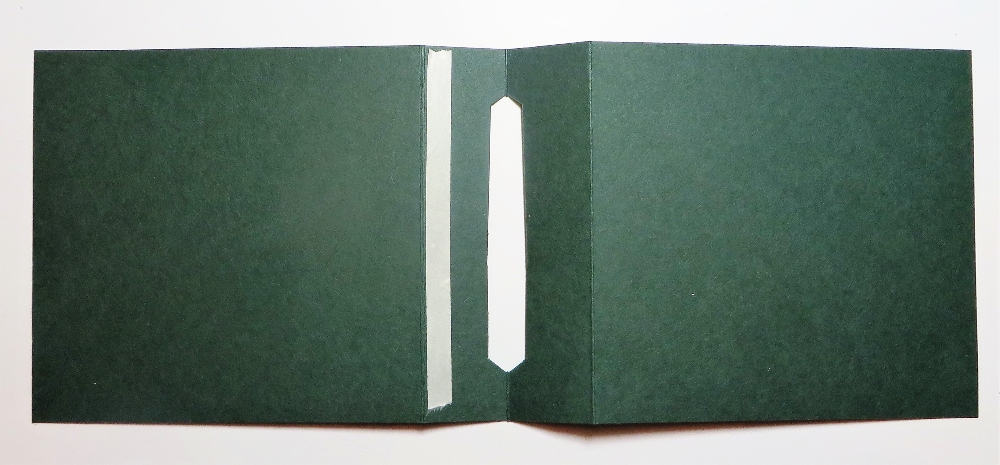
In this photo above, you can clearly see the opening I punched right on that center score line. It doesn’t have to be that wide and you can use scissors or die or whatever you have available. To hold that pocket closed, place a piece of Tear & Tape as close to the side score line away from the slit. You can insert the gift card so that you can see how the gift card fits in the slot. Then remove it, remove the liner from the Tear & Tape and fold back on the score line to adhere.
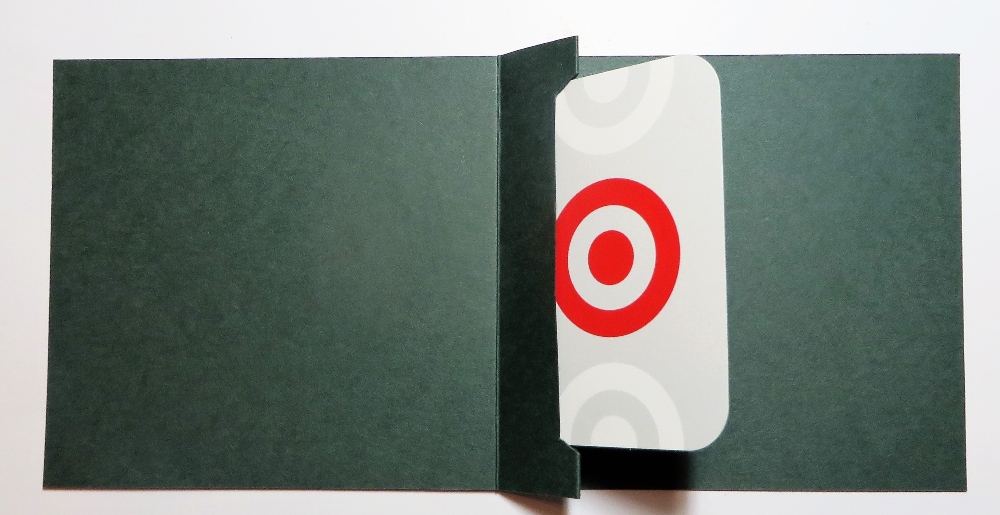
The gift card will fit in there far enough but not all the way down because of the tape. In this way, it can pop up when the card is opened!
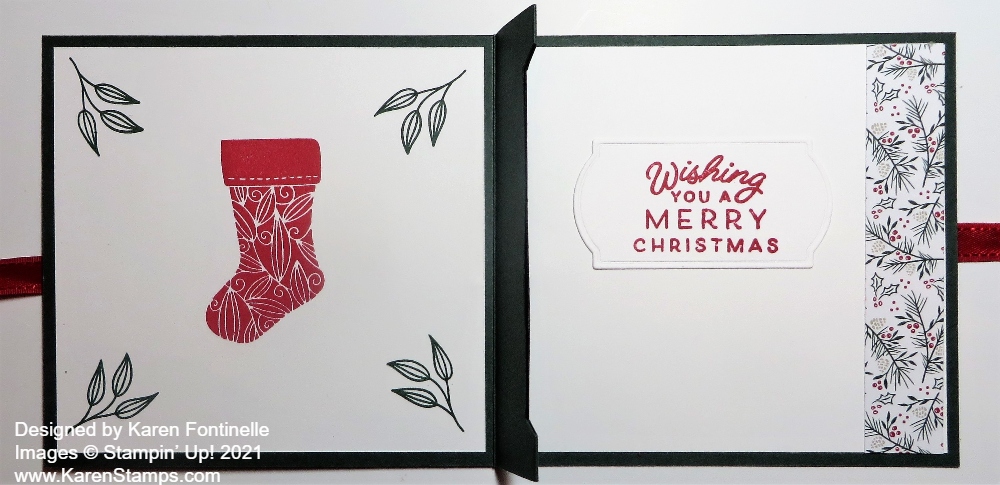
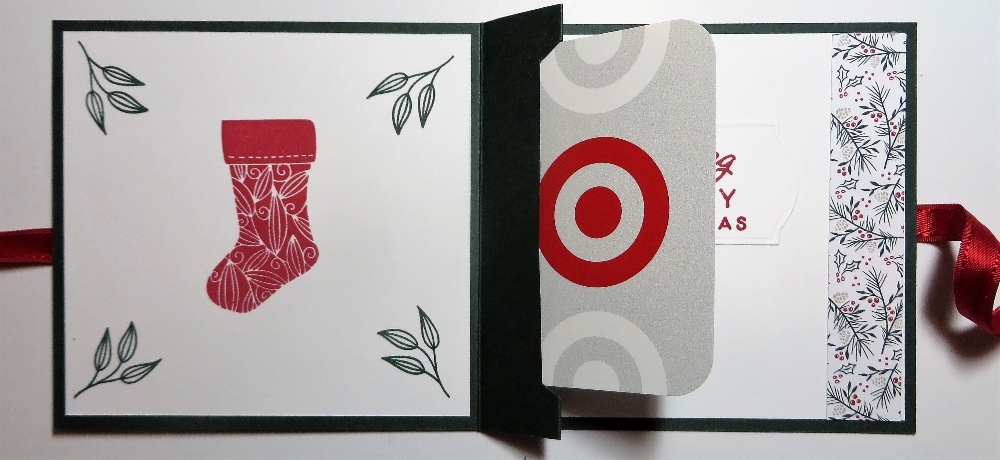
Now the fun part of decorating the inside. I cut Basic White layers of 4″ x 3 3/4″ for each side and stamped the left side with the stocking and leaves in the Tidings and Trimmings Stamp Set in Real Red and Evening Evergreen. On the right side, I already had a stamped and die-cut greeting in my scraps so I just adhered that to the center, plus a little strip of the Tidings of Christmas 6″ x 6″ Designer Series Paper on the right side that matches the front of the card.
In the photo above you can see how the gift card pops up when the card is opened. That makes it a special treat for the recipient!

For the front of the gift card holder, which is essentially a card, I used a base of Evening Evergreen and a layer of Tidings of Christmas Designer Series Paper. The greeting is stamped in Real Red ink from the Tidings and Trimmings Stamp Set and die cut with one of the Tasteful Labels Dies. If you want to add ribbon to tie the card shut, when the greeting is adhered, just place the Stampin’ Dimensionals in the four corners of the die cut and not in the center. That way the ribbon can be slid underneath the popped-up greeting and tied on the side.
There are other designs for making gift card holders but this is one you can try! It looks very nice but keep in mind that it IS easy to make! Don’t let the pop-up slot in the middle scare you! For other occasions, just change the colors, paper, greeting and you are good to go!