Tag Archives: First Day of Spring

Wildflower Birthday First Day of Spring Card

Wildflower Birthday First Day of Spring Card

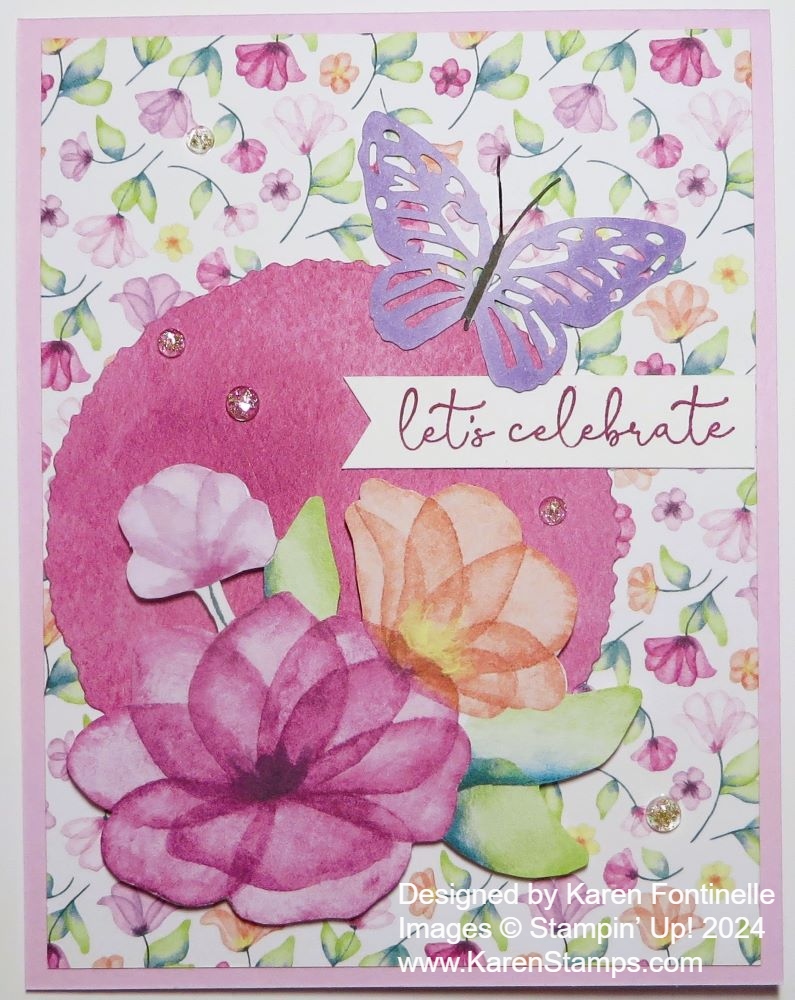
Happy First Day of Spring! In honor of the occasion, I made this Wildflower Birthday First Day of Spring Card. With our azaleas and Texas Bluebonnets in full bloom, we are definitely in springtime here in Houston, although I know there is snow in some parts of the country! When we think of spring we think of flowers so a card with a bouquet of flowers seemed appropriate!

I used the Wildflower Birthday Specialty Designer Series Paper for this card. I love all the different patterns in this collection of papers. Don’t be fooled by the word “Birthday” in the name because not everything is birthday-themed. There are cakes and balloons, but also flowers and generic patterns of paper to use for any kind of occasions. This paper should be back in stock the week of March 24th.

This card is so easy! I chose Pretty in Pink cardstock for the card base. I love this layer of designer paper with rows of scalloped gold foil accents. The gold accents in this designer paper really make it fancy!

The floral bouquet is a diecut from the included two sheets of diecut images that go with the paper. There are lots of diecuts to choose from, plus another page of tag designs that you simply cut apart, so there are lots more things in this Specialty Designer Paper than just paper. This diecut is the largest one in the package. I popped it up with Stampin’ Dimensionals.

WIldflower Diecut Dimensionals

The diecut paper isn’t super thick so I used a LOT of Stampin’ Dimensionals on the back of the bouquet. Is that too many Dimensionals??! I don’t usually use that many, but I wanted to make the bouquet strong.

Take a Pick Tool For Dimensionals

Sometimes when you are taking those little papers off the back of the Dimensionals, they can make your finger sore underneath your nail. To prevent that, and make getting those things off in the easiest way, I recommend using the Take Your Pick Tool! Just use the sharp point to stab each Dimensional to remove it, and the paper will come off. In fact, you can probably stab several of them in a row to make it quicker!

The greeting is one from the Saying Something Ephemera Pack. I added a Dimensional on each end of the greeting and a little Stampin’ Seal in the middle where it goes over the stems of the bouquet. There are lots of greetings you could use on a card like this one. The whole card is so easy to assemble that it will only take you a few minutes to make!

SHOP STAMPIN’ UP! ONLINE HERE!

A Card For the First Day of Spring

Delightful Floral Let's Celebrate Card

Today is the first day of Spring 2024 and I think this card works well to celebrate! I hadn’t used this paper in a while but I loved the beautiful flowers! I started off thinking I would make a card with a solid background, a white daisy, and a butterfly. This is what developed instead! You never know where your creativity will take you, especially with the beautiful papers Stampin’ Up! provides us!

The card base is Bubble Bath and has a fold at the top for a change. The designer paper is Delightful Floral which you can find in the Online Exclusives. I had forgotten where it came from but it wasn’t in the Annual Catalog! I’ve always loved the pretty flowers and even the small floral prints in this paper.

I used a small floral print for the front layer of the card. The Deckled Circle diecut of designer paper was already cut out in the package of paper and it worked on this card. I found a group of flowers I liked and fussy-cut them with my Paper Snips. They are popped up with Stampin’ Dimensionals and adhered over the circle.

The greeting is stamped with the Sentimental Park Stamp Set in Berry Burst ink. I really like the font with this card. I stamped it on a scrap strip of Basic White and then I just flagged the left side.

The butterfly is from the Paper Butterfly Accents package. These are several different styles of butterflies which can be colored with ink or markers or left white. For this butterfly, I used a Small Blending Brush and Highland Heather ink. The butterfly’s body I colored with a black marker. It is adhered with Multipurpose Liquid Glue.

For some sparkle to celebrate the first day of Spring, I used several Iridescent Foil Gems across the front of the card.

You could change up this card in a variety of ways. Maybe use a more solid color of designer paper in the background. Use some Vellum behind the flowers or use more flowers. Once you get the designer paper out, your mind will start creating!

Happy Spring!

First Day of Spring Hello Spring Card

First Day of Spring Hello Spring Card

Today is the first day of Spring! I decided to celebrate with my First Day of Spring Hello Spring Card! Even though we are having probably one last really cold day in Houston, it is the first day of Spring even if it doesn’t feel like it.

Today is called the Spring Equinox but it doesn’t officially happen until 5:24 PM EDT. The term Equinox comes from Latin words meaning “equal night” with the length of day and night being nearly equal in all parts of the world.

For my card today, I thought I would use my new set of alphabet dies, the Alphabet A La Mode Dies. You will find them on page 61 of the Spring Mini. I loved the skinny look of them and it looked like there would be fun ways to use them! Aren’t we always looking for new and interesting ways to make our cards?!

This is a Slimline card, as we call it. I cut the card base of Bermuda Bay cardstock at 6″ x 6″ and scored it at 3″ to make this style of card. The Basic White layer is just a tiny bit smaller than 3″ x 6″ so 2 7/8″ x 5 7/8″.

I cut out the letters with different colors of the Brights cardstock. I used Melon Mambo, Coastal Cabana, Daffodil Delight, Mango Melody, Granny Apple Green, and Gorgeous Grape. Unbelievably, I remembered to use the Adhesive Sheets so the skinny letters would be like stickers and I wouldn’t have to use teeny tiny drops of glue on the back. I just needed small pieces of the adhesive sheets on the back of each color of cardstock. After they were diecut, I just peeled off the protective layer and stuck the letters onto the Basic White cardstock on the front of the card.

But first, always do your stamping first! I sort of did, and sort of didn’t. I did figure out how the letters would fit on the card and saw that there would be enough space to stamp the “hello” from the Biggest Wish Stamp Set in Memento Black ink. It’s just the right size! After I had that stamped on the white piece, I was ready to adhere the alphabet letters. I figured out where the center of that piece was and started placing the letters off to the sides of the center. Then I saw how they ended up, if they were fairly even with the sides of the card and adjusted them accordingly. It helps to use a ruler along with Grid Paper to have a straight edge to help place the letters evenly at the base. Or make them more whimsical and tip them different ways, then you don’t even have to try to make them straight!

After I had the “hello” stamped and the letters adhered, I knew I wanted to add flowers in the corners. I started off stamping and coloring in some flowers, cutting them out and placing them on the two opposite corners, but I didn’t like that. I ended up using the flower clusters in the Sentimental Park Stamp Set and stamping those with Memento ink. It was dangerous to stamp right on the card with the letters already adhered but I took a chance and it worked out!

I felt like the Stampin’ Blends would be a bit too strong in their colors for this card, so I switched to Watercolor Pencils! I don’t use them often enough but they are fun and satisfying to use just like the Blends! Just add some color with the pencil, it doesn’t have to be perfect, then use a Blender Pen to smooth out the color. The Blender Pens were some of the first things I purchased after I heard about Stampin’ Up! They have just a little bit of moisture which works with the Watercolor Pencils. There are two different assortments of pencils in the Online Store so you can choose which colors you might use the most.

I hope this First Day of Spring Hello Spring Card inspires you to enjoy your first day of spring, and maybe even make a spring season card!

SHOP STAMPIN’ UP ONLINE HERE!