Tag Archives: Butterfly Kisses 6" x 6" Designer Series Paper

Butterfly Kisses Thinking of You Card

Butterfly Kisses Thinking of You Card

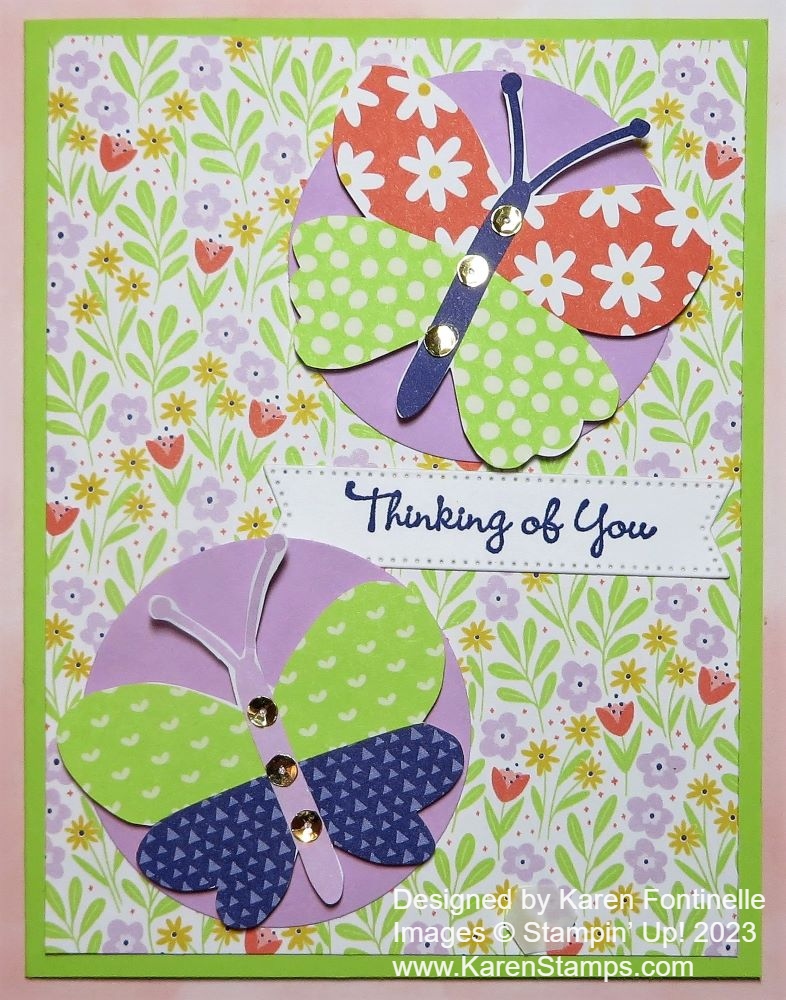
I hope you had a wonderful Easter weekend and now it’s back to the Last Chance List at Stampin’ Up! When I saw this Butterfly Kisses Designer Series Paper on the list, I was inspired to make a bright card for spring, this Butterfly Kisses Thinking of You Card. It’s a fairly quick and easy one, too!

I’d almost forgotten I had this Butterfly Kisses Paper. It is 6″ x 6″ so I wasn’t seeing it as often as my 12″ x 12″ paper. But when I saw it was retiring, I knew I better play with it a little more! As I rummaged through the package of pretty papers, I chose this small floral pattern and decided to cut out some of the large butterflies on some other papers.

One of the coordinating colors is Parakeet Party, one of our In Colors that is sticking around for another year! Since I was looking for a bright, spring, happy look, I knew I had to use Parakeet Party for the card base.

I chose two of the larger butterflies on one of the Butterfly Kisses Paper and just cut them out with my Paper Snips. I used Stampin’ Dimensionals to pop them up. Since they didn’t stand out as well as I would have liked against the floral pattern on the card layer, I punched two Fresh Freesia circles on which to layer the butterflies. Normally I would use the Layering Circles Dies to cut out a couple of circles, but I remembered that a few Circle Punches are coming back. Actually, it is the 1 3/4″ Circle Punch and the 2″ Circle Punch in the Online Exclusives with a 2 3/8″ Circle Punch coming in the new Stampin’ Up! Annual Catalog. I used my retired 2 1/4″ Circle Punch to punch the Fresh Freesia circles to put behind the butterflies.

For the greeting, I used one in the Go-To Greetings Stamp Set which you will find in the current Annual Catalog on page 26. It is carried over into the new catalog! Just great all-purpose greetings in three different fonts that you will use all the time. I chose “Thinking of You” stamped in Starry Sky ink (another 2022-2024 In Color) and diecut with one of the Stylish Shapes Dies. I just squeezed it in between the two butterflies.

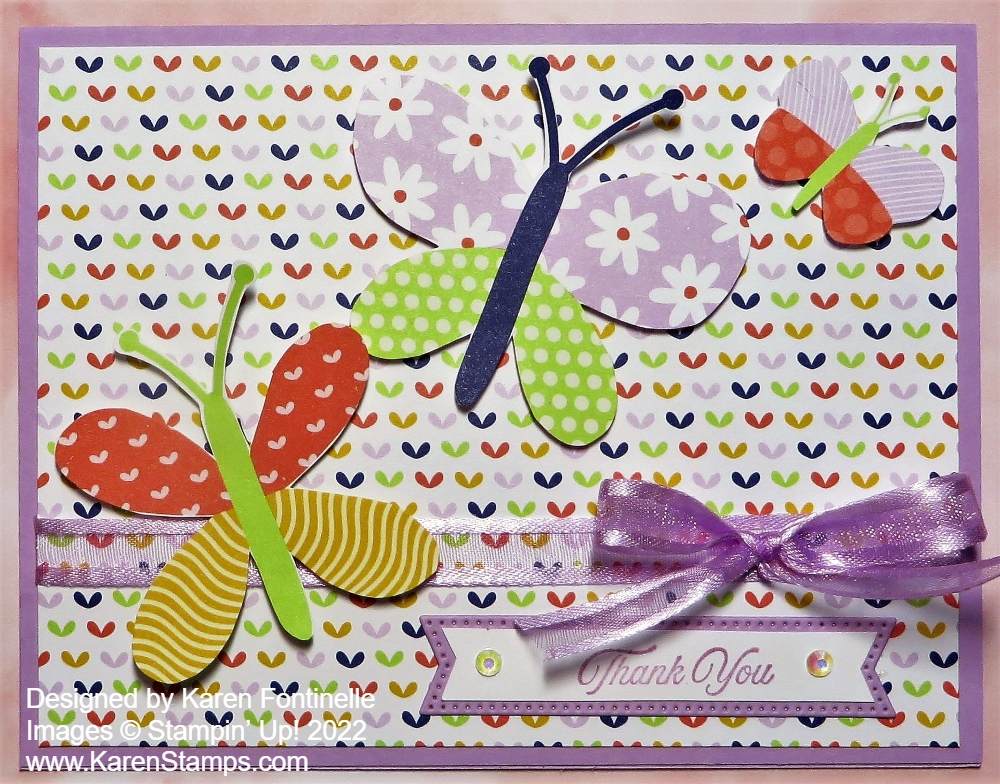
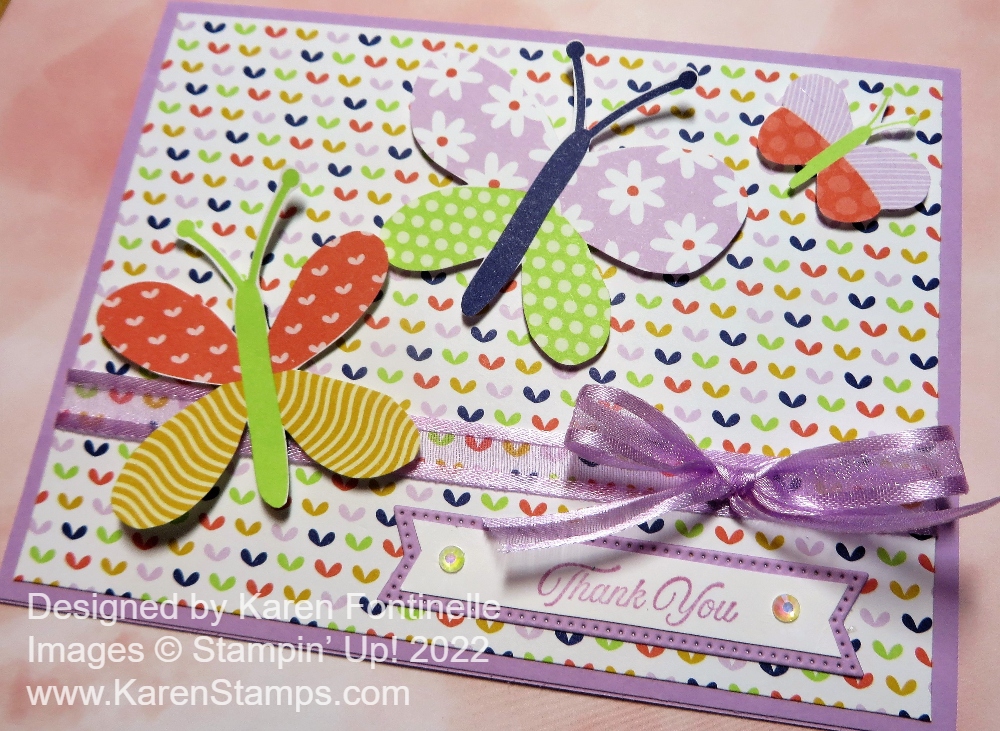
Here is another card I made using the Butterfly Kisses designer paper and some little cutout butterflies to adorn a tag on the card.

For a little sparkle and shine, I used some of the Gold Faceted Adhesive-Backed Sequins. I planned to just place a few randomly on the card, but instead, I decided to decorate the butterflies! They’re the star of the card, after all! The Butterfly Kisses Designer Paper and the Gold Sequins are both discounted on the Last Chance List!

Don’t Miss the Last Chance Products!

Butterfly Kisses Trio Thank You Card

Butterfly Kisses Trio Thank You Card

Sometimes you just want to make a quick and simple card and that’s how this Butterfly Kisses Trio Thank You Card came about. The basic card design is quick and simple. Just add a layer of designer paper to a card base, add some ribbon and a greeting, and the card is done. With this particular card, there was some fussy-cutting and die-cutting involved so some might not call that so quick and simple! But it was fun to create!

I hadn’t used the Butterfly Kisses 6″ x 6″ Designer Series Paper in a while. I always worry that we forget about the great products and ideas in the Stampin’ Up! Annual Catalog as soon as the new mini catalog comes out, whether Holiday or Spring. It’s still summer (don’t remind me!) so butterflies are still very much in style!

The card base is Fresh Freesia and I chose this happy print in the Butterfly Kisses DSP to be the background. I wrapped around a piece of Fresh Freesia 3/8″ Open Weave Ribbon before adhering the designer paper to the card base. I tied a separate bow and adhered it with Mini Glue Dots. This is an easy way to tie a good bow and not have it be crooked.

If you have the Best Butterflies Bundle or the Build a Butterfly Dies you can stamp and die-cut or die-cut certain butterflies from the designer paper. Otherwise, you can fussy-cut any of the butterflies you like from the many designer papers in the package. That’s what I did because I don’t own the dies. The butterflies are fairly easy to cut out. Some people don’t like fussy cutting, but while you concentrate on cutting out the image, it takes your mind off everything else and that is good!

The greeting is from the Celebrate You Stamp Set. I needed something small like we used to have in the retired “Itty Bitty” stamp sets! Then I die cut two banners in the Stylish Shapes Dies, one in Basic White with the greeting, and one in Fresh Freesia. I trimmed down the Basic White piece, cutting off the stitched edges so I could layer it on the Fresh Freesia banner. For a finishing touch, I added two Iridescent Rhinestones Basic Jewels to each end of the greeting.

Here is another card I made using the Butterfly Kisses Designer Series Paper.

So there you have a relatively quick and simple card to make if you don’t mind a little die-cutting or fussy cutting! I think this Butterfly Kisses Trio Thank You Card is a happy card with its pretty colors to brighten someone’s day.

SHOP STAMPIN’ UP! TODAY!

Butterfly Kisses Trio Thank You Card Closeup

Butterfly Kisses Brighten Your Day Card

Butterfly Kisses Brighten Your Day Card

I think this Butterfly Kisses Brighten Your Day Card will certainly brighten someone’s day! I just got this Butterfly Kisses 6″ x 6″ Designer Series Paper and I love it! The colors are so bright and cheerful and the butterfly patterns are so cute! I only got the paper (so far) because I wanted to see how easily I could make a card with just the designer paper.

This pattern in the package just struck me right away. The print is just so pretty and soft, even though some of the colors are rather bright. I chose Parakeet Party Cardstock for the card base, and I could have left it at that, but I decided to add a layer of Calypso Coral underneath the Butterfly Kisses Designer Paper.

I chose a greeting in the Rainbow of Happiness Stamp Set which I thought just was perfect for this card. I stamped it on a piece of Basic White Cardstock and cut out a tag shape with the Tailor Made Tags Dies. I didn’t want to take up much more room on the card front so I cut a rectangle just a tiny bit larger than the die cut tag and then trimmed the angled corners to be a layer under the white tag. It helps it stand out from the designer paper on the card front. Then I cut out some extra butterflies from the same designer paper and popped them up on the greeting tag. The tag is also popped up on Stampin’ Dimensionals. I used the Parakeet Party Baker’s Twine in the In Color Pack through the hole in the tag. For a little sparkle, I added three Iridescent Rhinestone Basic Jewels to the tag.

This was a pretty quick and easy design using the new Butterfly Kisses Designer Series Paper. It will certainly be fun to use so take a look at it online or on page 37 in the new Stampin’ Up! Annual Catalog.