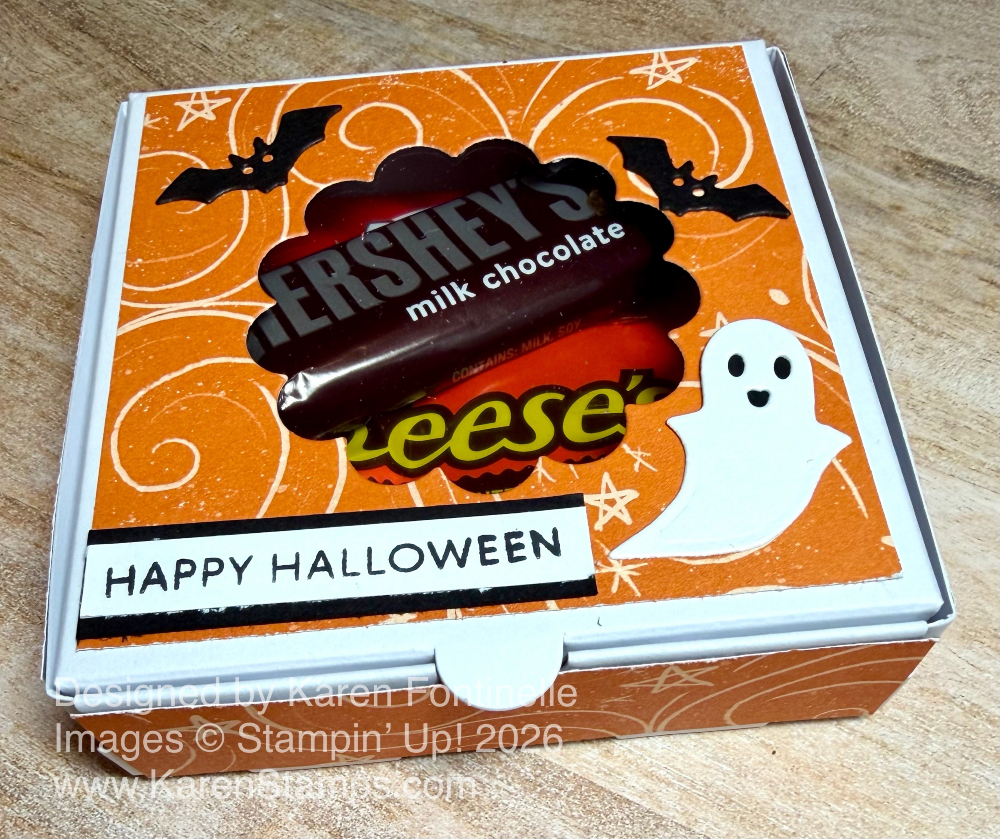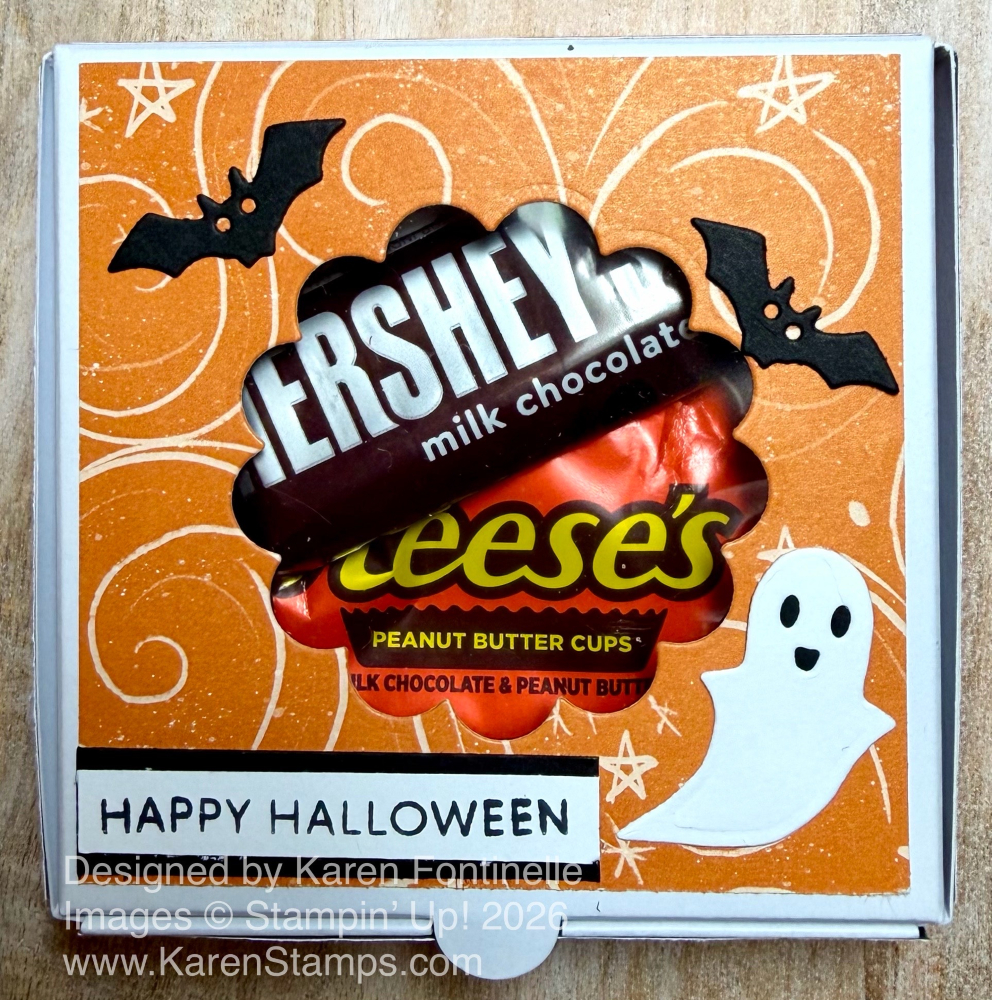
Here’s a nice treat box to make for special trick-or-treaters: the Scalloped Window Halloween Treat Box. If you keep a package of these treat boxes in your stash, you will be ready to decorate one of them for any little gift or occasion. And there are many ways you can do it, from using designer series paper as I did to stamping, stenciling, or inking the box!
This is the Scalloped Window Box in the Stampin’ Up! September – December 2026 Catalog on page 75. They are 3 1/2″ x 3 1/2″ x 1″. No adhesive is needed! The box comes flat for storage and has scored lines for you to crease and fold in. It all comes together very easily. You can use the Scalloped Bloom Dies if you want to cut out a shape to match the scalloped window.
For my Halloween treat box, I used the Frightfully Fun Designer Series Paper. I can’t say I know a trick for getting the scallop die lined up exactly right with the designer paper for the top of the box. You can measure precisely or just eyeball it, which is what I did. Start by placing the scallop die you want to use over the scallop of the box top so you can see which way it lines up the best with the scallops on the box. Cut the paper you are going to use to the size you want. I used a piece 3 1/4″ x 3 1/4″. Keeping the scallop die in the same position as you placed it on the top of the box, matching up the scallops, place it on the designer series paper or cardstock that you are using, centered as well as you can! Then, after you diecut that scalloped circle, place the paper on the top of the treat box and see how you did! Make sure the scallops line up or turn the paper around to see which position works best. If it is not centered very well, maybe you can trim the odd side to even it up. I used the scallop that matched the window the closest but you can use a smaller or larger die instead.
For the sides of the box, I used the same paper, cutting four pieces that are about 15/16″ wide (that’s a “smidge” less than one inch!) and 3 3/8″ long. I decorated the top of the box with some diecut bats and a ghost using the Oh My Fright Dies. The ghost has the eyes and mouth already cut out with the die, but I wanted black behind those openings so I used the smallest circle punch die I had and glued that small dot behind the ghost’s head. Or you can just use a tiny scrap of black to glue back there. I like the way he turned out! For a little greeting, I used the Soiree Salutations Stamp Set. I stamped the “Happy Halloween” on Basic White and layered it on a piece of Basic Black so it would stand out better. I almost put it across the window, but I really wanted it open as it is. The box holds three small candy bars, maybe more! So quite a nice trick-or-treat candy gift!
These boxes are really fun and easy to decorate for any occasion, gift, party favor, or treat! Try them!
SHOP STAMPIN’ UP! ONLINE HERE!