UT Graduation Easel Card

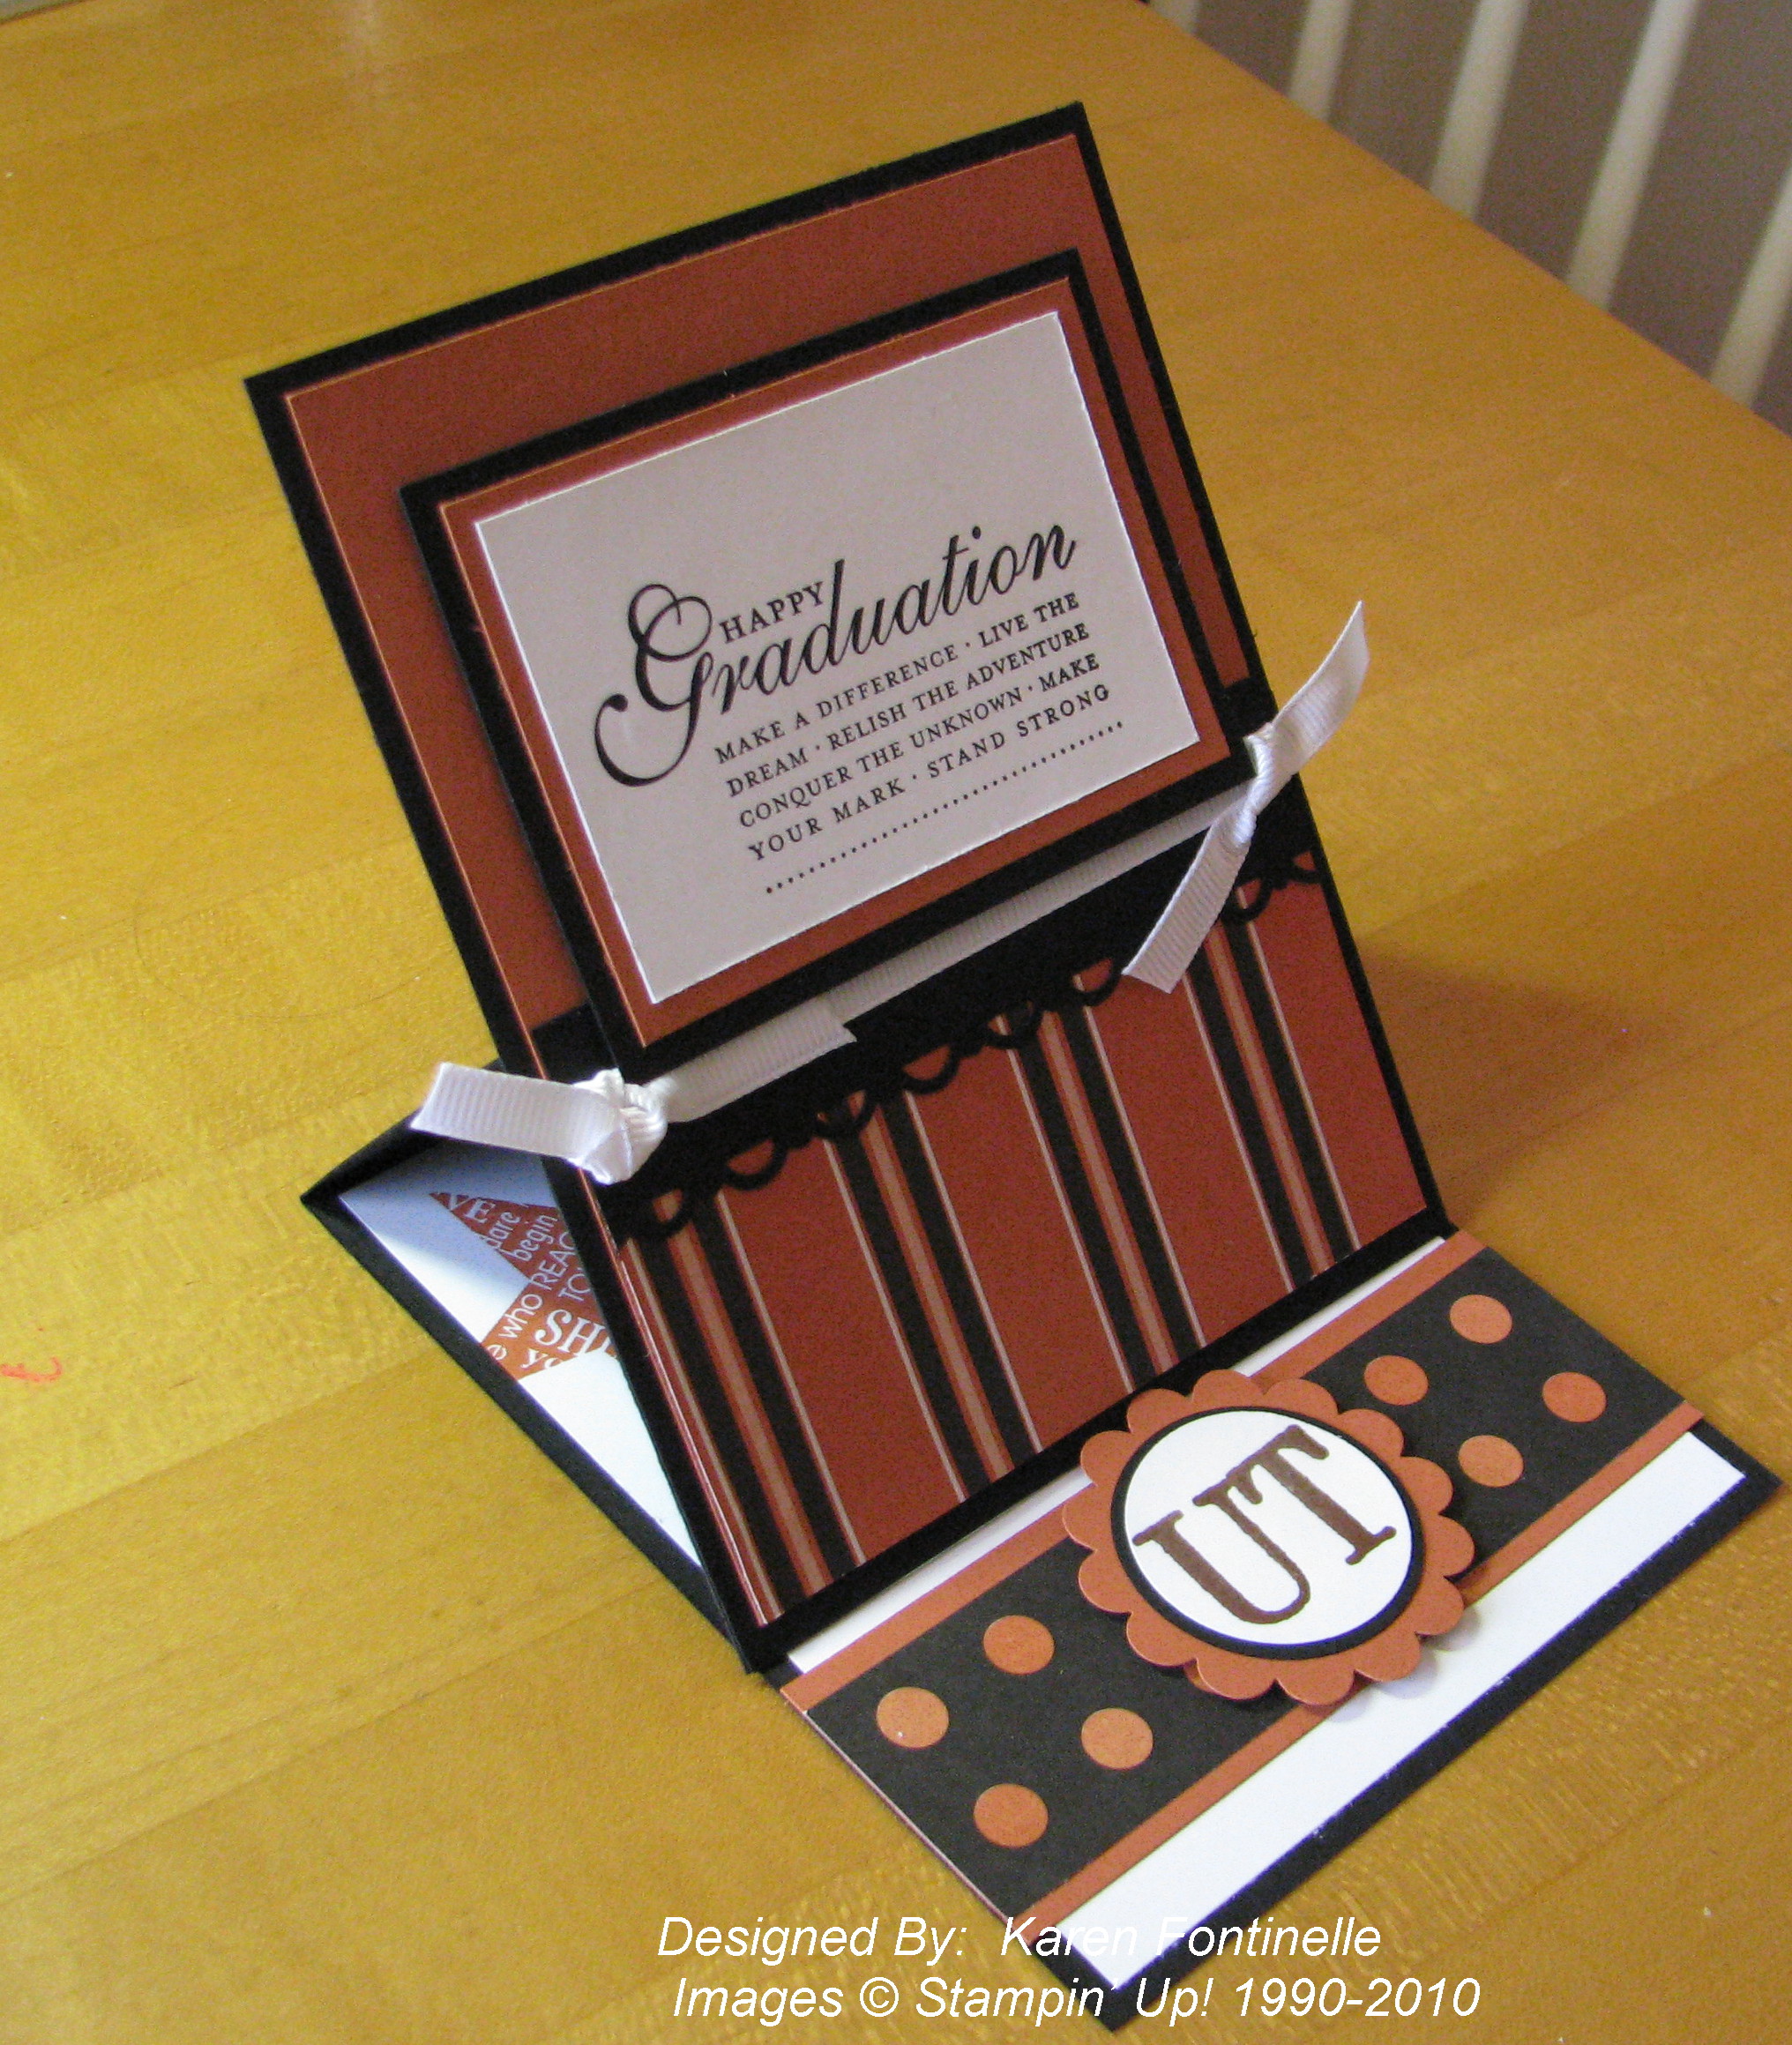
We enjoyed a fabulous weekend in Austin celebrating our son's girlfriend's graduation from the University of Texas at Austin!  Here is the card I made for her.  I had planned to post a "decoy" ahead of time to fool her in case she was looking at my blog, but I ran out of time!  I love this easel card, so easy to make and looks like a special style!
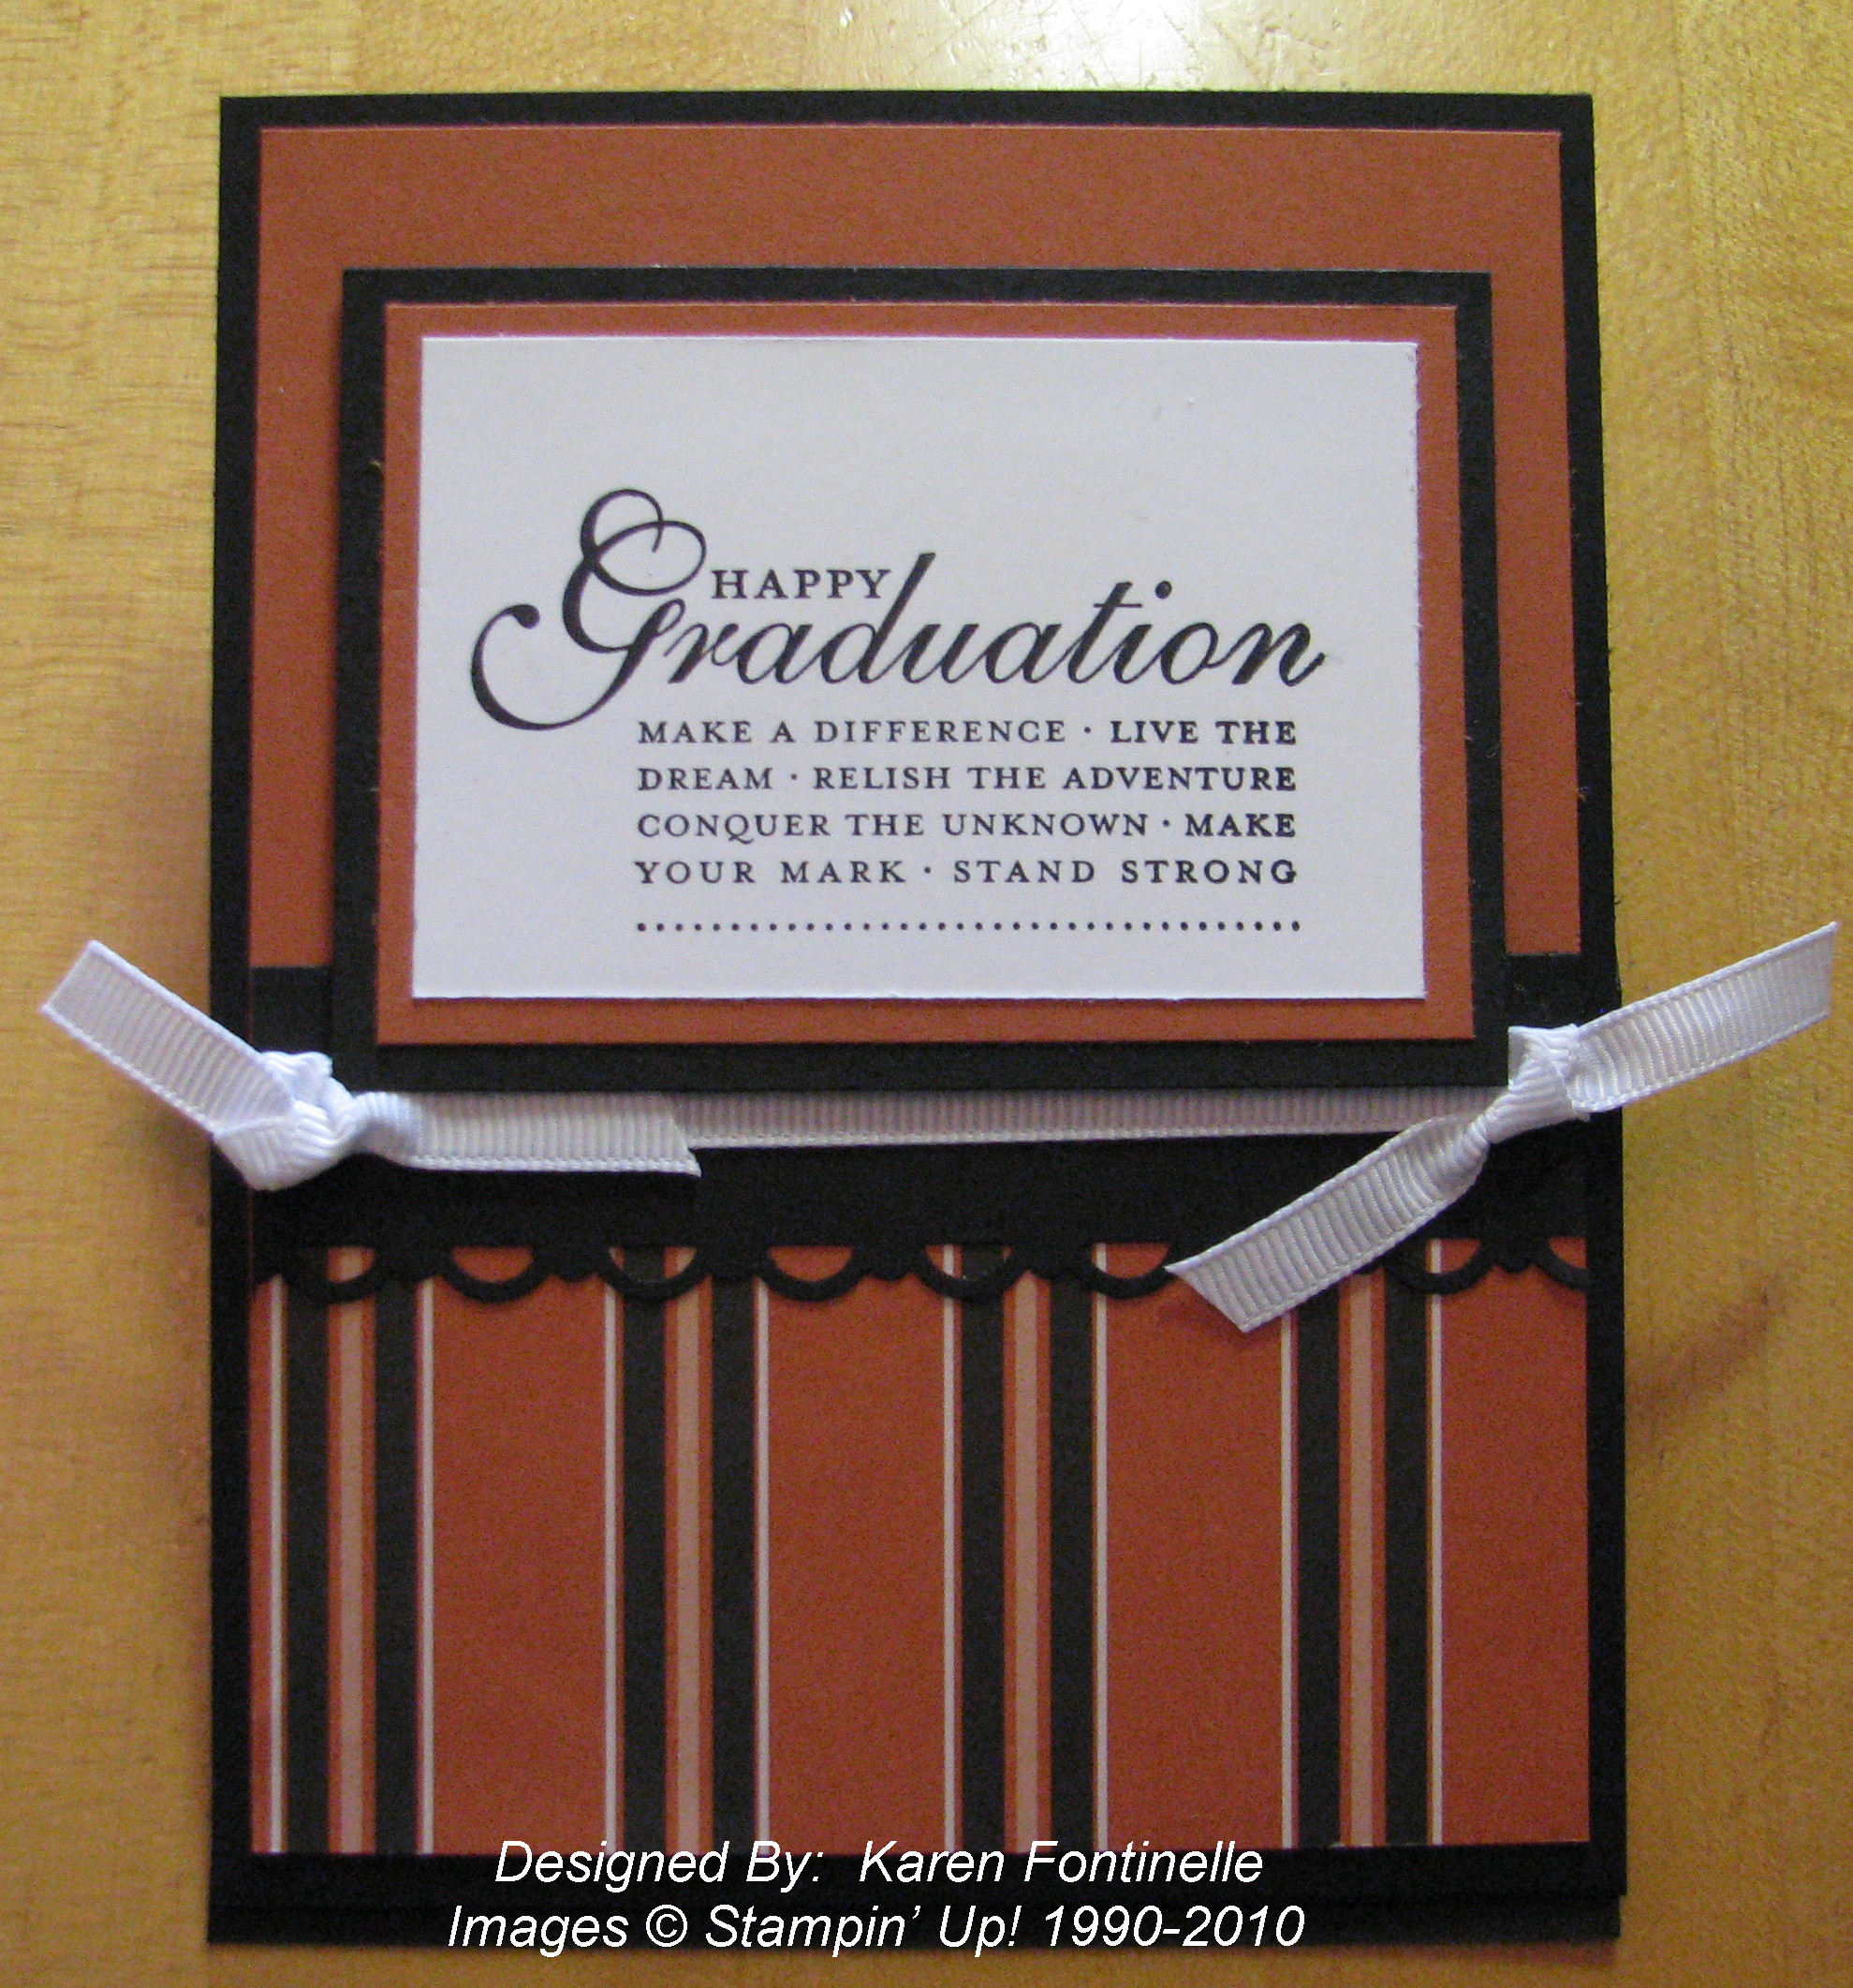
UT University of Texas stamped Graduation Card 


  UT graduation easel card

Stamps:  Happy Grad (#117006 Stampin' Up! Summer Mini), Typeset Alphabet (retired), In the Stars (inside) (retired).

Paper:  Whisper White, Basic Black, Really Rust, UT Scrapbook Kit (non-SU)


Saturday was a very full day!  First was a luncheon with her parents and family, then the graduation ceremony, and finally the spectacular University-Wide Commencement outside at the UT Tower.  You have to arrive more than two hours ahead to get a seat for that evening event….did I mention it is outside?….in Texas?….in May?….but they do provide free ice water!…and paper fans…..and it wasn't TOO bad being outside for over five hours in the evening… there was a breeze….and it will get a LOT hotter than that pretty soon….so, not too bad.  There were over 7000 graduates and their familes!  I'm sure they weren't all there, but most of them were!!  The actress Marcia Gay Harden was the speaker, and it was fun to hear the deans bestow the degrees on each school, some offering a little humor in their spiel or perhaps the graduates having some impromptu reaction.  Finally the evening concluded with the impressive fireworks display off the Tower and "The Eyes of Texas" playing in the background.  The Tower is lit in orange for the graduates and the windows display a "10" for the graduation year if you look carefully!  It's really a great way to celebrate commencement!

TowerFireworks
 

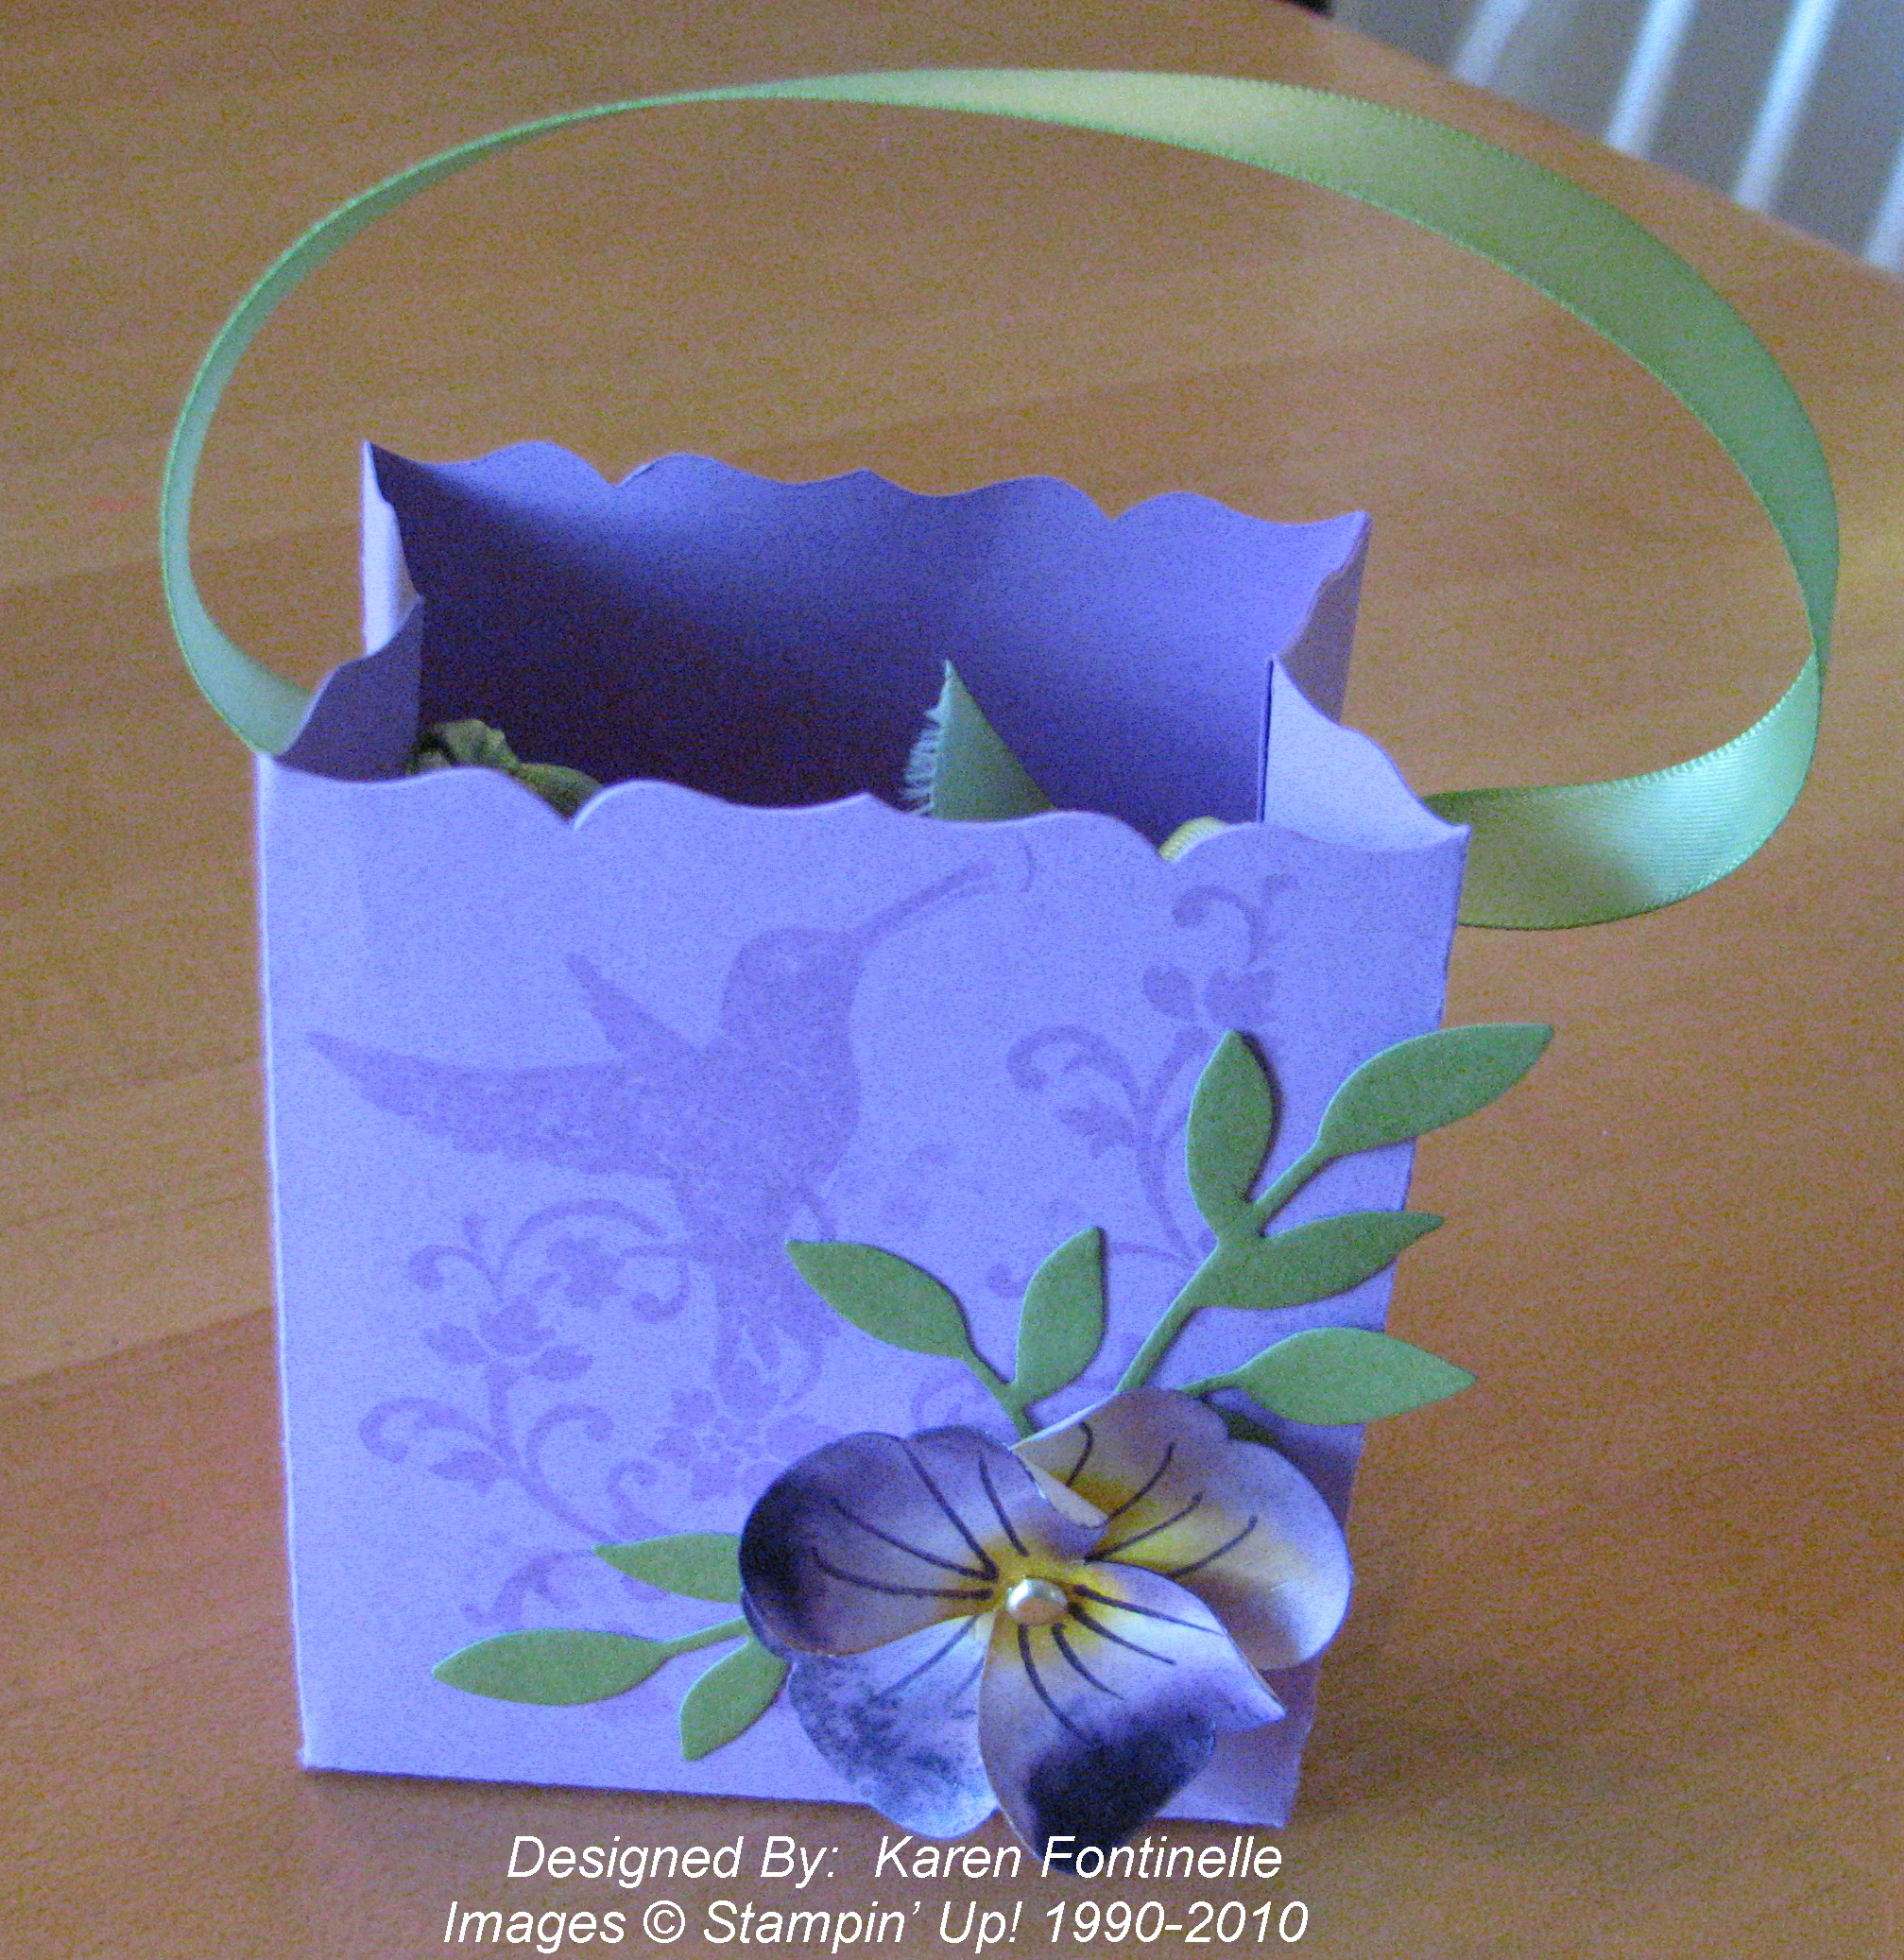
Fancy Favor Box with Butterfly Pansy

These pansies made from butterfly punches are all the rage right now and so easy to make!  I believe another demonstrator, Dawn Olchefske, may be the originator.  After I made my pansy, I die cut the Stampin' Up! Fancy Favor Box #115965 with my Big Shot, stamped with Elements of Style from the Summer Mini with Versamark on the box, and attached my pretty pansy.

Fancy Favor Box with Butterfly Pansy 

To make the pansy:

  • Use the Butterfly Punch #116629 to punch two butterflies from Shimmery White card stock #101910. (it works better with the water)
  • Place on a folded paper towel and spritz heavily with water.
  • Using your Aquapainter #103954 or small brush, pick up some ink and touch to the wet butterflies.  Use one or more colors.  The ink will spread with the water.
  • Let dry, draw little "whisker" type lines from the center of each.
  • Assemble the two butterflies at right angles with a center brad, curl the edges a bit with your fingers or a tool, and look at your beautiful pansy!
  • Be careful, because they are addicting and you will want to make more!

Who on earth would think you could make a pansy out of two butterflies?!  But that's how talented a lot of our Stampin' Up! Demonstrators are!


My Digital Studio….New Digital Downloads Available!

Just in time for graduation!  Stampin' Up! just released this new graduation stamp brush set for My Digital Studio called "Go Graduate Plus"!  Plus two alphabets!  If you already own My Digital Studio, great!  If you own other digital scrapbooking software, you can use these Stampin' Up! downloads.  If you own neither, it's time to buy the My Digital Studio software!  You'll be glad you did!  We're all having so much fun learning to use it, exploring all the options and elements included, and just playing around when working on our projects!  In some cases, you can use a template, just insert your photos, and you're done in minutes!
If you are interested in purchasing "My Digital Studio" or any of the extra downloads including these newest ones, please click on the Shop Online button in the upper right corner to go to my Stampin' Up! store.


Item         Description         Price
121069    Go Graduate Plus stamp brush set $5.95
122143    Jumbo Outline Alphabet stamp brush set $9.95
122145    Contempo Alphabet stamp brush set    $9.95


                All images copyright Stampin' Up! 1990-2010.

HappyGradDigi

Contempodigi
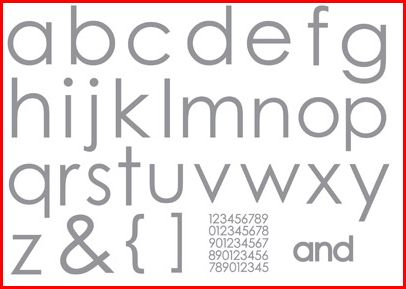
Contempo Alphabet

Jumbo Outline Alphabet Stamp Set - by Stampin' Up!

Jumbo Outline Alphabet


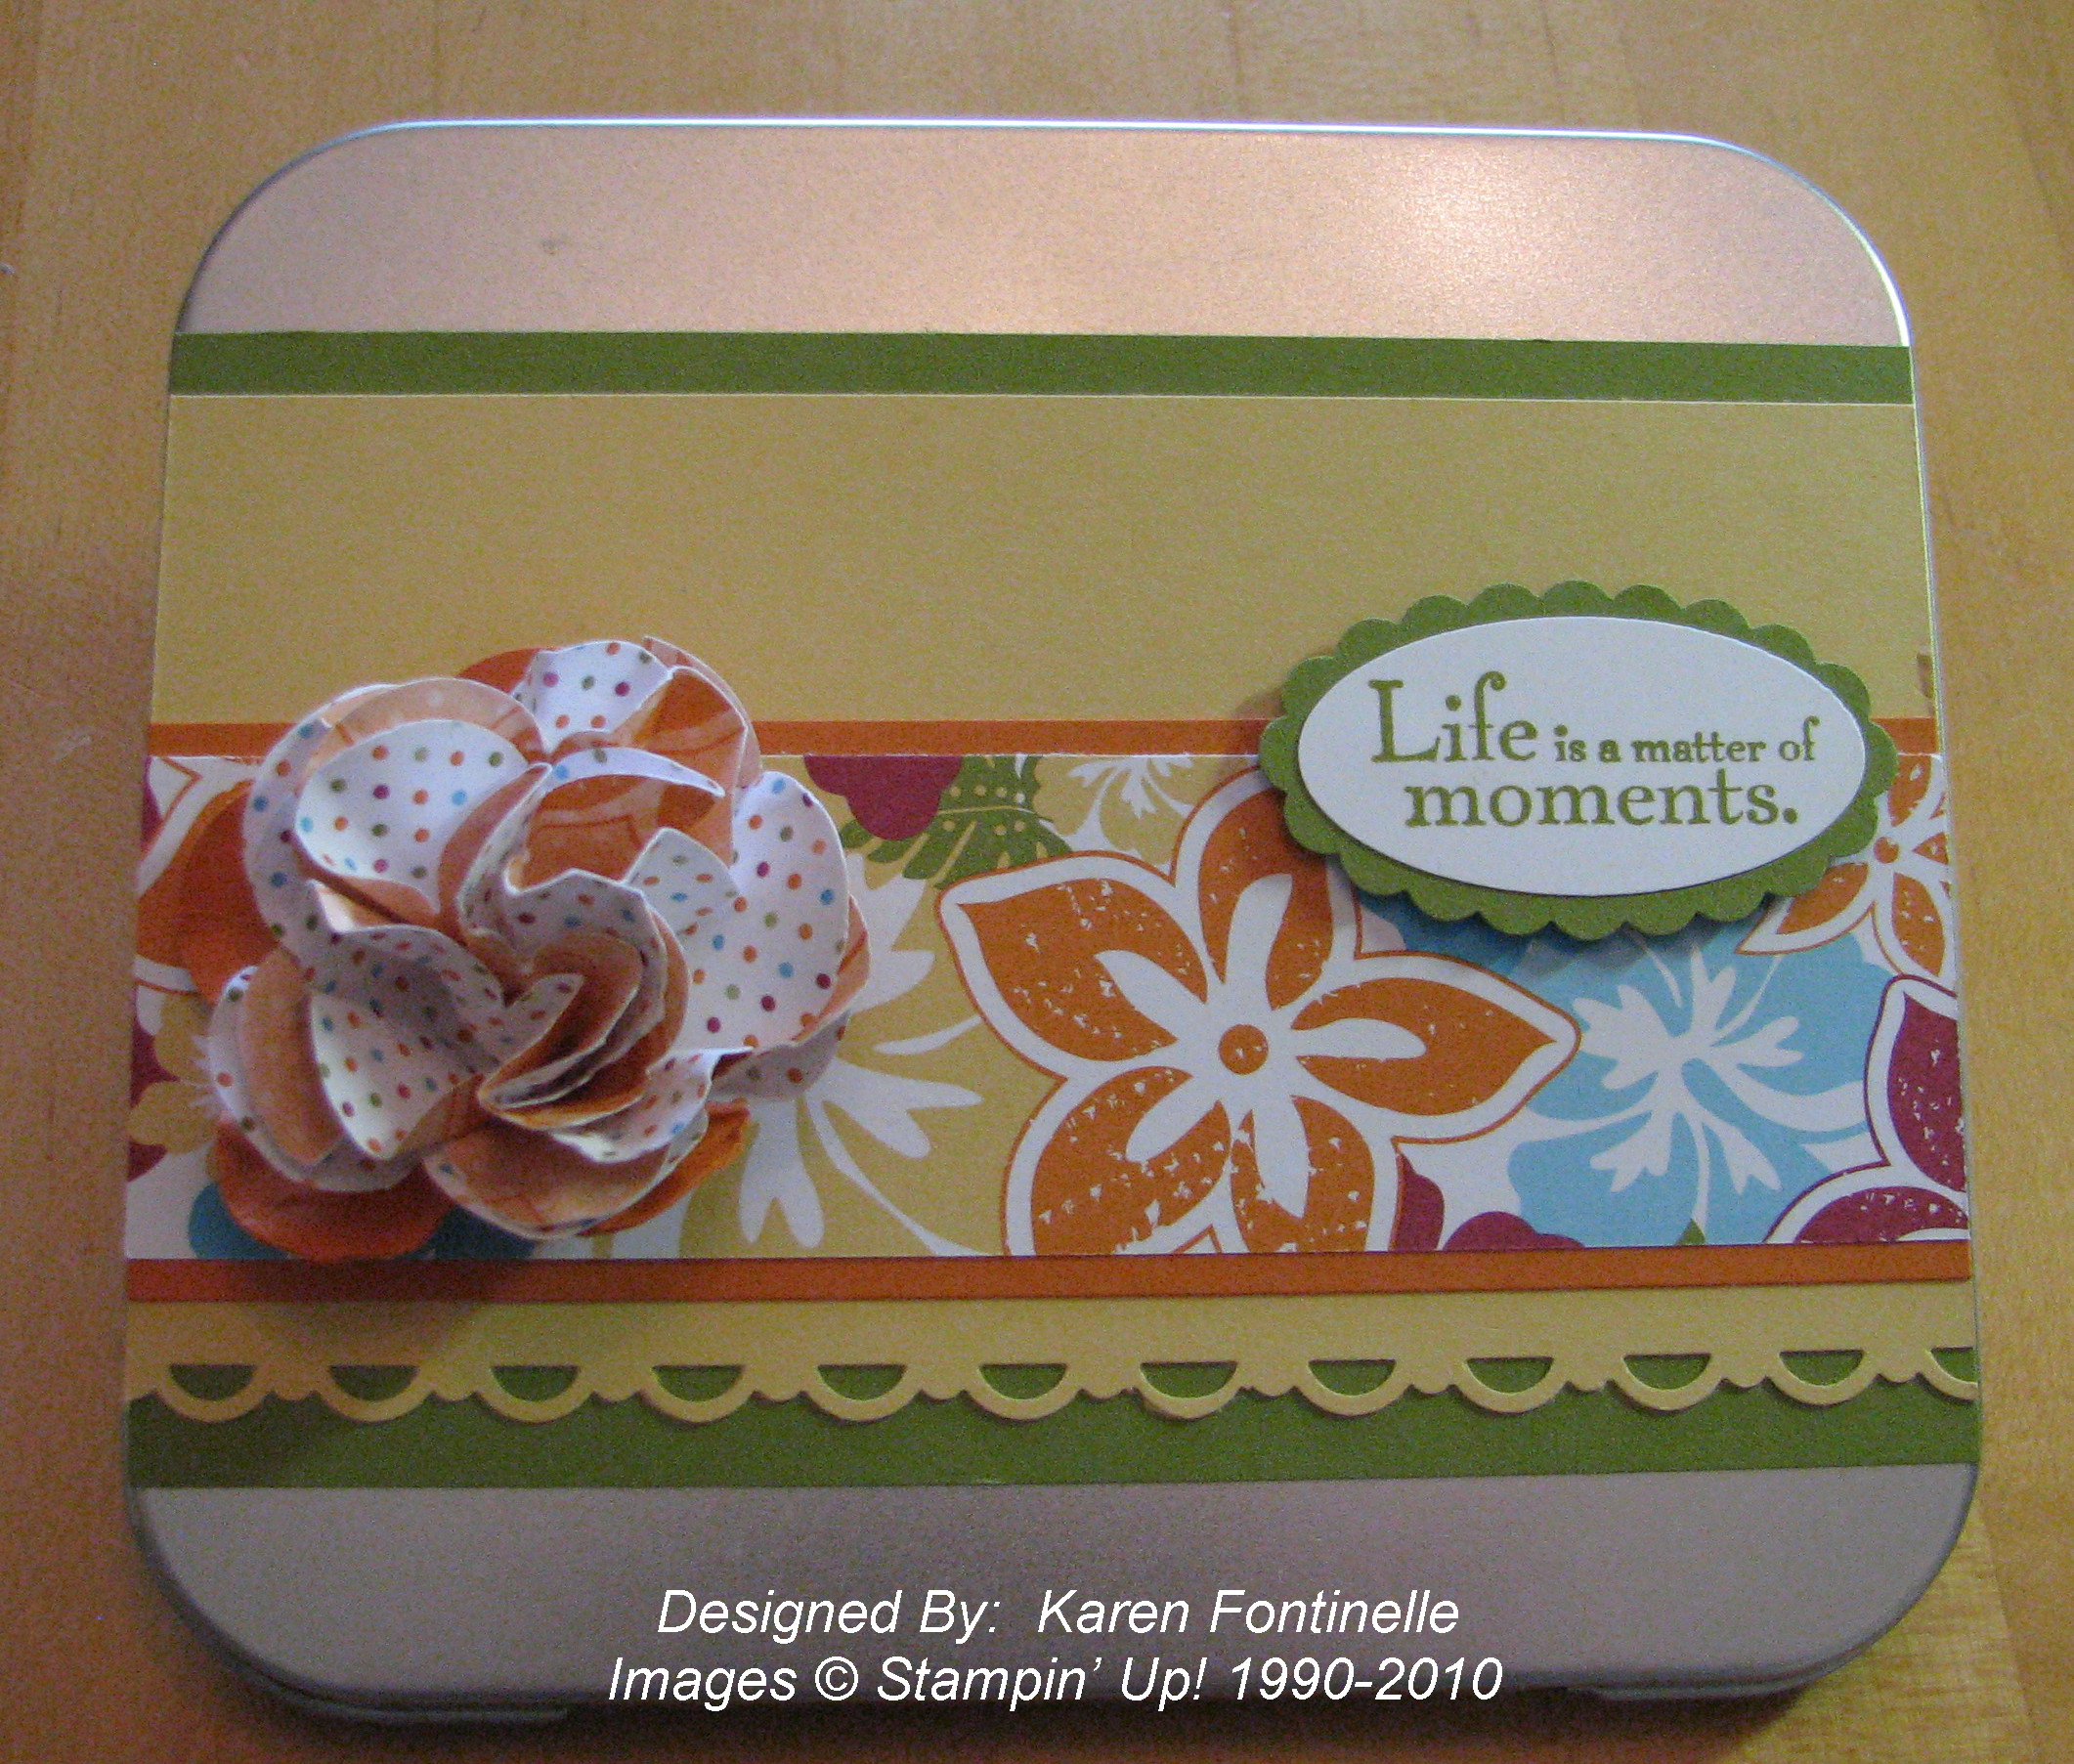
Island Oasis Tin Album

In my "stash" I've had these tins I purchased from Stampin' Up! awhile back and finally I got one out and made something with it.  I decided to work with the new Island Oasis Designer Series Paper (#117173) in the Summer Mini, and I had SO much fun with it!  I'm going to order another pack of this paper on my next order!

Island Oasis DSP Tin Album
Island Oasis DSP Accordion Fold Album
Island Oasis DSP Accordion Album

Now I can always go back and do more embellishing on my pages, but for now I wanted it rather generic.  You could add more pages but the tin is pretty skinny so it had to stay fairly small.  And after struggling to get exactly the right shape to have the card stock fit the entire front of the album, I opted for just a strip across the middle!  Much easier!  The paper flower is made with five punched flowers from the Extra Large Fancy Flower Punch #118073 (a carryover from the Occasions Mini so still available!) and one card stock flower on the bottom, all scrunched up individually and then assembled together with a brad and scrunched up once more toward the center.  Really fun!  

If you are interested in this tropical Island Oasis Designer Series Paper and any other great products for stamping and scrapbooking, please click HERE or the Online Shopping button in the upper right corner to go to my Stampin' Up! Online Store.

My Matryoshka

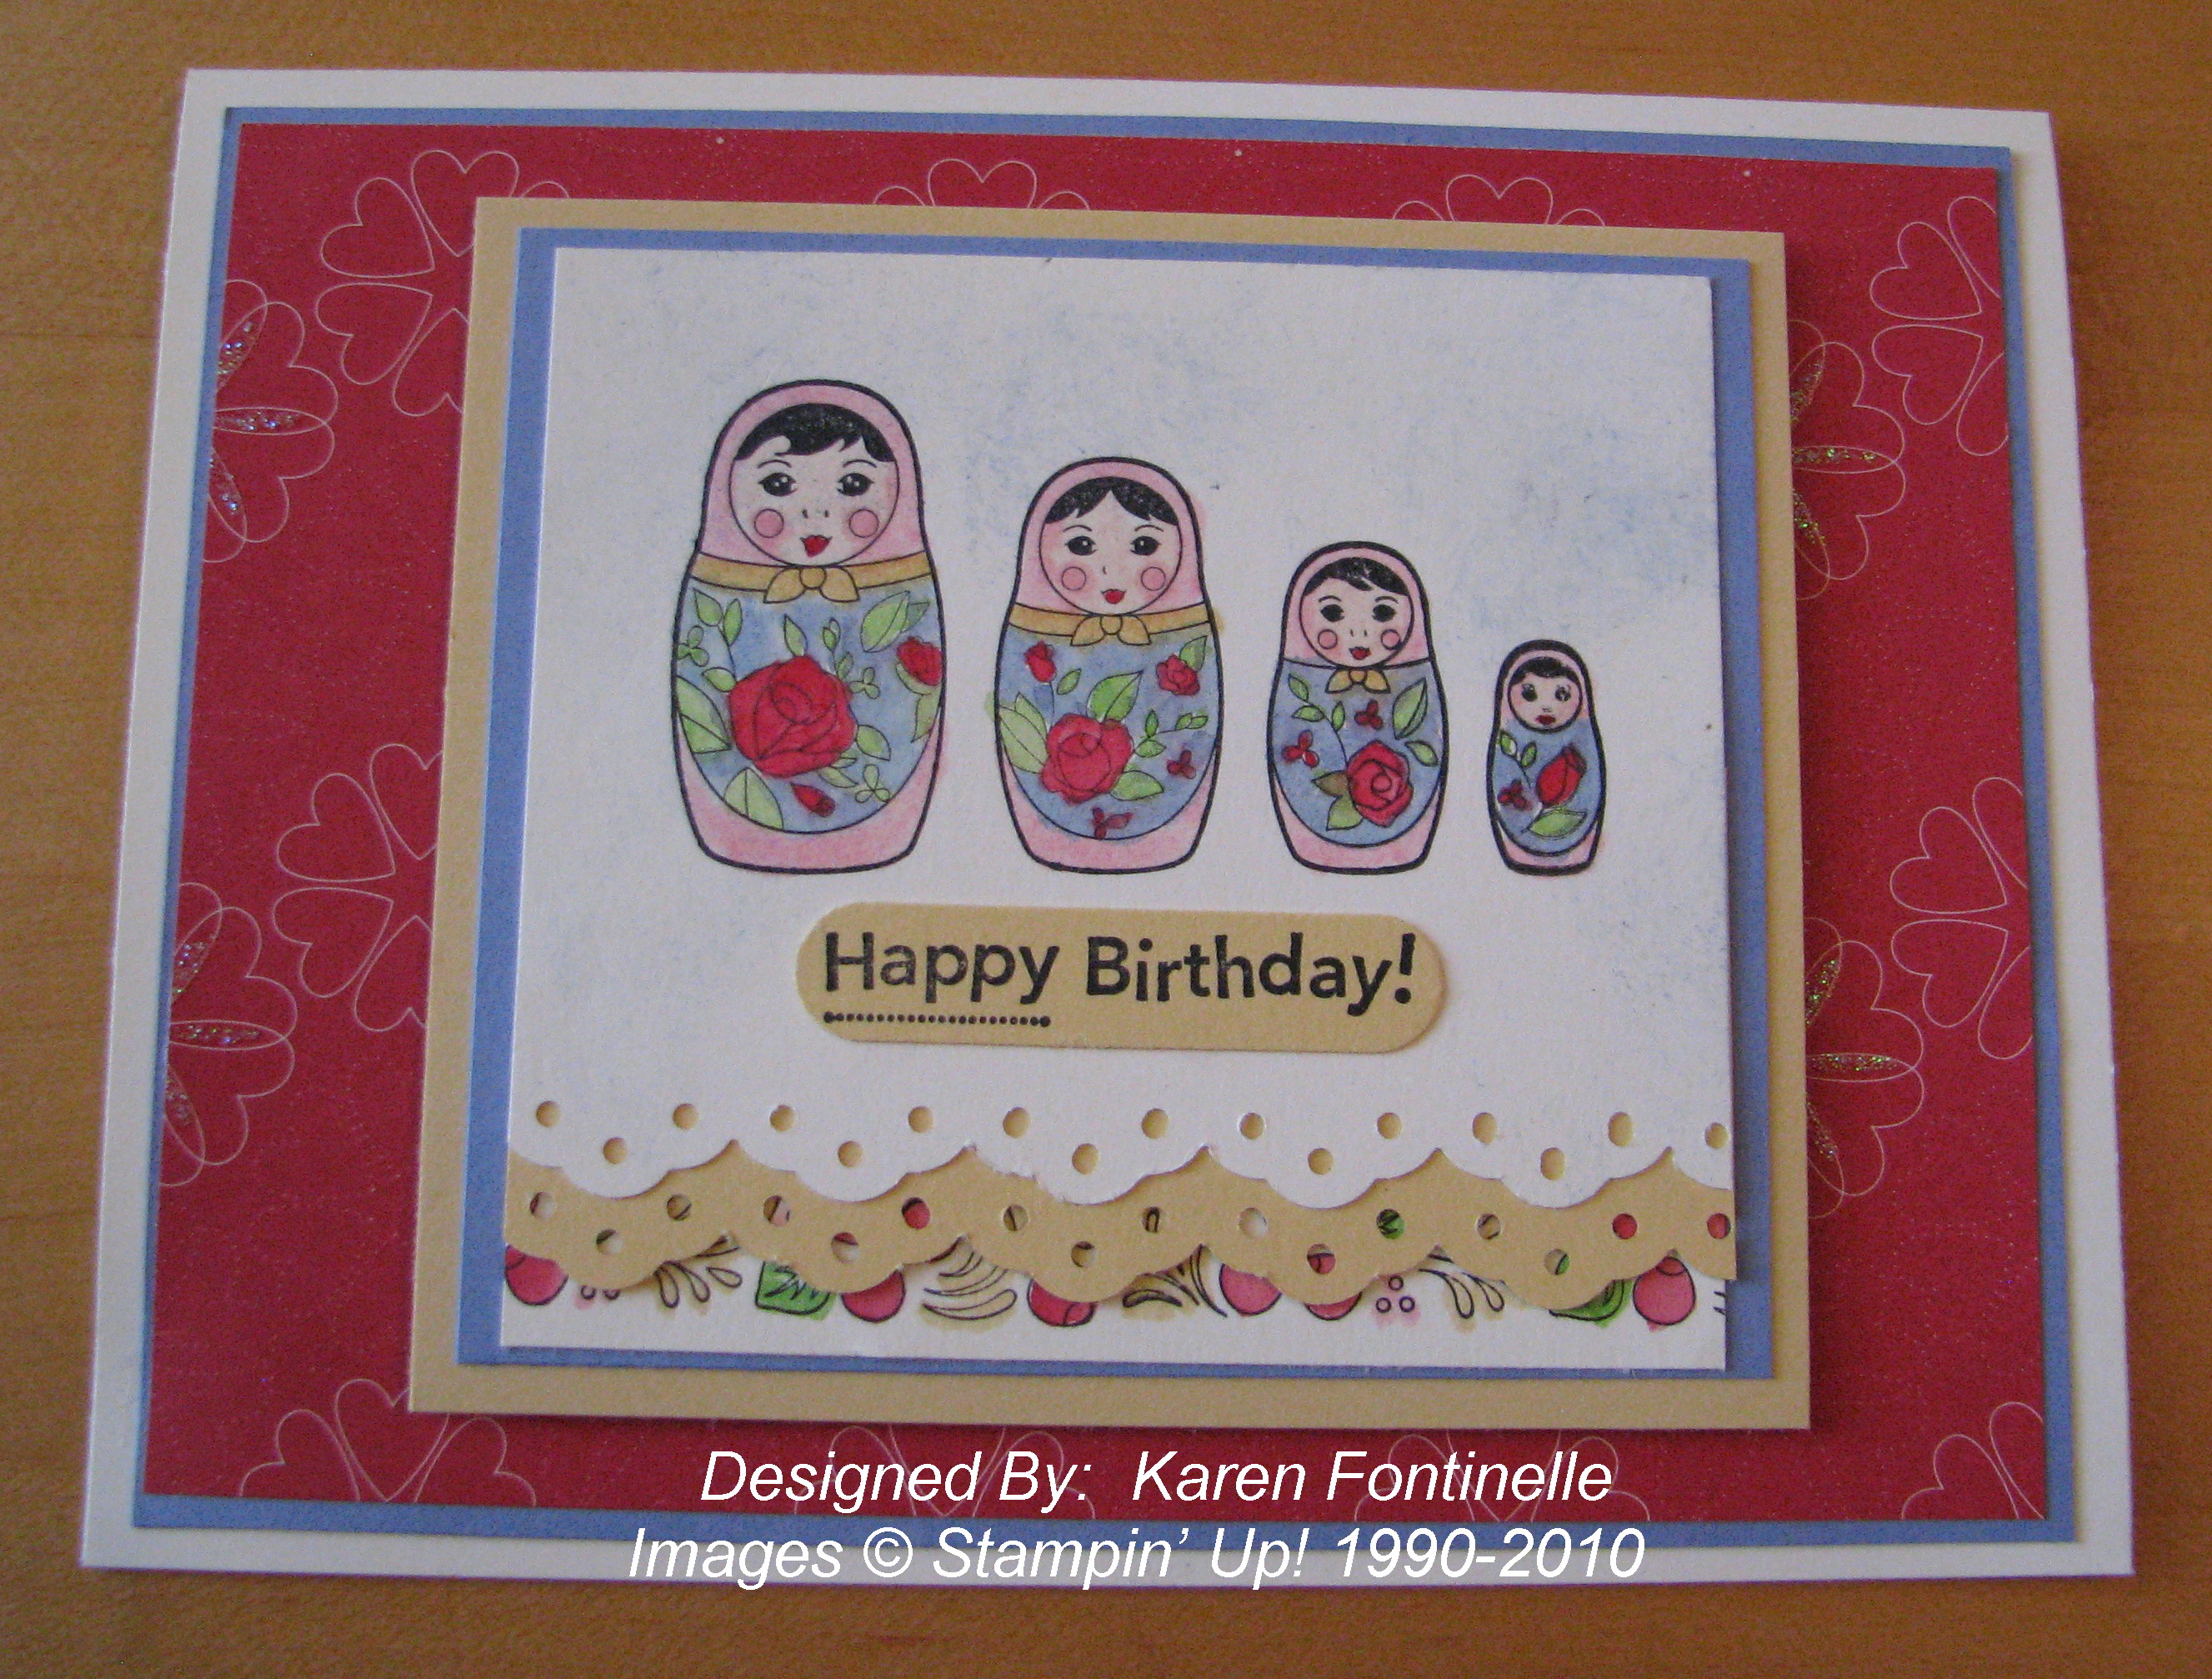
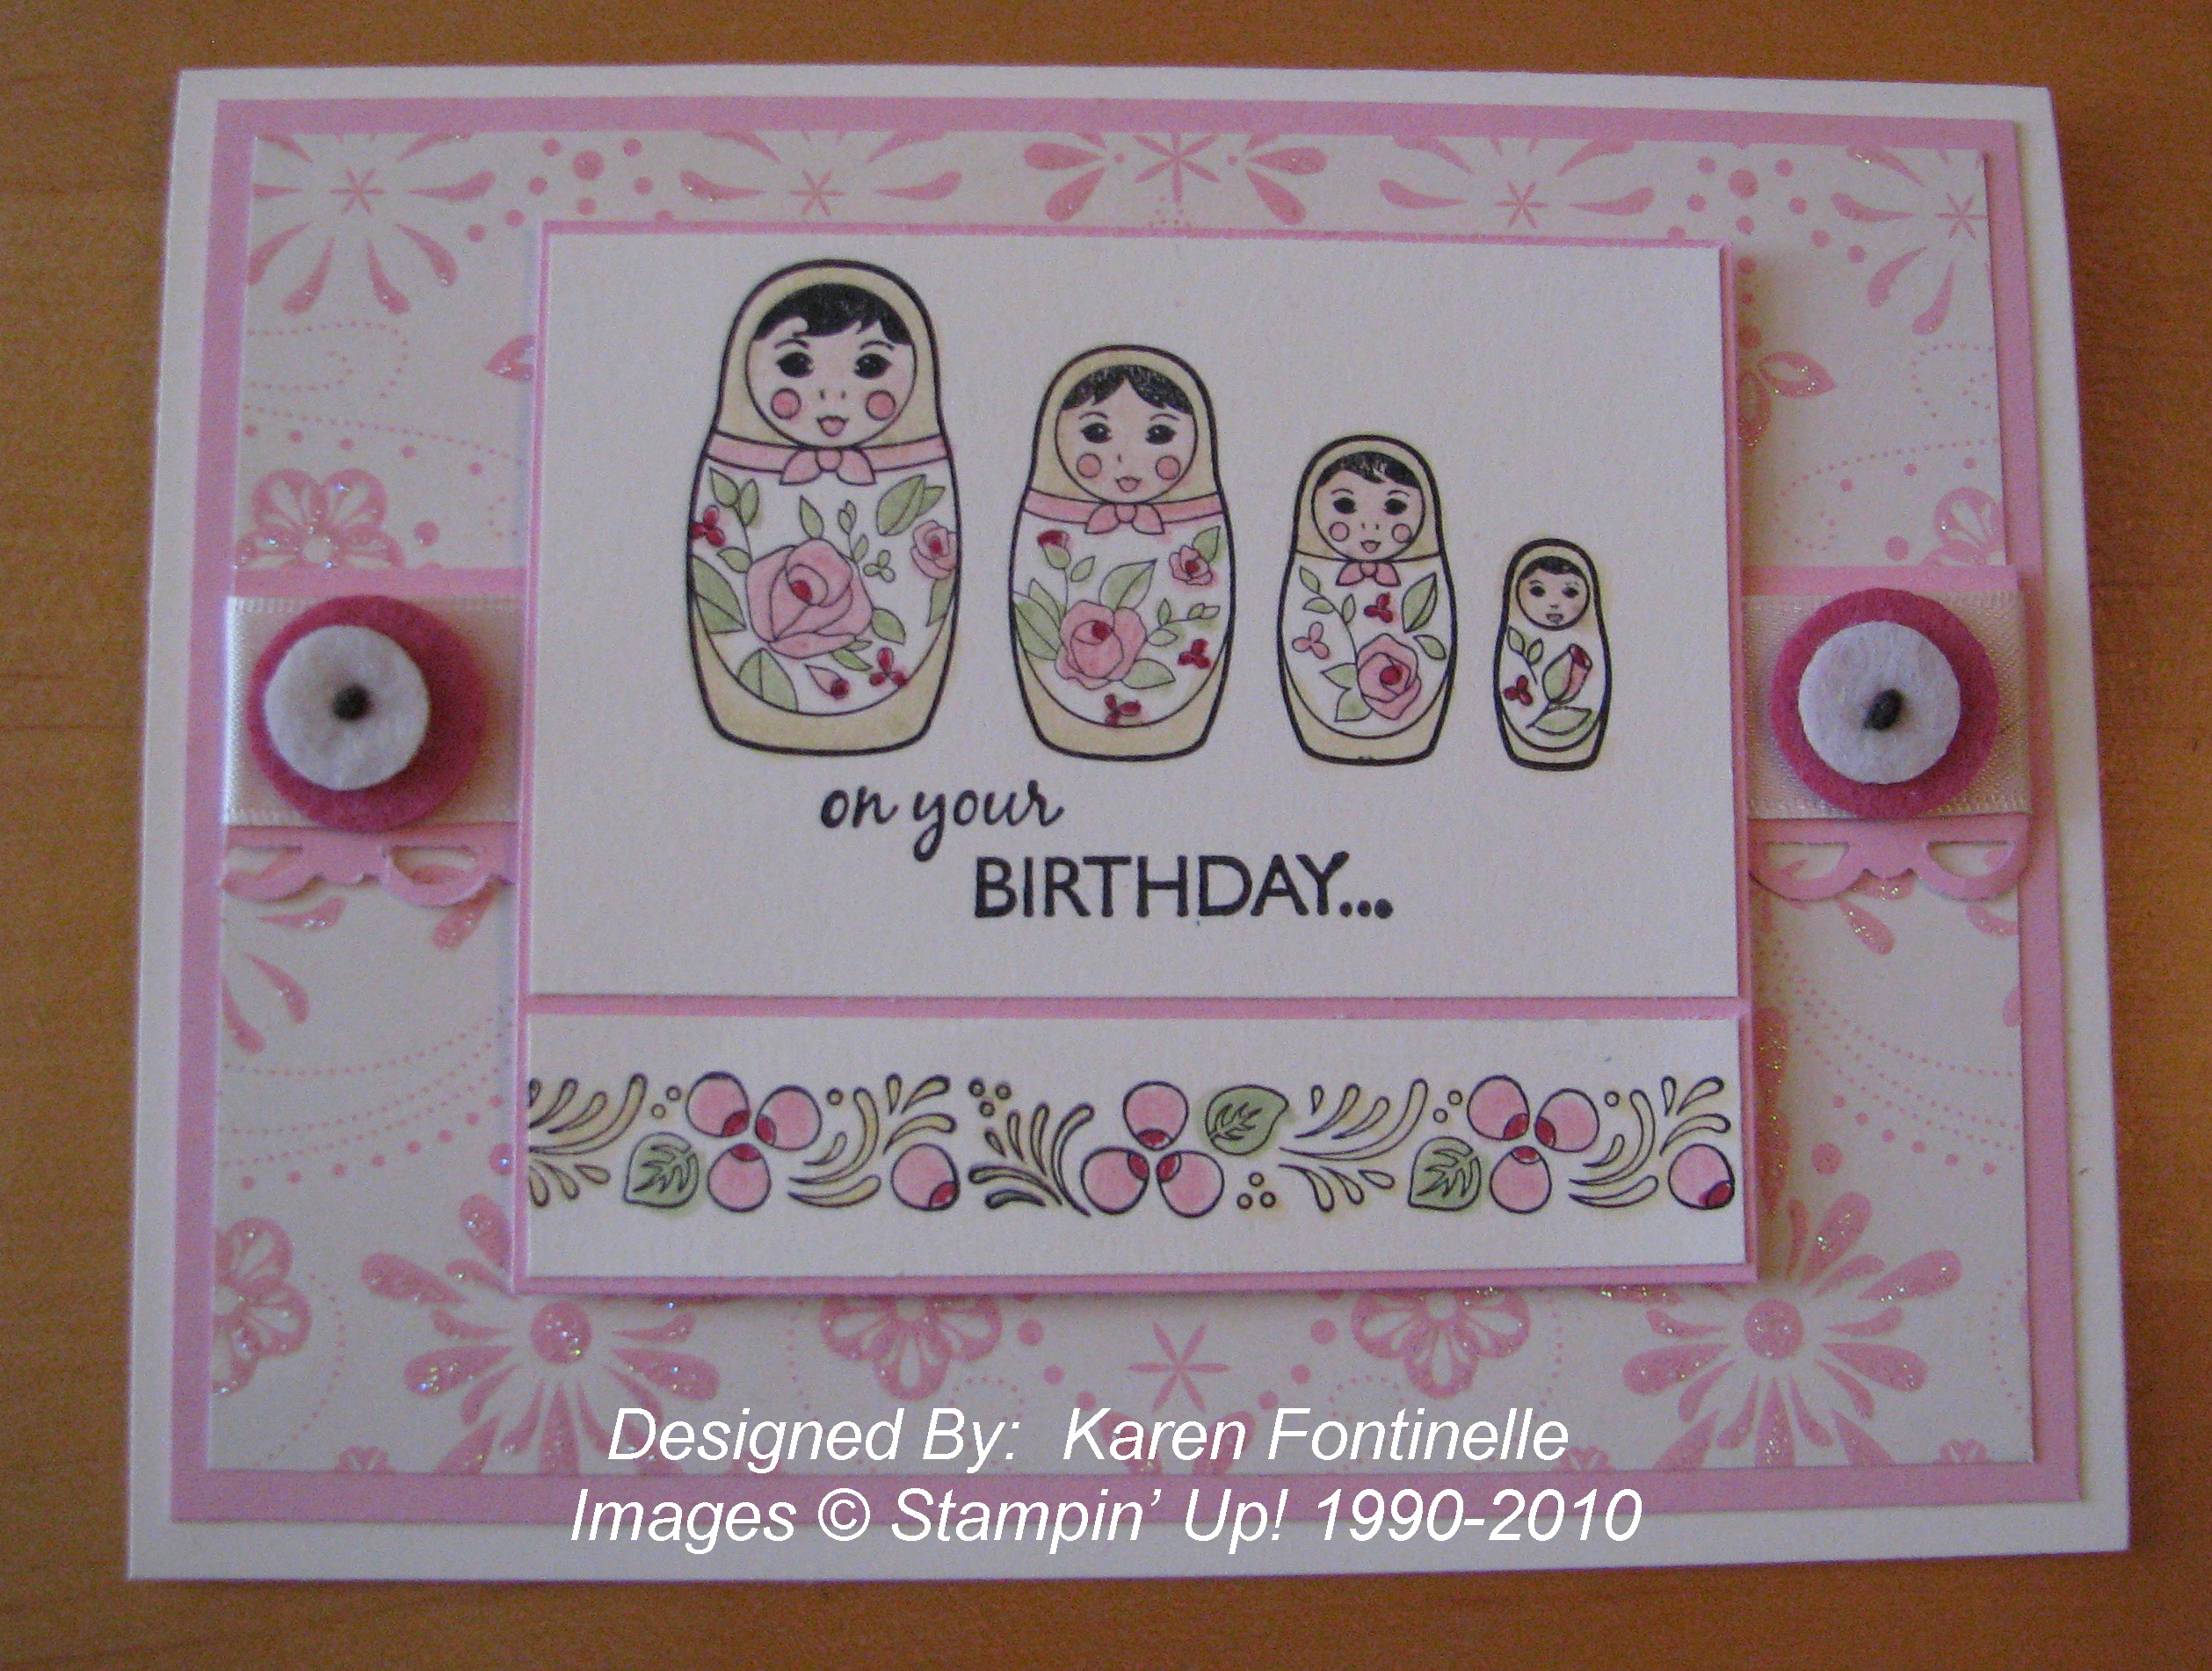
I realize I am one mini catalog behind in showing you these cards, but it was time to play with my own matryoshka dolls.

My Matryoshka Dolls from Kazakhstan 

My Matryoshka stamp set Occasions Mini
My Matryoshka Birthday Card 

The Designer Series paper is the beautiful glittered Sending Love Specialty paper from the previous Occasions Mini  Catalog….but you can see it is not just for Valentine's Day! So if you still have some, get it out and use it!  The stamp set is also from the Occasions Mini, My Matryoshka. We can hope it makes it into the next new Idea Book & Catalog in July!

Find a stamp set in your stash you haven't used in awhile and stamp something for fun today!


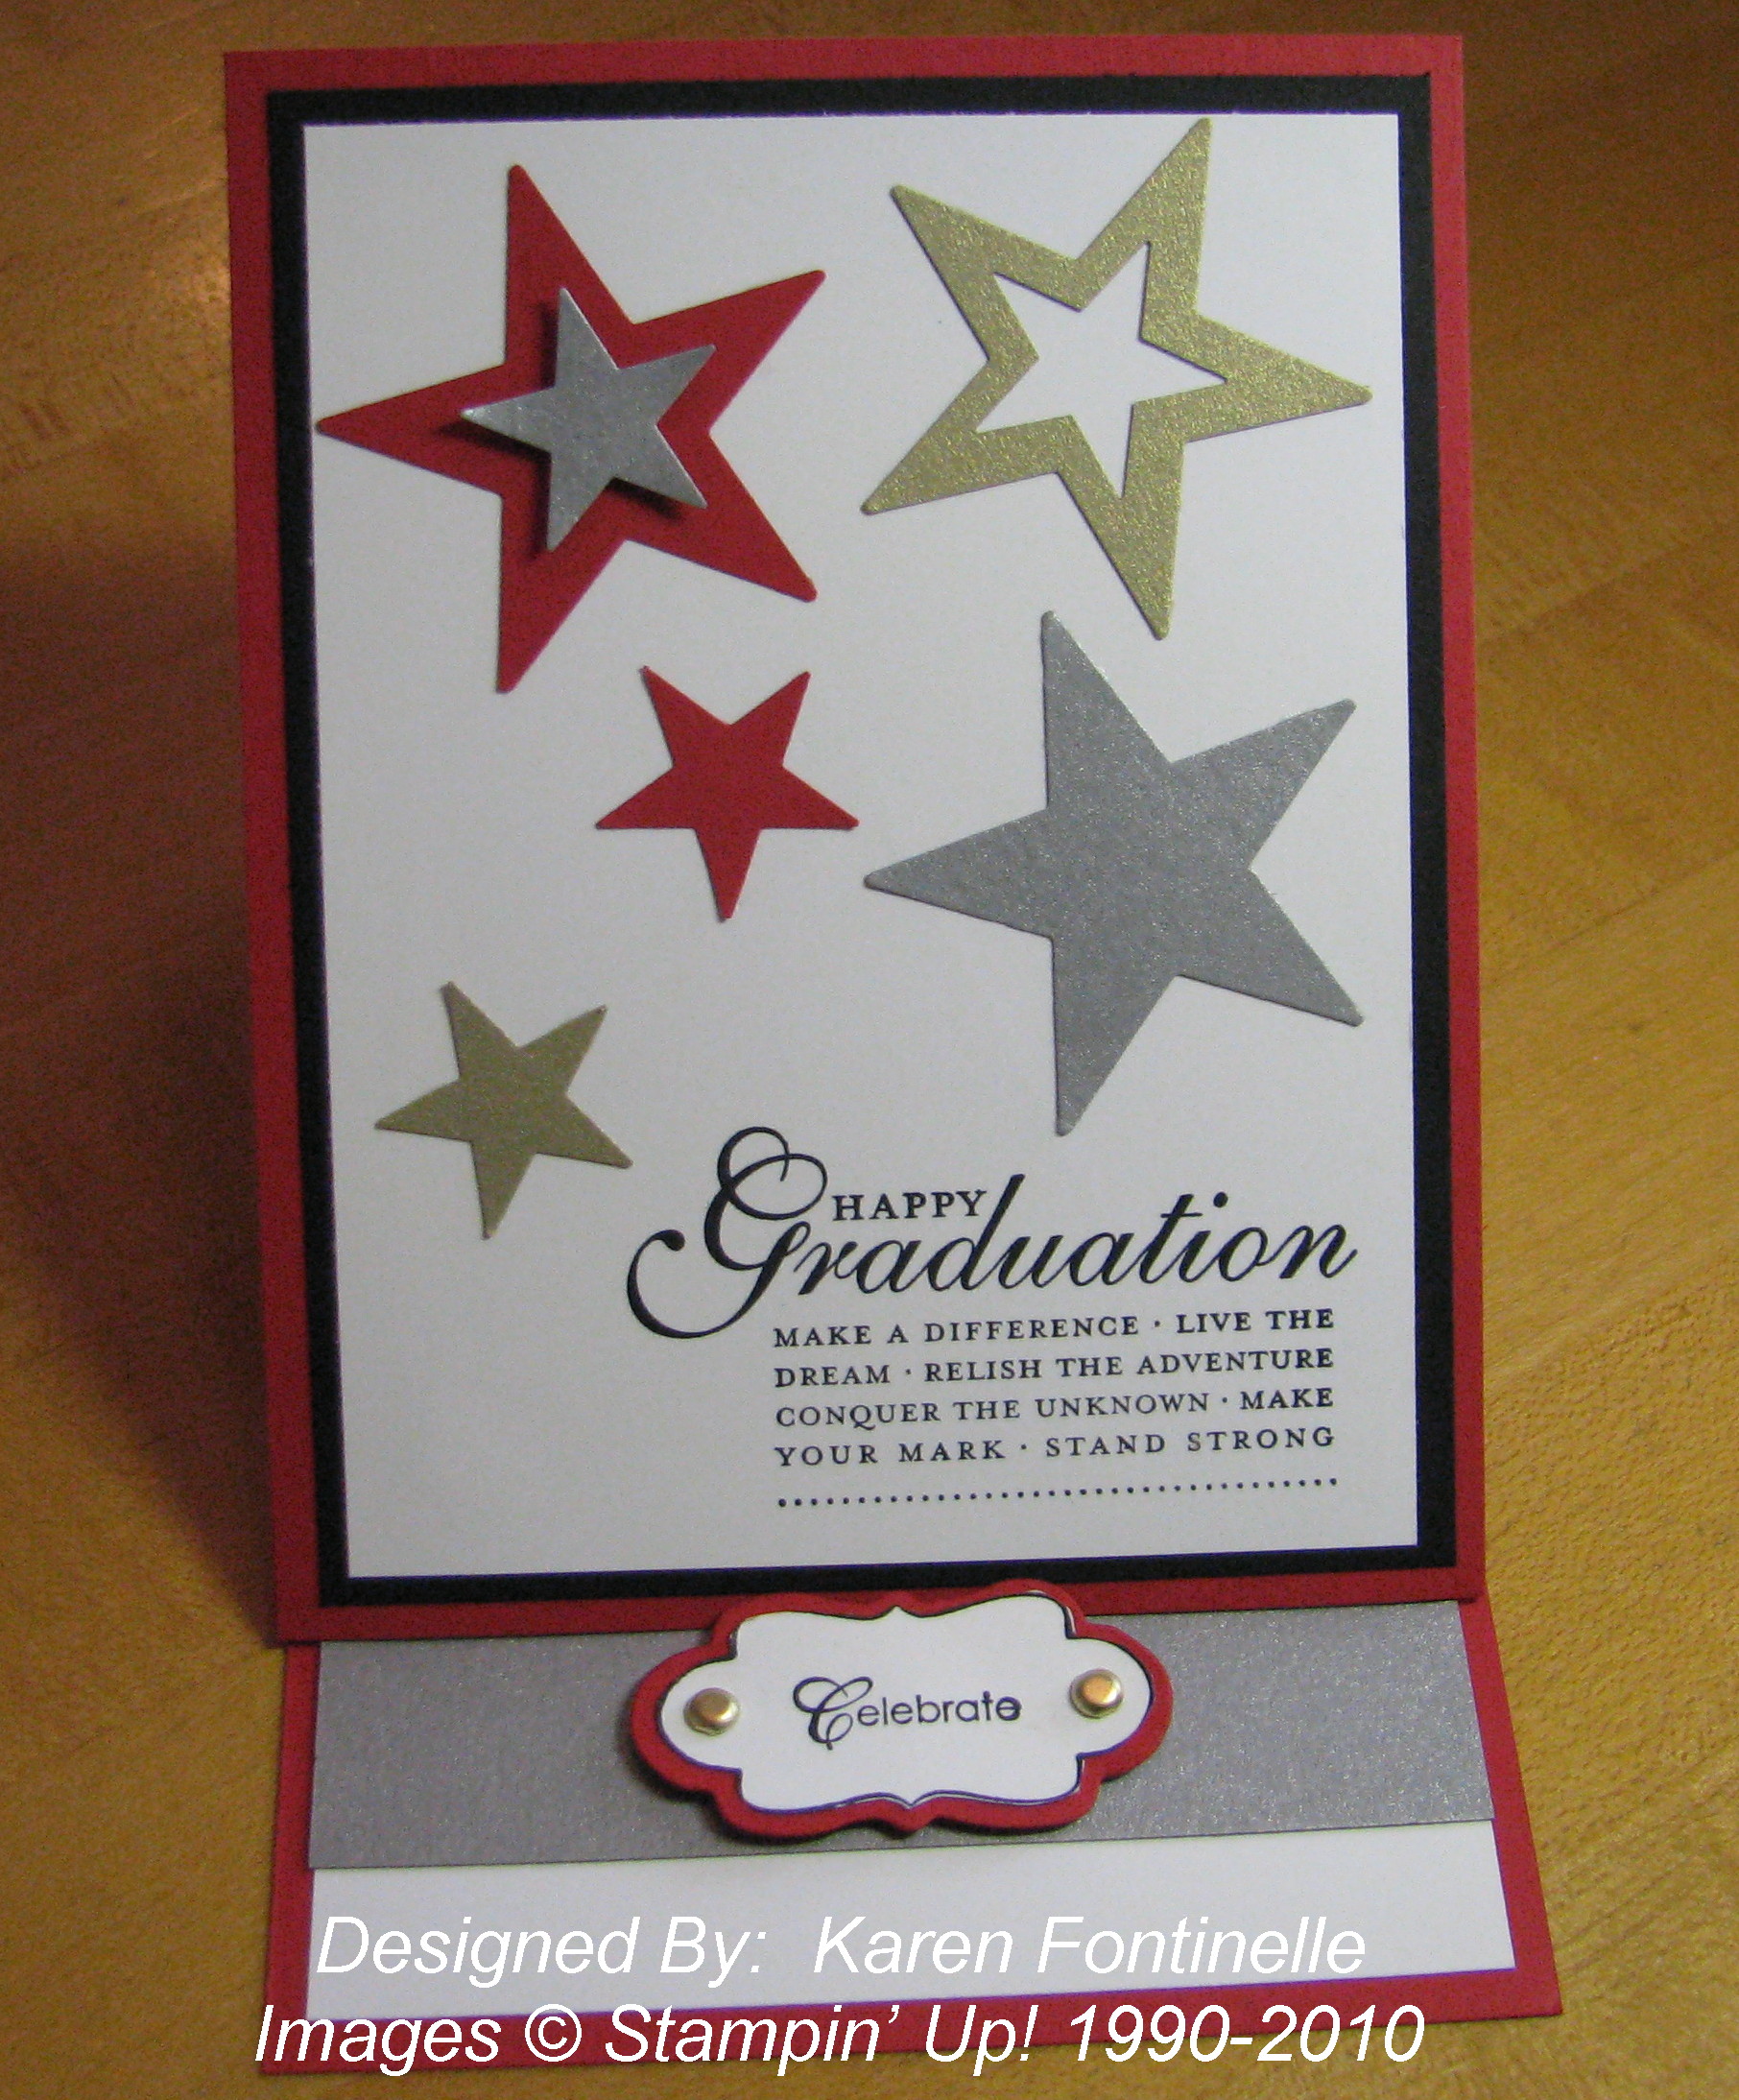
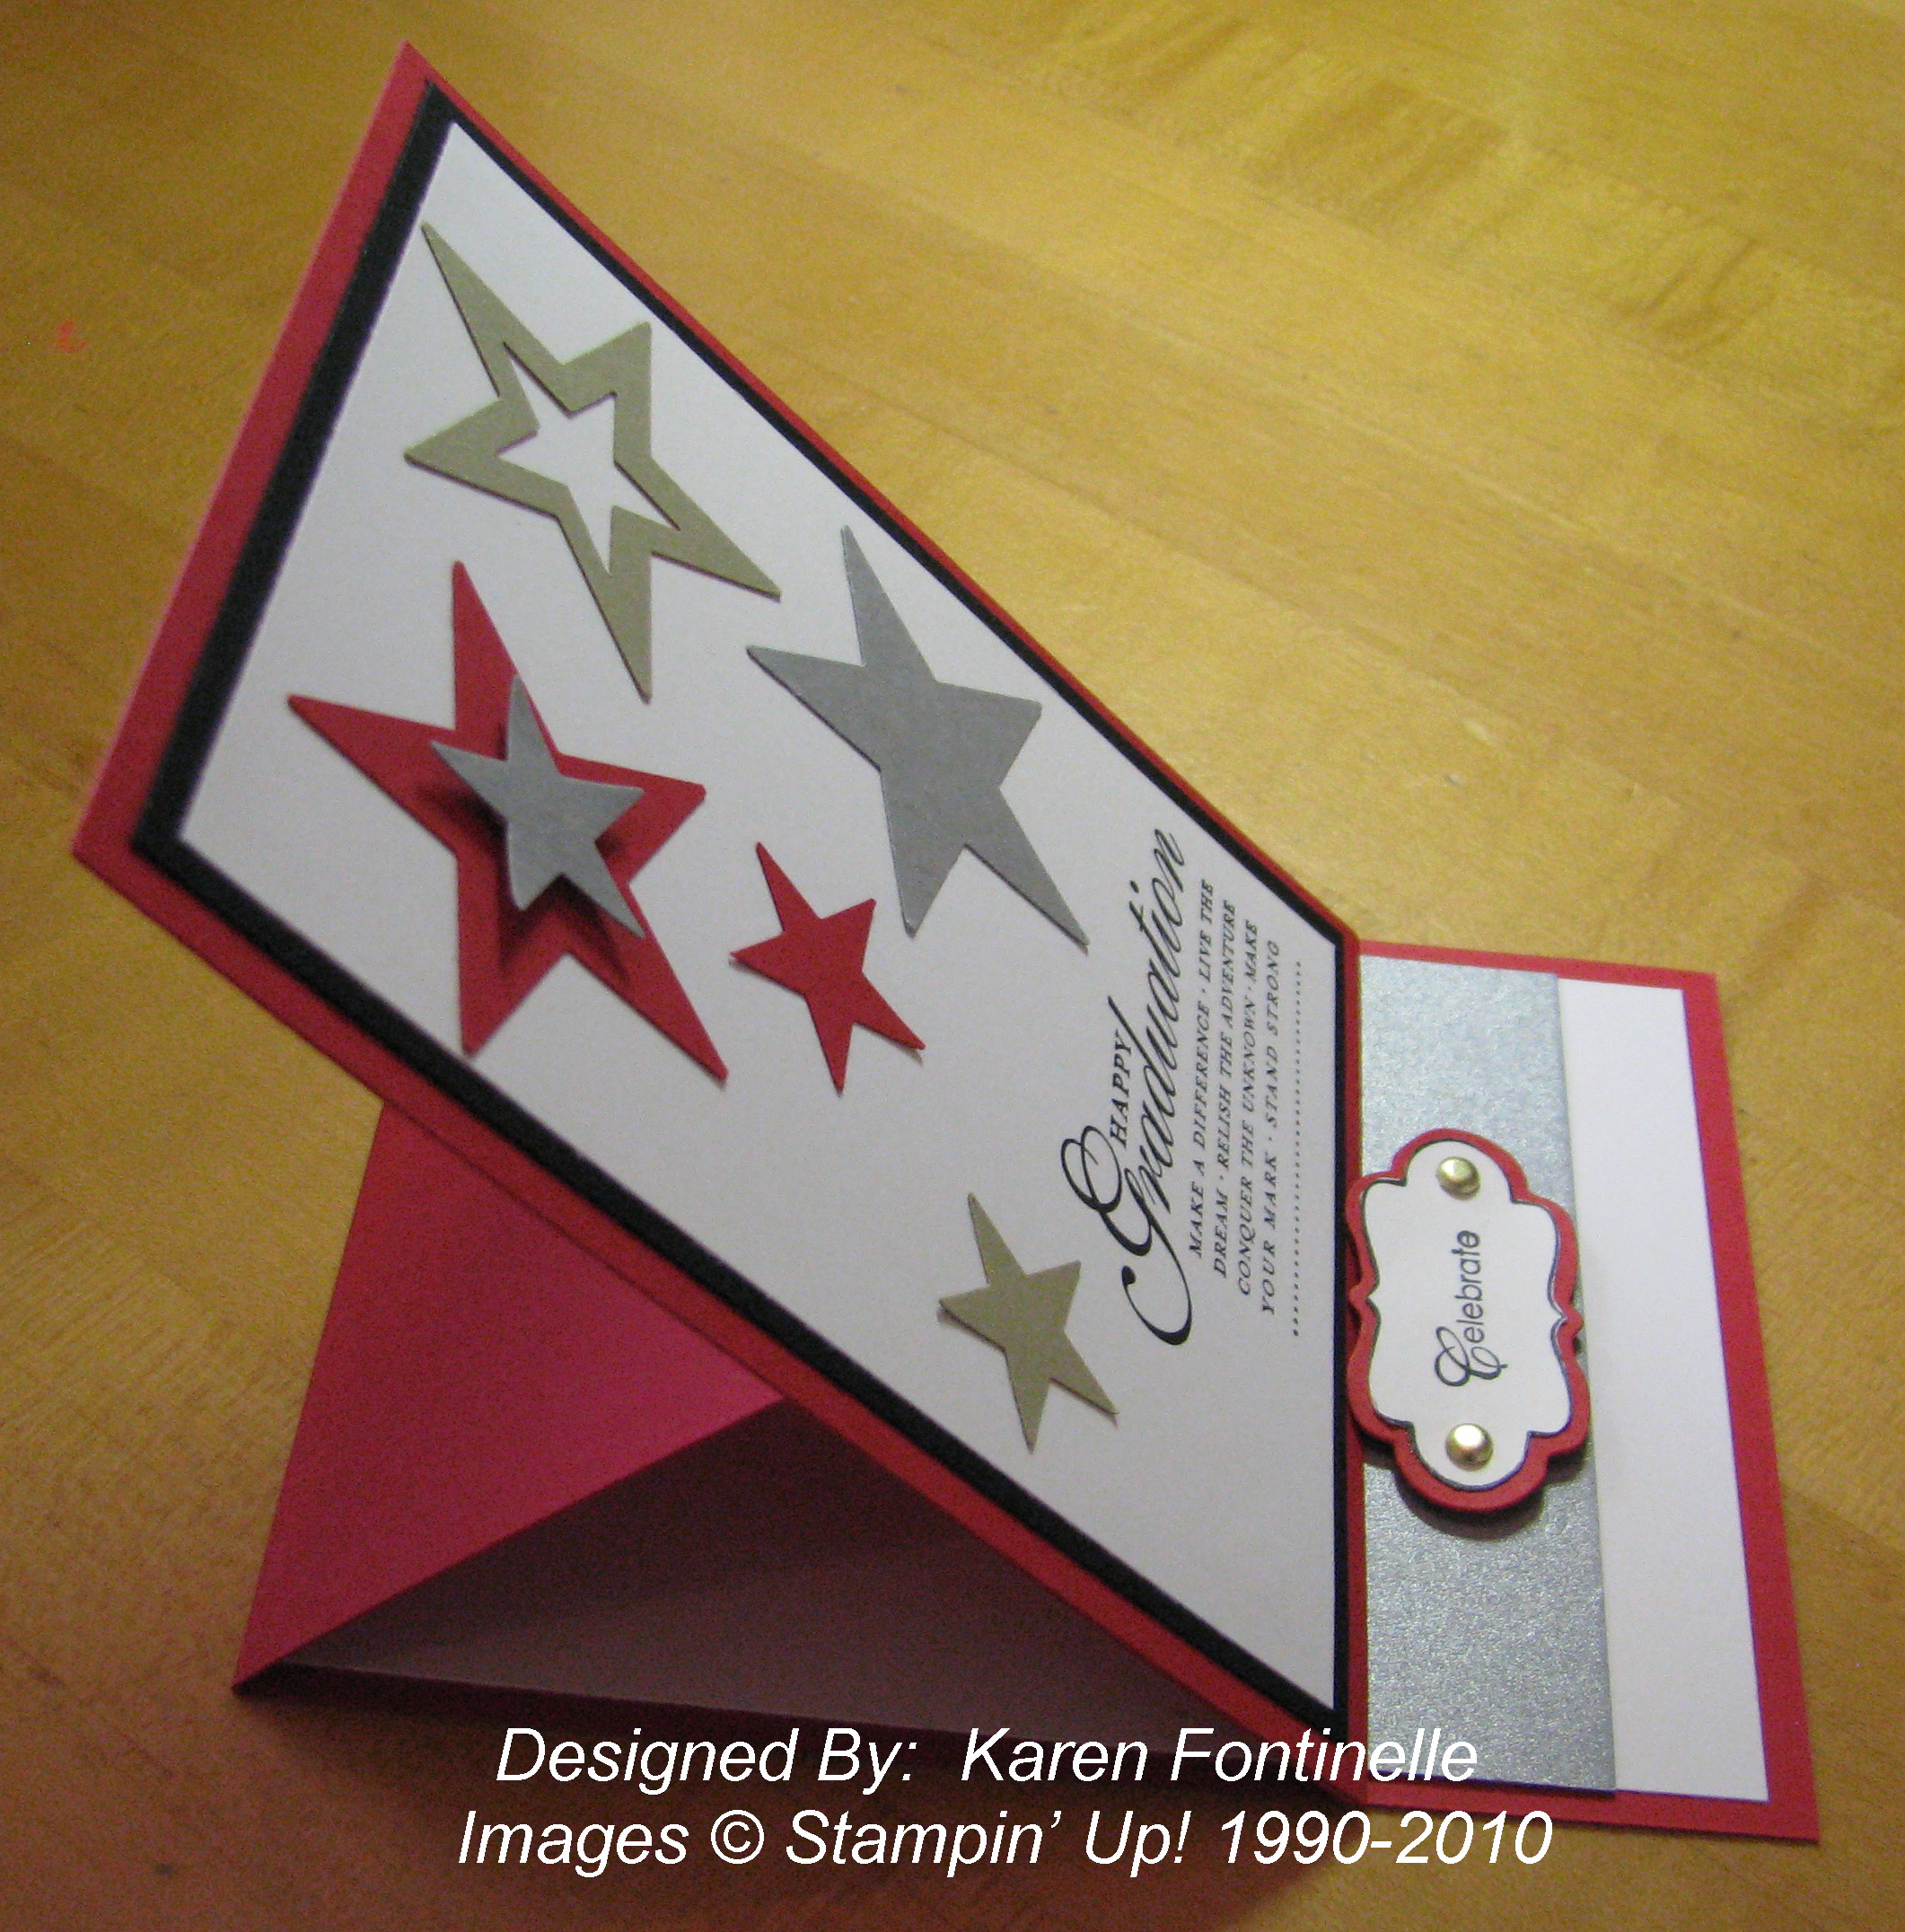
Graduation Easel Card

Graduation Easel Card with Stars
I think if you have stars of some sort….star punches, star stamps, star wheel….. you can make just about any card.  I’ve used them for graduation, birthdays, even baby cards and scrapbook pages.  So if you don’t have stars in your collection, check out the Stampin’ Up! Online Store and see what we have!

Lots of people are looking for graduation cards this month so I thought I would offer this idea.  I’ve loved making these easel cards, so easy and yet looks so good!  On this card I have used the Star Punch #109045 and the Large Star Punch #110710 and the single stamp Happy Grad #117006 in the Summer Mini Catalog.

Graduation Easel Card 

Besides the Real Red, Basic Black, and Whisper White card stock, I also used the Brushed Gold and Silver card stock for this special occasion!

So if you need to make some stamped graduation cards, this one or a similar style is pretty easy.  I hope it provides you with an idea to get started! Sometimes that is all you need to be creative!


Assembling Your Color Catcher

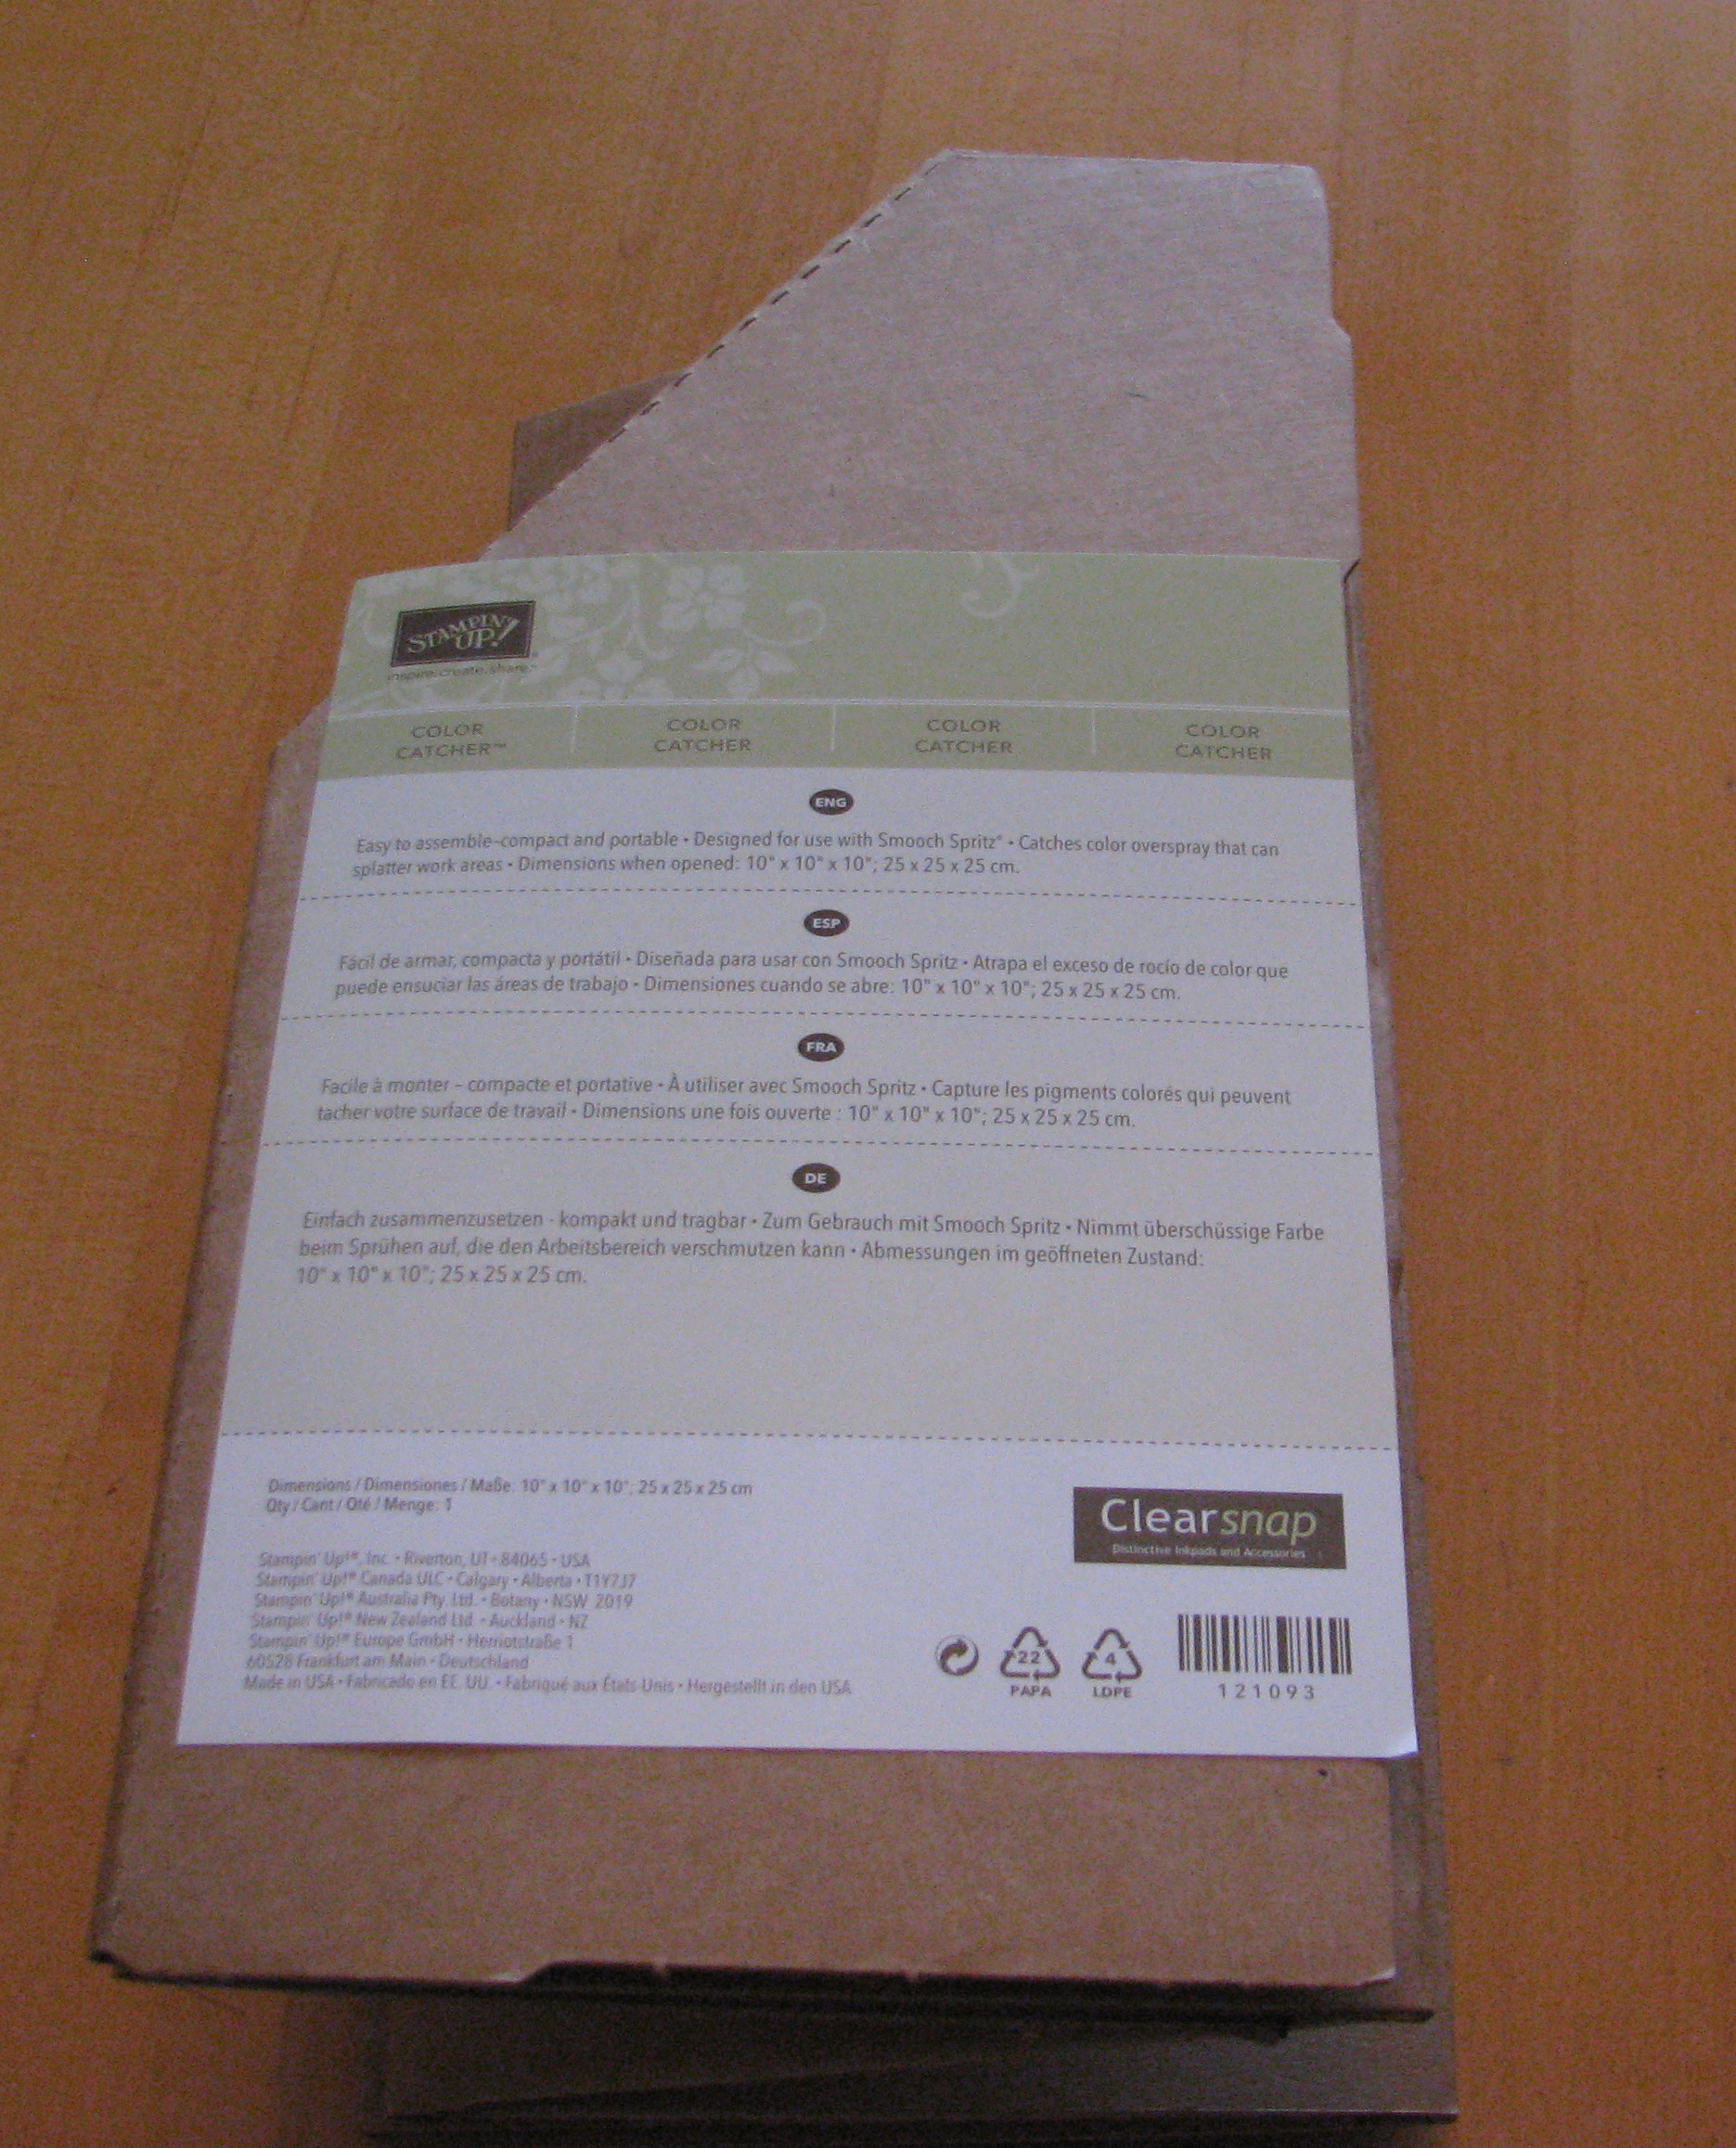
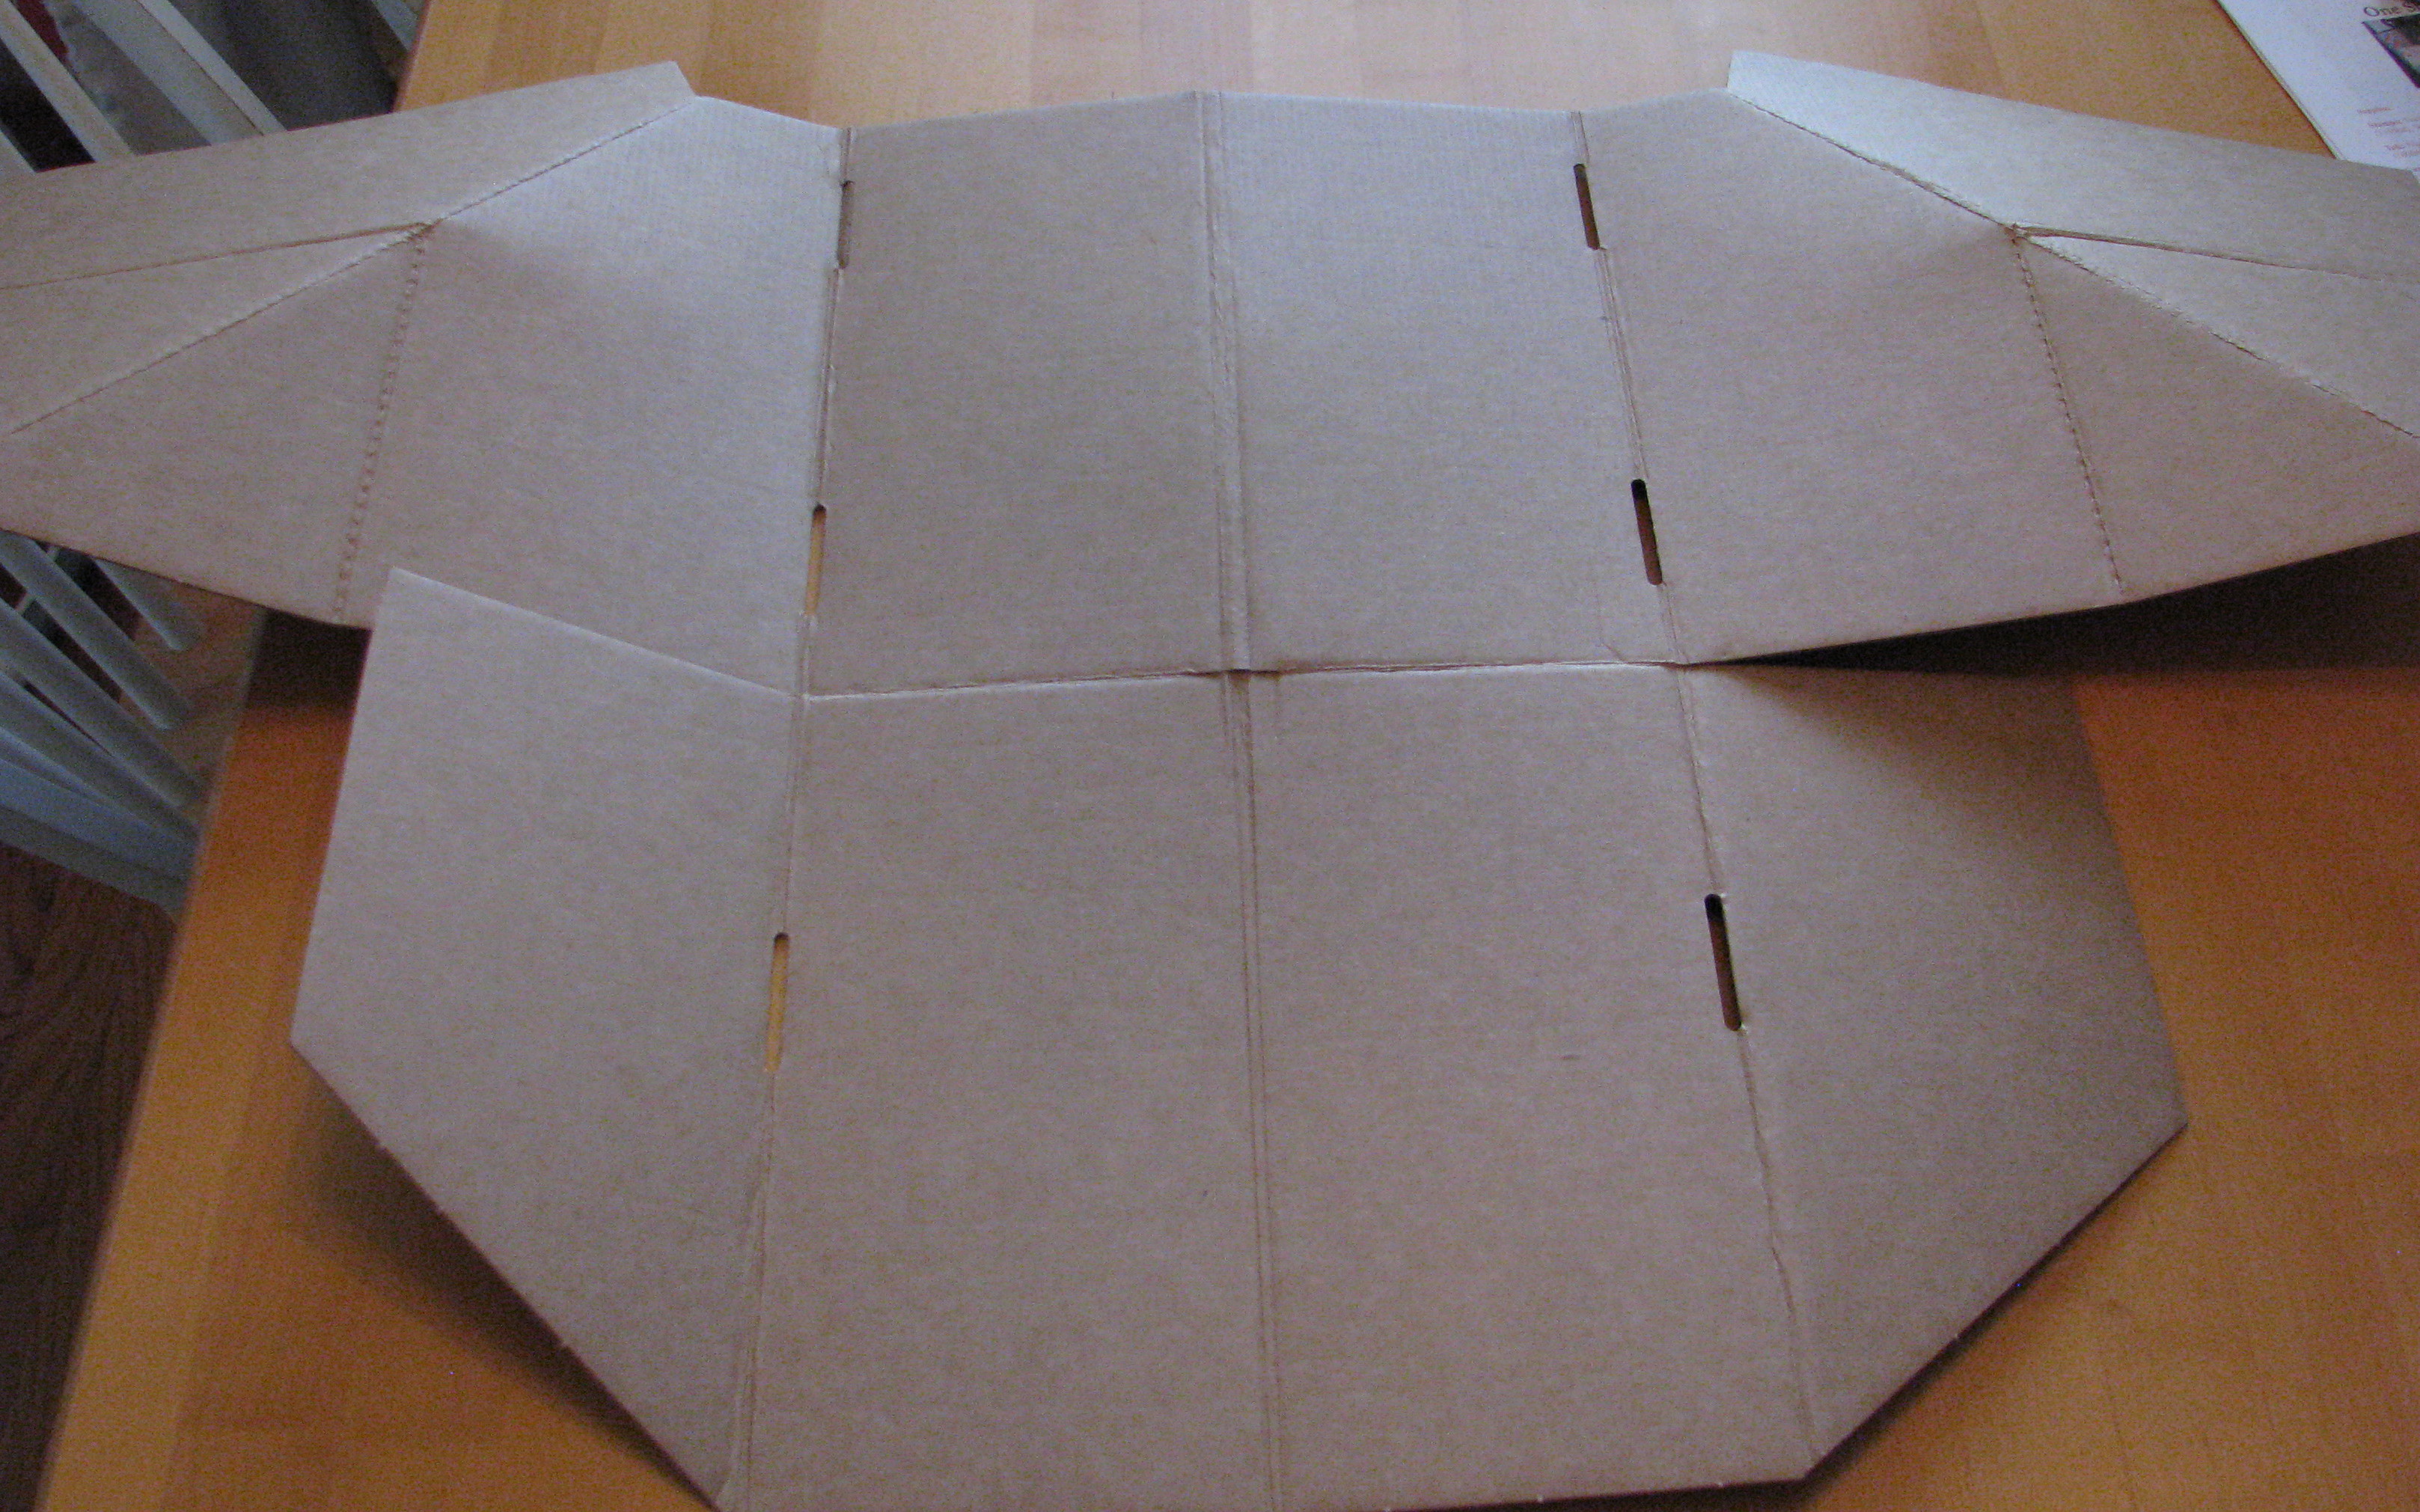
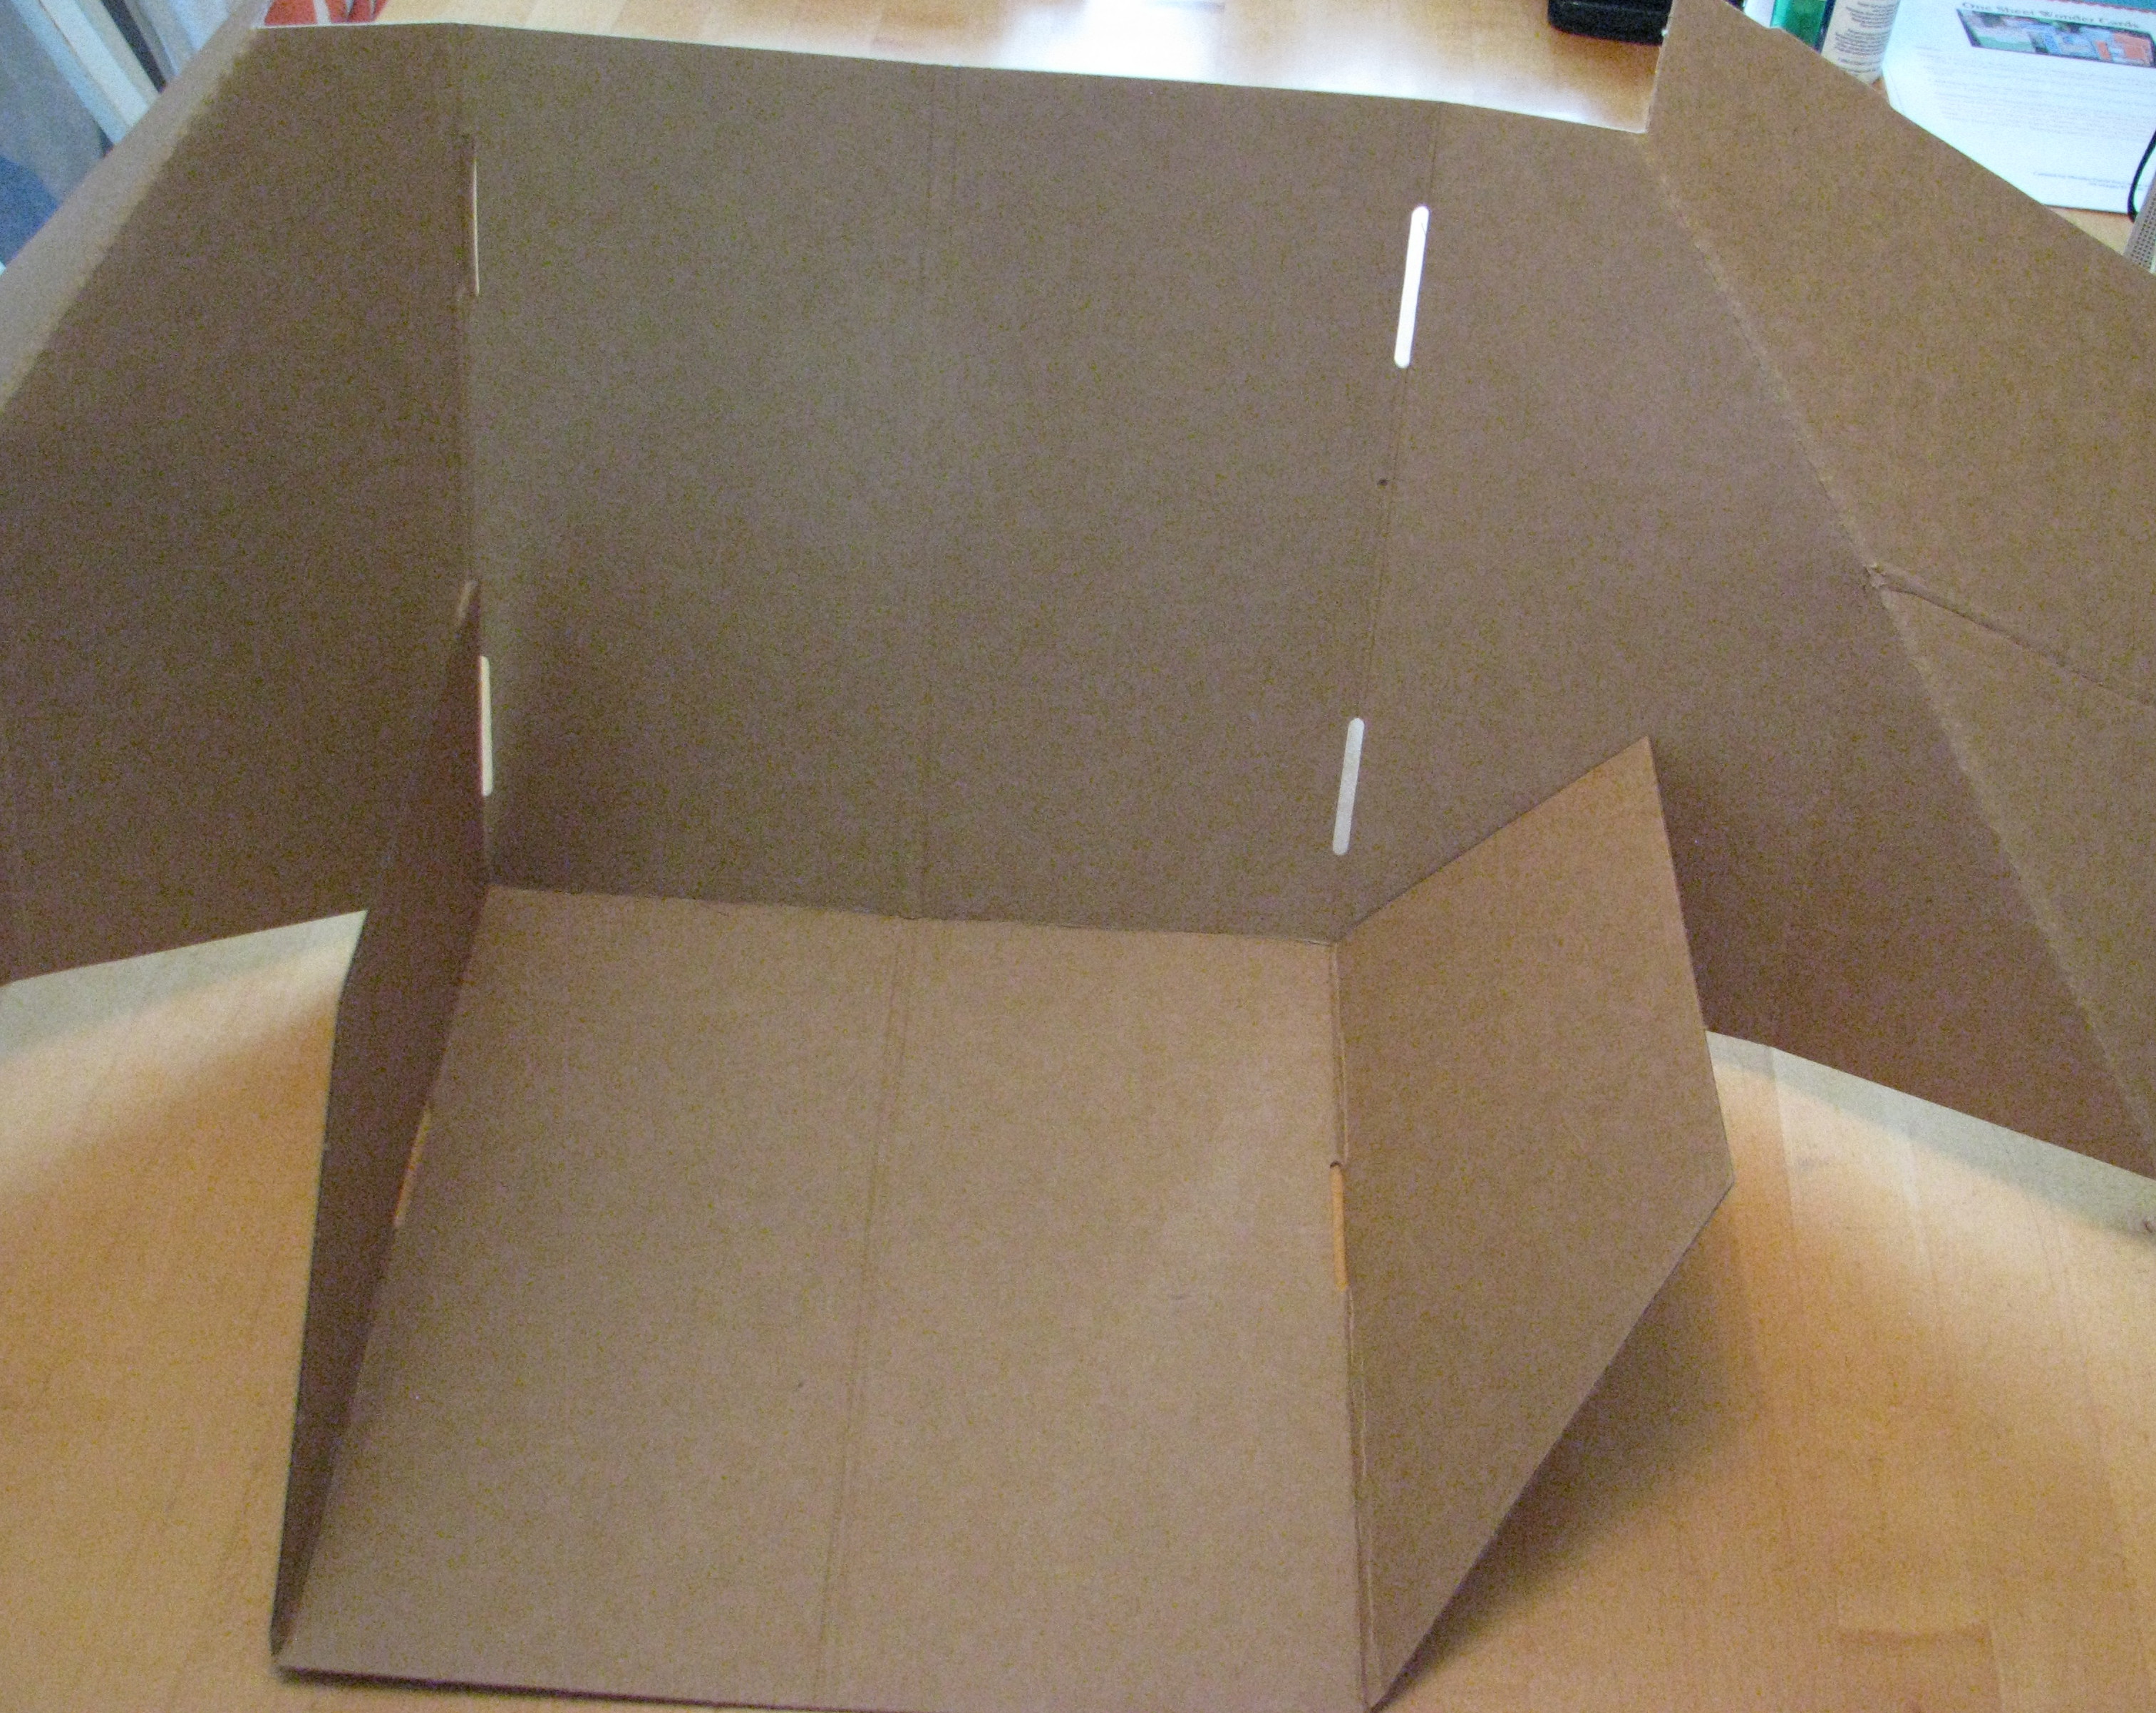
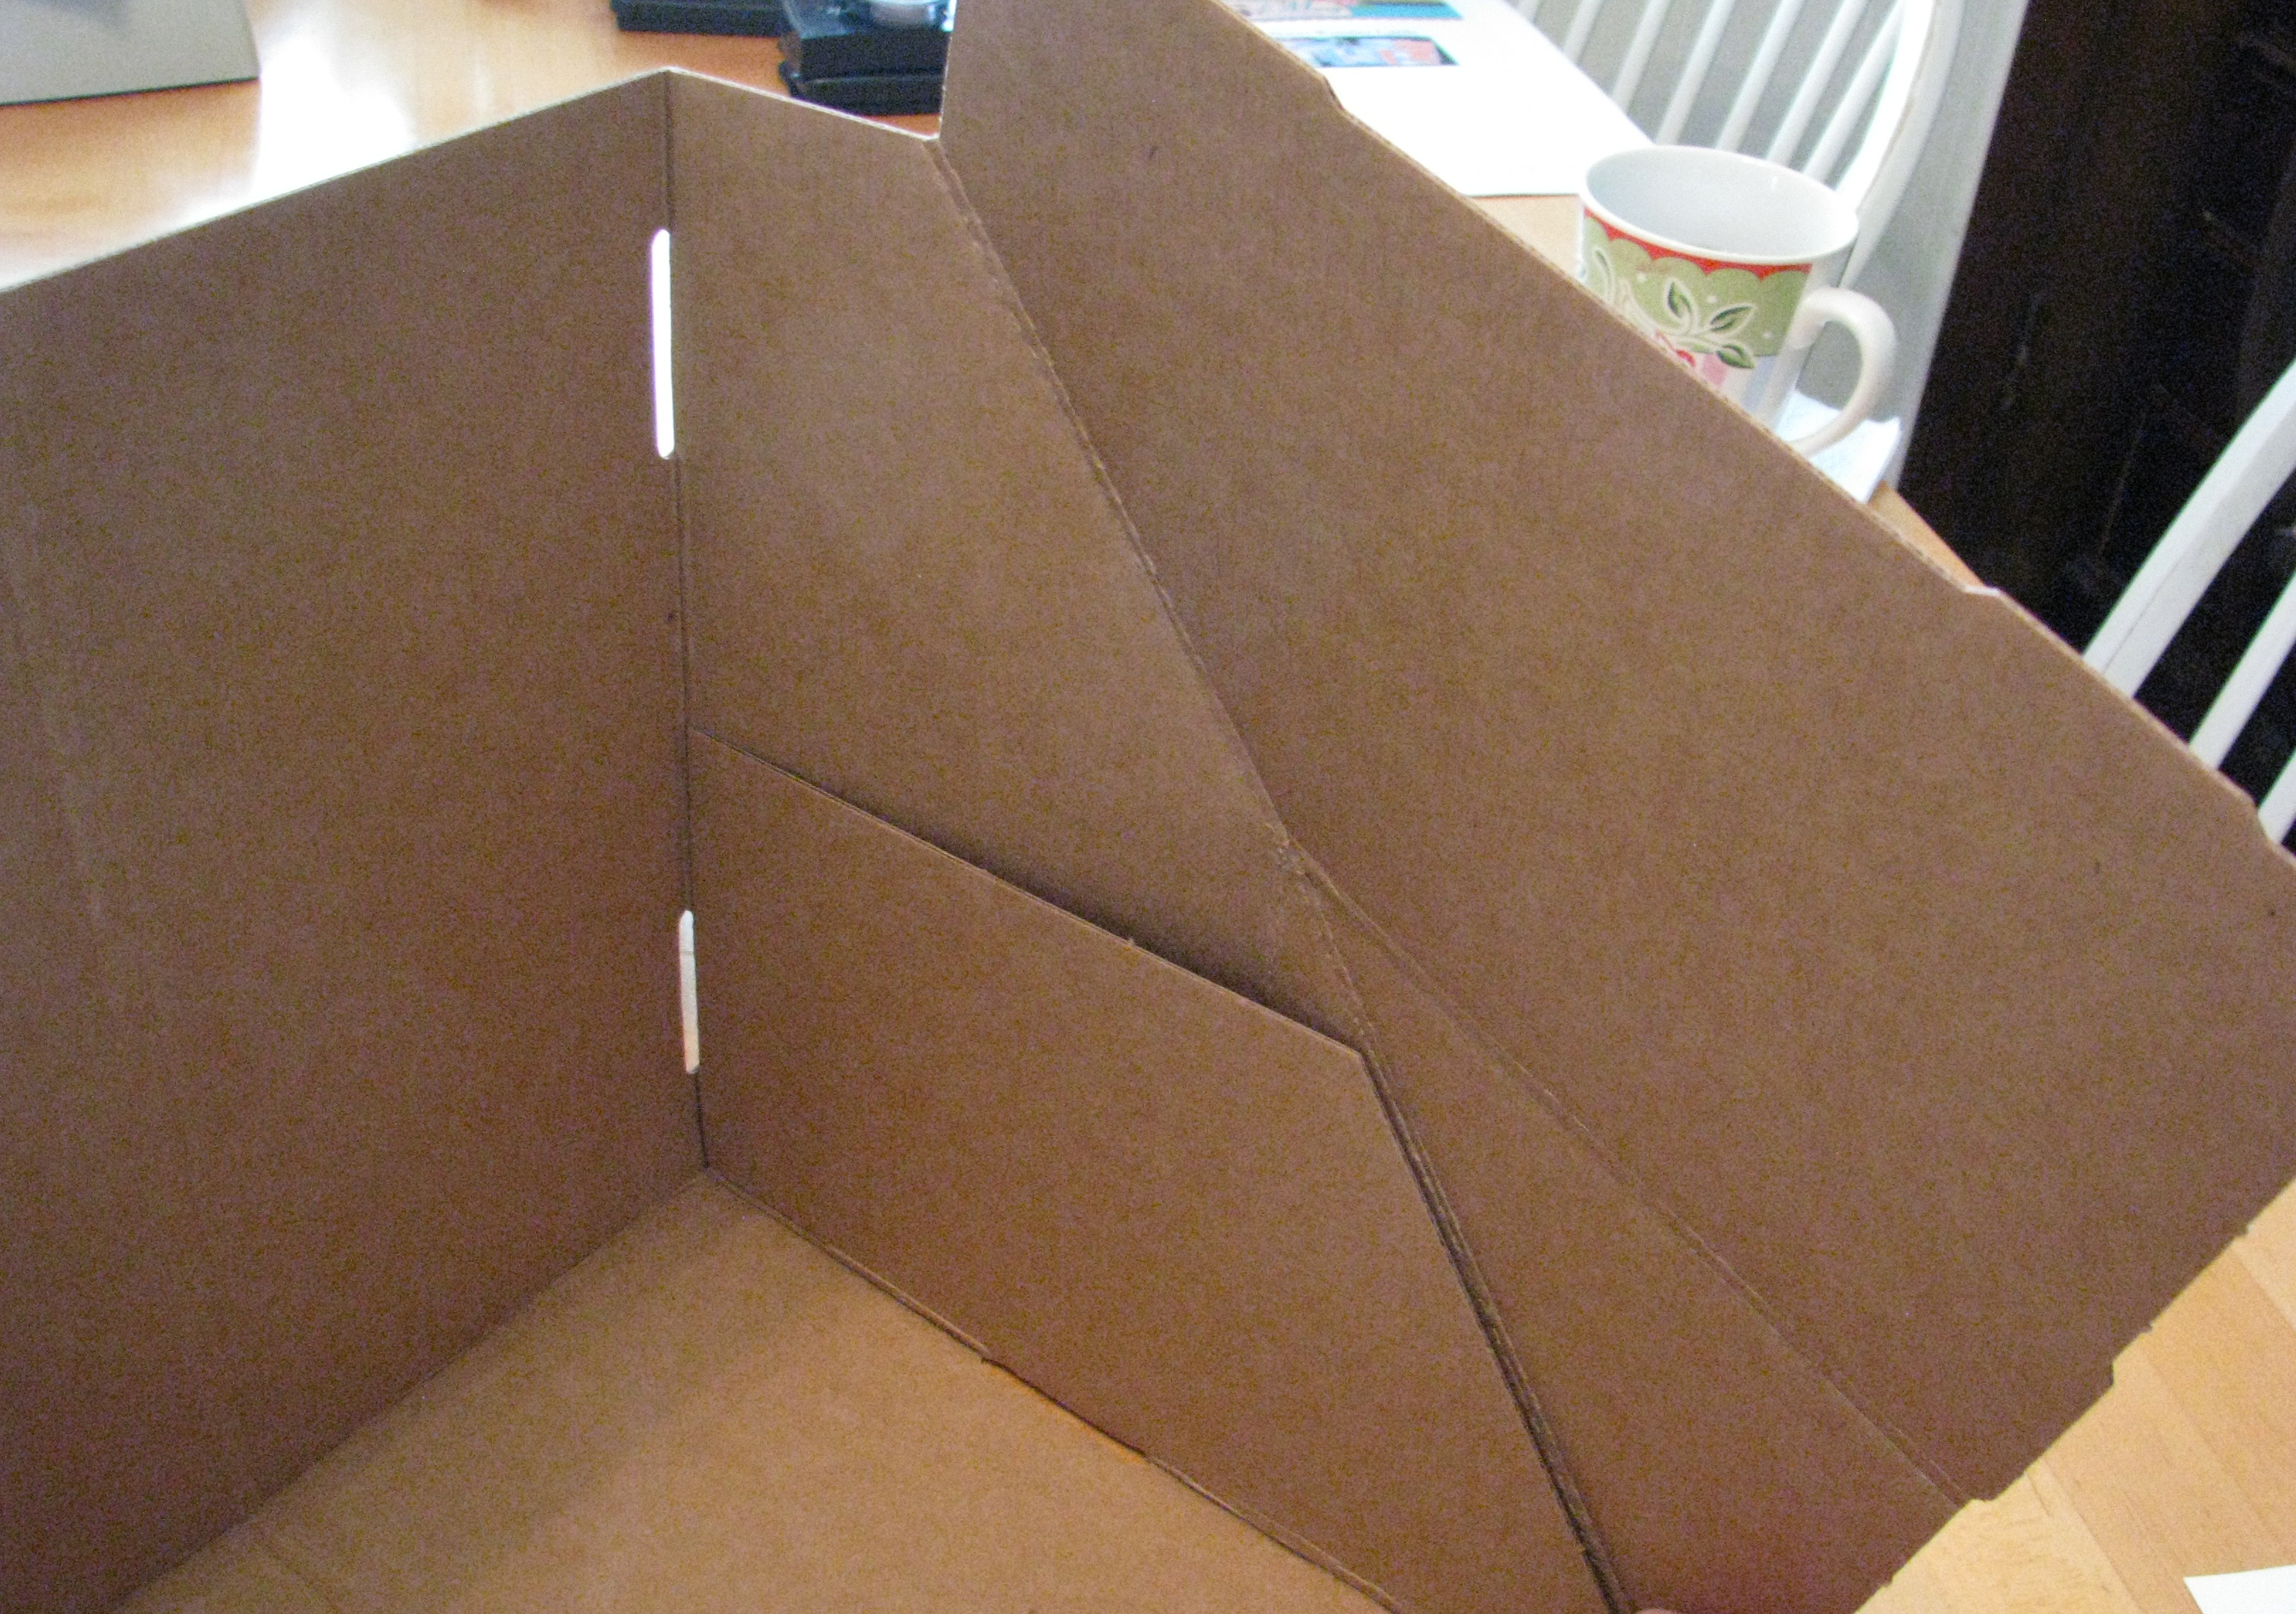
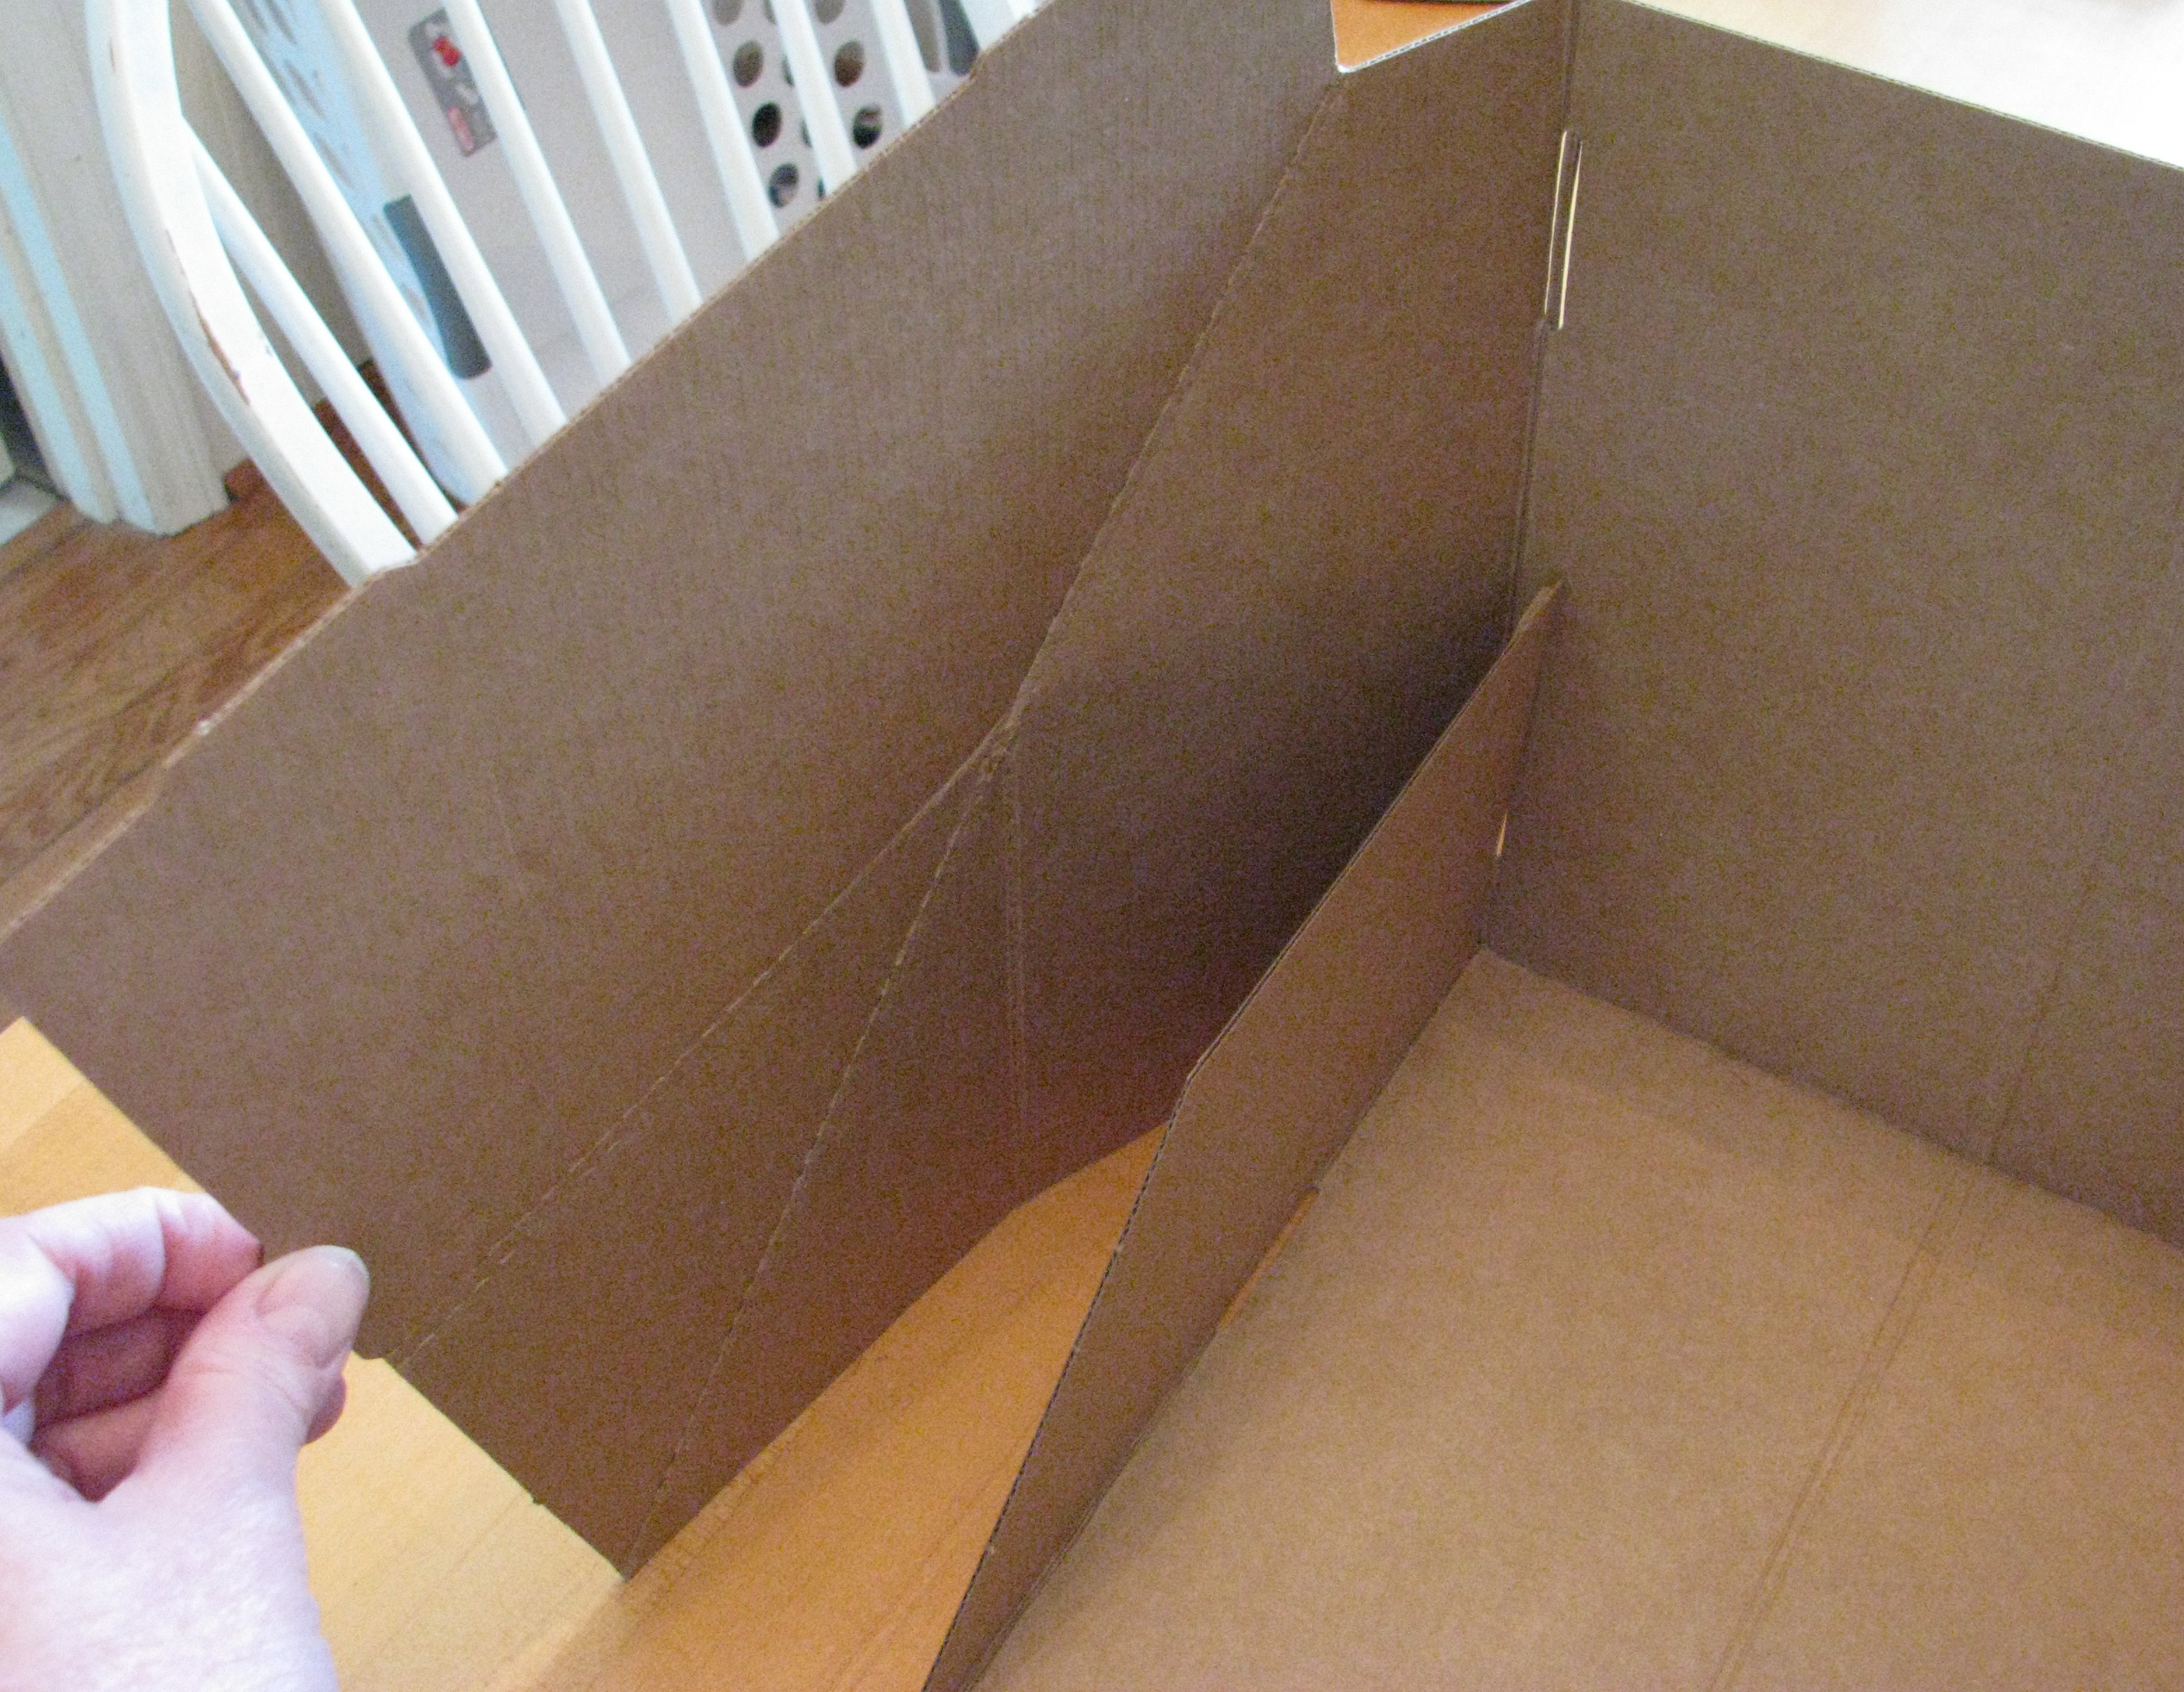
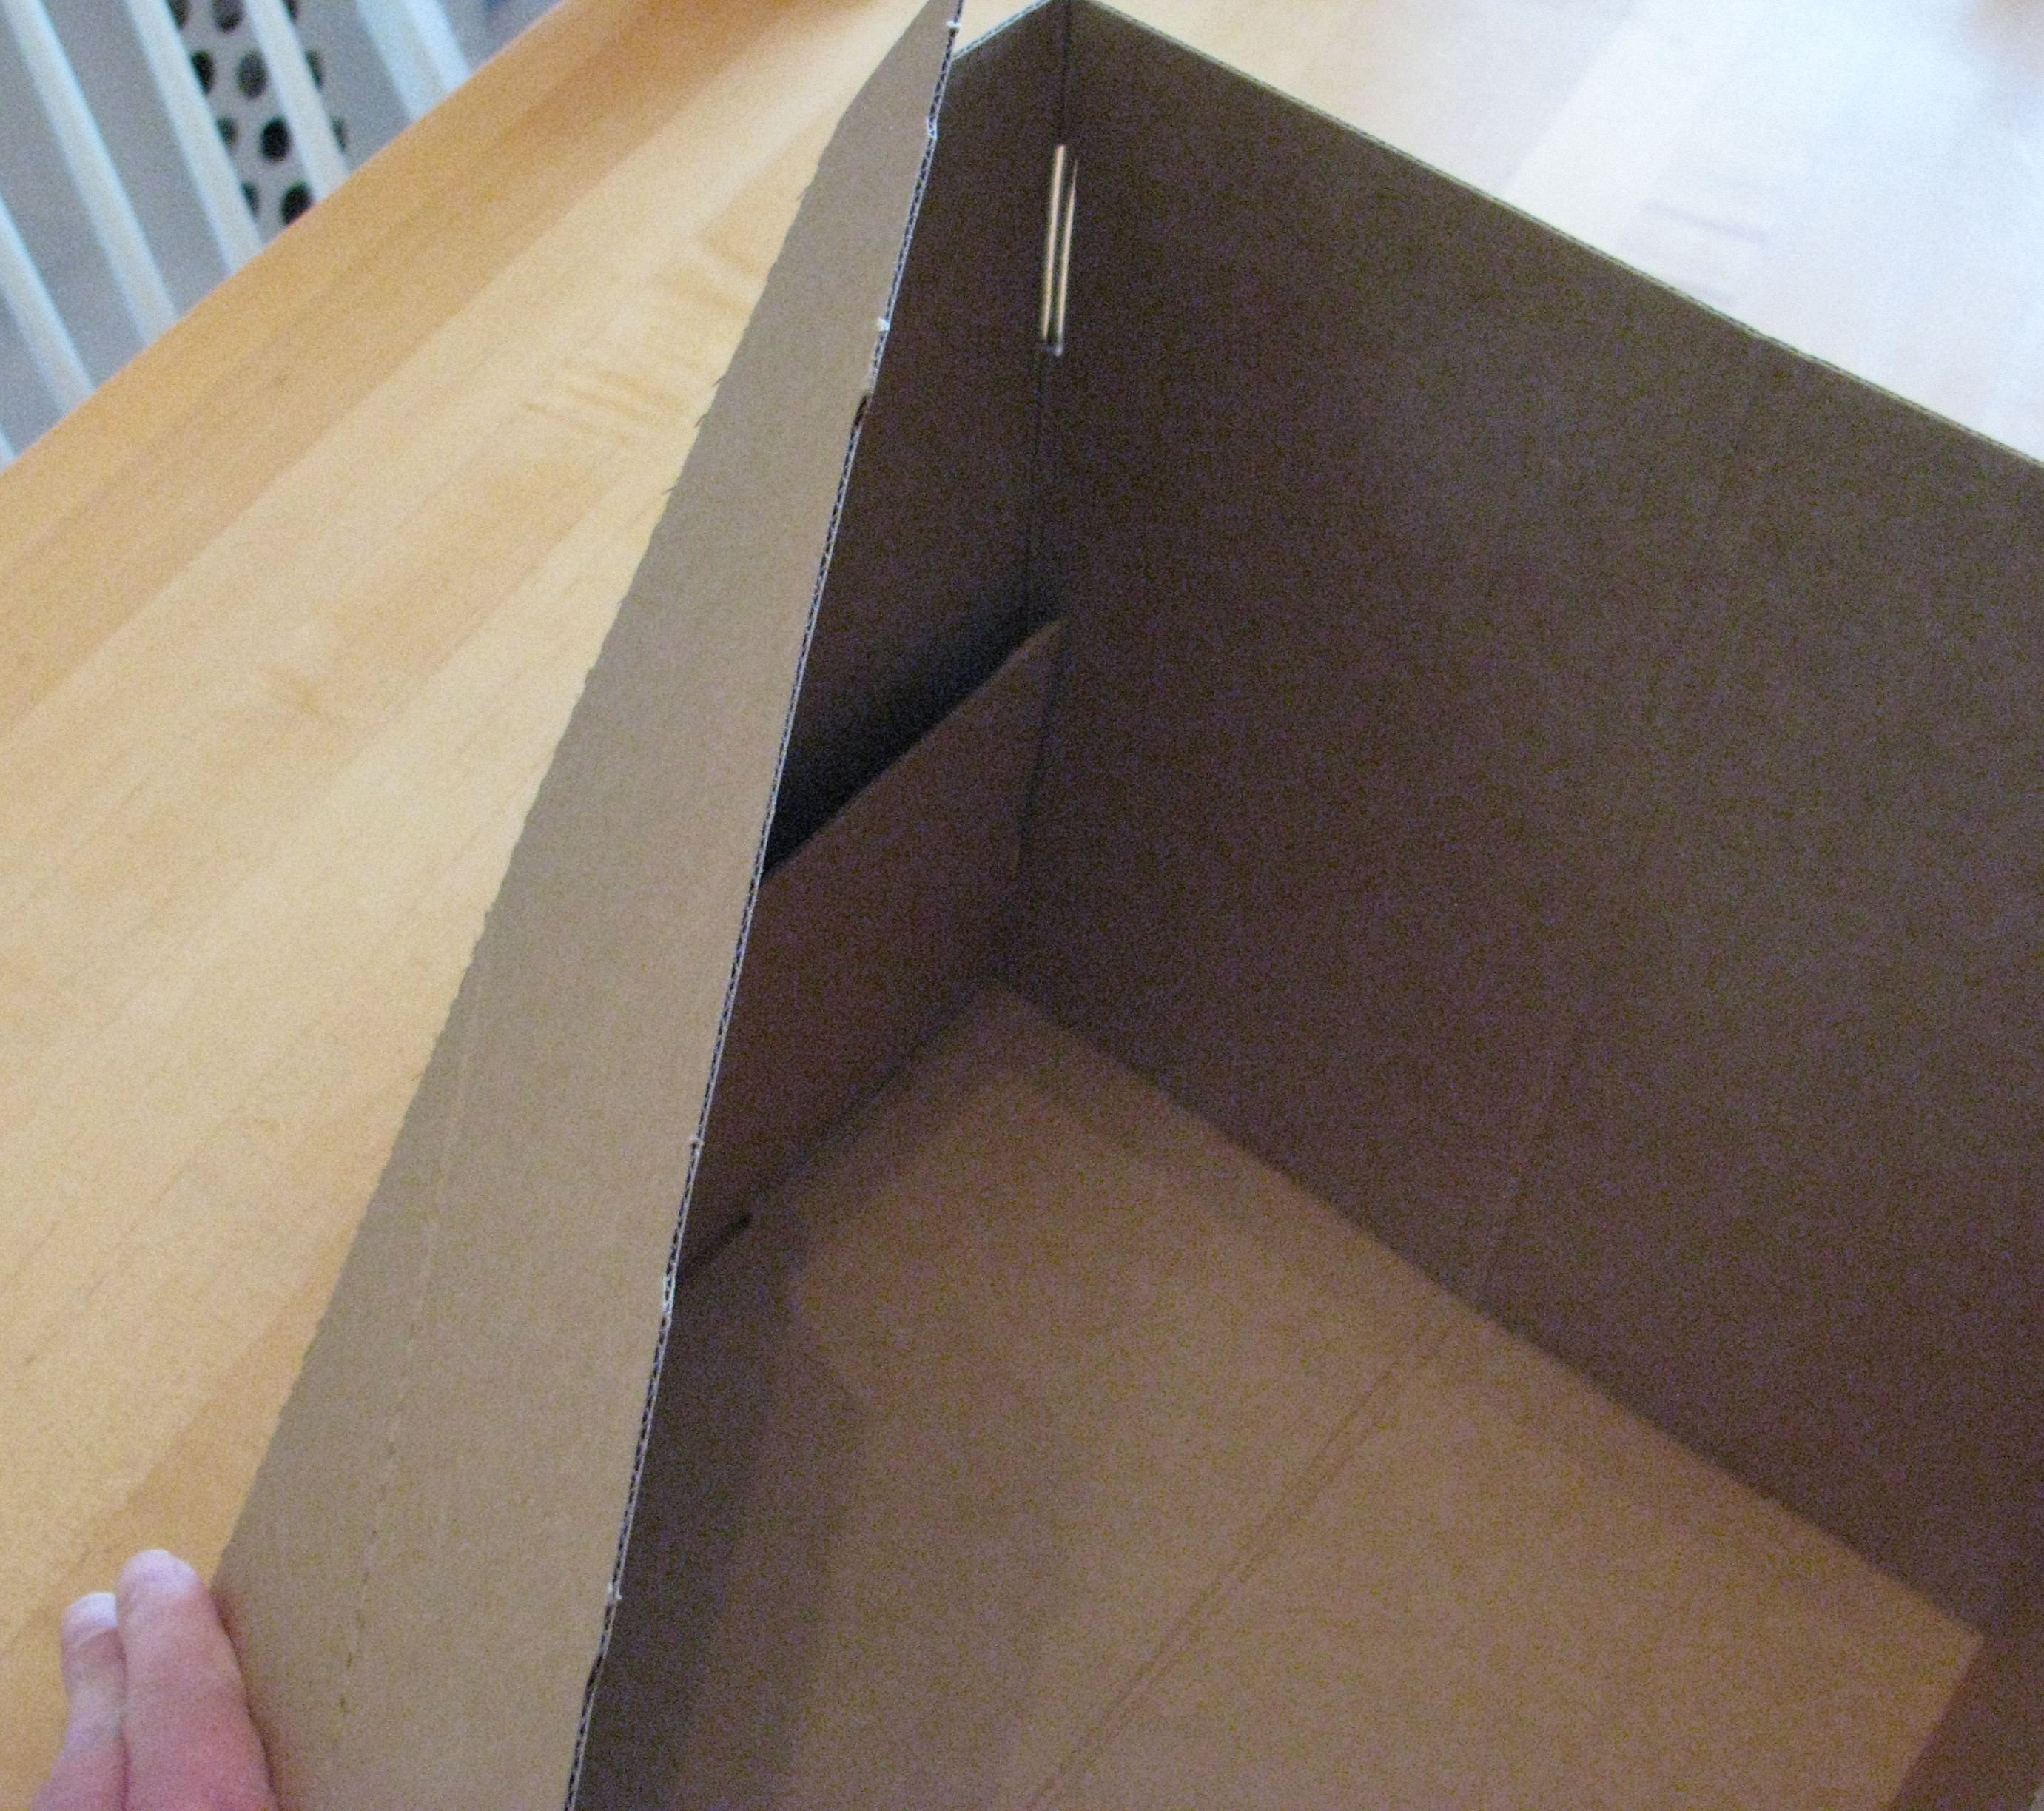
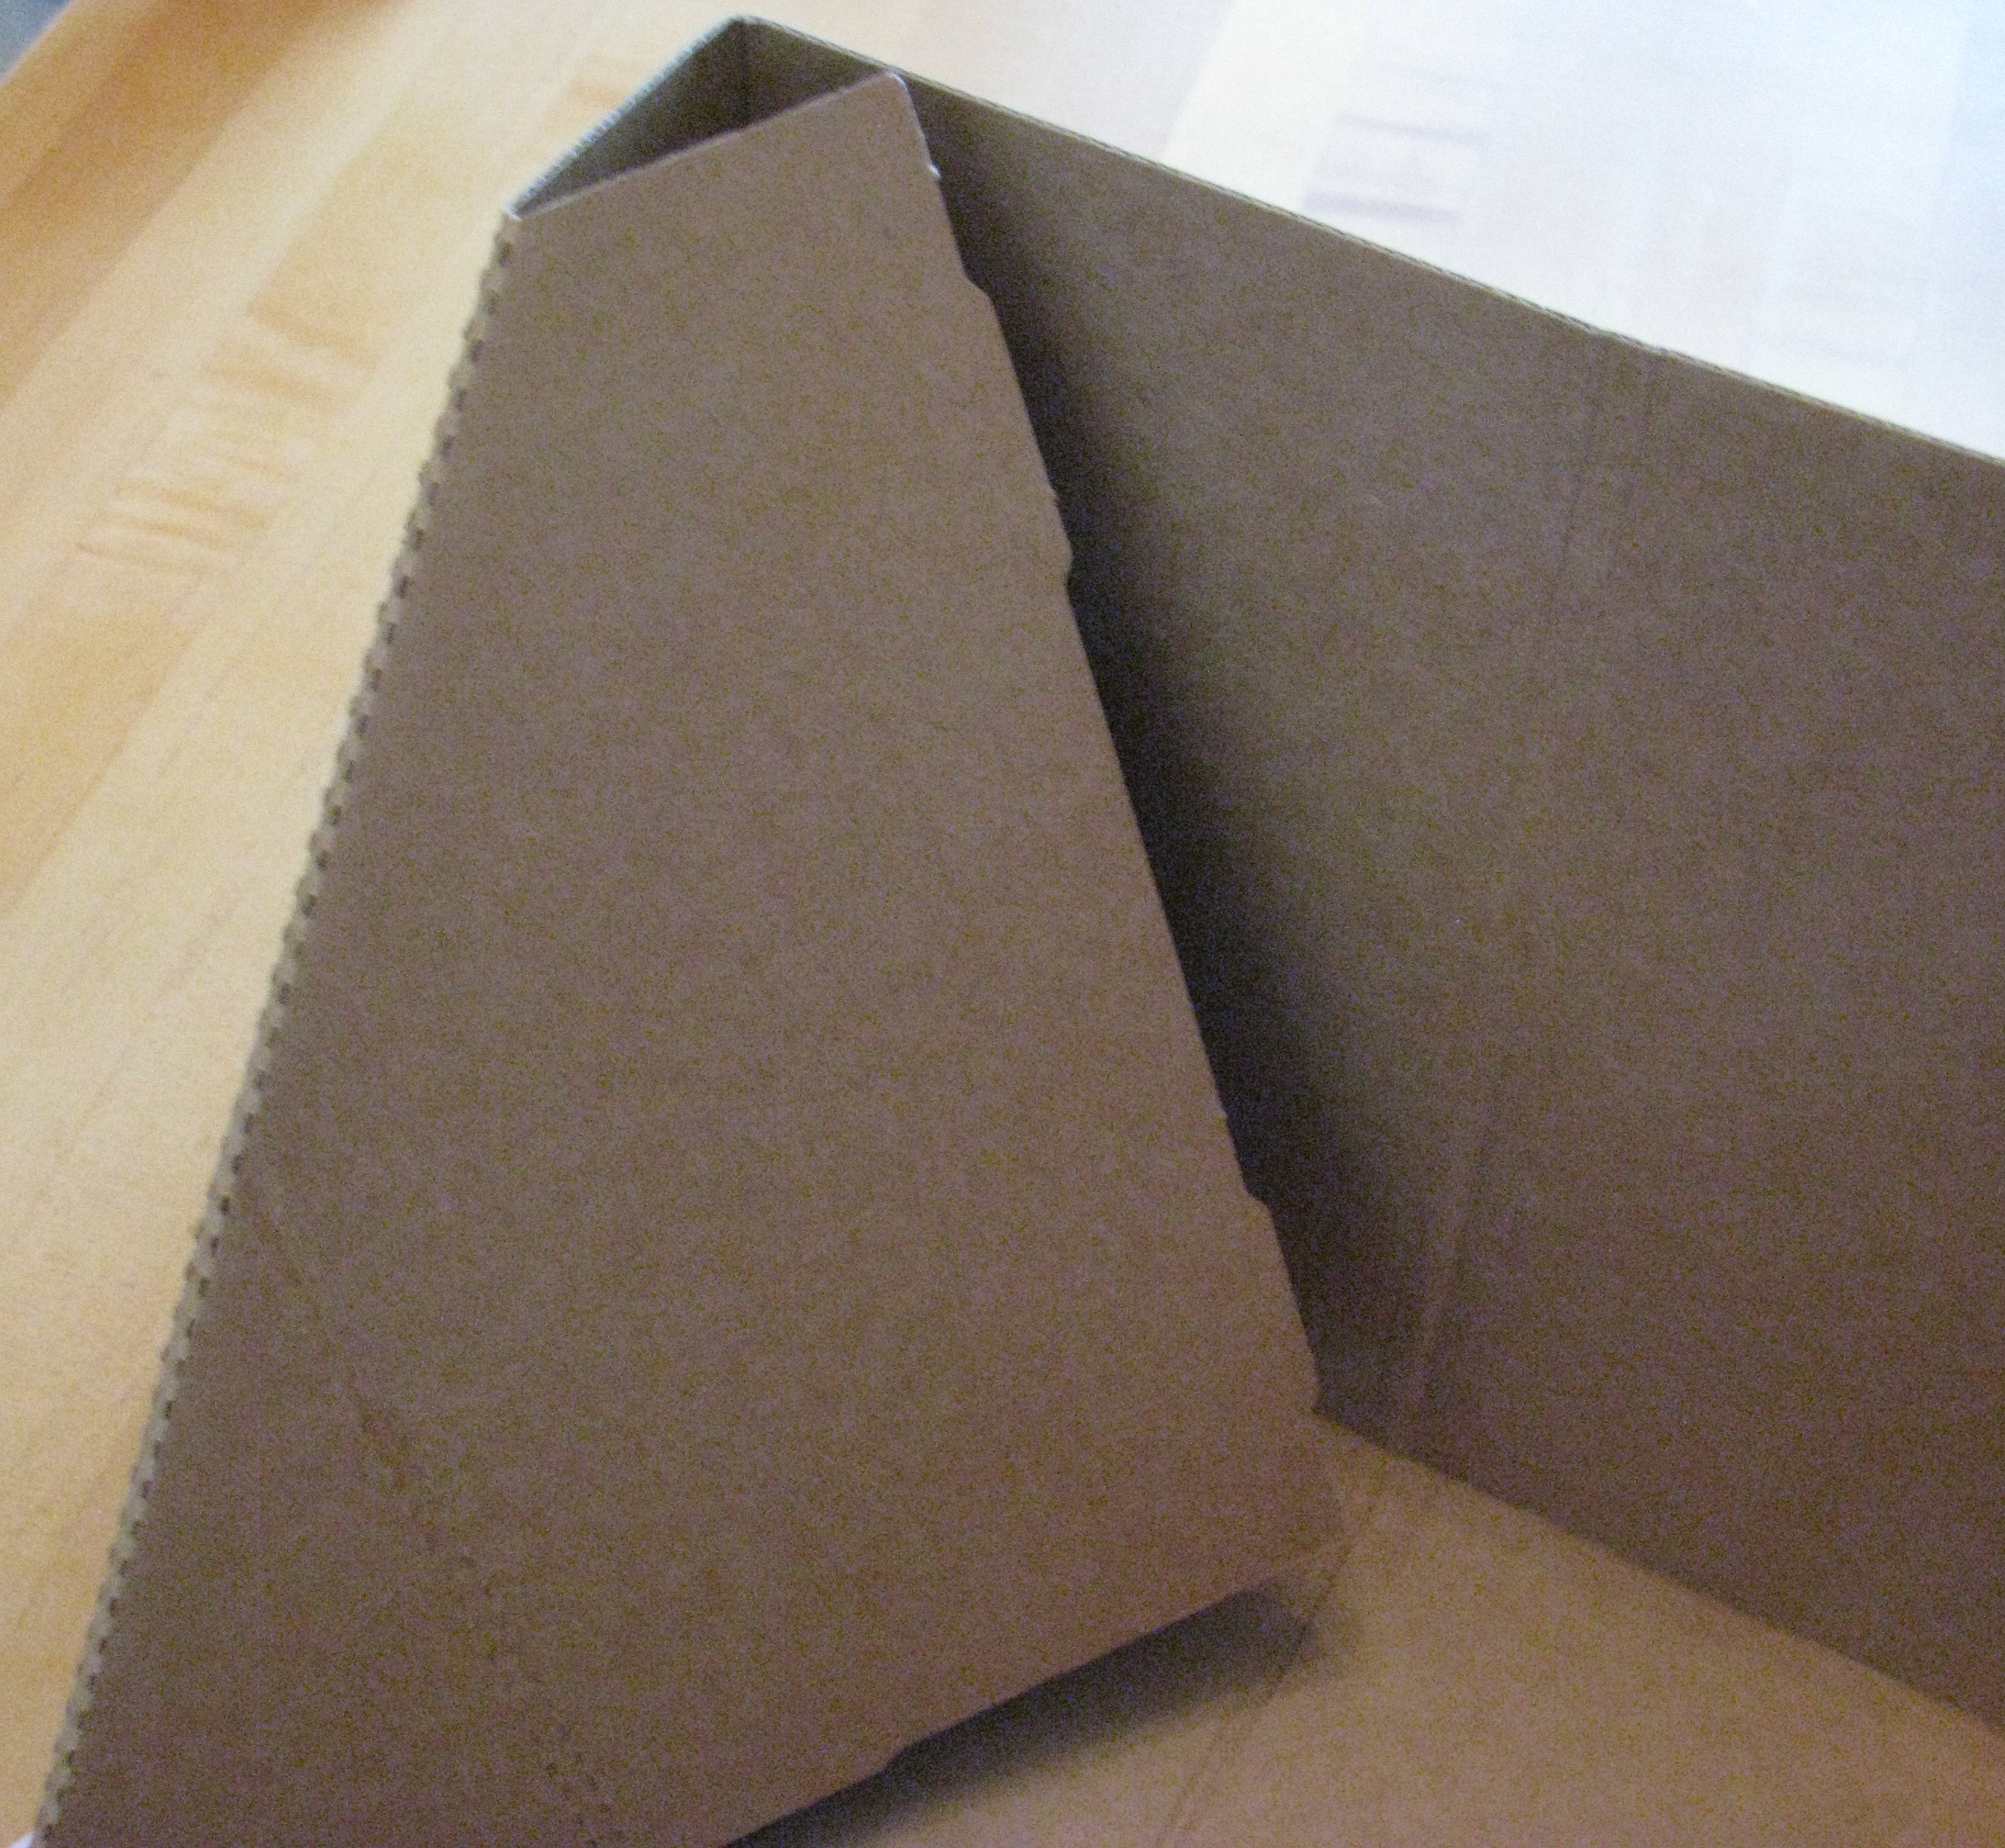
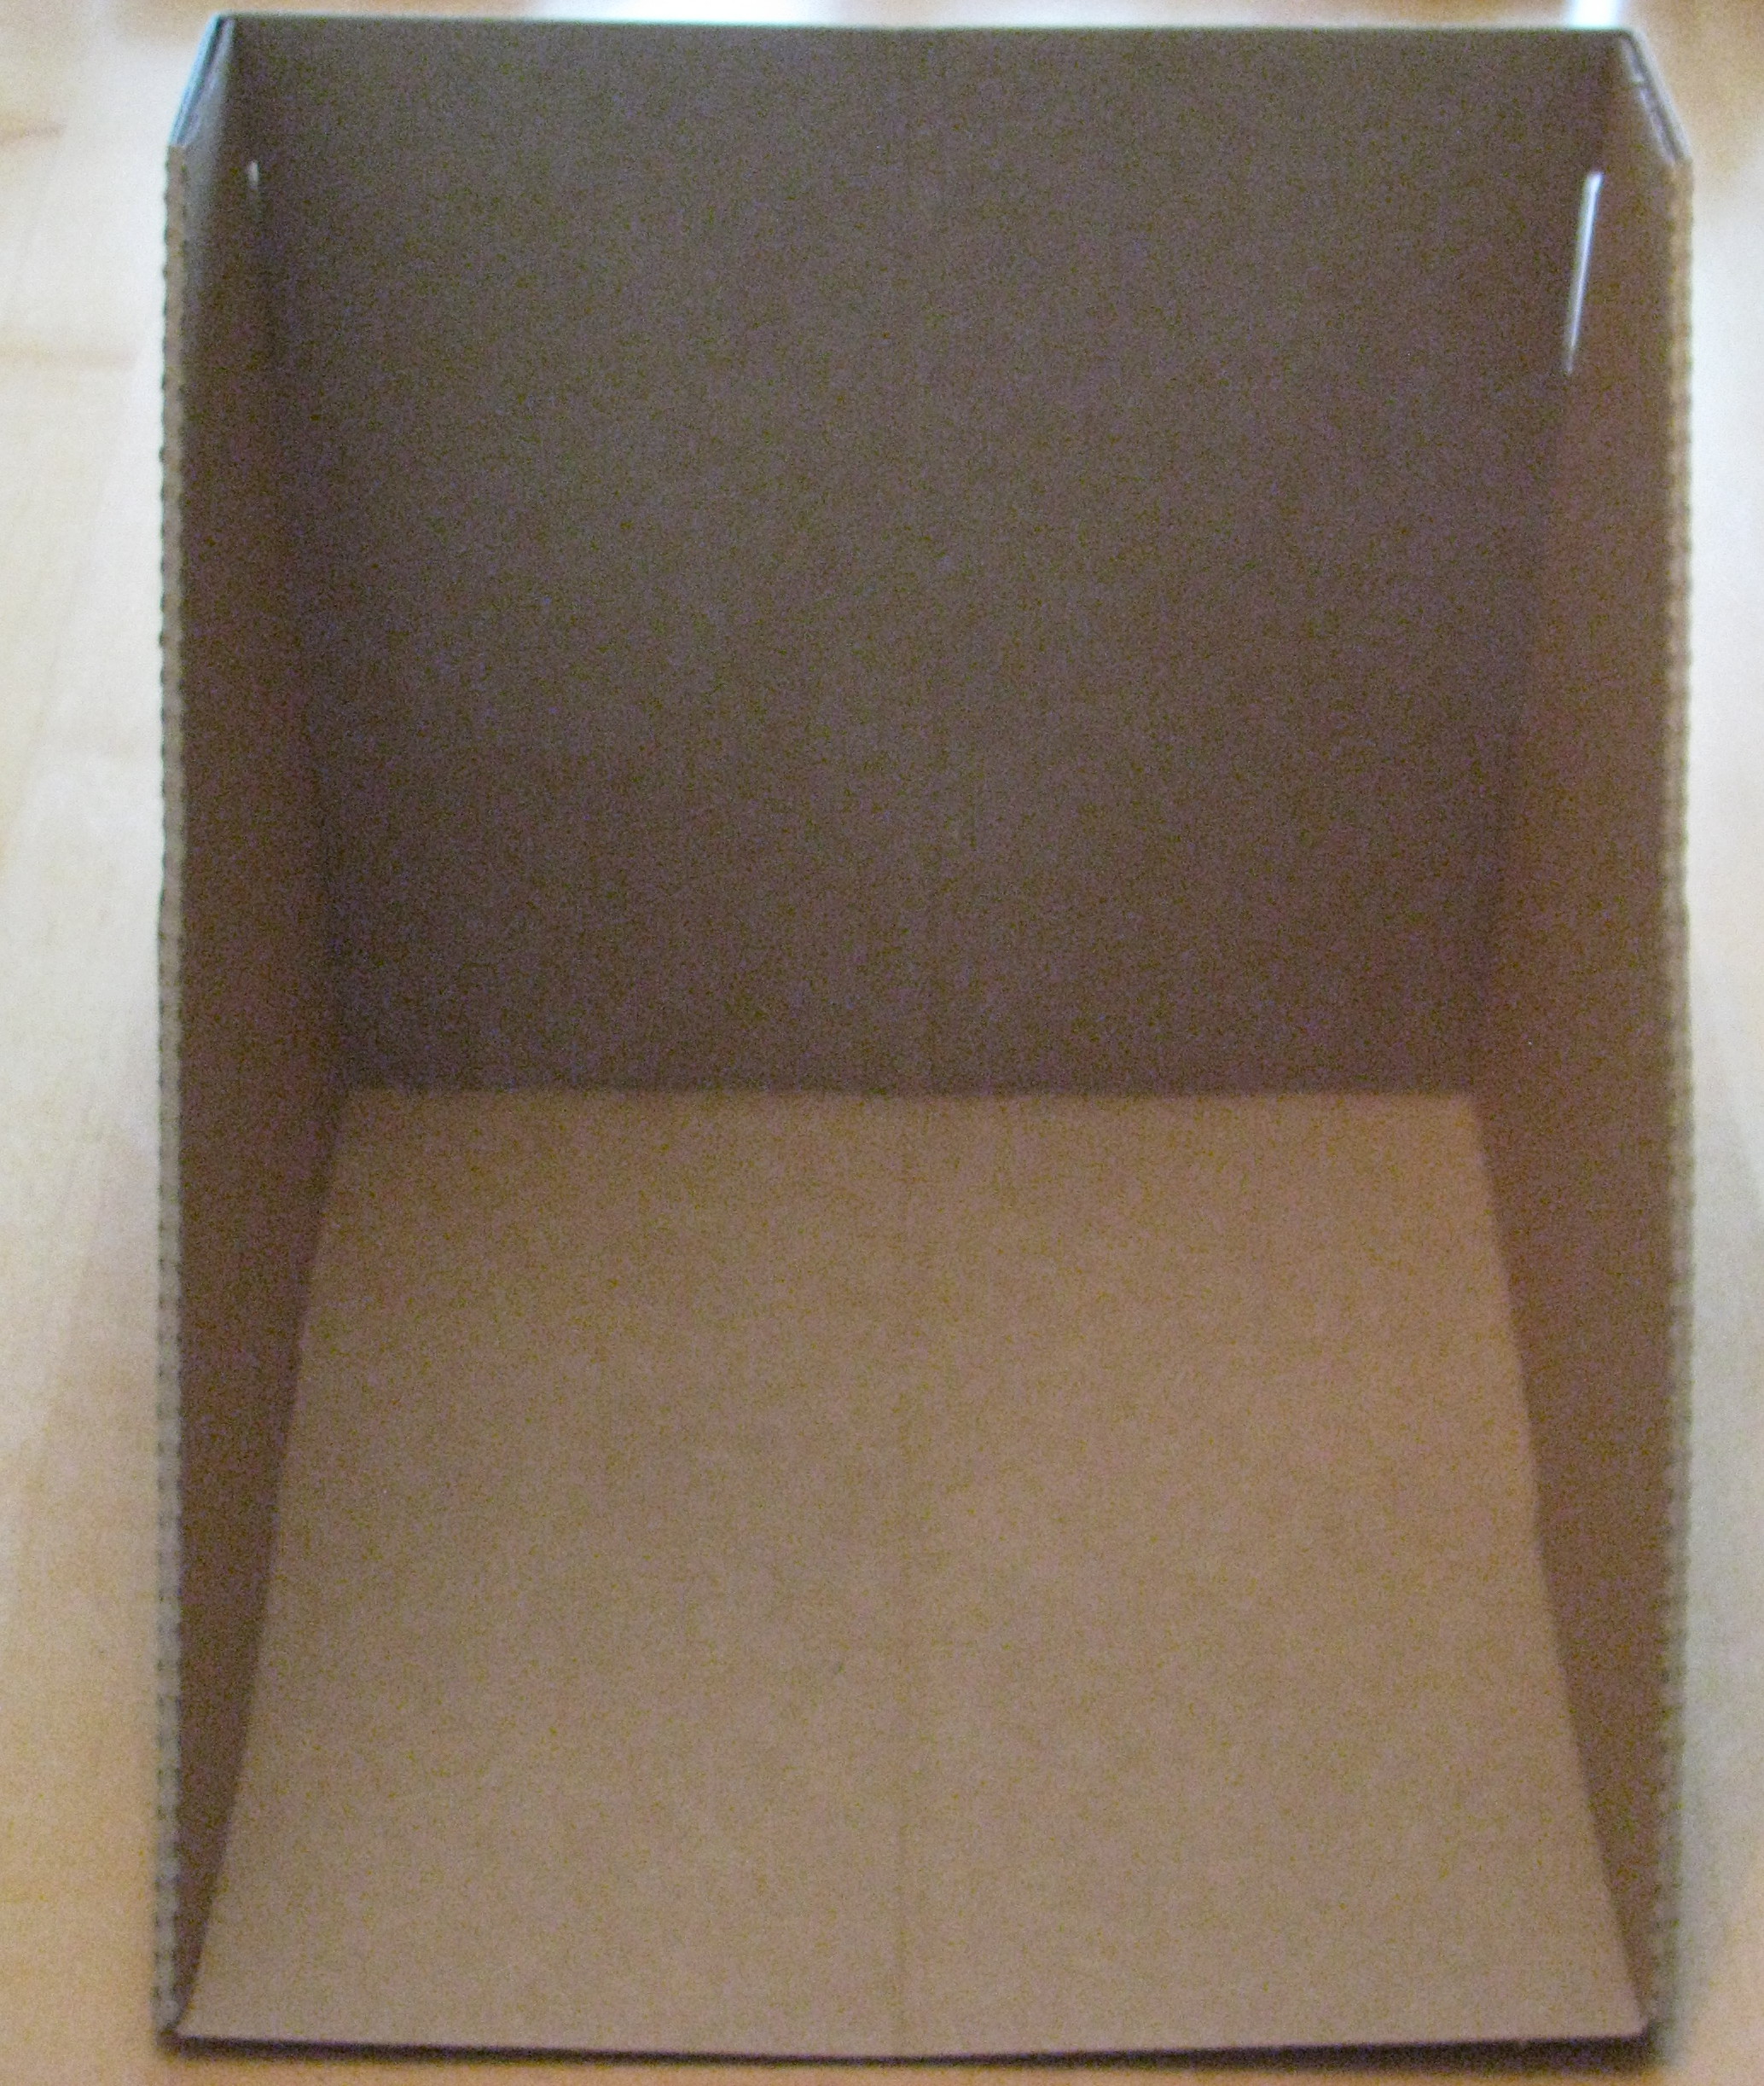
I'm getting ready to try out the new Smooch Spritz in the Summer Mini Catalog (page 15).  A great product Stampin' Up! added to go with the Smooch Spritz is the Color Catcher (#121093) to catch the overspray.  This means you don't have to find your own box to spray in or get colored spray all over your table or patio outside!  The Color Catcher comes all folded up and has a few illustrations on how to assemble, but I thought I would take pictures of how I assembled mine.  Not really hard, but at first it might look confusing.

This is what it looks like out of the package:

Color Catcher 

Open it up!
 

Color Catcher 

Open it and spread it out on your table, being careful not to knock over your cup of hot tea!  You can follow the enclosed instructions to see how to lay it out right.
Color Catcher 

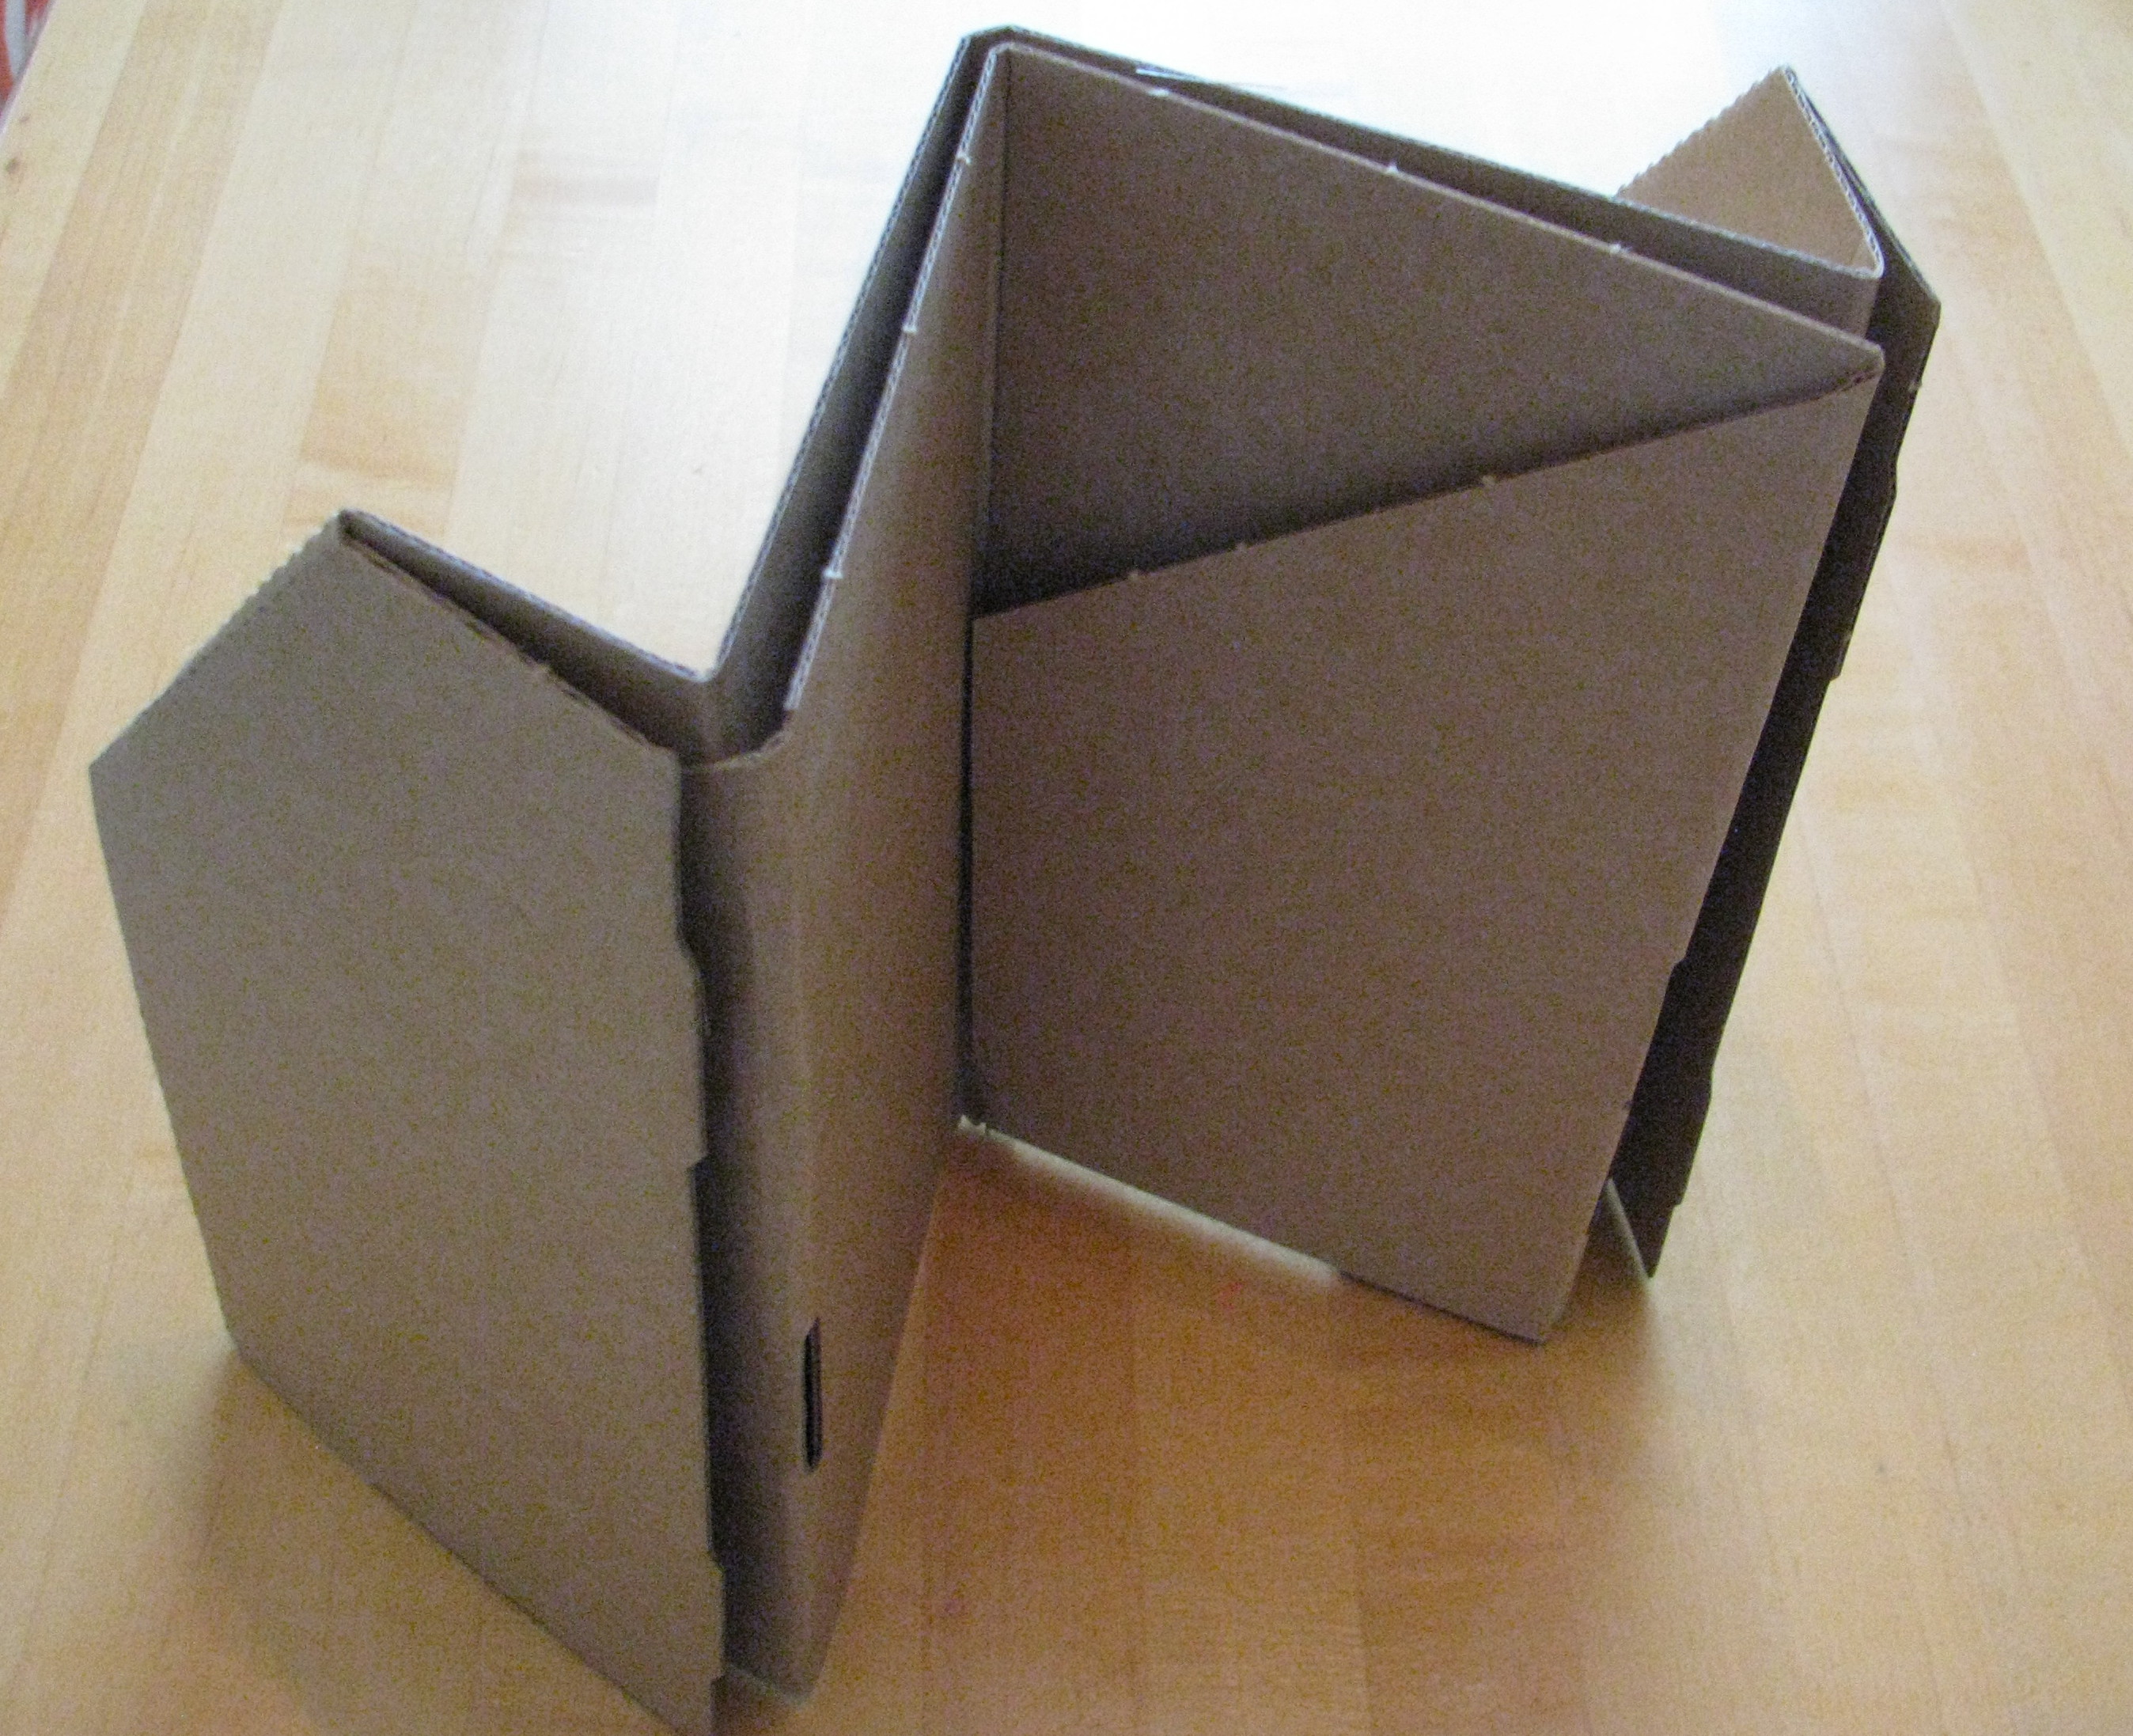
Fold up the backside of the Color Catcher.
Color Catcher  

Fold the bottom side flaps up and pull the sides in.
Color Catcher  

The other side.
Color Catcher  

Now you're going to fold the side flap down over the folded up bottom flap.
Color Catcher 

It almost feels like you are doing it wrong, but just fold it and  you will see that those tabs are going to go into the back and one at the bottom.
Color Catcher 

Voila!!  You have a Color Catcher!  And when you are not using it, you can unfold it and store compactly (which is important for most of us stampers, scrapbookers, and crafters!)
Color Catcher  

Now go get your Smooch Spritz, shake it up, and spray away!

Even if you are not a stamper, you can use this for any kind of craft projects where you want a little protection when spraying or maybe some other techniques.  Assembled size 10" x 10" x 10".

Please sign up for my mailing list in the box in the upper left corner!  You can keep up with the latest Stampin' Up! news and products as well as stamping projects and tips!


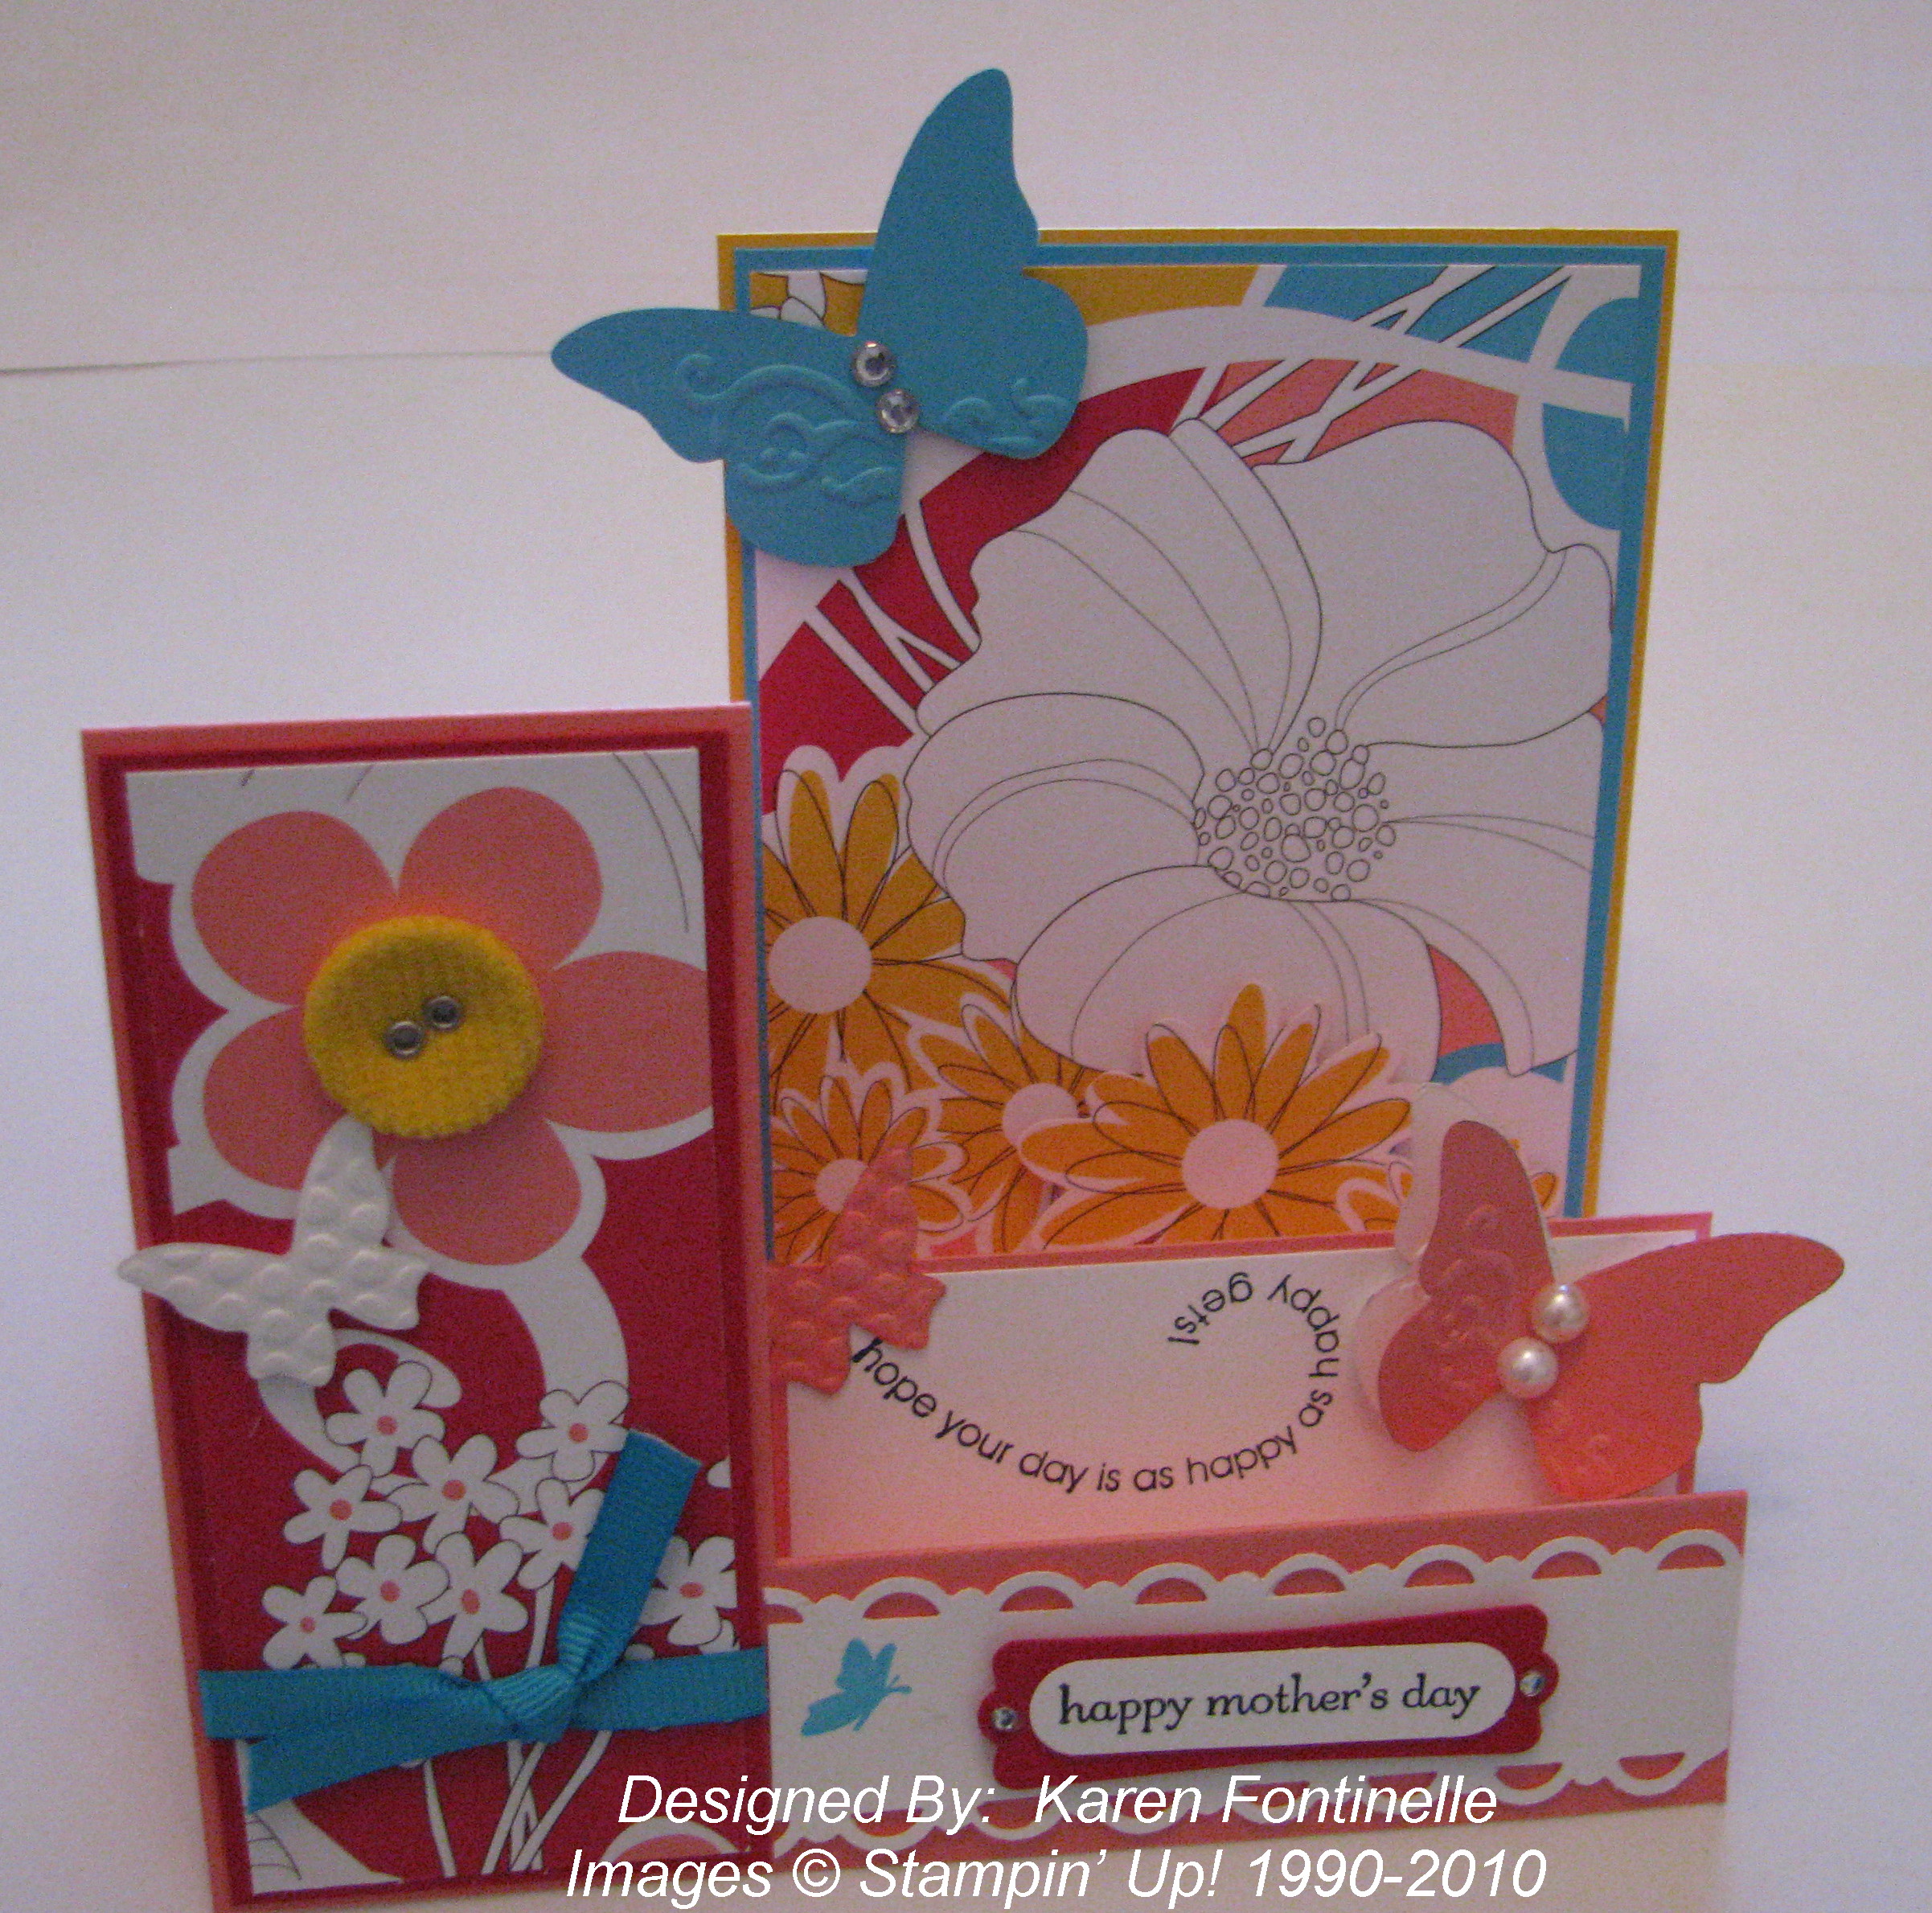
Mother’s Day Stair Step Card

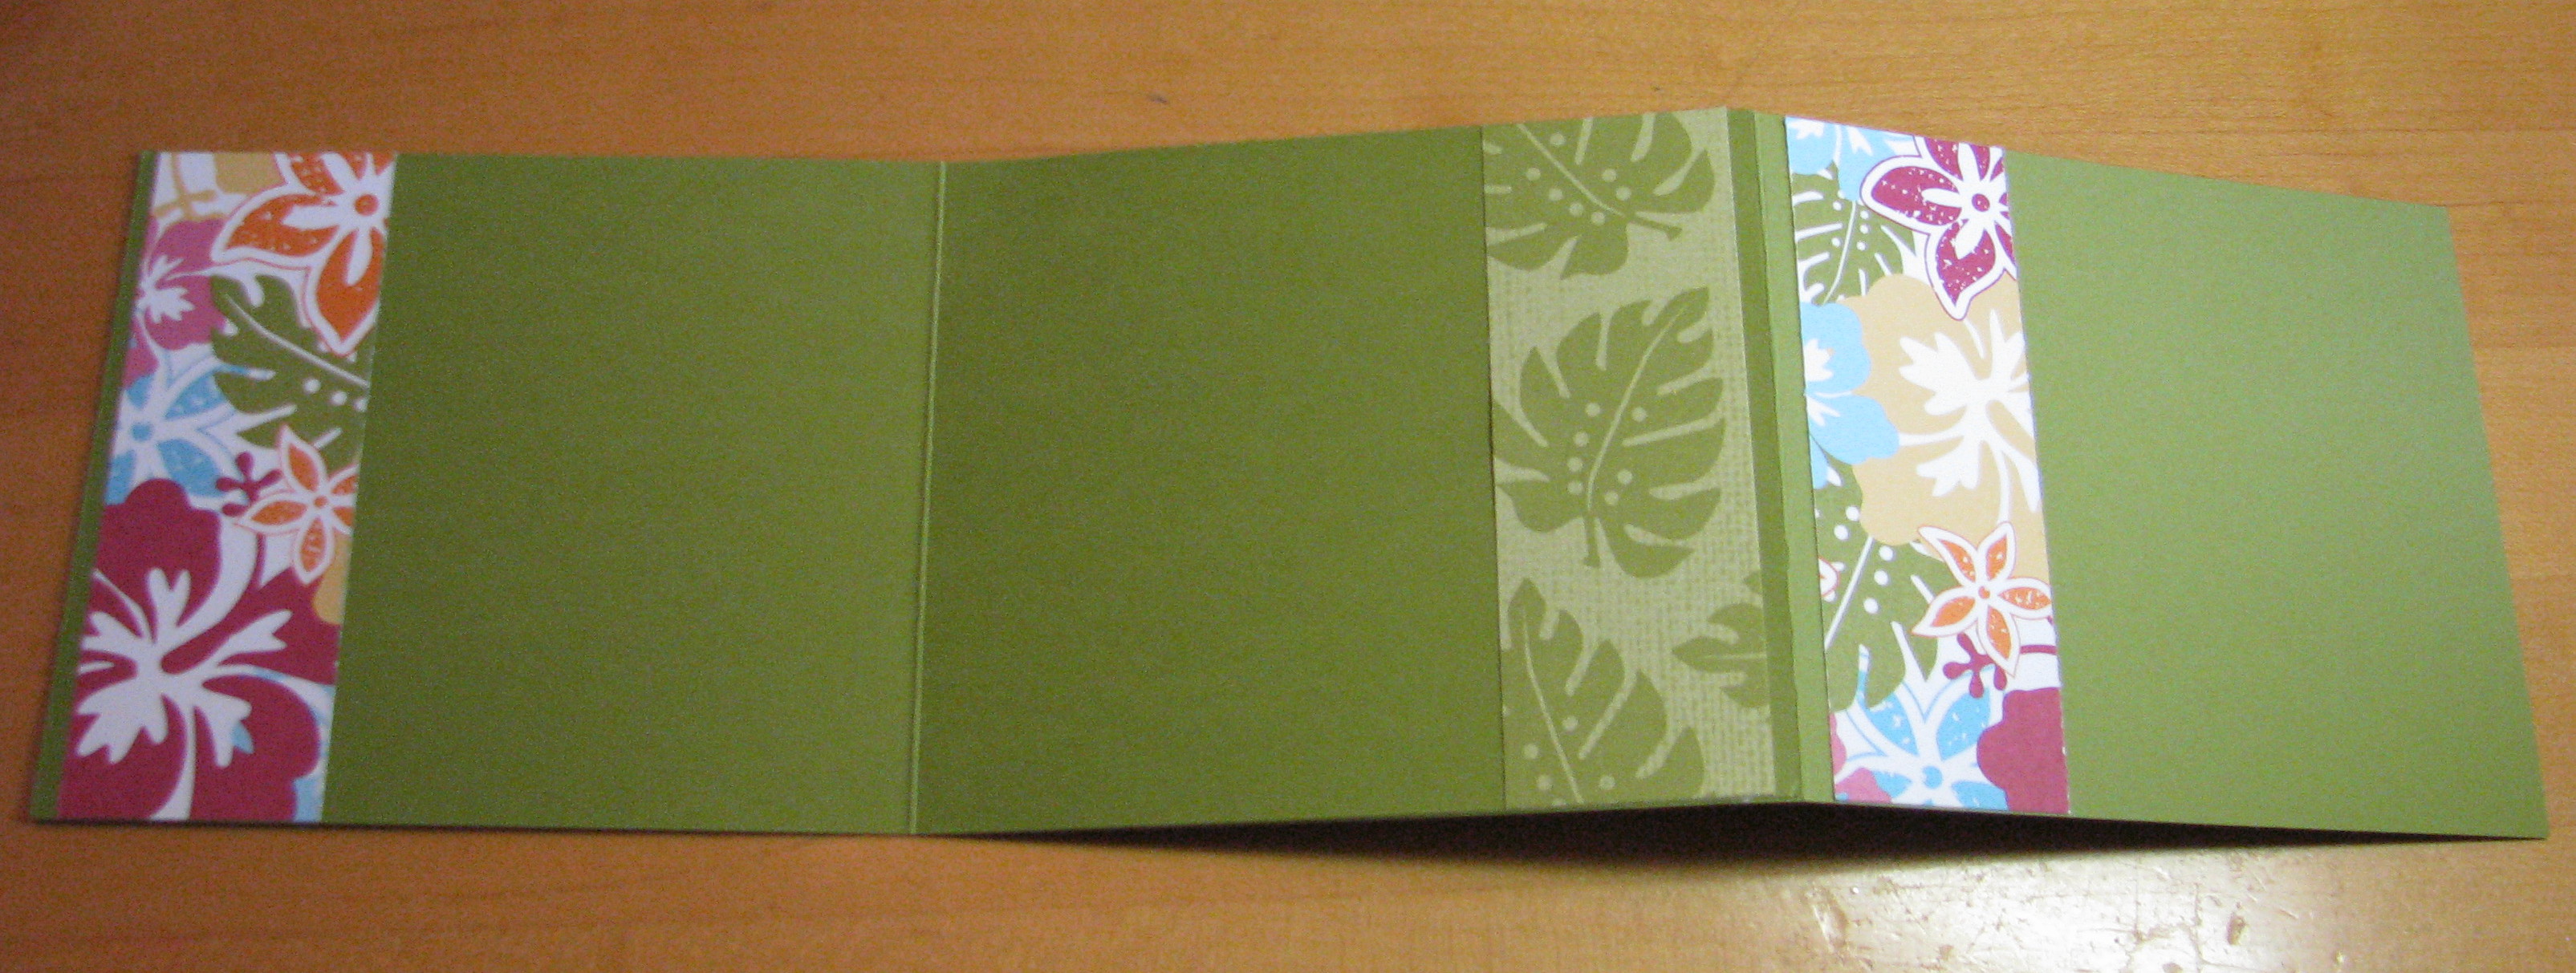
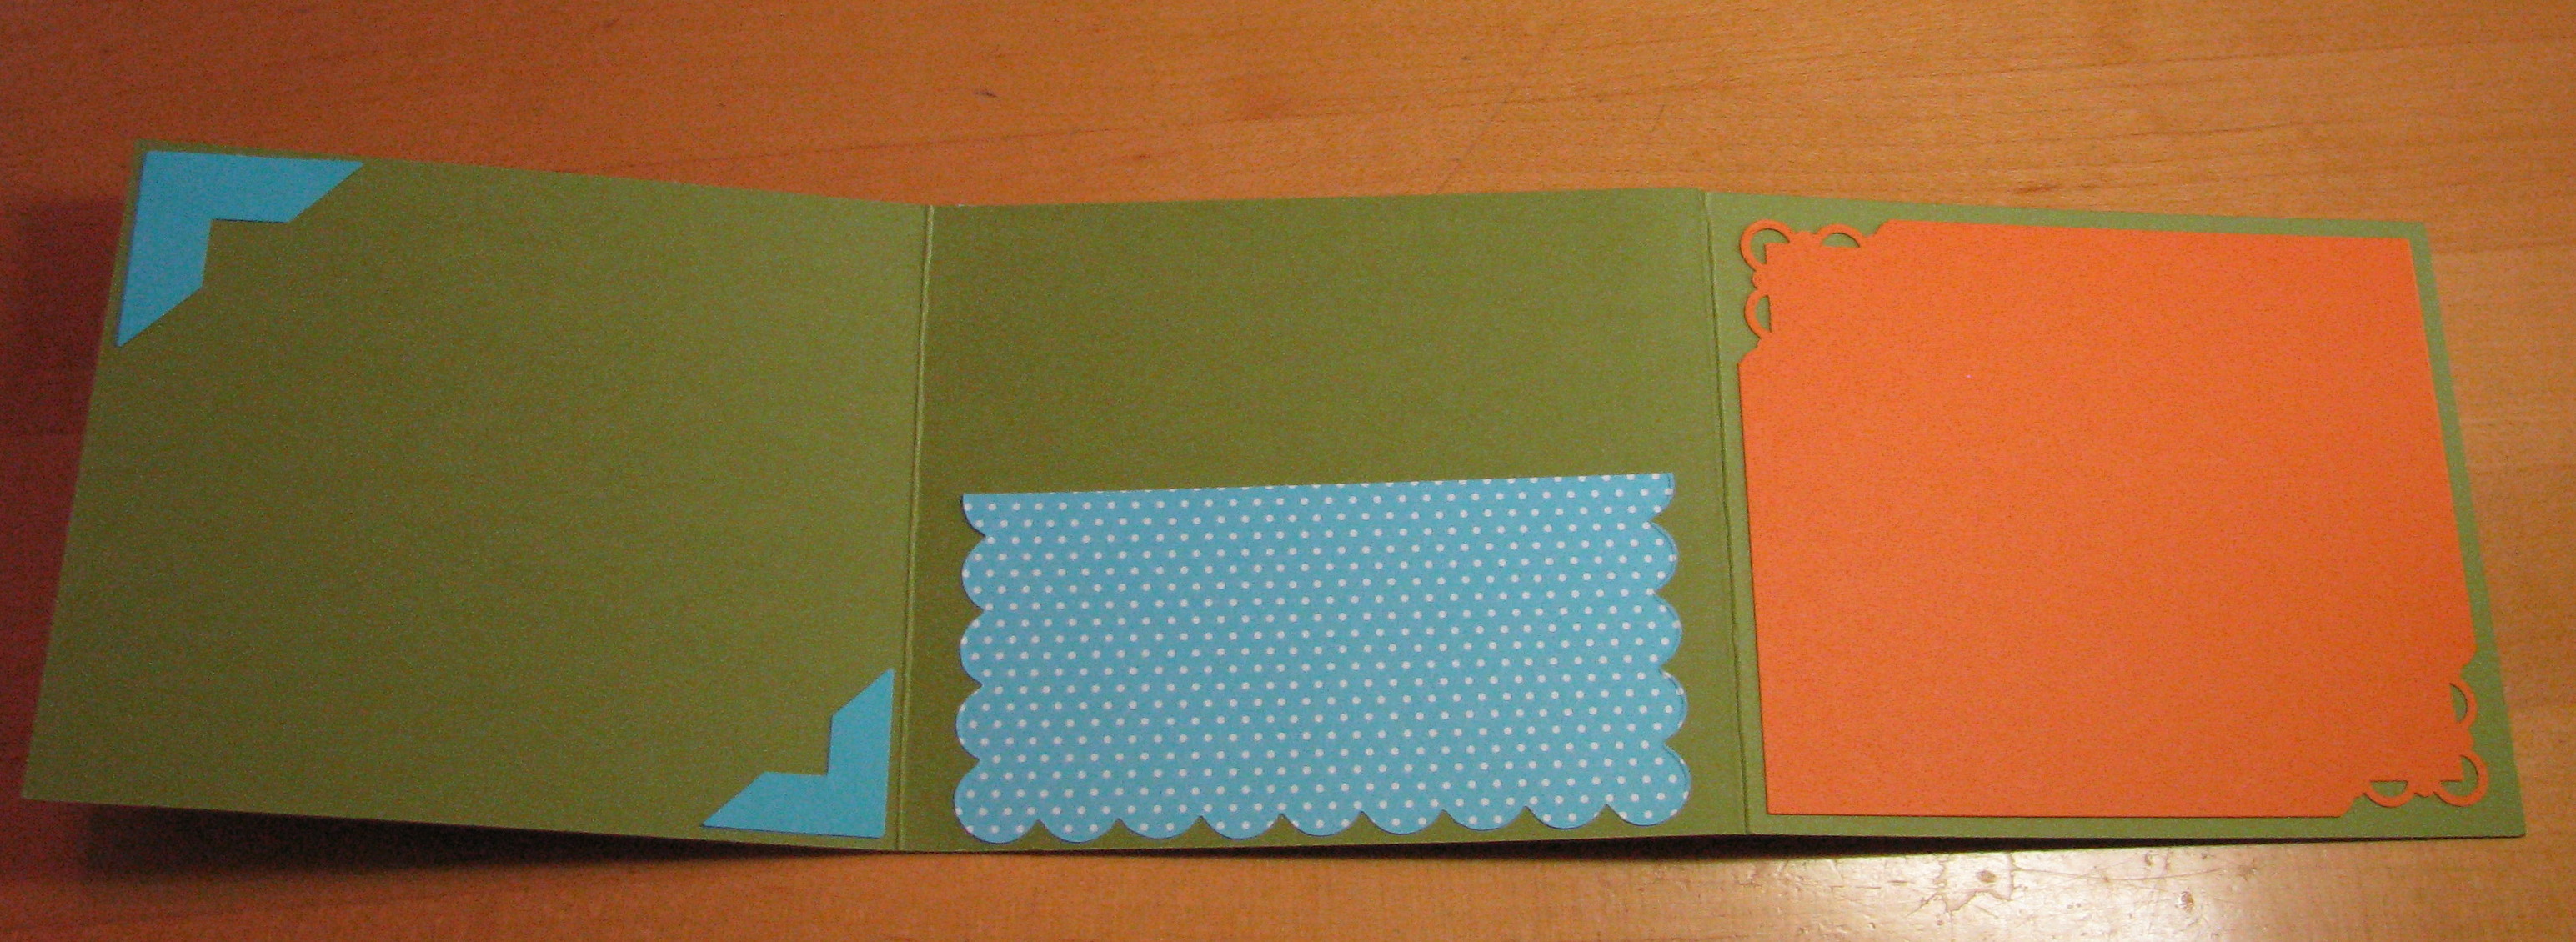
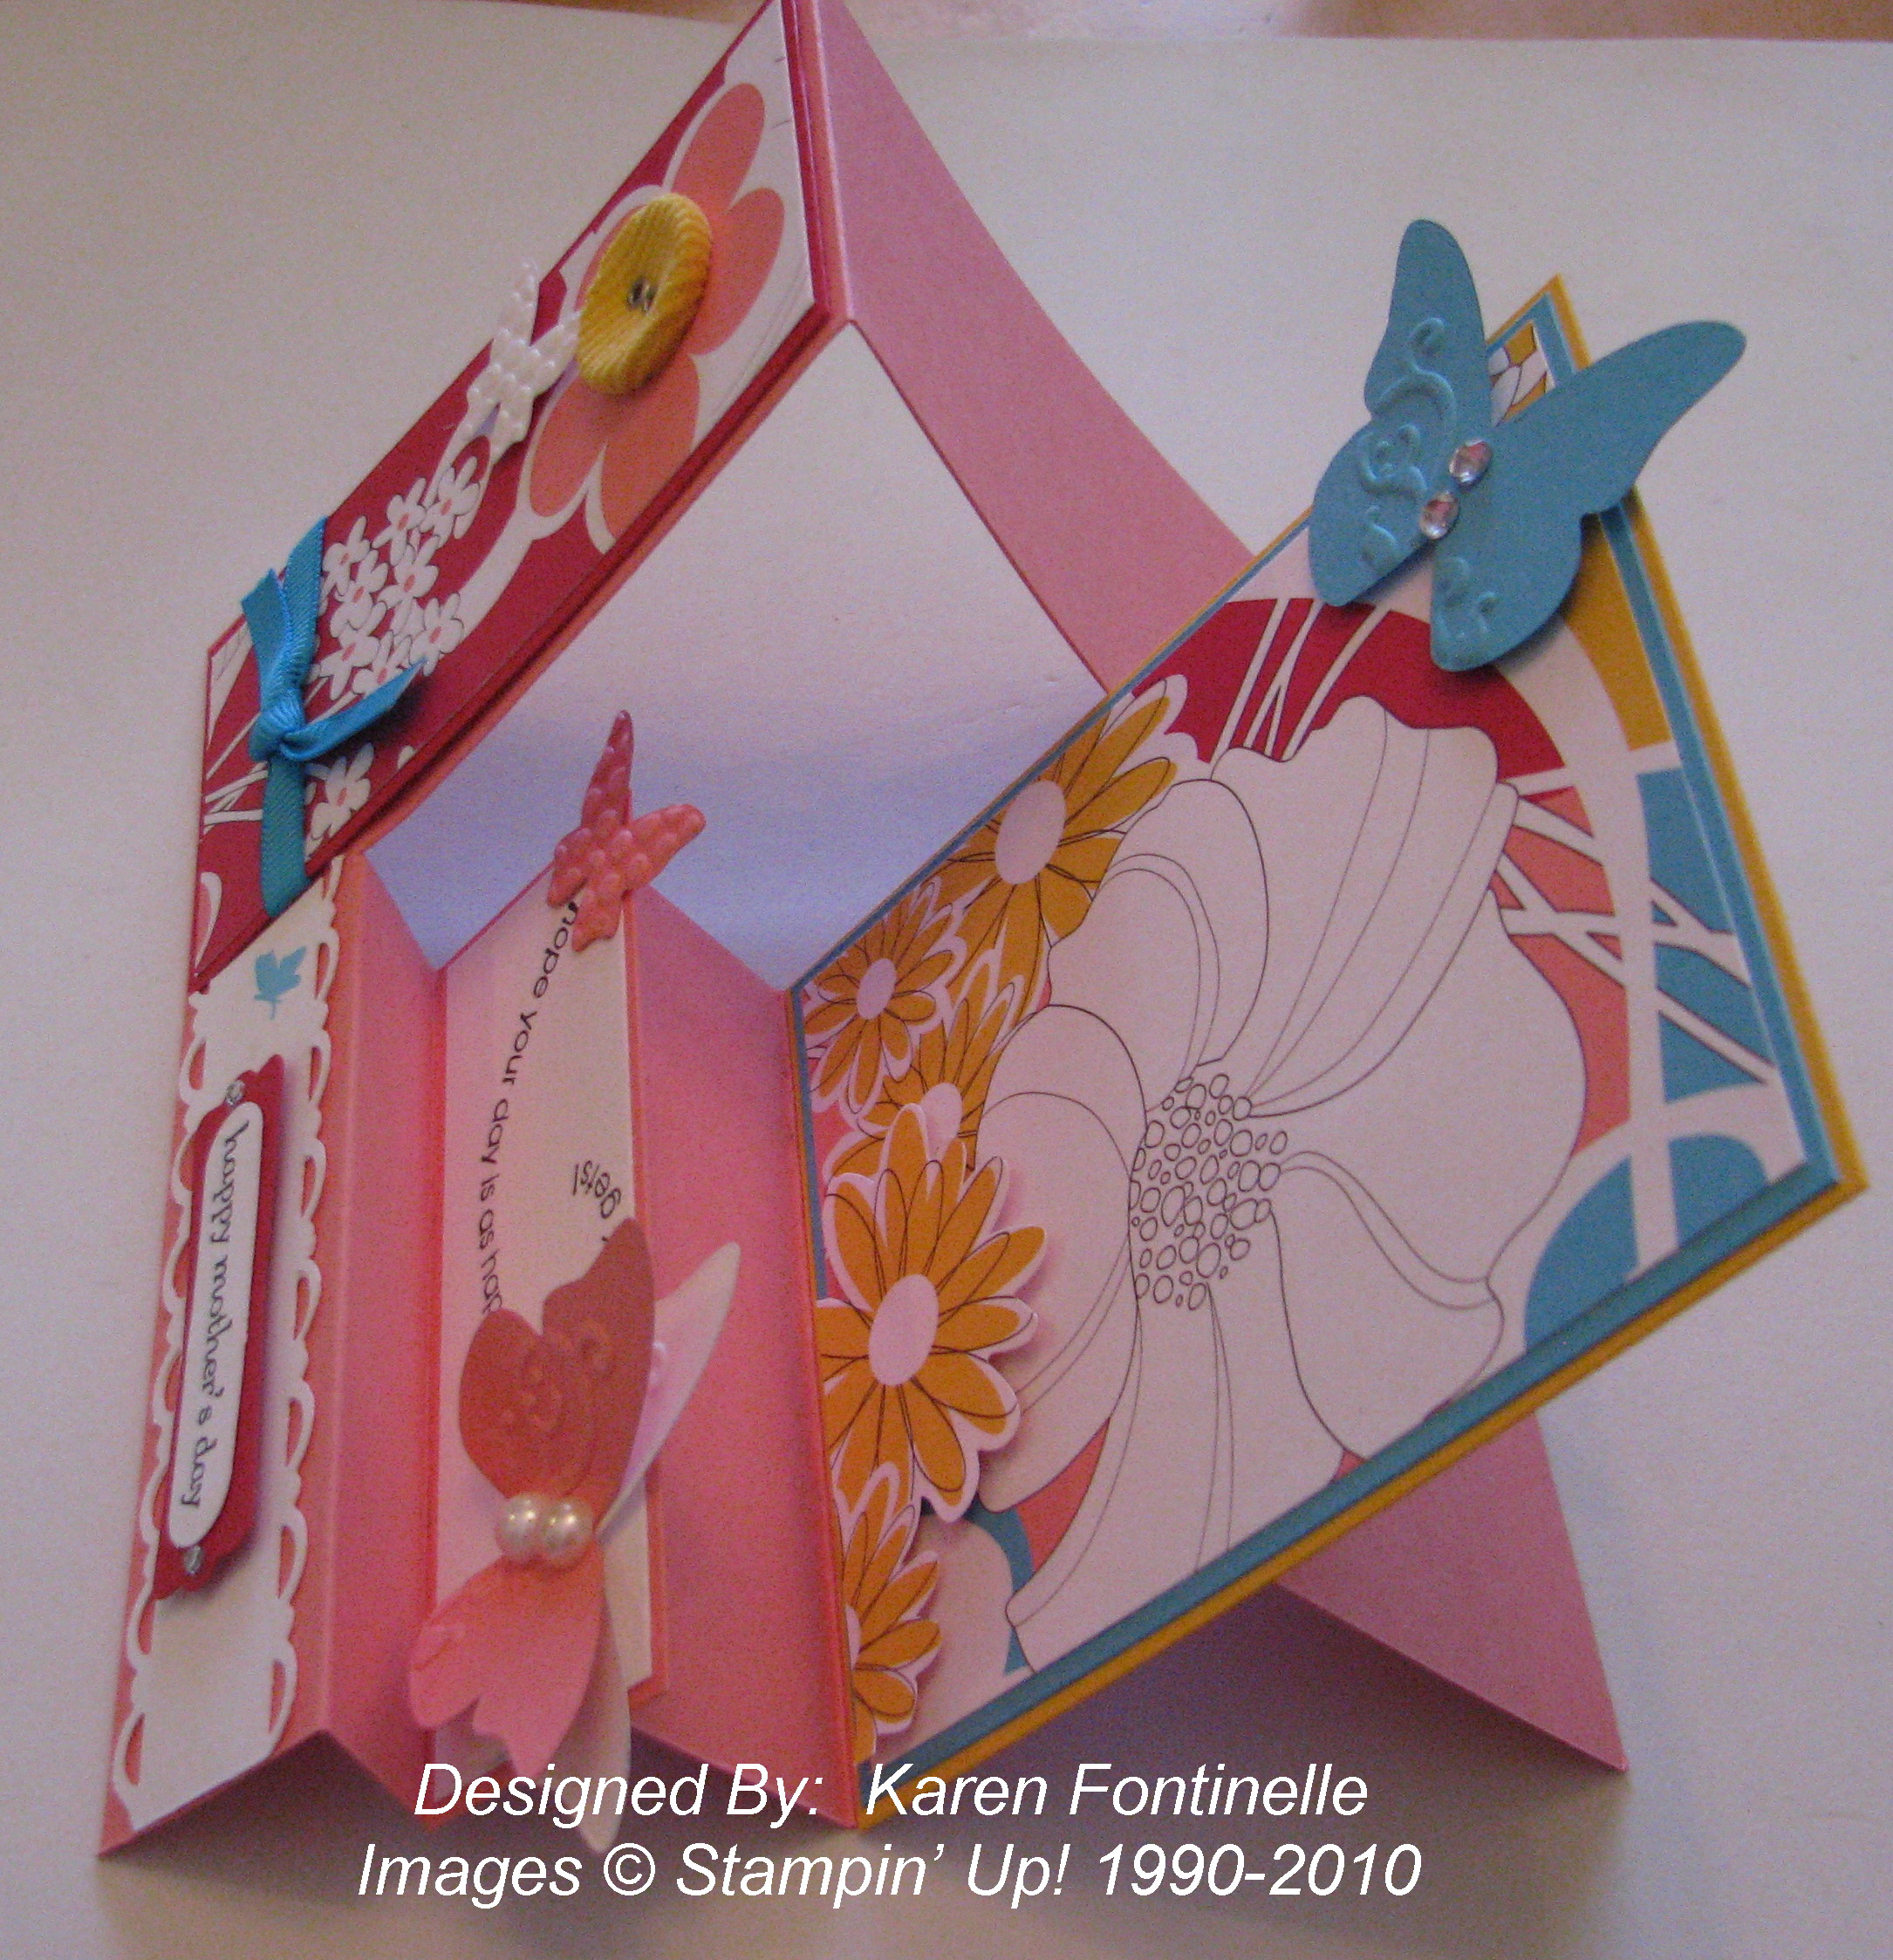
This was my first attempt at a "stair step" card, and it was very easy to make.  (If I could find the measurements I used I would post them! Maybe later!)  All you really do is fold your card stock in a series of accordion folds.  If you want the side panel like I have on this card, you cut a slit to separate it from the rest of the folds.  Then you just add whatever fanciness you want to each stair step!  On this card I used the Pink Flamingo Designer Series Paper #113976 and the Stampin' Up! Beautiful Wings Embosslit Die #118138 to make the butterflies.

Mother's Day Stair Step Card
Mother's Day Stair Step Card from the side
 

If you would like to purchase any of the supplies to make this card, just click on the red Order Online button in the upper right of my blog! 

Choo Choo….Who Doesn’t Love Trains?!

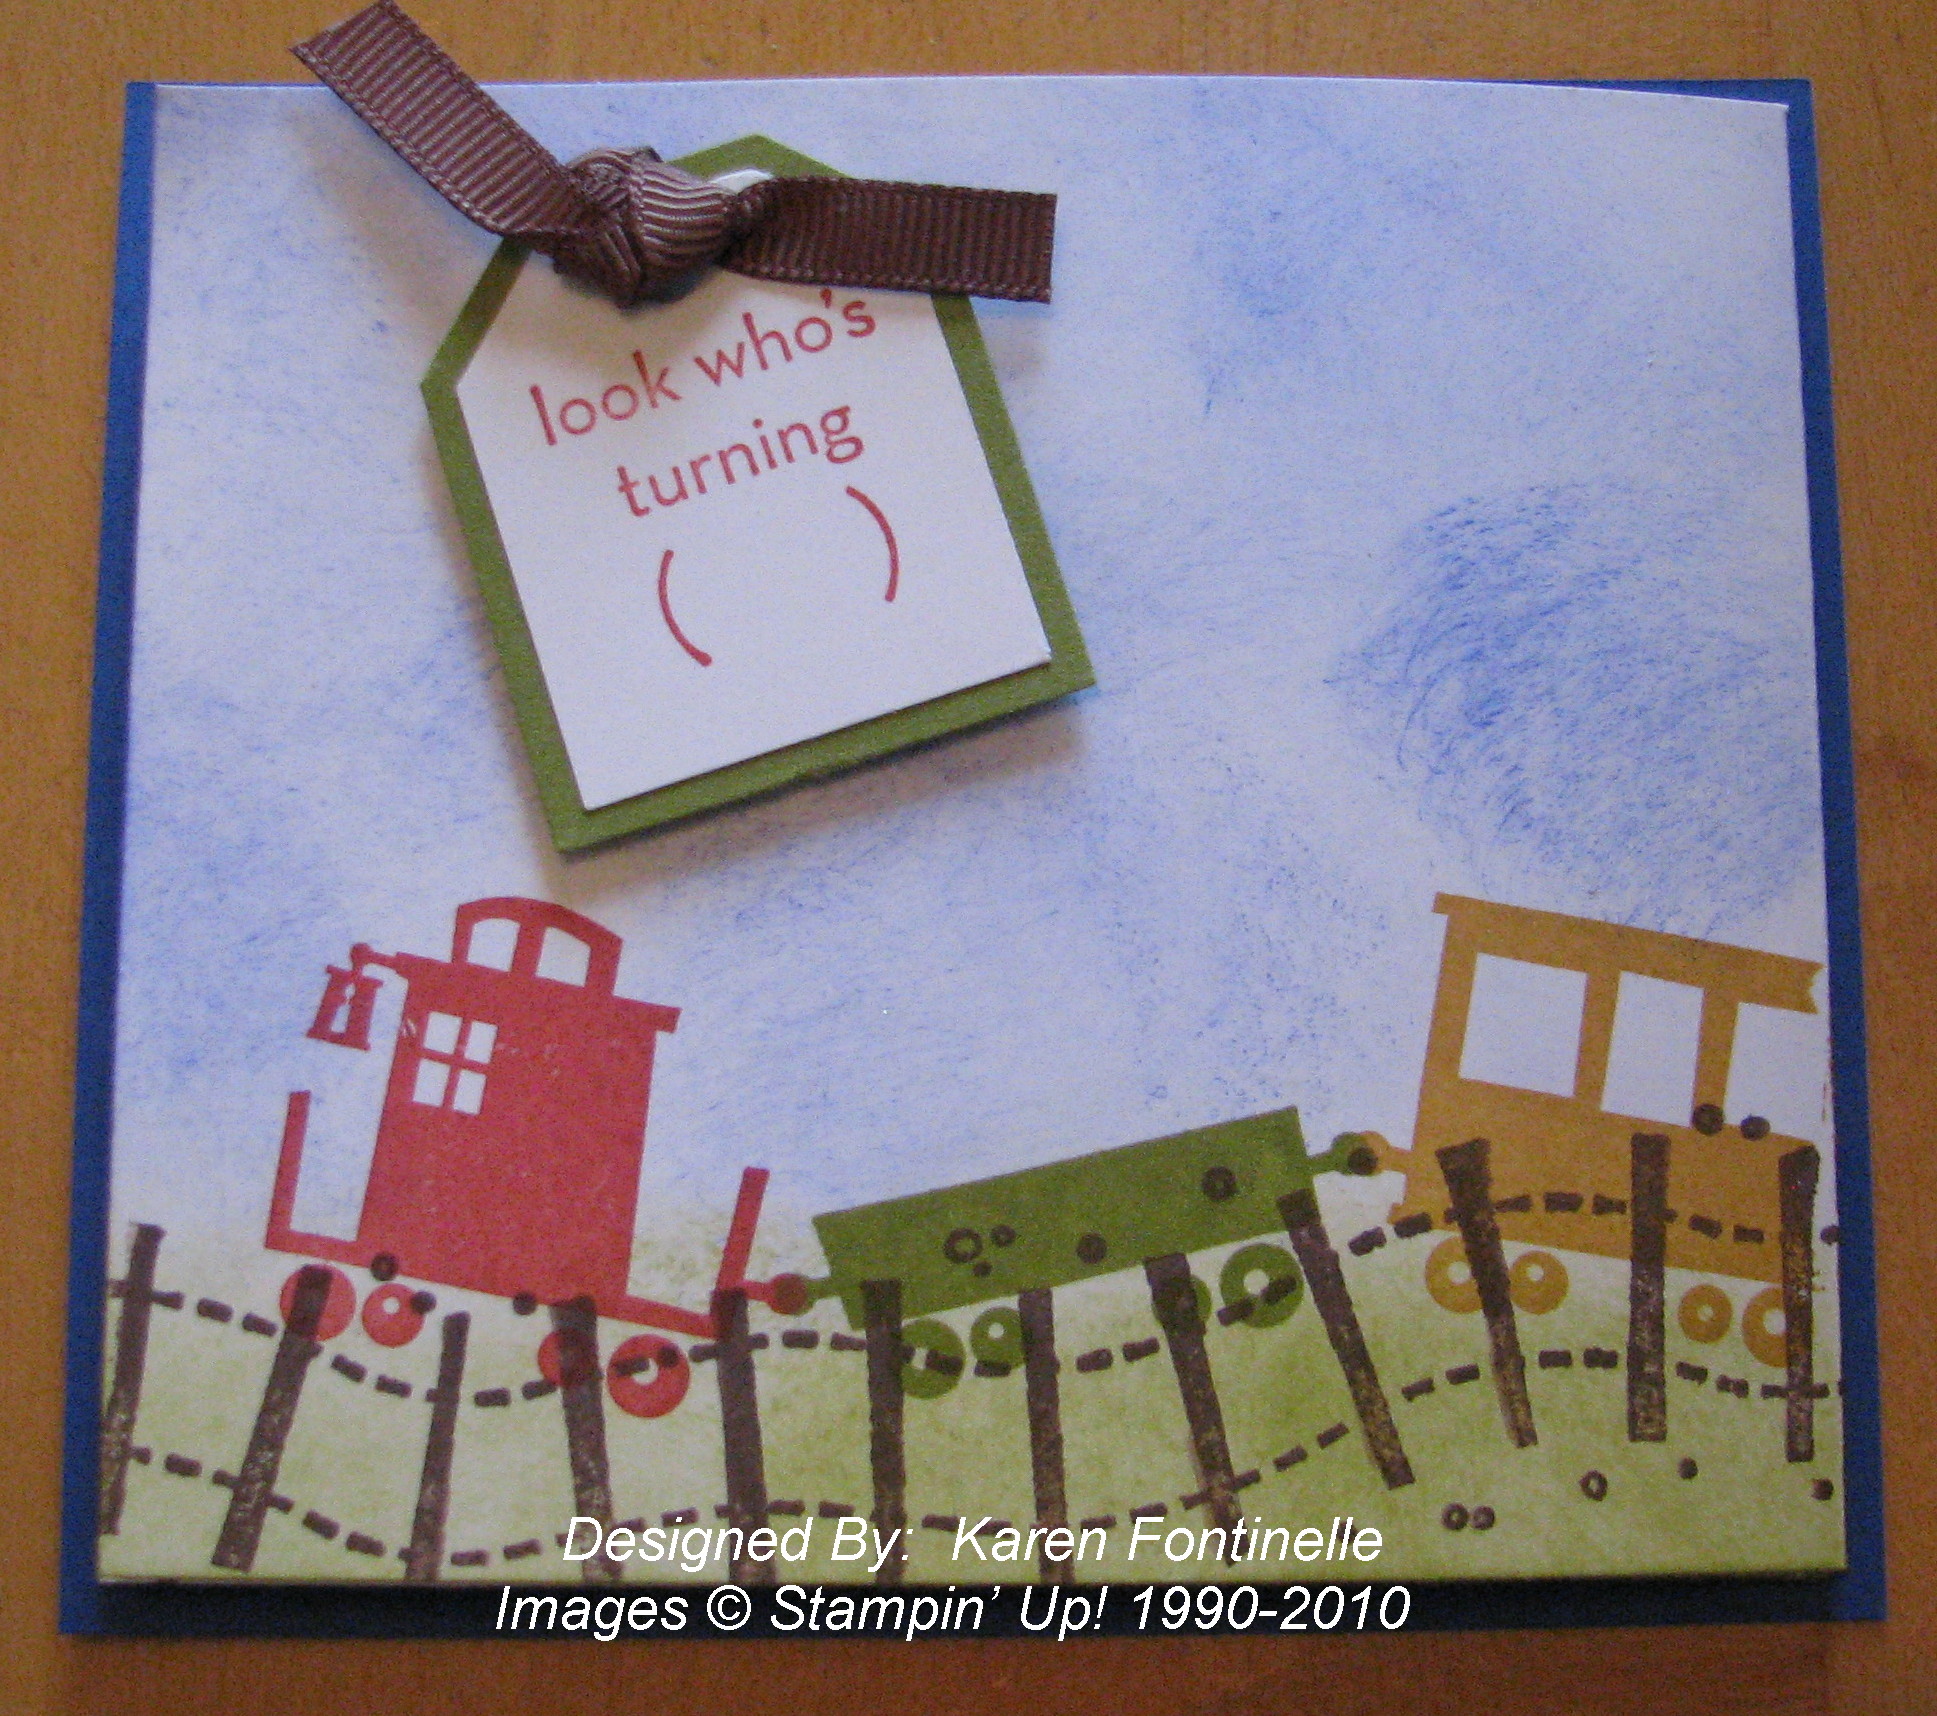
I've had a fondness for trains since I was a little girl probably because my grandfather worked for the Missouri Pacific Railroad and because I'd been to Union Station in St. Louis many times to take or pick up relatives who were traveling.  Trains were still hanging on then as the main mode of transportation.  I can remember standing on the walkway in between the big trains and seeing them pull in under the shed.  Sometimes we got to get on the train with our visitor until the train was ready to leave.  It was the way my family and relatives all traveled back then (and before my time) rather than driving in a car or flying in a plane.

This one little card I made drudged up all those memories!

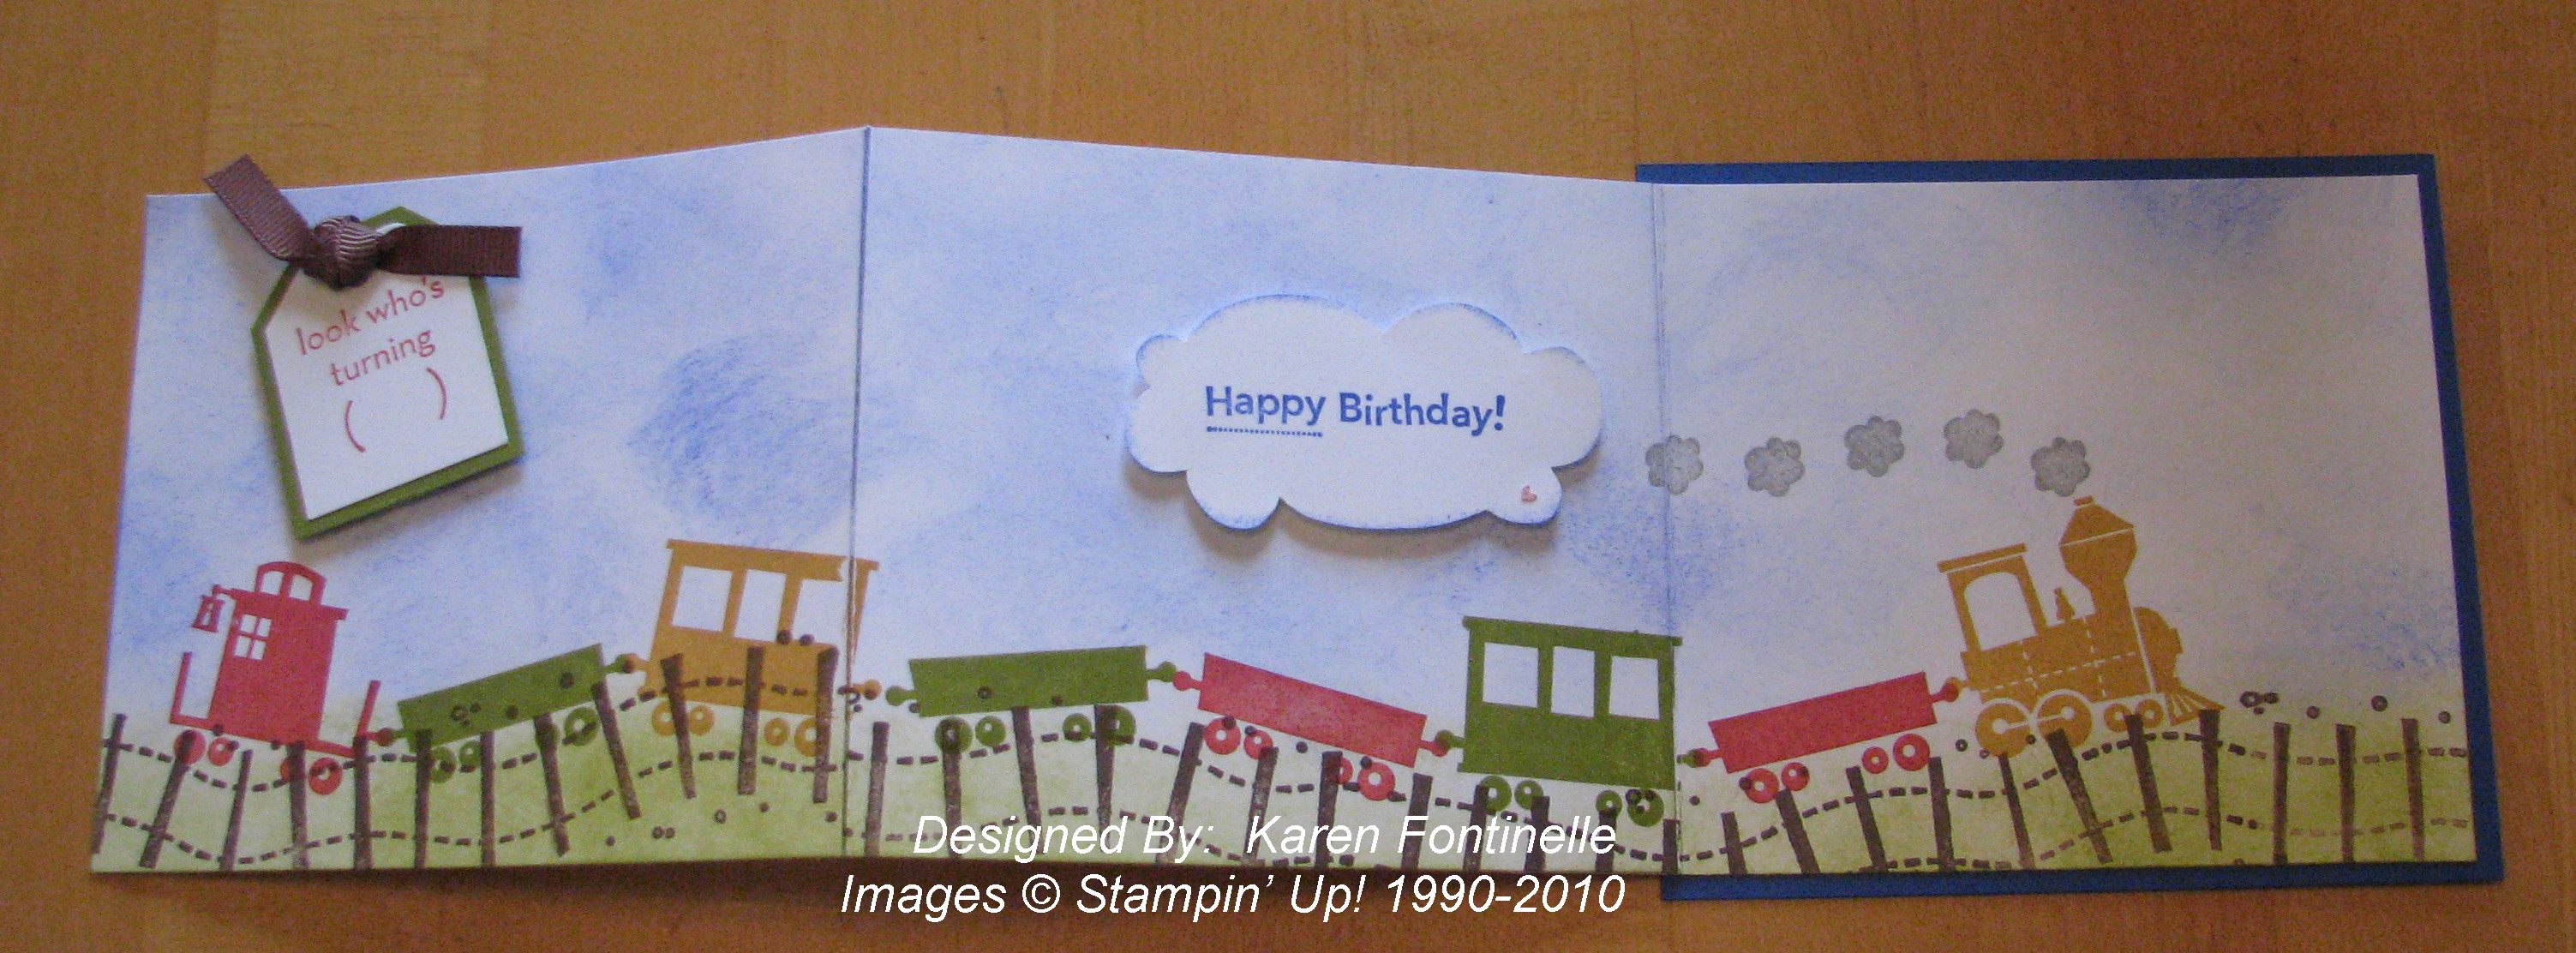
Choo Choo Birthday Card 

Choo Choo Birthday Card Open 

Supplies:
 
Stamps:  Choo Choo #113982, On Your Birthday #111664, Right on Track Wheel #113838

Ink:  Brilliant Blue, Old Olive, Real Red, More Mustard, Chocolate Chip, Going Gray

Paper:  Brilliant Blue, Whisper White, Old Olive

Accessories:  Chocolate Chip 1/4" Grosgrain Ribbon, Tag and Small Tag Punches

There are so many cute projects you could make with this Choo Choo stamp set. If you don't mind some cutting with your Paper Snips (they make intricate cutting easier!) you can make the train look 3-D by cutting out some or all of the cars.  Think of what a cute little wall plaque in a frame you could make for a little boy's (or girl's) room!  

If you would like to purchase any of the supplies for your train card, scrapbook page, or project, just go to my Online Store!  You can have fun with this set!

Playing with Presto Patterns Specialty Paper

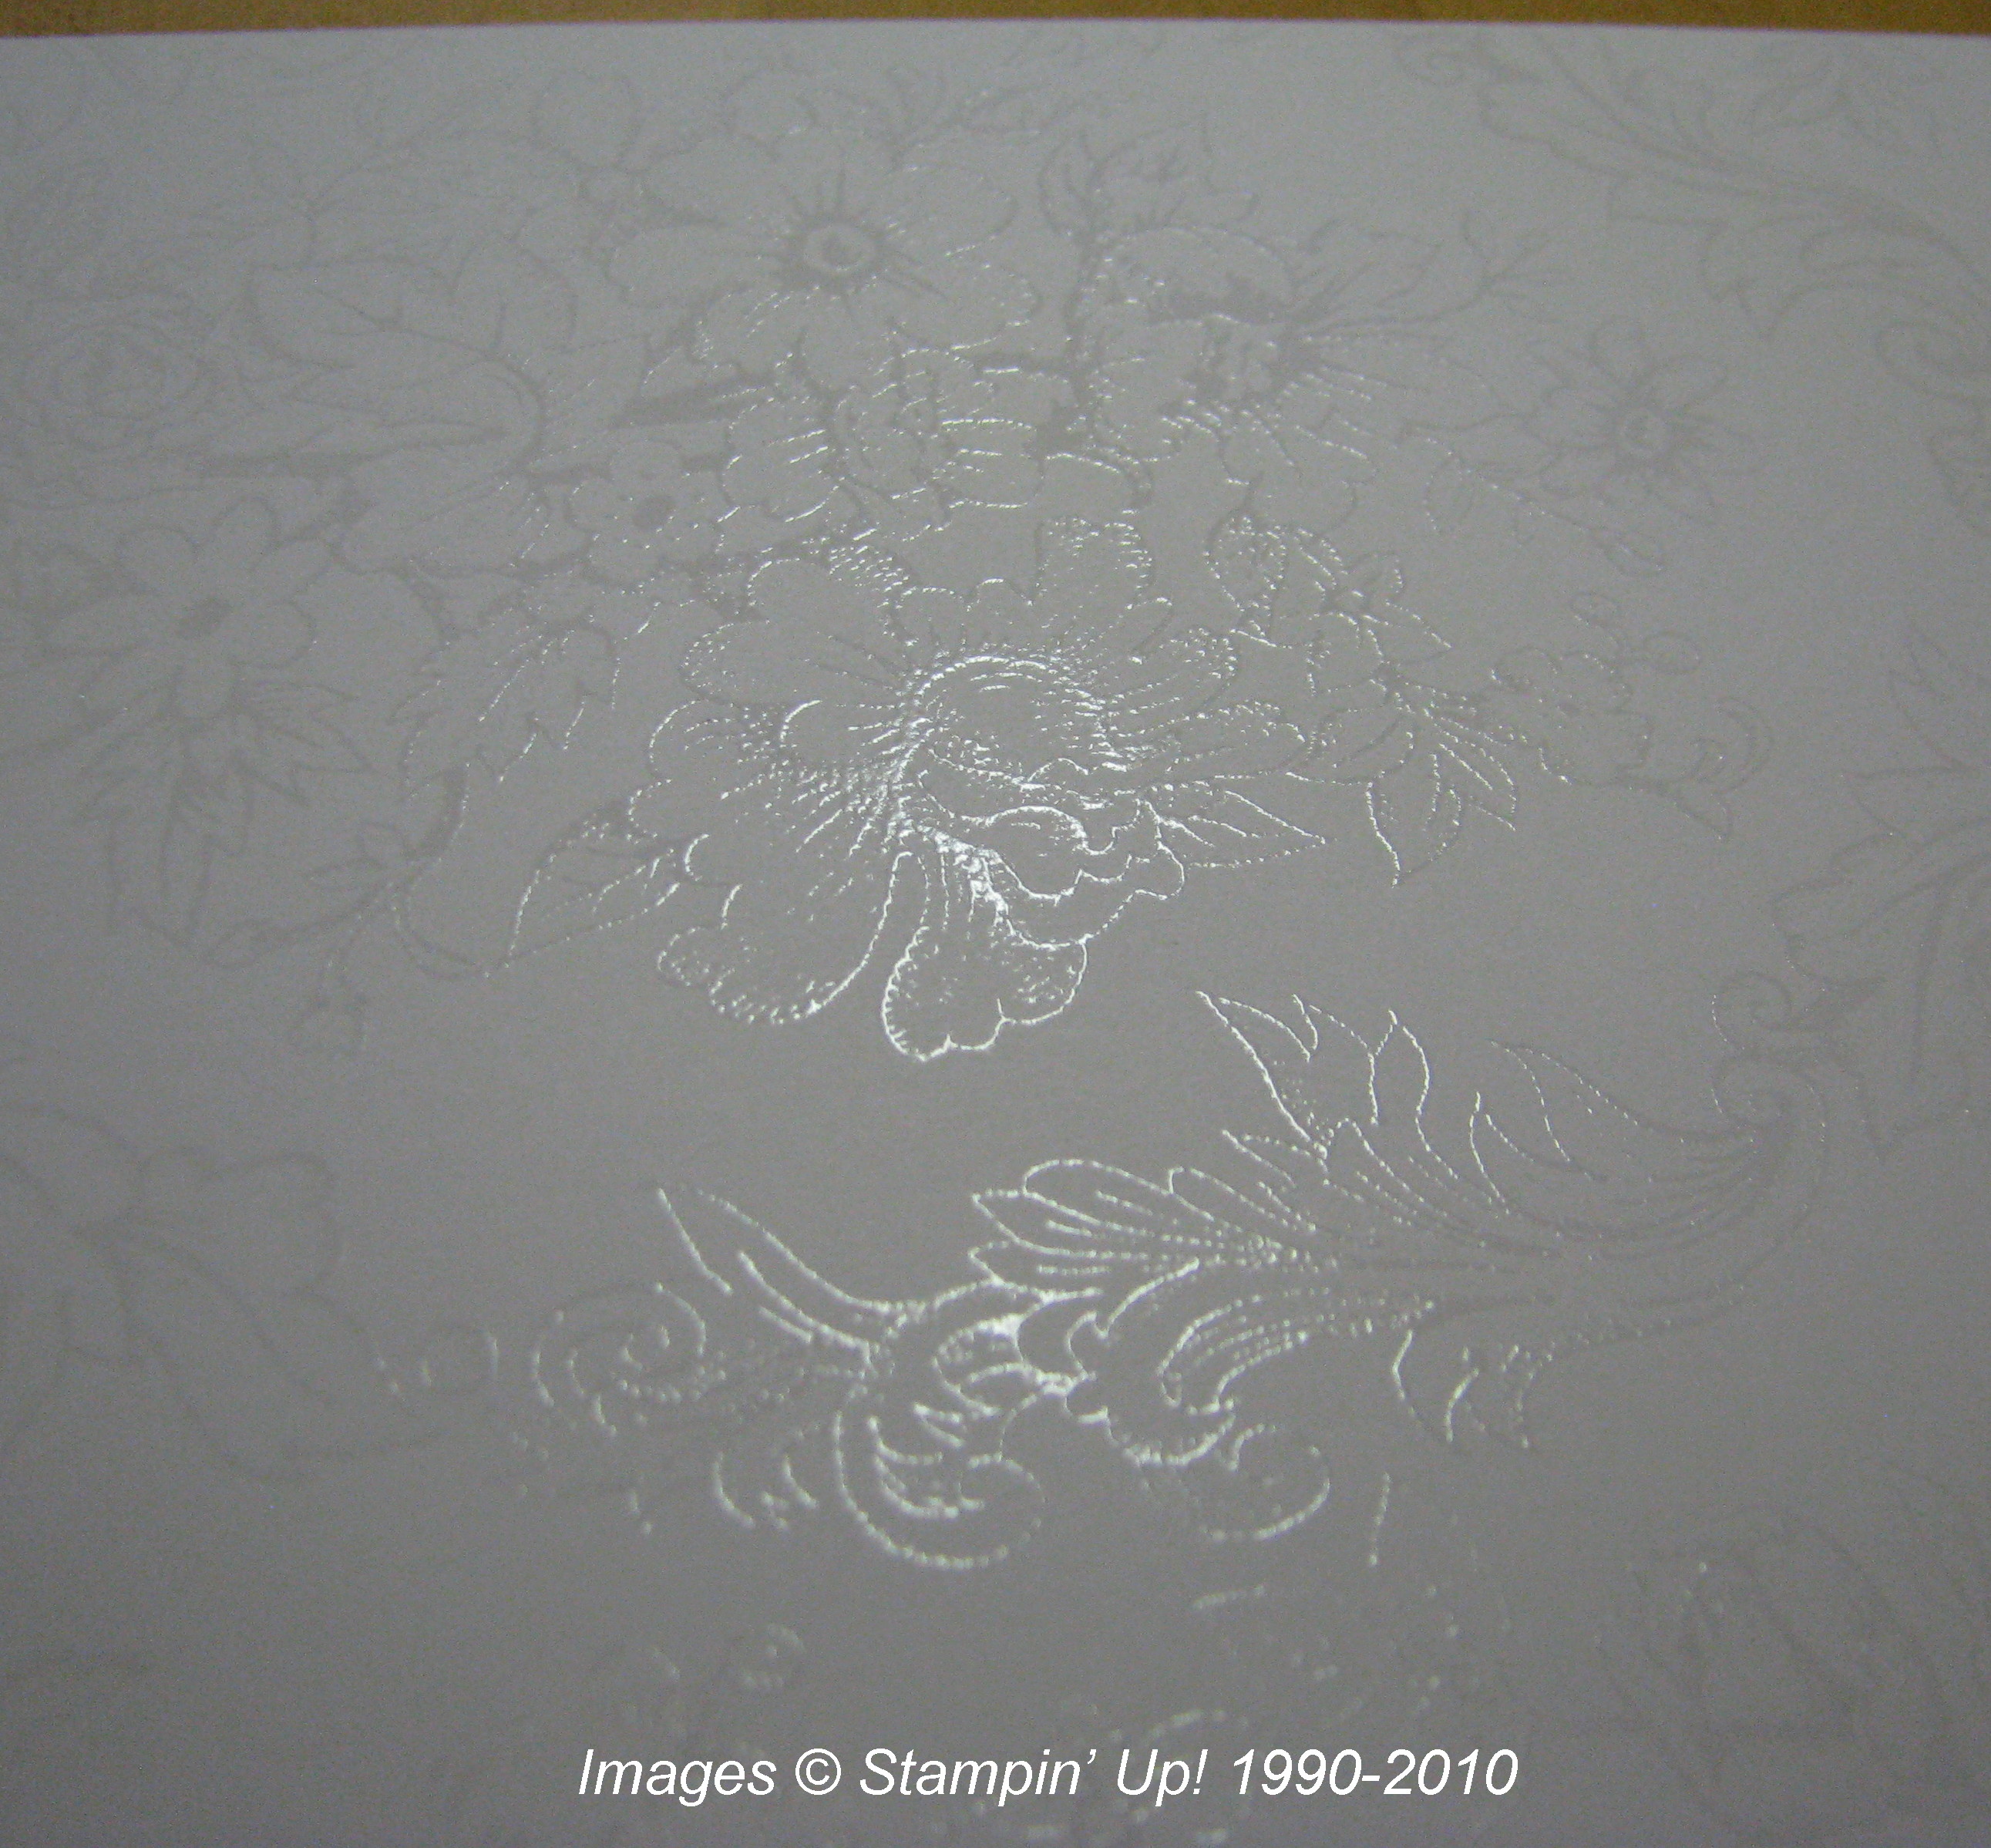
In the Summer Mini Catalog, Stampin' Up! is offering new Designer Series Paper called Presto Patterns Specialty #117175.  It is plain white, but then you can add ink to it to make the design pop out!  The new Smooch Spritz would also work great with it.

Here is the plain paper:

Presto Patterns Specialty Paper

Here I used my Brayer #102395  and Really Rust ink to cover:

Presto Paper Brayered

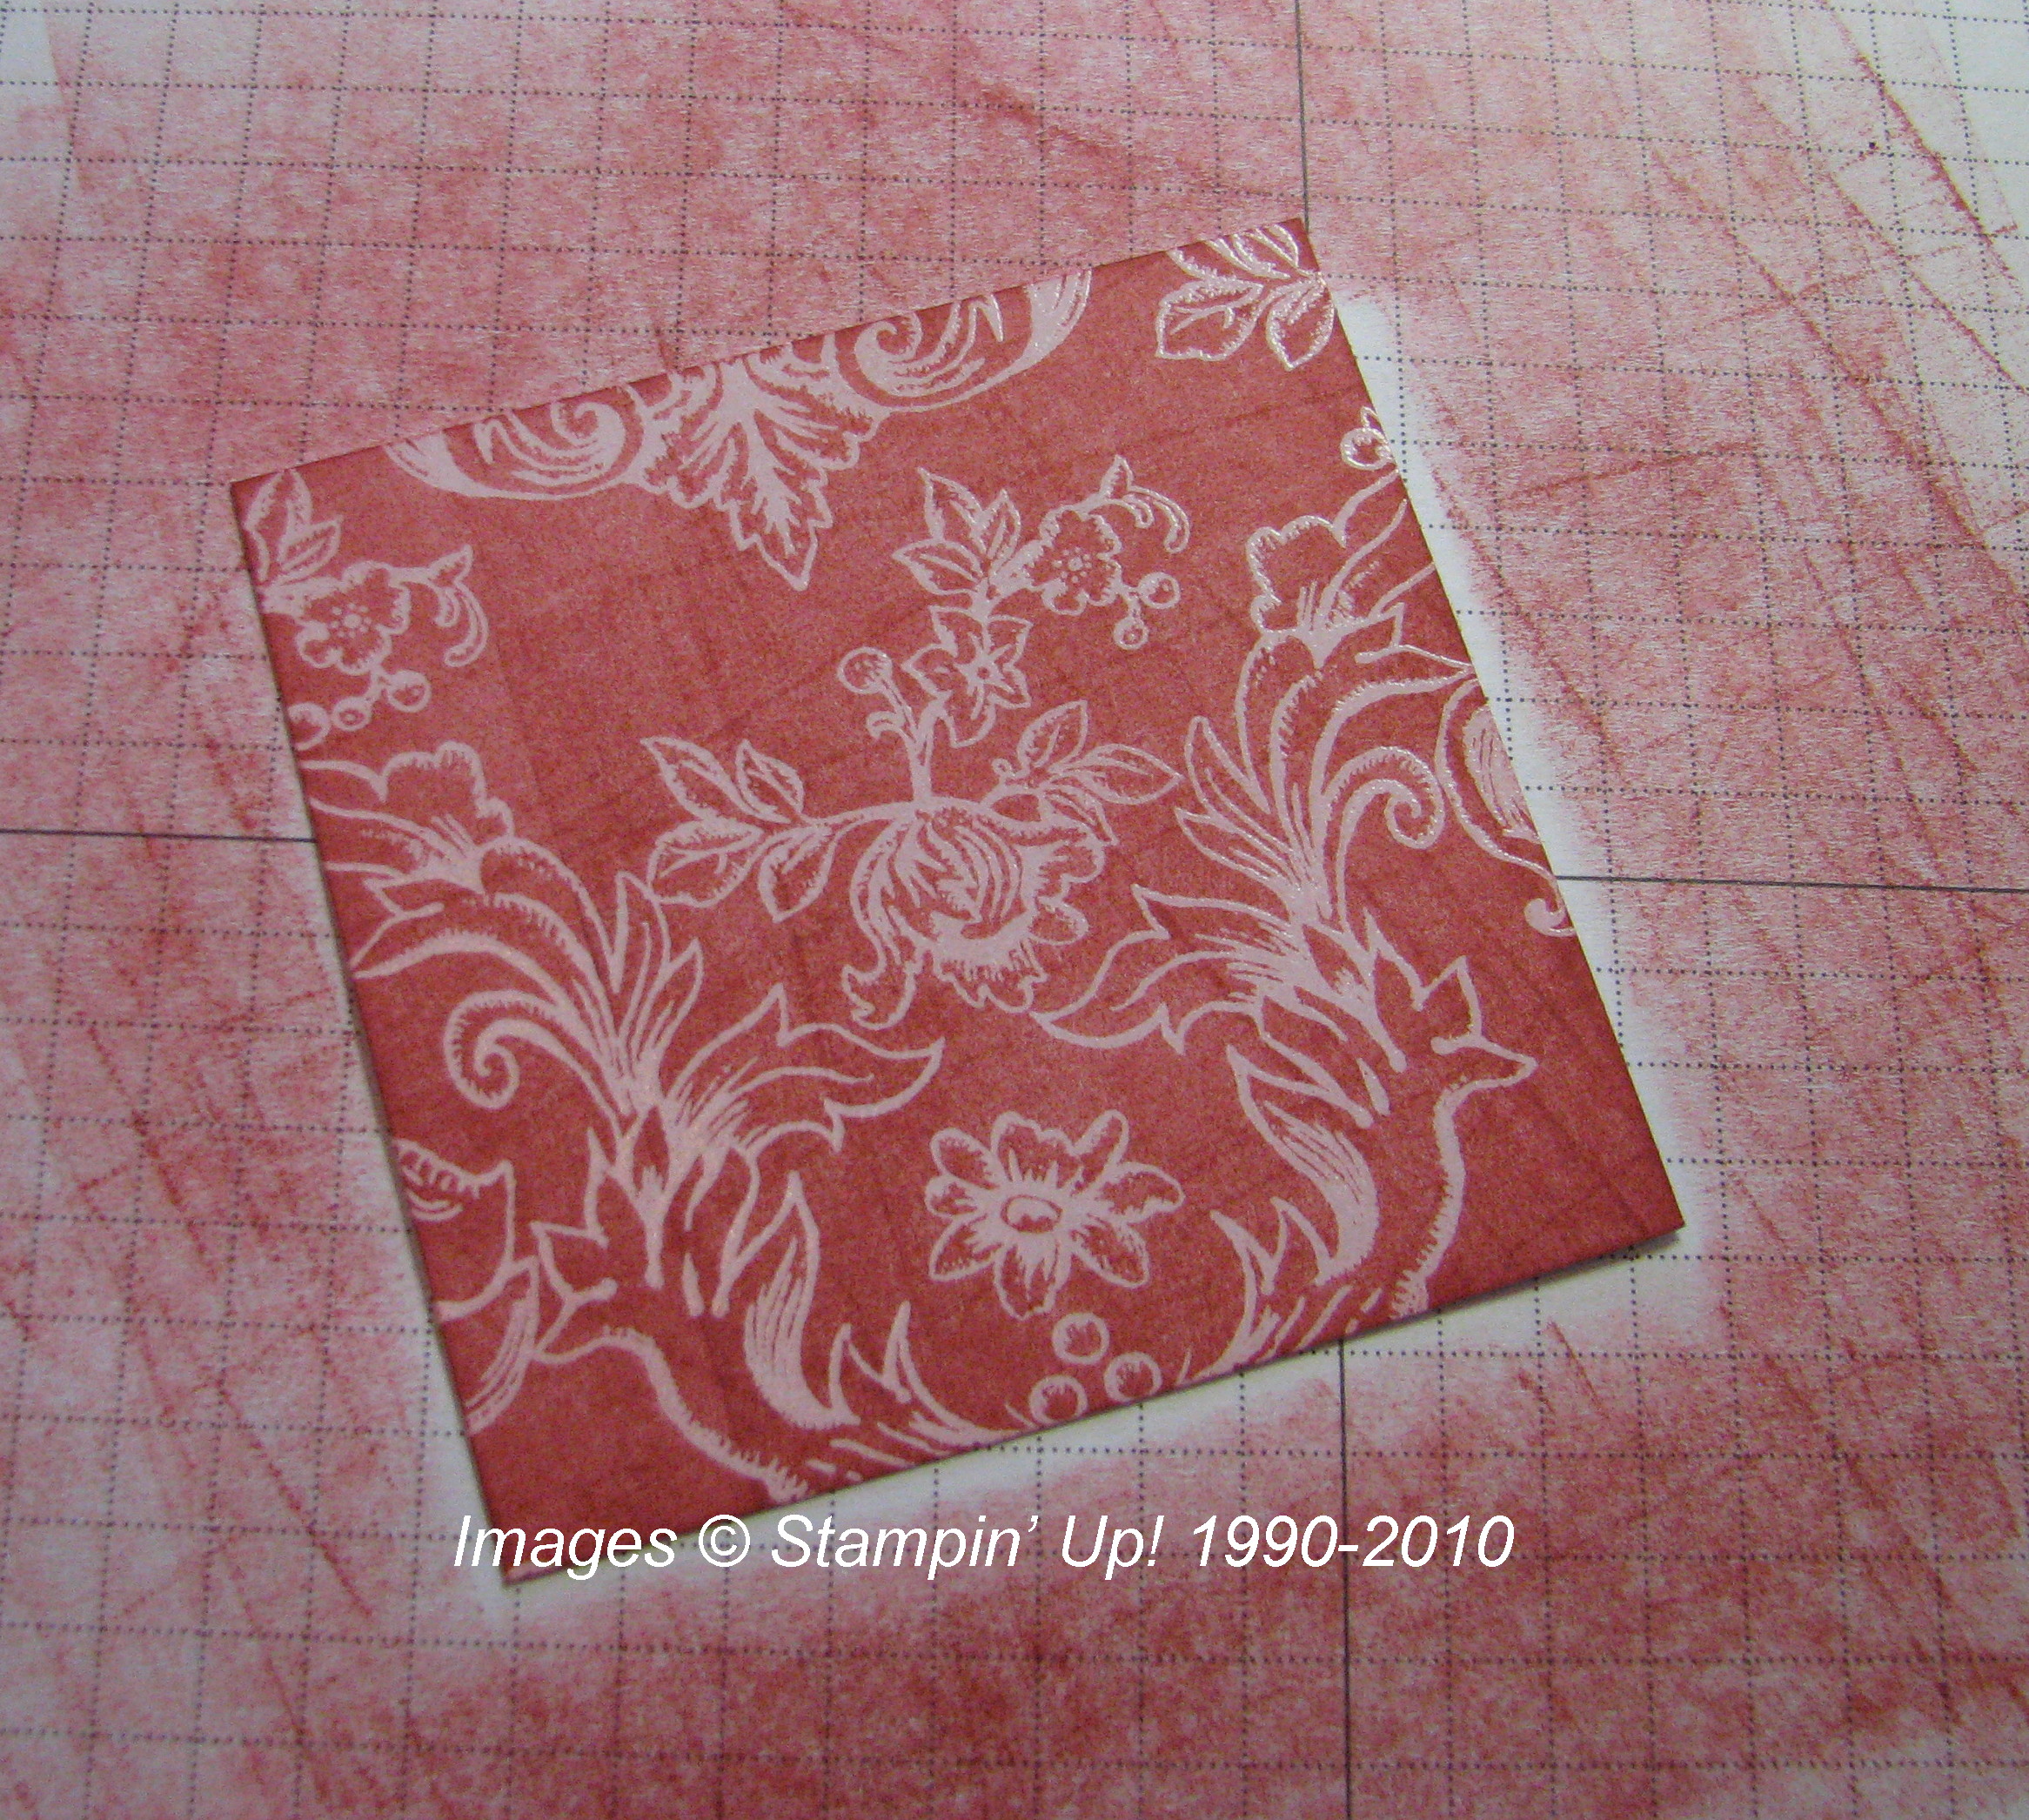
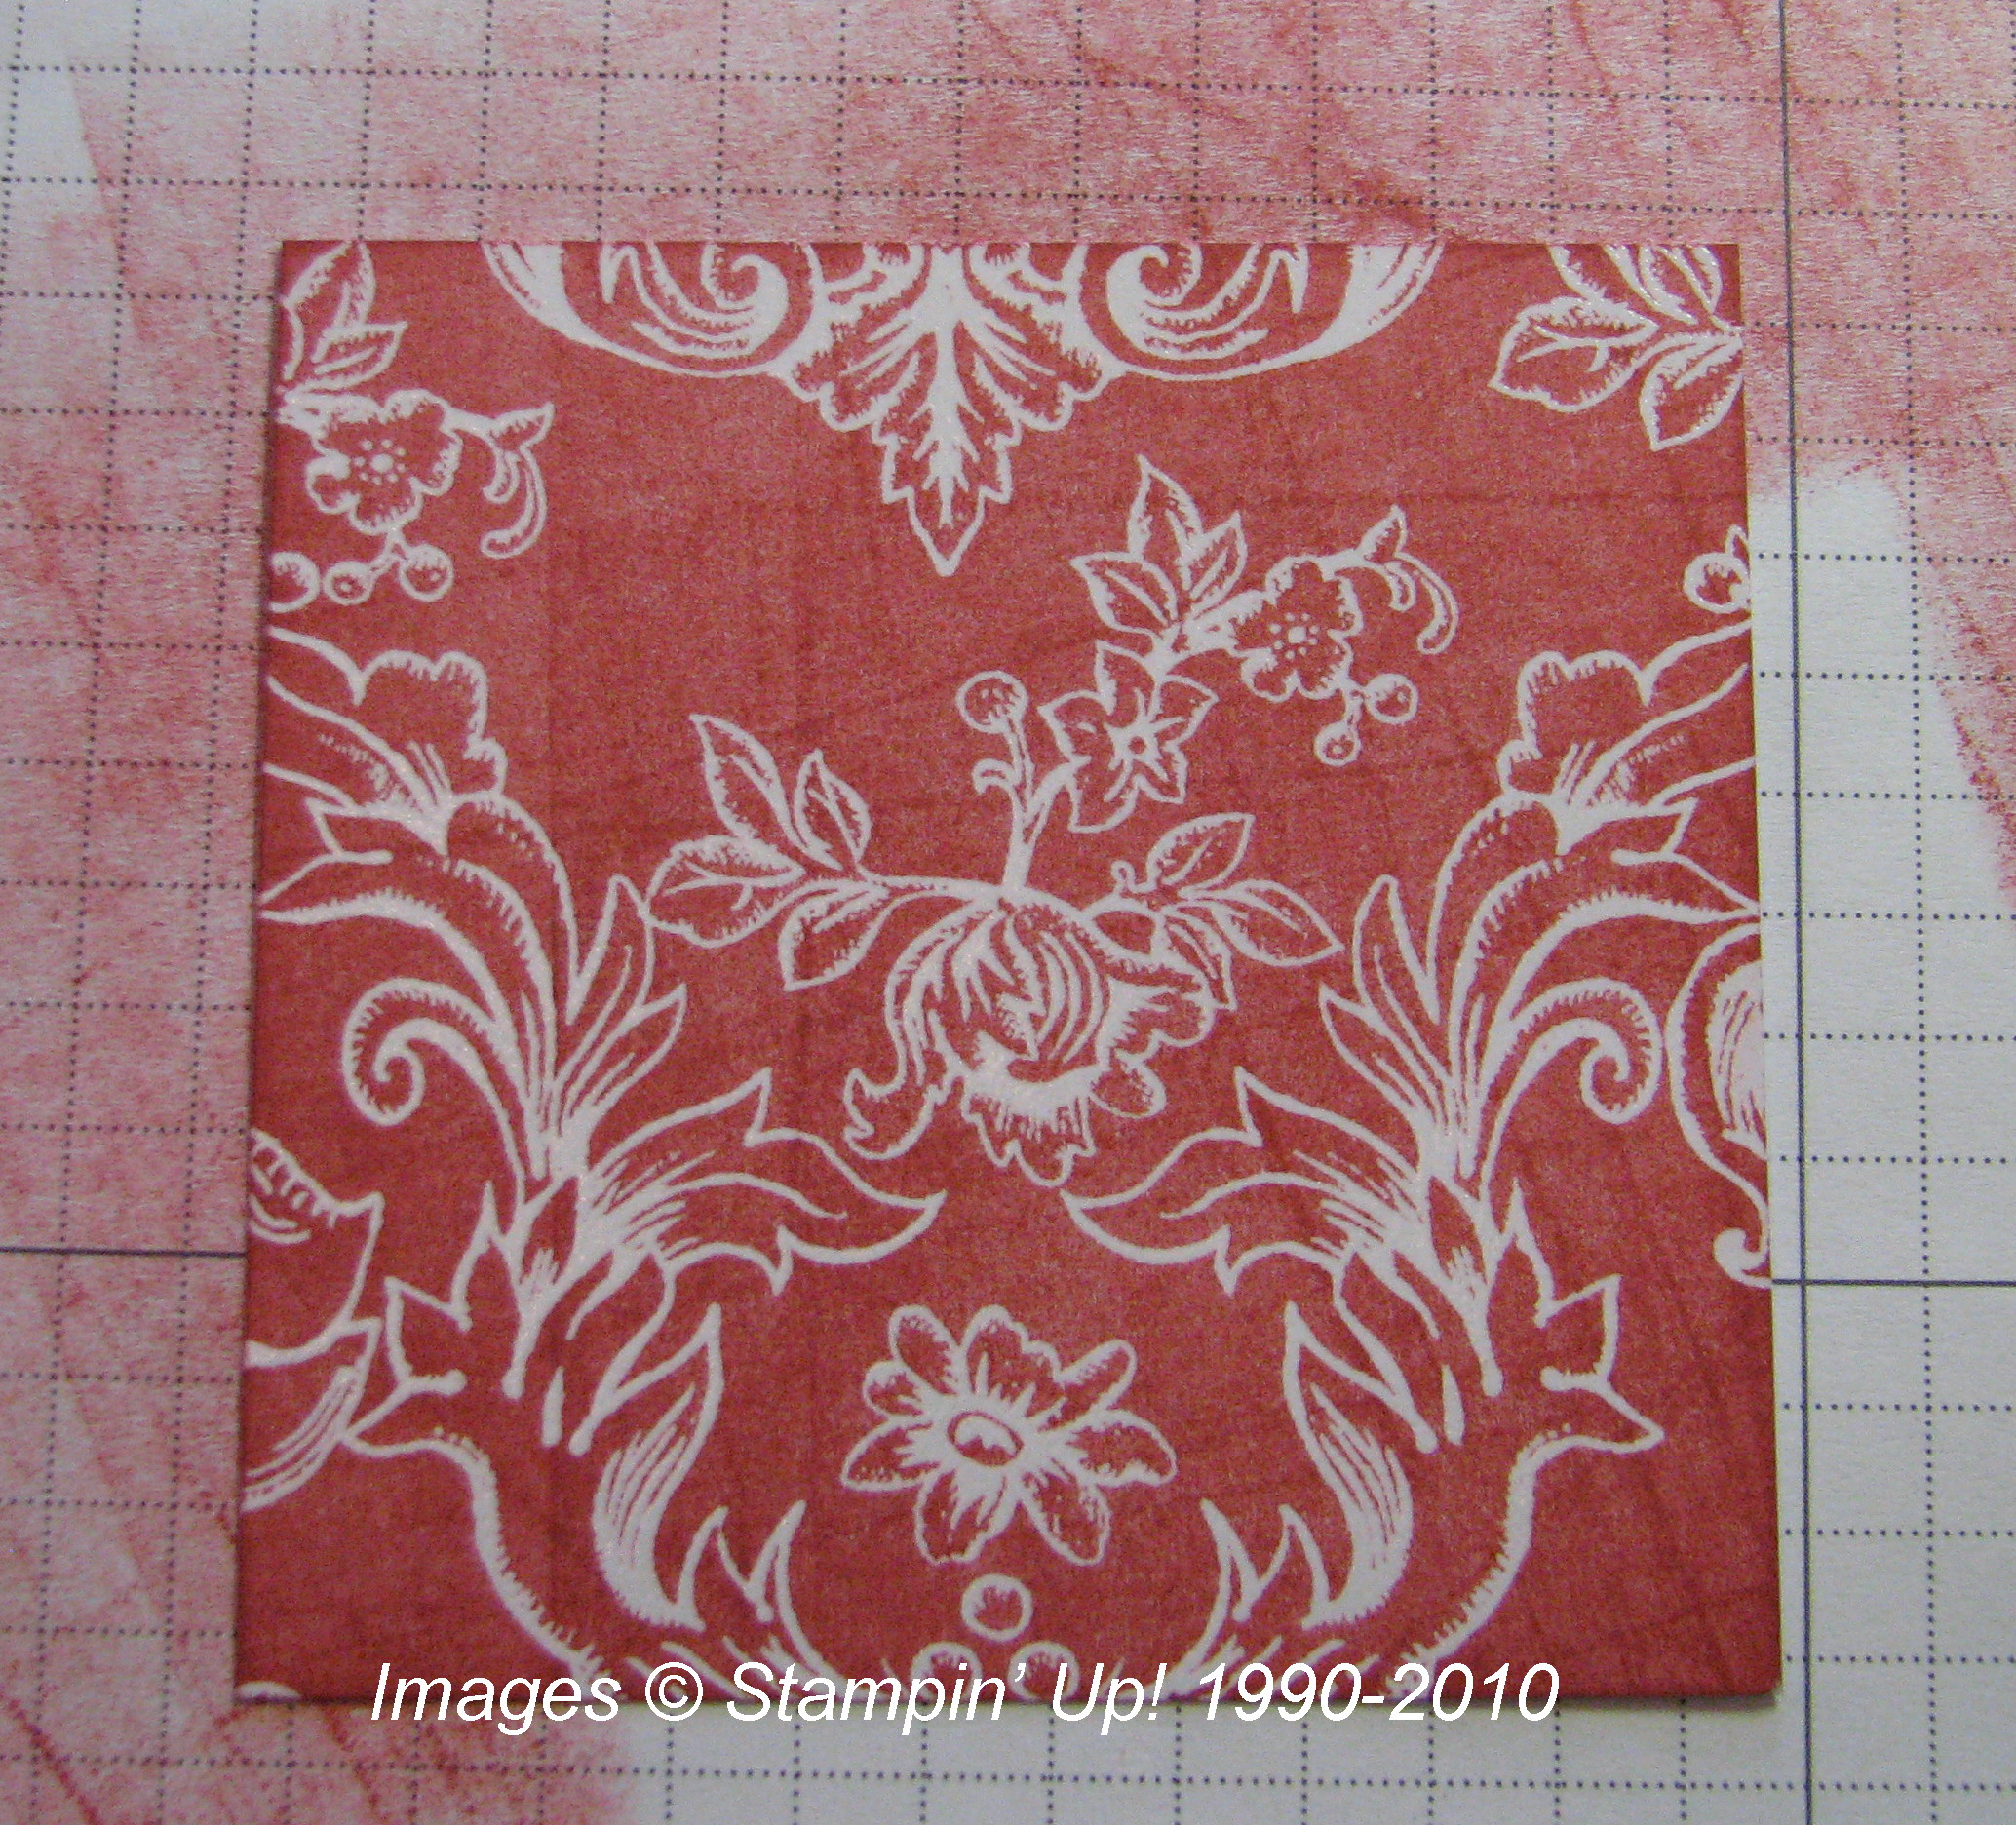
Although the design "popped" out as soon as I applied the ink, I also took a paper towel and just wiped the excess ink off the design.  Looks almost the same, just a little cleaner.

Finished Presto Patterns Specialty Paper 

Reminds me of fabric!  It's just like emboss resist, except you don't have to do the embossing first!

Now back to playing!!!

If you don't have a demonstrator and would like a copy of the Stampin' Up! Summer Mini Catalog, please email me.


Mother’s Day Card

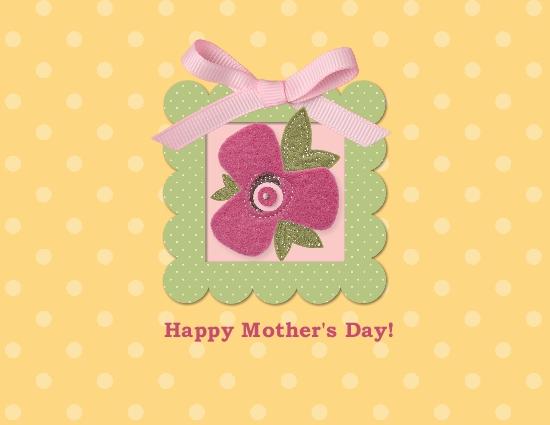
I made this card to share with all the mothers out there.  I made it quickly and easily using My Digital Studio!  Would you believe this began as one of the baby girl designer templates?  I just took out the photo box in the middle of the frame and inserted the Sweet Pea felt elements, changed the color of the ribbon from brown to Pretty in Pink, and added the text!   Hope your children give you a happy day to remember!

My Digital Studio Mother's Day Card
 

Another Build-a-Bear Birthday Paint Can!

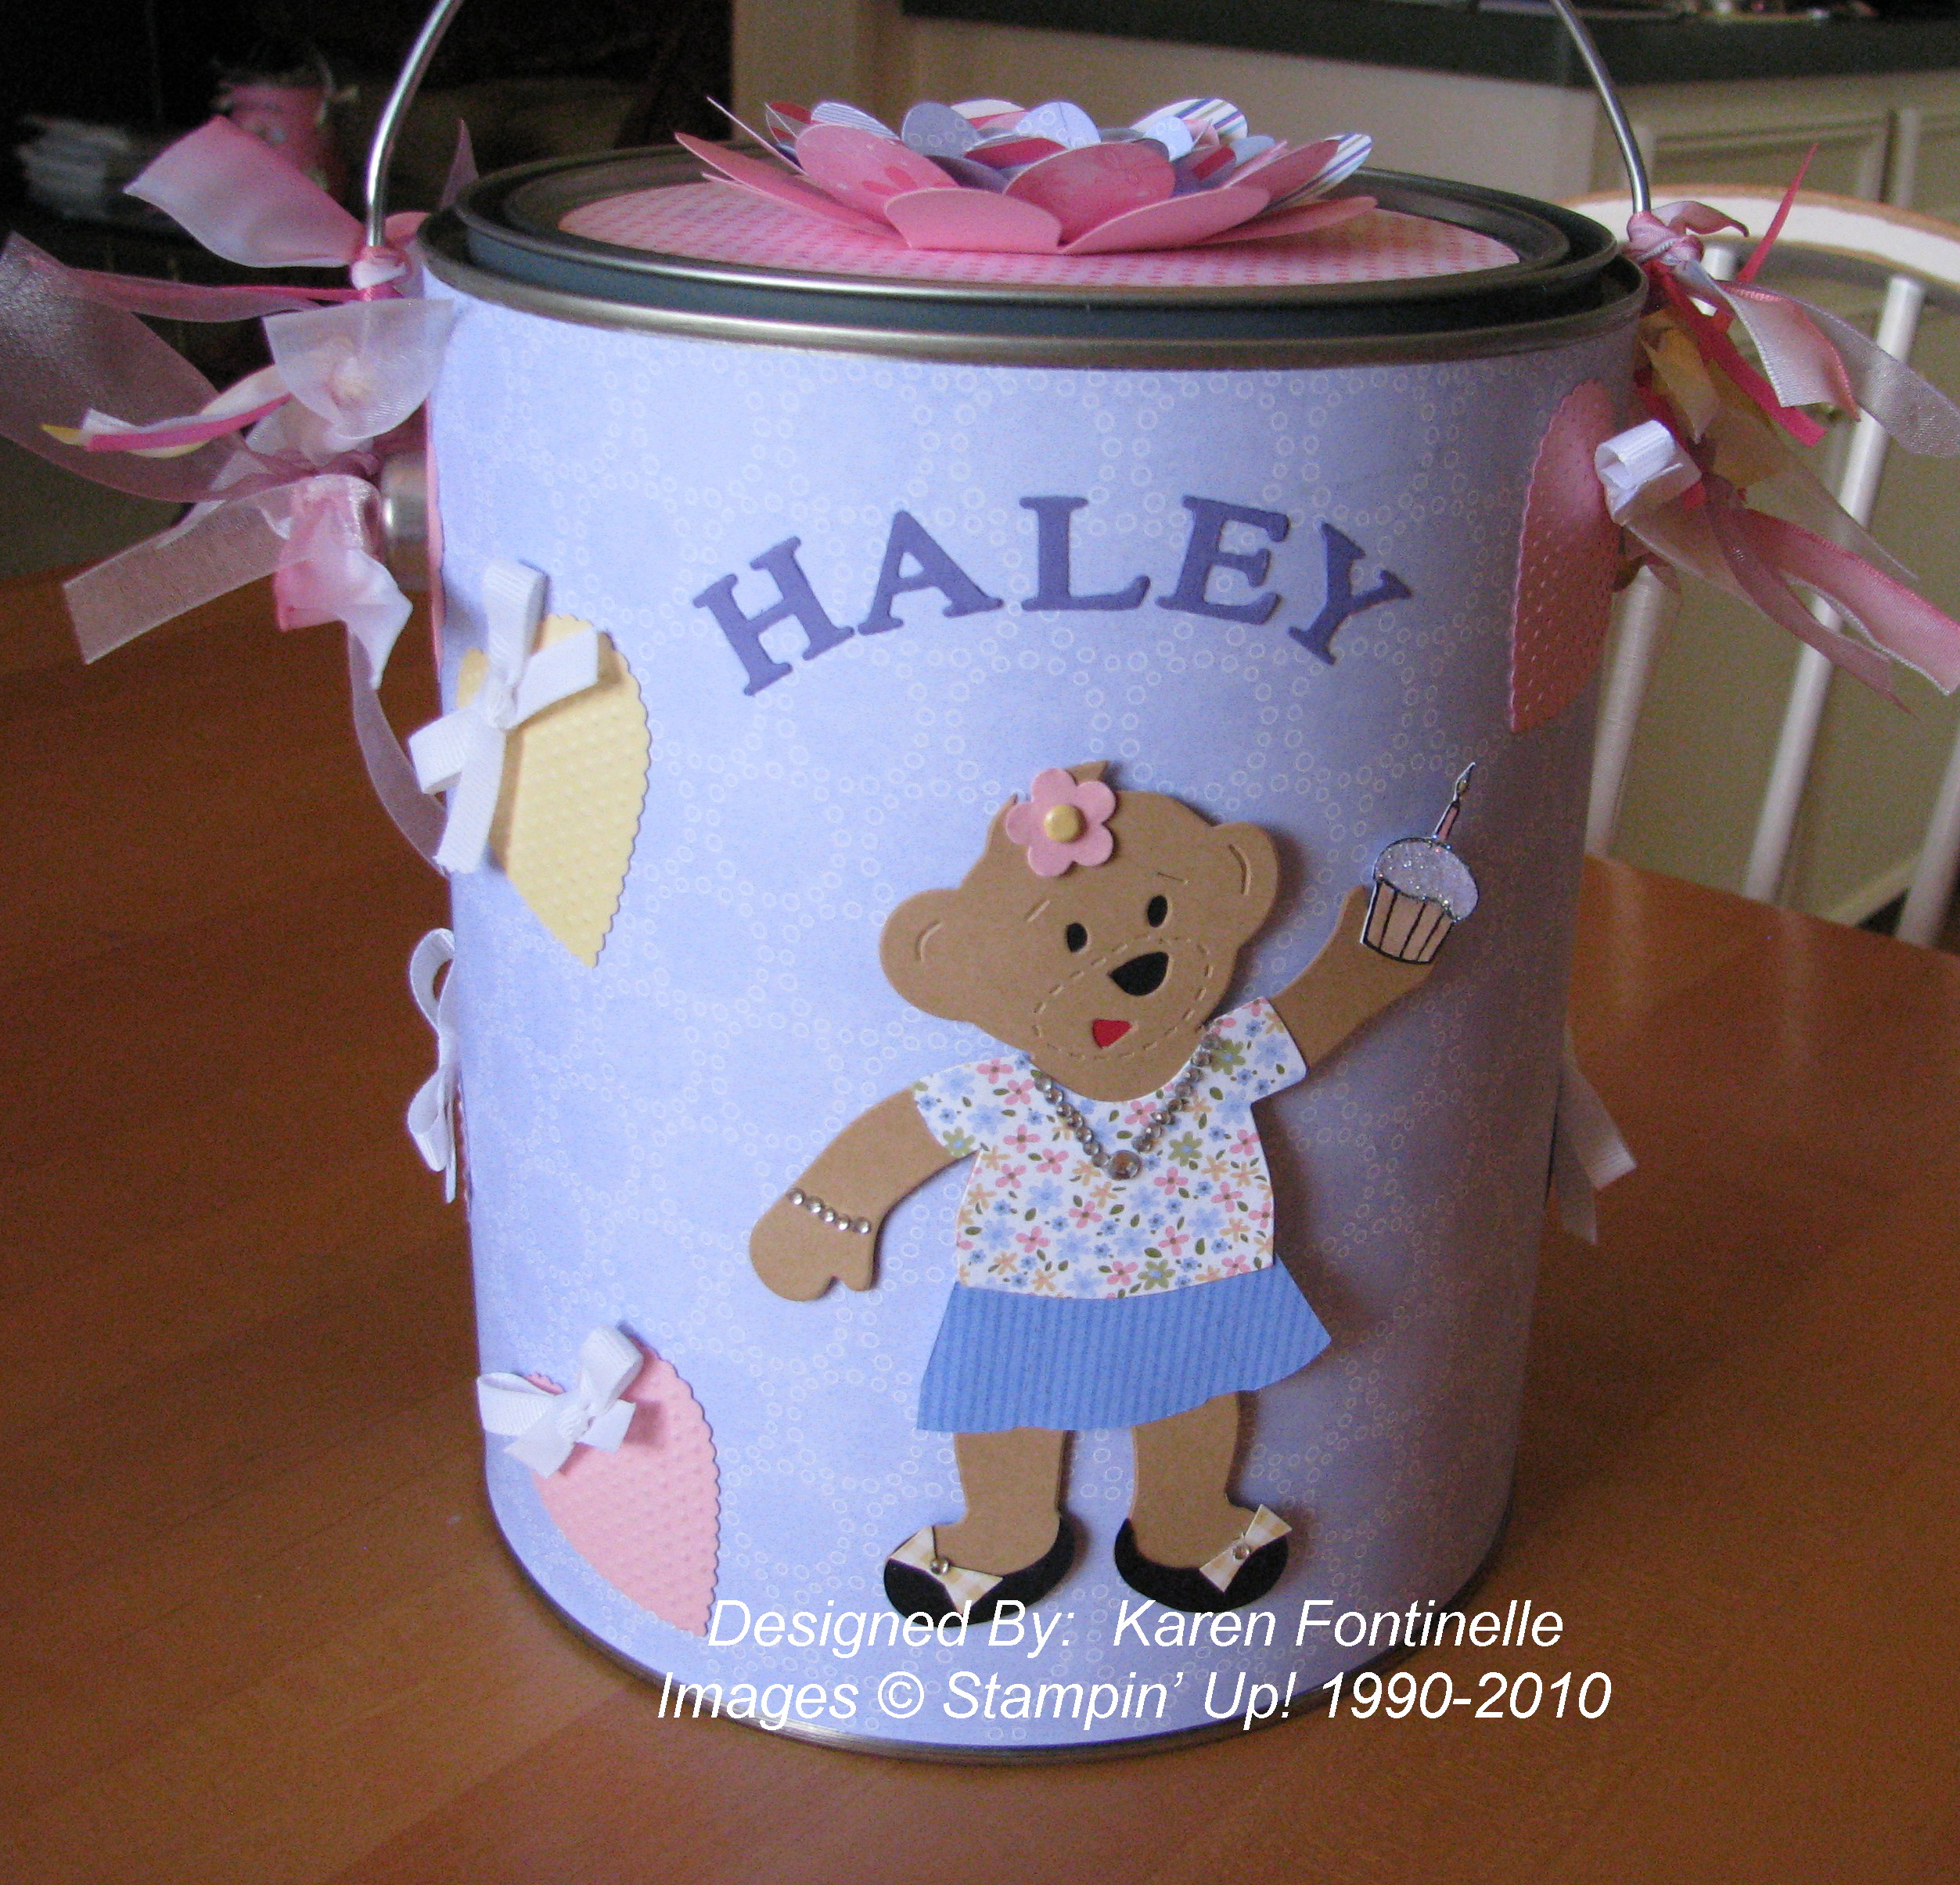
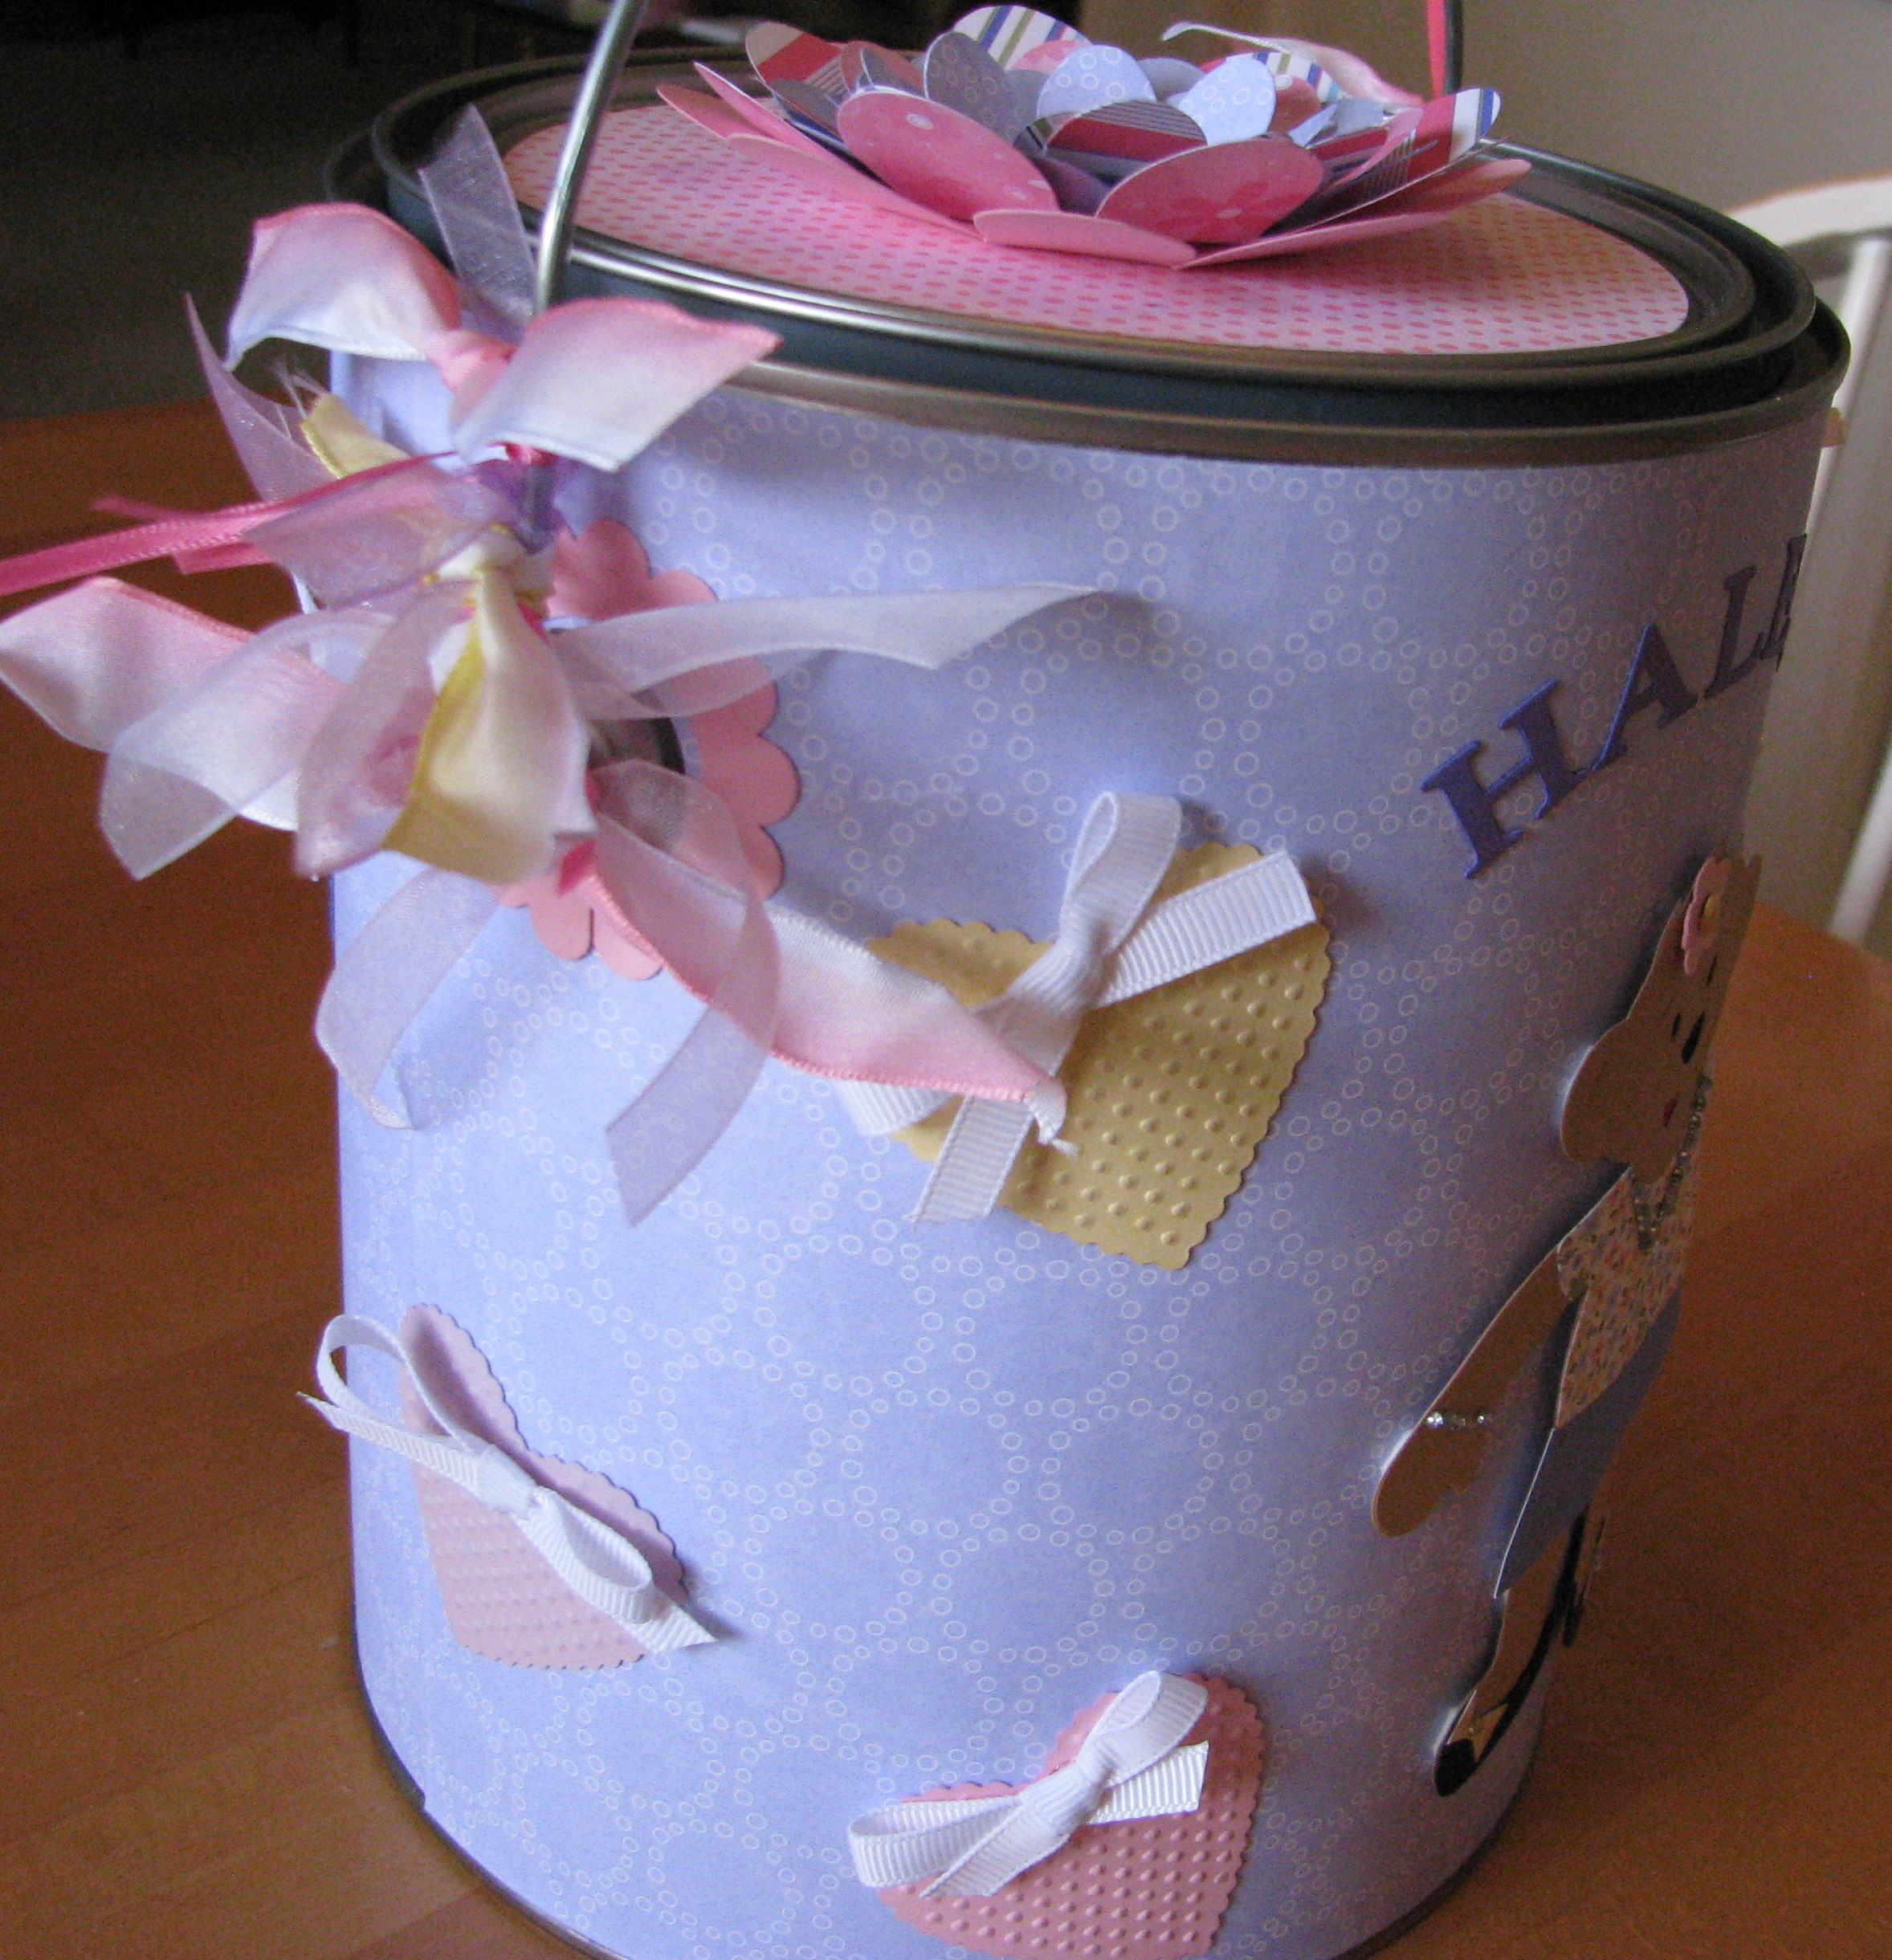
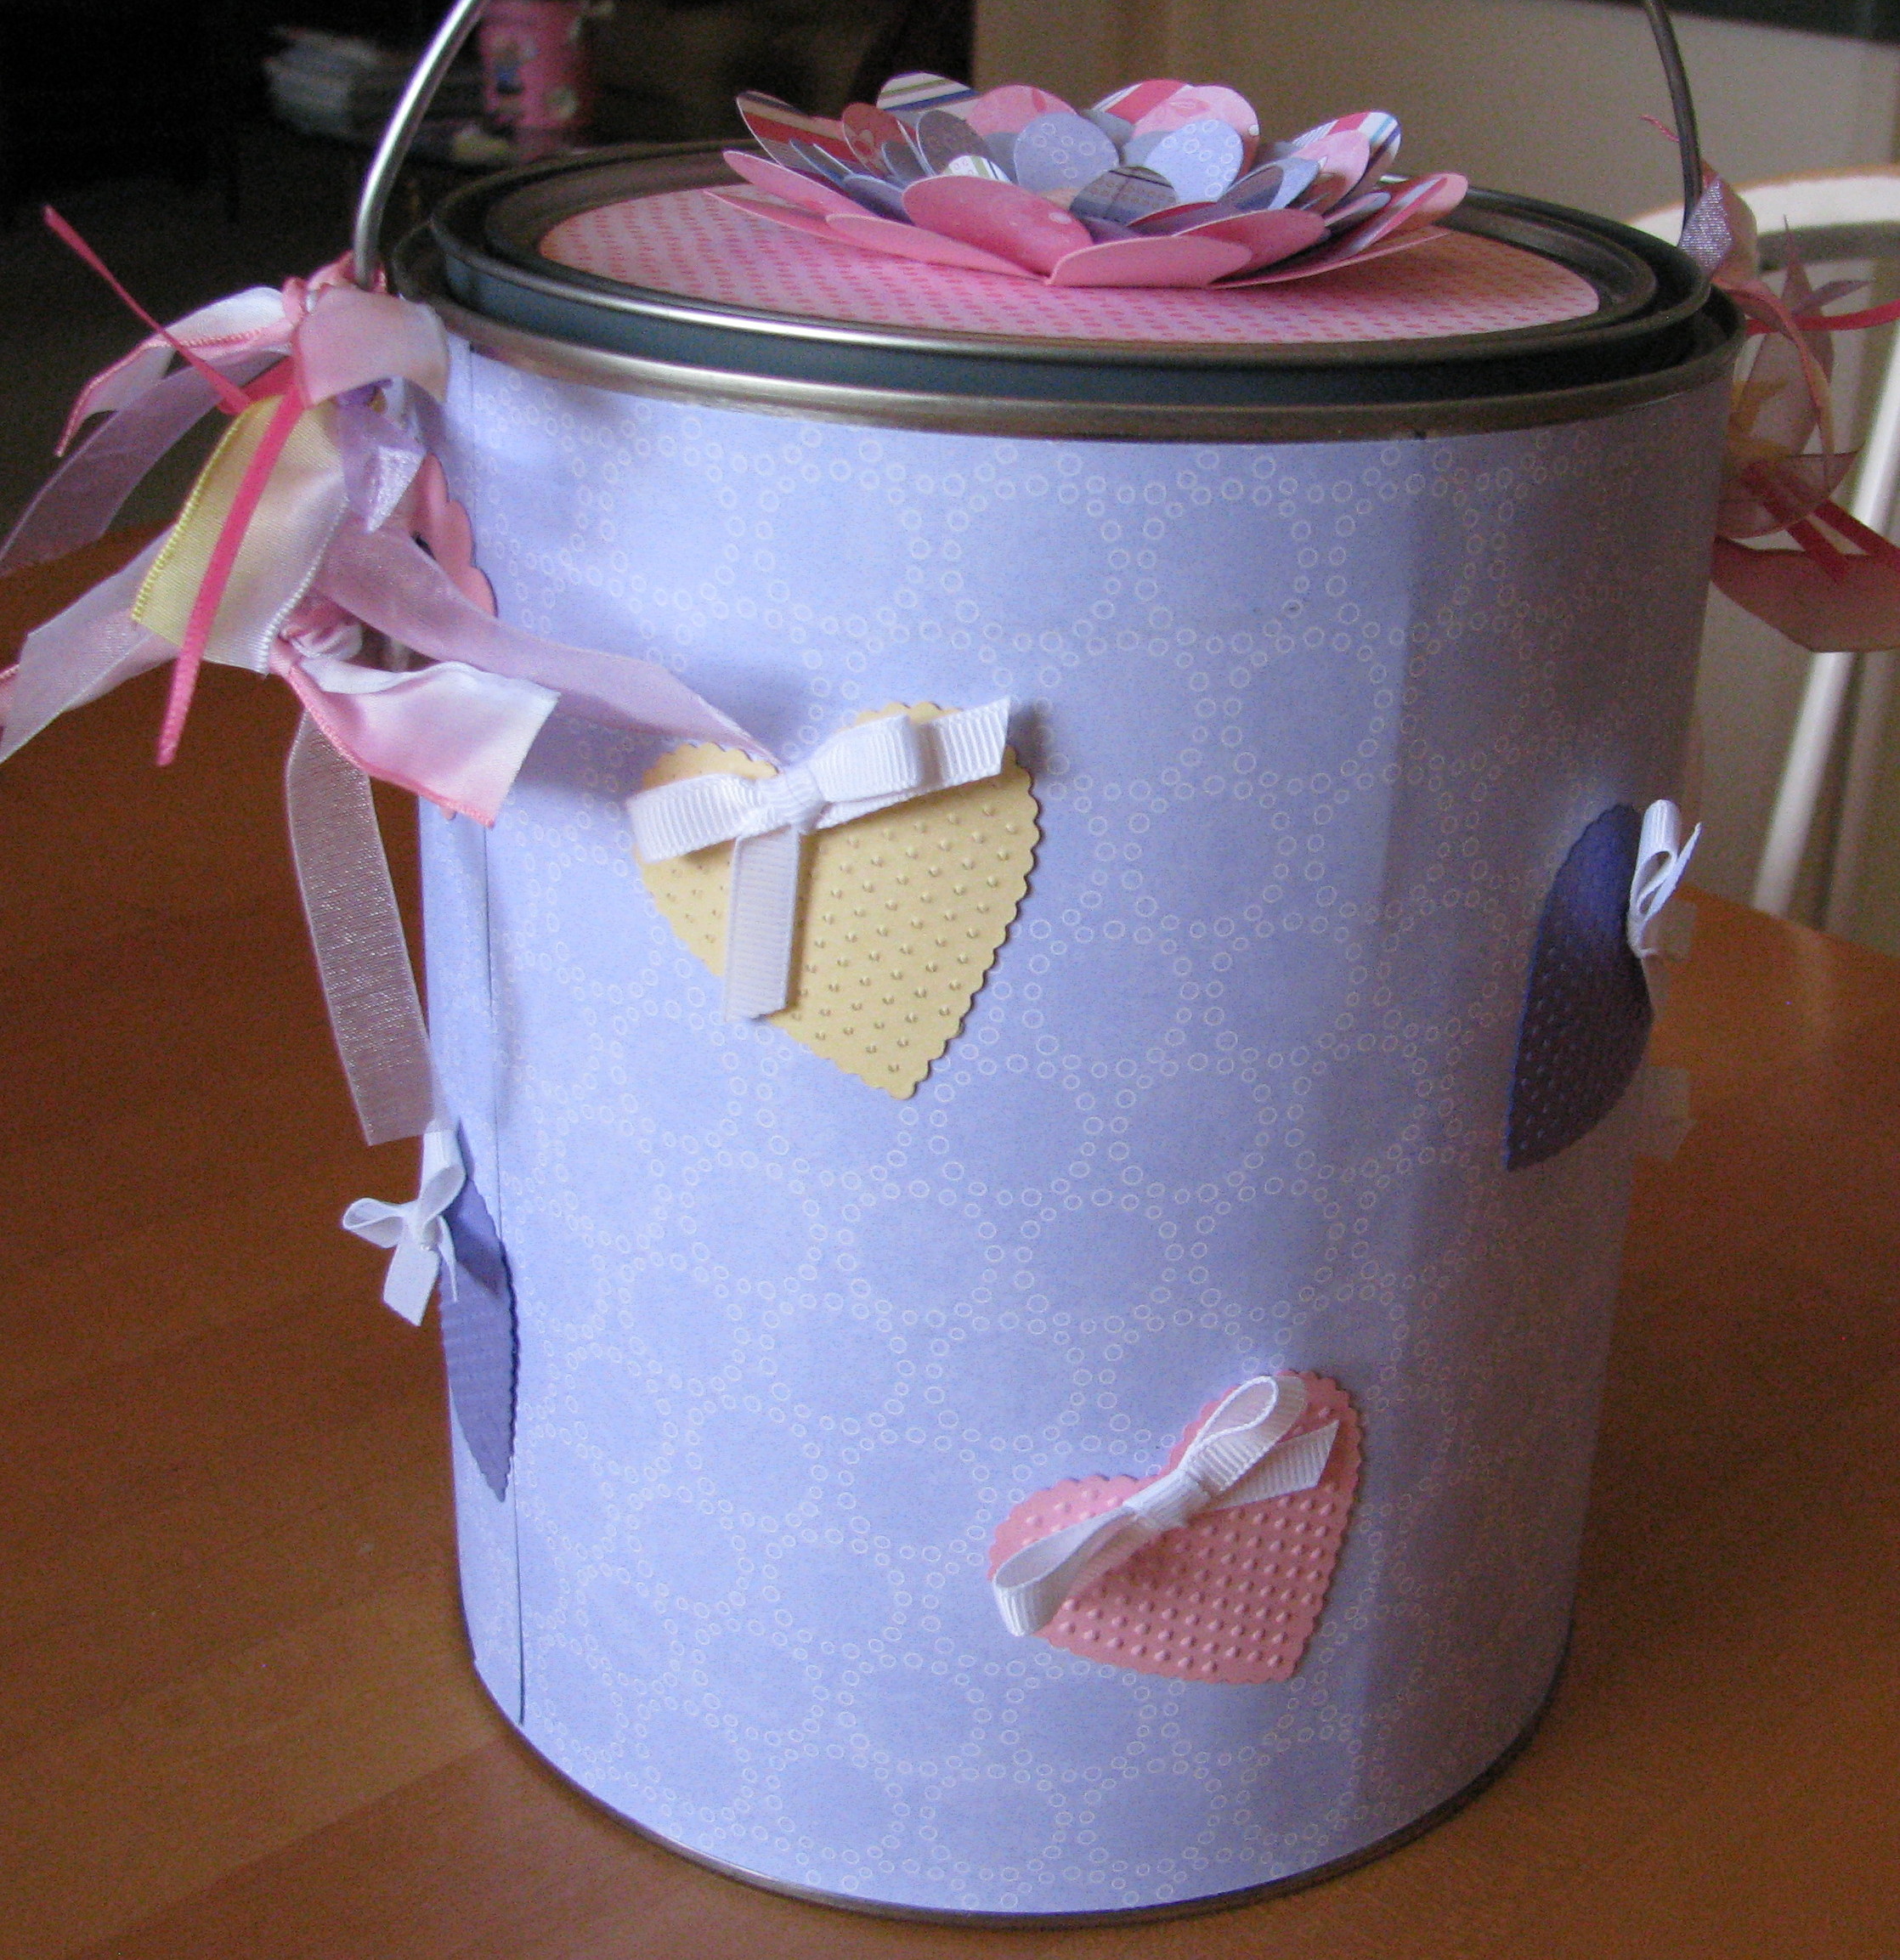
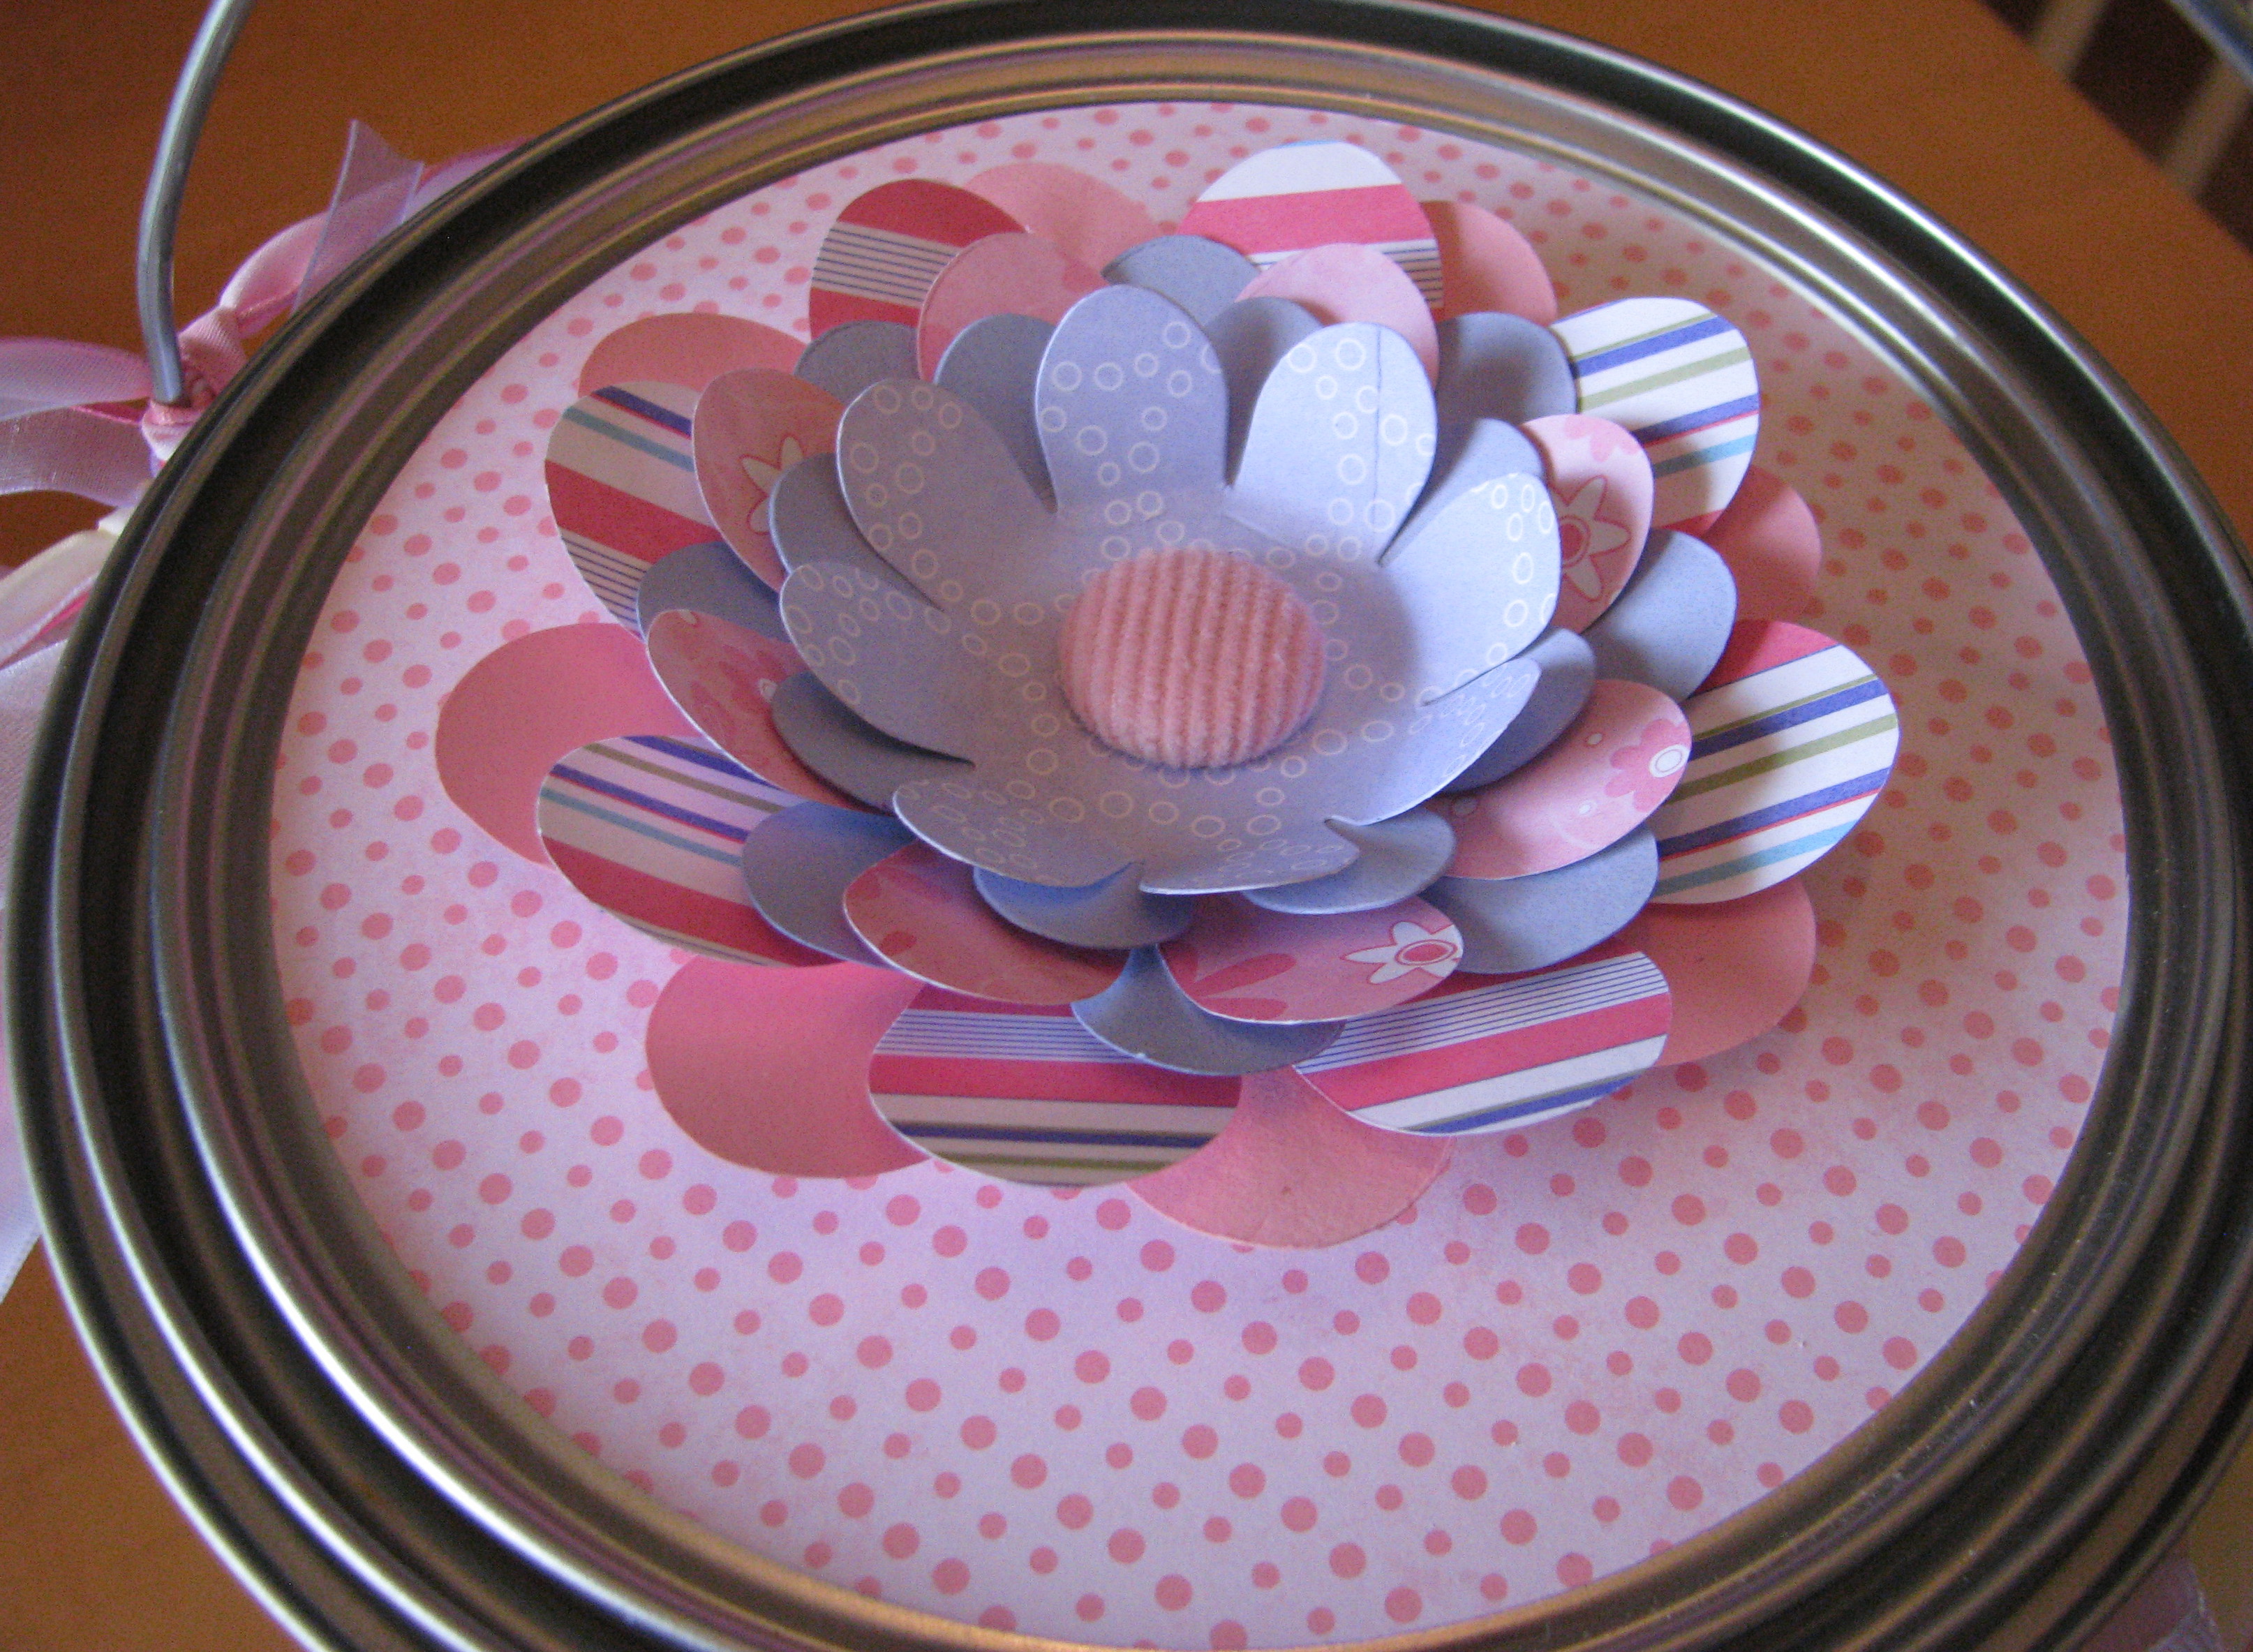
Here is the other Build-A-Bear can I decorated for someone.  These are so fun to make.  I think it makes a great gift container for whatever you want to put in it….and then the recipient can still use it afterwards!  I got lots of use out of my Big Shot with these Paint Can projects!

Altered Paint Can front
Altered Paint Can Side
Altered Paint Can back
Altered Paint Can top Butterfly 

I used some retired Stampin' Up! Designer Series Paper and ribbons on this project, but I was looking for paper I thought the recipient would enjoy.

Once you start on a project like this, you'll find that it is so much fun just to play with it and your creativity will come!


A New Stampin’ Up! Video…..Summer Mini!

I love it every time Stampin’ Up! comes out with a video because I know I will see terrific ideas and products.  This one shows Carrie Cudney and Shannon West, both of the Home Office of Stampin’ Up!, giving a preview of some of the new products in the brand new Summer Mini Catalog.  If you don’t have a Stampin’ Up! Demonstrator and would like a copy of the Summer Mini just email me at KSFontinelle@gmail.com and ask.


My Digital Studio Cinco de Mayo Recipe Page

Wouldn't this be a fabulous way to compile all your favorite recipes for yourself or as a gift?  Use My Digital Studio to make your pages, insert your recipes, and have it printed in an album!  You can use the designed pages already in the program and put together a recipe book in very little time.  Here is a page I made for today, May 5th, Cinco de Mayo.

This is my favorite guacamole recipe from a local restaurant.

My Digital Studio recipe page Cinco de Mayo 

If you have questions about using My Digital Studio, just ask me!


BUILD-A-BEAR Paint Can

The other day I showed you some Build-A-Bear gals I had made.  Well, they were going on the sides of gallon paint cans that I decorated as a gift container.  It is so much fun to use the Big Shot (#113439) and an assortment of dies to do projects like this!  Be sure to check pages 194-202 in the current Stampin' UP! Idea Book & Catalog for information on all the Big Shot products as well as in the mini catalogs.

 Some of the Designer Series Paper is Tea Party from the current catalog and some may be retired.  The ribbons are assorted ones I had on hand.


PaintCanHaley
 

PaintCanSide 

PaintCanBack
CanFlowerTop 


It is easy to do these paint cans.  I used Stampin' Up! Glue Sticks on both the can and paper to adhere.  The rest of the decorations were adhered with whatever was appropriate, either Tombow Multi, Mini Glue Dots or Stampin' Dimensionals.  You do need two sheets of paper, preferably Designer Series Paper since it is thinner than card stock.  You can make your own pattern by using copy paper first, just fitting around and really indenting where the handle things are on the paper.  Then use a hole punch of the appropriate size to punch where you see the "indentation" in the paper.  Cut a slit to slip over the handle.  Easier than it sounds.

This really is a fun project, once you get the paper on the can VERY SIMPLE to decorate to any theme, and plenty of room for a gift inside.  Try it!!  Let me know if you have questions!