Enter the Stampin' Up! The Great My Digital Studio Express Giveaway!
Click HERE to enter!
Click HERE to learn about My Digital Studio Express!

Big on Christmas #116578 is one of those Christmas stamp sets I have had for several years and always liked and enjoyed stamping with. Sadly, it is on the Stampin' Up! Last Chance List. So on this hot day in June, I thought I would make a few Christmas cards a little early! This is a great stamp set that you can use simply as I have, or you can jazz up if you want.
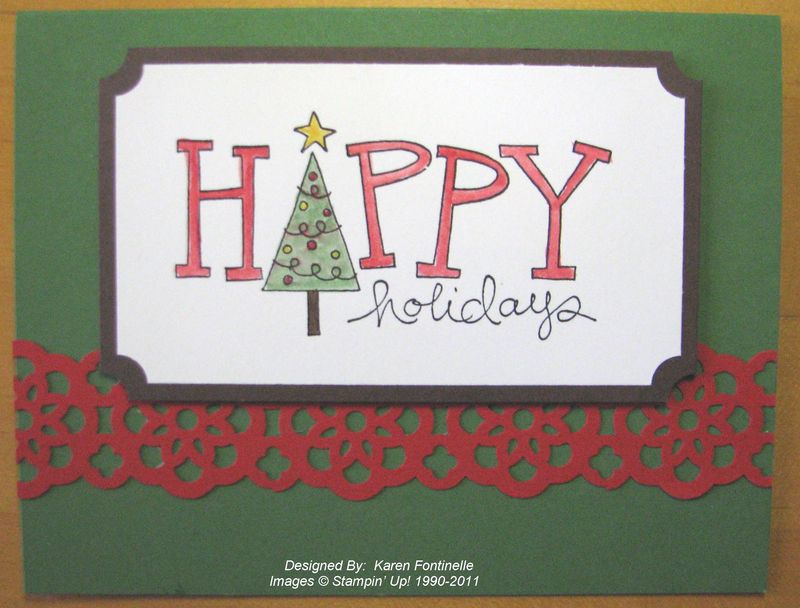
I used the Ticket Corner Punch #119867 to snip the corners of the image and the layer. I also used the brand new Lacy Ribbon Border Punch #122362 coming in the new Stampin' Up! Catalog July 1st. You could add Dazzling Diamonds Glitter to this card, rhinestones, or decorate the letter in "Happy" with Crystal Effects.
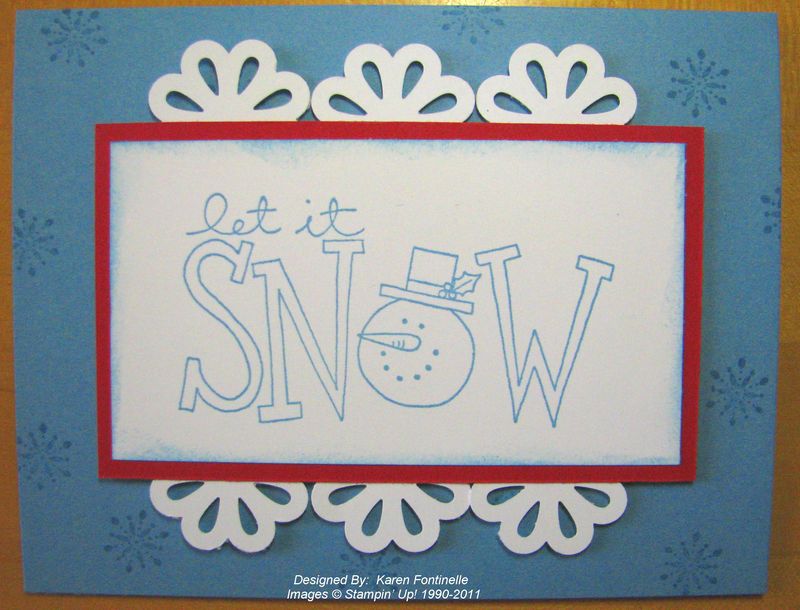
This card I sort of used the monochromatic look….a method to use if you don't want to do all that coloring in! You could also restamp the snowman on a scrap paper, cut him out, and pop him up right over the stamped image in the word. You could stamp a few snowflakes on the main image and add some glitter. On this card I used the new Blossom Bouquet Triple Layer Punch #122464 in the Summer Mini Catalog to look a little bit like snowflakes behind the layer or just decorate the card. The little snowflake stamped on the Marina Mist card base is from Snow Swirled, which is not retiring (another favorite Christmas stamp set!).
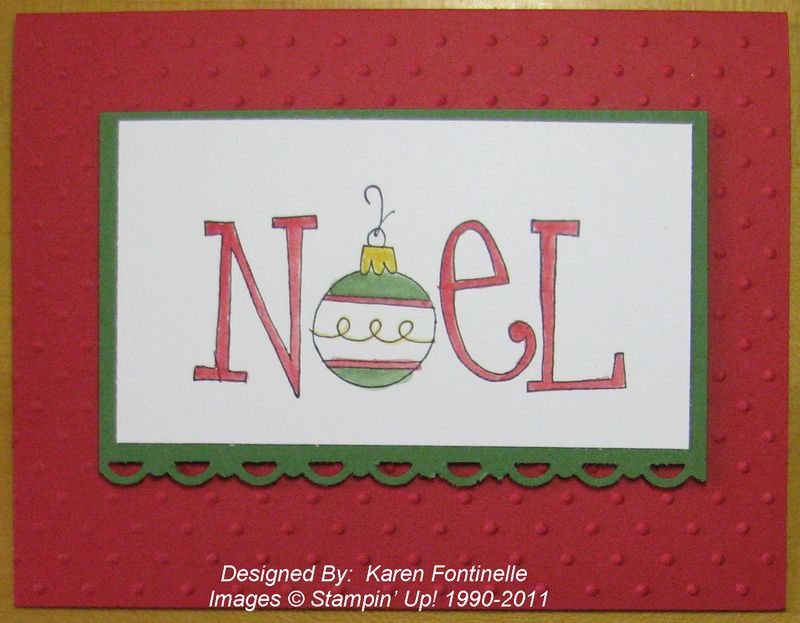
This Christmas card uses the third image in the Big On Christmas stamp set. I used the Scallop Trim Border Punch #118402 on the Garden Green layer. The card base in Real Red is embossed with the Perfect Polka Dots Embossing Folder #117335
Don't let this stamp set pass you by for making some very cute Christmas cards this year! To check the retiring Stampin' Up! stamp sets, accessories, and Decor Elements, please click HERE.
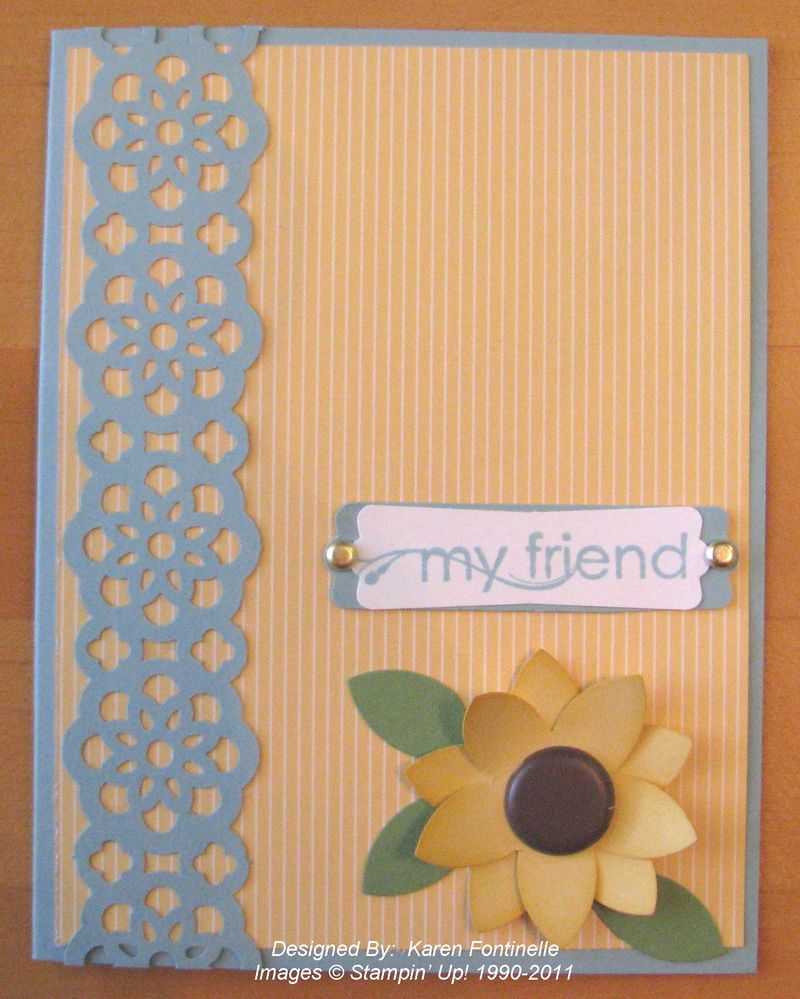
It's great to be a Stampin' Up! Demonstrator right now because we all got to order a few Sneak Peek products from the upcoming new catalog, available July 1st. When my order arrived, I immediately tried out the new Lace Ribbon Border Punch! I was thrilled to pieces with the scrap I punched, and here it is on this card! Isn't it beautiful?? (the punch!) The designer paper on the Baja Breeze card base is also some new designer series paper, called "Just Add Cake". The opposite side of this paper looks like notebook paper! The So Saffron flower is made with our current 5-Petal Flower Punch #119880, as are the Wild Wasabi leaves (the flower petals cut apart!). In the center of my flower is one of the 5/8" Neutrals Jumbo Brads #112533, this one in Chocolate Chip. Recognize the greeting??? Probably not, because it is in a new stamp set called My Friend.
If you are interested in becoming a Stampin' Up! Demonstrator, starting your own business, becoming part of the Stampin' Up! family, and enjoying these special perks and benefits please contact me with any questions you may have OR click HERE to read more about the Stampin' Up! business opportunity.
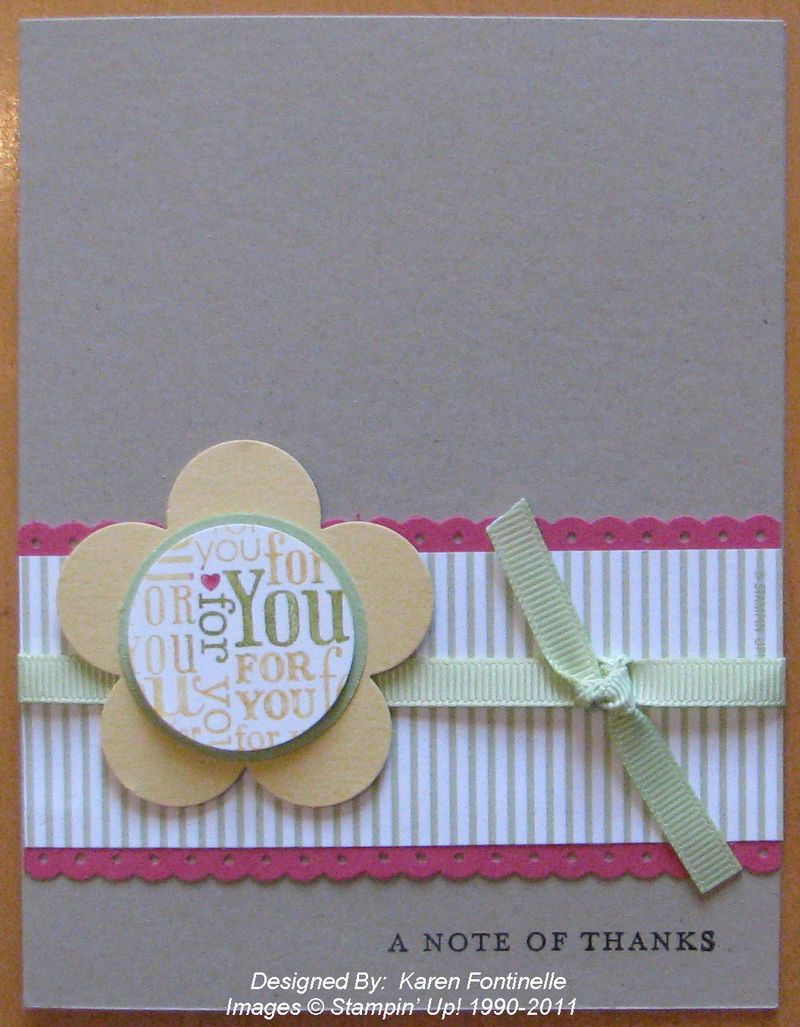
Thank you cards are always handy to have around, and especially for an important occasion, such as graduation, when many graduation thank you cards will need to be sent. Online thank you notes or thank you emails might be better than no thank you at all, but, in my opinion, this is when a handwritten note is definitely in order. And if you really want to make it special, a Stampin' Up! card that you made is always special!
This card uses a retiring stamp For You Flower #118726, one of the a la carte stamps in the Stampin' Up! Idea Book & Catalog. I punched the flower out of So Saffron card stock with the Fancy Flower Punch #118073. With some Stampin' Write Markers, I colored in the center of the For You Flower stamp and stamped on Whisper White, punched out with the 1 1/4" Circle Punch #119861, mounted it over a 1 3/8" Circle Punch #119860 of Pear Pizzazz card stock using a Stampin' Dimensional, and adhered that to the flower punch piece.
I was actually copying a sample in the catalog (I think sometimes we forget to simply look in the catalog for ideas!) but instead of doing paper piercing, I punched two strips of Rose Red card stock with the Dotted Scallop Ribbon Border Punch #119275. For extra emphasis, being a thank you note, I stamped the bottom of the card with a stamp from Thank You Kindly #111700.
When you are looking for thank you card wording, there are so many great stamps to choose from at Stampin' Up!.
If you were doing this card as a graduation thank you card, just choose either school colors for your papers and ink or whatever colors suited your personality. I'm sure the recipient would appreciate something that you put your personal touch on.
For any stamping supplies that you need, please go to my Online Store HERE. (In fact, go take a peek now as Stampin' Up! has updated the look!) Feel free to contact me with any questions!
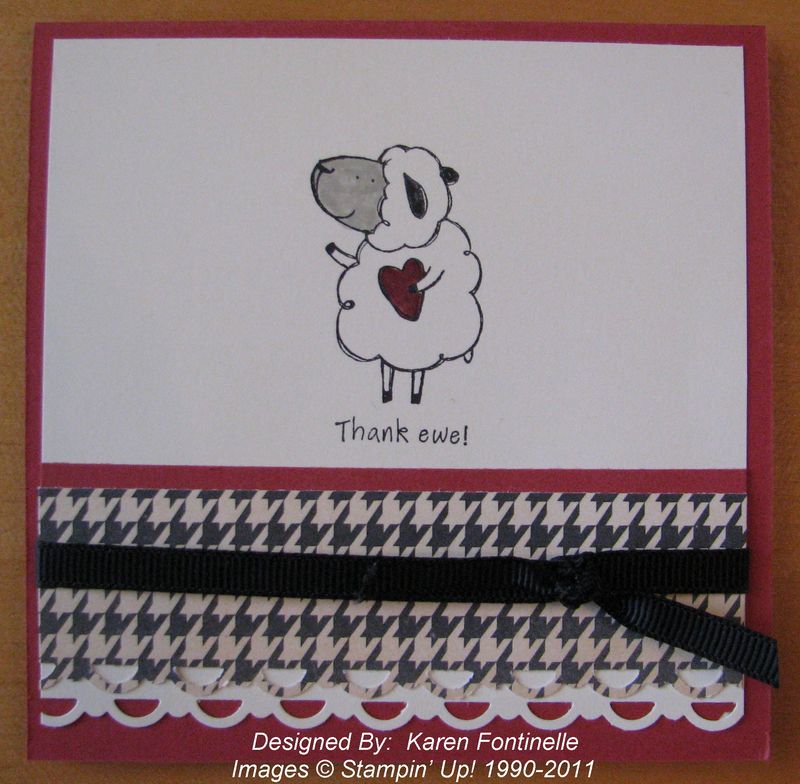
Another Stampin' Up! retiring stamp set is Pun Fun #115054. What a shame since it is such a versatile fun set with images and words…which you can omit if you want just the image…or just the words. It is one of those good sets for beginning stampers since you get a lot in the set for many occasions. The DSP on my card is a bit of the Love Letter Designer Series Paper #117162, which will also be retiring.
You can view all the retiring stamps and accessories HERE. Do your shopping this weekend to be assured of best selection! And if you are ordering online, be sure to look at the Clearance Rack…..lots of good deals there!
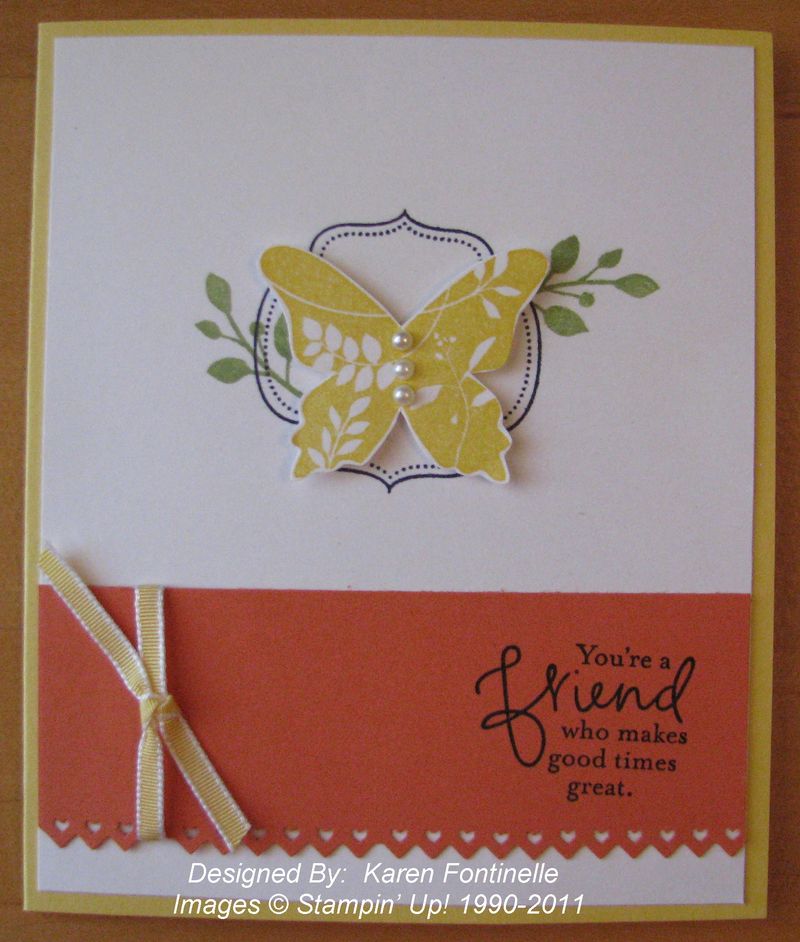
The stamp set Great Friend #113792 is one of the many Stampin' Up! stamp sets retiring the end of this month. I like this stamp set because it is very simple but lovely and versatile for many occasions. It also has a "for you" greeting which can be used for most anything. You could even color just the word "friend" on the stamp I used with a Stampin' Write Marker if you wanted to stamp just that word. The frame, the leaves, the butterfly are all so easy to use. To make this card, I used the sample card in the Stampin' Up! Idea Book & Catalog on page 122 as inspiration and changed it a little. I really like this simple card.
Be sure to check the Stampin' Up! Last Chance Lists HERE and place your order soon! Go to my Online Store when you have your order ready!
Image copyright Stampin' Up! 2011
Stampin' Up! has released the lists of retiring stamps, accessories and Definitely Decorative items! These are items that are being discontinued after June 30, 2011 to make room for new products. Stamp sets will be available all month because Stampin' Up! manufactures their own stamp sets. However, accessories are available only while supplies last…..and sometimes they don't last very long! Either submit your order to me soon (you can email me at Karen@Karenstamps.com) or preferably place your order at my Online Store so you will know right away if the accessories you want are available.
Start checking and start shopping!!
Stampin' Up! Retiring Stamps: Click HERE.
Stampin' Up! Retiring Accessories: Click HERE.
Stampin' Up! Retiring Definitely Decorative: Click HERE.
To see separate lists: Click HERE.
Be sure to notice some products are discounted!!
What happened to May? It went by way too fast for me and maybe it did for you, too, so here are some reminders since this is the last day of May!!
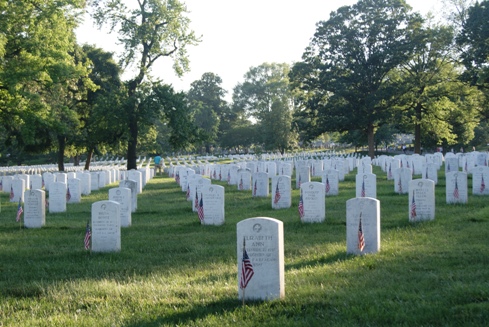
Memorial Day is a national holiday celebrated on the last Monday of May. It was originally a day to honor the dead of the Civil War by decorating their graves and was known as Decoration Day. In 1966 President Lyndon Johnson designated Waterloo, NY as the birthplace of Memorial Day because starting back in 1866 the town had made the day an annual event where businesses closed and soldiers' graves were decorated with flags and flowers. Memorial Day is a day to honor all veterans who have given their lives in America's wars. At Arlington National Cemetary, a certain unit called The Old Guard place American flags one foot and centered, in front of the gravestones and columbarium niches of every service member. This tradition is called "Flags-In".
Each one of us can participate in a "National Moment of Remembrance" at 3:00 PM local time wherever you are to reflect on the true meaning of the day, a congressional resolution passed in 2000. We might also think about our ancestry and family history as we perhaps gather with relatives for a family picnic or a Memorial Day parade. And be sure to fly your American flag, although it should be at half-staff until noon.
Here are some more pages from the baby scrapbook I made. Some materials and stamps may be retired but you can easily substitute something similar. You can copy the layout ideas or just get your creative juices flowing! These smaller albums are so much fun to make! Just slip the pages you make into the clear page protectors in the album.
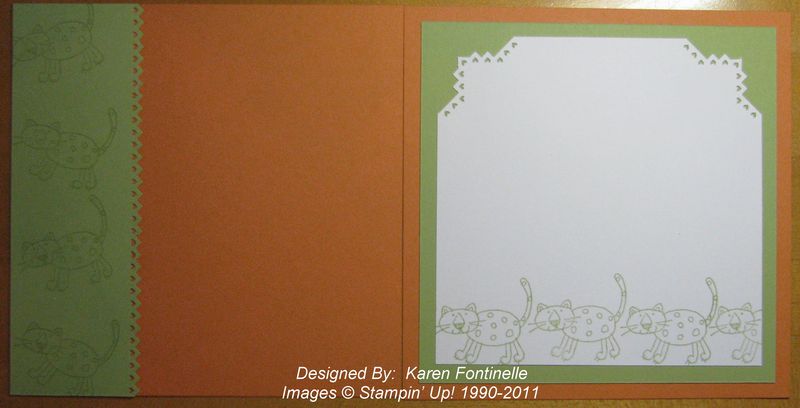
Use the Pinking Hearts Corner Punch #118072 to make a decorative corner.
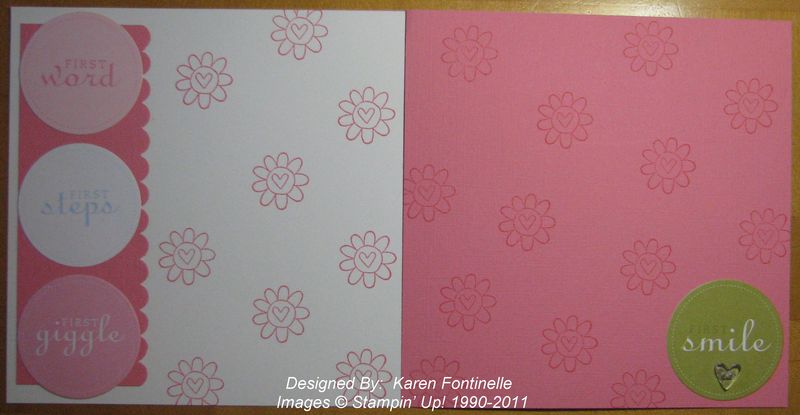
Make your own designer paper by stamping…and this stamp even comes from what could be considered a Valentine stamp set! (I think it is a retired stamp set)
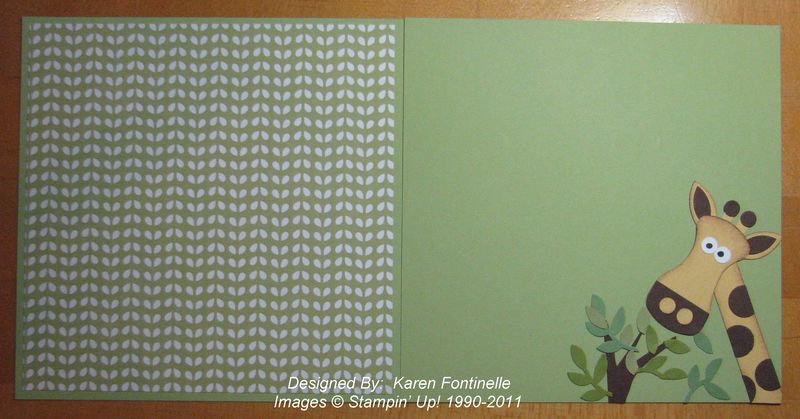
Designer paper from Nursery Suite Specialty #117165. I don't remember where I got the punch art giraffe idea, but you can google it and probably find one to your liking.
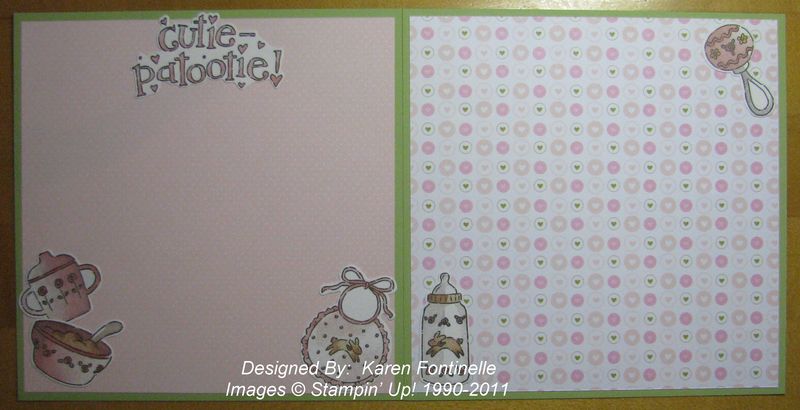
These are die-cuts from an old Simply Scrappin' Kit but you can find something similar in the current catalog. Love the Simply Scrappin' Kits!
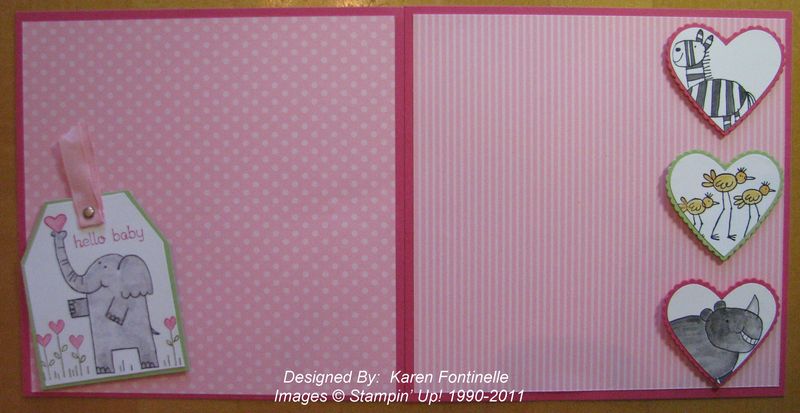
Might be retired stamp sets but you can use the idea! The hearts are cut with the Scalloped Heart of Hearts Embosslits Die #117332 and the Full Heart Punch #119883.
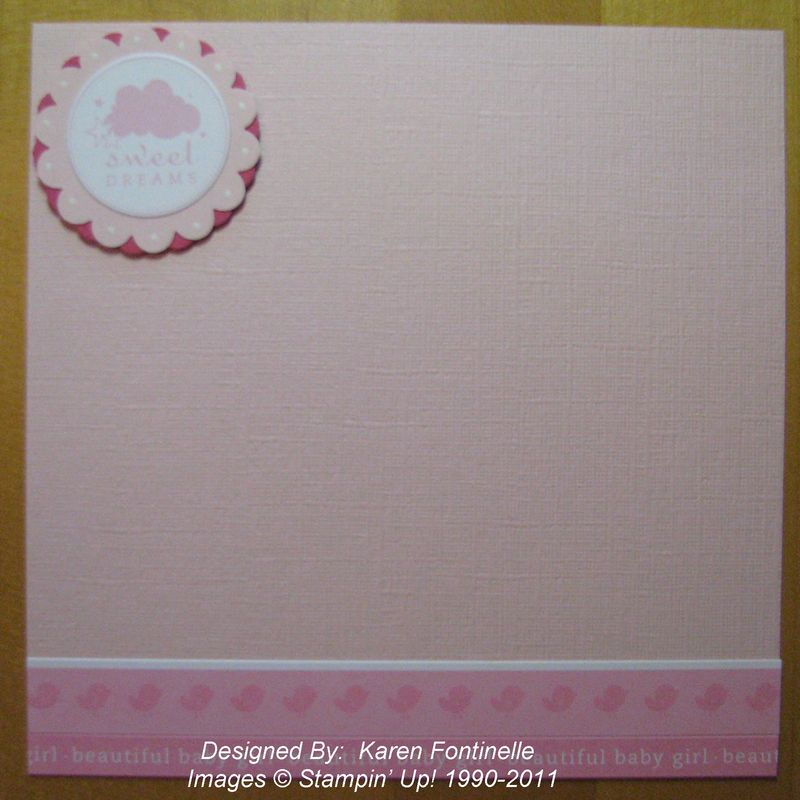
I usually like to make the last page in a baby album something about sleeping!
Even though this is a 6×6 album, to make a larger page, just take the same layout ideas and make them larger! There's probably always a little something extra you can add, too! Have fun with it!
Contact me if you have any questions!
Baby scrapbook albums are so much fun to make! I've made them for gifts and as special orders for other people. Whether you start with just a generic baby theme or choose something special, such as nursery colors, you just need to start, and as you play around with your pages and layouts, creativity will come! You can get many Stampin' Up! ideas for layouts just by looking at the Idea Book & Catalog. This scrapbook is made with the 6×6 Natural Linen Post Album #104515 (it also comes in a Ring album if you prefer). Some stamp sets and materials I used are retired, but you can easily substitute something similar.
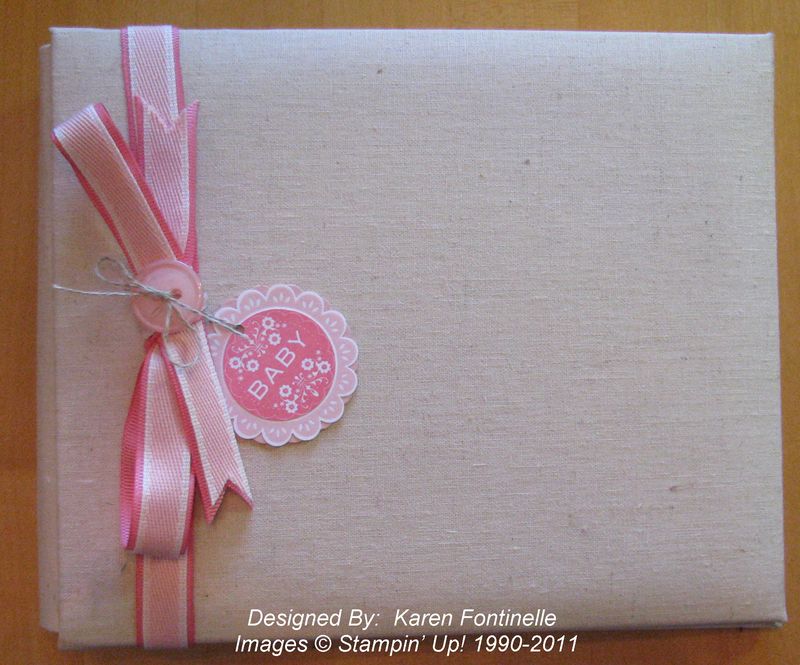
For the album cover decoration I usually like to just tie some ribbon around the cover and attach a tag of some kind. This one is the 1/2" Stitched-Poly Ribbon laid over 5/8" Grosgrain Ribbon.
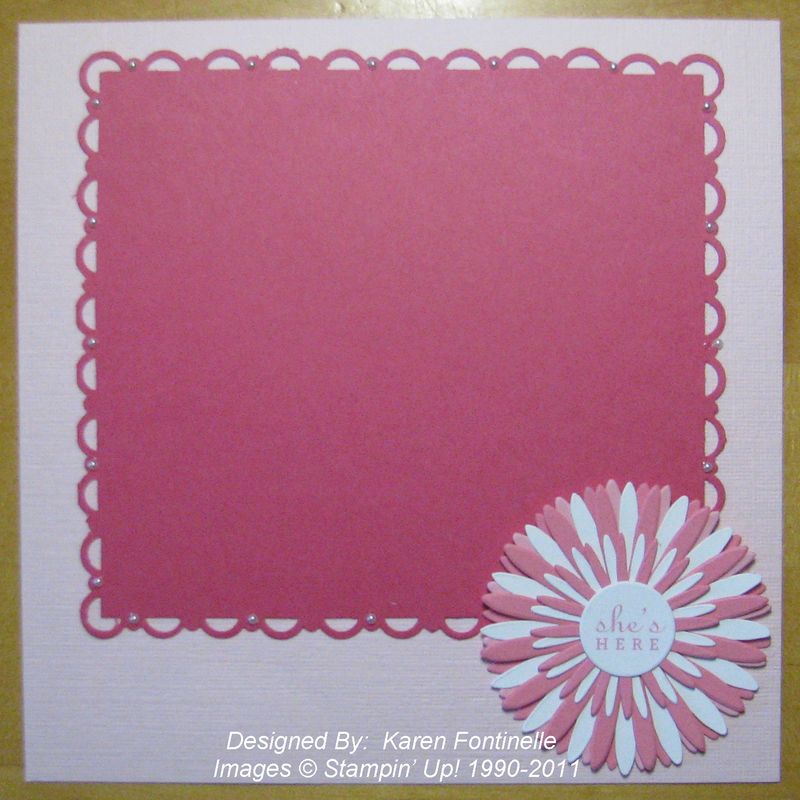
I used the Scallop Trim Corner and Scallop Trim Border Punches to this photo mat….best to just start with a piece of paper and punch, not expecting a certain size. I added tiny Pearls in between the scallops. The flower is made with the Daisies #2 Die and the Big Shot.
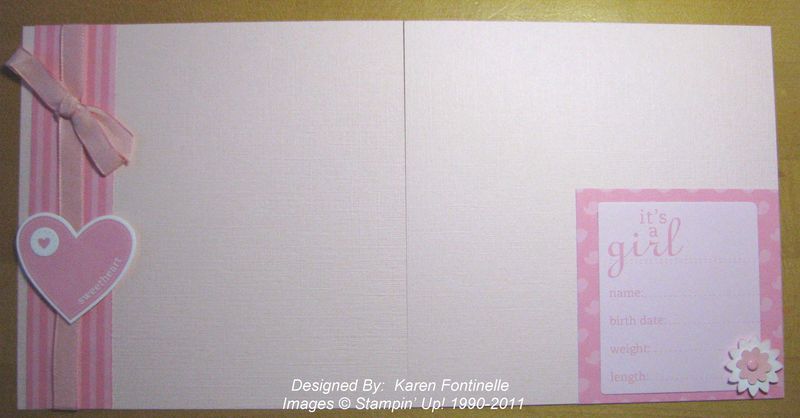
I think these pieces are from a retired Simply Scrappin' Kit (which are fabulous for making scrapbooks!).
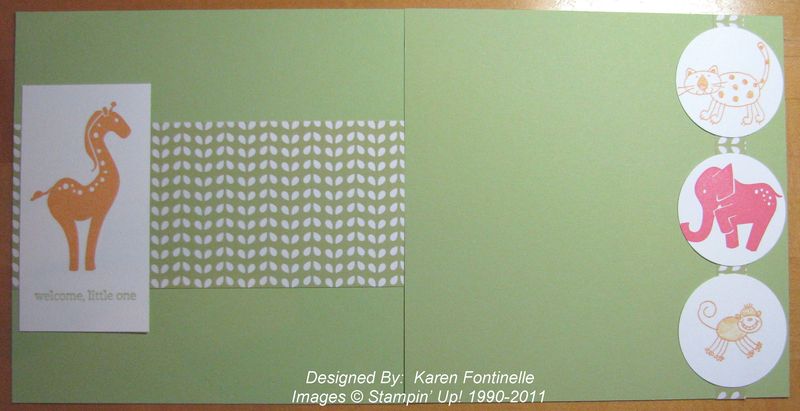
Stamps from Animal Stories #116716 and designer paper from Nursery Suite Specialty #117165.
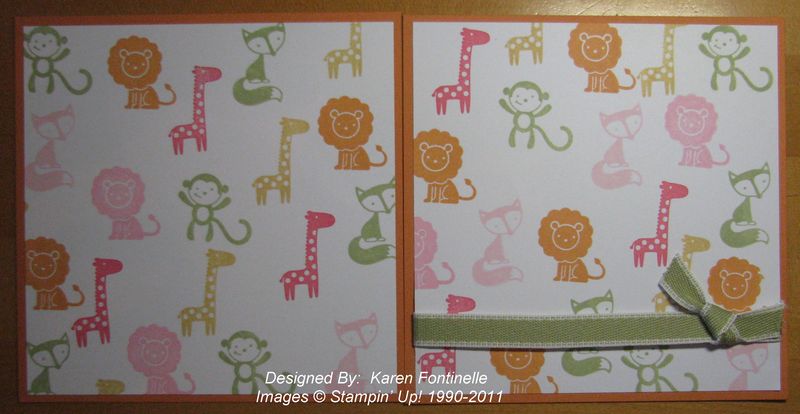
I made my own designer paper by stamping randomly on Whisper White card stock with Fox & Friends.
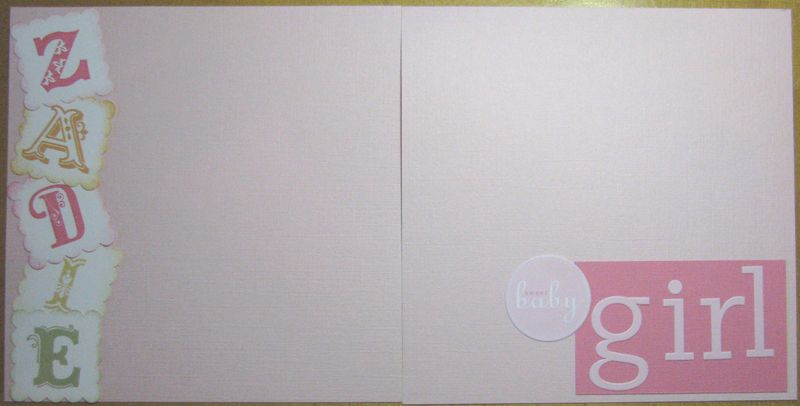
The baby's name is stamped with the Broadsheet Alphabet set.
More pages tomorrow! Click on the photos to enlarge.
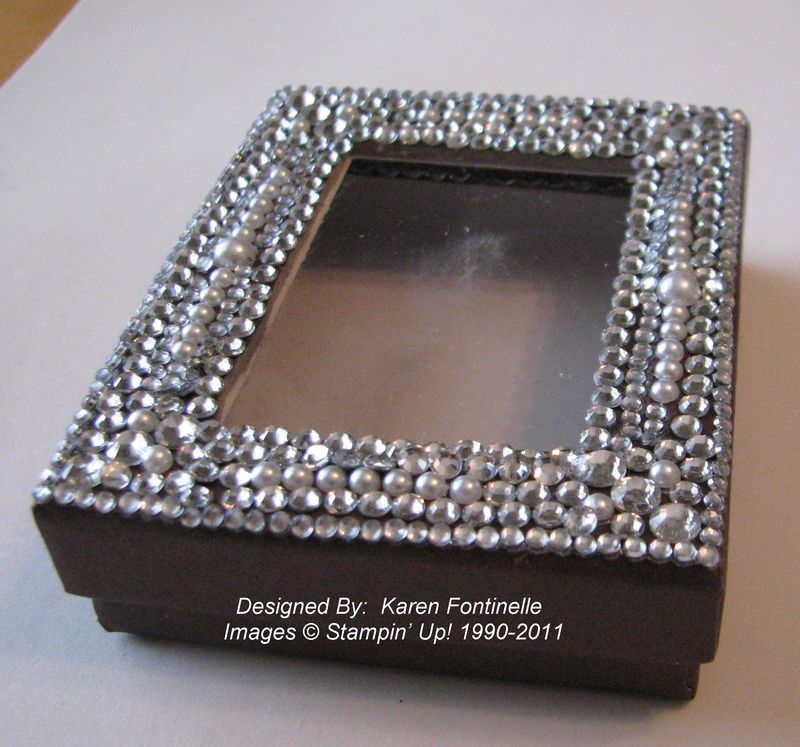
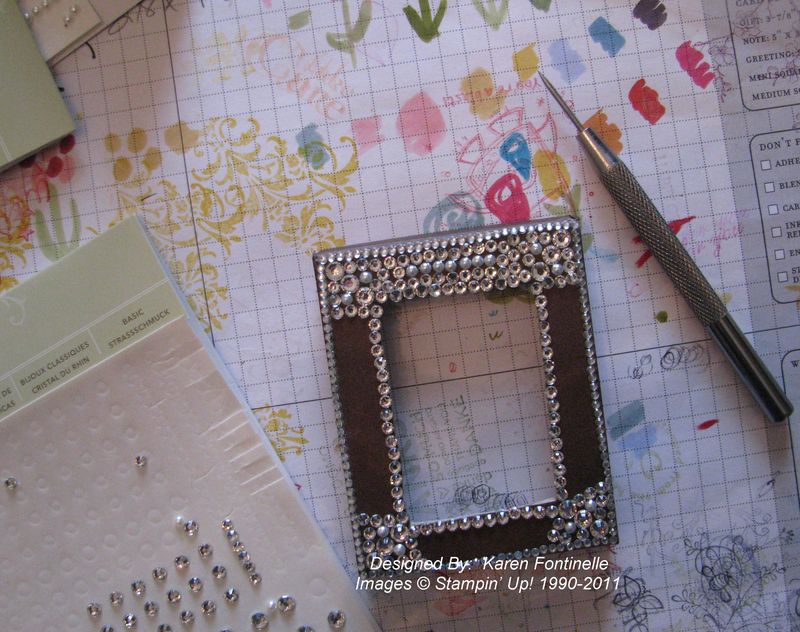
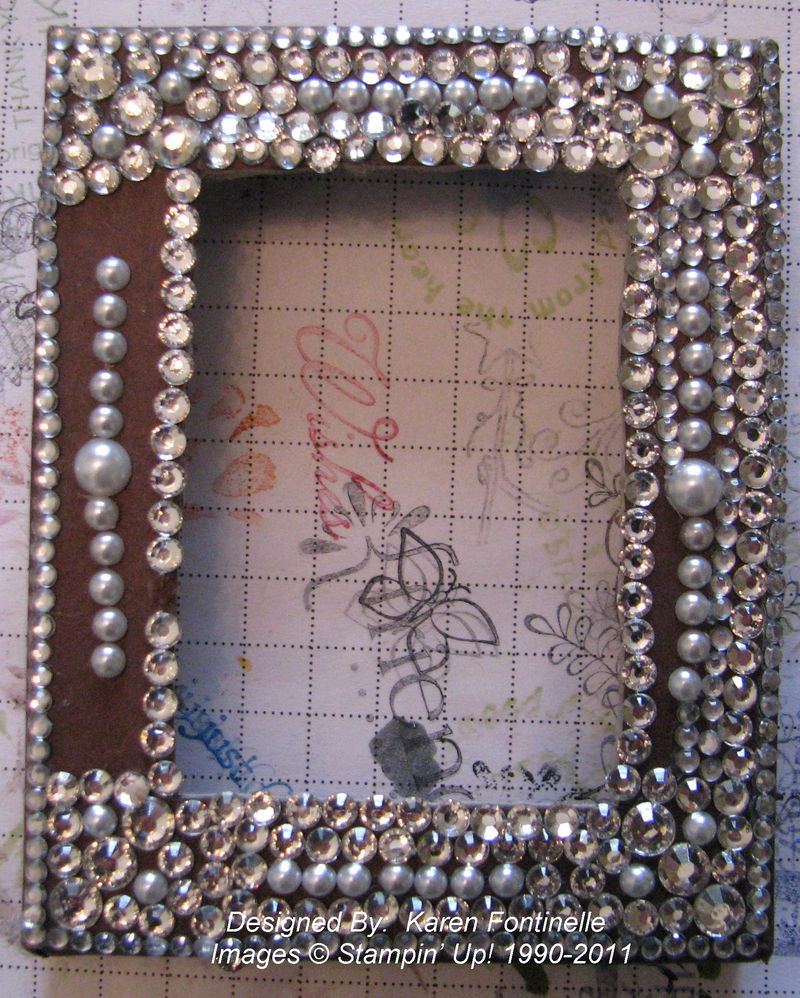
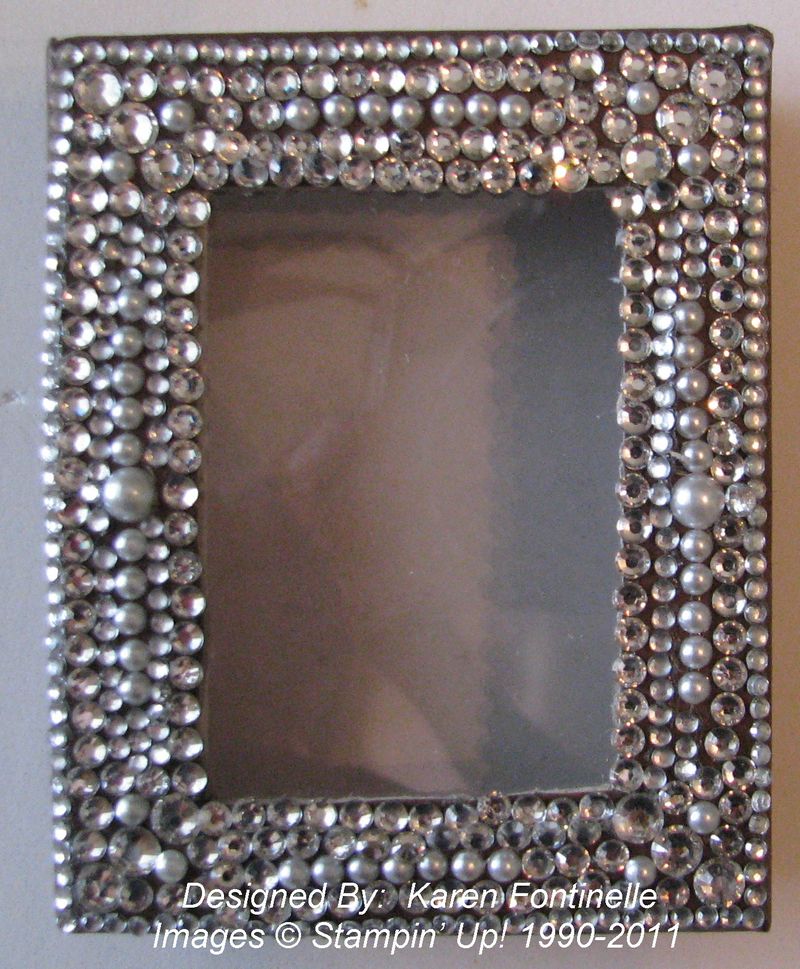
Do you need a gift box with bling? You can make one yourself! I saw some little boxes at a nice store covered with pearls and rhinestones and I thought, "I could make something like that!" (Isn't that what always gets us crafters in trouble??!) I envisioned using a small paper mache box I was sure I had multiples of but of course I could not find one in my stash….so an extra box that held a Simply Adorned charm worked just fine! I cut the center out in order to put a little window in the lid (with a piece of window sheet or transparency) and to save on rhinestones! I planned to use pearls to cover the box with a few rhinestones mixed in, but since I didn't have enough pearls, I had to use mostly rhinestones.
It is so easy to use the Stampin' Up! Basic Rhinestones #119246 and Basic Pearls #119247 on any project. I used my Paper-Piercing Tool #116631 to pick up each jewel and with the adhesive on the back they were easy to apply where I wanted them. Some even come attached in a close string so it made it easy to do the edges of the box. And if I wanted just a few rhinestones out of that string, I just cut in between two rhinestones with my Paper-Piercer and got what I wanted. The pearls and rhinestones are so pretty!
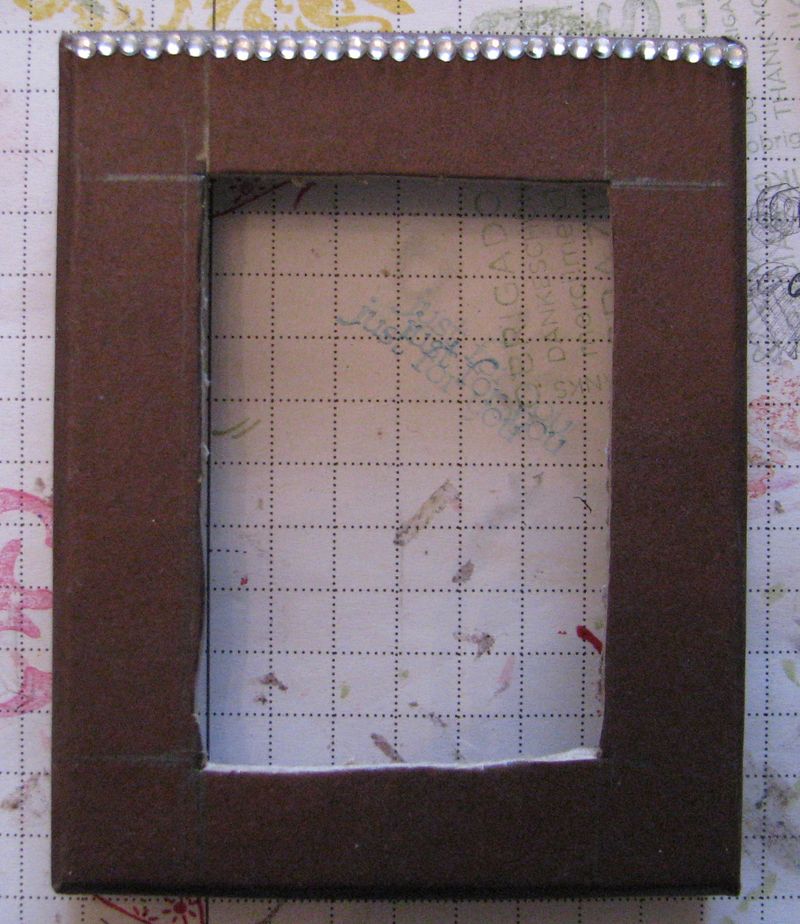
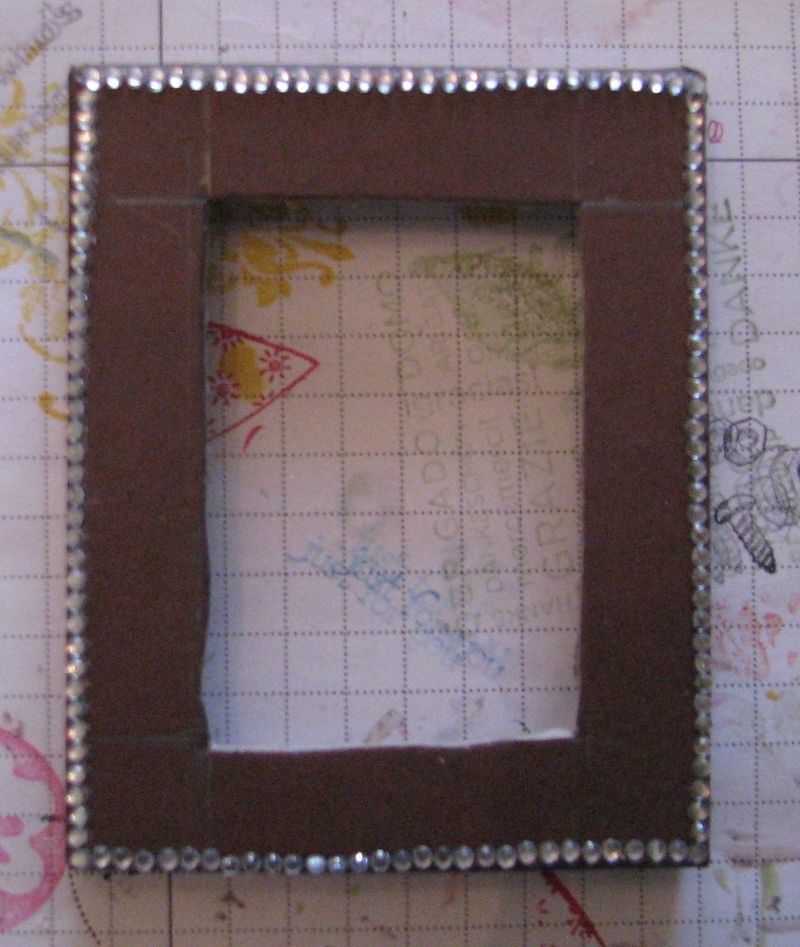
If need a couple packages of Stampin' Up! rhinestones or pearls, just go to my Online Store and place your order! Try making your own trinket box or jewelry box by covering a plain box with bling and your own decoration! Let me know if you make one!
Click image to enlarge.
If you even MIGHT be interested in becoming a Stampin' Up! Demonstrator and starting your own business, if you are like me you probably want more information and want to think about it before you make your decision. (Not that there is anything at risk by becoming a demonstrator if you want to just jump in and do it!) This Tuesday, May 24th and next Tuesday, May 31 Stampin' Up! is offering FREE opportunity calls to talk about the history and philosophy of Stampin' Up! and tell you about the opportunity to be a demonstrator and run your own stamping business! The call is usually about ten minutes of information and then ten minutes of questions.
The calls will take place every Tuesday, February 22-May 31, at 11:00 AM (MT) and 4:00 PM (MT).
To attend this call, dial 1-866-640-4044 and, when prompted, enter the access code 500284#. State your name, and you will be added to the call.
Space on these calls is limited and availability is first-come-first-served. You might want to call in a few minutes ahead of time to be sure to get in.
After May 31, Stampin' Up! will decide whether or not to continue these calls, so be sure you call in today or next week for sure to take advantage of this easy way to get more information on the Stampin' Up! opportunity! Besides, you may want to take advantage of the National Scrapbooking Month Promotion of getting a discount on the Digital+ Starter Kit.
After you listen to the call, please contact me and let me help you with any additional questions you may have.
Next week my June stamping newsletter will come out! Are you on my mailing list? Each monthly newsletter has the latest Stampin' Up! news and promotions, stamping techniques, card ideas, scrapbooking ideas, tool tips, other papercrafting ideas….you never know what you might find! If you enjoy stamping, scrapbooking, and papercrafting I invite you to subscribe!
To sign up for my newsletter:
I send a newsletter out at the beginning of the month and usually another short one mid-month to update you on any new stamping specials or happenings.
We're getting real, real close to Retirement Time and then the new Stampin' Up! catalog so you won't want to miss a moment of the excitement!
Please join us! We'll have lots of stamping fun!
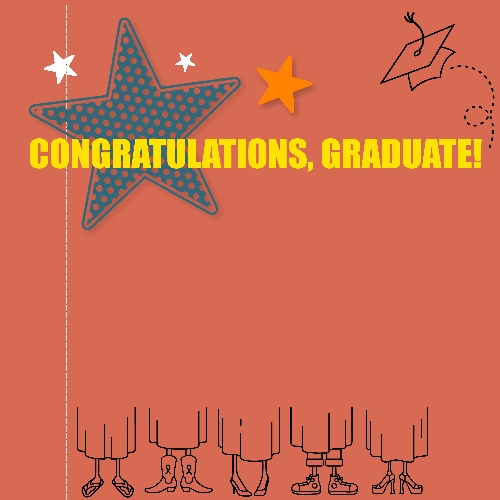
You'll need a scrapbook page for that graduation photo so of course one easy way to make one is to use the Stampin' Up! program, My Digital Studio. I began with a designer template for this page but changed the background paper color and added several graduation stamps….the cap, the sentiment, and the feet. Imagine the photo going right above the graduation feet! With My Digital Studio you can easily make an entire album or just a few pages with minimal thinking and designing….or you can start and work completely from scratch. You could even use this idea as your design and then make it out of paper and stamps.
To find out more about My Digital Studio, click HERE.