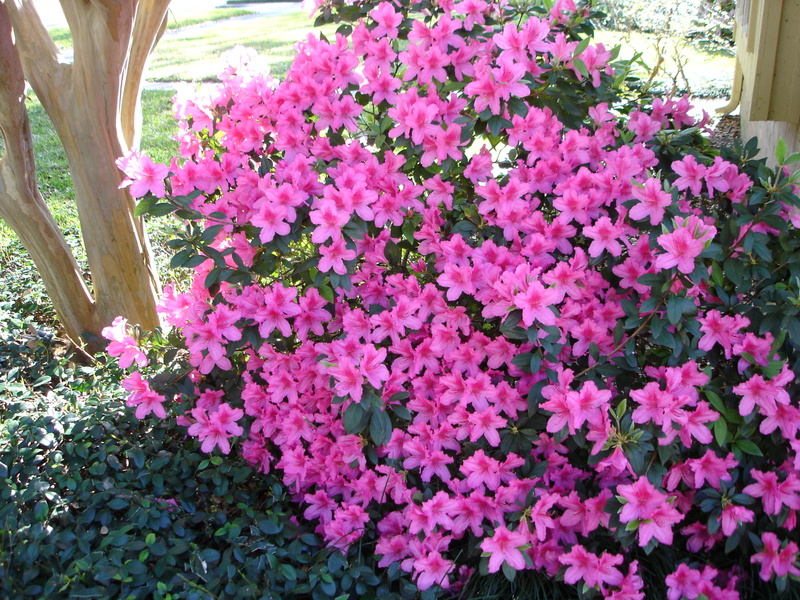
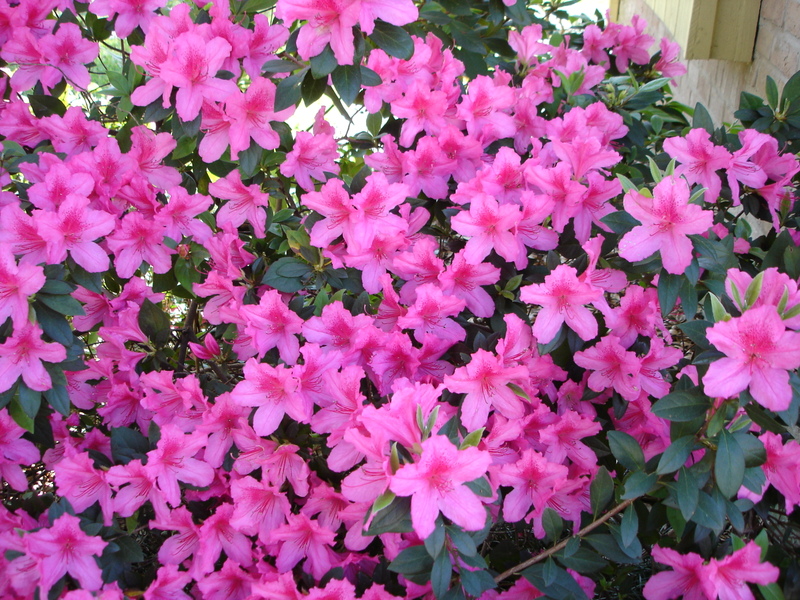
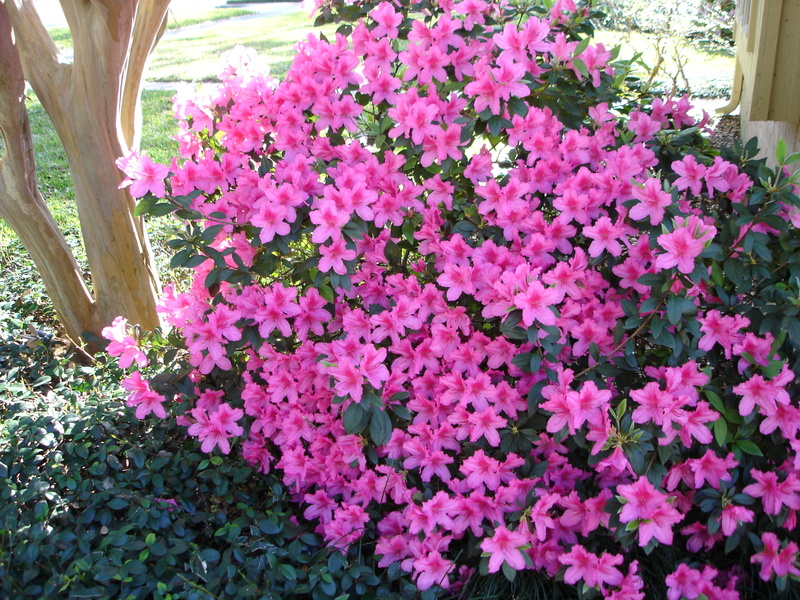
This is the azalea bush on one end of the front of the house. Unfortunately, this burst of blooms faces the house next door and doesn’t show as much from the front! But it is just gorgeous! If you click on the photo you should get an enlargement. Every March Houston holds the annual Azalea Trail where you get to visit a few beautiful houses and gardens in the River Oaks area. This is one outing my husband and I have always gone on every year that we have lived here, which now is twenty-five years. Some years we carried a baby or brought all the kids if we had to, or if we were really in luck, found a babysitter and also got to have a nice lunch out alone afterwards. We went last Friday afternoon, an unusually cold and windy day in Houston, but the sun had come out. We wore winter coats and the River Oaks Garden Club hostesses got to wear their long fur coats!
Category Archives: My Digital Studio
One Last Valentine!
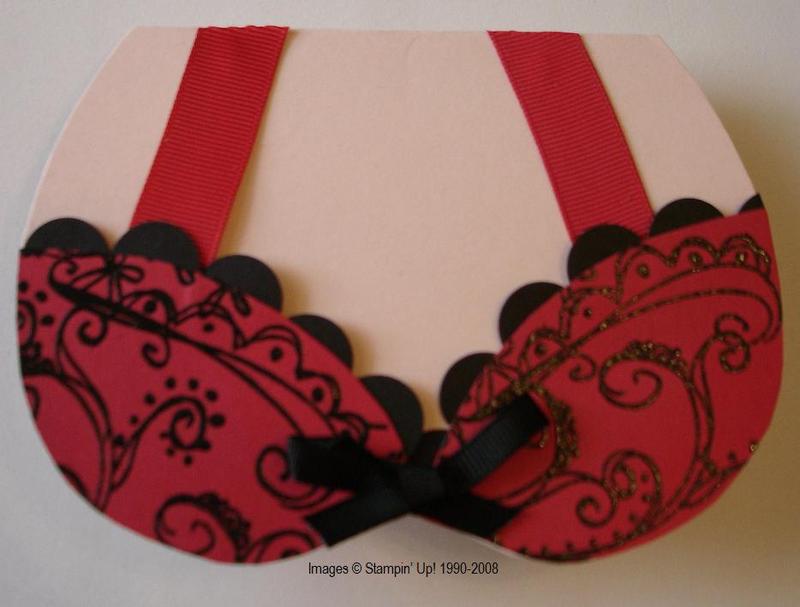
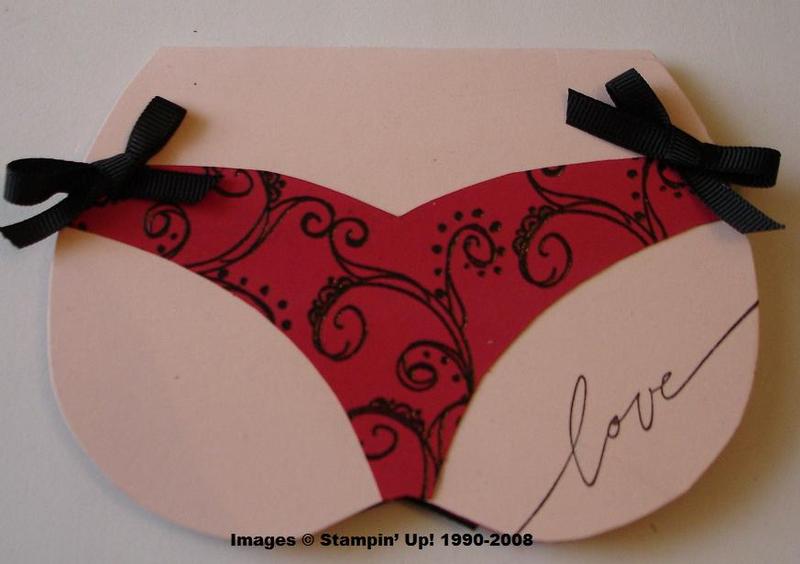
OK, I just couldn’t resist making this card I saw on Splitcoast for my husband for Valentine’s Day! It was some sort of challenge on SCS so there are a lot of examples. Mine pretty much copies one by another ‘Karen’. The base of the card is Blush Blossom. You could use Designer Paper for the "fabric" and then doll it up however you like. I chose to use Real Red cardstock which I embossed in black with the doodles from Doodle This. I thought it looked Valentine-y. For the lace I just used my Slit Punch to make a strip and then bent it a little to fit the curve. I used the wide red grosgrain ribbon for the straps and the regular black grosgrain for the bows. The possibilities are endless! Have fun with it! (You can click on any photos for a larger image.) Here is a link to the SCS challenge and template:
http://www.splitcoaststampers.com/forums/showthread.php?t=316869
Happy Valentine’s Day!
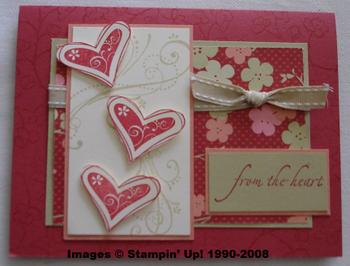
Here is another card we made at my Valentine’s stamp camp. I’m afraid I don’t remember where I got the idea or how much I directly copied it, but I "think" a little of it is my own design….maybe just the words! I love the card because while it looks like it is for Valentine’s Day it really can be used for other occasions. In fact, I sent it to my sister-in-law for her birthday. The card is made with Ruby Red, River Rock, Groovy Guava, and Very Vanilla cardstock as well as the new Designer Paper "Ginger Blossom". To add some interest to the background I stamped the Ruby Red with some flowers in Embrace Life with Ruby Red ink (although you could also use Versamark). The swirls from Priceless (what a great set this is!) are stamped on the Very Vanilla and the Priceless hearts cut out and mounted with Stampin’ Up! Dimensionals. The words, ‘from the heart’, are from Holidays & Wishes. And, of course, the ribbon is the double-stitched River Rock. It was fun using these colors!
Demo Swaps
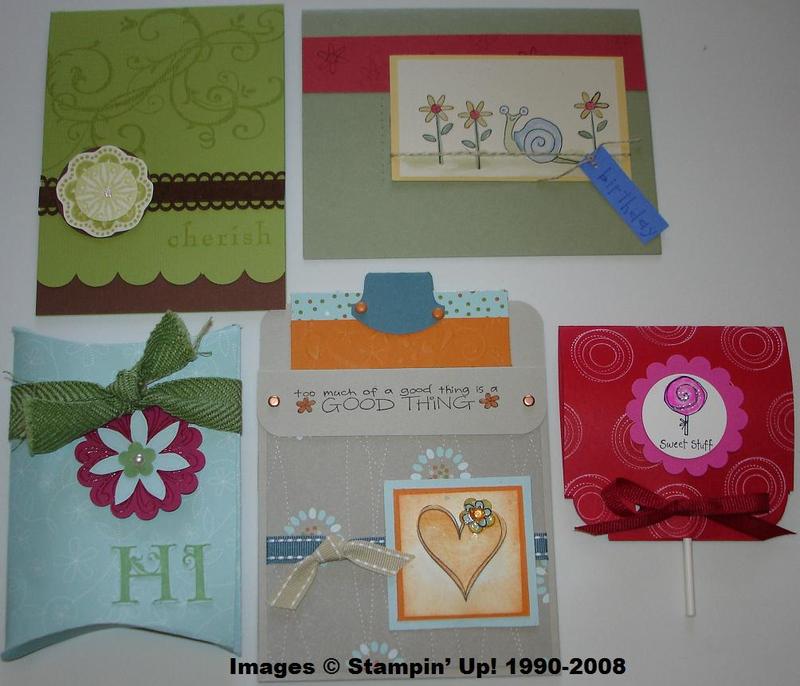
Yesterday our little group of SU Demos got together for our monthly meeting. Not everyone is still a demo, but that’s how we met and we still keep it pretty much Stampin’ Up!-oriented. I always say, "What could be more fun than getting together with other stampers, having lunch, stamping, and swapping?!" One person is always in charge of a project we will stamp that day and everyone else brings a swap. So fun!! Most of these swaps were to copy something out of the new catalog, Spring~Summer Collection 2008. Thanks Anne, Nona, Dixie, Gerrie, Sandi, Joan, Diana, and Cindy!
Kids’ Valentines
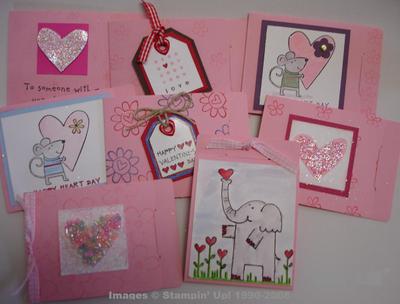
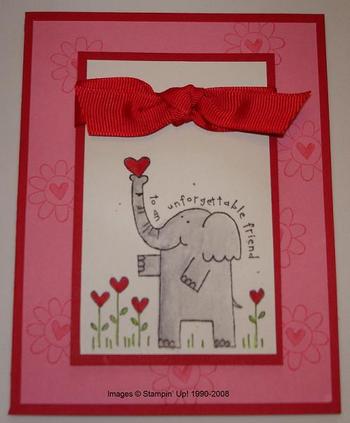
I had so much fun making Valentines yesterday! Naturally, it was a race against the clock to try to get them out to the mailbox before the mailman came. I wanted to make some valentines for my eight nieces and nephews. Normally I would spend at least half a day searching for all possible designs that I liked online before I would find something to copy….but I’m finding that if I just sit down and play around with my stamps and ink I can actually come up with things myself! For these valentines I wanted just kind of the little "kid size" cards. I got into my stash of retired items and found these Pretty in Pink Pocket Note Cards. You can still buy an assortment of Pocket Notes in the catalog, just different colors. They’re very cute and really suited my purpose. On the one heart you can see some retired colors of beads, which I attached with the new Tombow Multi Purpose Adhesive. I used the Happy Heart Day stamp set, Simply Said, Tagger’s Dozen, and Holidays and Wishes to make the cards. You’ll also notice some Dazzling Diamonds Glitter on a couple of the cards. What’s a day of stamping without some glitter?!
More Fun with Rub ons!
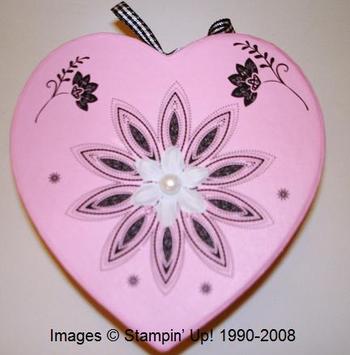
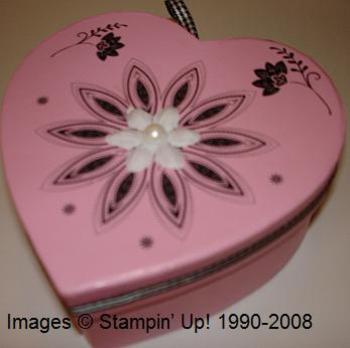
The other day I discovered this heart-shaped box in my pile of stuff! Immediately, I thought of using the Stampin’ Up! Rub Ons on the box and see what I could do. The heart box is probably from the Target Dollar Spot last year or else one of the dollar stores.
I used the Eastern Elegance Rub Ons and adhered some black gingham ribbon around the lid of the box. It still needed a little something so I stuck on a white flower from the Pretties Kit plus a half-pearl in the center. I found the rub ons to be fun and easy to use. You will want to try them also! See how many fun things you can find to apply them to around your house…or in your craft stash!
Happy Heart Day Valentine
A Valentine
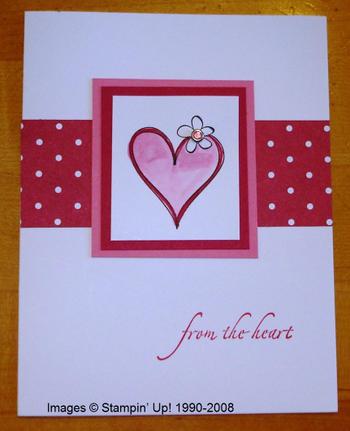
Since I hadn’t yet received my new order with the Valentine Bundle, I decided to try to make a valentine with another set. I chose Time Well Spent, a Level 3 Hostess set in the Spring~Summer Collection 2008, plus Holidays and Wishes for the words. After running through many ideas in my head and nothing seeming quite right, I decided on "simple". I used Black Stazon Ink to stamp the heart and watercolored with the Watercolor Wonder Crayons and Aquapainter. That’s pretty much my favorite way to color in these days….except for maybe the Stampin’ Write Markers, which I use quite often. I added a little strip of Cutie Pie Designer Series Paper under the layers of Regal Rose and Rose Red cardstock. And for an extra-special touch for the heart I added a pink Fire Rhinestone Circle Brad.
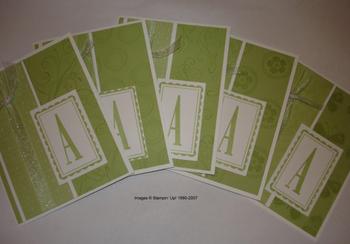
Certainly Celery Monogram Cards…A is for Amy!
Here are some monogram cards I quickly made for my daughter, Amy, last night before she left to go back to California today. I think she asked me to make her some more months ago after I made a first set for her. Better late than never!
I used the retiring Letterpress Alphabet and Label Classics for the monogram. For the card itself I used Whisper White cardstock for the base and pieces of Certainly Celery Designer Prints from the pad from last summer. On solid green Certainly Celery I added some design using the fantastic stamp set Priceless, choosing a different stamp for each card, using Certainly Celery Ink. And to finish off the card I used the retired narrow white organdy ribbon. Click on the picture to see the cards in closer detail.
It was wonderful having Amy home over Christmas although the time goes by too fast. She is becoming quite the personal finance writer. She has always loved to write. If you would like to read the article she wrote for Forbes Media "Investopedia" click on this link: "Avoid Overspending This Holiday Season"
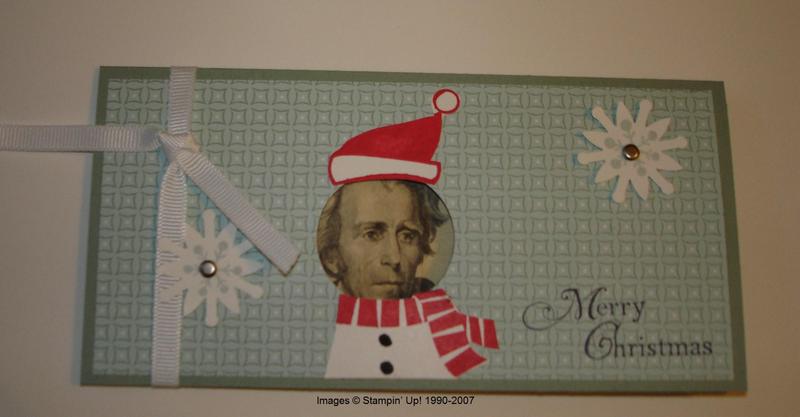
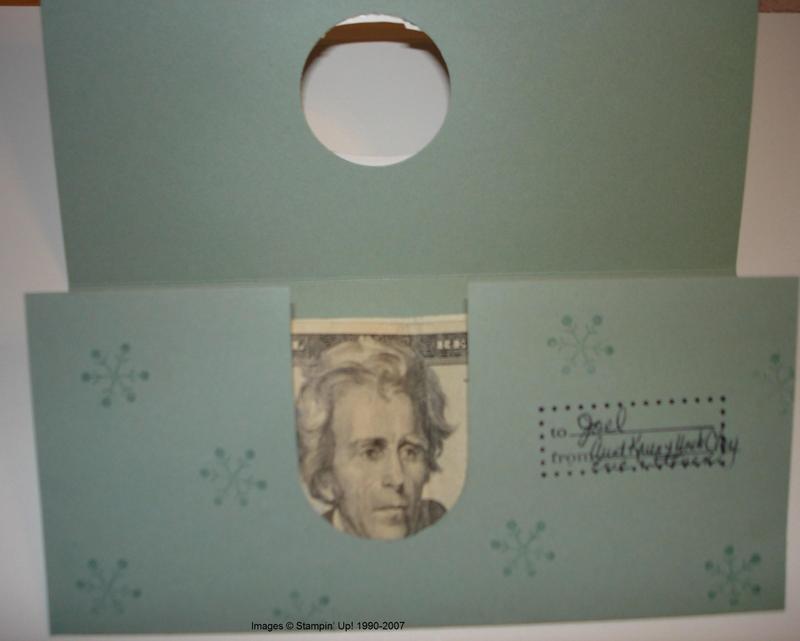
Funny Money Holder
Ok, this really isn’t for "funny money" of course, but I think it is really a cute idea! I think you could adapt the Christmas idea for any other occasion, too. This idea came from a fabulous Demo, JanTink, on her blog, who figured out how to punch the holes in the right place and how to make the whole idea work. I just used different Designer Paper and the Snow Blossom Punch. The stamp set is the retiring Cold Play.
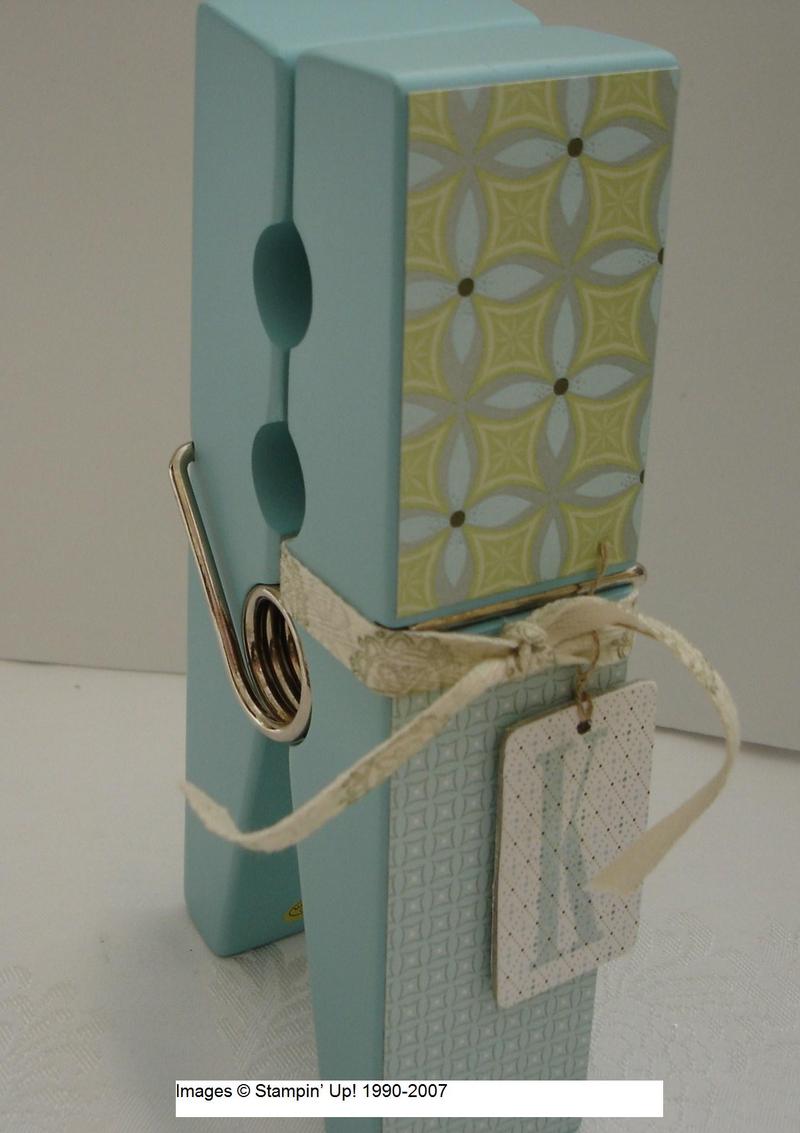
Jumbo Clothespin Gifts
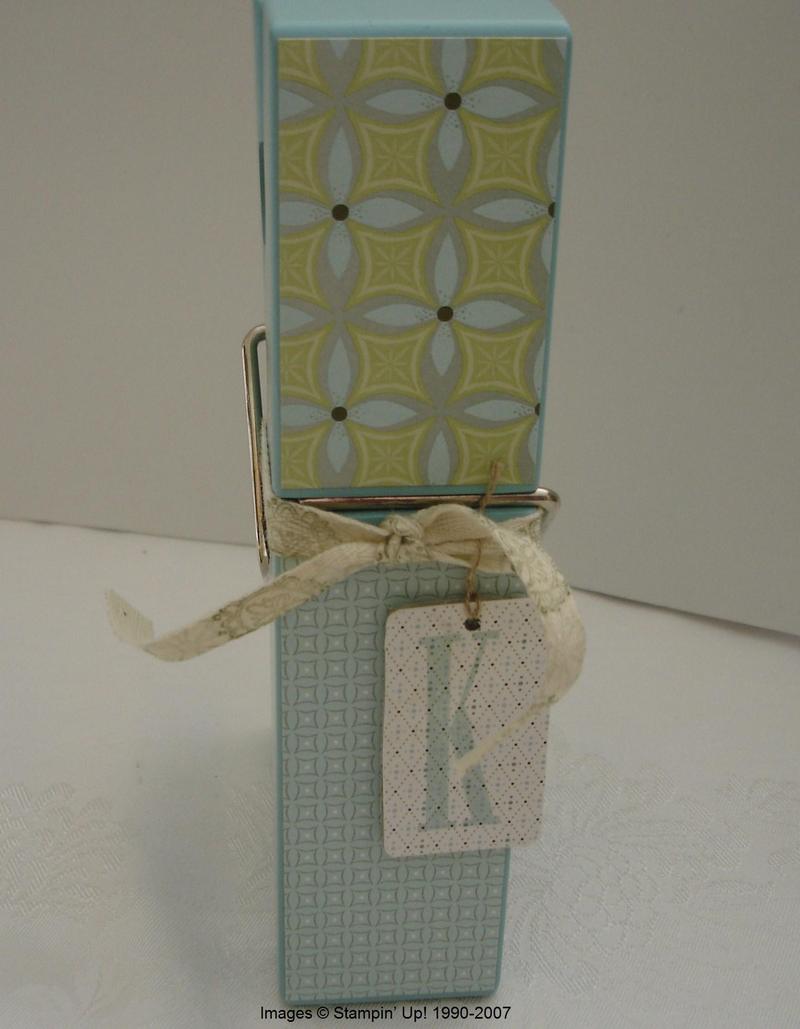
For two more gifts, I decided to use these jumbo clothespins that make great photo or memo holders…or just a decoration! I just applied some Wintergreen Designer Paper using my SU Anywhere Glue Sticks, stamped some Twill Tape to tie around and made little initial tags for the recipients using the retiring Letterpress Alphabet. I would have done a little more in the way of decorating but of course it was time to get the packages mailed or they wouldn’t even receive them by Christmas!
Smores!
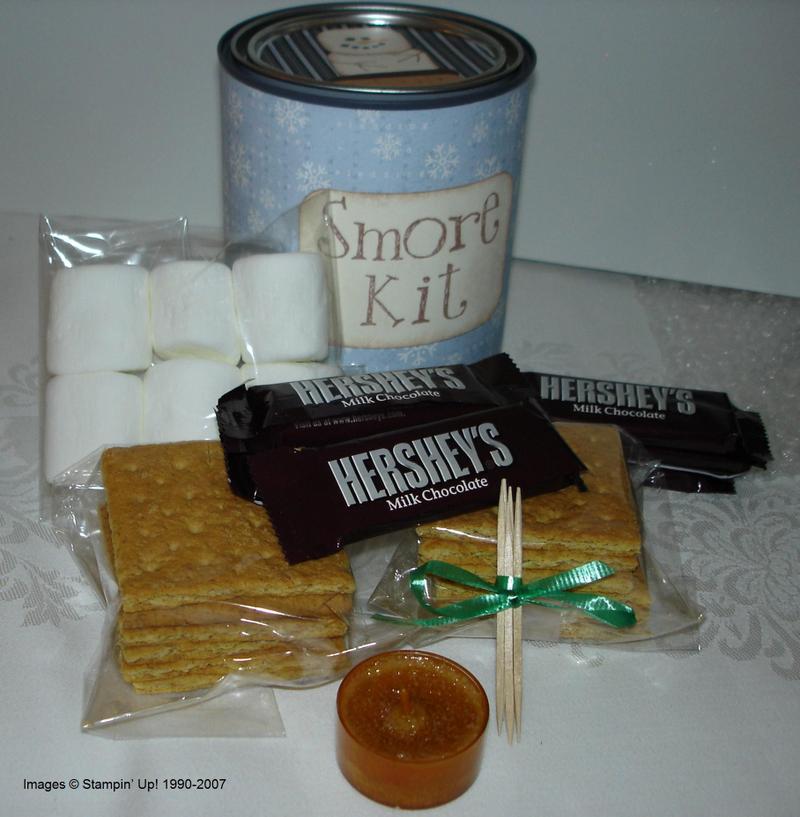
I know I was inspired to make this gift by several different stampers. It seemed like such a cute and novel gift idea.
And of course I already had the paint cans in my closet! I just loved making the Smore guy at my recent stamp camp so it was fun to use him again! I packaged up some marshmallows, graham crackers, and chocolate candy bars plus toothpicks and a tealight for roasting the marshmallows! I don’t know that it would actually work very well, but it sure made a cute gift!
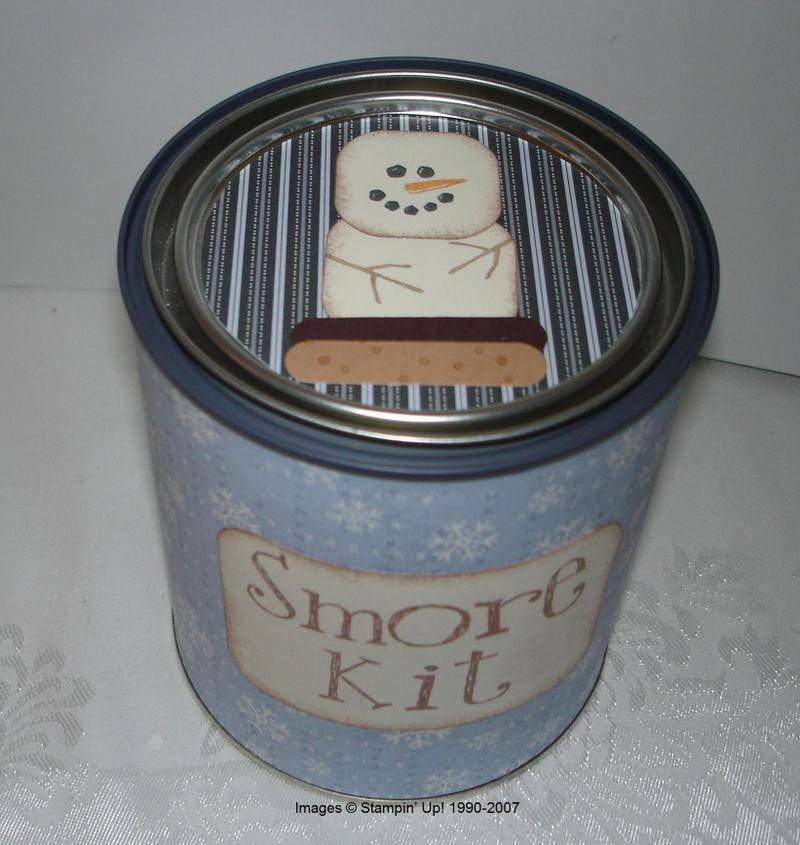
Here is the outside of the can. So easy just using Designer Paper.
Catching Up After Christmas!
Whew! Everyday there has been so much to do to get ready for Christmas and now it has flown by already! I’ll try to do a little catching up on some of my Christmas stamping projects.
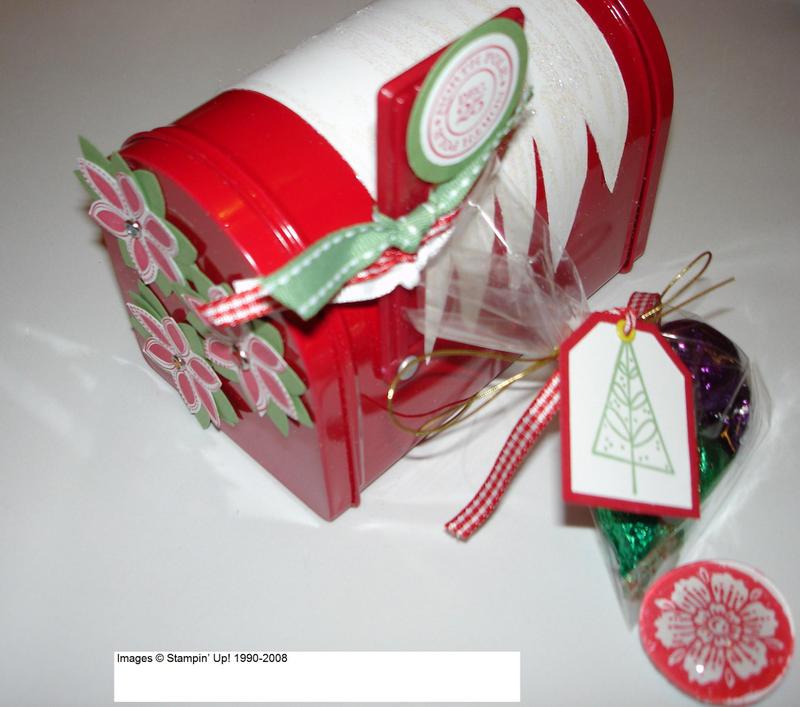
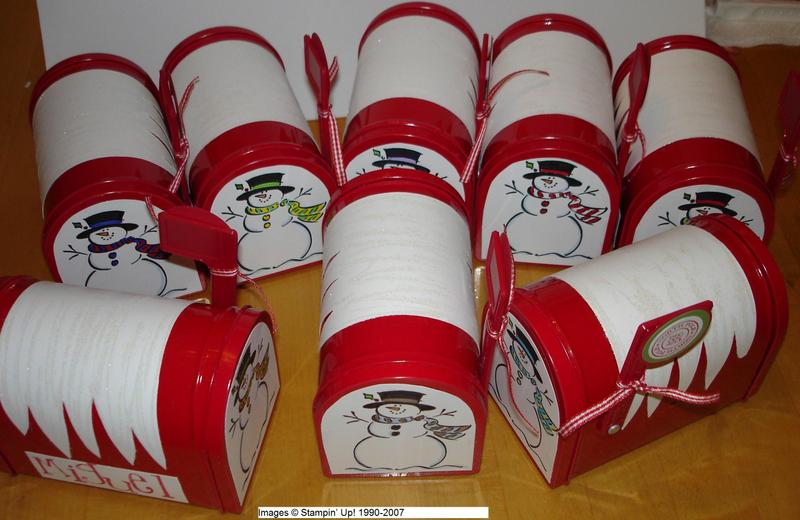
Remember those cute little mailboxes that appeared early last year in the Target Dollar Spot? I used the white ones for Valentine stamp camp projects last February, but of course I had also picked up many red mailboxes with the idea of doing something with them for Christmas. So now it was Christmas time and what to do with them? Well, I needed several gifts for my demo and non-demo friends for our little Christmas party. After browsing the Splitcoaststampers Gallery I decided to copy the design by Diane Pappas for these gifts. She embossed the "snow" on top of her mailbox but I just used the Two-way Glue Pen and Dazzling Diamonds. It was beautiful and glittery! I enclosed a little treat bag of candy and made a little glass marble magnet to put inside.
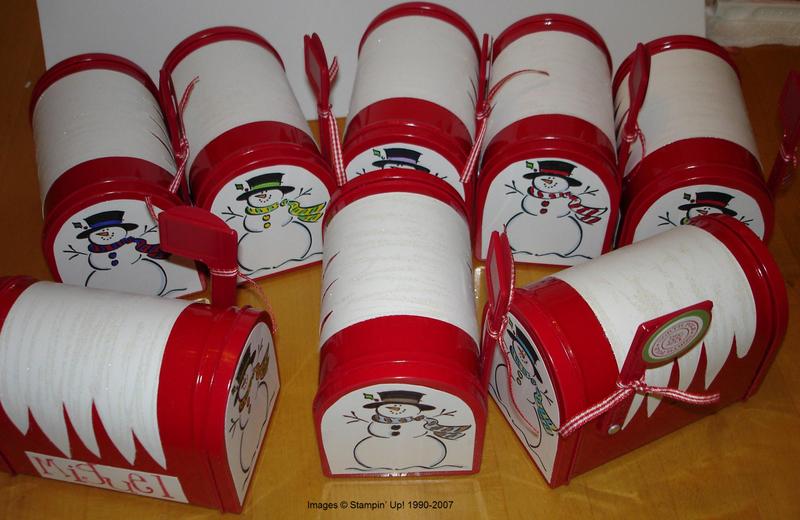
I still had red mailboxes left in my closet so what better way to get rid of eight more than to make some for my little nieces and nephews! My brother and his wife have adopted eight beautiful children internationally over just a few short years! It’s always a fun challenge to come up with gifts for the kids and I thought these red mailboxes would fit the bill! Again I made the snow cover with Dazzling Diamonds (glitter, glitter everywhere!) and decided this was an opportunity to pay respects to Frosty, who is retiring in just a few days! Frosty was one of the first stamp sets I ordered after becoming a Demo to use at my first workshop! He fit perfectly on the mailbox flap! On the sides I stamped each of their names on white cardstock using the retired, but my favorite, Whimsical Alphabet. Inside the mailboxes I put the kids’ gifts…necklaces for the girls and watches for the boys! A perfect fit! And maybe next year they can use their mailboxes for letters to Santa!
Retiring Accessories!
Today Stampin’ Up! announced their list of retiring accessories and wheels. Since Stampin’ Up! does not manufacture these products, the accessories will only be available while supplies last. If you "need" any of these items before they are gone, be sure to contact me as soon as possible.
Not available: Liquid Glue; Pastel Refills Neutrals; and Post Extenders
Item # Product Description
109198 Accents & Elements Borders & Blossoms
109199 Accents & Elements Little Reminders 2
109197 Accents & Elements Tagged
100700 Album Leather Post Black 8-1/2×11
105385 Album Linen Post Mellow Moss 8-1/2×11
104520 Album Linen Post Natural 8-1/2×11
104517 Album Linen Post Navy 8-1/2×11
105382 Album Linen Post Real Red 8-1/2×11
105392 Album Linen Ring Mellow Moss 8-1/2×11
104510 Album Linen Ring Natural 8-1/2×11
104513 Album Linen Ring Navy 8-1/2×11
105388 Album Linen Ring Real Red 8-1/2×11
105067 Boxes & Tags Pockets & Pieces Assortment I
105068 Boxes & Tags Pockets & Pieces Assortment II
108798 Boxes & Tags Tiny Takeout Confetti White
107246 Boxes & Tags Tiny Takeout Kraft
105747 Boxes Stamp & Supply Extra Large
105748 Boxes Stamp & Supply Extra Large Divided
105744 Boxes Stamp & Supply Extra Small
105749 Boxes Stamp & Supply Jumbo
105734 Boxes Stamp & Supply Large
105746 Boxes Stamp & Supply Medium
105745 Boxes Stamp & Supply Small
101052 Brayer Attachment Foam
107293 Cards & Envelopes Greeting Very Vanilla Medium
109149 Designer Series Paper Brocade Background
109161 Designer Series Paper Cerise
109162 Designer Series Paper Charbon
109155 Designer Series Paper Creepy Crawley
109152 Designer Series Paper Darling Doodles
109150 Designer Series Paper Dashing
108503 Designer Series Paper Petals & Paisleys
109156 Designer Series Paper Linen Prints
109147 Designer Series Paper Notations No. 2
109148 Designer Series Paper Outlaw
109158 Designer Series Paper Uptown
109157 Designer Series Paper Wintergreen
107285 Envelopes Open End Very Vanilla Large
107284 Envelopes Open End Whisper White Large
107296 Envelopes Shimmery White Medium
107287 Envelopes Square Vellum Large
107310 Envelopes Square Very Vanilla Mini
107294 Envelopes Vellum Medium
107290 Envelopes Very Vanilla Large
107291 Envelopes Whisper White Large
101016 Eyelet Tool Kit
105317 Eyelets Bold Brights II
105379 Eyelets Silver
105315 Eyelets Soft Subtles II
107282 Fancy Fibers Bella
107283 Fancy Fibers Elizabeth
103352 Stampin’ Glitter Romantic Red
103349 Stampin’ Glitter Silver Shine
106650 Greeting Glue
102620 Liquid Glue
103145 Page Protectors Post 8-1/2×11
104523 Page Protectors Ring 8-1/2×11
103598 Paper Vellum 12×12
105543 Pastel Refills Bold Brights
105544 Pastel Refills Earth Elements
105547 Pastel Refills Neutrals
105545 Pastel Refills Rich Regals
105546 Pastel Refills Soft Subtles
105962 Perfect Layers Tool
104184 Post Extenders
106522 Punch Spring Bouquet Flower
109722 Simply Scrappin’ Creative License Hostess Level 1
109611 Simply Scrappin’ Happy Me Hostess Level 3
109596 Simply Scrappin’ Out & About
109626 Simply Scrappin’ Primary Colors
109649 Simply Scrappin’ Round Up
109635 Simply Scrappin’ Secret Garden
109663 Simply Scrappin’ Winter Bright
107415 Simply Sent Friendship Shapes
109230 Simply Sent Happy Day
105580 Spectrum Pad Blue Frost
101492 Spectrum Pad Celebration
105579 Spectrum Pad Cotton Candy
101336 Spectrum Pad Pumpkin Patch
100000 Spectrum Pad Un-inked
103953 Stamp-a-ma-jig Imaging Sheets Refill
104432 Stampin’ Around Cartridge & Ink Refill Clear Embossing
101460 Stampin’ Around Cartridge & Ink Refill Whisper White
102391 Stampin’ Around Ink Refill Clear Embossing
103017 Stampin’ Around Ink Refill Whisper White
103151 Stampin’ Emboss Powder Hologram Highlights
105677 Stampin’ Kids Pad Bear Brown
105676 Stampin’ Kids Pad Beetle Black
105675 Stampin’ Kids Pad Boxcar Blue
105674 Stampin’ Kids Pad Gumball Green
105673 Stampin’ Kids Pad Poppin’ Purple
105672 Stampin’ Kids Pad Princess Pink
105671 Stampin’ Kids Pad Robin Red
105670 Stampin’ Kids Pad Yahoo Yellow
103174 Stampin’ Pastel Applicators
100852 Stampin’ Pastel Erasers
100081 Stampin’ Write Marker Going Gray
100945 StazOn Ink Refill Timber Brown
103088 StazOn Pad Timber Brown
107235 Tag Sheets Bold Brights
107239 Tag Sheets Confetti White & Kraft
107236 Tag Sheets Earth Elements
107240 Tag Sheets Kraft
107237 Tag Sheets Rich Regals
107238 Tag Sheets Soft Subtles
100894 Watercolor Brush Flat
101551 Watercolor Brush Medium
101331 Watercolor Brush Small
105395 Wire Works Metallic
105652 Wrapping Paper Whisper White
Stampin’ Around wheels
100360 Acorns
109812 All about Birthdays*
109690 All about Christmas*
109812 All about Gratitude*
109676 Autumn Dots
104070 Bloomin’
107466 Bodacious*
105750 Bouquet*
107481 Butterflies & Blossoms
104065 Fishy
100267 Happy Jacks
107563 Ho Ho Ho
104312 Hot to Dot
104279 Leaf Prints
106062 Leaves Awash*
107479 Rough around the Edges*
101927 Snowman Fun
107465 Speckled*
105521 Spooky Skyline*
108979 Spotted*
107480 True Hearts
105033 Wings & Things
* Jumbo Stampin’ Around wheels

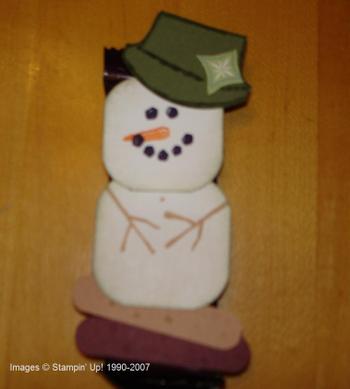
Smore Man Jazzed Up!
Yesterday was my Holiday Stamp Camp where we made several different projects. We finished a little bit early, and everyone was still game for one more project so we all made this "Smore Man" using the retiring "Cold Play" stamp set and stuck him on a small Hershey Bar. One lady decided to add a little something to her guy, and put a little hat on him using the Tab Punch on Always Artichoke cardstock folded in half, outlined it, and took a scrap piece of Wintergreen Designer Paper for a little decoration on his hat! We all thought he turned out so cute and deserved a spot on my blog! Florence, you win for creativity of the day! I think he has an Alpine look to him!