Category Archives: My Digital Studio

Easy Baby Gift Bag

At the Stampin' Up! Convention Linda Hanson made one of these cute gift bags so when I needed a gift bag I wanted to try to make it.  It actually reminded me of making something similar with just a plain lunch sack a long time ago.  I had only seen photos from Convention of the bag so I had no directions, but somehow it came back to me and I was able to figure it out!

BabyBoyGiftBag 


Pull out the side portions of the gift bag and just cut in a few inches down or however large you want your sleeve.  Just cut up to the line that makes the sack.

BBoygiftbagcut.jpg 

When you push the sides of the bag back in like they should be, but pull out the sleeve portion you just cut, it will look like the picture below.Babygiftbagoutside

To make the neckline, just freehand the shape or trace around a glass or something if you want a pattern.  Adhere portions of designer paper (yes, this one is retired!) on to the sleeves, both front and back.  You can probably see my measurements scribbled on my SU Grid paper but it will really depend on what size your bag and cuts are.

Babygiftbagsleeve 

Adhere more paper for the shirt top, front and back.

Babygiftbagshirt 

Adhere cardstock for the "suit" down to the bottom of the bag, front and back.

Babygiftbagbottom 

Add some straps, however long you want them.  Now you may notice the score line across the top of the suit.  That actually came from a mistake as my paper was longer than I planned (I think each side of the bag is a different size so check your measurements as you work).  You can see the suit comes up a little bit up into the sleeves so I thought I'd try fixing that, like folding down or cutting off the excess.  But then I decided it was going to be fine the way it was and it could actually look like that was how it was supposed to be!

Babygiftbagfront 

I added some SU Soft Subtles buttons with glue dots and added some faux stitching with my SU white gel pen.  The stamped image on the front, to look like a pocket or decoration, is from the stamp set "Nursery Necessities", now in the new catalog.

Babygiftbagfront2 

And the back looks like this:

BabyBoyGiftBagback 

And there you have an easy gift bag!

IMG_1390


Zoofari Waterfall Card

Have you ever made a Waterfall card?  While they look very complicated, they are not that hard to make.  That's what I love about stamping….nothing is too hard even for a beginner!  It is nothing more than a folded strip and your three panels adhered to the strip.  All the reader has to do is pull the tab, and you look like an advanced papercrafter for creating such a design.  Here is my latest waterfall card using the stamp set "Zoofari".

The images are stamped with Stazon ink and then watercolored, some grass and sky added.  The designer paper is retired but any pattern can be substituted.

Zoofari Waterfall card 

Zoofari Waterfall Card2 

Zoofari Waterfall Card3  

Contact me today if you'd like to learn how to make a waterfall card.


How to Budget and Have Friends

Ok, not your usual stamping post but I just have to brag!!  My daughter called this afternoon to tell me an article she wrote for Investopedia.com had turned up on the home page of Yahoo!  I don't know how long it will be there, but RIGHT NOW you can go to www.yahoo.comand it is one of the boxes under the Featured tab.  It says, "How to Maintain Your Budget & your Social Life".  When you click on that, it takes you to her article!  But if it is gone by the time you read this, this is a link to her article:  Amy's Article or just in case:  http://investopedia.com/articles/younginvestors/08/friends-budget.asp?partner=yahoobuzz&viewed=1

She writes personal finance articles on her blog, www.TwoPenniesEarned.com

and has also written articles, such as this one, for www.Investopedia.com.  They are usually practical, informative articles on how to save money on all kinds of topics, usually culled from personal experience.  She seems to suddenly be getting some notoriety so I just had to celebrate!  She also has a blog about old buildings in St. Louis, MO called Seeing St. Louis.

So for your reading pleasure, while we are awaiting the delivery of new Stampin' Up! catalogs SOON (I HOPE!!), go check out her articles and blogs and leave her a comment!  Thanks!!!!

Online Ordering Coming to Stampin’ Up! Order in Your Jammies!

Stampin’ Up! is just full of surprises lately!  Yesterday they announced to us demos that 24/7 online ordering for customers will be available sometime this fall.  If you choose, you will be able to place your order, through me, on your own computer, whenever you want!  This in no way replaces having your own demonstrator or hosting workshops or attending classes or stamp camps or anything of the sort.  It doesn’t even replace calling or emailing me and giving me your order as you always have!  It will just be an additional service for you.  If you are someone who likes to fool around on the computer or likes to do your own online shopping whenever it is convenient for you, even if you are in your pajamas, then you will like this new feature.  You will still receive Hostess Benefits if your order meets the Hostess criteria.  All the details will be forthcoming, but basically all you would do is go to my SU Demo website, www.karenfontinelle.stampinup.net and place your order.  But not yet!!

To read all about Online Shopping, CLICK HERE!

Feel free to comment or to email me with any questions.  However, don’t worry about all the details yet…..there’s still lots of time and we’ll all learn together!  I think it is an exciting development and will be a useful feature for a lot of customers!

A Stationery Gift Box

A lot of stampers have been making this cute little box to hold stationery supplies….a few cards and envelopes, gift tags, small gift cards, address book, stamps, and pen!  The design of the fold-out box and lid is by Jackie Topa.  There are a few steps involved, but nothing too difficult and when you get done, you have a nice and useful gift.  I gave this one to a friend for her birthday.  It’s a great project for which to use your Designer Series paper and then make the cards to match, but you could also do lots of stamping for decoration….or both!  I did some stamping on the inside as you can see and used Berry Bliss DSP on page 169 for covering most areas. (Get it before it’s gone!)  So many ways to achieve different looks with this project!  You should be able to click on any of the photos and have them enlarge.

Stationery Box open

Stationery Box cards

Stationery Box cards2

Stationery Box tags

Stationery Box Love Notes

Stationery Box closed

Yep, a little blurry! 

Sock Monkeys Take the Stamping World By Storm!

Stampin’ Up! has just previewed a new “Sock Monkey” stamp set which will be in the new Fall-Winter 2008 Idea Book & Catalog.  Only demonstrators have been allowed to order it, but the reaction has been fascinating!  Most seem to LOVE sock monkeys and are very excited that Stampin’ Up! is up with the current trend.  Some do not care for sock monkeys at all, placing them in the same category as scary clowns!  Those of us who are old enough to have antique sock monkeys probably didn’t even know they were the latest and greatest thing!  You will be able to order Sock Monkey beginning August 11.

As soon as I saw the Sock Monkey stamp set it took me right back to my childhood because I knew I had a sock monkey.  I’m pretty sure my brother did, too.  While I don’t have any particular memories of playing with it or it being a favorite thing, that sock monkey is indeed a strong childhood memory.  We called it a “Munga-Munga” and to this day that is what it “really” is!  Just one of those things that never got thrown out or given away or lost.  In fact, I was pretty sure it was in my closet somewhere.

I finally was compelled to actually go look for my old sock monkey the other day when other Stampin’ Up! demonstrators online on SUDSOL (if you are a SU demo you should subscribe!) were again discussing sock monkeys and the new stamp set.  Amazingly, there it was, sitting on top of a shelf way in the back of my closet!  If I can find my baby book, perhaps I can find out where I got it or who made it, if my mother wrote it down.  But it is quite old (unfortunately!!) and I knew I had to make a card and display it with my sock monkey!

Sock Monkey old and card 

Since I was trying to make the card match my real sock monkey I took a few liberties with coloring the eyes larger to match and putting the black line across the mouth.  I added the pink and green brads to look like the pink and green pom poms on my monkey.  I colored in the monkey with my aquapainter, just drawing cross-hatching lines with in on Very Vanilla cardstock to kind of get the multi-color look of the sock.  I used the new In Color, Pirouette Pink, for the card base and a piece of the new Bella Rose Designer Series Paper for the layer.  You can see the other beautiful patterns of the Bella Rose paper where the monkey is sitting!  And the saying on the card is from the stamp set “One of A Kind” in the current catalog, which was already sitting on the table and just jumped out at me as I tried to finish up this card.  I decided to use a piece of my Antique Brass Hodgepodge Hardware on the card as well (we’ve got to USE our stuff, not just hoard it!…as painful as it may be!  But see, it looks better on the card than sitting in the box not being used!)

Here is the card alone:

Sock Monkey card 


Leave a comment on my blog if you have a sock monkey or can’t wait to stamp some!

Simply Scrappin’ Baby Girl Special Delivery 6×6 Scrapbook

 We are fortunate to have a new little great-niece in our family so I wanted to make a special gift.  If the new grandmother or great-grandmother are looking at this, I guess you will have to hide your eyes!  I simply used the Special Delivery Girl Simply Scrappin’ Kit to make the 6×6 pages for this linen album.  It really only took a few hours, not counting the time I spent running back to the computer to look online for ideas for pages, although I mostly relied on myself.  The kit makes it really easy once you get the creativity going.  There are even ideas in the kit.

The album itself always seems to present a little bit of a decorative problem for most people, but I have found it is easiest to tie some ribbon around the front cover, maybe make a nice bow or tag.  You can also use rub ons and you can also stamp on the album….if you dare!  Apparently it really does work, I just haven’t “dared” to yet!  I’m not sure a lot of 3-D embellishments are good on the front cover once the album ends up on a shelf, but on this one I did use the Silver Hodgepodge with a piece of the designer paper in the kit and stamped the baby’s initial on the paper.

So here are some of the pages:

Stella album p1

Stella album p2

Stella album p3

Stella album p5

Stella album p8

Stella album p9

Stella album p10

Stella album cover


This was very easy and fun to do.  I only stamped on a tag to give it a little interest.  I used a couple retired SU items, like the wide organdy ribbon and the heart eyelets.  The die cuts are easy to adhere and can be removed repeatedly and adhered again.  Some of the embellishments on the pages I lifted up with SU Dimensionals so that photos can be easily inserted on the page….or the die cuts can be removed and then replaced.  This is an easy way to make a scrapbook and hopefully the new parents will enjoy it!

Need a Wedding Gift Idea?

Recently I needed a wedding gift and remembered something that a customer of mine had asked me to make for a dear friend of hers as a first anniversary gift….a box of cards for all occasions!   I just made up an assortment of all different cards….birthday, thank you, baby, Christmas, holidays, etc….and then the challenge was to find the perfect box.  You might think a photo box would work but I think it barely has any room above the cards.  I found this Martha Stewart CD box in kind of a linen-like light blue covering.  To decorate the box I used Stampin’ Up! rub ons….probably got carried away with the rub ons actually, but that’s how they are!  Bet you can’t use just one!  The rub ons were very easy to apply to the box.  I used the wooden stick that comes with the package but I also tried my Stampin’ Up! Empressor (R) Stylus on page 187 of the catalog, which worked well and rubbed a little “quieter” on the fabric.  I also added a nice address book with the cards, which, if I had planned ahead a little better I could maybe have made myself!  I hope the new bride will find the cards convenient to send out because as much as we love email and text-messaging, we all know that a real card in the mailbox is a treat!

Card box and cards

Card box inside2

Card box

Although I purchased a large gift bag, I decided to put the actual wedding card I was giving the couple in a Stampin’ Up! clear envelope and attach it to the front of the bag as a decoration.  I just hope they realized it was the card and opened it!

Gift bag with card

Love card on bag

No need to be totally creative on your own…..this card was copied from one sample in the Spring~Summer Collection 2008 on page 144 using the Pretties Kit (page 188) for an embellishment, the beautiful Fairy Tale ribbon, and the fabulous stamp set Priceless on page 108.

Yellowstone and Grand Teton National Parks Trip

It’s time to get back to my blog!  We have been home now from vacation for over a week, but it takes awhile to get caught up with everything and back to normal.  Add to that another child getting ready to leave the nest and seek his fortune at his exciting new job in Santa Clara, California…..we have piles of stuff everywhere that he moved home from college plus, of course, he is sorting through his things to see what to take, what to ship to his new location….once he finds a place to live!  It’s a mixed bag of emotions for all of us, that is for sure!  For any of you young mommies who might be reading this, I know you can’t imagine this day will ever come for your little ones, and I know those “old ladies” say to you all the time “They grow up so fast.”  But I can tell you now that they were right!  I feel sure that my husband and I did our jobs as parents pretty well if our children are able to go off independently and confidently into the next stage of their lives.  But it does tug at a mother’s heartstrings!

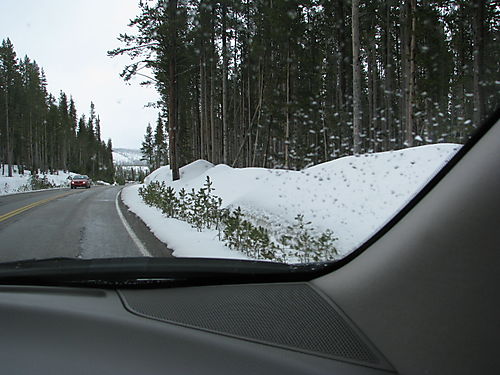
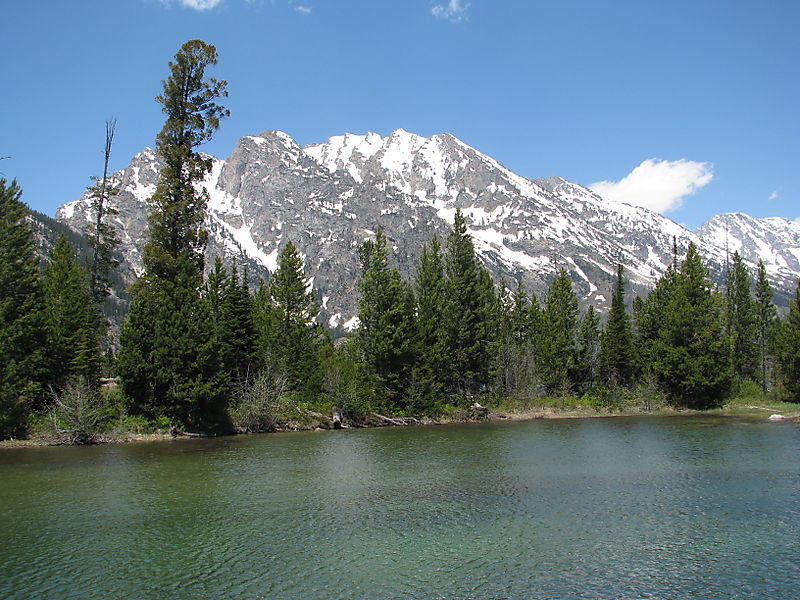
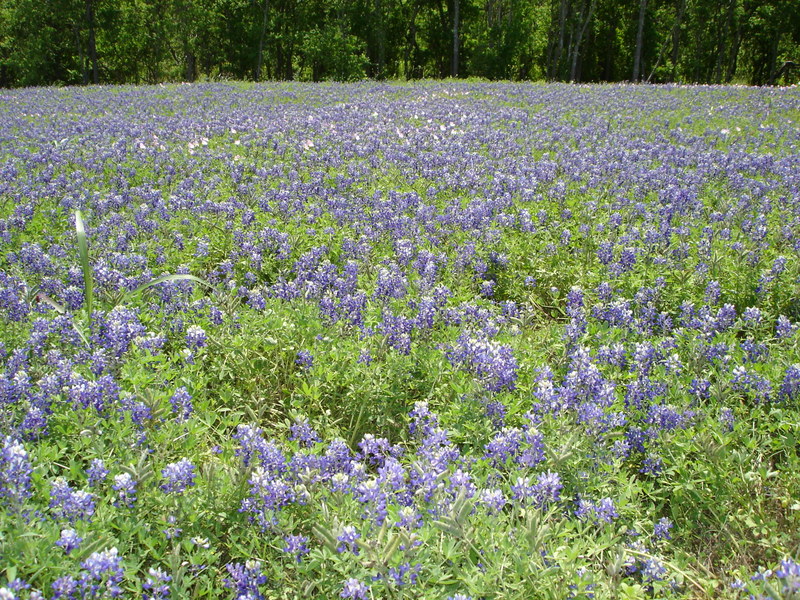
Back to our trip…..since no post-graduation roadtrip with friends got off the ground, we were pleased that we were able to take a family vacation instead.  Yellowstone National Park is an amazing place, as all the national parks are.  We normally don’t travel this early in the summer so were quite surprised to see so much snow still in the mountains.  Luckily the roads were all perfectly clear, but in plenty of places there was a lot of snow.  It all just added to the scenery and made the trip even more interesting for us. 

IMG_0235

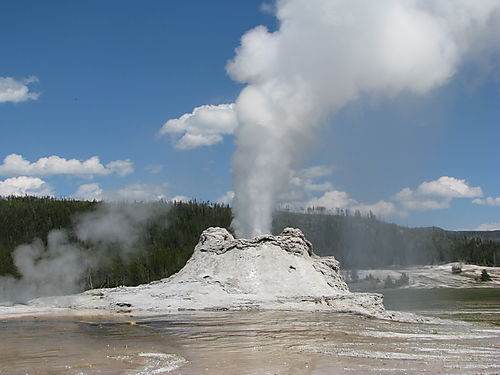
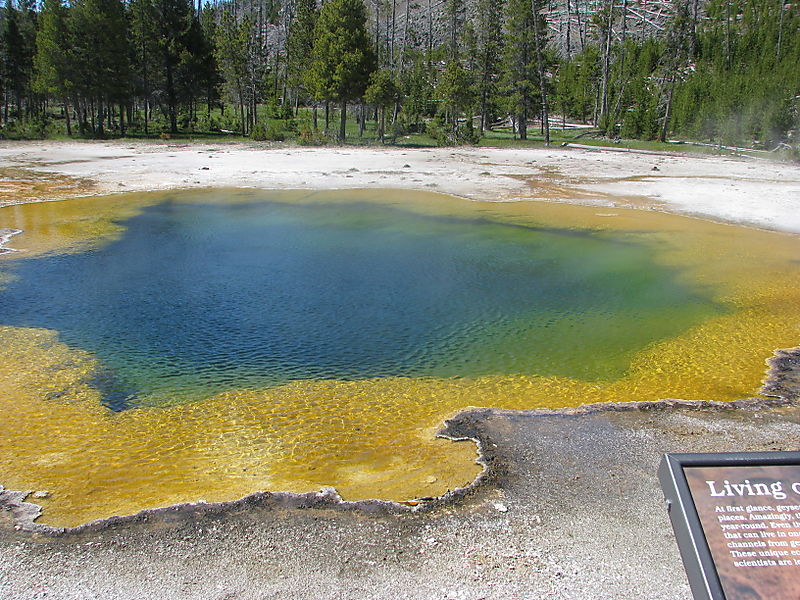
I had heard of Old Faithful Geyser, of course, but I had no idea about the extent of the geysers and other “thermal features” in the park. As many as we saw, we continued to find them fascinating.  This is Castle Geyser which we saw erupting.

IMG_0896  

Emerald Pool

IMG_0358

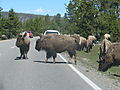
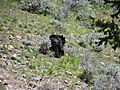
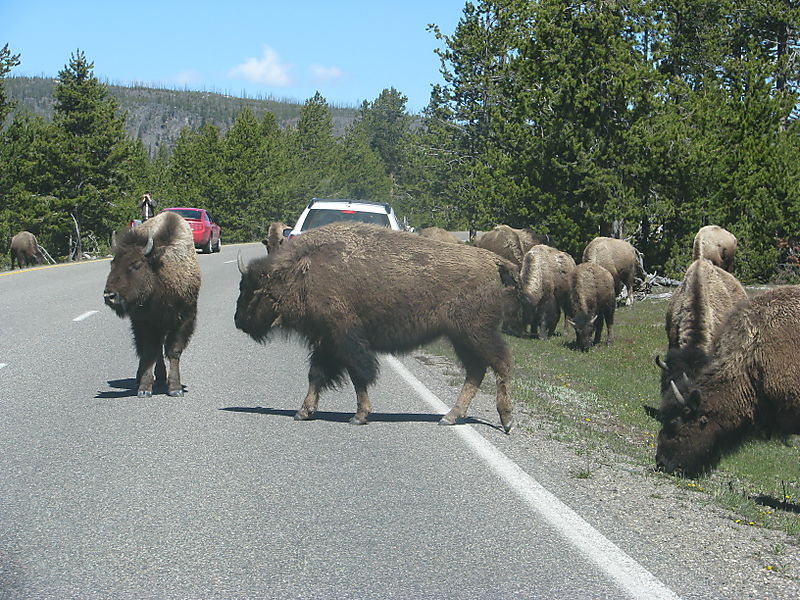
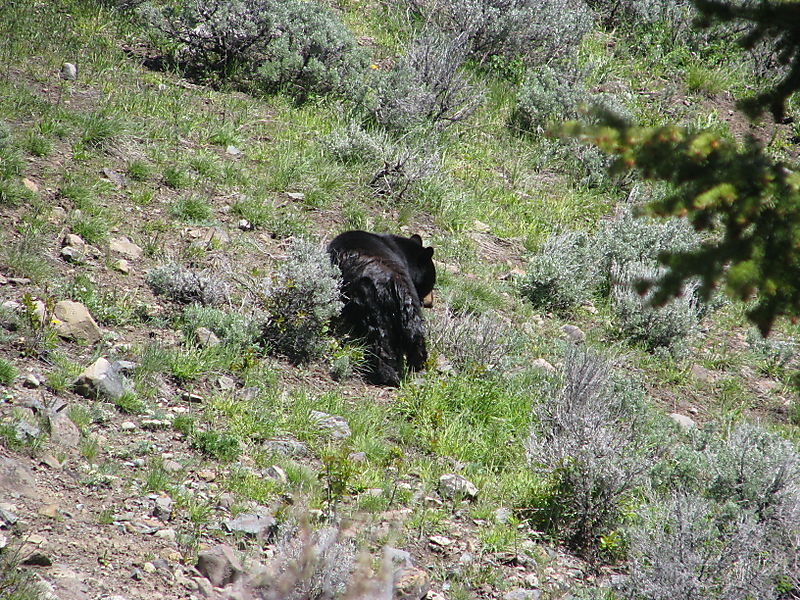
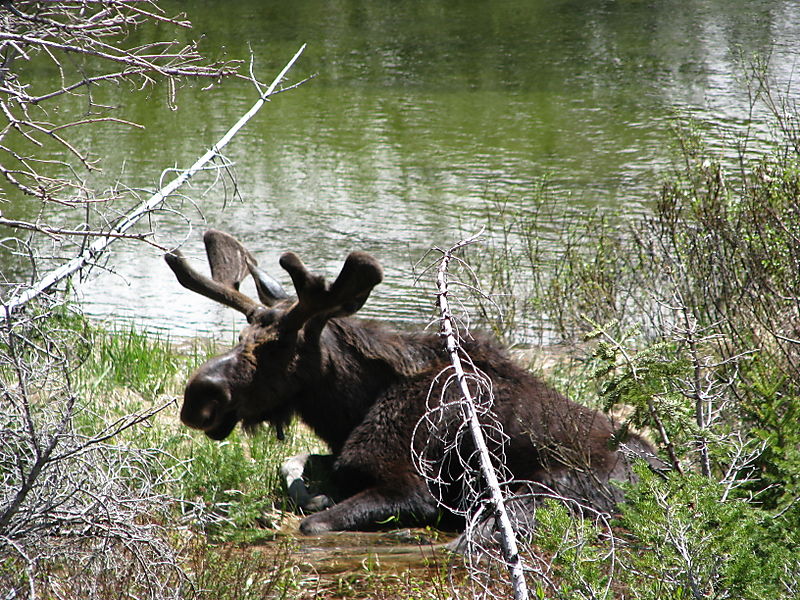
The scenery was gorgeous…in some spots snow-capped mountains, beautiful blue lake, pine trees.  But people go to Yellowstone as much to see wildlife as anything and we saw our share….lots of bison, moose, even a couple bears.  Everyone just stops on the road and hops out of their cars to get photos. 

IMG_0320

IMG_0592IMG_1083

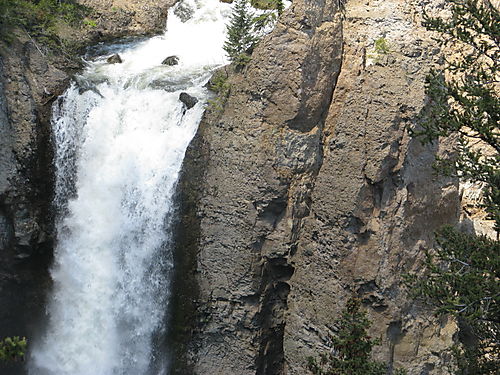
The waterfalls were beautiful with the spring melting of the snow. Usually by the time we are on vacation the waterfalls are reduced to a trickle.  Some hikes and sites were still closed because of snow….which was amazing since we had left behind 95 degree temperatures in Houston!

IMG_0603

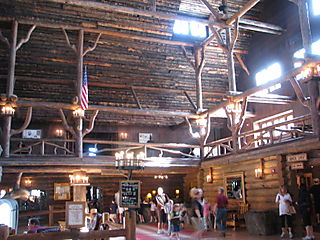
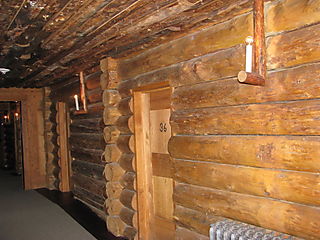
  We were lucky enough to get four nights of lodging (at three different lodges) inside the park (normally you have to book a year in advance) but on my second phone call I guess I got lucky and caught some cancellations so never give up if you are trying to find accomodations!  We really enjoyed that benefit, less driving in and out of the park, and felt a part of history getting to stay at Old Faithful Inn the last night with a room overlooking Old Faithful Geyer.  The next day we took an interesting tour of the Inn and saw one of the historic original rooms, with bathroom down the hall!IMG_0799  

IMG_0800

IMG_0796

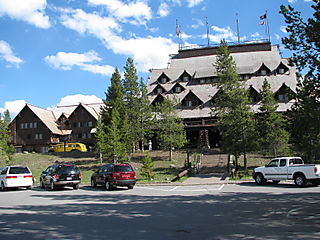
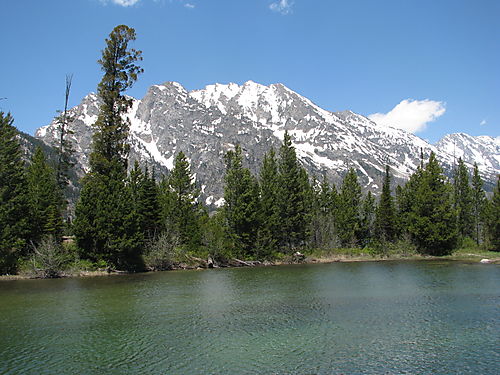
We also visited Jackson Hole, WY at the beginning and end of our trip, which was a lovely place…nice hotels, shopping, and restaurants.  From that area you must drive through Grand Teton National Park to get to Yellowstone.  The Tetons have extraordinary scenery and beauty.  We took a boat ride across beautiful Jenny Lake and then a hike to a fantastic waterfall.

IMG_0993


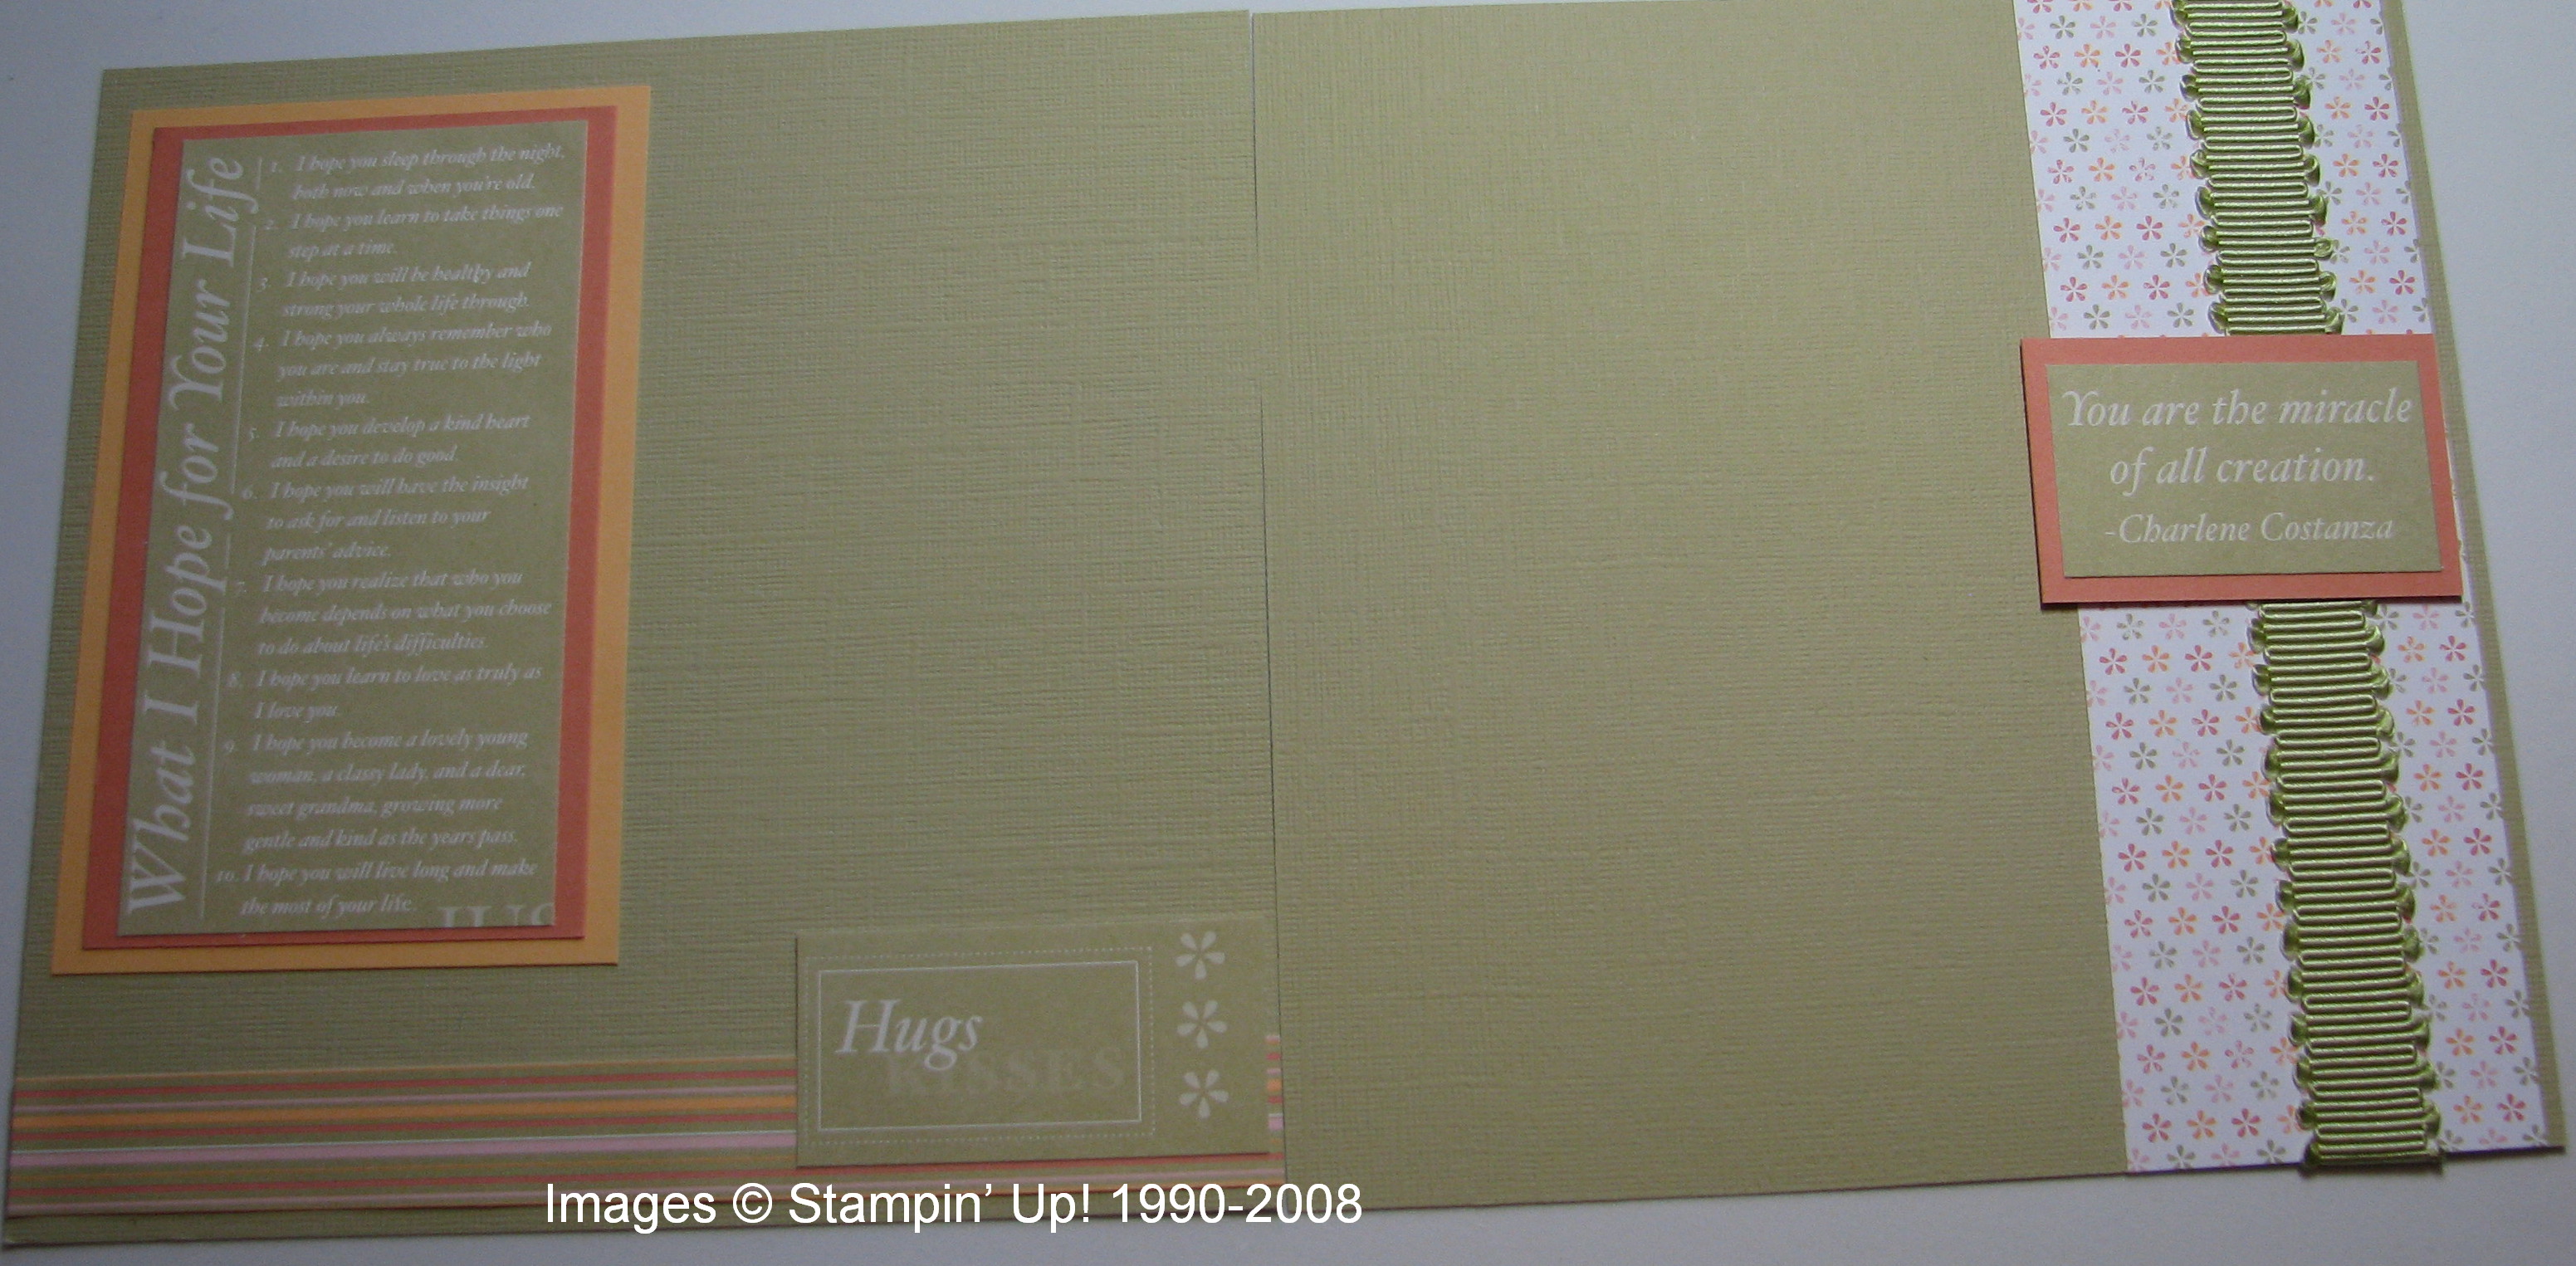
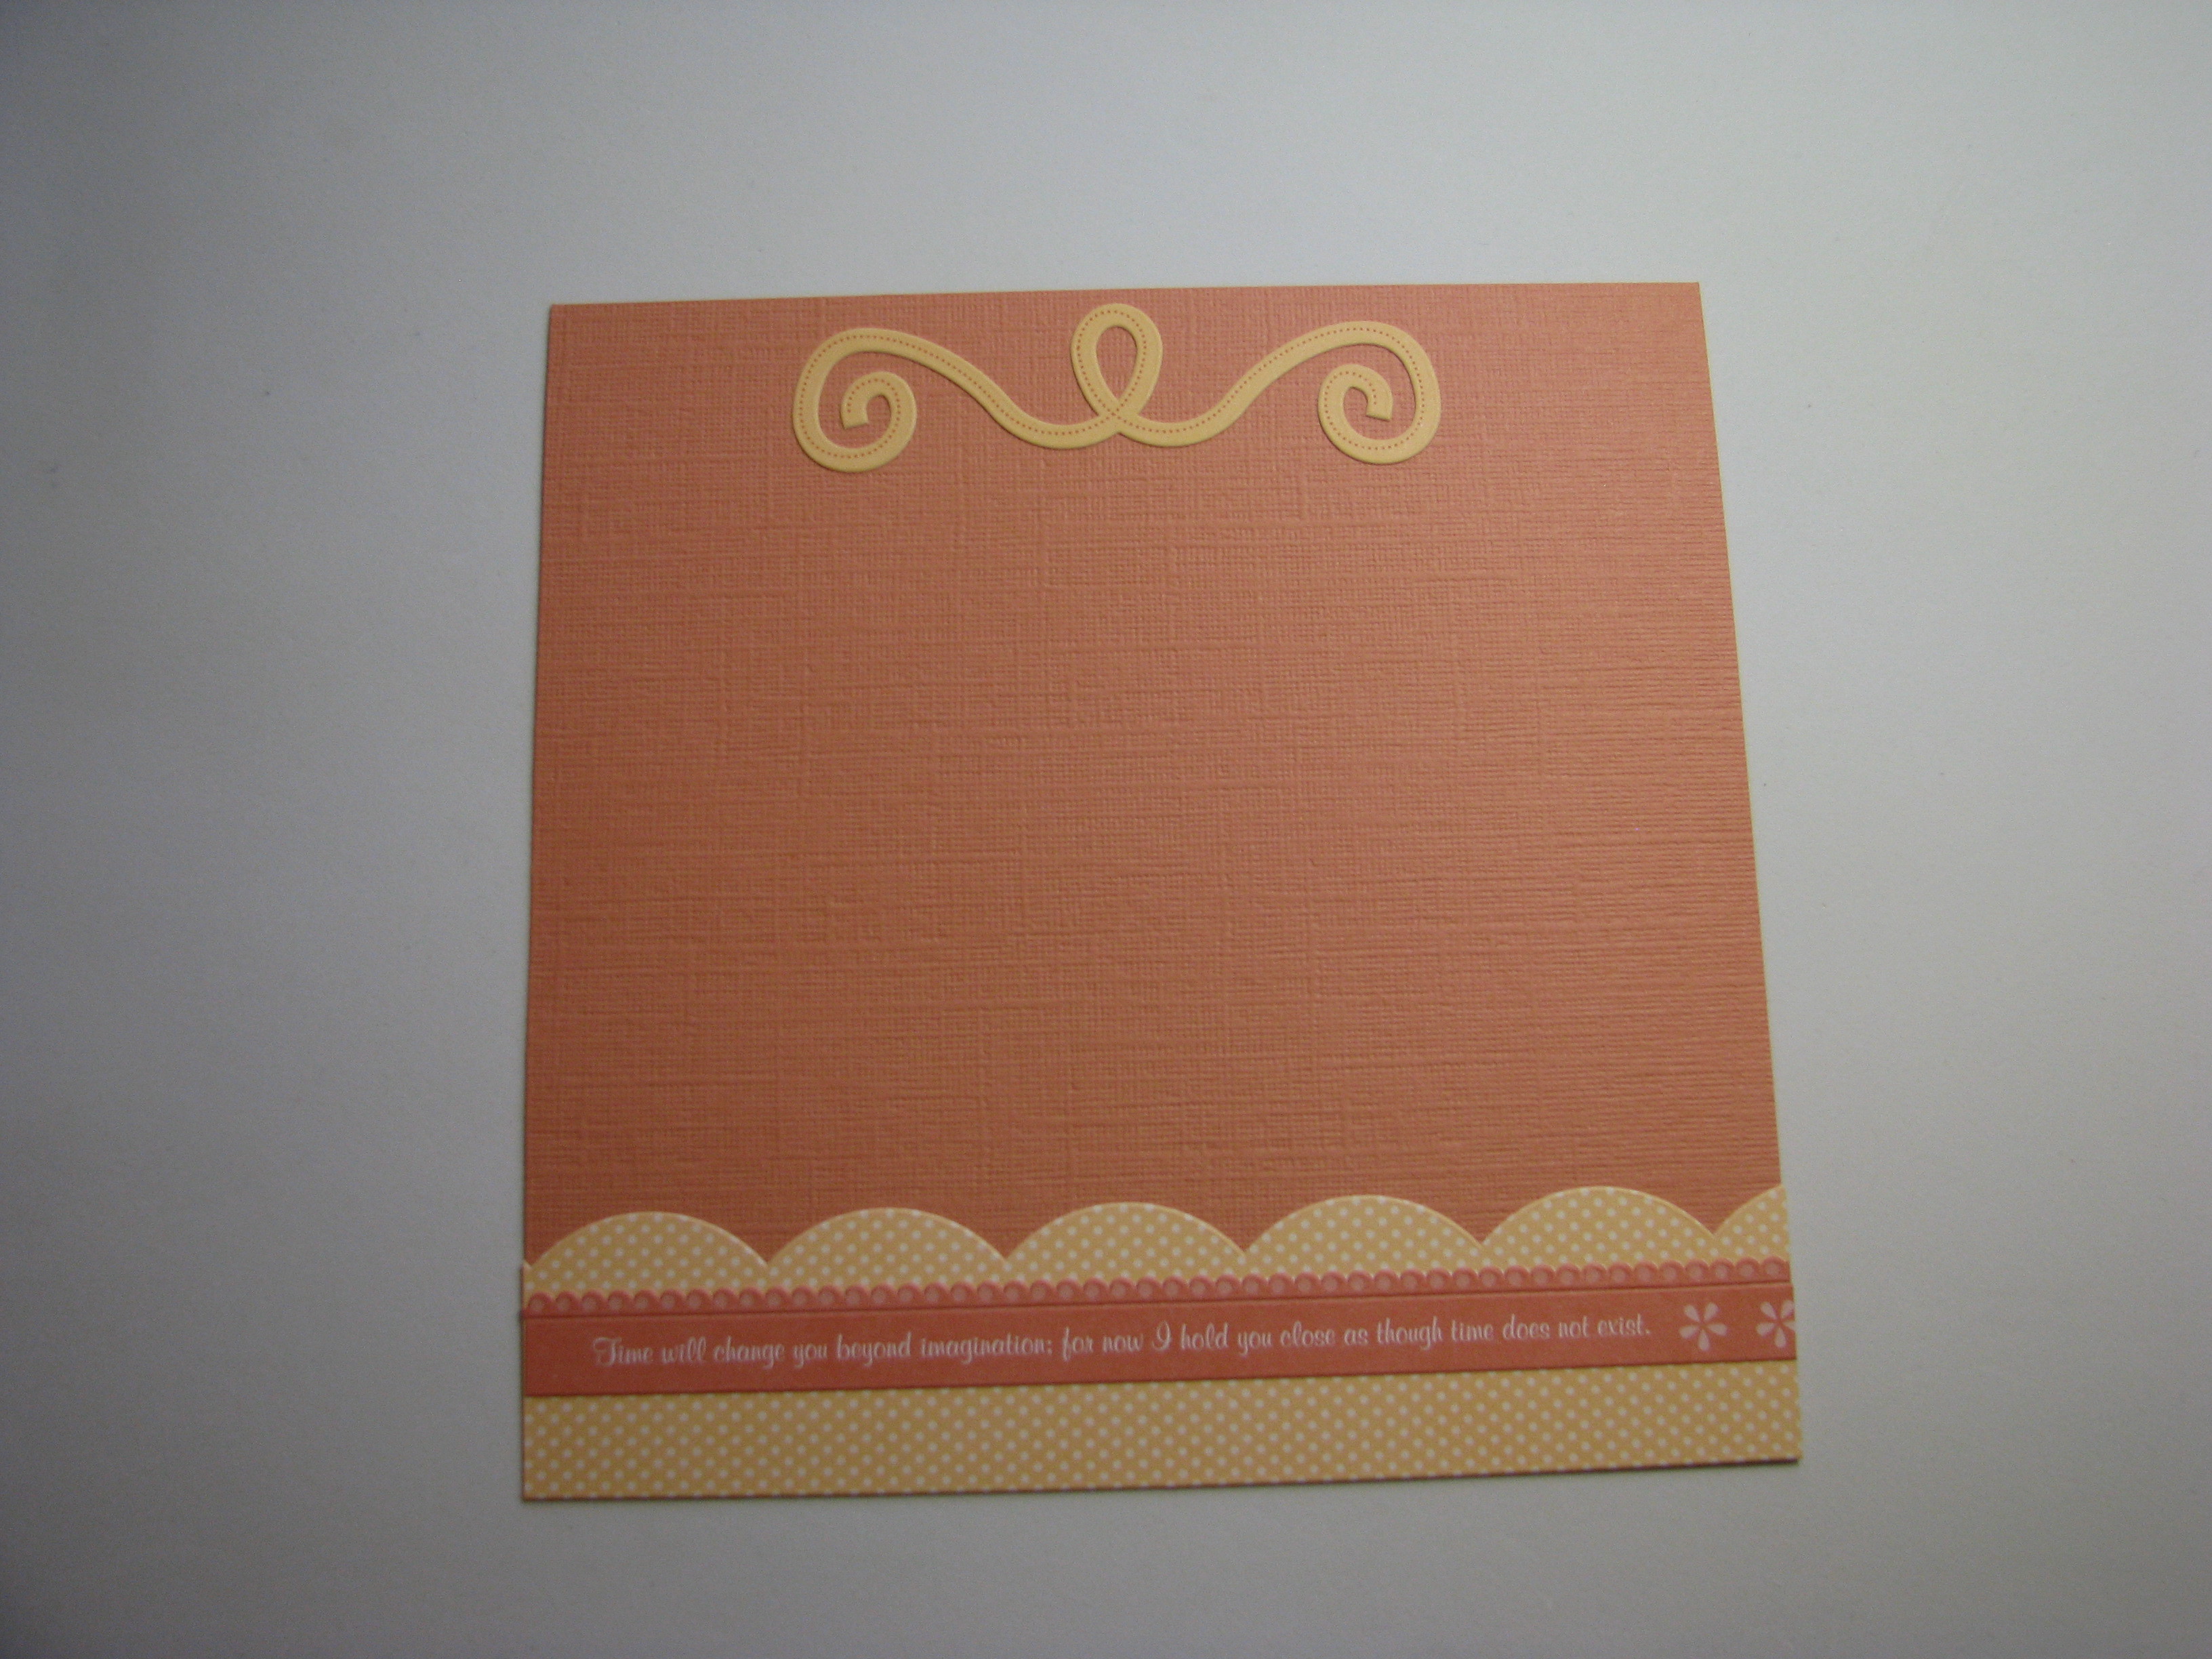
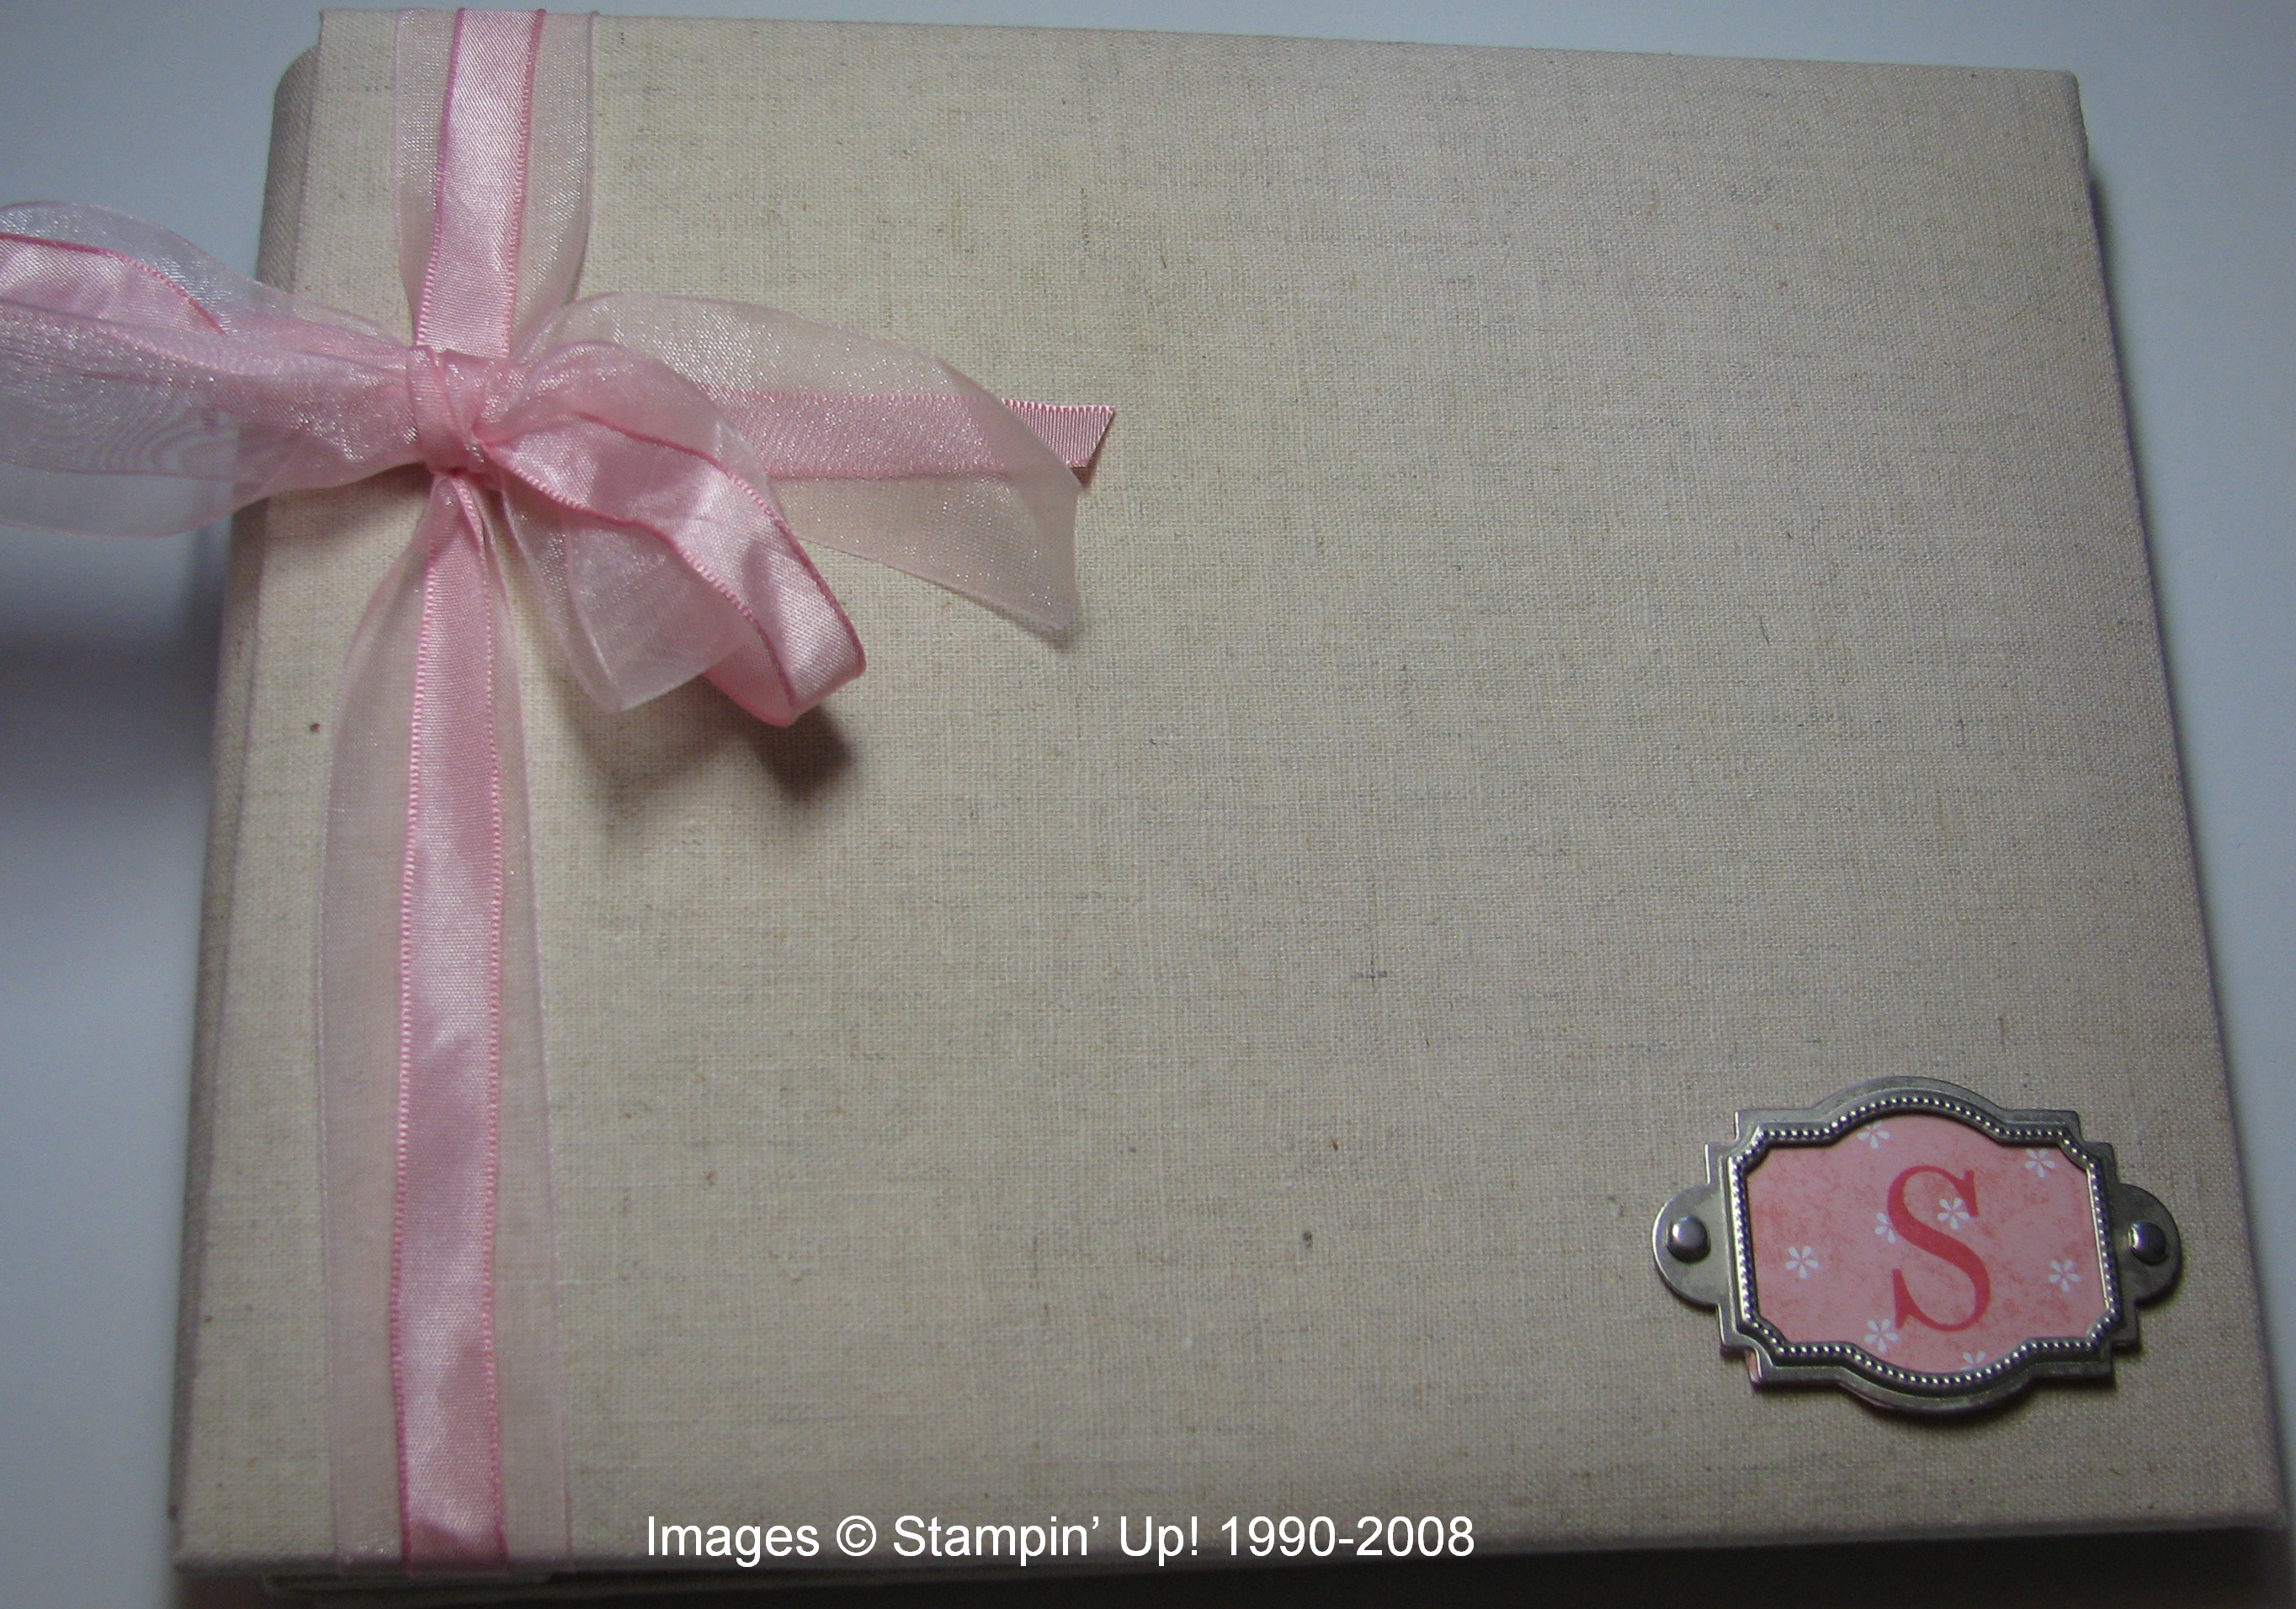
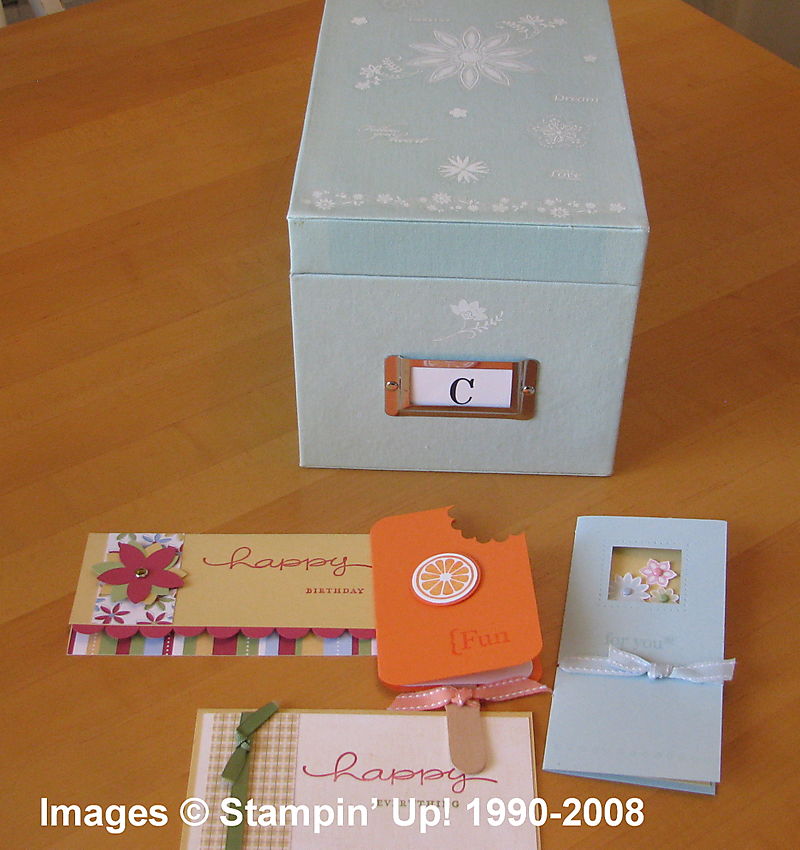
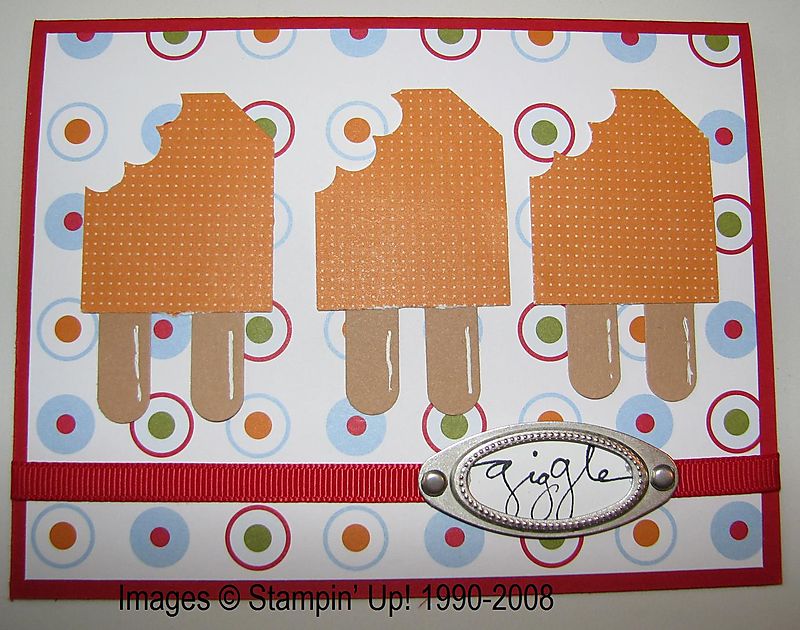
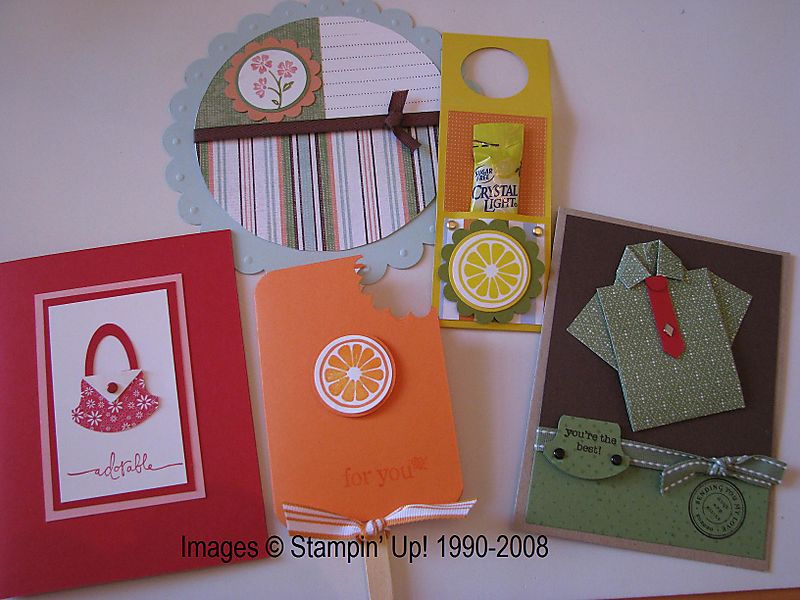
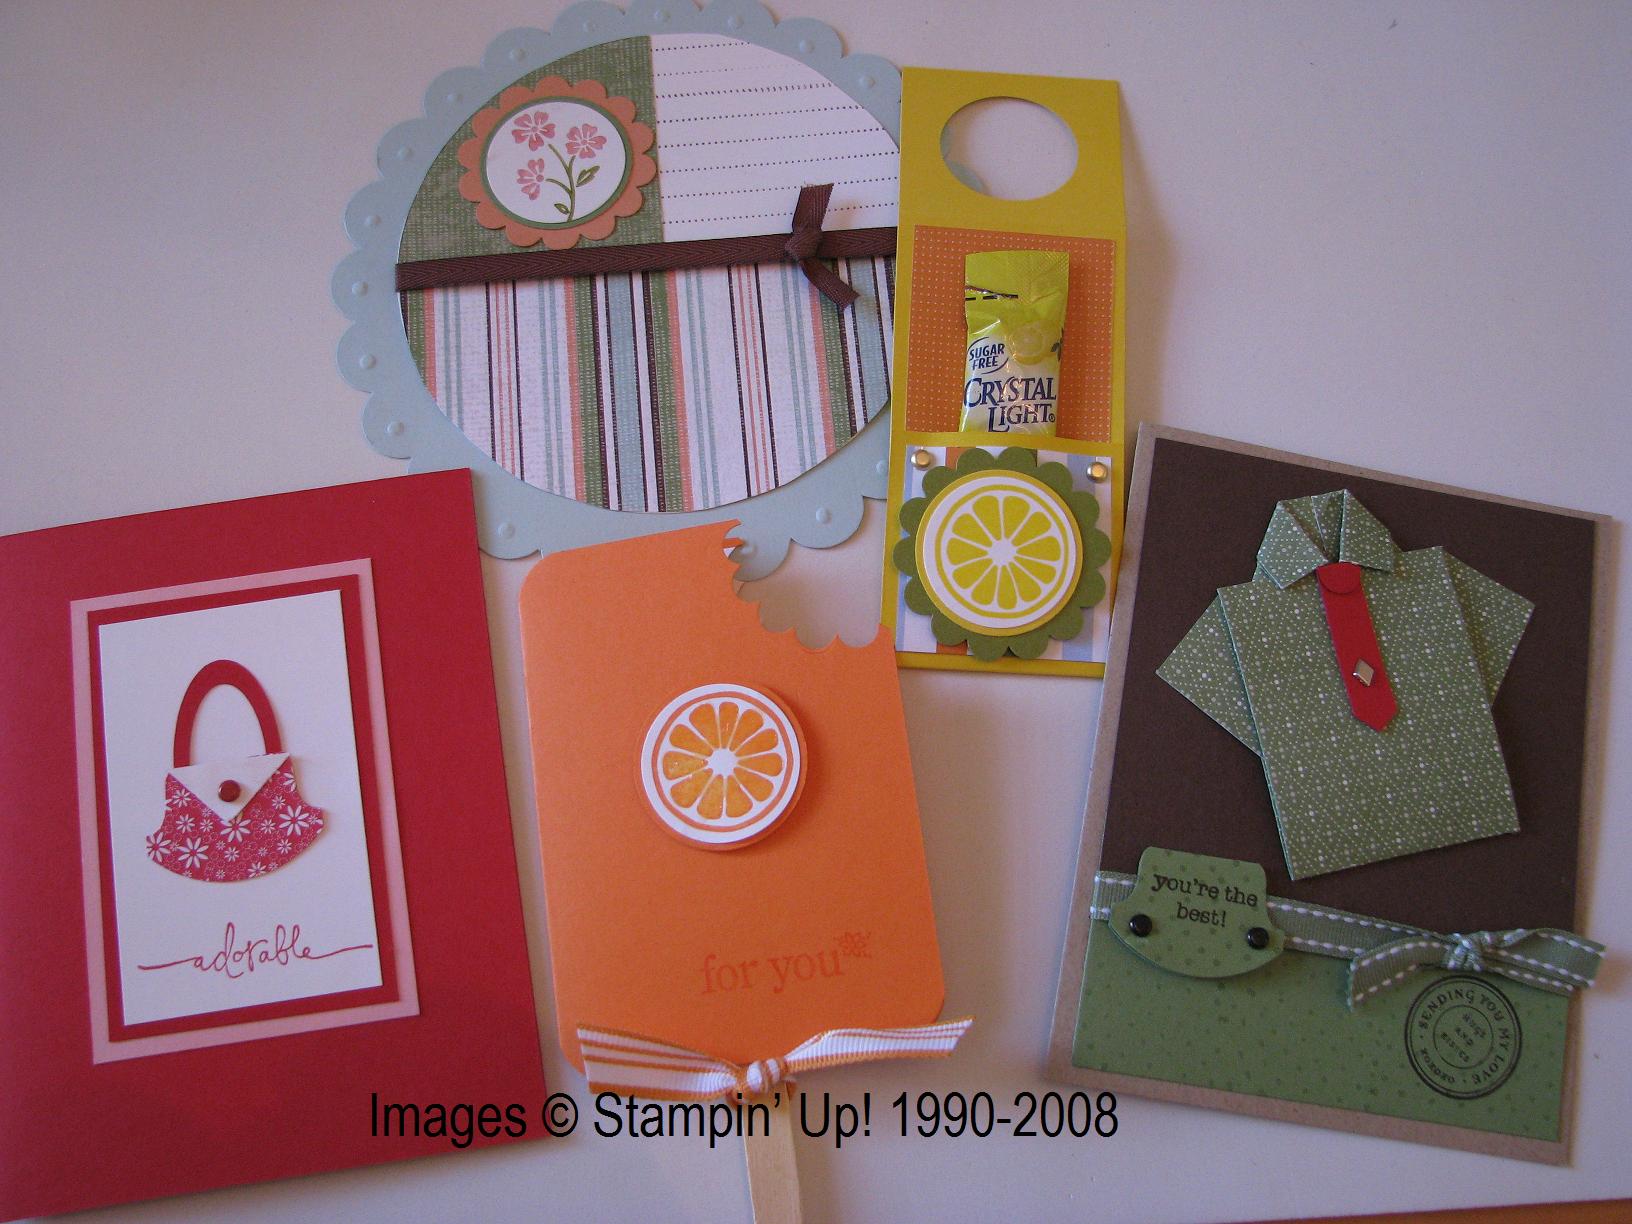
All this is to say, don’t these photos just make you want to scrapbook?!  I think I might start out easy with some 6×6 pages which I can expand to 12×12 if I want to.  And with all the photos I took on our trip, I’ll probably need to do 12×12.

If you need some scrapbooking ideas for your vacation photos, please contact me!  As a Stampin’ Up! demonstrator,  I’m sure I can help you get your scrapbook pages started faster than I will do my own!  But we’ll see!  Here are just a couple stamp sets on pages 100-101 of the Stampin’ Up! catalog that could really help you get started with your national park vacation pages.

Click on any of the above photos and hopefully they will open larger.

Popsicles for Summertime

It’s really hot here in Houston, TX but this popsicle card might help you cool off!

Popsicle triple card

I saw this card on Rebecca Grohall’s site and thought it was so cute I had to immediately make it!  I punched out the designer paper with the Large Tag Punch, the bite out with the Scallop Circle Punch and the sticks with the Word Window Punch.  I added the little white shading with my SU gel pen.  The Silver Hodpodge Hardware is in the Occasions Mini, which is still good through June.  “Giggle” is from Warm Words.  Have fun making this card!!

Missed the Stamp Camp?

Here are the cards we made at my stamp camp on Sunday.  I’ve been so busy with college graduation, moving boys home, and planning a family vacation.  It was fun and nice to take a break and stamp!  Maybe you can join us next time!

Stamp camp projects June 8 08

The folded shirt card is from the design of Cambria Turnbow and the water bottle drink tag is from Nancy Riley.  Can’t remember right now where I first saw the red purse card but it is made with the Round Tab Punch and the Oval punches.  Lots of people have been making the popsicles recently with our Tart & Tangy stamp set.  You could also do “scratch and sniff” with the fruit using a flavor and embossing powder.  I might have designed the Carousel Note card myself, but I don’t really remember!  All supplies are from Stampin’ Up! of course!  Email me or add a comment if you need more information.

The Masterpiece Graduation Card!

It may not really be a masterpiece but I worked on it all day…and started it the night before!  Now I shouldn’t admit to my customers that it took me so long to make one card, but since this is for my son’s college graduation it had to be special.  I was thinking of making a hanging tag with “UT” on it from the ribbon, but just as I got it punched out I got the brilliant idea (I thought!) to put the UT in the center of the “graduate medallion”, rather than the G.  That seemed to do it for me as far as design, so then I got the idea to emboss the UT to make it stand out.  First I tried clear on Really Rust letters.  OK, but not great.  Then I tried the Copper Embossing Powder and felt like it was a pretty close match to the color I wanted.  The striped paper on the bottom of the card is from a scrapbooking pack I bought at the UT bookstore on a previous trip.  The stamp set is “Great Grads”.  If you don’t already own this set you might want to get it so you can make a bunch of graduation cards before school is out!Ut_grad1

Utgrad2

Ut_grad_inside And here is the inside of the card.  The quote is from the stamp set “Live Your Dream” from the Occasions Mini, page 9.  I bought that stamp set just to get this quote for this card.  The star is a stamp from “In the Stars” also from the Occasions Mini, page 5.

It’s Time for Graduation Cards!

Last week I sat down with the “Great Grads” stamp set on page 55 of the SU catalog to see what I could come up with. This is the result!

Graduation_cards_group_2   Here is the whole group of cards.

Graduation5_2 This one I stamped the background all over with the multi-word stamp using my Stamp-a-ma-jig to get the stamping lined up right.  The little cap over the “a” is popped up with a Dimensional.  The “G” is layered on a scallop punch with another black scallop behind it for contrast.

Graduation1_2

This one my demo friend, Anne, embossed the quote with the stamp set in silver, which made something resembling a little plate on the front of the card.  Tying the red ribbon around the side strip seemed to add balance.

Graduation4 For this card I CASEd (copied) a card I saw on Splitcoaststampers made by Nancy Riley.  She used Designer Paper and the jumbo star wheel whereas I stamped the words on the strip, used a smaller star wheel at the bottom and used my white gel pen on the black strips.

Graduation3_2 This card opens at the top.  Again an embossed quote at the bottom and just the “Graduate” medallion at the top for a very simple look.

Graduation2_3 And one more, very simple and easy!

Now I just need to make a special one for my son graduating from the University of Texas at Austin!

A Field of Bluebonnets

You know it is springtime in Texas when the bluebonnets start blooming.  When we moved to Texas in 1982 we were incredulous at the first field we saw of bluebonnets.  We had never seen huge fields of any flower blooming like that or, at a minimum, large patches of wildflowers here and there.  Usually there are some Indian Paintbrush wildflowers mixed in with the bluebonnets, too.  People stop by the side of the road to take pictures or plunk their babies and children into a patch of bluebonnets for a beautiful portrait.

Last weekend on our way to Austin to visit our boys, we took the route through Brenham, TX which is one of the towns known for bluebonnets.  We have photos from many years ago of our children in the patch of bluebonnets!  Although it was a bit past the peak time, we found a large field of bluebonnets behind a motel and shopping area, but still beautiful.  Thank goodness for digital cameras because you just want to keep taking and keep taking pictures of the flowers.

Here are "just a few"!

018_2 

046_2

020_2

053_2

039_2

A Clear Card

I’ve been seeing many "clear cards" made by other Stampin’ Up! demos but hadn’t tried it until the other day.  I had already bought the transparencies to make the acetate boxes so it was finally time to try making an acetate card.  The trick of the card is to attach the layers without any sign of how they are adhered!  There may be other versions out there, but for this one I mostly followed a tuturial on Splitcoaststampers.  On my card, the birthday cake is layered on the Pink Passion card stock…..and from the front looks like it has two additional layers….Green Galore and Yoyo Yellow (it was time to break out the Bold Brights for a change!!).  But only the Whisper White stamped with the cake and the Pink Passion are on the front of the card.  The larger green layer is underneath, adhered to the inside front cover of the card.  On the back of the card the yellow is adhered….and on the inside of the card, the greeting is stamped on Whisper White and placed layered over the yellow (which is on the backside) and it’s all lined up to be under the front layers.  Clear as mud??  Try it, or email me with any questions!  I used Mini Glue Dots on almost everything and made sure they were hidden underneath the layer on top.  I also stamped a few stars with White Stazon ink across the bottom front of the card.  It is on page 183 of the catalog, along with Stazon Cleaner, which works great.  The stamp set I used is called "Eat Cake" on page 41.

Acetate_card_kf I found it easiest, on my second try, to adhere the layers starting from the back.  I attached the yellow with just one glue dot in the center to the back of the card, then turned to the inside to make sure it was straight.  The SU Grid Paper worked great for that!  Then I adhered the greeting layer, on the inside of the card, so that it was lined up with the yellow layer underneath.  After that was attached, I went back to the yellow layer and attached more glue dots at the corners to hold it, making sure they would be beneath the white layer of the greeting.

Next I closed the card but slid in the green layer to make sure it aligned properly with the yellow layer beneath it, using one glue dot in the center again.  Then I could adhere the pink layer and cake on the front, placed properly over the green…and then go back inside to the green to add more glue dots, hidden under the pink layer so they wouldn’t be seen.

The stamping on the acetate can be a little slippery, so be careful!

Acetate_card_kf_inside Make sure on your greeting layer to leave room to sign it or write a little note.  You won’t have any other place to write it on this type of card!

Acetate_card_kf_back

Back of card.

Acetate_card_kf_blue_bkgd

Here it is on a blue background in case it is any easier to see!

Try one and let me know how you do!  I want to make some more!