Category Archives: Christmas

Christmas Gift Wrapping

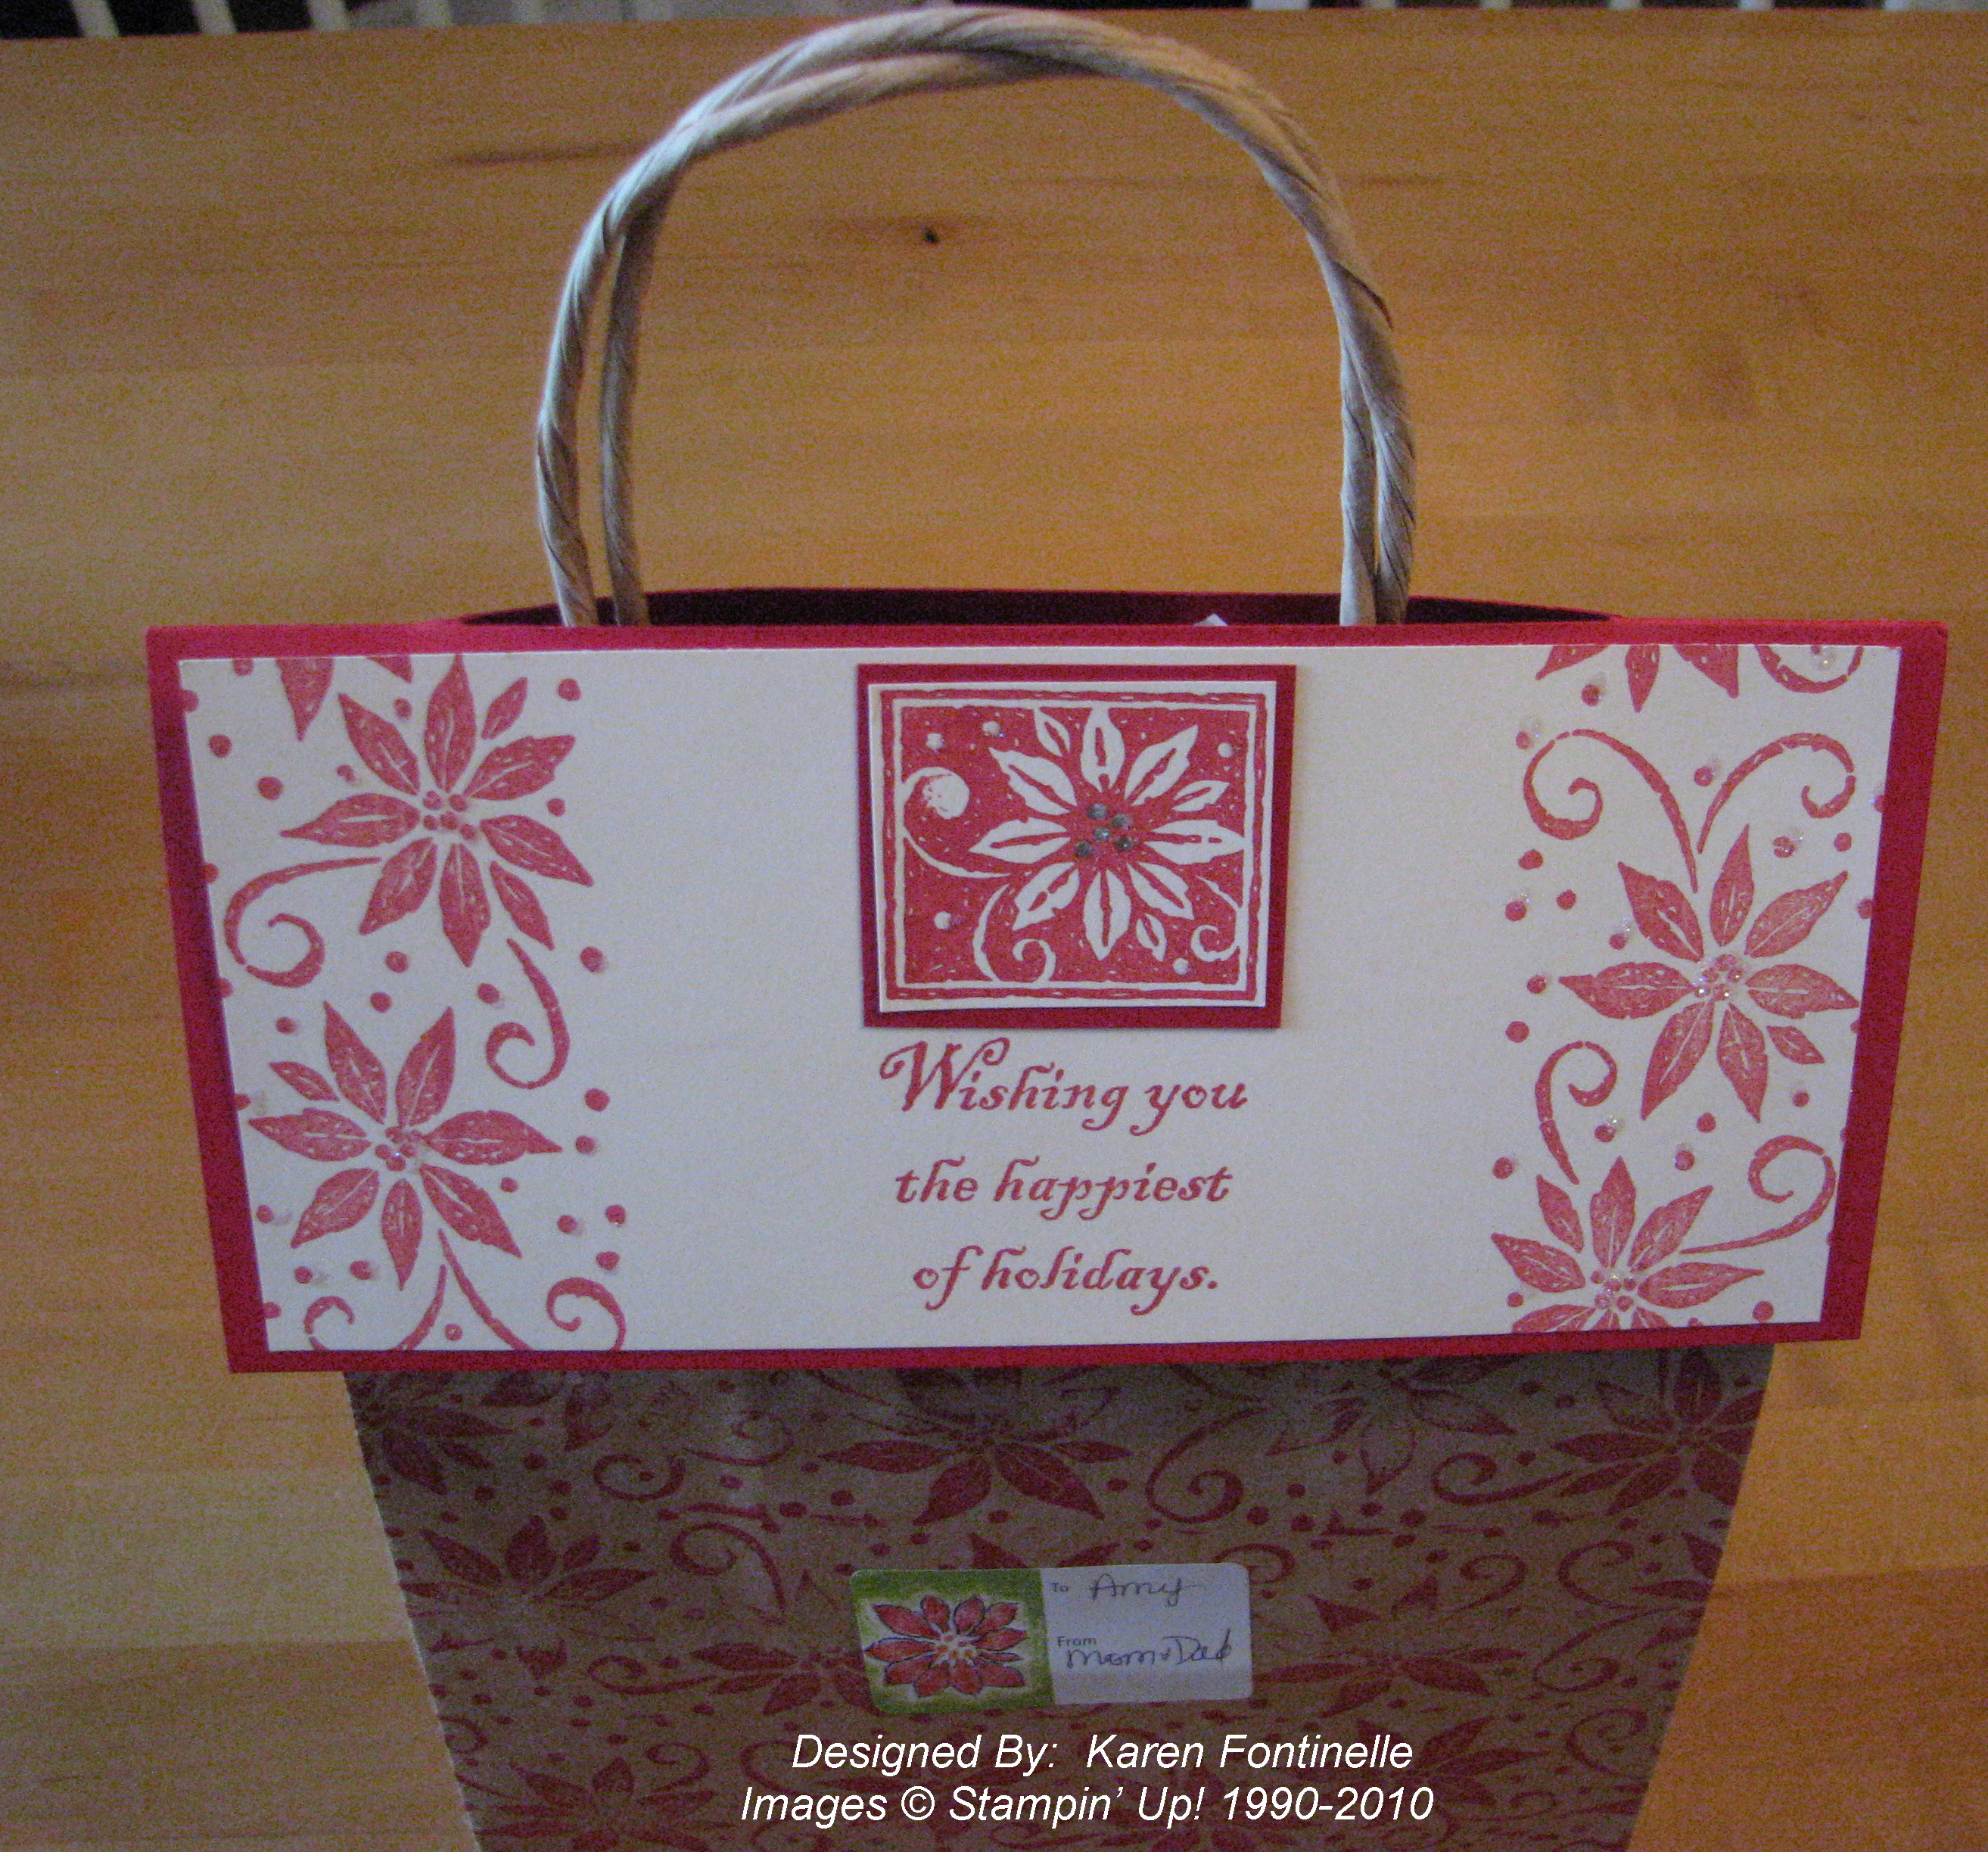
In case you need a nice presentation for a gift, here's an old idea, back from when I first became a demo.  Just decorate (or not) your gift bag that has handles.  Take a sheet of card stock and cut a slit in the middle, just wide enough to fit over those gift bag handles.  Fold in half, decorate, and slip over the handles.  Voila!  Nice gift bag!  Easy to open, easy to close, easy to hide the gift inside.

Christmas Gift Bag

I think this bag has been around a few years, but it still looks nice.  The bag was wheeled, making it real easy to decorate!

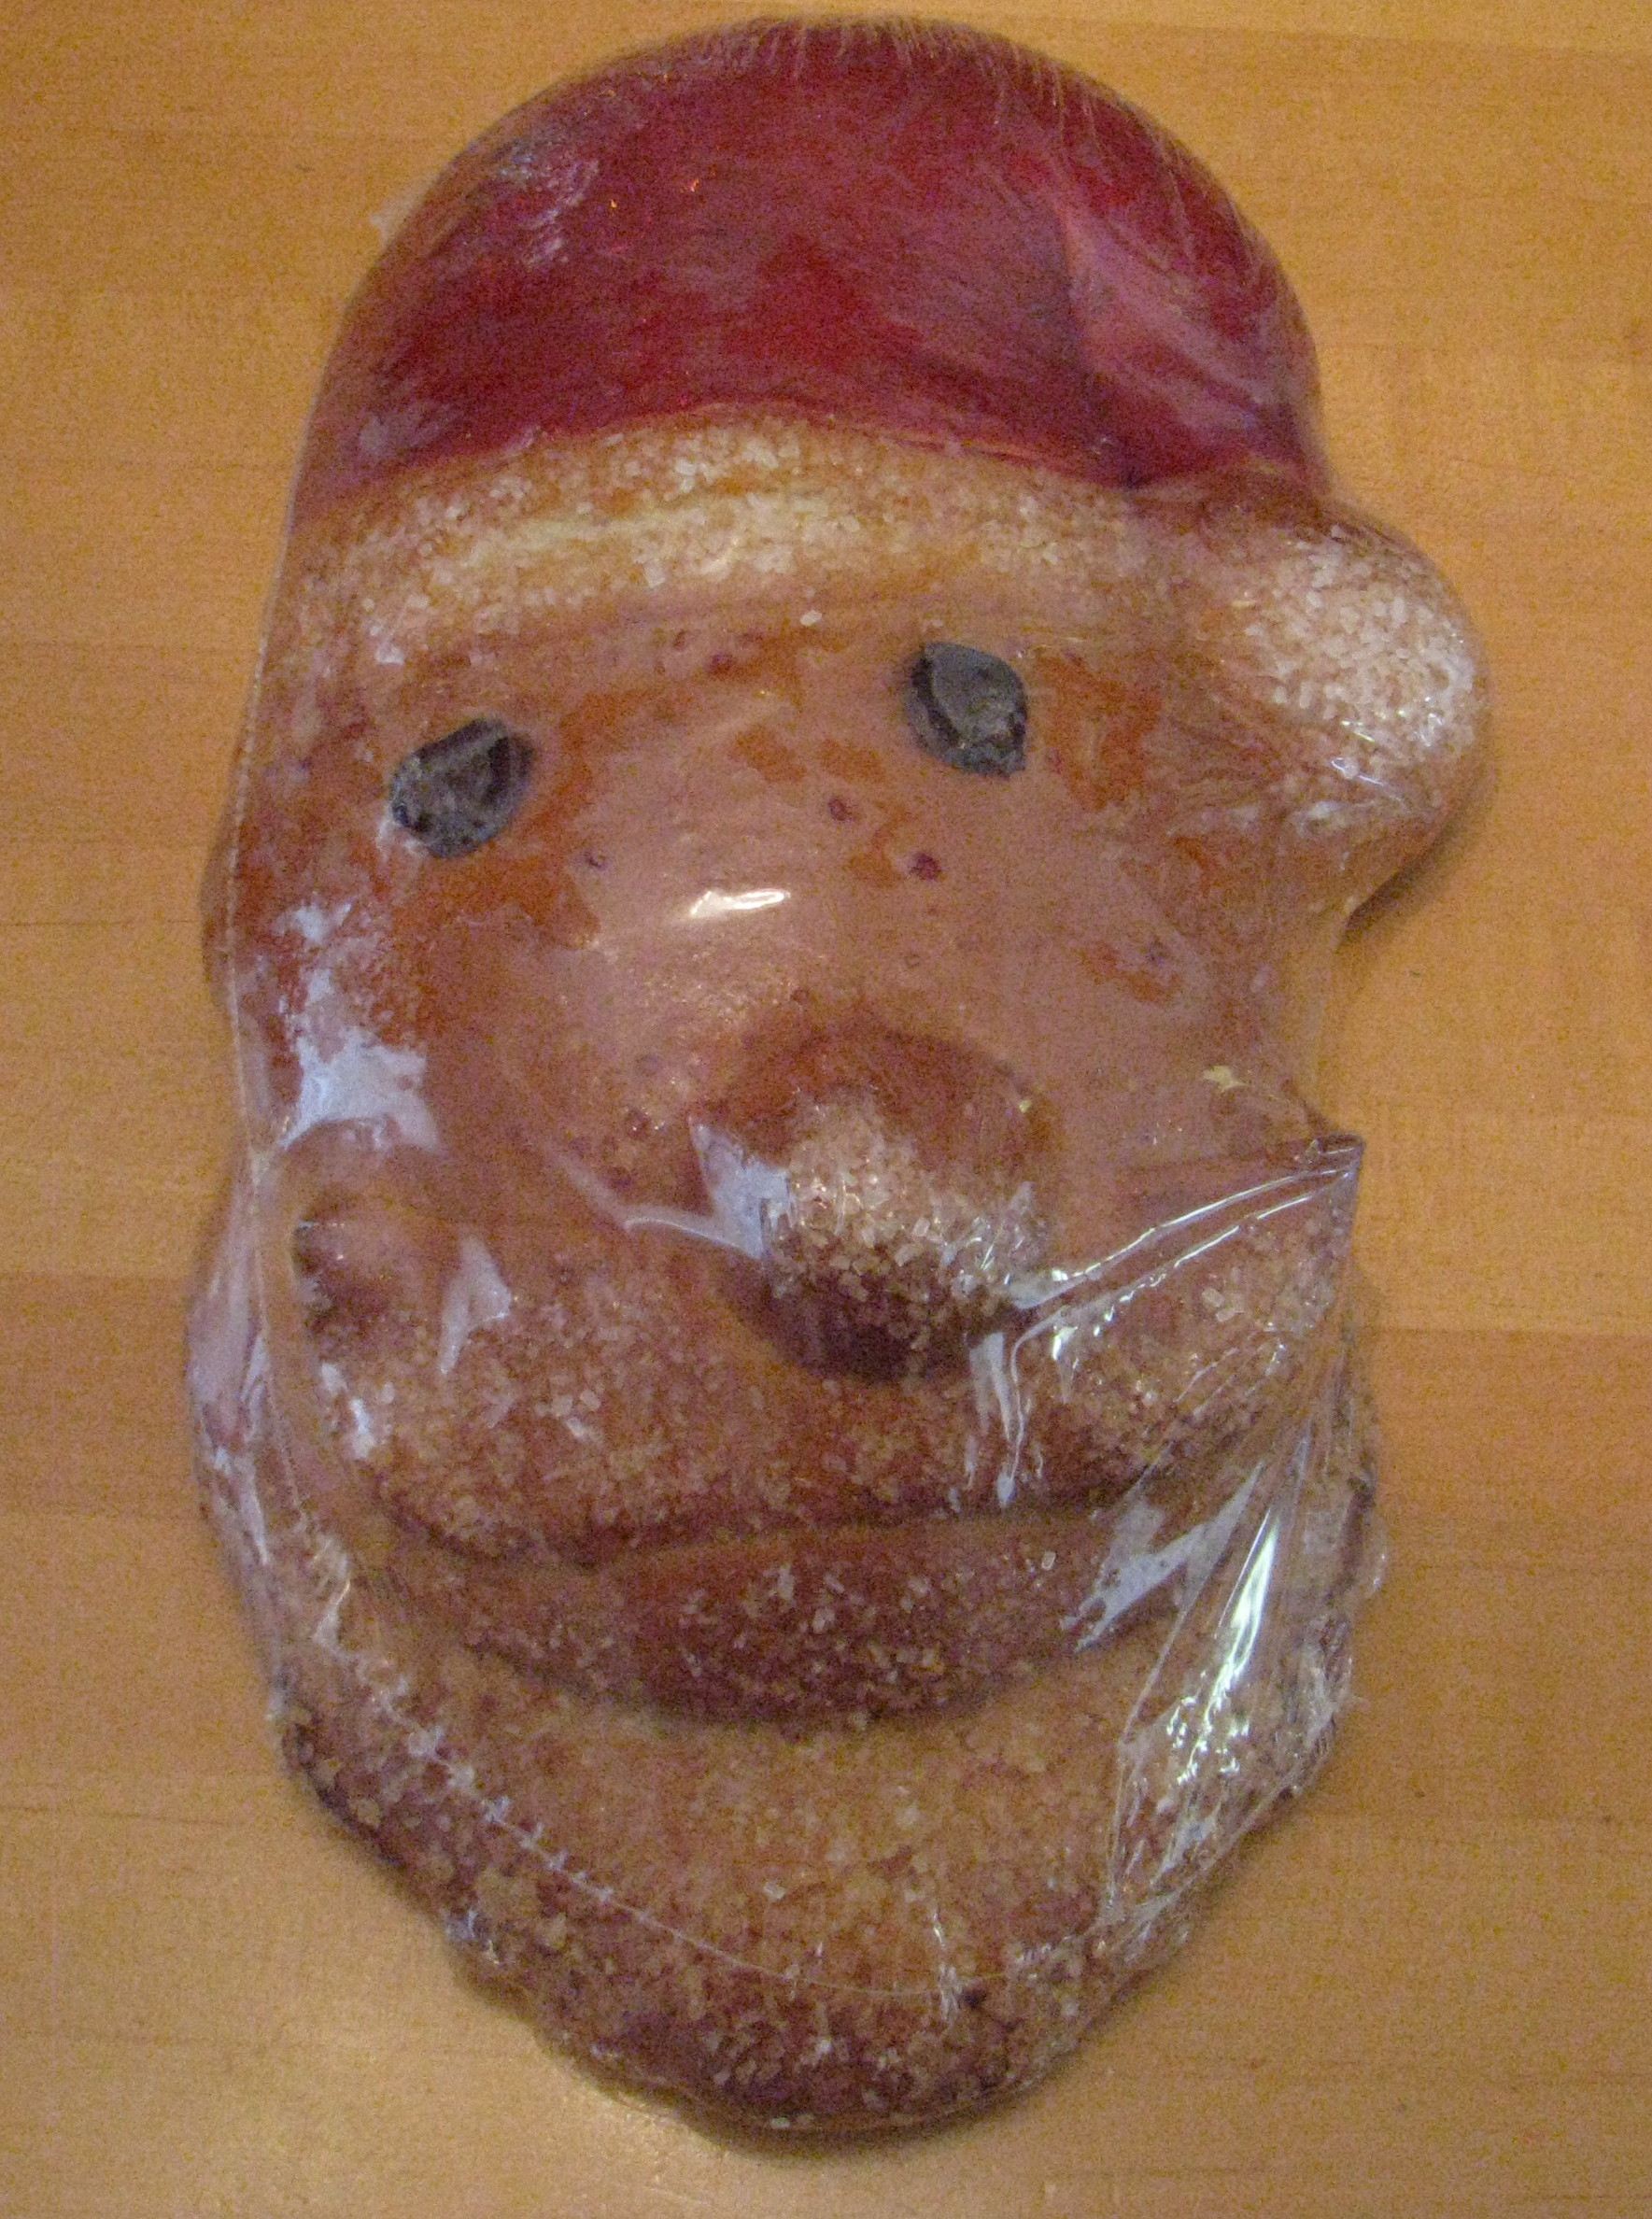
Santa Claus Bread!

This post has nothing to do with stamping, but look what I found at Whole Foods in Sugar Land today!

Santa Bread from Whole Foods

It's still wrapped in cellophane, so not the best picture, but thought I would share!  It is bread shaped into a Santa Claus head!  The checker said she heard it was sweet bread, so we shall see.  It was so cute and different that I had to buy it!

Merry Christmas!!

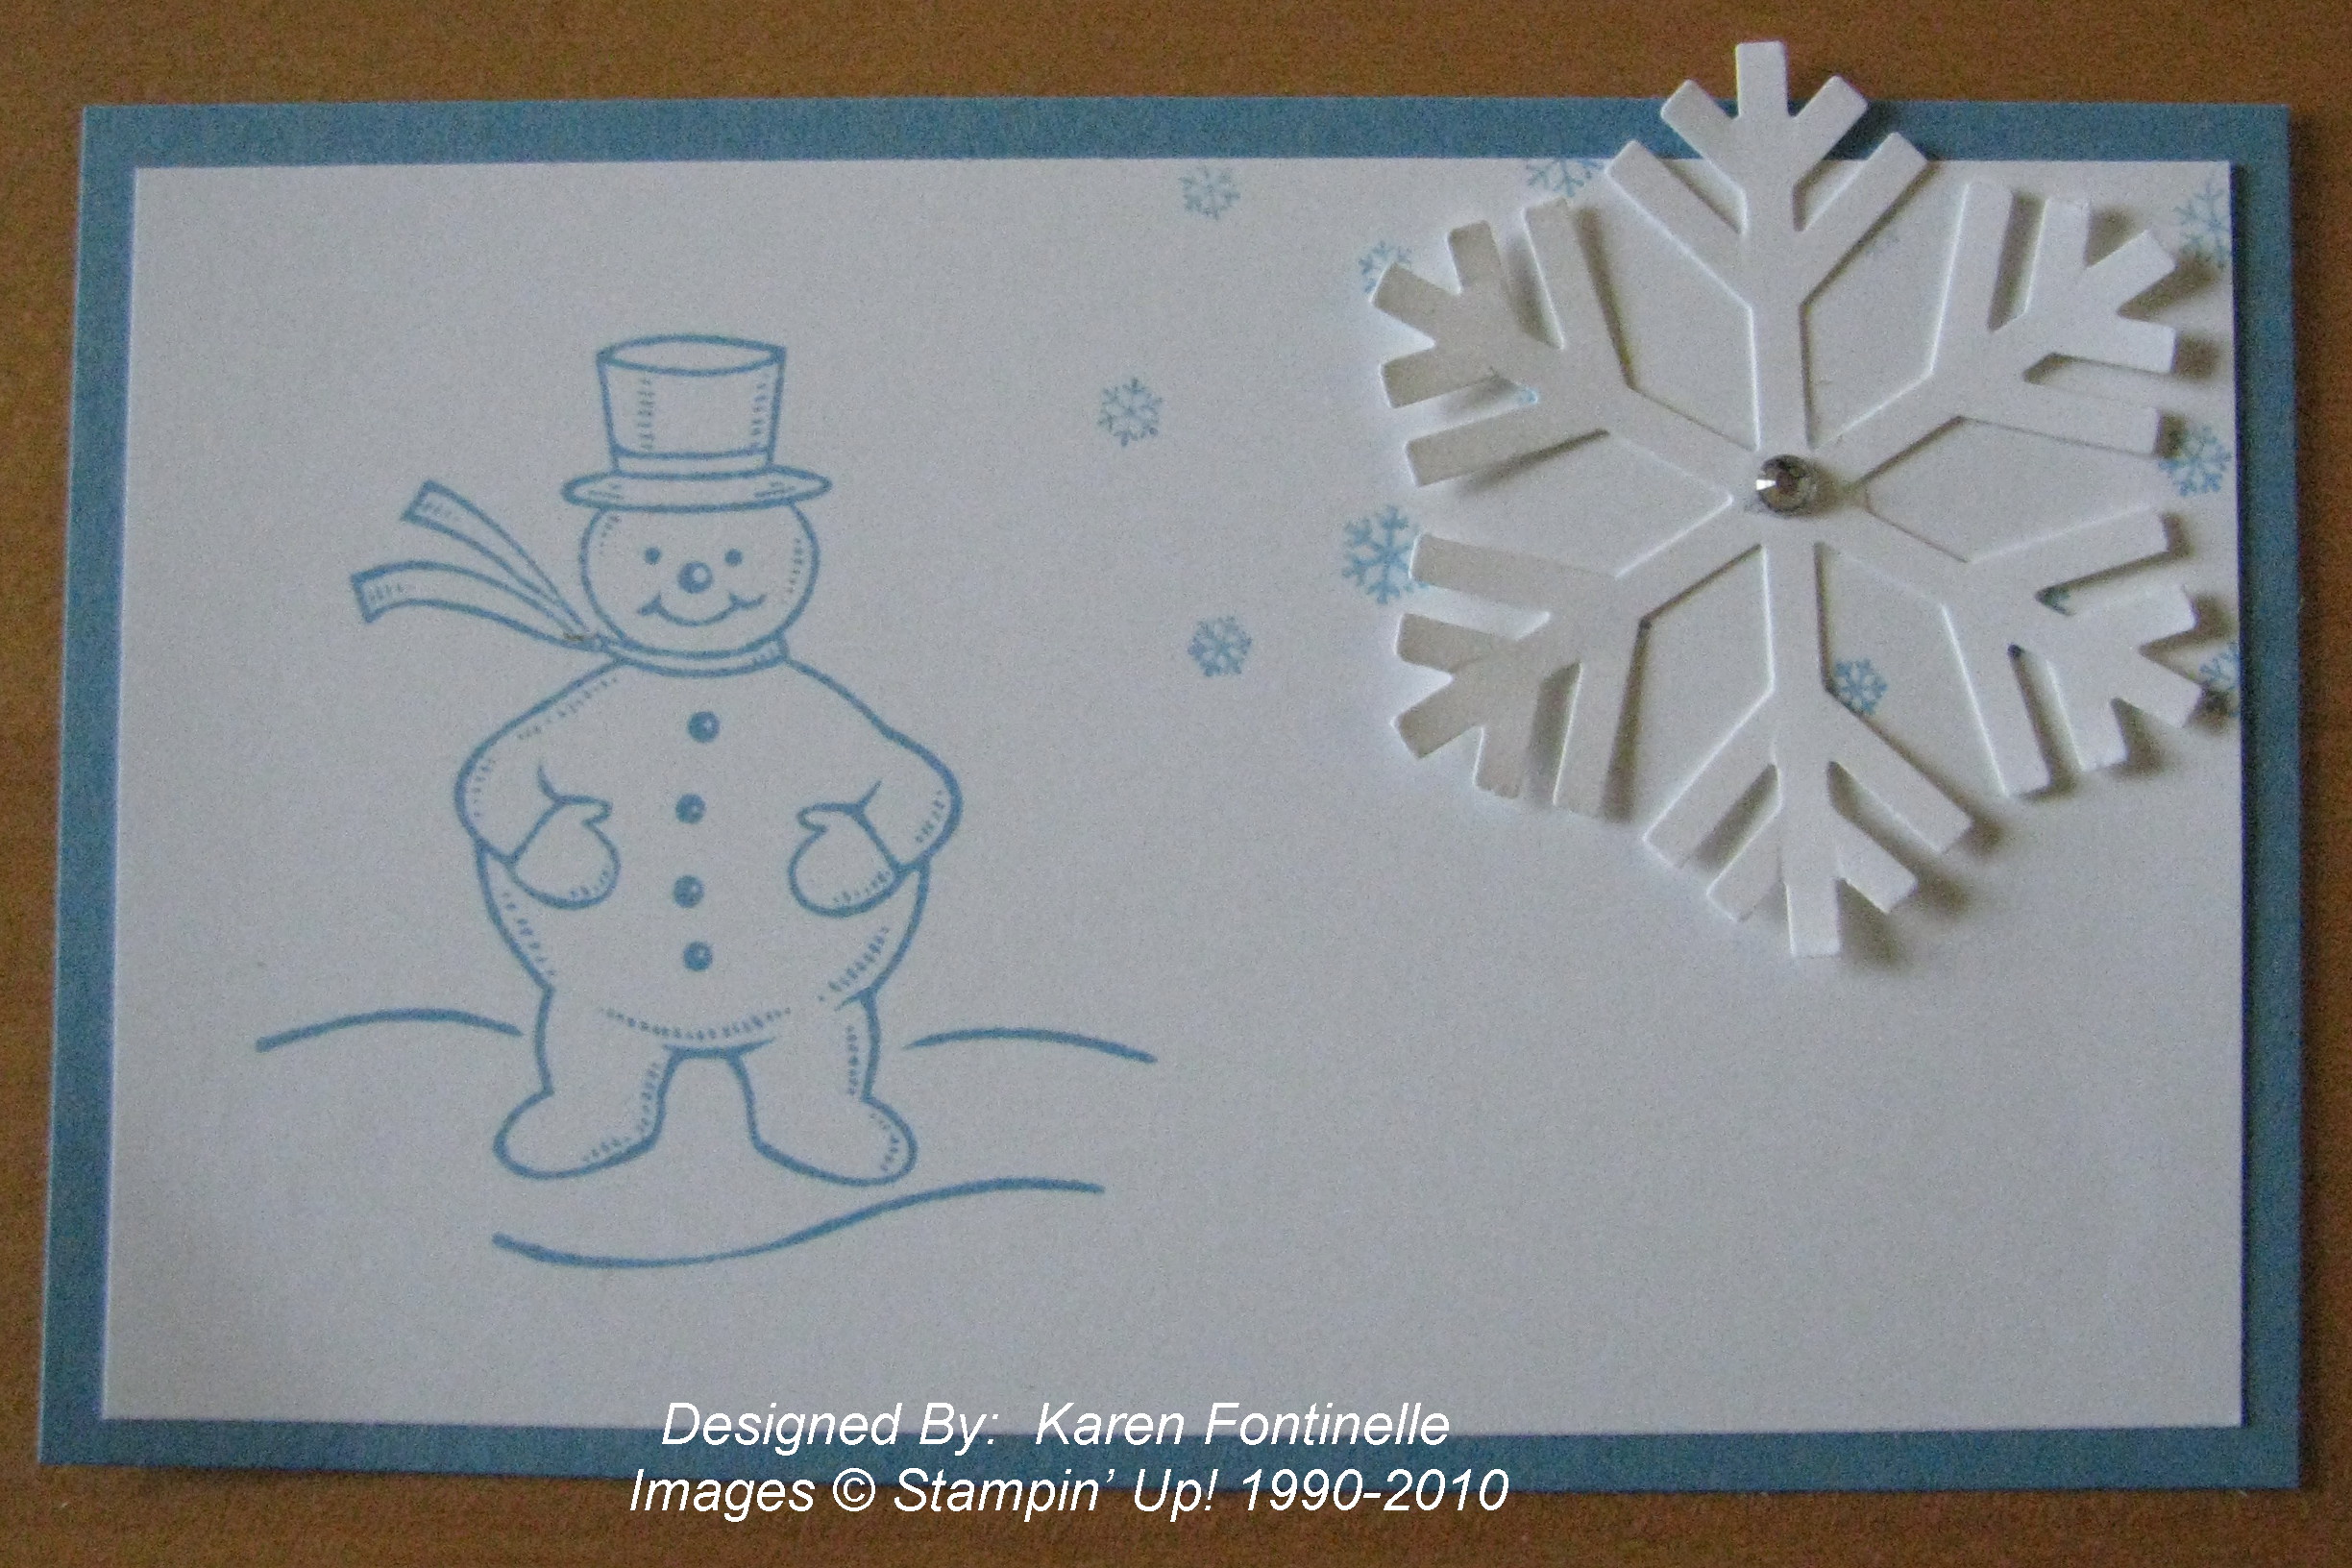
Easy Snowman Gift Tag

VintageSnowmanTag

Here's an easy Christmas tag I made for several gifts the other day.  To get away from coloring the snowman from Jolly Old Saint Nick, I just stamped him in the same color as the paper, Marina Mist.  Then a punched Snowflake with a little Rhinestone bling added a little extra!  Write the "to" and "from" in the lower right corner.  I took the photo before I punched a hole and tied on some ribbon, but you get the idea.  You could also use this for a card!

Have fun wrapping!!

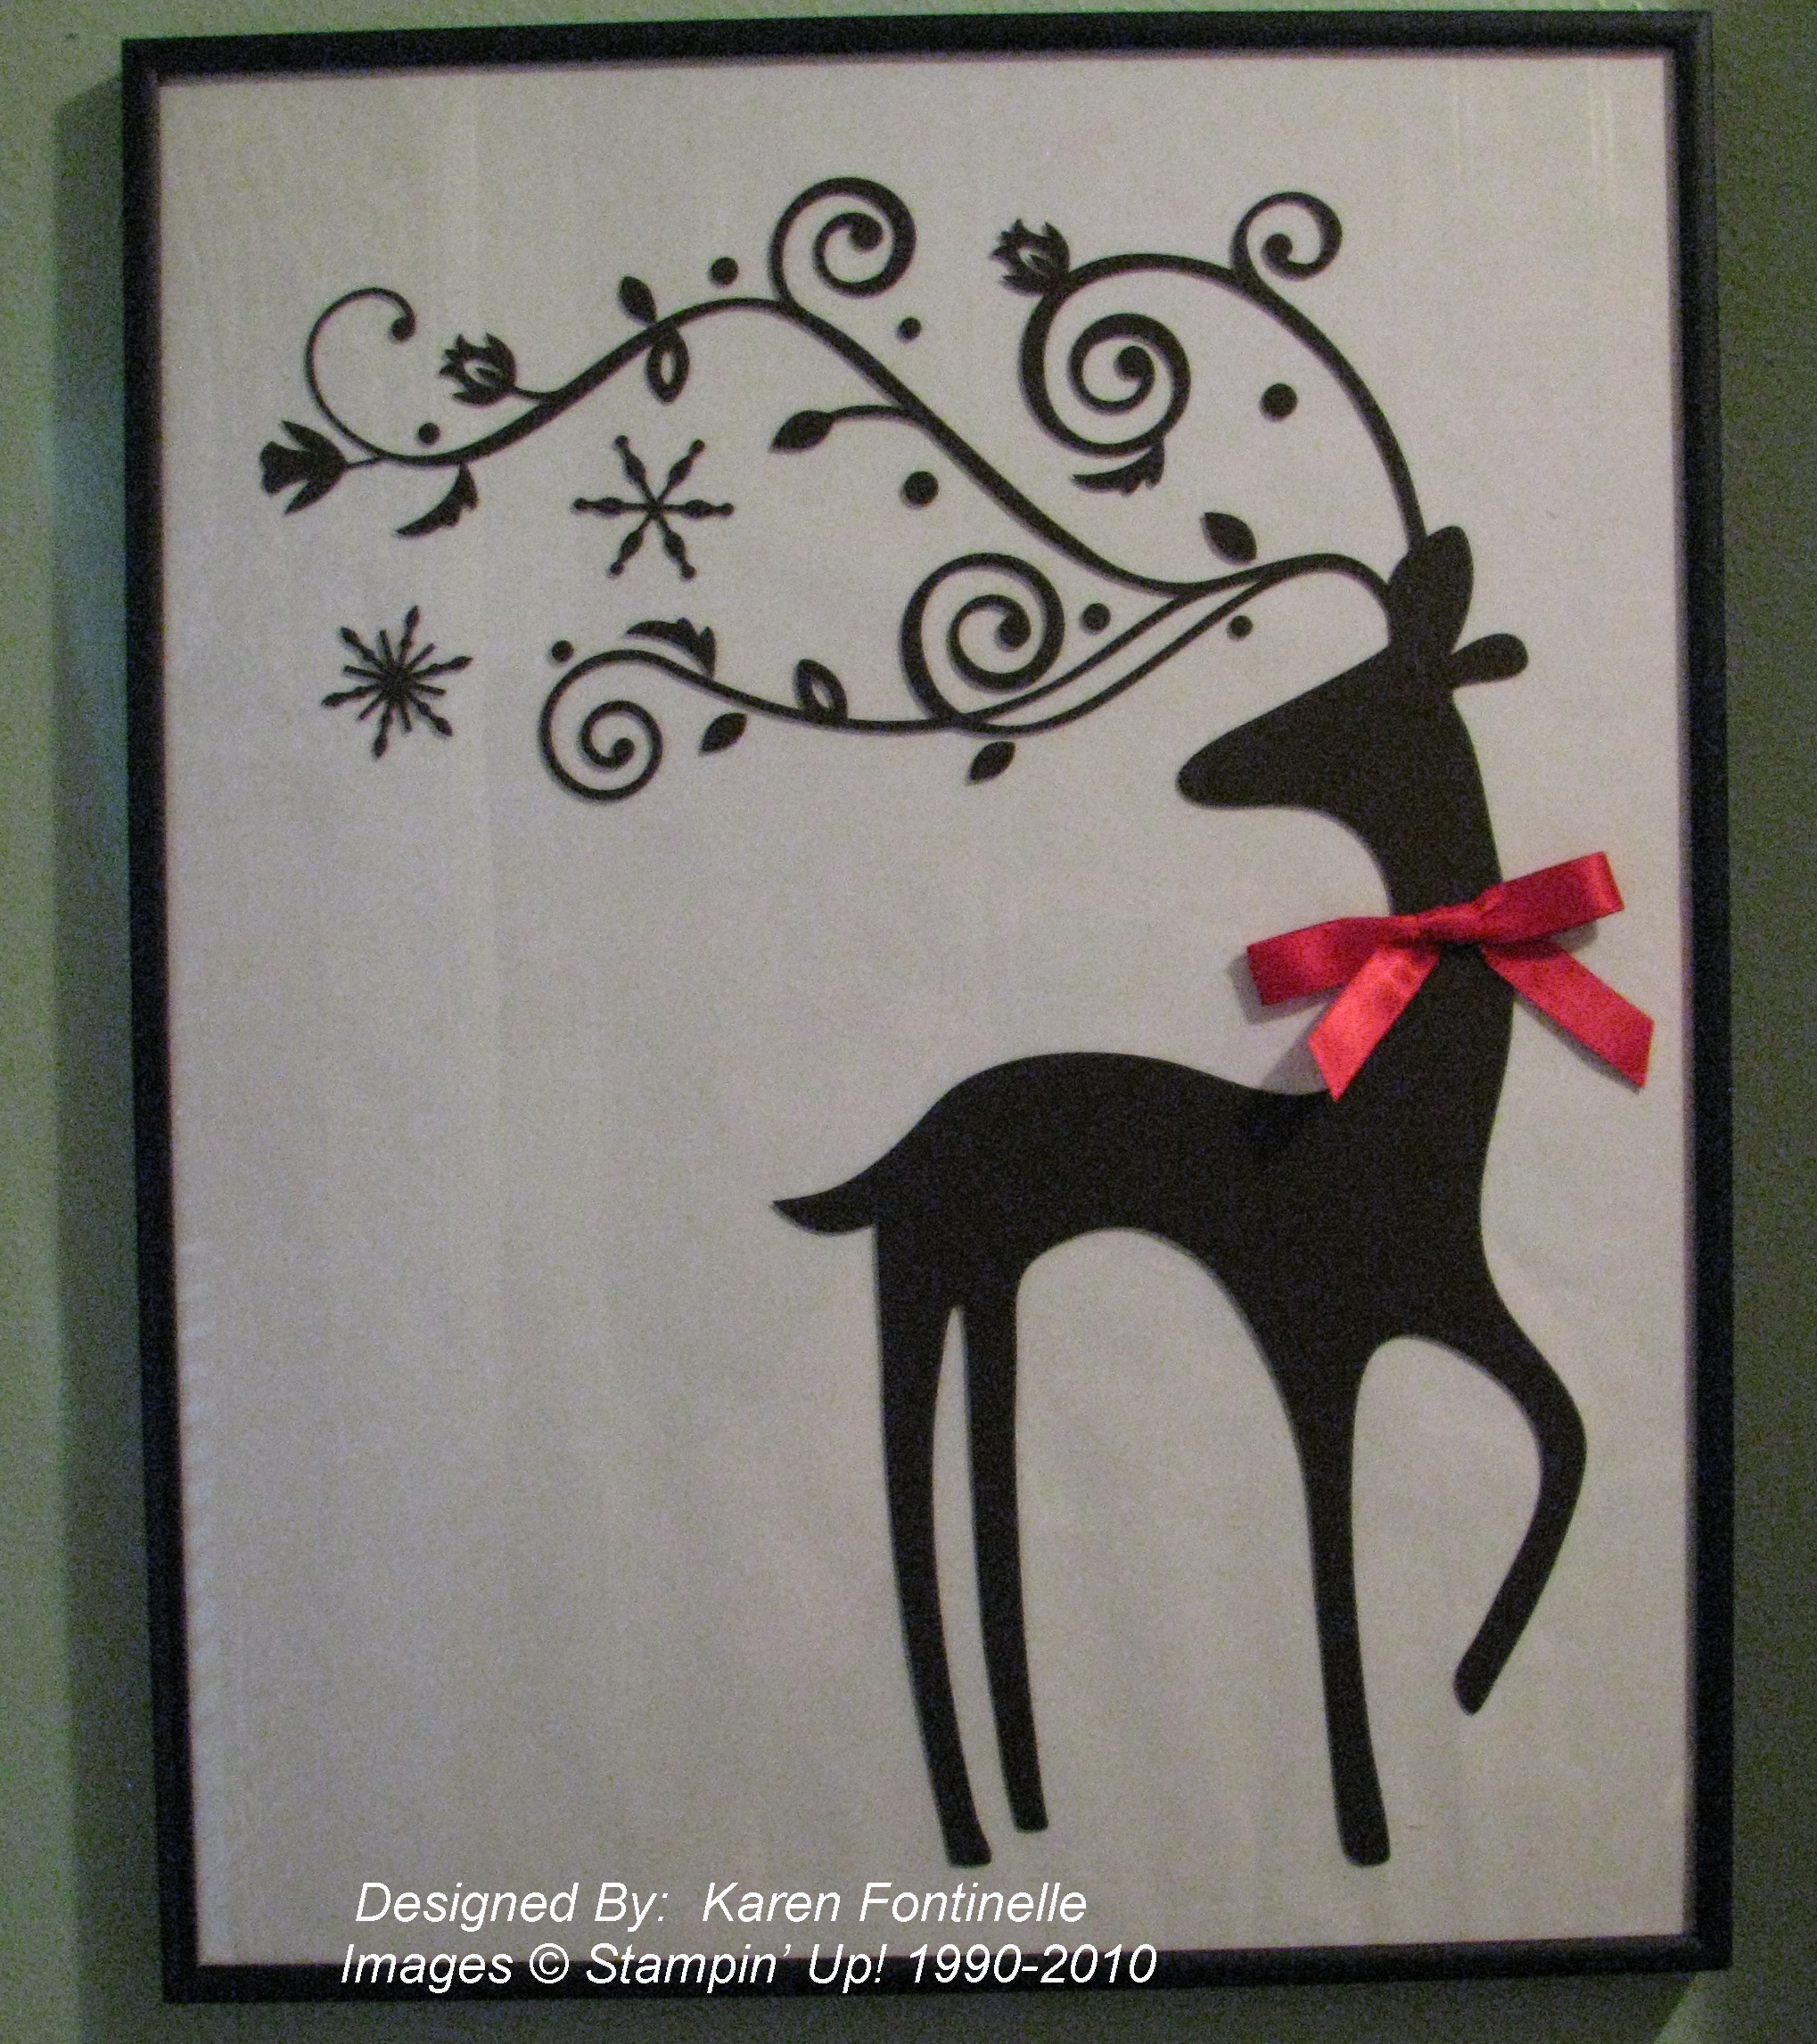
Dasher Framed!

This Dasher is one of Stampin' Up!'s Decor Elements vinyl art from last year.  In fact, he was a Hostess gift.  Did you know you may choose a Decor Element for Levels 2 and 3 as your Hostess gift instead of a stamp set?  Just check out the Definitely Decorative Catalog HERE!  I never got around to putting him up, but today I took a few minutes to put him on the glass of this 16" x 20" frame.  I covered the cardboard within the frame with white wrapping paper since it is wider than our 12×12 paper. And for a little extra, I added a red satin bow!  This way I can put him up and take him down for many Christmases to come rather than putting him directly on the wall.

Dasher Decor Element

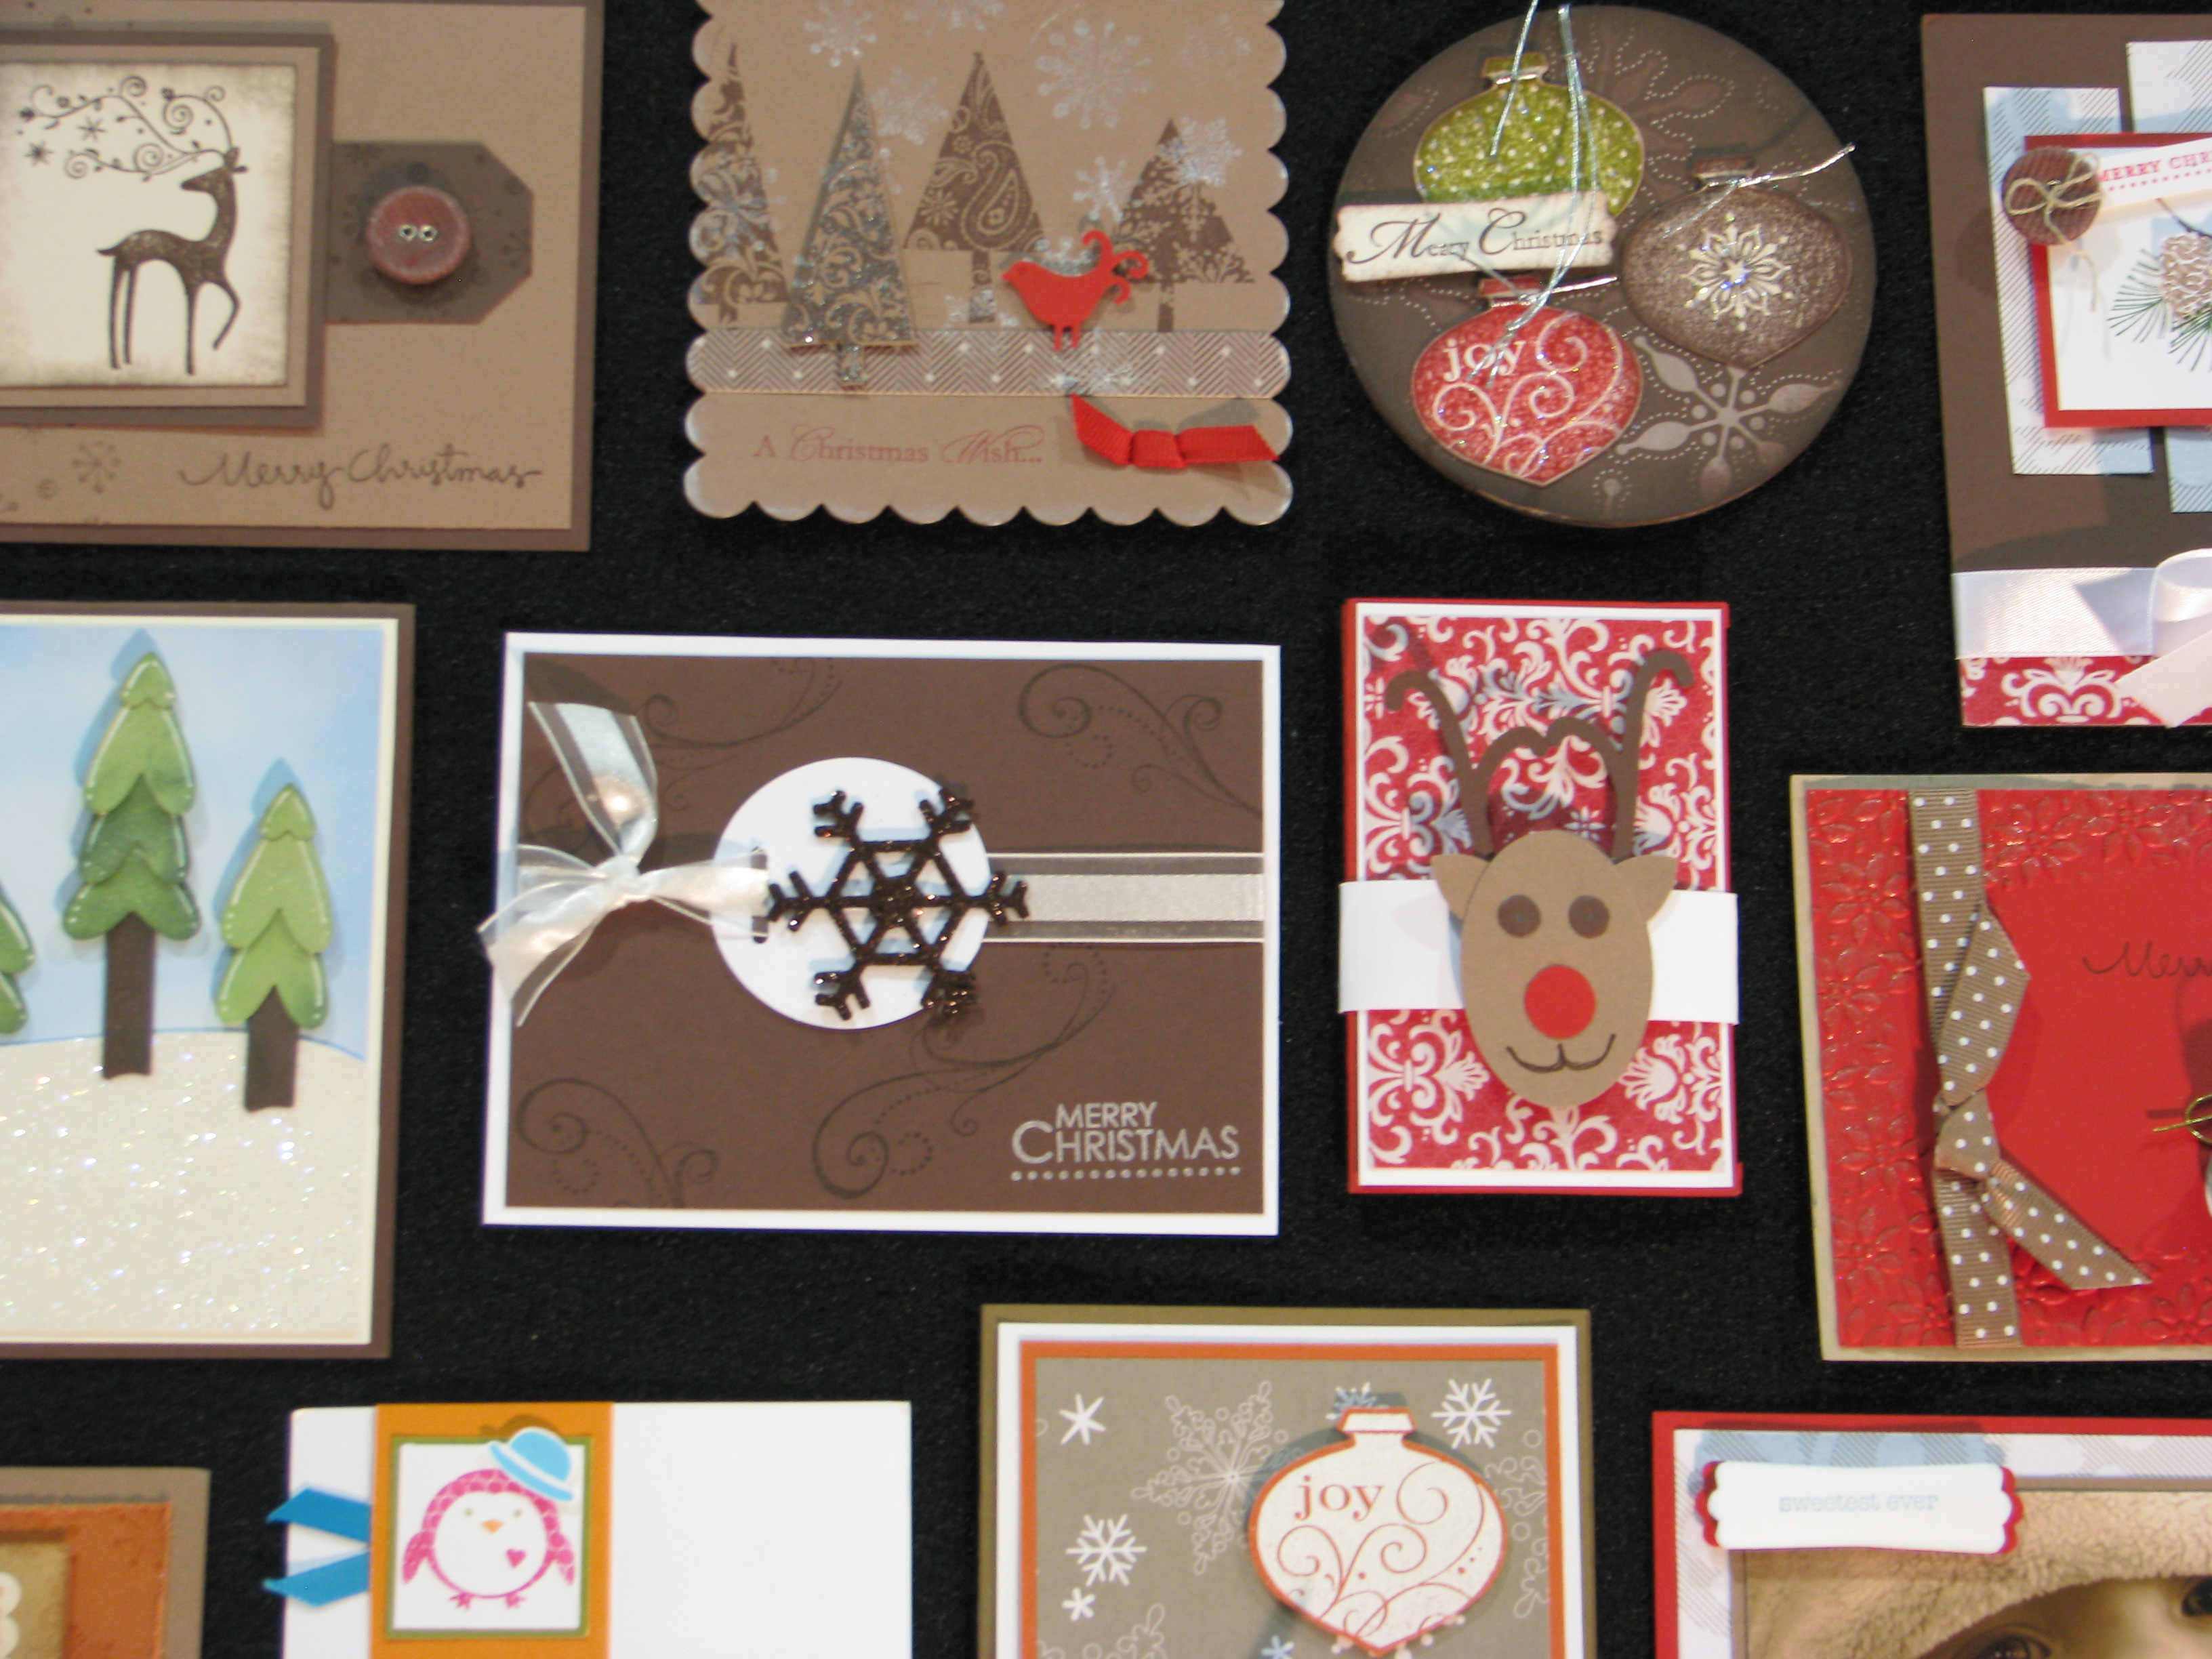
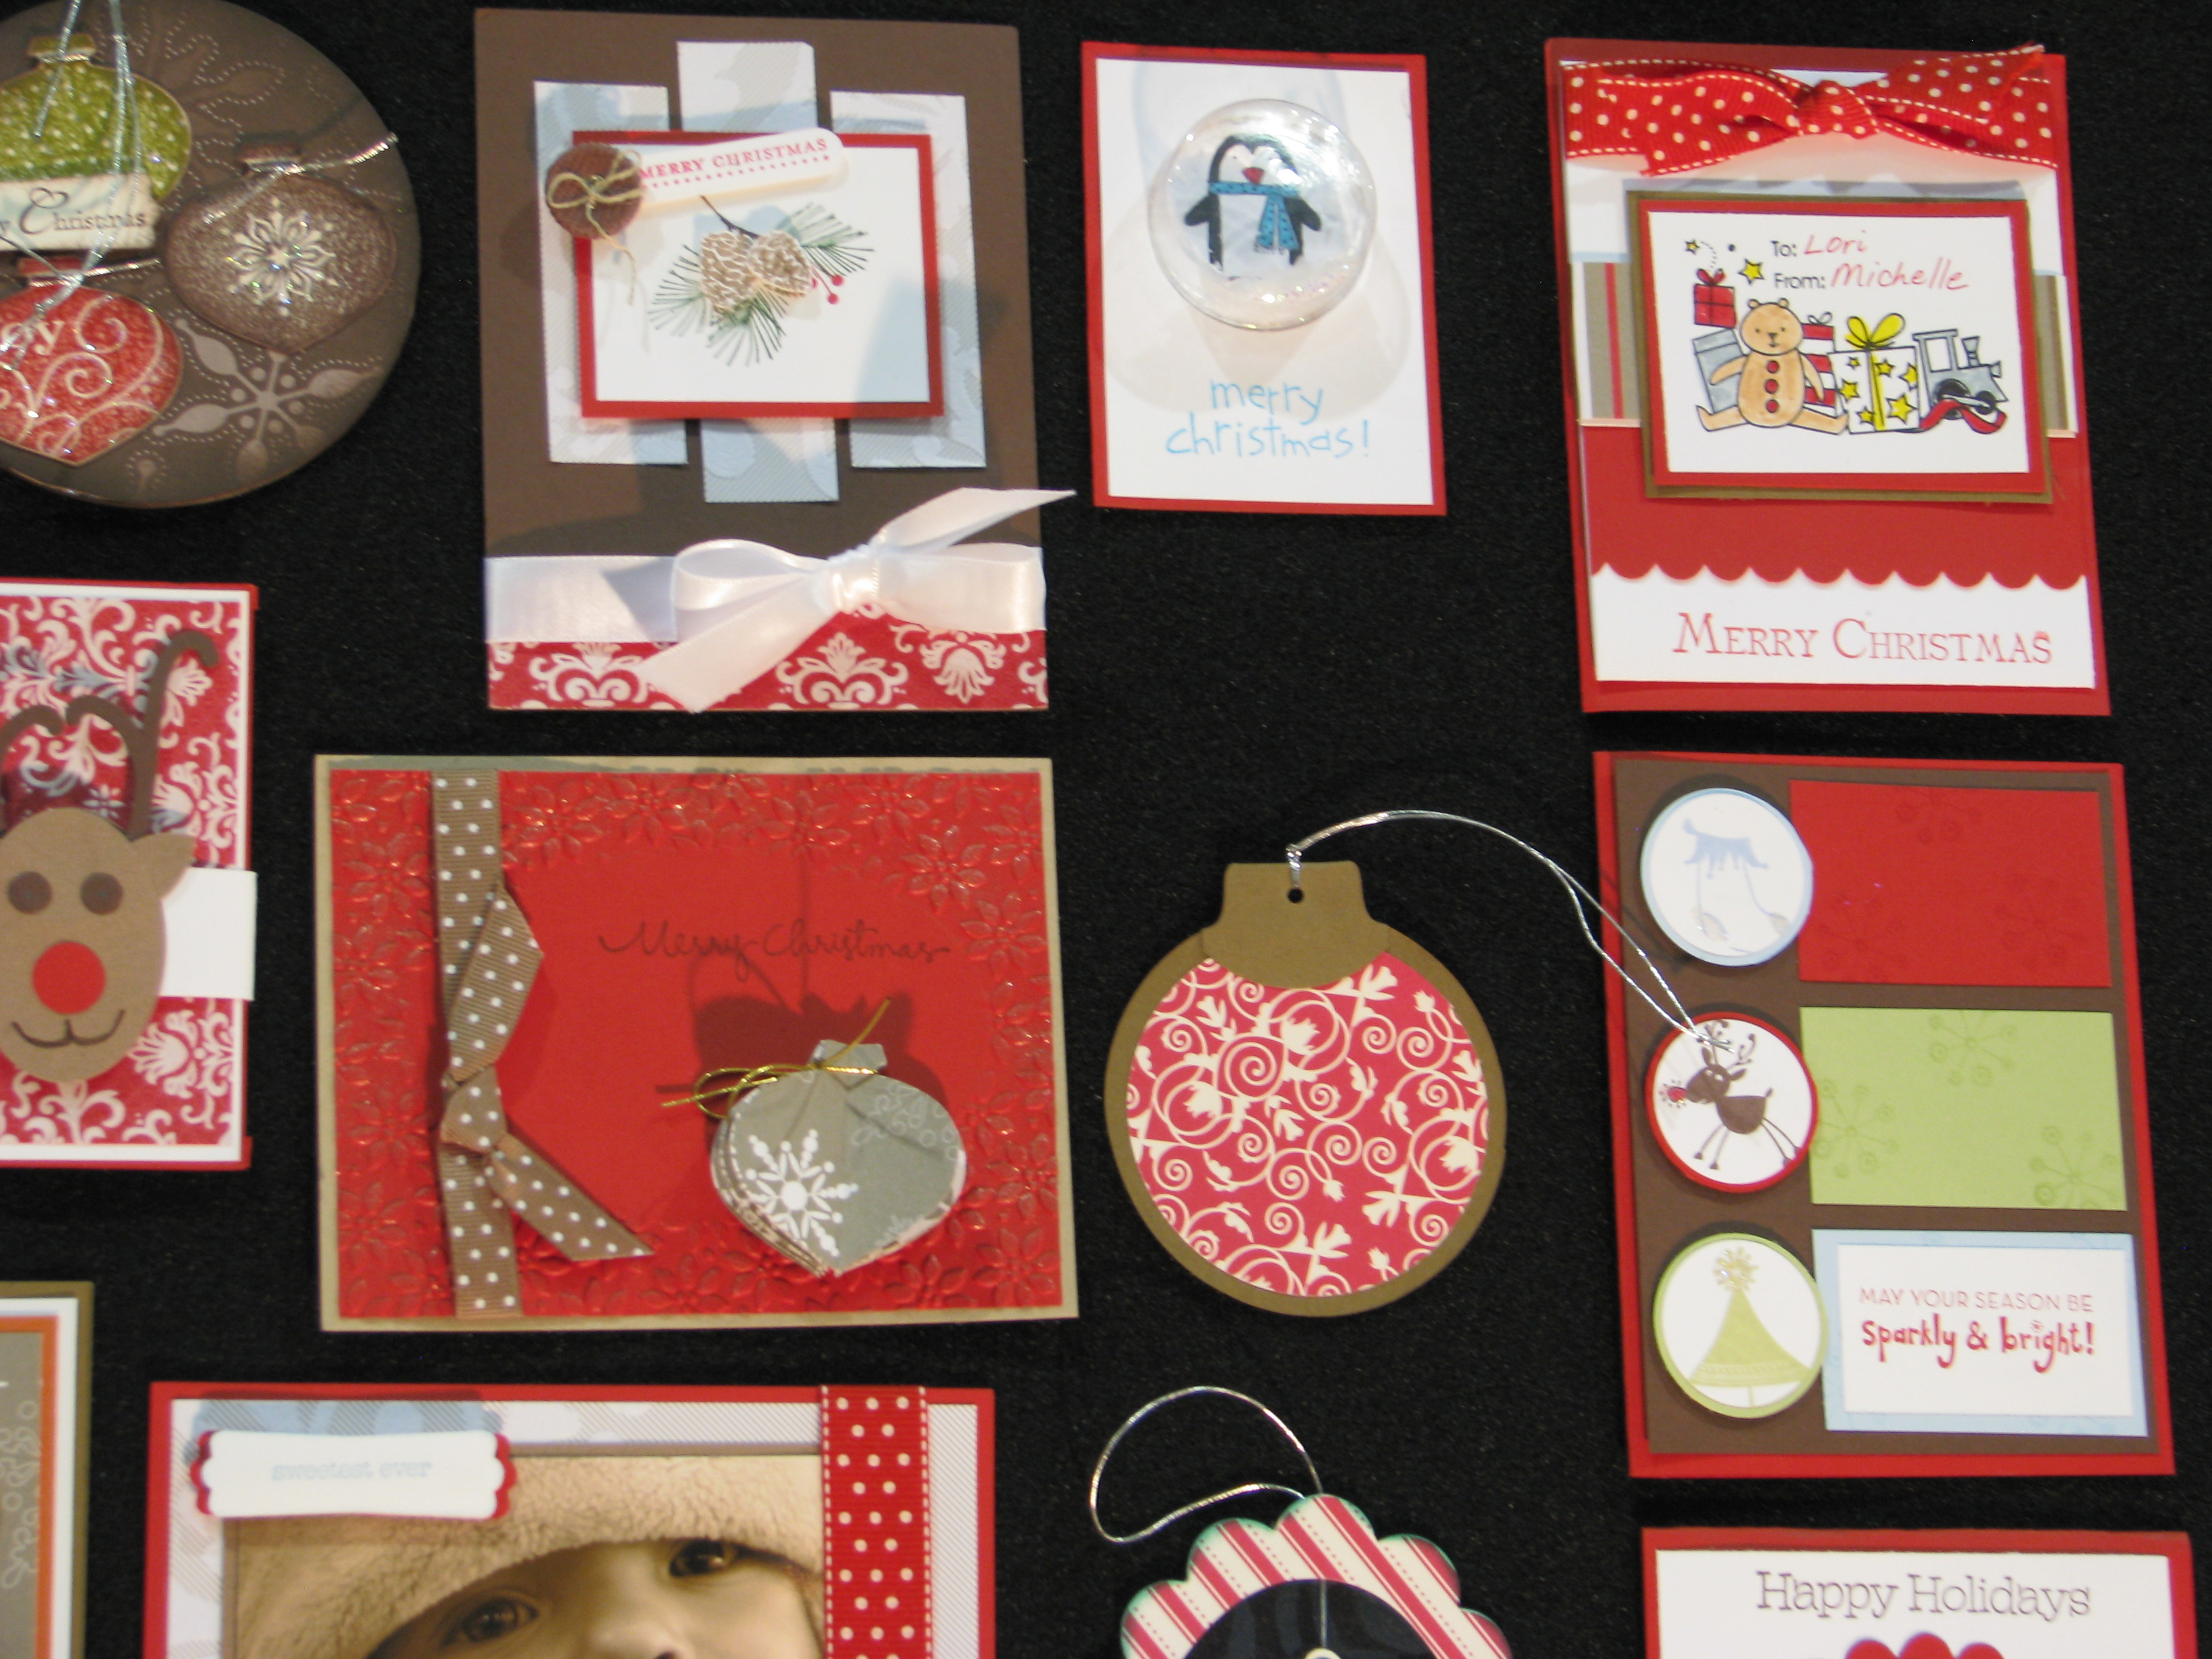
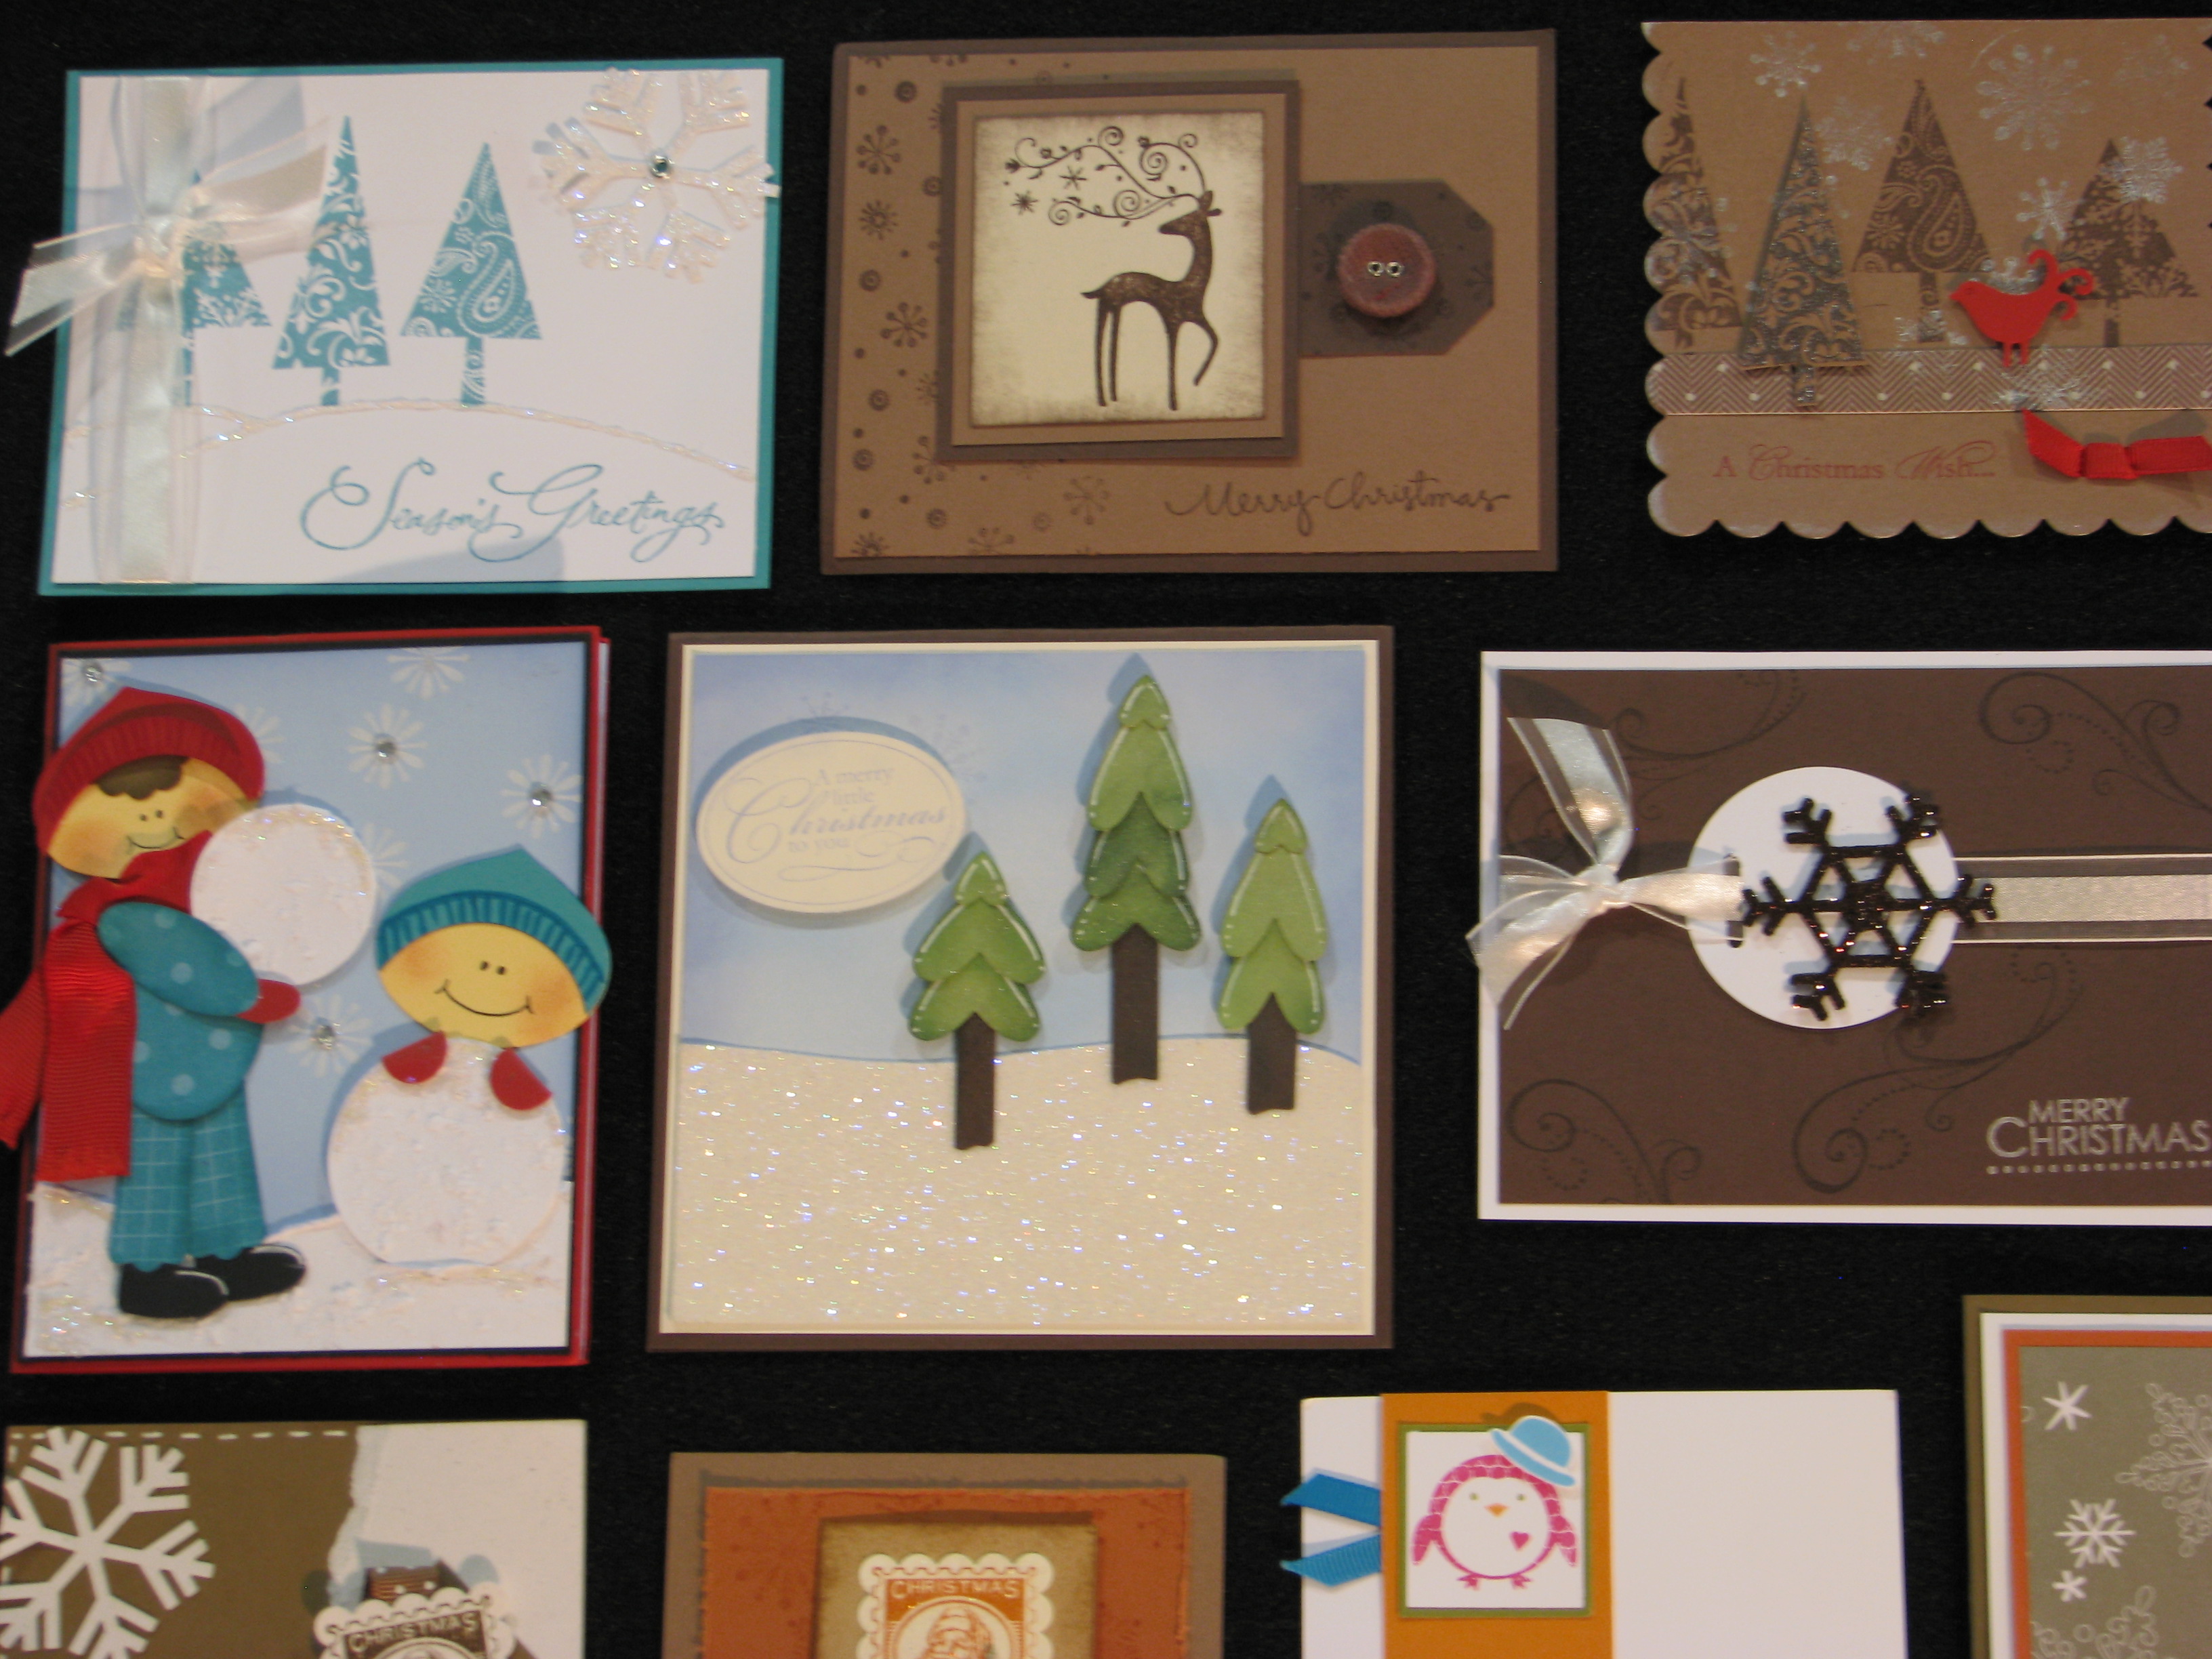
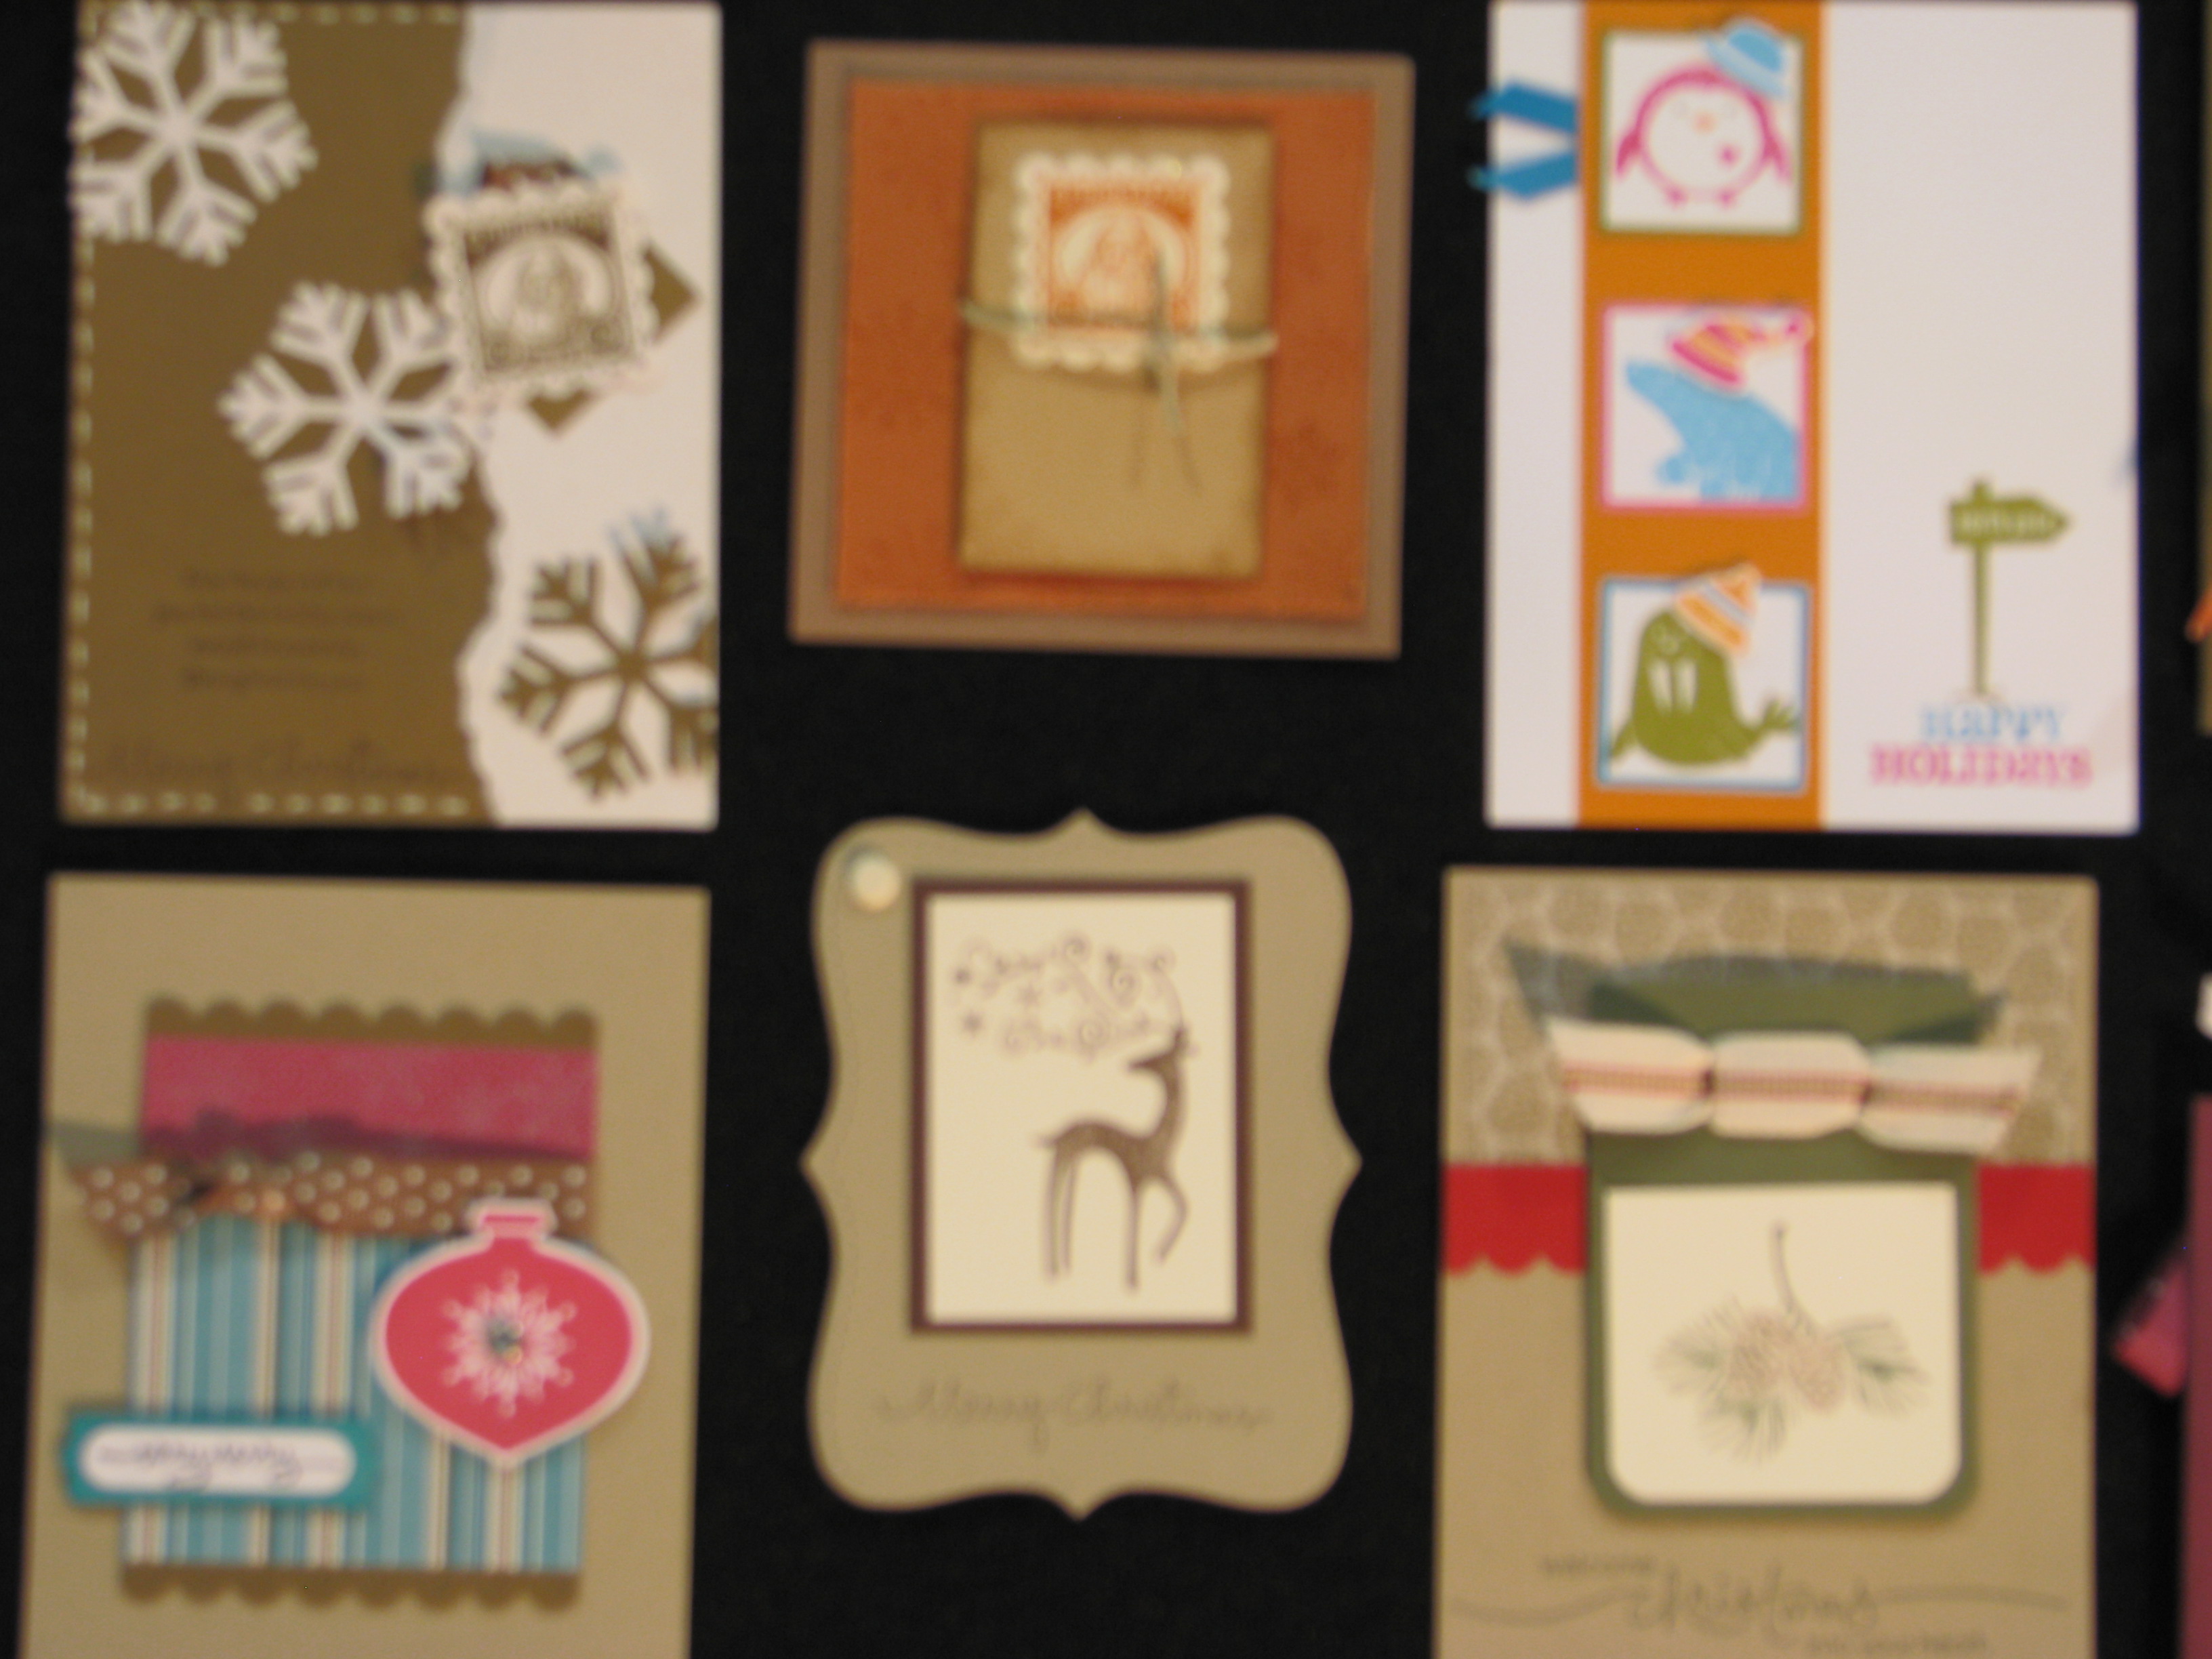
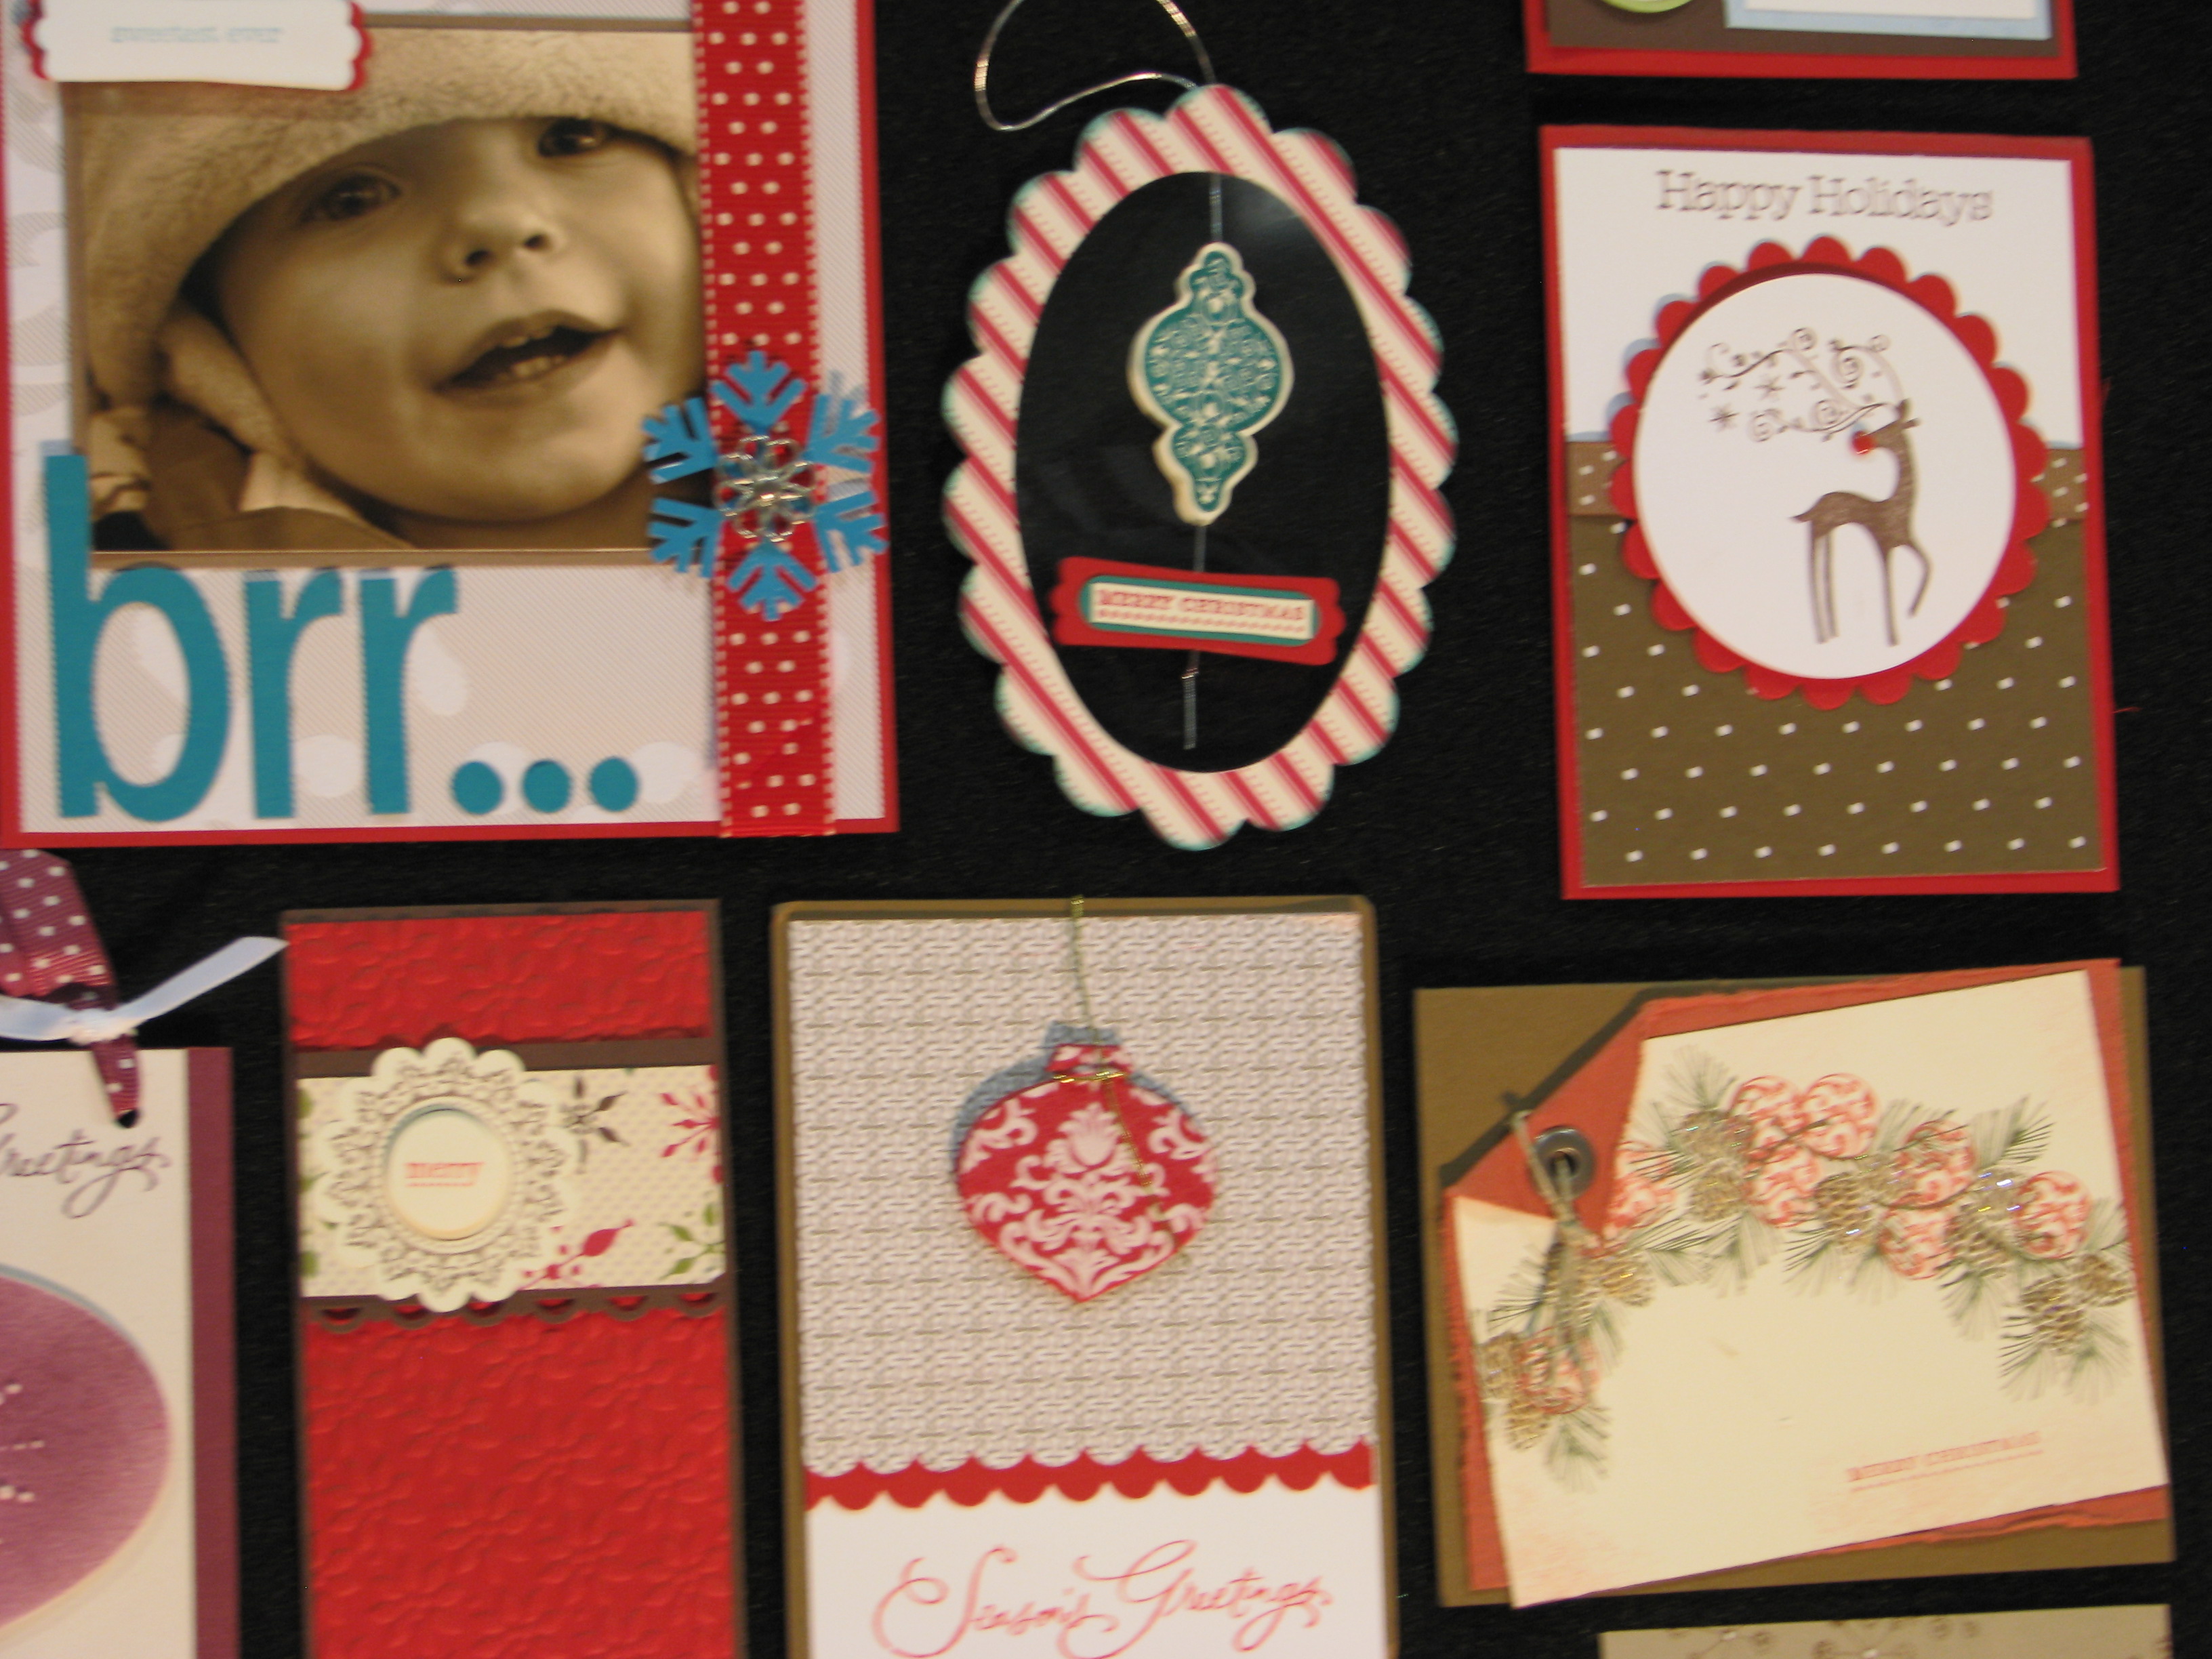
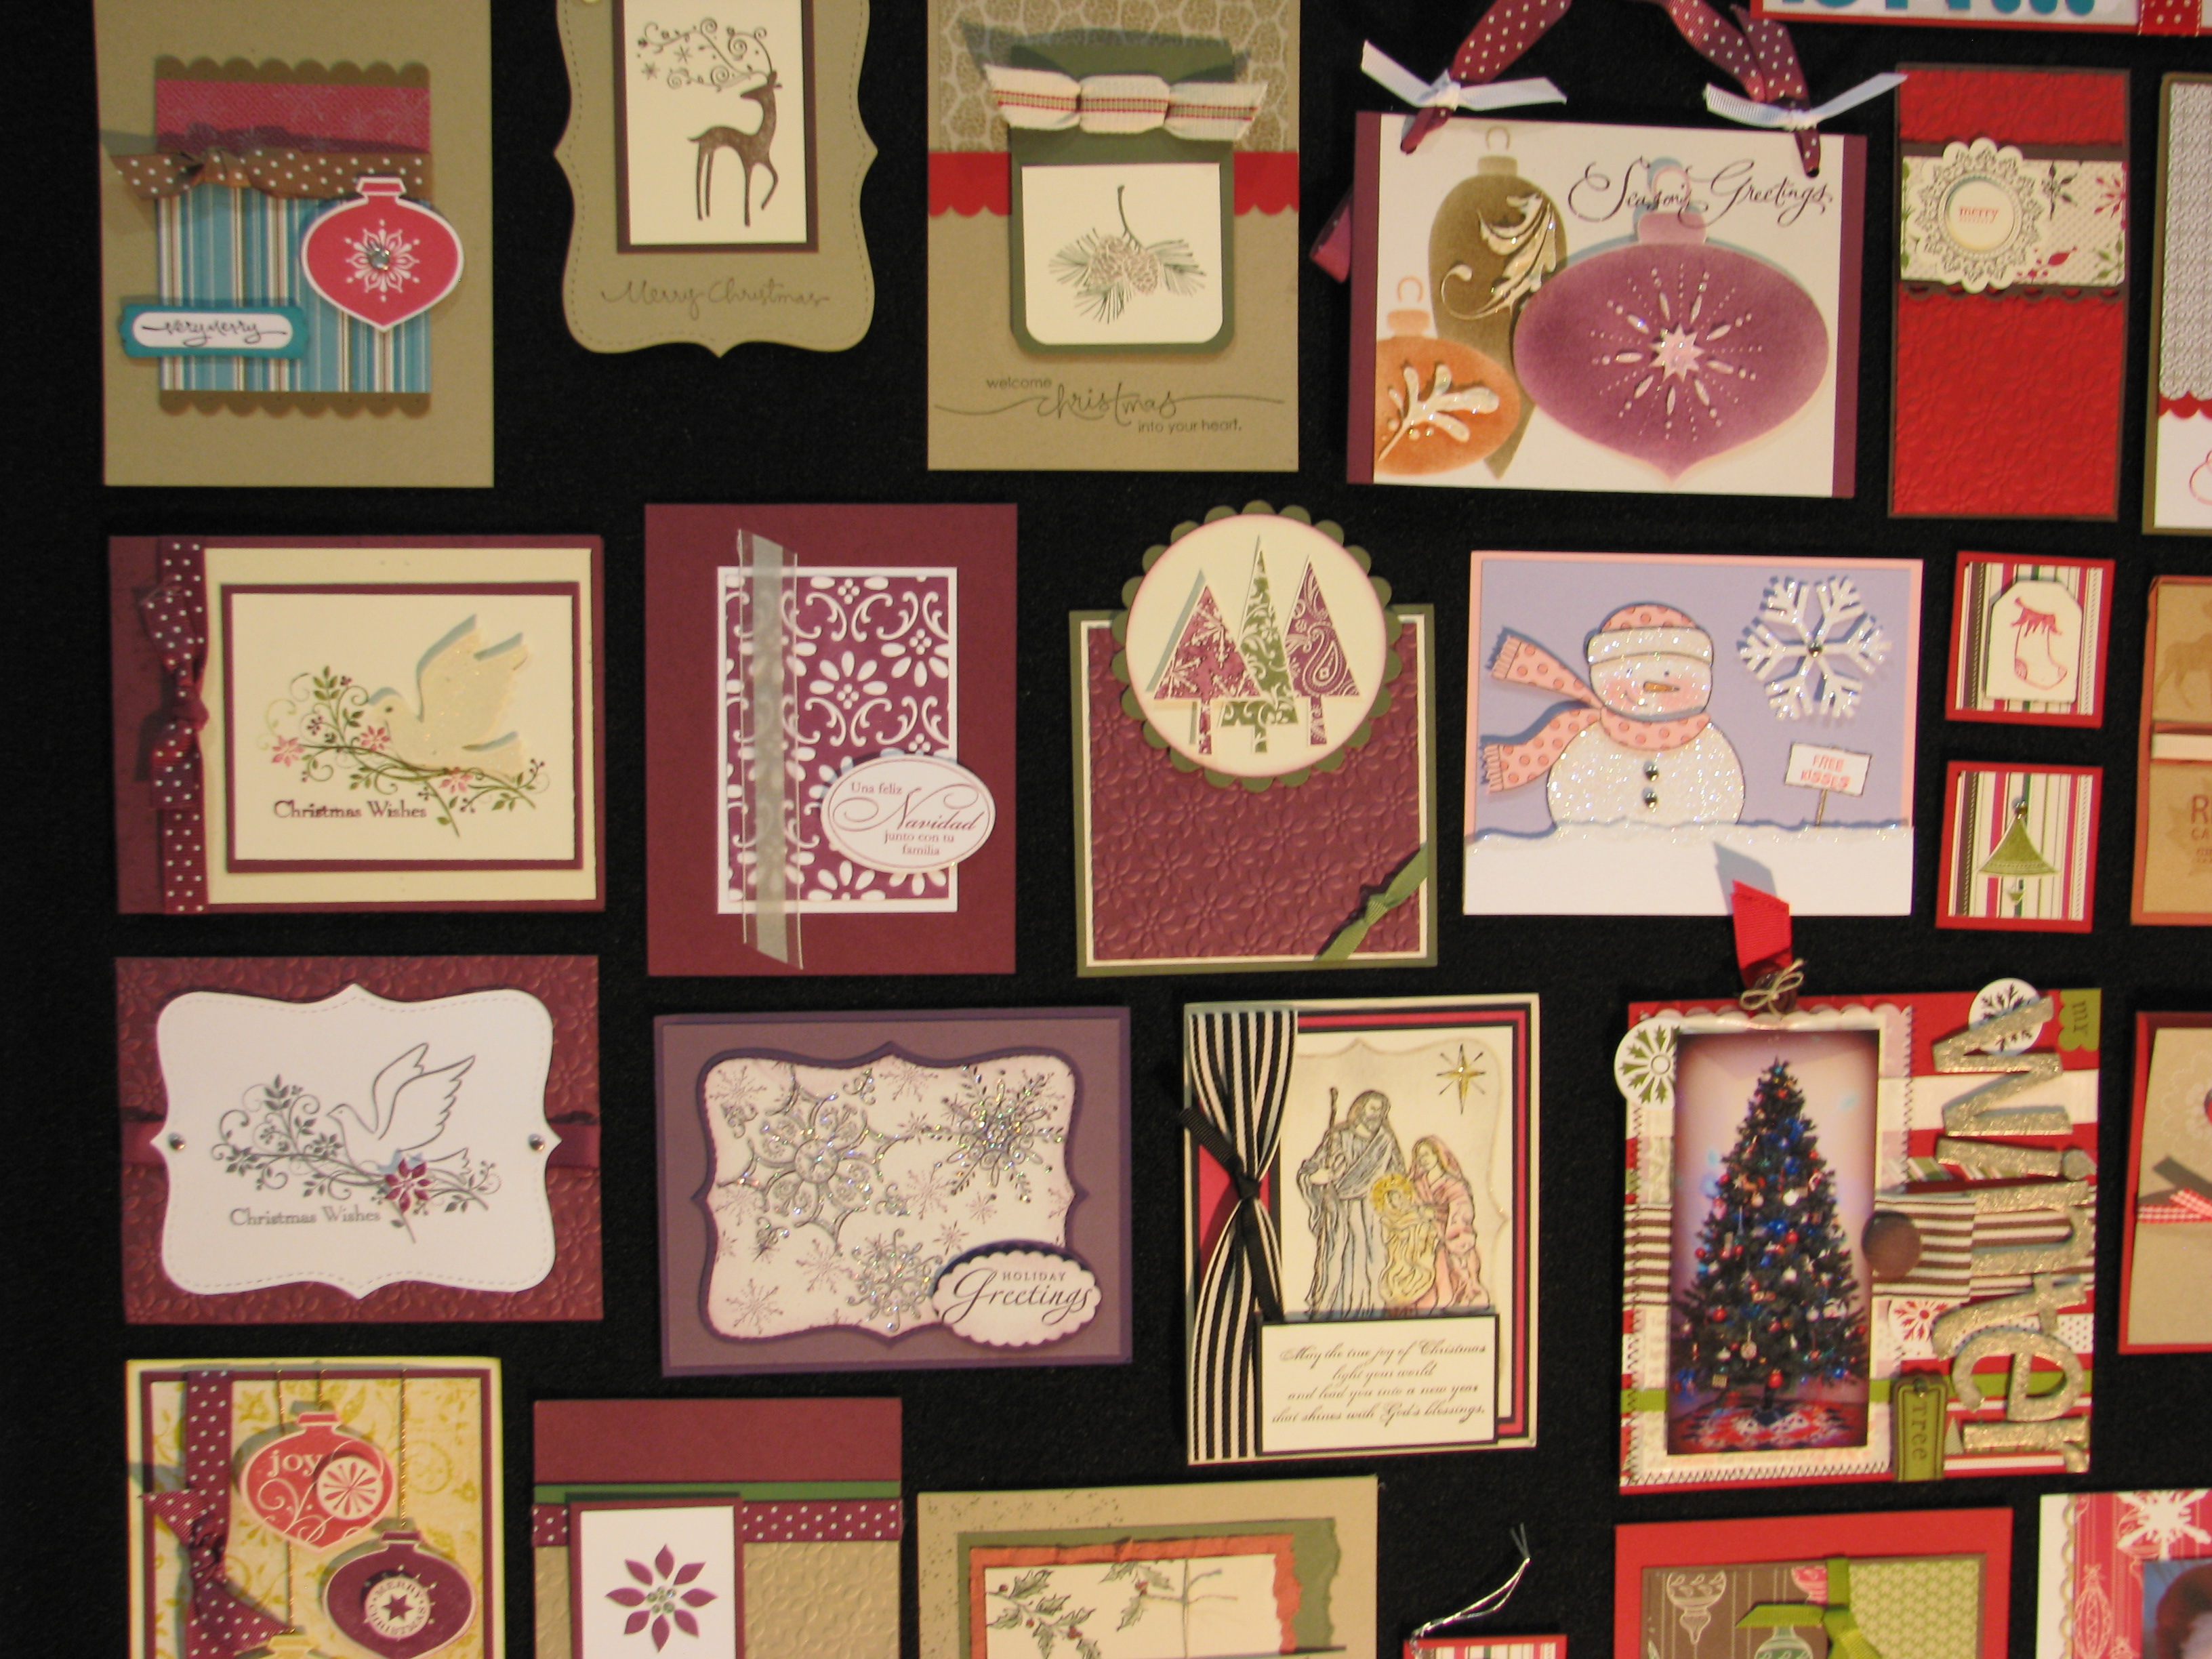
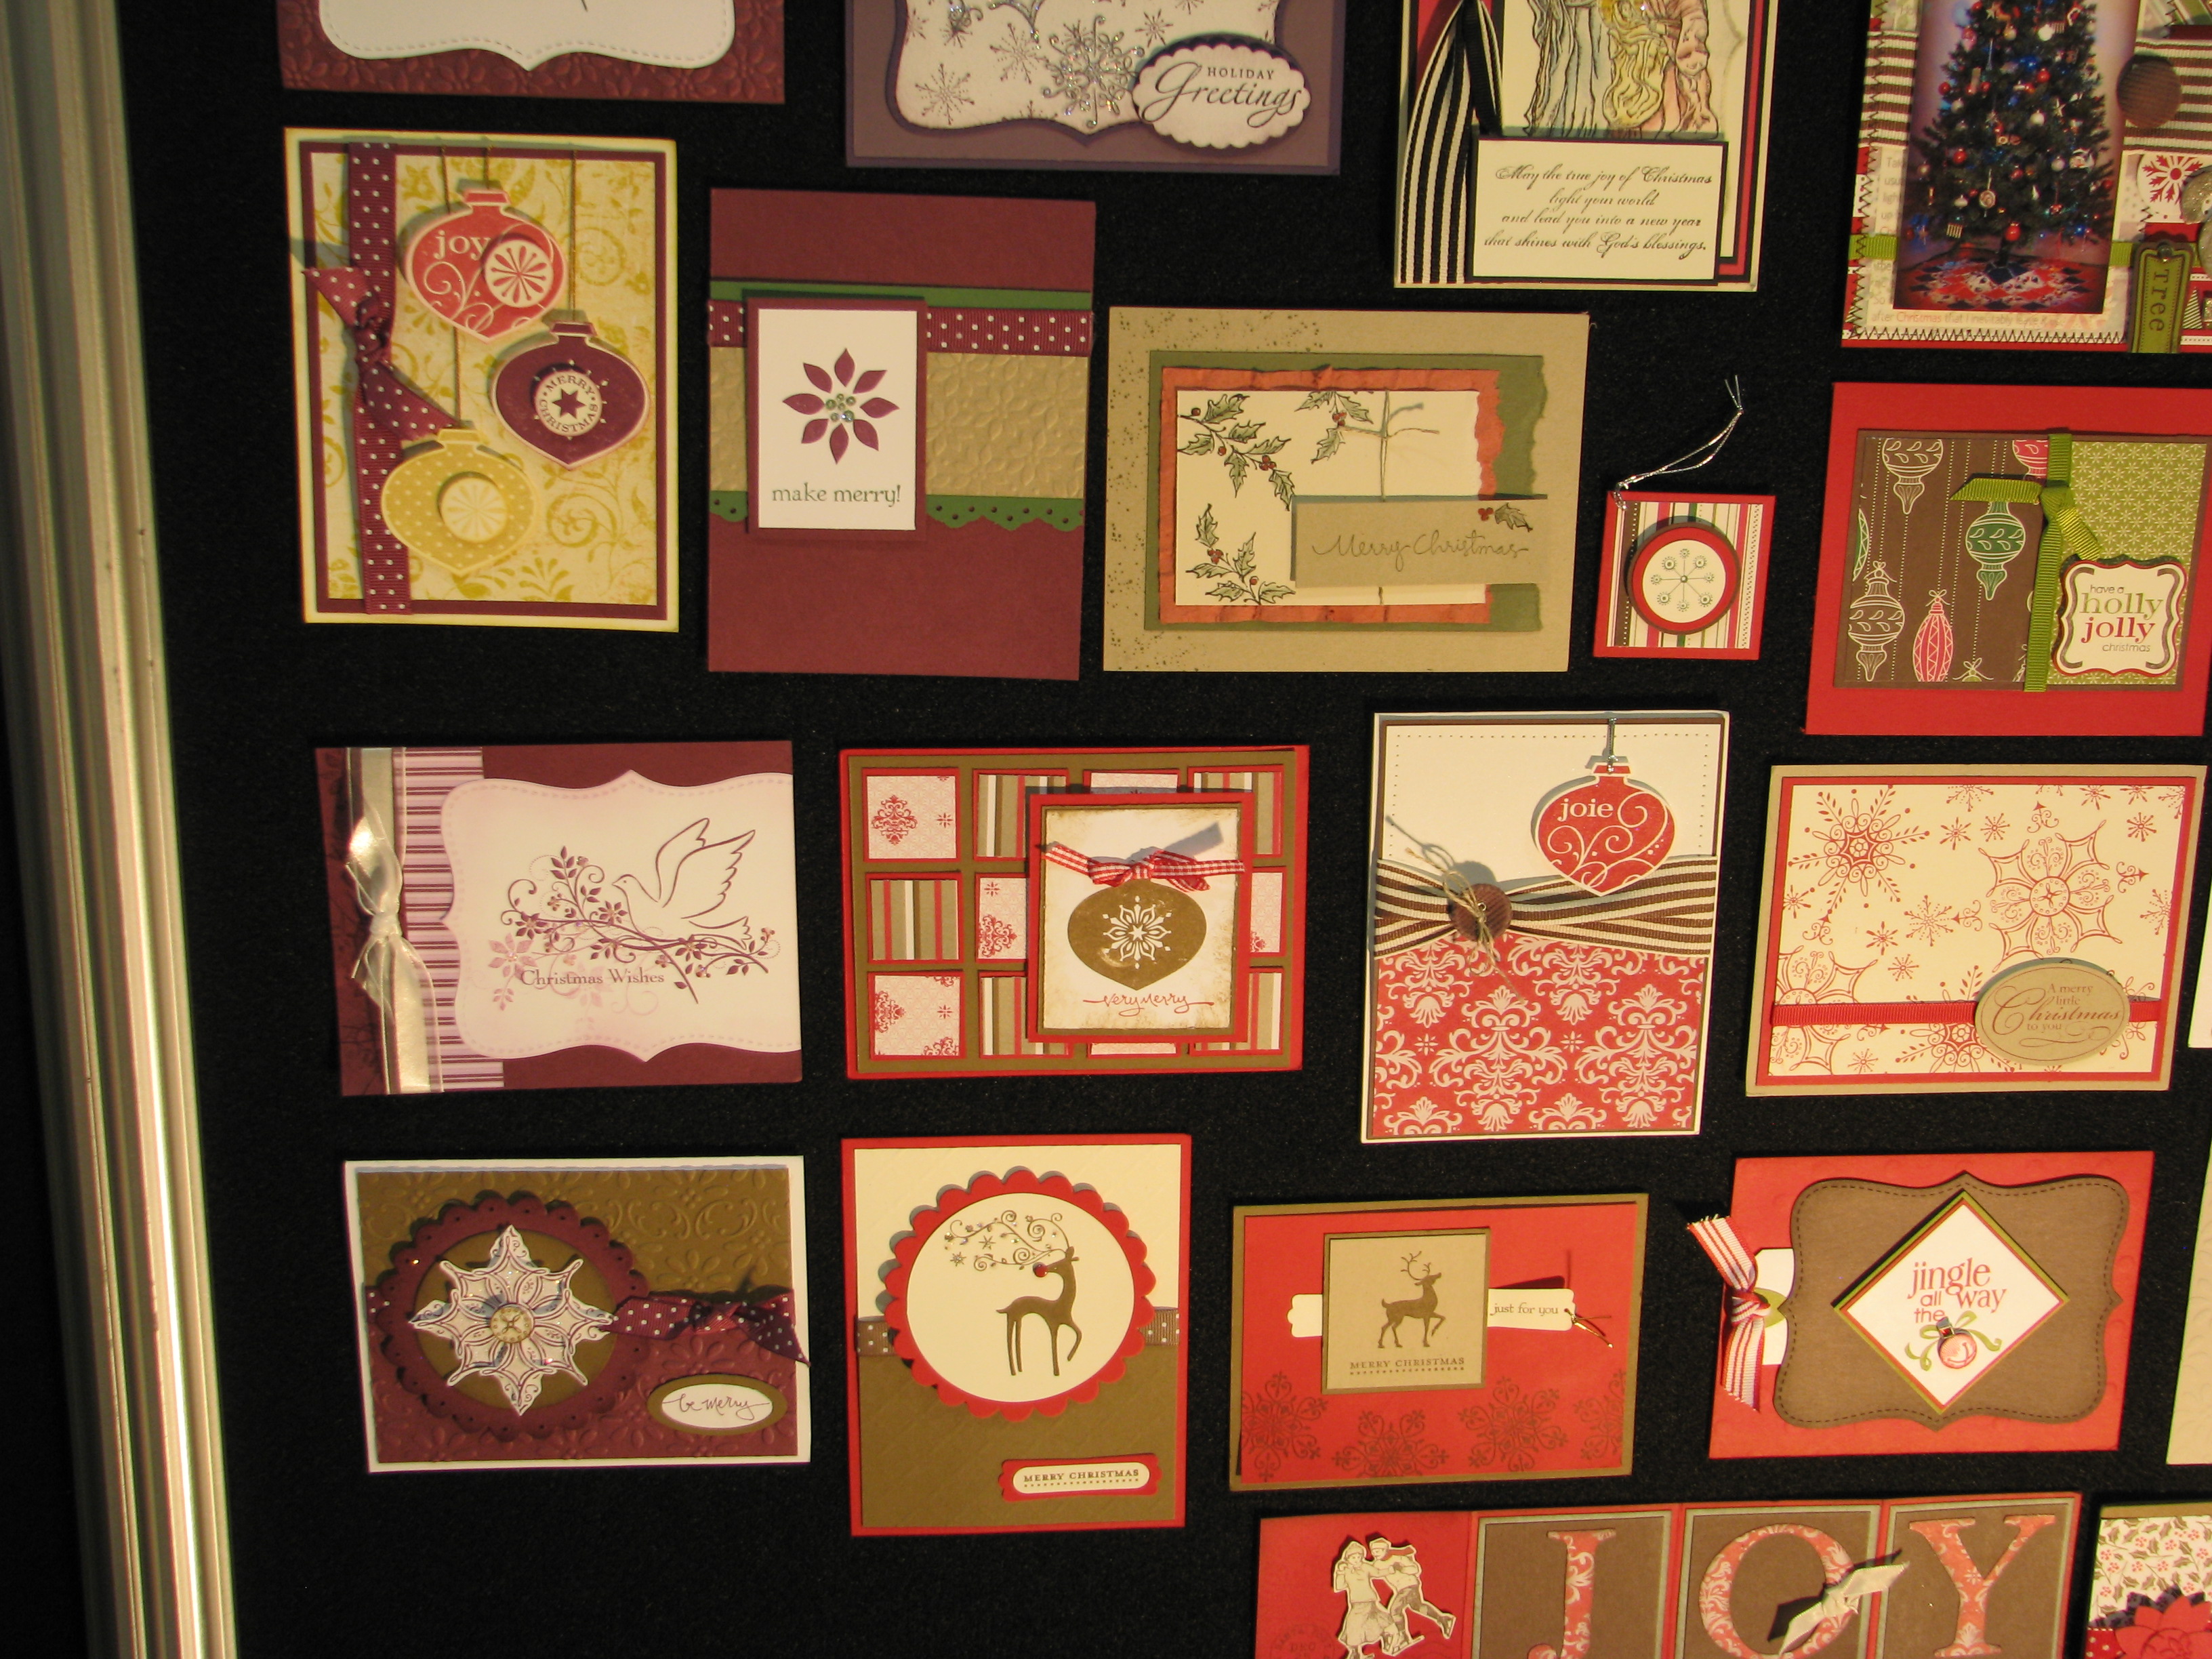
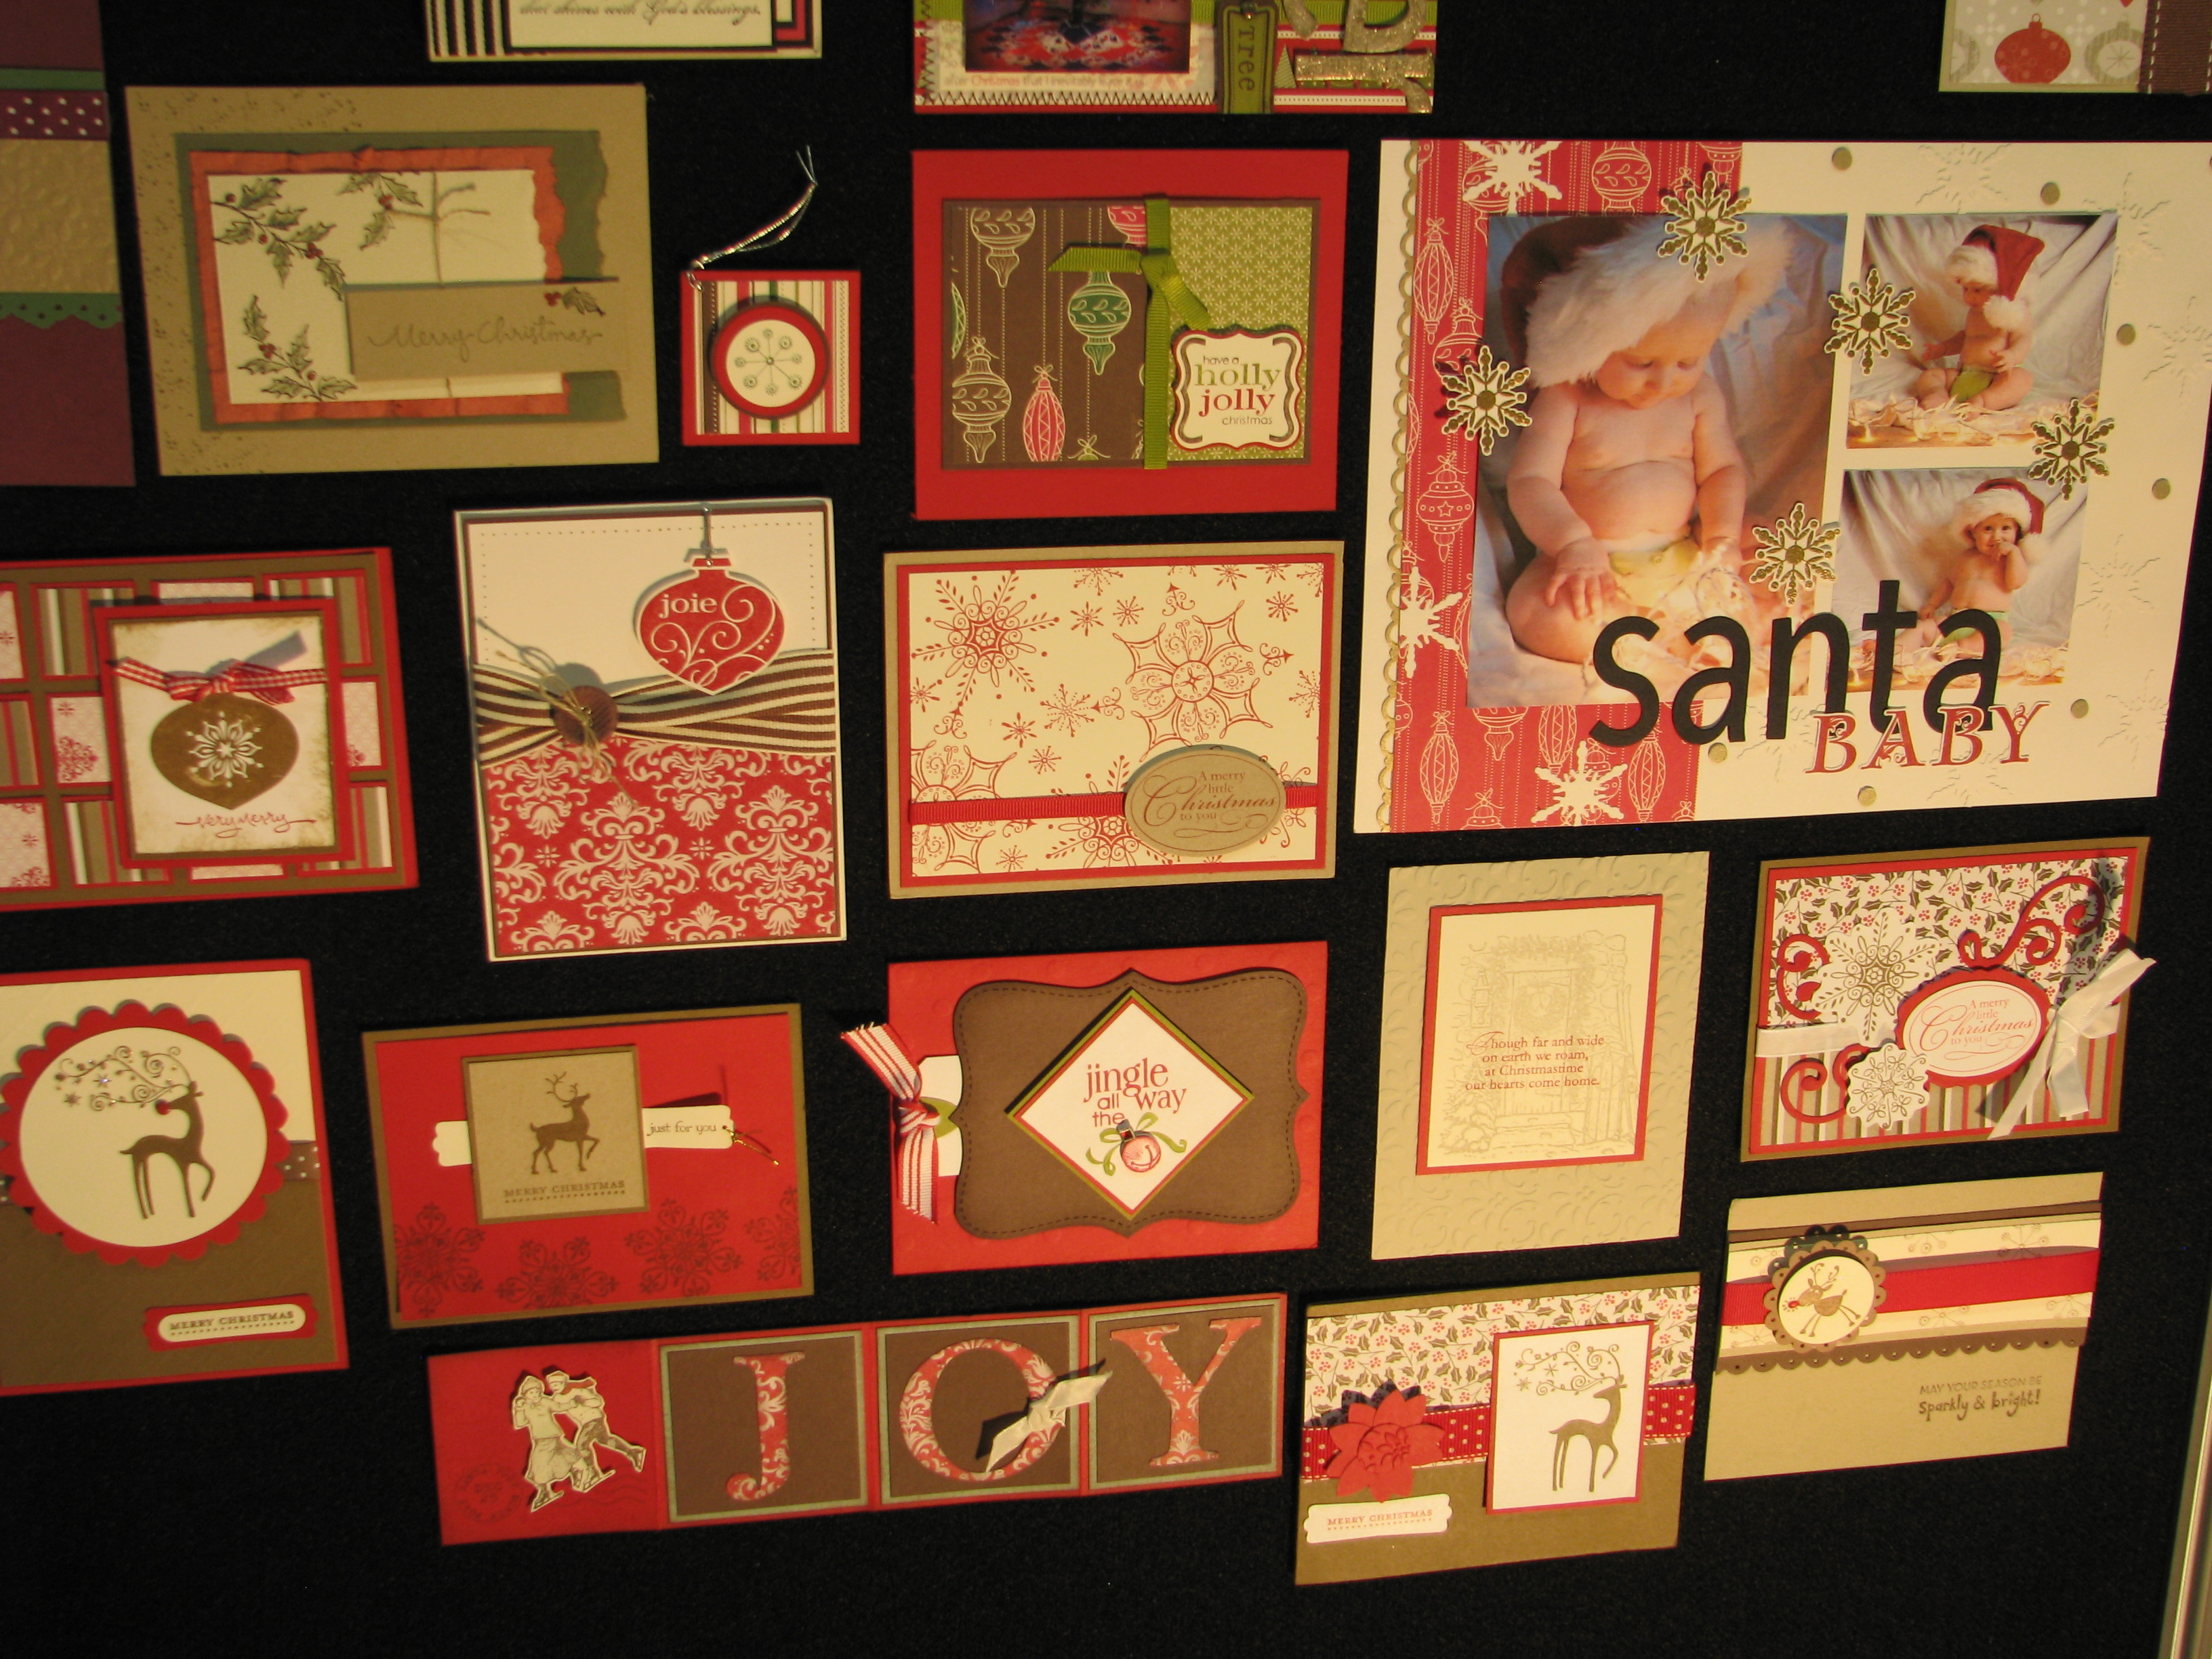
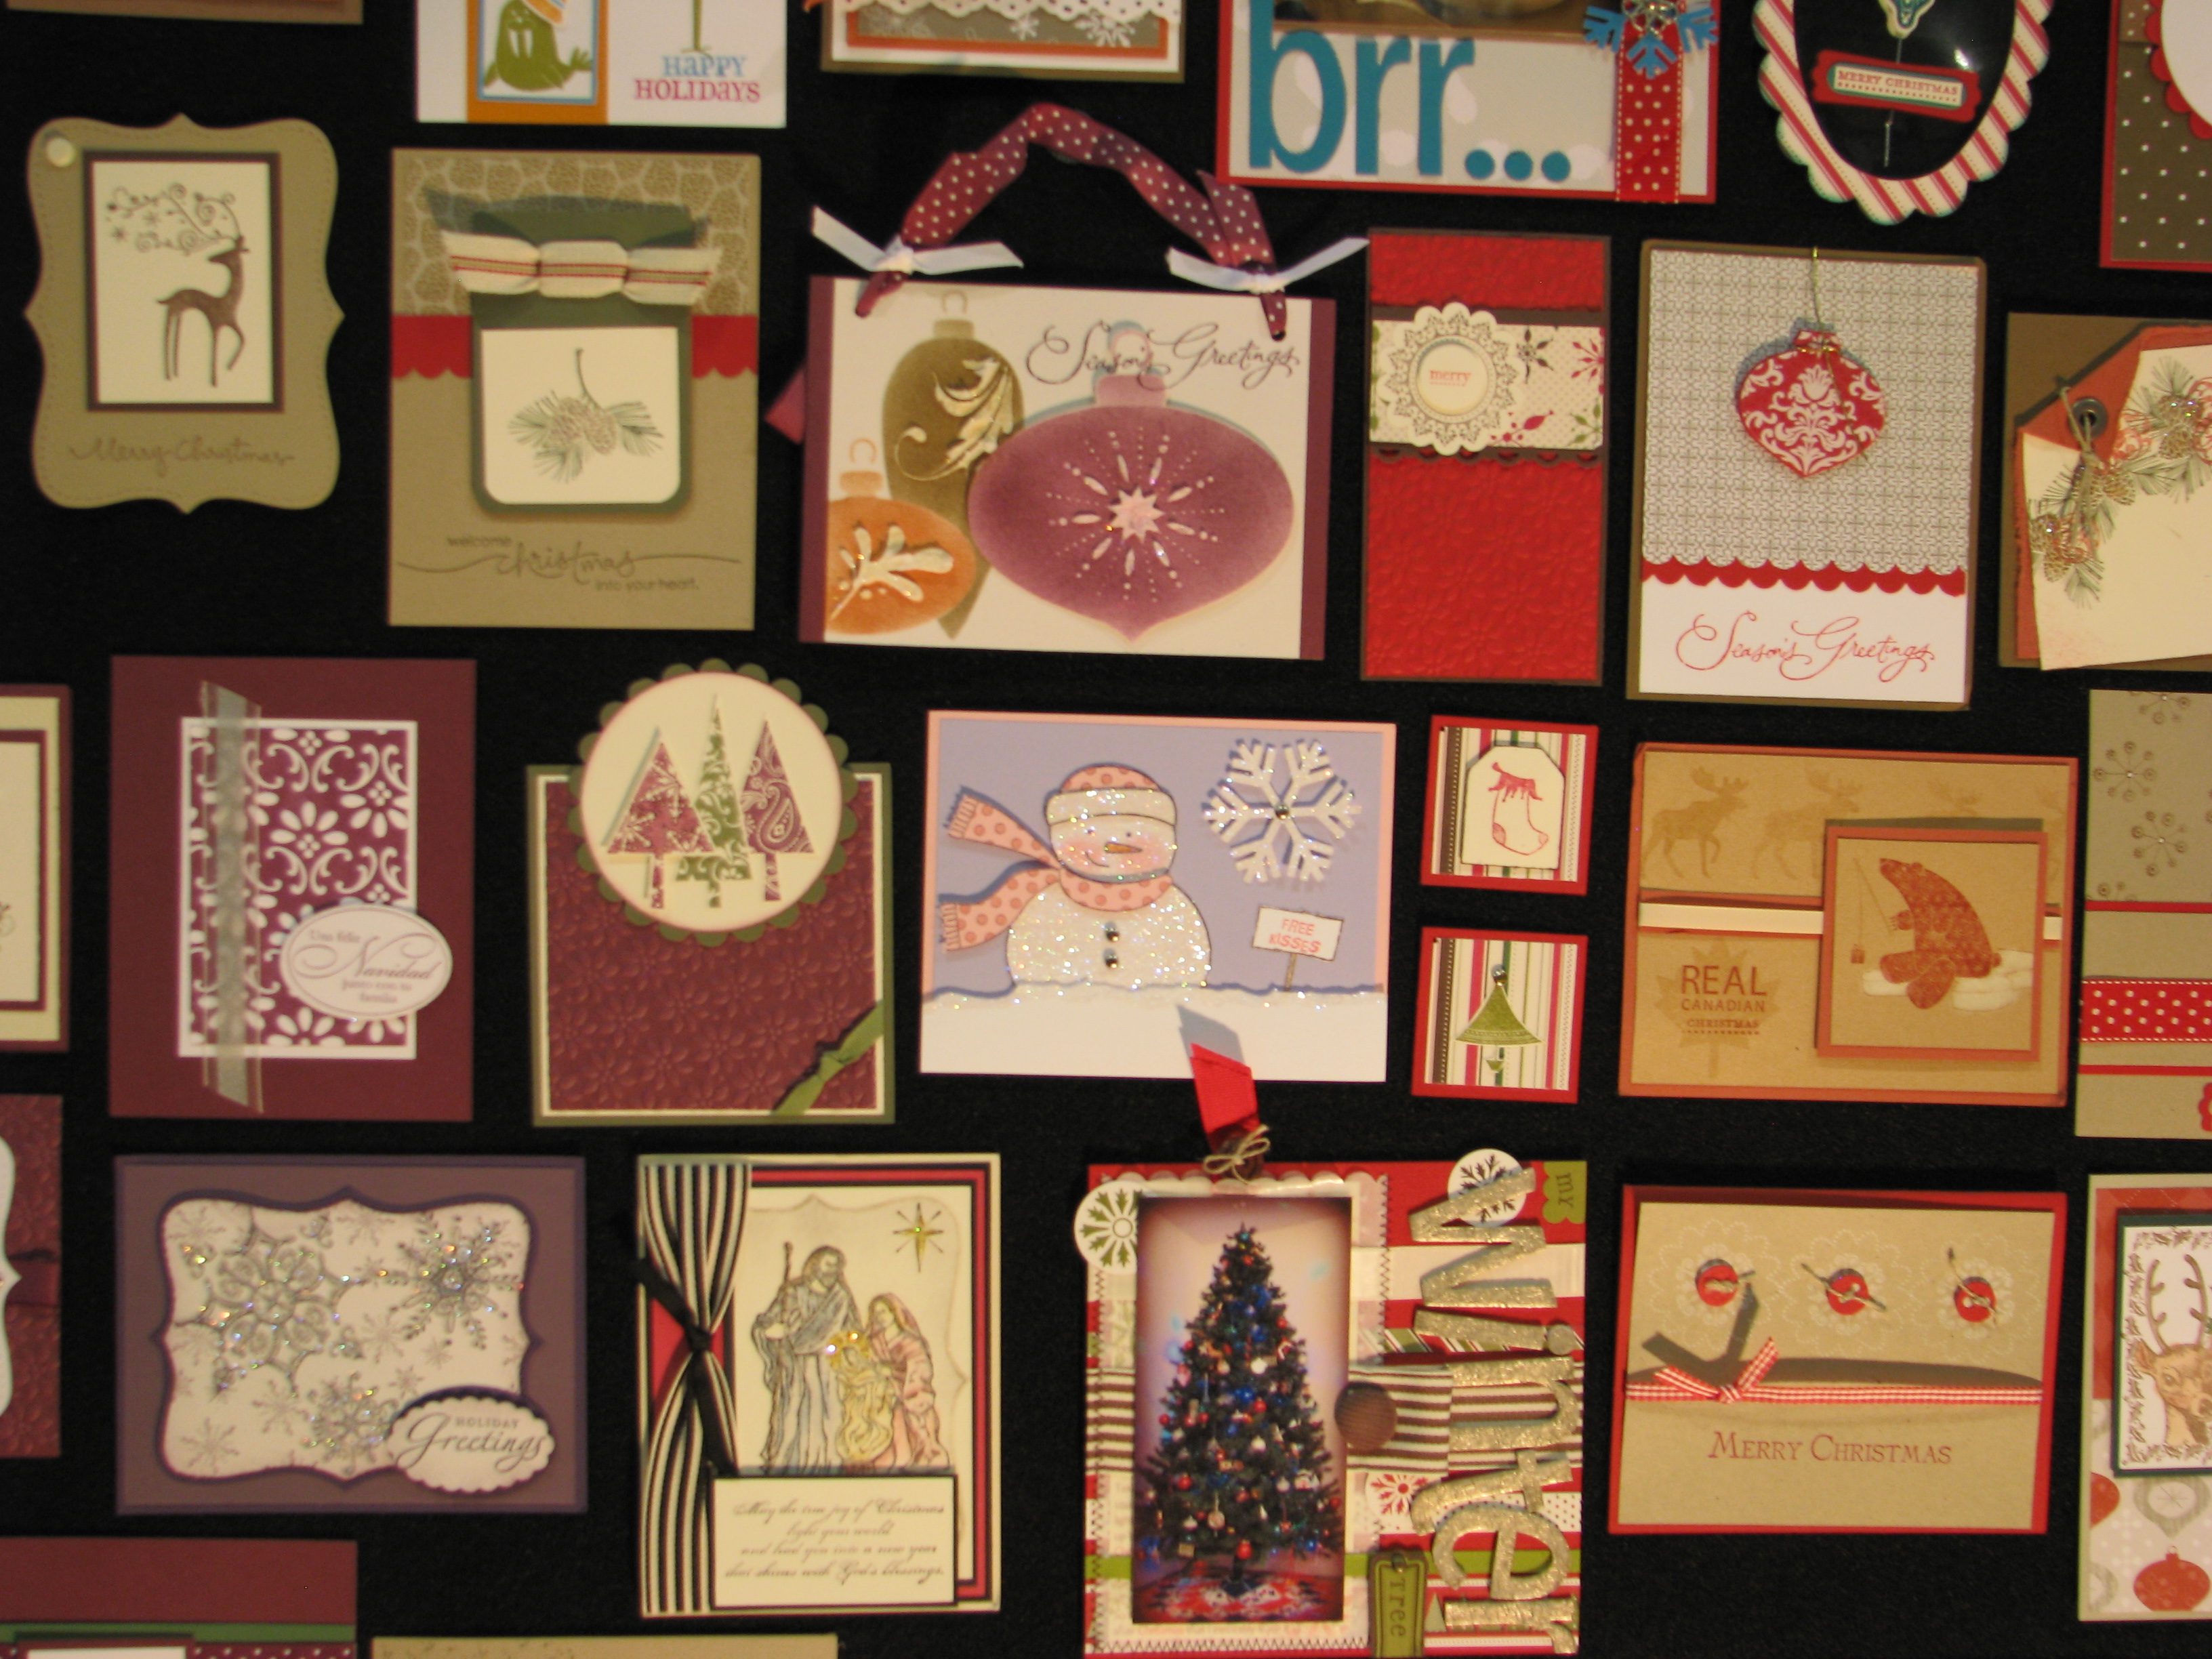
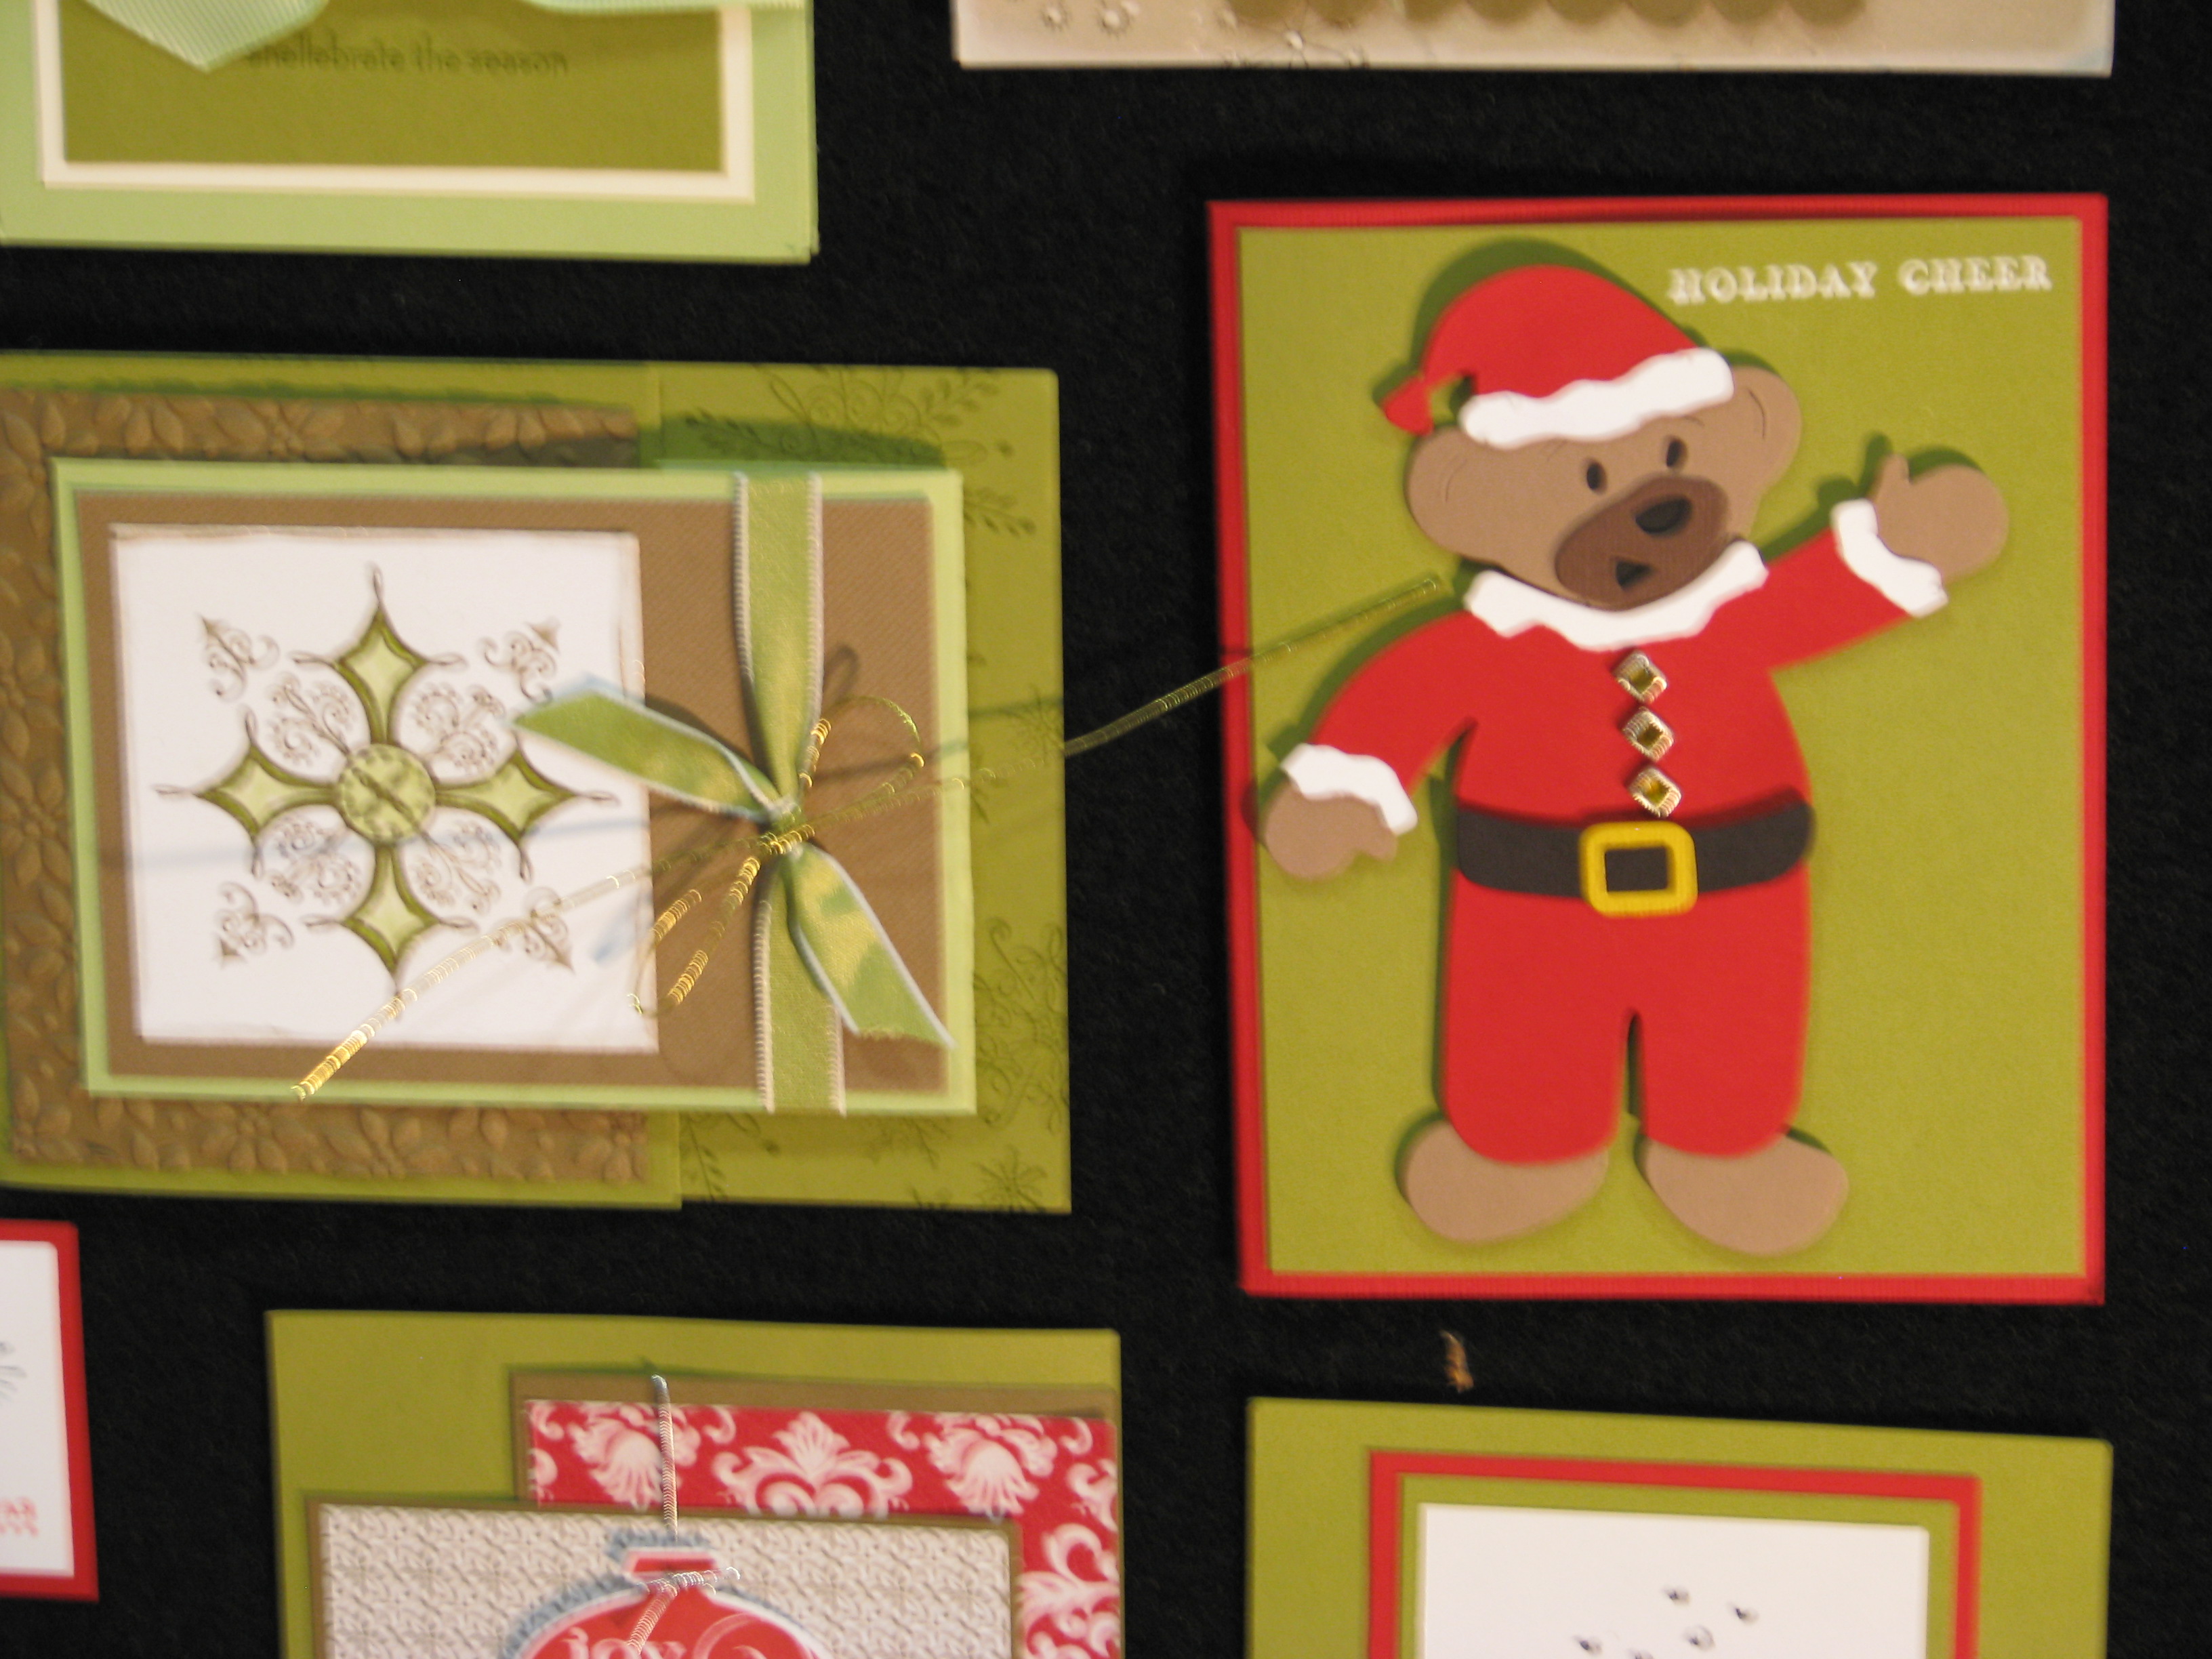
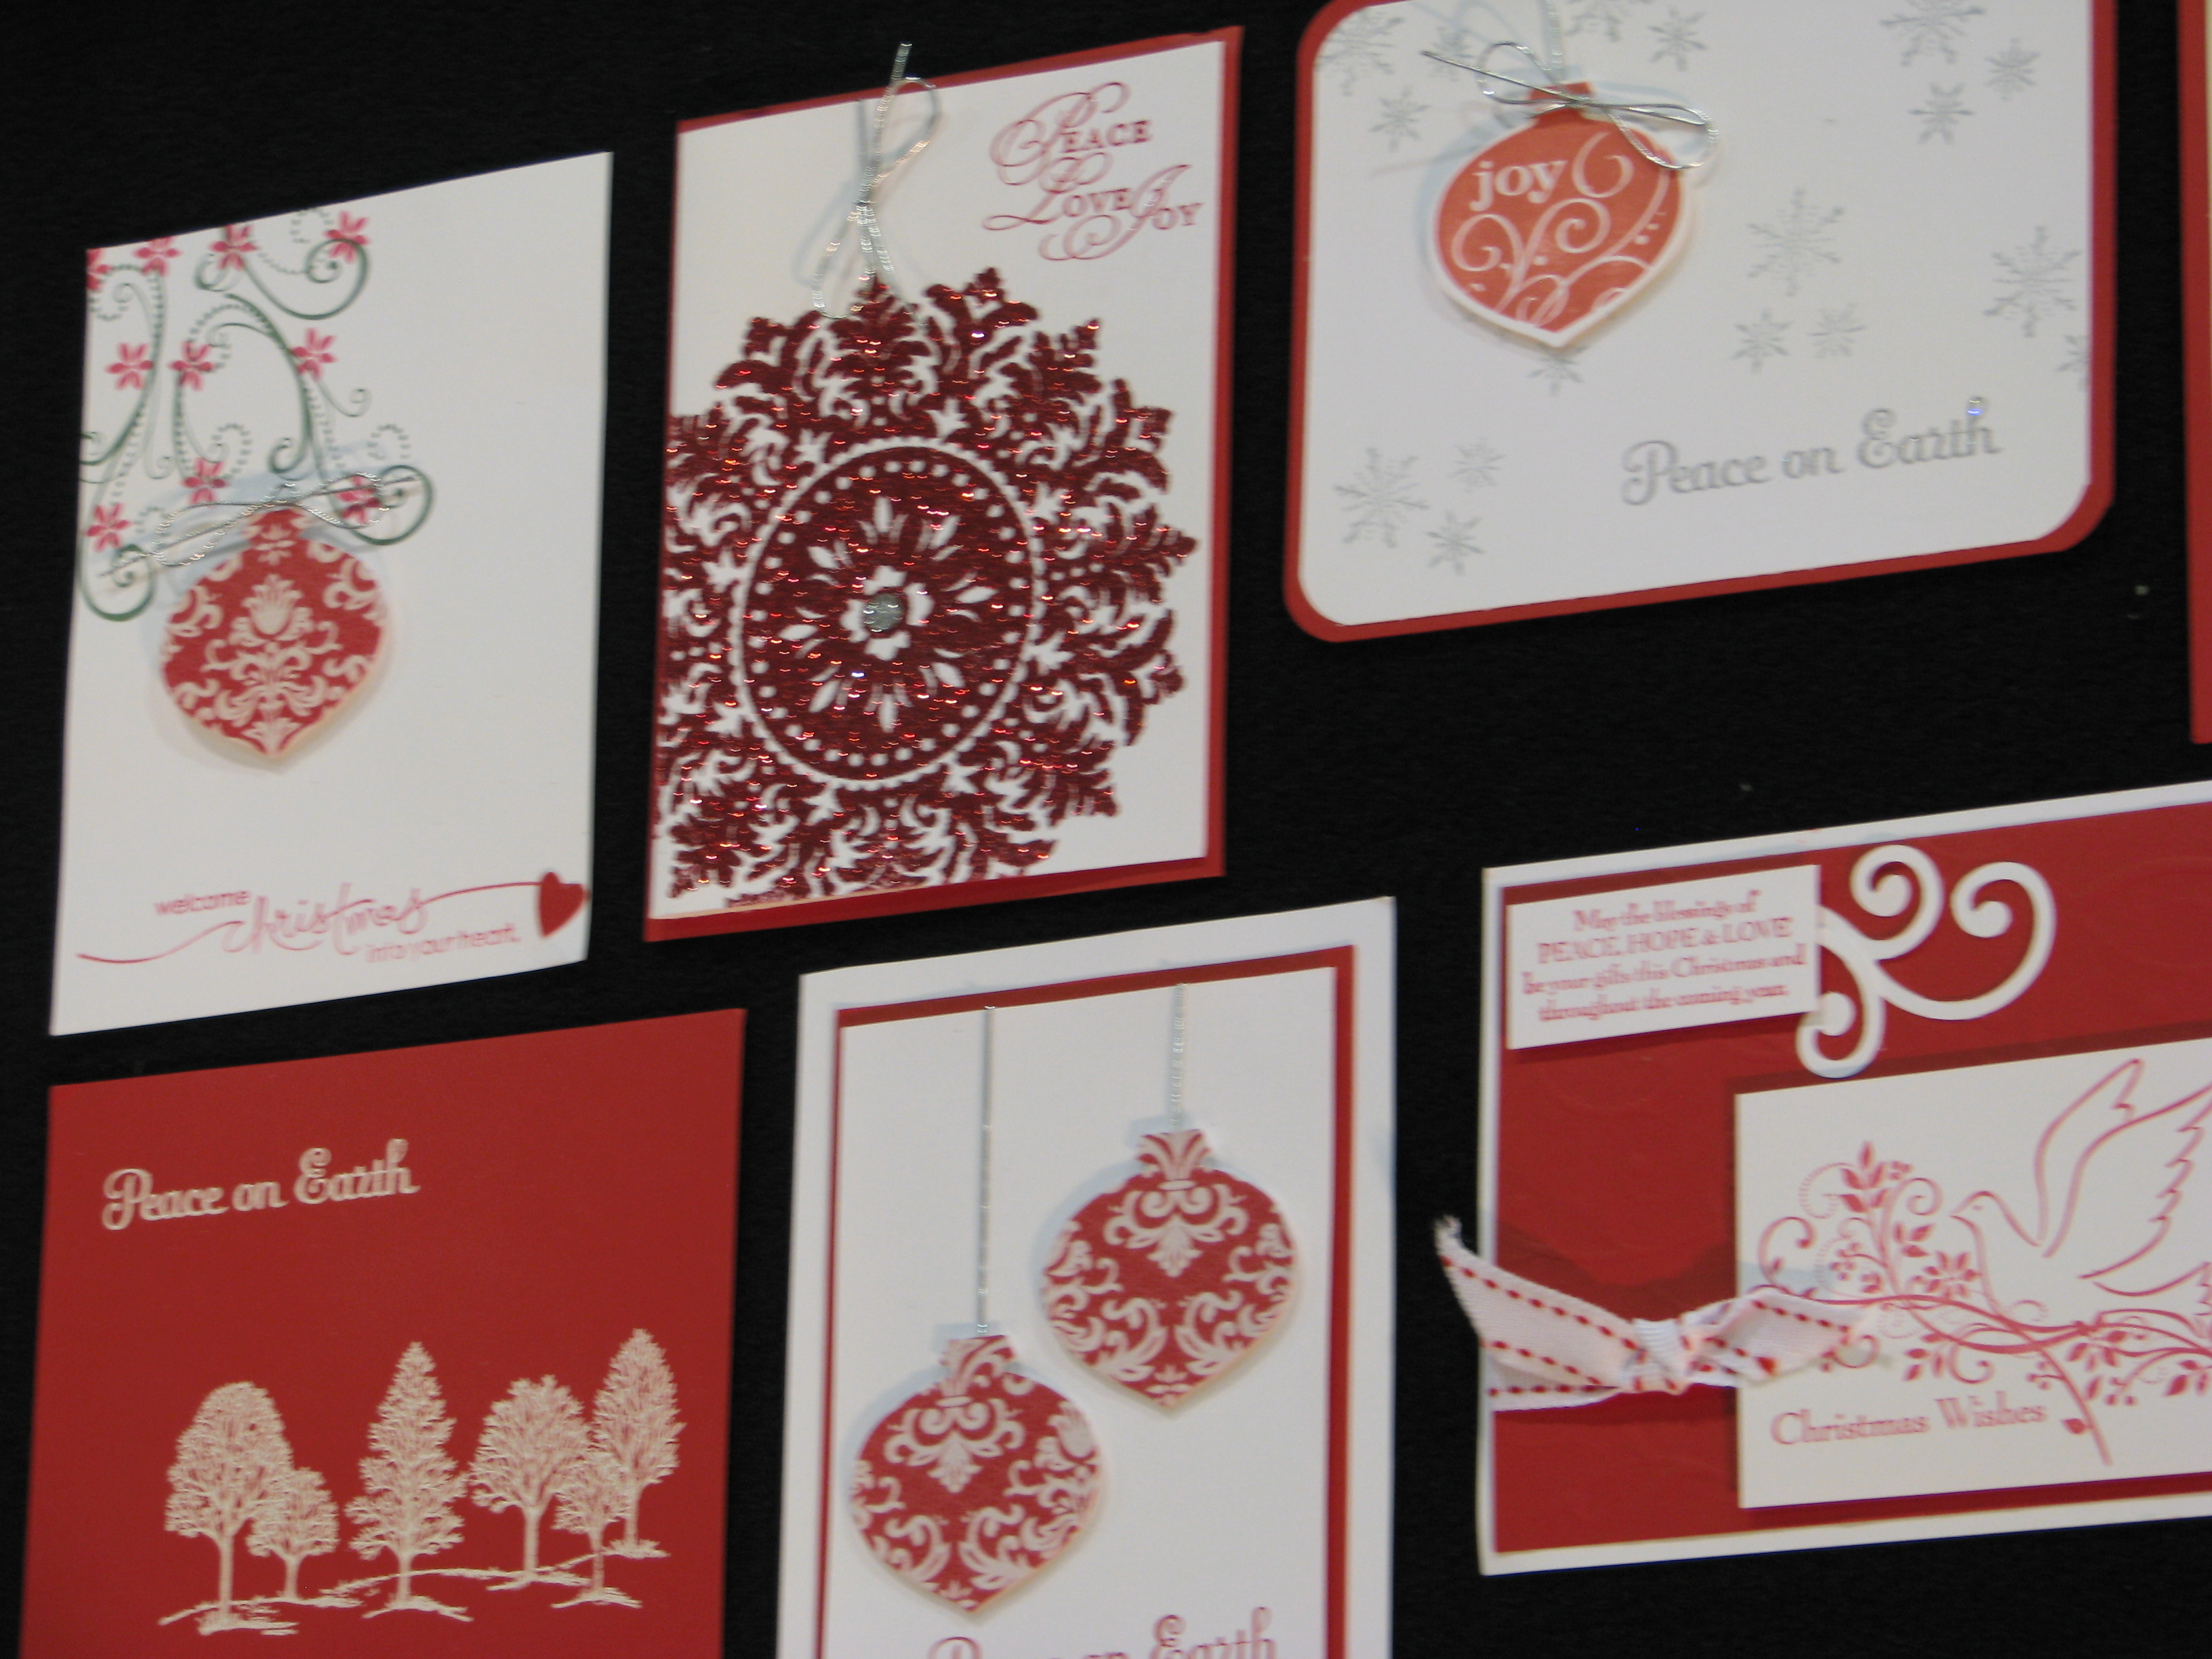
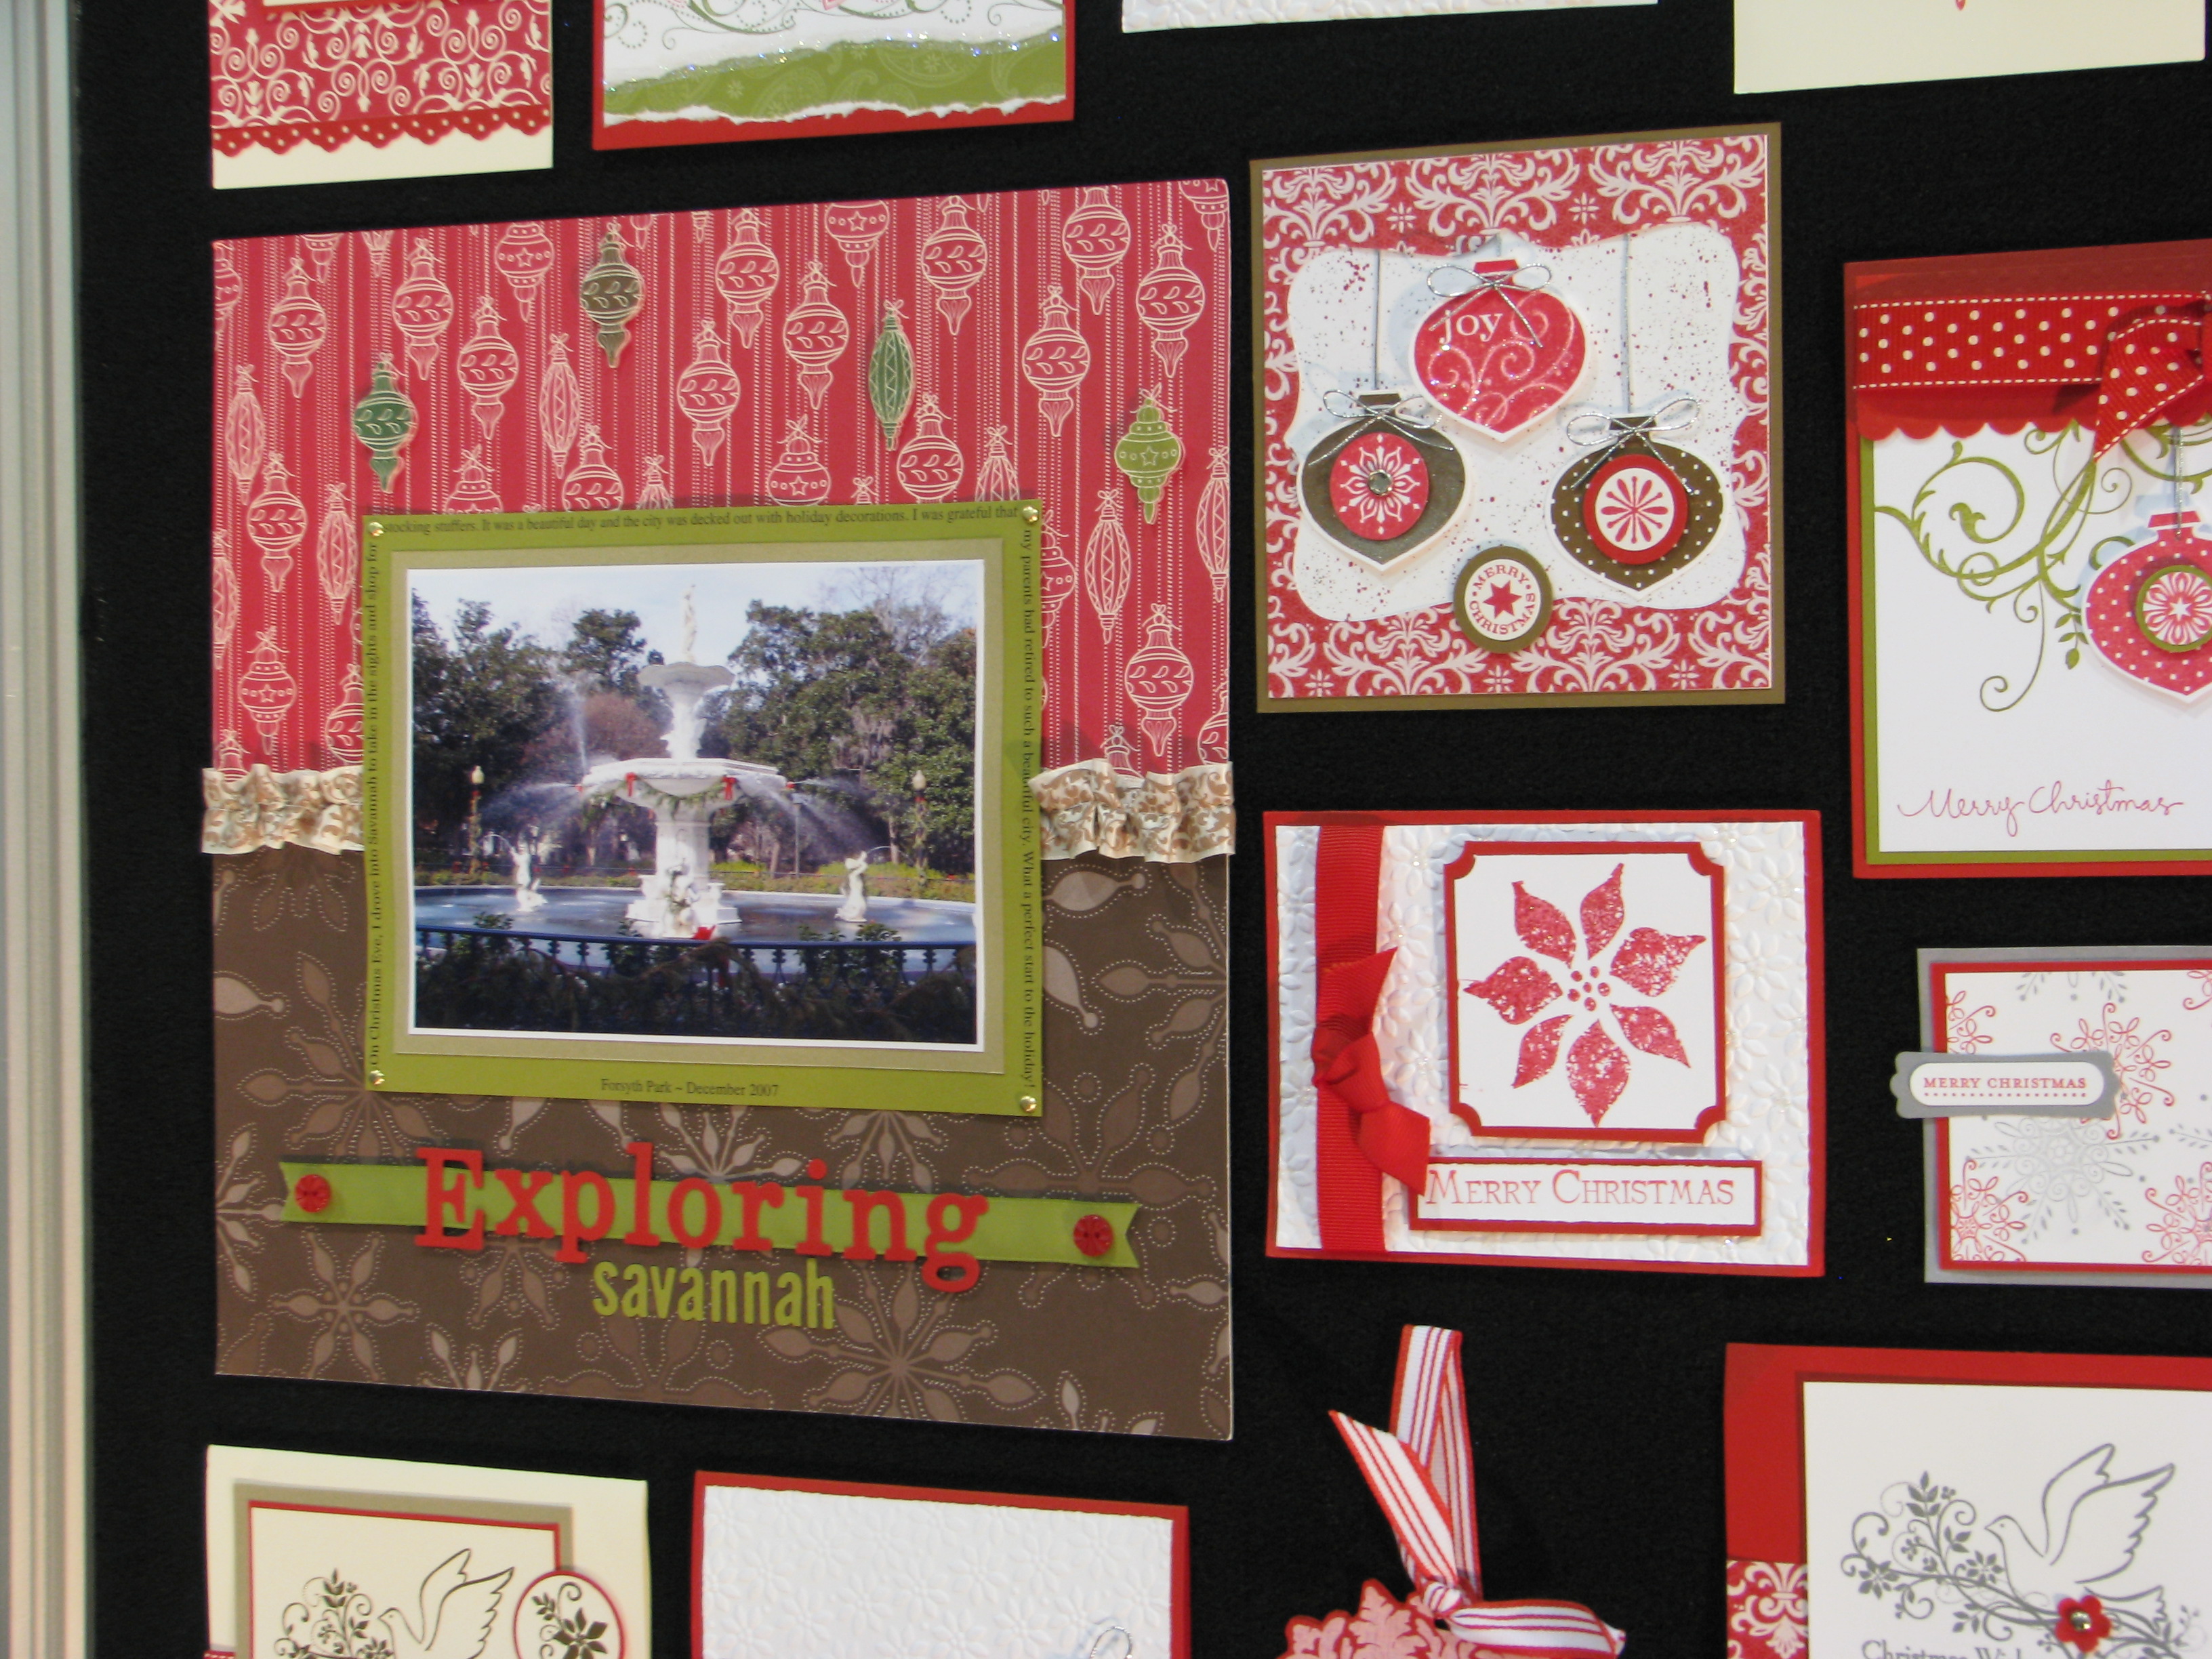
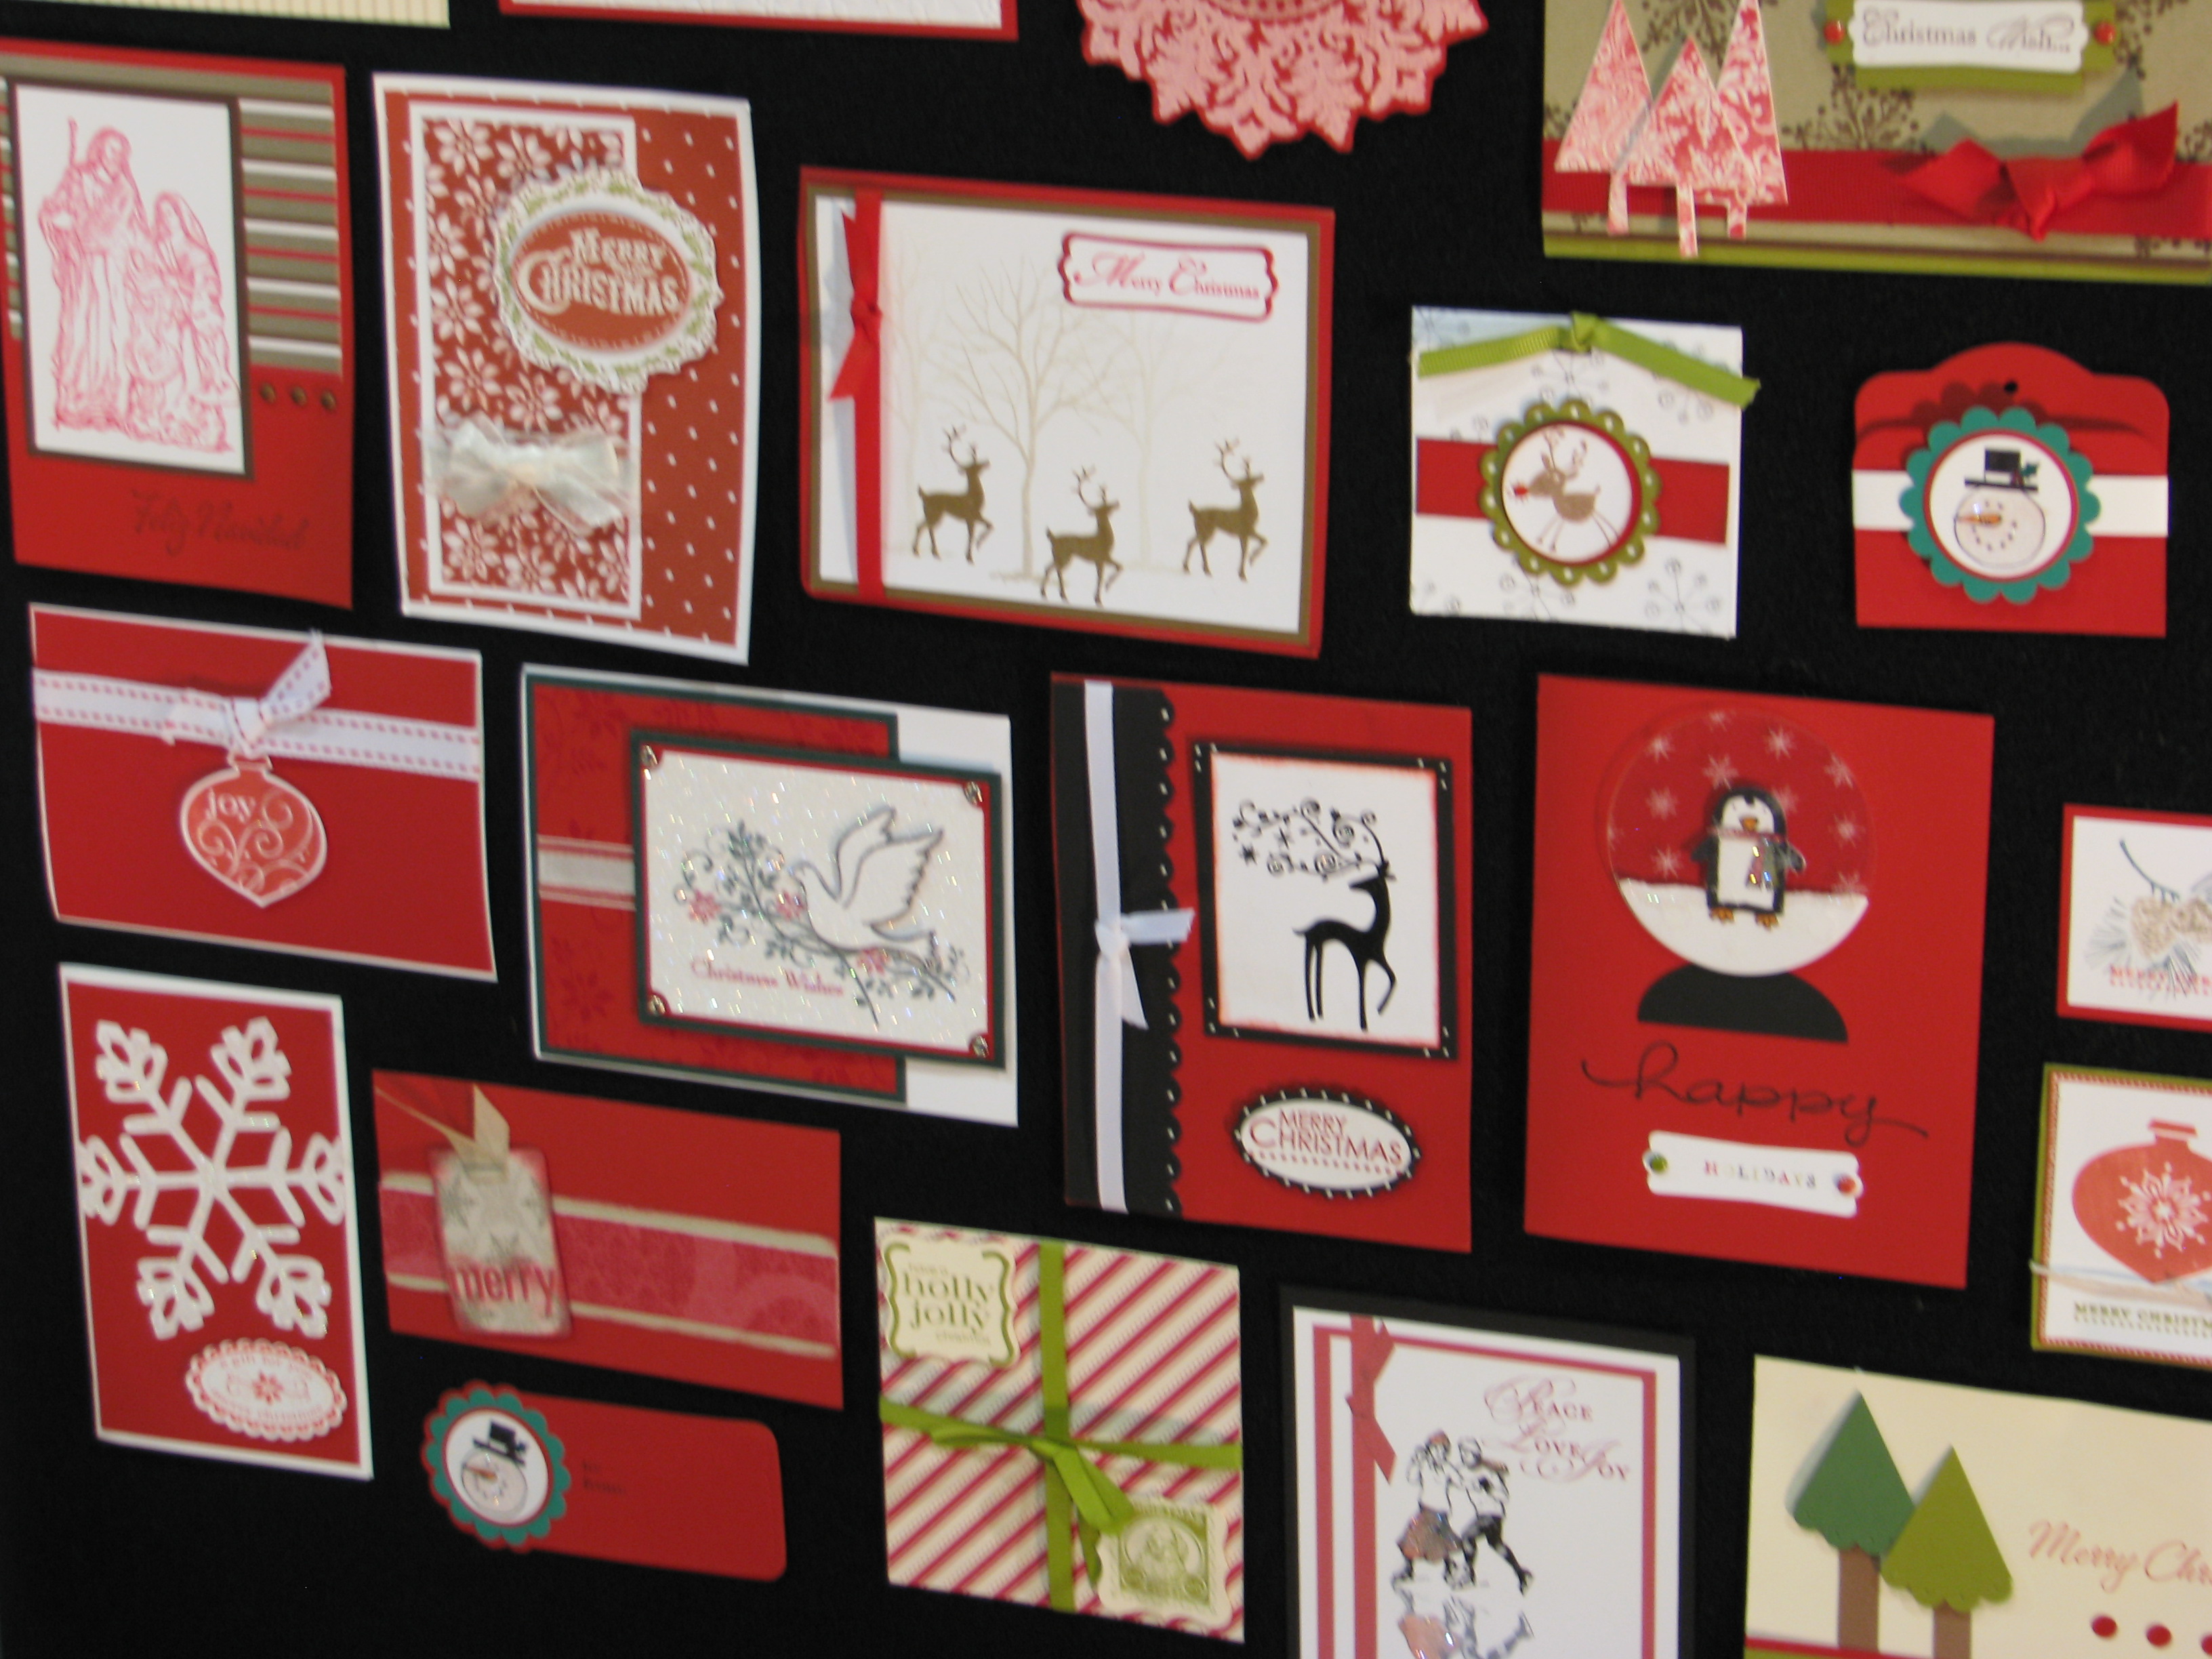
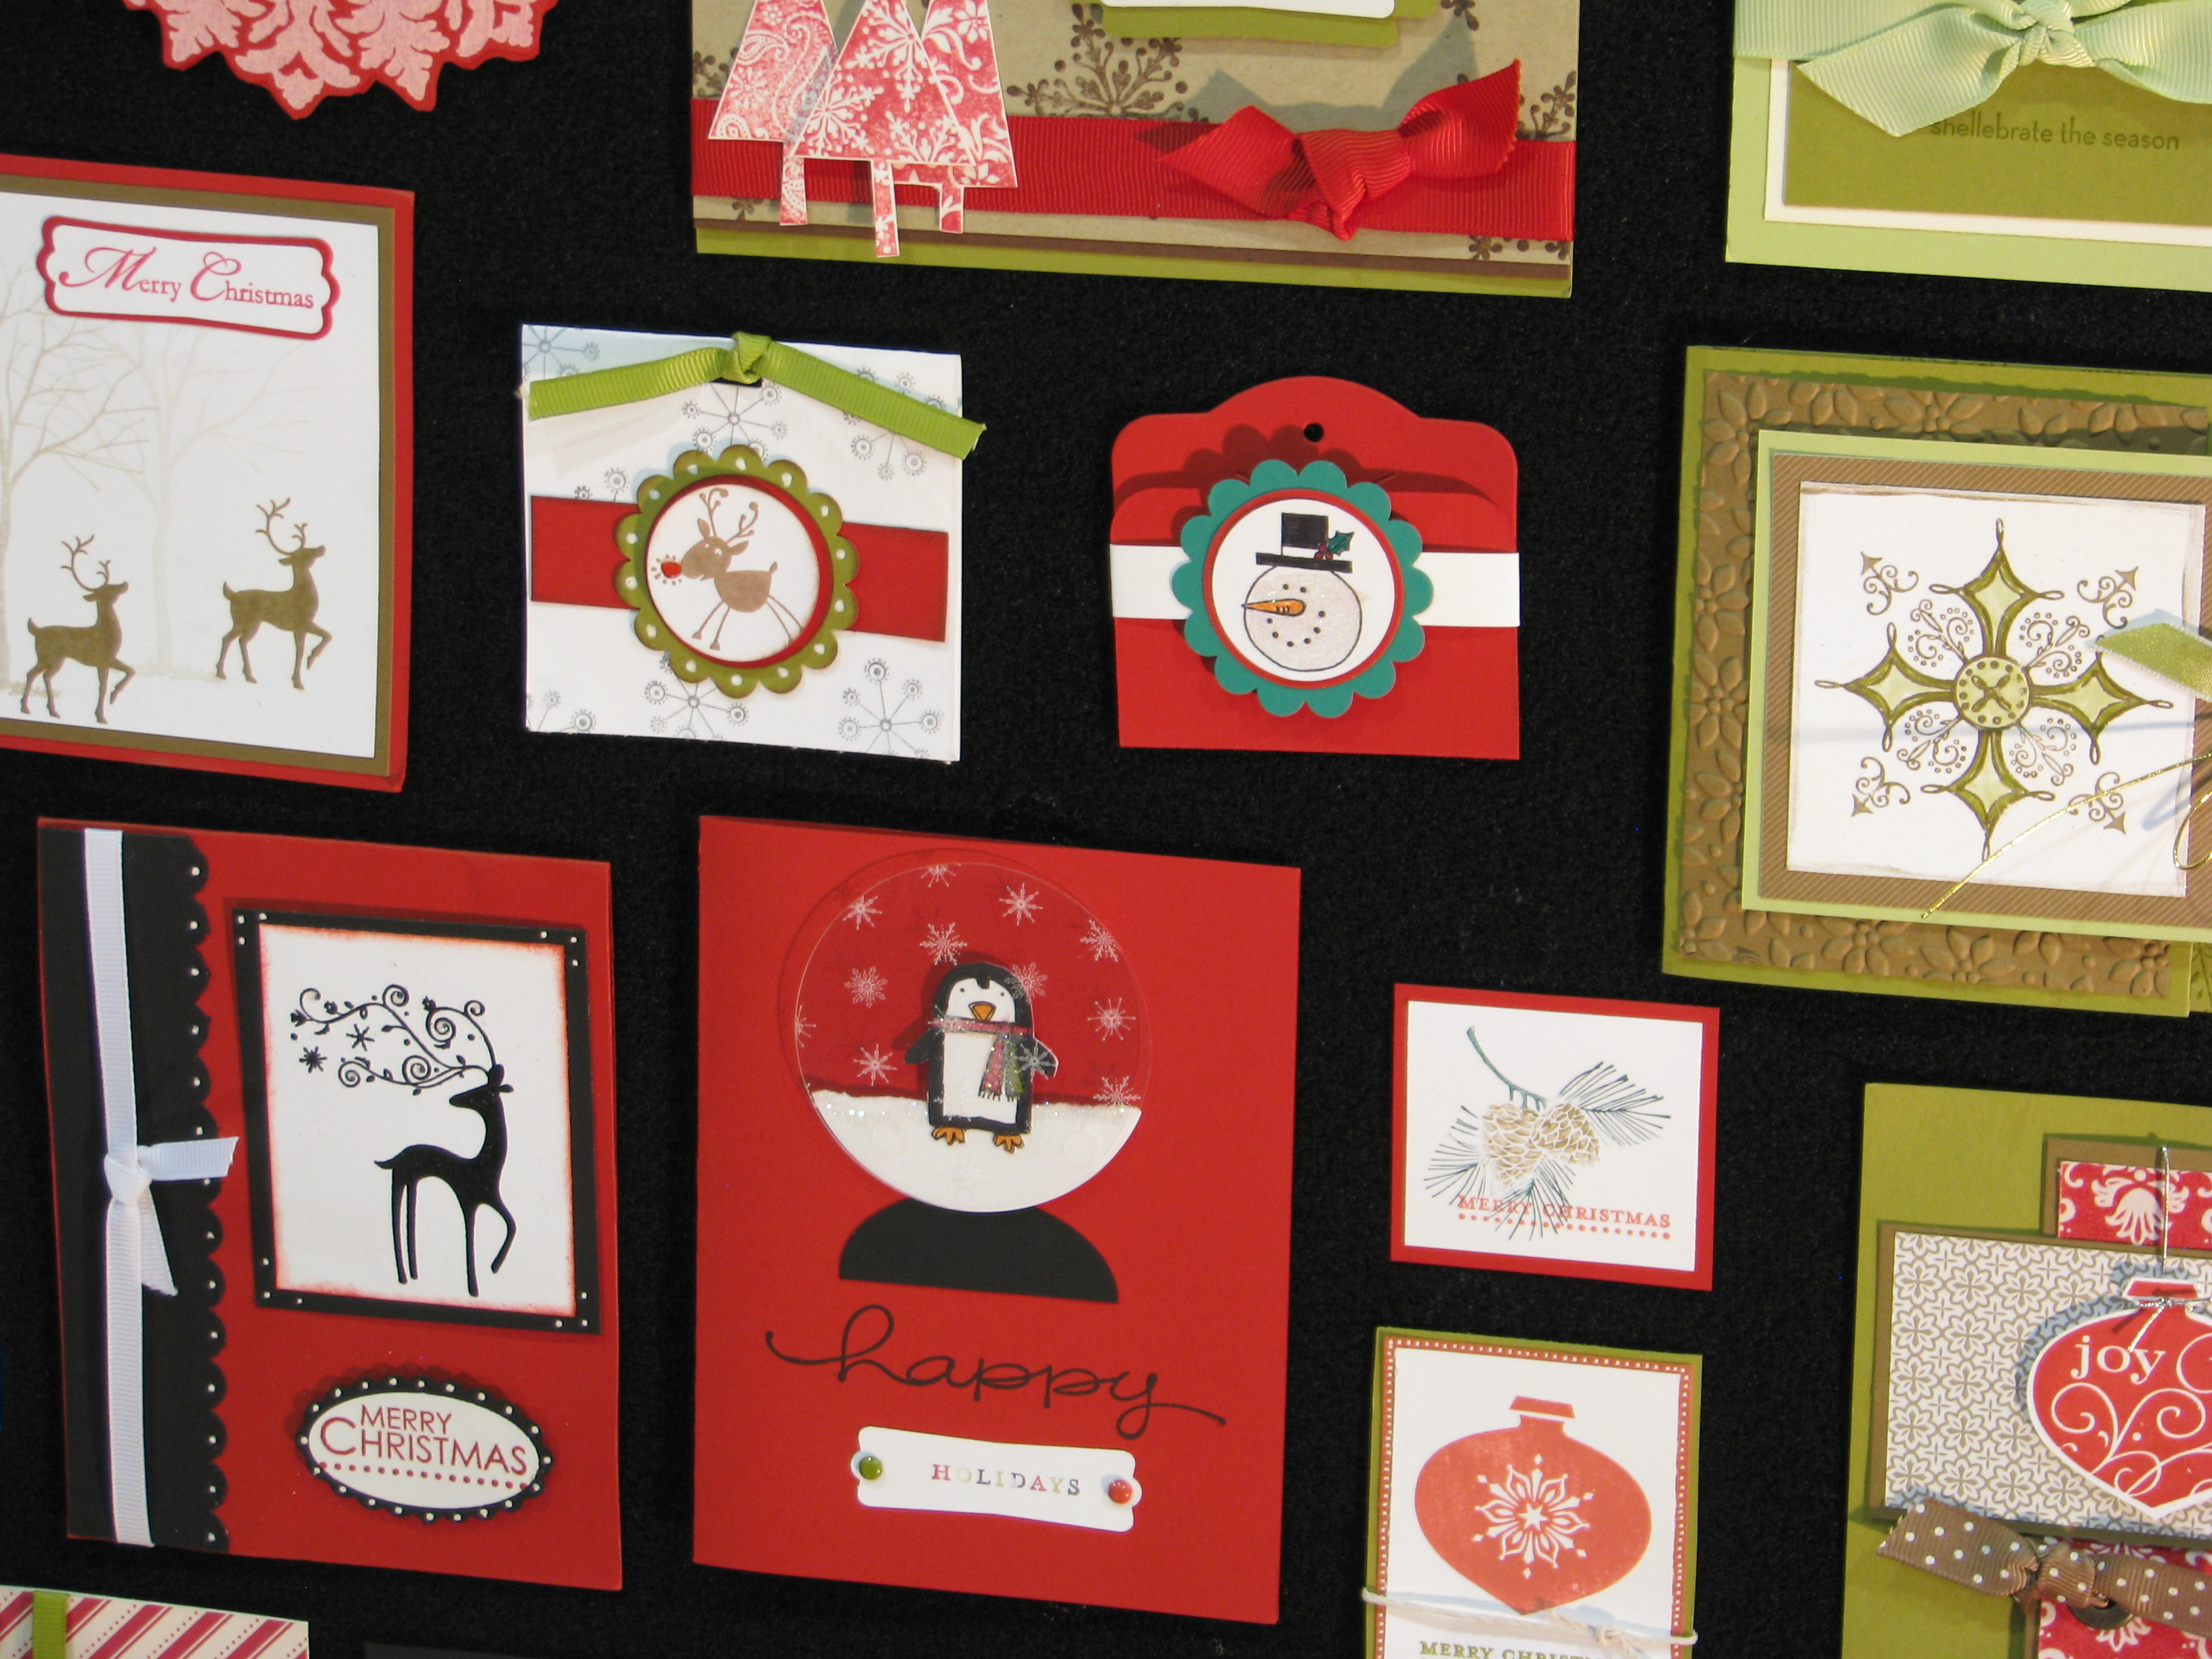
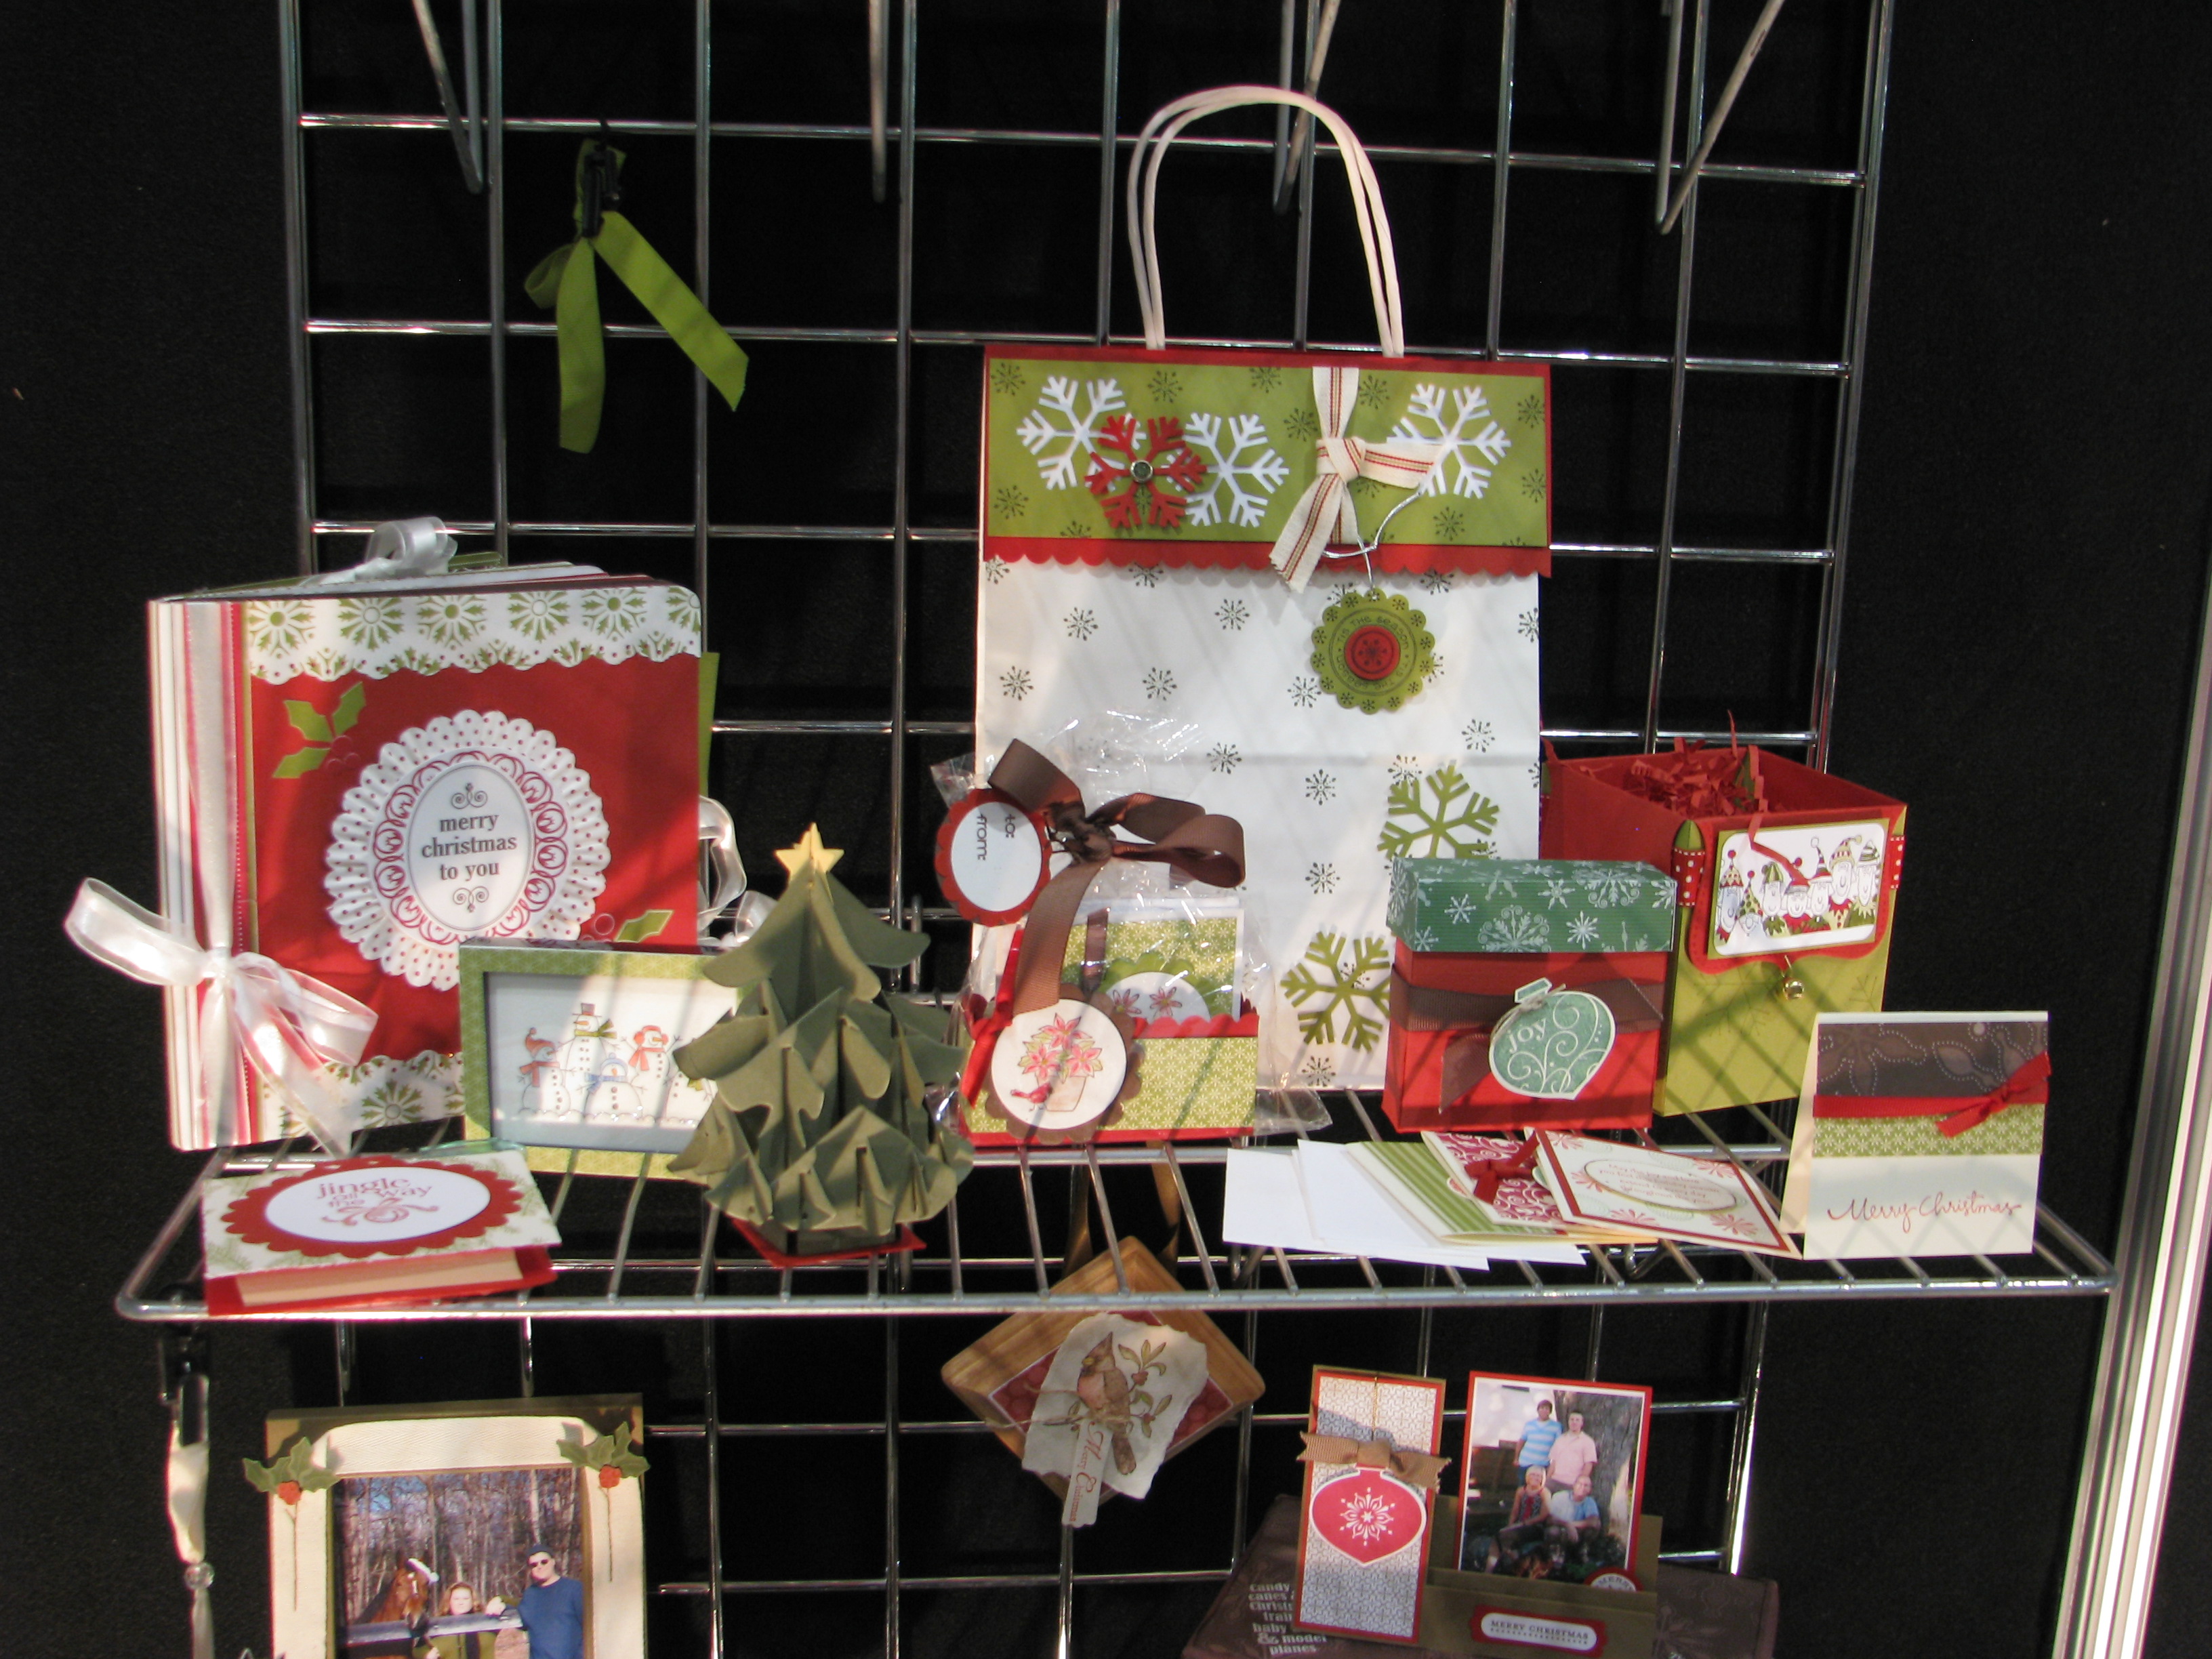
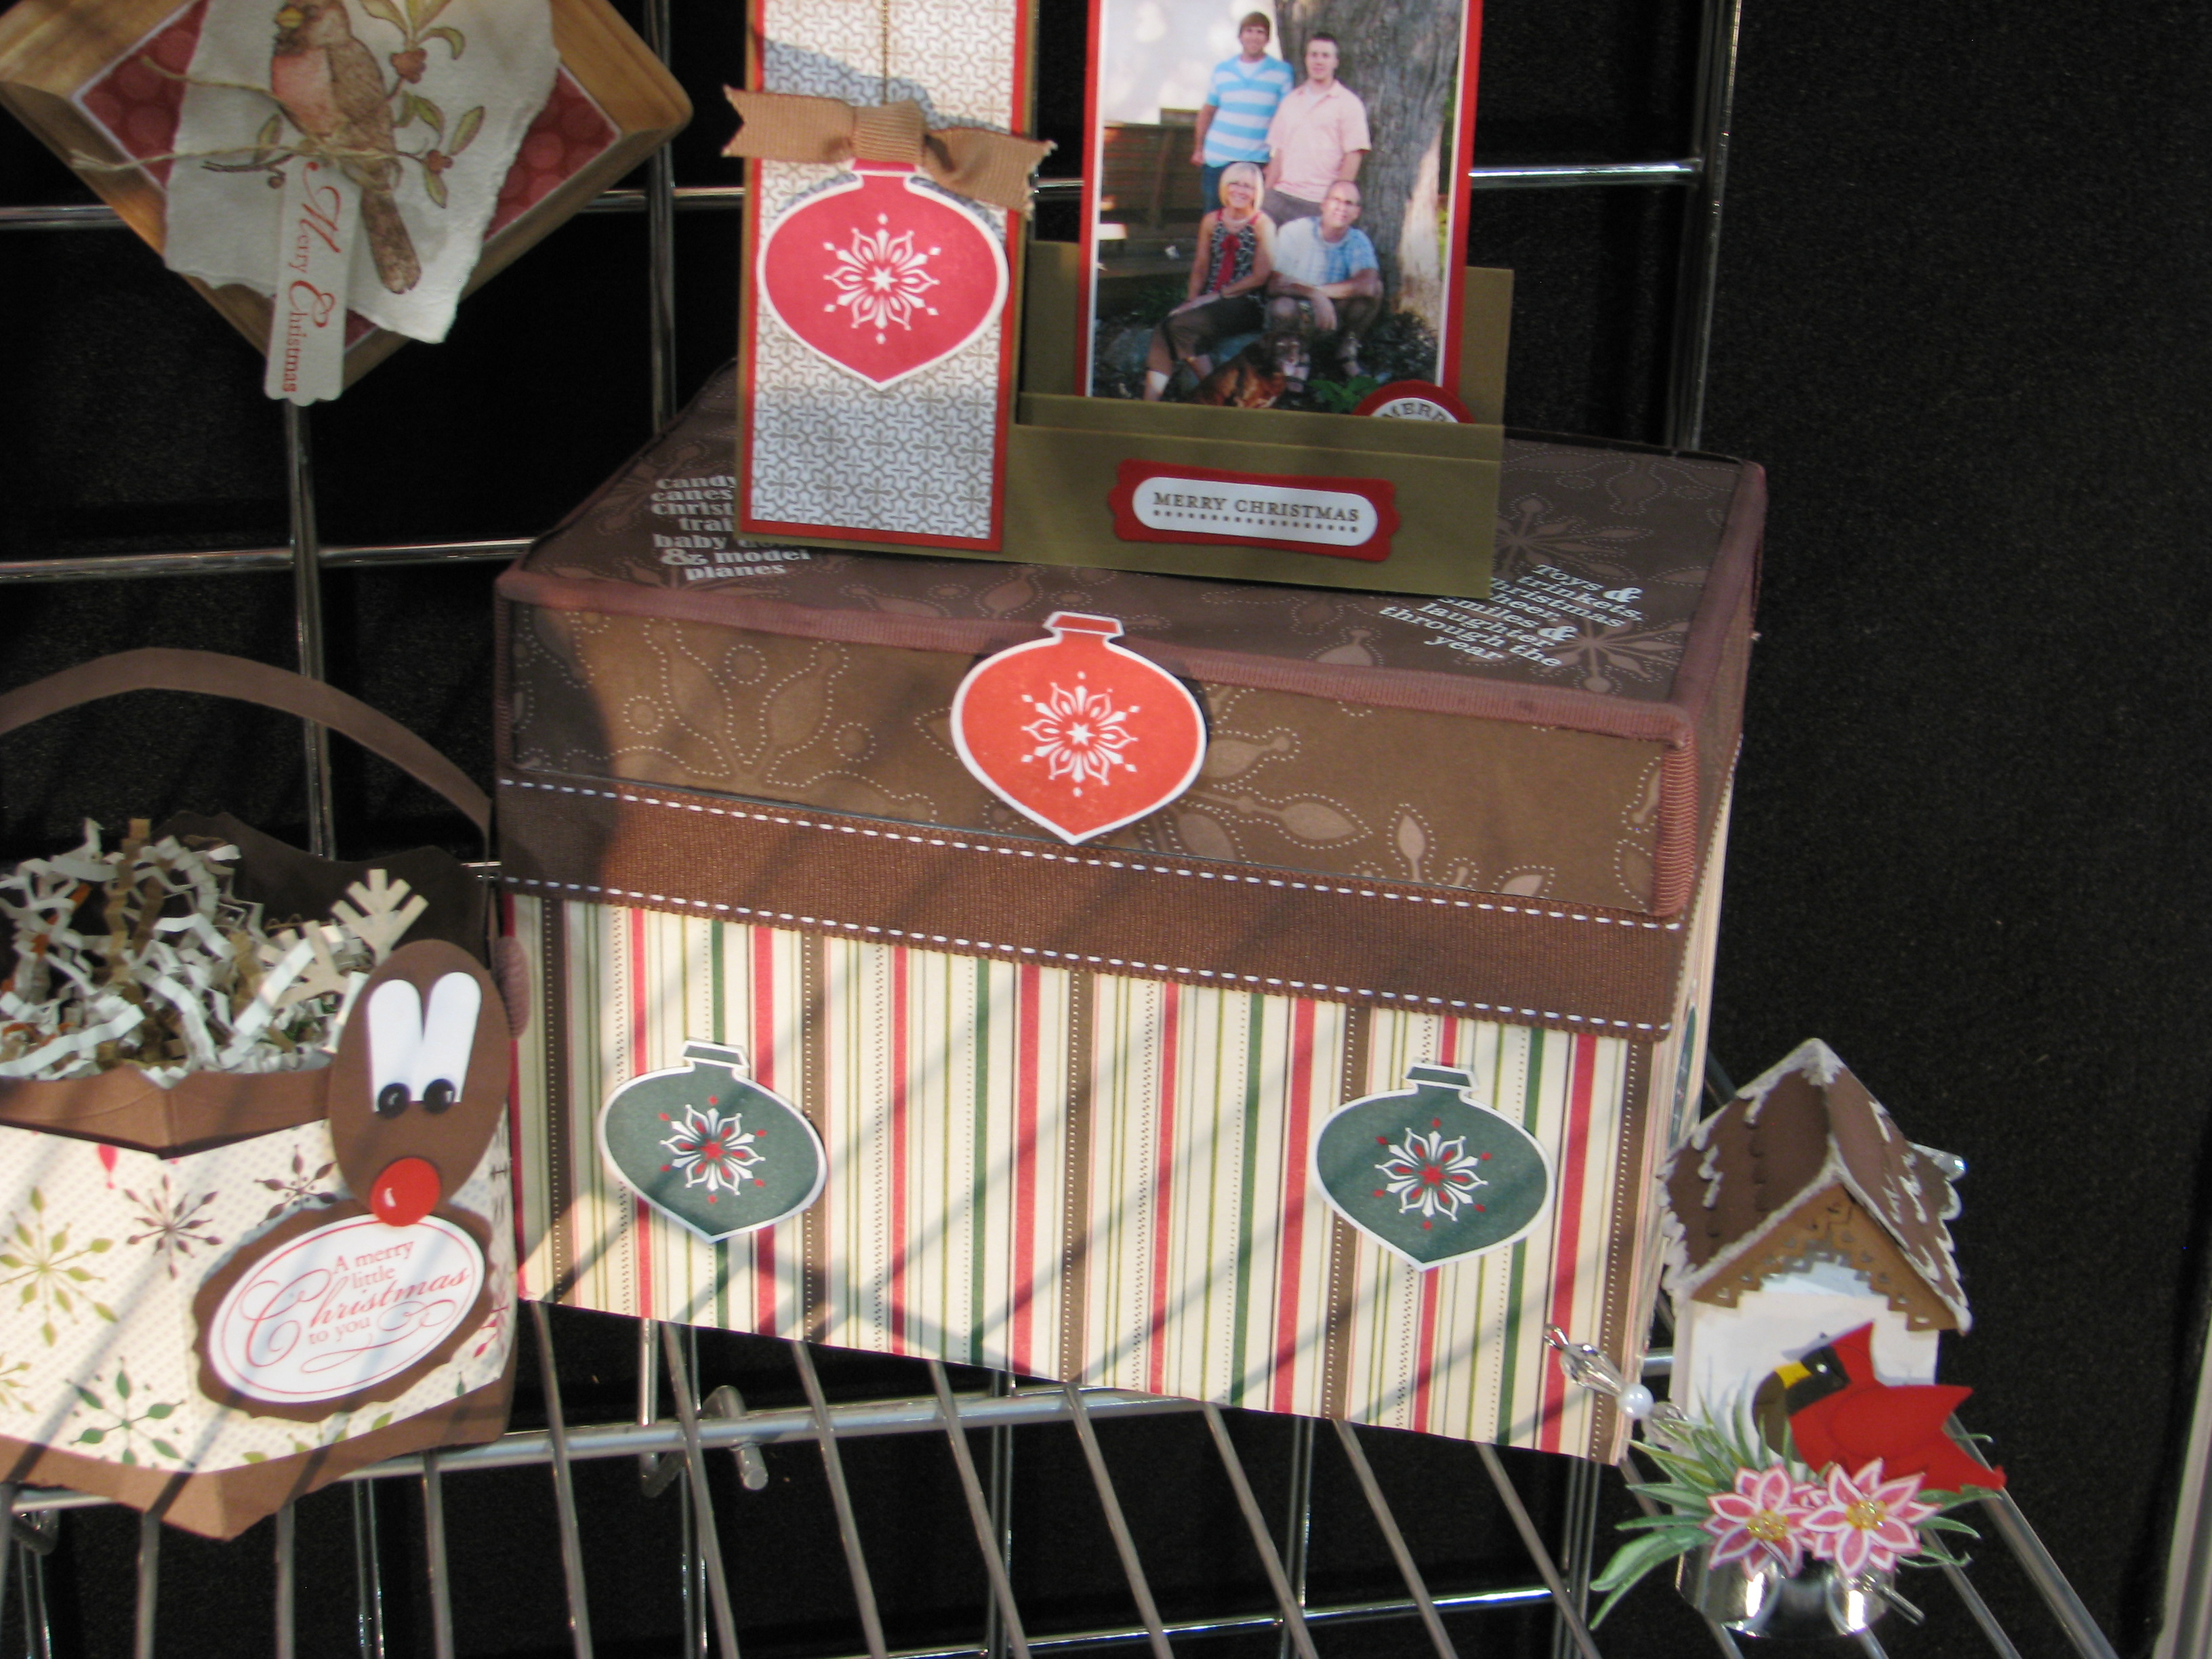
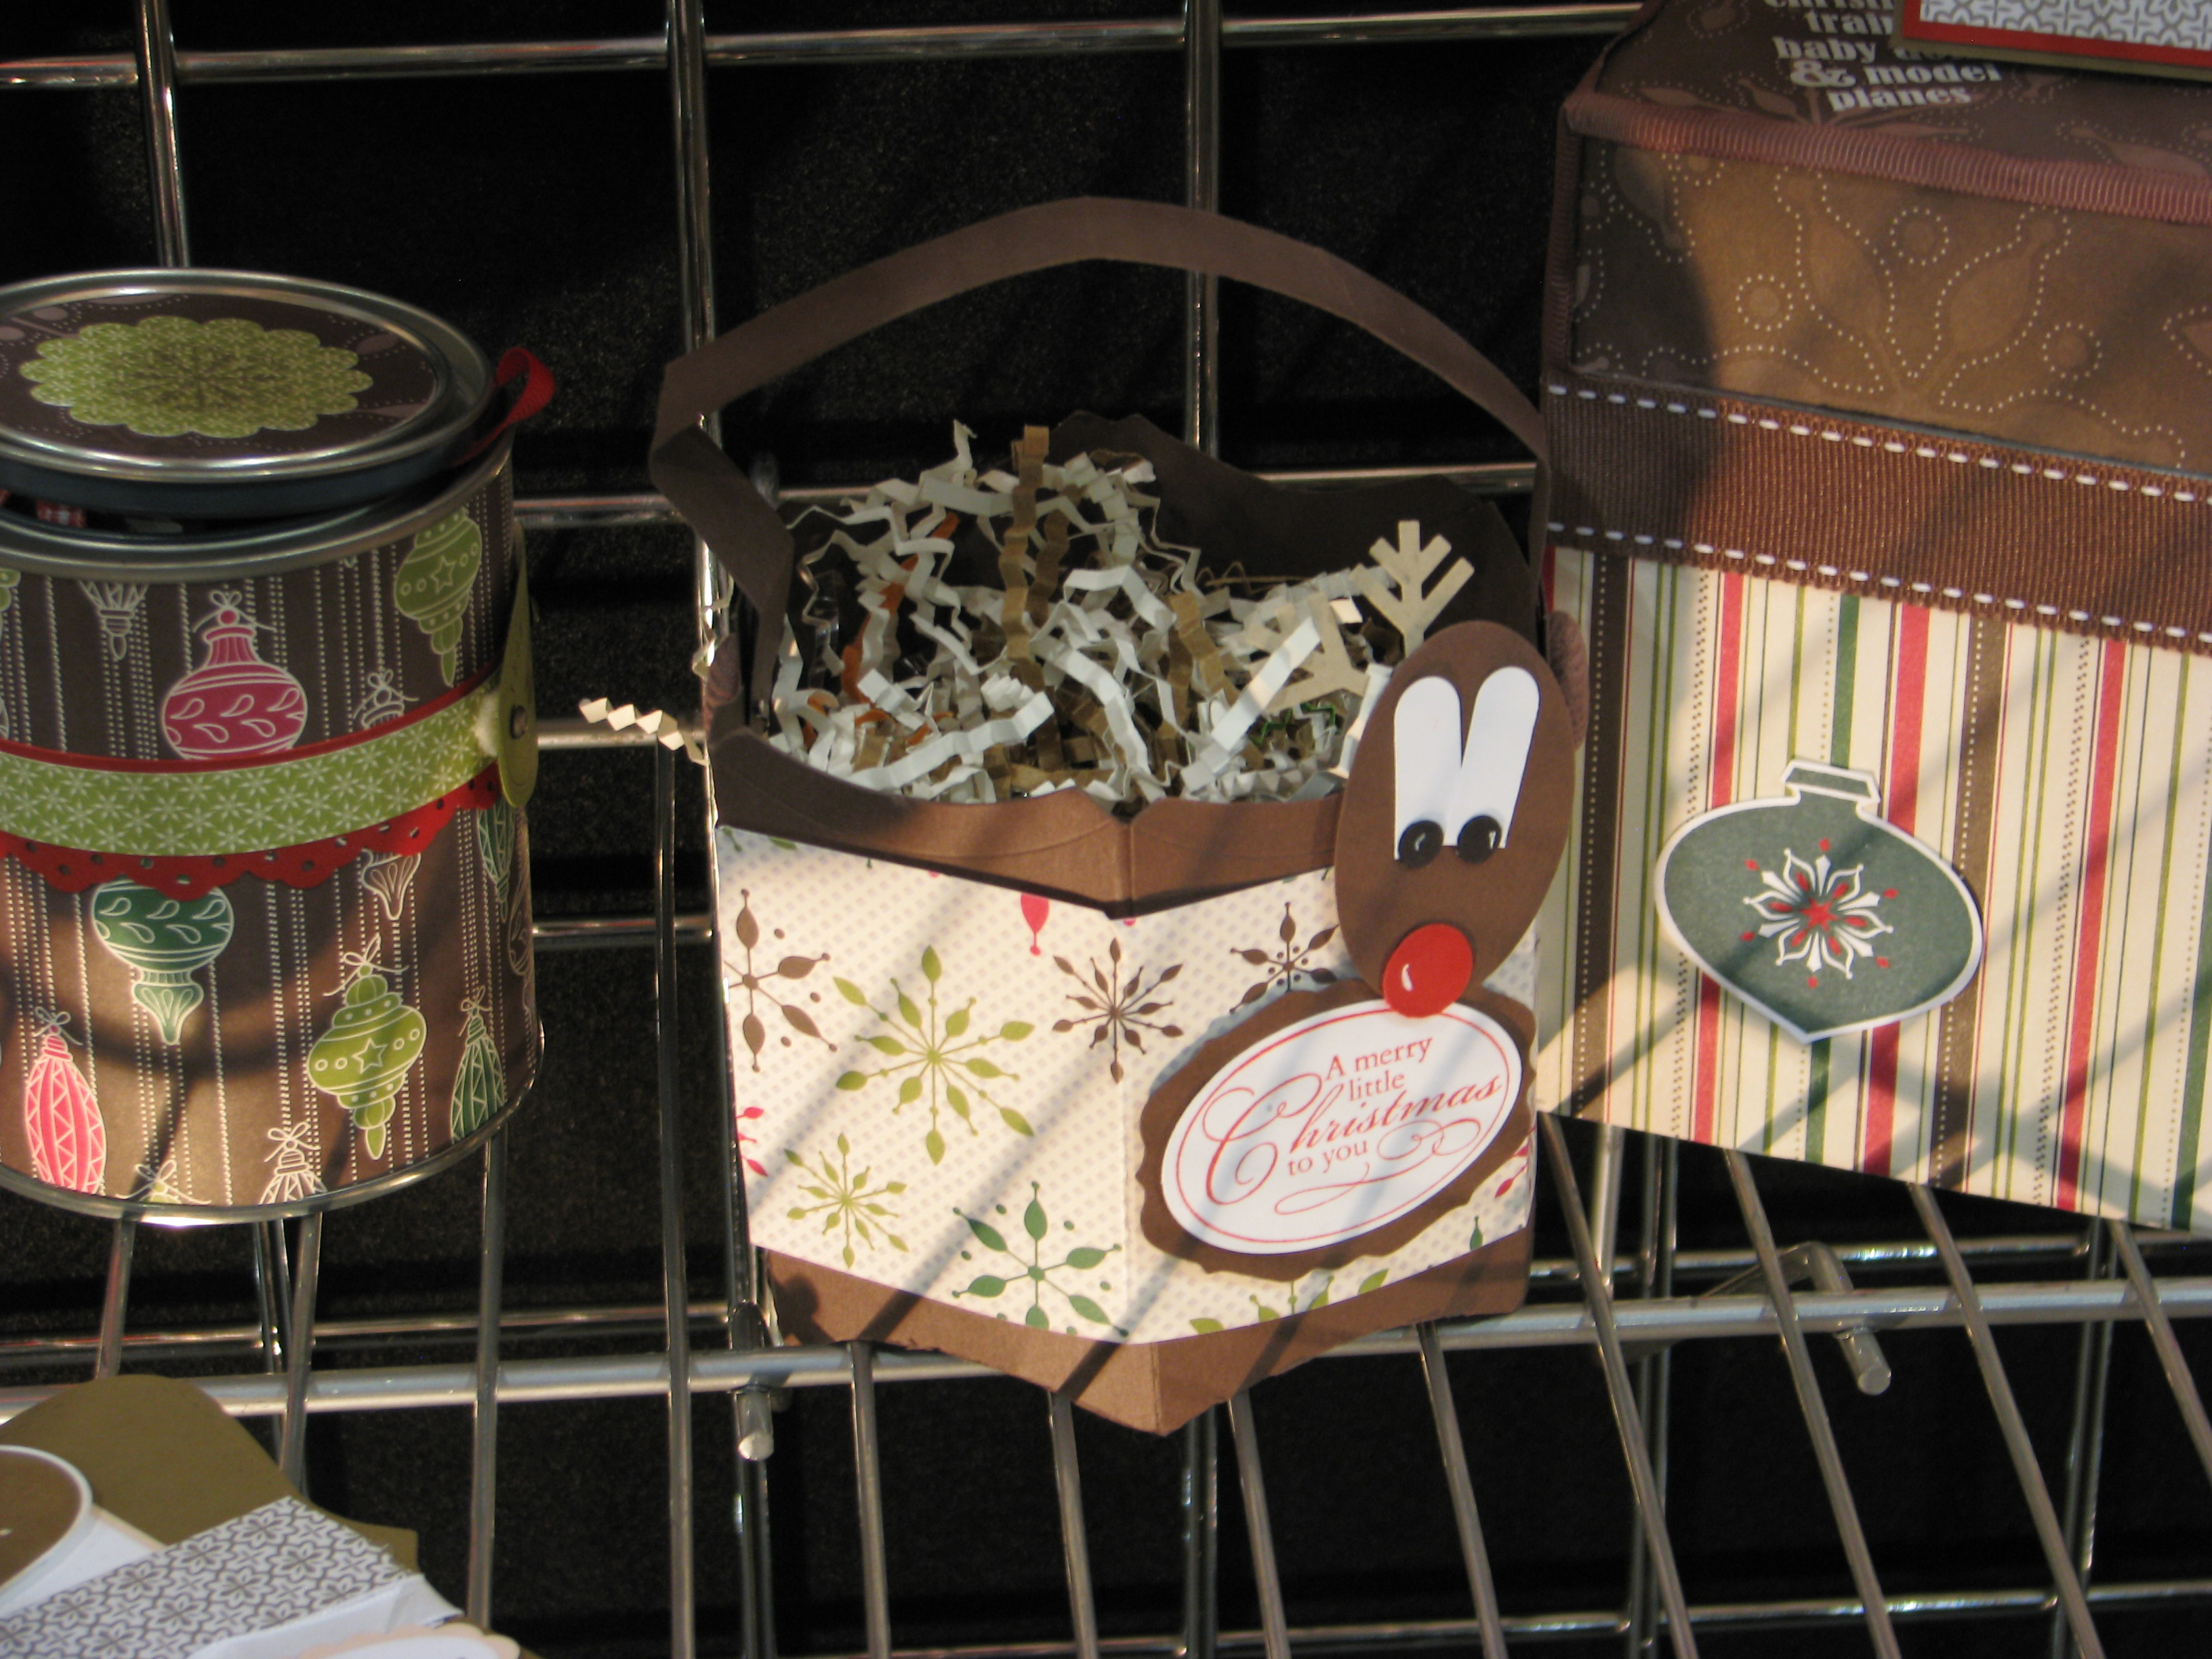
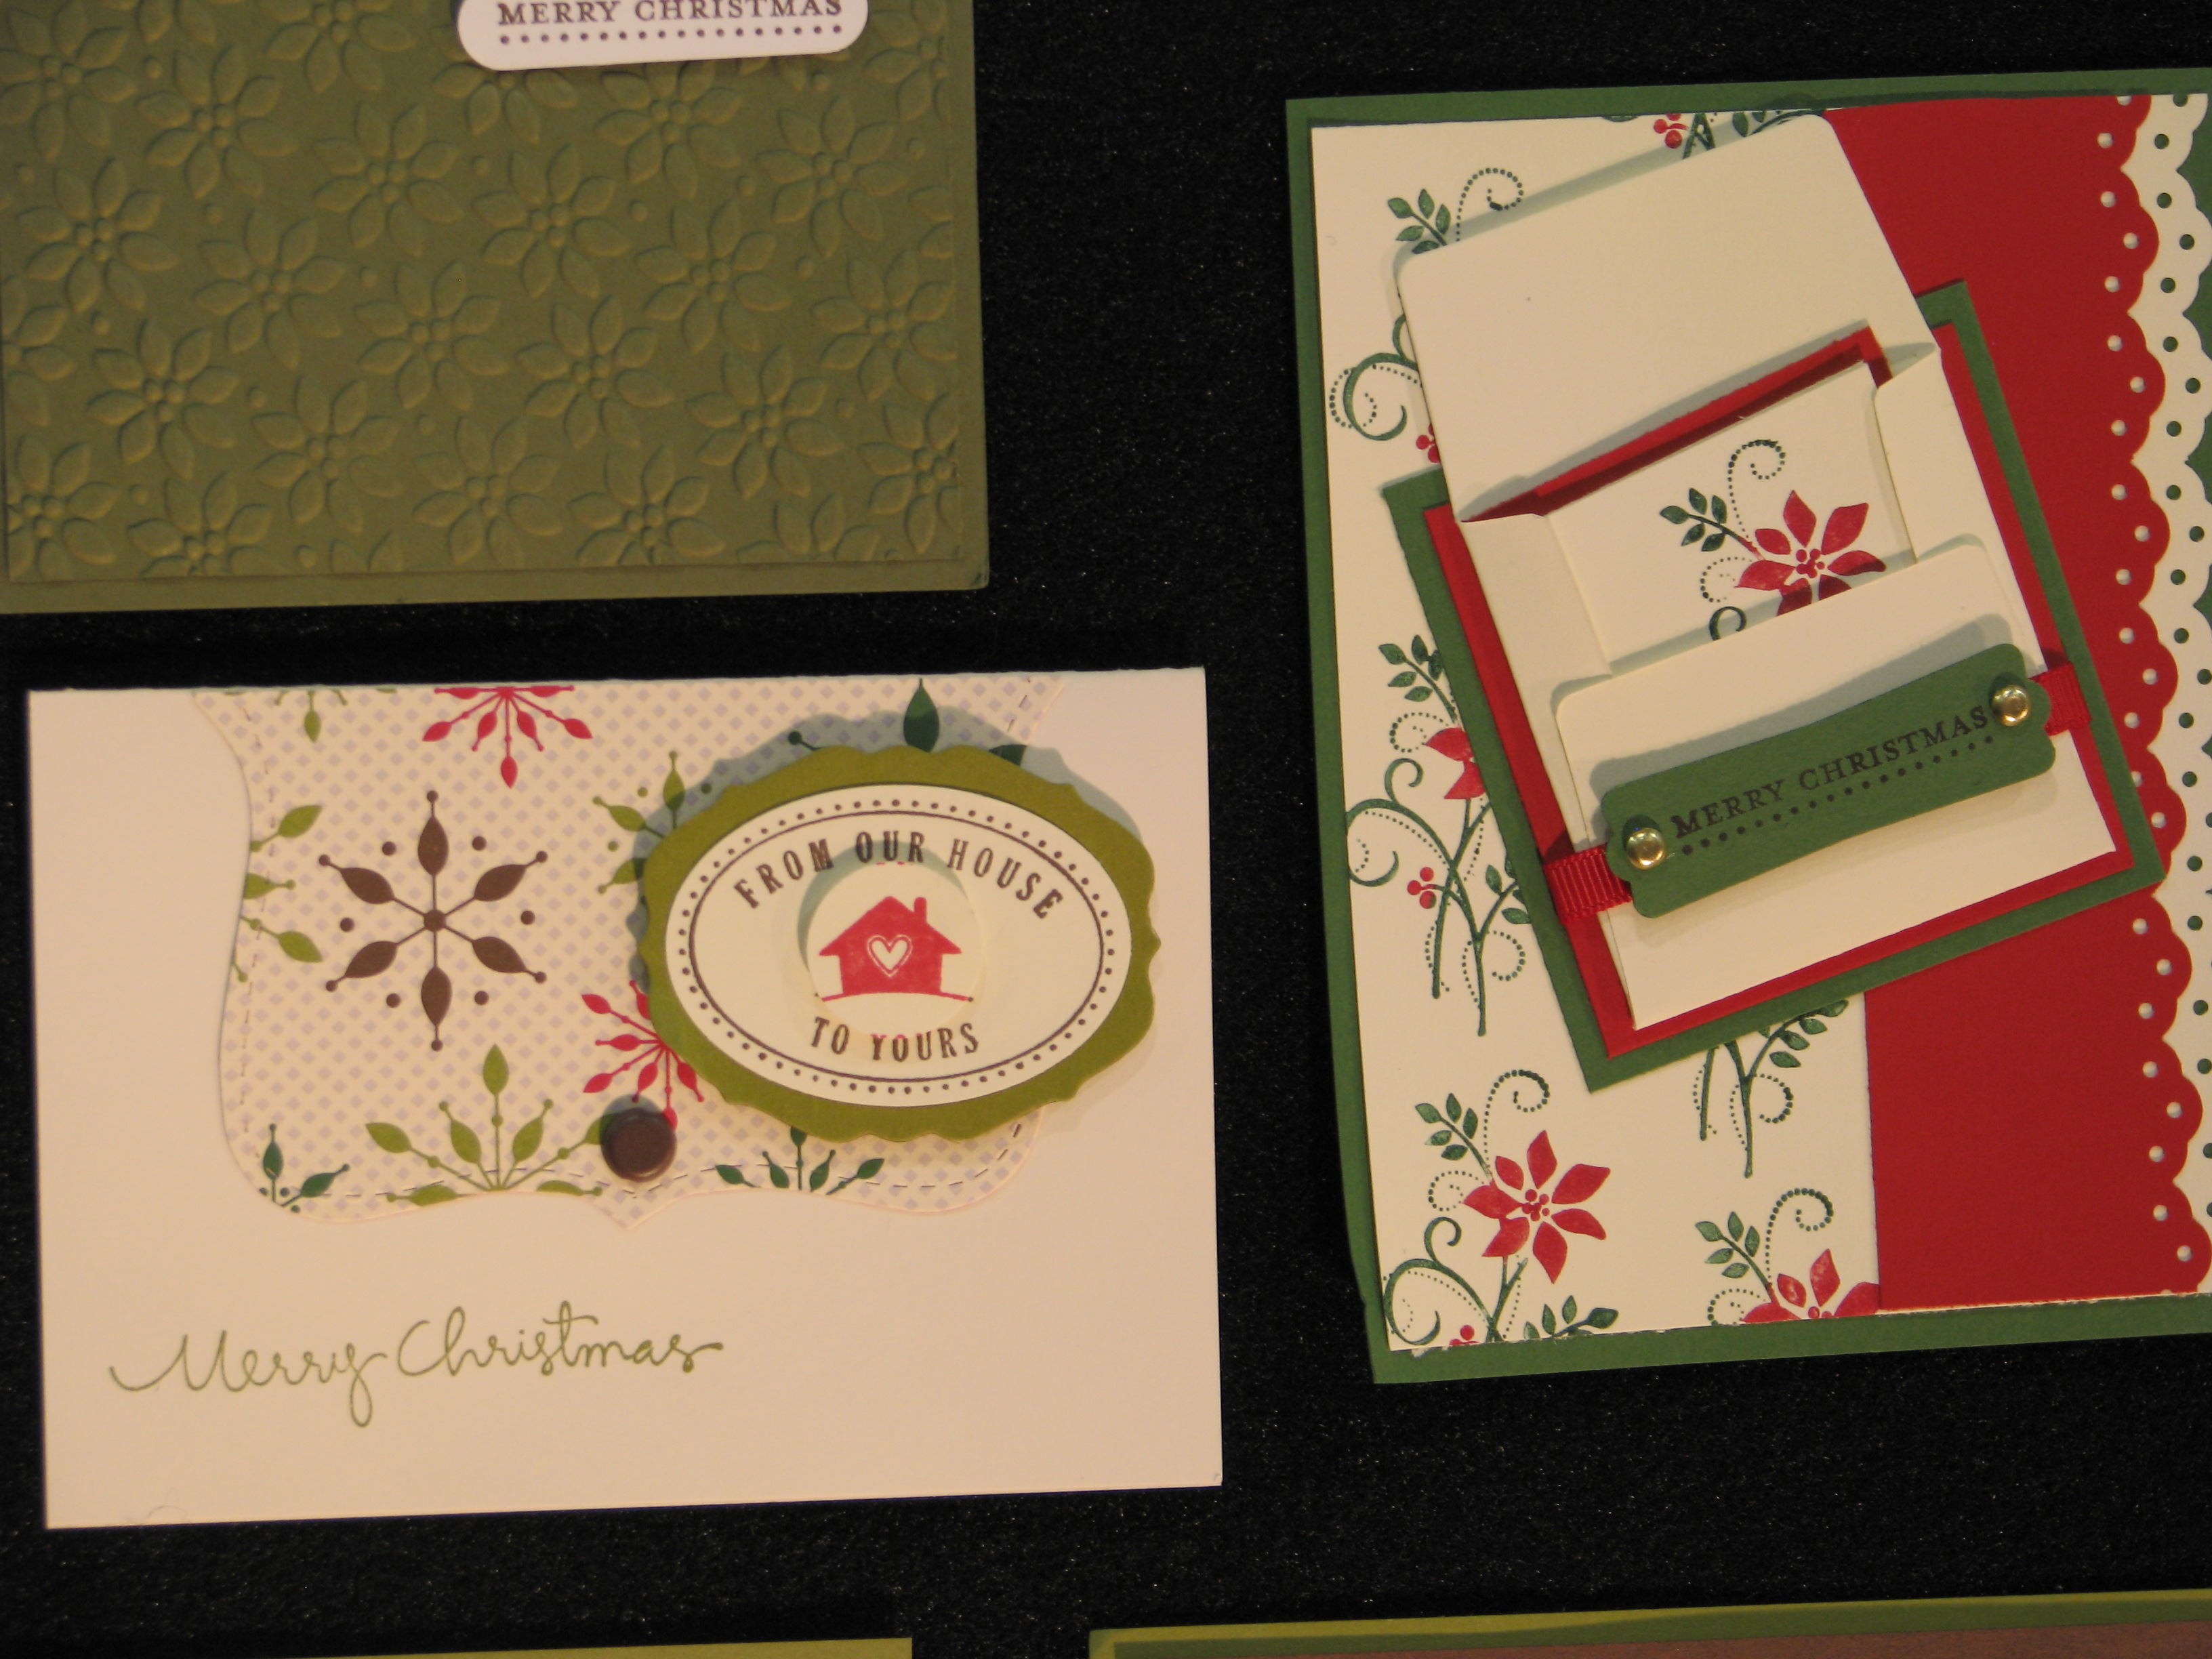
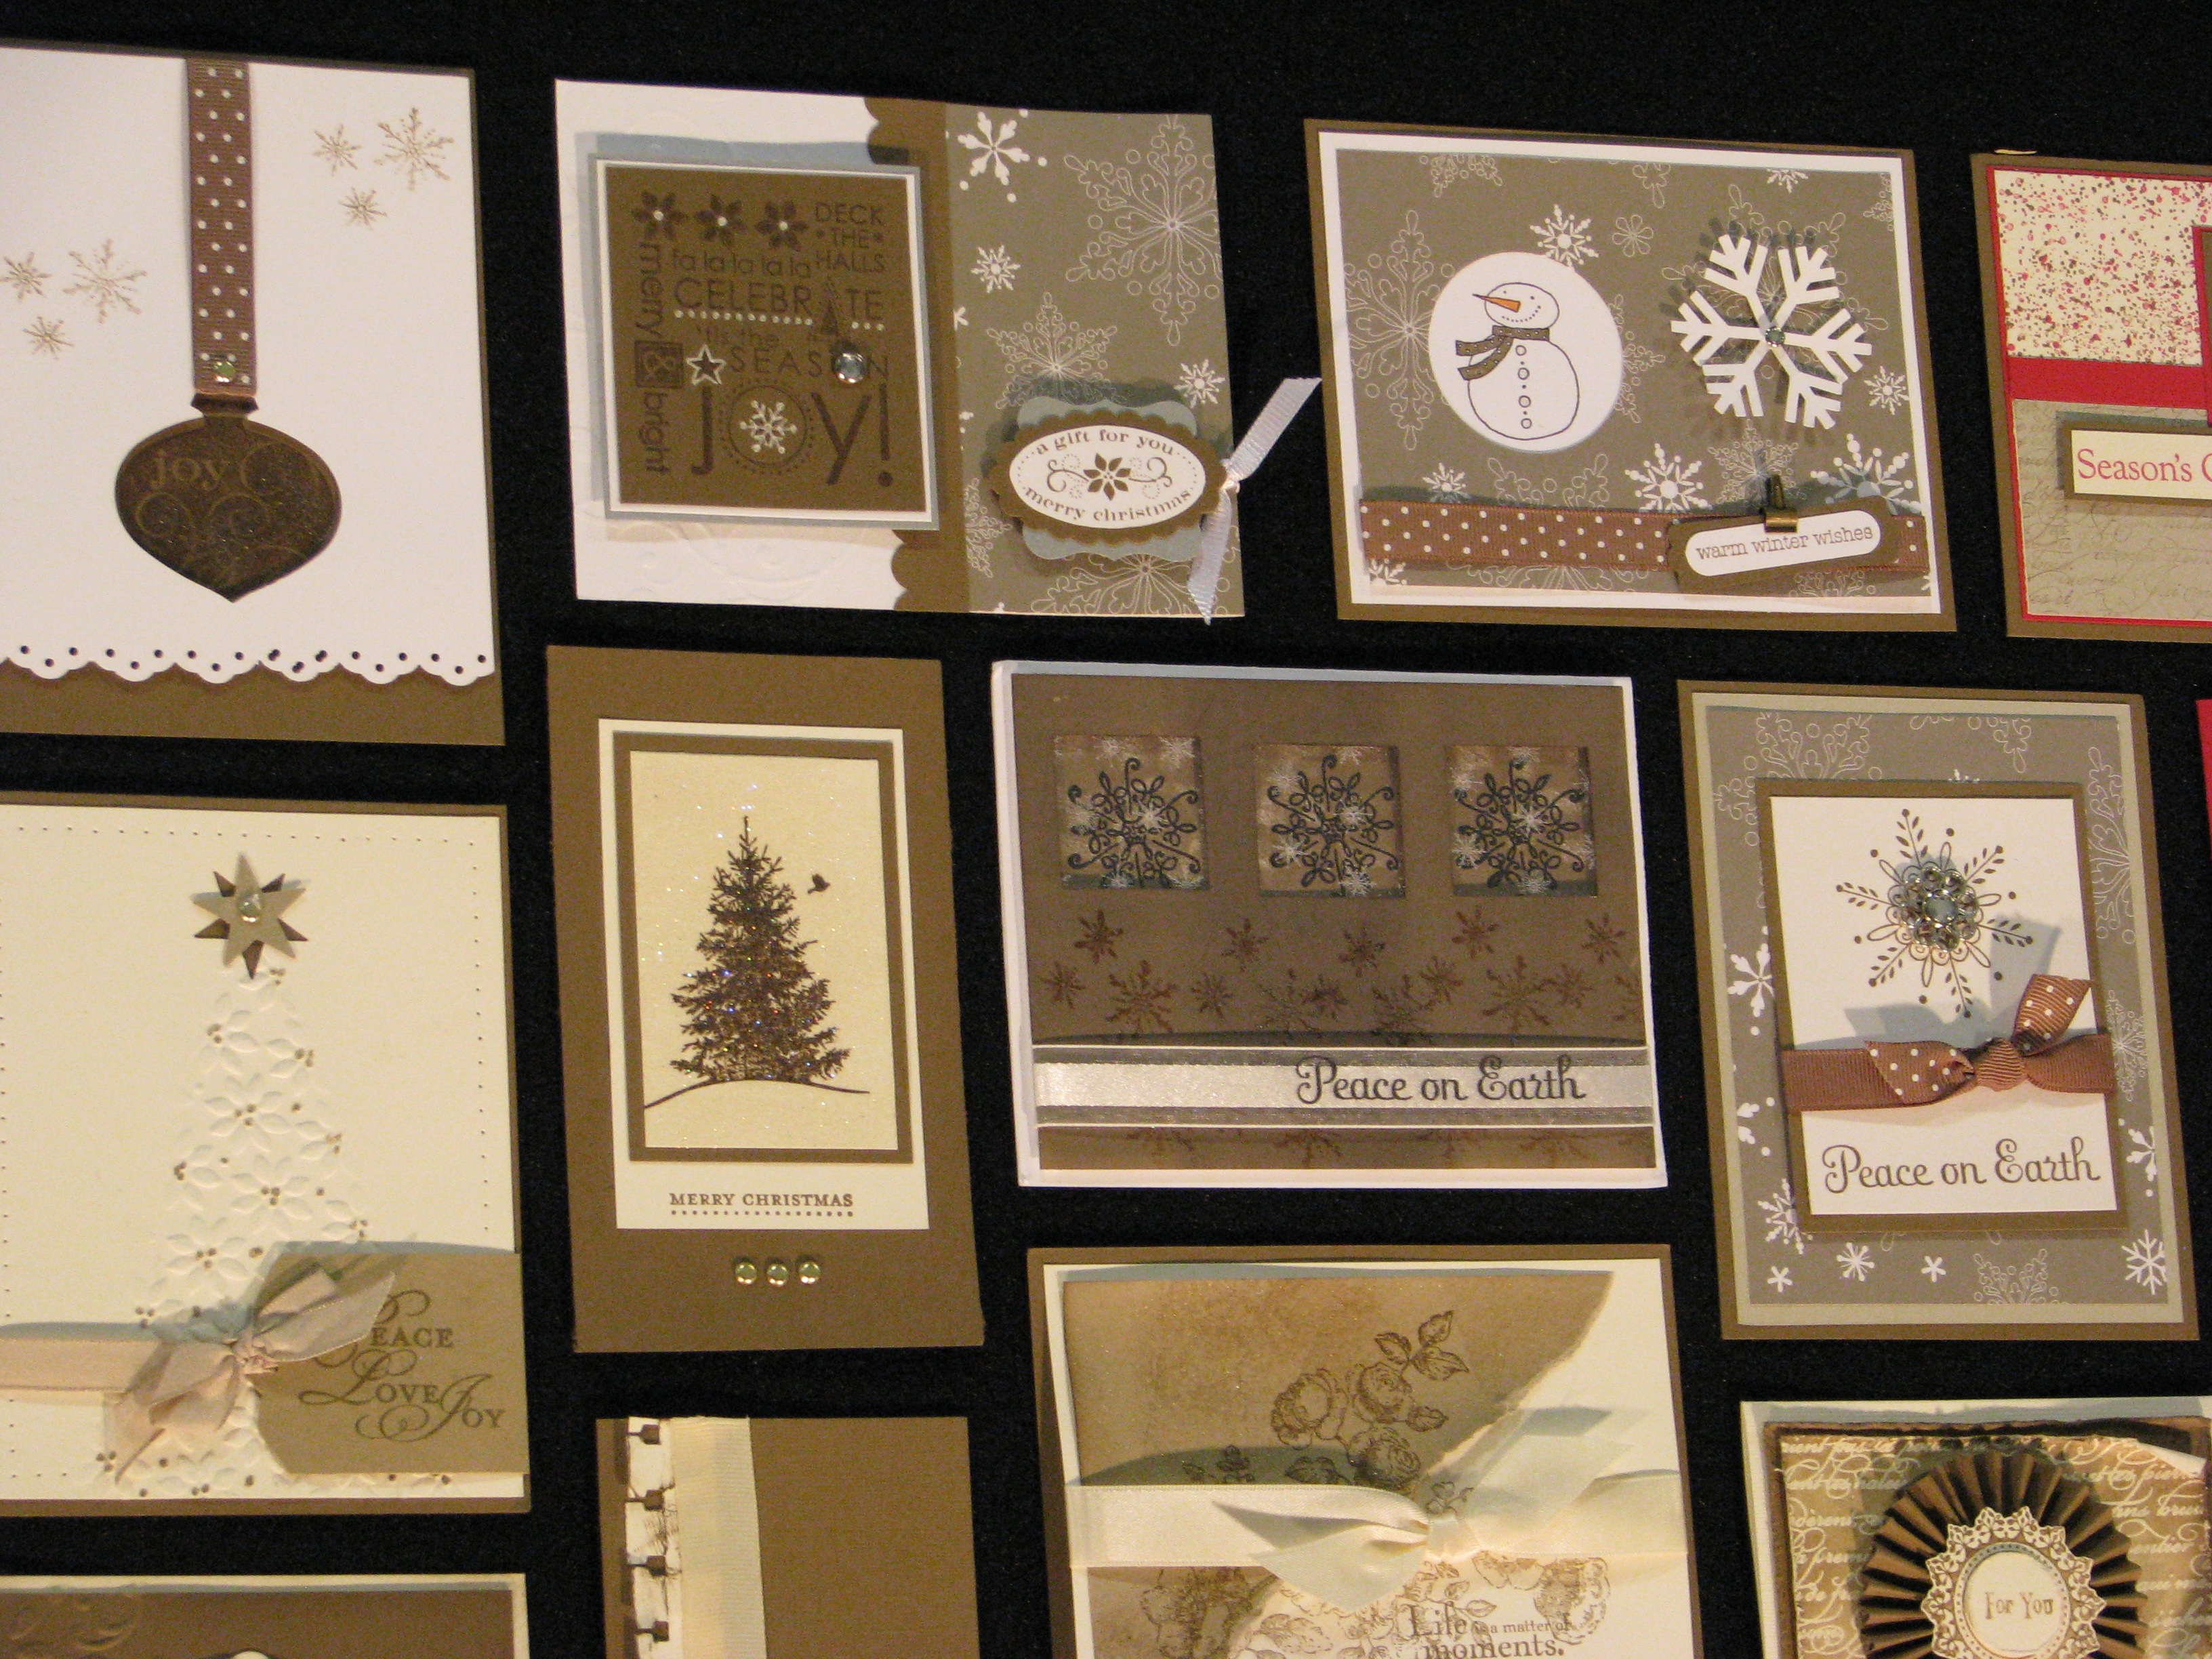
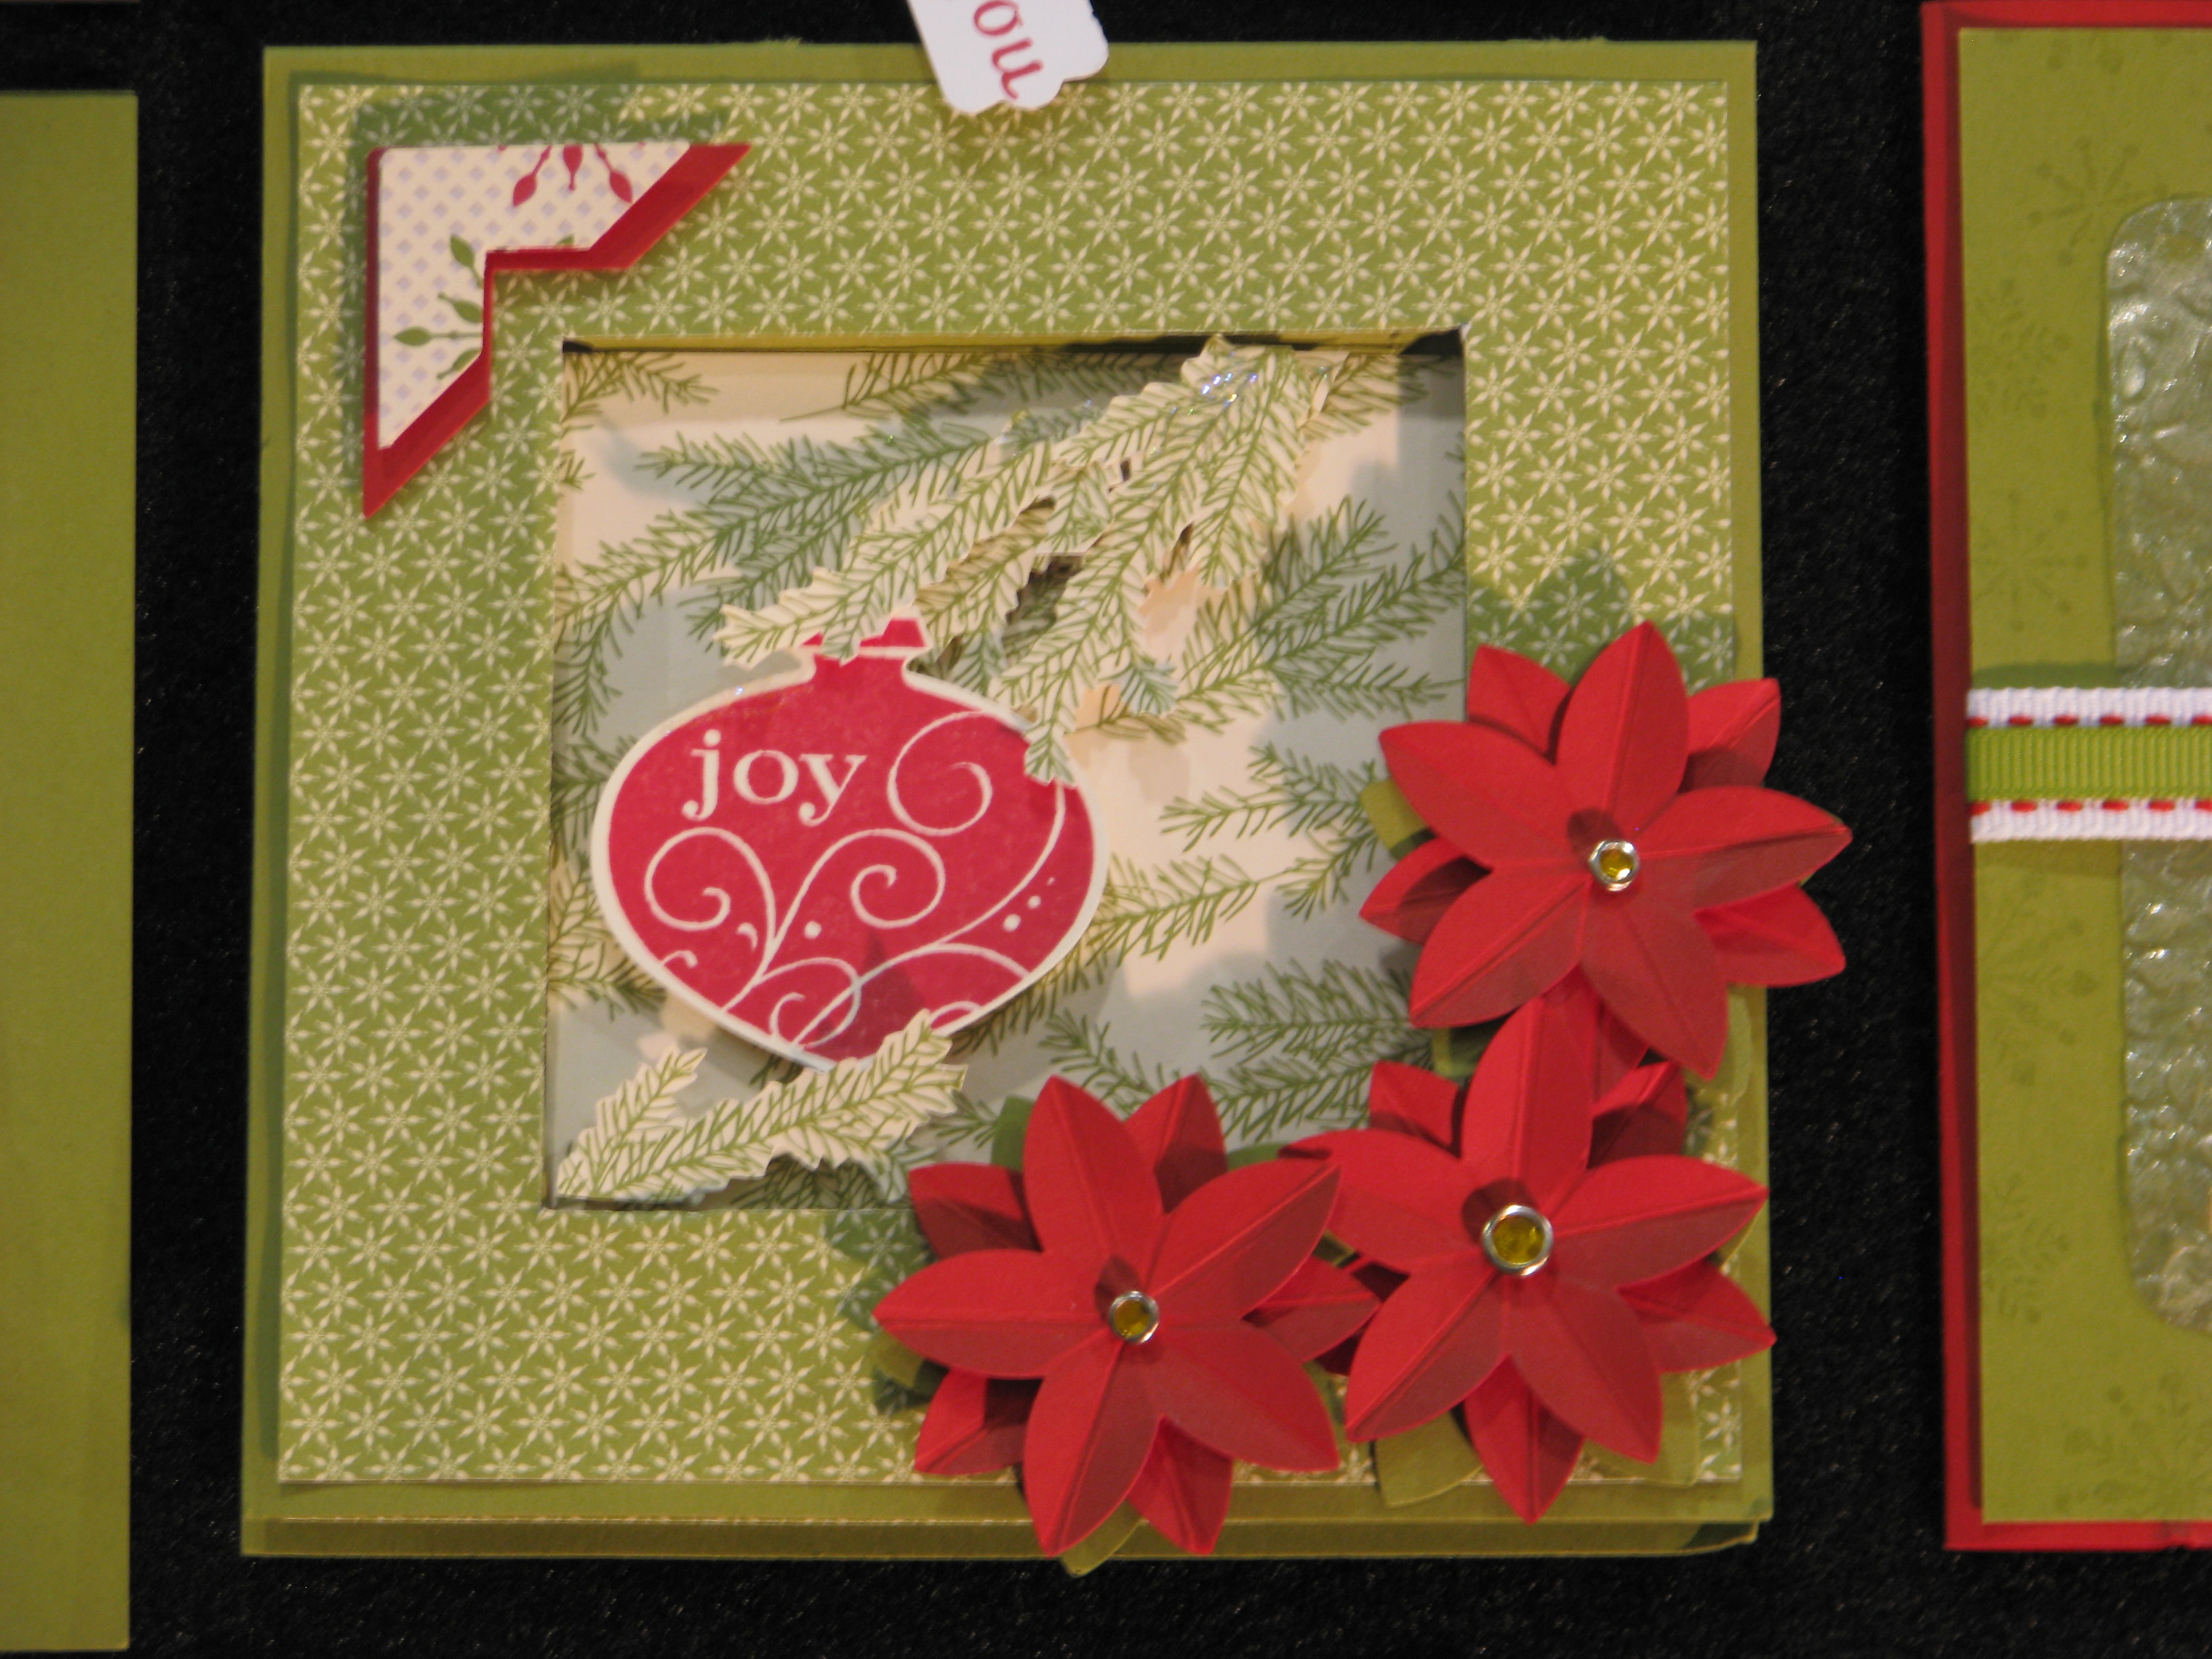
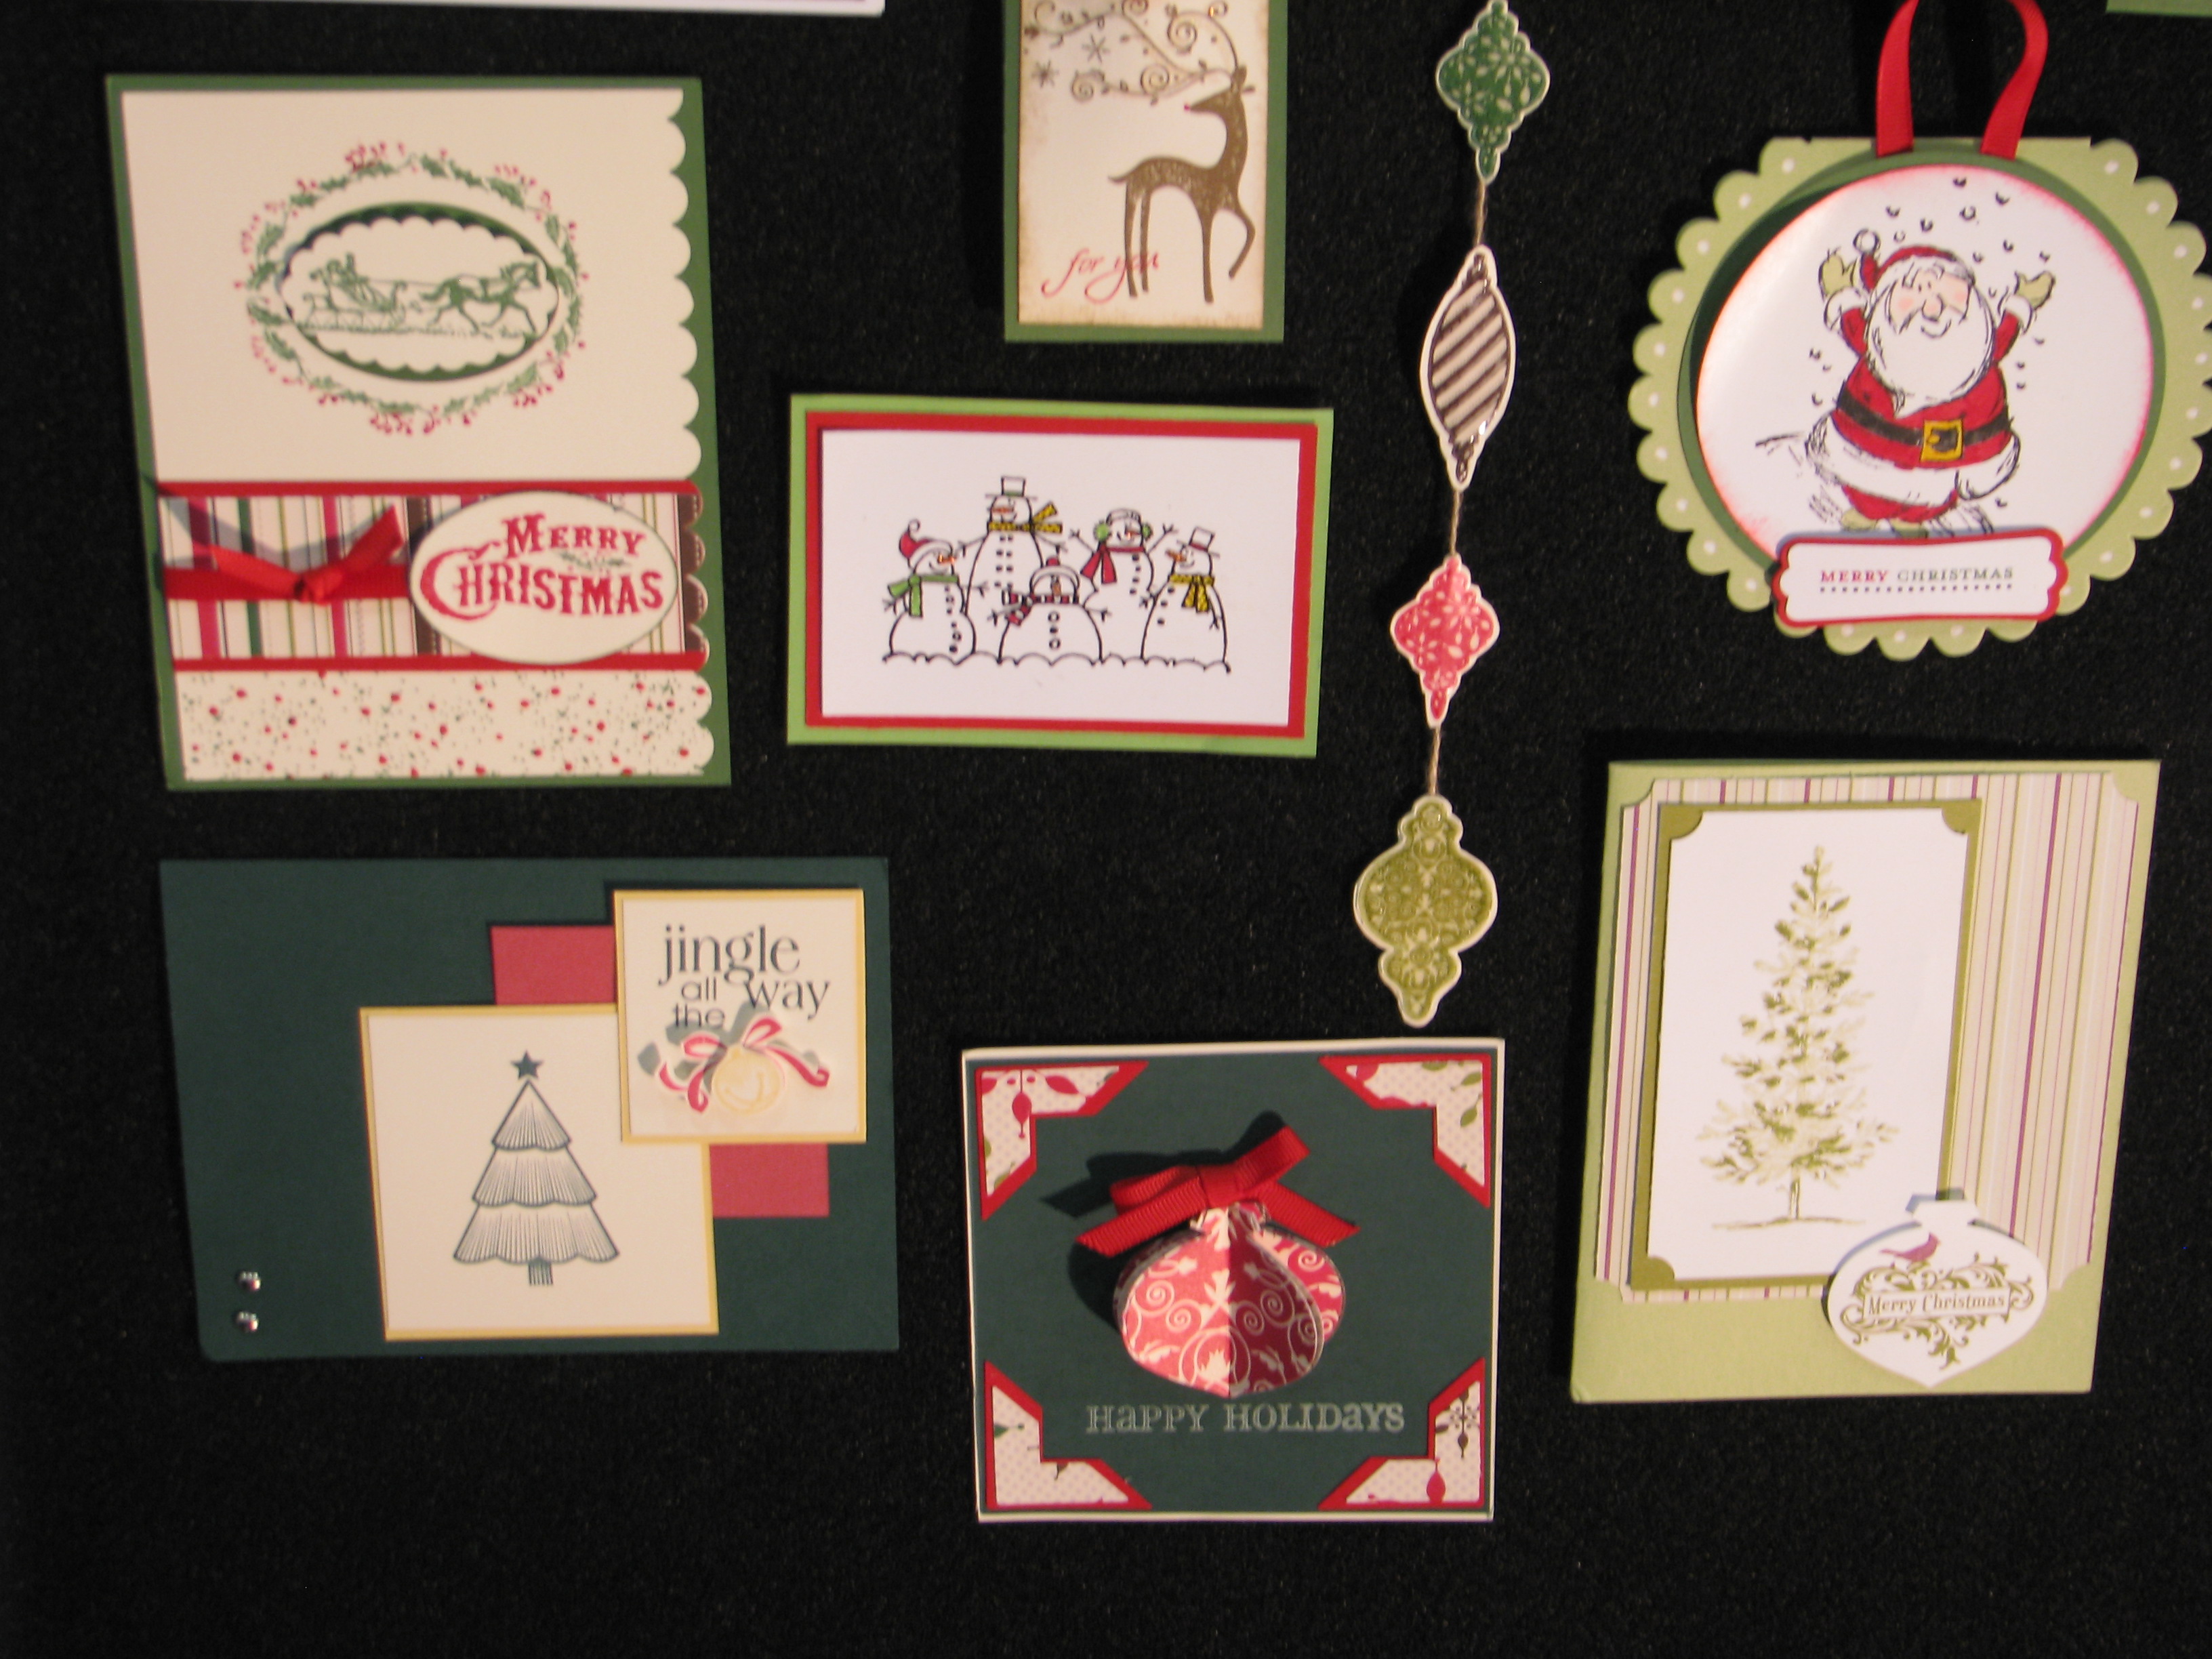
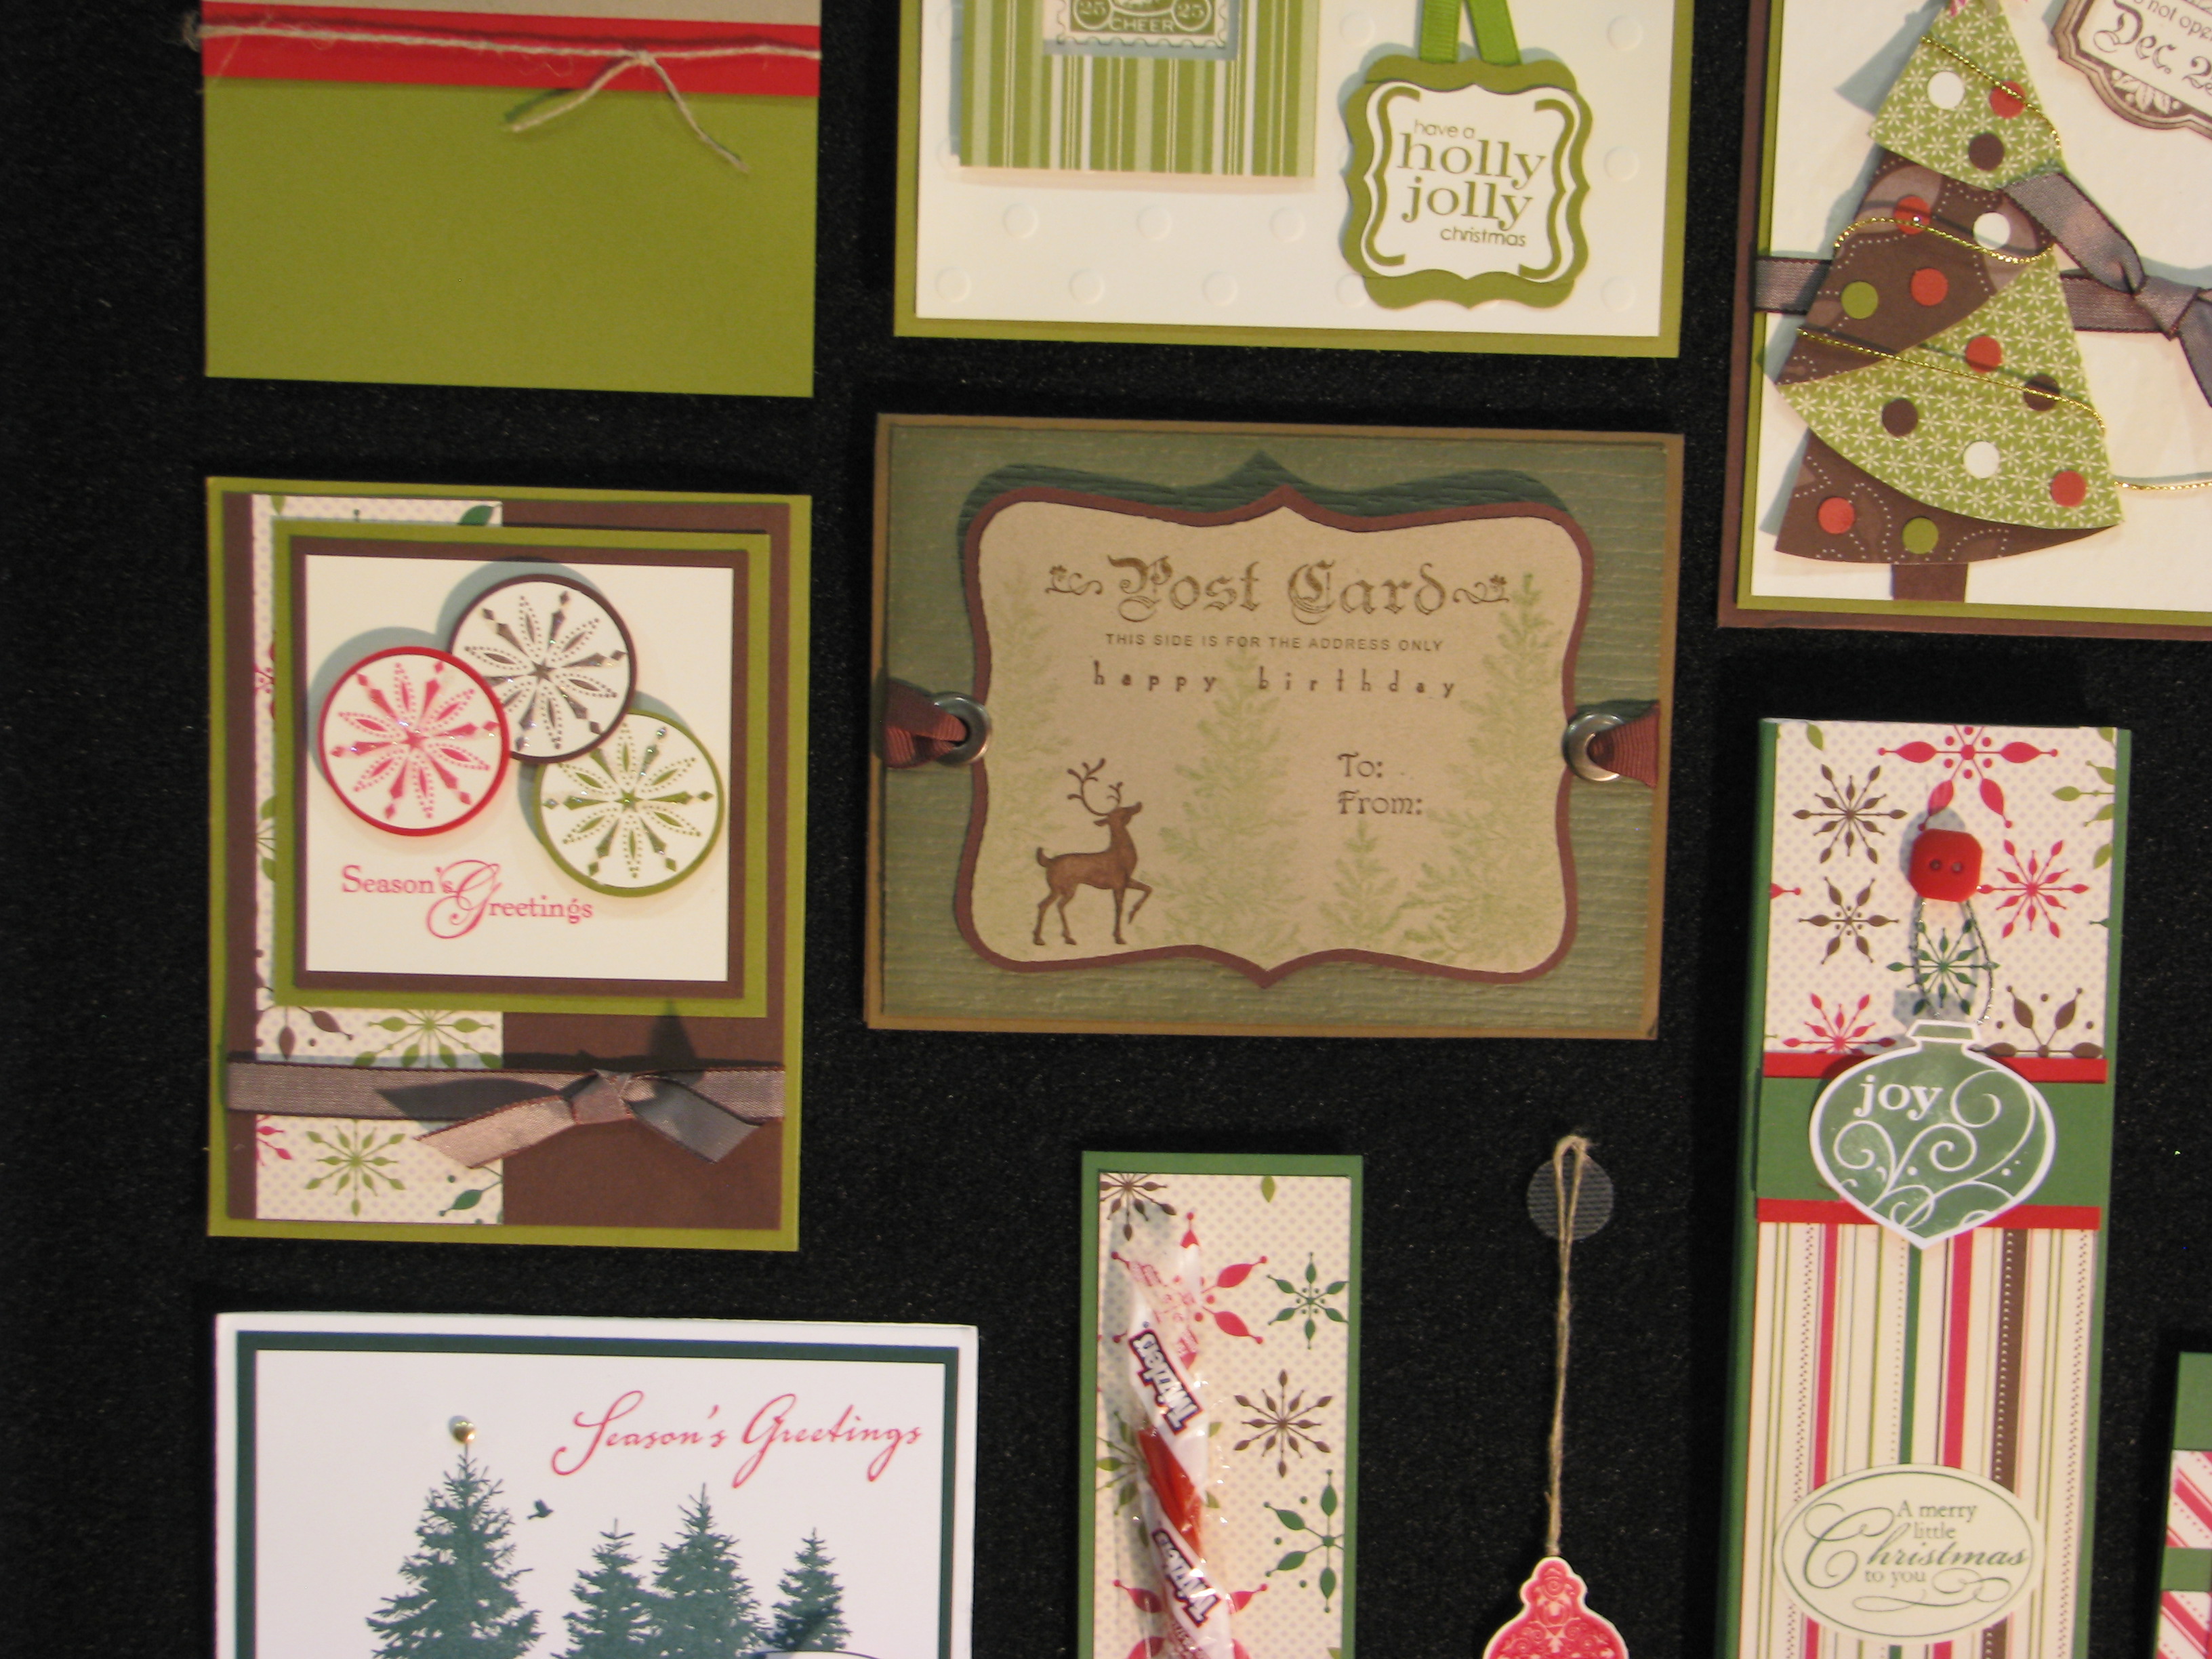
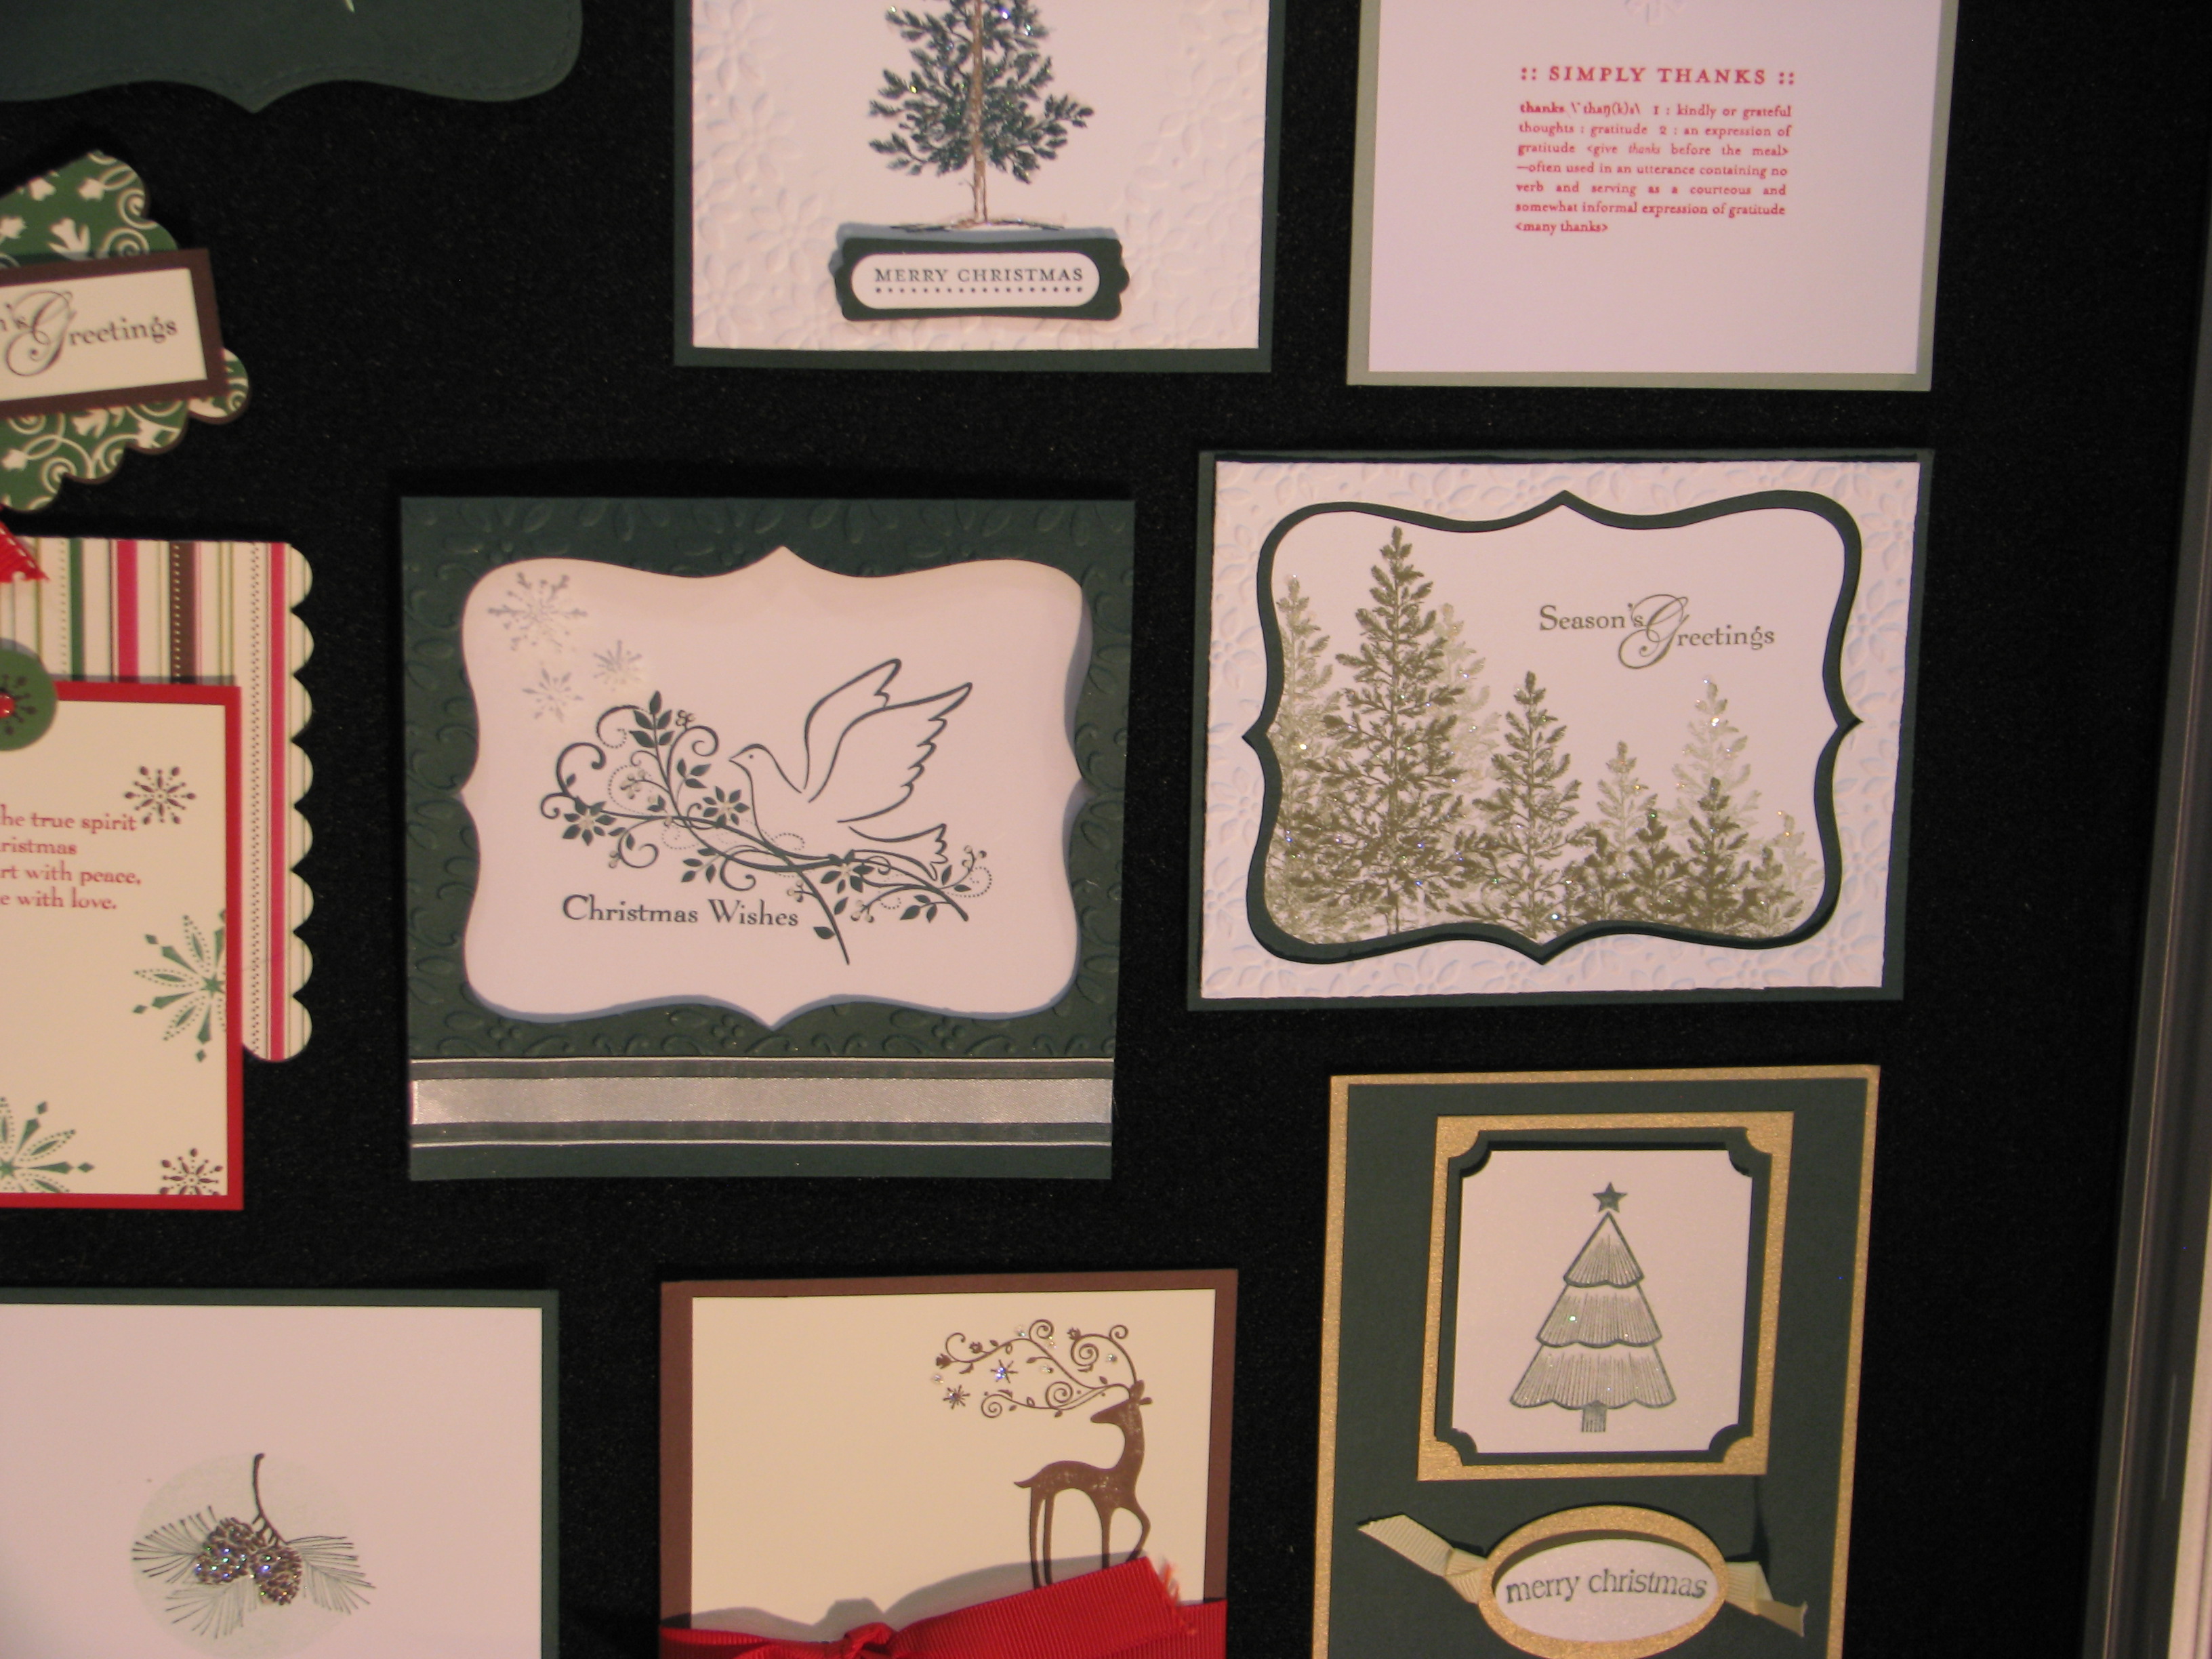
Christmas Displays from the Stampin’ Up! Convention 2010

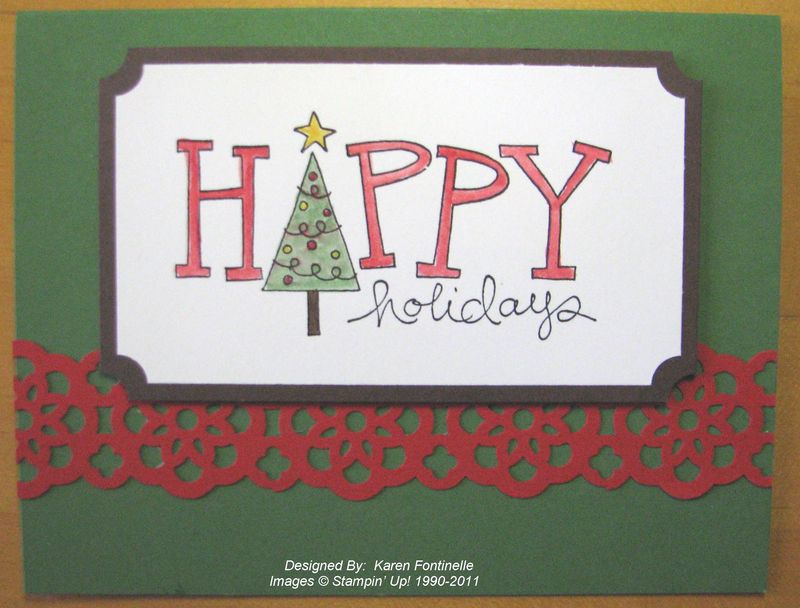
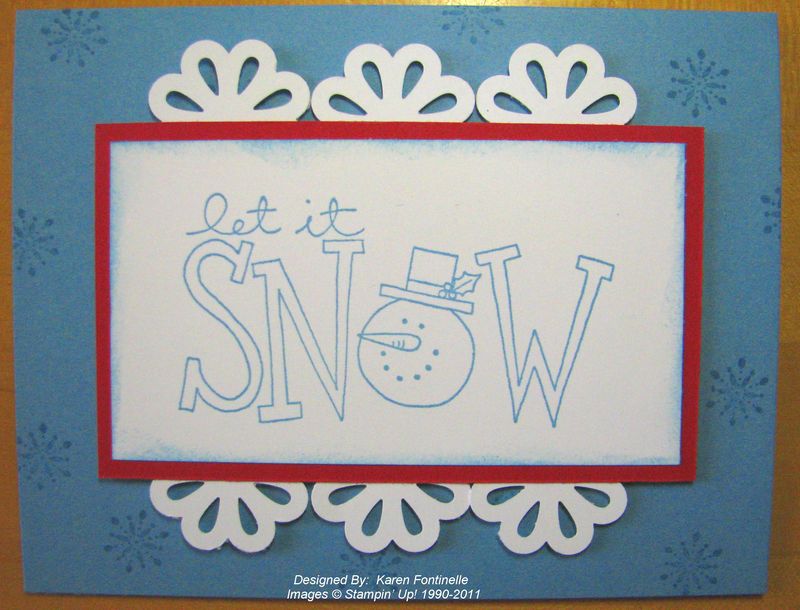
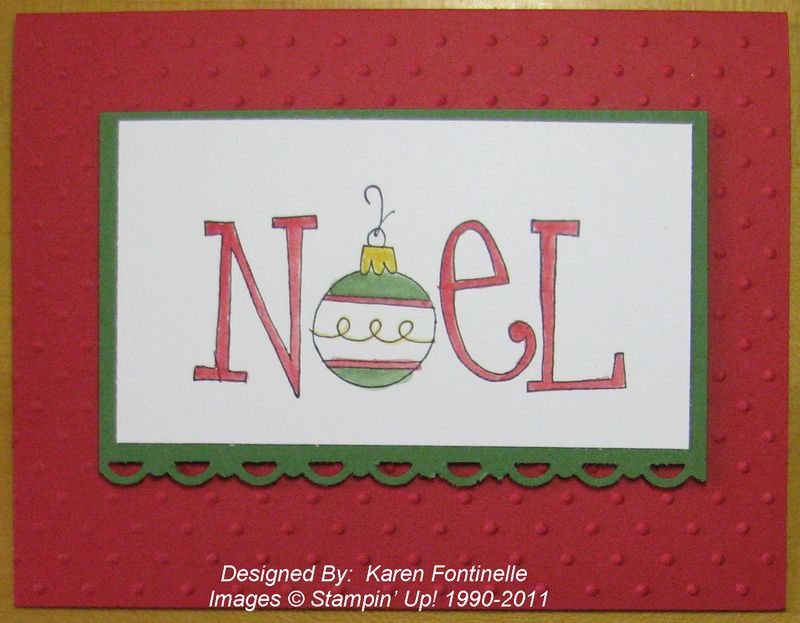
Christmas Cards

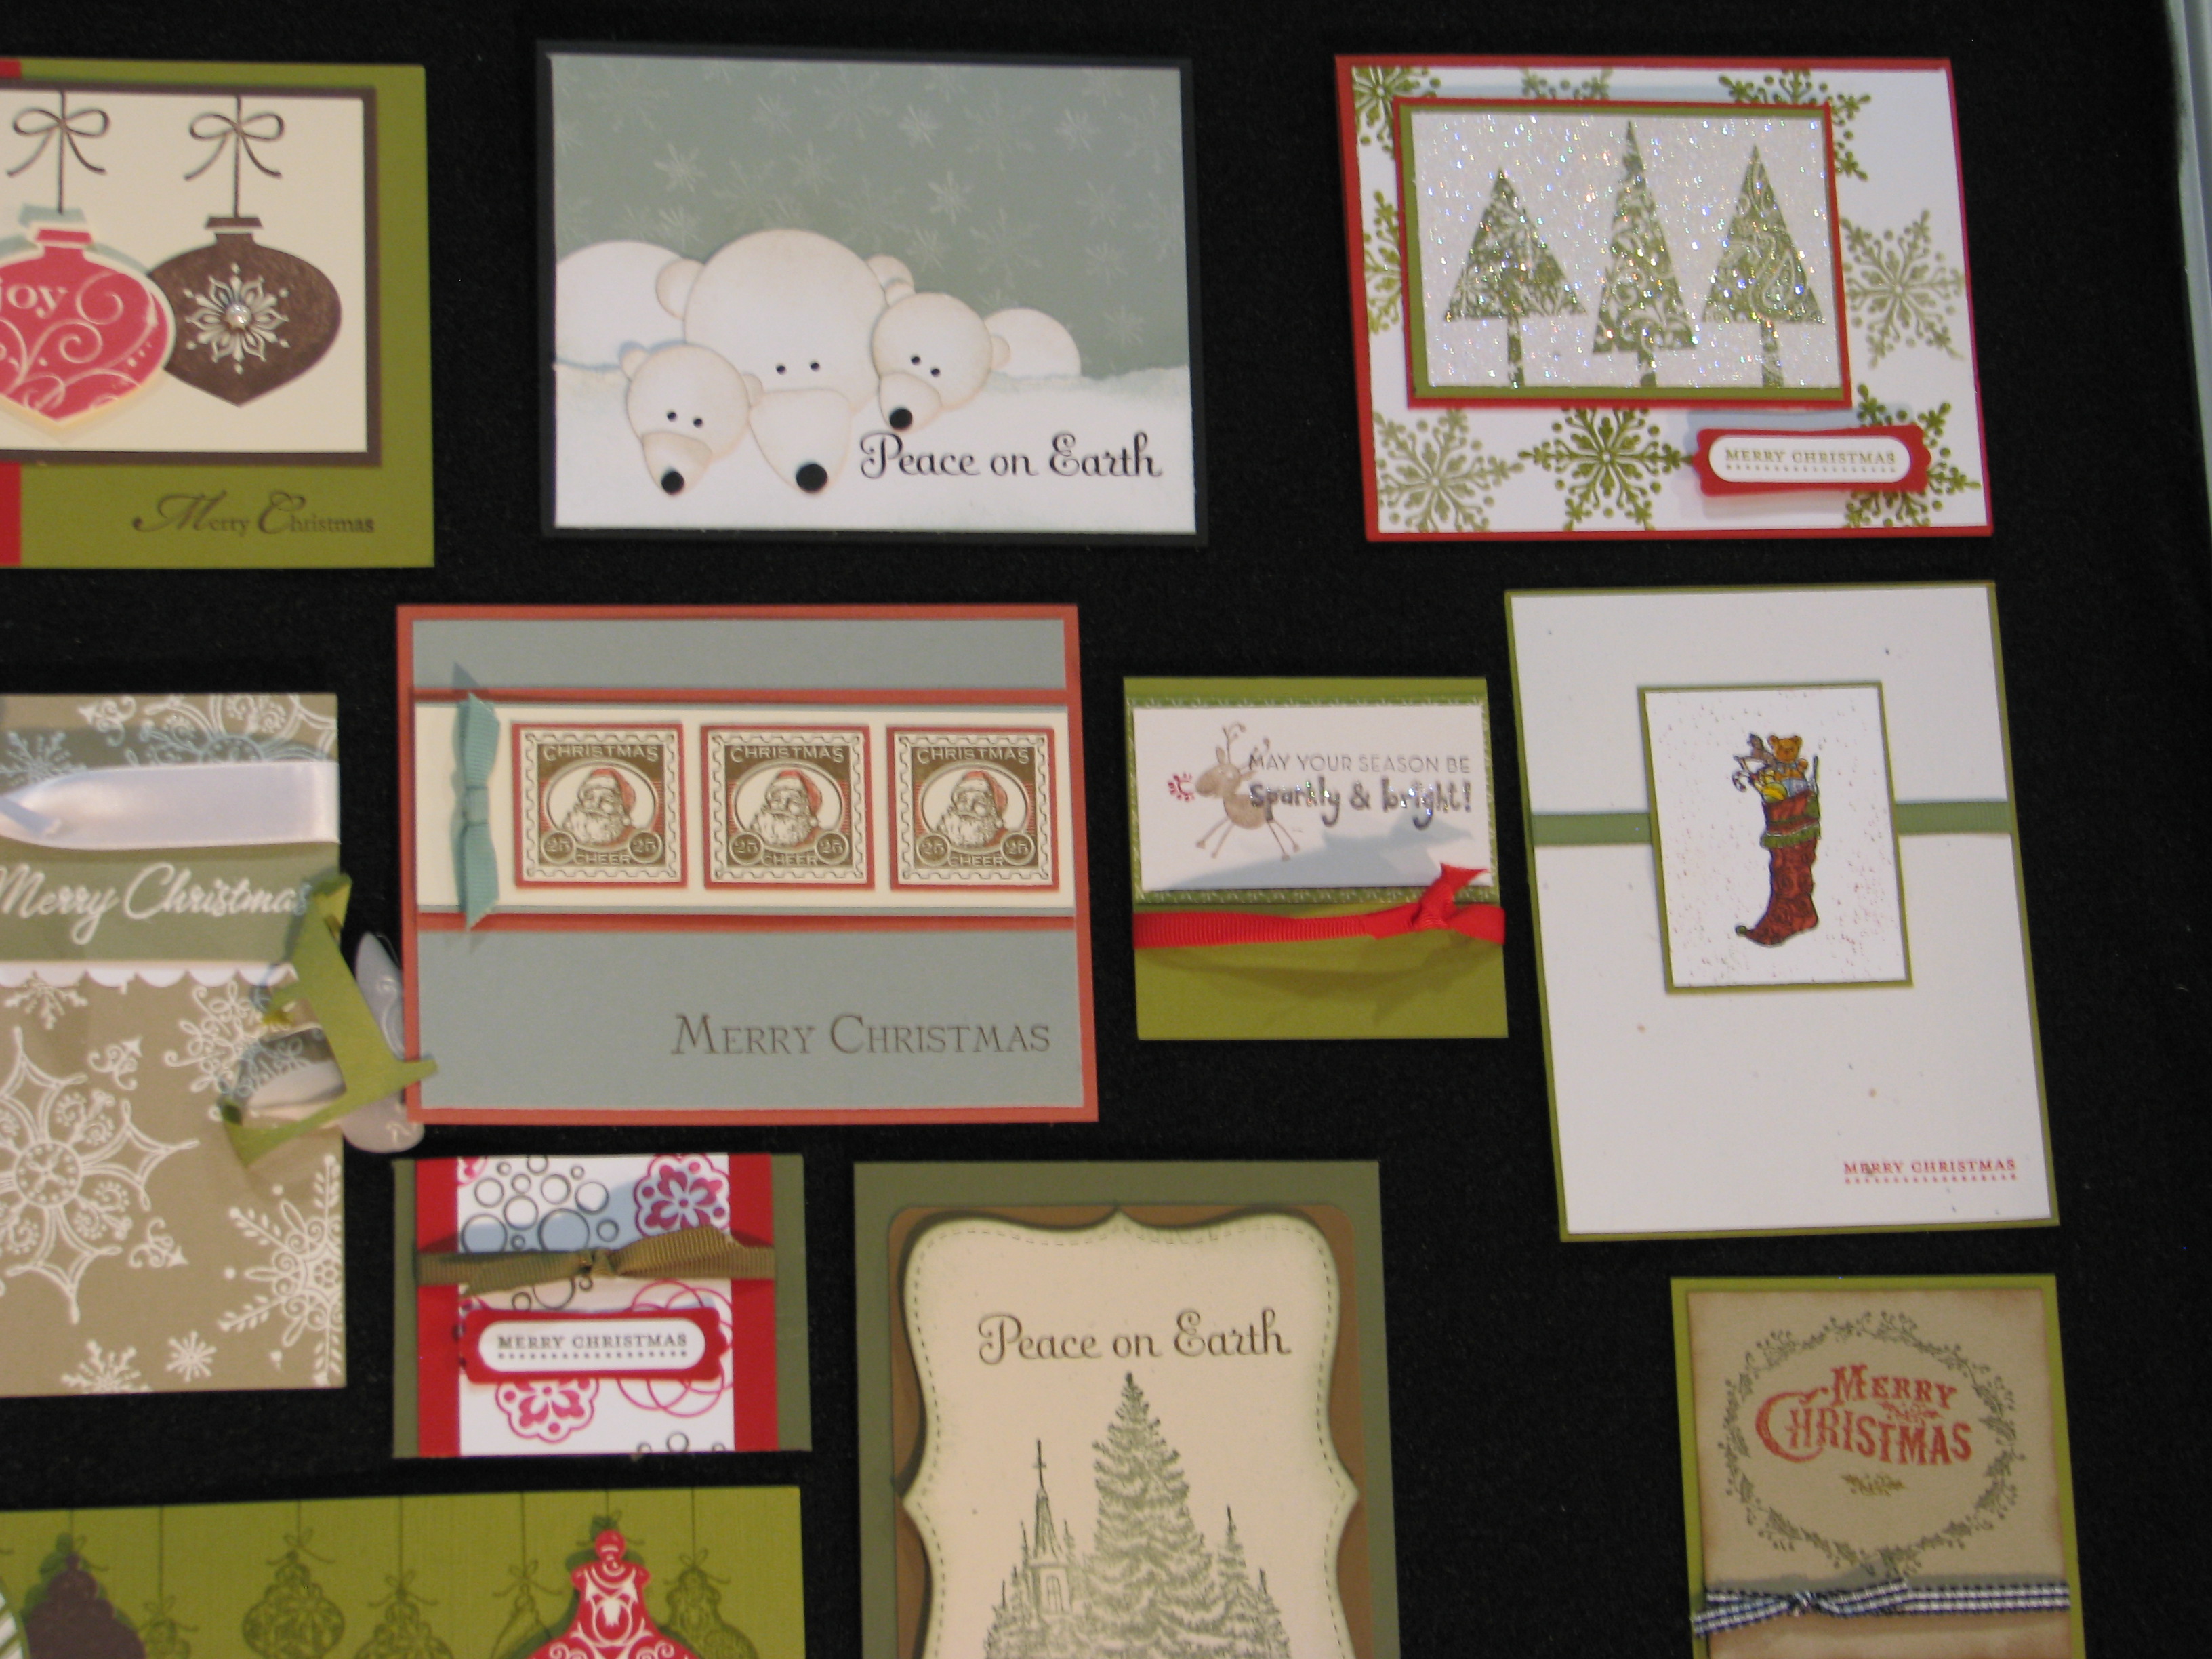
I thought it would be fun to look back at some of the photos I took of the display boards at Convention this past summer.  Maybe you can get some Christmas ideas from them!

All images copyright Stampin' Up! 2010

Soft Suede Christmas Cards

Christmas 3D card

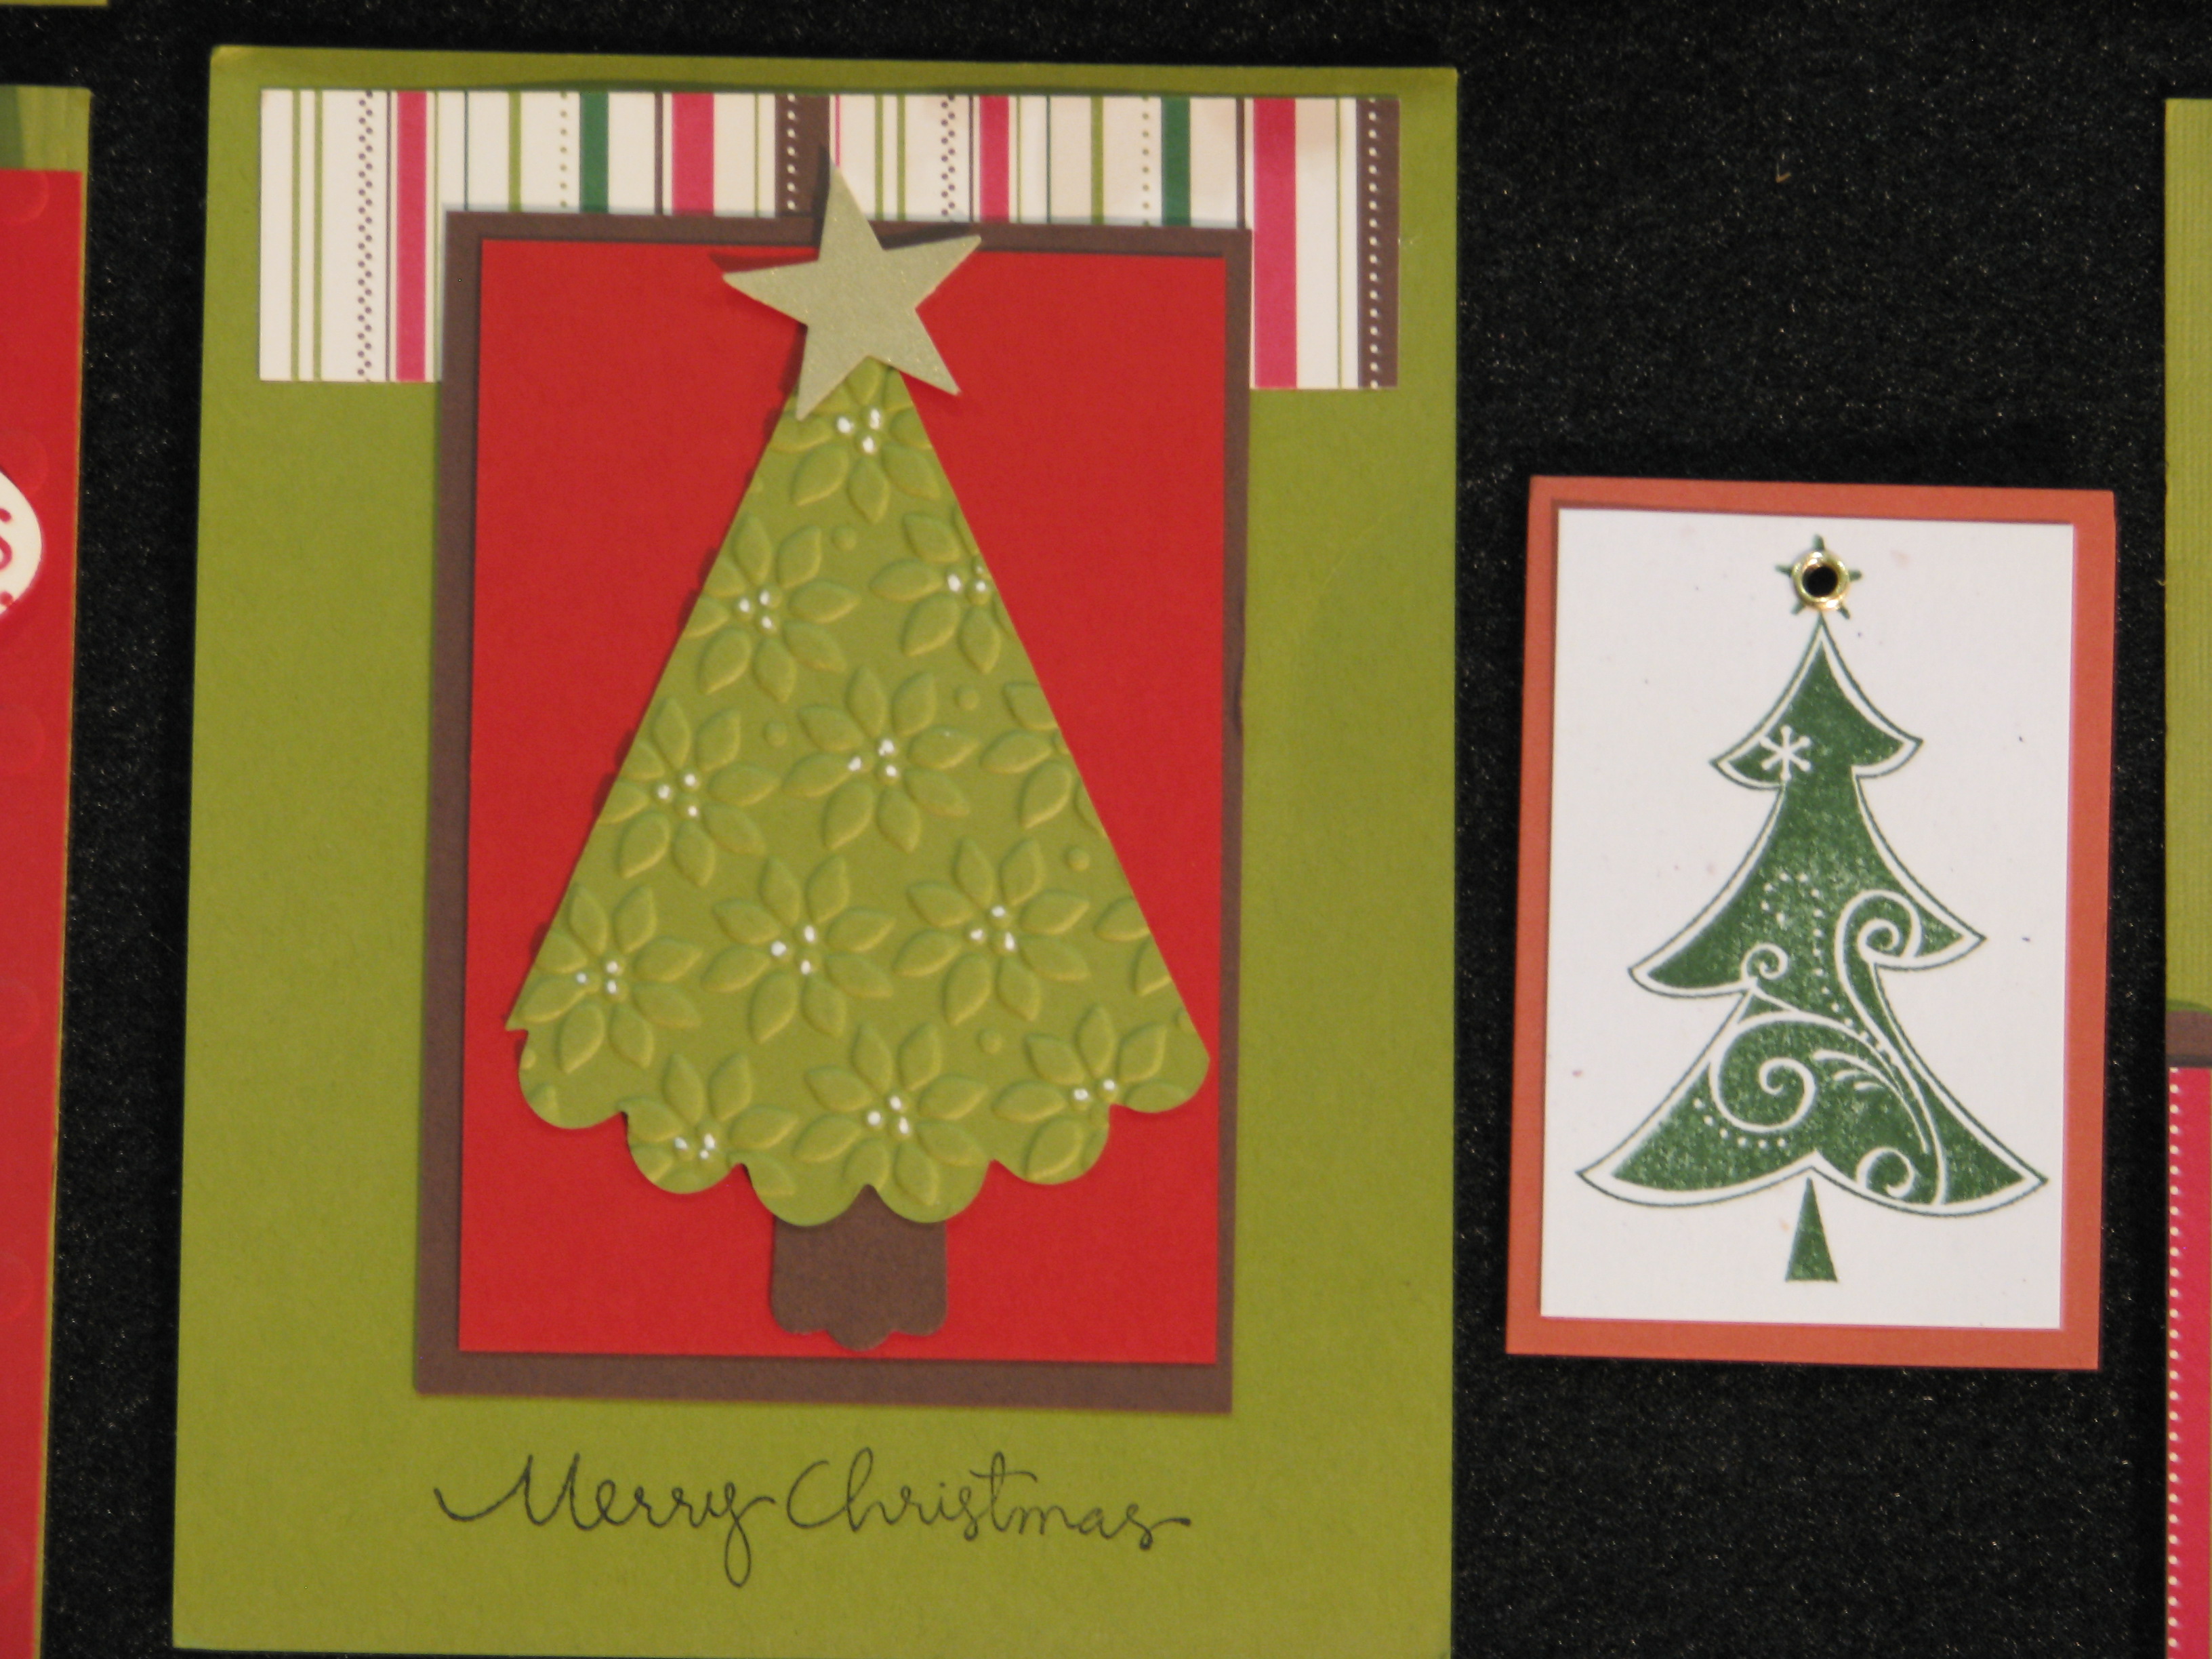
Christmas Tree Embossed Card

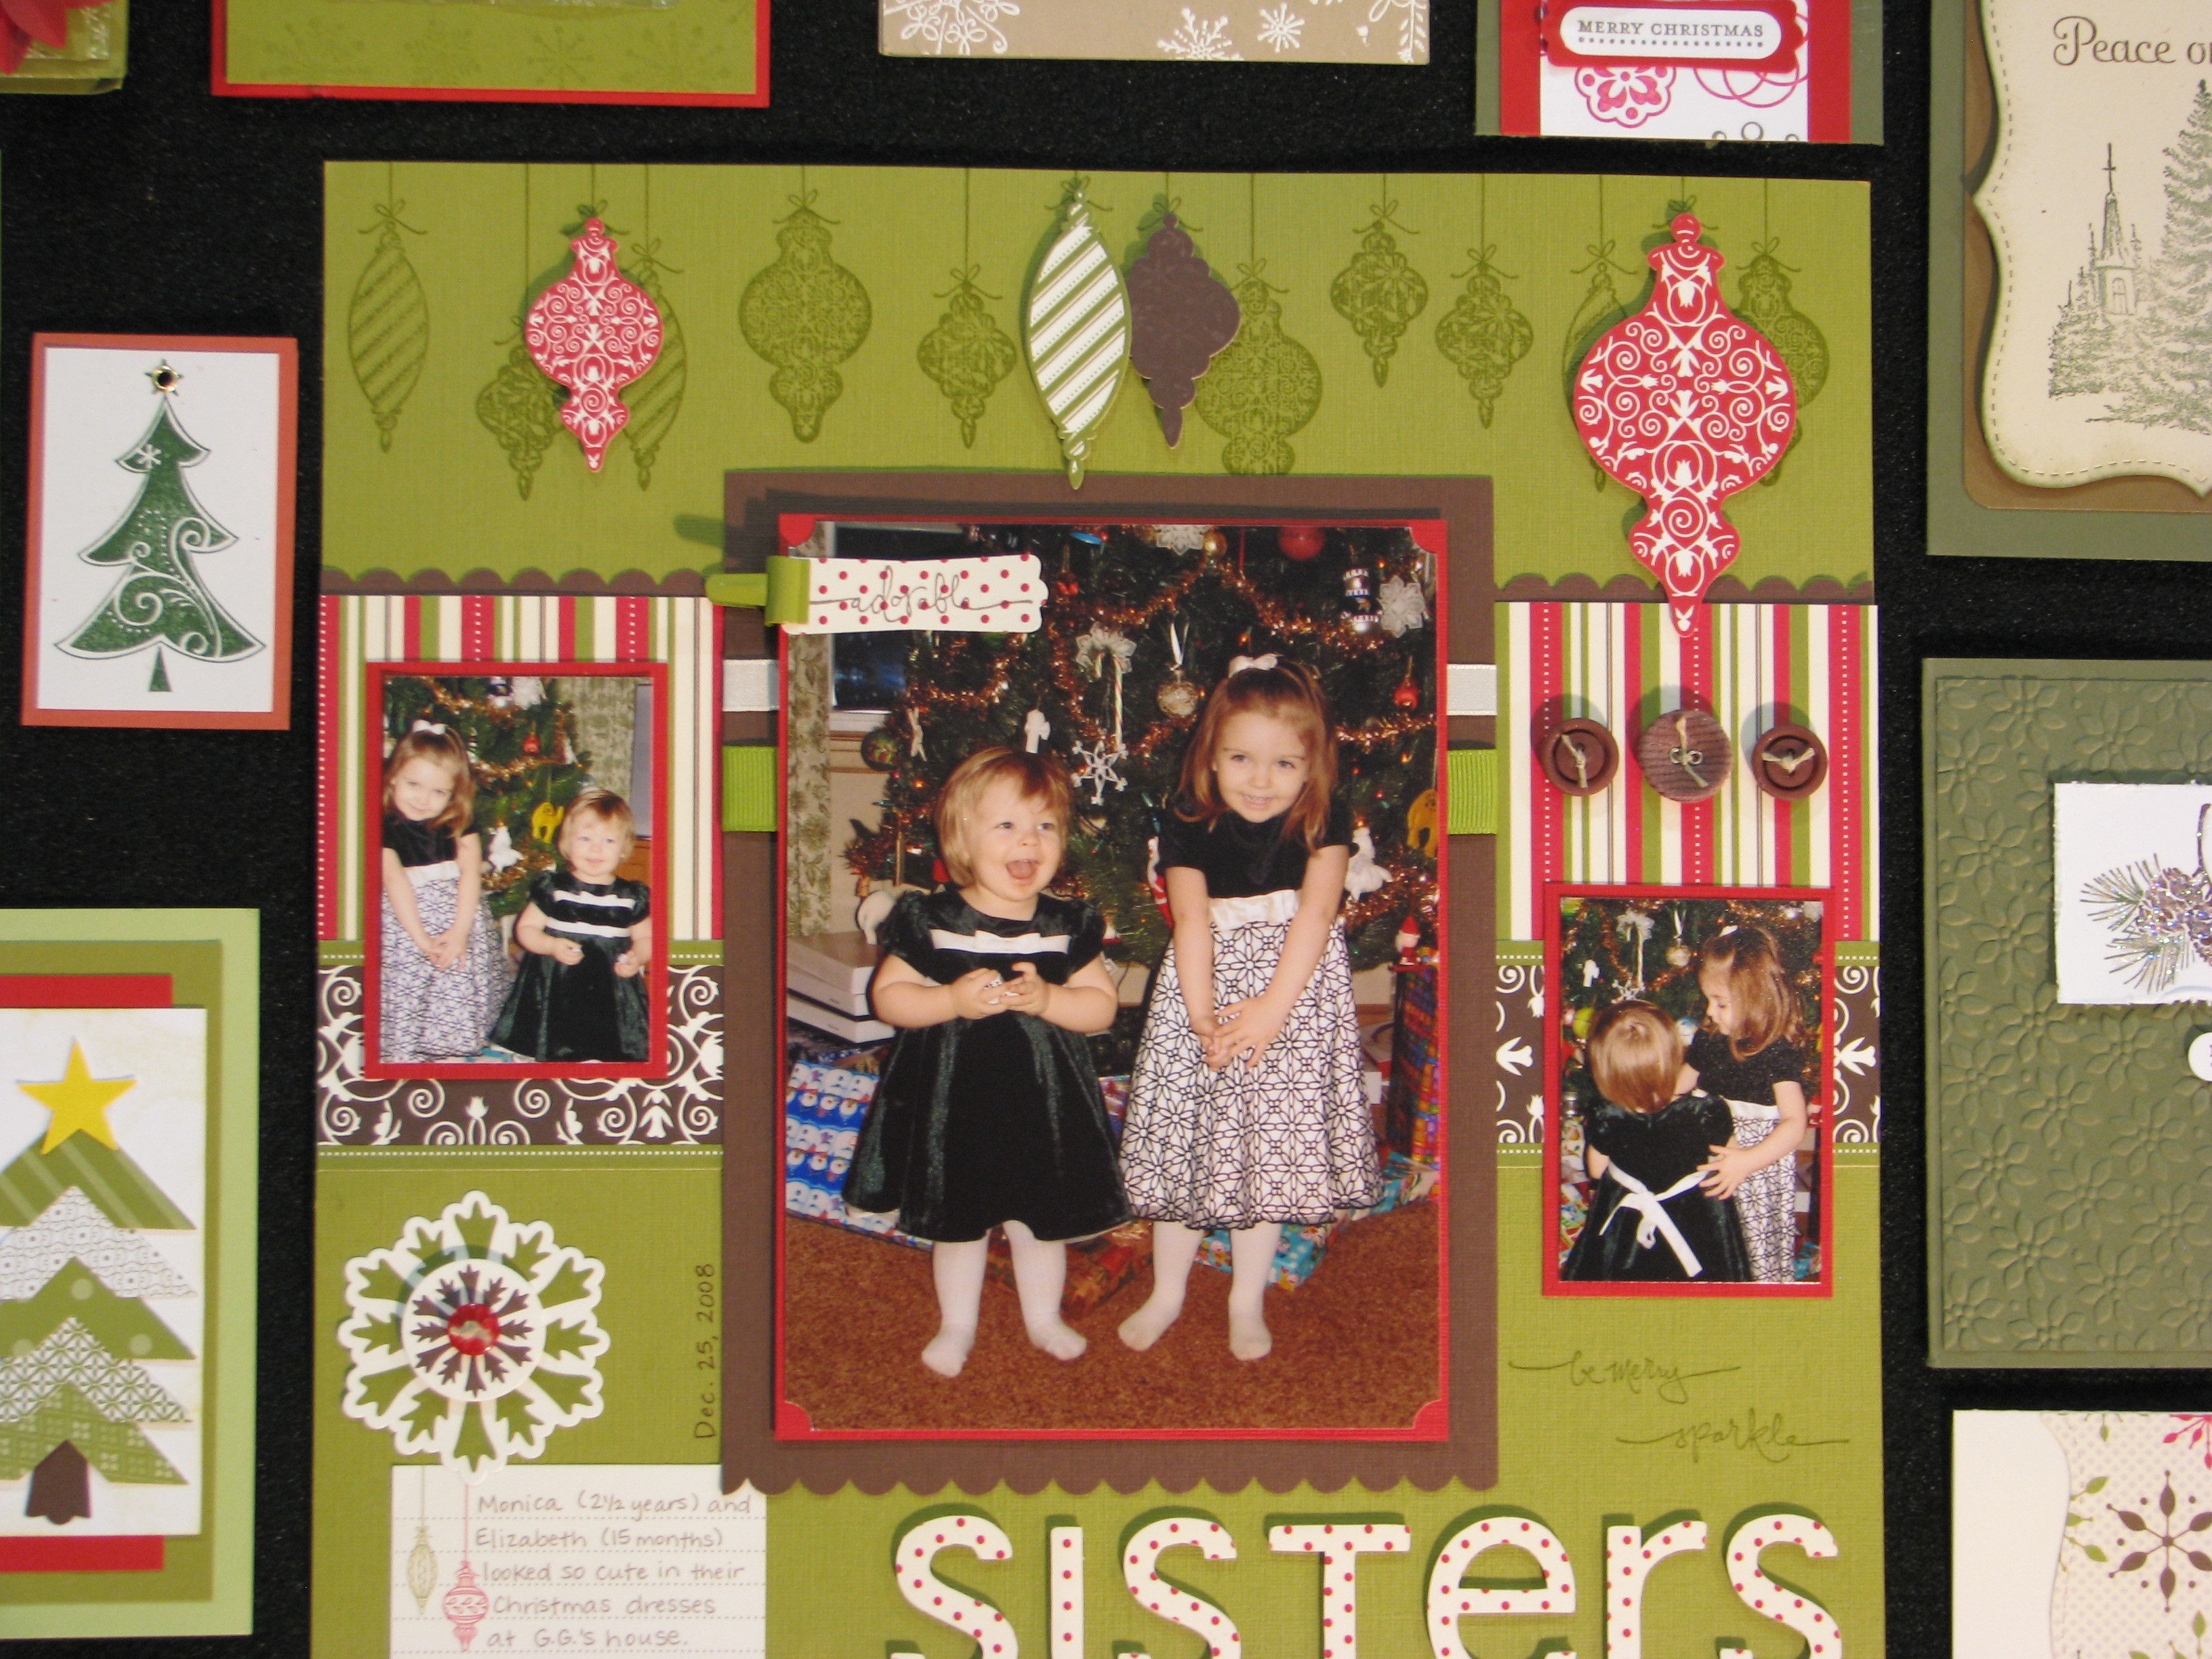
Christmas Scrapbook Page

Stampin' Up! Christmas Cards

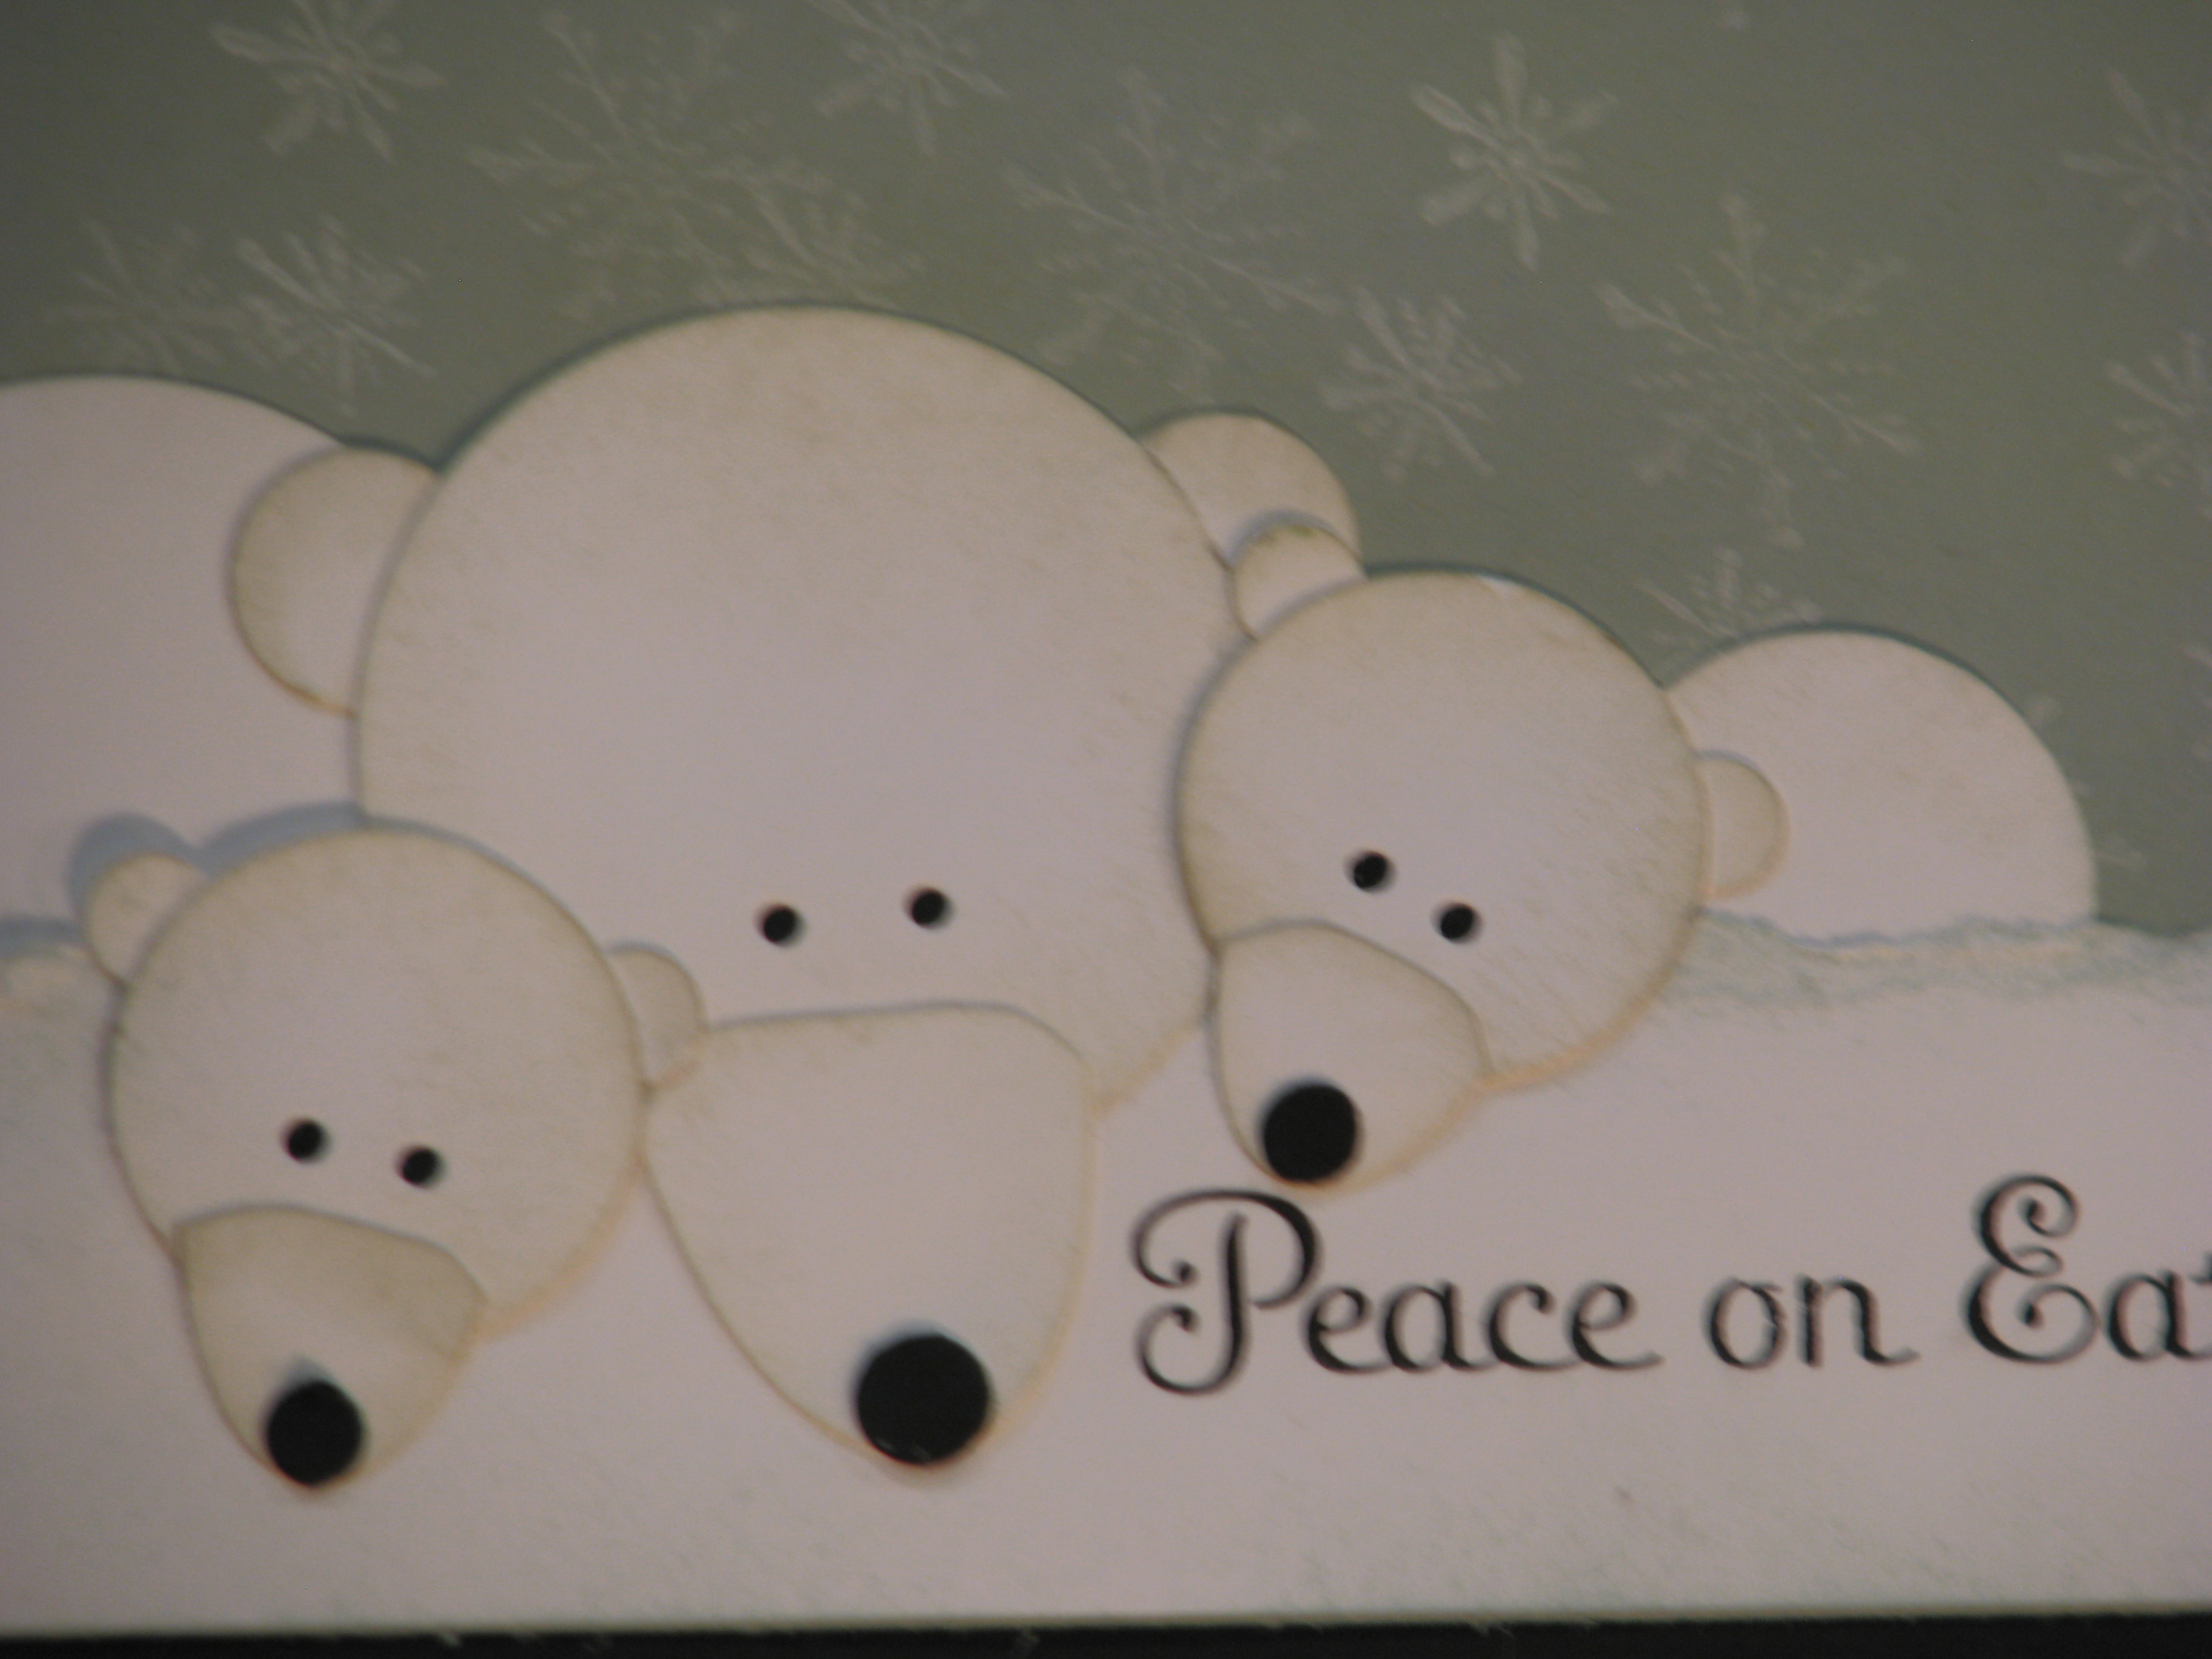
Stampin' Up! Punch Art Polar Bears

Stampin' Up! Christmas Cards

Christmas Cards

Christmas Cards

Lovely As a Tree Christmas Card

Hope you enjoyed those!  I'll post some more for tomorrow!

And if you would love to see display boards like these and more at the fabulous Stampin' Up! Convention every year, it would be great if you signed up to be a Stampin' Up! Demonstrator!  Read about doing so HERE.  Someone could gift you with the Starter Kit for Christmas!
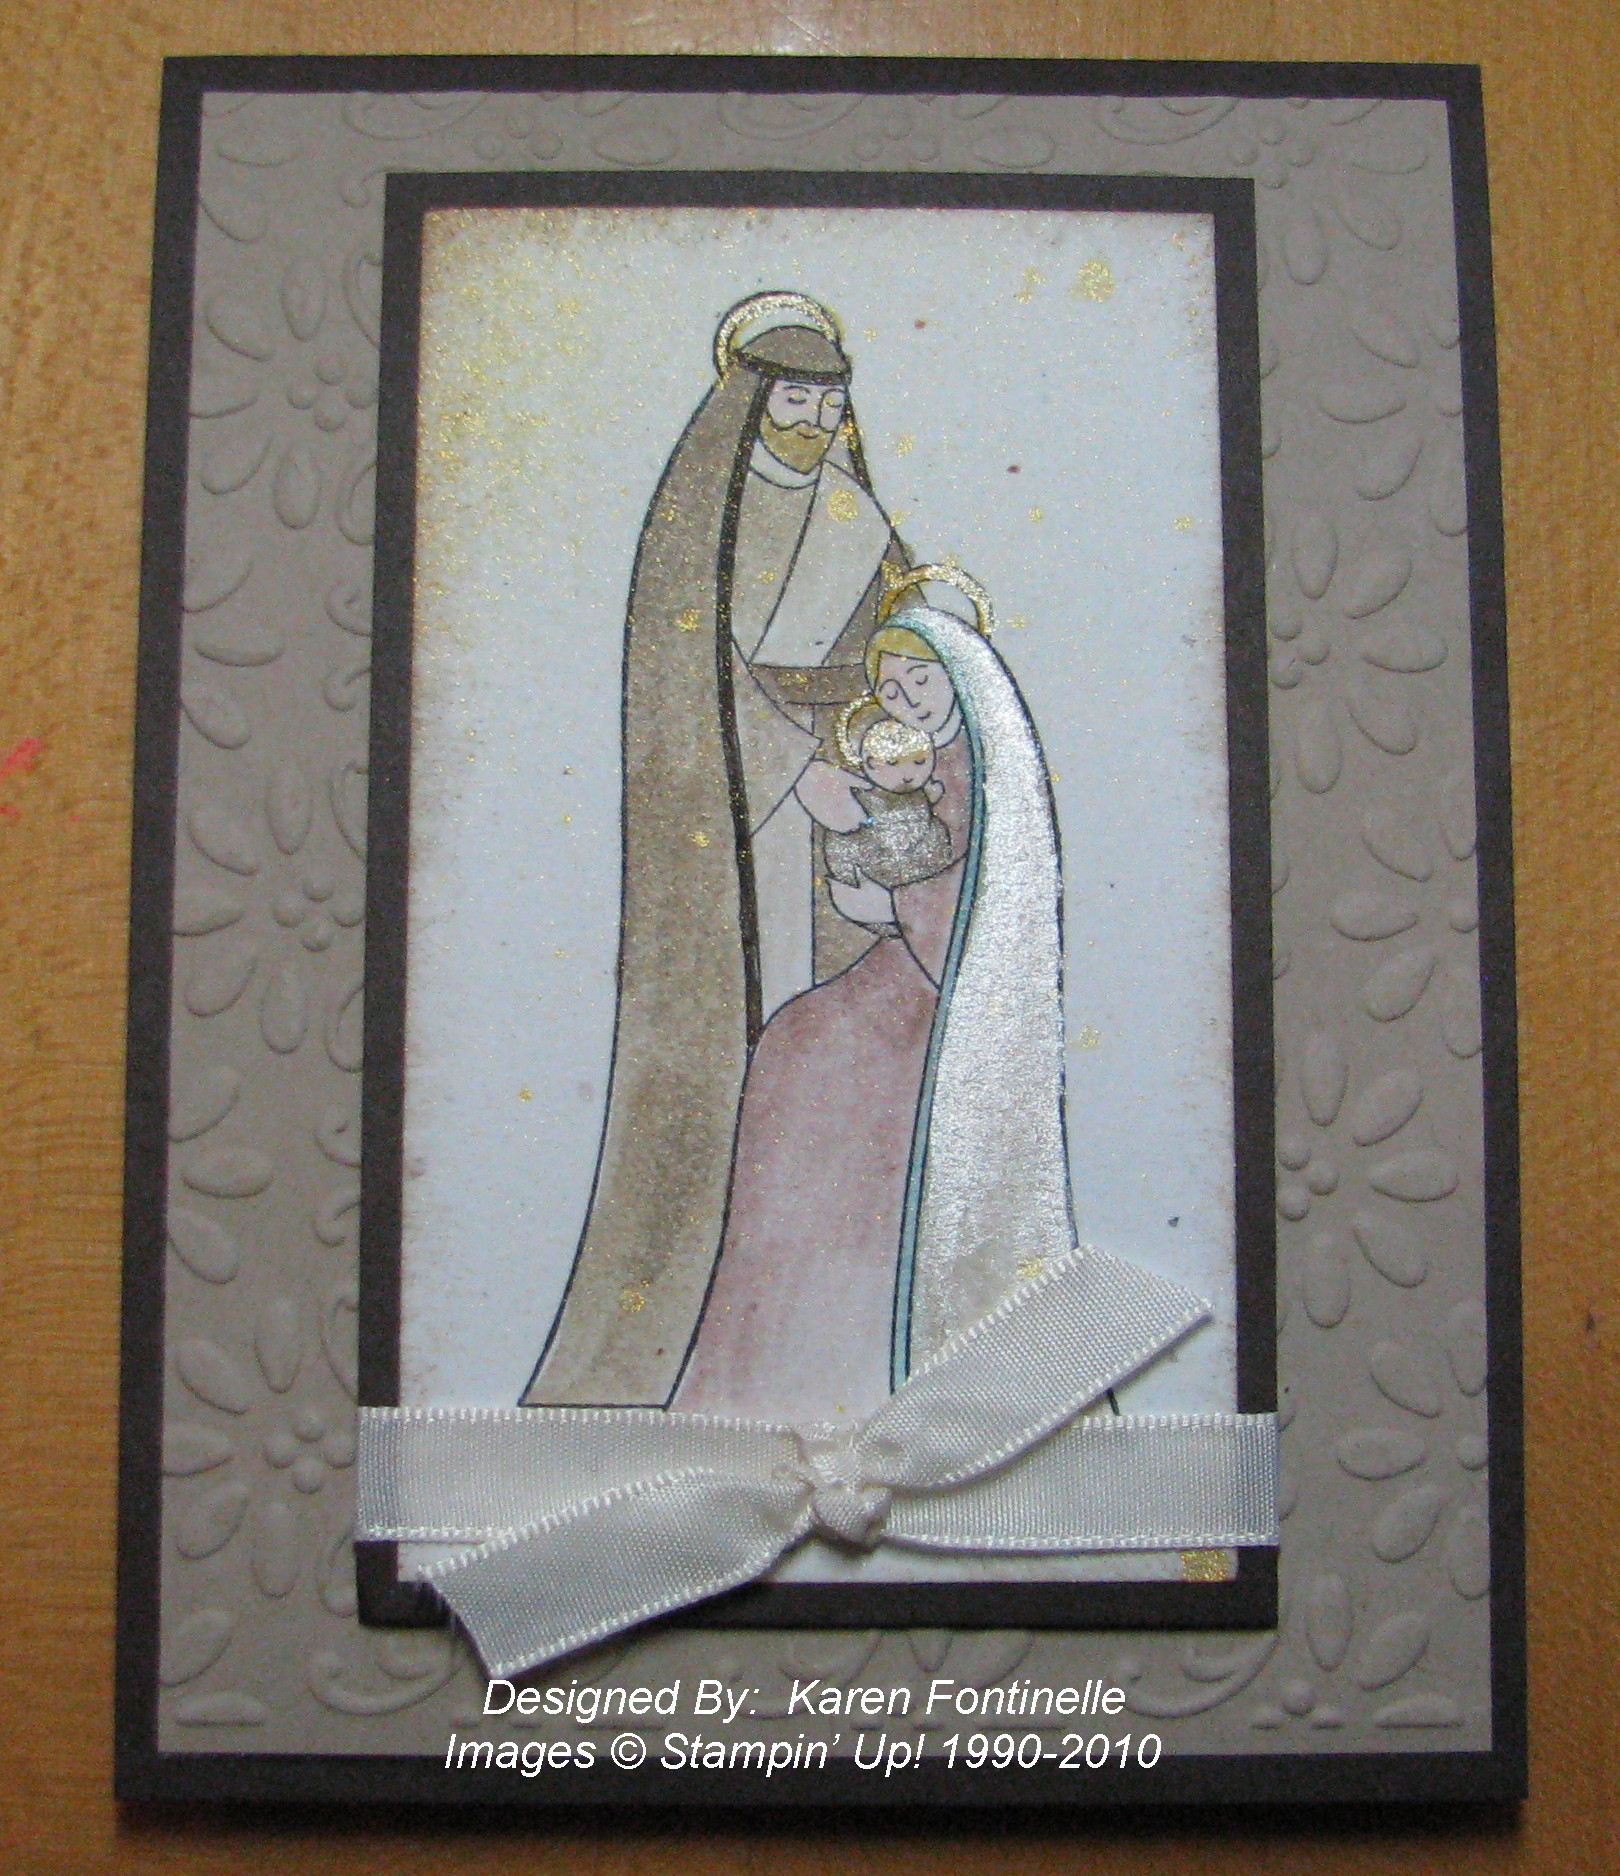
Rejoicing in Christmas

Here is a card I made with this beautiful stamp set, Rejoicing in Christmas (#120829w/121139c).  You can watercolor very lightly with a Blender Pen #102845 or Aqua Painter #103954.  Then for a little extra on this card I used my Aqua Painter to apply some Shimmer Paint (colors on page 195 IB&C) to Mary’s garment and to the three halos.  After sponging the edges of the card with Soft Suede, I also spritzed with some Gold Glow Smooch Spritz #118770.  Instead of Whisper White card stock, I used Confetti White.  The background layer was embossed with the Finial Press Embossing Folder #115963.

HolyFamilyCard

If you need any products to make your own Christmas cards this year, there is still time to place an order.  Check out my Stampin’ Up! Online Store HERE.
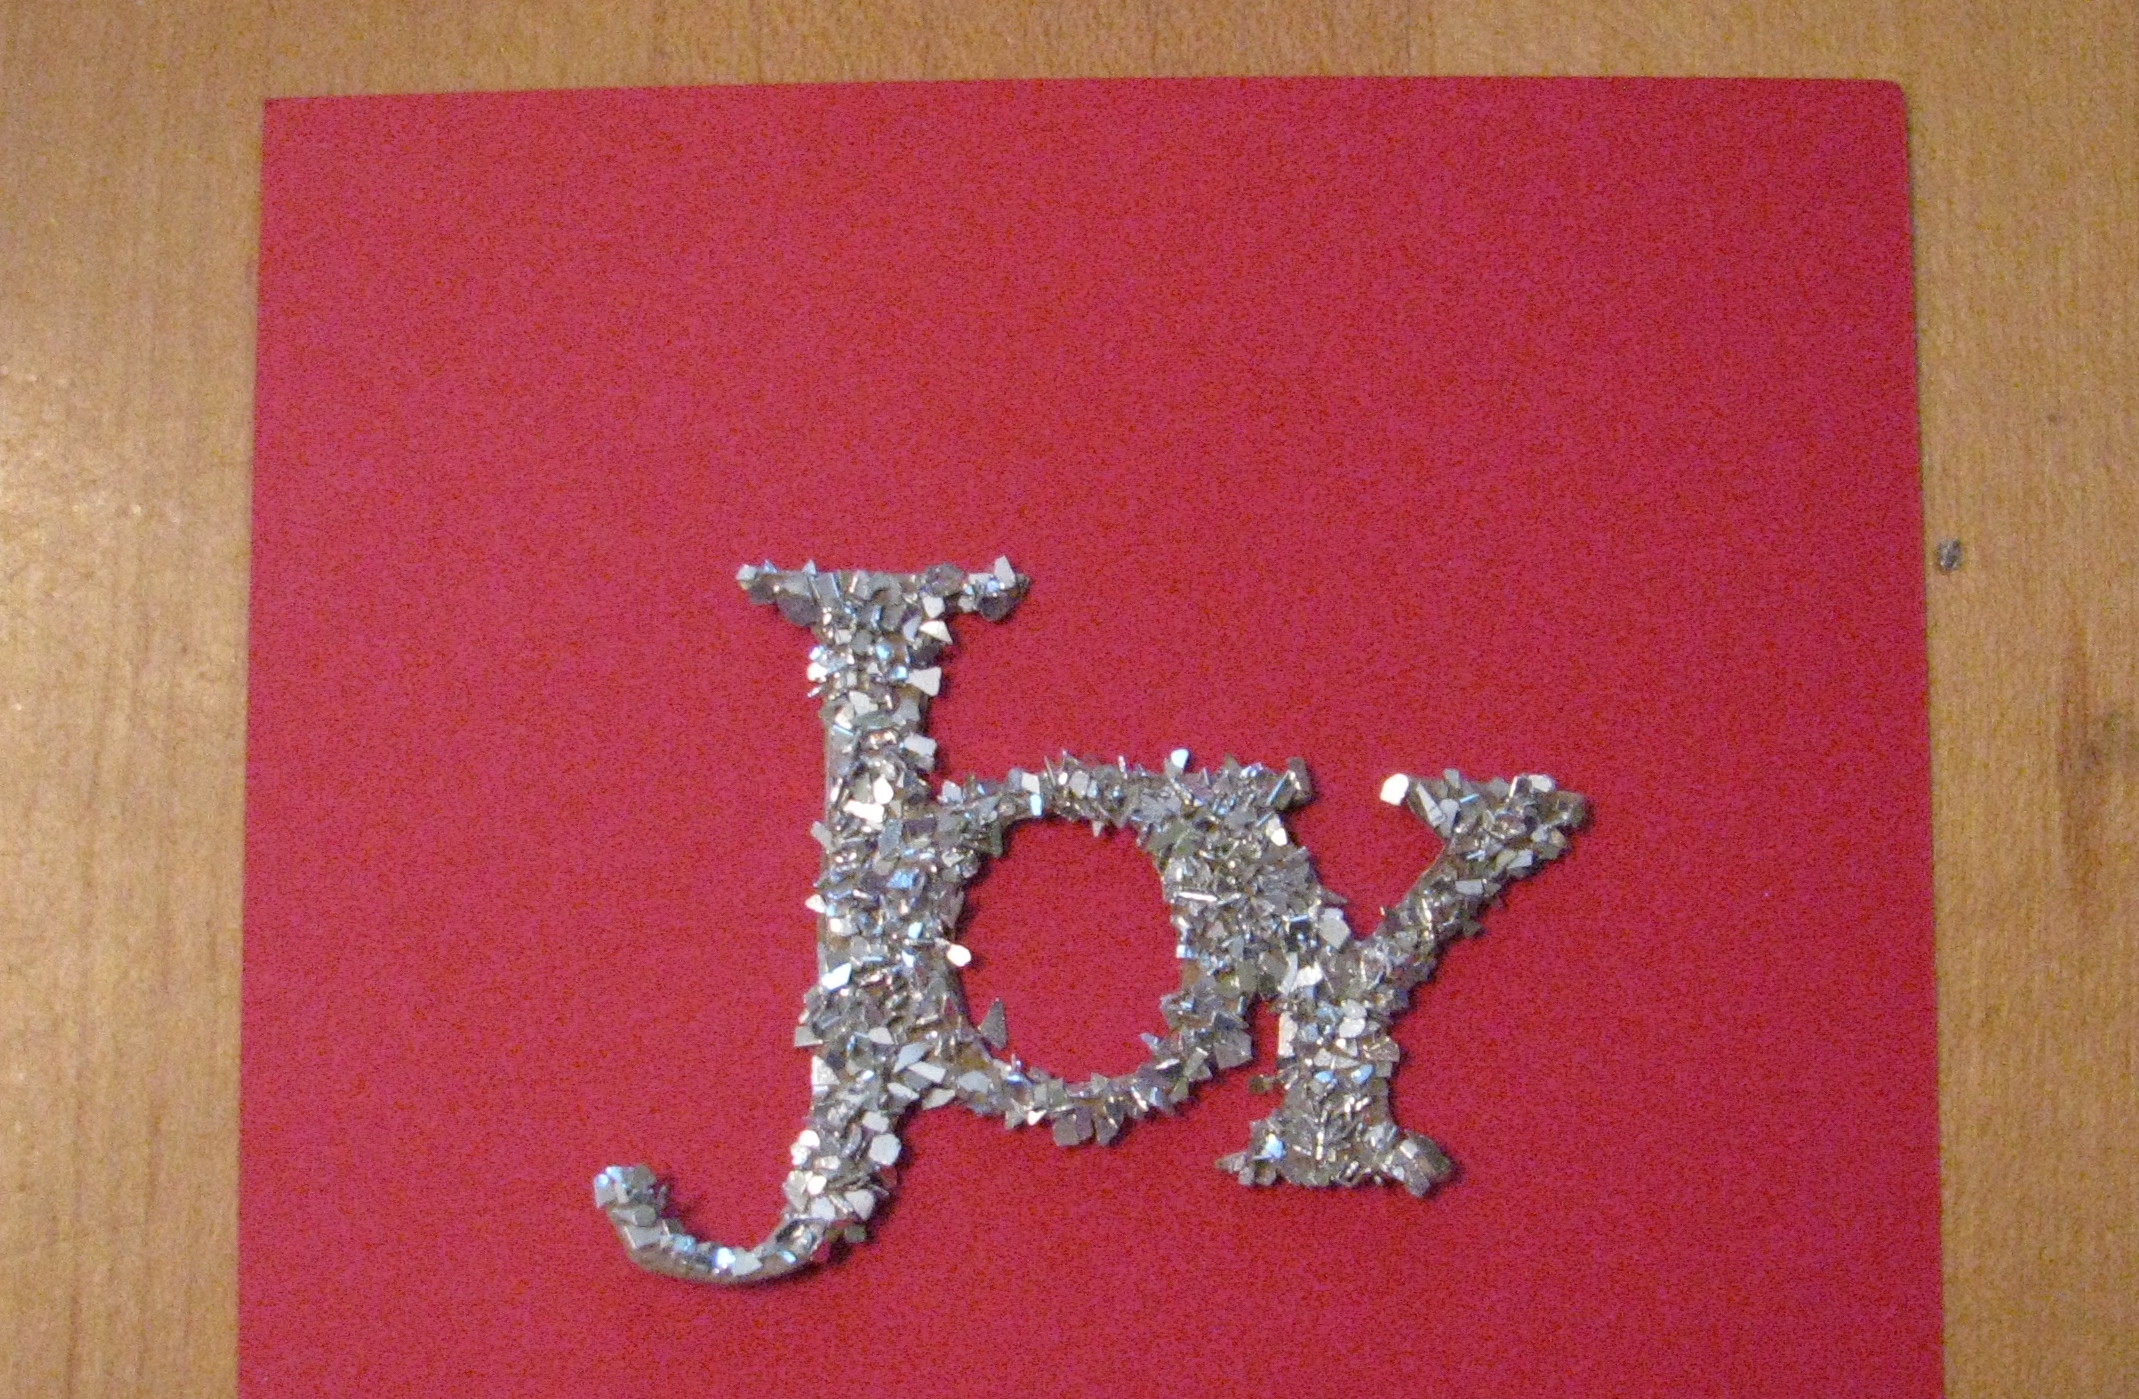
Glass Glitter Word Ornament

Glass Glitter Word Ornament

After seeing some similar glittery word ornaments at a store, I thought "I could make that!"  My only mistake was in using too heavy of card board with the "Join In the Cheer" Sizzlit Decorative Strip Die #113452.  It does say in the catalog, "…for cutting through card stock and Designer Series Paper."  This die is not made for cutting through heavy layers and I did have to use a scissors to fully cut out the word, what I was trying to avoid by using the Big Shot.  I also used the Big Shot Multipurpose Adhesive Sheets #120805 in the Holiday Mini Catalog to adhere designer paper on the back of the card board and also on the front after cutting to adhere the Silver Glass Glitter #120995.  I have to say, I was really pleased with the ease of using the adhesive sheet!  Now I just have to try again with thinner materials!

Be sure to get your Stampin' Up! orders in soon so that they arrive well before Christmas!  You can shop at my Online Store HERE  or contact me with your order and I'll be happy to help you with it.

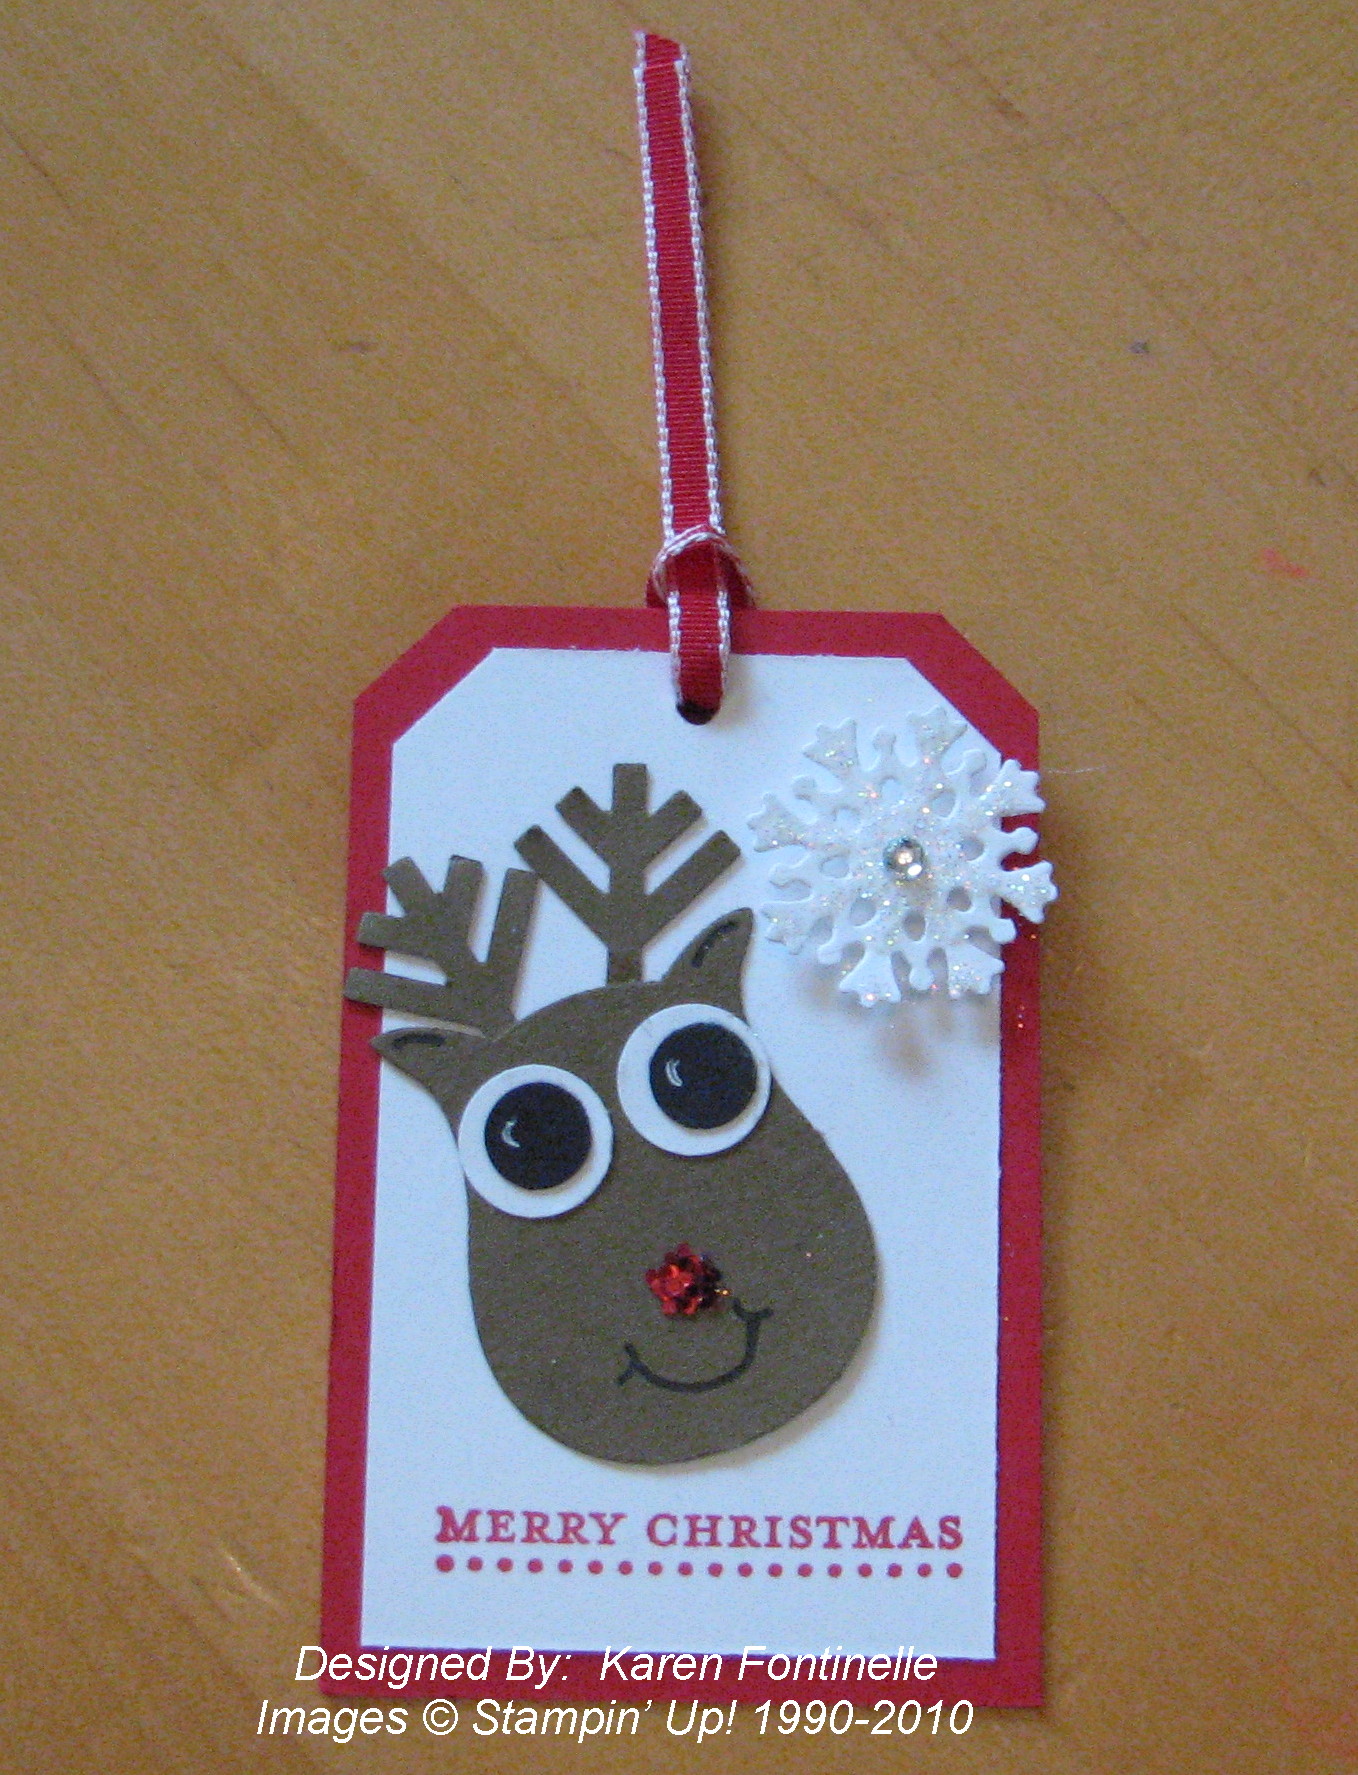
A Reindeer Tag

Here's a little tag I made awhile back.  For sure the idea is copied from other demos online who found ways to use the Owl Punch in ways I could never imagine!  You can also use the Snowflake Punch and then cut two arms of it off to make Rudolph's antlers!  His nose is made with a little bit of red glitter, but an easier idea would be to use one of the new Glimmer Brads!  The snowflake is from the Decorative Strip for the Big Shot, "Northern Frost" #120901…a whole strip of various sizes and designs of snowflakes!  Of course I added a bit of Dazzling Diamonds Glitter to the snowflake as well as a Rhinestone and popped it up with a Dimensional. The greeting is from Teeny Tiny Wishes #115370, a set I use a lot.  Wouldn't this easy tag be cute on someone's Christmas gift?!

Reindeer Tag

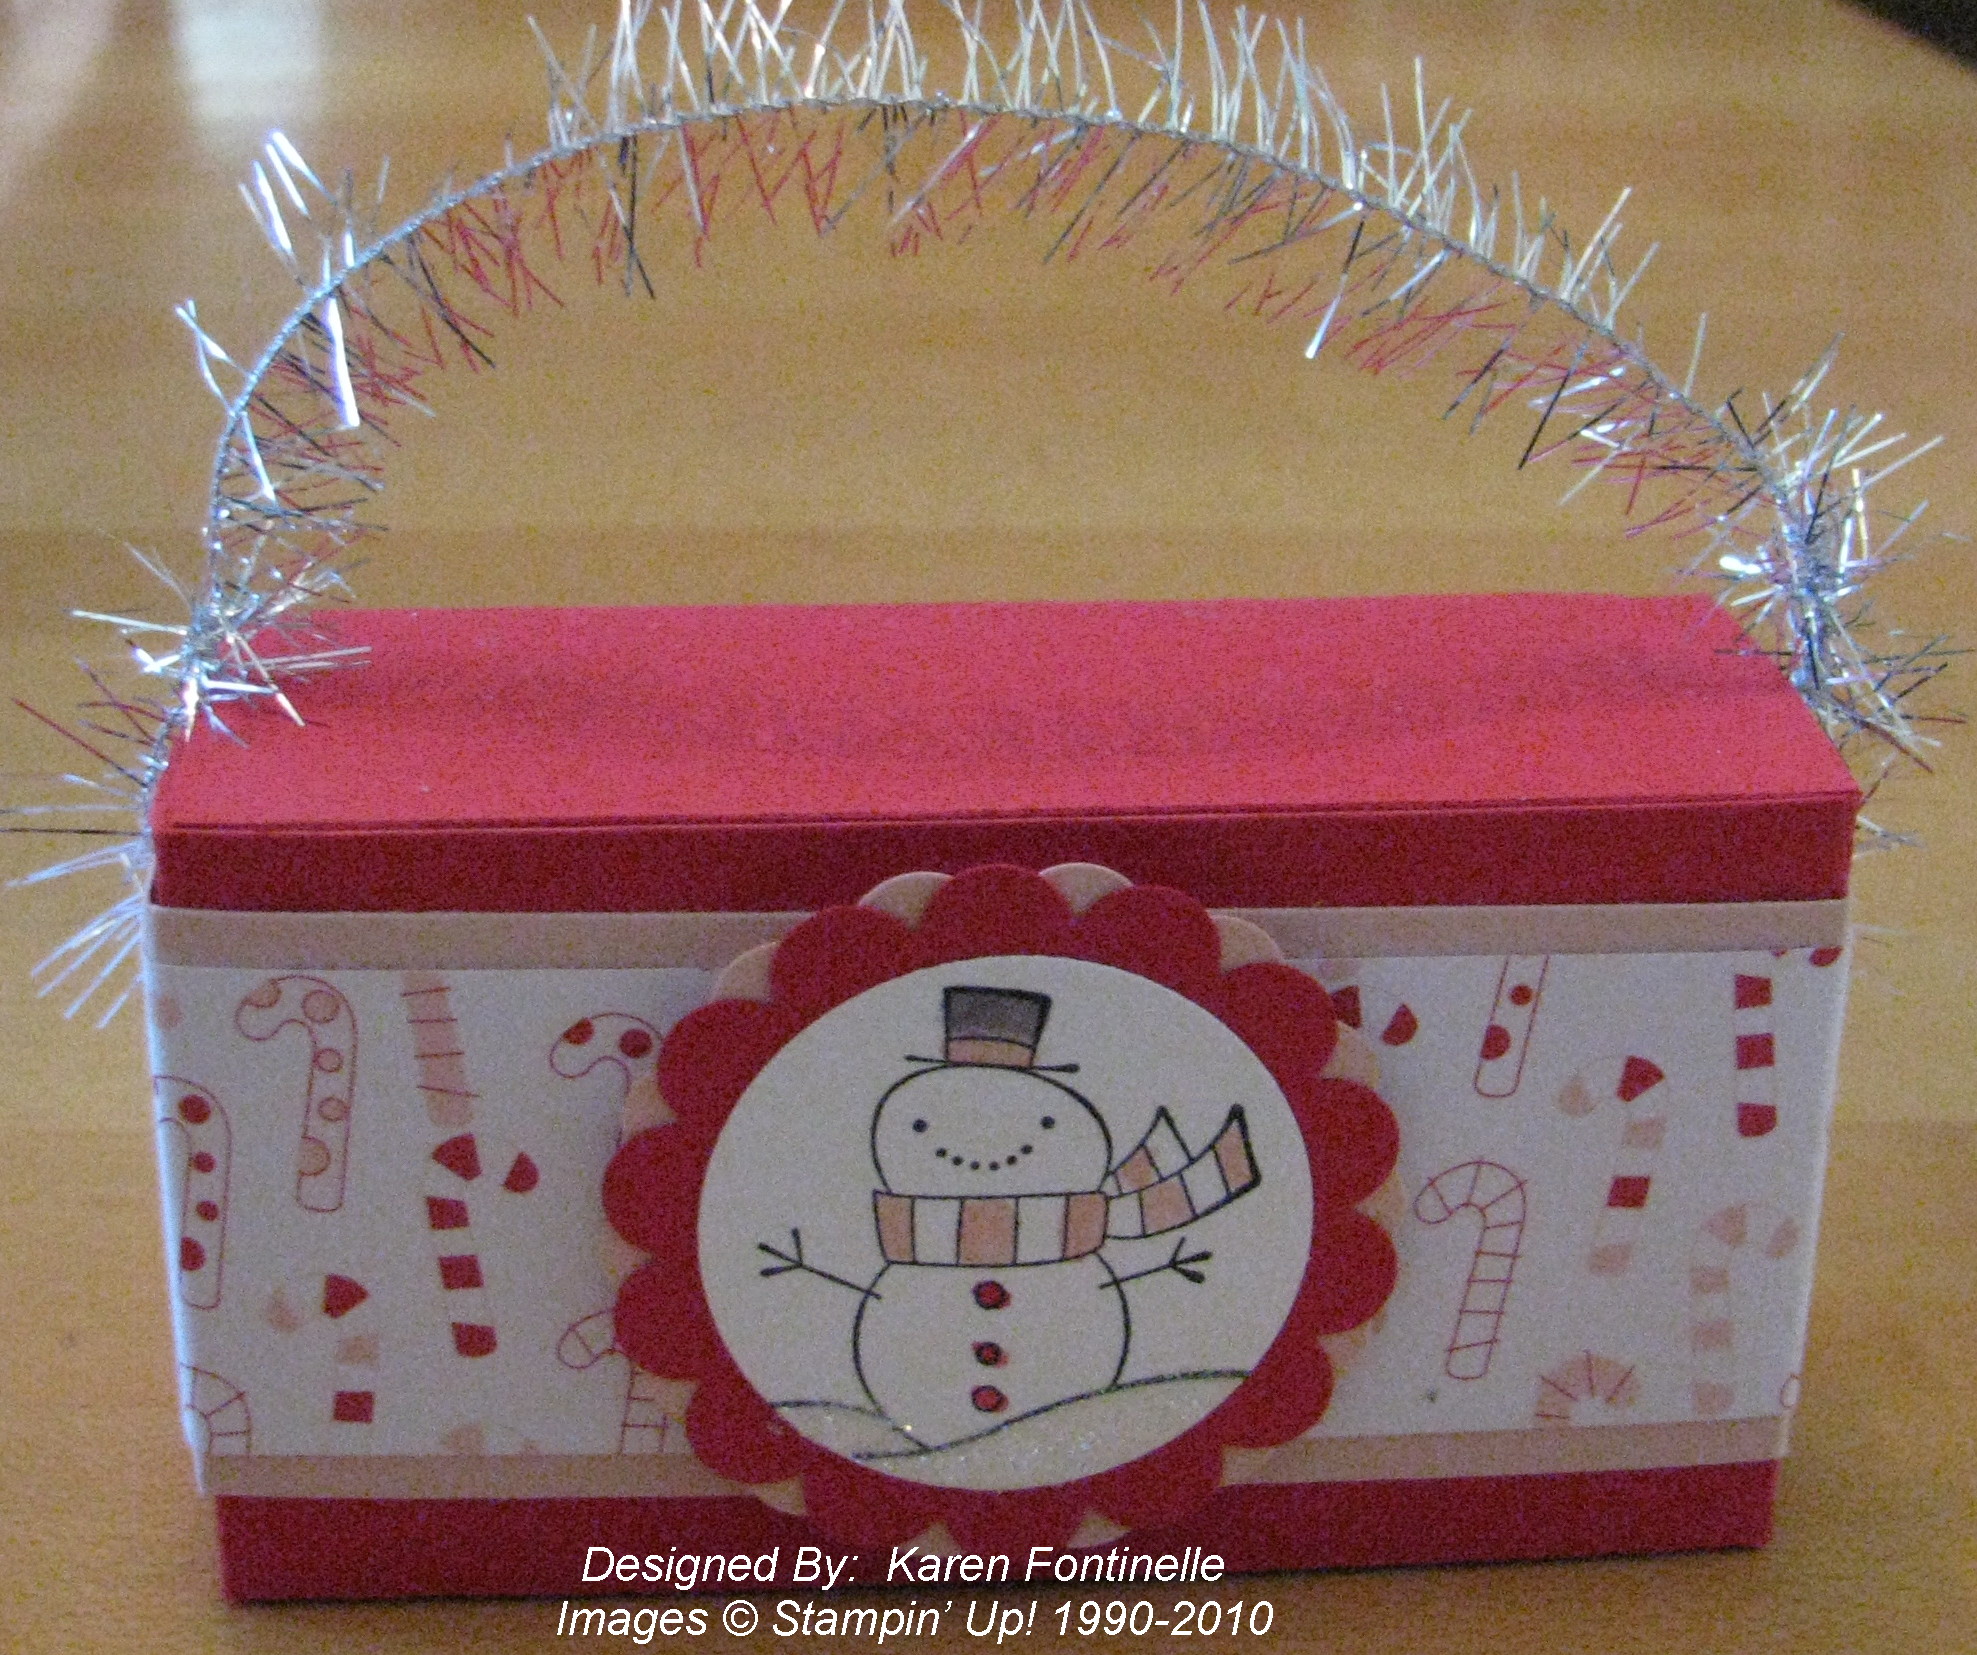
Cute Christmas Box

I made this box awhile back and don't remember if I copied it from someone or made it up myself or what.  Unfortunately, this cute Candy Cane Christmas paper is no longer available, but of course you can substitute any other paper or stamp your own designer paper!  Just use your Big Shot and the Box #2 Die (#114518) to make your box and decorate it for Christmas any way you like.  I LOVE that box die!  The snowman is from the stamp set "A Cute Christmas" in the Holiday Mini .  The handle is made from the Holiday Mini also, the Silver Tinsel Trim #120994. The silver tinsel has a little bit of wire in it so it can hold a shape to a certain extent.  

Now go make yourself a cute little box!  You might be able to use it for a small gift when you go to wrap presents!  Send me a photo of your box and maybe I'll put it on my blog!

SnowmanRedBox


Jolly Old Saint Nick

JollySt.Nick

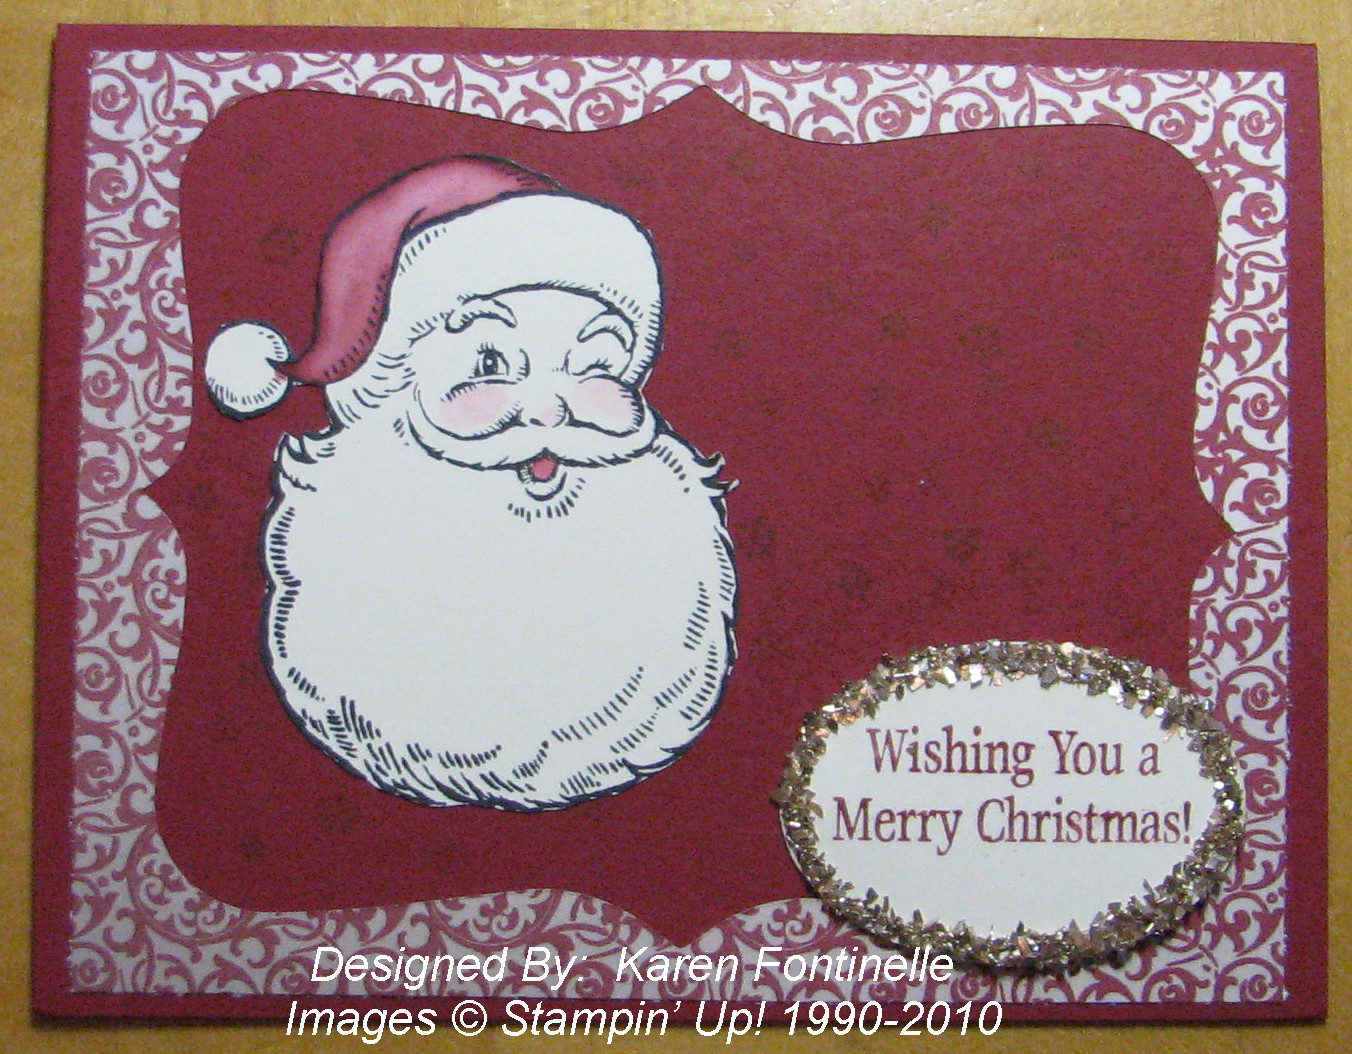
I loved the old-fashioned look this stamp set, Jolly Old Saint Nick in the Holiday Mini, has from the moment I saw it…..and finally I got around to using it!  I also thought the new Glass Glitter #120997 (Champagne) would look perfect with this set.  To make this card I cut a Top Note die #113463 from some Deck the Halls Designer Series Paper #120810, but instead of using the "Top Note" piece, I used the negative….just trimmed the edges to make it fairly even and adhered it to the card base.  I colored in Jolly Old Saint Nick with my Aqua Painter #103954 and ink and cut out.  Little snowflakes come in the set so I stamped those in the background just for a little texture.  The greeting is stamped in Cherry Cobbler and punched out with the Extra-Large Oval #119859.  It's basically a simple card, but I liked the end result!  This is a great set to use for your Christmas cards and tags!

Get Your Candy Cane Christmas Paper Before It’s Gone!

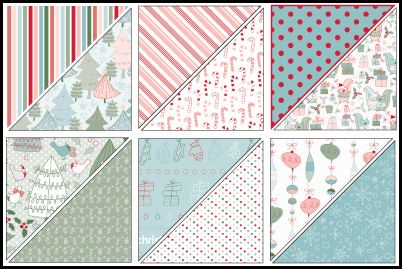
If you haven't already ordered this beautiful paper, Candy Cane Christmas Specialty Designer Series Paper #120809), you better put it on your order right away!  It has been so popular that it will soon be gone!  Why is it so special?  A couple of the papers have glittery designs on them which is just beautiful!

Candy Cane Christmas Specialty DSP

But in case you do miss out, there are other beautiful holiday alternatives: Jolly Holiday (item 117159) and Deck the Halls (item 120810).   Just check the Holiday Mini Catalog

Updating an Older Card

While cleaning up some of my samples and cards, I found three packets of card stock, with a sample card, obviously left over from a stamp camp, maybe from last year or the year before.  I decidcd I would make something with it!

Here's the "old" card.  The stamp set is still current, "Season of Joy" #110384, page 33 of the IB&C, so really just the designer paper is retired.

TreeCardold

Here's the new card.  I flipped the designer paper to the other side, substituted the tree from Paisley Prints, in the Holiday Mini, clipped the corners, and instead of ribbon I punched a strip with the Dotted Scallop Ribbon Border Punch #119275.  I used a greeting from Jolly Old Saint Nick in the Holiday Mini, as well as a little Basic Rhinestone #119246 to top the tree!

TreeCardnew

If you need any supplies to make your Christmas cards, you can contact me or just go straight to my Online Store HERE.
Scenic Season Card

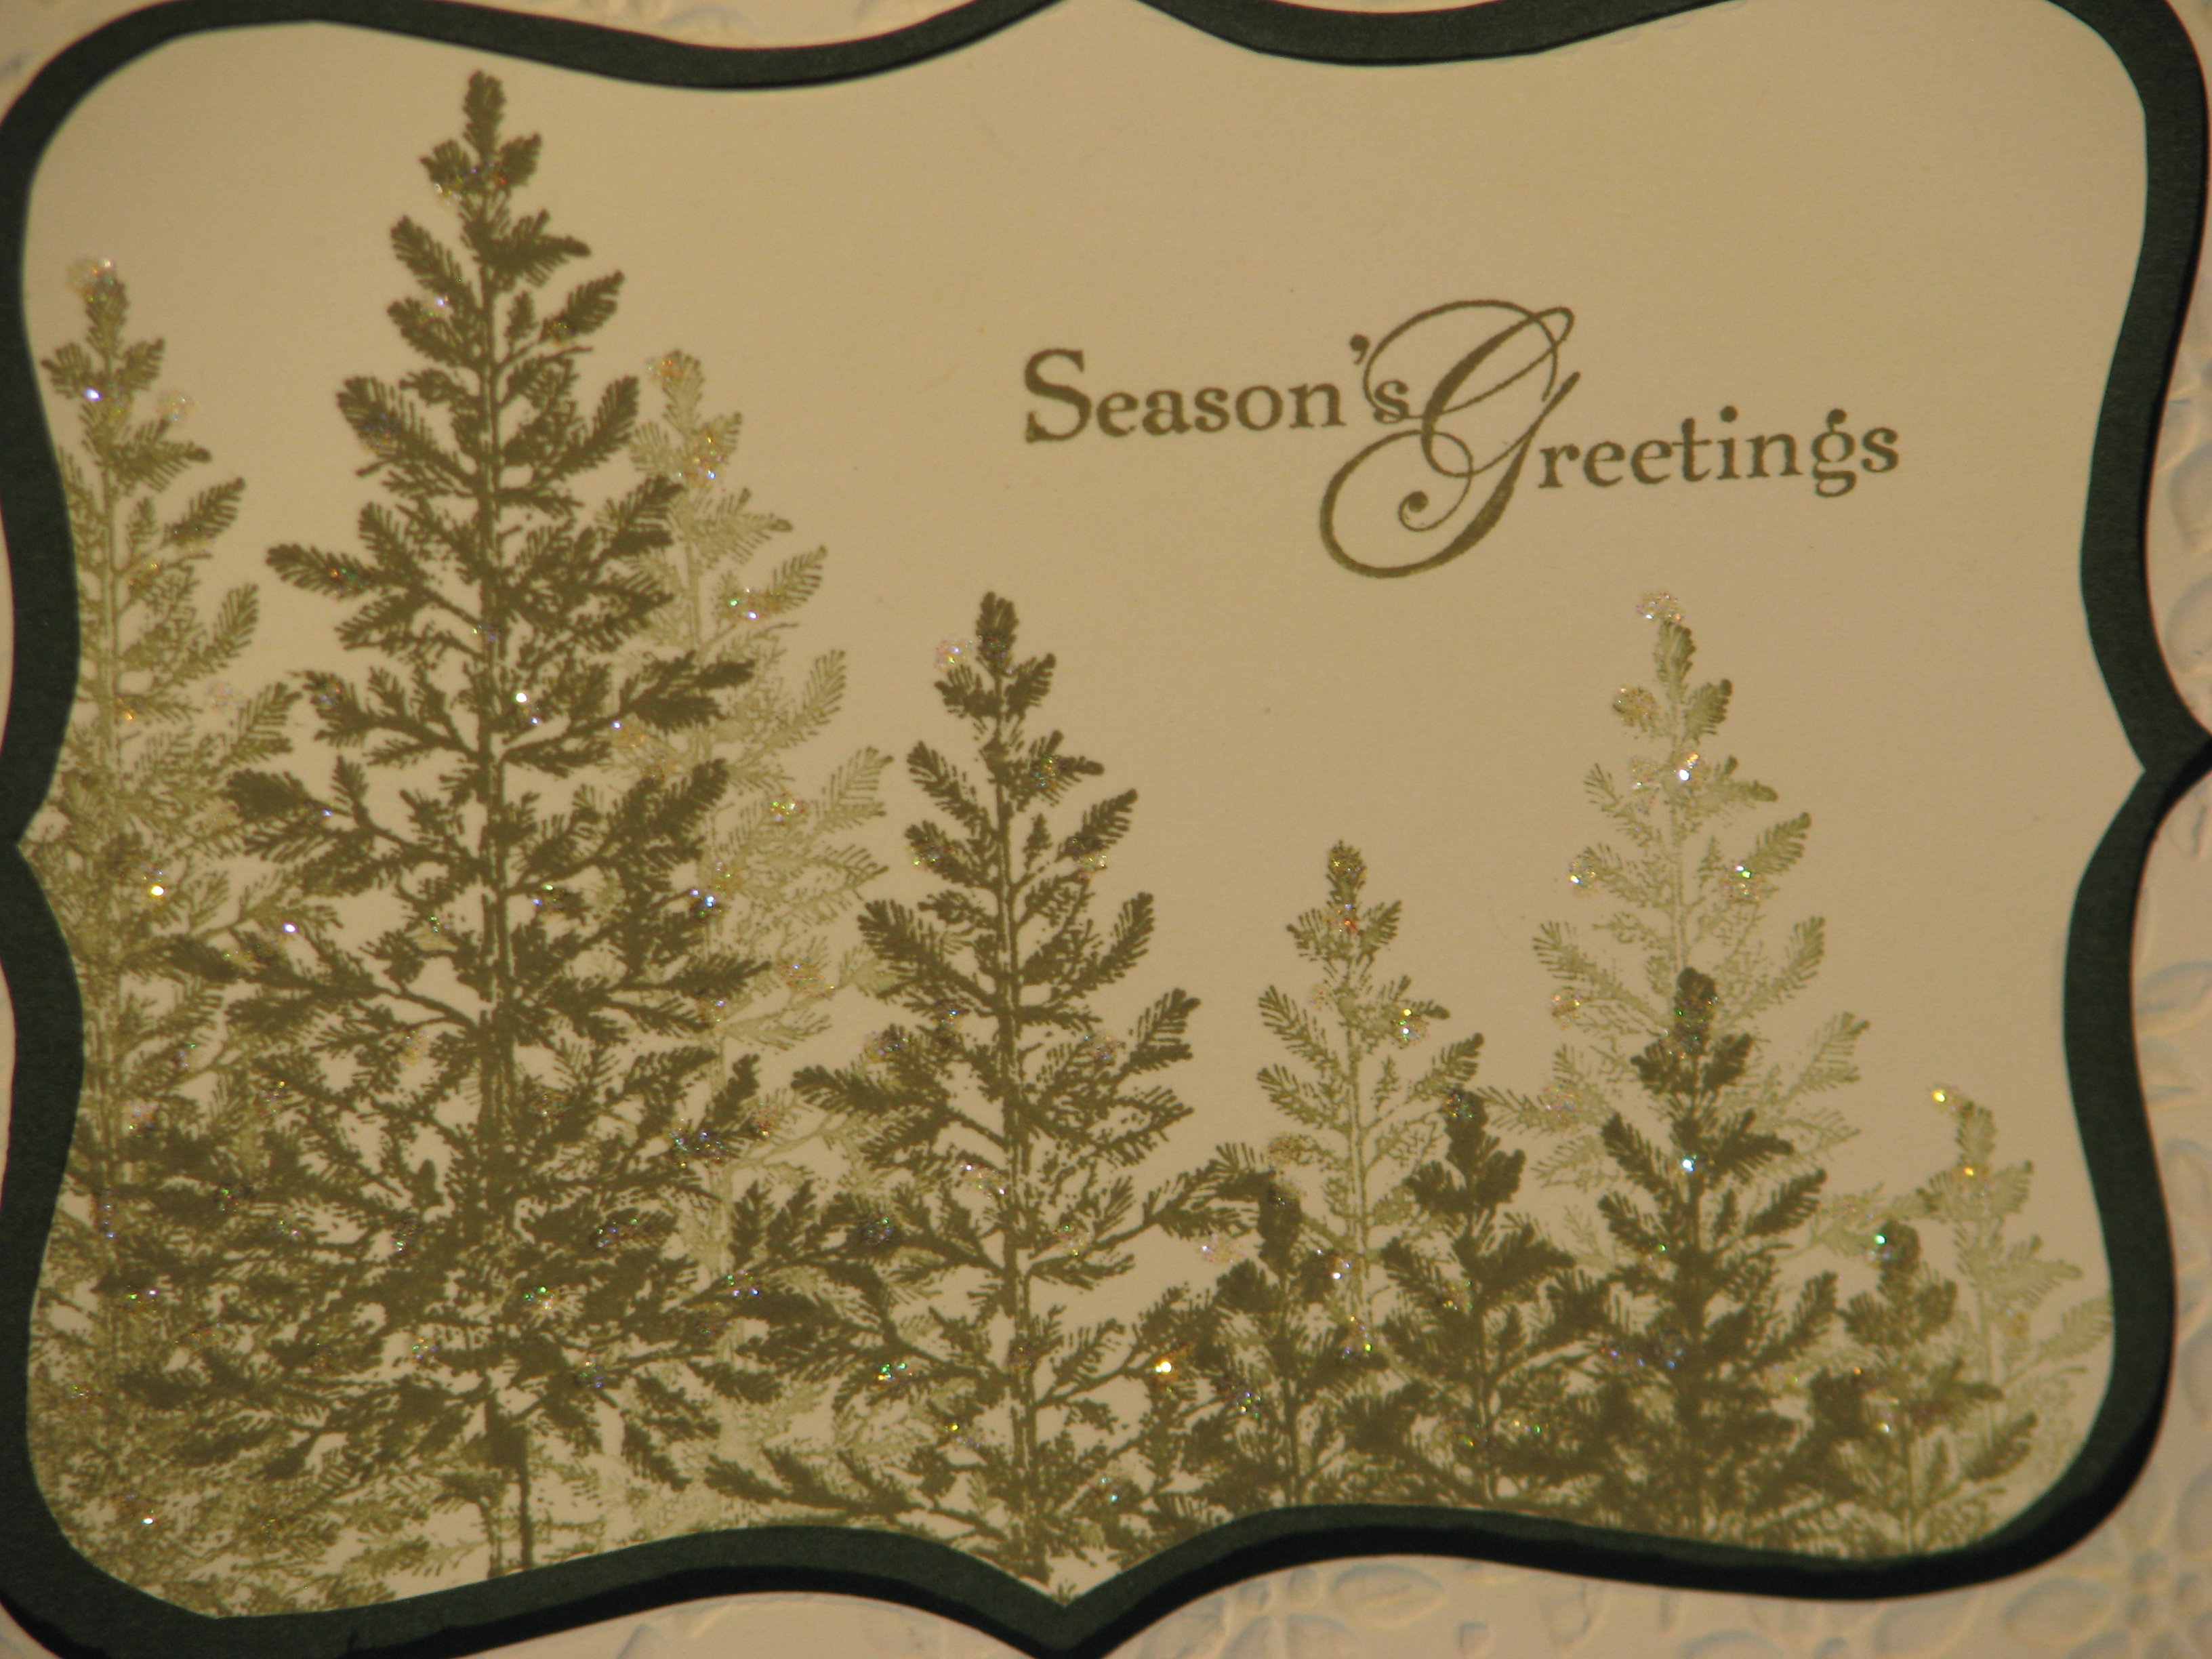
This is a beautiful stamp set, Scenic Season #115354, from the Stampin' Up! 2010-2011 Idea Book & Catalog, page 36, that allows you to make an easy and elegant Christmas card.  Just stamp the trees and a greeting, add a little Dazzling Diamonds Glitter and maybe a snowflake from the die cut Northern Frost #120901 in the corner.  Layer on whatever cardstock colors you select.  I used Night of Navy and Cherry Cobbler.
Scenic Season

Holiday Card Photo Tips

Here are some tips from RealSimple.com on how to get a good photo to either put on or in your holiday cards!

  • Just keep it simple….people want to see your faces, not the Christmas-y clothes or props in the background.
  • The light source should be behind the photographer, but that source shouldn't be bright sun.
  • Think about people in levels as you compose the shot…make a triangle…."Have one person standing, one in a chair, one on the arm, one kneeling in front.”
  • Don't drag the process out when you have little children.  Plan the shot beforehand, perhaps with large stuffed animals holding their places. Perhaps have someone else take the photo who your children will listen to better for direction!

And when you've got that great shot, consider either making your own card to put it on with Stampin' Up! supplies, or design your card with My Digital Studio and have Stampin' Up! professionally print it for you!

Let me know if you need ideas for designing or making your own holiday card!