Category Archives: Birthday

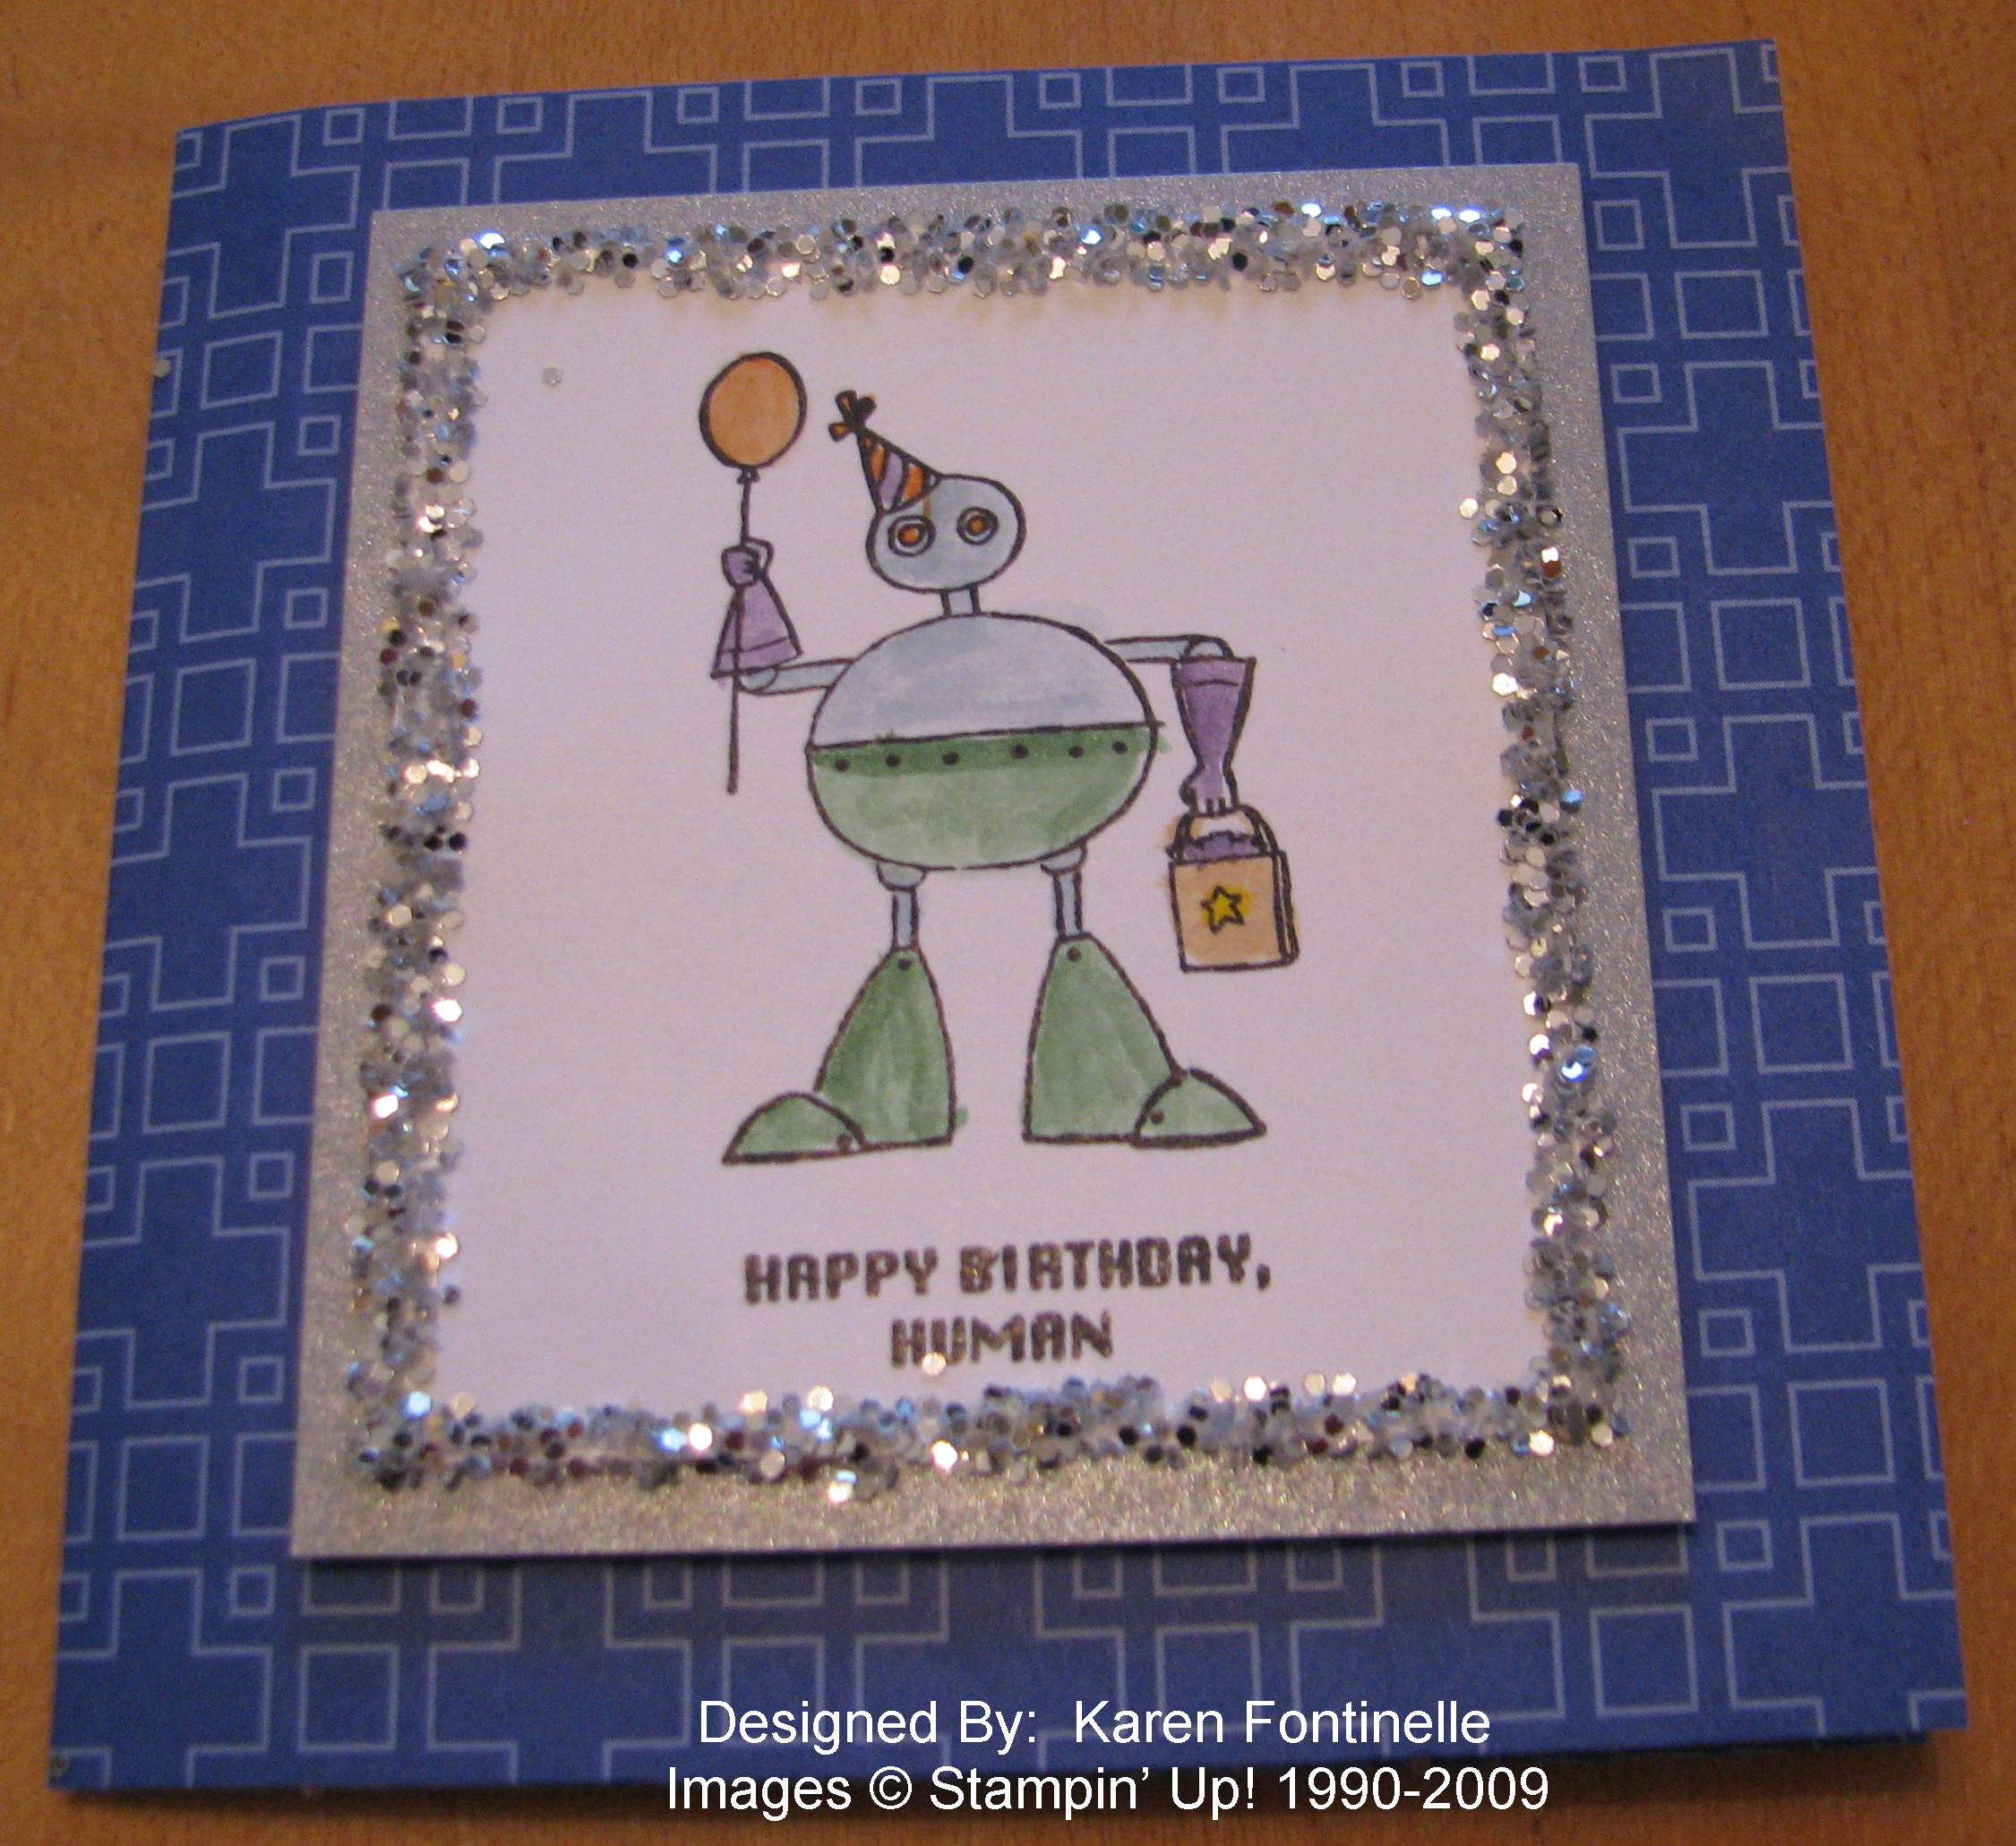
Lots of Bots Birthday Card

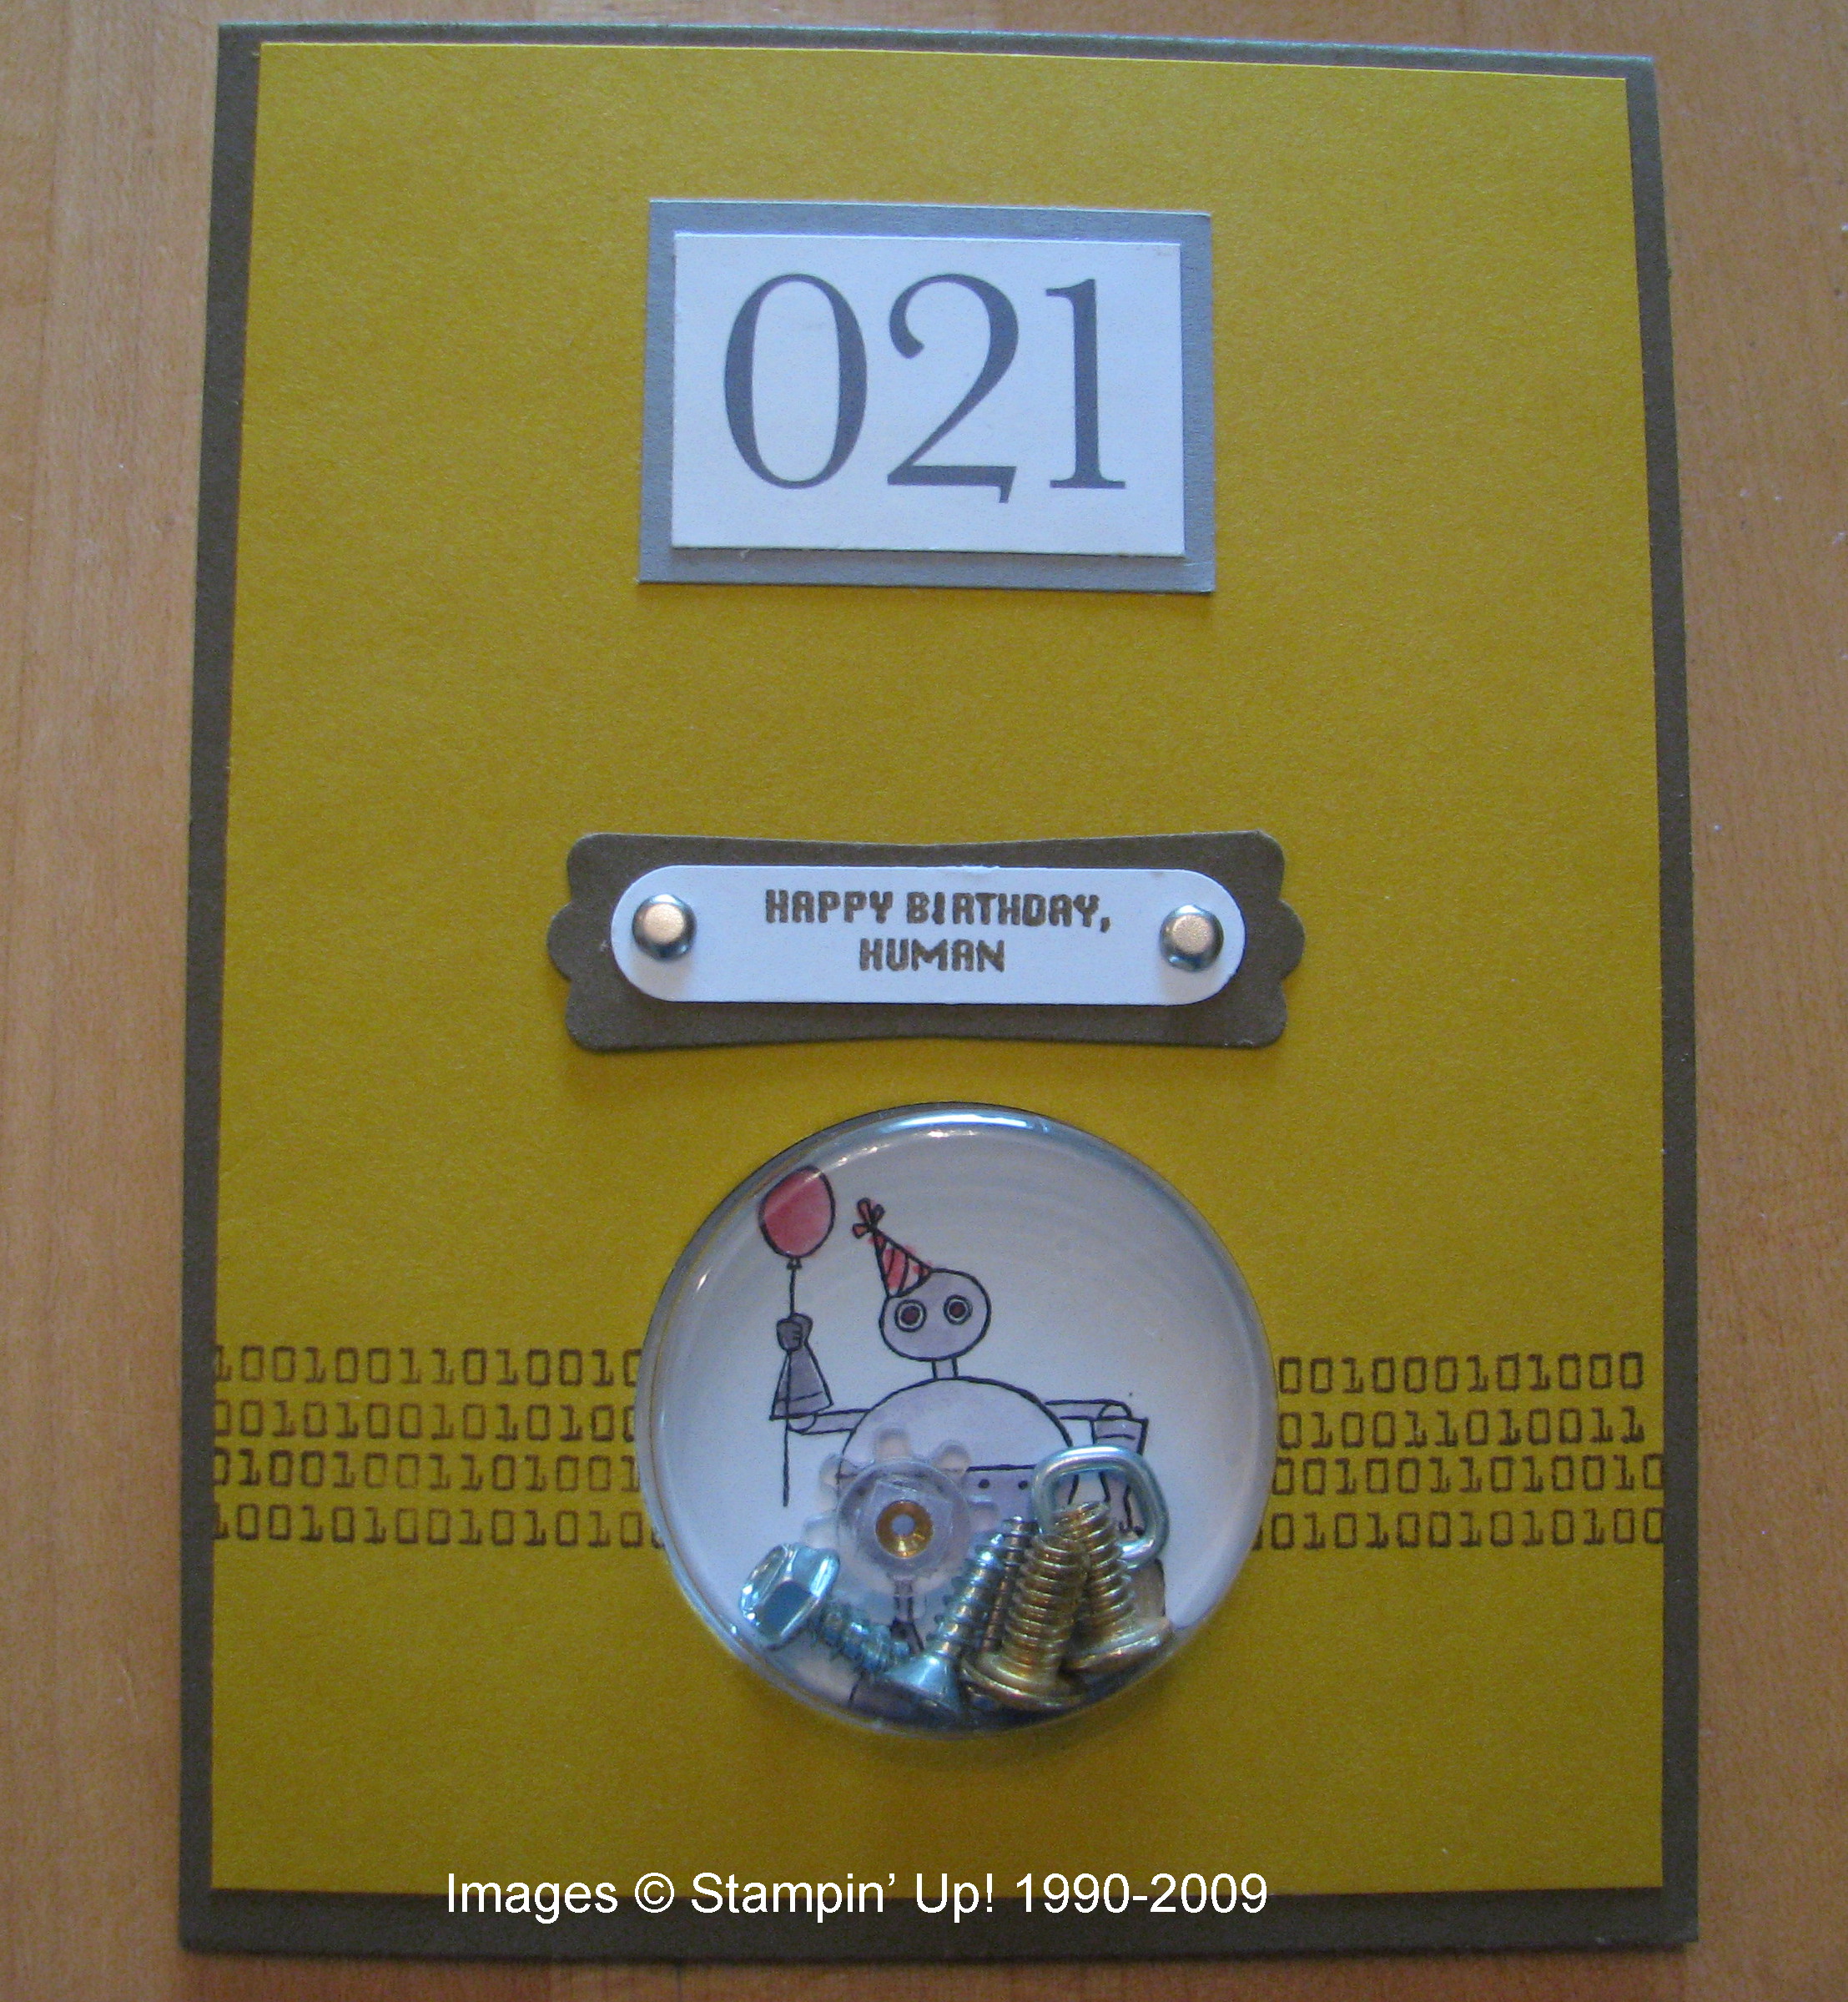
Now that my son's birthday is over I will post the card I made for him.  Not that I really think he would be reading his mother's stamping blog, but it seemed better to wait!  When this stamp set first came out and Stampin' Up! demonstrators had a chance to preorder it at a discount, I was going to pass on it.  But then I remembered my son was going to be working on some robot project at college, so gee, it might come in handy!  I've seen lots of cute cards made with it so it is a great set to own!

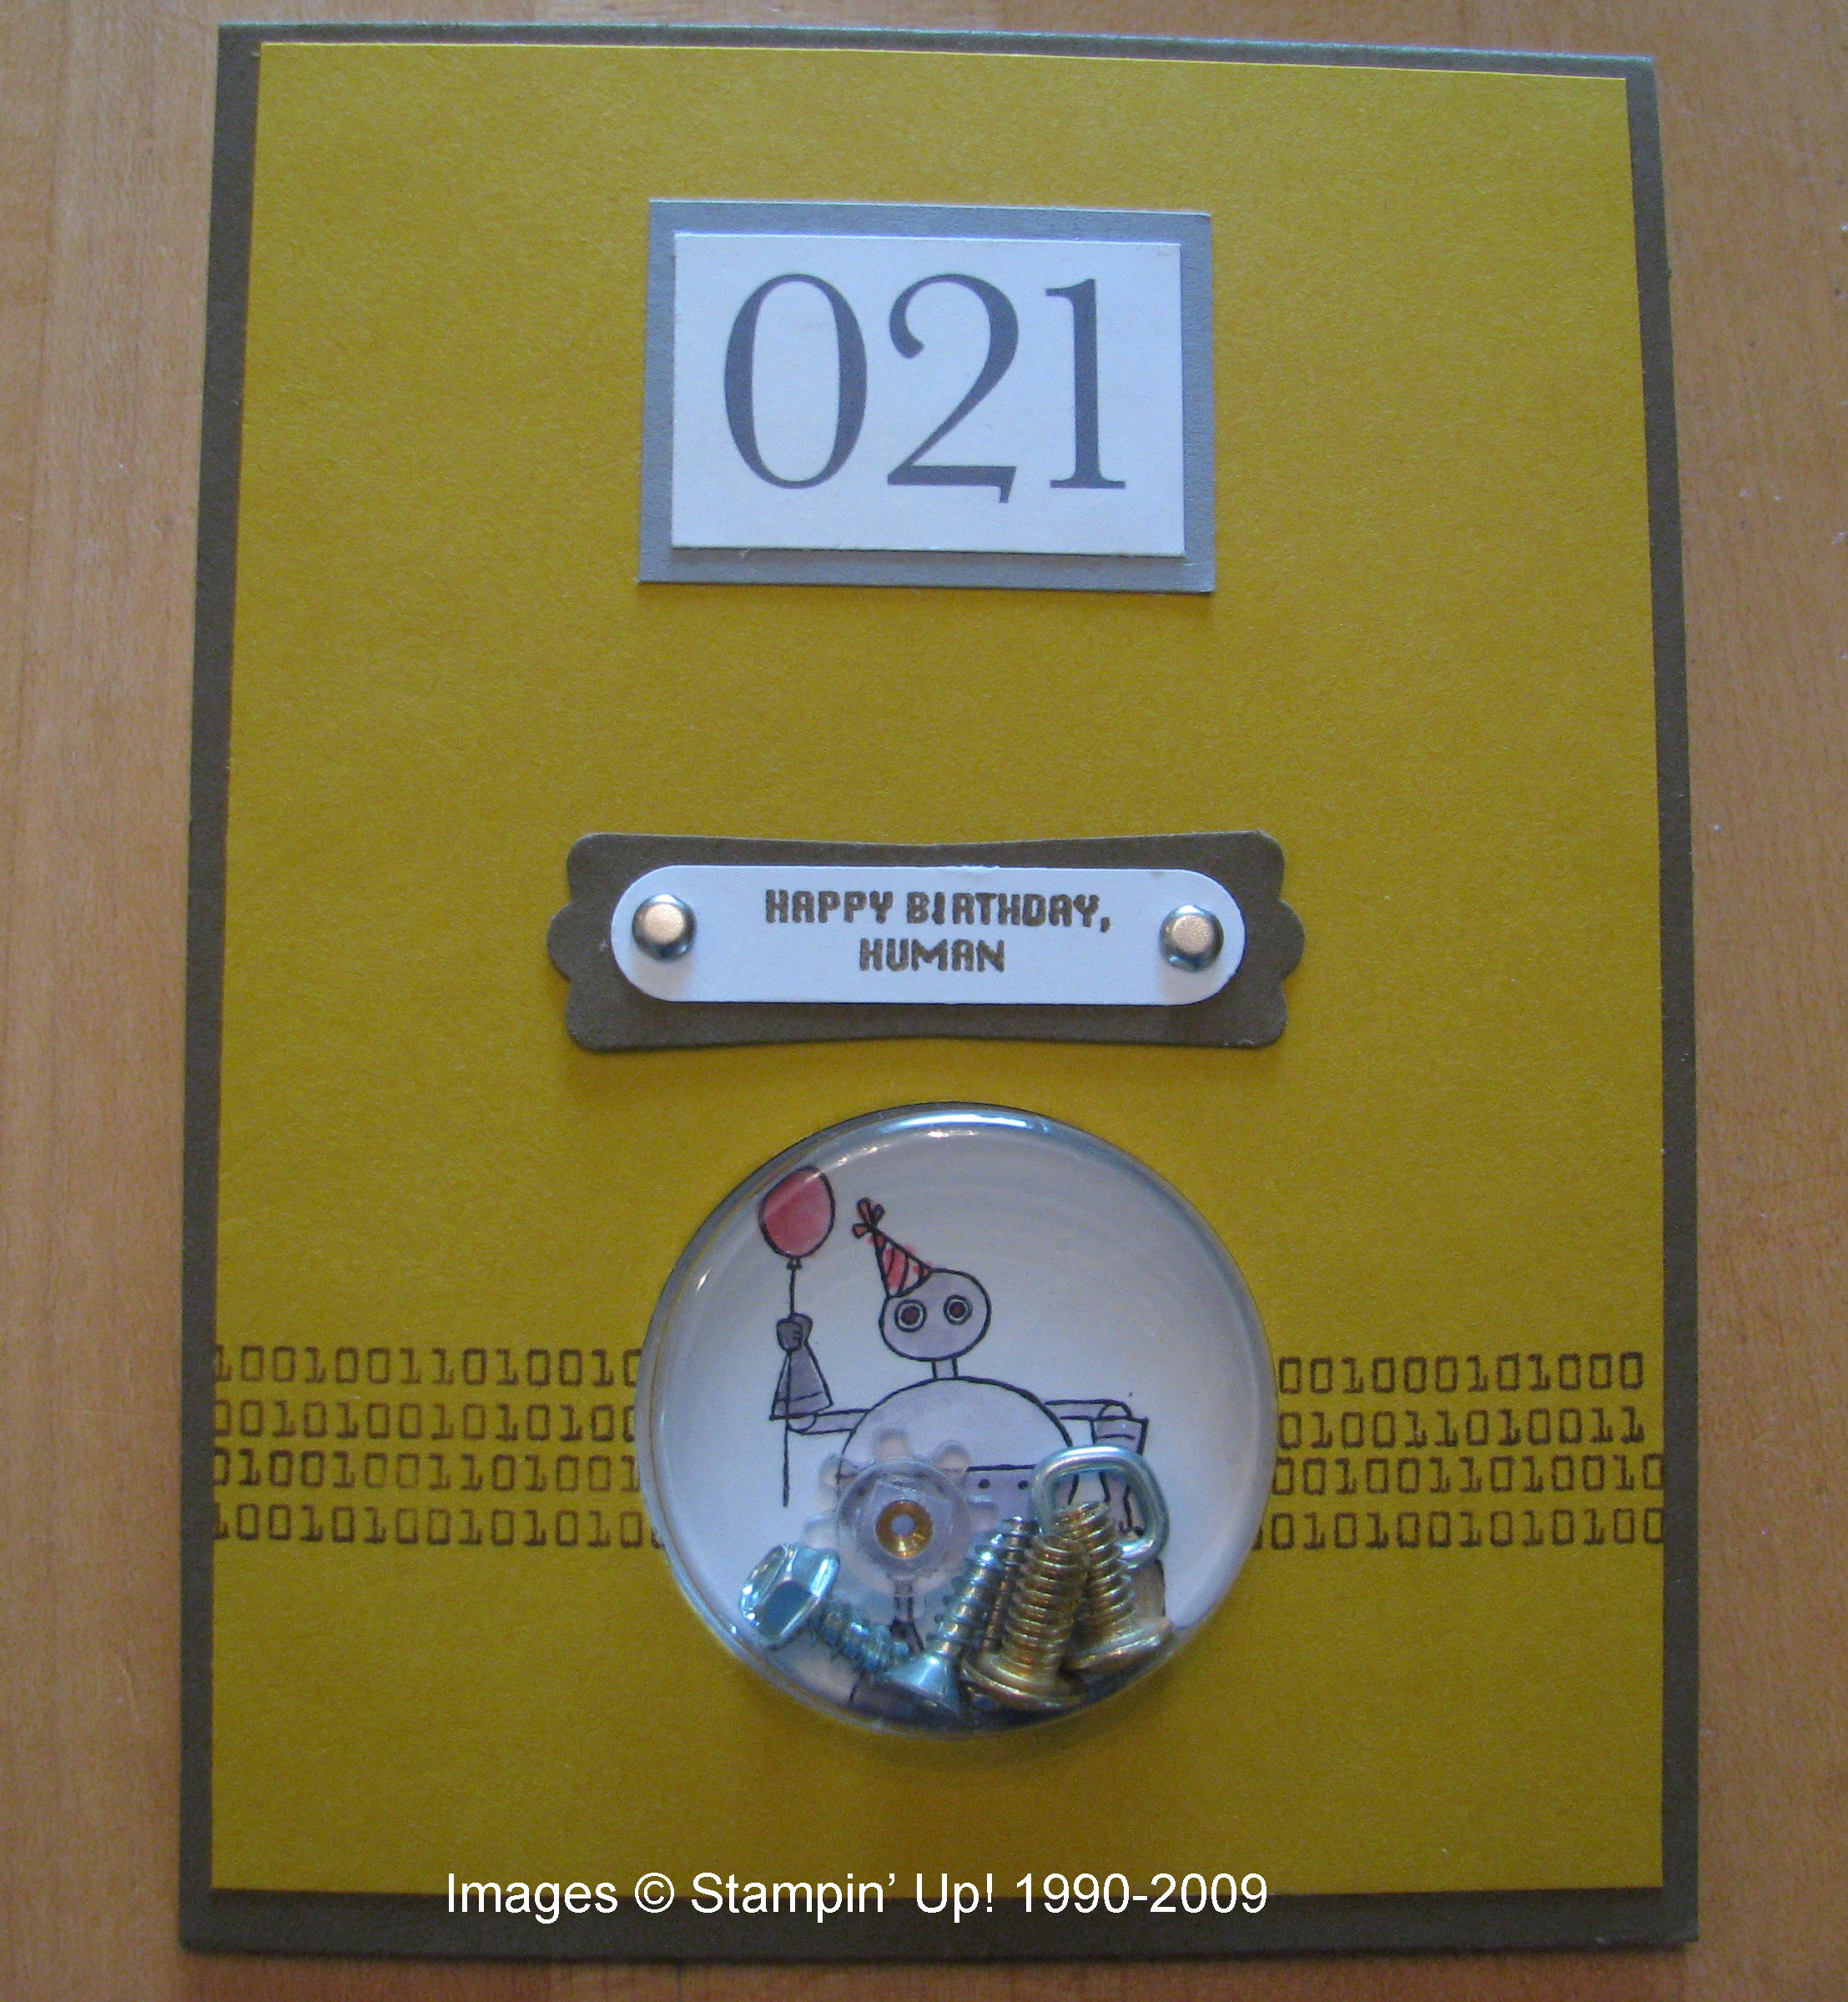
Here is the card for his 21st birthday…..and he LIKED the card!  What more could a stamping mother want??!

Robotcard 

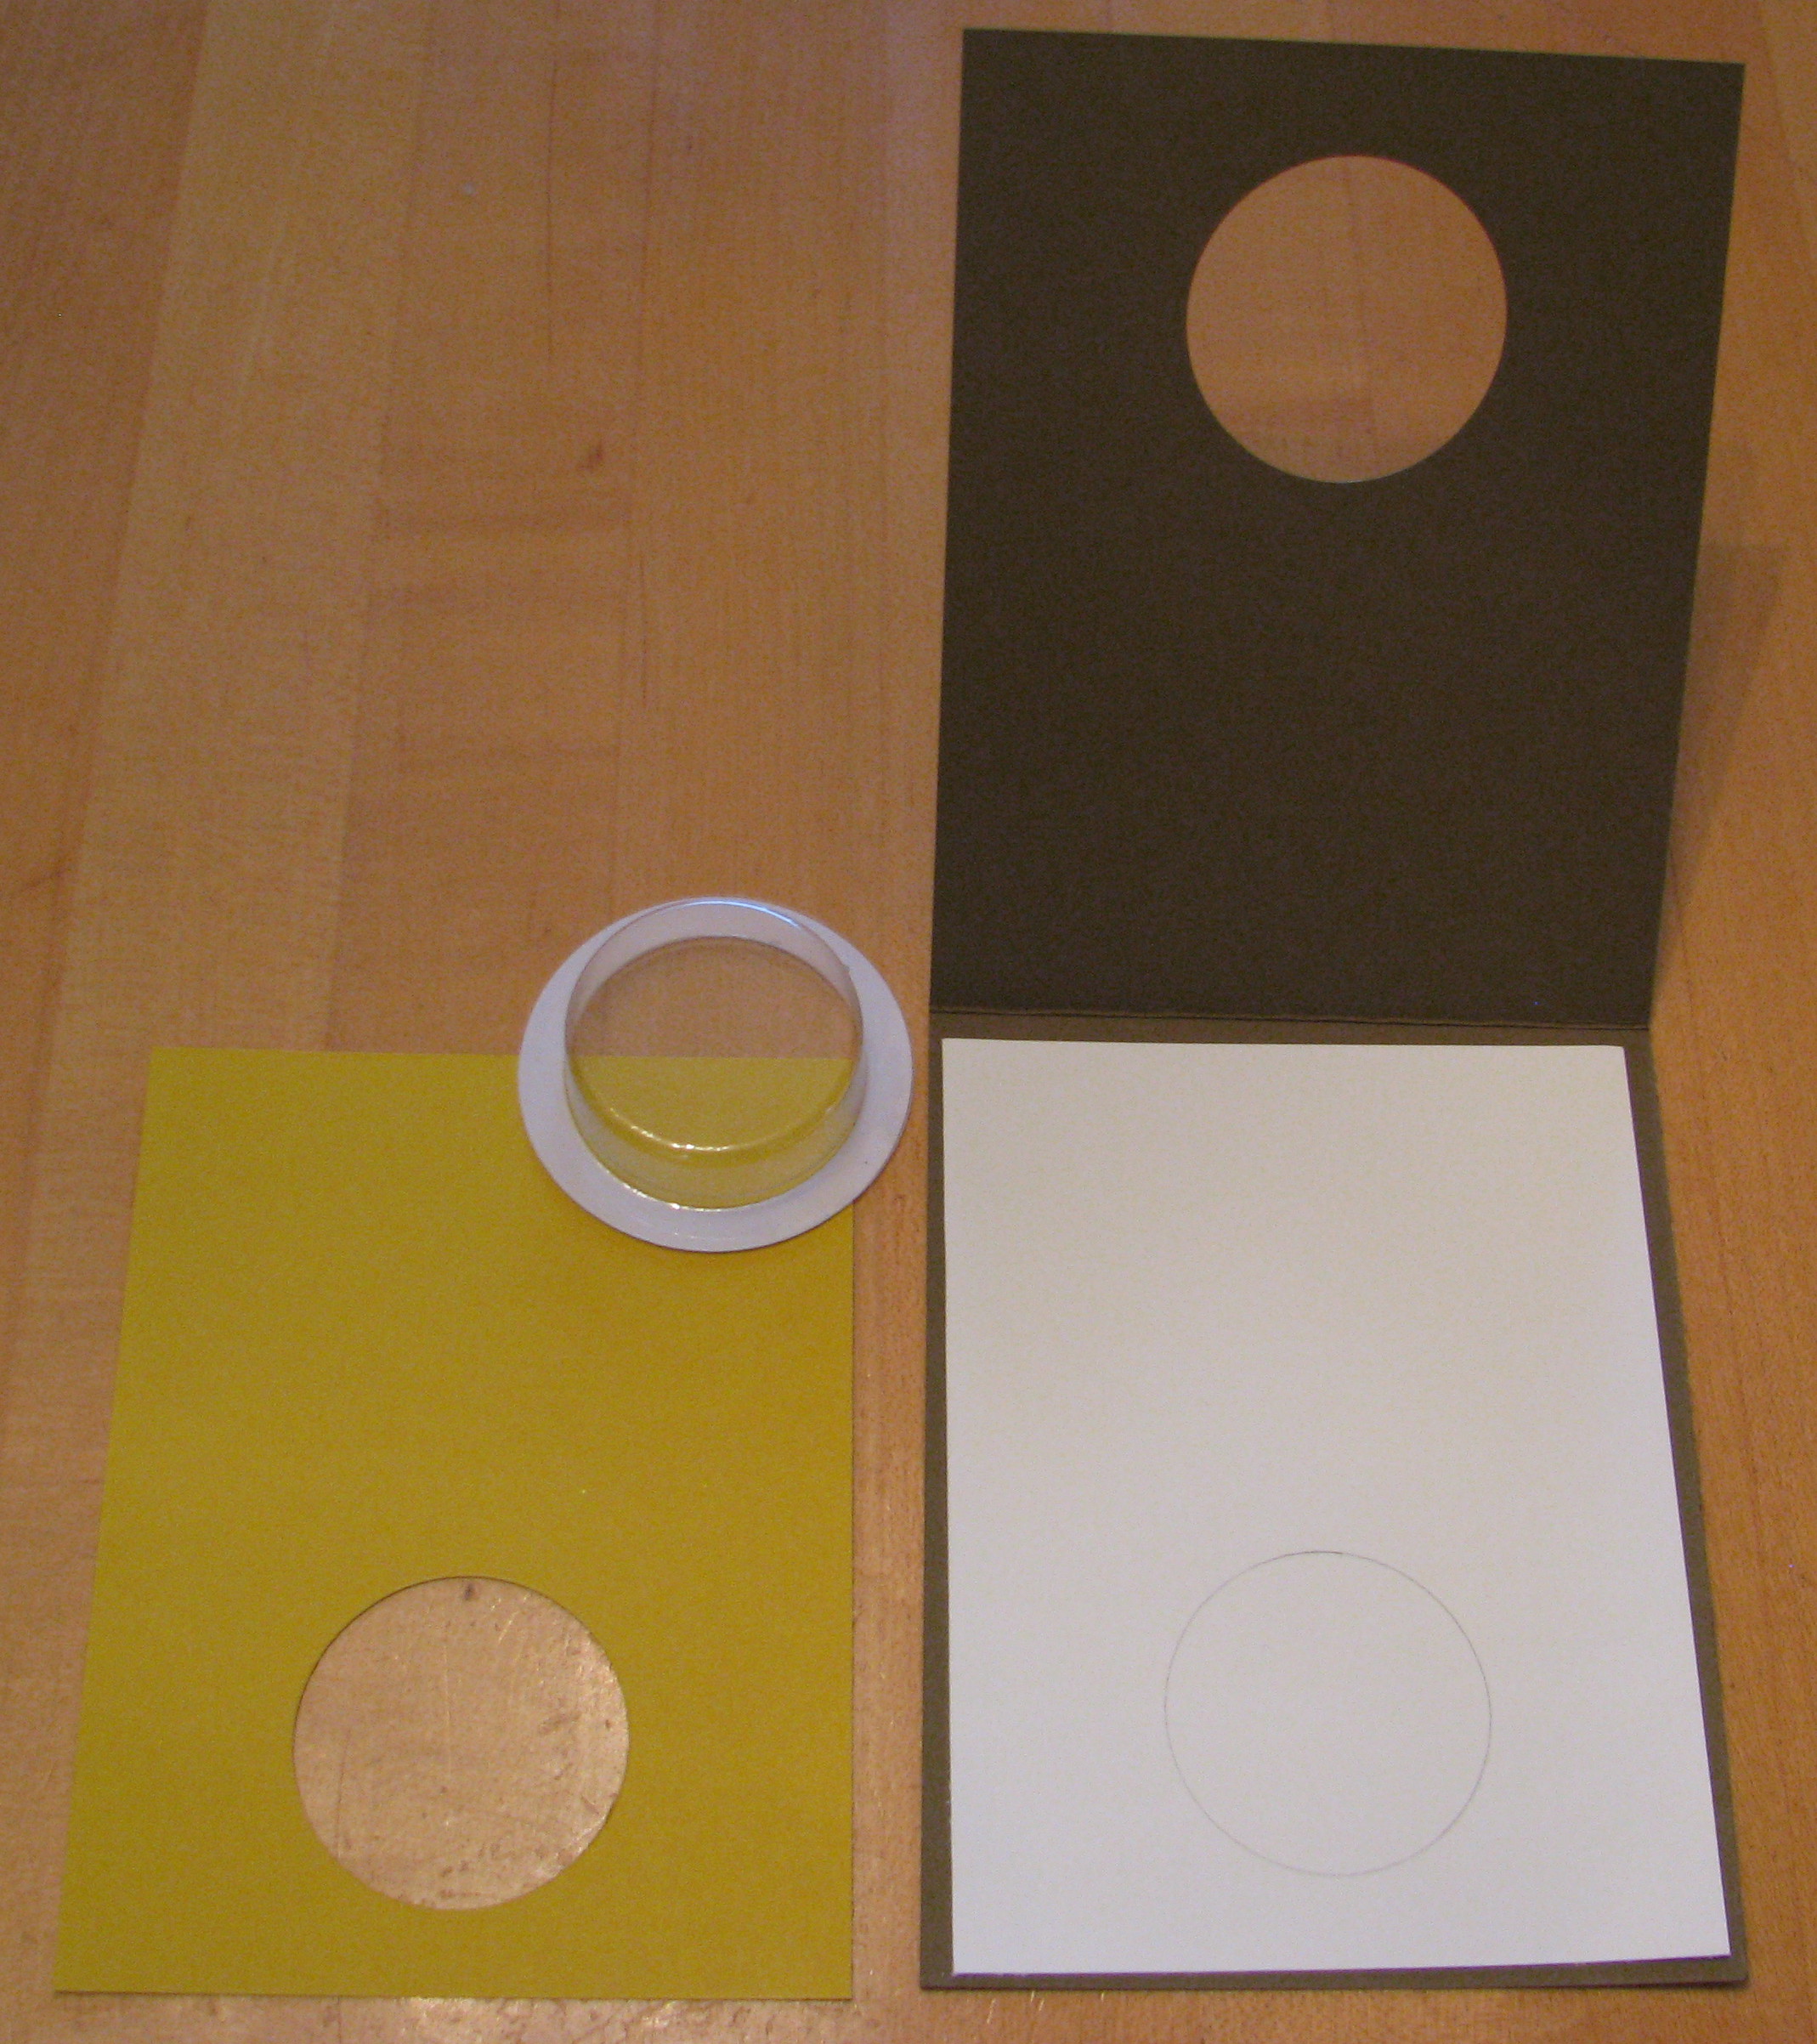
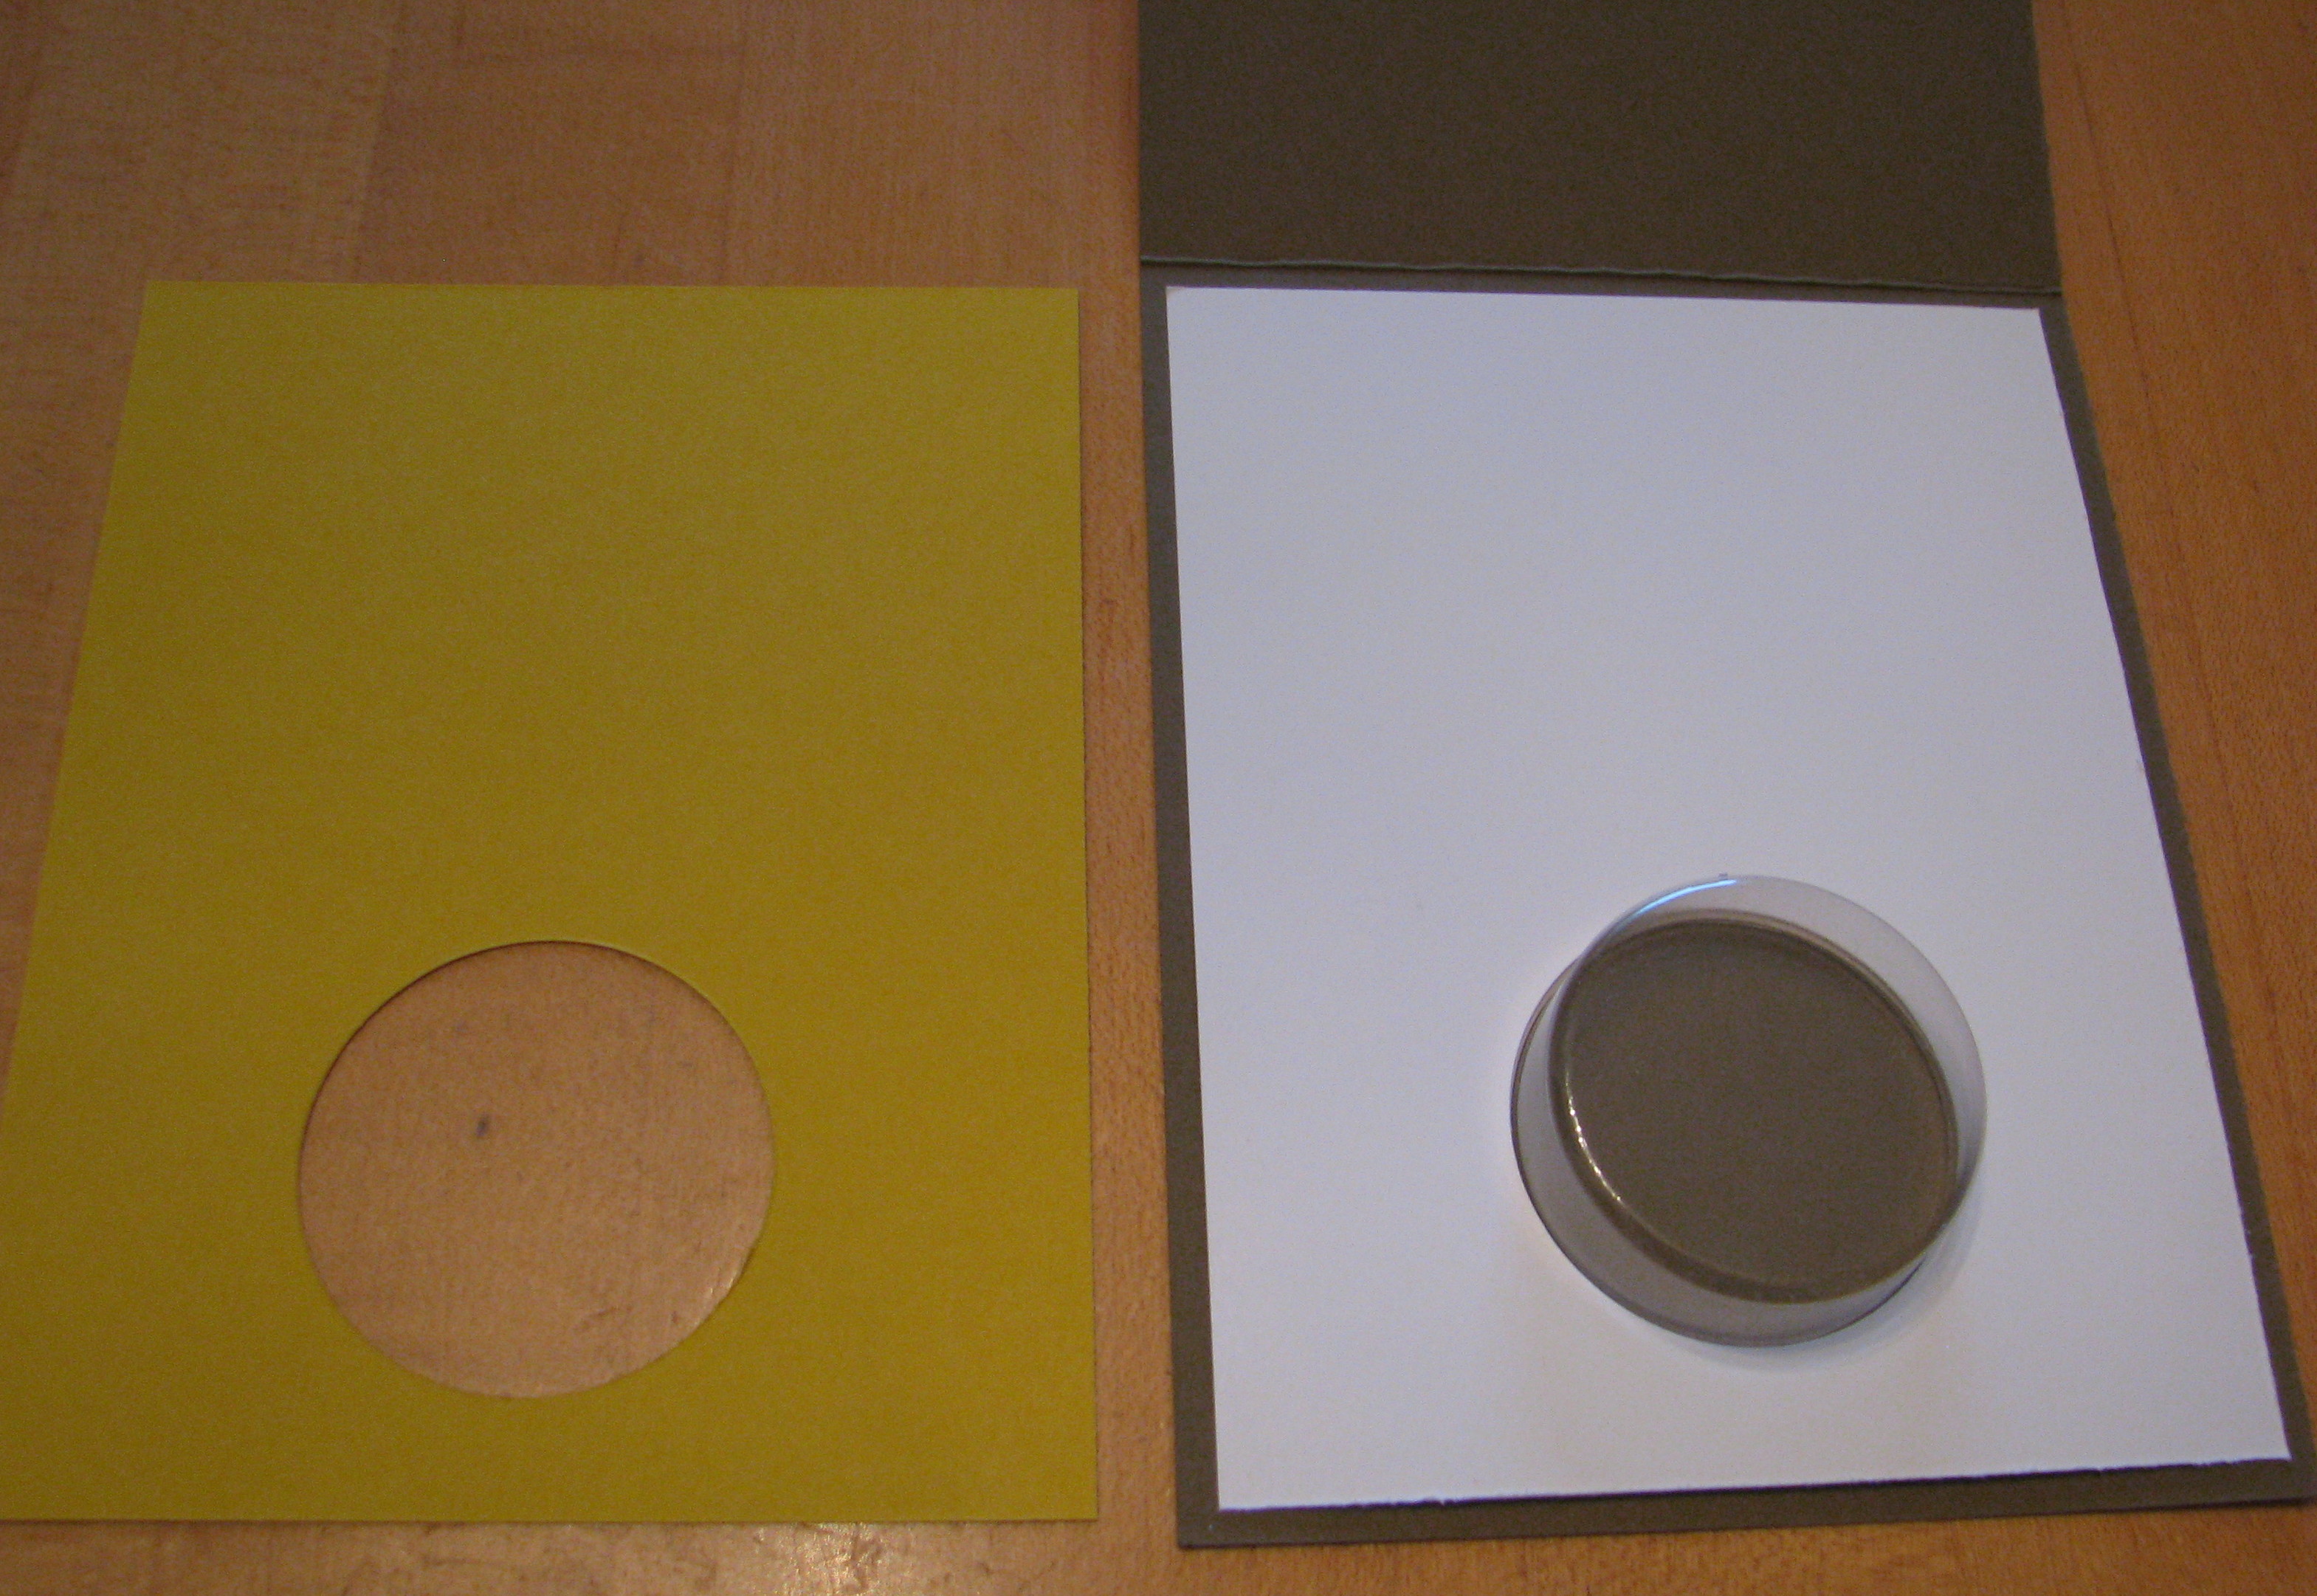
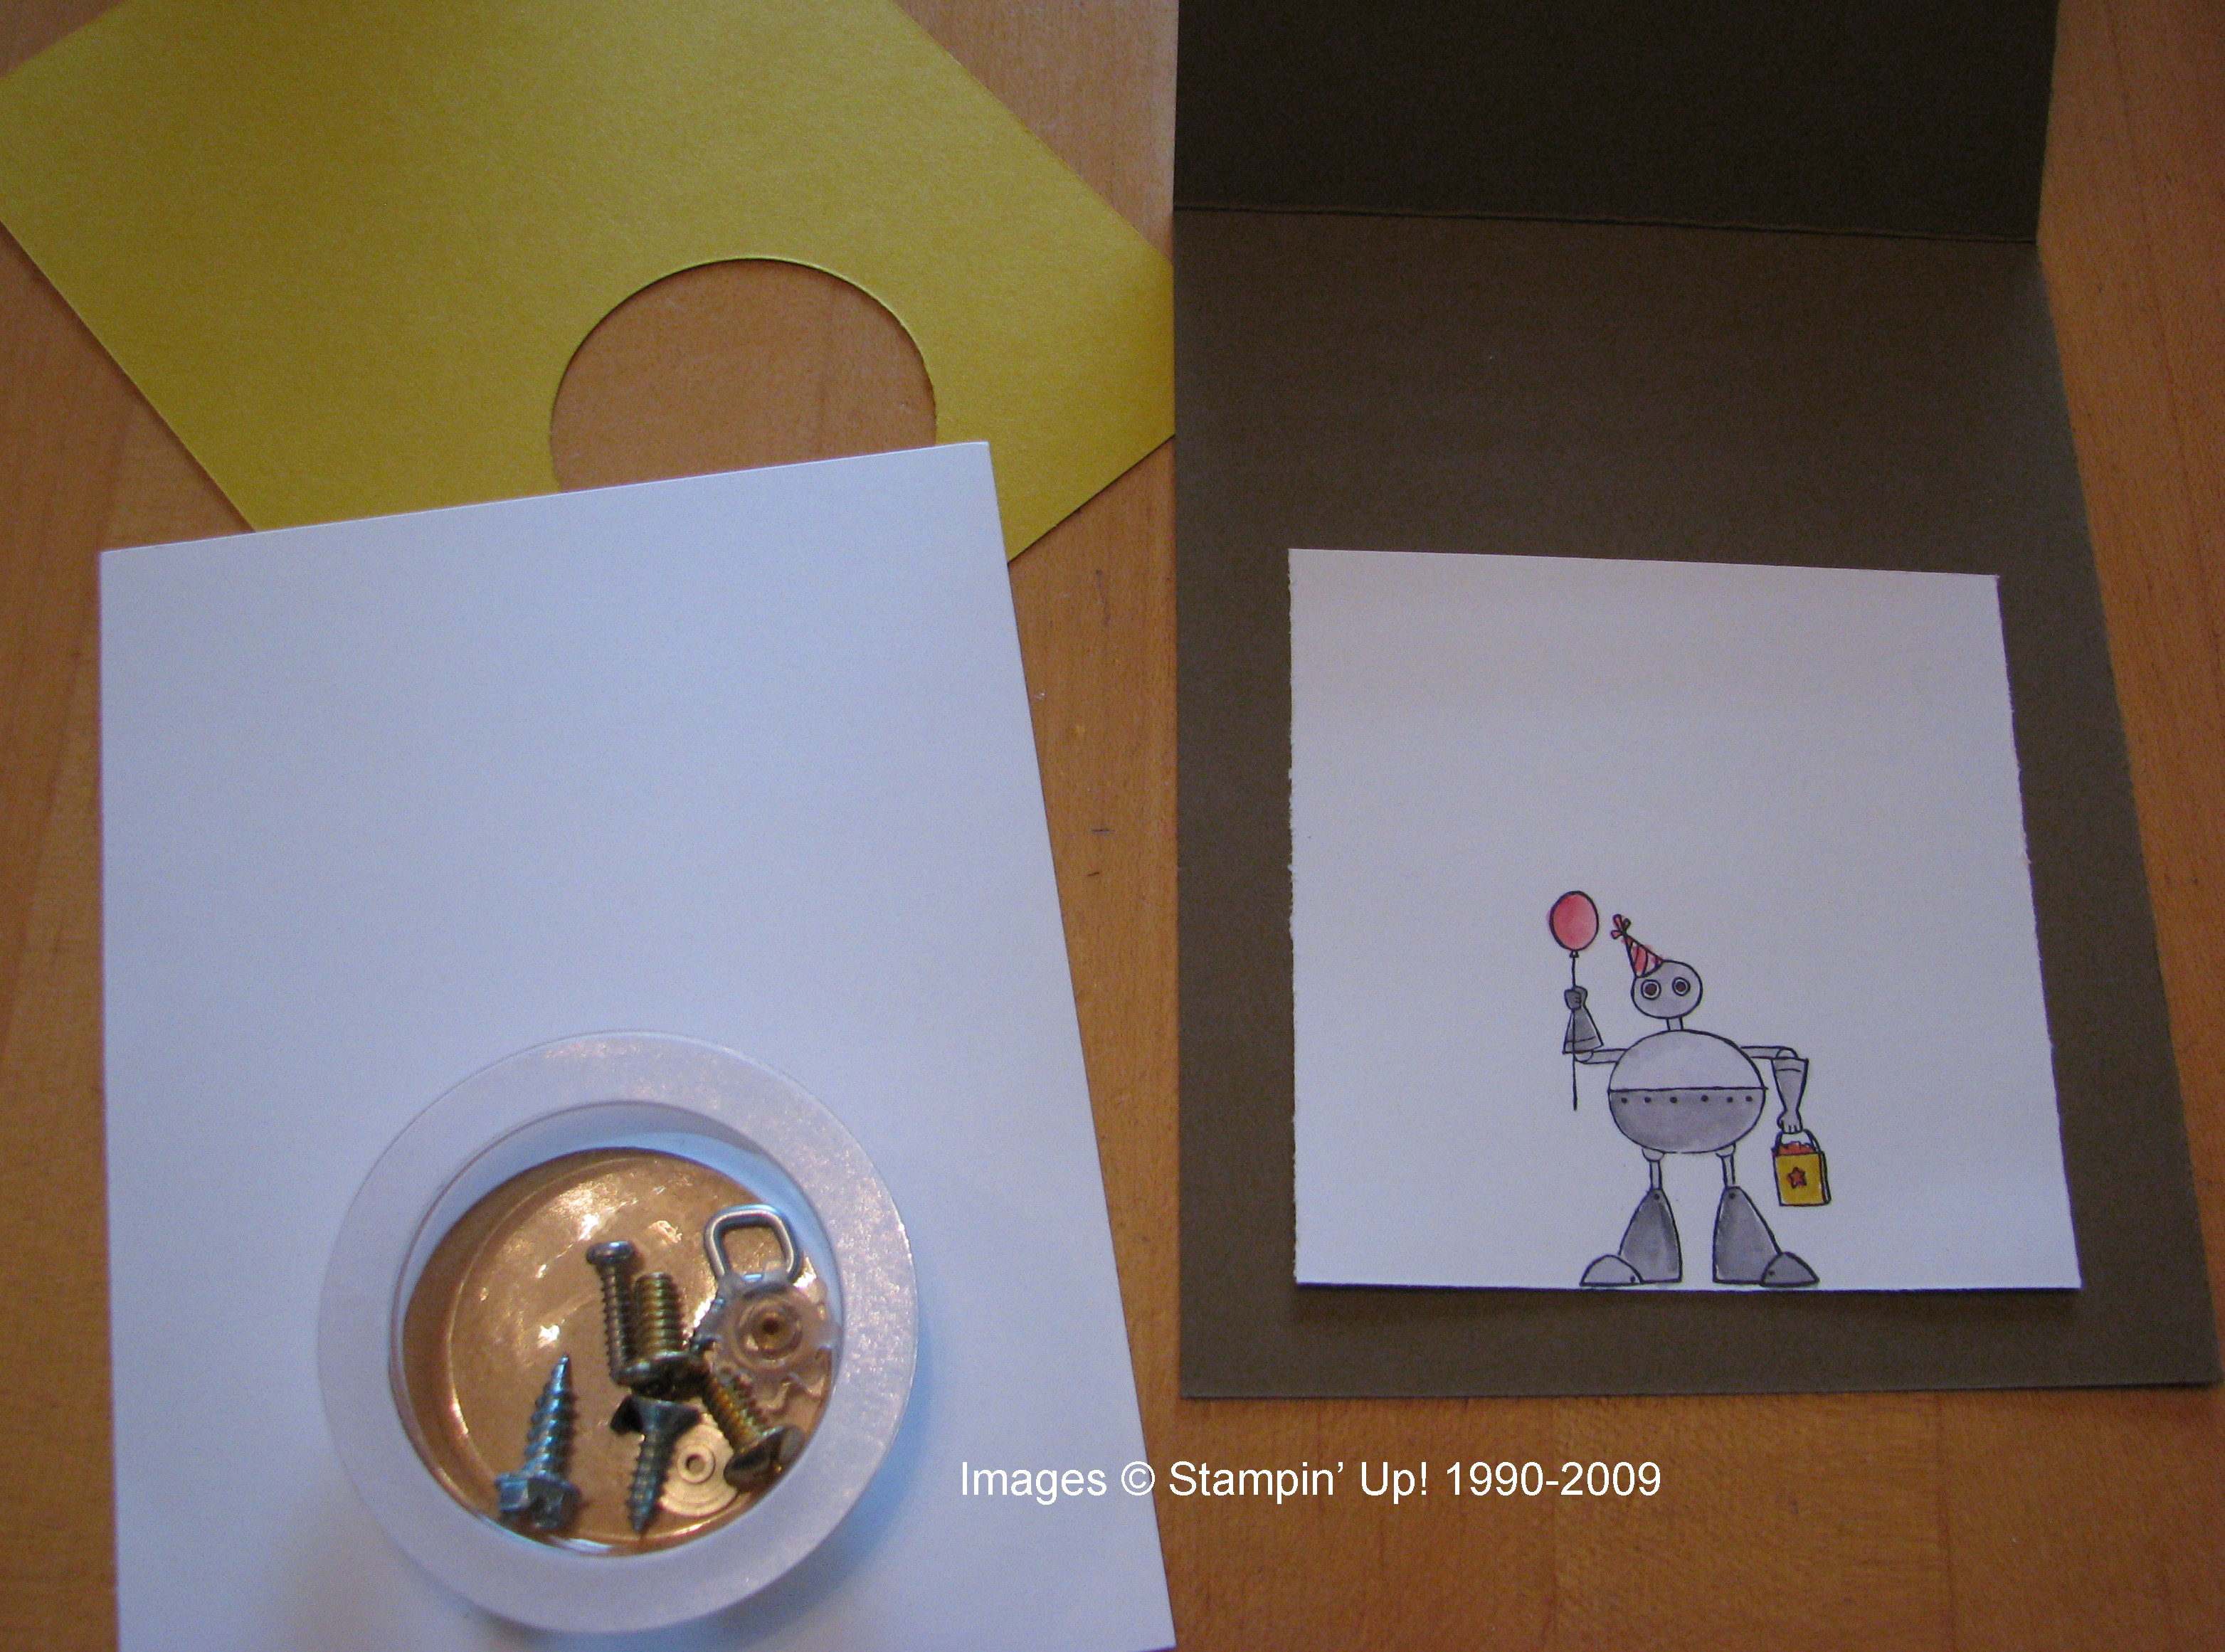
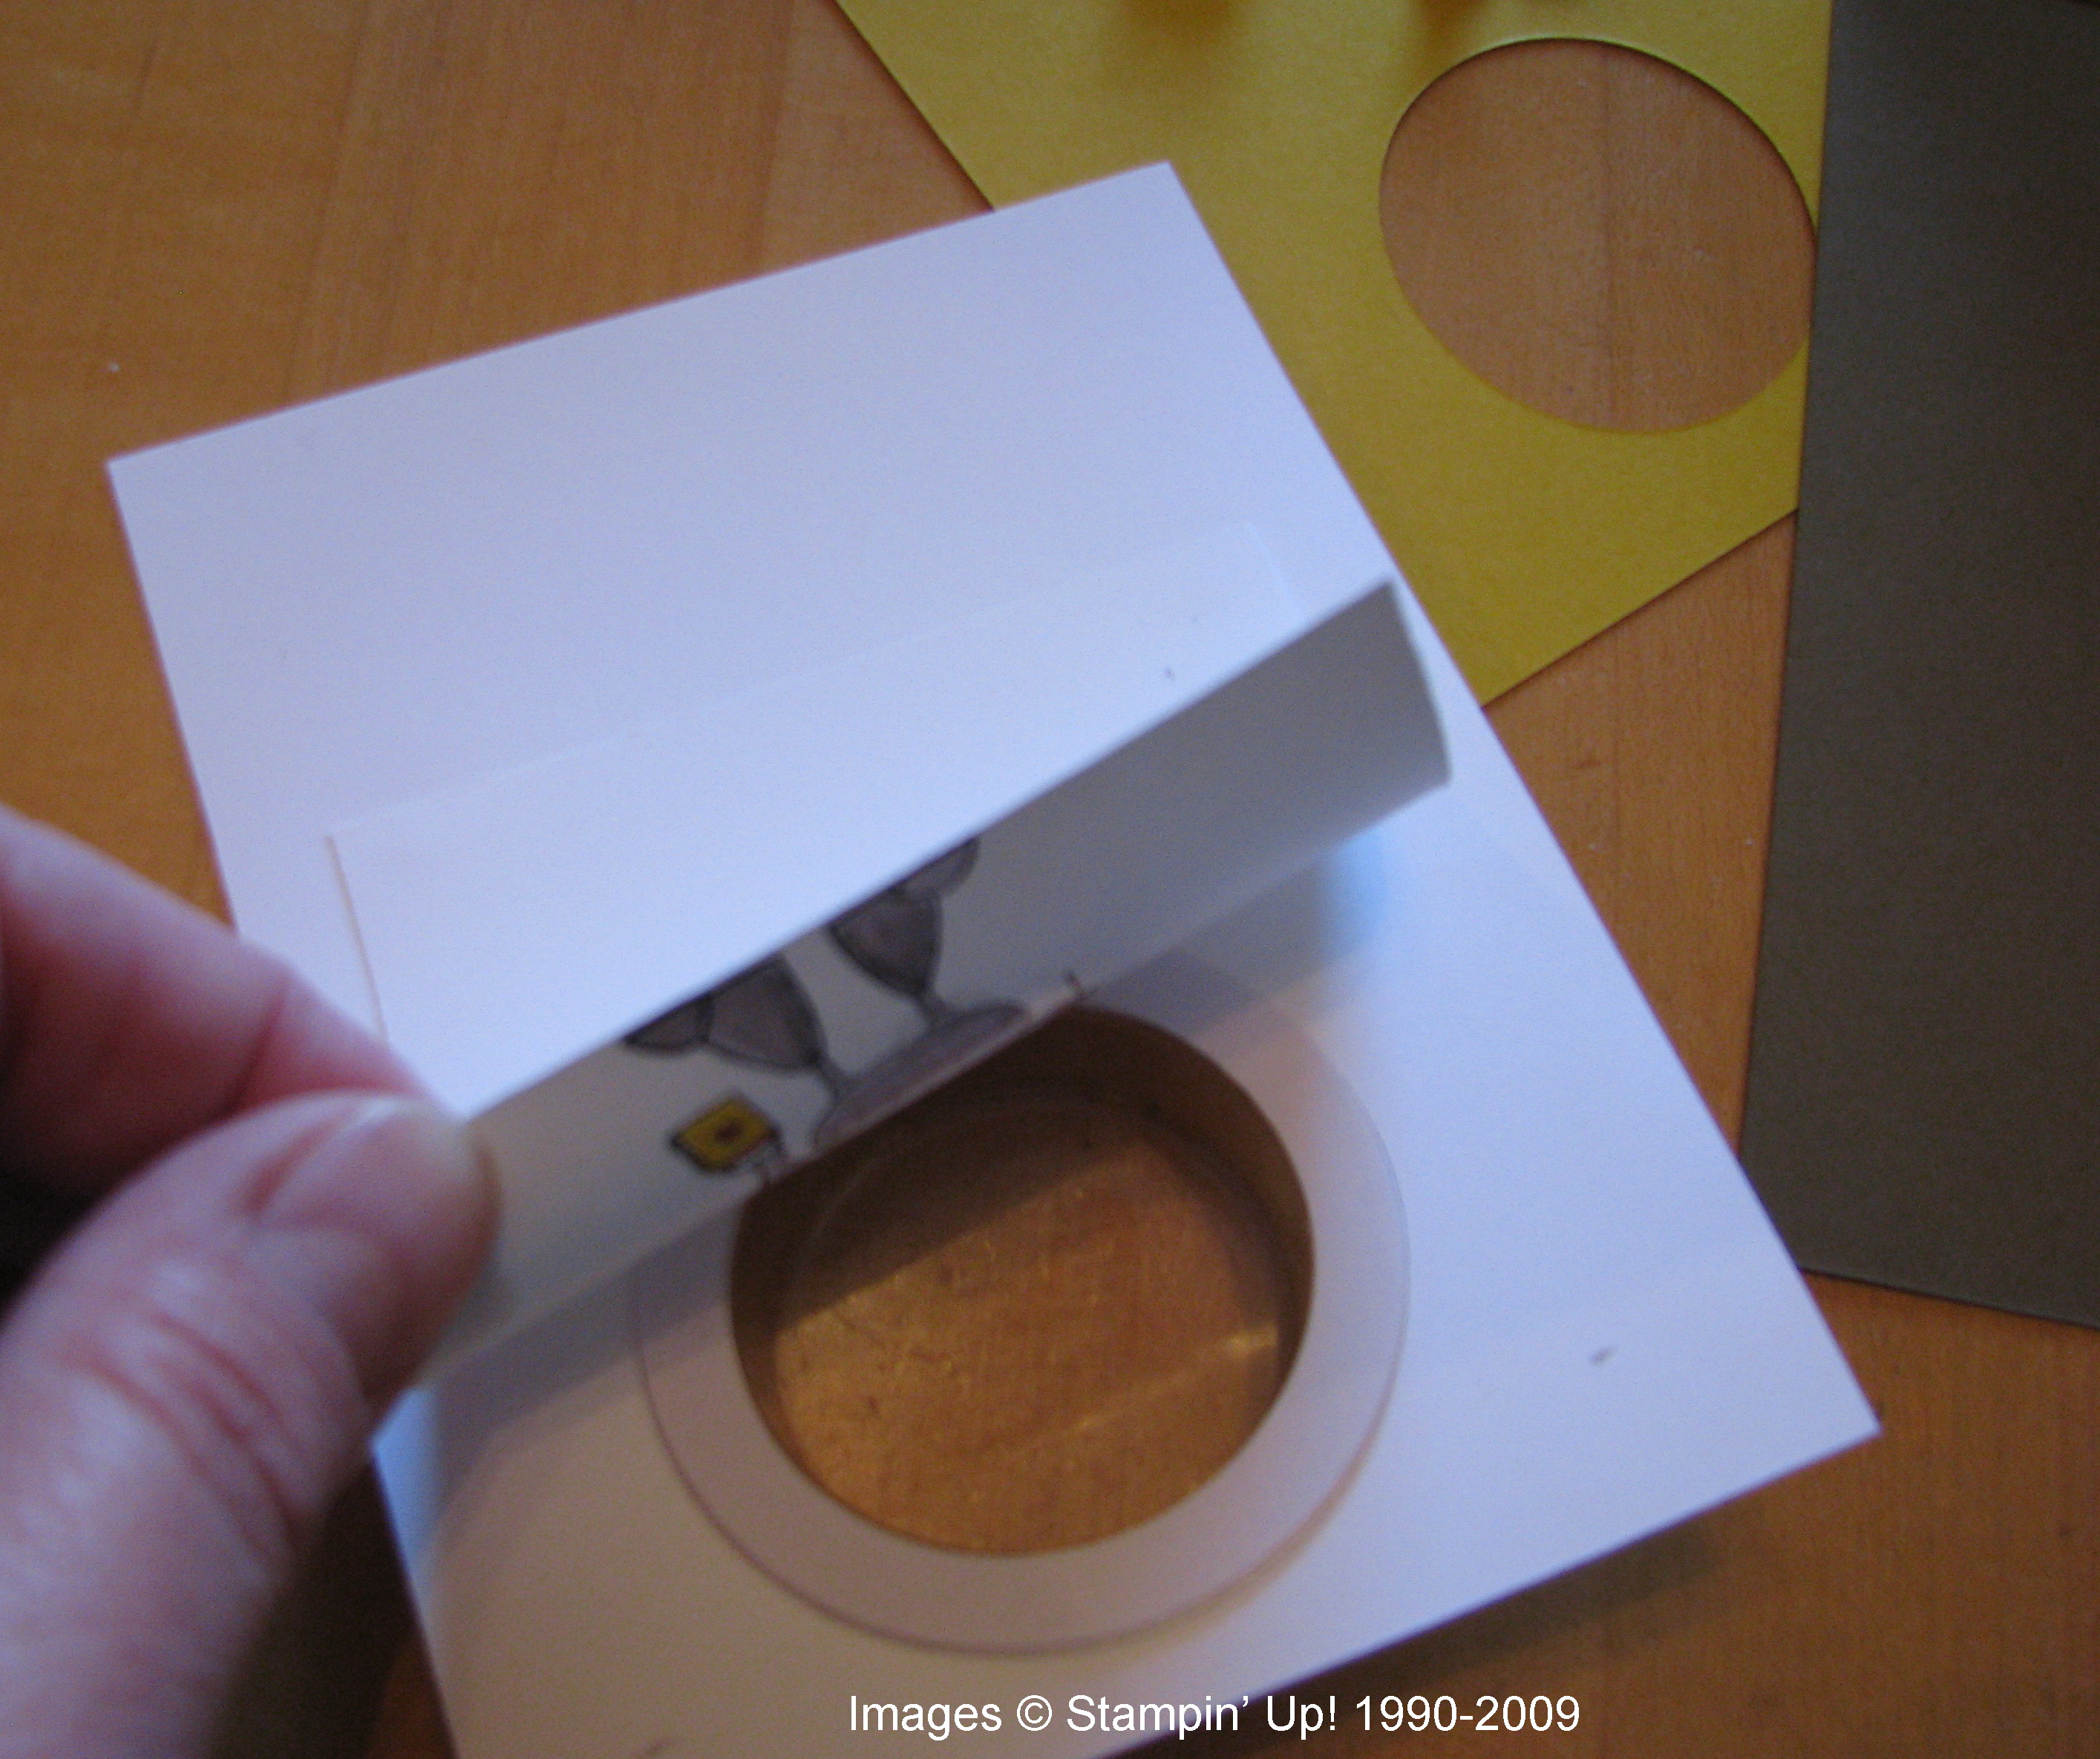
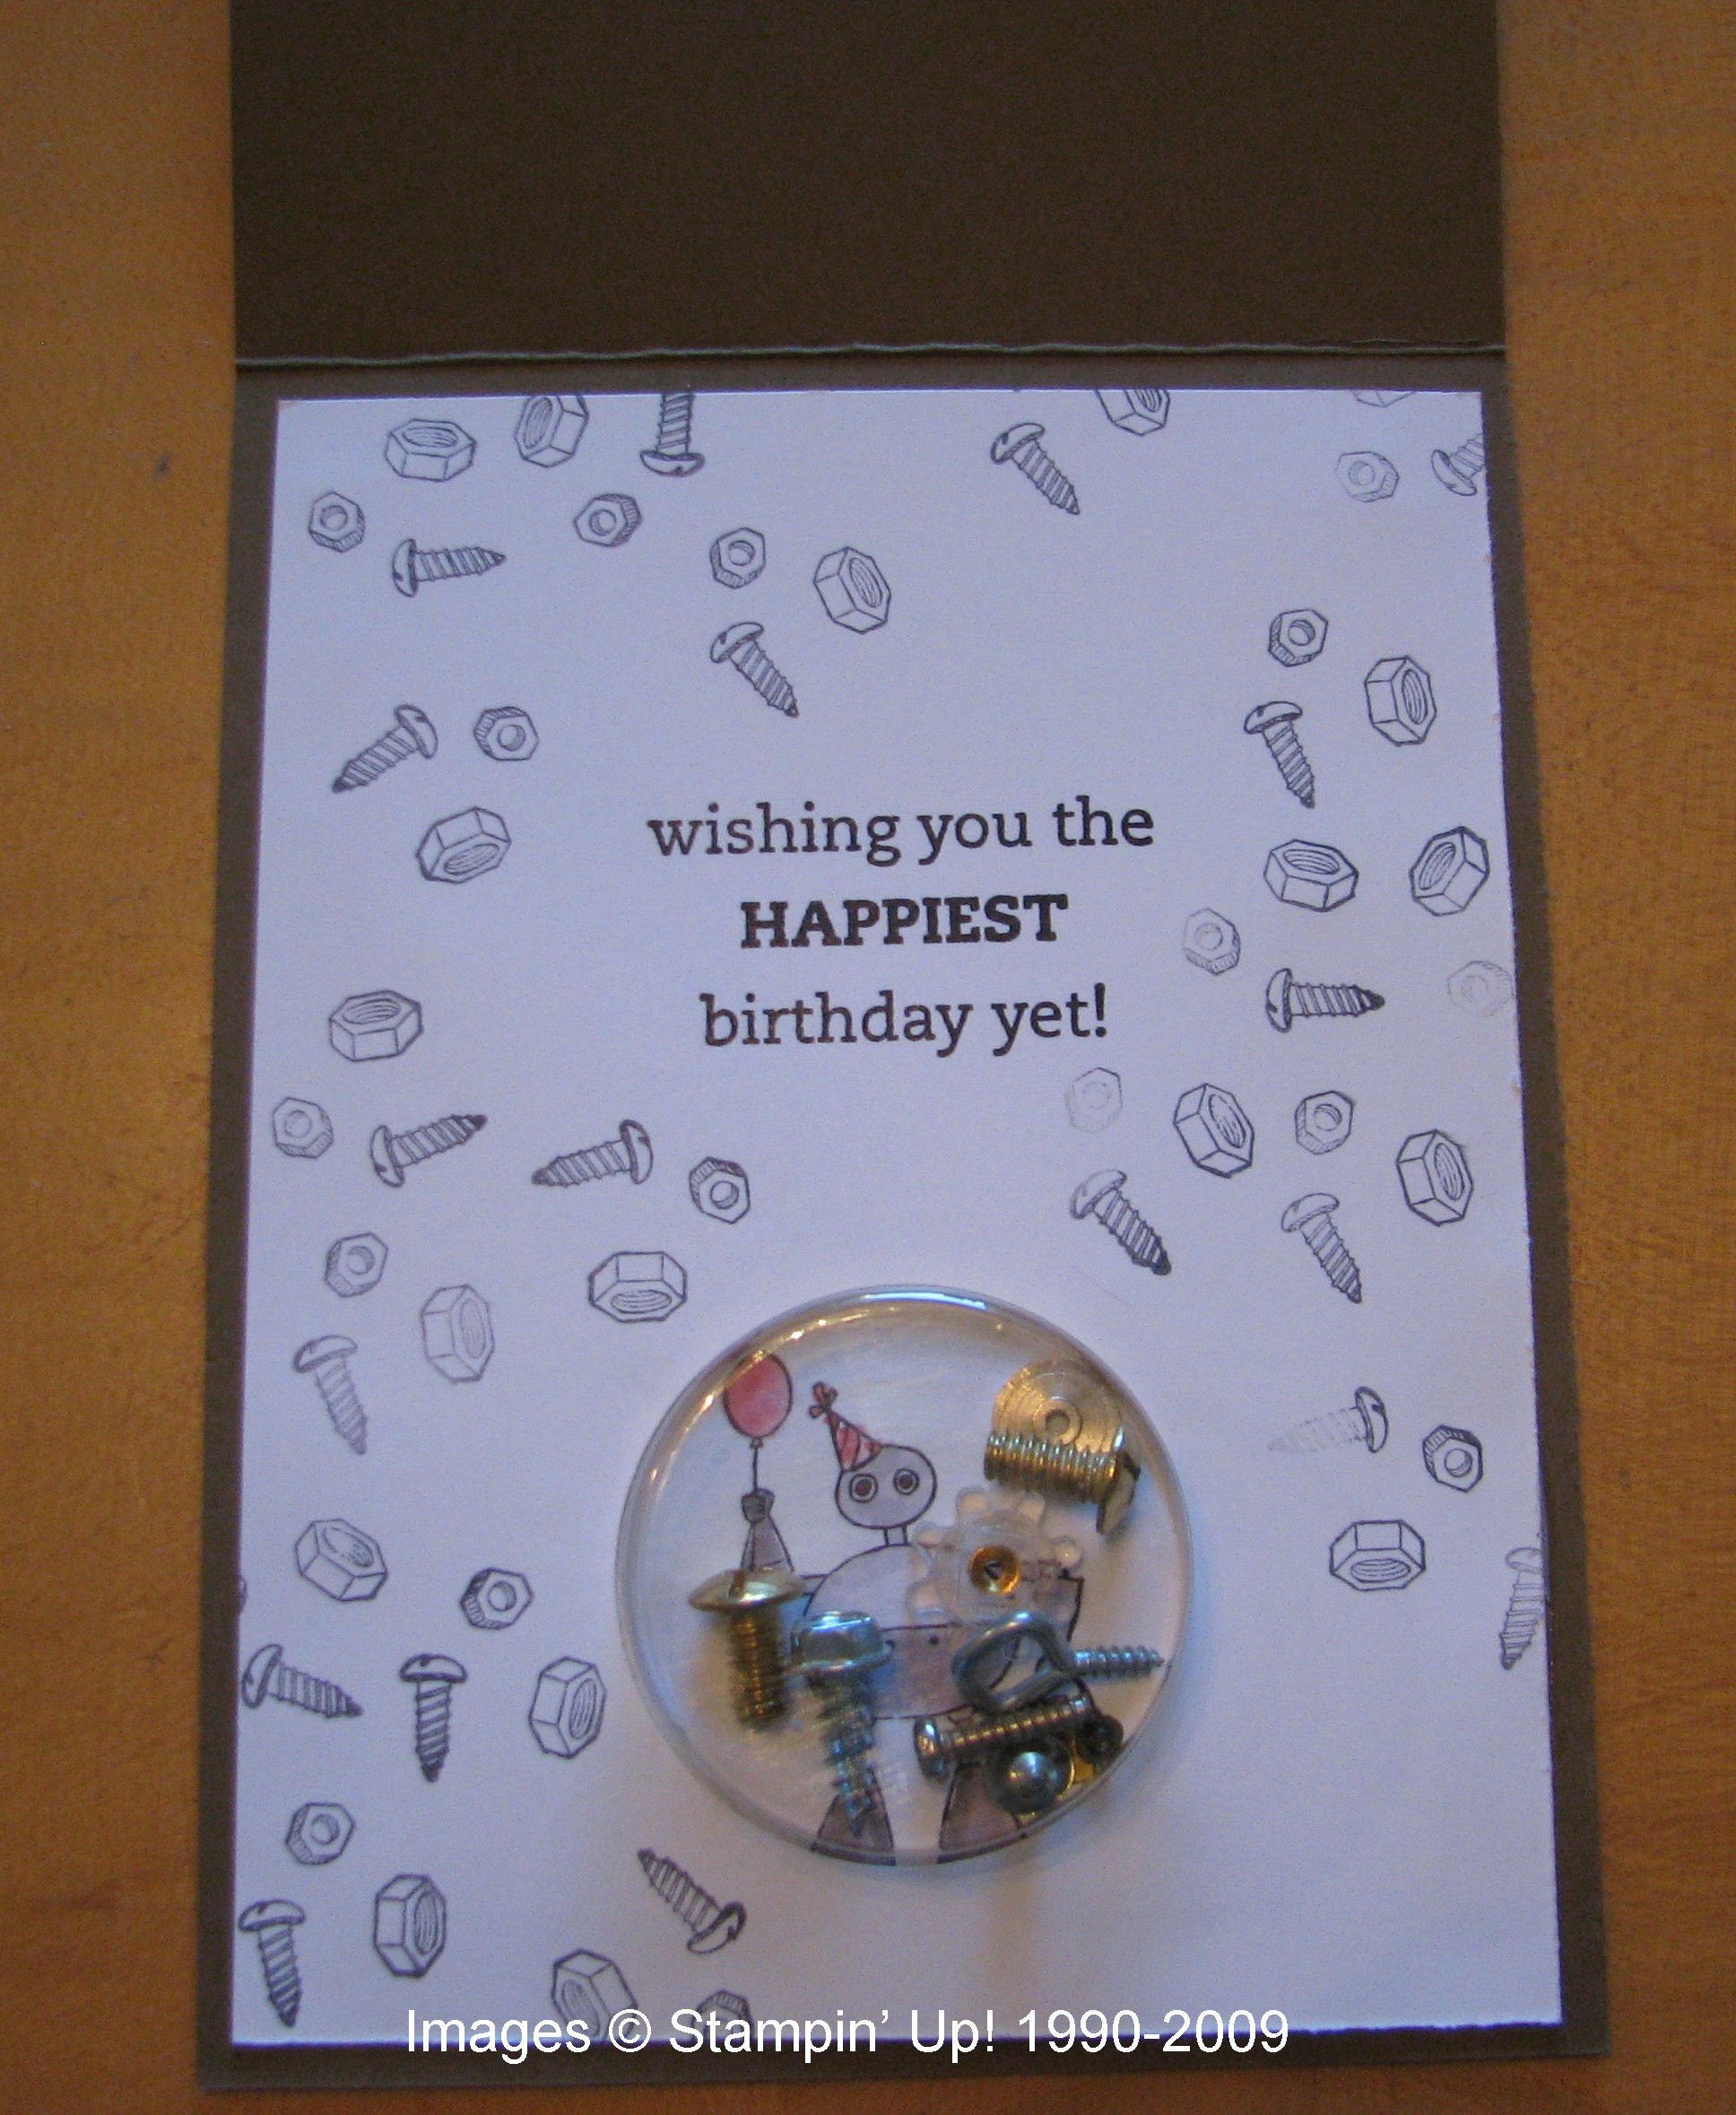
I used the In Colors Crushed Curry and Soft Suede, plus some Basic Gray under the 021, only because I couldn't find my Brushed Silver at the moment.  That is one of the Sweet Treat Cups holding the screws, etc. from the Holiday Mini.….so the Sweet Treat Cups aren't just for candy!  The Sweet Treat Cup is actually mounted to the inside of the card so that the front opens and you can still see the robot in the cup.  You use the 1 3/4" Circle Punch to make the holes.  After I made the first one, I traced with a pencil where the next one would go so I would get the placement right with the punch and everything would line up.  The punches work best with one layer of card stock at a time.

Robotcard1 

Robotcard2 

Robotcardassemb 

Robotcardtreatcup 

Use some Mini Glue Dots to attach the front of the Treat Cup to the layer you see here, then when you attach the stamped robot layer you will peel away the adhesive strip on the actual Treat Cup to adhere that so it looks like the robot is inside the cup.

Robotcardinside

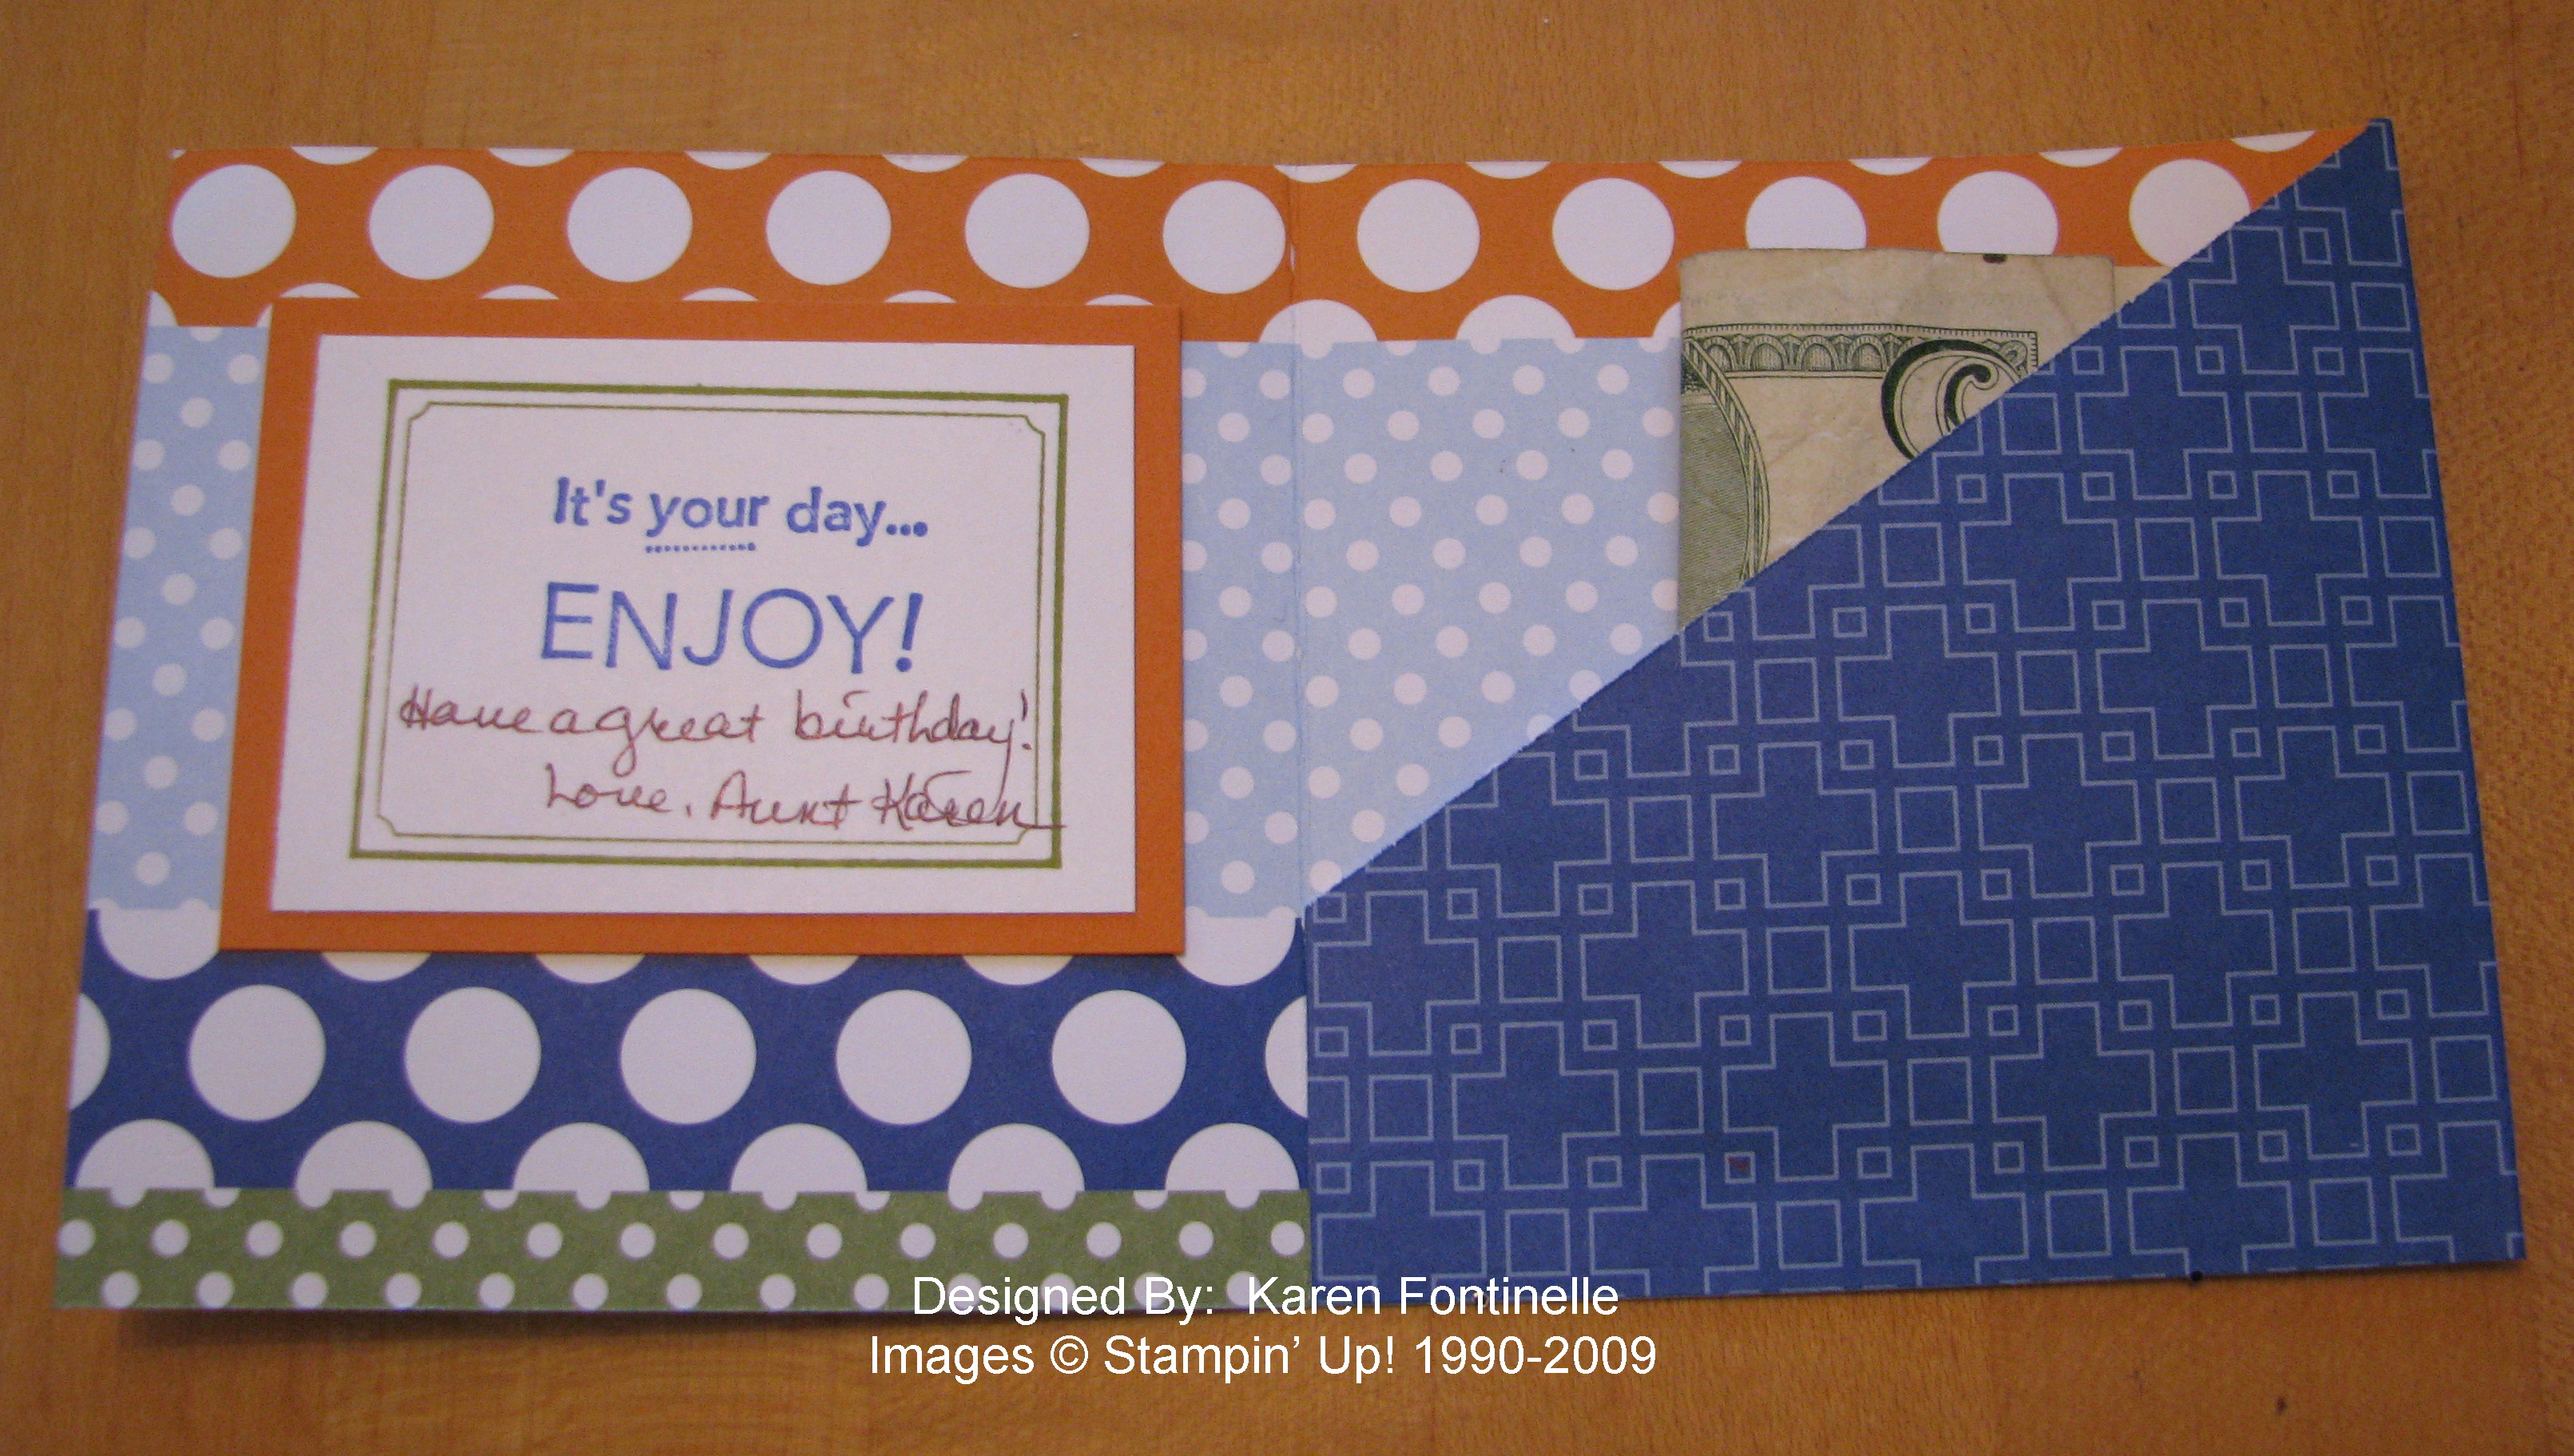
I left the right hand corner unstamped so we could sign the card there!  Be sure to stamp the images before adhering over the Treat Cup……otherwise it is difficult to stamp near the cup!  Duh!

And the finished card again………..

Robotcard 

I hope these photos make the assembly process somewhat clear, but if not, email me with any questions!

PS:  Since I don't own any number stamps, I used My Digital Studio to print out the numbers I wanted and then adhered them to this card!

Last of the “Deals of the Week” for October!

Here are the final Deals of the Week for October!  Have a little princess or pirate in your house?  You'll need these party kits for sure!  If you don't have a party coming up soon, I think they would be fun for just a craft project for the children!  See pages 174-5 in the Stampin' Up! Idea Book & Catalog for more information!

Week 4 Deals of the Week

Item 

Description

Special Price

116214 

Princess Party Kit 

$9.99

116213 

Pirate Party Kit

$9.99

Be sure to contact me before October 31, 11:50 PM (MT)


What Would We Do Without “Lovely As a Tree”?

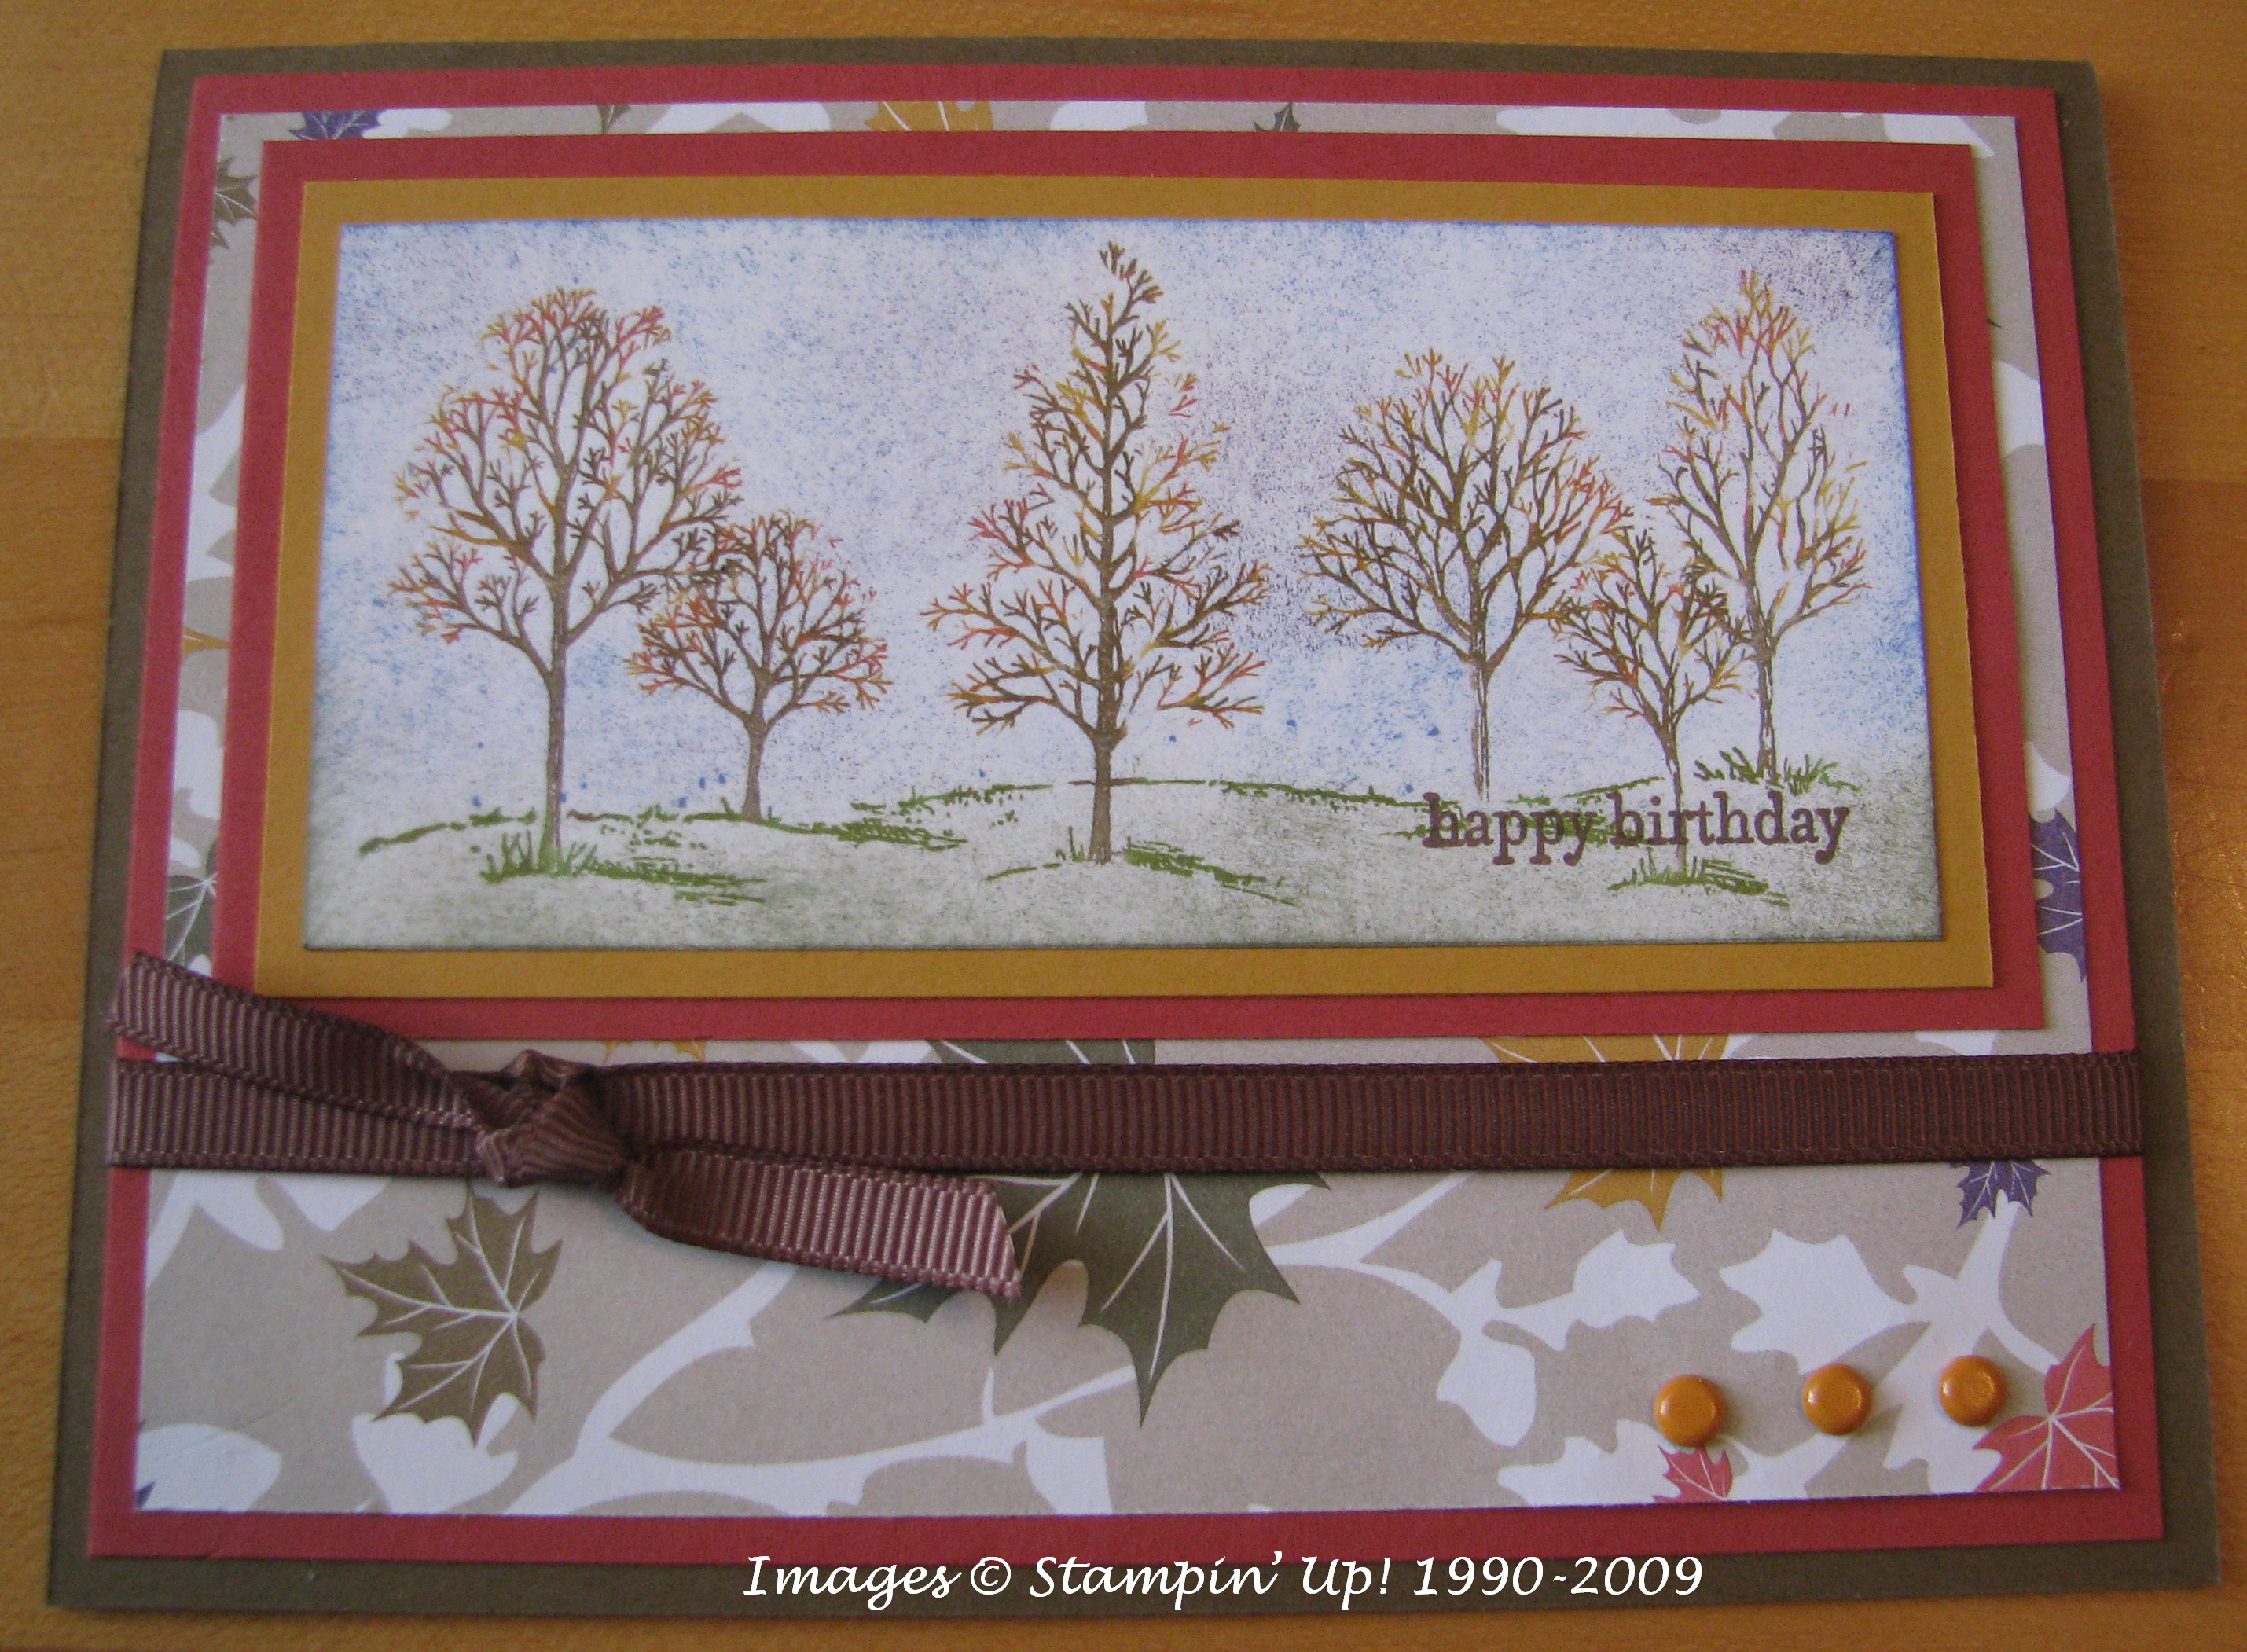
If you don't already own the stamp set "Lovely As a Tree" you should really add it to your collection right away! We all held our breath when Stampin' Up! retired stamp sets this last time because "Lovely As a Tree" has been around for awhile!  But it just is the most versatile, necessary stamp set to have on hand!  It is perfect for making cards for men, which is often a bit of challenge, but it can also be made into a beautiful Christmas card or a sympathy card or used on scrapbook pages and gifts.  Since my husband and I are planning a fall foliage trip to New England, it seemed perfect to make yet another "Lovely As a Tree" card for his birthday yesterday, this time with colored leaves and the new Autumn Traditions Designer Series Paper in the catalog.


LovelyTreeFallBDBob

I used an old technique called "thumping" to ink up this stamp of trees.  It is a little hard to describe, but you just hold your Stampin' Write Marker loosely and let it flop up and down onto the stamp!  Kind of a tapping thing I guess.  I used various fall colors, like More Mustard, Old Olive, Ruby Red, to make the leaves.  Then I just kind of colored in the tree trunks and branches with the new Soft Suede marker, just hitting the lines as well as I could…..plus some green marker for grass lines on the stamp.  When I got the trees stamped, I decided to sponge in some blue ink for the sky and some green for the grass.  The card might be a little "busy" with that particular DSP, but too bad, I wanted the one with the colored leaves!


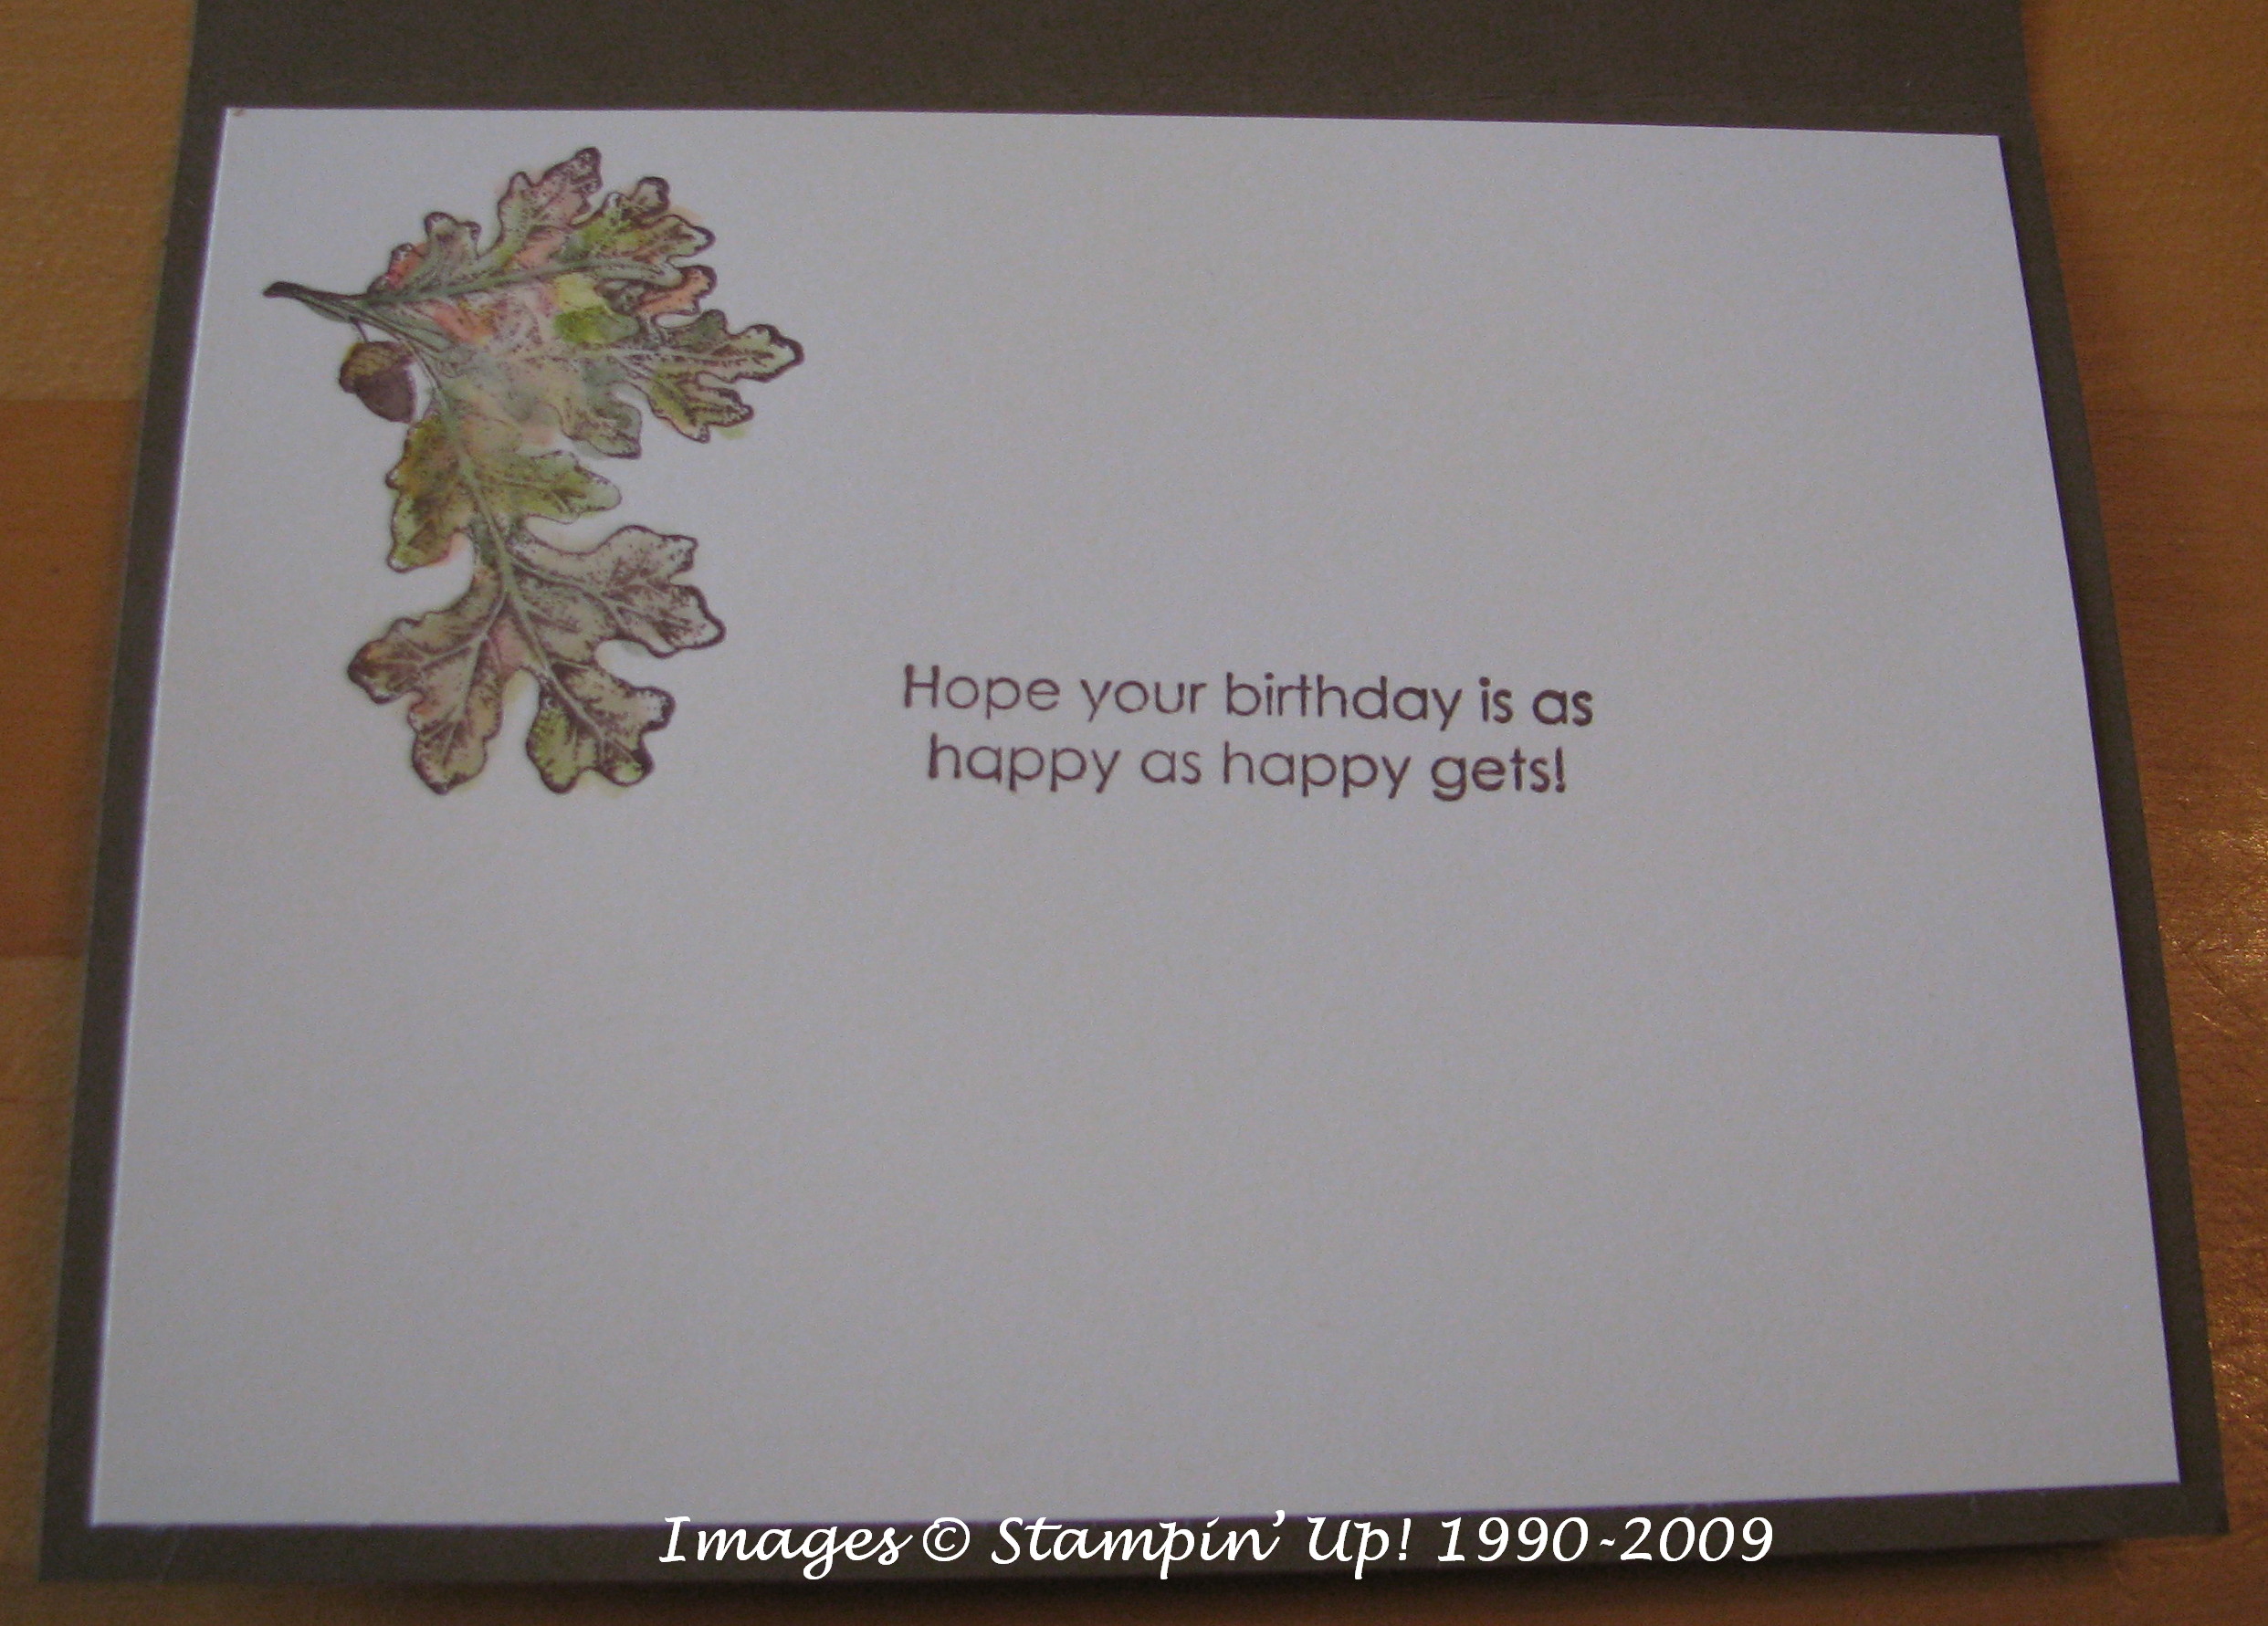
Here is the inside of the card using another stamp in the set.  The greeting is from the Level 3 Hostess Set "Kind & Caring Thoughts".  To color in the leaves I just colored with a marker on the lid of the stamp box and picked up the ink with my Aquapainter.  I love to color that way!

LovelyTreeFallBDBobinside

Wow! What a Birthday!

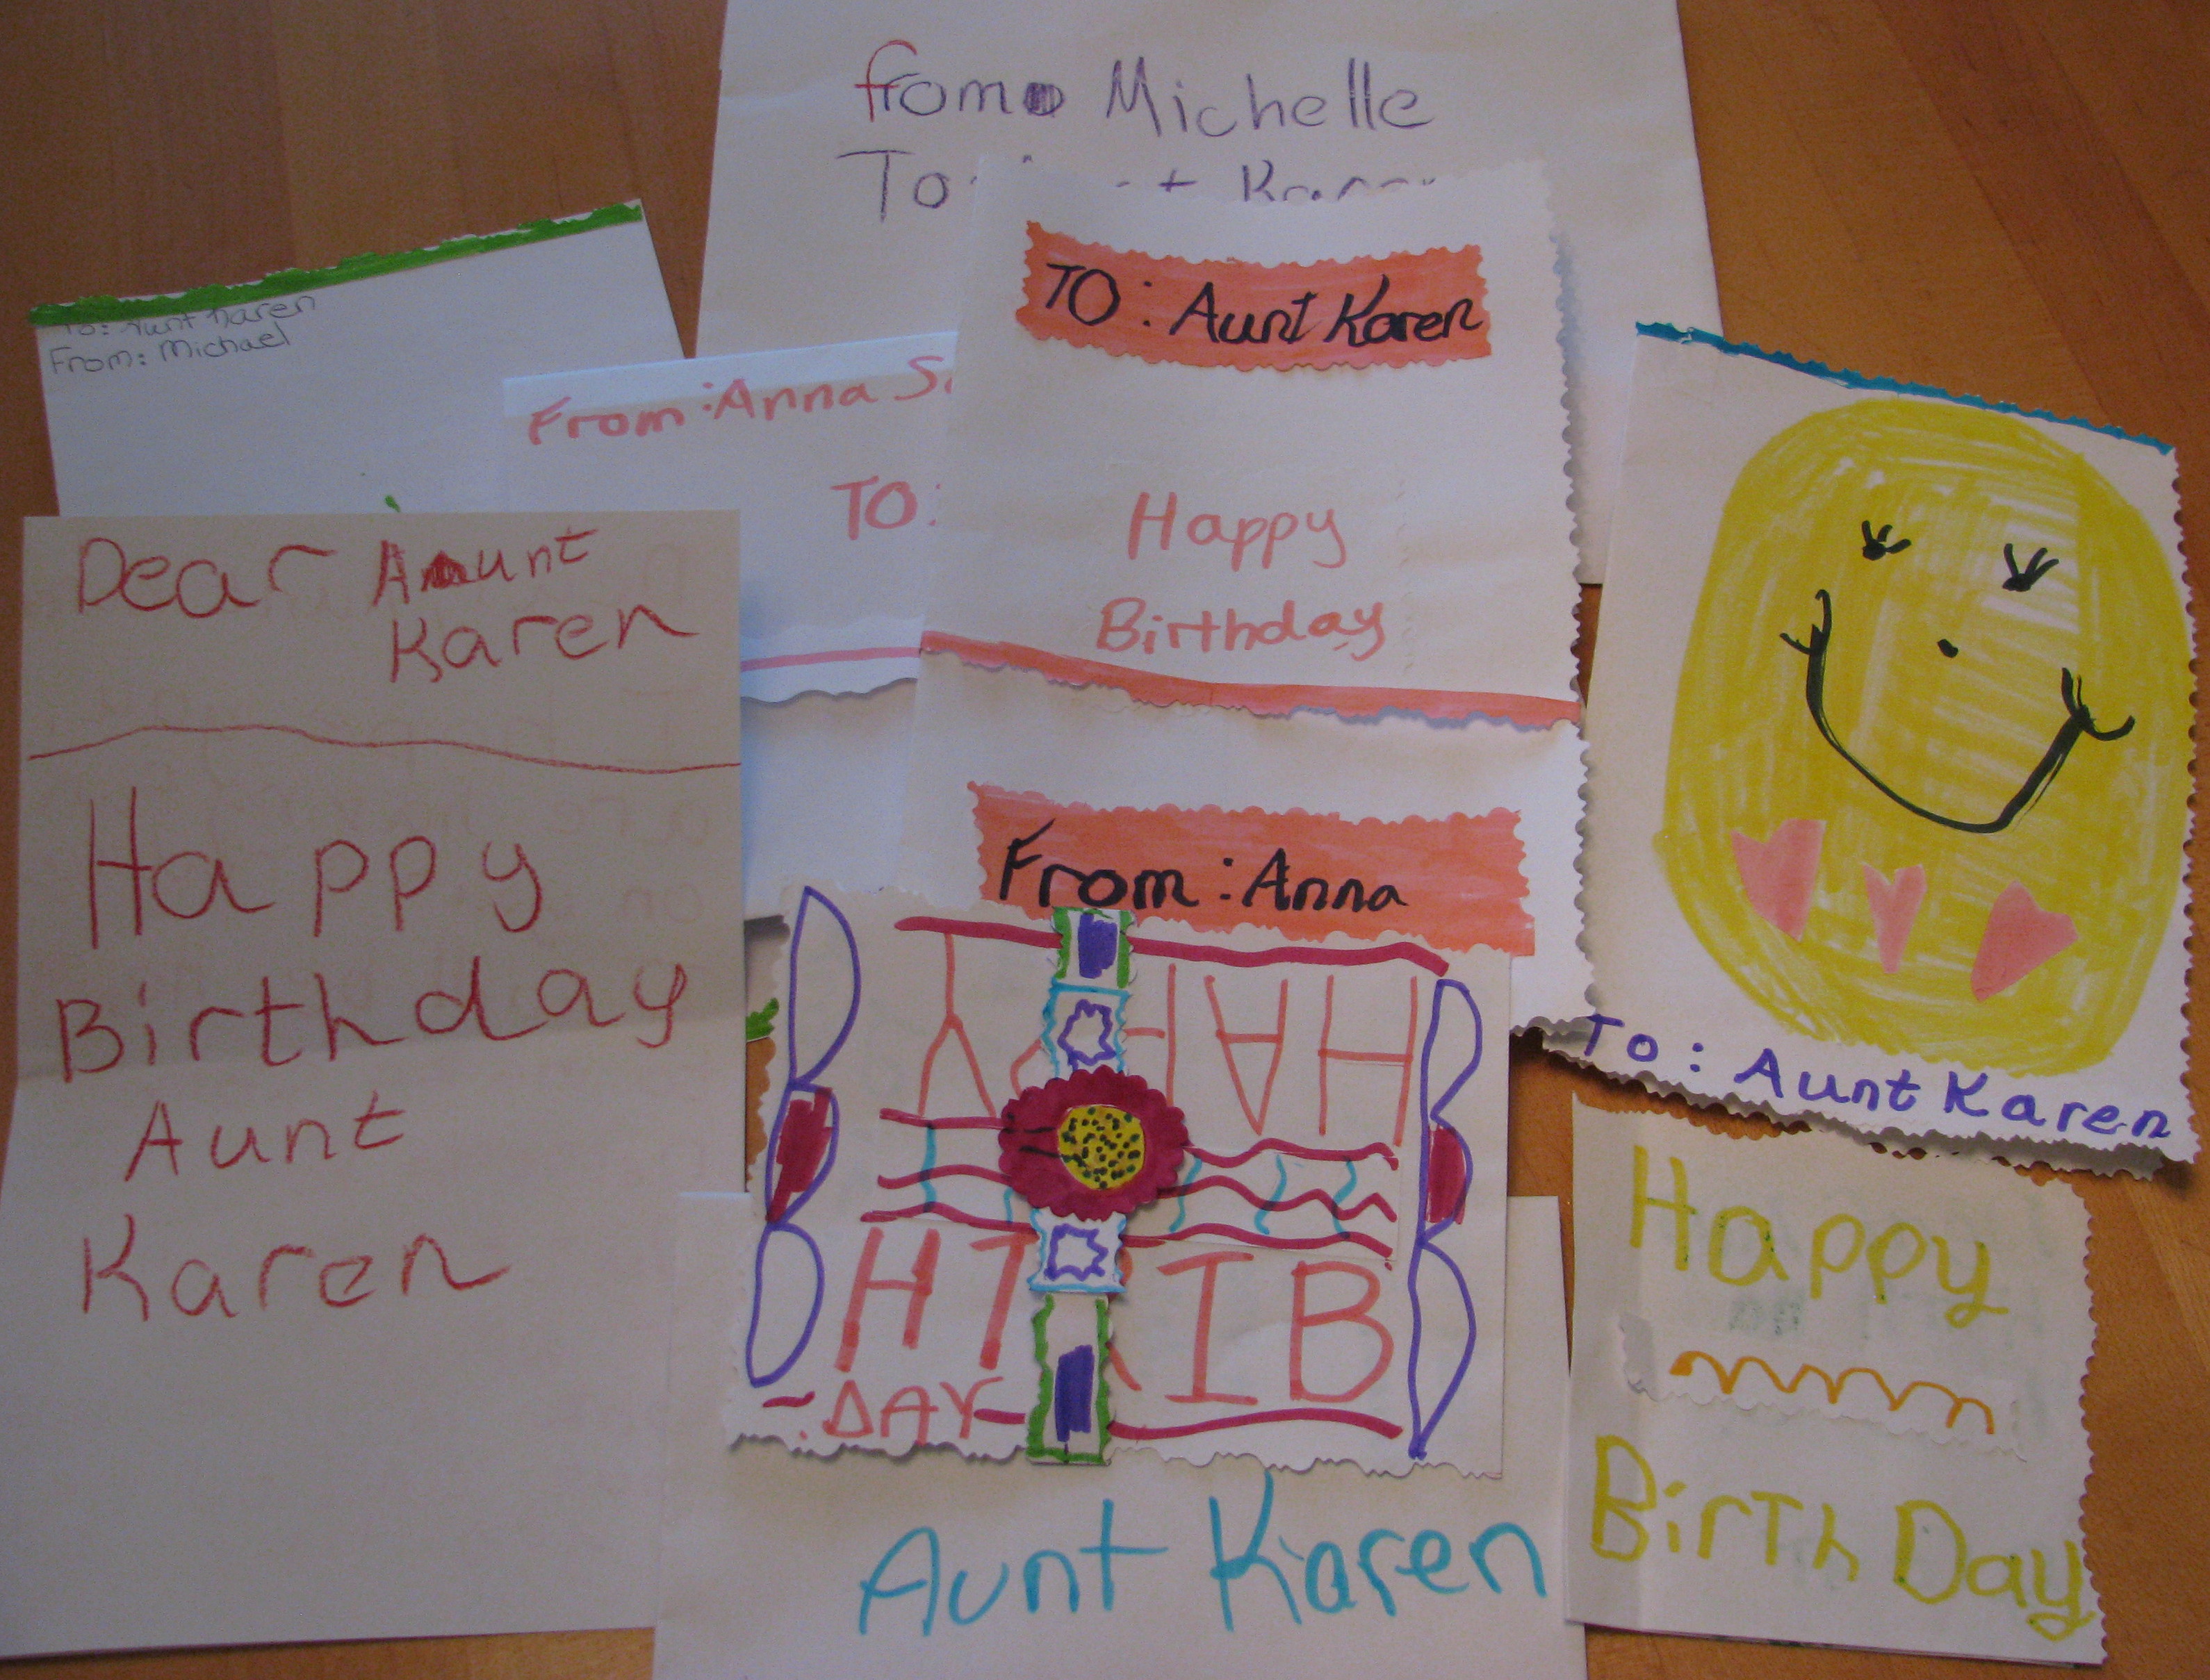
I got the best surprise yesterday for my birthday when my brother called from Kansas and said he might be flying to Houston that evening on business.  We haven't seen each other  in a couple of years and he rarely gets to fly to Houston, so that he was coming to Houston, much less on my birthday, was a pretty big treat!  He did just barely make it in by evening, and then we went out to his and my favorite restaurant for him to have dinner and me to have a second dinner I guess!  He even brought along handmade birthday cards from my nieces and nephews!  I was so impressed with how "fancy" they made the cards!  Their mom said on the phone that they love the stamped cards I send them so now they make fancy cards also!  They used decorative scissors and had belly bands around them or around the envelopes, glued on borders, and lovely little notes! Here's a photo of the cards and handmade envelopes!

SchlesBDcards 

So never underestimate the power of a handmade card, whether you are giving or receiving!

If you enjoy a good ESP story….this was weird!  At dinner my husband, brother and I were talking about amusement parks and roller coasters.  I asked my brother if he liked roller coasters.  He said yes, he loved them (crazy fool!).  As soon as he said that, I remembered that one time as teenagers in St. Louis, I went with him, his best friend next door Ronnie, and Ronnie's girlfriend (and later wife) Patty to Six Flags.  They wanted to ride the new wooden roller coaster, the Screamin' Eagle I think, and I DID NOT but I stood in line with them for 45 minutes just to wait with them.  By the time we finally got to the head of the line, I decided I should go ahead and ride it and I did.  As soon as we got off, they wanted to ride it again and we stood in the long line again……and again.  Now last night I literally barely had those words out of my mouth when my brother's cell phone rang…..it was his friend Ronnie!!  How weird is that?!  Ronnie calls him now and then but not real often so for him to call like one minute after I was talking about him was really unbelievable!

So this morning I have just taken my brother back to the airport and gotten to board some rich person's private jet that he is going to fly back to Montana after maintenance here.  It's nice to see how the "other half" lives!  And I came home to a beautiful bouquet of birthday flowers on the porch from my upline/best friend!

I'll get back to Stampin' Up! Convention news and photos later!

Birthday Diorama Card

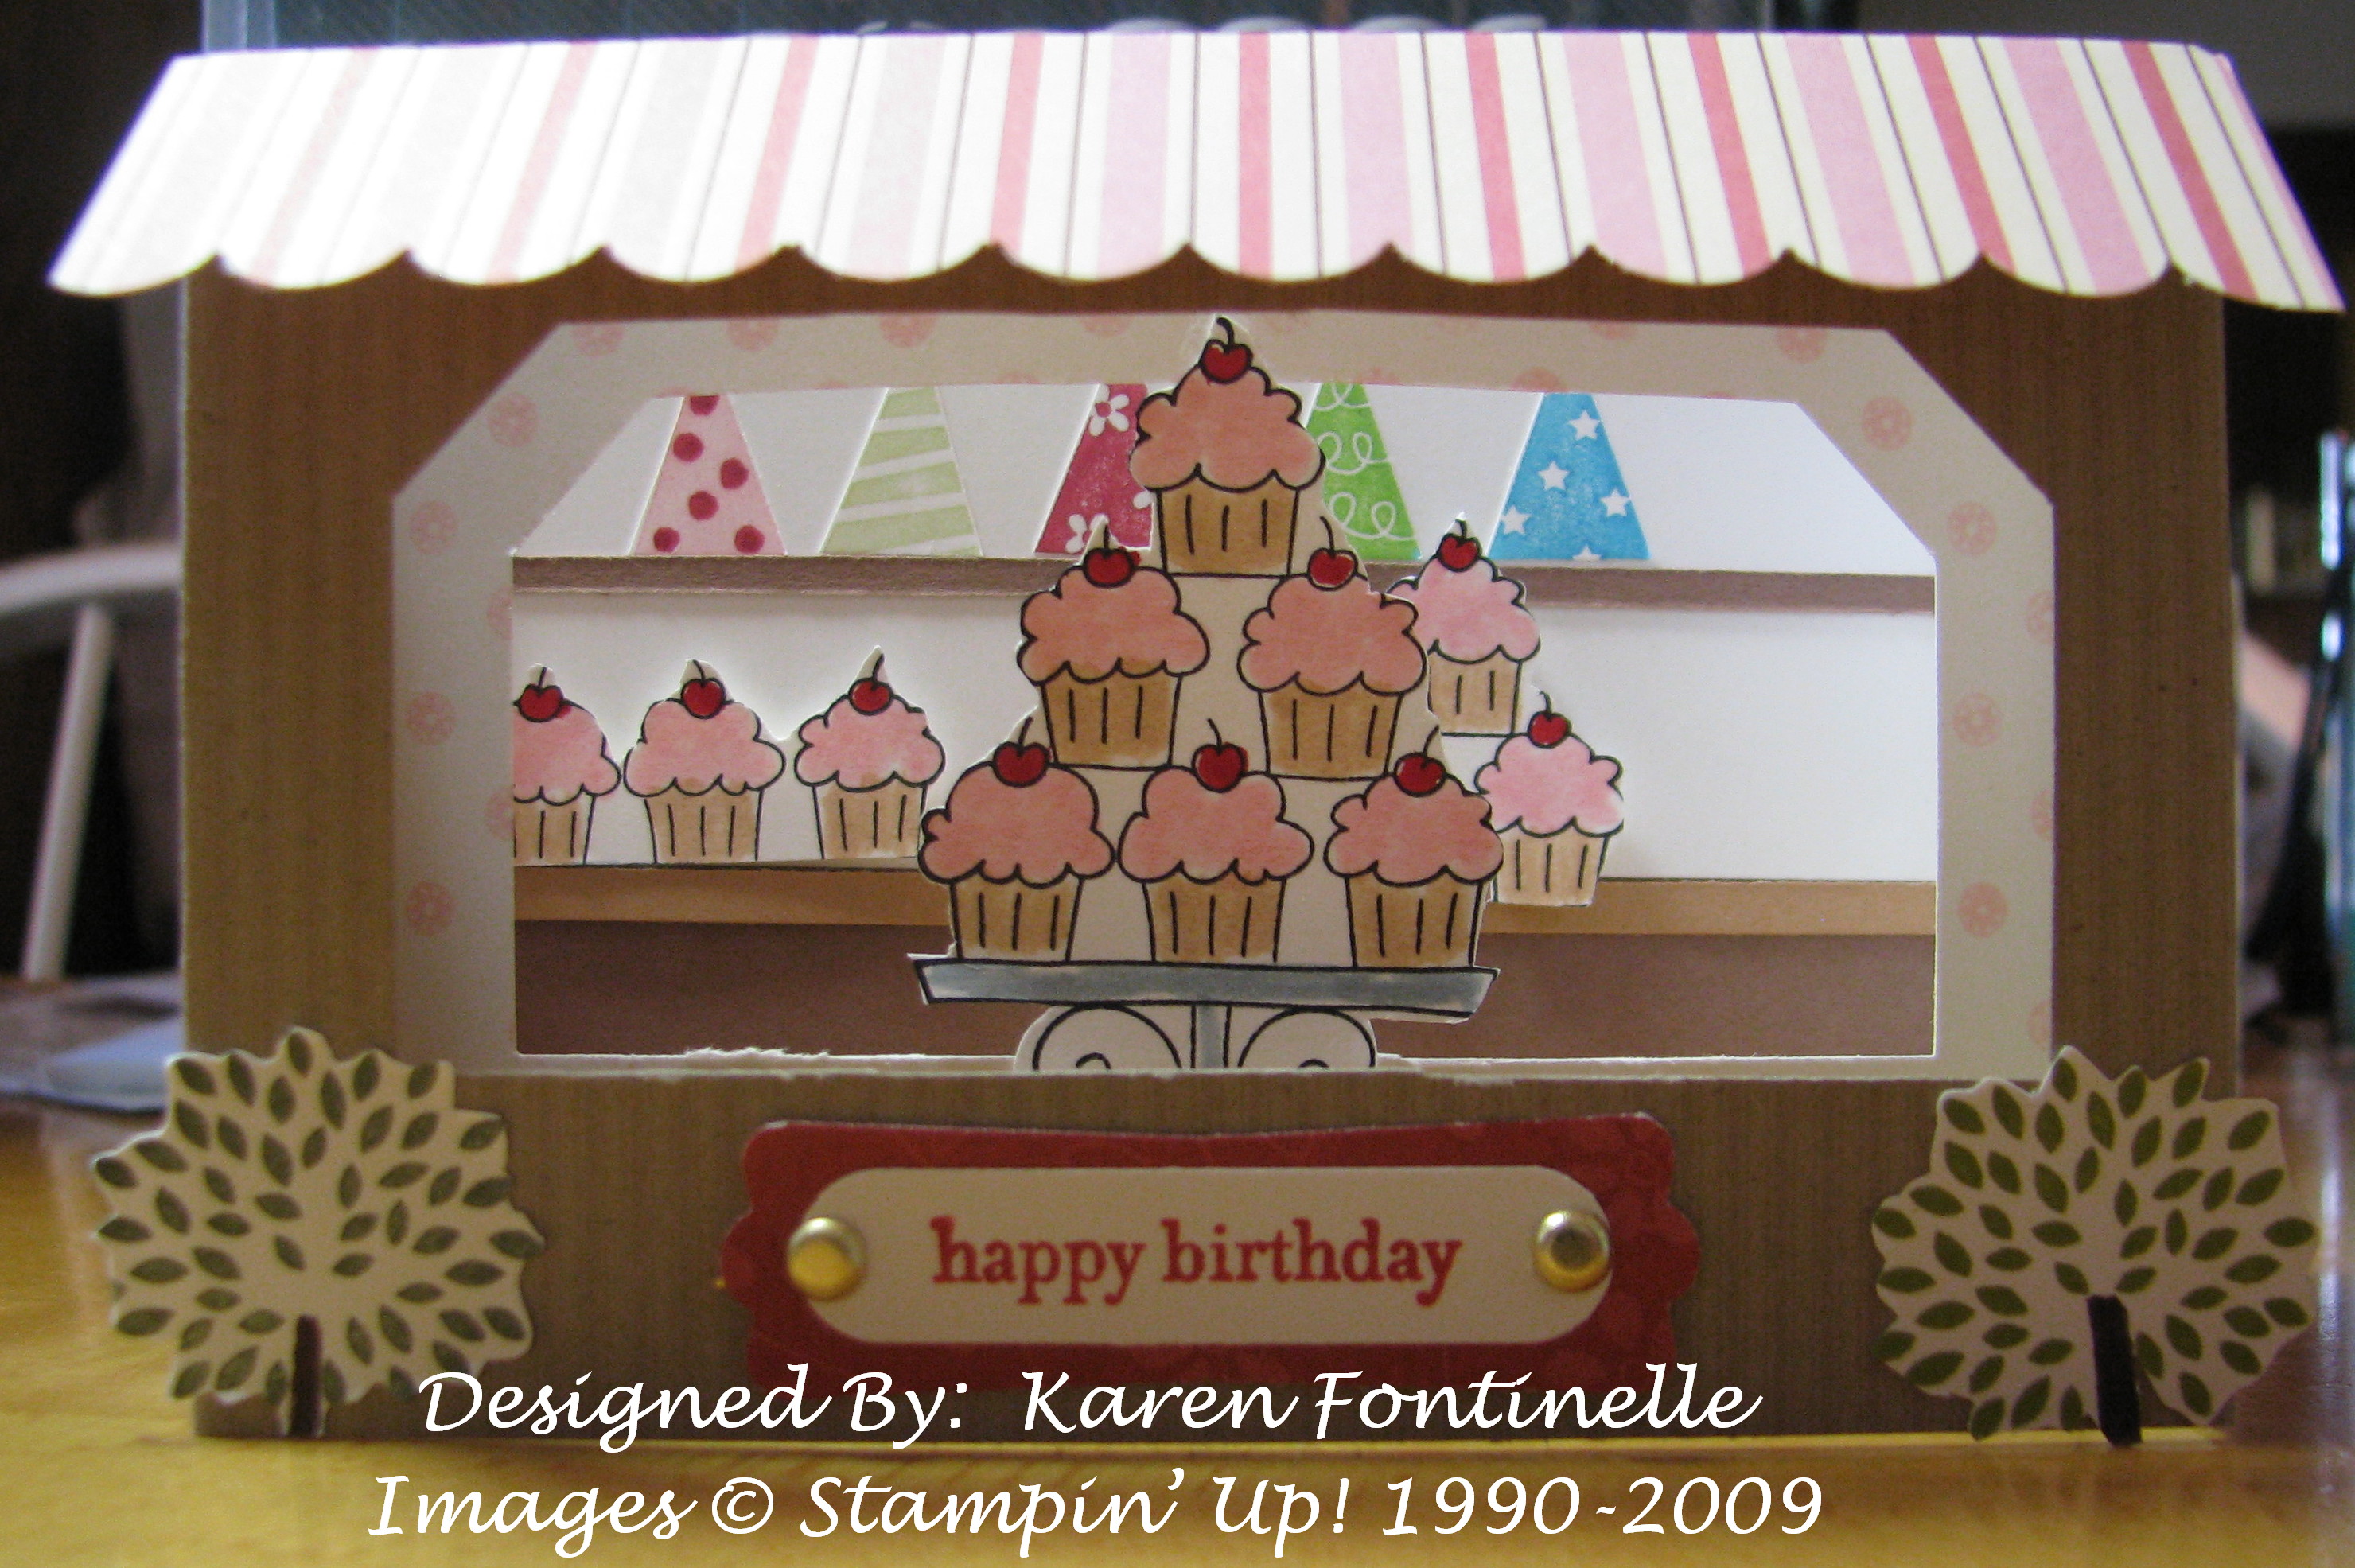
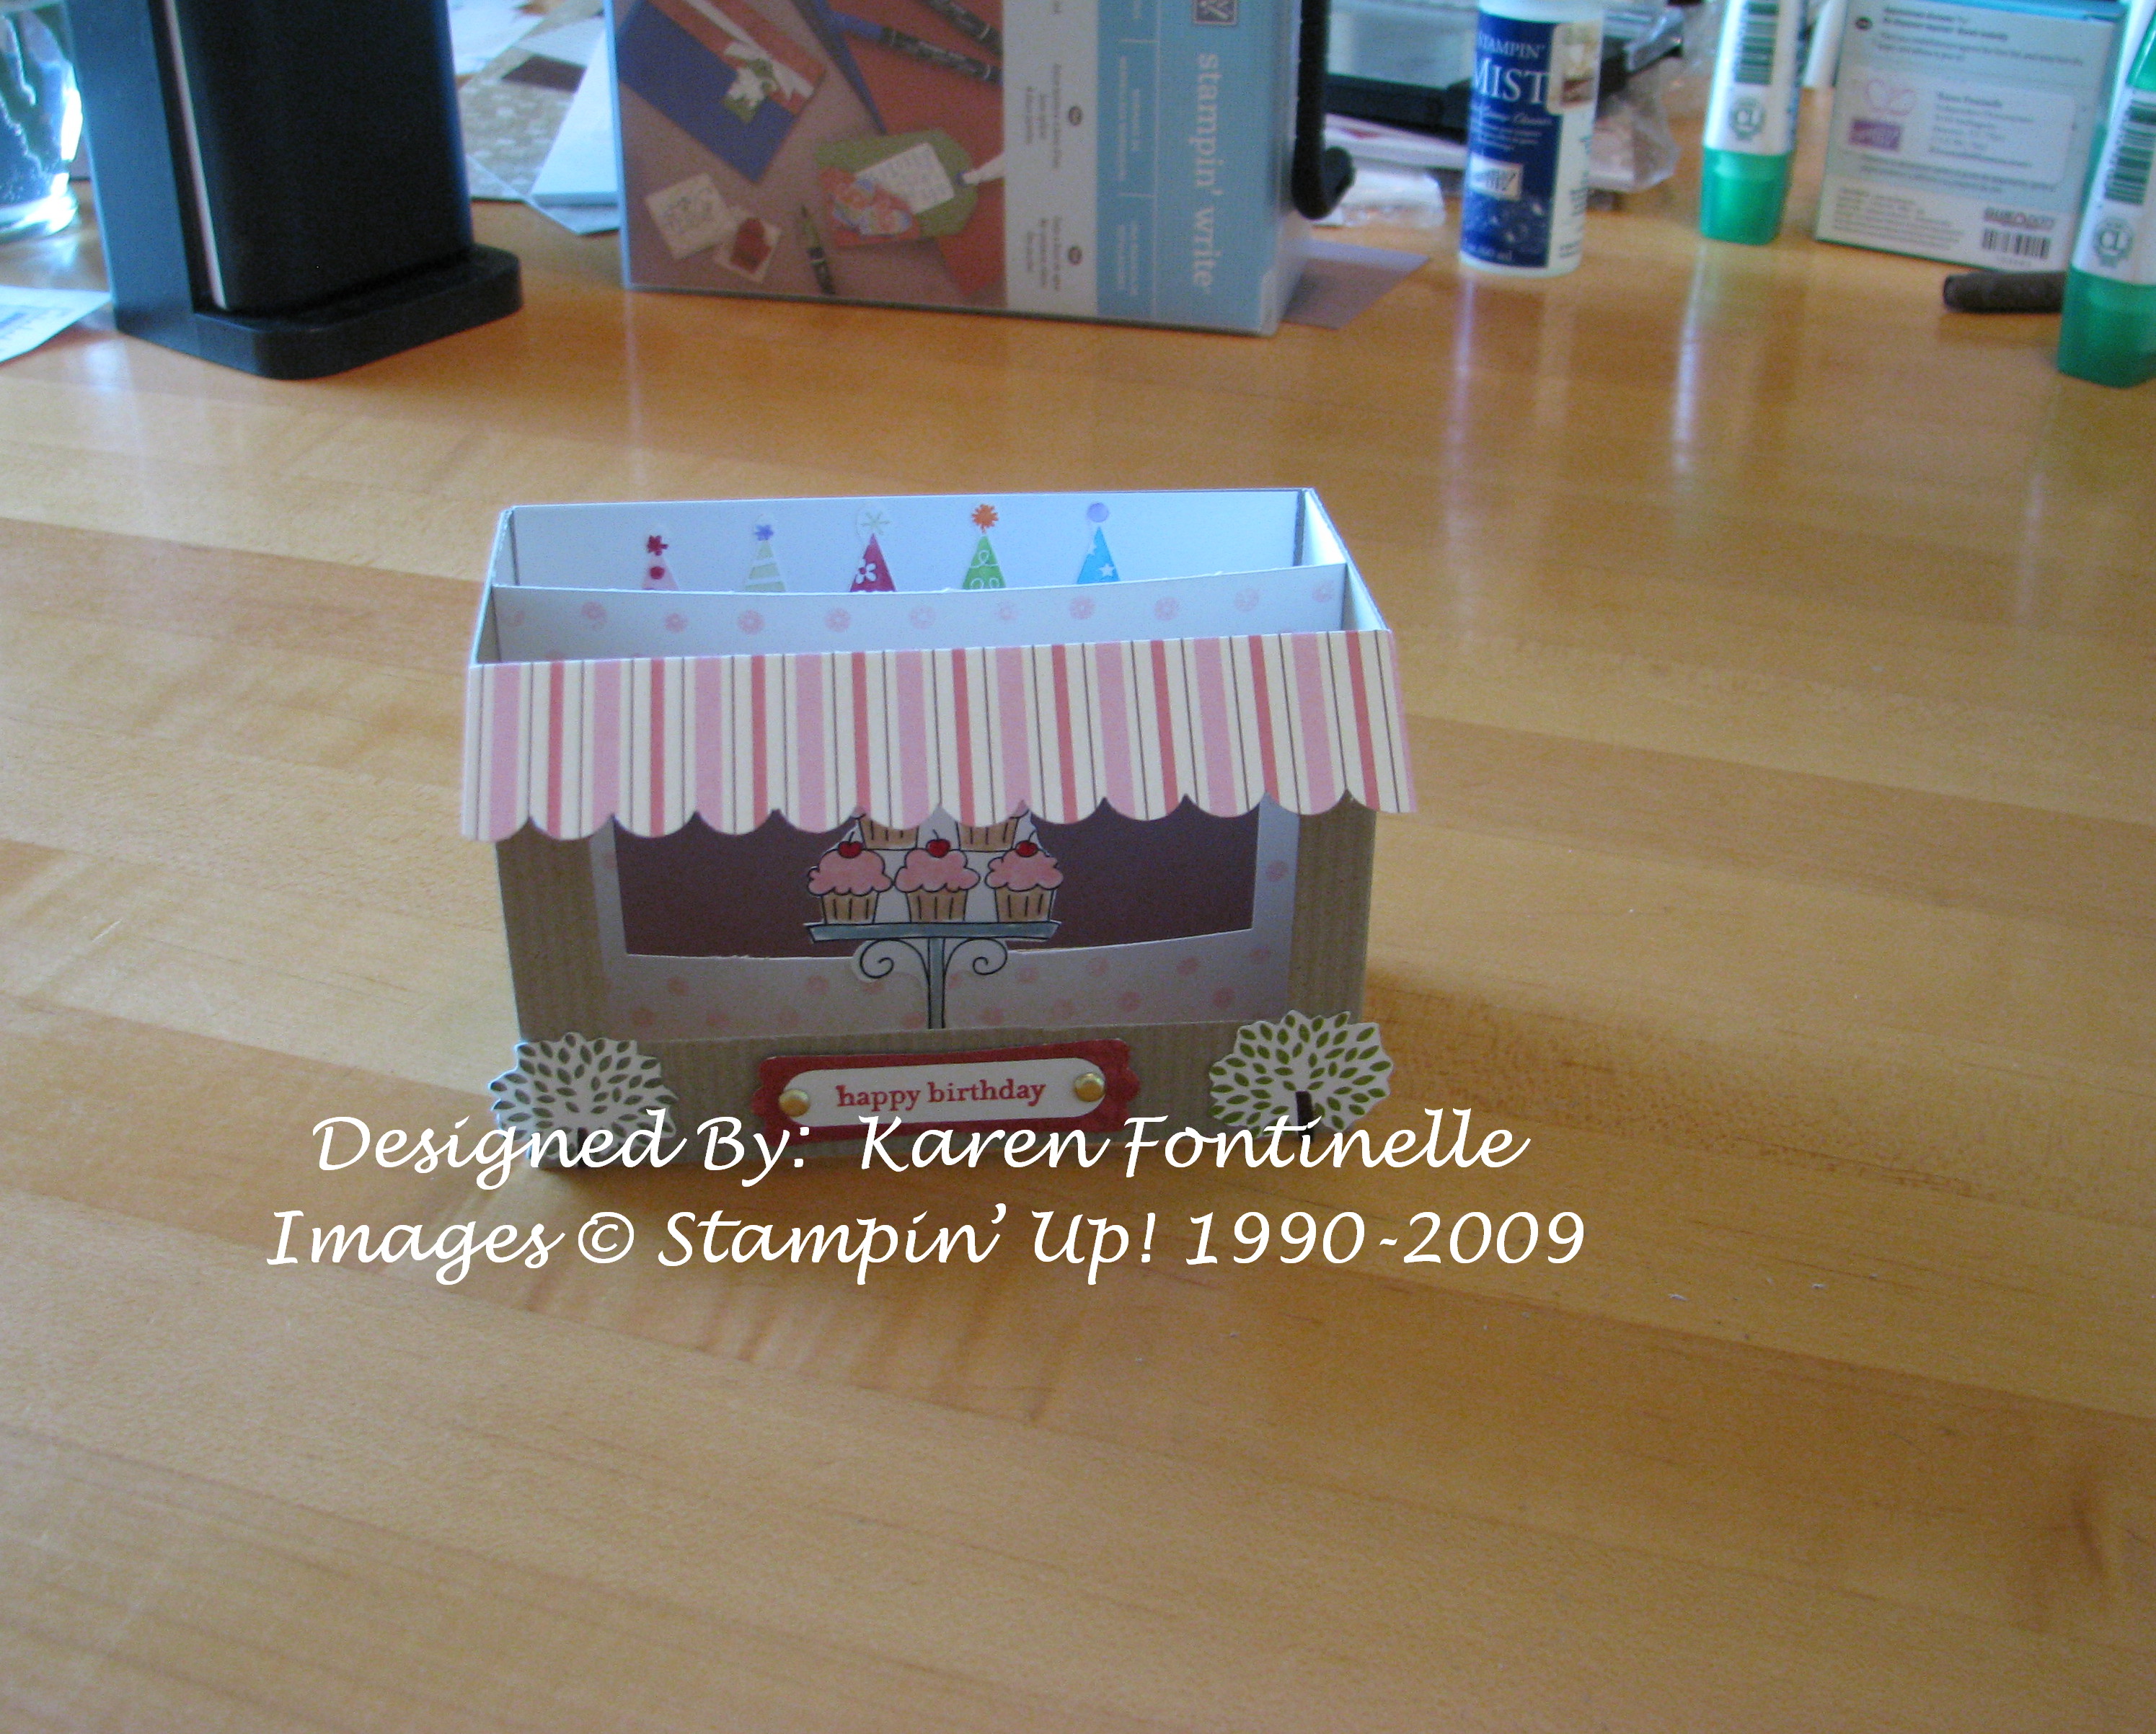
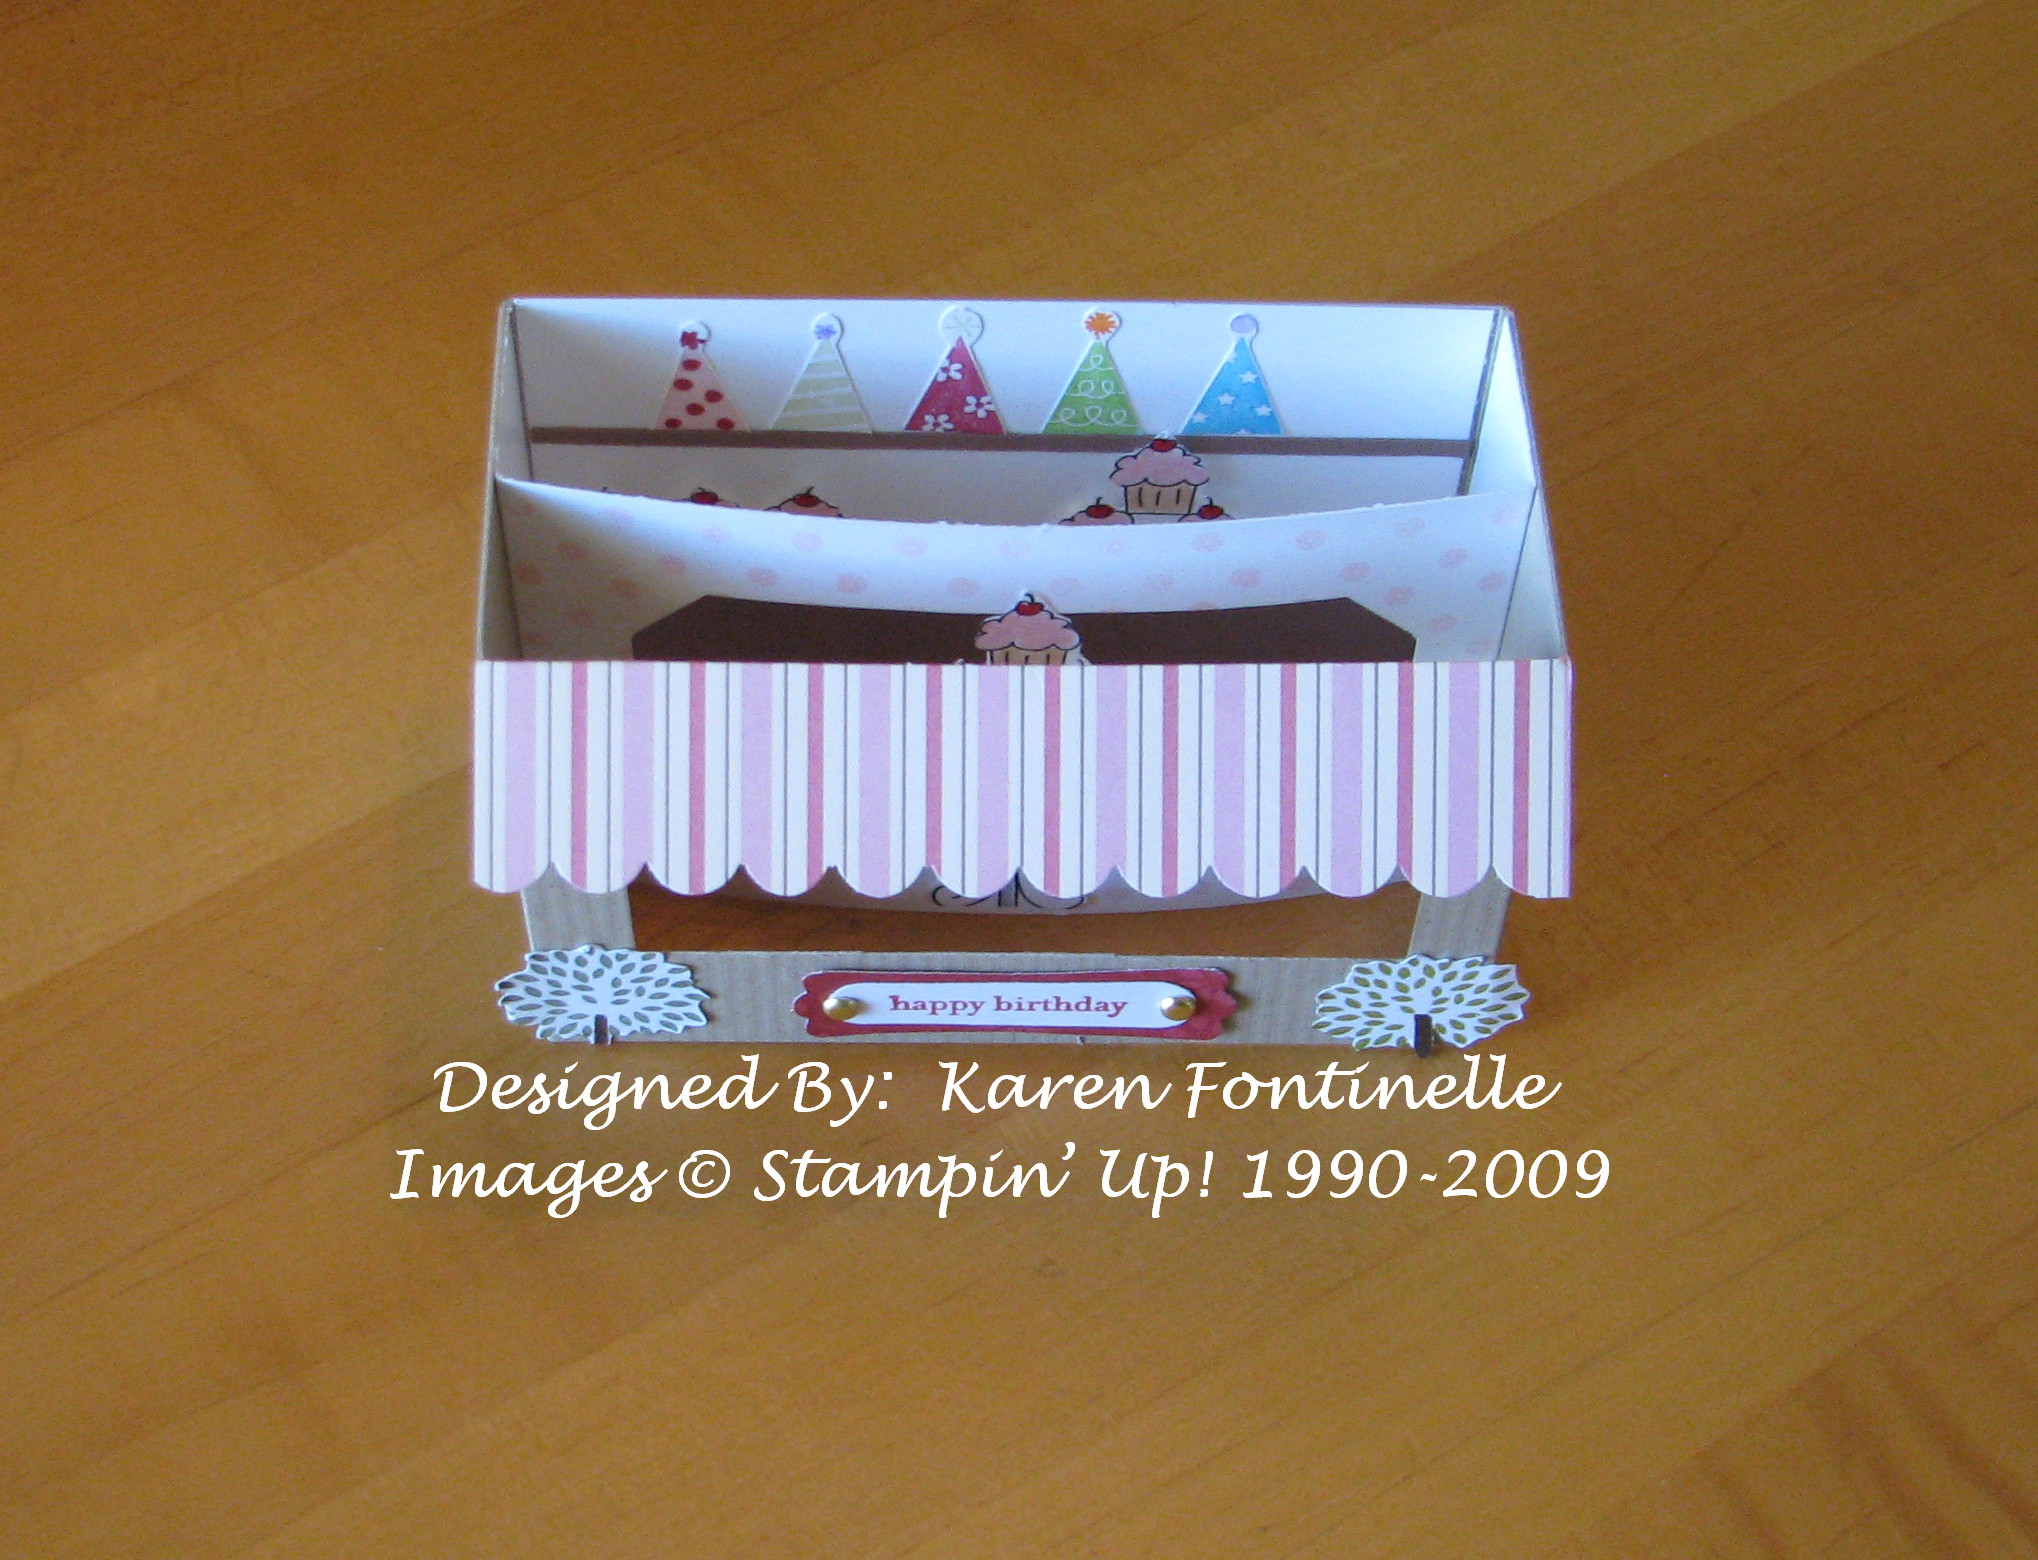
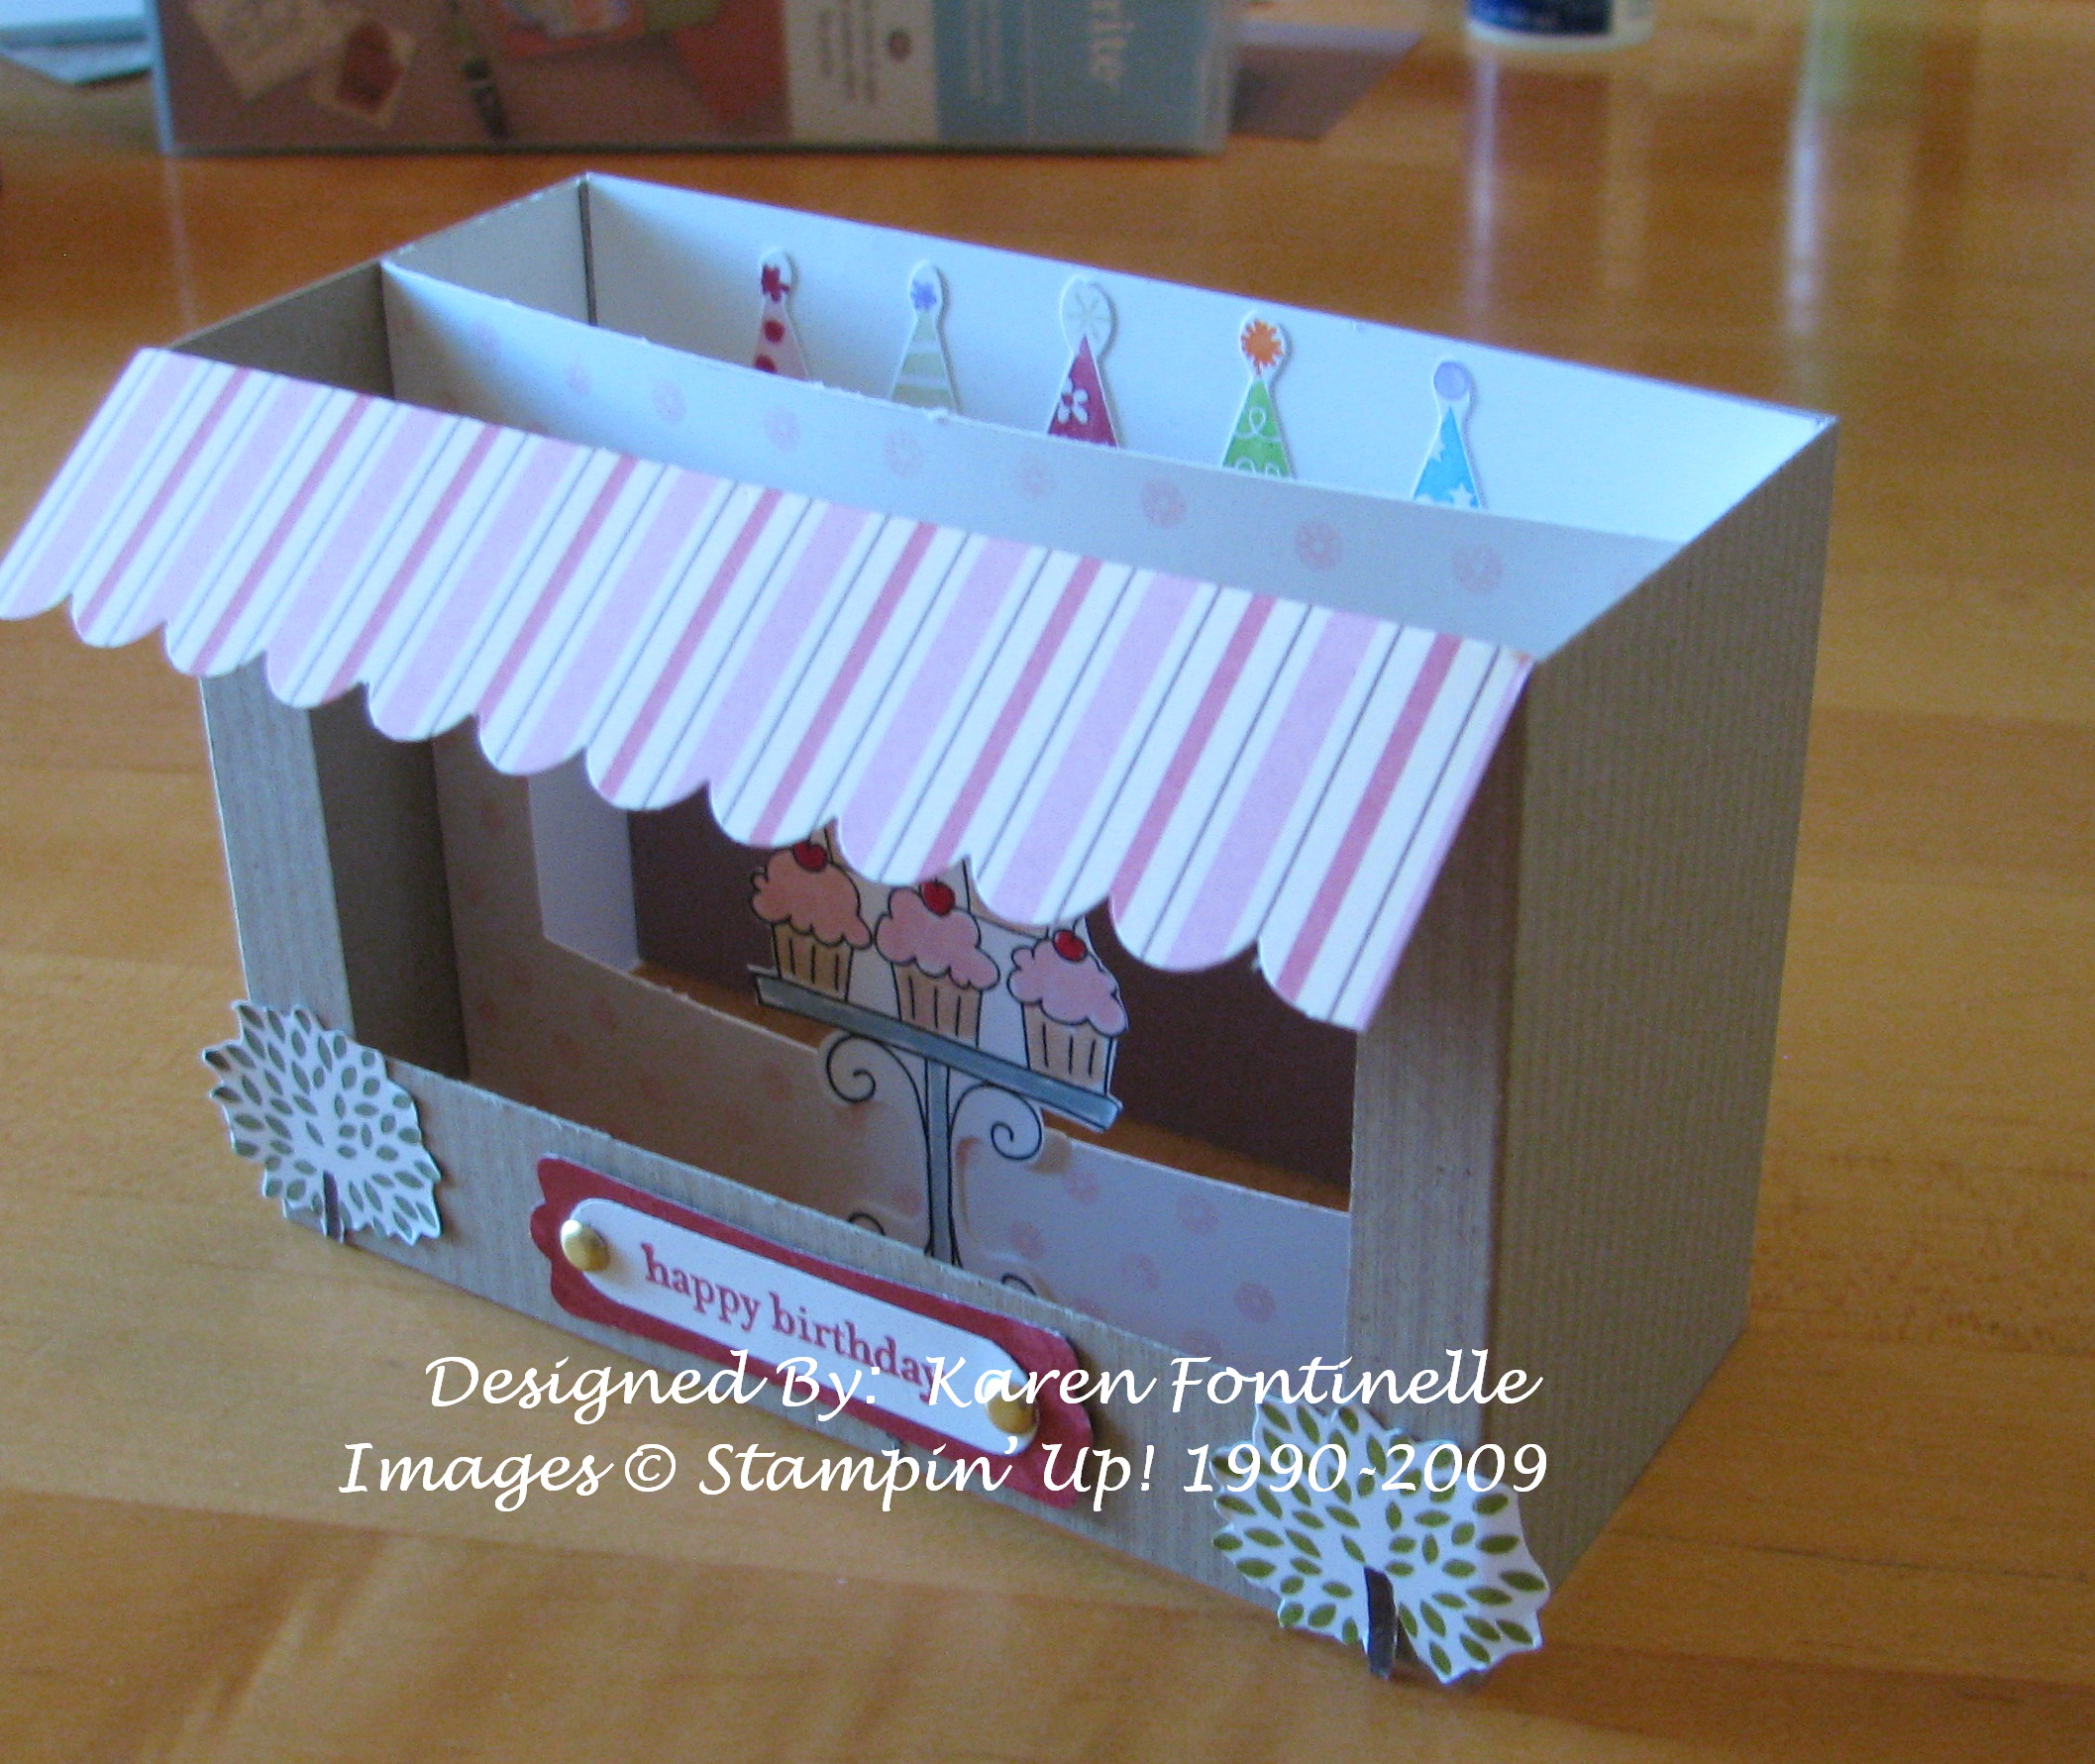
One of my blog readers emailed the other day and asked how I had made the diorama card, which is in THIS post.  While I looked up the measurements and refreshed my memory with scrap paper in order to answer her, I got inspired to make another Diorama Card!  They really are fun and easy, so you should try it!  Once you make one you can see how you could change the measurements to suit your purpose, but these are the ones I used.

You need:

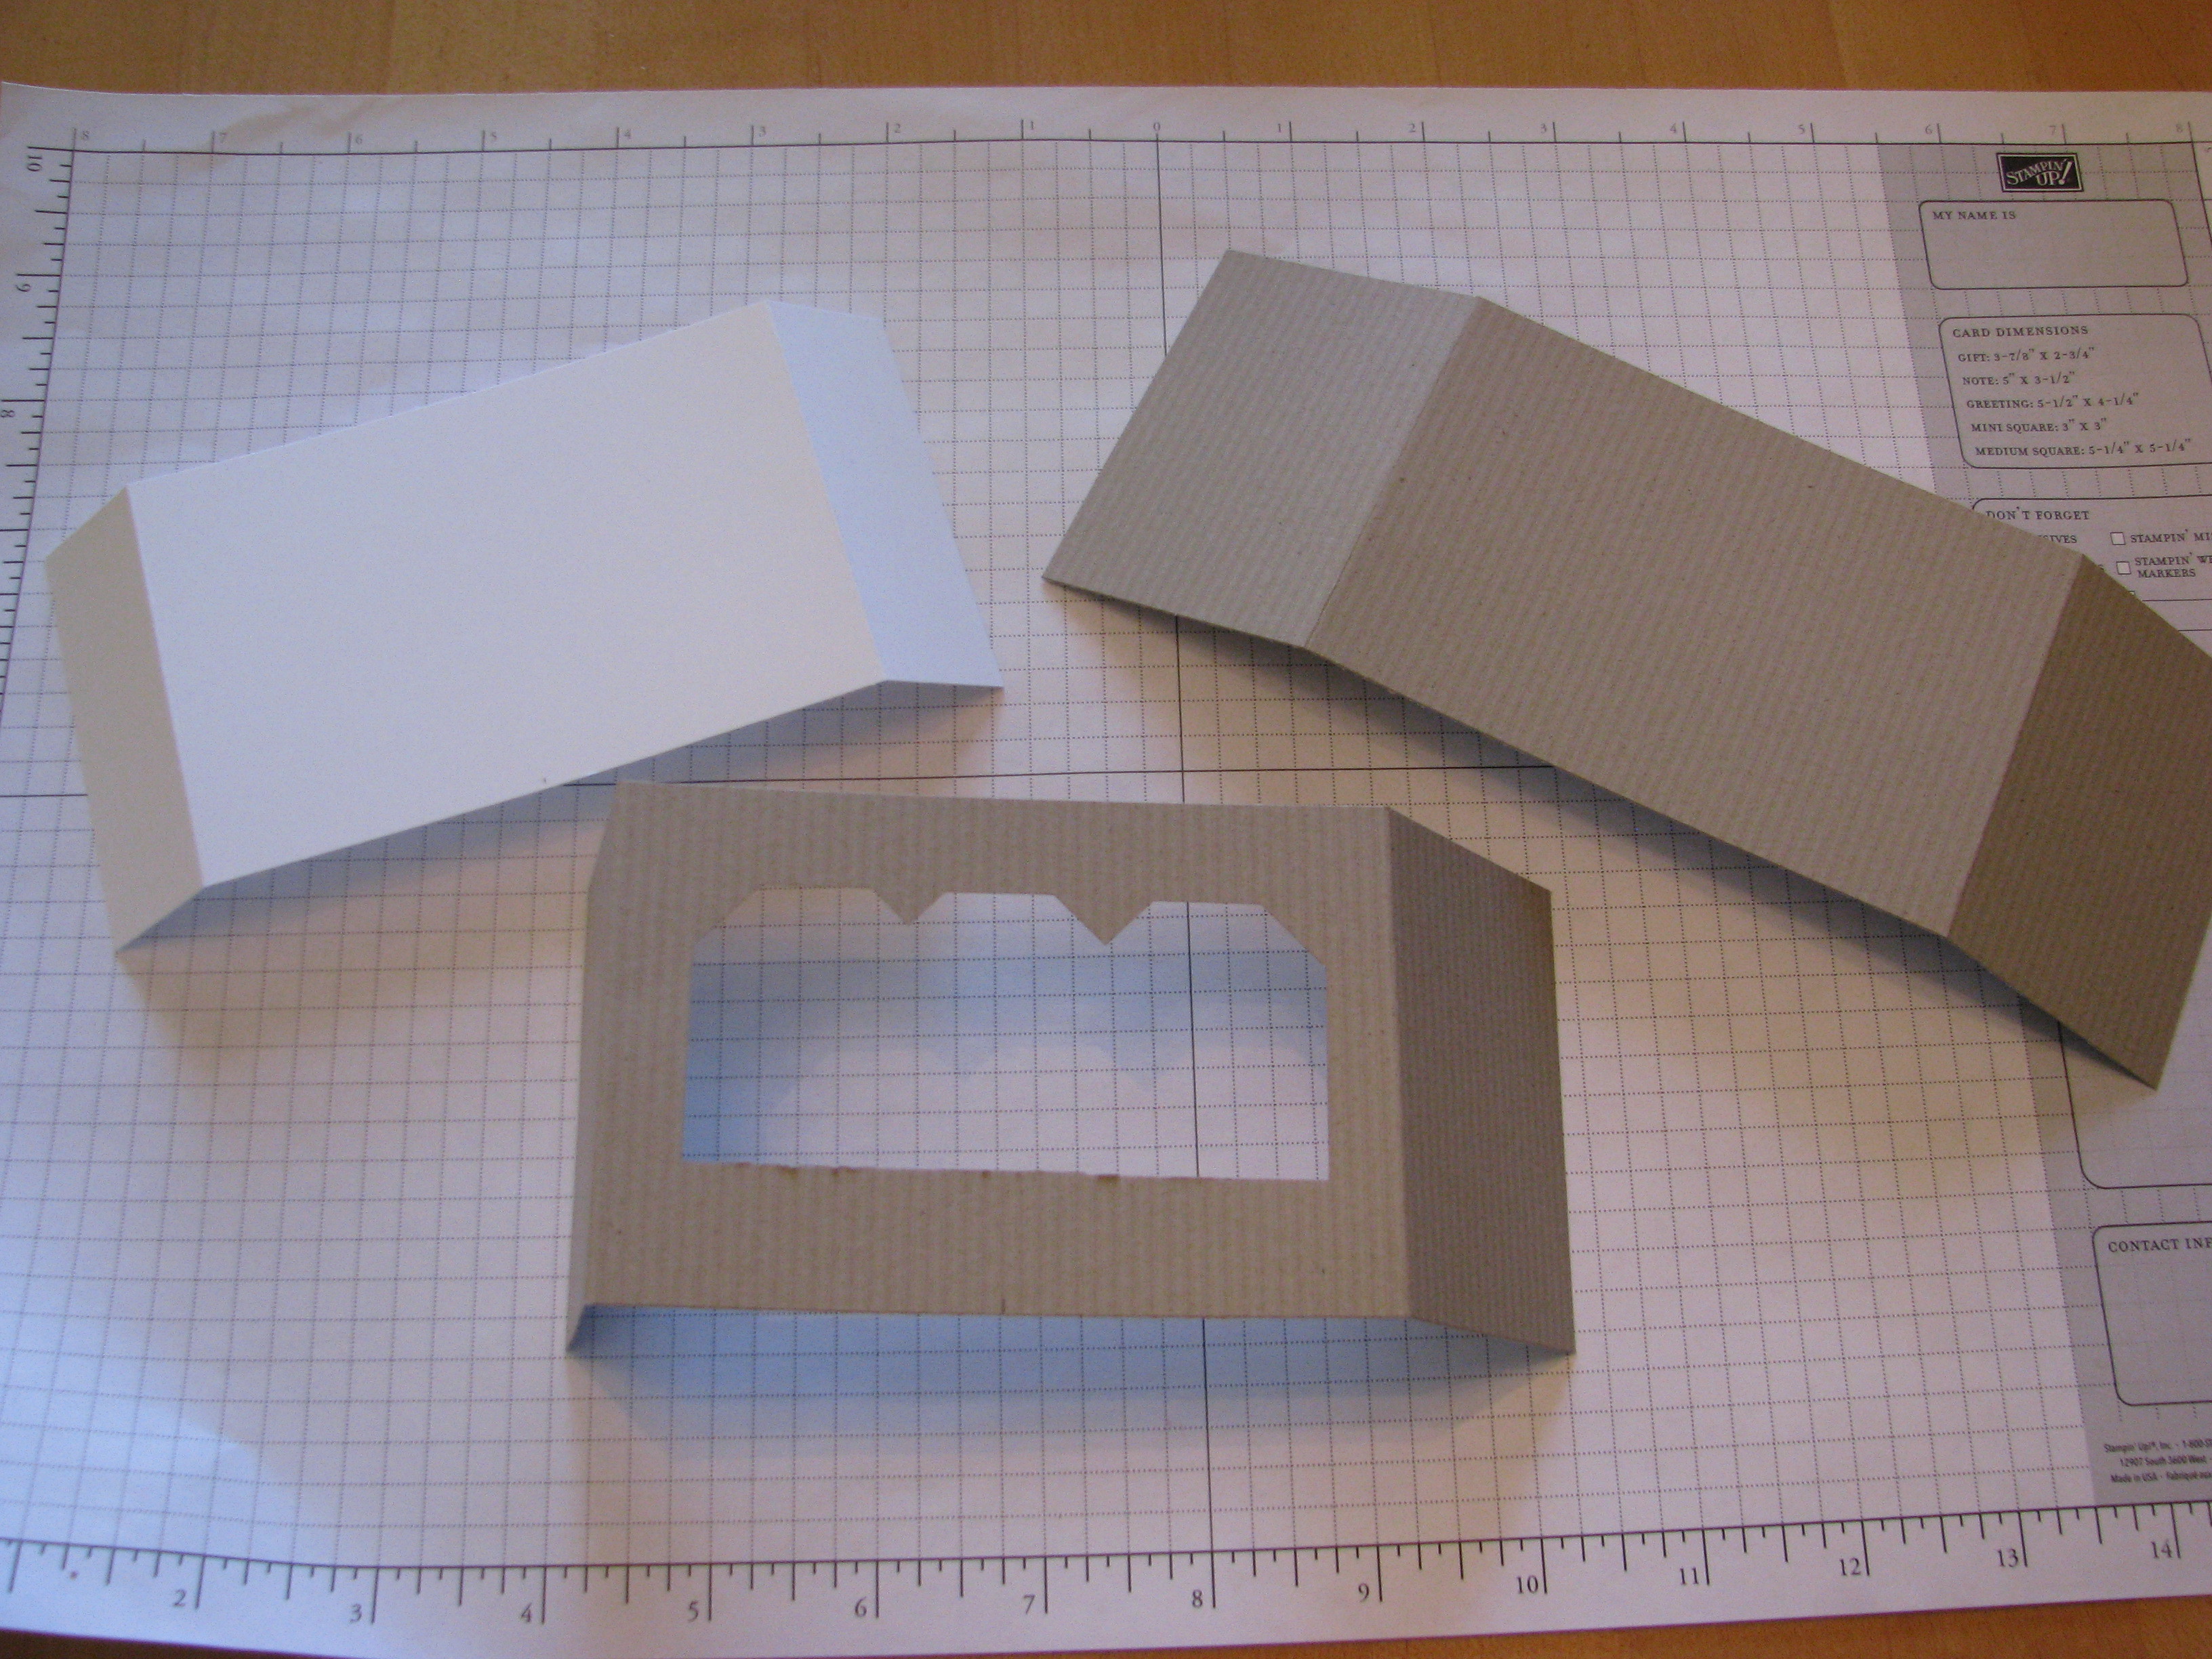
2 pieces of cardstock 8.5" x 3" for the front and back pieces, score each piece at 2" from each end.

1 piece of cardstock 6.5" x 3" for the middle piece, score at 1" from each end.

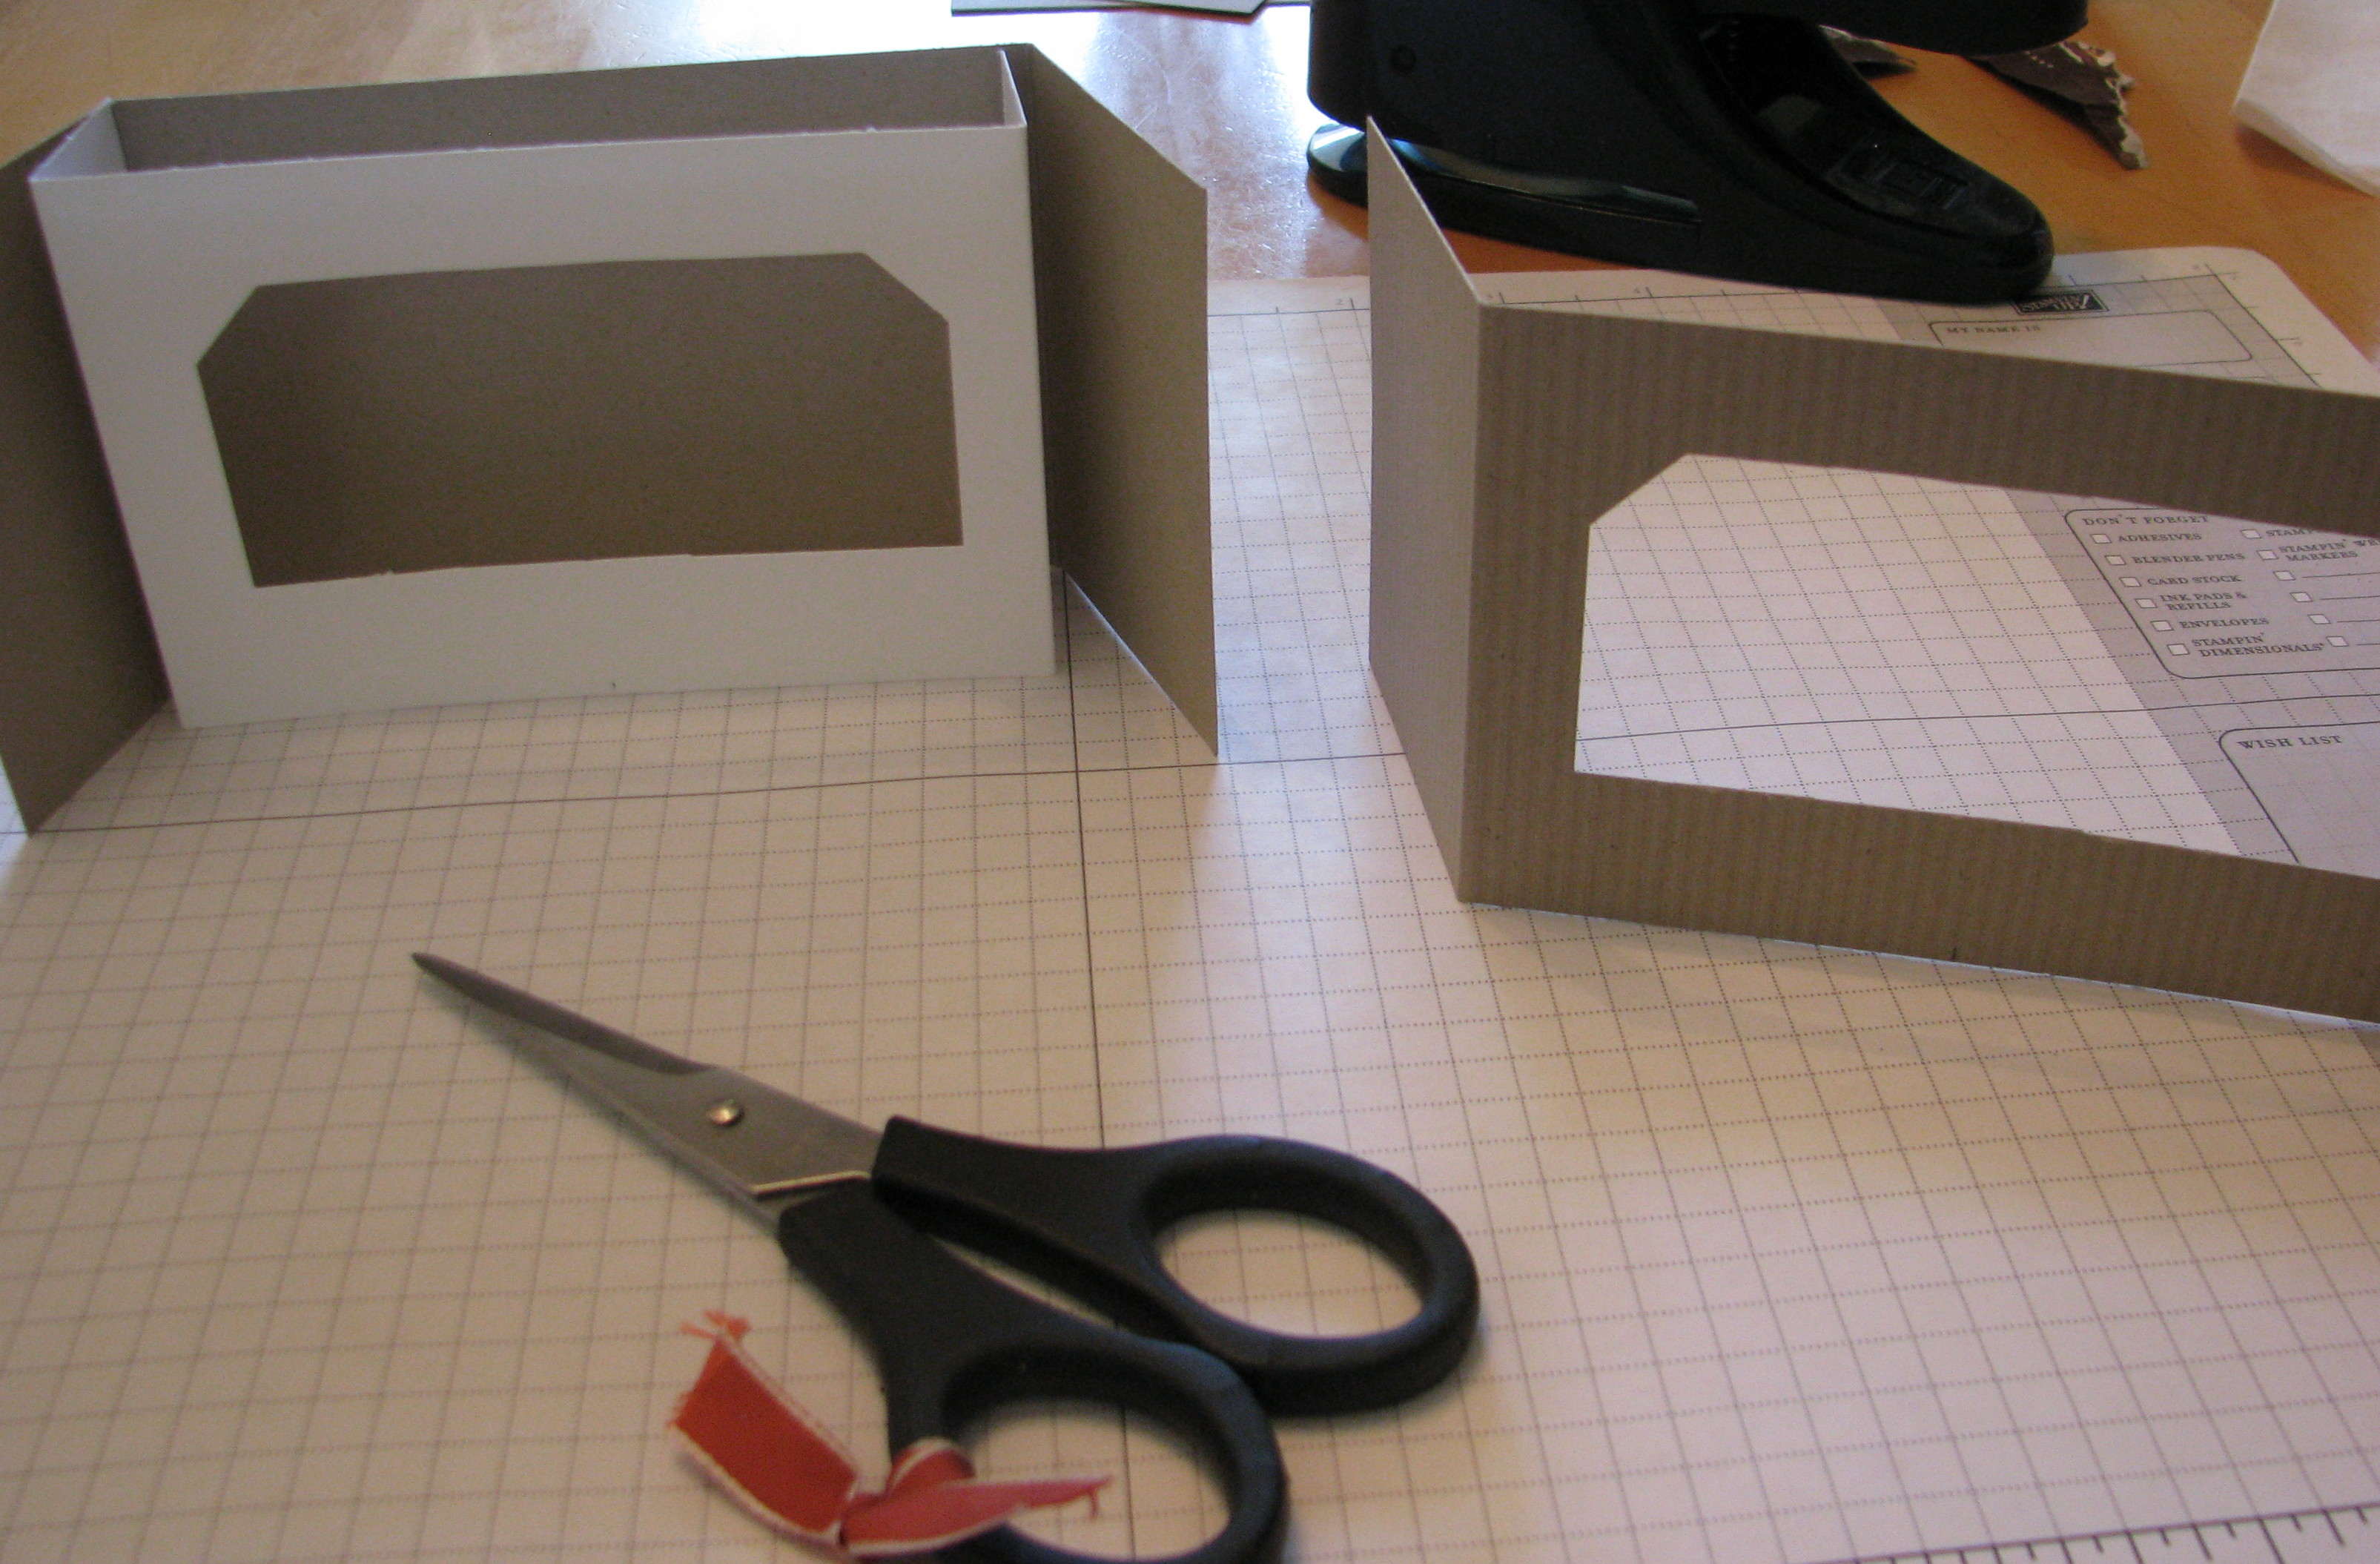
Punch or cut center opening on front and middle pieces.  I used the Large Tag Punch and cut off the little remaining triangles with my Paper Snips.  You could use circle punches, a square punch, or even a hobby knife.  Using the tag punch, I punched in the center, then off to each side, creating the large opening.  You could leave space in between and make window panes.  (I love to use the Stampin' Up! grid paper because on it I can measure, align, scribble, stamp, write, etc.)

DioramaBakerycard pieces 

DioramaBakerycard pieces2 

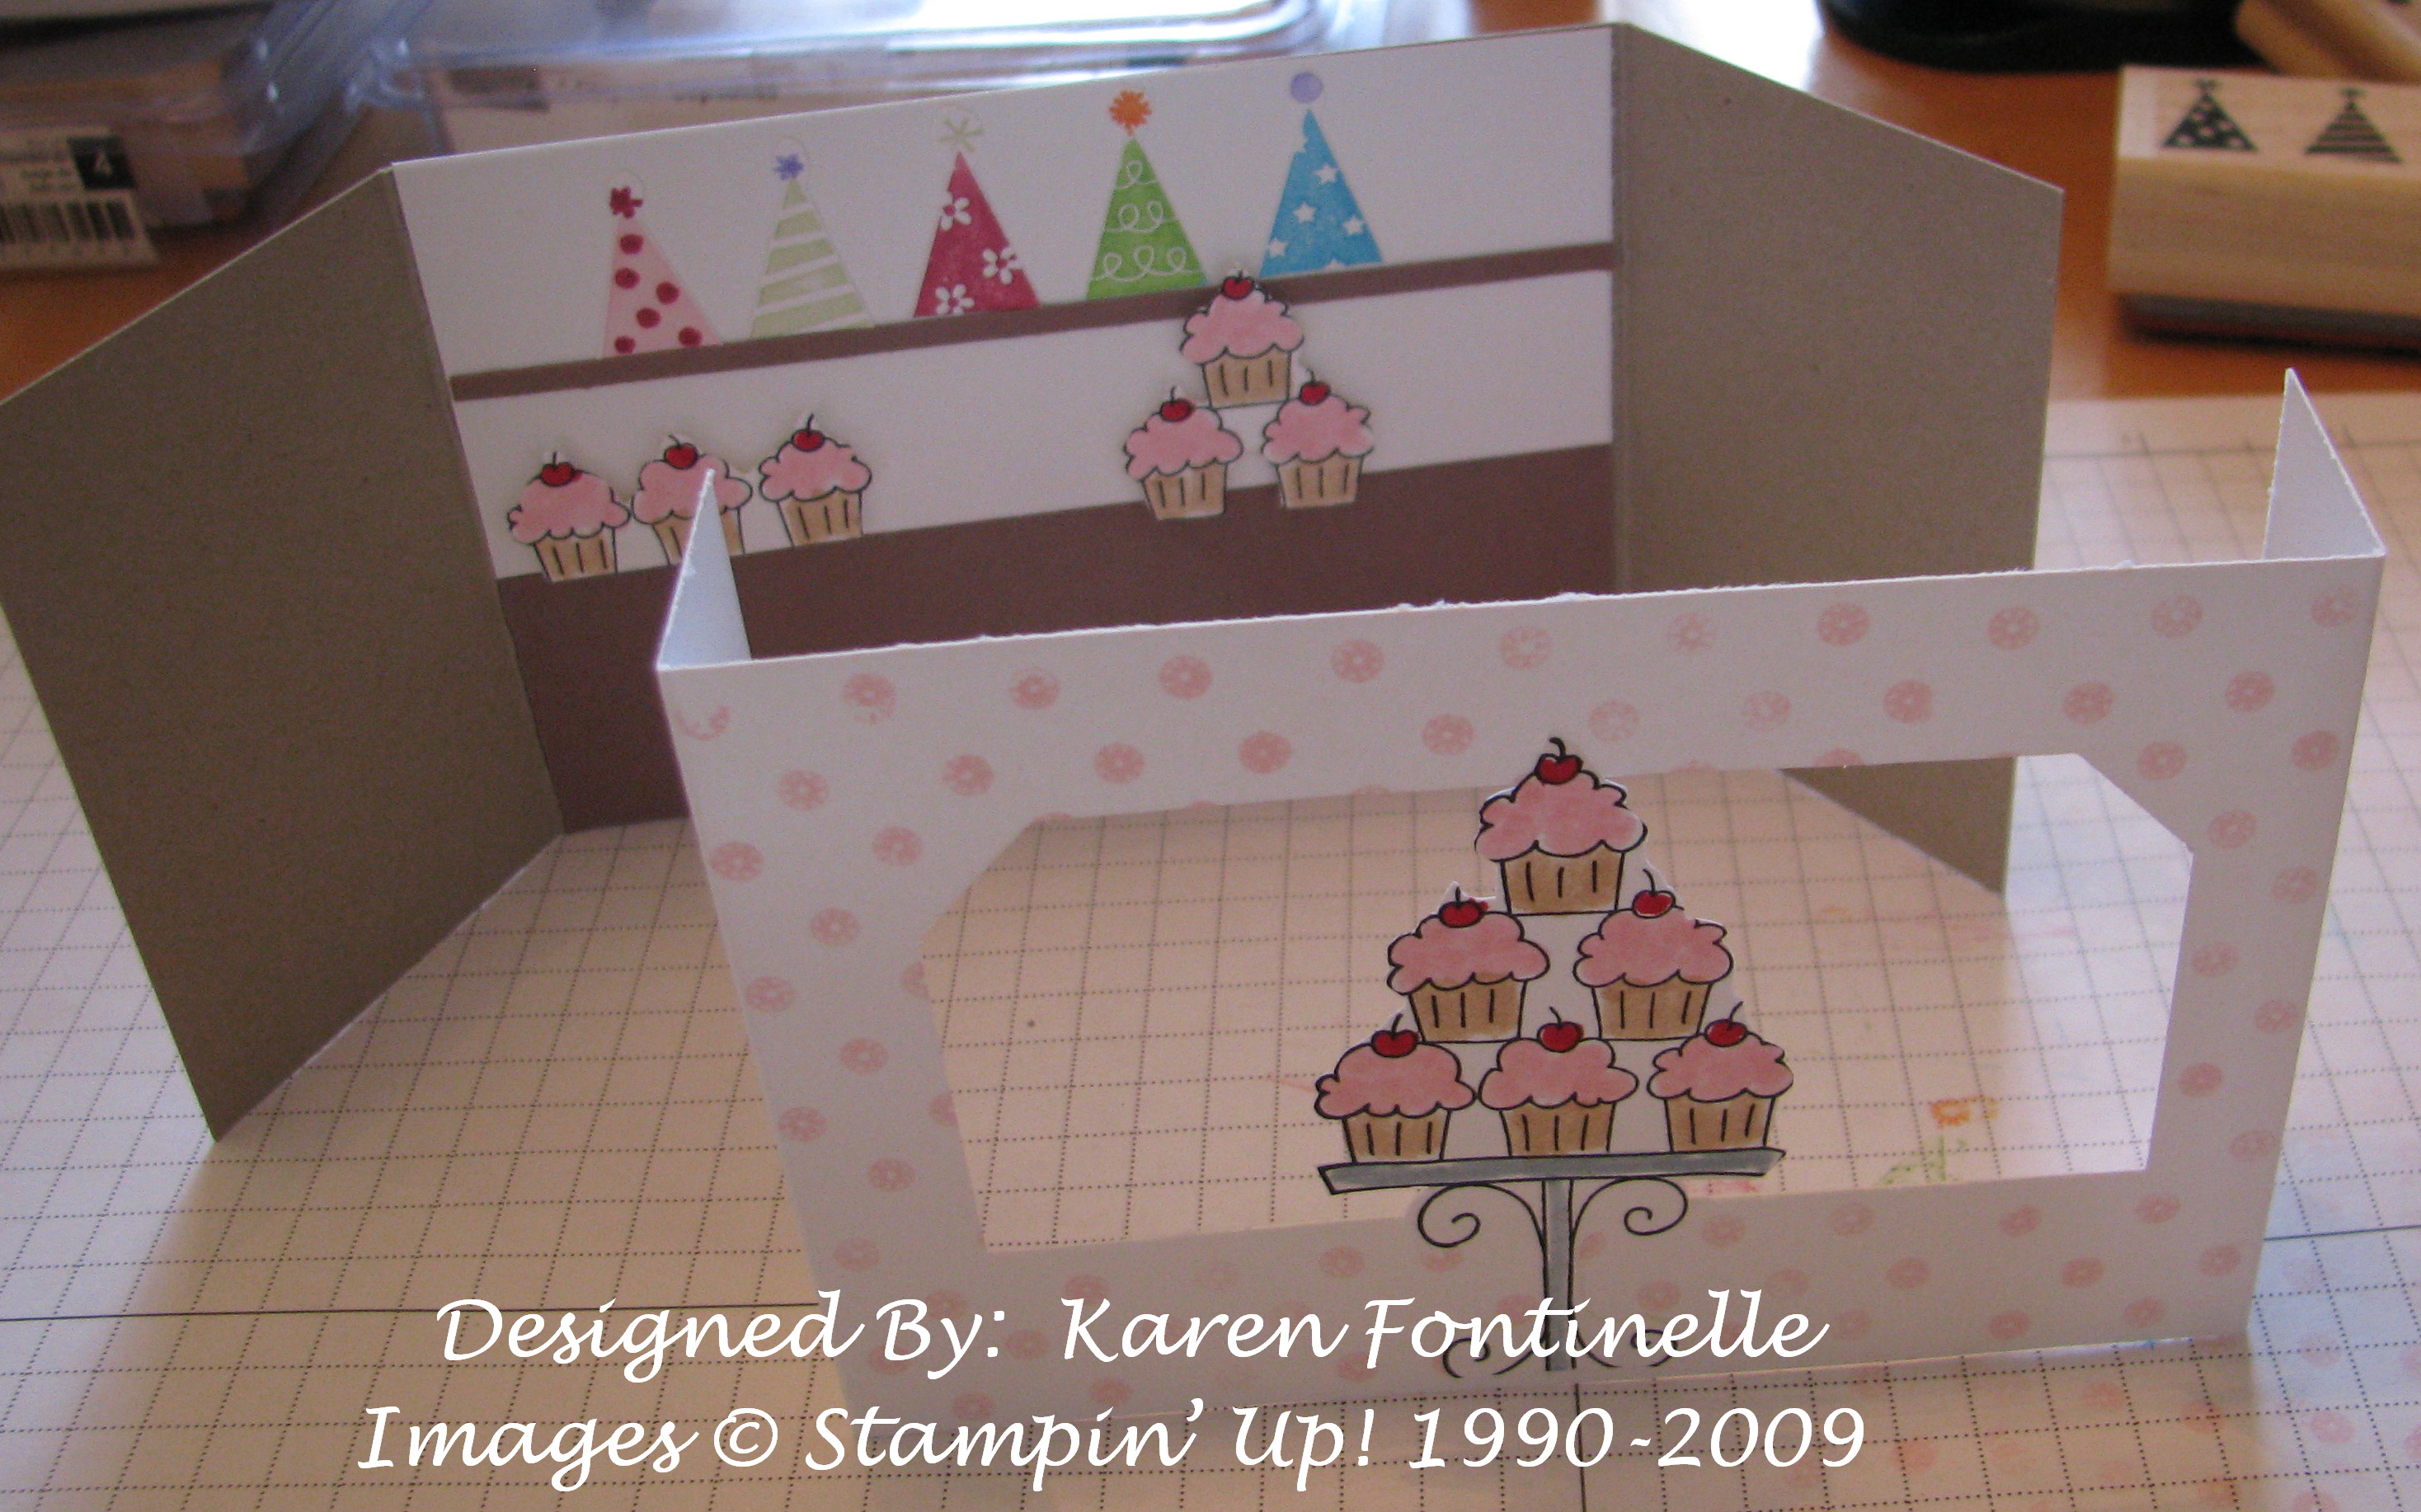
Before you adhere anything, go ahead and stamp or decorate your card how you want.

DioramaBakerycard pieces4 

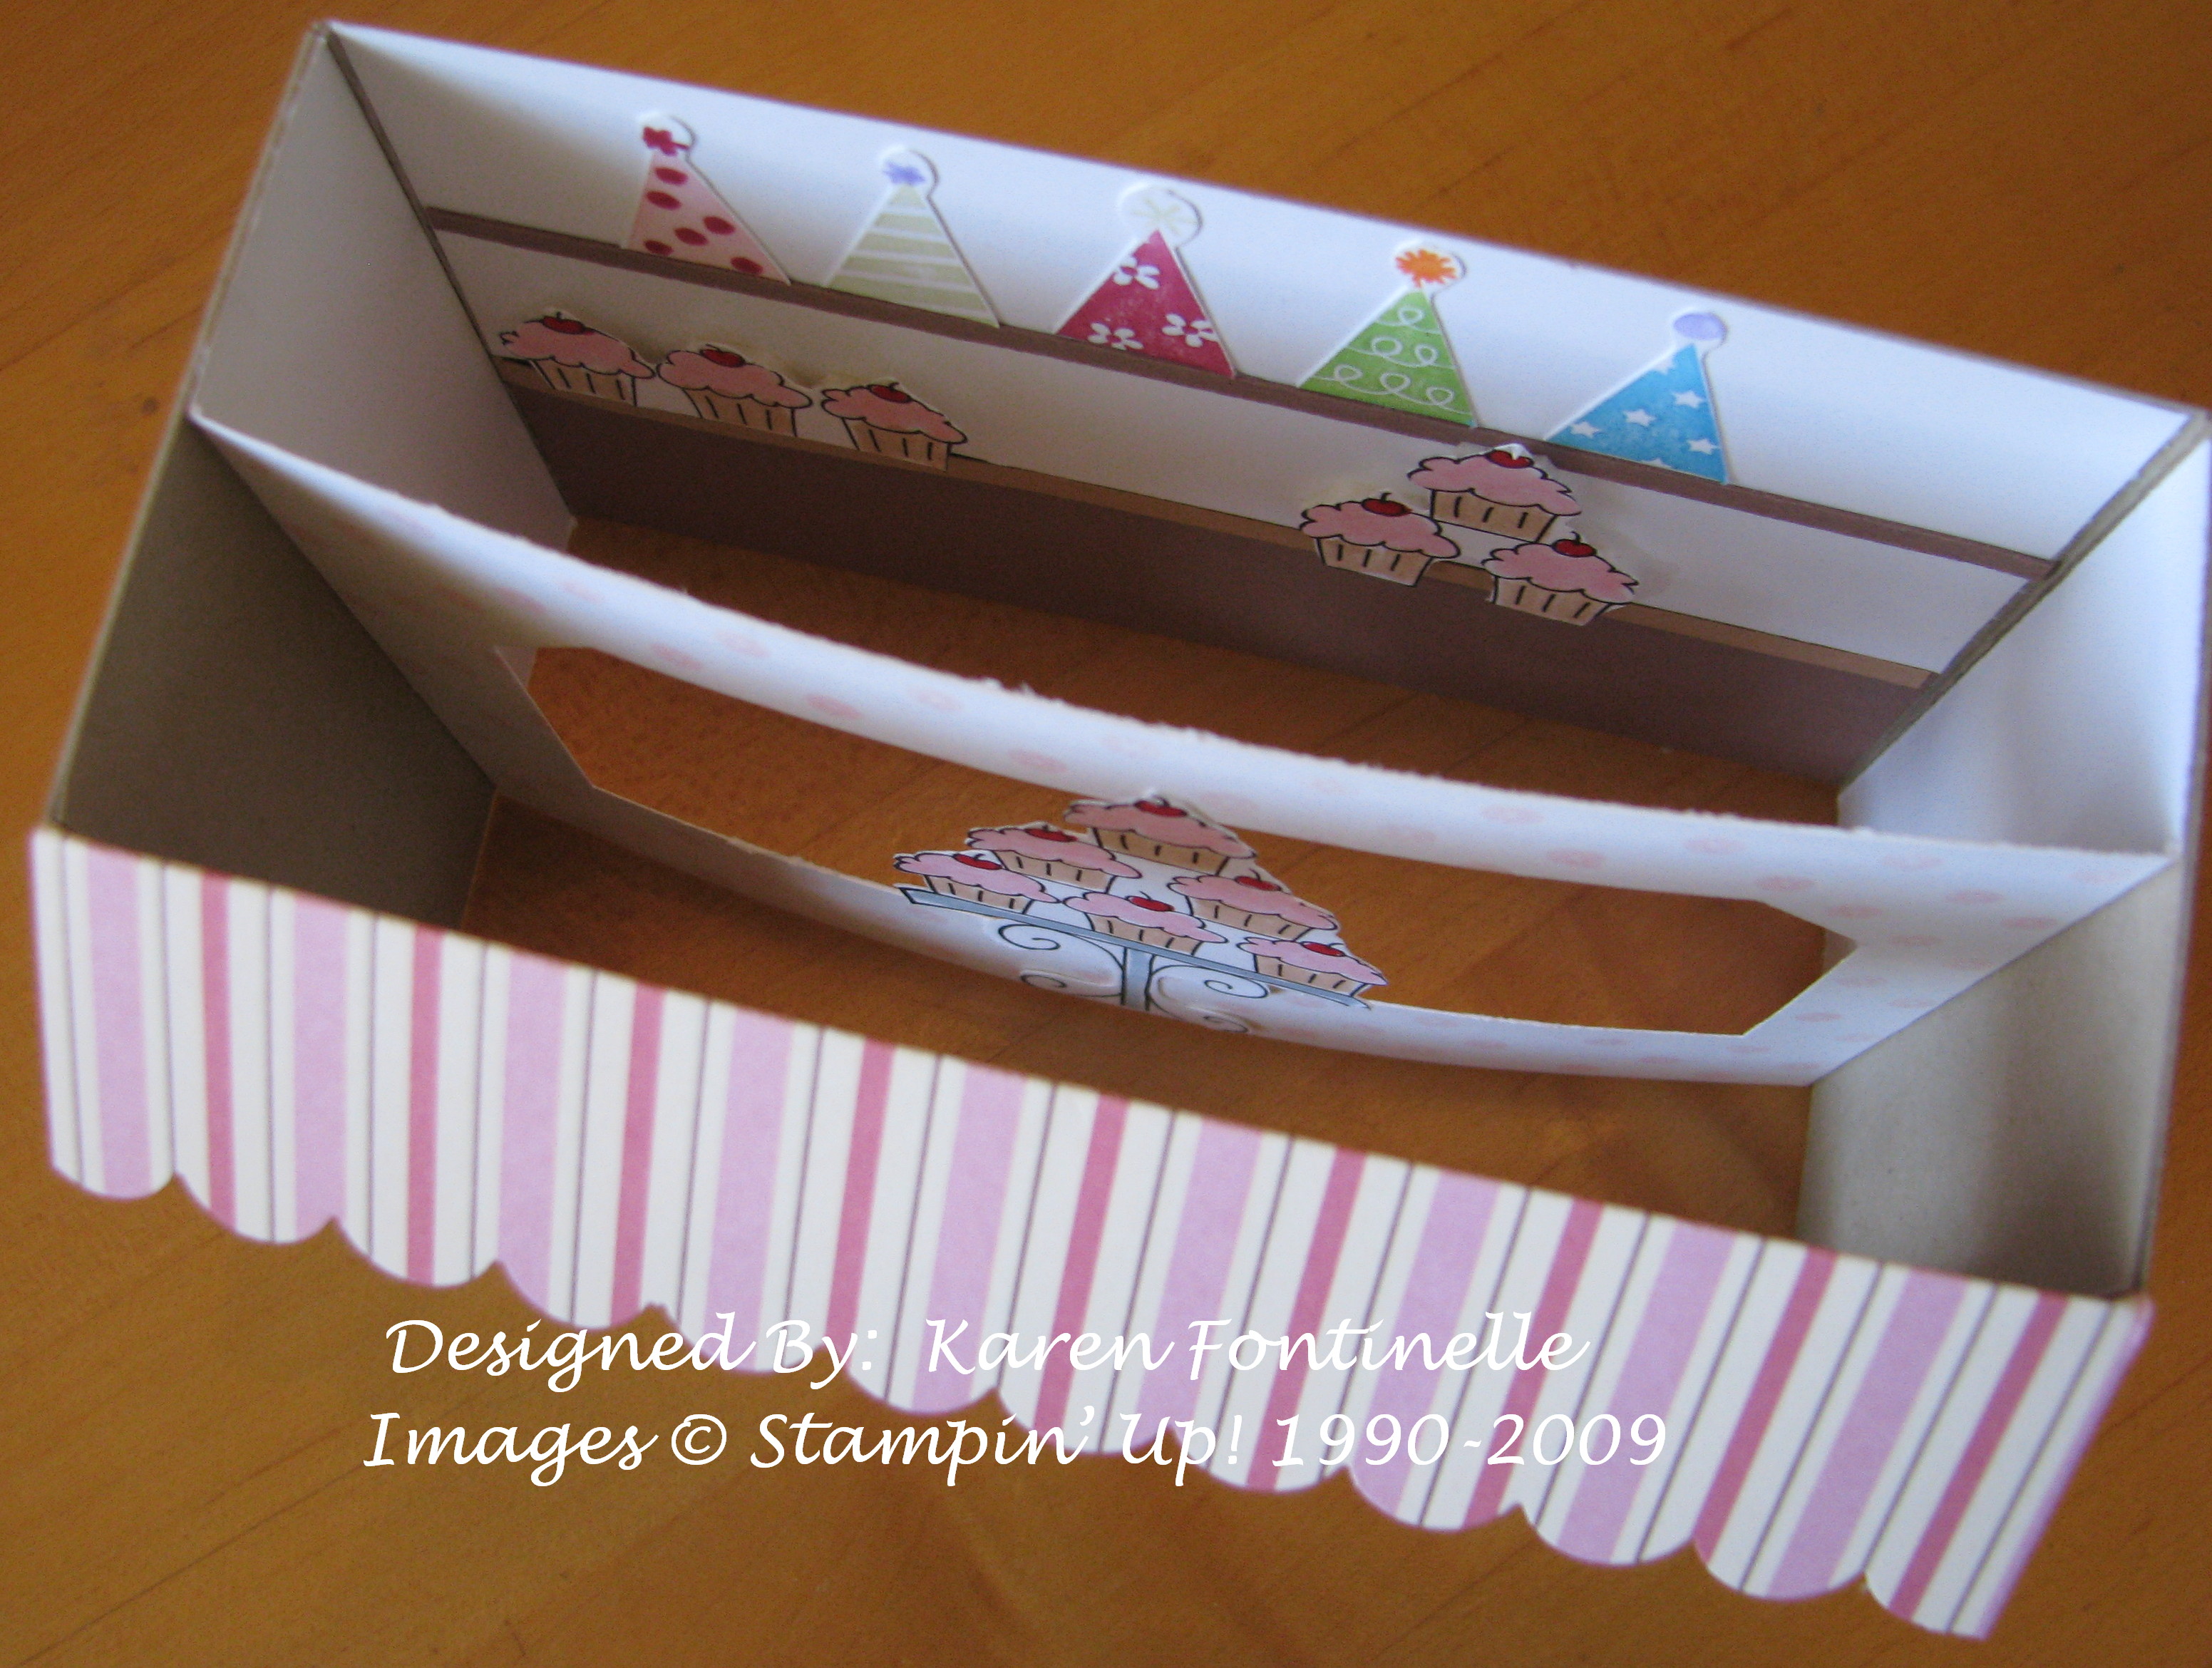
To assemble, use a strong adhesive such as Sticky Strip or Tombow Multi Purpose Adhesive.  Love that Tombow!  Set the middle piece inside the back piece as you see in the photos.  Then you will see that the front piece side flaps cover the outside of the "box".

DioramaBakerycard piecesinside 

DioramaBakerycardFront 

DioramaBakeryCard 

DioramaBakeryCard2 

DioramaBakeryCardSide 

Stamp sets I used on this card:

Trendy Trees, Boho Backgrounds, Party Hearty, Crazy for Cupcakes

Did you notice the "Sneak Peek"?

My First Three Tier Pop-Up Cake Card

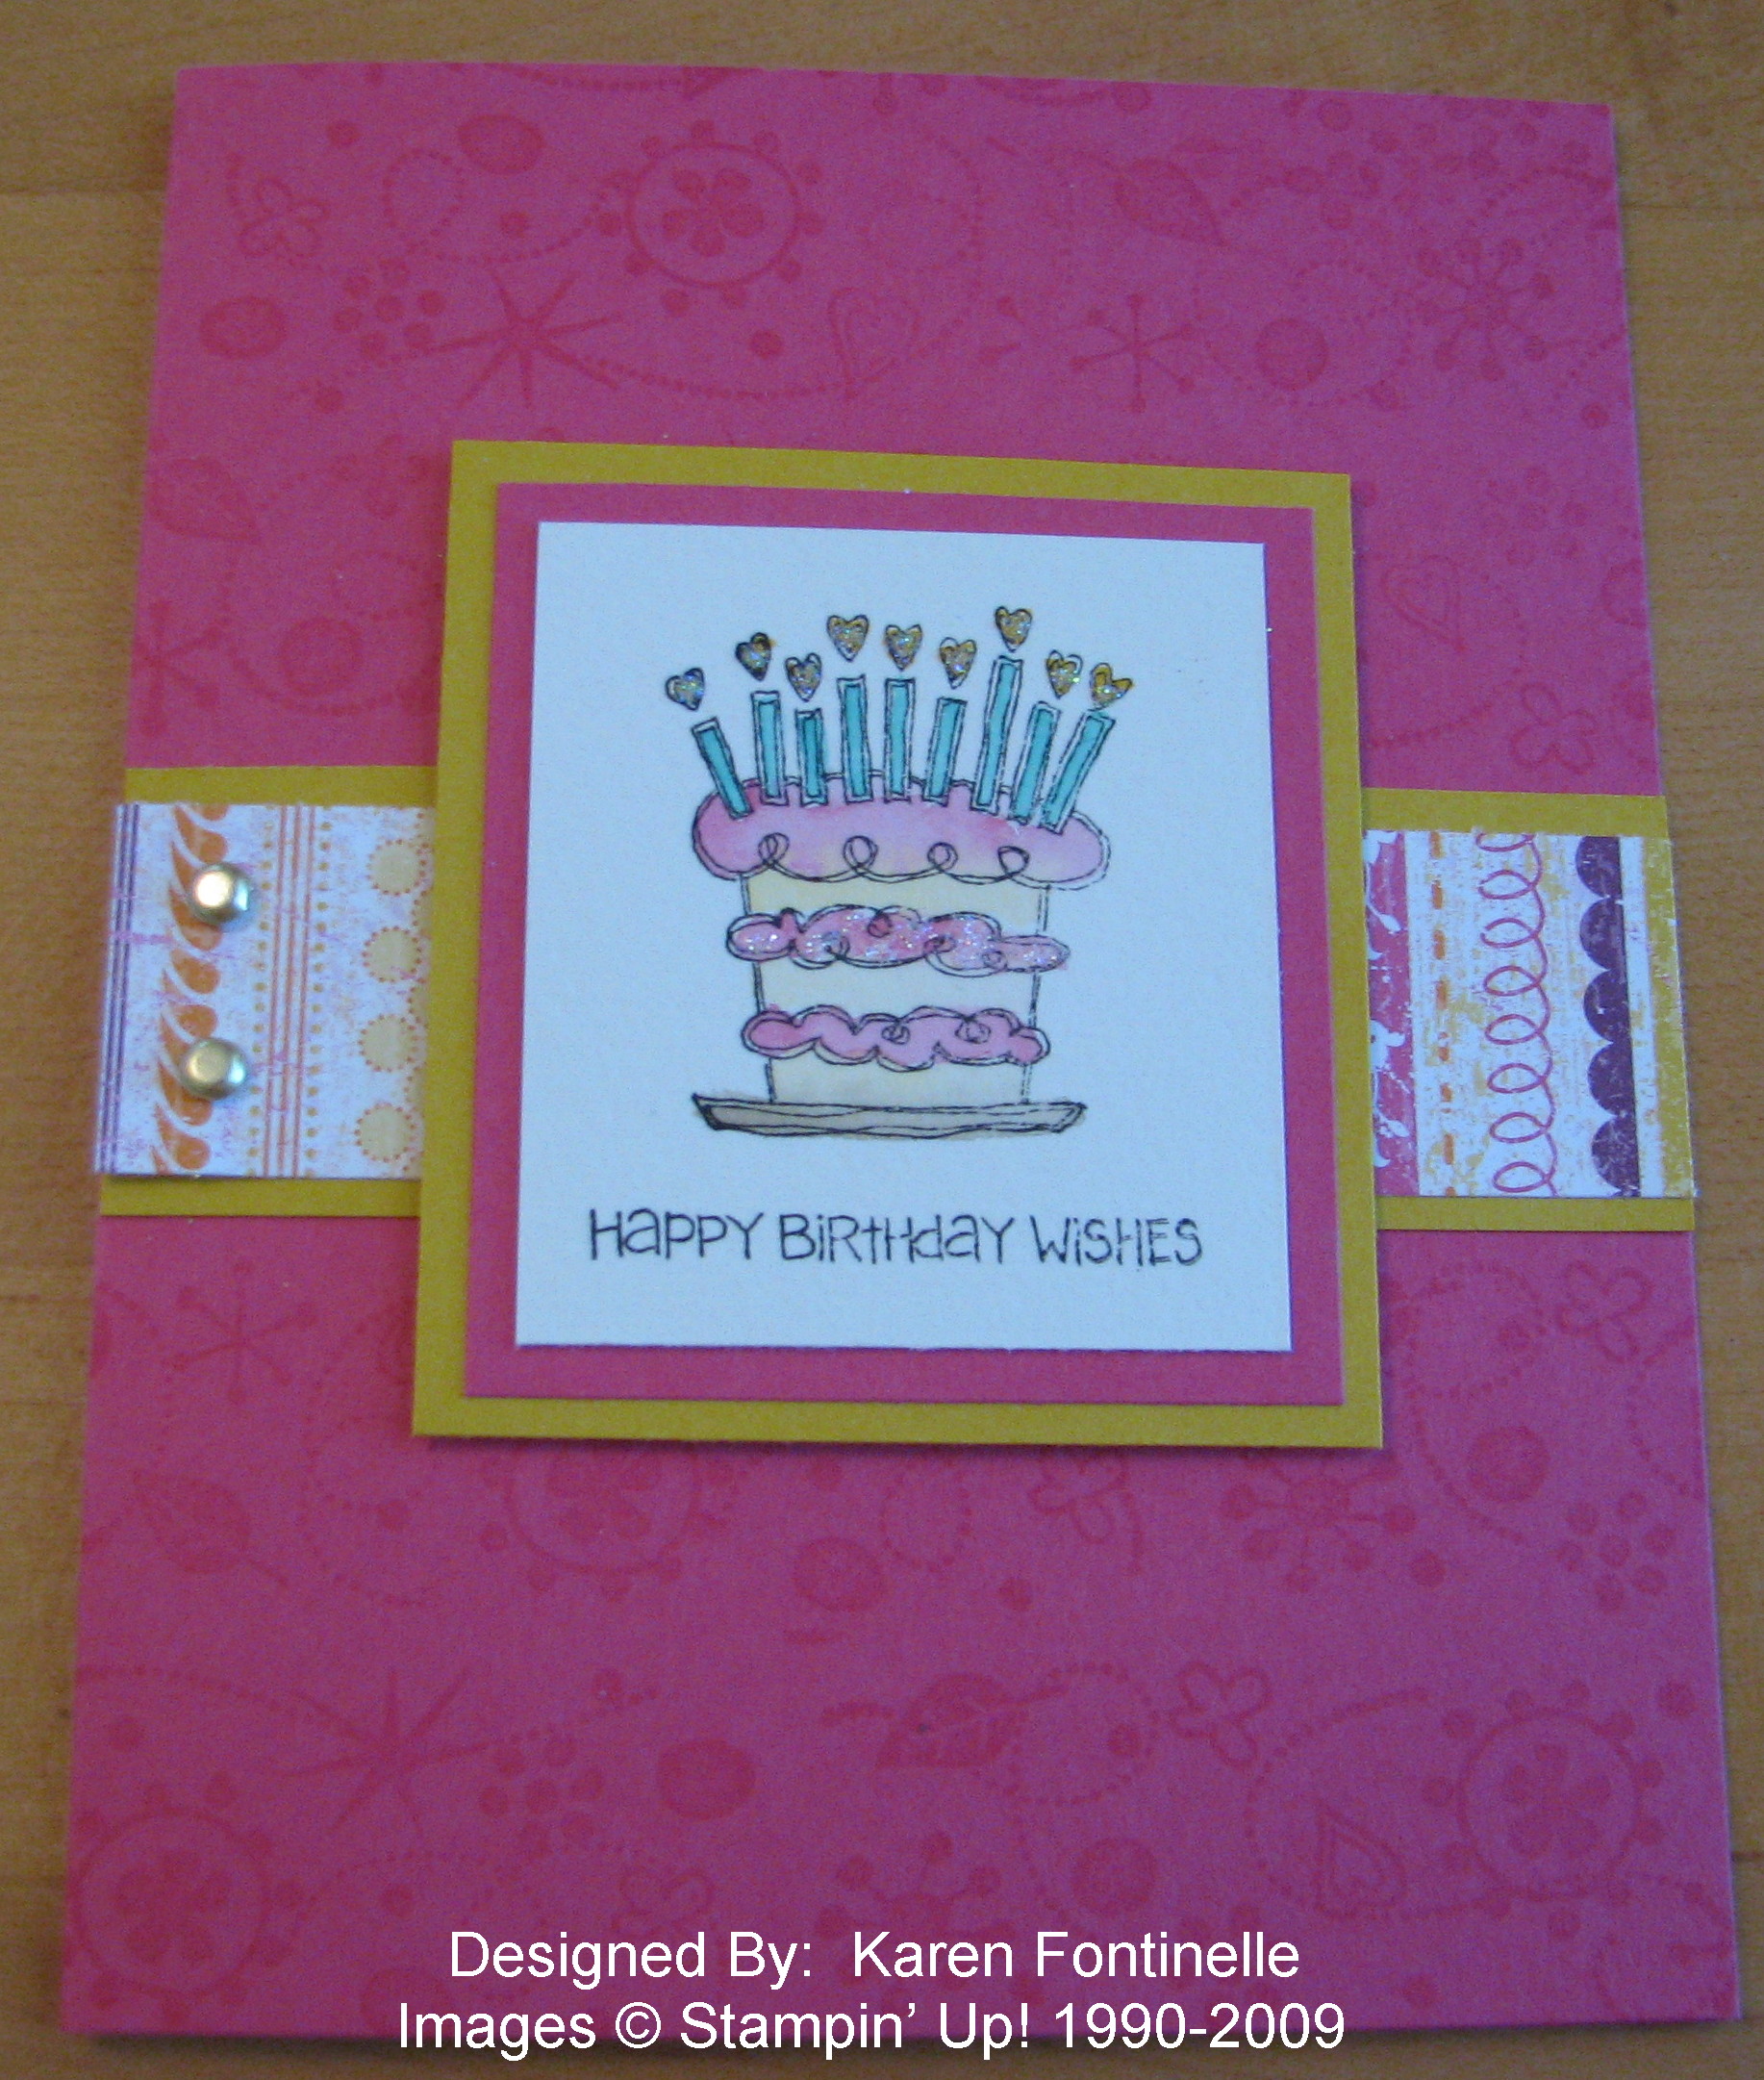
This was originally just my first attempt with my new Three Tier Pop-Up Cake Die, but when it was time to send my daughter a birthday card I decided to go with this pop-up.  I only had the "bare" cake constructed, so I had to finish it up.  I quickly punched out some flowers with the Trio Flower Punch and inserted Gold Brads and adhered those on the cake.  I love to use a touch of glitter anywhere I can, so I used the Two-Way Glue pen on the flames of the candles and shook on some Dazzling Diamonds Glitter.

PopupCakeAmy

The front of the card is decorated with some Rainbow Sherbet Designer Series Paper, ribbon, and the Party Hearty stamp set with a little flower from the Pretties Kit.  The Designer Paper and ribbon is actually a little band to hold the card closed.

PopupBDfront2 

Here's what the card looks like without the band.

PopupBDfront 

This card is made with the new "Three Tier Cake Pop-Up Bigz XL Die" (#116760).  You might think this looks too complicated, but I was actually able to make this at 3 am one night when I couldn't sleep!  (I think my mind was on this new die I had received and couldn't wait any longer to try it!).  A little bride and groom also comes with this die so you can also mkae a wedding cake!  And don't think you will be limited to just birthday or wedding cakes!  Other creative demos have made pirate ships, a flower pot, and all kinds of designs with this die.  Instructions come with the die, and of course I am always available for help!

If you want to own this die and start making your own fantastic projects, just go to my website and click on the "Shop Now" button or contact me and I will be happy to help you with your order.


Fun Explosion Box

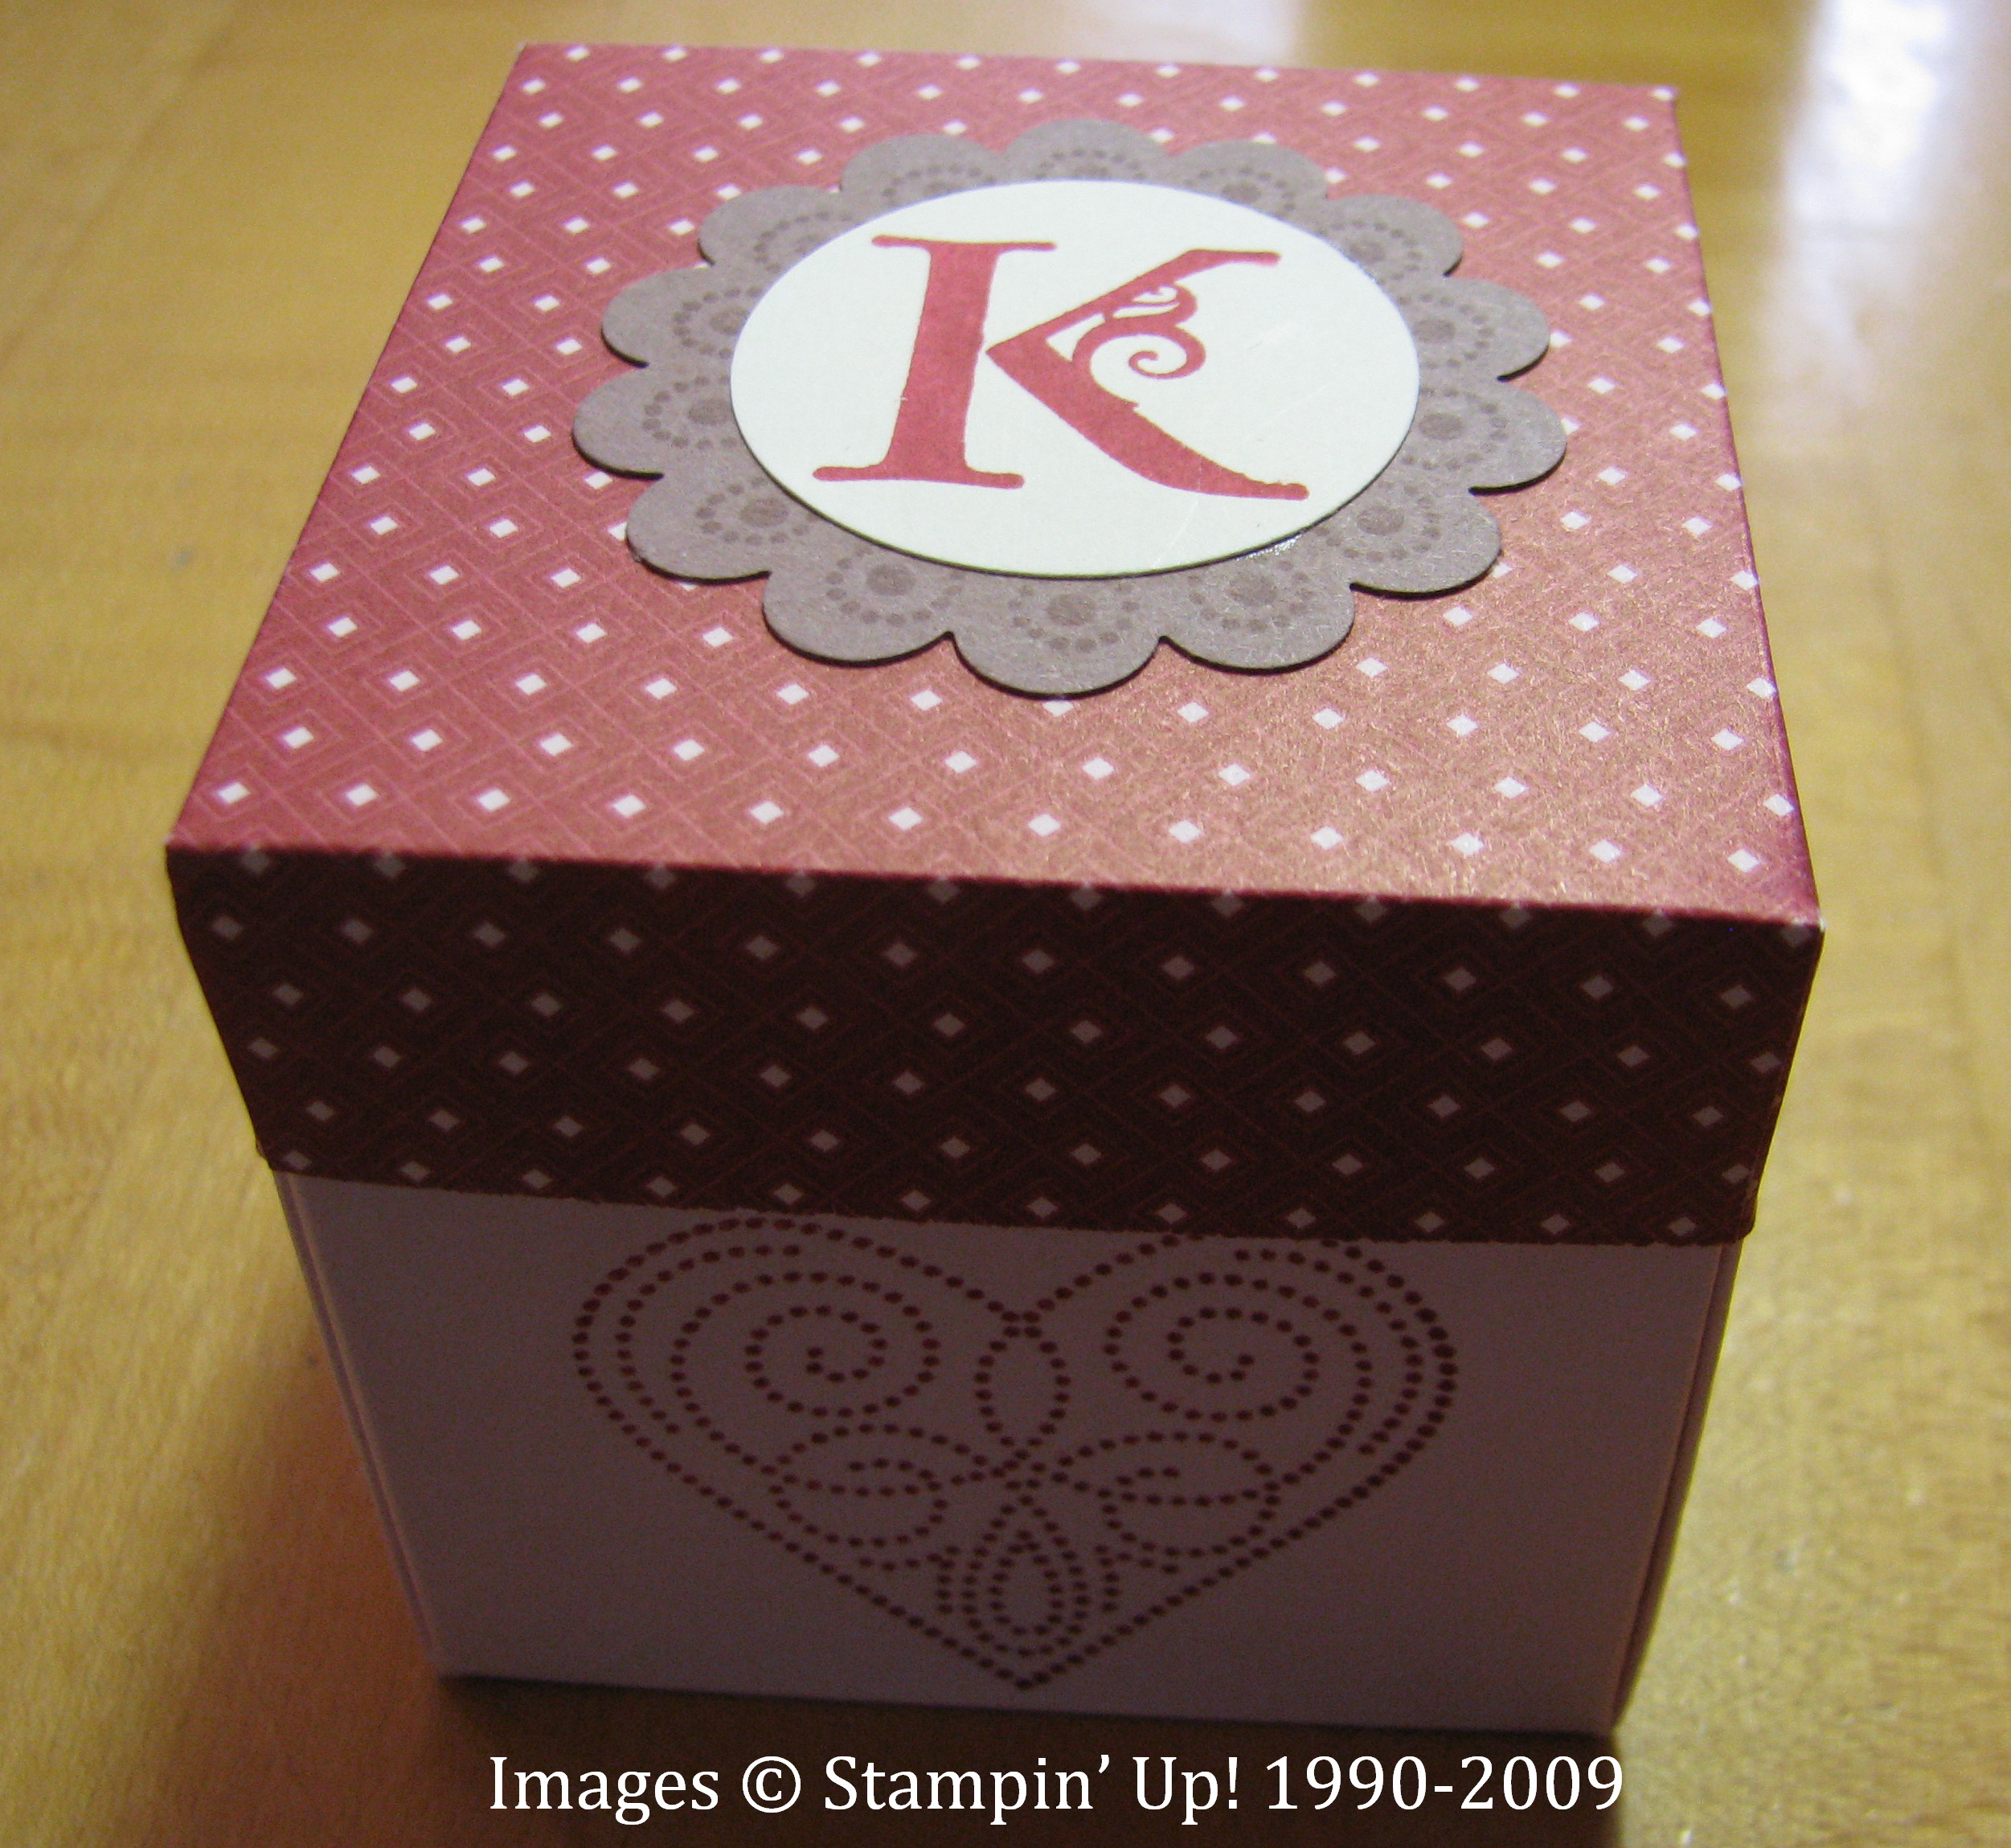
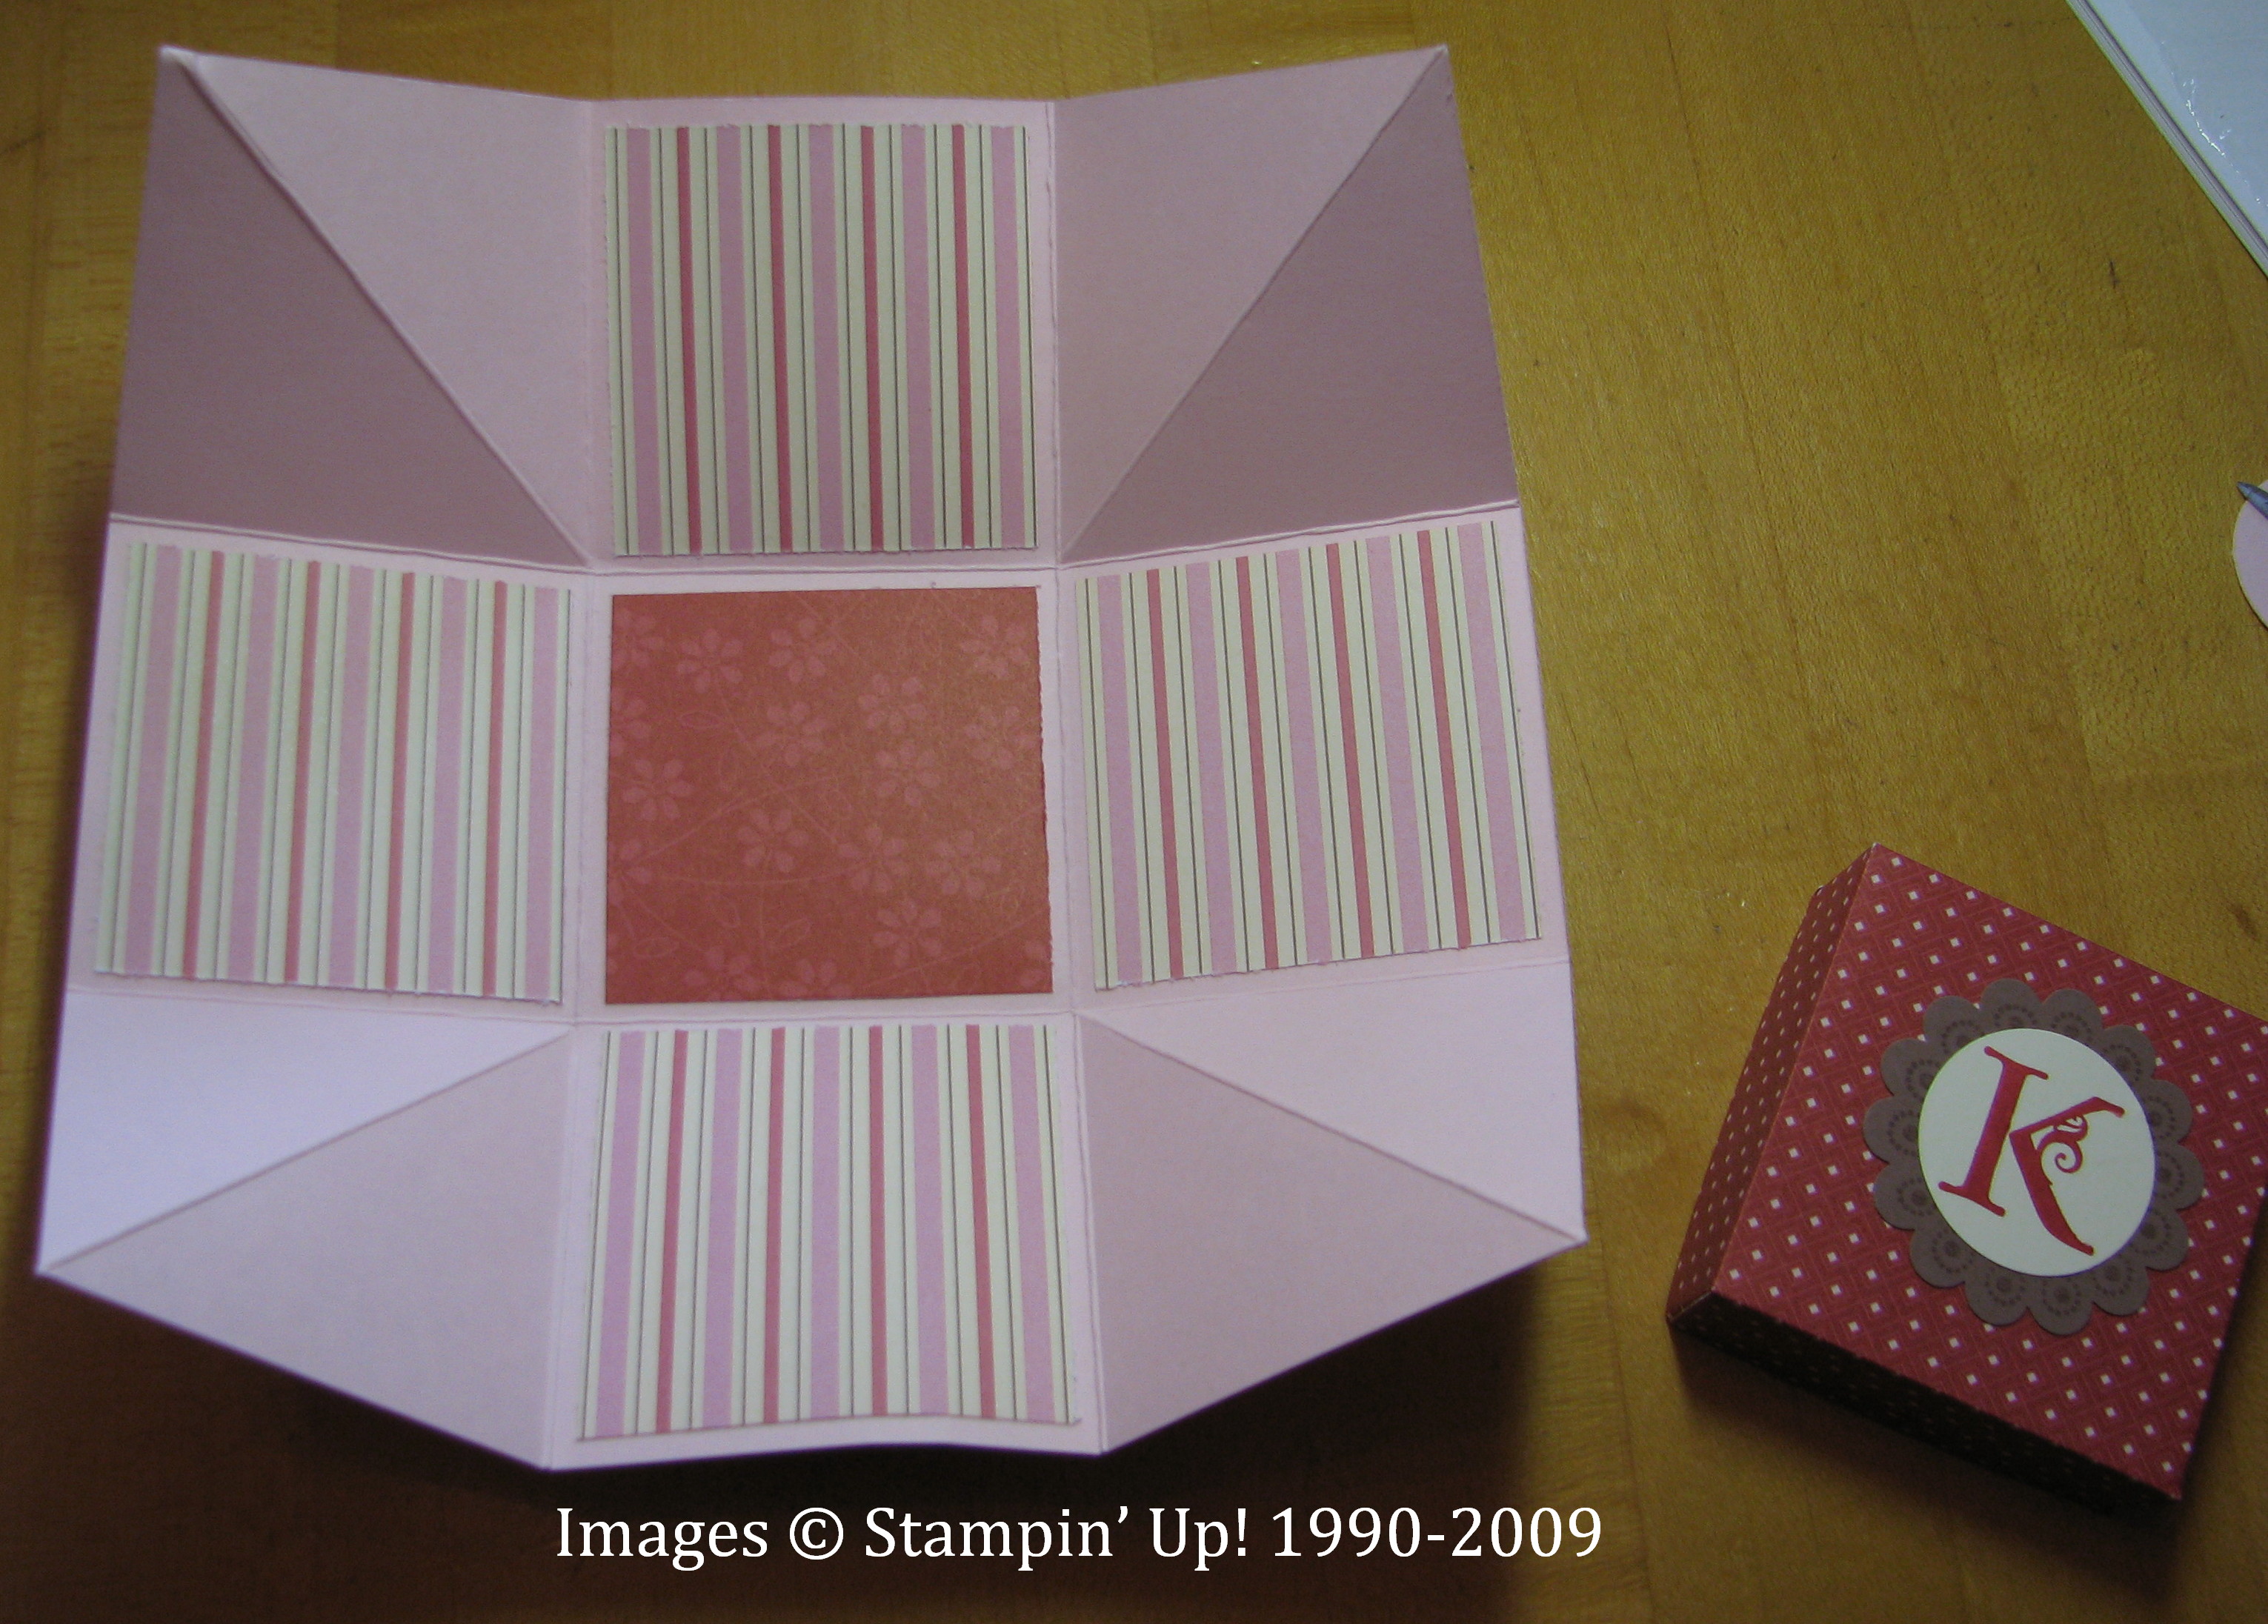
Do you need a fun little gift?  Make this easy Explosion Box and either add some photos yourself or let the recipient add their own!  This one is for my niece.  I love the "Lovely Letters" monogram to use on notecards and gifts such as this.  The Designer Paper I used is Candy Lane.  Love that paper!

ExplosionBox 

ExplosionBoxopen 

If you add photos to this you can add journaling on the blank corners.  Or just stamp some pretty things or embellishments to make a decorative item.

Here is a tutorial on Splitcoast that will give you some instructions on how to make this explosion box:  http://www.splitcoaststampers.com/resources/tutorials/explosion_box/

It's very easy to make.  You must kind of "squeeze" the box to fit into the lid so that it will "explode" when you take the lid off.

Birthday Cupcake Card

BDCupcakediecut 

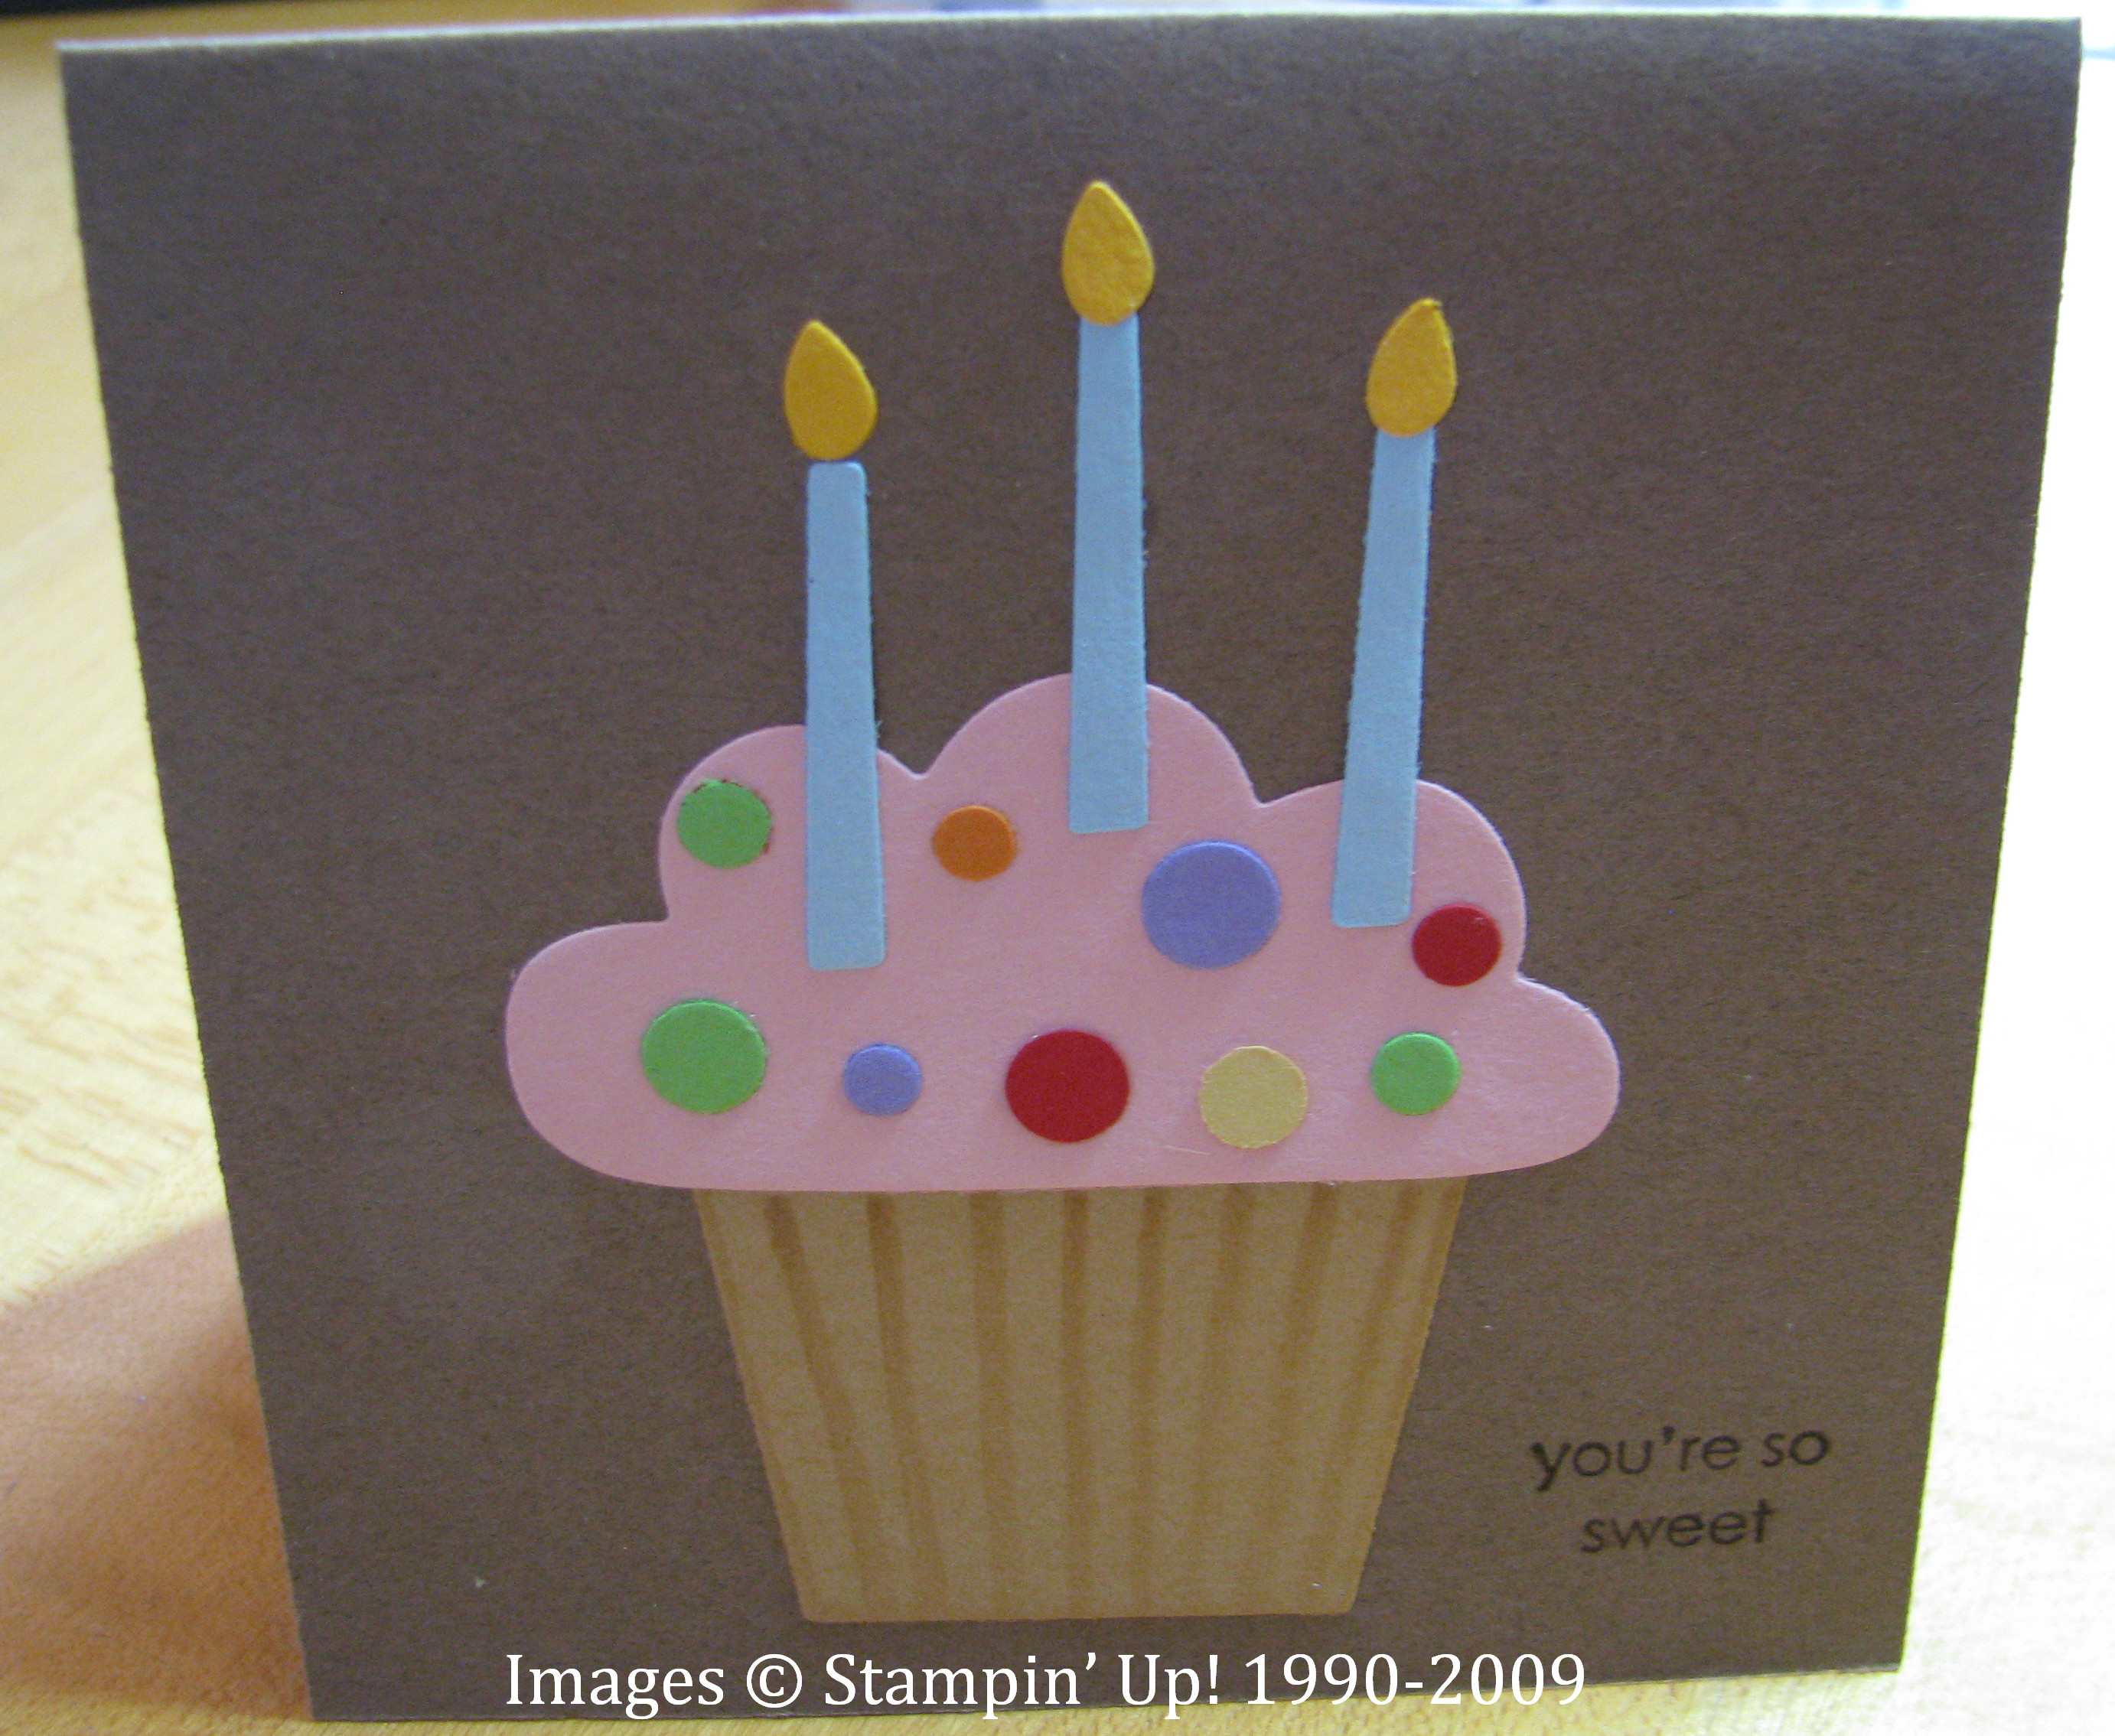
How about just a simple, sweet birthday card?  This was so easy to make with the Big Shot and the Big Bold Cupcake die.  Great way to use up some scraps, also, as you can use any colors you want with the die.  You can even make the cupcake sprinkles and the candles with the die.  This card is very simple, yet you could also jazz it up a little if you wanted to with some glitter or Crystal Effects on the sprinkles or candle flames, or some ribbon and a bow across the top.  I wanted the plain cupcake bottom die cut to look like a cupcake paper so I just took a marker and lightly drew in the lines to resemble the cupcake paper.  So fun to play with!

BDCupcakediecutinside 

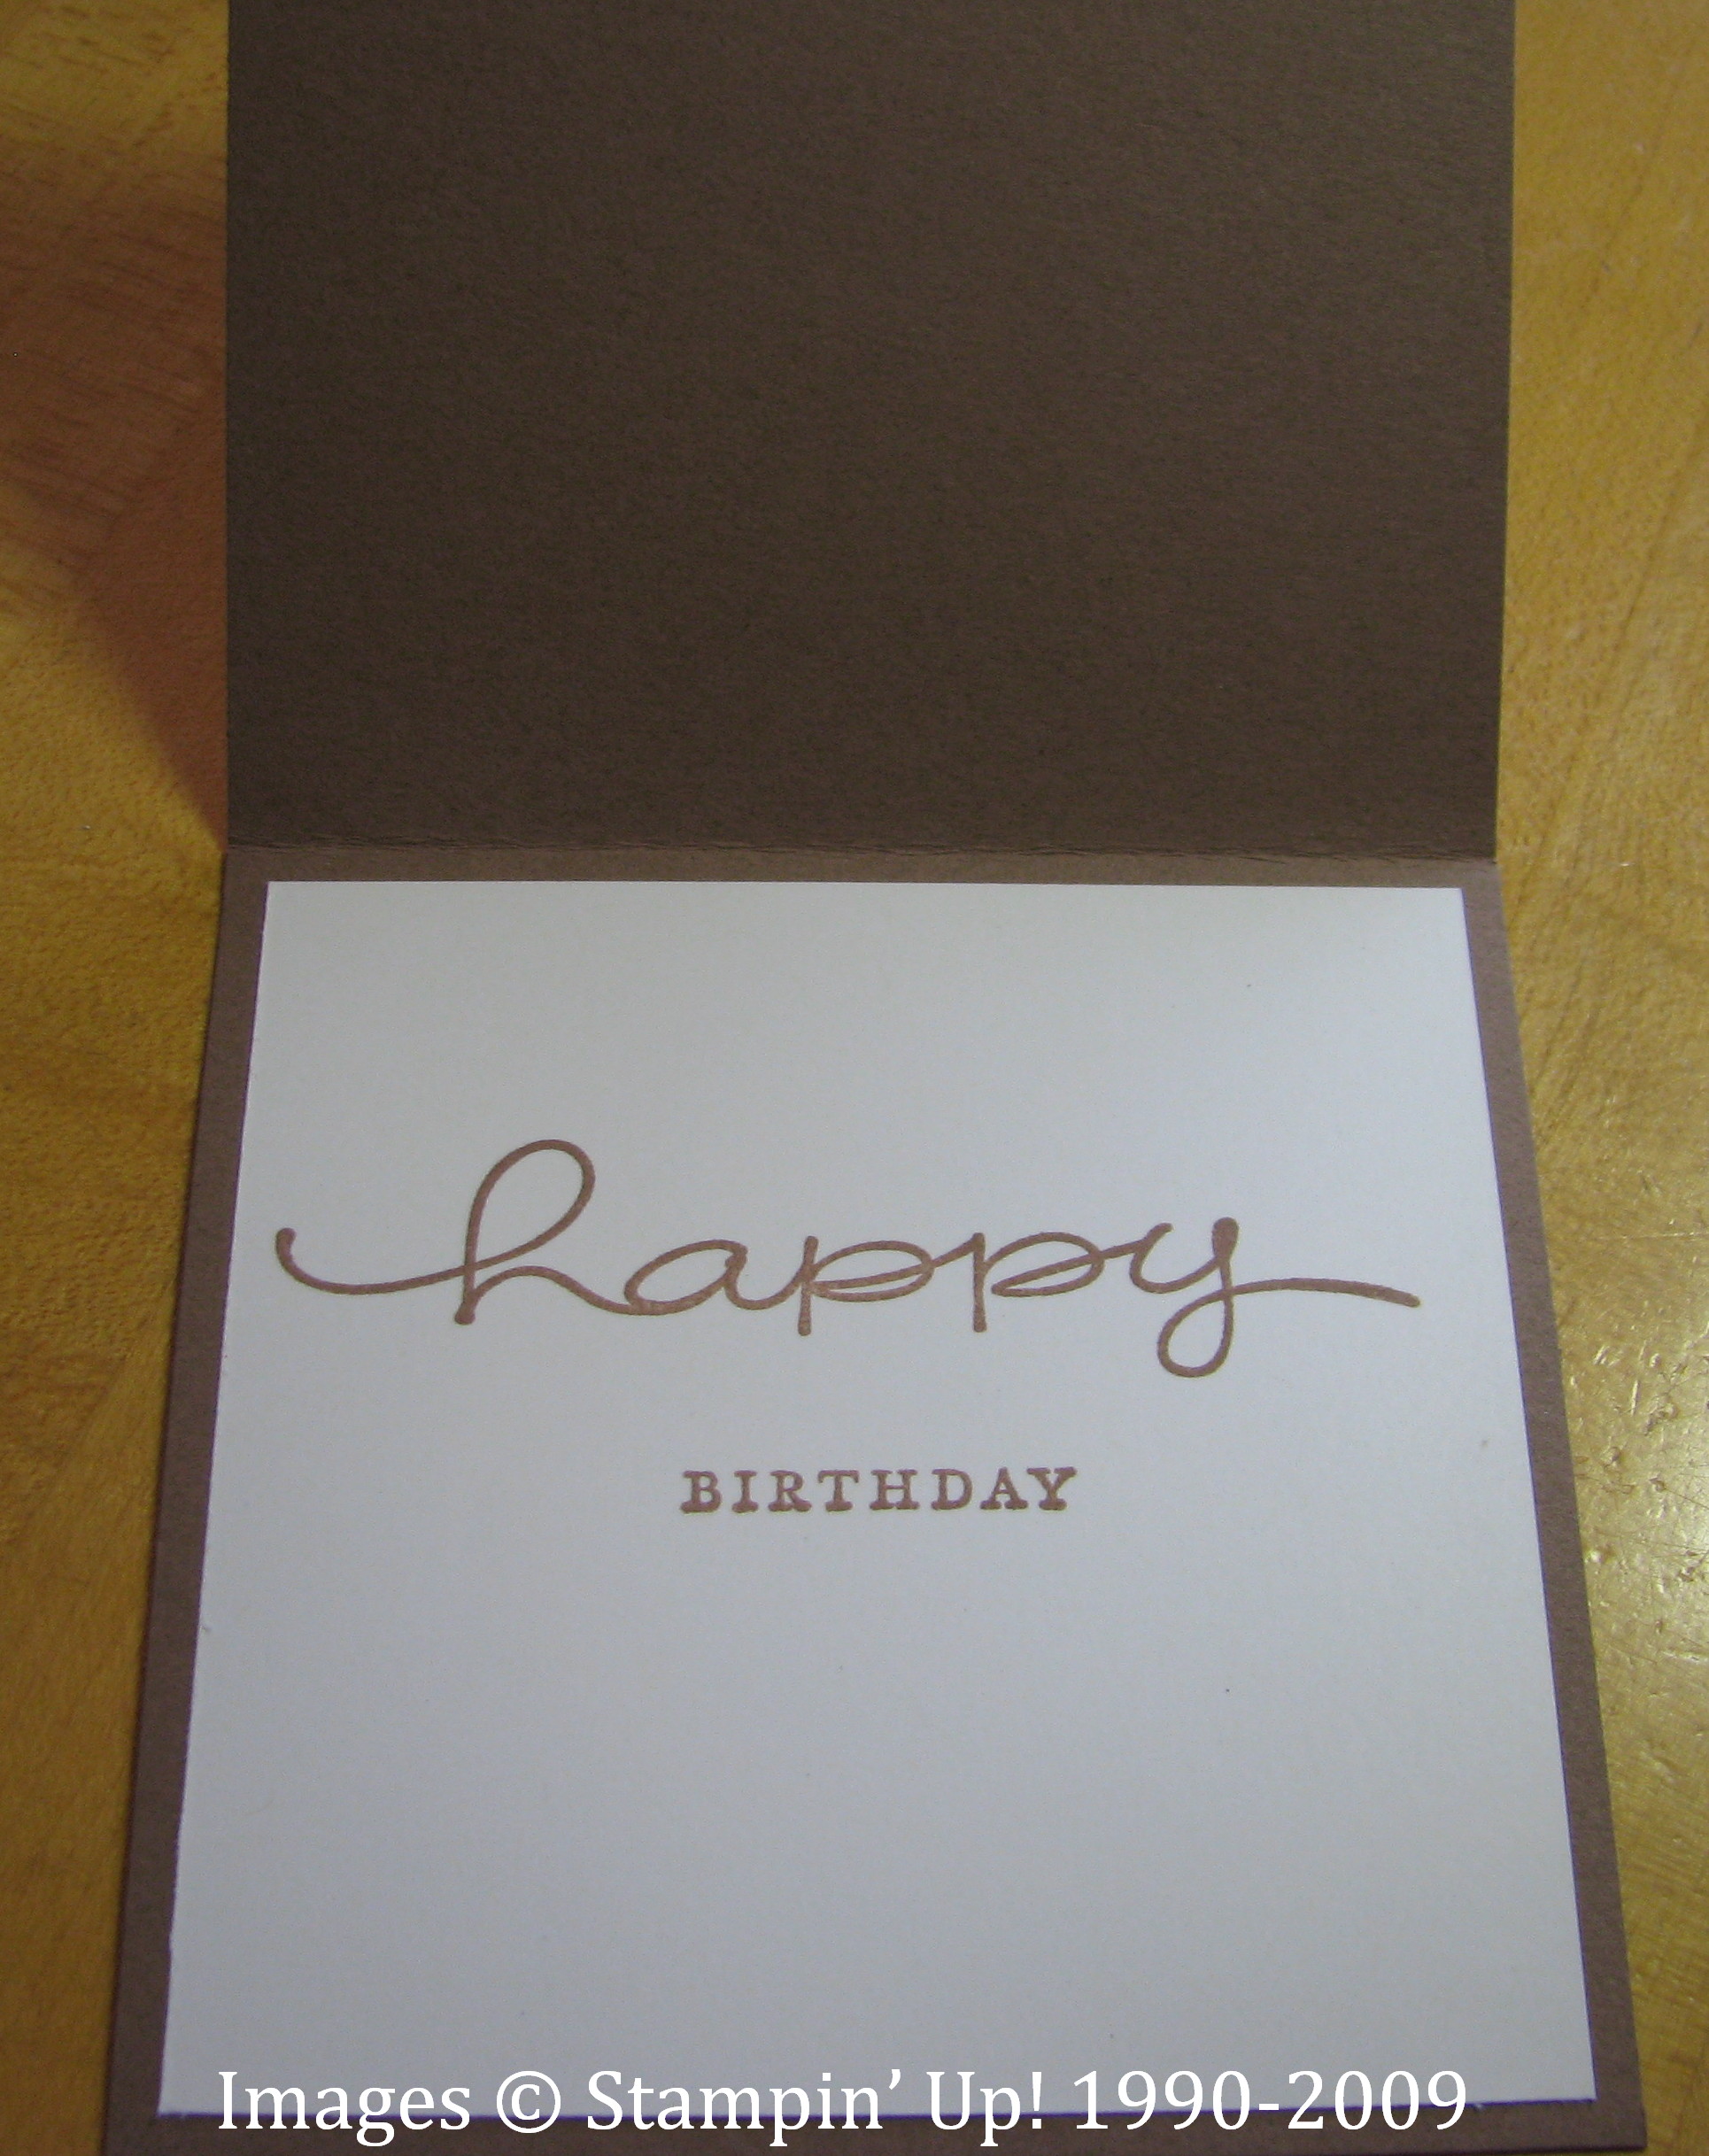
And for the inside, just a Whisper White cardstock layer against the dark Close to Cocoa card stamped with the "Happy Everything" stamp set.

If you are looking for information on the Big Shot, just click HERE.

Simple Friendship Butterfly Card

 ButterflySC221

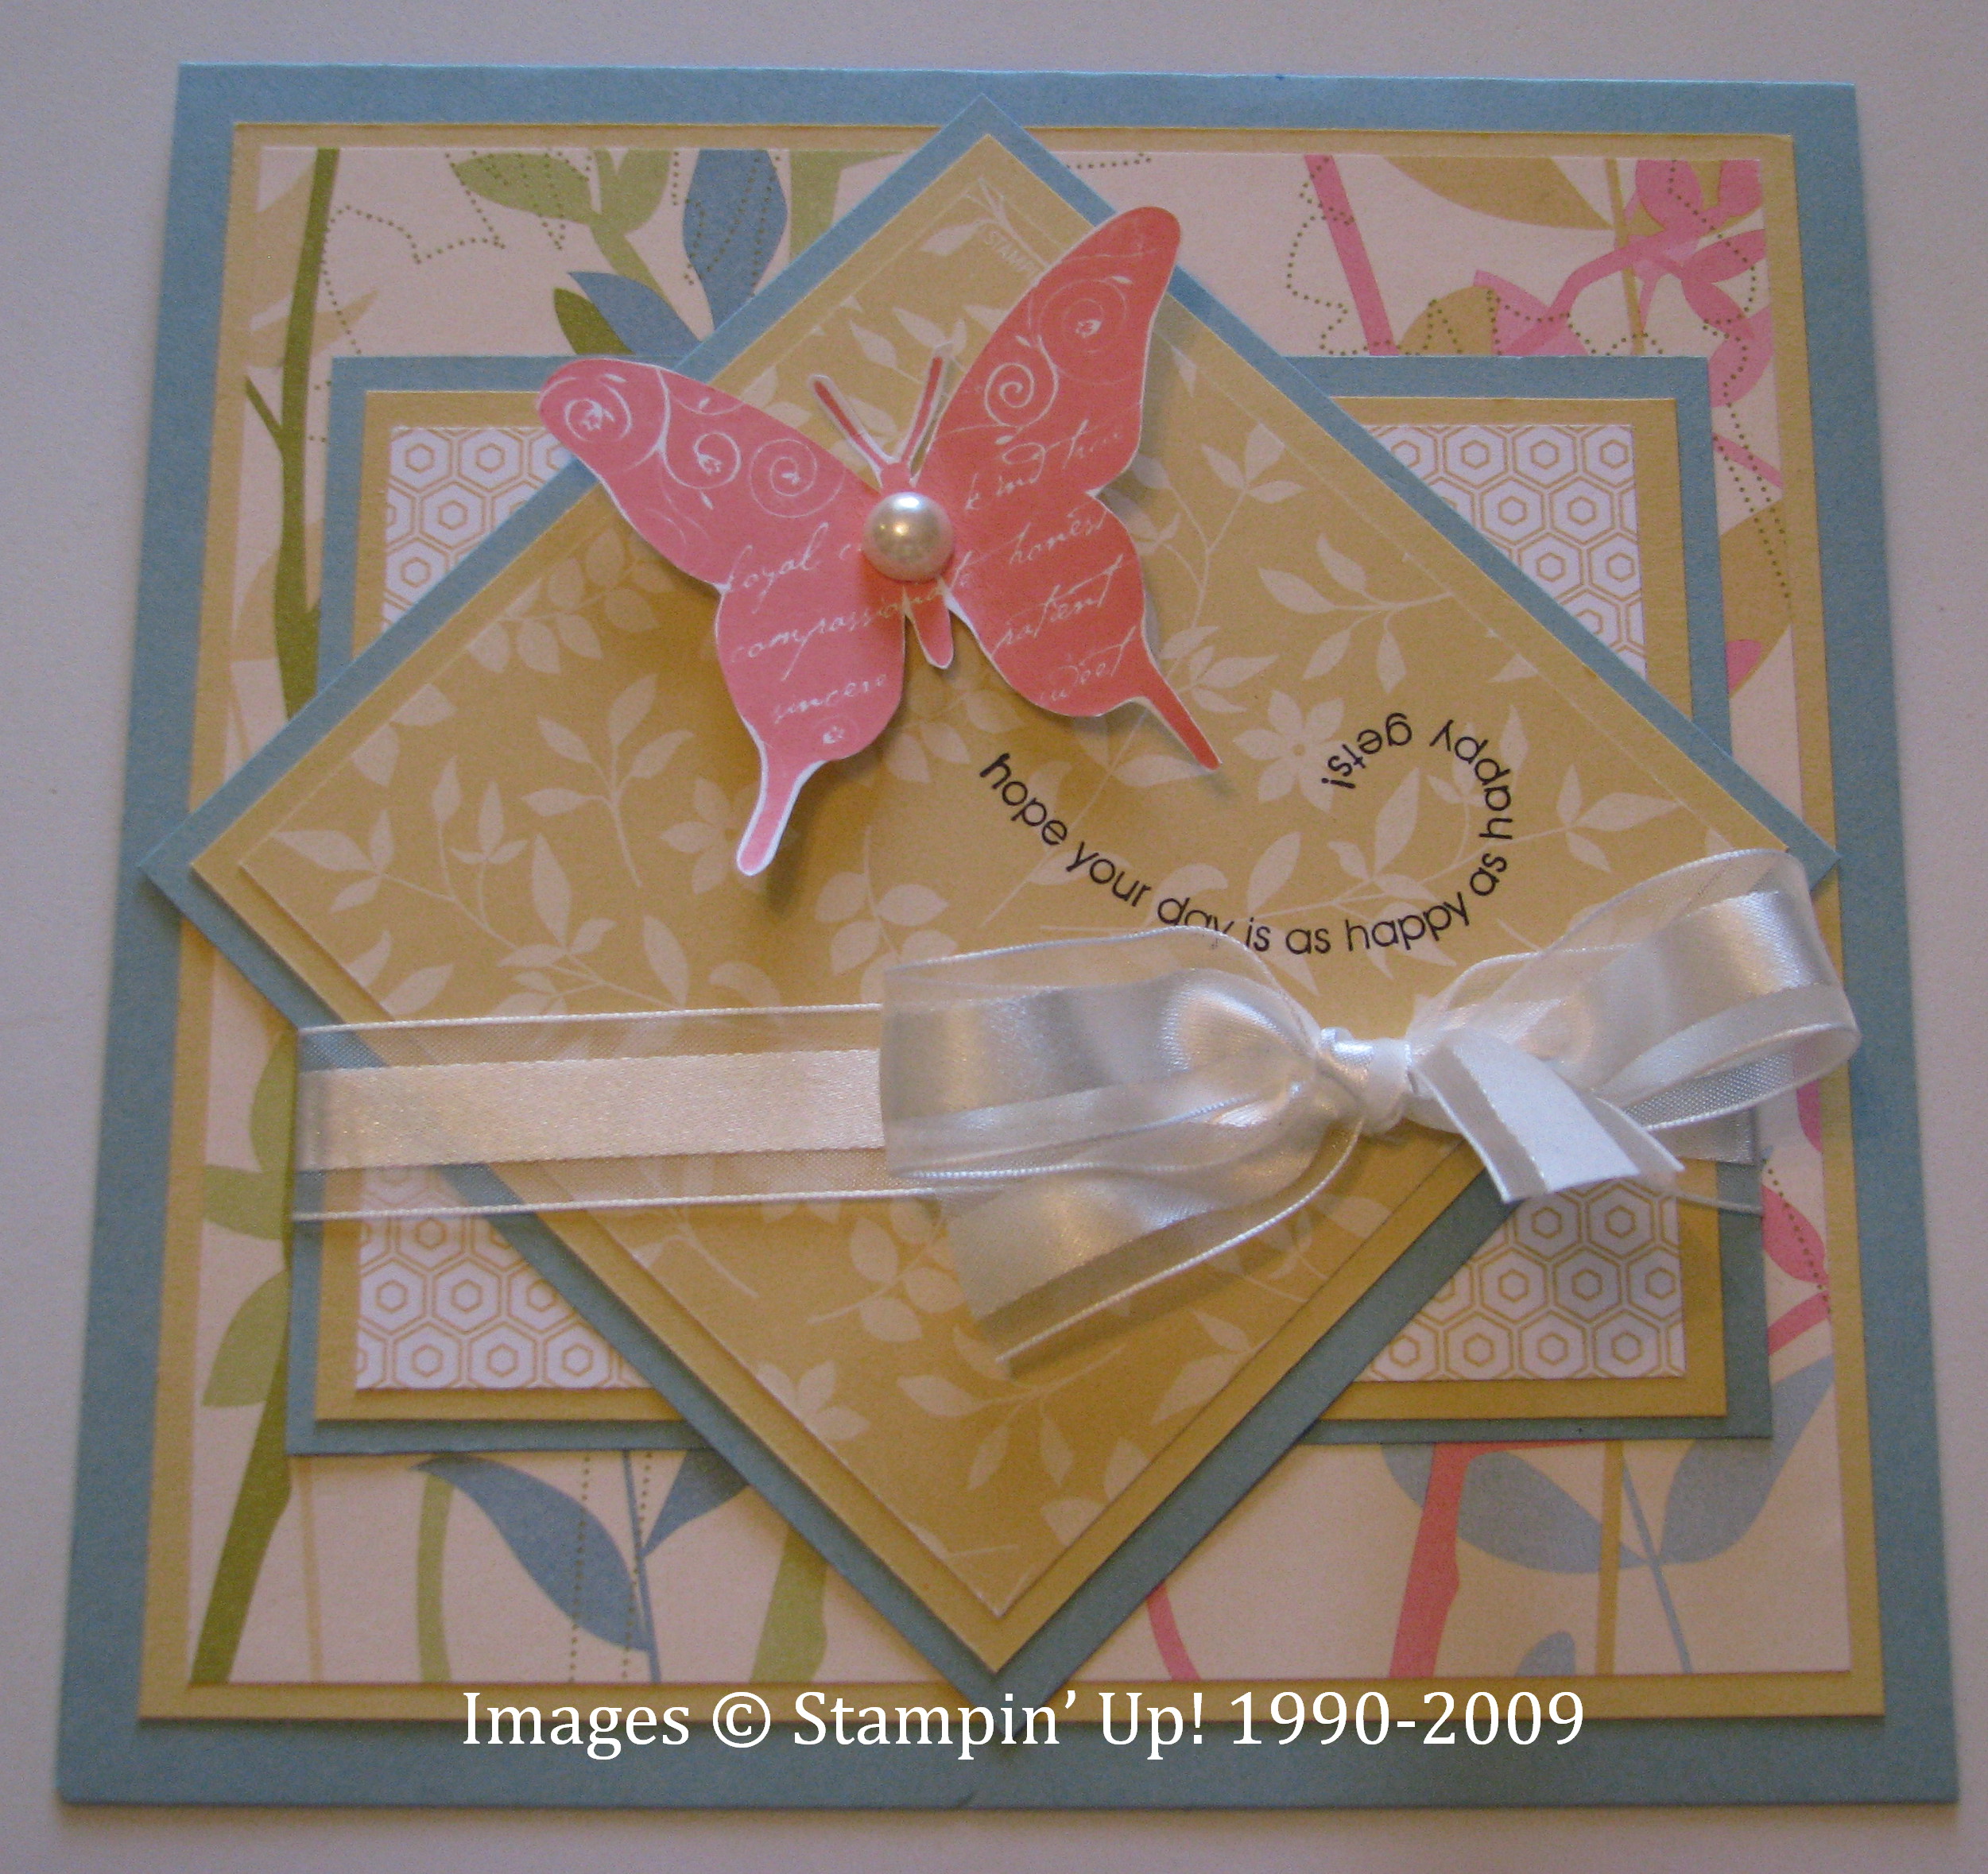
It's spring and that means it is time for butterflies……or "fooflies" as our daughter used to say!  Stampin' Up! offers several stamp sets with butterflies right now and they certainly are the "in" thing!  This butterfly is from the stamp set "Simple Friendship" on page 92 of the Idea Book & Catalog .  I got the idea for this card on SCS and it was from a sketch challenge, a diagram of a layout.  I used Baja Breeze for the card base since it coordinates with the beautiful new Designer Paper in the Occasions Mini called "Walk in the Park" on page 9.  I almost hated to cover up the design of the paper on the bottom layer, but I can always make another card showcasing that paper!  This card is 6×6 since the person I was making it for wanted a large card that a group of people could sign (therefore you would cut your cardbase 12×6 and fold in half).  The ribbon is a new one in the Idea Book & Catalog, on page 179, the Whisper White Organza Ribbon.  It is so beautiful to use!  But if you wanted a new ribbon from the Occasions Mini, you could use the Whisper White Satin Ribbon in there on page 17!  The words stamped under the butterfly are from another butterfly set called "Flight of the Butterfly" (page 98).  My butterfly is stamped and cut out and the little half pearl is from the Pretties Kit, adhered with a mini glue dot.

******************

There are beautiful products in the new Occasions Mini AND a special "Get Connected"offer!

From April 1-30, spend $40 on products in the Occasions Mini Catalog or host a $150 workshop and get a FREE item from the “Under $10” page in the Spring-Summer 2009 Idea Book & Catalog (p. 208).


 Item Description  Retail Price 
116209 

Note of Thanks Mini Note Kit 

$9.95
 116210

Birthdays Count Mini Note Kit 

$9.95 
114494 

Forever single stamp 

$5.95 
114492 

Beautiful Baby single stamp 

$7.95 
114486 

Birthday Wish single stamp 

$6.95 
114490 

Glad Friends single stamp 

$5.95 
114498 

Flowers in Silhouette single stamp 

$7.95 
114496 

Celebrations single stamp 

$7.95 
114484 

Elegant Thank You single stamp 

$6.95 
114552* 

Gracias single stamp 

$5.95 
114488 

Fun Flowers single stamp 

$5.95 

*In Celebrando Creatividad, p. 28

Contact me if you want to "Get Connected"!

A Happy Birthday Pyramid Card

Halloween has always been extra special at our house because our youngest son was born the night before Halloween, just missing being a pumpkin or goblin by about 45 minutes.  I remember when I was pregnant with him seeing the cutest little Halloween t-shirt in one of the store windows at the Galleria and thinking if he had actually been born on Halloween I should really have that shirt for my Halloween baby.  Didn't happen, which probably was a good thing for him, because he doesn't have to exactly share his birthday with a holiday.  But of course his birthday parties were always Halloween-themed, which made them extra fun.  I just wish I was into Stampin' Up! back when my kids were little because of SO many opportunities for gifts, party favors, invitations, note cards, etc.  If you have little ones, you really should get into stamping because you will have many opportunities to be creative!

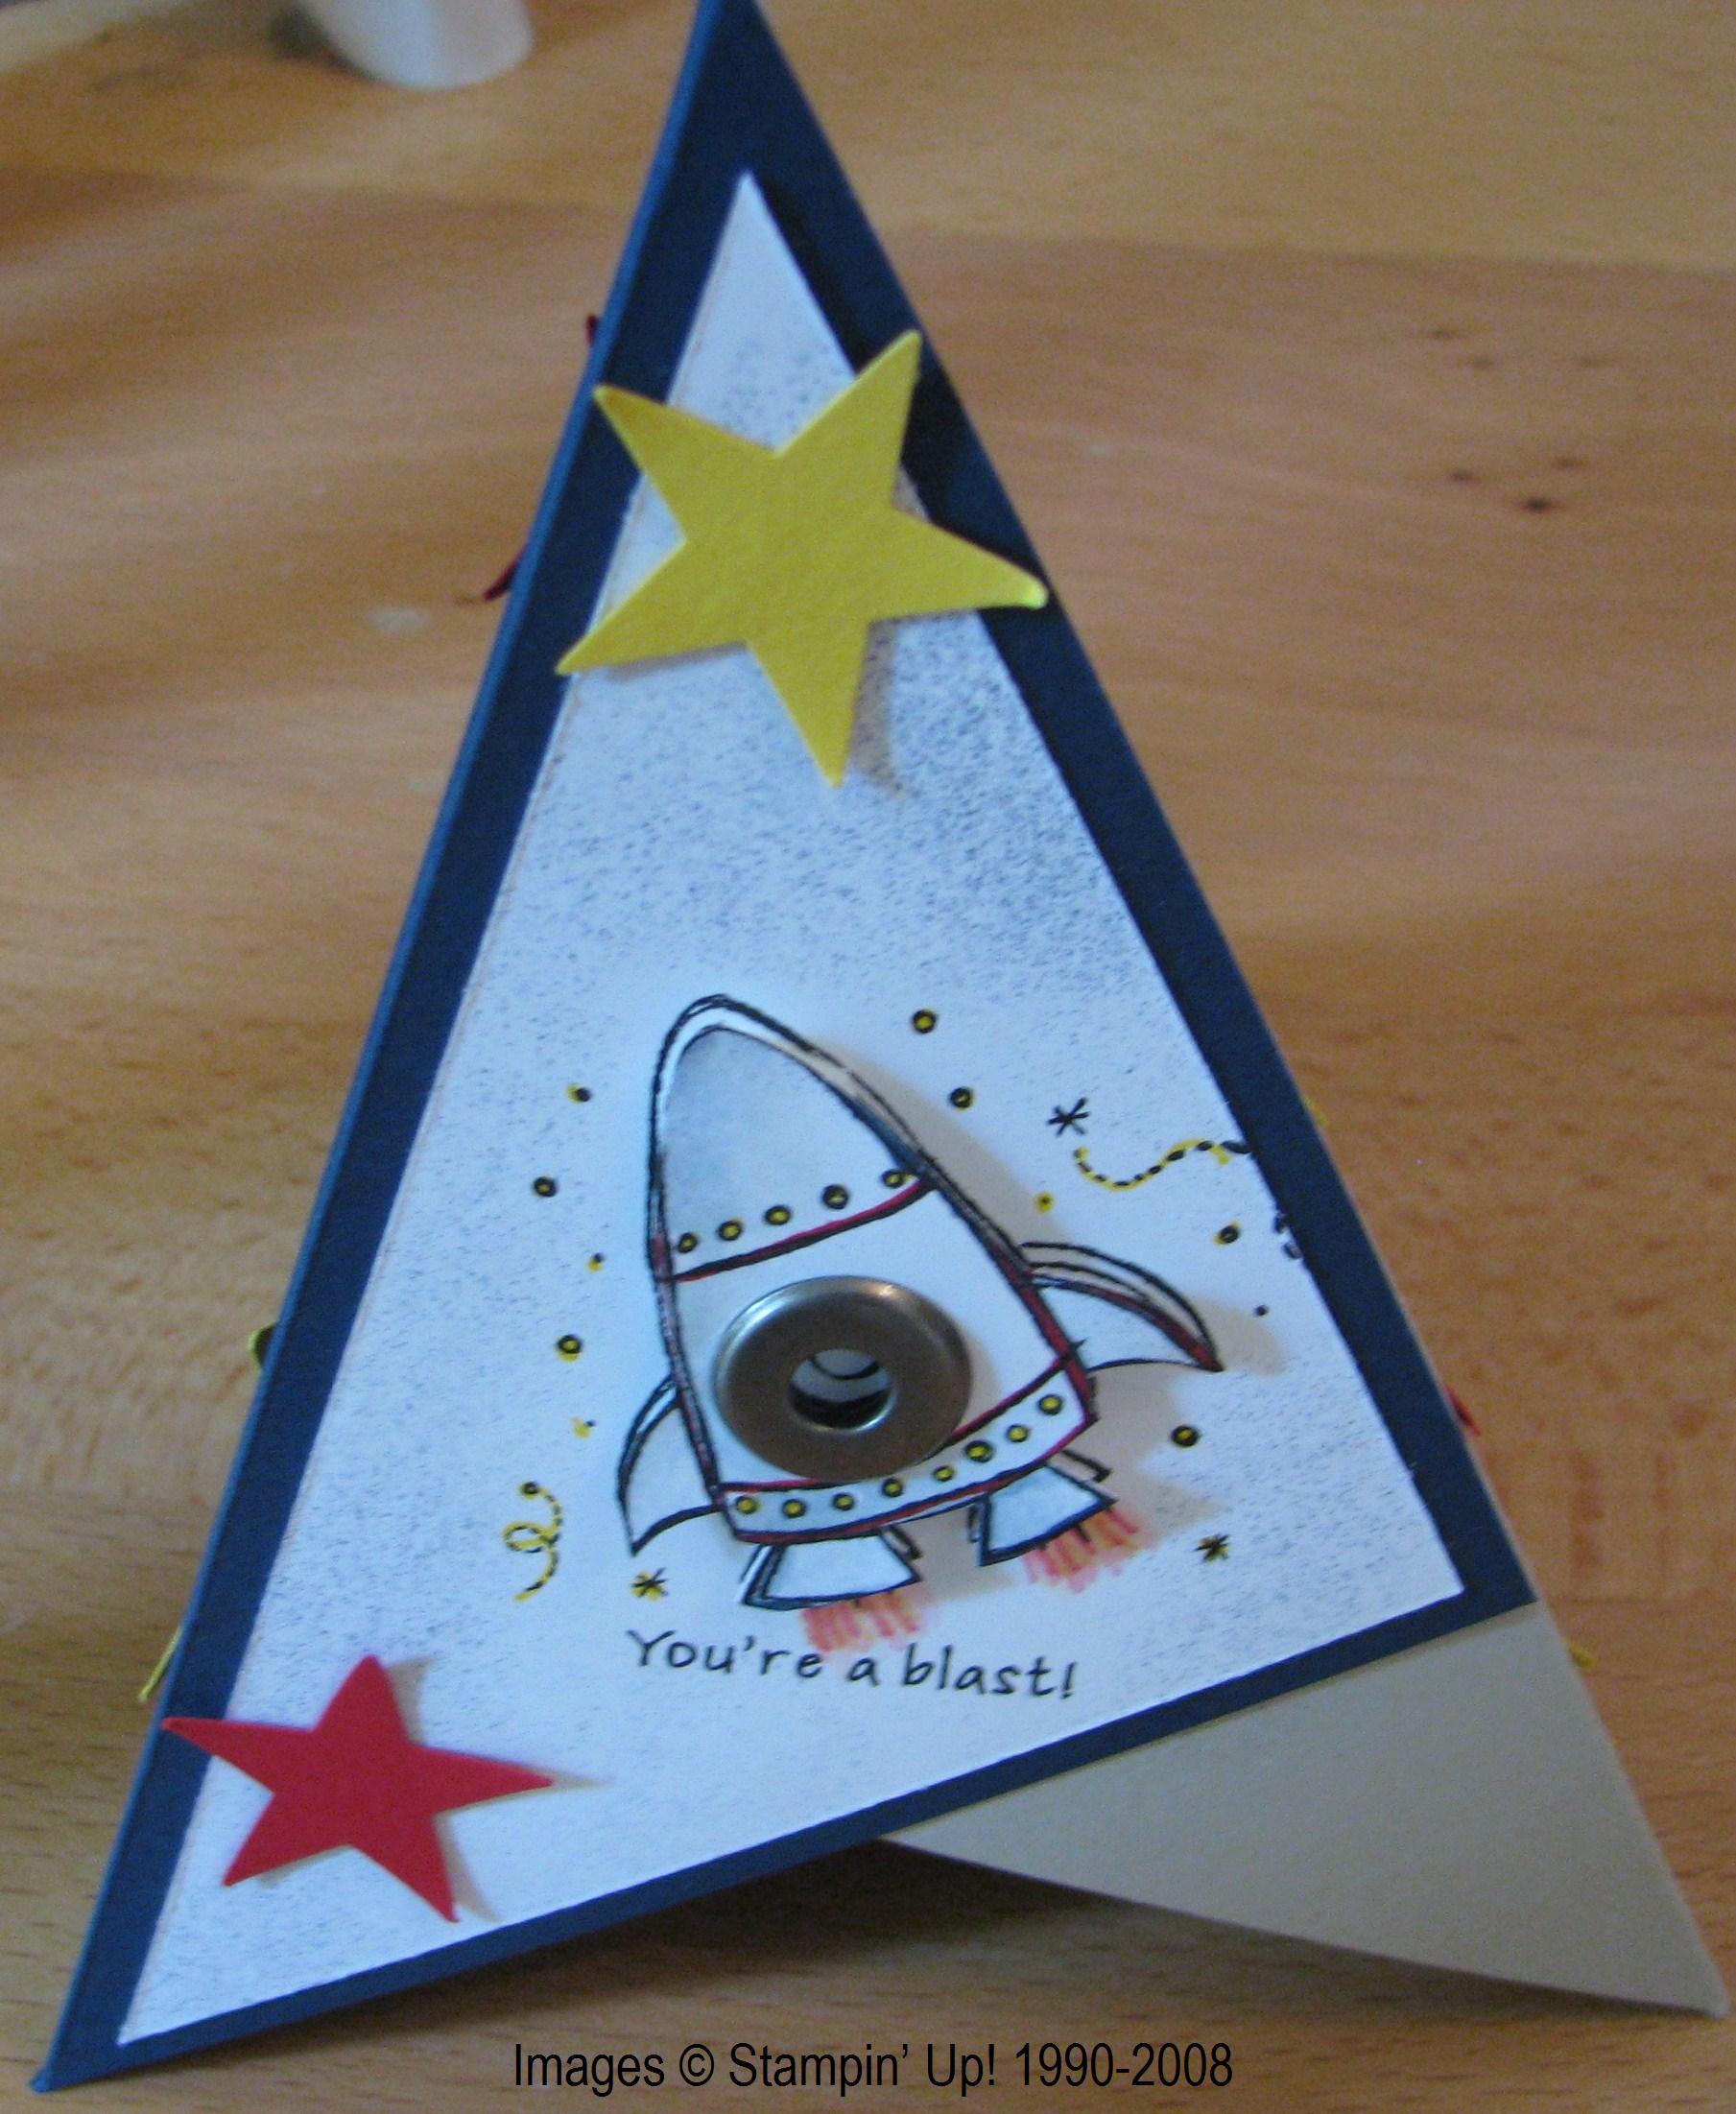
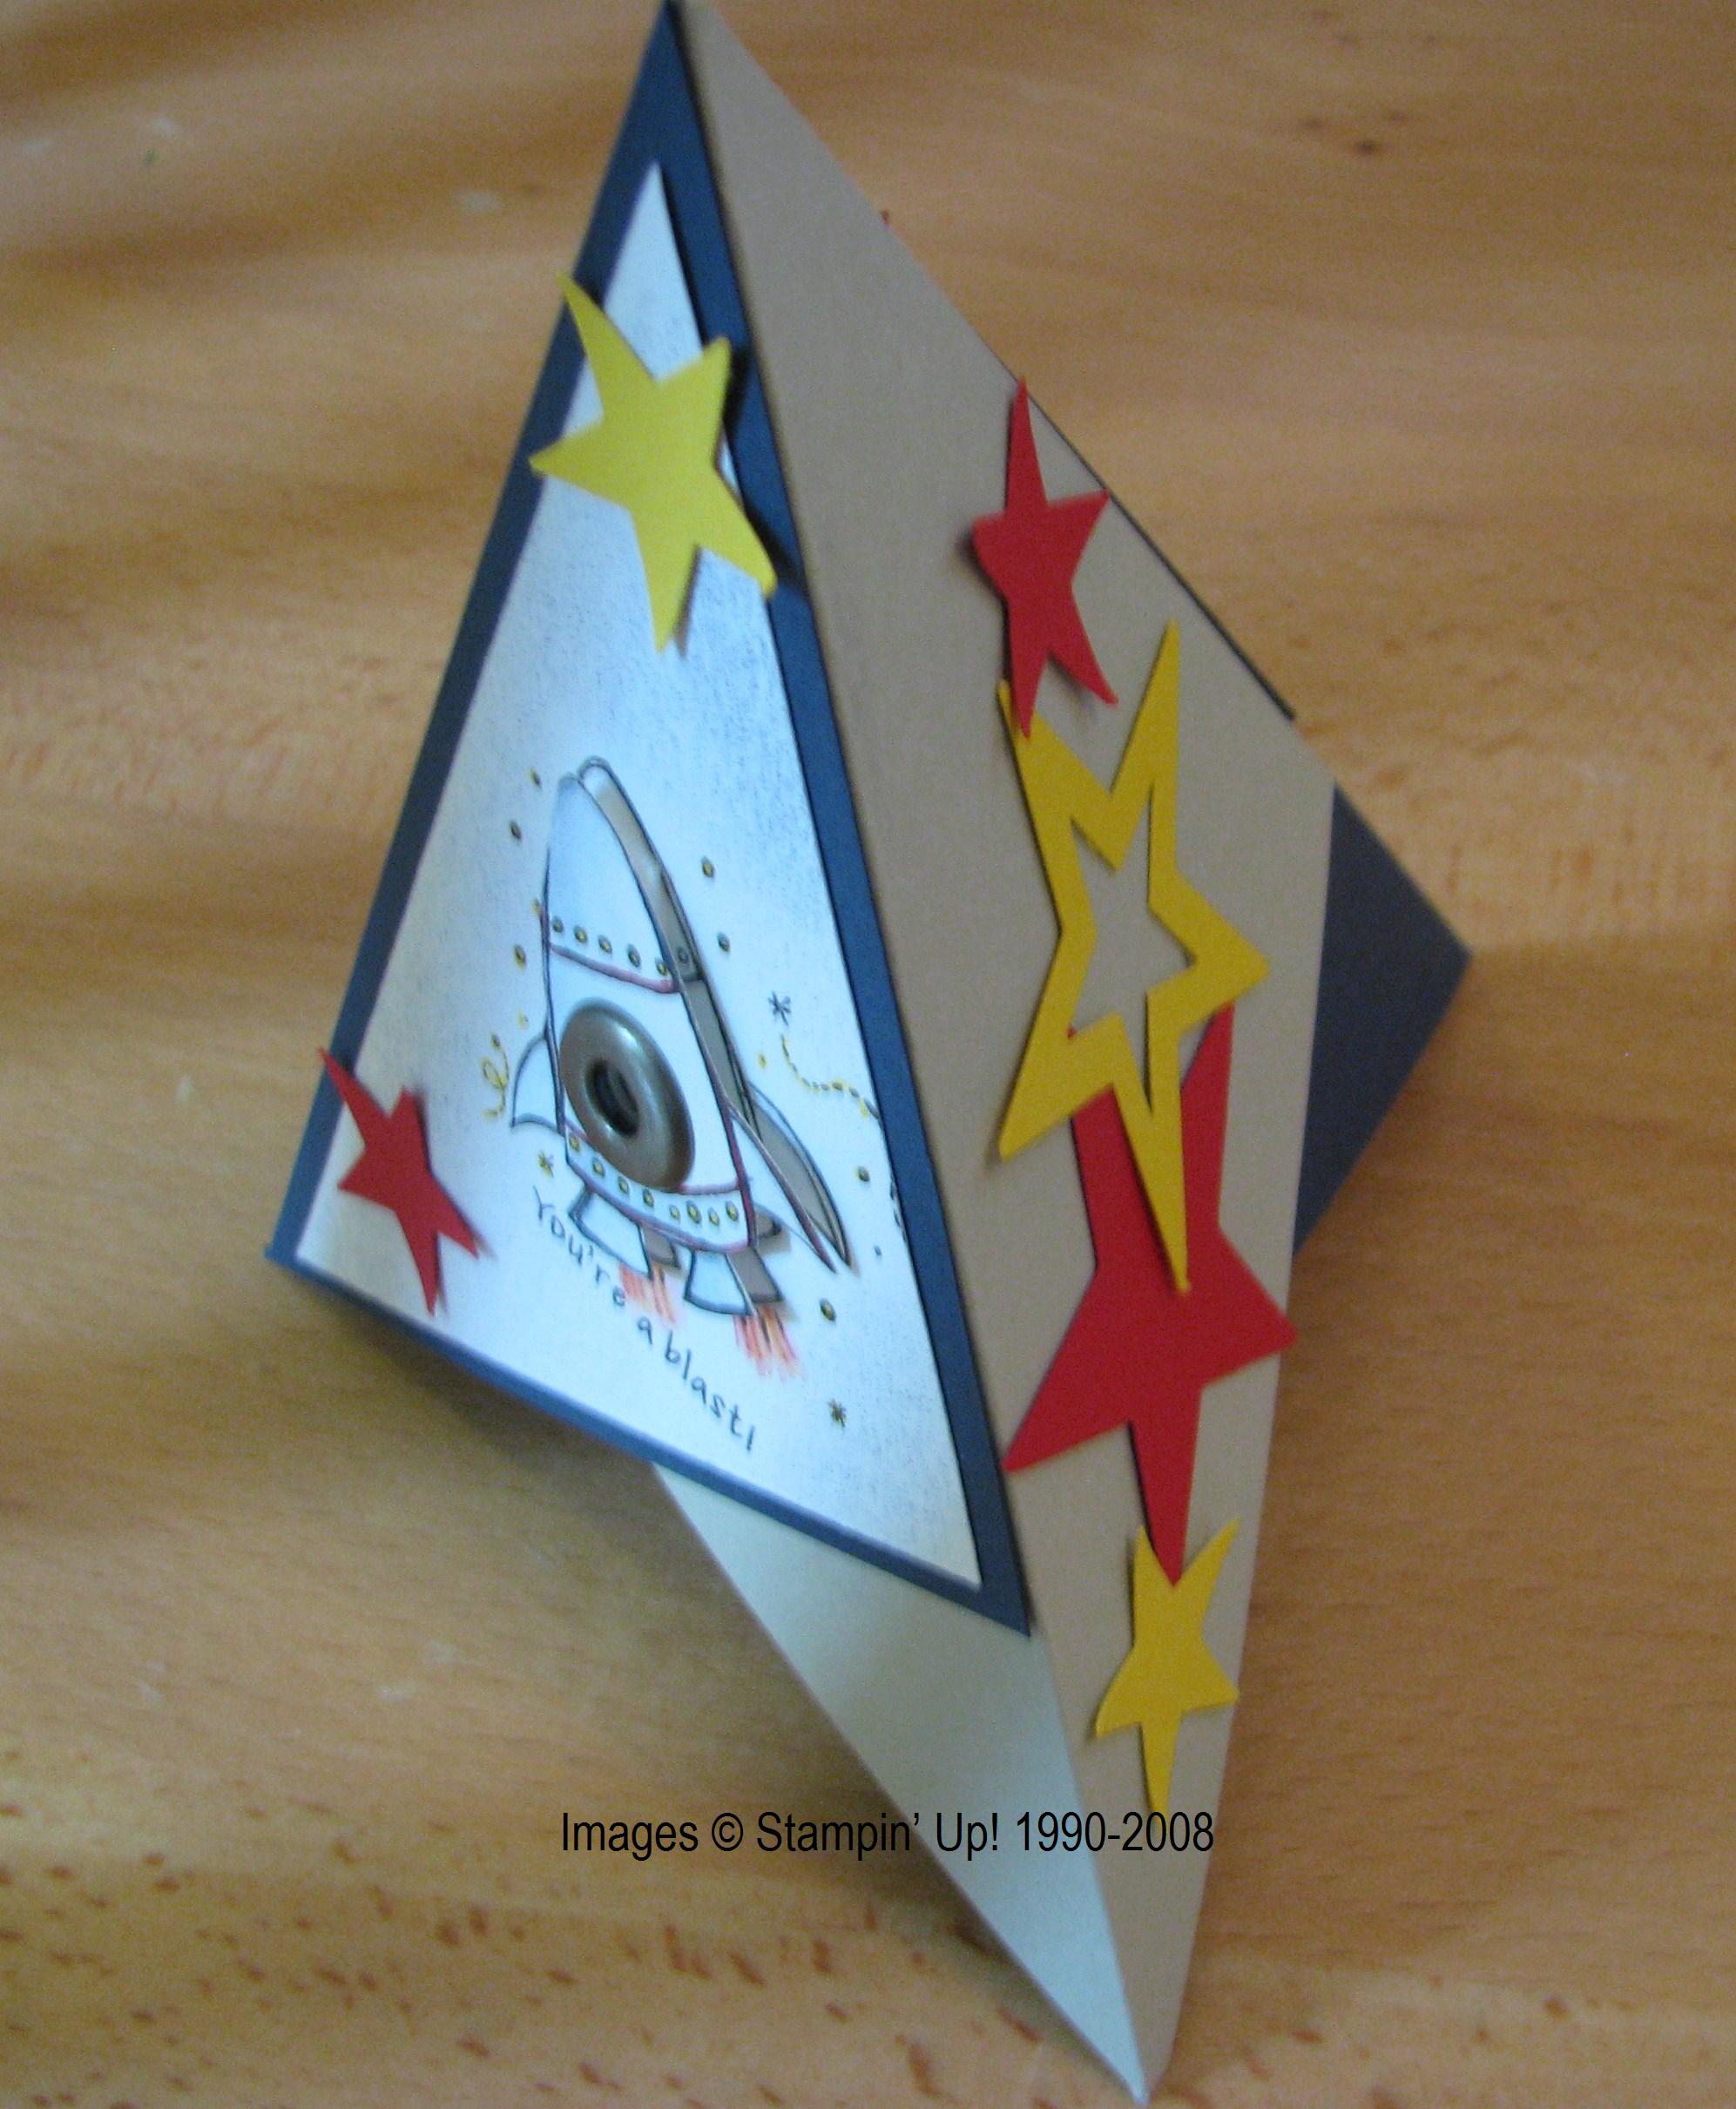
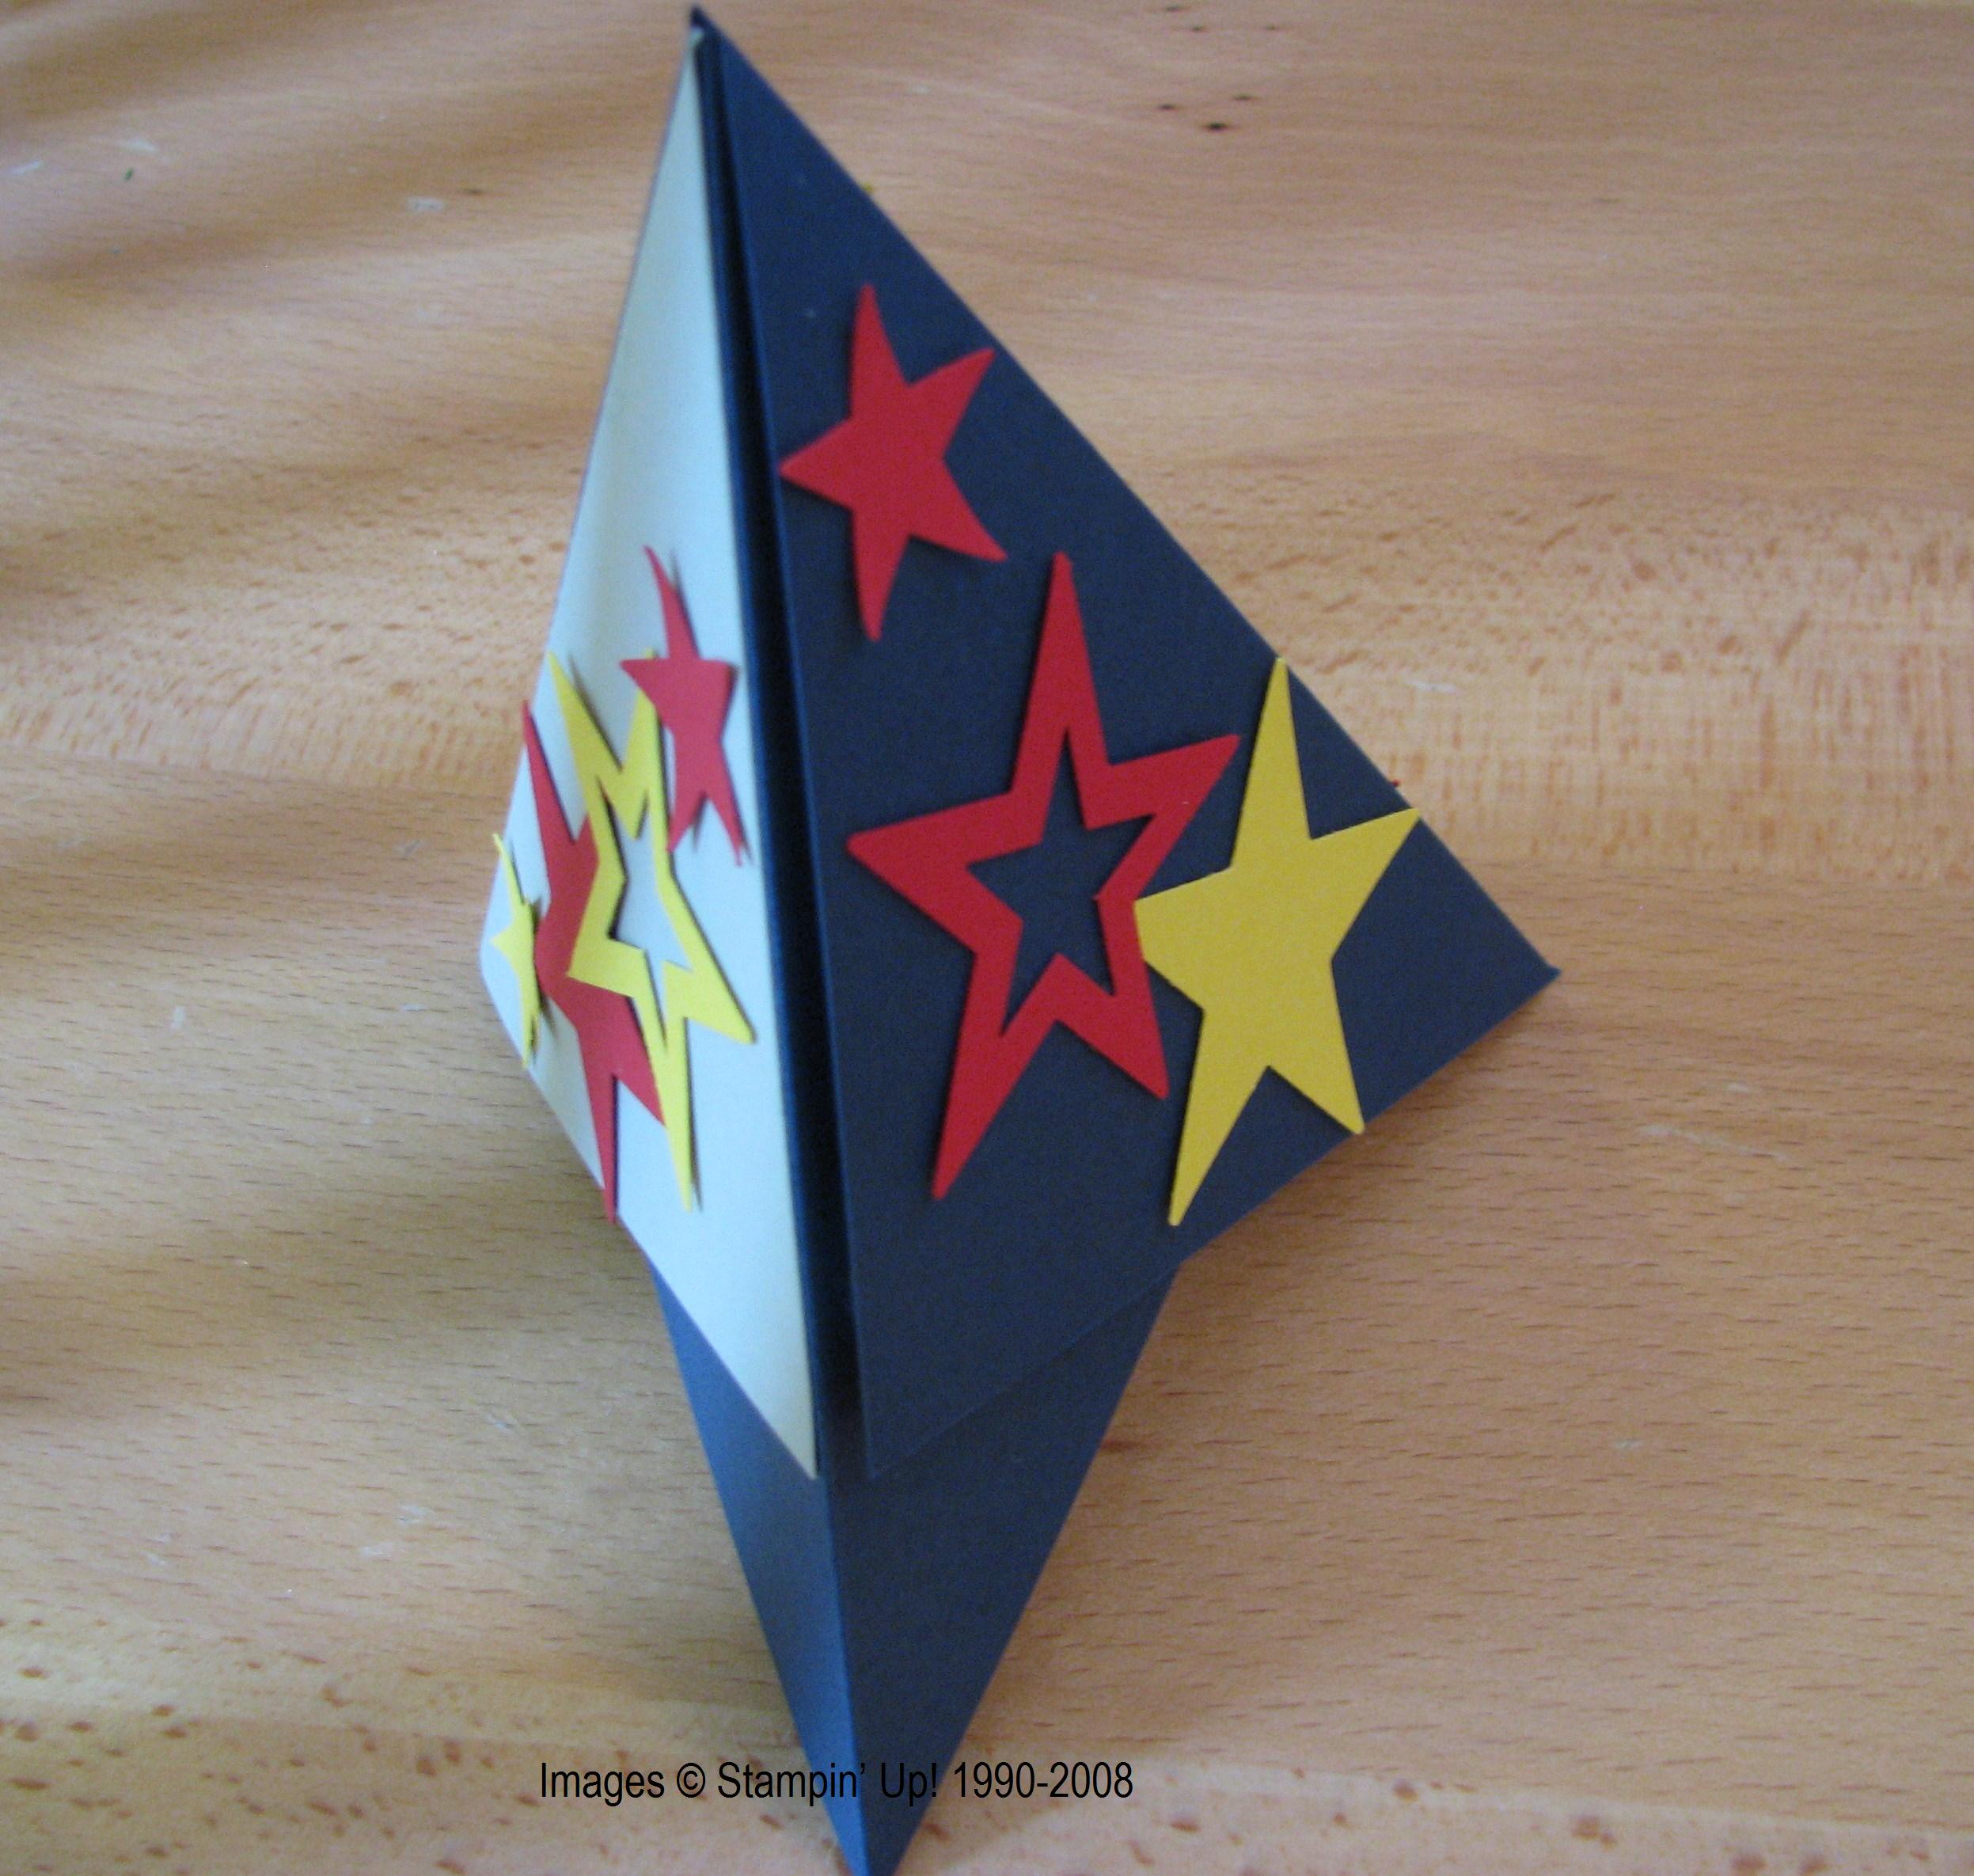
I love this Pun Fun stamp set, but especially loved this rocket for my son.  When I started looking for ideas for this card, I came across this Pyramid card made by Trina on Splitcoast.  You can find different pyramid template lots of places on the internet, but I loved the colors Trina used on her card.  I added a Jumbo Eyelet for the window on the rocket and some stars, punched with the large and small star punches…..all found in the Stampin' Up! catalog, of course…. and also added a velcro dot just under that front flap to hold it closed.  The pattern I used showed a slit but I couldn't figure that out.  The card had to be mailed so it had to be flat.  I hope he can figure out how to assemble when he receives it!

PunFunRocketPyramidCard 

PunFunRocketside 

PunFunRocketback