Author Archives: Karen Fontinelle

More Big Shot Fabric Flower Fold Die Pins

Granted, the fabric was still laying out and I still had a lot of precut flowers handy, but I made these two flowers yesterday in practically no time while I was waiting for dinner to finish cooking.  Recently, I went to a resale shop and bought a pair of jeans for only $3 so I would have some denim material to add to the flowers.  You could purchase all of your fabric this way, just purchase clothing at a resale or thrift shop….and you might get some nice buttons to use out of the deal as well!  I think the different textured fabrics make the most interesting pins.  All you need is a Big Shot Die-Cut Machine (113439) and the Flower Folds Die (115970), some glue or needle and thread, and a button or one of our Stampin' Up! Corduroy Buttons.

Fabric Flower Pin
Fabric Flower Pin 

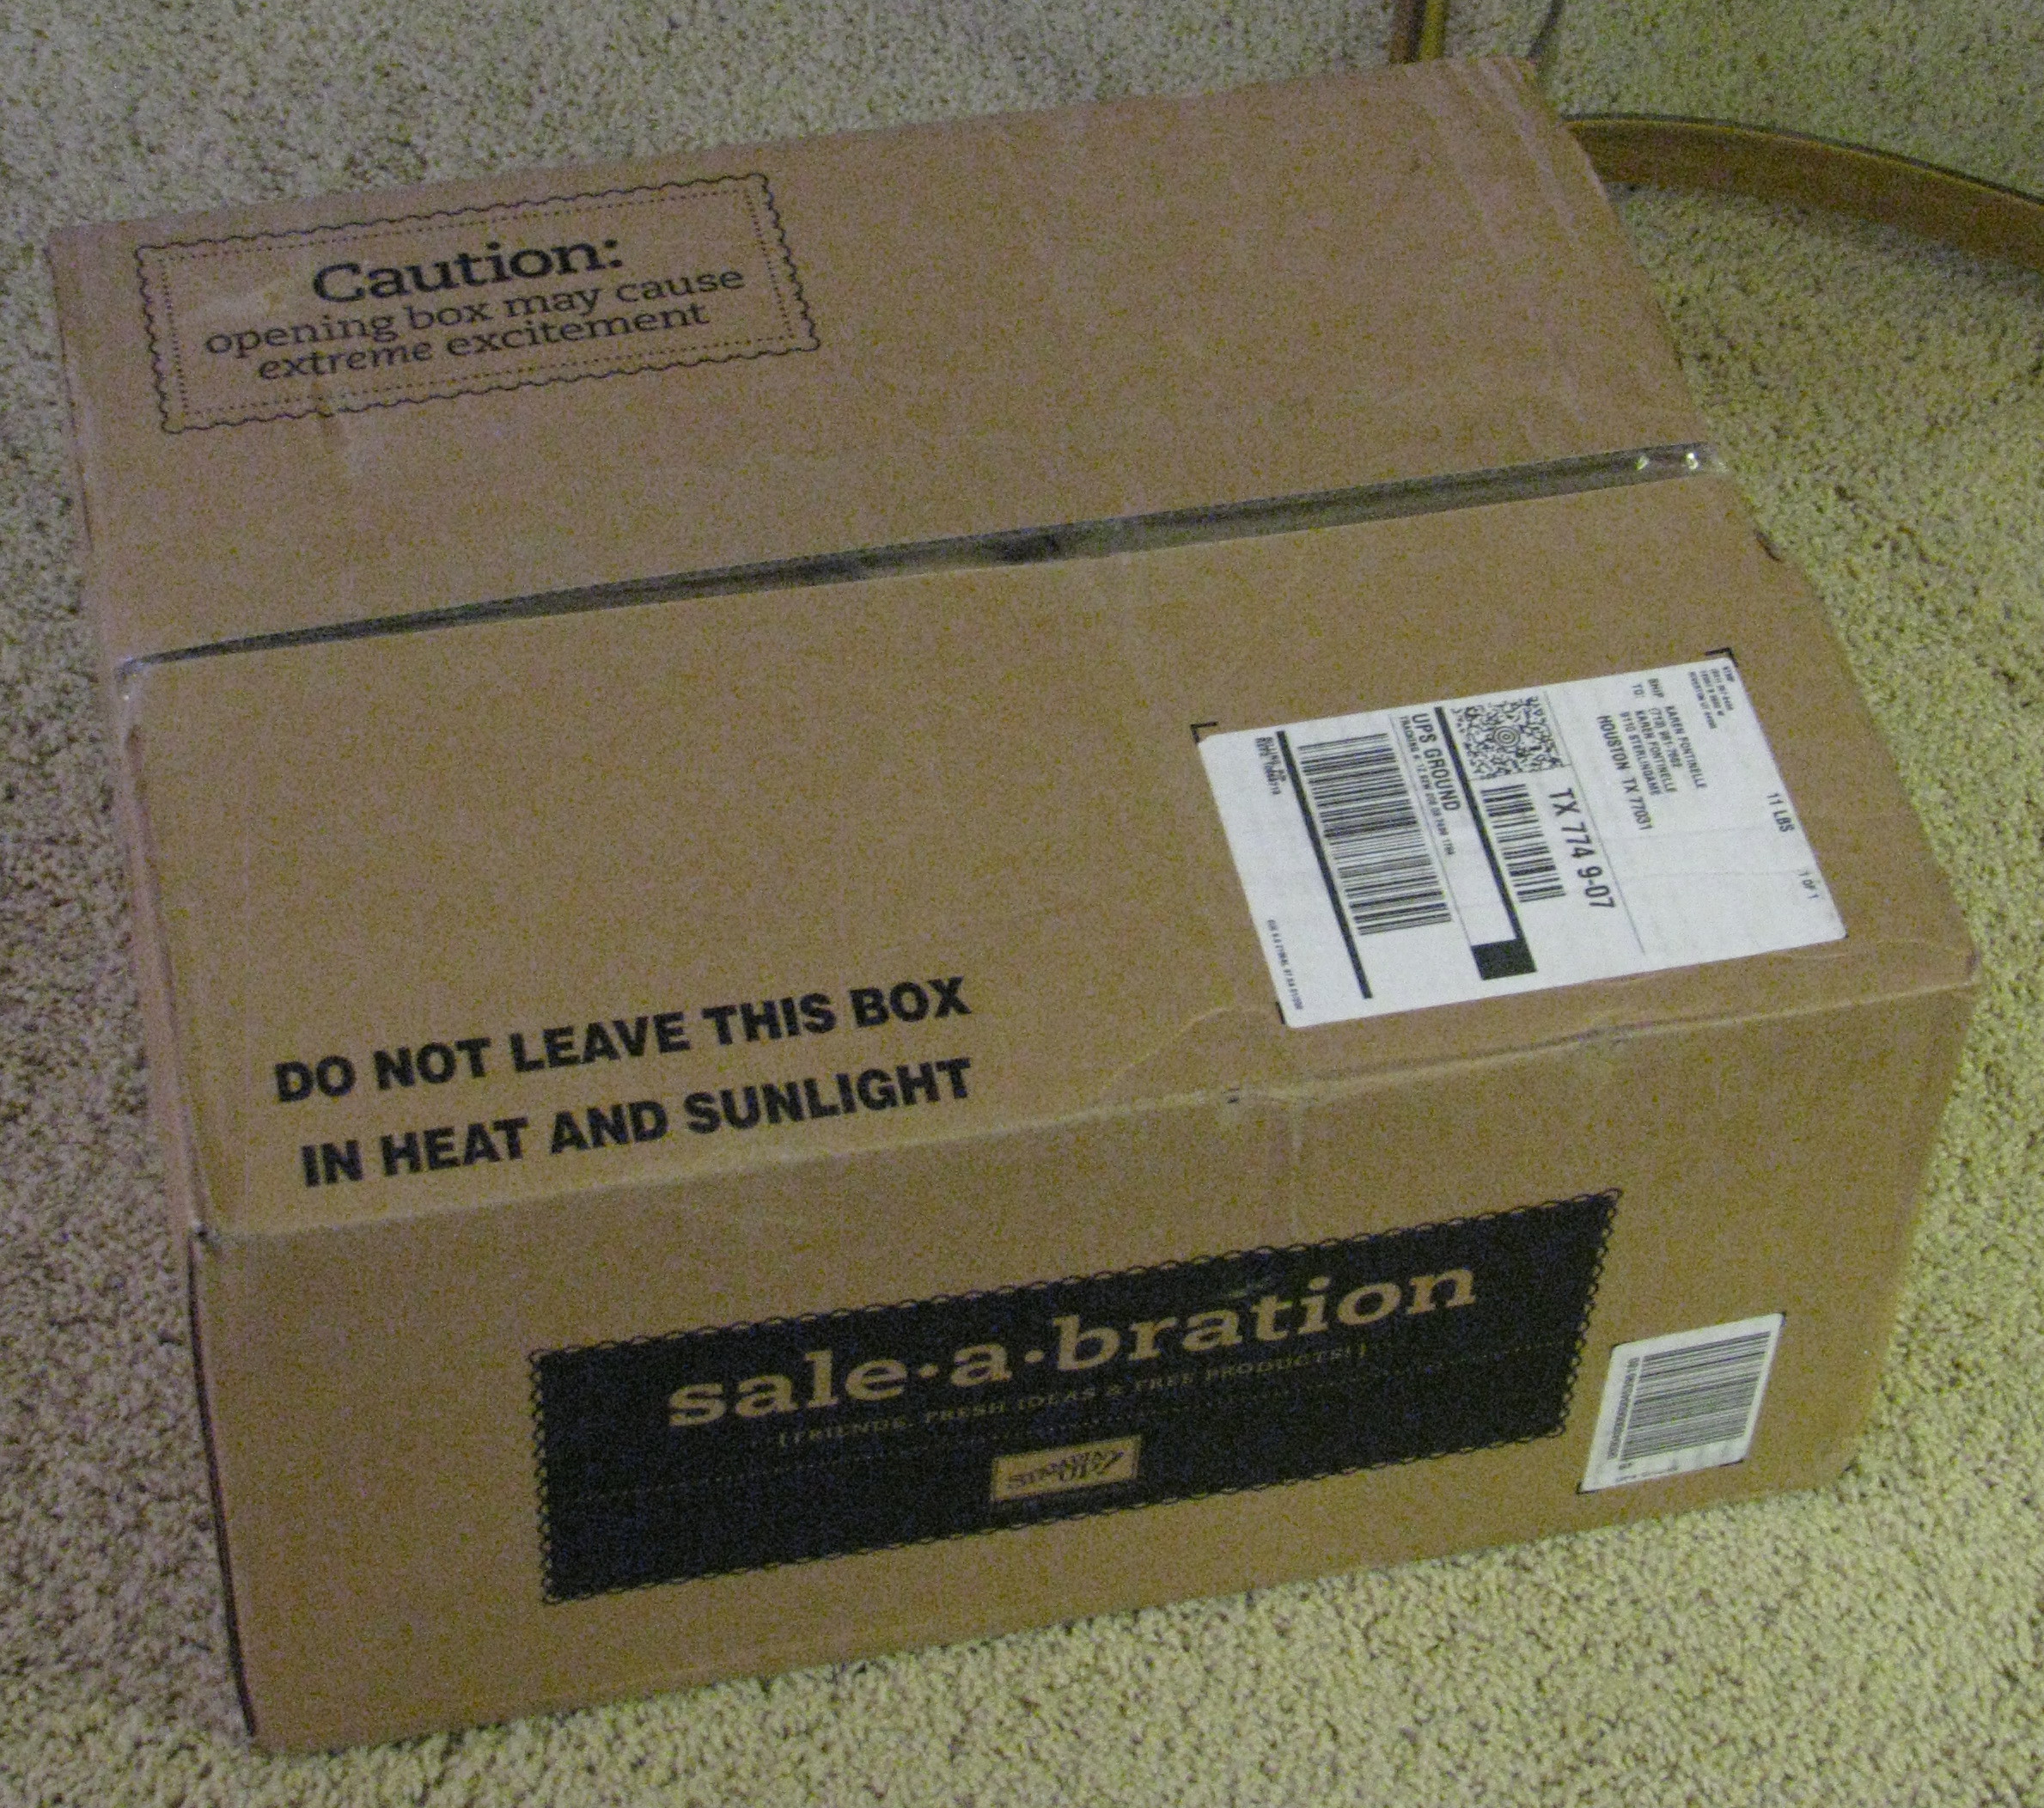
If you want to purchase a Big Shot Die-Cut Machine so you can make these fabric flowers and SO many other great projects, be sure to order it during Sale-A-Bration and get FREE PRODUCTS too! Only two weeks left!


Spring Ahead: Daylight Saving Time Starts March 14 at 2:00 am

Spring Happy Moments Flower Card for Daylight Saving Time 

For a reminder for all of us to "Spring Ahead" tonight to Daylight Saving Time (apparently it is Daylight SAVING time and not SavingS time!) I decided to make a bright and springy card!  It's just a little 3×3 card, but it is one of those things that once I made it I just loved it and want to make some more!  It's a happy card, as my friend would say.  I stamped the flowers from the Happy Moments Sale-A-Bration set (you can get it free with a $50 purchase!) with Black Stazon Ink and watercolored with my Aquapainter and ink refill bottles!  So easy….and you don't have to be perfect with watercoloring….in fact, it enhances the look to let your color get outside the lines.  I added some Melon Mambo ribbon (that will make you happy if nothing else!) and punched the corner with the new Scallop Trim Corner Punch in the Occasions Mini.  Sweet and fun!

So when you go to bed tonight, set your clocks ahead an hour (at least in most US states)…so if it is 10 pm set your clocks to 11 pm…..and they recommend checking the batteries in your smoke alarm at the same time as you change your clocks.

If you would like to make this project and many others, email me or use the online ordering button in the upper right corner of my blog!

Voila Chef 6×6 Page

It's so much fun to play with the Voila Chef (#115102).  You can watercolor him or you can paper piece, which I did on his pants using Designer Series Paper.  Just stamp on the DSP and cut out the section you want to overlay on your already stamped outline of the chef. Since this is for my personal use, I have used some retired product, such as the Antique Brass Hodgepodge Hardware on the tag and the greenish Gingham Ribbon.  You can easily substitute with current product and colors.  I made the chef first and then wasn't sure what to do for the background.  But then I found the little stamp in the Tiny Tags stamp set (page 28) in the Occasions Mini and stamped it all over the Whisper White card stock, essentially making my own designer series paper!

Voila Chef 6x6 Scrapbook Page 

Shop 24/7 at my Online Store for all your stamping and scrapbooking products!

Little Easter Card

Just made a quick and easy little Easter card!  It's just 3×3!  I used the Eggcoutrements Stamp Set in the Occasions Mini.  You can choose either the wood-mount or clear-mount stamps.  I stamped the little border with Green Galore Ink on Whisper White card stock and then punched it out with the Scallop Edge Punch (#112091).  I stamped the tag with Pixie Pink and used the Small Tag (#108264)and (large) Tag Punches (#105934), the Crop-A-Dile (#108362) to punch a hole, and the beautiful Whisper White Organza Ribbon (#114319).  It was time to use the Bold Brights color family again for a change!

Easy Easter 3x3 Card
 

A St. Patrick’s Day Treat

Need a little something green for St. Patrick's Day March 17th?  This is a little Stampin' Up! cello bag stuffed with some green shred, a gold coin, a peppermint patty decorated with the shamrock scallop, and several pieces of green-wrapped candies.  The tag is made with the "Define Your Life" stamp set (#114950), the definition for "lucky"!  I stamped the little shamrock on it with three small hearts from the set "Tiny Tags" (#118091, #118592) and just drew in the little stem with a Stampin' Write Marker.  Want to get the "Define Your Life" stamp set free?  Just sign up to be a Stampin' Up! demonstrator during  Sale-A-Bration and choose a free stamp set, up to a value of $47.95 (which includes this one!) PLUS get the Starter Kit 15% off!  Contact me soon! 

St. Patrick's Day Treat Bag
 

Paper Flower

These paper flowers of all types seem to be the hottest thing right now so I wanted to try one!  This one is very easy…..just punch as many layers as you want with the Scallop Circle Punch (#109043) and cut down a little bit between each scallop.  Pile them all up and punch a hole in the center for either a small brad or a larger one.  I used my Crop-A-Dile (#108362) so I could easily insert a Rhinestone Brad (#109111) in the center and of course the Crop-A-Dile just punches through layers like butter!  Once you have your flower assembled, just "smoosh" it up!  I tried to gather up each layer and then smooshed it up around the center.  Just play with it until you have the look you like!

Paper Flower on Bitty Box

To use my flower on a project, I used the Big Shot Stampin' Up! die cut to make the Bitty Box (#115967).  This was a die I didn't buy at first until….of course…I saw so many cute projects made with it!  Did you realize the die also cuts a little envelope should you want to put little notecards inside this box?!  So cute!

And to make the top layer with Razzleberry Lemonade Designer Series Paper, I played with the the new Scallop Trim Border Punch (#118402) and Scallop Trim Corner Punch (#118870) to get the little scallop border all the way around.  If you have any questions about using these punches, please let me know!  Remember, you can get the Scallop Trim Border Punch for free with a $50 Sale-A-Bration order until the end of March!

Houston Azalea Trail

We enjoyed the Azalea Trail yesterday in River Oaks!  We only went to the four private homes.  There are three other sites to see, but we have visited those before.  While you can walk through the homes (my favorite part!), you can't take photos inside so these are only from the gardens outside.  Unfortunately, we didn't see any azaleas blooming at these homes, but we did see some in another part of the neighborhood.  It's a lovely area to drive around in and see the many mansions and beautiful homes.

Here are a few photos. You should be able to click on them to enlarge.

Houston Azalea Trail 

Houston Azalea Trail 

Houston Azalea Trail Hydrangea
Love this picture!! Reminds me of a retired Stampin' Up! stamp!

Houston Azalea Trail
Houston Azalea Trail 

Houston Azalea Trail 

I don't know WHAT in the world this is!  Looks like a brain!

Houston Azalea Trail
Not my backyard!

Houston Azalea Trail
Houston Azalea Trail Tulips
Gorgeous tulips!

Houston Azalea Trail 

Houston Azalea Trail
Shouldn't we all have a front door like this?! 


River Oaks Azalea Trail Time!

The Azalea Trail Home and Garden Tour in Houston put on by the River Oaks Garden Club begins today.  It used to be two weekends, but now it is just one.  It's a fun thing to do if the weather is nice…..beautiful homes and lovely gardens to see.  Even inside the homes are beautiful floral arrangements made by the garden club ladies.  We always enjoy going!  We don't have any azaleas blooming yet at our house so I hope we see some today on the trail.  In the meantime, here are some azaleas I stamped on a card!

 Azalea Card with Fifth Avenue Floral Stamp Set 


I stamped the flowers from Fifth Avenue Floral (#113734) with Black Stazon Ink (#101406) and colored in and shaded with my Watercolor Wonder Crayons (color families on IB&C page 154) and Aquapainter (#103954).  I LOVE using the Watercolor Crayons but hadn't used them in awhile…..so relaxing to just color and not worry how good it is!  I even used some gray to shade outside the flowers.  It's likely not artistically perfect, but that is the nice part of watercoloring…..you can be a little sloppy and off!  Still looks decent!  For the flower stems, I punched out the branch and leaf from the Extra Large Two-Step Bird Punch (#117191).  On some branches I cut off the leaves and put them where I wanted them on other parts of the branch.  That punch is so versatile!  You should have one!

If you want to purchase any Stampin' Up! products, just visit my Online Store!  If you would like to learn how to make a card like this, please contact me!  Or sign up for my stamping newsletter and get on my mailing list!  The box is in the upper left corner.

For information about the River Oaks Azalea Trail, just click on the link.  See you there!


An Easy Card with a Button!

Pink Flamingo DSP Squares 

This is an easy card I made after getting an idea from a past Stampin' Success Magazine, Stampin' Up!'s monthly magazine for demonstrators.  I love these easy cards where you just punch out squares of paper (in this case I used the Pink Flamingo Designer Series Paper #113976) with a square punch (I used the 1 1/4" Square Punch #104400).  I usually write on the back cardboard insert of my designer paper what Stampin' Up! colors coordinate with that particular paper and then I have that information handy when I go to make something.  Since I'm seeing lots of buttons being used these days, I wanted to add a button from the Playground collection (#116313) and tied it with some linen thread.  I also added a little Trio Flower on the top square.  The sentiment is from the Sweetheart stamp set.


St. Patrick’s Day Basket

I found this glittery basket in the Dollar Spot at the store….there were multiple colors for Easter…I just happened to pick green…..got home and realized I could do something for St. Patrick's Day first instead of Easter!  I've loved seeing the shamrocks made with our Full Heart Punch (#113693) and also the Stampin' Up! Scalloped Heart of Hearts Embosslits Die (#117332) in the Occasions Mini.  I wanted to use the new Stampin' Up! Perfect Polka Dots Textured Impressions Folder (#117335) to emboss my card stock before punching out the hearts, but since I could not find it (!) I used the Stampin' Up! Backgrounds I Texturz Plate (#114512) instead, just to add a little interest to the paper.  Of course the little button in the center of the shamrock is from our collection of Playground Designer Buttons (#116313). In the photo is a shamrock wired garland, not part of the basket.  Very quick and easy project!!

St. Patrick's Day Basket
 

It’s March and Still Sale-A-Bration!

Wouldn't you love to get a box like this delivered on your doorstep from Stampin' Up!?!

SABBox 

I love how they have made these special boxes!!


SABBox1 

SABBox2

This is the last month for Stampin' Up!'s BIG promotion called Sale-A-Bration

Here are the ways you can take advantage of the great deals during Sale-A-Bration:

  • SPEND $50 and earn one free Sale-A-Bration product of your choice from the SAB Mini…..choices include a free PUNCH or pad of Designer Series Paper or certain sets from the Idea Book & Catalog.
  • HOST a workshop of at least $300 and earn one free SAB product in addition to the wonderful hostess benefits.
  • JOIN Stampin' Up! as a demonstrator by purchasing one of the Starter Kits and choose a free stamp set from the Idea Book & Catalog (value up to $47.95)  (AND get 15% off the Starter Kit right now!)

Let me know if YOU want to take advantage of Sale-A-Bration!  There's still time!  Who doesn't like free stamps?!

Olympic Figure Skating 2010 Build-A-Bear

I'm not sure that they showed the Build-a-Bear Olympics Figure Skating competition last night on TV, but this bear surely was the winner!  I've had this idea in my head since the Olympics started, and once I finally made my Build-A-Bear with my Big Shot Die-Cut Machine and Stampin' Up! Bigz Dies I was thrilled with how she turned out!  The "skating outfit" is just the Build-A-Bear skirt and top, with a little "altering" on the neckline and sleeves…and lots of bling added with Tombow Multi glue and Stampin' Up! Chunky Essentials Glitter!  To make the  ice skates, I just traced the bear's foot onto Whisper White and cut it at the height I wanted.  For the skating blades I traced the bottom of the shoe and just added the little attachments, all cut out of Brushed Silver card stock.  I hope you've been enjoying the  2010 Olympic Games!

Build-A-Bear Olympic Figure Skater
 

Houston Livestock Show and Rodeo Coming to Town!

Right now there are several thousand trail riders, who have been out on thirteen trails in Texas during February recreating the Old West, heading back into Houston to signal the start of the Houston Livestock Show and Rodeo.  The rodeo is a huge event in the Houston area and kicks off tomorrow when the trail riders converge on Memorial Park in the covered wagons and on horseback!

Houston Rodeo Trailrider "Wanted" card 


To make this card, I started with Soft Suede for the base.  I used the Stampin' Up! stamp set "Wanted" to make my own designer paper for the background, stamping various images in the trendy In Colors Soft Suede, Dusty Durango, Bermuda Bay, and Crushed Curry and afterwards sponging some Soft Suede around the edges and around on the paper.

Making my own designer paper 

Sponged designer paper 

To make the horse panel, I stamped the horse from "Wanted" in Soft Suede, then continued to stamp it without reinking to produce the lighter images.  I distressed the edges with the tool in the Cutter Kit (#106958).  You could also use the edge of scissors or just your fingernails!

Wanted2 


I haven't used my "Wanted" set in awhile but I sure had fun with it today!  So if you are looking for a western stamp set, this would be a good one from Stampin' Up!  You can shop at my Online Store 24/7!  Email me with any questions.


All-Occasion Card from My Digital Studio

We didn't get any snowflakes at my house yesterday although I think areas about an hour outside of Houston did get an inch or two.  The most winter weather I noticed was a few seconds of sleet hitting the car windshield.  Today it is chilly out, but the sun is shining….a beautiful day!  I decided to play with My Digital Studio again and make a sunshine-y, happy card!  I started with one of the "Designer Kits" inside the program for the card front (Sunny Day)…..which is the same as one of our "Simply Scrappin' Kits".  I could have just opened up the page it provided and been done, but I wanted to play so I added ribbon and bows and added more buttons to the flowers.  Next I "inserted" another page, colored it with Designer Series Paper, and added a flower.  Notice that the stem and leaf is really a bird leg colored Old Olive and flipped upside down!  I "inserted" one more page for the greeting and added the bird.  The options are endless, you could play forever!

My Digital Studio Sunny Day Card 

My Digital Studio Sunny Day Card
My Digital Studio Sunny Day Card 

Wouldn't it be cheery to find this card in your mailbox?  If you haven't purchased My Digital Studio yet, this is the perfect time as you can get a Sale-A-Bration reward with it!  Spend $50 during Sale-A-Bration and choose one product free from the special Sale-A-Bration catalog.  You can shop any time day or night at my online store!


Hoping for Snow in Houston!

What can be more exciting than hearing the words "Snow" and "Winter Weather Advisory" in a Houston, TX weather forecast??!  While some other areas in Texas might actually get several inches of snow today, we will be lucky if we see a few snowflakes here in southwest Houston, but I'll take what I can get!  Any day now the cold weather will be completely gone and it will be so smotheringly hot that we won't be able to imagine that we ever felt chilly!  So we might as well enjoy even the possibility of snow!  If we get something, I think it will be the third time this winter which is amazing.  So with the possibility of seeing some microscopic snowflakes that will not even stick to the ground, I decided to play with My Digital Studio  and make one more winter card!

 My Digital Studio Snow Card