Author Archives: Karen Fontinelle

Stampin’ Up! Glass Glitter

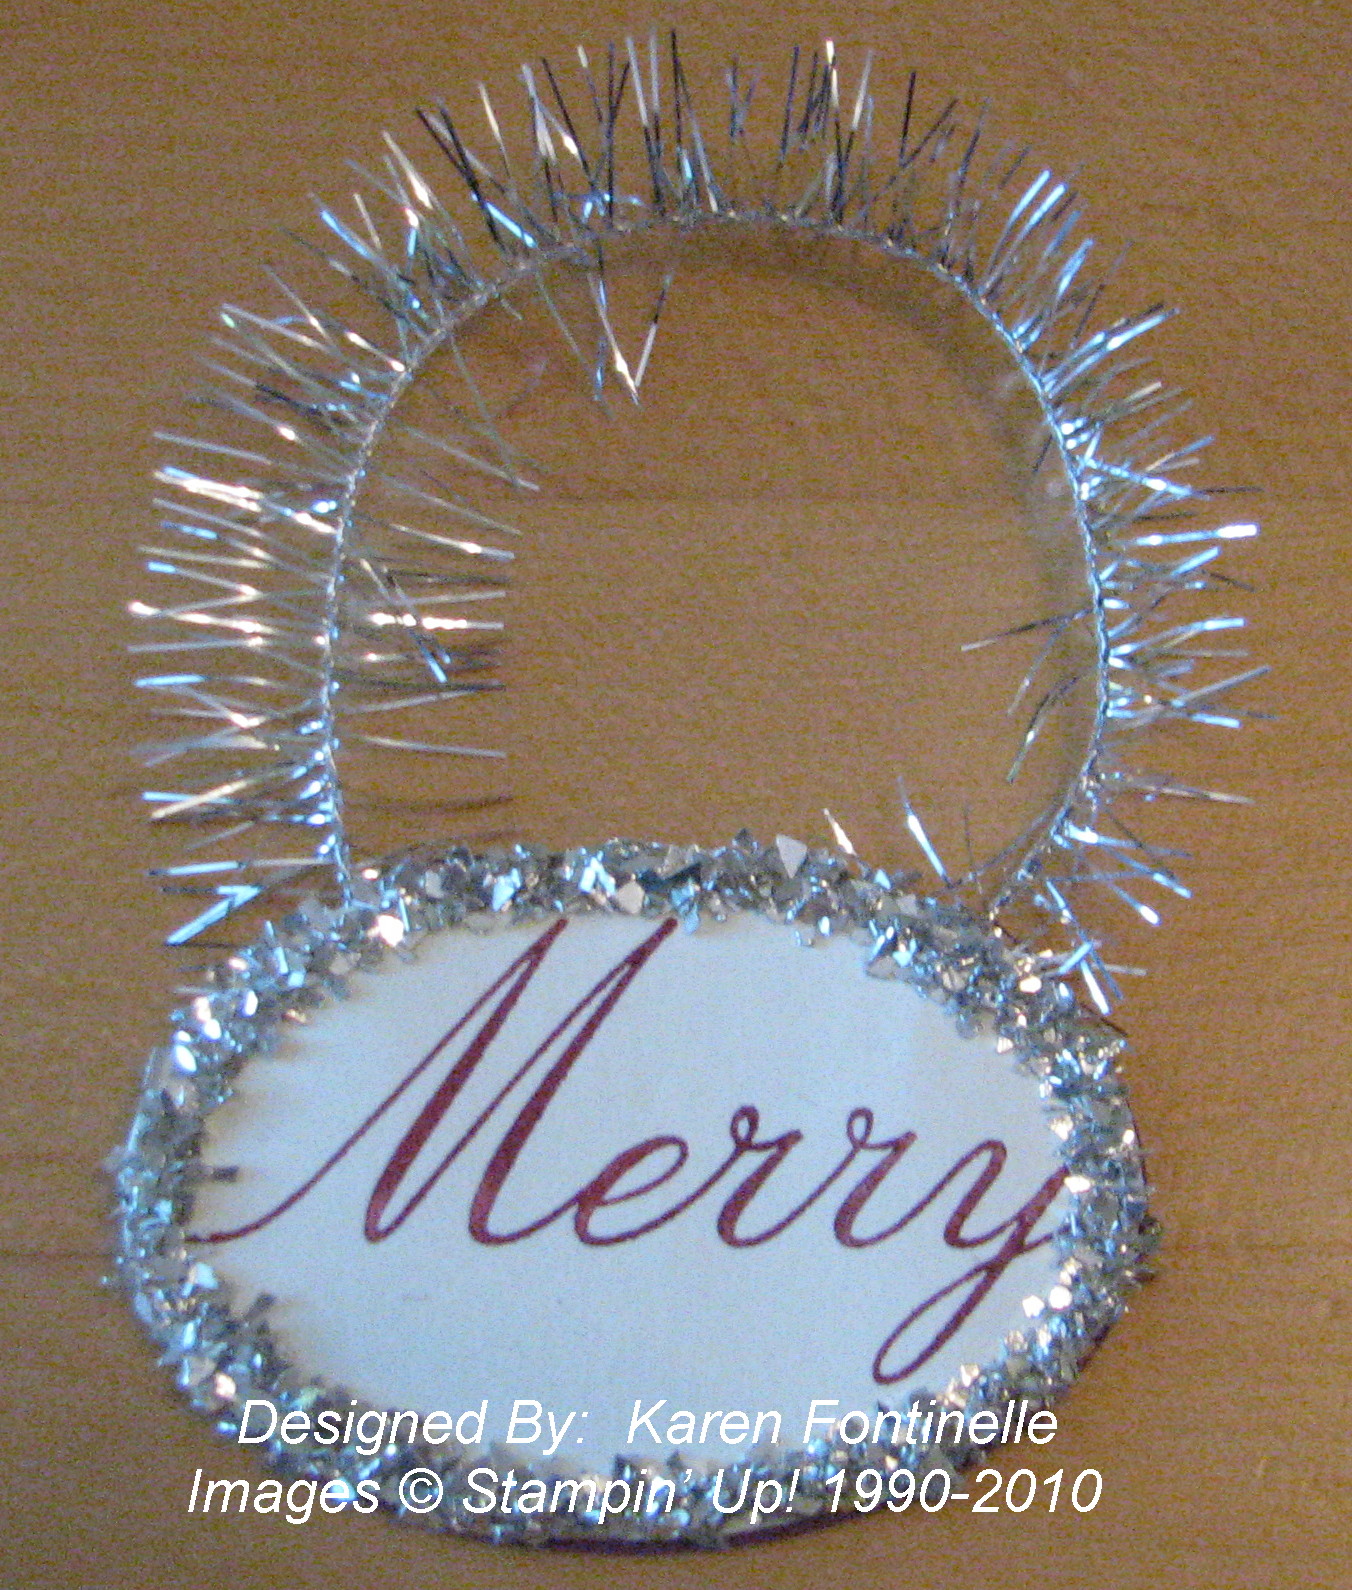
I wanted a tiny little something with the new Silver Glass Glitter #120995 in the Holiday Mini so this is what I came up with…..just a quick, easy little thing!

Merry Ornament

I used my Cherry Cobbler Stampin' Write Marker to ink up just the "Merry" part of the stamp in Bright Christmas, page 22 in the Holiday Mini, then punched out with the Oval Extra-Large Punch #119859.  I also punched out an oval from some scrap card stock to adhere later to the back.  To adhere the Glass Glitter I applied Tombow Multipurpose Glue around the edge of the oval and sprinkled on the glitter like usual.  A little Tinsel Trim #120994 in the Holiday Mini makes a cute little loop for hanging.

To see any of our Stampin' Up! catalogs, just click HERE.

Now go make yourself a simple little Christmas ornament or tag!

Scallop Baby Carriage Card

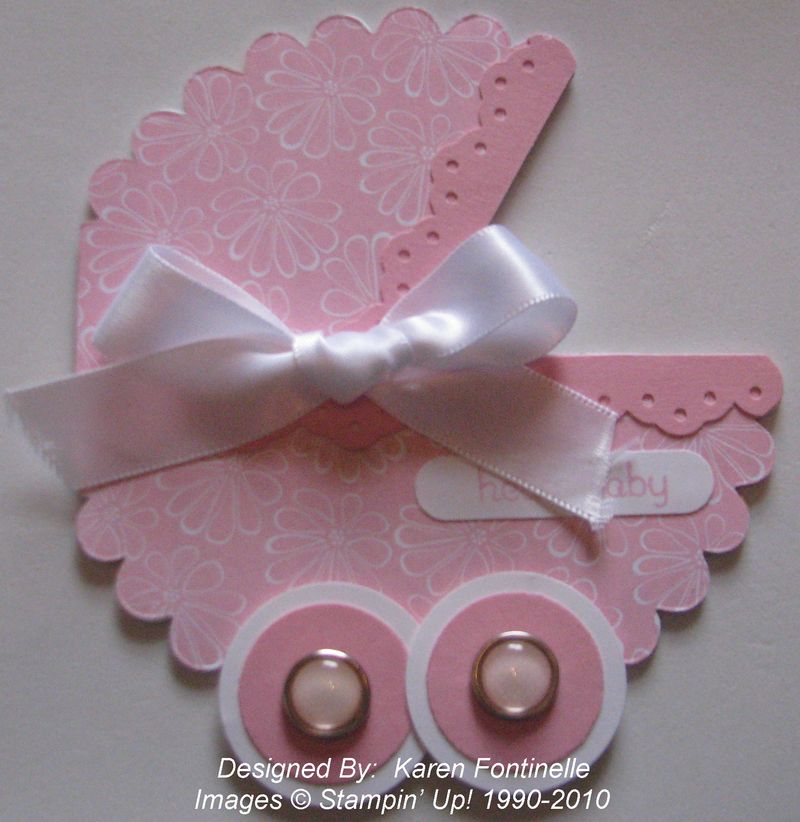
After seeing these cards around, I finally tried making one!  Just use your Big Shot and Scallop Circle Die #113468!  Use a piece of card stock or designer paper (I used a retired paper). Actually I used Whisper White for the card base and also the designer paper so I would have a white inside.  Cut your paper twice as large as the scallop on the die and fold in half.  Place the fold just inside the scallop edge, omitting about 4 scallops. When you do it, you'll see.  After the scallop is cut, you will need to make your own template, but basically you are just going to cut into the middle of the scallop from the open edge and cut out a section to make it look like a baby carriage.  Then decorate away!

Scallop Baby Carriage Card

My Digital Studio Photo Page

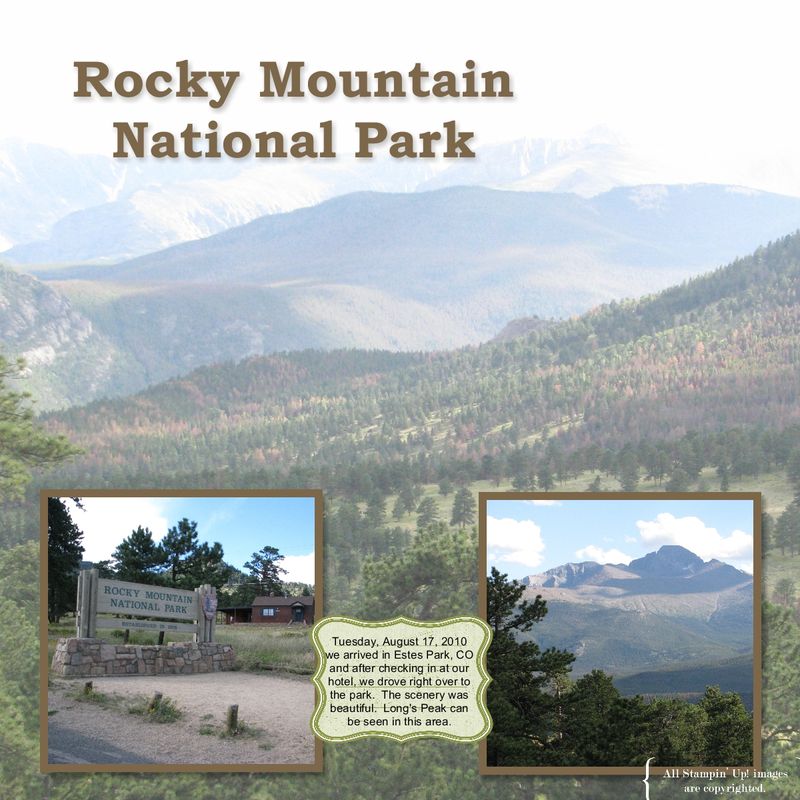
Rocky Mountain Natl Park

In continuing to work on digital scrapbook pages of our recent Colorado trip with My Digital Studio from Stampin' Up! I decided to try something I had seen demonstrated.  I used one of my photos as the background paper for the page! You just put a photo box over the entire page and insert your photo! Then I changed the opacity to 80% to make it look lighter so I could add a couple photos on top.  Where I placed the text is an element from "Write Stuff" in the program….I sized it how I wanted it and then placed a text box over it with my journaling.

There are new videos that I mentioned last week from Stampin' Up! to introduce you to using My Digital Studio.  Just click HERE to go to the page to learn more about My Digital Studio.  If you would like to see the videos, just click on the link on that page in the left column.

Shopping for Shoes

I've been absent from posting for a few days because I have been busy shopping for shoes for the wedding…mainly so that I can go get my dress hemmed, if necessary.  It's not an easy task and one I have always hated. Even though I might like new shoes just fine, my foot is a lousy fit.  It's rare that I try on a pair of shoes and think, "Wow! These feel great!"  And now, to be shopping for dress shoes, especially FANCY dress shoes, well, it has just been miserable!!

So in honor of the endless shoe shopping, here is  a card with shoes on it!

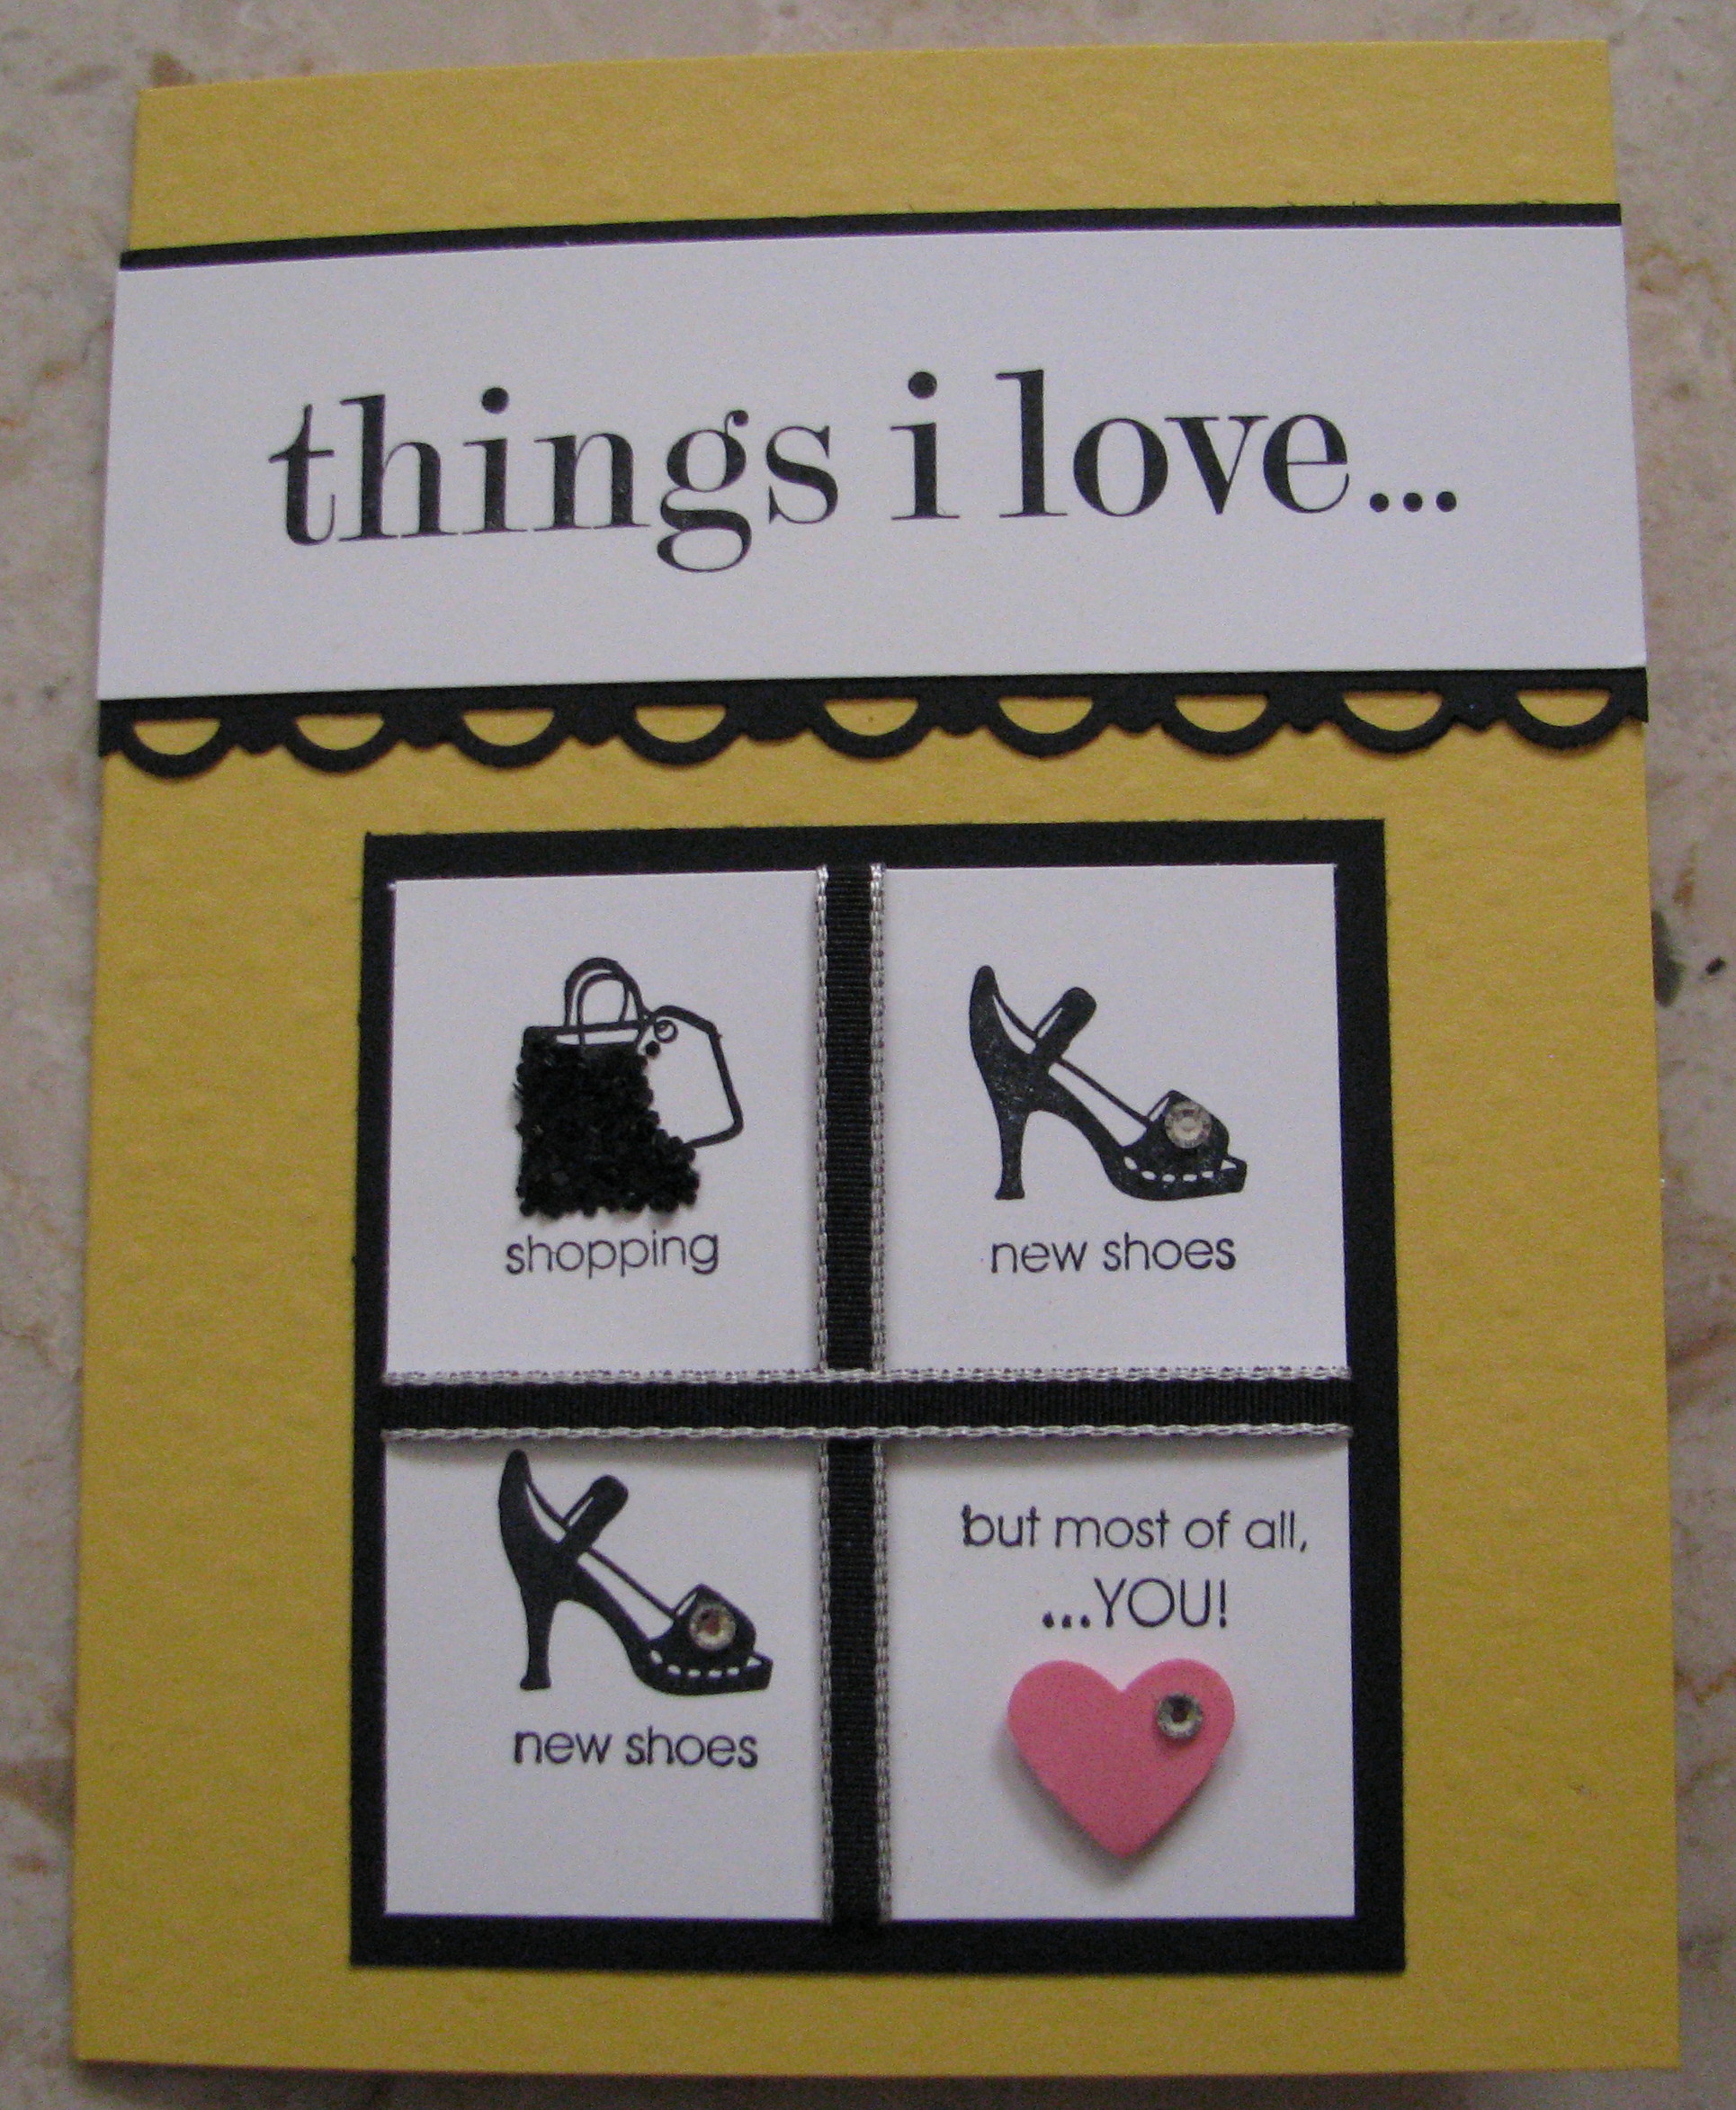
Things I Love Shoe Card

This stamp set, Things I Love, was one we received a year ago at the Stampin' Up! Convention.  There is also a stamp of a piece of chocolate in the set, but I didn't think a black piece of chocolate would look that good…even though I probably love chocolate more than I love shoes!  

The lighting isn't very good, but there is some bling on this card!  I added some black glitter to the shopping bag with Tombow Multipurpose Glue (just push the teeny sprinkles back in to the image with your fingernail to make sharper edges) and the shoes each have a Rhinestone on them as well as the heart.  And it is so fun to punch out a little heart with the Small Heart Punch!

Here are some of the supplies I used:

Stamps:  Things I Love #115229

Paper:  Daffodil Delight, Whisper White, Basic Black, Regal Rose

Ink:  Black Stazon

Accessories:  Small Heart Punch #117193, Backgrounds 1 Texturz Plates #114512, Scallop Trim Border Punch #118402, Black Chunky Essentials Glitter #108797, 1/8" Black Taffeta Ribbon #119261, Basic Rhinestones #119246

Yes, I did buy a pair of silver shoes that look lovely and hopefully I can wear them long enough to get through the ceremony and get photos taken….now if I can just convince my feet of that!

Wrap Your Packages with Fabric!

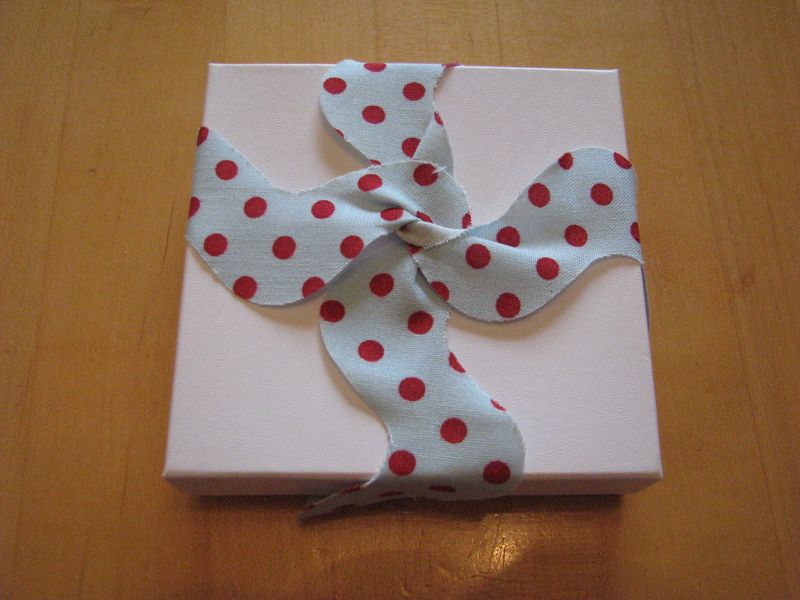
I just gave myself another idea as I wrote the title….but we'll stick with my original idea first!  After seeing wrapped packages at Convention with fabric trim, I decided to try my own sample.  Stampin' Up! at one time sold a roll of plain white heavyweight wrapping paper and it was great!  They also sold a striped and polka dot wrapping paper, also great.  So if you ever see Stampin' Up! selling wrapping paper again, grab some because it is good quality!  I think it is useful to have plain white wrapping paper on hand because you can stamp on it or decorate with ribbons and trim anyway you want, and then you don't have to have multiple rolls of wrapping paper taking up space for every occasion.  And now with the new Stampin' Up! fabric, you can add an additional trim to your arsenal…..or even wrap the whole box in a piece of fabric (which is what I thought of as I was writing the title!)…..by using fabric.

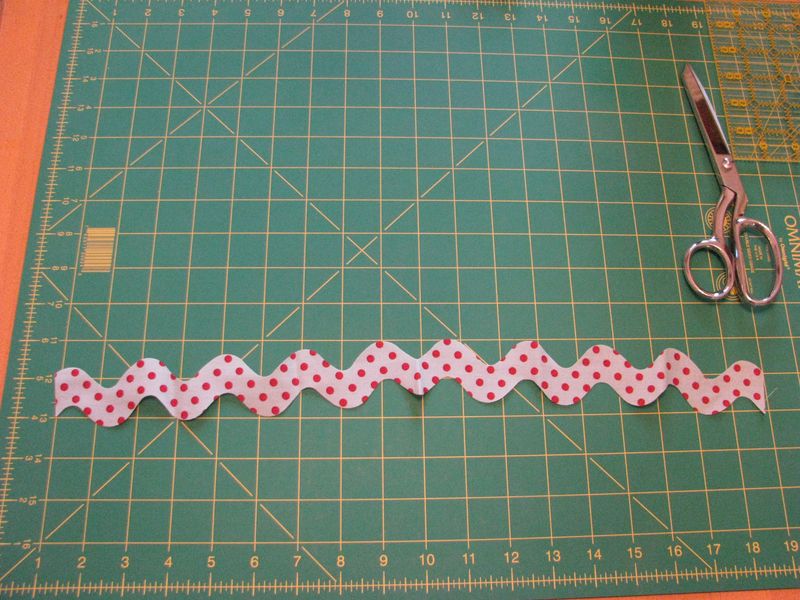
In this sample, I cut a strip of the new Candy Cane Christmas Fabric #121715 in the Holiday Mini and die cut it  with the new Tasteful Trim Die #120893 on the Big Shot #113439.  If you had lots of packages to wrap, you could cut multiples of this trim at one time on the Big Shot, making your task quicker and easier.  Just wrap your package with white paper and trim with the new Stampin' Up! fabric!

Strip cut from Big Shot Tasteful Trim Die

Wrap with Tasteful Trim Die

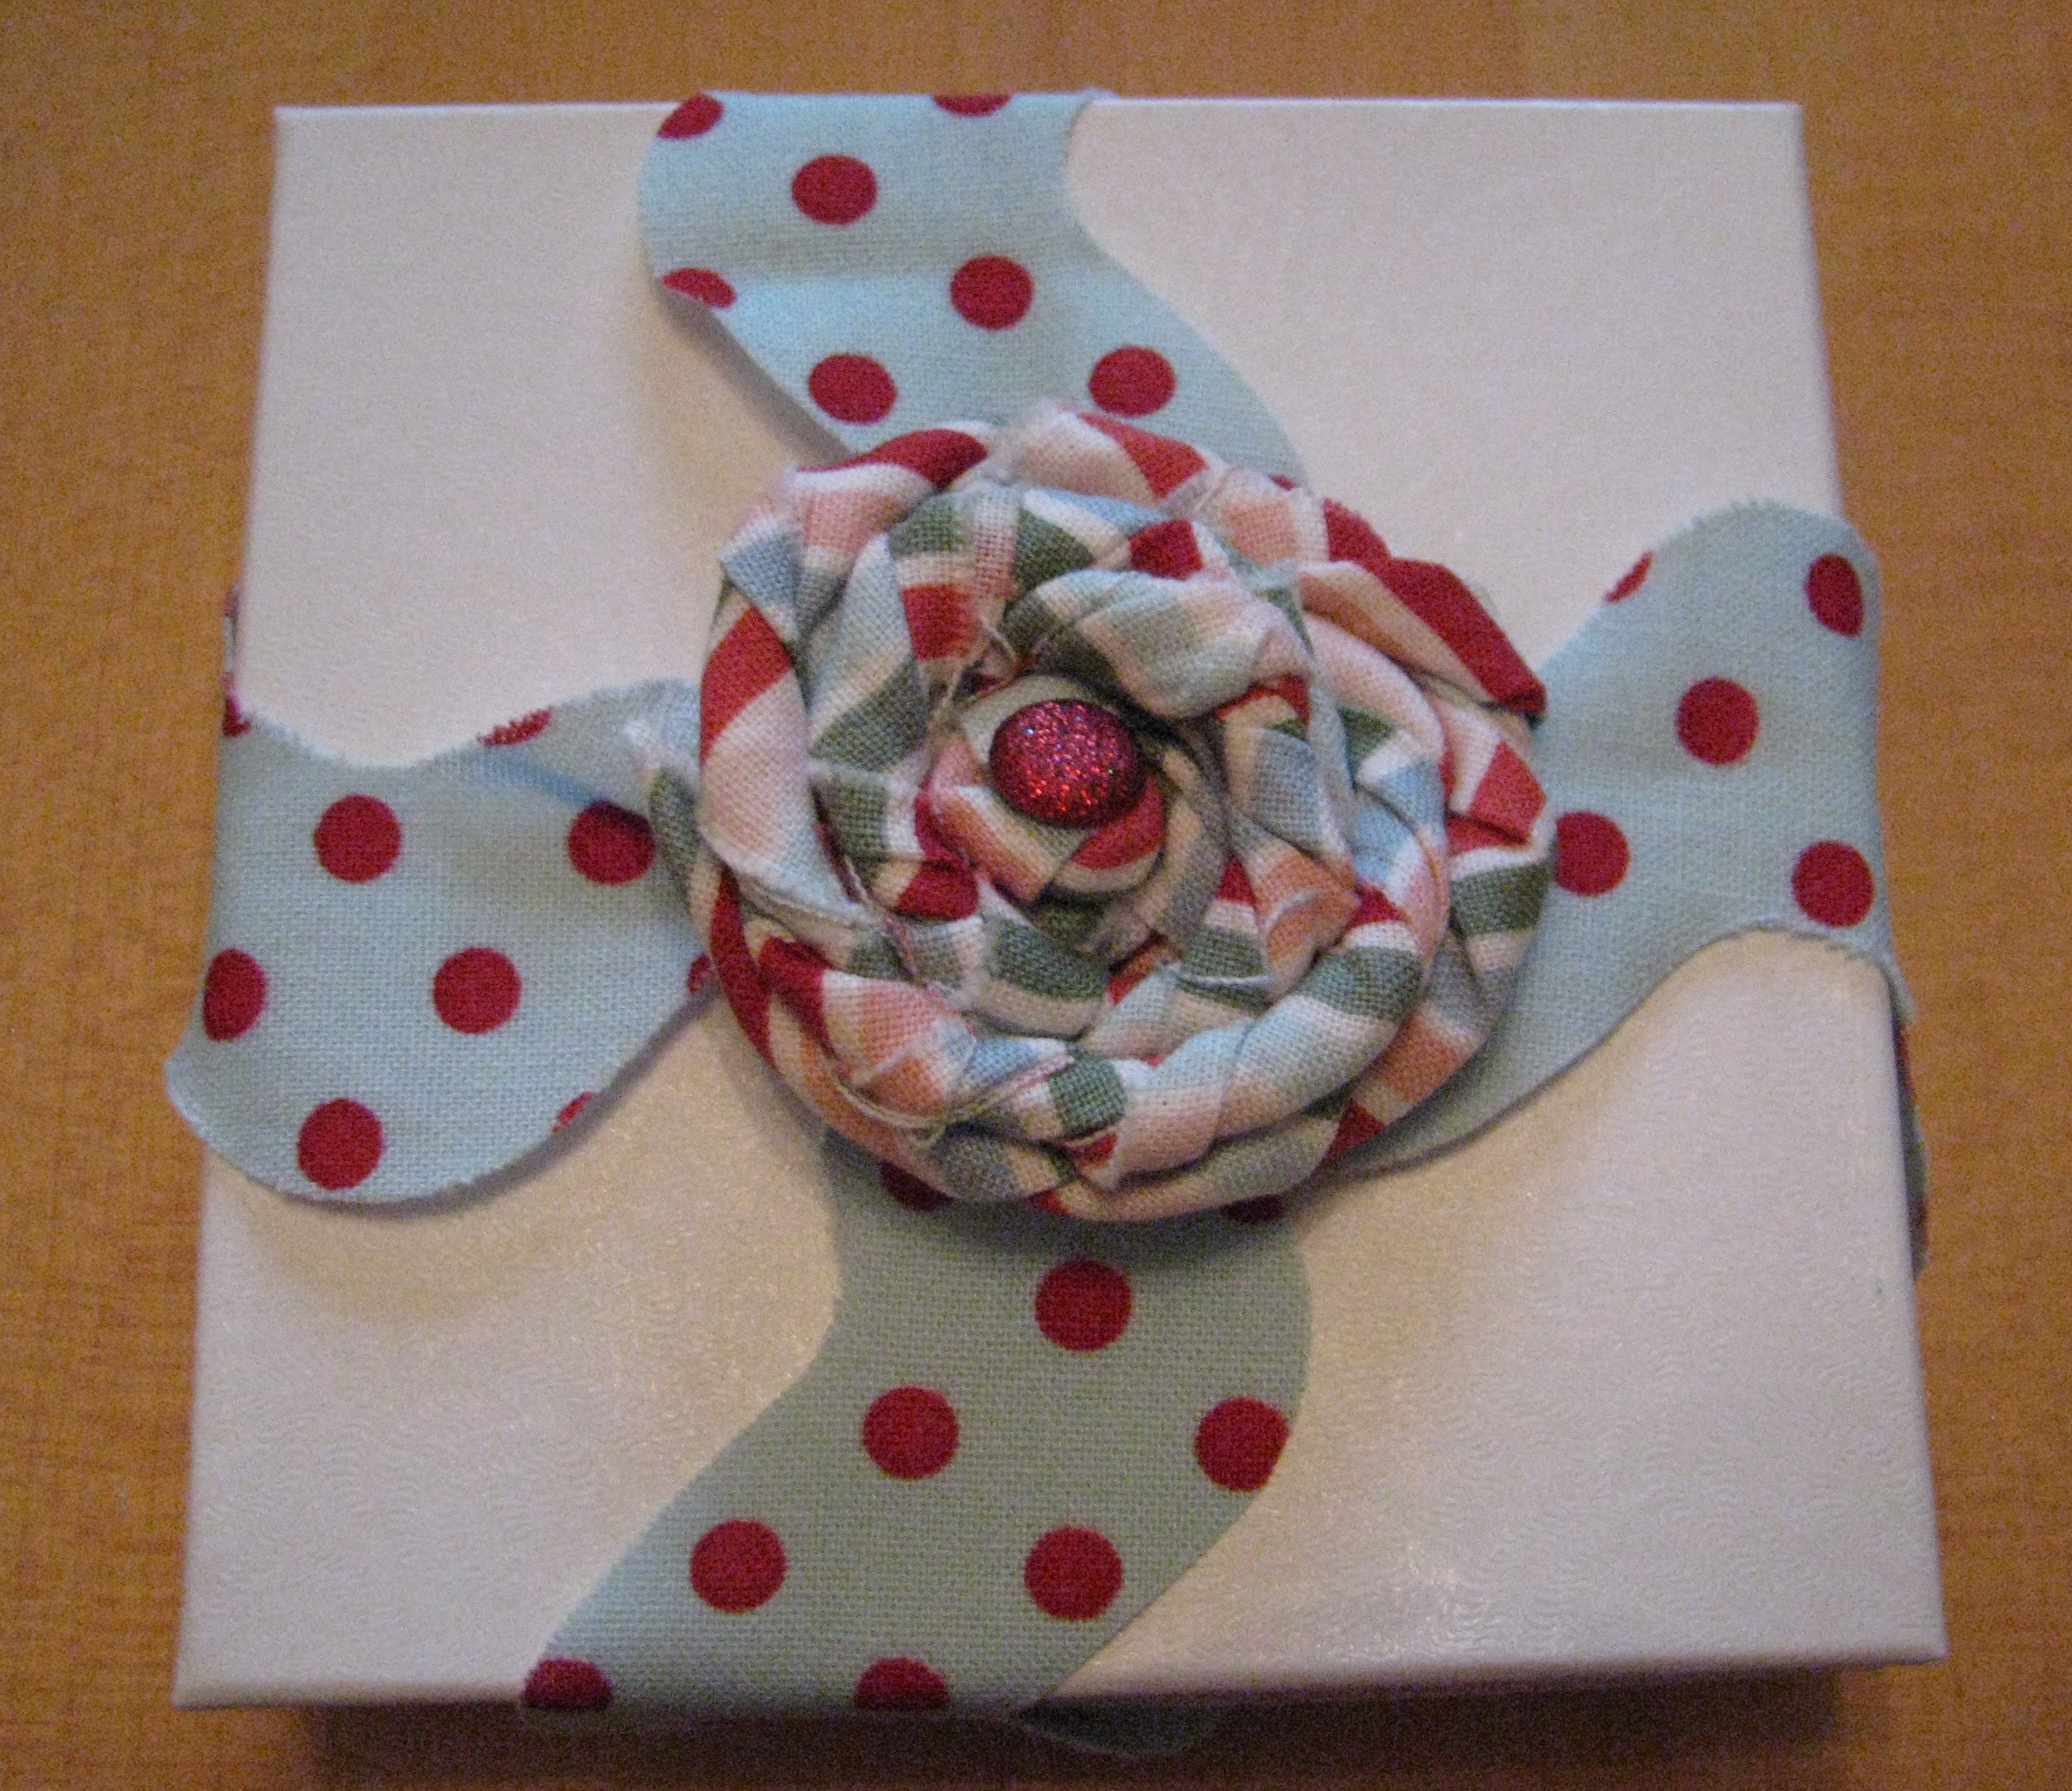
And then I tried making a little ribbon flower out of one of the other fabrics in the set to decorate and added a little Glimmer Brad #119740 to the center.
Fabric Flower

You could even put a pin back on the back of the flower so the gift recipient could remove it and wear it!

Be sure to check out the Holiday Mini Catalog for these beautiful new fabrics!

More Halloween from Convention!

Here are a few more photos from Halloween projects presented on stage at the Stampin' Up! Convention this summer!  Hover your mouse over the photo to see the main materials used.  Click on the photo to enlarge! Enjoy!

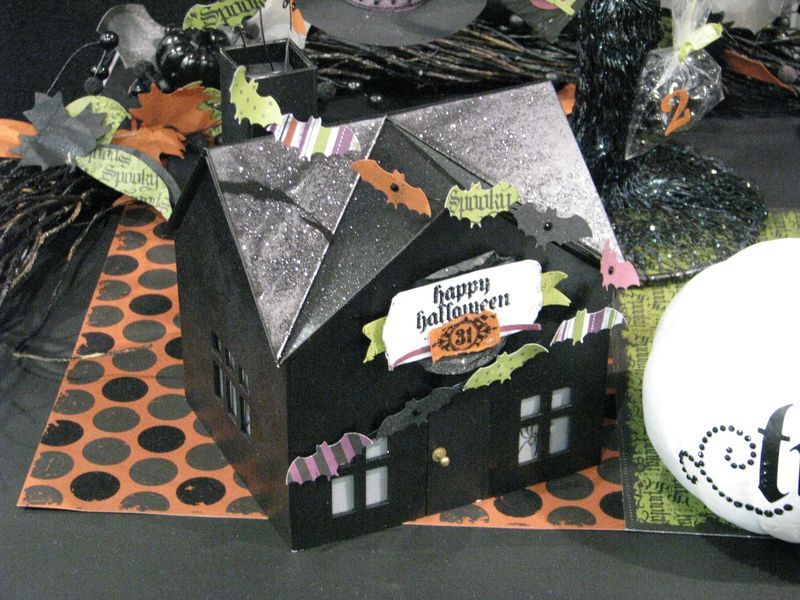
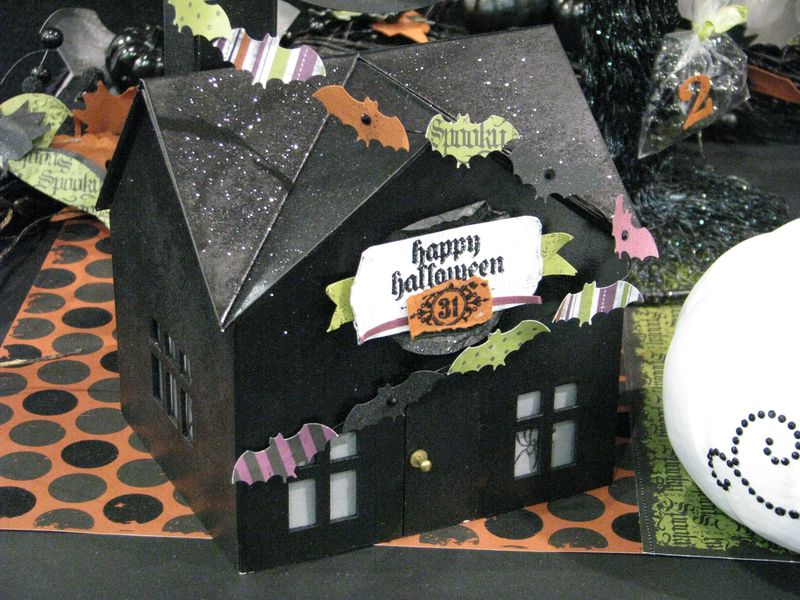
Design-a-House for Halloween  

Spray paint the house and sprinkle on glitter! Also, notice the tablerunner under the house made with the Wicked Fun Designer Series Paper….stitch together on your sewing machine or just glue!

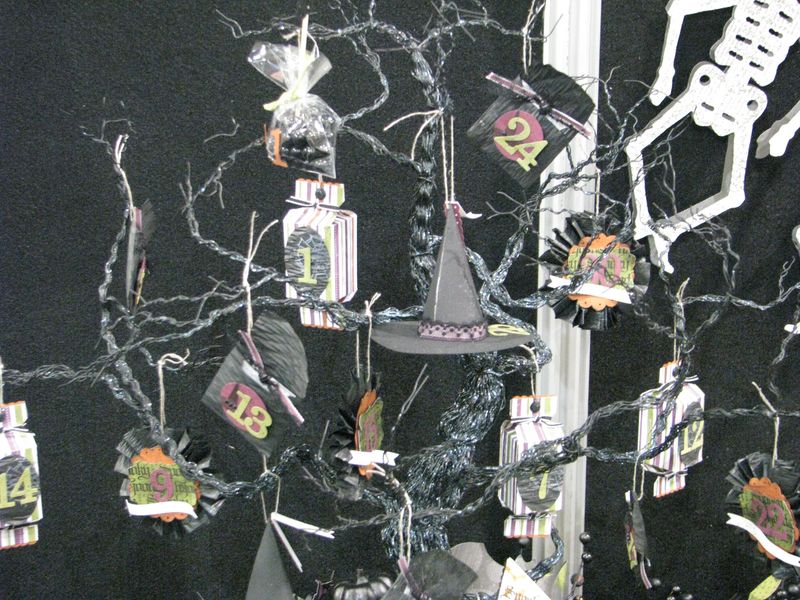
Halloween Tree Ornaments  

Assorted Halloween decorations!  Purchase a tree to display or make your own with a tree branch!

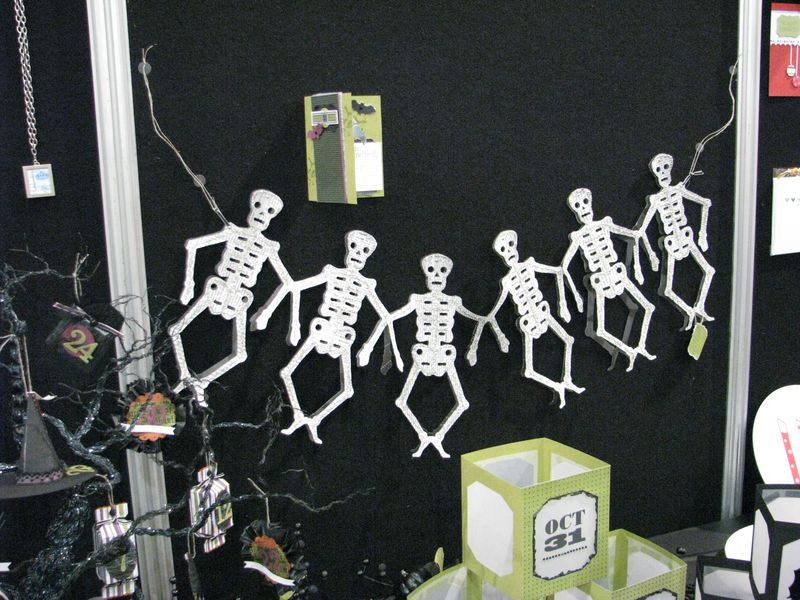
Skeleton Garland

These skeletons are outlined with Crystal Effects and sprinkled with Silver Glass Glitter.  You can also put a black skeleton behind for a shadow effect.

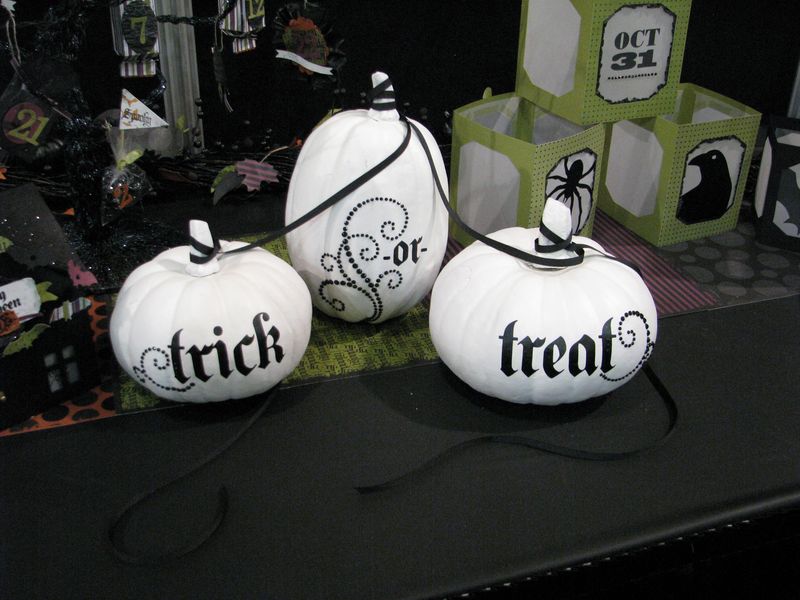
Spooky Things Decor Elements and Designer Jewels

Use the Spooky Things Decor Elements to decorate pumpkins and add some of the new Black Flourish Designer Jewels!  So cute!

Design-a-House & Bat Punch wired garland

The house even comes with the door knob!  Use the Bat Punch and some Wicked Cool Designer Series Paper to make a wire garland of bats!

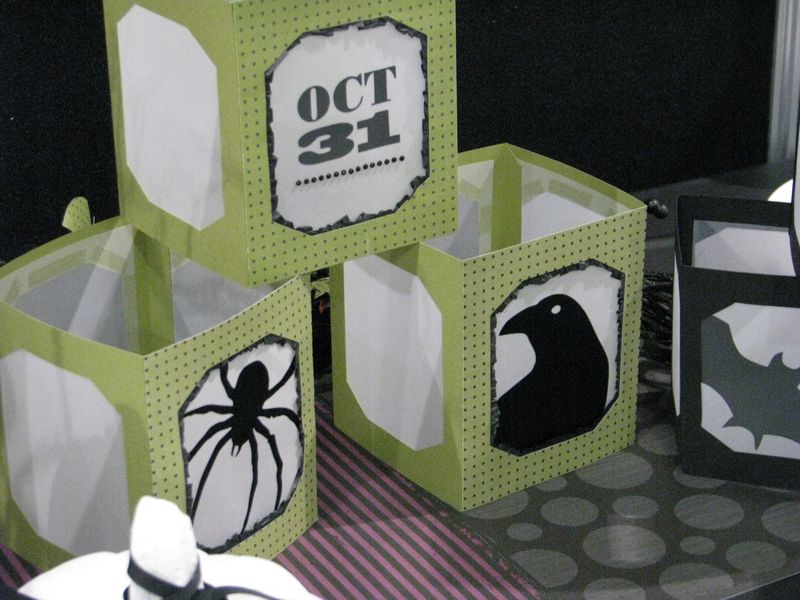
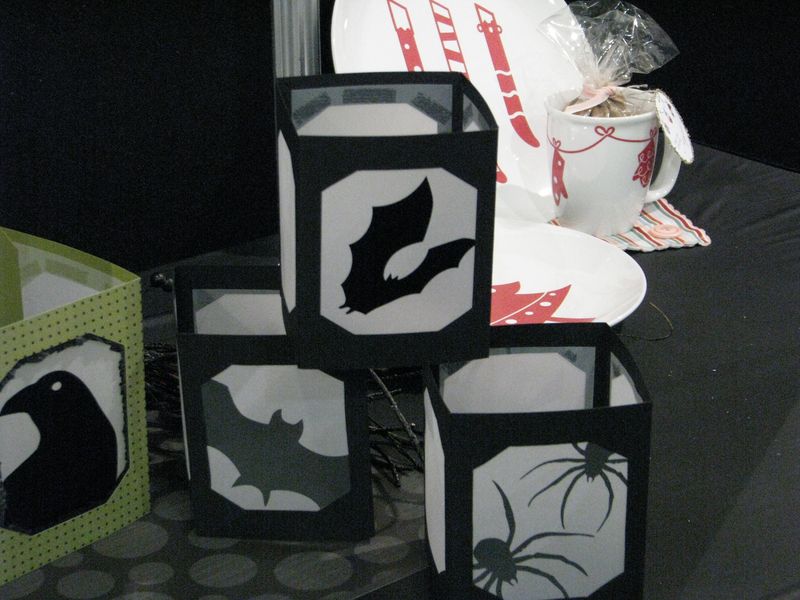
Spooky Things Decor Elements Luminaries

On the inside edge of the luminary, you can see some black waffle paper peeking out!

Spooky Things Halloween Luminaries

You can make six luminaries with the package of Decor Elements.

You can find these supplies in the new Holiday Mini Catalog!  Do your online shopping this weekend and you'll be all decorated in time for Halloween!


Halloween Products on Display at Convention

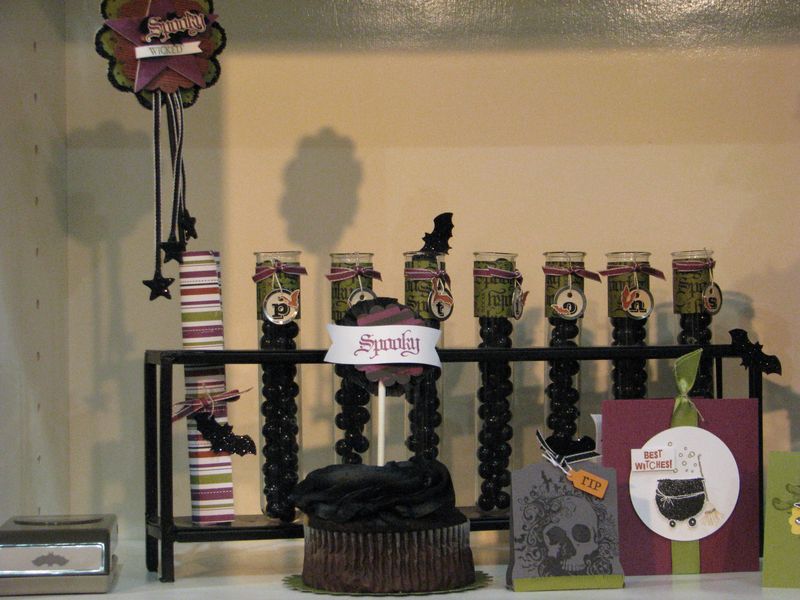
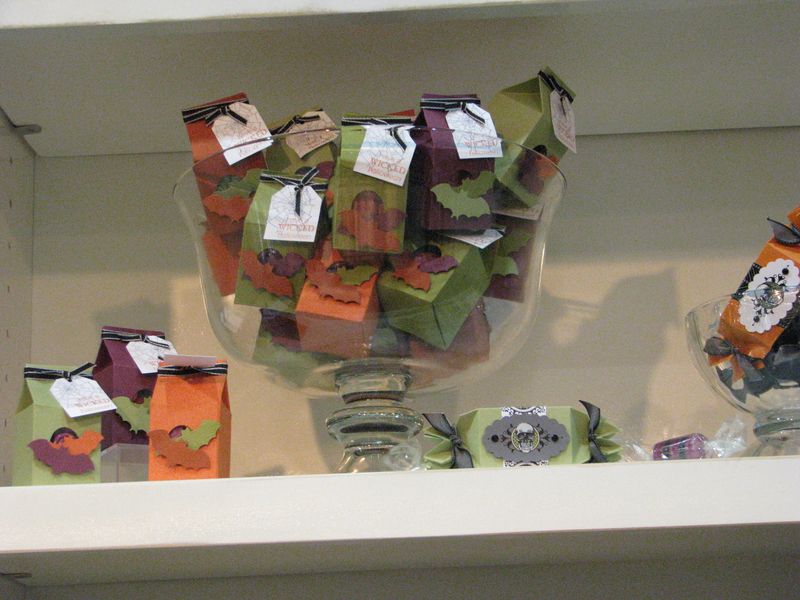
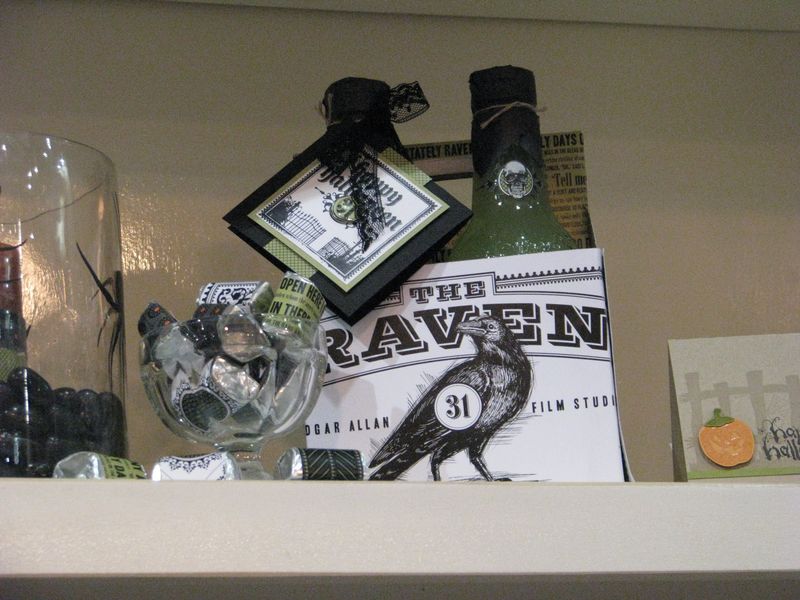
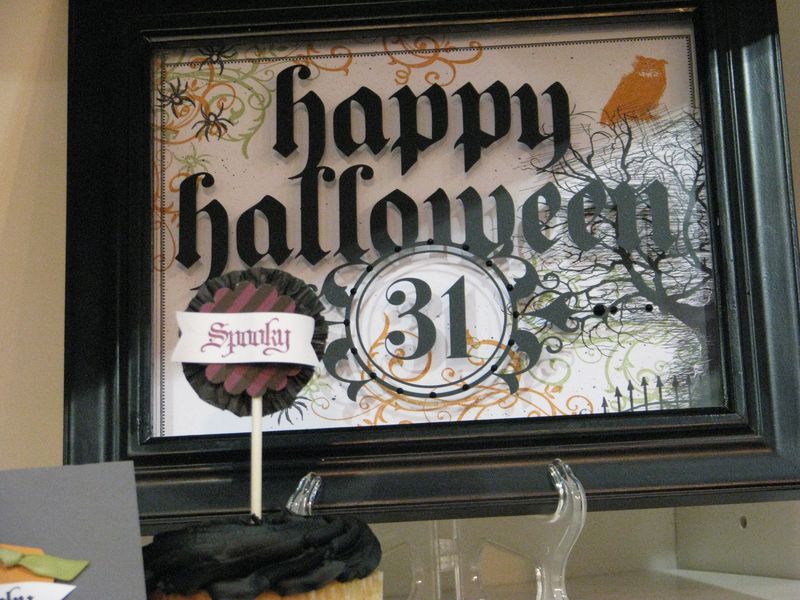
Here are some more photos from the fabulous display at the Stampin' Up! Convention!  You'll find most of these new products in the Holiday Mini Hold your mouse over the photos to find the names of some of the products.  Click on the photos to enlarge.  Enjoy!

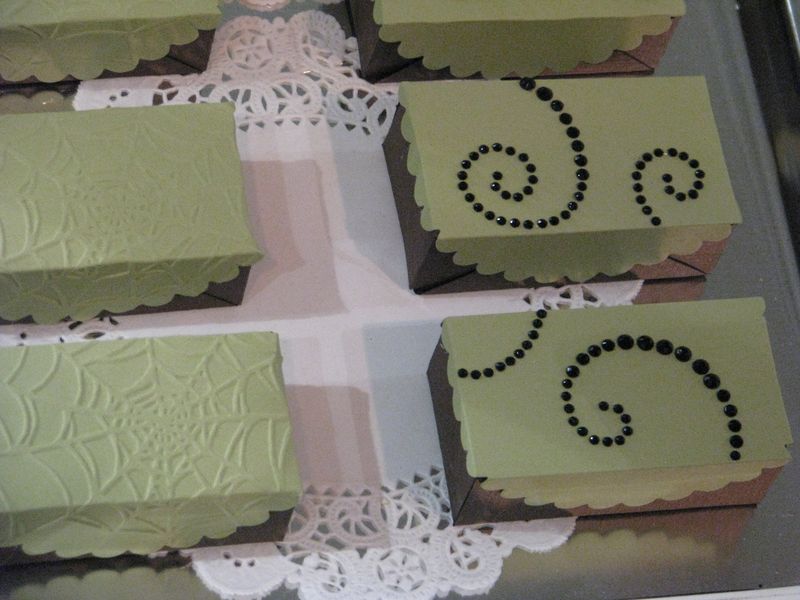
Spider Web Embossing Folder and Black Flourish Jewels Boxes

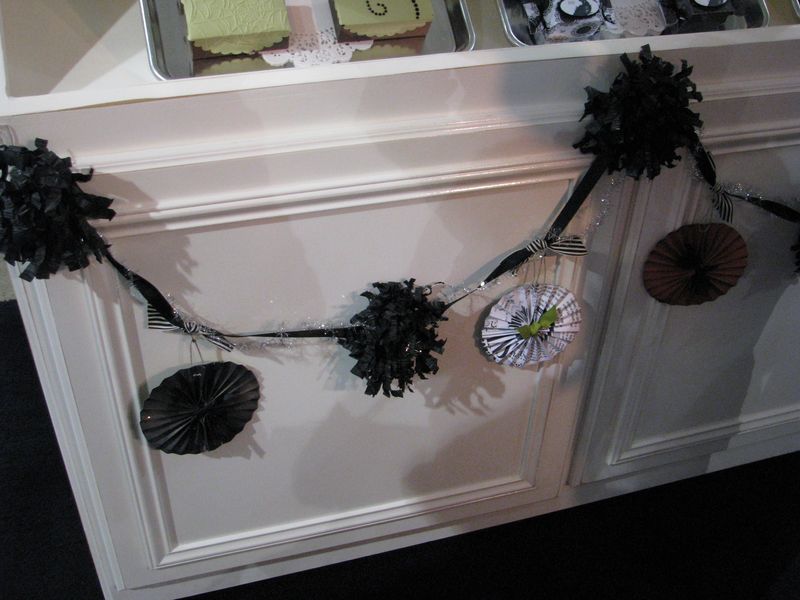
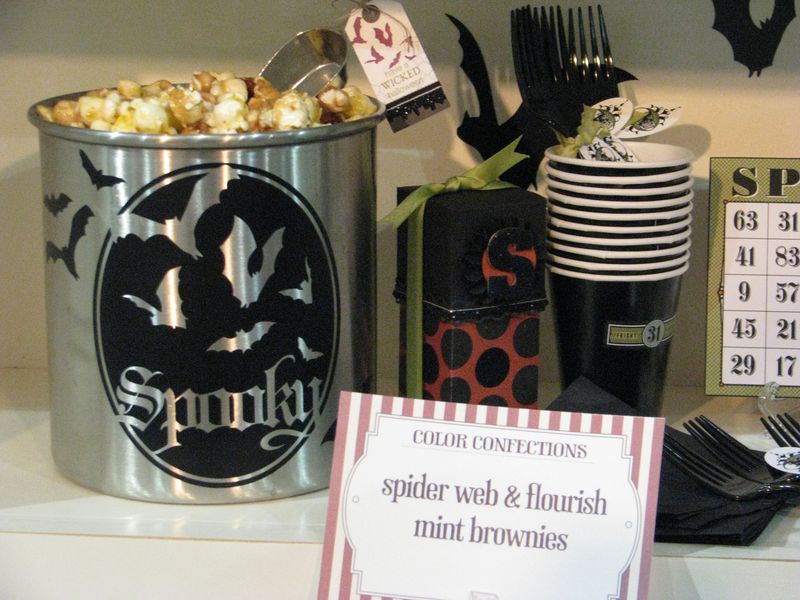
Halloween Decorations

Spooky Bats Decor Elements

Nite Owl Designer Series Paper

Dark & Dreary on Candy Wrapper Die Cut

Wicked Cool IB&C

Perfect Setting Die Cut IB&C

Halloween Test Tubes

Mini Milk Carton and Bitty Bat Large Punch

Nite Owl DSP

Spooky Things Decor Elements

Do these fantastic projects put you in a Halloween mood yet??  Be sure to check out the Stampin' Up! Holiday Mini Catalog for some great  products and projects for not only Halloween, but the fall season as well as Thanksgiving!


Wicked Cool Treat Sack

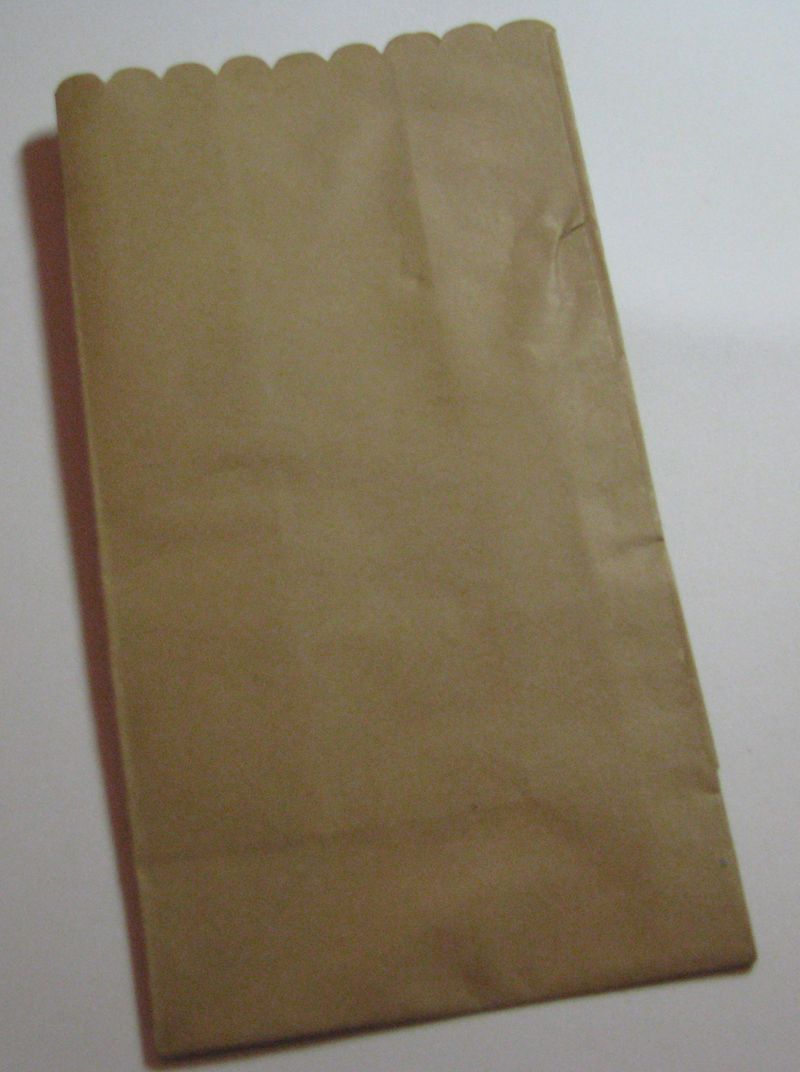
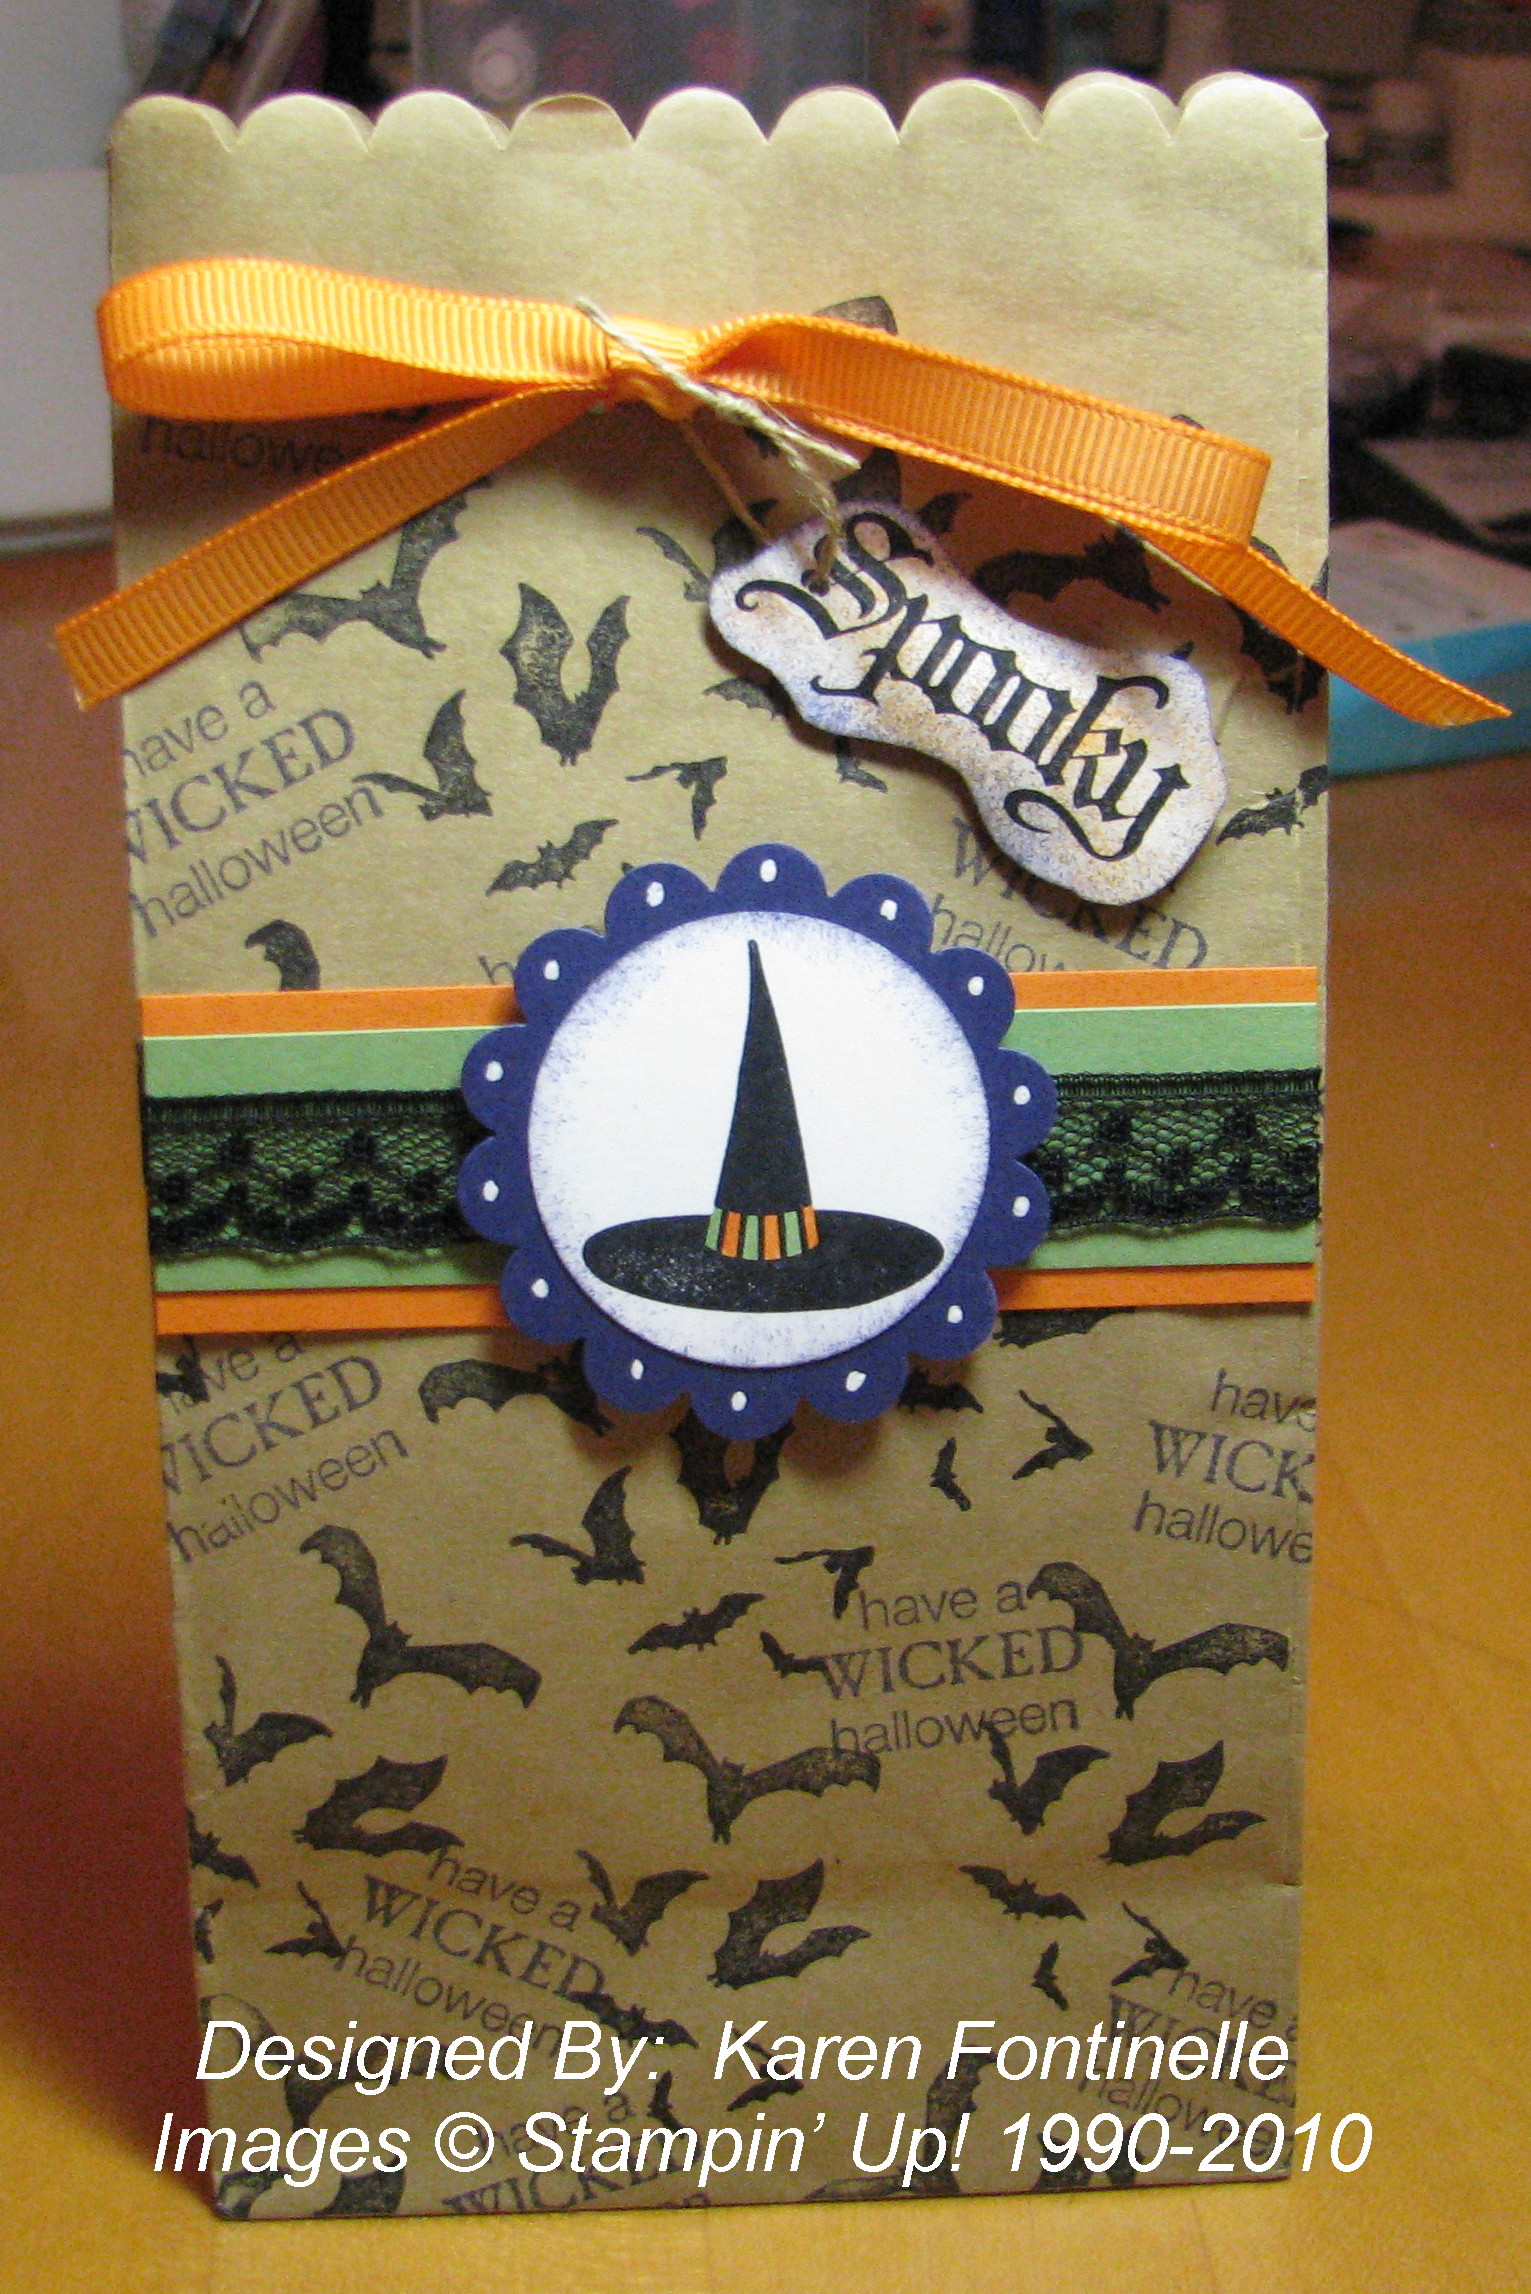
My Stampin' Up! Holiday Mini order arrived, and it just happened that the first thing I decided to try was a Halloween bag.  I love the Wicked Cool stamp set in the Stampin' Up! 2010-2011 Idea Book & Catalog.  You can order the Mini Lunch Sacks #121031 from the Holiday Mini.  Let me tell you, when I opened the package of ten mini lunch sacks, I was amazed! Right away you could tell these weren't your ordinary flimsy thin little paper sacks!  As with everything Stampin' Up!, these little bags are a nice quality and come already scalloped on top!  They measure 3 1/2" x 6 5/8" so they are a very good size.

Sack

I just began stamping the little bats on the bag with Black Stazon ink and as an afterthought stamped the "have a Wicked halloween" on there with Concord Crush….but on this bag, the dark purple looks more like black.  I added a strip of Pumpkin Pie (3 1/2" x 1") and Wild Wasabi card stock (3 1/2" x 3/4") across the front.  I also stamped the witches hat in Stazon Black on Whisper White and punched it out with the 1 3/8" Circle Punch, sponged it a little with Concord Crush ink, then adhered to a Concord Crush Scallop Circle Punch #119854.  I colored in the band on the witches hat with Stampin' Write Markers and added some White Gel Pen dots to the scallops.  It still needed something, and once I added a strip of the 1/2" Raven Lace Trim #120988 in the Holiday Mini I loved it!  Adhere the scallop circle with a couple of Stampin' Dimensionals.

SackTreatBag

After filling your bag with treats, you can just punch two holes in the top with the Crop-a-Dile and thread some grosgrain ribbon through.  For a little more pizzazz, I added the "Spooky" sentiment from the Wicked Cool stamp set (page 23 IB&C), stamped in Black Stazon and sponged with some Concord Crush and Pumpkin Pie ink.  I loved adding the orange with the purple!  I also loved the shape of the rubber image, so I just put that back down over the stamped word and traced around it and then cut out with my scissors!  All you need then is to punch a little hole and use some linen thread to make a little hanging tag to tie onto the grosgrain ribbon.  I even added a dimensional under the tag just to hold it where I wanted it.

So there you have it!  An easy little Halloween treat bag with the great new Mini Lunch Sacks!  

If you need a copy of the Holiday Mini and you don't have your own demonstrator, please contact me and I can send you one!

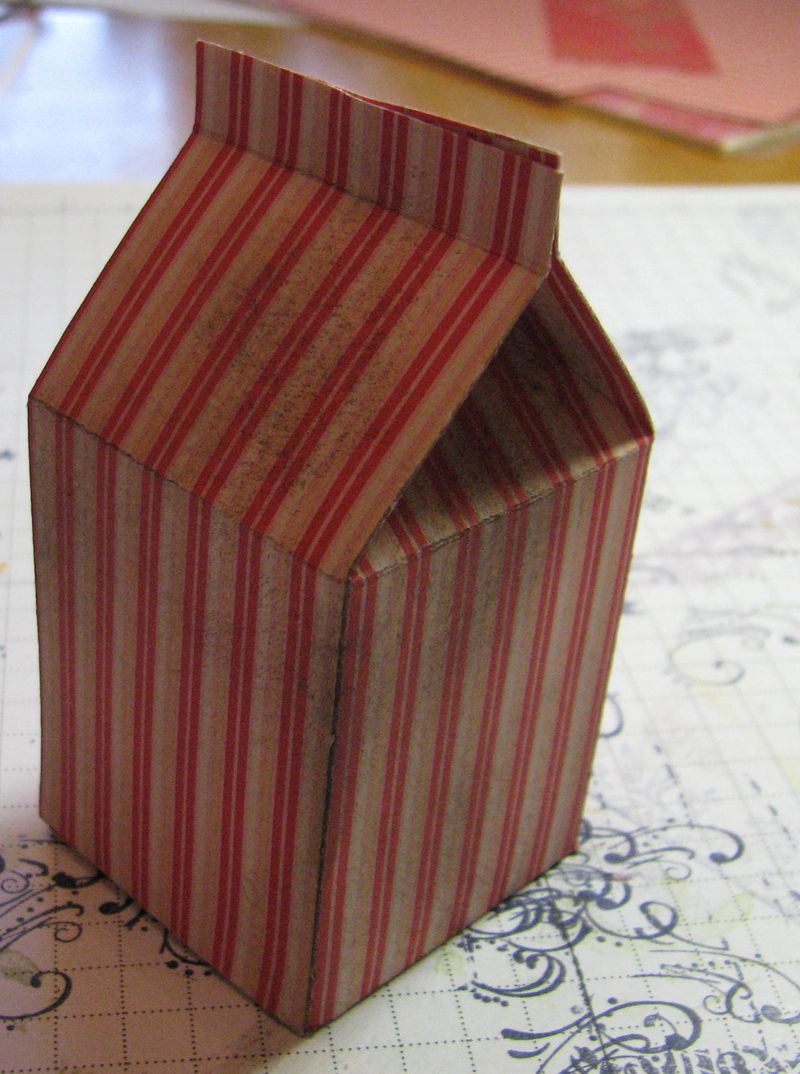
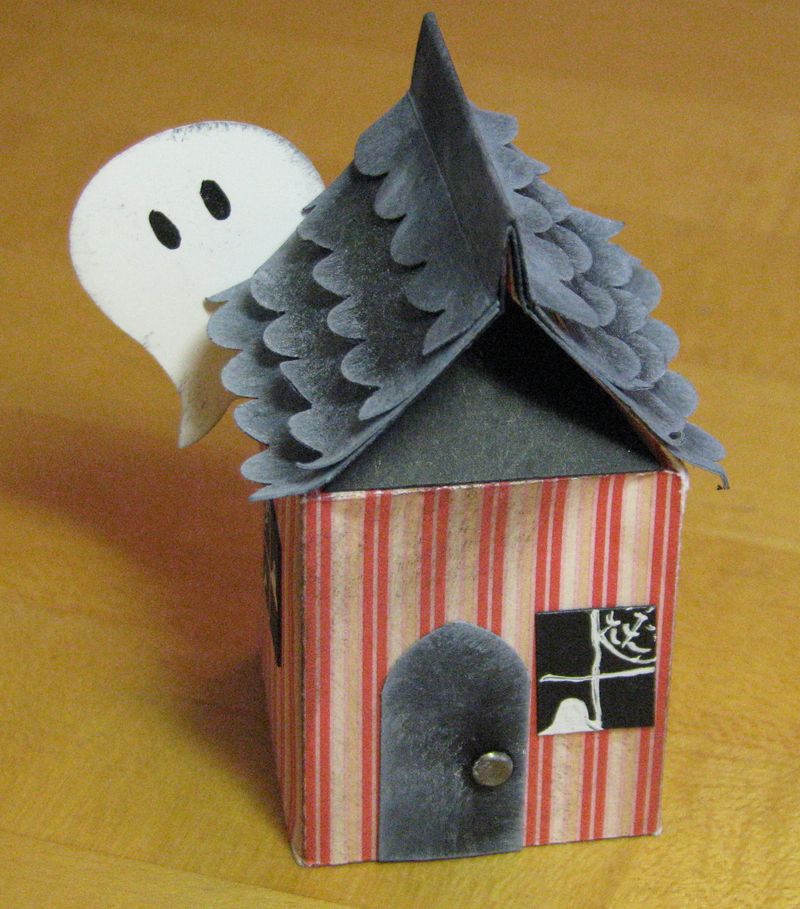
Haunted House Milk Carton

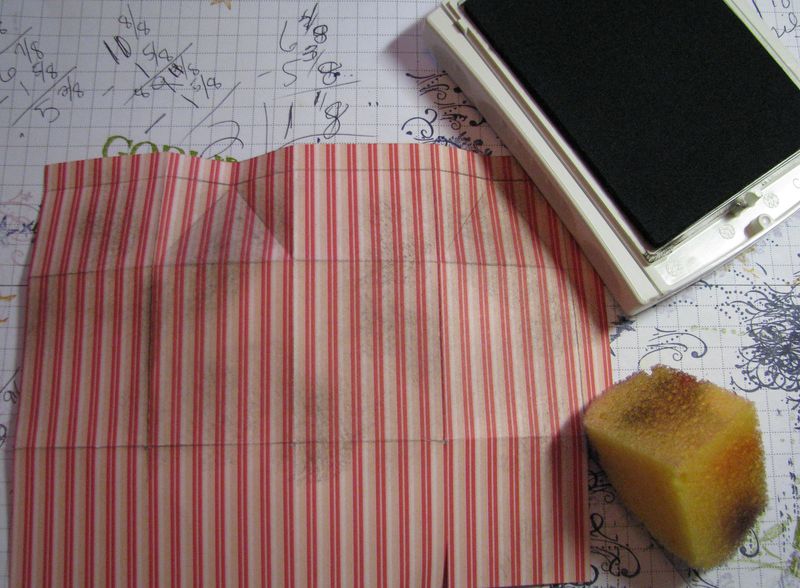
I started off in a Halloween mood today, but my official Halloween stamping supplies won't be delivered until tomorrow night from Stampin' Up!….the new ones, from the Holiday Mini Catalog!  I saw this orangish designer series paper nearby, Sunny Garden #119831, and wondered if I could do something with that.  I distressed it by sponging on Early Espresso Classic Ink #119670.  Now you wouldn't think you could use this pretty, bright paper to make a Halloween house, would you?!  I had no plan, but just played around.  

Here is my Bigz Mini Milk Carton die #117310 that I scored and sponged.

Sponging the Mini Milk Carton

Mini Milk Carton House

For the roof I just cut pieces of Basic Black card stock to fit over the top and for the rows and punched the edges with the Scallop Edge Border Punch #119882 and then sponged with Whisper White Craft Ink #101731.  The door and windows are just scraps, and I used my white Signo Gel Pen #105021 to draw in window panes, spider webs, cracked glass and a couple ghosts!  The door has a little brad for the door knob.

I know the ghost is a little out of scale probably for the size of the house (unless it is a really big bad ghost!), but I couldn't resist making this that I saw online one day!  Can you guess what the ghost is made out of??  It is punched from the Two-Step Owl Extra-Large Punch #118074.  The ghost is actually the owl upside down with his feet cut off!  Then I just colored in his eyes with a black marker and sponged a little with gray ink.

Milk Carton Haunted House

Just a fun little project to get in some stamping today!  I decided to stop while I was ahead, although I could have added some more details probably!

Now if you have seen the Holiday Mini Catalog, you may have noticed that there is an actual house you can purchase and decorate however you like!  It is called Design-a-House #120911.  I thought the decorated ones I saw at Convention were fabulous and can't wait to play with that!

If you want to see the Holiday Mini, just click on any of the links.  To purchase any stamping supplies, please go to my Online Store and click the Shop Now button!

Do You Love This Stampin’ Up! Craft Tote??!

Do you love this Stampin' Up! Craft Tote designed after the Greenhouse Gala Designer Paper?!  This is the same one Stampin' Up! demonstrators were able to purchase at the convention this summer and "everyone" bought one!  We loved it!!  It will hold tons of your stamping supplies, even 12×12 paper and your Paper Cutter, ink pads and punches.  If you love Stampin' Up! and you love this Craft Tote, then sign up to be a Stampin' Up! Demonstrator and you will get this tote for FREE!!!!!!!!!!! This offer is good September 1, 2010 until October 18, 2010 WHILE SUPPLIES LAST! To read more about this tote, click HERE.

Why should you sign up to be a Stampin' Up! Demonstrator just to get a free craft tote?  Well, you will love the beautiful tote and who doesn't love free?! Seriously, though, if you would like your own flexible business to work around your family time, your full-time job, or even the free time you desire, this is the opportunity for you!

 Now that school has started, do you need extra money for:

  • dance lessons, music lessons or sports for your children?  
  • Do you want to start saving some extra money for Christmas presents? 
  • Do you want money for those monthly bills or to save for a trip?  

Stampin' Up! might be the right opportunity for you, business-wise and money-wise while being a wonderful creative and social outlet for you and your friends (and all the new friends you will make!).  We have two Starter Kits you can purchase, whether you are interested in standard stamping and scrapbooking or lean more toward digital with My Digital Studio.  Just click HERE to read about both of them.  Then email me at KSFontinelle@gmail.com with your questions and we can even arrange to talk about Stampin' Up! and if this business opportunity would be right for you.  It's easy to sign up online and you can be a Stampin' Up! Demonstrator within minutes!  Let me know what you think!


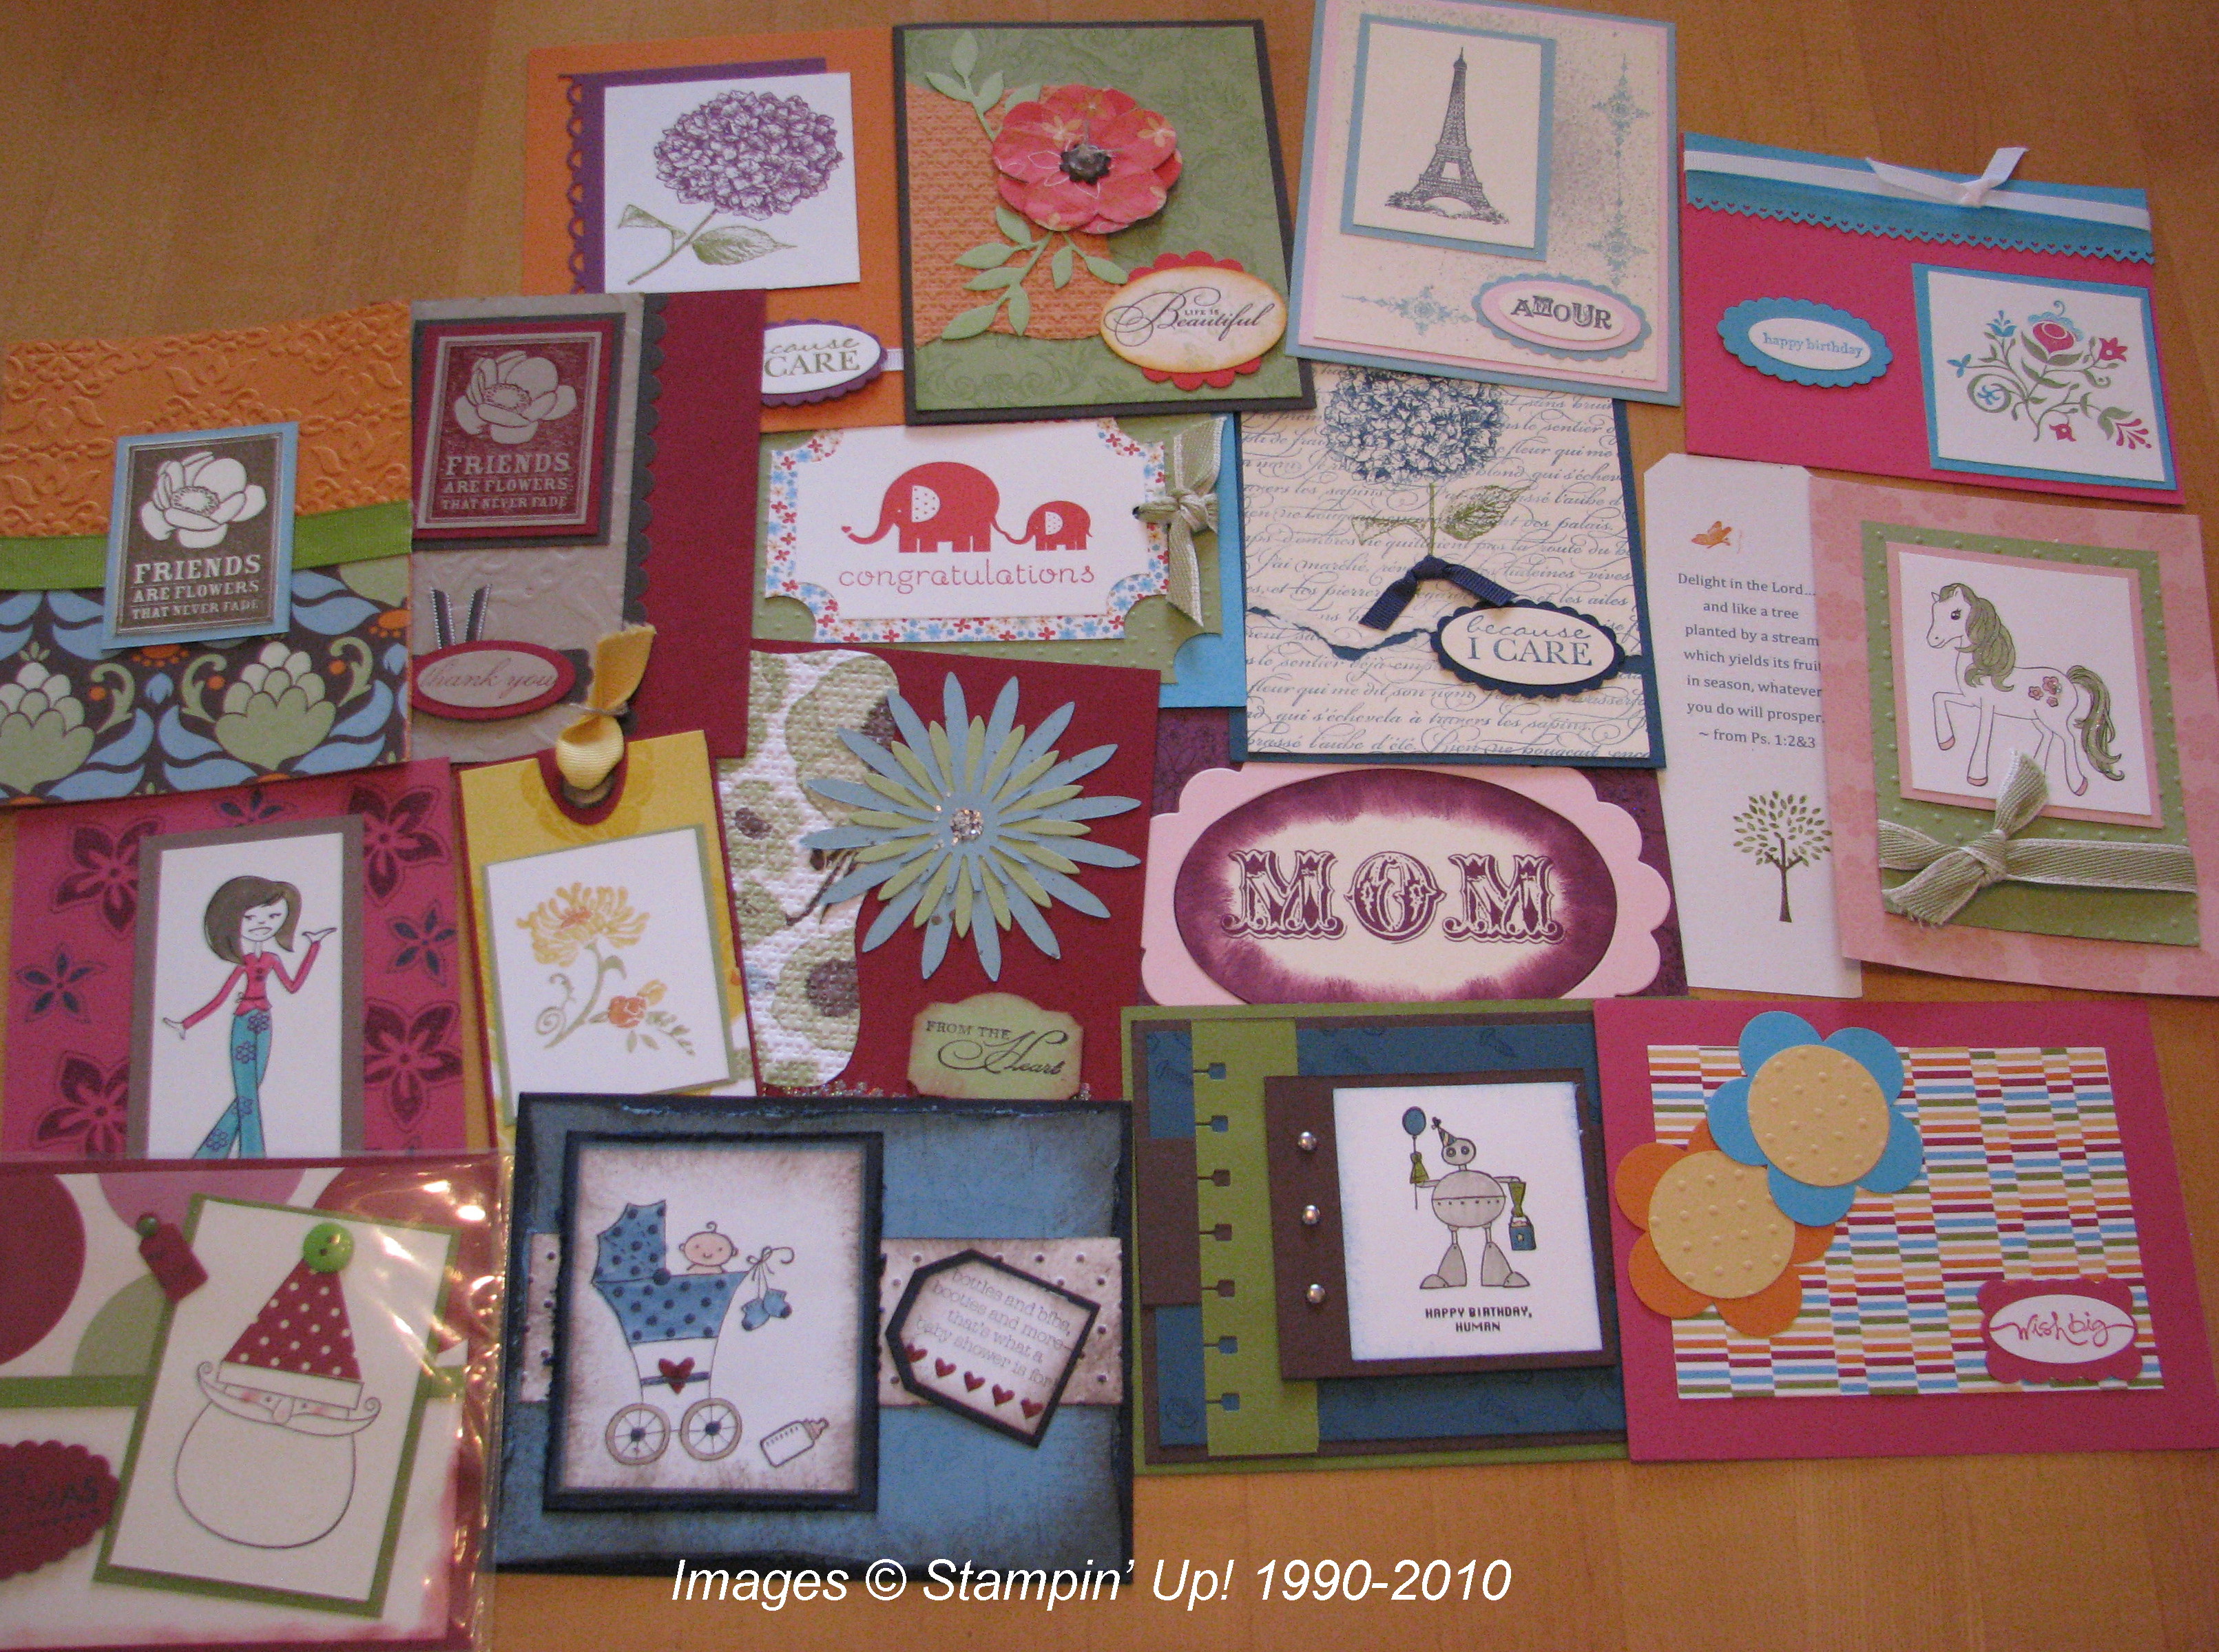
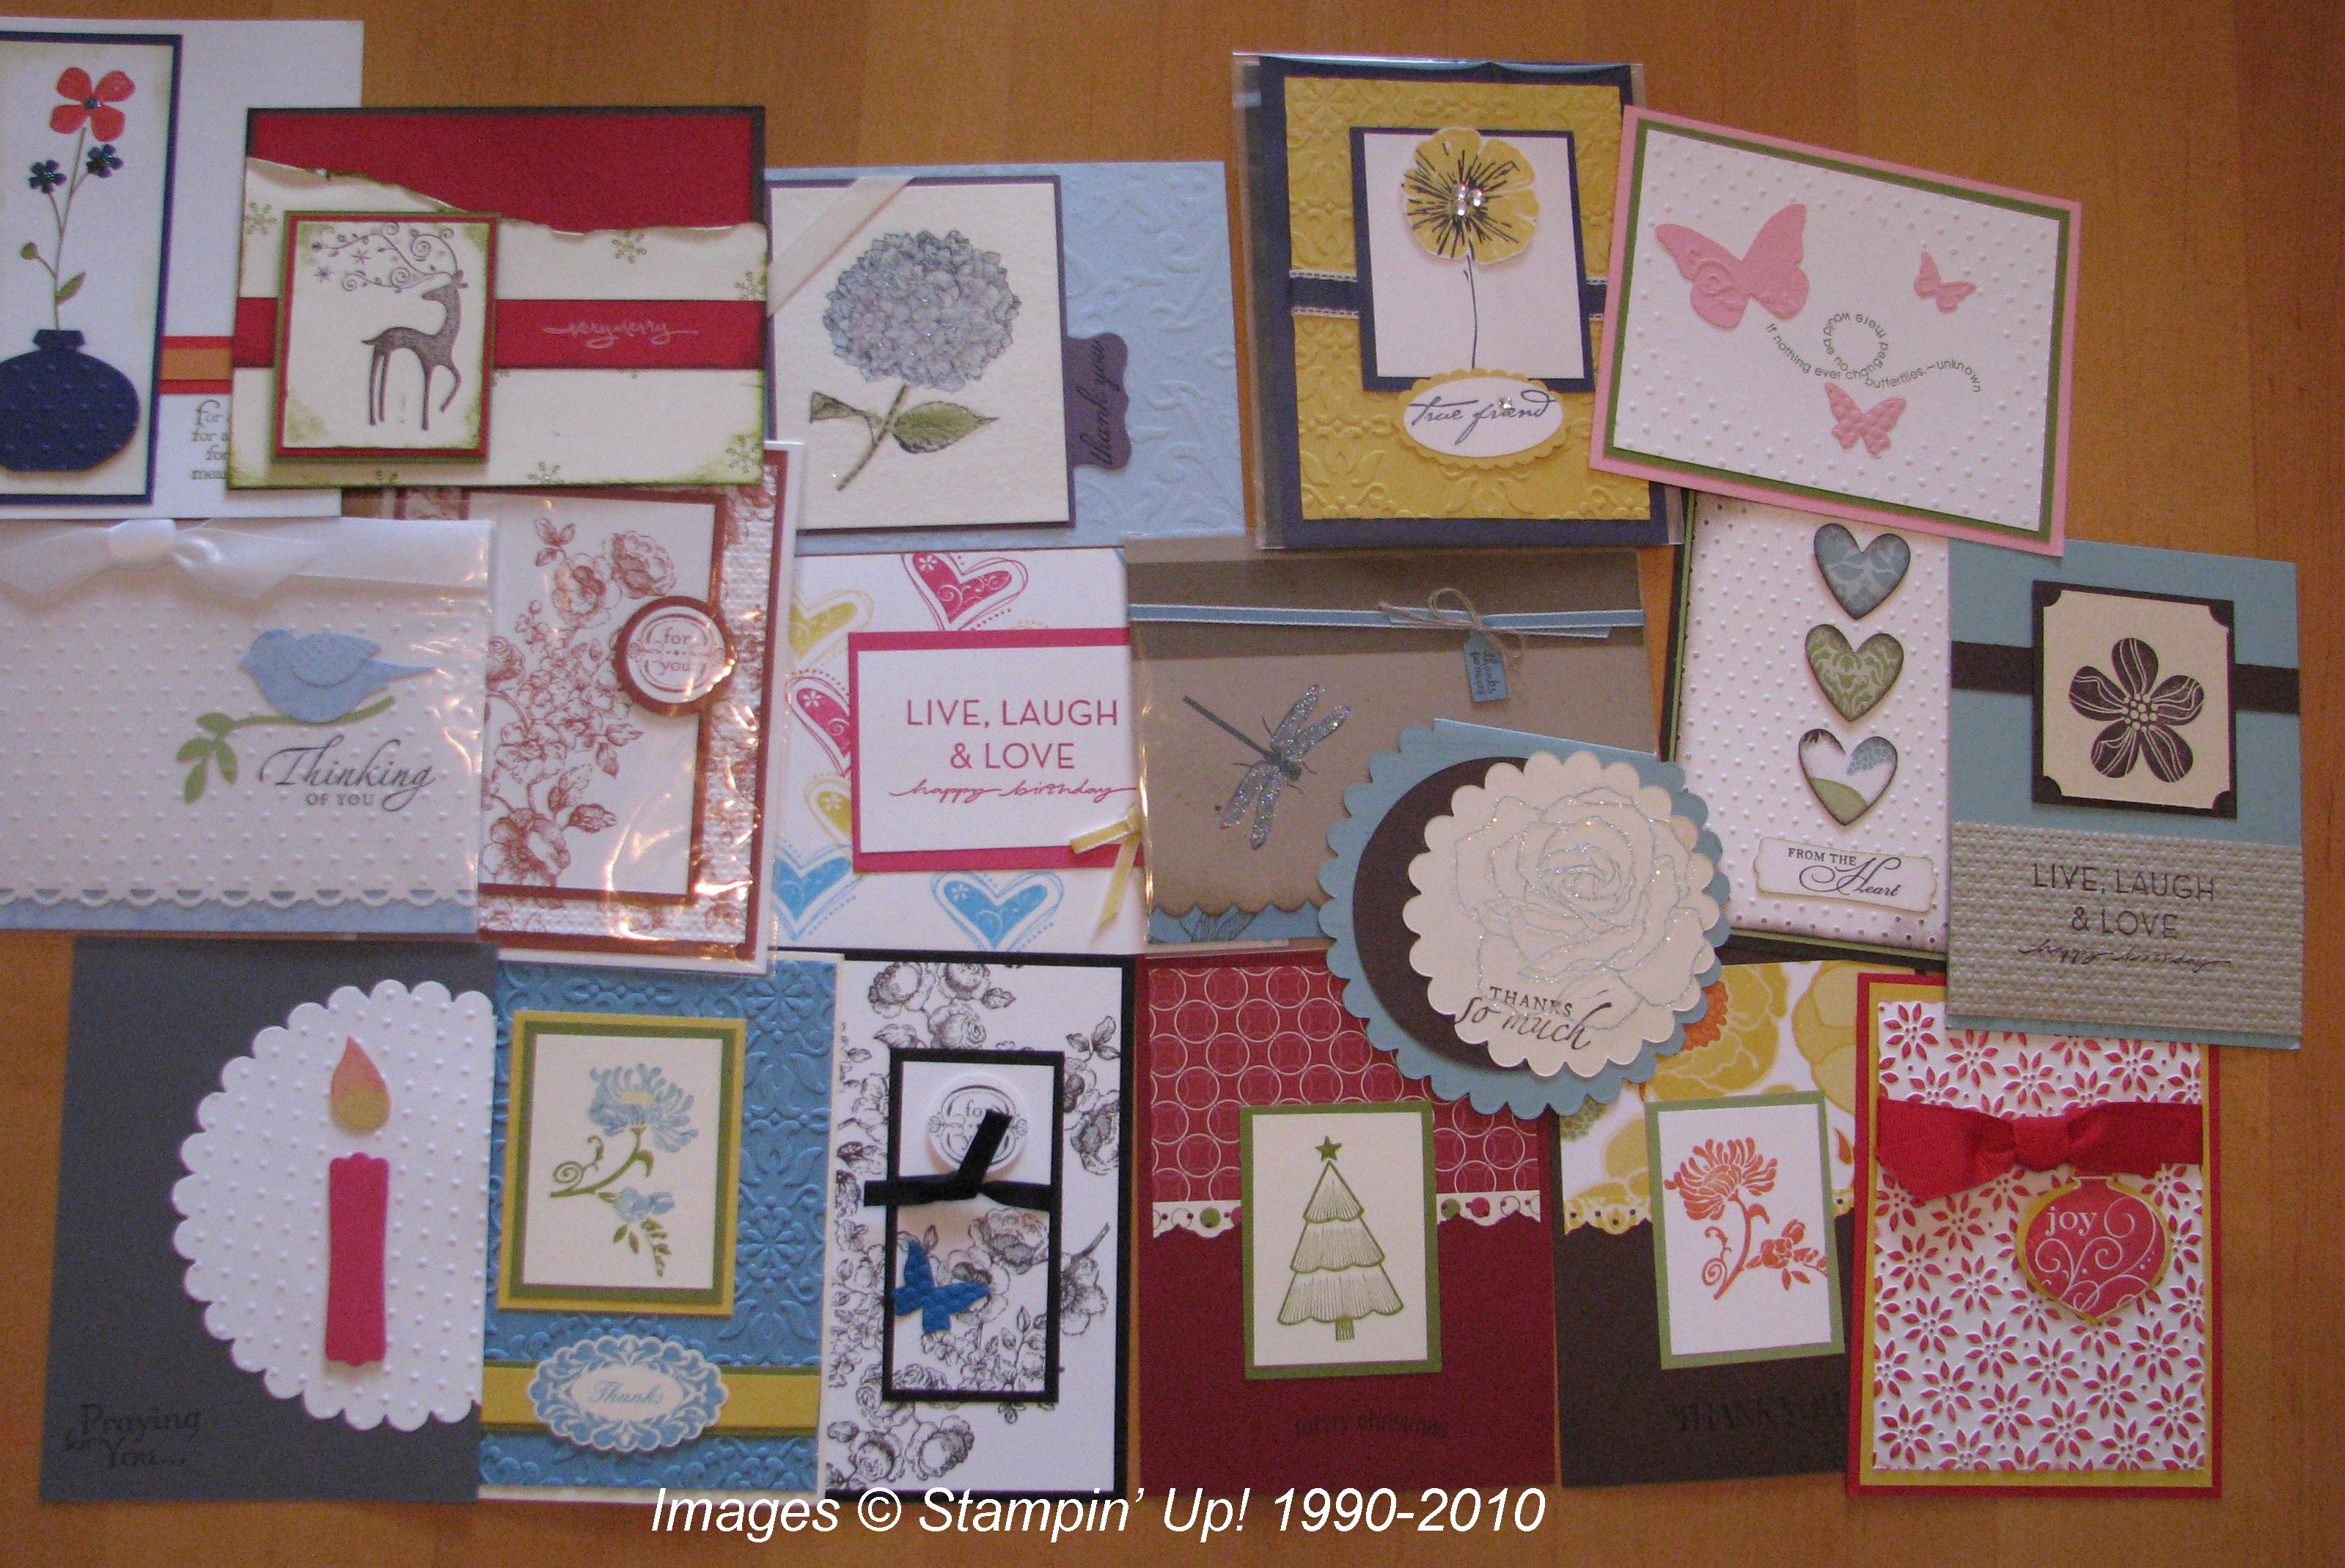
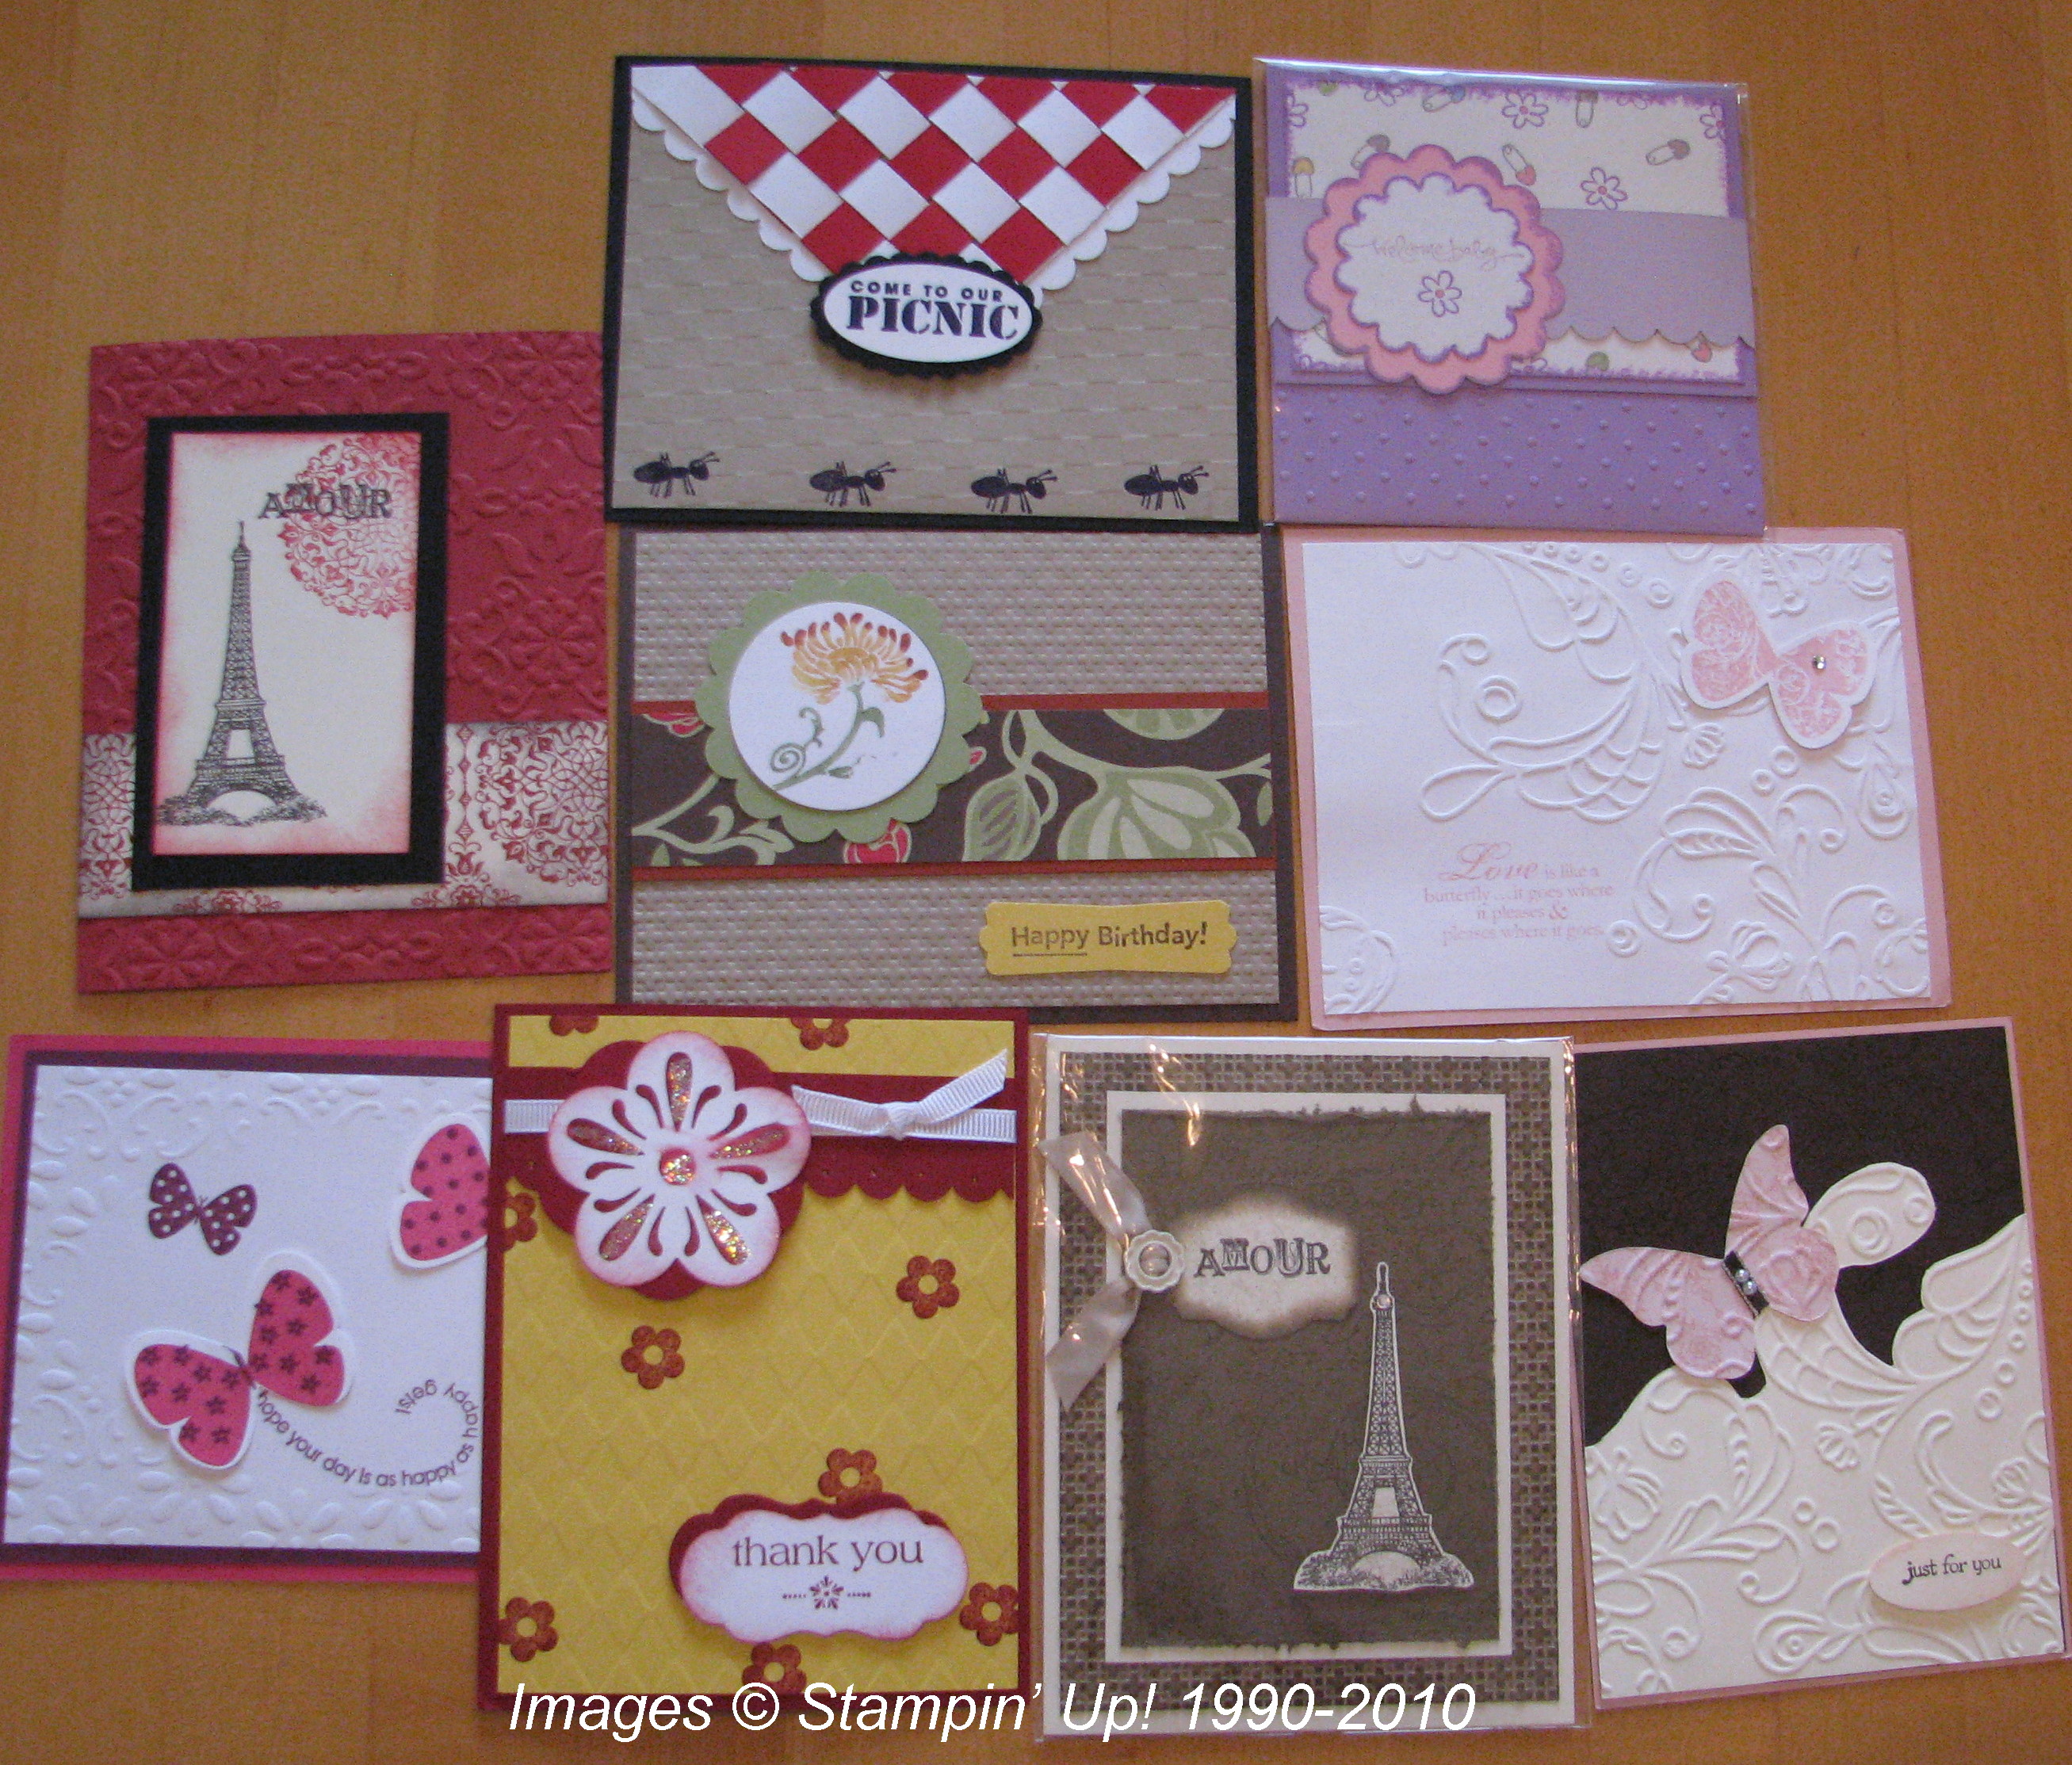
Stampin’ Up! Convention 2010 Swaps

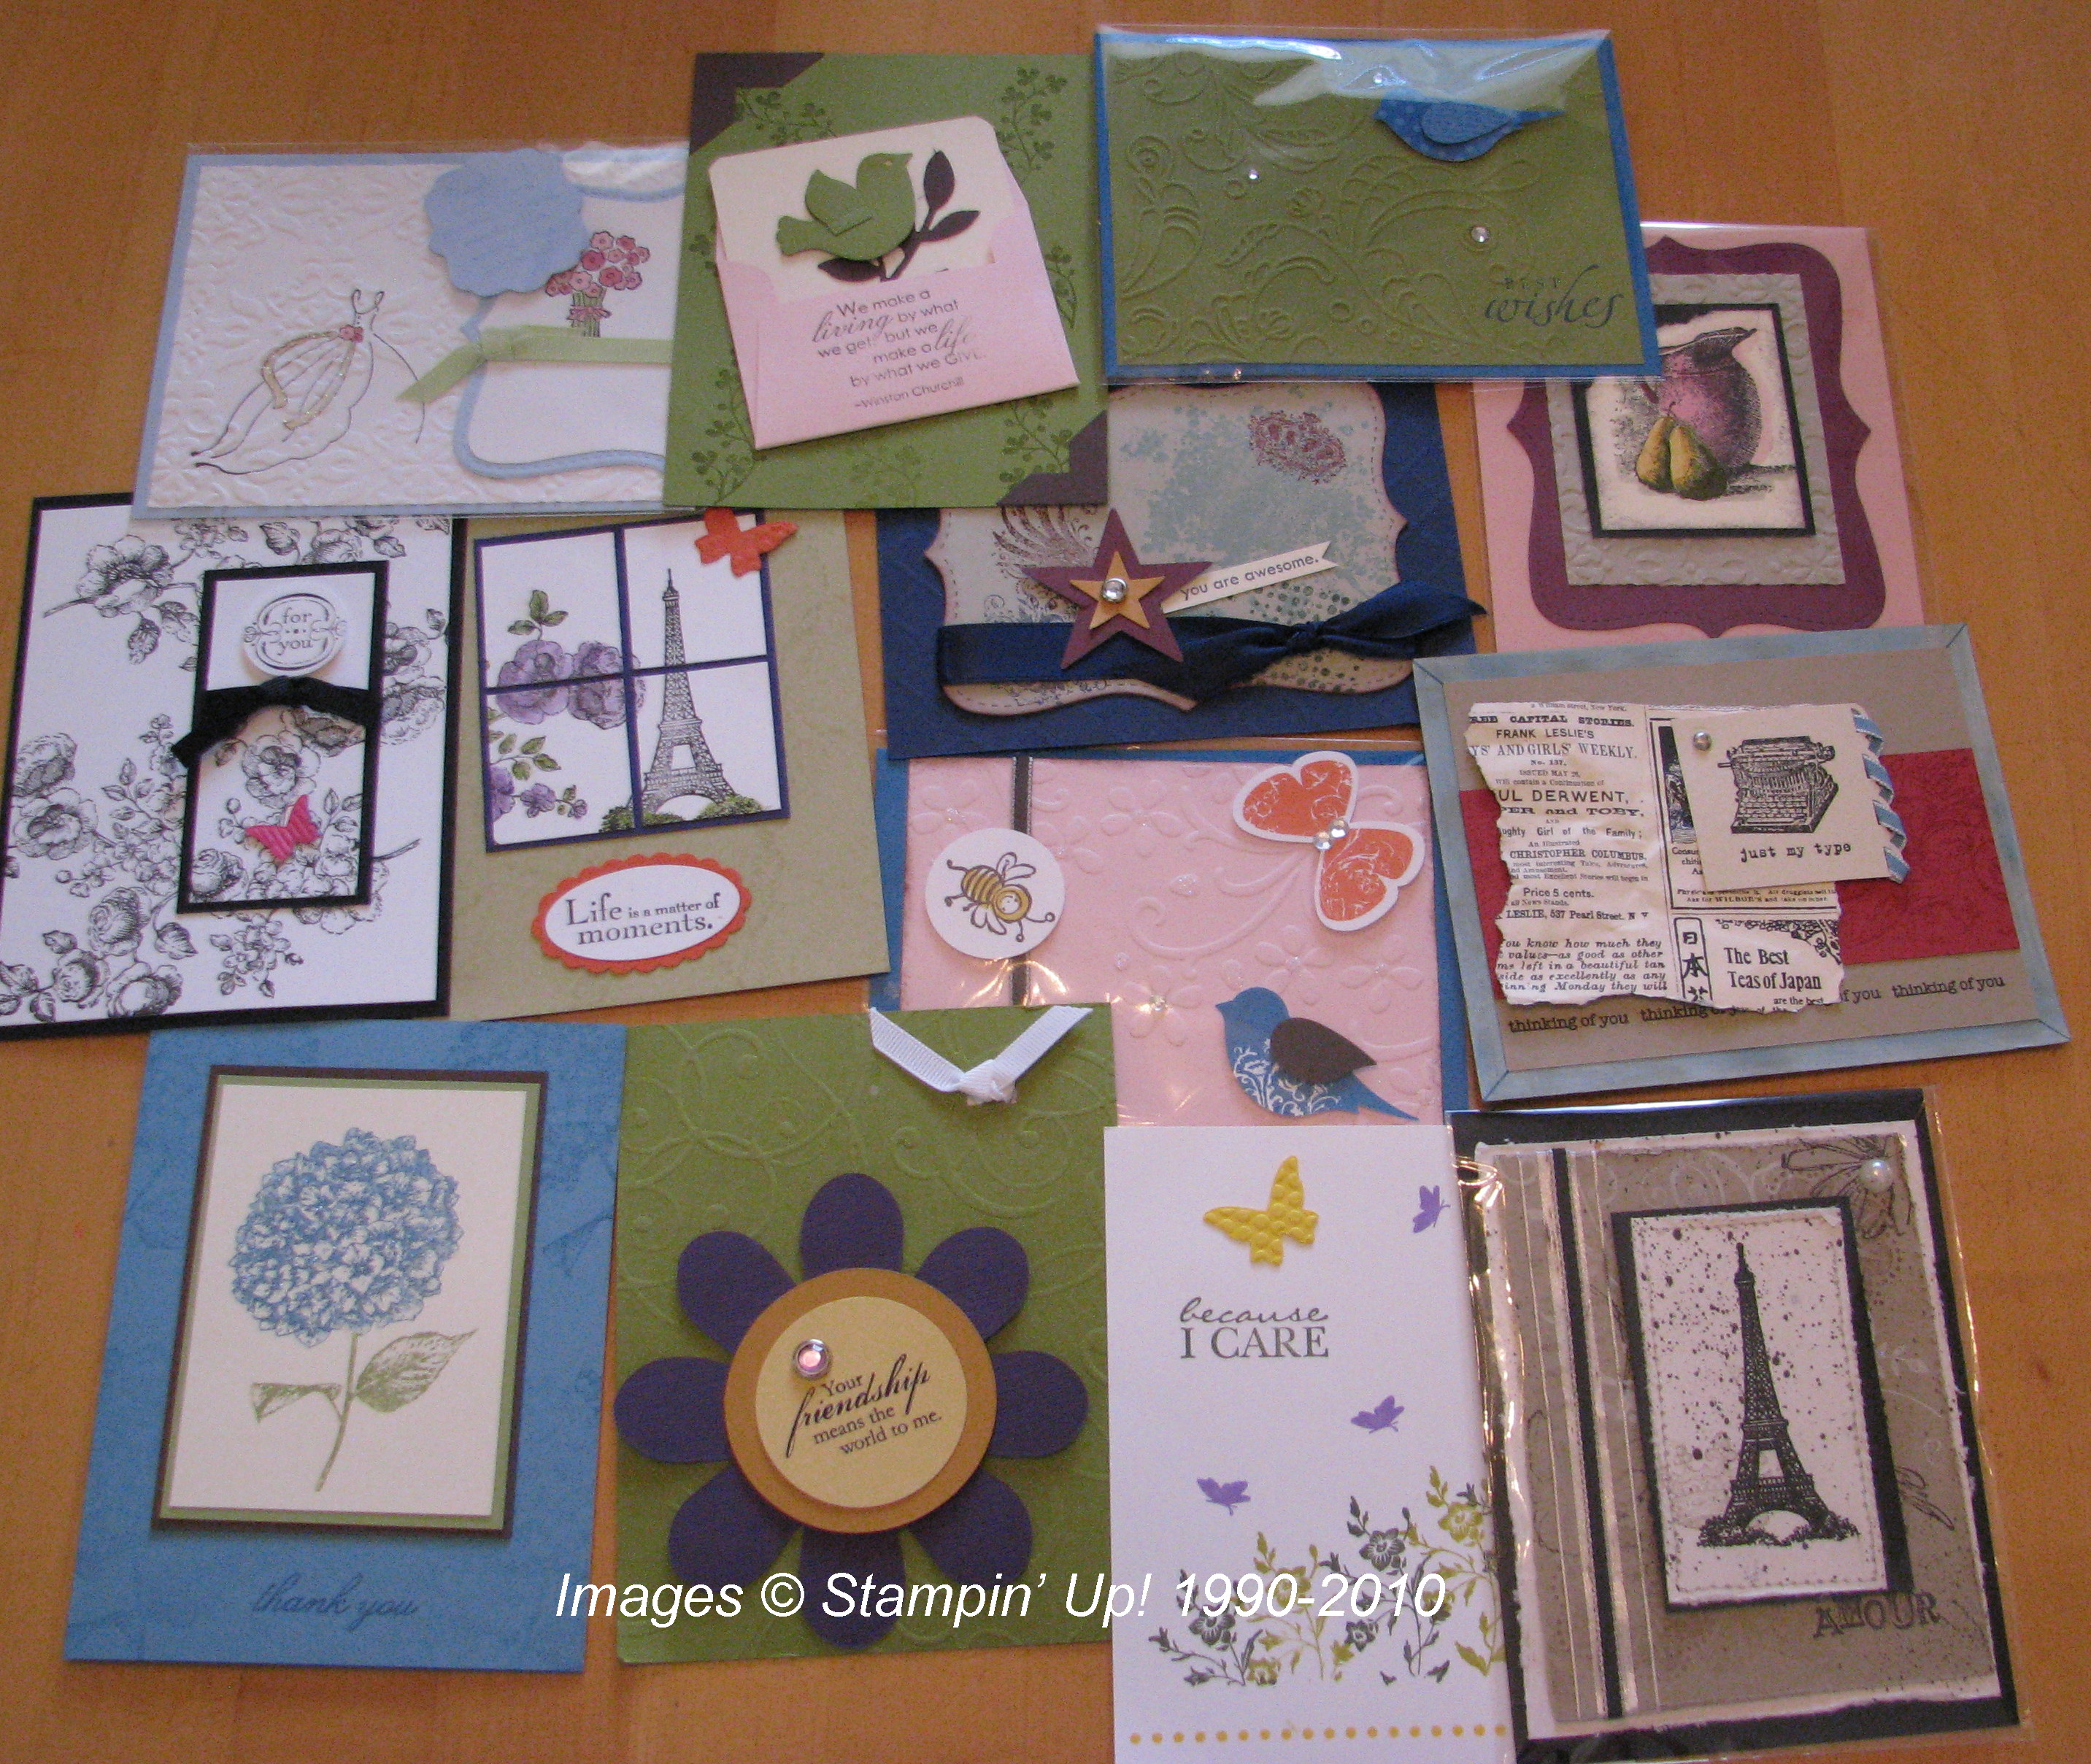
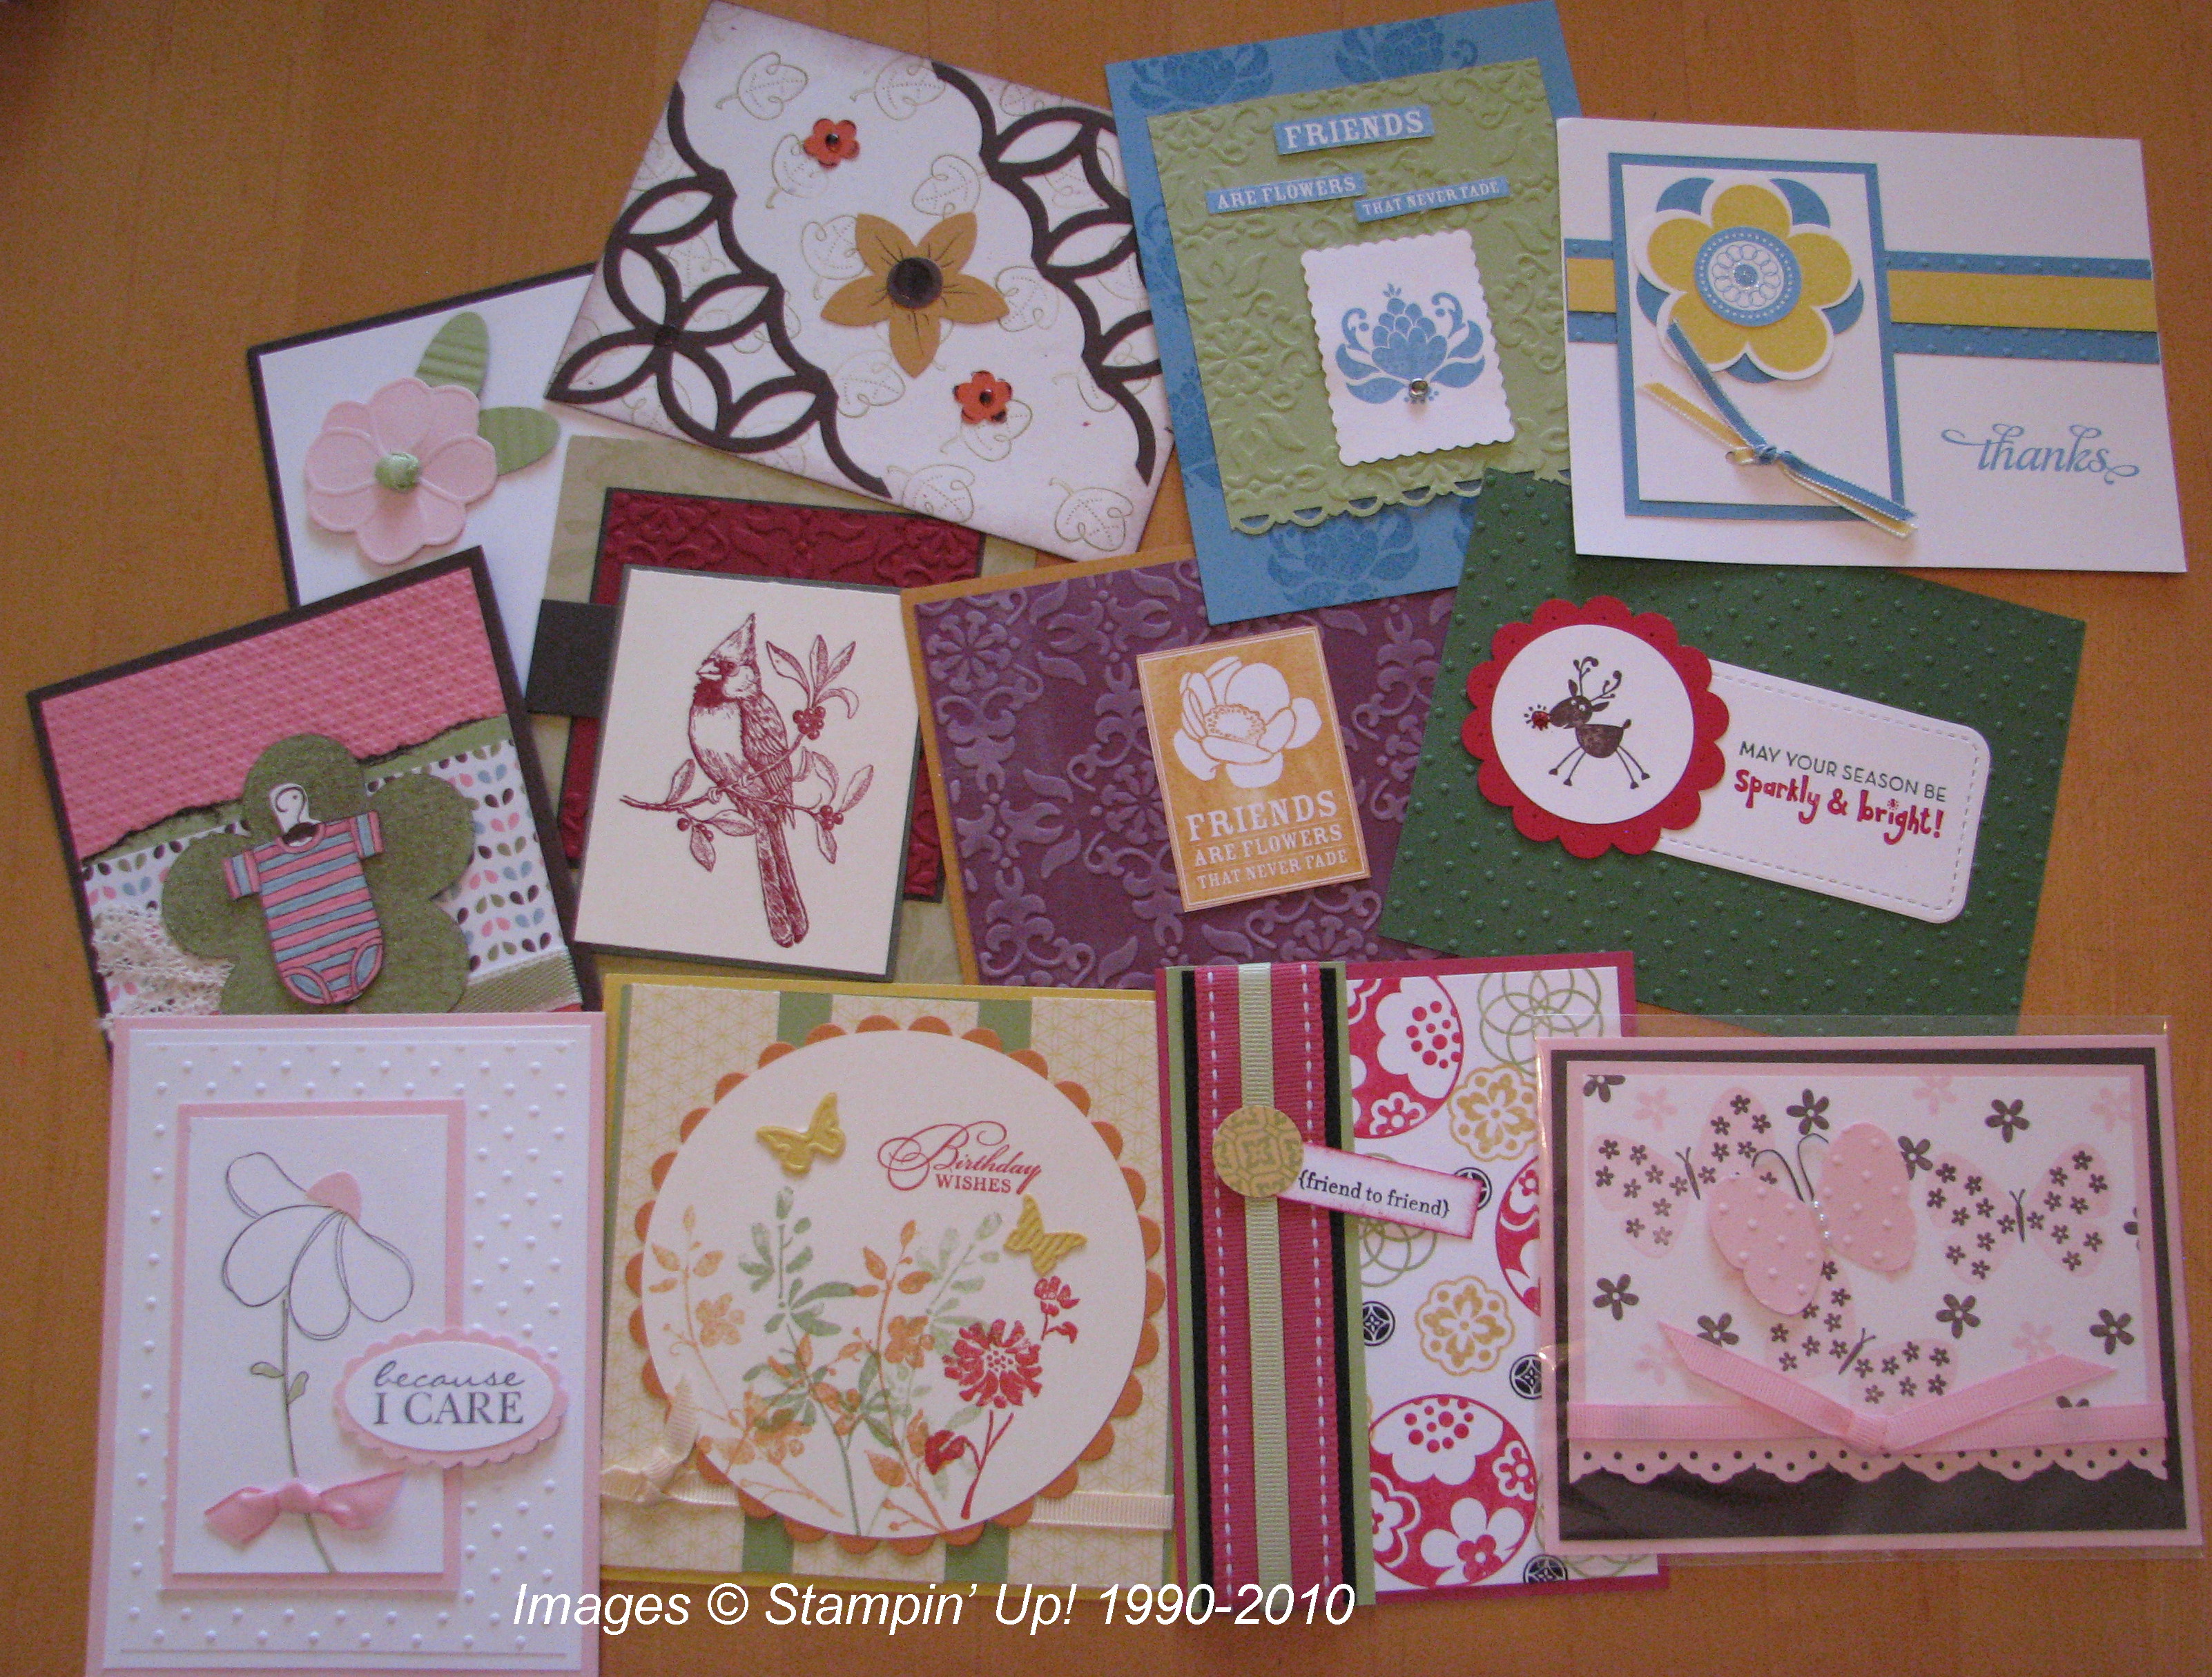
Finally got photos of some of my swaps I got at the Stampin' Up! Convention!  You can click on any of the photos to enlarge them and get a closer view.  If you have a question about something you like, just contact me and I'll try to answer it.  Enjoy!

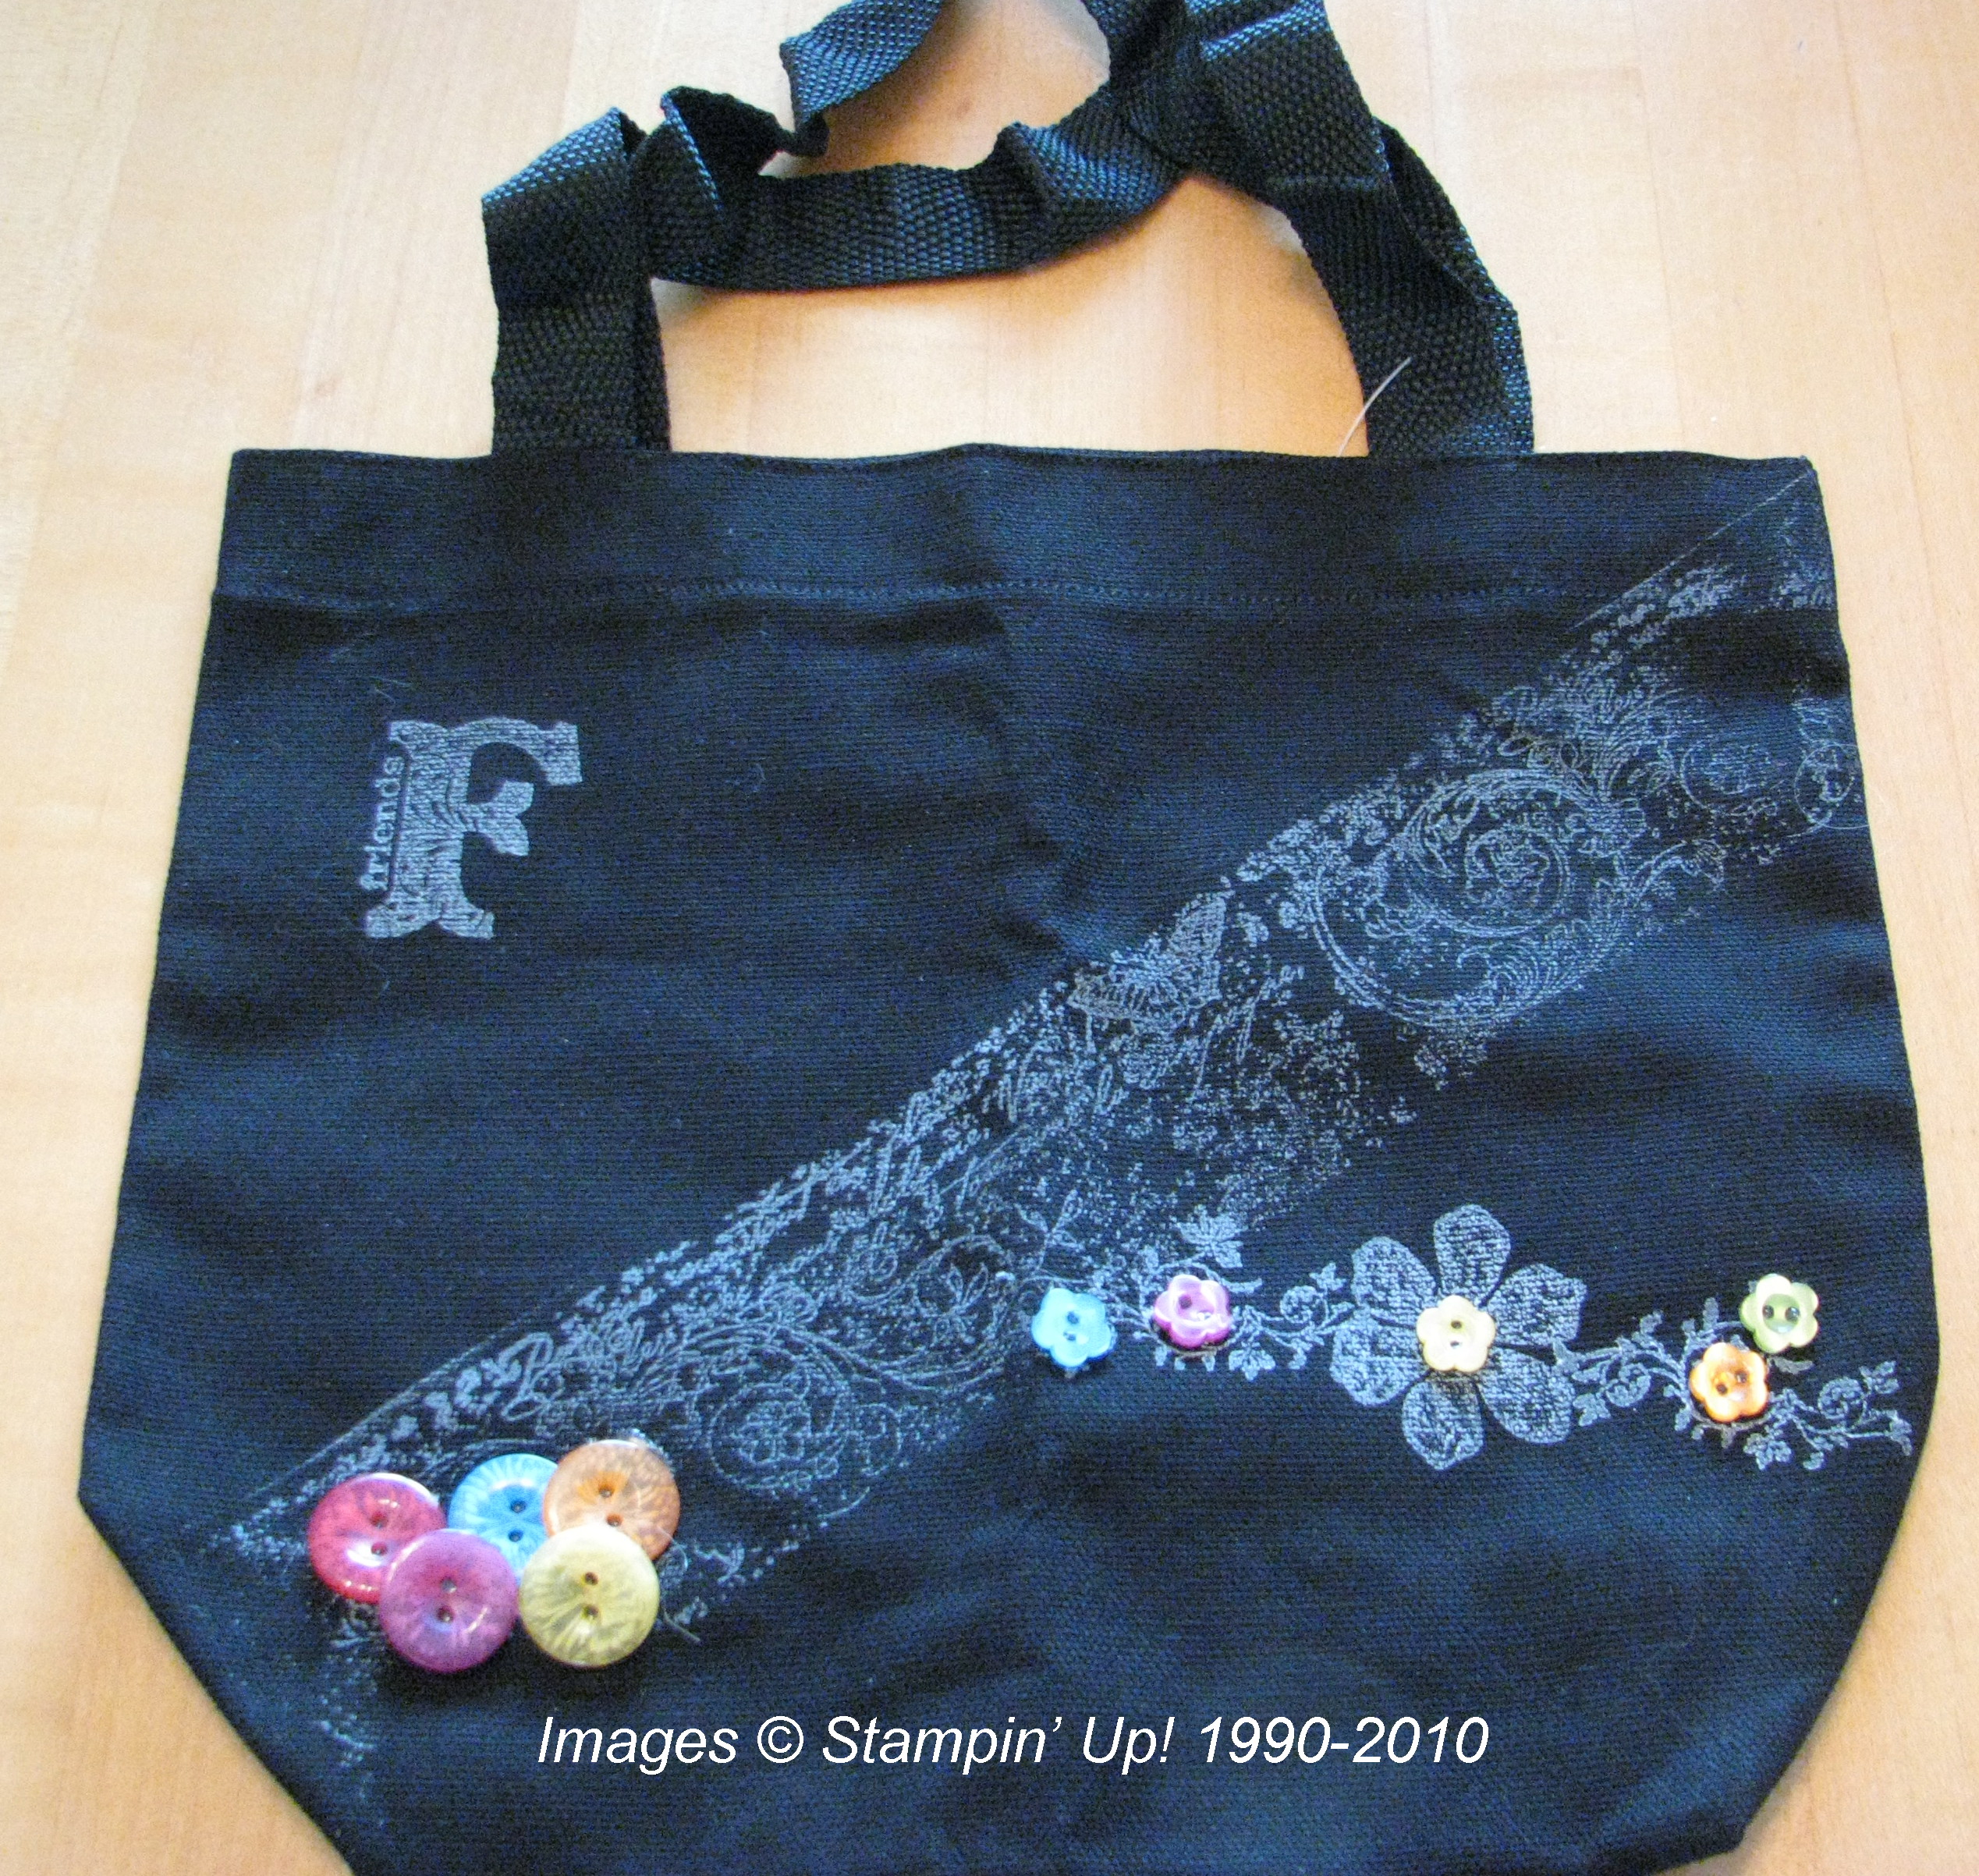
Button tote bag

This tote looks even prettier in person!  The buttons really pop out!  So pretty!

Convention swaps

Stampin' Up! Convention Swaps

Convention Swap Cards

Stampin' Up! Swaps

Stampin' Up! Convention Swaps

If these great swaps stir your creativity and you need some stamps and supplies, you can order online anytime at my Online Store!


Finally! Stampin’ Up! Convention Make & Takes

Believe it or not, I finally made my Make & Takes from the Stampin' Up! Convention just last night!  The day at Convention that I was scheduled to do them I was EXHAUSTED for one thing, plus it was my last opportunity to take pictures of all the displays….AND I really turn into a mess when I stamp in a big group like that!  Fortunately, I'm not the only demonstrator that I have heard of that suffers from that same condition!  When I sit down, I feel like everyone else knows what to do but me and they are all doing it faster!  So I have come to the conclusion that, if I know I have the materials at home, I should just wait and then enjoy solitary stamping!  Brings back the memories of fun times at Convention, too!

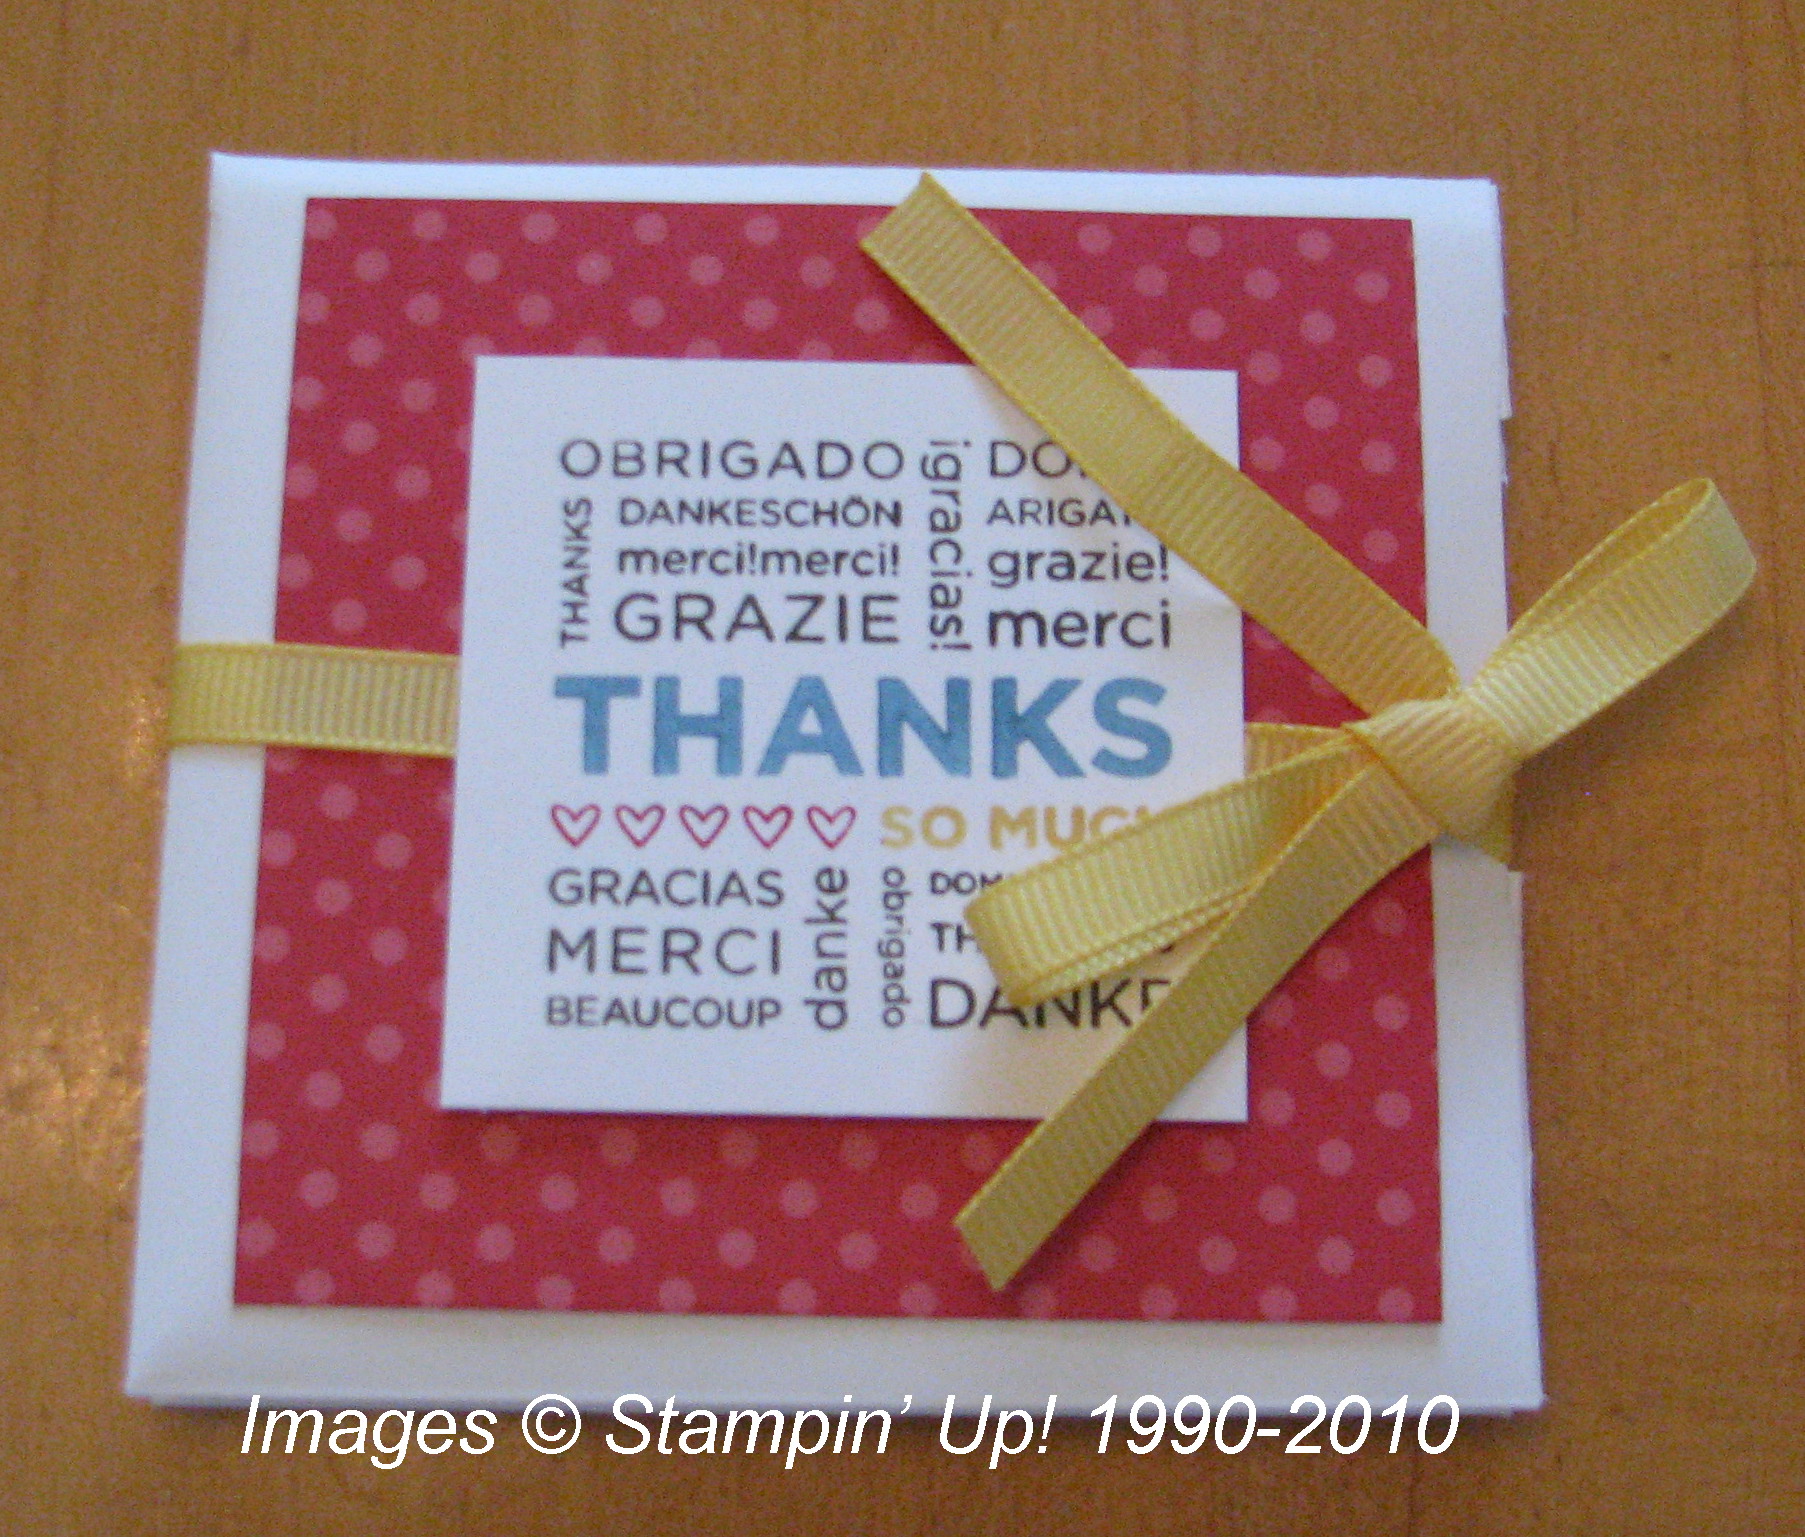
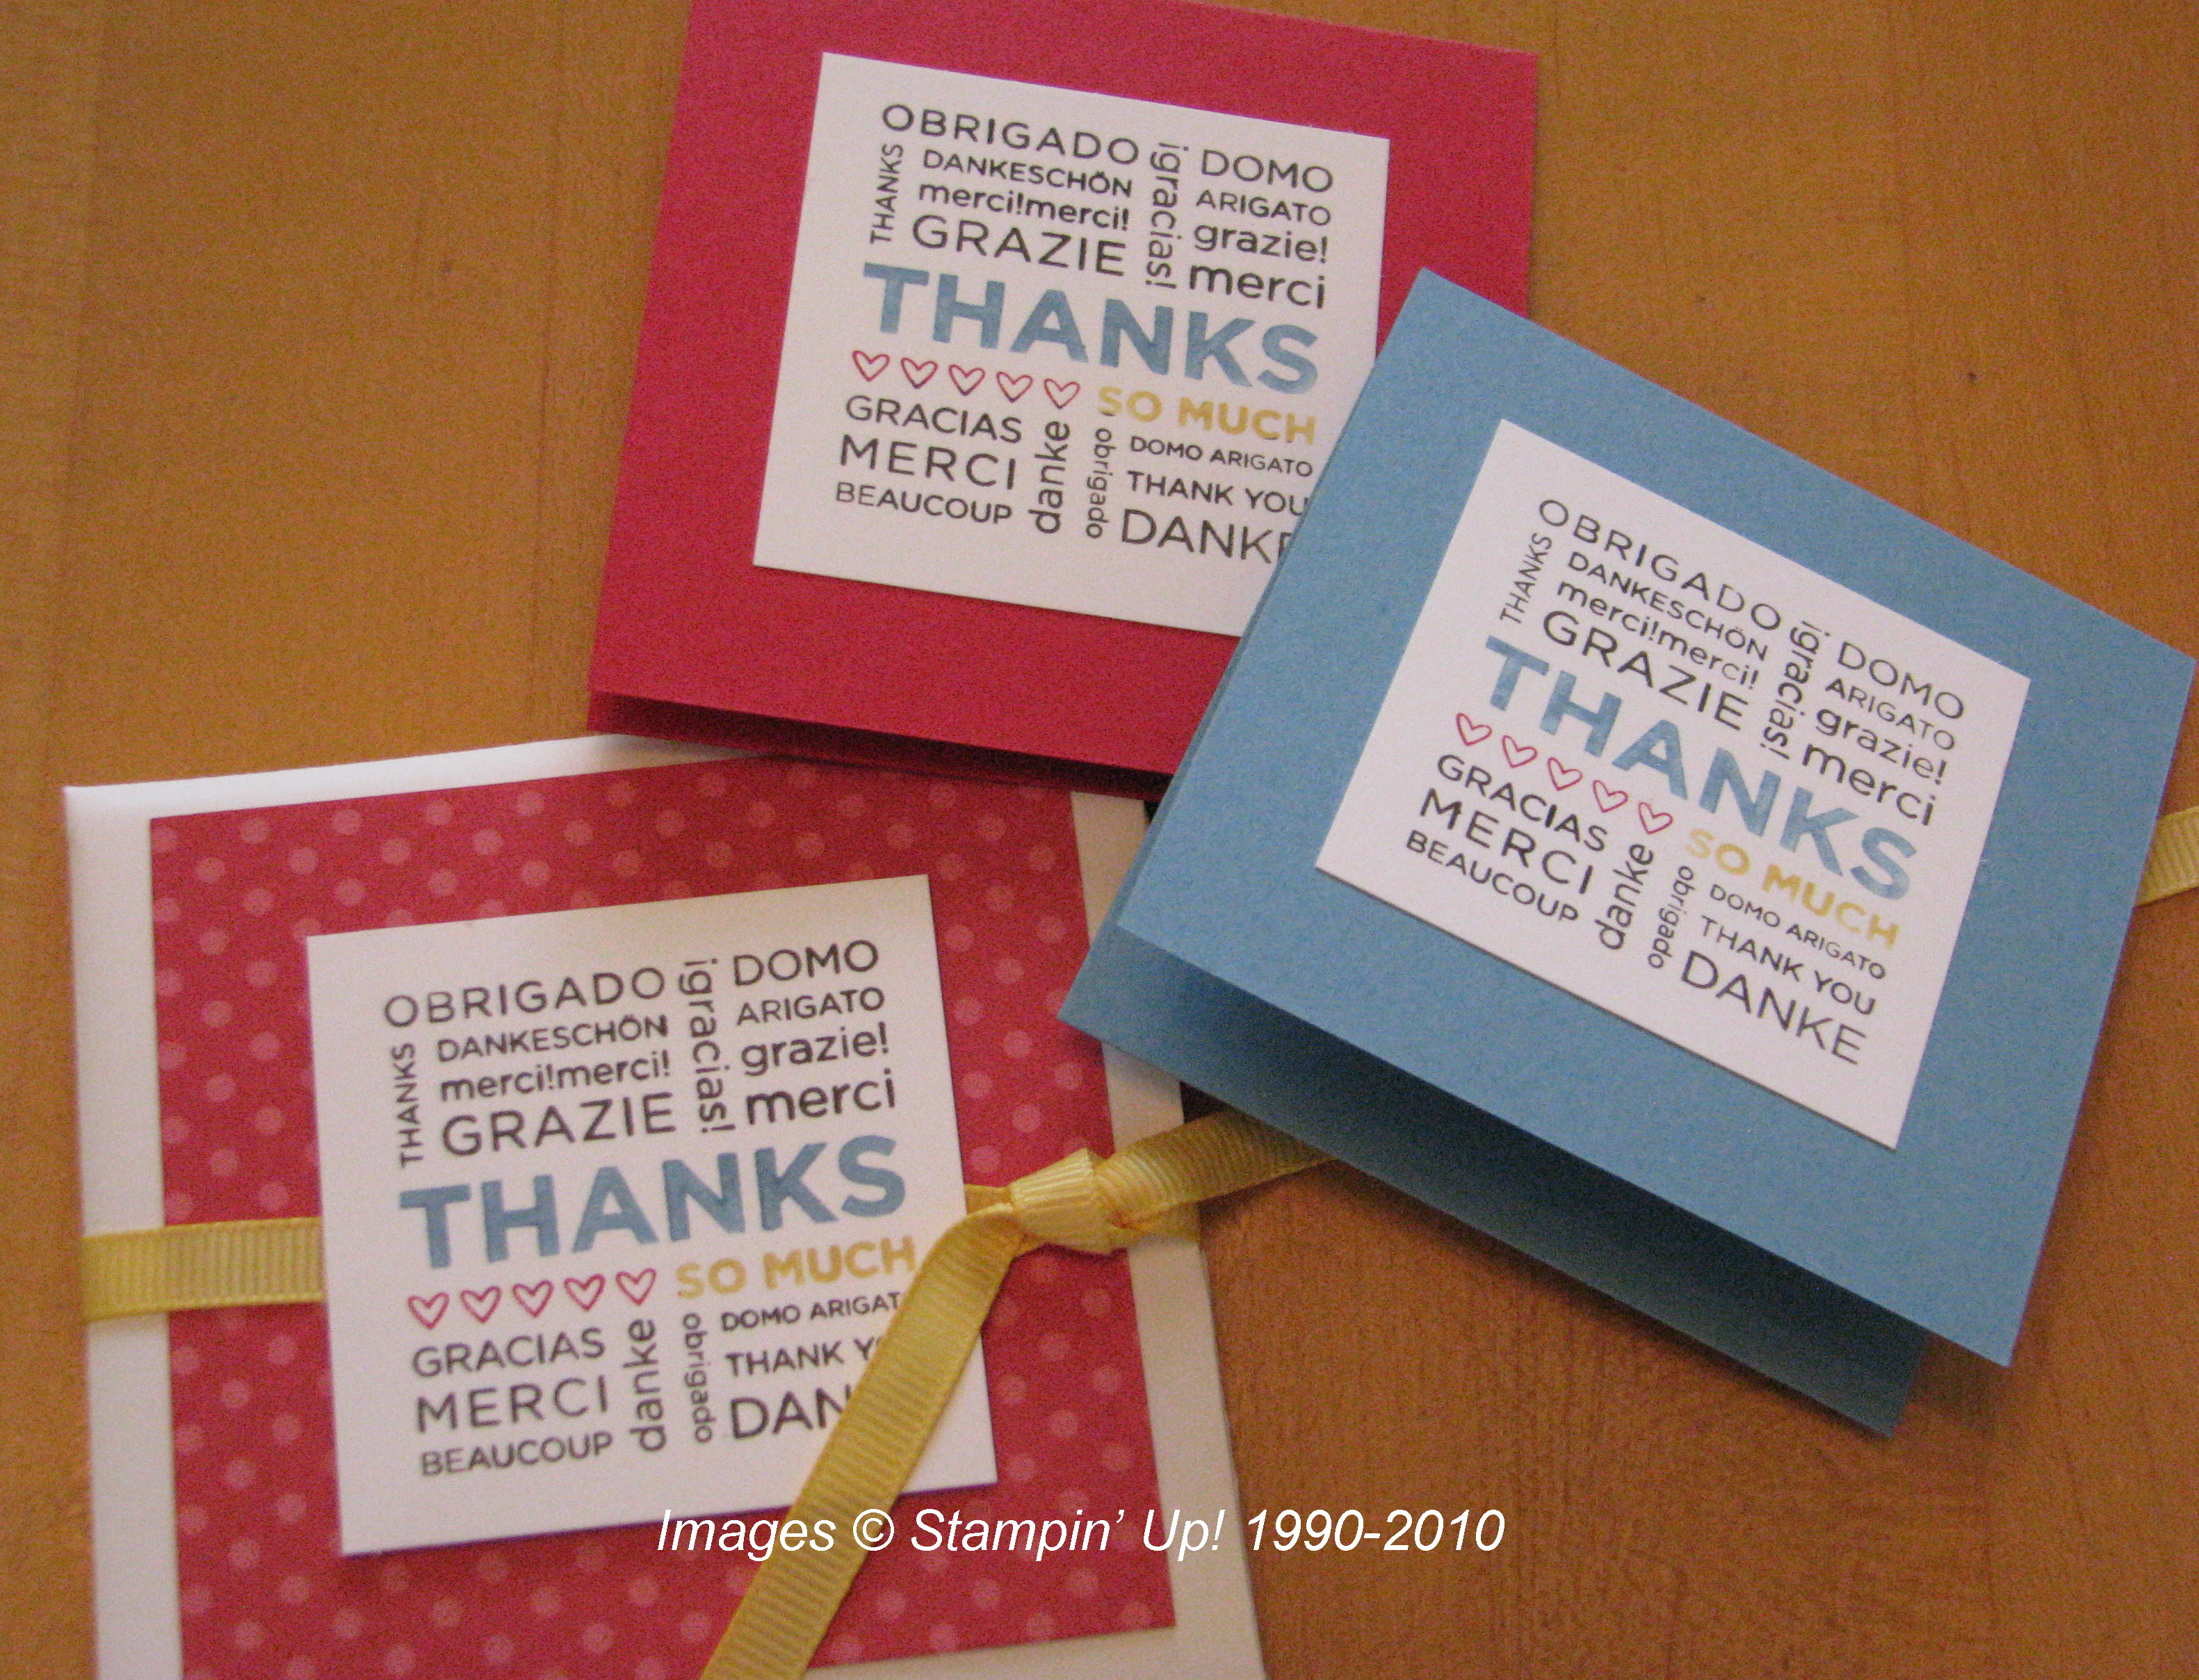
Thanks So Much Card Pocket
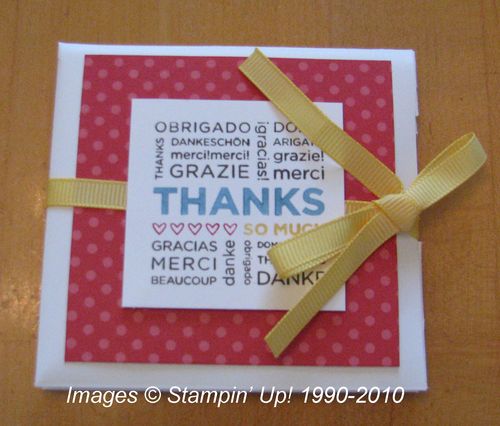
Thanks So Much Card Pocket

This is a Small Open-End Envelope #107286 with the long side slit open so that small cards and envelopes can be inserted.  I would show you the inside but I made a "slight" boo-boo with the circle punch (not reading the directions!).  I can fix that later, but haven't yet!  You can always fix things in papercrafting!  The stamp is the single stamp, "So Many Thanks" #120173.
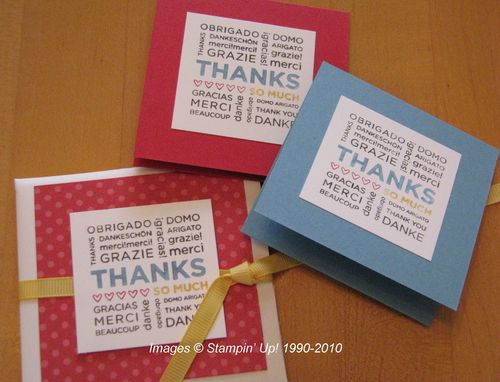
Thanks So Much Cards

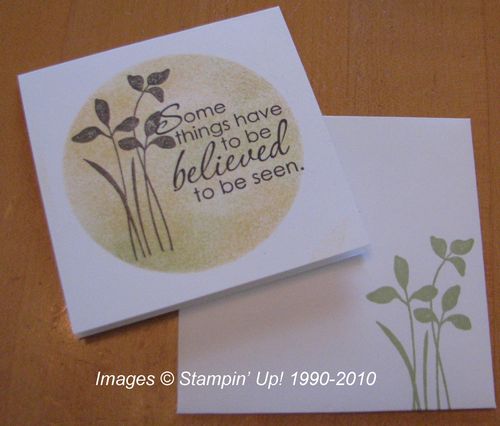
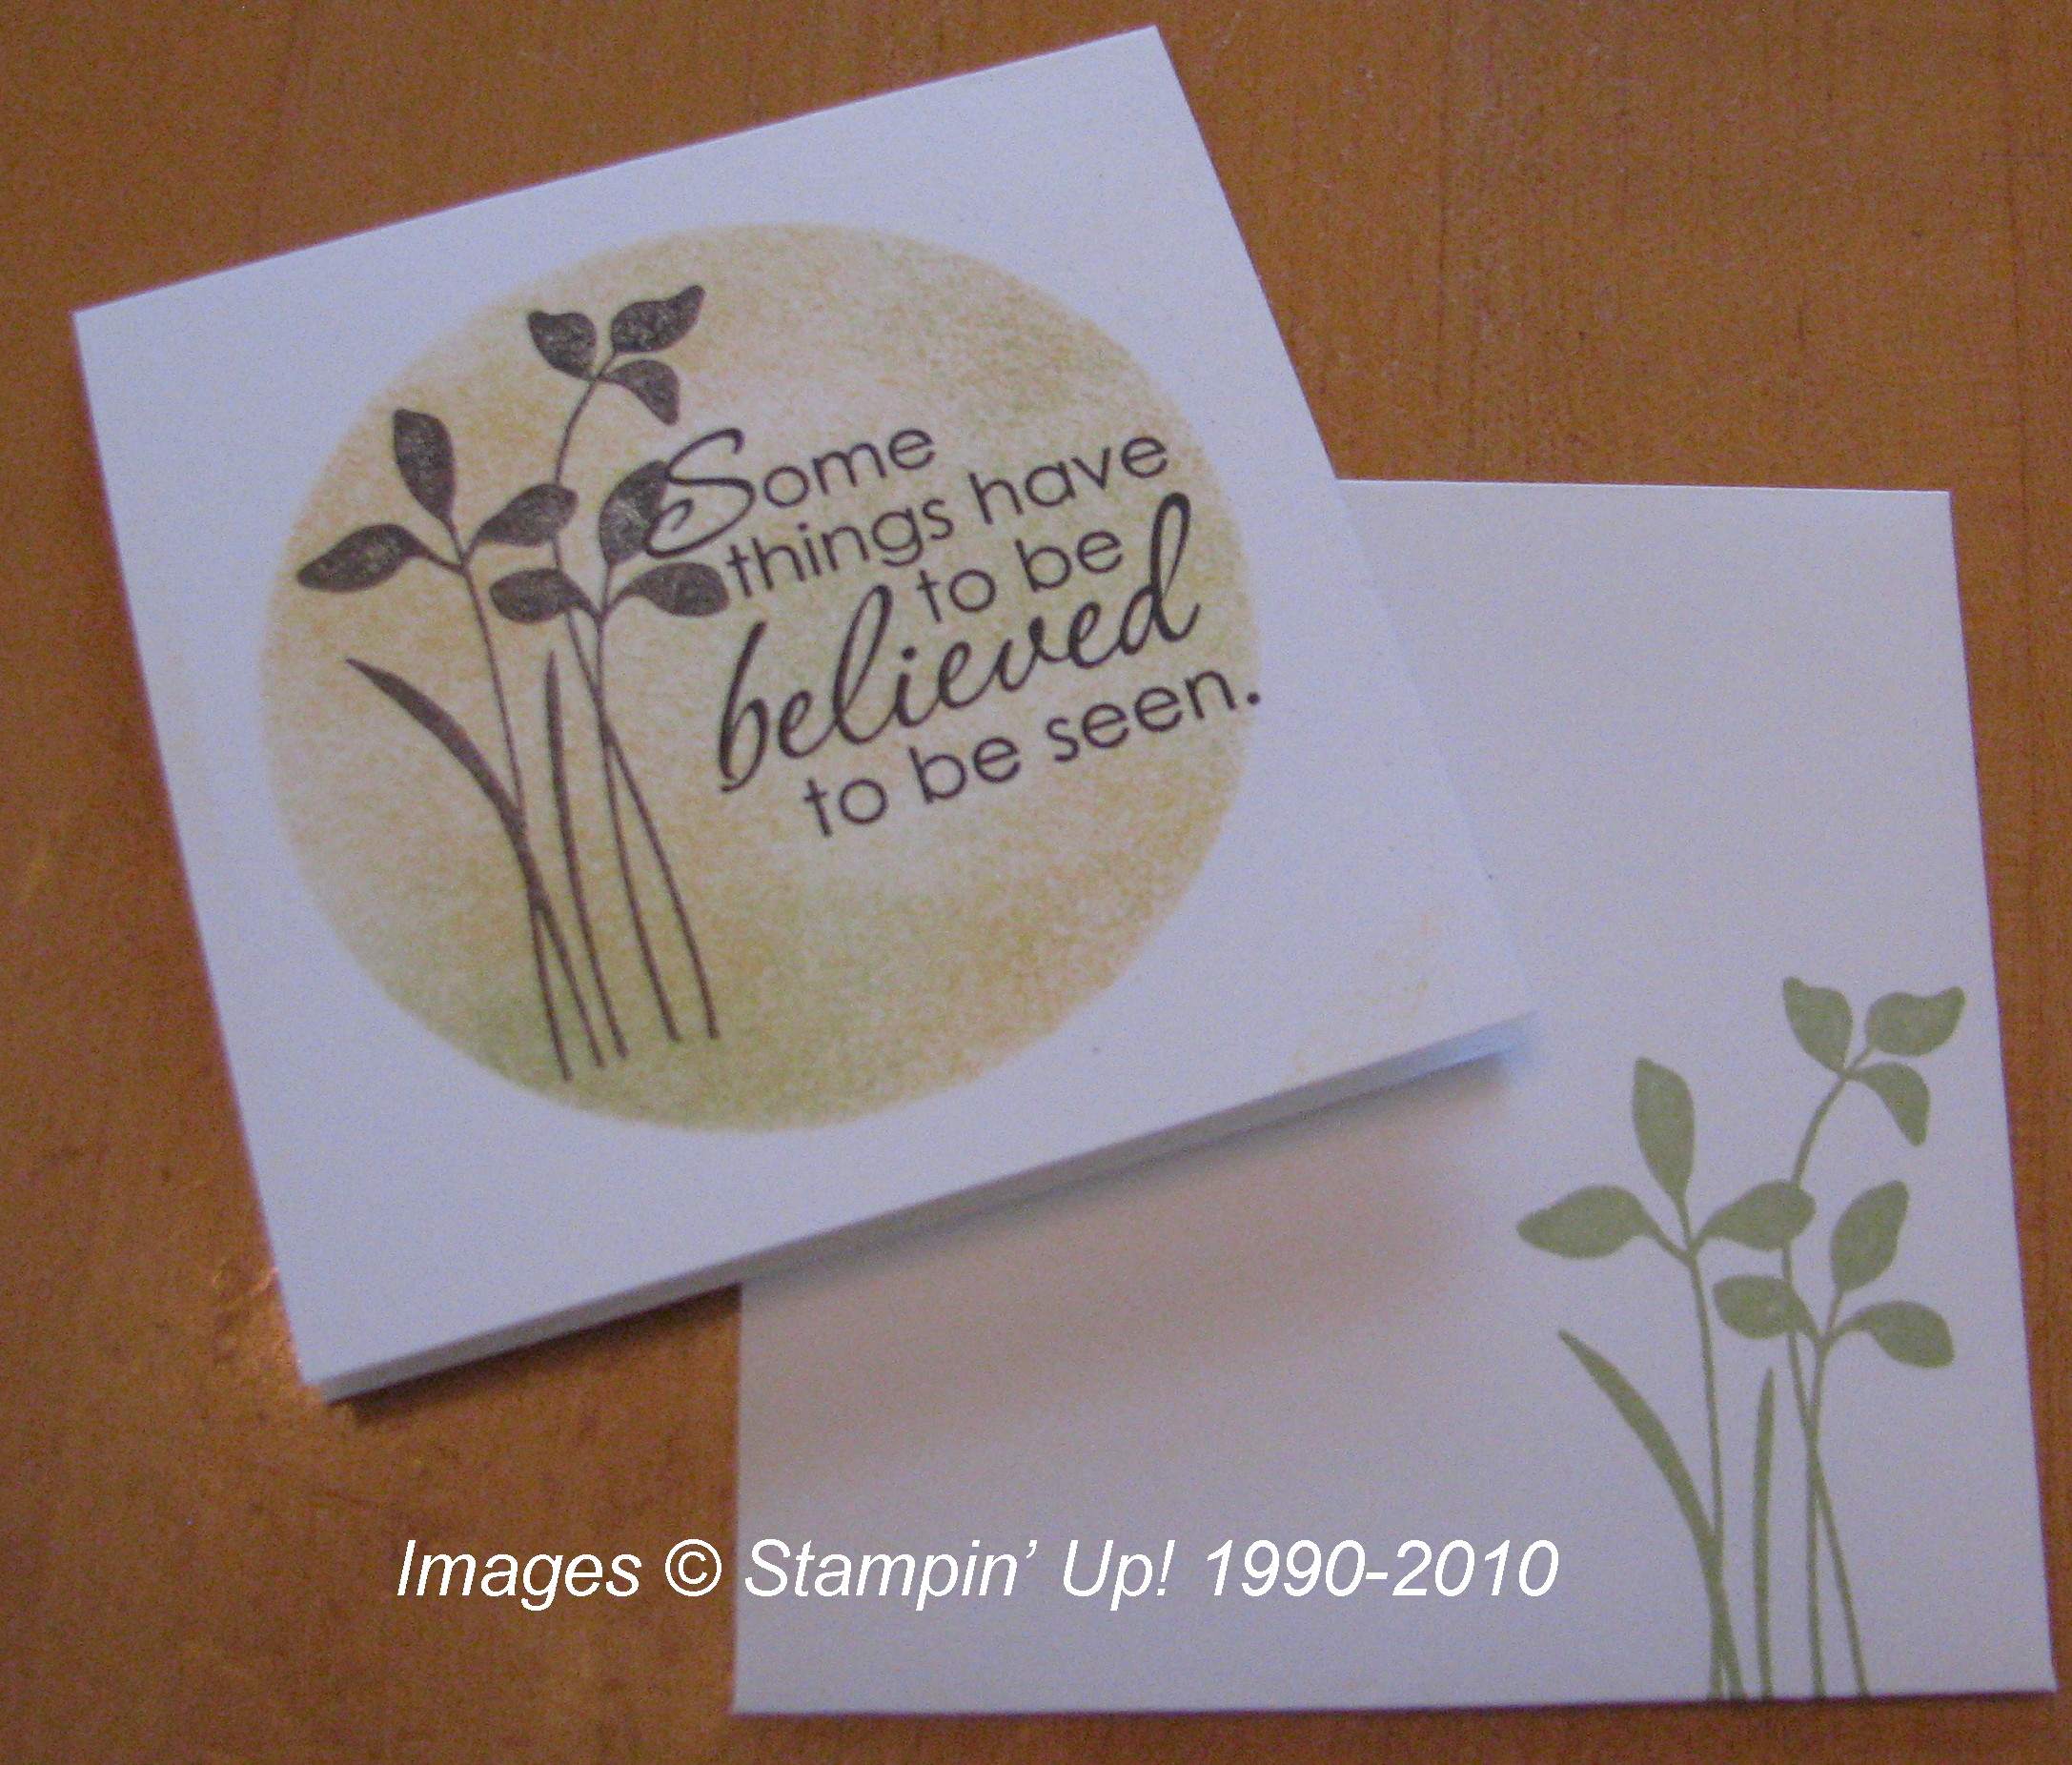
Some Things Have to Be Believed Card

Some Things Have to Be Believed Card

They gave us a mask to use…the negative paper from cutting Circles #2 with the Big Shot….so we could sponge three colors of ink for the background and then stamp with the beautiful new set "Just Believe", page 109 in the catalog. This is a 3×3 card and Mini Square Whisper White envelope.

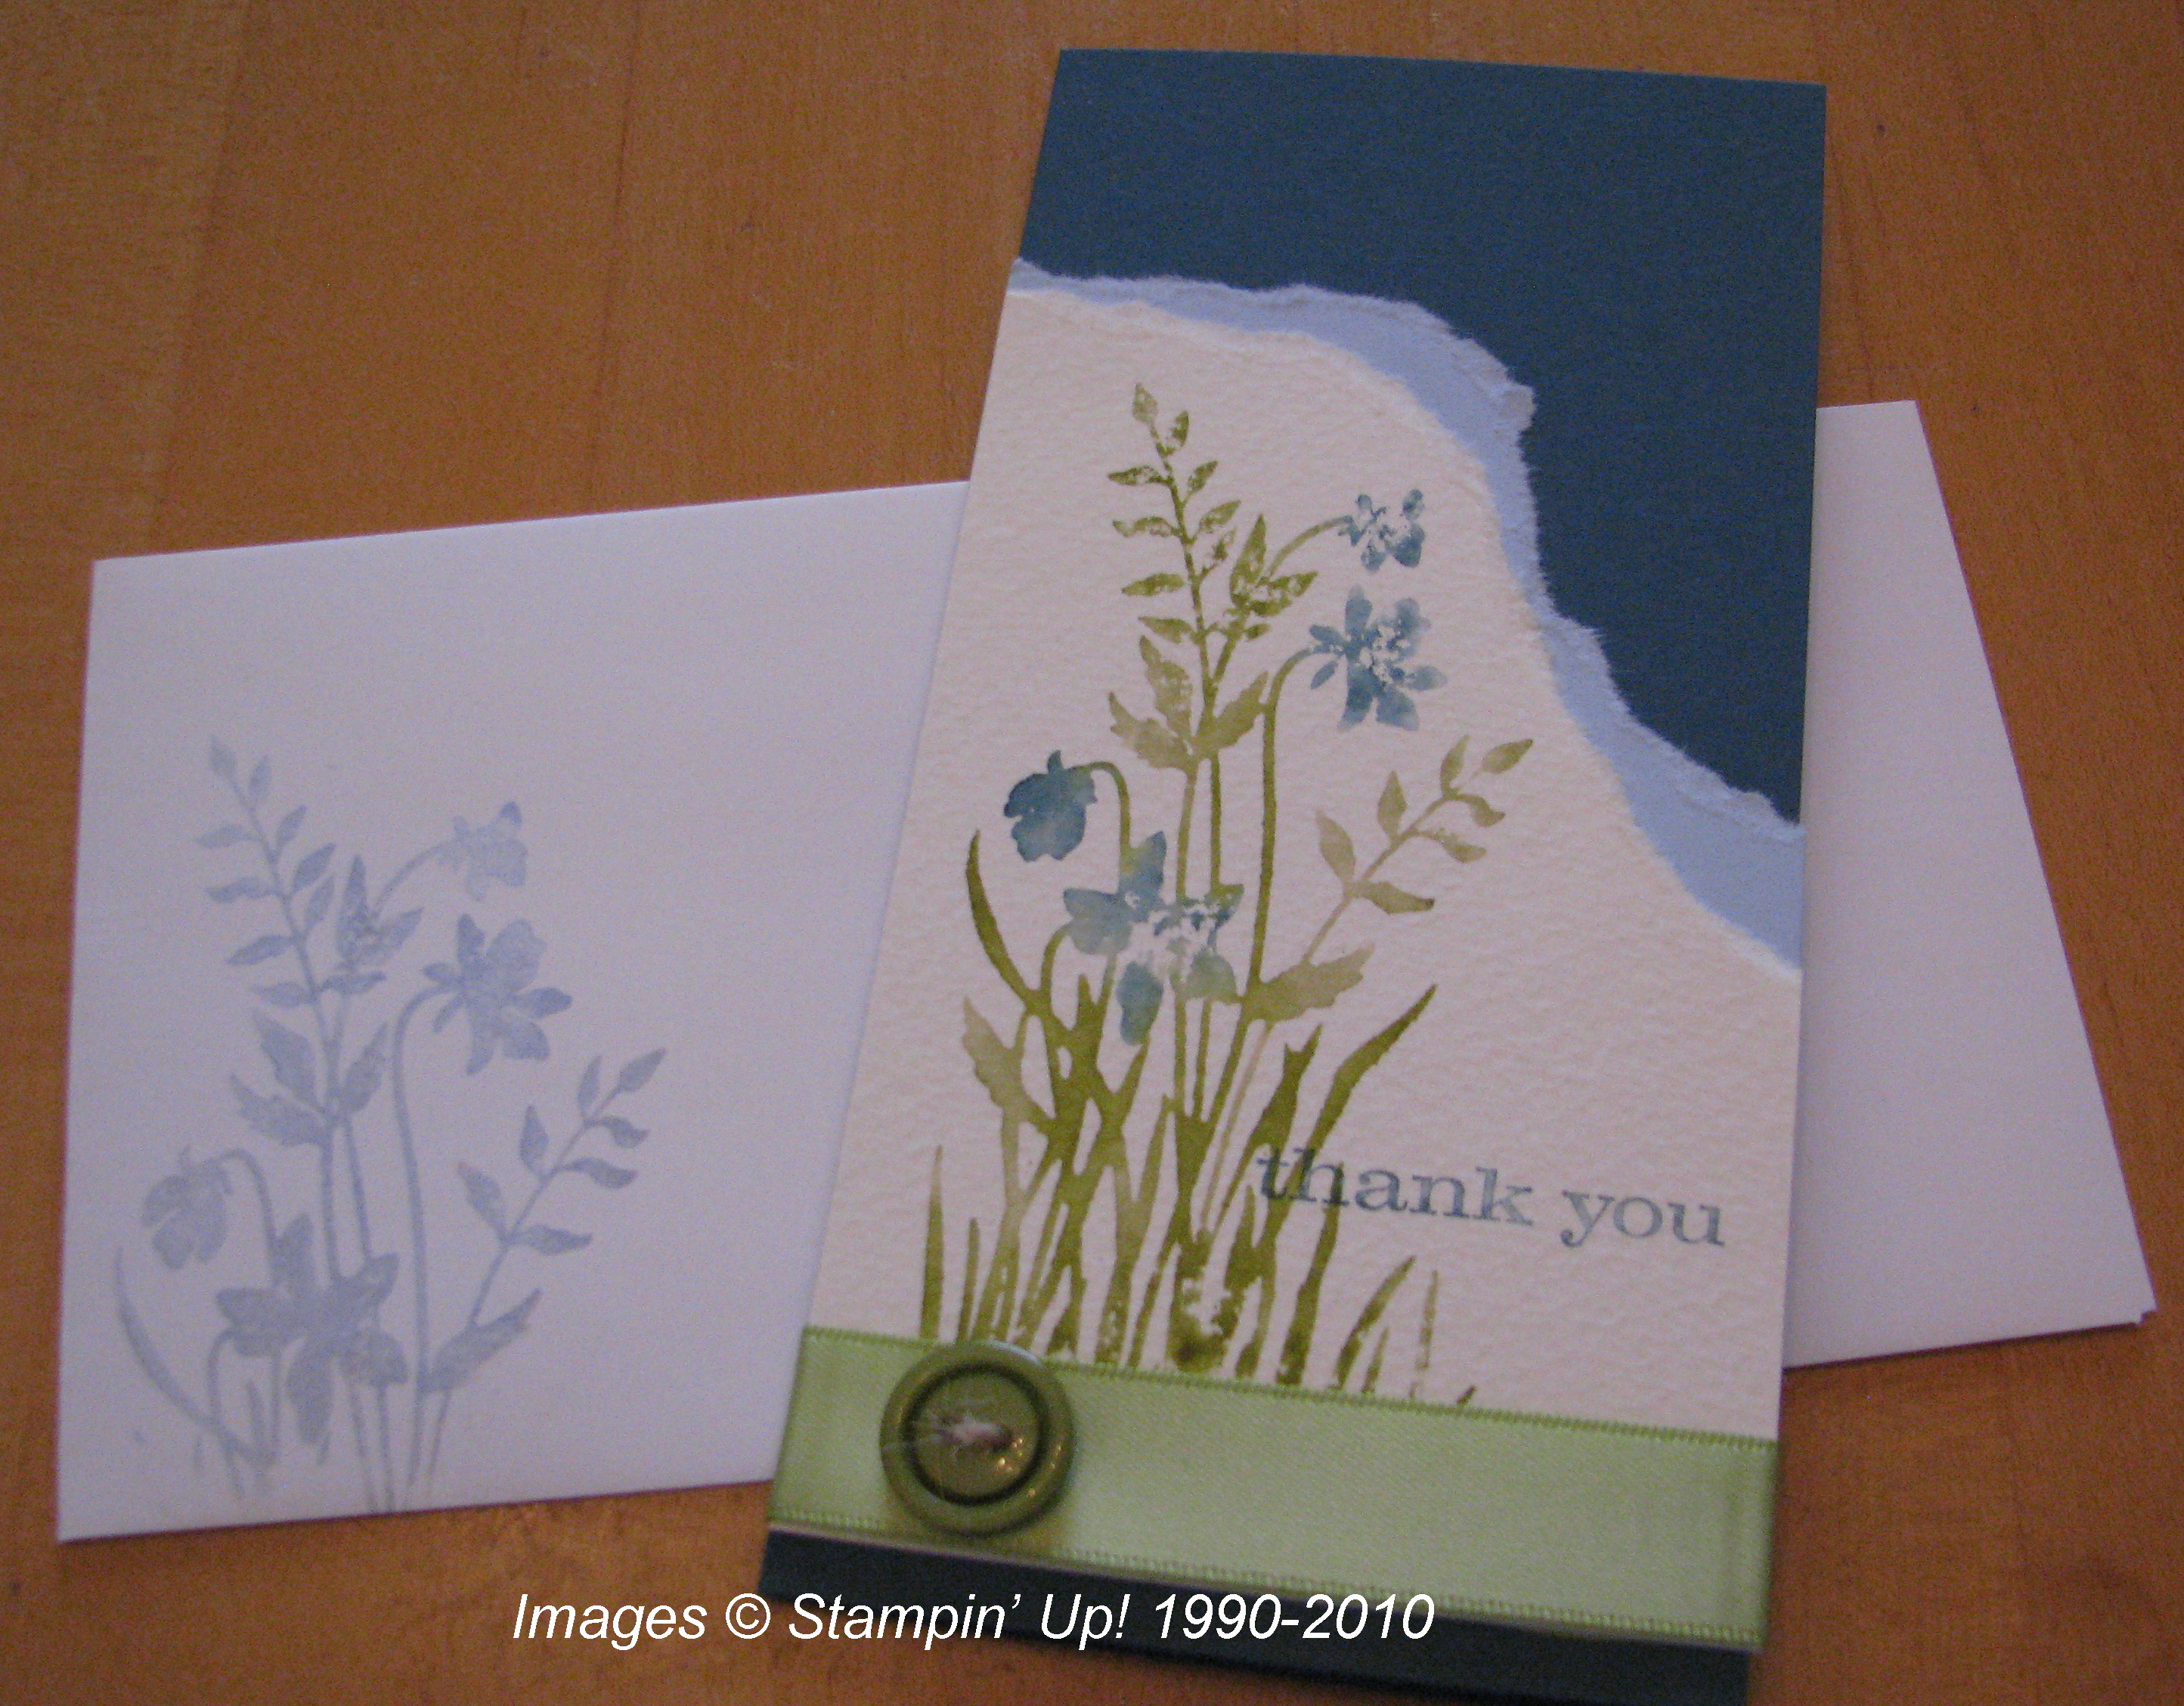
Thank You Watercolor Card
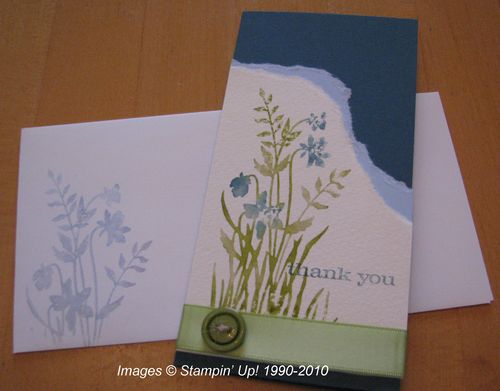
Just Believe Watercolor Thank You Card

I loved making this card, the watercolor effect is so pretty, especially on the Watercolor Paper #105019.  I think we don't use this watercolor paper often enough.  I inked up the stamp from "Just Believe" using Stampin' Write Markers, spritzed it with water in a spray bottle (very lightly), then stamped it on the watercolor paper.  Of course the Small Open-End Envelope got stamped, too!

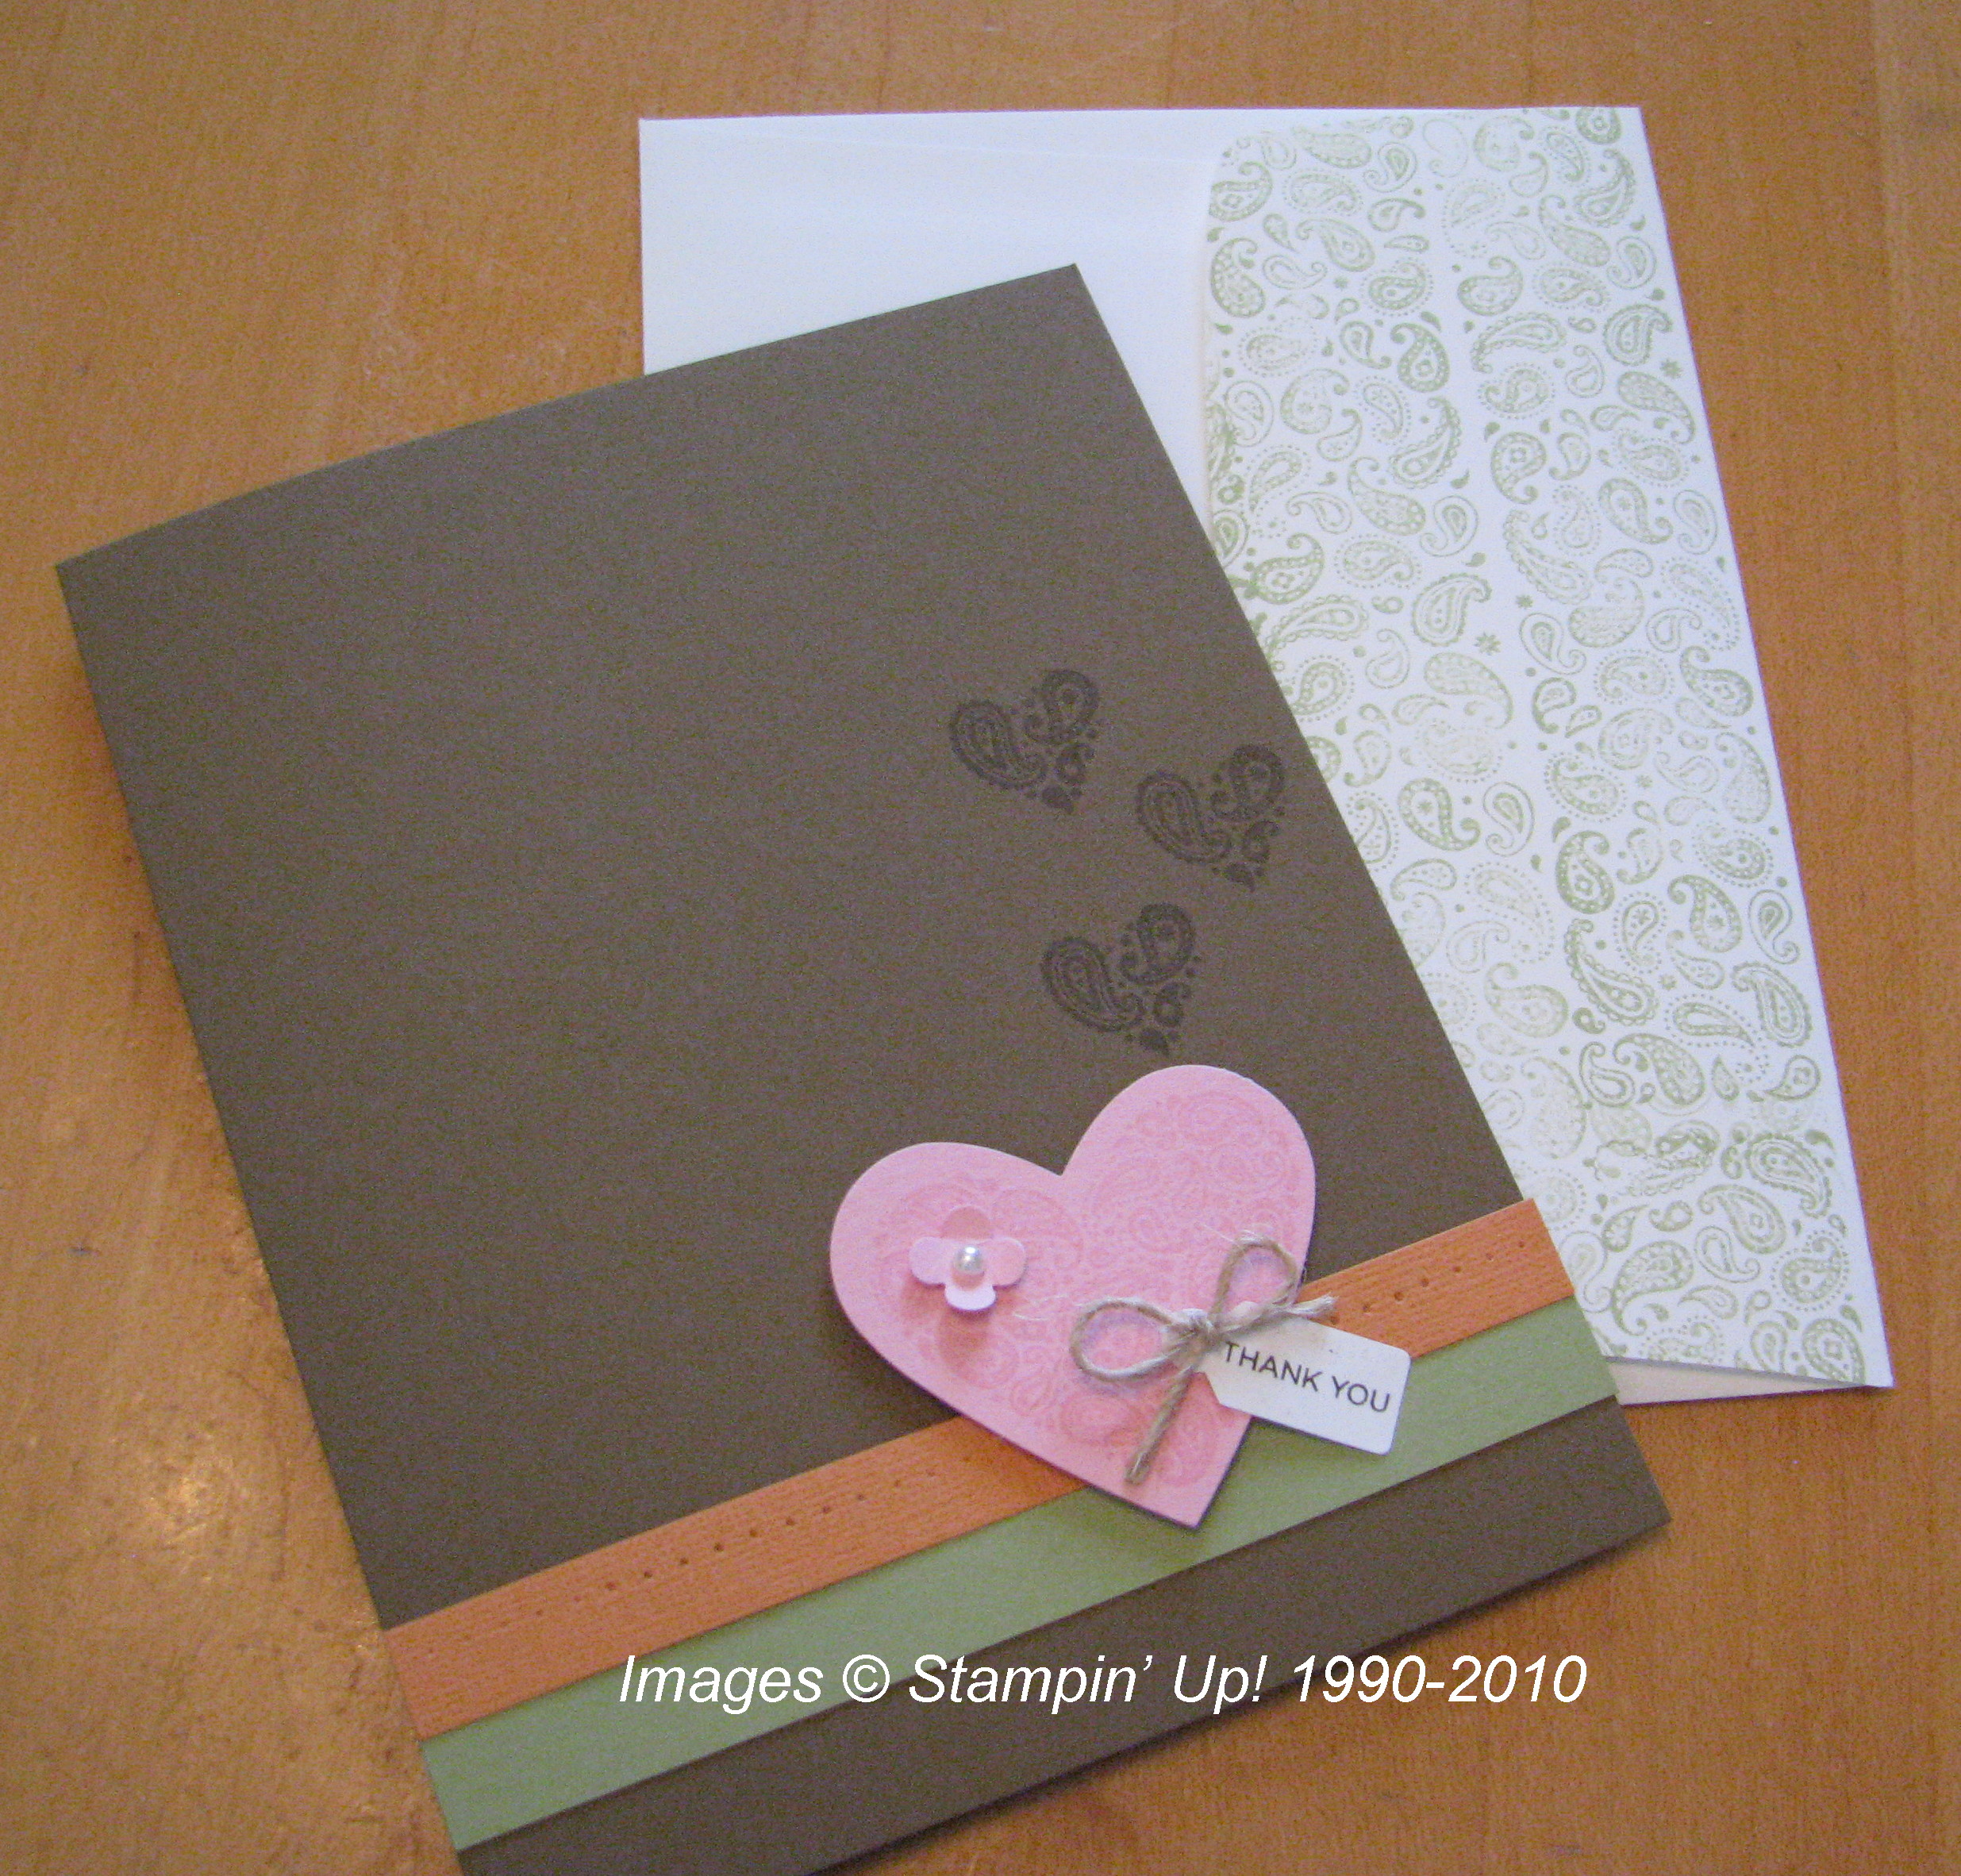
Paisley Prints Heart Card

Putting the little Basic Pearl #119247 on the tiny flower punched with the flower in the Itty Bitty Shapes Punch Pack #118309 just makes this card, I think!  Love the new pearls and rhinestones in the catalog!!  The stamp set is Paisley Prints, which you will find in the upcoming Holiday Mini Catalog and the Paisley Party Stampin' Around wheel #120875 on the envelope.
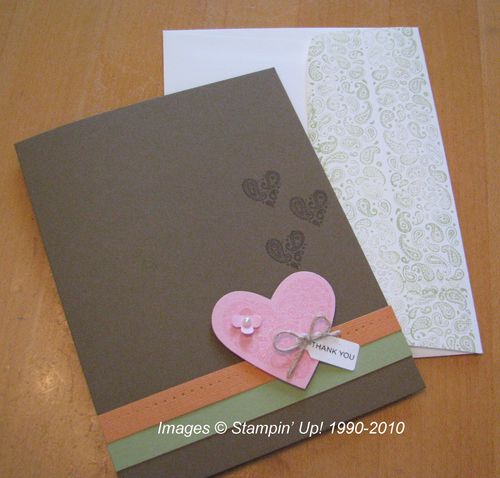
Paisley Prints Heart Card

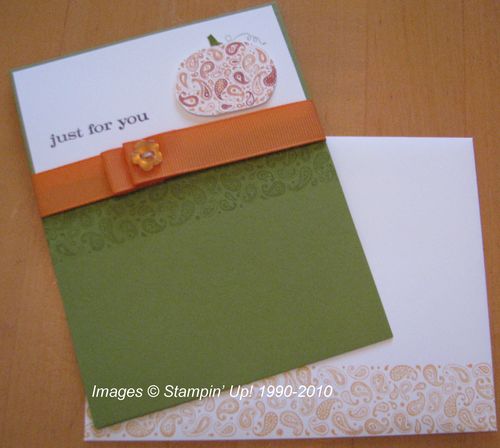
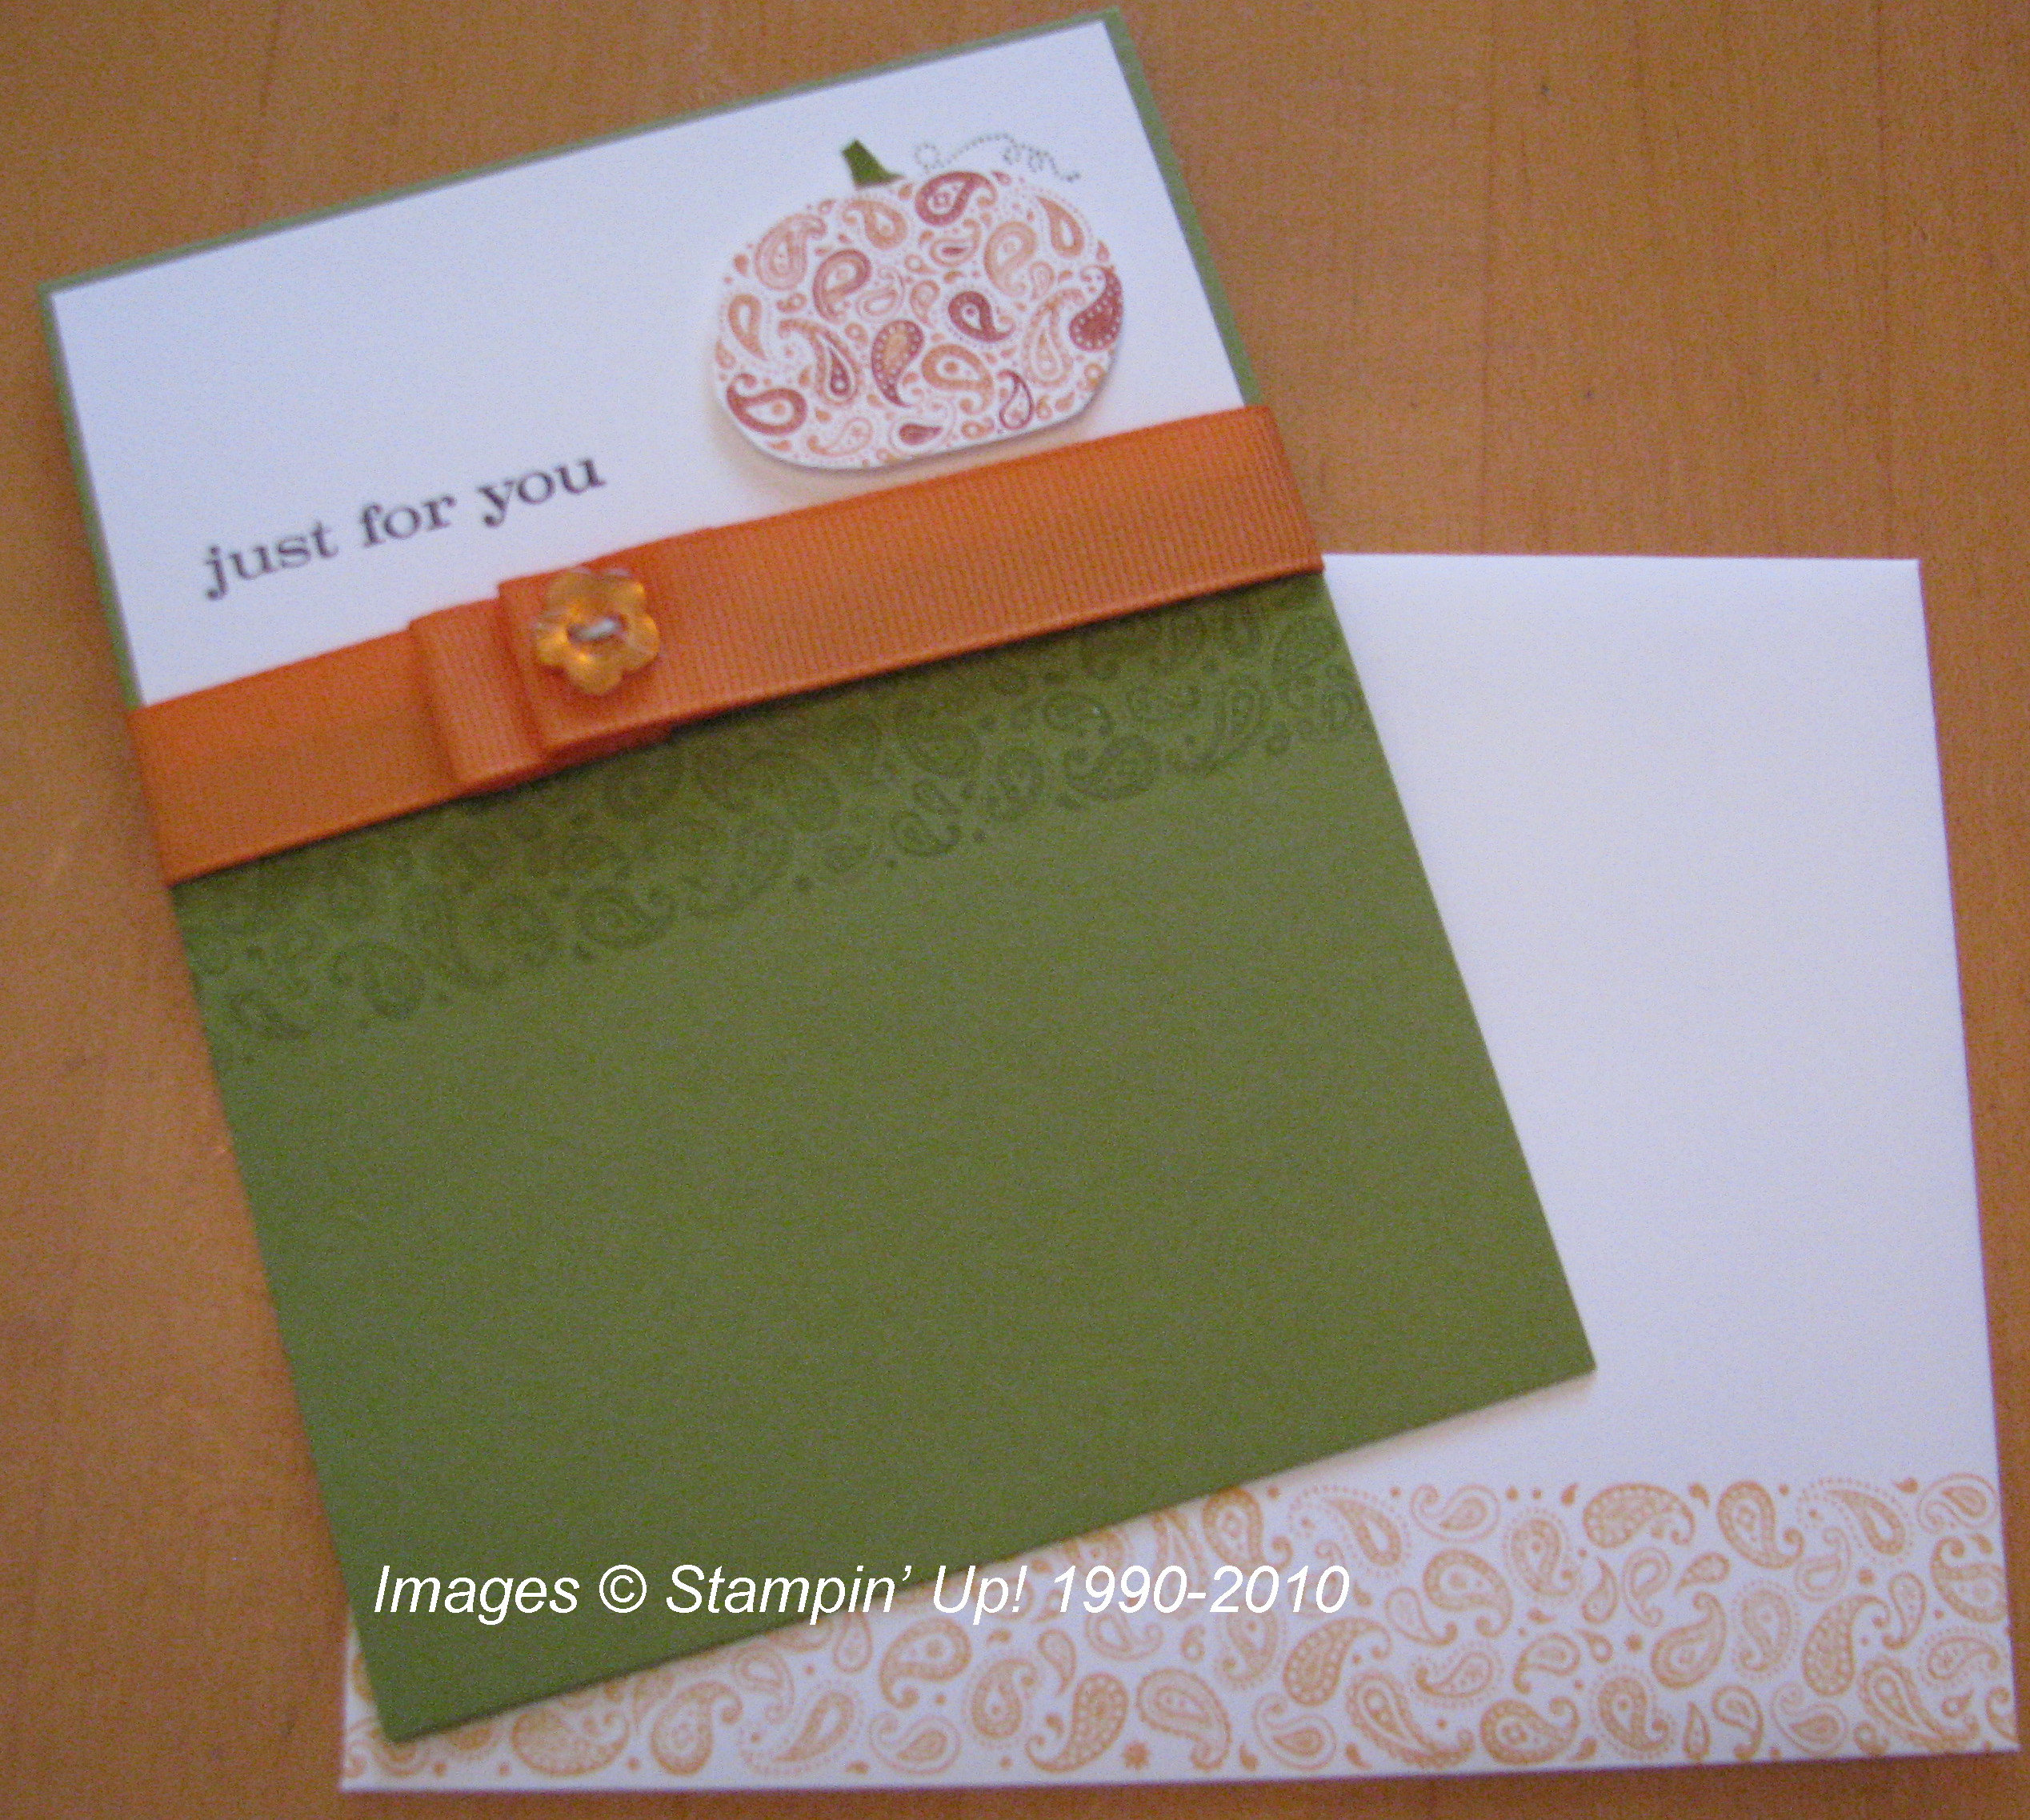
Paisley Prints Pumpkin Card

Paisley Prints Pumpkin Card

I really loved making this pumpkin with the new set coming in the Holiday Mini Sept. 1st, Paisley Prints.  The ribbon is just folded over with Mini Glue Dots to hold it and the wheel Paisley Party is used on the card and the bottom of the envelope.

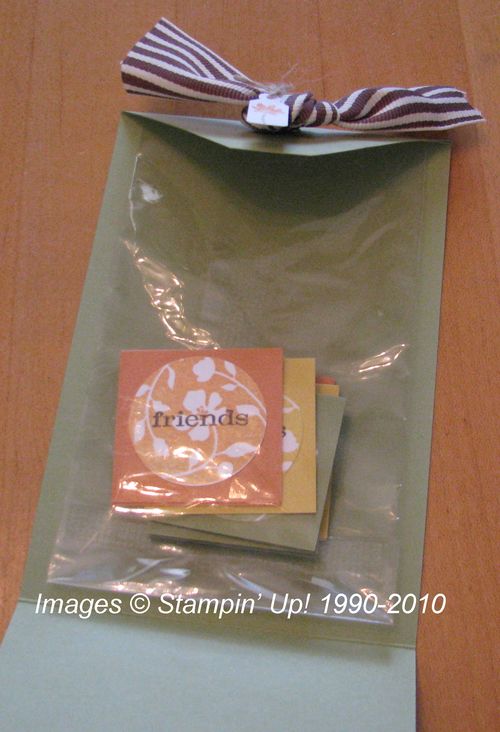
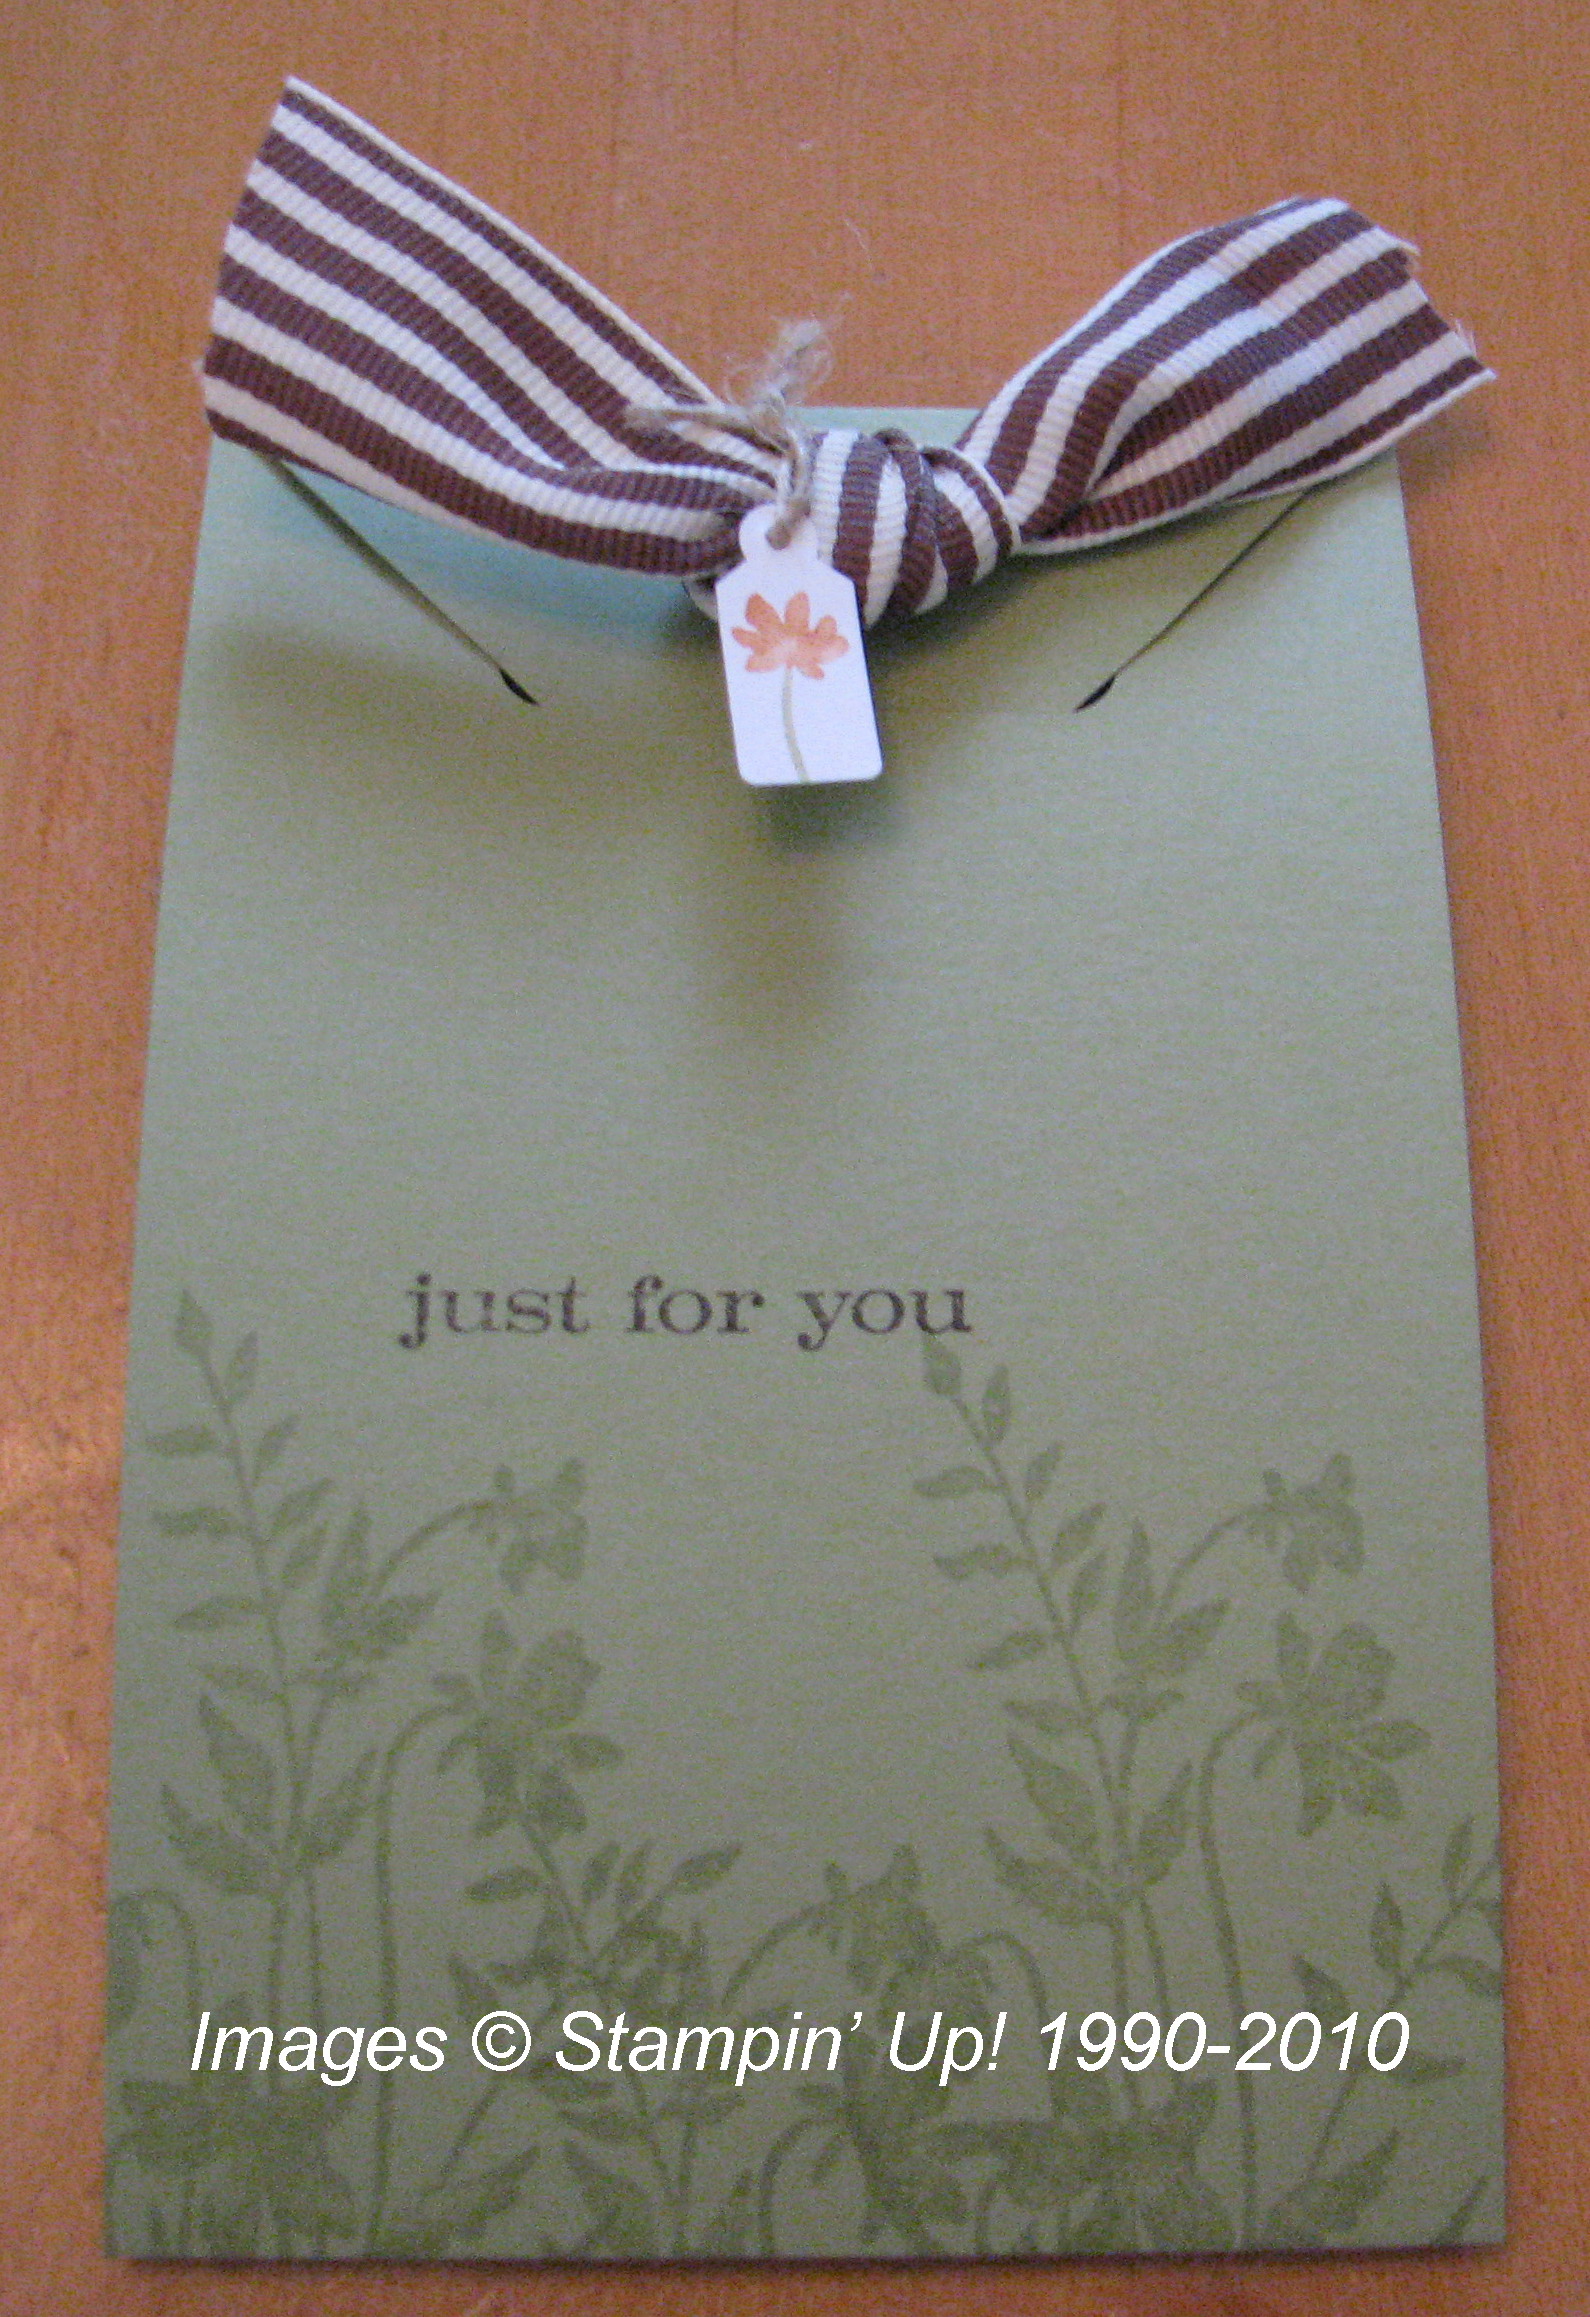
Just for You Pouch

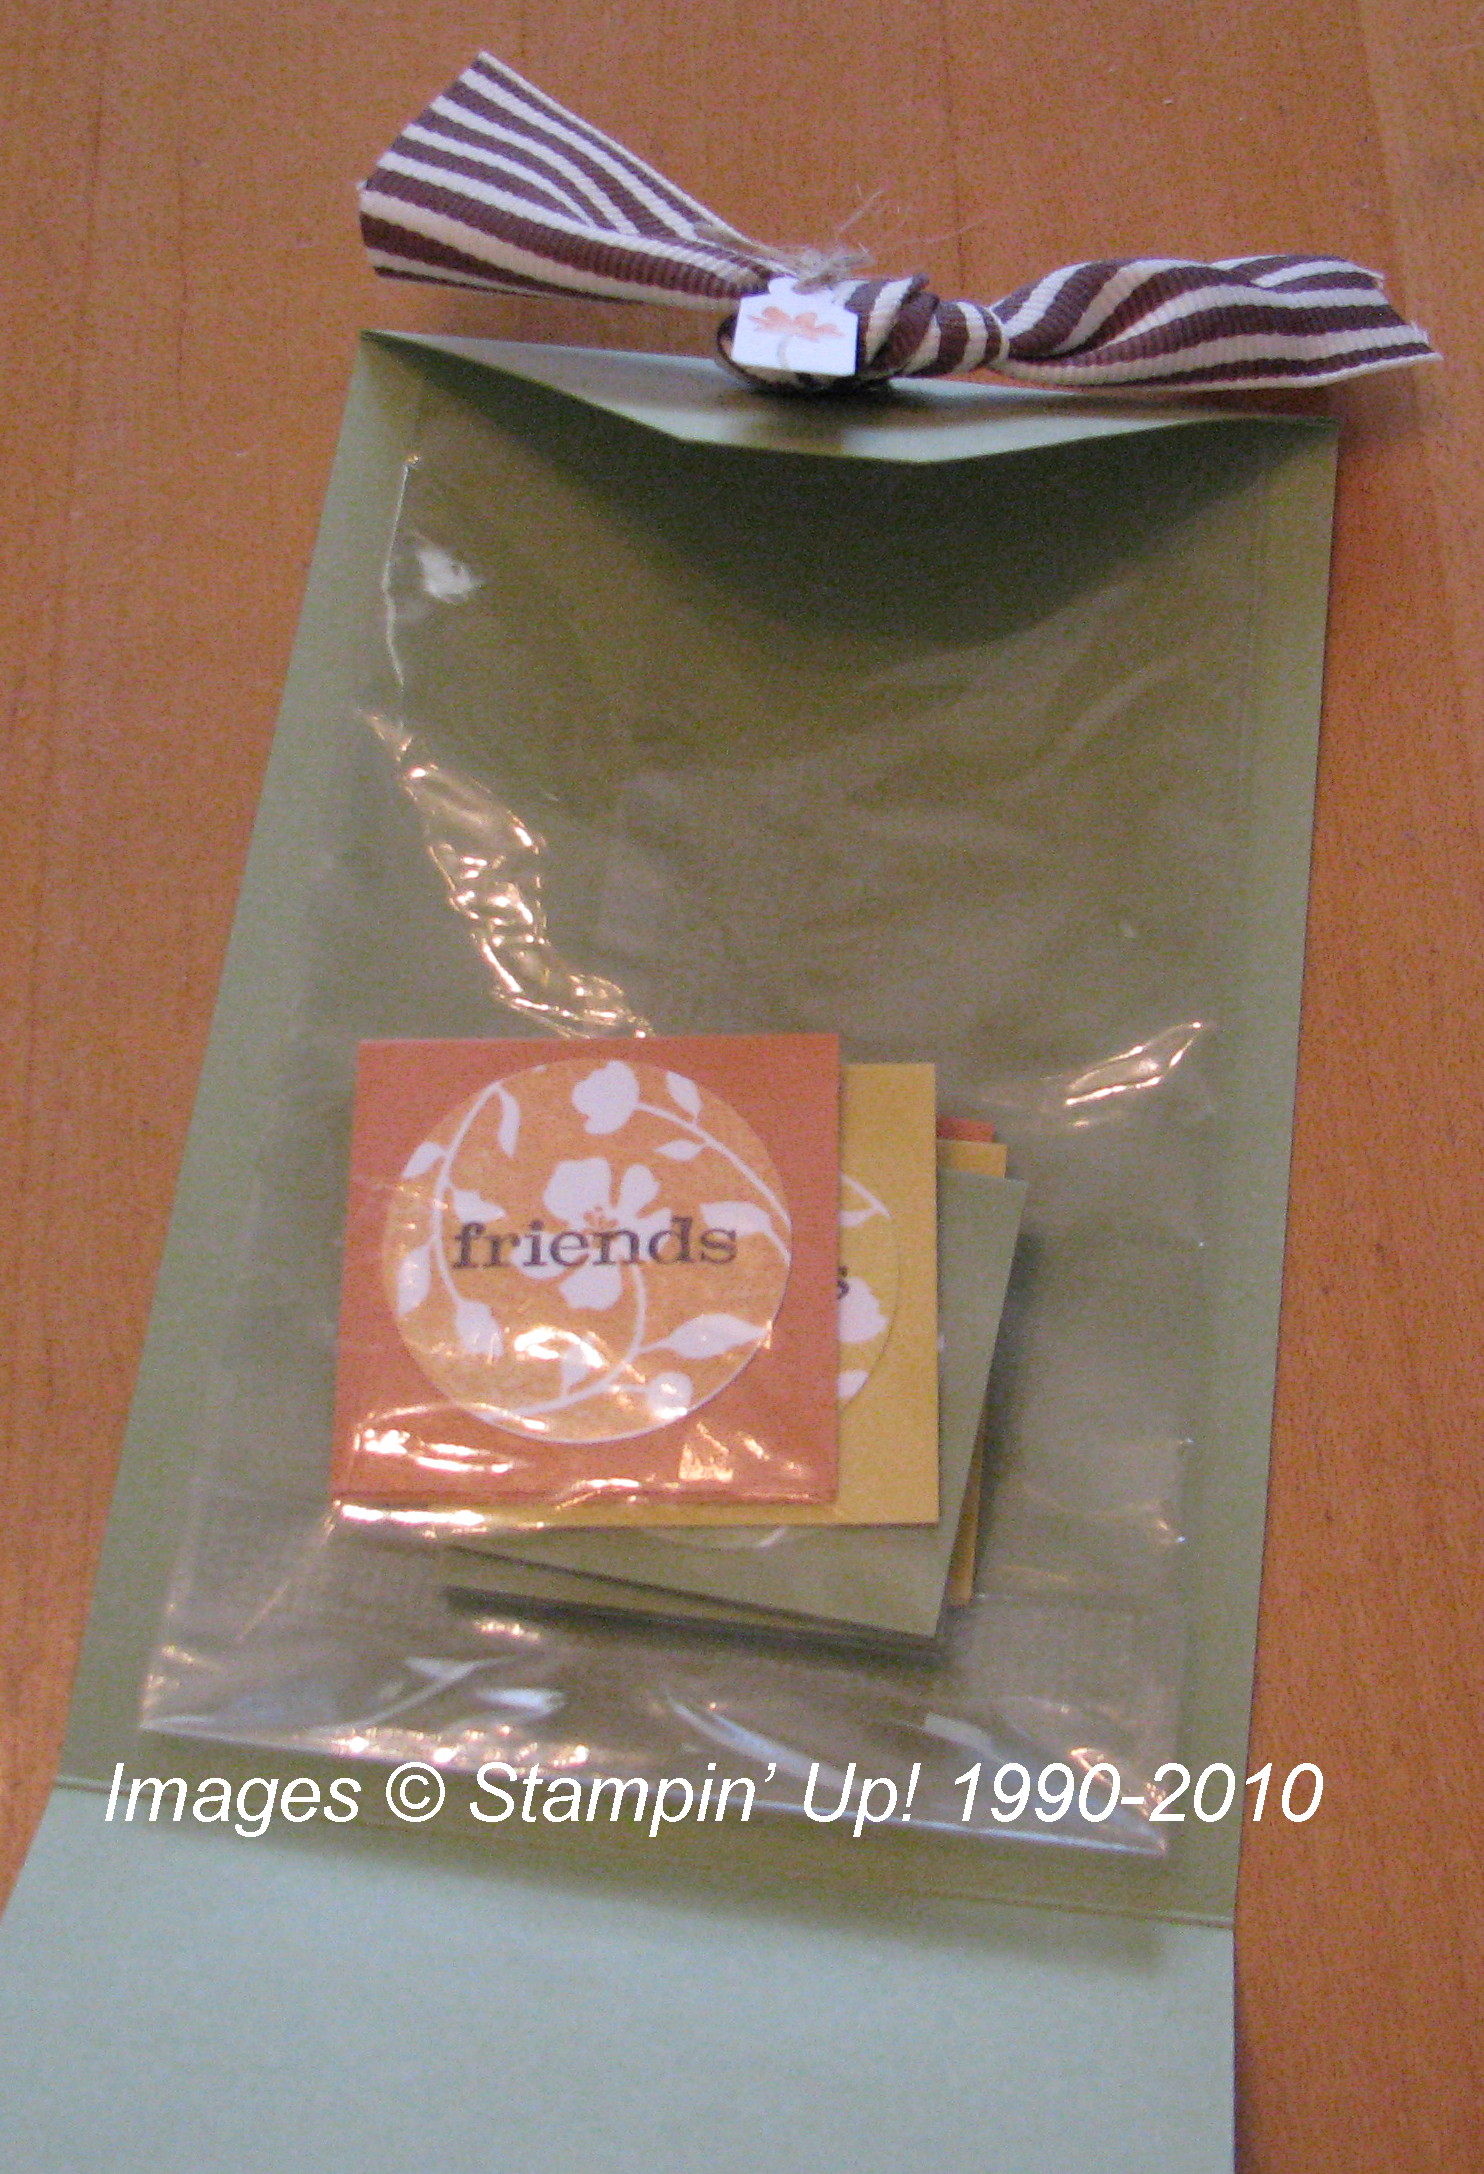
This pouch was real easy and so cute!  Just punch a slot with the Word Window Punch and cut the flap to fit.  Stamp the images from the Just Believe set and make the tiny cute cards to fit inside!
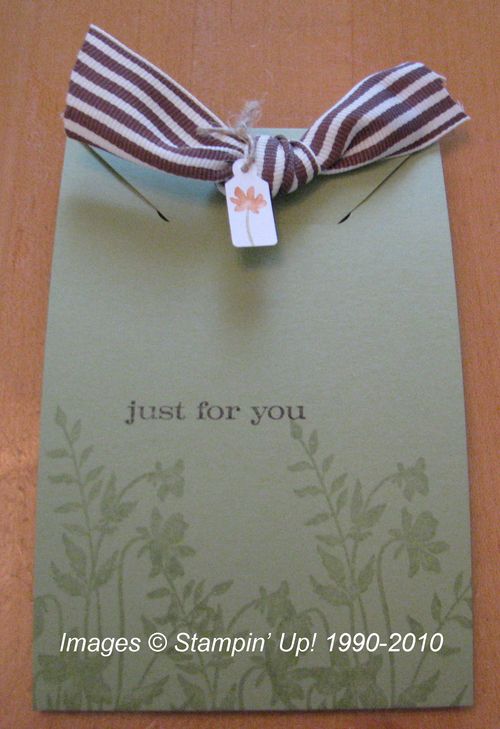
Just For You Pouch

Just For You Pouch and Cards


Back from Colorado!

It's been a busy summer what with wedding planning and going to the Stampin' Up! Convention in July and making wedding invitations.  But my husband hadn't had a trip or any of this fun so he was ready for one.  And off to Colorado we went!  Last night I began putting some photos into My Digital Studio to chronicle our vacation.  Here are two pages I came up with, the first day driving through Big Thompson Canyon, from Loveland, CO to Estes Park, CO.

My Digital Studio Big Thompson Canyon

My Digital Studio Big Thompson Canyon scrapbook page

On the first page, I just chose an already designed page of photo boxes and inserted my photos.  I added the Soft Suede background color, the photo mats, the text and the texture to the page.  For the second page, I inserted a "mirror image" of the first page, but since I had so many photos to include, I added a couple small photo boxes.  All very easy!  If I had a laptop, it would be great to do a page or two a day as I traveled with My Digital Studio installed on my laptop.  You are allowed to install the software on two computers in the same household, which is a great benefit!  


Stampin’ Up! Summer Mini Catalog Ending

With all the excitement of the new Stampin' Up! 2010-2011 Idea Book & Catalog, don't forget that the Summer Mini Catalog is still in effect, but only for another couple of weeks!  The Summer Mini ends on August 31 so be sure you don't forget something that you want!  Just click on the catalog below to view it.

Summer Mini Catalog

There are beautiful stamp sets, papers, and accessories in this catalog, even a bridal set (speaking of weddings!).  And to do those scrapbook pages of your summer travels, check out pages 22-23 with the Sentimental Journey stamp set and the Travel Journal  Designer Series Paper!

Gotta Have Some Bling!

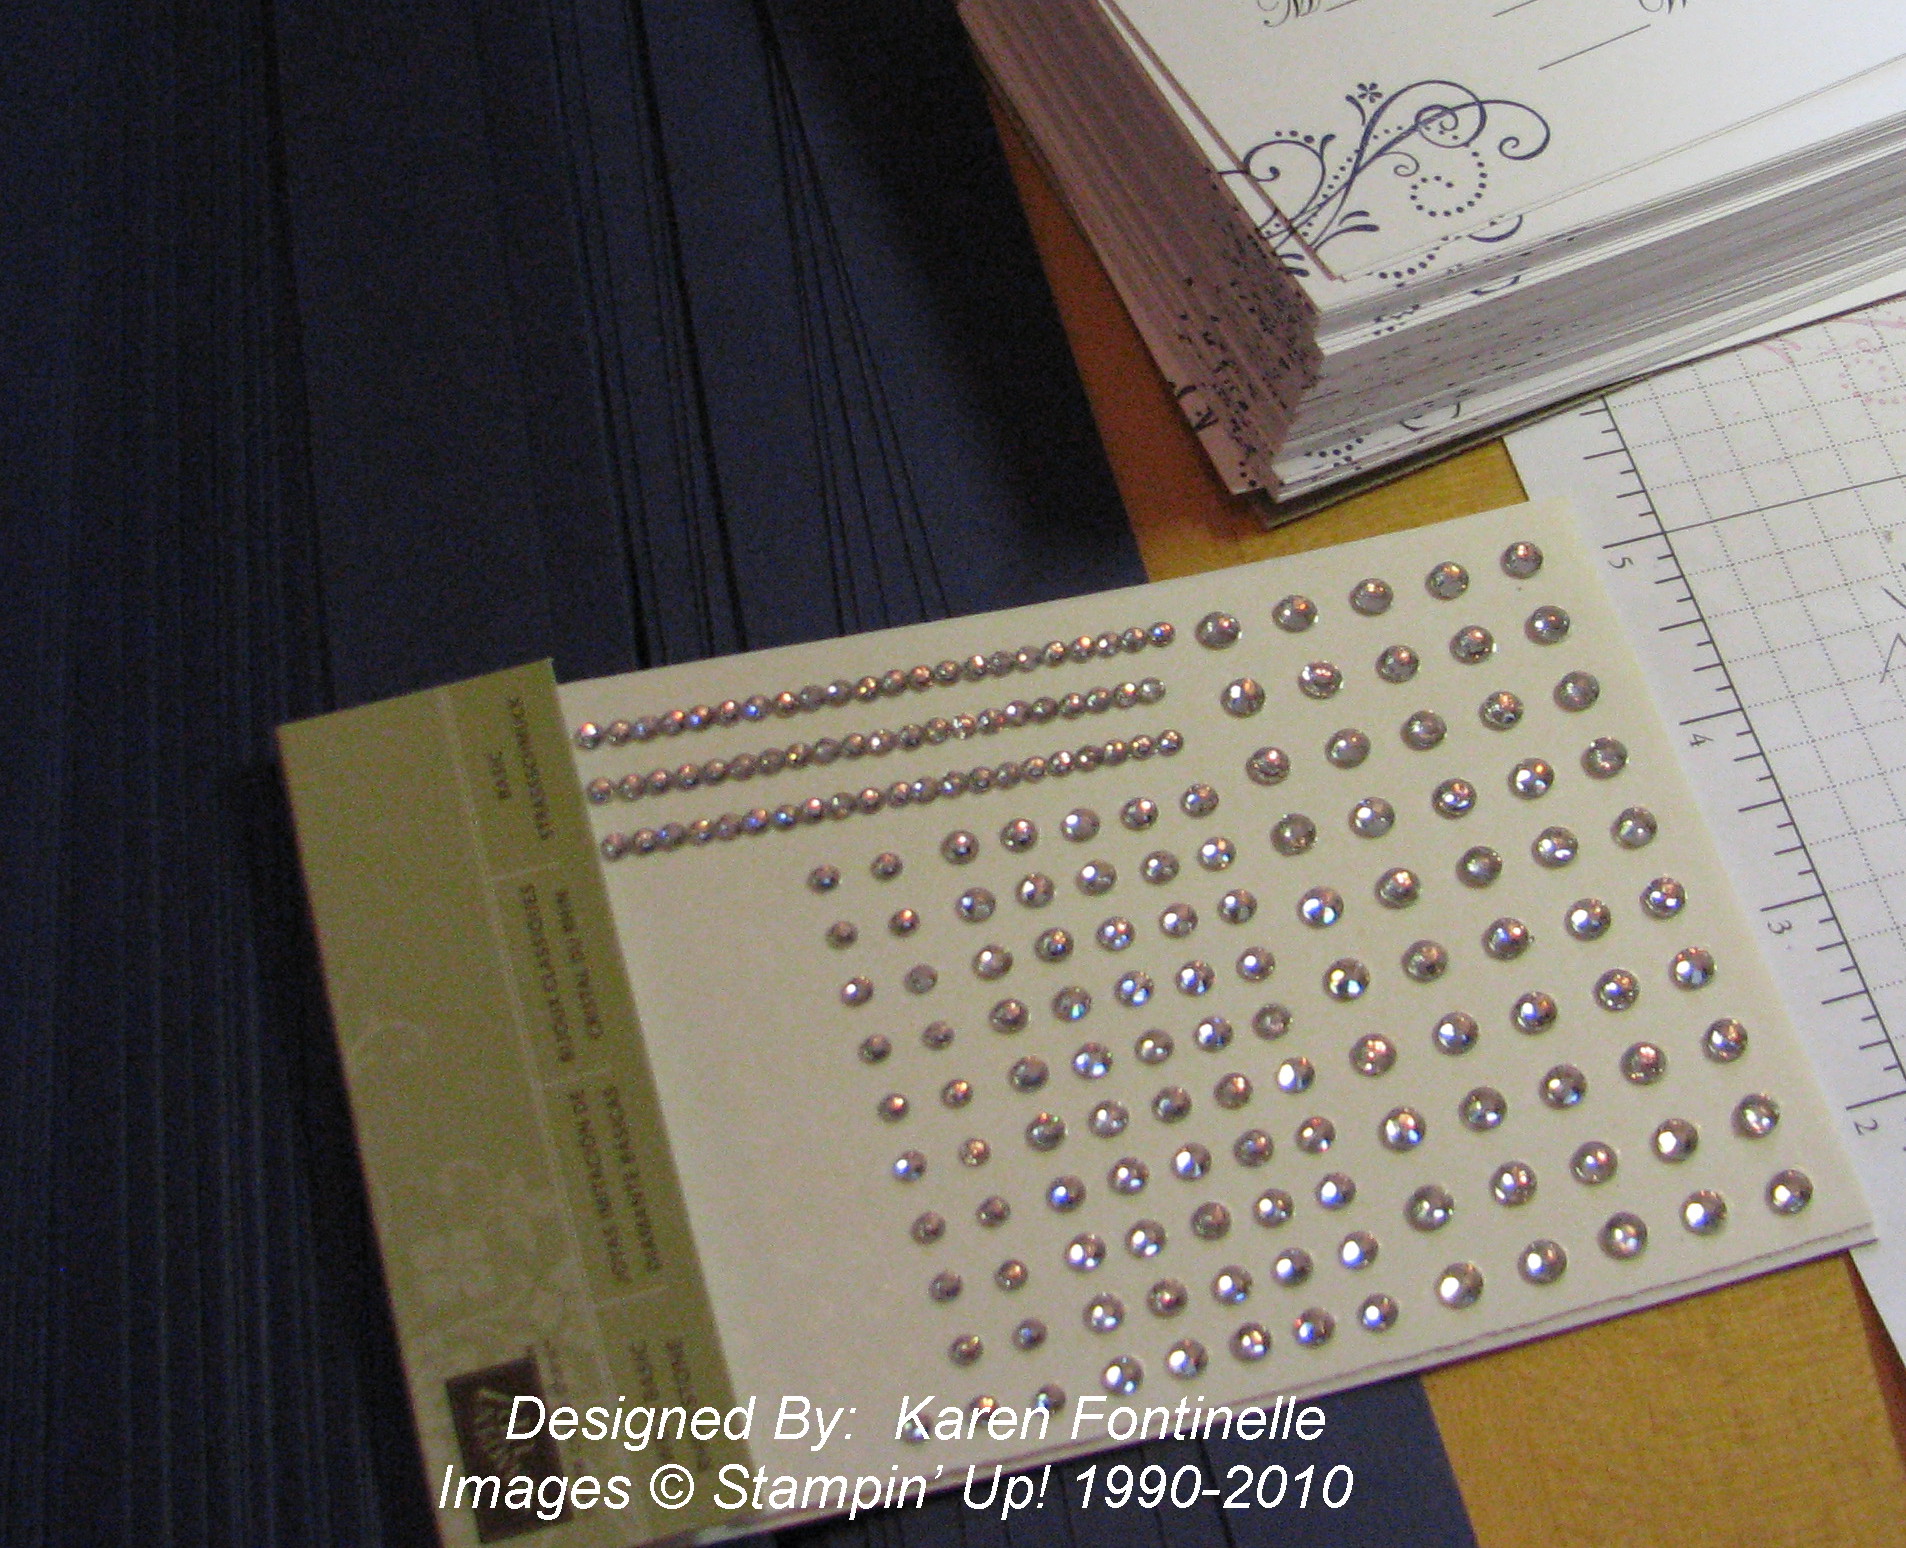
Rhinestones 

Oh my gosh!  Be sure you don't miss the bling in the new Stampin' Up! Idea Book & Catalog!!  There are pearls and rhinestones and they are both beautiful! Here is a package of the Basic Rhinestones #119246.  I used a bunch of the smallest ones on this package, but you can see there are still a lot left!  They REALLY sparkle!  You will love them!  Nothing prettier than a whole package of these rhinestones hitting the light!  You get 150 of them in three sizes for only $4.95.  Just think what all you can make with these!  Your cards and projects will be gorgeous!!