Author Archives: Karen Fontinelle

A Card for September 11th

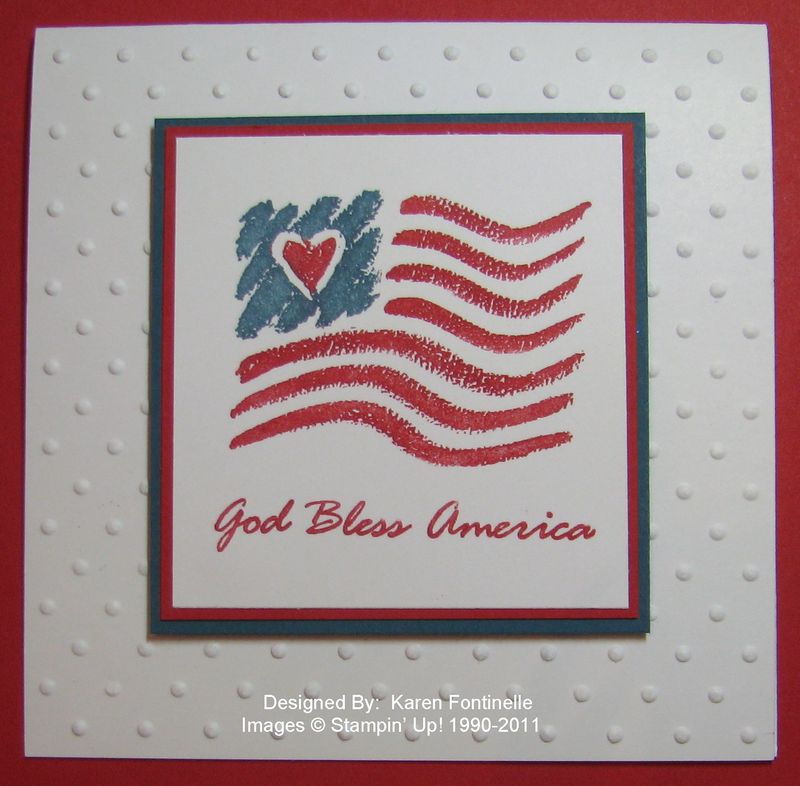
God Bless America for Sept 11th


*******

Stampin' Up! created this Special Edition God Bless America stamp in September 2001 to benefit the September 11th Fund, a national disaster-relief fund.  Stampin' Up! sold more than 147,000 stamps, with the entire purchase price donated, and raised more than $1 million for the September 11th Fund.

Gently Falling Leaf Card

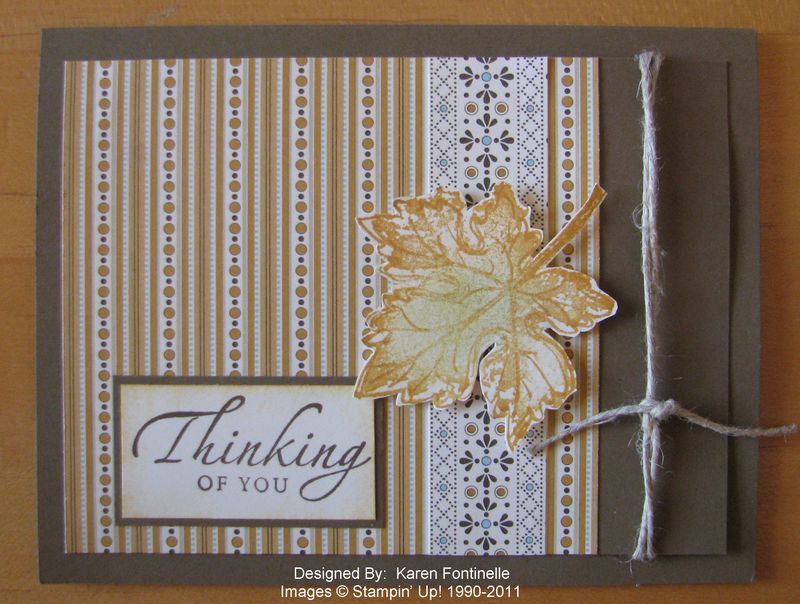
Gently Falling Leaf Card

A leaf and these colors make us think of fall.  Amazingly, here in Houston we have actually been having weather that makes us think fall is possible, in the near future, here! I still can't believe that we went from 100+ degree days, for days on end, to very comfortable, cooler, dry days.  It's almost jacket-weather here early in the mornings!  

The only thing taking away from fully enjoying this beautiful weather is the knowledge that many people in Texas right now are suffering with all the wildfires. Today in Houston we can smell the smoke as a haze settled over the city from miles away due to our cooler morning temperatures. But that is nothing compared to what the people in counties north of Houston and farther west in Bastrop, Texas have to deal with having to evacuate their homes and not knowing if they have any home to go back to.  And many don't. If only the Northeast could send some of their rain down to Texas!  If anyone knows how to do a raindance, come to Texas!

This card is made with Soft Suede card stock and the beautiful, gorgeous Spice Cake Designer Series Paper.  The leaf is stamped with the Gently Falling stamp set.  My leaf actually didn't stamp properly…I forgot to check if I had inked up the center of the stamp well enough…but rather than do it over, I just sponged in some Pear Pizzazz ink in the center, which makes it look more realistic anyway!  See, there are no mistakes in stamping!  I actually "CASED" this card from the Holiday Mini on page 16, except made mine a little larger…and no time to find a button! Love that Spice Cake paper!!

To see all the products in the Stampin' Up! 2011 Holiday Mini Catalog, just click HERE.


Are You On My Mailing List?

Today is the day to sign up for my Mailing List over there in the left corner of my blog! I send out the big newsletter once a month, near the beginning of the month, with exclusive stamping projects and tips, the latest Stampin' Up! news, and more (as they say!)! About mid-month I usually send out a very short newsletter to remind you of any specials or goings-on in the stamping world!

But you should sign up soon so you'll be ready to receive my special Twelve Weeks of Christmas newsletter beginning in October! I did a shorter version last fall because of my daughter's wedding, but this year I plan on a full twelve weeks!  And whether we can believe it or not, Christmas really is right around the corner! You'll receive ideas for cards and gifts and even ideas for bags and tags for wrapping!

Just go to the left-hand columm and put your email in that little box!  You can unsubscribe at any time on your own or by emailing me.

 
Email007

My Digital Studio Downloads for Halloween and Fall!

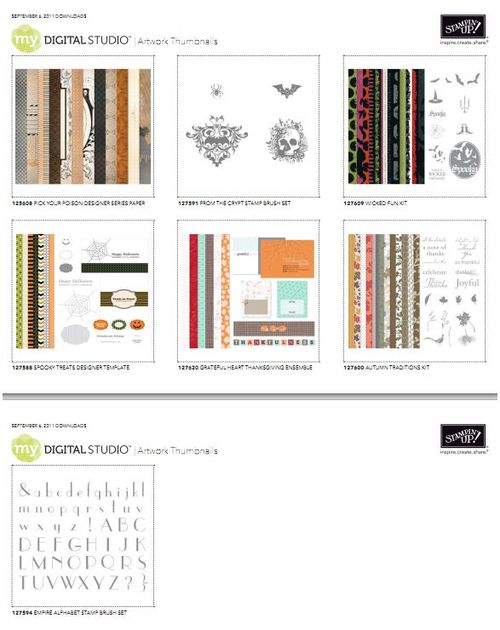
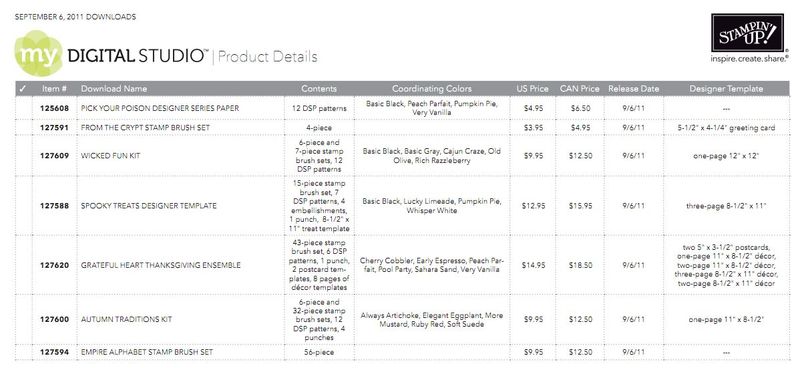
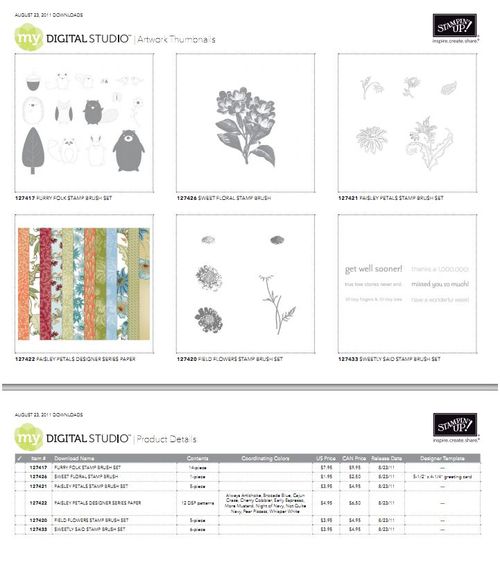
Here are the Tuesday downloads for My Digital Studio! Take your papercrafting skills to new heights as you learn how to incorporate digital papercrafting for even MORE fun and creativity!  Aren't these downloads exciting for Halloween and fall?!

My Digital Studio Dwnlds Sept 06
MDS Dwnlds 9 06 prices(2)

Click on the images above to see the full size page or click HERE.

Be sure to read the content descriptions in the chart above when you enlarge it because some of these contain a lot more than you think by just looking at the pictures!

To shop, just go to my Online Store and then click on Digital Designing over in the left column.

Halloween Medallion

As I mentioned last time, after the fun kitchen remodeling, I was in need of some stamping therapy!  No better way to relax than getting out your stamping supplies and creating something!

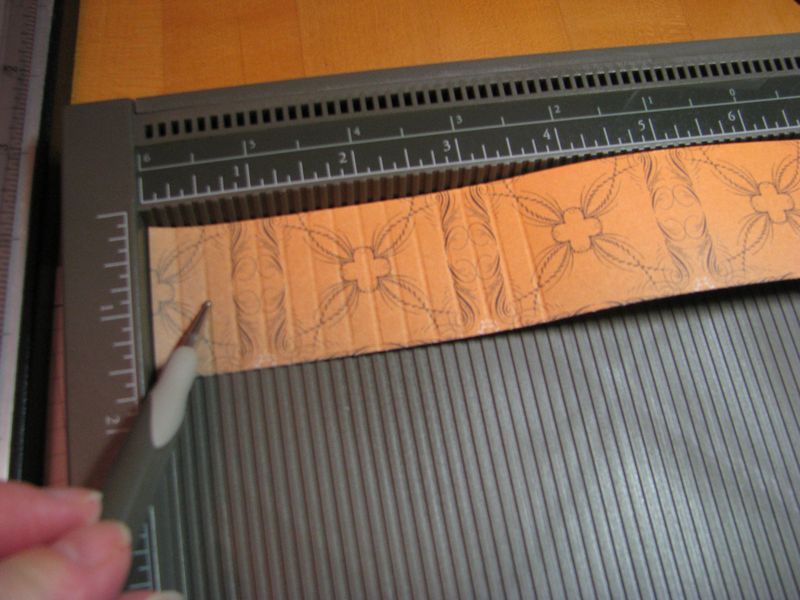
First thing I did was pull out my new Simply Scored Scoring Tool #122334 from Stampin' Up!  This was introduced at the Stampin' Up! Convention and is available in the Holiday Mini Catalog.  Even though I had tried it at Convention, to actually use it now on my own was just a fabulous experience! It is so easy to use and makes doing this much scoring such an easy experience.  It comes with the stylus and also some "markers" to place at the top so you don't have to guess every time at what measurement you want to score.  You can even buy extras.  

But for this medallion I used a strip 12" x 1 1/2" and scored at every 1/4". This is our new Pick Your Poison Designer Series Paper #124001 in the Holiday Mini. (Since I made this, I've read a tip about scoring for example only every 1/2" and then turning the paper over and scoring the 1/4"….I'll have to try that and see if that makes for better folds.)
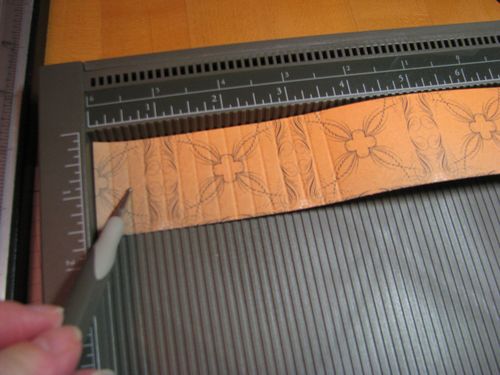
Simply Scored

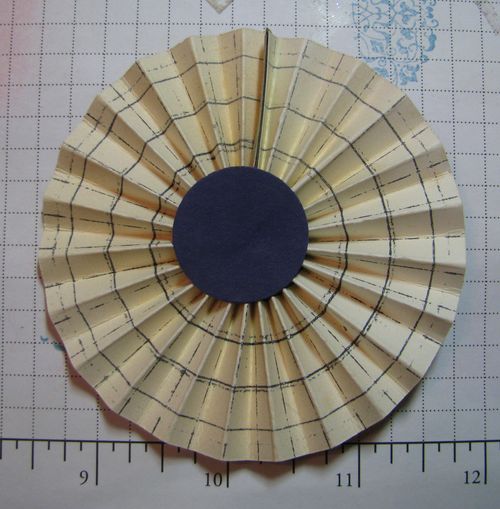
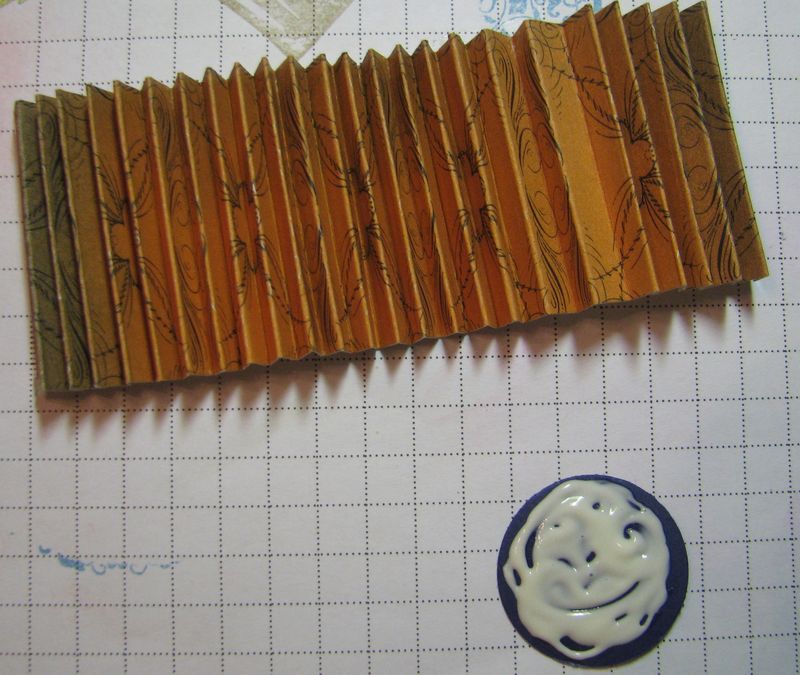
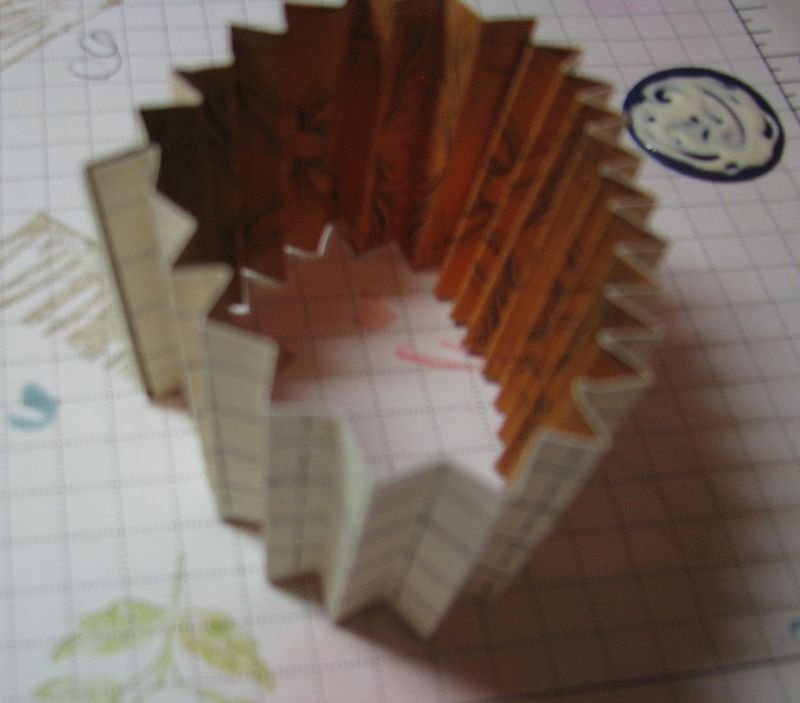
Do an accordion fold of the strip along each scored line.  I added Sticky Strip to each end for extra staying power! And punch a circle of any size for the backing of the medallion.  I used Tombow Multi-Purpose Adhesive.  I let that glue sit while I did the folding so it would get a little tacky.
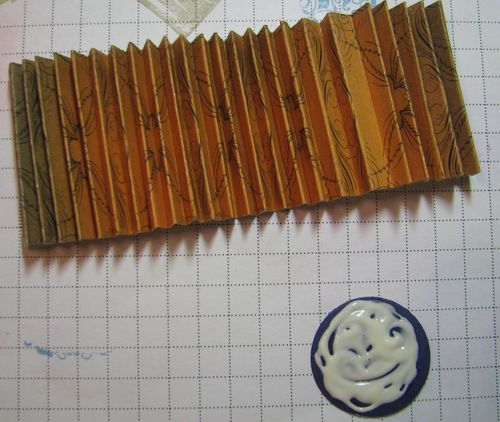
Accordion folded strip


A little blurry but just adhere the ends of the strip together.
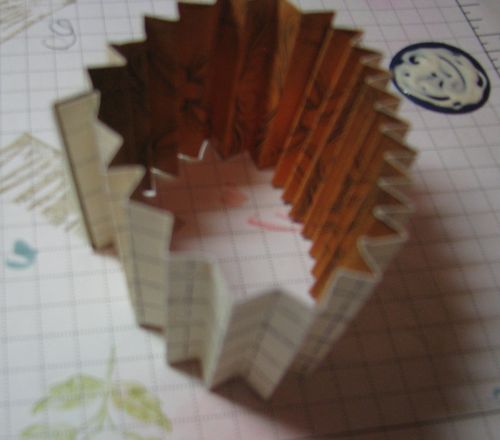
Sticky Stripped Together

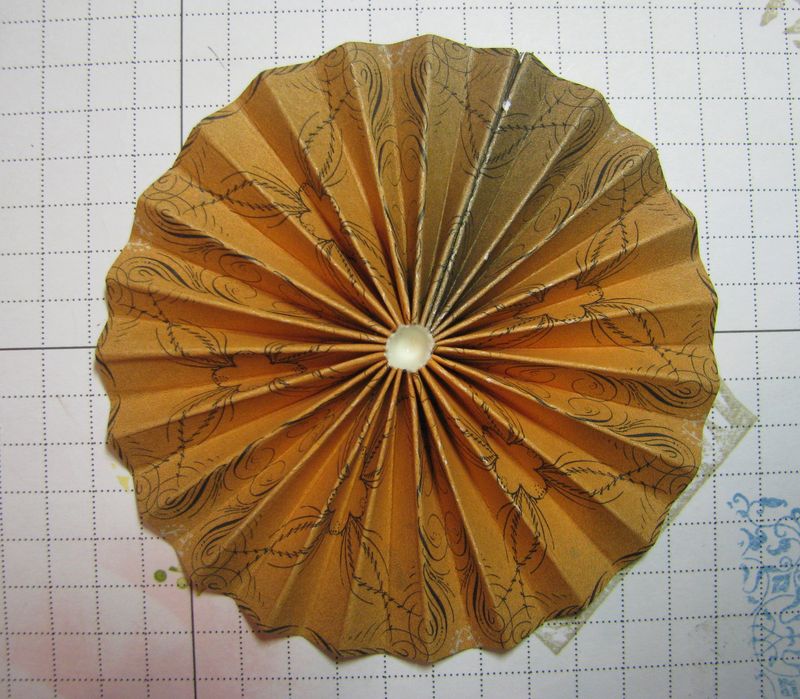
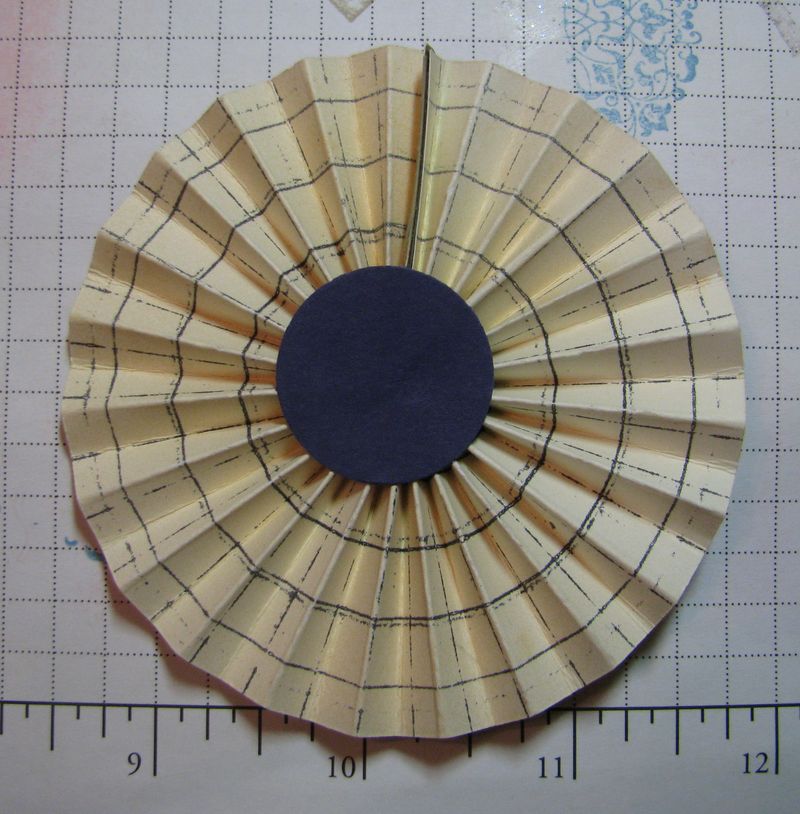
Press it down flat (easy to do) and adhere to your gluey circle on the back.  I even added a bit of glue to the center of the medallion since it would eventually be covered.
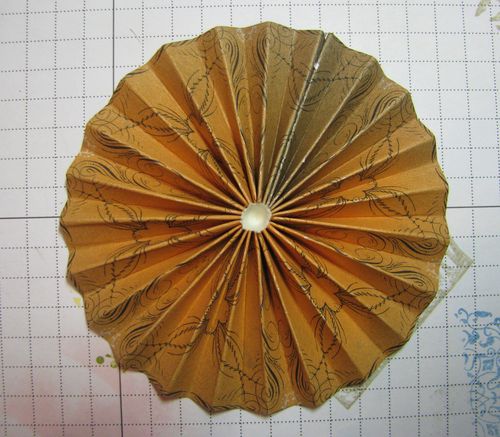
Flat Medallion

Medallion Back

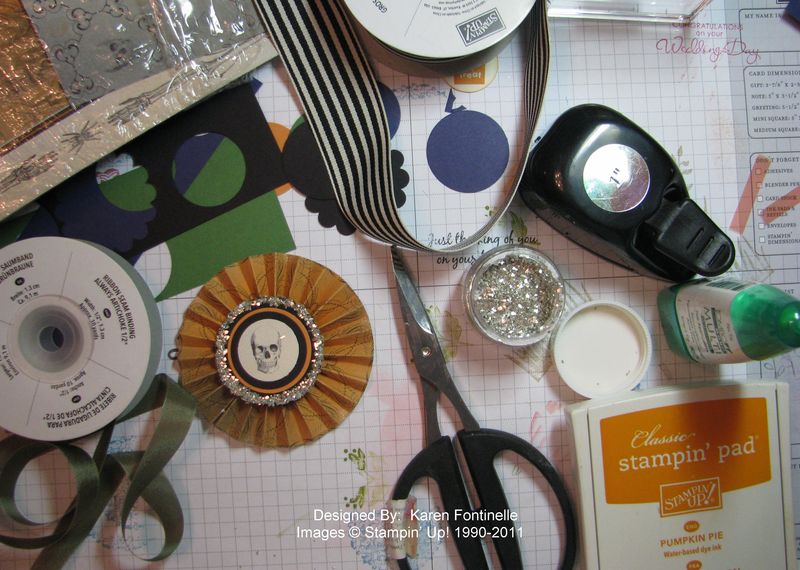
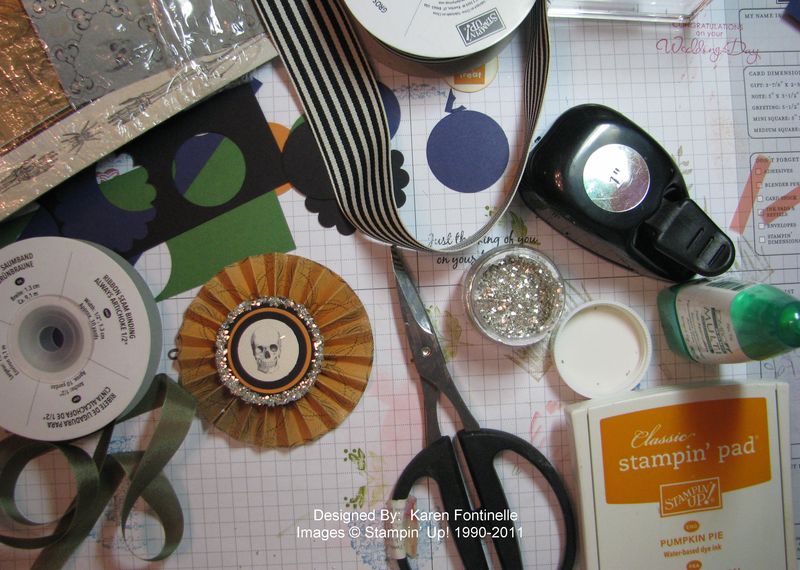
Here you can see my stamping mess where I tried out various punched circles of different colors.  The skull comes from the Pick Your Poison DSP….although I hated to cut into that new paper, it had to be done! The paper is great, as is, by the way for scrapbooking Halloween pages…just add a mat to your photo and adhere….the paper is already printed to suit!  No designing necessary!
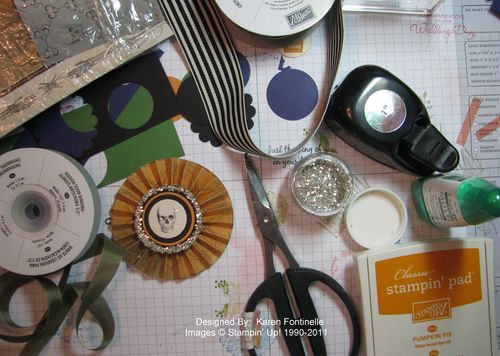
Stamping Mess

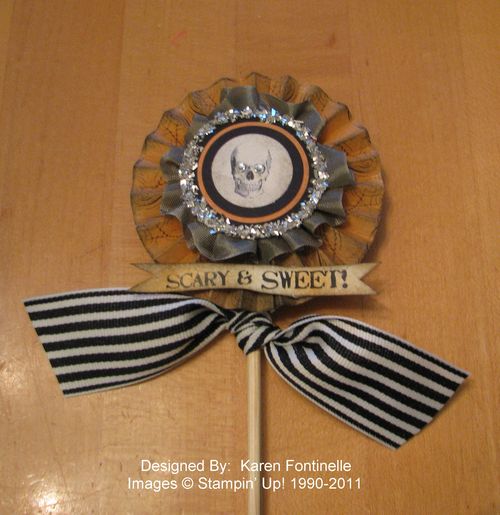
And the finished product!

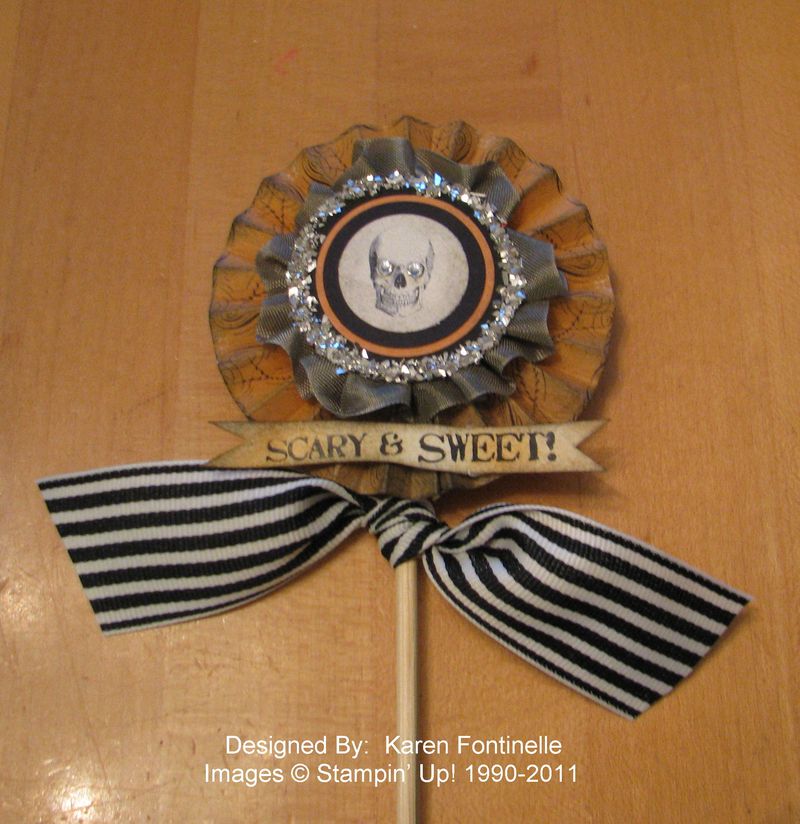
Halloween Medallion on a Stick

 Silver Glass Stampin' Glitter #120995 around the edges.

Rhinestone Jewels #119246 bling for the skeleton eyes.

Sponged the medallion with a little Early Espresso Classic Ink.

Always Artichoke Seam Binding Ribbon #121000 ruffled around the center.

Sentiment from part of a stamp in Grateful Greetings #116511 cut by hand into a small banner and sponged on the edges with Early Espresso and a little Pumpkin Pie ink in the middle.

Adhered to a wooden skewer with lots of Stampin' Dimensionals #104430 and tied with some 1 1/4" Striped Grosgrain Ribbon in Basic Black #115615.


You can shop anytime so you'll be ready when you need stamping therapy!

Go to my Online Store HERE.



Some Kitchen Remodeling…and Stamping Therapy!

IMG_8332

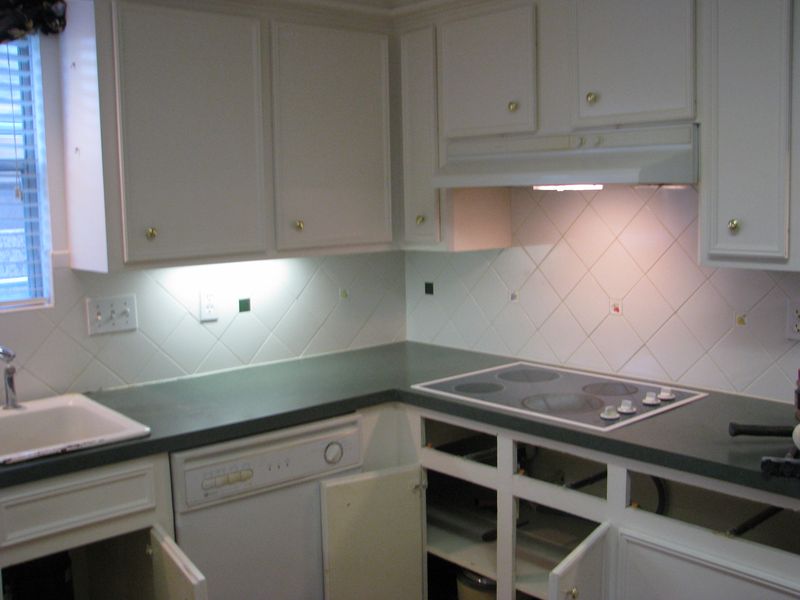
Rusting sink, broken-since-Christmas dishwasher, cruddy cooktop.


IMG_8355

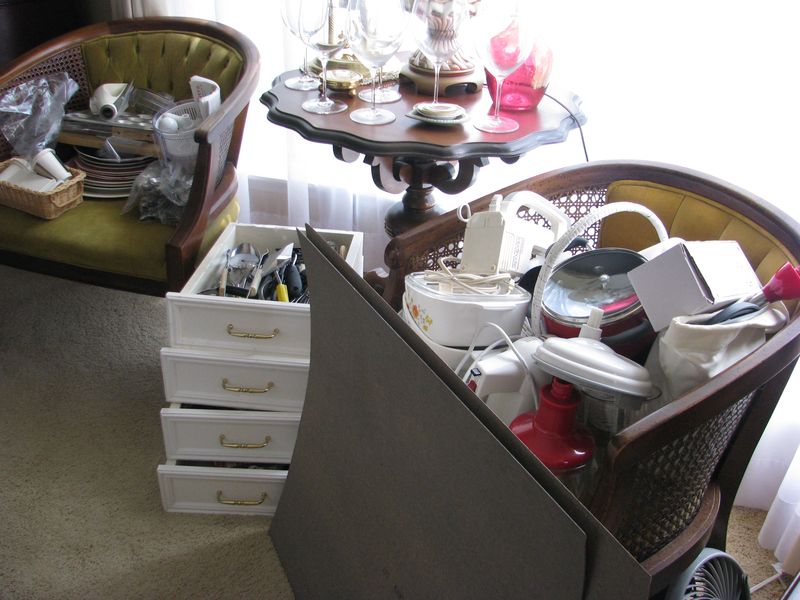
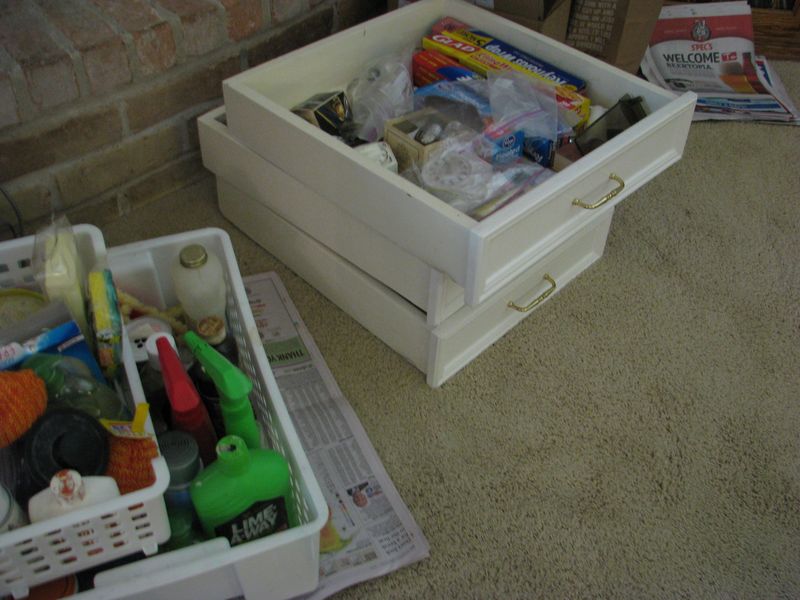
I forgot I had a Salad Shooter!!


IMG_8336

Our new kitchen… green formica and white painted cabinets….oh, that was 15 years ago!


IMG_8357

Where are the scissors??


IMG_8338

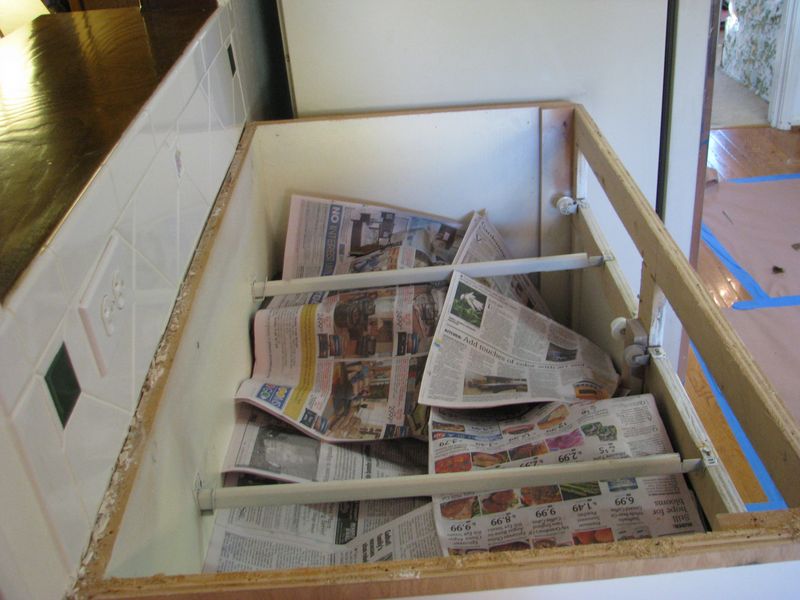
Cheated on this one….didn't empty the cabinet.


IMG_8358

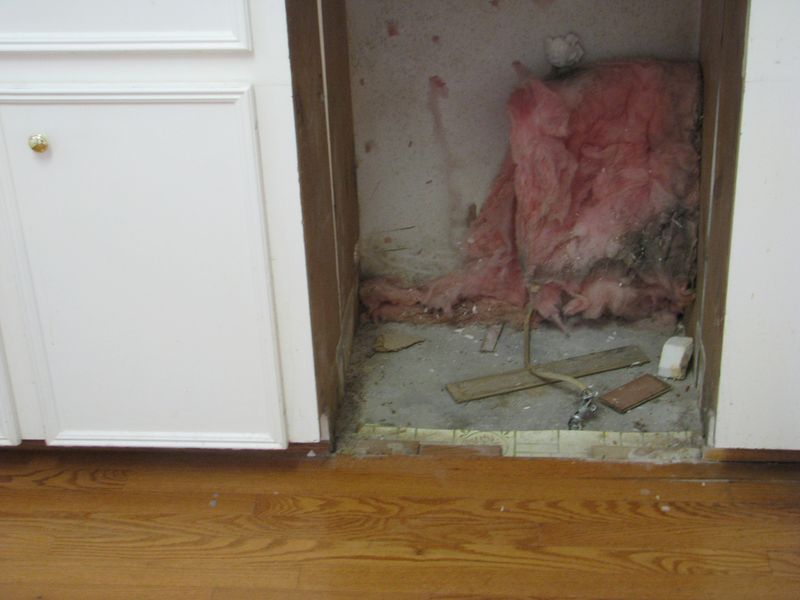
Lucky we got the dishwasher out without tearing up the floor!

 
Kitchen Remodeling plastic

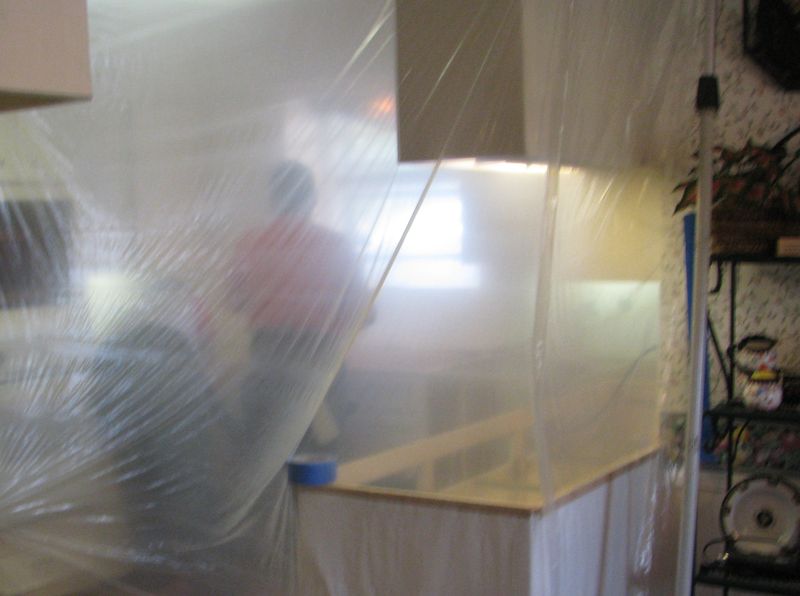
They're trying, but that dust gets everywhere! I hope they can breathe in there!


IMG_8361

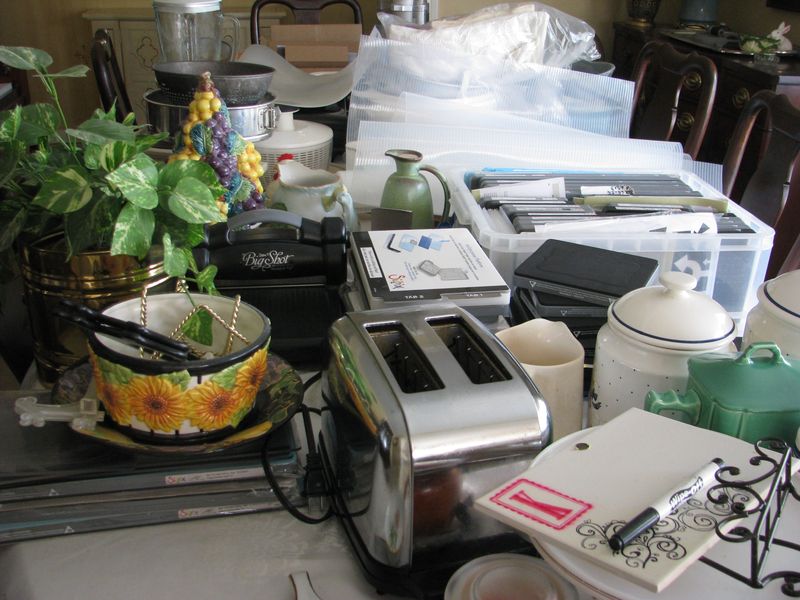
Where's Waldo??  What if I "need" to use my Big Shot???

IMG_8344

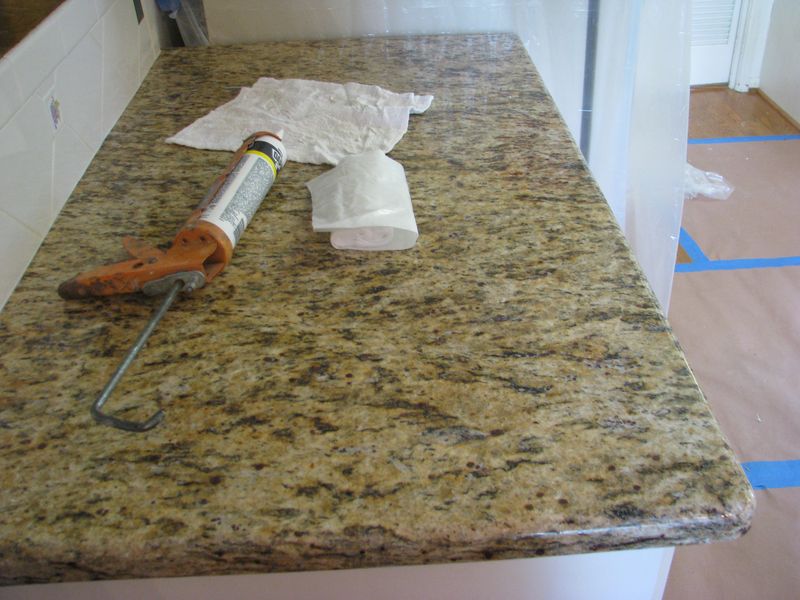
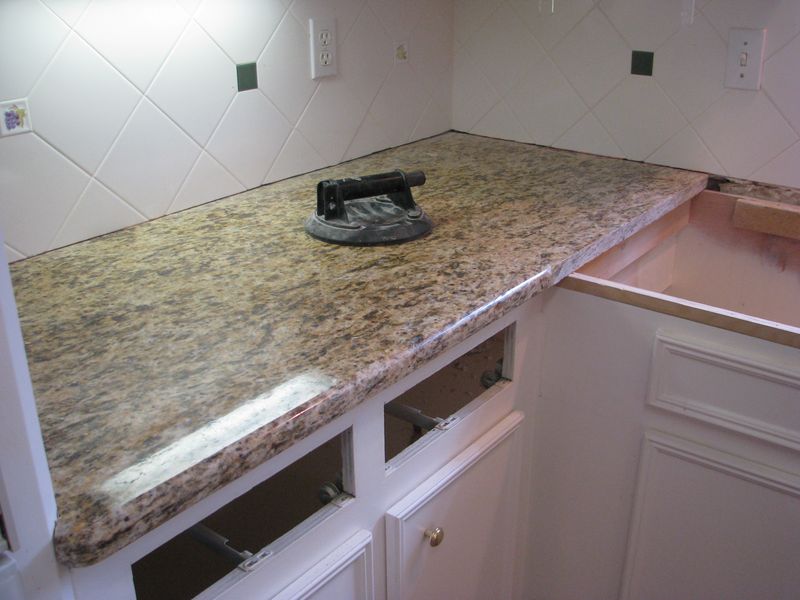
First beautiful piece in perfectly!


IMG_8347

Second beautiful piece in place!


IMG_8354

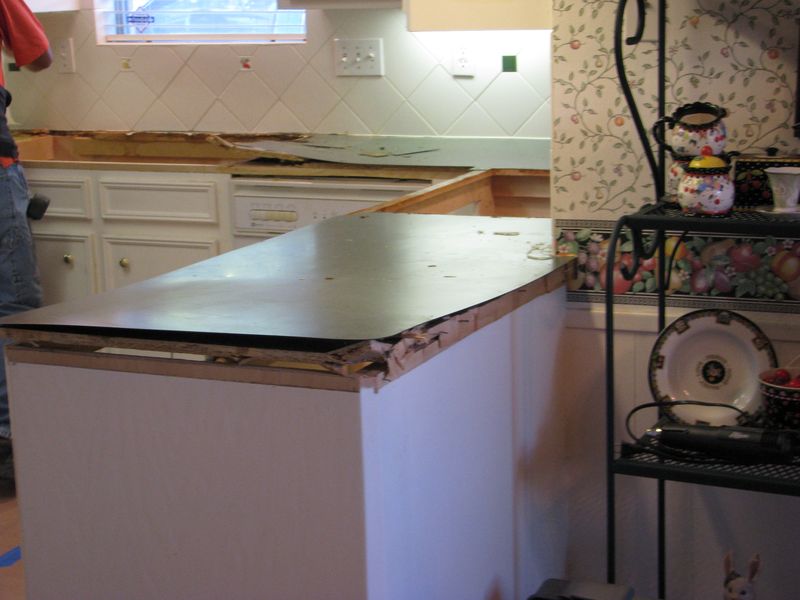
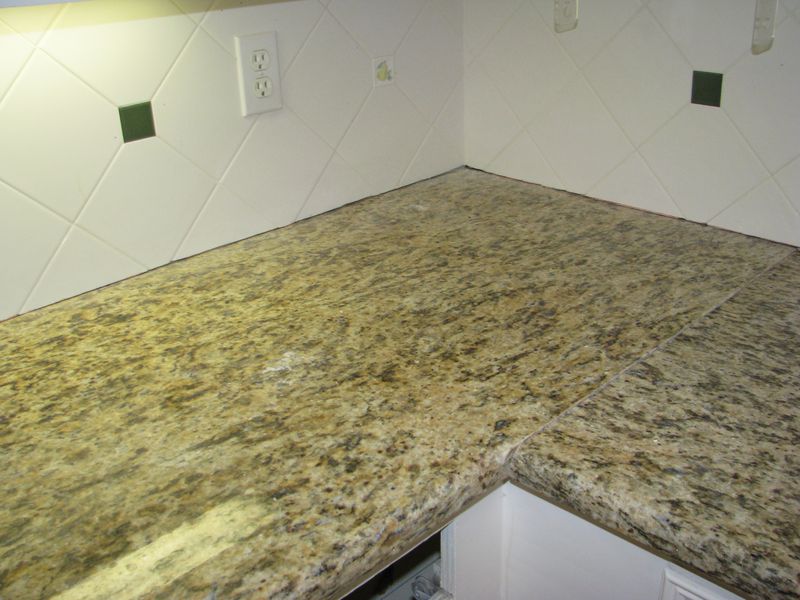
Uh oh!!! The other pieces weren't cut the in the right direction and it's the wrong slab!  Oh no!  They'll fix it!  Whew!  (and I get an extra night to eat out!!)


I think I need some Stampin' Up! stamping therapy!!!

Stamping Mess

How About a My Digital Studio Contest?!

MDScontest_LP_header_sept2011 (1)

Stampin' Up! is offering a contest in digital design using My Digital Studio digital artwork to both customers and demonstrators!

Read all about it HERE or click the image above.

Not familiar with My Digital Studio?  It's digital papercrafting at its best….because it is from Stampin' Up!  And if you automatically think of digital scrapbooking…..yes, it is that….but that's not all!  Even if you never scrapbook a page, you'll find other uses for My Digital Studio….making cards, invitations, party favors, home decor items, decorations….really the possibilities are endless.  Watch a video about My Digital Studio and find out more HERE.
If you are afraid you won't know a thing about how to do it, rest assured that I didn't either and now I can make all kinds of things with the software and downloads.  One great resource from Stampin' Up! is this site for customers and demonstrators with information, forums, videos, tips, samples, everything you could want:  My Digital Studio
And you don't have to give up traditional papercrafting at all…..in fact, you can combine the two!  That's called "hybrid"…. after your digital project is printed, add some "real" embellishments to your project.

Over on the right sidebar under Categories, you will find one for My Digital Studio.  Click on that to see some projects I have made with My Digital Studio! Check it out this weekend!

Stampin’ Up! Holiday Mini Starts Today!

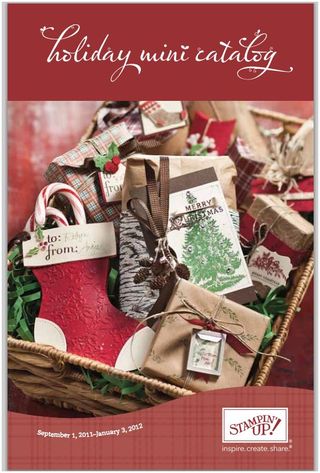
Holiday Mini Catalog 2011

The beautiful, gorgeous, gotta-have-it-all Stampin’ Up! Holiday Mini starts today! You’ll have all you need for your Halloween, fall, and Christmas projects….or any time! And those holiday times are really sneaking up on us!

We were able to preview this mini and all the products at the Stampin’ Up! Convention this summer! It was fabulous!  All of us demonstrators have been waiting and waiting for our customers to be able to enjoy the products as we have been during the preorder period!

I

One of the many highlights of this new mini, is the Simply Scored Tool! I know you’ll want to take a peek at that!


Easy Events Flower Card

Easy Events Flower Card

Today is the last day of August (I don't know how that can be!), the last day for the Stampin' Up! Summer Mini Catalog, the last day for the Strength & Hope Promotion, and the last day for the Buy 3 Get 1 Free Designer Paper Promotion. Time flies when you're having fun!

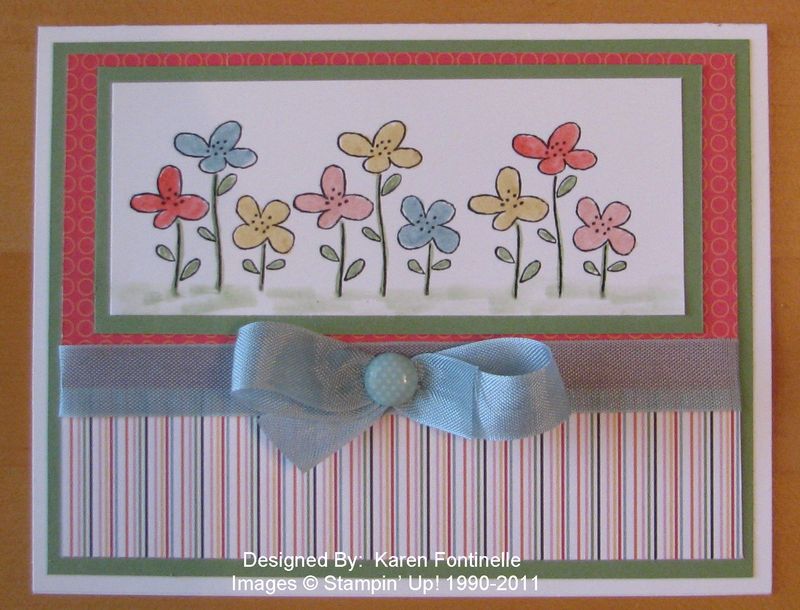
This card is made with the Easy Events stamp set….I stamped one of the images three times without the words at the bottom of the stamp…and colored in with Stampin' Write Markers.  For the card background, I used the fun Just Add Cake Designer Series Paper #124339. I think it makes a happy card! Along with the Baja Breeze Seam Binding Ribbon #122331 and the new Designer Printed Brads #122940!

I'll add a sentiment later if I want, or I might just use it to write a happy note to a friend!

If you haven't stocked up on the new Designer Series Paper yet, today is your last day to place an order.  After you put in three packs of paper, the fourth will be free.  Or email me your order and I'll take care of it.  This promotion includes the paper that sells for $10.95 (not the Specialty Designer Series Paper).

And check that Summer Mini Catalog one more time!

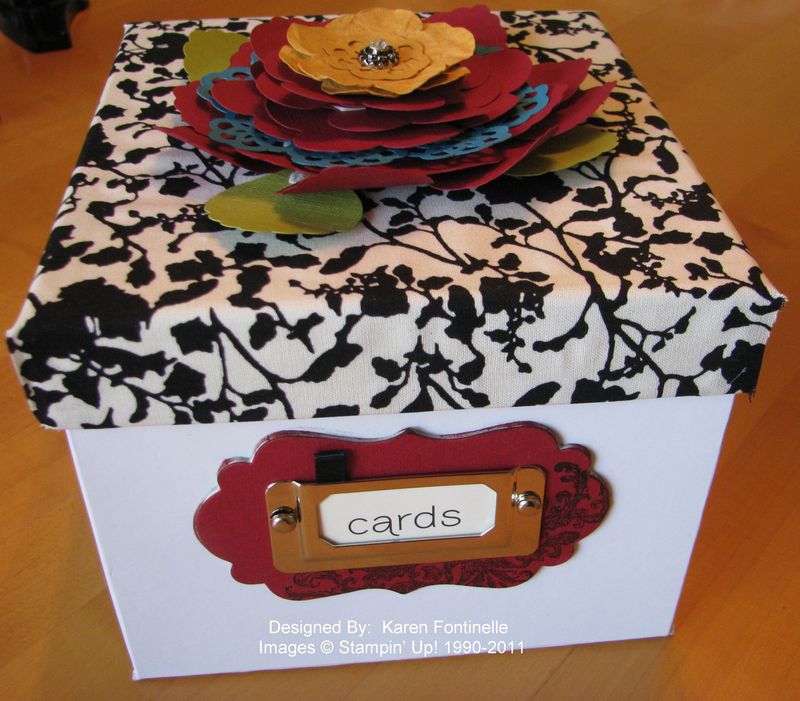
Stampin’ Card Keeper Convention Make & Take

Card Box

I finally got around to finishing my Make & Takes from the Stampin' Up! Convention in July!  Make & Takes are the projects Stampin' Up! gives us to actually "stamp" at the "stamping" convention.  I'm just not very good at doing the projects during the allotted time….I don't know why….I feel like everyone else understands the directions better, is working faster, etc. etc.  Too much pressure!!  I know at least some other demonstrators feel the same way so I know it's not just me!  I much prefer to do them at my kitchen table provided I have all the supplies at home. Besides, the morning my Make & Takes were scheduled I was VERY tired and was worried about getting my photos taken of the display boards.  So after partially making ONE card, I packed up my stuff, walked all the way back to the hotel from the far corner of the convention center to get rid of my stamp sets and supply packets and walked all the way back to the far corner of the convention center to take my pictures.  And then I was happy (if not more tired!)  But with kitchen remodeling and vacations, it has taken awhile to get to do my Make & Takes!

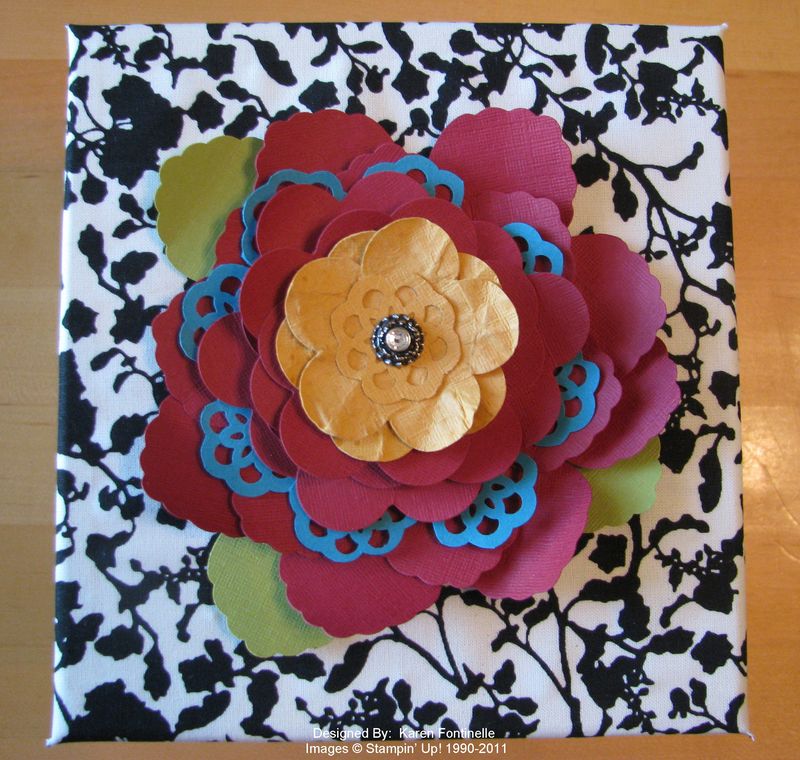
This is a box that will be in the new Holiday Mini Catalog coming out Sept. 1st called "Stampin' Card Keeper". It's very sturdy and very nice quality.  It comes flat so you just have to assemble it and then you can decorate it any way you like.  This lid here is covered with the new Timeless Portrait Fabric (using Sticky Strip to adhere). Patterns come with the box for covering it, even the sides if you wish.

Card Box Flower


Here's the gorgeous paper flower on the top of the lid.  It's made from various punches out of textured card stock….the Fancy Flower Punch, Lace Ribbon Border Punch (the flowers are cut apart) , and the Blossoms Petals Builder Punch.  It's all actually made out of two stacks of assembled flowers and then all stacked together.

I did make one change.  Stampin' Up! gave us in our kit a Simply Adorned Clear Crystal Bauble for the center of the flower….but the crystal is so pretty I wanted to use it on my Simply Adorned Jewelry so I made an alternate flower center!  Mine is an Antique Brad with a Rhinestone Jewel in the center for some bling!

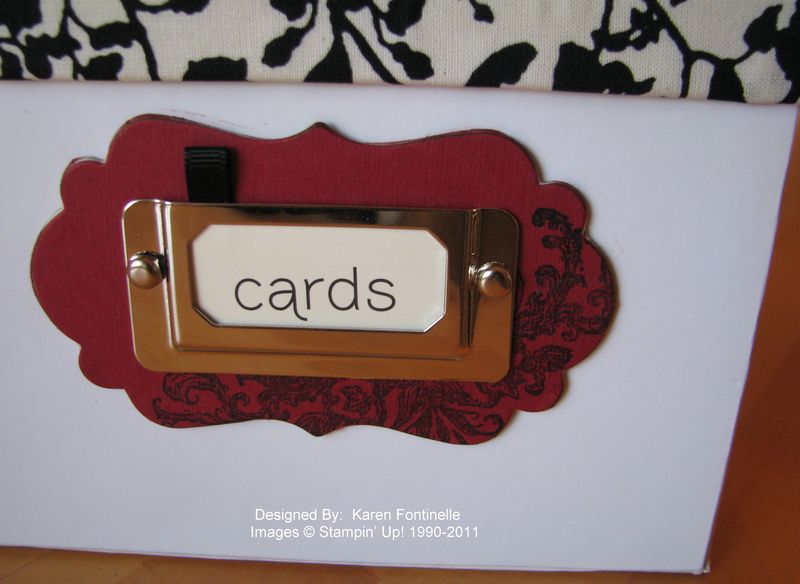
Card Box Label

Cute label for the box using On Board Merry Medley chipboard and the stamp set Best Friends Forever.

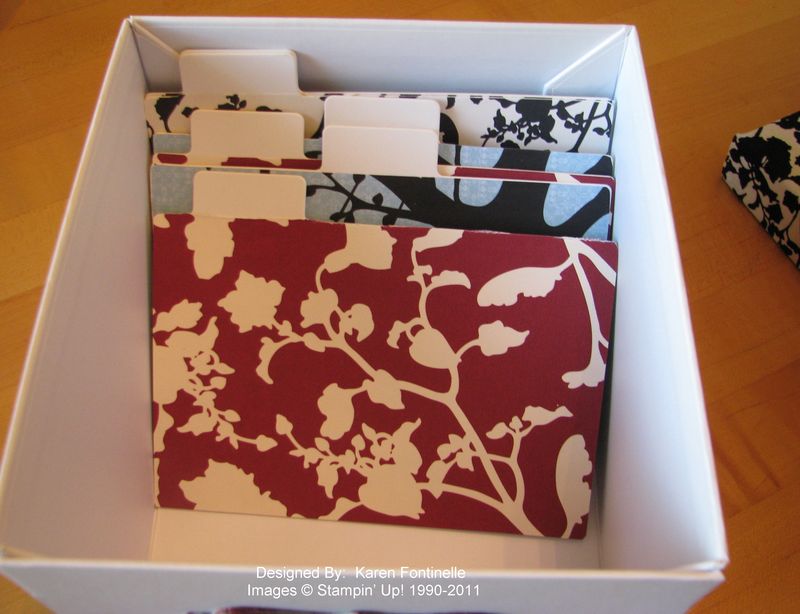
Card Box Inside

Six dividers for organization, covered with the Timeless Portrait Designer Series Paper.

 You'll be able to order your Stampin' Card Keeper box #124107 when the Holiday Mini comes out on Sept. 1st!

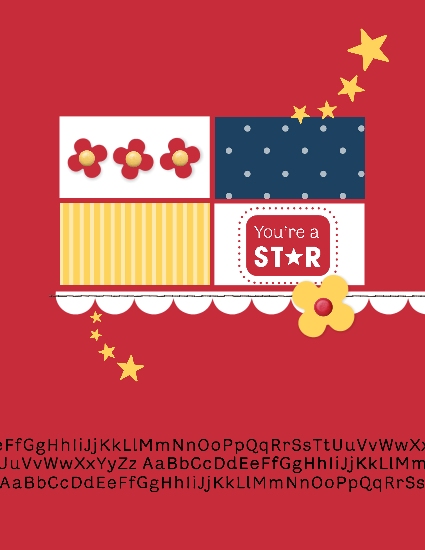
Back to School with My Digital Studio

My Digital Studio Back to School

It's so easy to just play around with My Digital Studio.  I just picked a design that was already made and then changed the colors of the background paper, the colors of the rectangles, the colors of the flowers and brads, changed the greeting, added some stars and the alphabet and I had a little "back to school" card.  That might sound like a lot, but I didn't have to think about a design and just a few clicks changes colors or embellishments.

If you have any questions about My Digital Studio, just ask!

Stampin’ Up! Spooky Bingo Bits Halloween Magnets

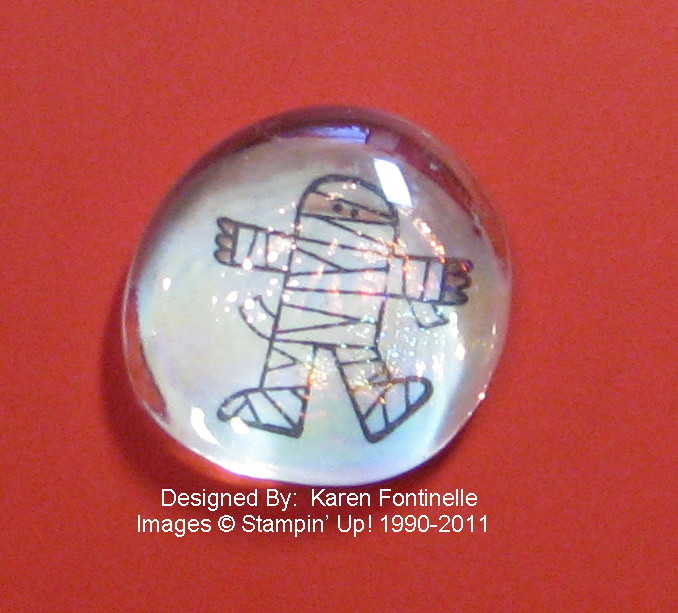
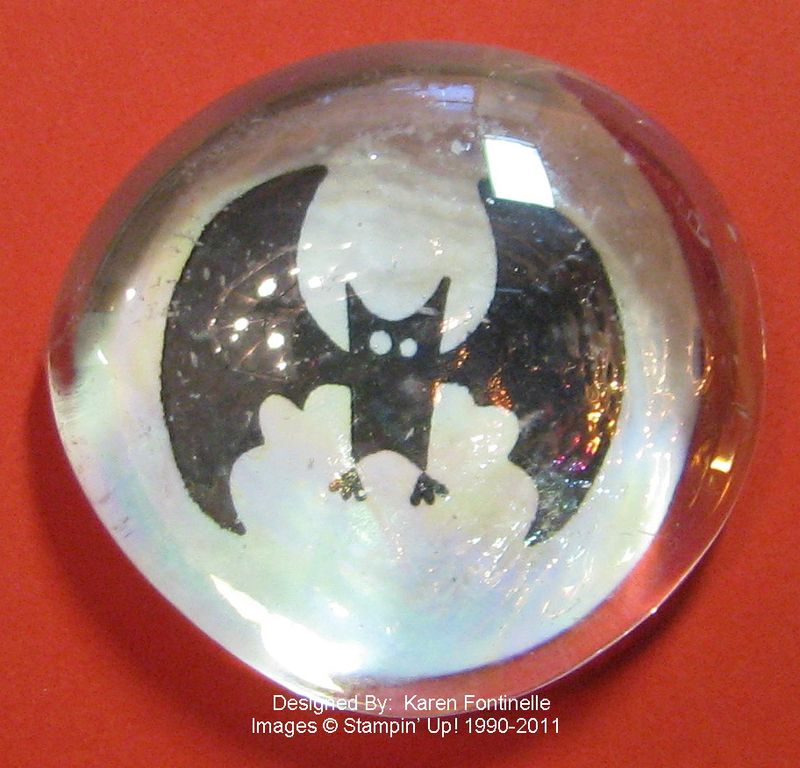
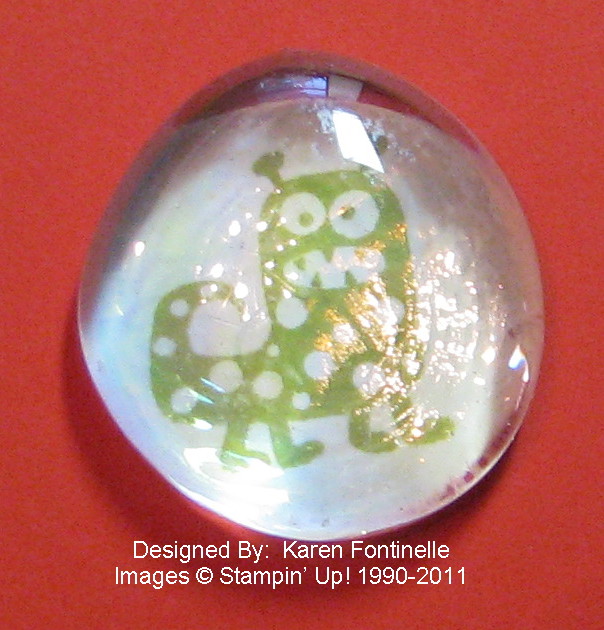
I knew this Spooky Bingo Bits stamp set #123946 (clear) looked like a fun one when I saw it!  And then I got the idea from a long time ago to use those clear "rocks" to make magnets with the stamp set.  I need to search deeper in all my craft stuff to see if I have more pebbles (I think they are called) because these would be so fun to make!

Halloween Magnet

Halloween Magnet Bat

Hallowee Magnet Monster

I stamped on Whisper White and punched out with the 1" circle punch. In the past I glued the pebble on over the stamped image and then cut around the pebble shape with a scissors when dry.  Just depends on whether or not you want it to match the pebble shape exactly.  I used Crystal Effects.  Just glue on a magnet to the back and you're done! These are so easy and fun!


Stampin’ Up! Convention Swap–Doily Snowflakes

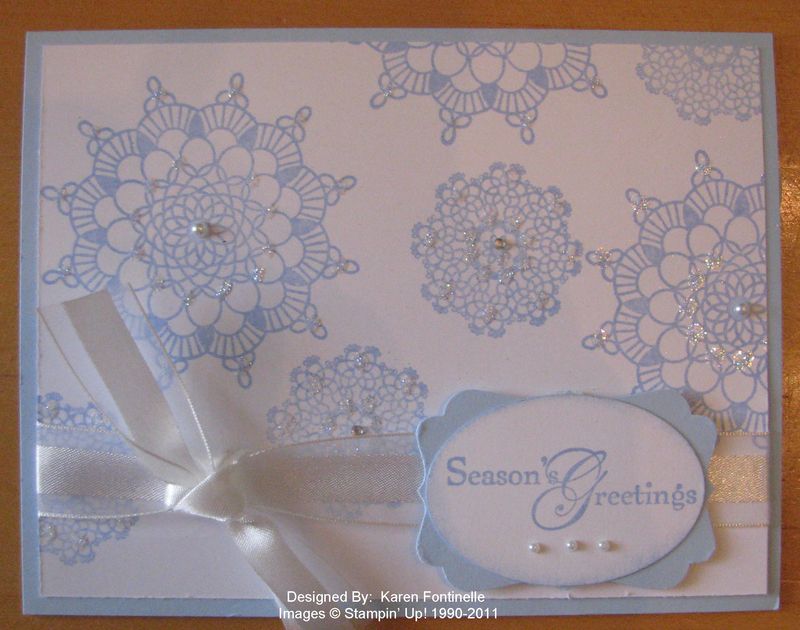
Doily Snowflakes

Back to the Stampin' Up! Convention for a moment!  This was my swap card for a group swap I was in.  I think I made…..63?, 73? of them….and some in kind of a rush as I traveled or in my hotel room…but I was determined to get them done and I did.  And it was worth it for the swaps I got back!

Anyway, don't think doilies are just for decoration…..they can be very pretty snowflakes! These are from the stamp set Delicate Doilies, available in wood- or clear-mount, on page 127 of the Idea Book & Catalog.  I added my favorite ribbon, the 5/8" Whisper White Organza Ribbon #114319 and some bling with Dazzling Diamonds Glitter #102023 and even little Basic Pearls #119247.

Don't these doilies make a beautiful Christmas card?!

If you need stamping supplies today and want to get started on your Christmas cards, just click HERE to go to my Online Store and place your order!

Pocketful of Posies Card

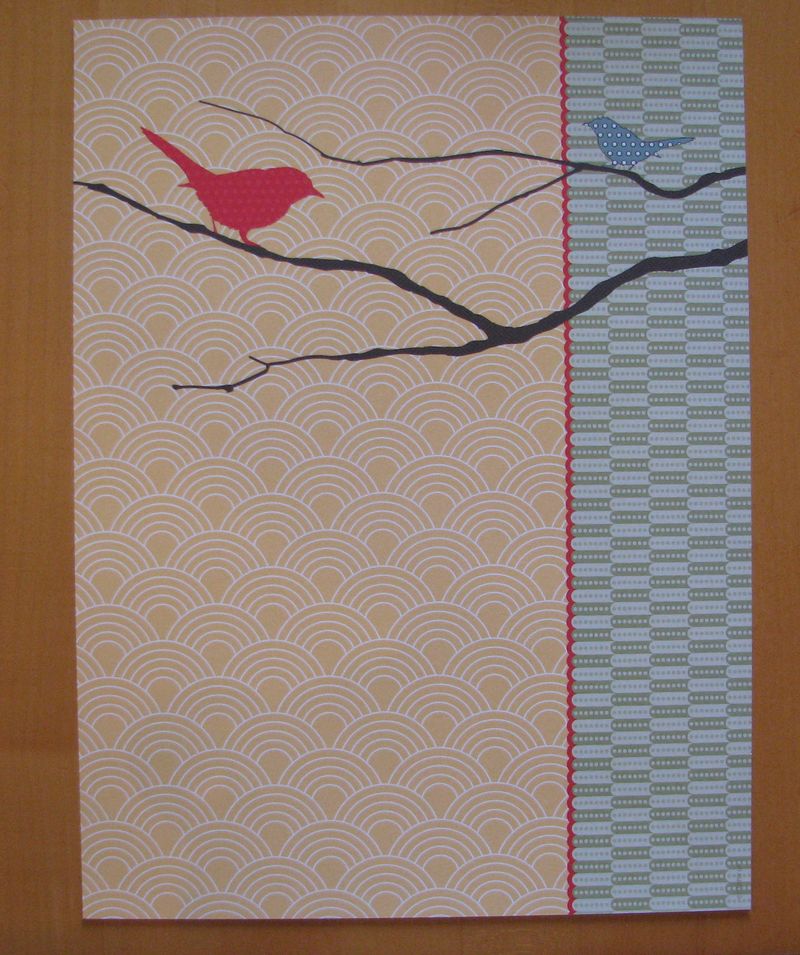
Stampin' Up! has such beautiful designer series paper, but don't you just hate it when you have to cut in to a piece of paper that would make a beautiful scrapbook page on its own? Here is one of those pages that I used a portion off the left side for a project. This paper is from Pocketful of Posies Designer Series Paper #122354.  I LOVE this paper!!

Pocketful of Posies Designer Paper

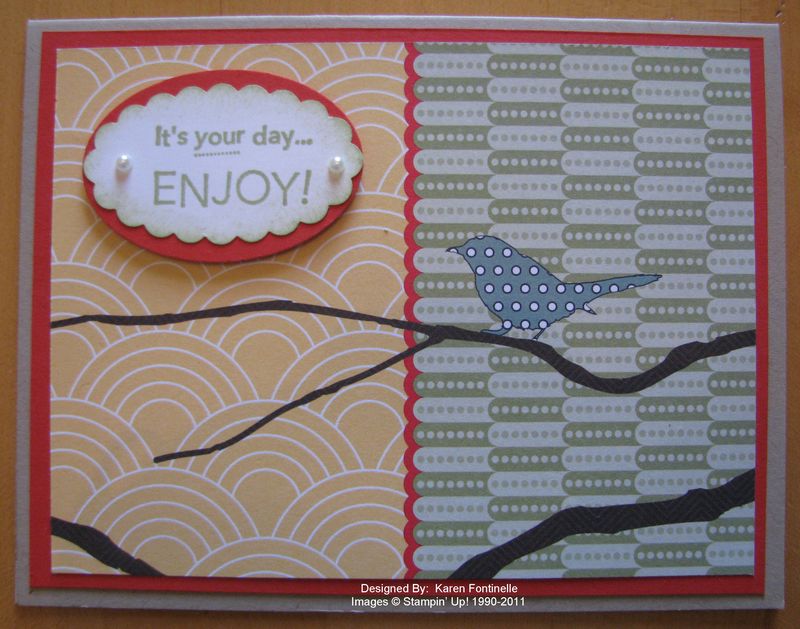
After looking in the Stampin' Up! 2011-12 Idea Book & Catalog for inspiration, on page 184 I found that they used this designer series paper to make several small cards.  That led to designing this card:

Pocketful of Posies Designer Series Paper Card

You can see the corner of the paper I cut off and mounted on Poppy Parade on top of a card base of Crumb Cake.  Then I just added a greeting and I had a cute card!  I'm sure I can make something with the big bird on the remaining paper, too!

Speaking of designer series paper, don't forget about the special promotion going on for only about ten more days!!  Buy 3 packs of designer series paper, get one FREE!  Can't beat that!  Go to my Online Store right now and start choosing your paper!