Author Archives: Karen Fontinelle

Quick and Easy Picture Perfect Party Birthday Cards

Quick and Easy Picture Perfect Party Birthday CardsWhen it comes to quick and easy cards, these Quick and Easy Picture Perfect Party Birthday Cards are about as easy as you can get!  The new Picture Perfect Party Designer Series Paper in the Occasions Catalog is just delightful! I didn’t know if I would really like the “photographic” imagery on the one side of all the sheets in the package, but I do!

Sometimes to get your creativity started when you are making a card, it’s a good idea to start with the catalog!  The Stampin’ Up! catalogs are just full of wonderful samples and you are welcome to copy! I suggest start off copying something you like and then make another card almost the same but change something up a bit.  Chances are, once you start making a card, you will come up with something on your own anyway!

The card on the left is one that I copied from the Occasions Catalog on page 4.  It’s even marked “Quick & Easy”!  Even when you are copying, you will probably find that you won’t copy exactly for whatever reason – maybe you don’t have the exact same supplies or you want to use another color or you want to use a different sentiment. Whatever it is, if you need a boost to your creative mojo, just start off copying something in the catalog! While I was trying to “copy” this card, I don’t have that Paper Ribbon used on the sample because Stampin’ Up! isn’t even selling it right now. There was a problem with the production in the factory so it will not be carried in the Online Store. That’s a shame, I thought that was something different and cute, but it was out of Stampin’ Up!’s control.

The sample card base is Peekaboo Peach layered with the Picture Perfect Party Designer Series Paper. This selection of paper comes in the 6″ x 6″ size. It’s really fun to page through and choose either one of the photographic images or the graphic pattern on the reverse side.  The greeting is stamped in Berry Burst with a greeting from the Picture Perfect Birthday Stamp Set. I substituted a piece of Berry Burst 1/2″ Finely Woven Ribbon.

The card on the right is one that I more or less copied from the first card but changed things up.  I chose the balloon paper in the Picture Picture Party pack and layered it on a piece of Berry Burst on top of the card base of Lemon Lime Twist card stock. I tied a piece of ribbon, the Lemon Lime Twist 1/4″ Ombre Ribbon around the layers before adhering to the card base.  The greeting is stamped with Lemon Lime Twist ink on a piece of cardstock the same color. For a little bling, I added some different colors and sizes of the Glitter Enamel Dots.

Copying or at least looking in the Stampin’ Up! catalogs is a great way to get some inspiration if you need it or you just enjoy looking at other samples. For some quick and easy cards, be sure to try some like these Quick and Easy Picture Perfect Party Birthday Cards.

Shop Stampin’ Up! Online with the new Occasions Catalog &

Sale-A-Bration!

Frame a Wedding Invitation For a Gift!

Framed Wedding Invitation

When you are invited to a wedding, you might be able to frame the wedding invitation for a gift to the bride and groom to make a beautiful keepsake! My daughter’s childhood friend got married in November, and the bride’s mother had asked if I could do something “artistic” with her wedding invitation since she likes my cards.

The invitation was three pages with a rivet in the top corner holding all of them together.  At first I was a little stumped with how to decoratively fit these three pages into a frame. Finally I started placing them “catty-wampus” on a 12″ x 12″ page. I started off thinking of a silver background, but once I tried the Night of Navy paper, I really liked that. It was just by accident that I used the Silver Glimmer Paper as kind of a placeholder for my Silver Foil Paper on order!  Once I saw that glimmer paper with the invitation, I loved it and had to use it.

Next I started pulling out any embellishments, ribbons, whatever that I thought I might use on the framed invitation.  You just have to play around with these things and see what you think looks best. It isn’t always in your mind to begin with, at least it’s not in mine! For example, I thought the Sequin Trim would look good somewhere, somehow but I wasn’t getting it quite right until my daughter got home and suggested the layout of the trim that you see. I used some retired silver ribbon to cover up the hole from the rivet and also some retired embellishments to cover the holes on the other pages.  At the very end, some die cut hearts in Silver Glimmer Paper and Silver Foil seemed to fill up that corner just perfectly.

The last step, perhaps it should have been the first, was to find a frame!  Since the embellishments were actually pretty flat, I didn’t need a real shadowbox. The man in the store found this frame for me,  12″ x 12″ and it turned out to be perfect!

I got lovely notes from the bride’s mother and the bride, saying she had opened my present last and that she loved it and said it was the best present to open last! So I think it as a success!

Sometimes your ideas don’t come right away. I began by looking for framed wedding invitation ideas, but I did better when I looked for wedding scrapbook pages! Then you have to play and play with the elements – sometimes it all comes together right away and sometimes you have to give it time to develop! Especially using someone’s wedding invitation, I wanted it to be extra perfect and something she would like really like. This framed wedding invitation really was fun to make and I was pleased with how it turned out! But I could have easily given up and said I had no ideas on something that would look good. Just keep playing, maybe walk away for awhile and come back to it. Give yourself time to come up with what works. Then finally you will see that you have a design you are satisfied with!

You can use your stamping and papercrafting skills in so many different ways, like this framed wedding invitation. And a handmade gift is often one of the best kinds!

Picture Perfect Party Cookie Card

Picture Perfect Party Cookie Card

I love the new Picture Perfect Party Suite in the Occasions Catalog, and I just made this super quick and easy simple card! It really only took minutes! I was hungry at the time, so I think that is why this cookie patterned paper caught my eye!  I was expecting to put some sort of birthday greeting on the card, but when I saw the “treat yourself” greeting I knew it was perfect!

The card base is Bermuda Bay Cardstock which coordinates with the Picture Perfect Party Designer Series Paper.  This designer paper is 6″ x 6″ and has a graphic image on one side and a photographic image on the other!  Quite trendy!  The photographs are really fun and festive, just like a party!  I chose the cookie plate, which I trimmed down to fit properly on this card base.  The greeting is from the Picture Perfect Birthday Stamp Set, which I really like!  Great greetings and fun stamps to make various images.  This greeting seemed like it would just fit perfectly in the corner of the paper, so I kept it simple and didn’t make it any more complicated than that. I just stamped it in the corner with Memento Ink.

Be sure to check out this Picture Perfect Party Suite in the Occasions Catalog and make a card like this fun cookie card! Does it make you hungry??!

Shop the Occasions Catalog at Stampin’ Up! Online HERE!

Stampin’ Up! New Occasions Catalog Off to a Great Start!

Yesterday was such an exciting day with the premier of the new Stampin’ Up! Occasions Catalog plus the beginning of Sale-A-Bration! I’m still working on my order because of course I want way more than I can get at one time!

A couple of things:

  • The Picture Perfect Paper Ribbon on page 5 of the Occasions Catalog is no longer available. Businesses worldwide have been affected by some kind of factory issues and this cute ribbon is one of the products so delayed that Stampin’ Up! has decided to remove it from their offering.
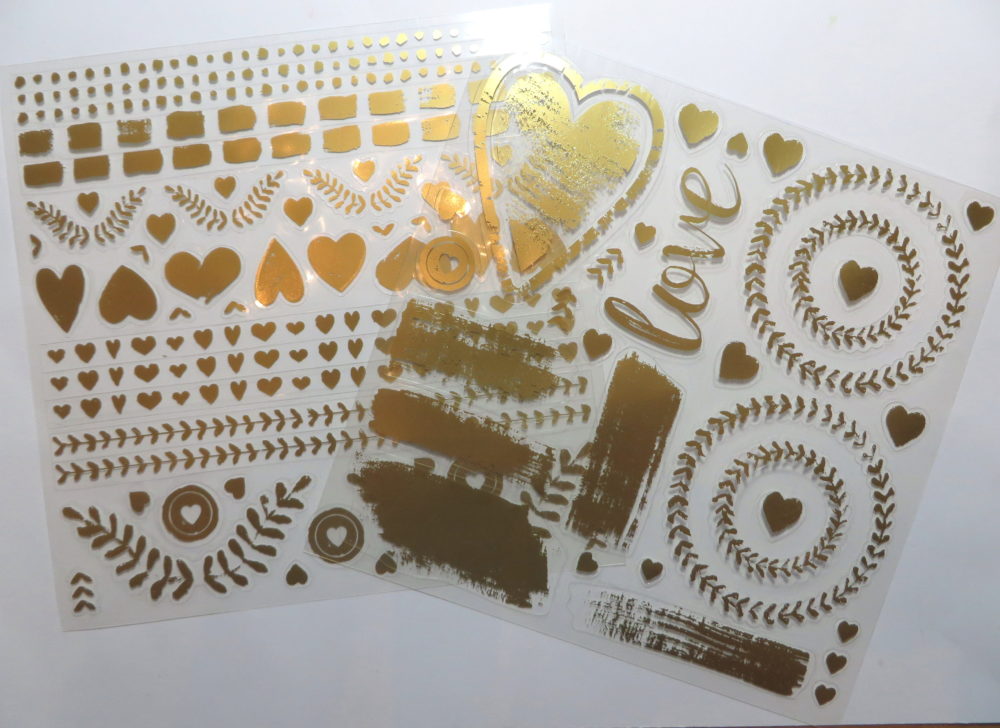
  • In the Occasions Catalog on page 19, the number of sheets in the Painted Love Gold Vinyl Stickers is incorrect. The product includes 4 sheets: 2 each of 2 designs.
  • Something you might miss because it isn’t fully pictured on the page is the Scattered Sequins Dynamic Textured Impressions Embossing Folder #145649, way down in the right hand corner of page 13.
  • The Brusho Crystal Colour is not real obvious in the top corner of page 26. I’m really excited about trying these out! Real watercolor artists use these! If you get them, DO NOT open the lid!  They say the crystals are so fine that just opening the bottle will release them like a powder that will go everywhere! I think there is a warning on the box. It is recommended that you just take a pushpin or Paper Piercer and poke 1-3 holes in the lid without opening anything. Then leave the pushpin in the hole when you are finished using.  Use the bottles like a salt shaker!

Enjoy some more videos about the new products in the Occasions Catalog so you will know what you want to order (well, everything, but most of us can’t!)!

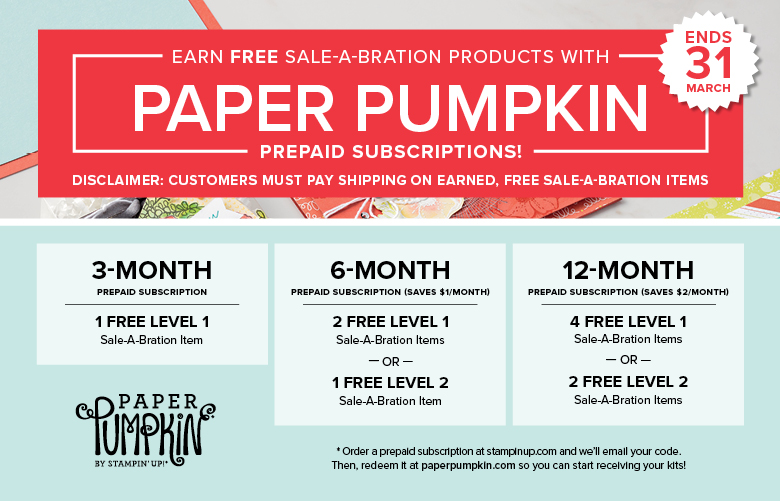
I hope you are loving all these exciting new products in the Occasions Catalog and planning your purchase so you can take best advantage of Sale-A-Bration!  Remember, with every $50 purchase you will earn a FREE Sale-A-Bration item from the special brochure.  Look for the $50 icon scattered through the brochure.  If you have a $100 order, maybe you want to choose one of the two $100 choices, identified with the $100 icon!  This is something new this year.  You could choose one $100 item or 2 $50 items and so on.  Let me know if you have any questions or need help deciding!

If you are new to Stampin’ Up! or haven’t ordered in awhile and would like the new catalogs, please email me at Karen@Karenstamps.com and I will get the catalogs in the mail to you, compliments of me! I would be happy to be your Demonstrator and help you with this wonderful hobby of ours!

SHOP STAMPIN’ UP! ONLINE HERE TODAY!

It’s Time to Sale-A-Brate! Occasions Catalog and Sale-A-Bration Begin Today!

Occasions and SAB Catalog 2018

Today is the BIG DAY! Double-big day, actually!  The Occasions Catalog 2018 by Stampin’ Up! is live and Sale-A-Bration has begun! New products to play with and create beautiful stamping and papercrafting projects plus Stampin’ Up!’s biggest promotion of the year, Sale-A-Bration!

SHOP!!

With every $50 you spend on Stampin’ Up! products (before tax and shipping), you earn a FREE  product in the Sale-A-Bration Brochure!  Just look for the $50 Purchase icon on the product!

JOIN!

Join Stampin’ Up! by purchasing the Starter Kit with $125 worth of products of your choosing for just $99. THEN choose TWO additional FREE stamp sets from the Annual or Occasions Catalog! Start your own business and have fun being a Stampin’ Up! Demonstrator!

HOST!

Host a stamping event or put in your own order (or order with friends!) and earn $25 MORE in Stampin’ Rewards with sales of $250 or more! This is in addition to regular Stampin’ Rewards.

Enjoy these videos about some of the new products in the Occasions Catalog!

Today you can begin ordering from the Occasions Catalog (and of course, always, the Annual Catalog!). Remember, if you want to earn free products from the Sale-A-Bration Brochure, order in increments of $50. No limits, for every $50 you spend, you choose one Sale-A-Bration product!

SHOP TODAY FROM STAMPIN’ UP! ON THE FIRST DAY OF SALE-A-BRATION HERE!

Quick and Easy Thank You Note Card

Quick and Easy Thank You Notecard

Okay, the holidays and New Year are over, so now is the time to write those thank you notes for your gifts, parties, and hospitality like this Quick and Easy Thank You Note Card. Email thank yous are better than nothing but really a handwritten note is the proper way to go. Yes, I am old-fashioned! Stand out in the crowd!  Write a thank you note(s) to the people who deserve one.  They will be surprised and amazed!  After all, we all need more personal mail in our mailboxes!

The easiest way in the world to write a thank you note is to use the Stampin’ Up! Whisper White Note Cards and Envelopes. These note cards are the perfect size for a quick and easy thank you note and they come with envelopes. Find almost ANY “Thank You” stamp you have and stamp on the front of the notecard!  That’s it!  Write your note on the inside.  Now if you want to step it up a bit, tie a ribbon around the front of the card or stamp a little something or add a few sequins or small embellishments. Whatever you like. If you don’t have a thank you stamp in your collection, a “Just For You” would do, “Thinking of You”, or a nice flower stamp or something generic can be used!

Make the cards simple and get them done! The recipient will appreciate it!

Today is the LAST DAY for the Holiday Catalog!  Check the retiring products and be sure your order today if you want any of these products. Also check the items that are discounted on the Year-End Sale.

Tomorrow the new Occasions Catalog and Sale-A-Bration promotion begins!! Get Ready!!

Go stamp some Thank You notes and get them in the mail! Make it simple like my quick and easy note card above. Here’s another example of a quick thank you card! Or make a fancy one, but just make one!

Picture Perfect Party for New Year’s 2018

Picture Perfect Party for New Year's 2018

Happy New Year!! When I wanted to make a card for the New Year, I didn’t have to look any further than the Picture Perfect Party 6″ x 6″ Designer Series Paper, coming SOON in the Occasions Catalog!  In fact, I had so many paper choices that I had to add a few to my card photograph!

My card base is Basic Black because that is elegant for New Year’s Eve, when I was making the card!  The paper appears to have confetti all over it, so how perfect! But look at just a few of the other sheets I also could have used that would be “partyish” for this card! This is a really fun pack of paper!

During the free shipping Stampin’ Up! offered awhile back, I purchased the Large Letters Framelits Dies but I already owned the Large Numbers Framelits Dieswhich certainly are perfect for New Year’s! Very easy way to cut out the numbers for the new year!  Also great for birthdays and anniversaries! I cut the numbers out of Gold Glimmer Paper and adhered them to a piece of Basic Black layered on a piece of Gold Glimmer Paper. It was that easy!

I hope you had a fun and safe New Year’s Eve and now are celebrating the beginning of a New Year!  The time sure seems to fly by!

The Occasions Catalog goes live Wednesday, January 3, and you’ll be able to get your hands on this fun Picture Perfect Party Paper as well as the coordinating Picture Perfect Birthday Stamp Set and all the embellishments! It’s all very cute!  Great for birthdays, anniversaries, all kinds of party themes!

If you need a Stampin’ Up! Demonstrator and would like the new Occasions Catalog plus Sale-A-Bration Brochure, just email me at Karen@Karenstamps.com and let me know.  I’d be happy to mail you the catalogs plus the Annual Stampin’ Up! Catalog if you don’t have one already! It’s going to be so fun to switch over to non-holiday colors and products after the Christmas holidays! In the meantime, be sure to check if you want anything that is retiring from the Holiday Catalog before the last day, January 2, 2018.

HAPPY STAMPING NEW YEAR!!

Coffee Cafe Cards For a Gift

Coffee Cafe Cards

Here are some fun Coffee Cafe Bundle cards I made someone for a Christmas gift! You can purchase the stamp set Coffee Cafe and the Coffee Cups Framelits Dies separately or in a Bundle and save 10%! Since I’m not really a coffee person, even though I could see these were popular products, I didn’t purchase them until right before Christmas when I realized making these cards for someone would be a perfect gift. They were so fun to make, too!

You will also want the Coffee Break Designer Series Paper to match and for fun, the Corrugated Elementslittle corrugated kraft paper designs.

Notice the kind of fun new way to do ribbon on the last card – just kind of squiggle it back and forth underneath a greeting or design element instead of just tying it around the card!

LAST CHANCE TODAY!!

While I was doing my Christmas cards, I sure wished I would have had the new Stamparatus coming out in the next Stampin’ Up! Annual Catalog!  I could have placed my stamp, inserted each card and stamped exactly in the same proper place where I wanted my greeting!

If you want to get your hands on this Stamparatus Stamp Positioning Tool, the window closes TODAY, Dec. 30th!  Go to my Online Store HEREsign in to your account, then scroll down just a little until you see the Stamparatus on the right.  You will see the button to click to reserve yours. Click and then fill out your information and make sure you see at the bottom that you DID reserve a Stamparatus.  You will also receive an email within a few minutes confirming your reservation. When Stampin’ Up! gets yours in stock, they will place it in your Shopping Cart and email you that it is available (probably mid-March or later). At that time, if you complete your order like usual, adding any other products you may want (maybe it will be early enough to take advantage of Sale-A-Bration!) and at that point your credit card will be charged for the Stamparatus and anything else you ordered.  Your credit card will not be charged just for the reservation. It’s like you are reserving the opportunity to pre-order one before the Annual Catalog comes out!

AND…….

Stampin’ Up! Year-End Sales Event thru January 2, 2018

Stampin’ Up! Clearance Rack 

Did You Get an Ugly Sweater For Christmas? Shop Stampin’ Up! Instead!

Ugly Christmas Sweater

Did you get an ugly sweater for Christmas or some other present you didn’t like?  Time to go shop at Stampin’ Up! and get yourself whatever you want! Might as well be good to yourself!

Reserve Your Stamparatus Stamp Positioning Tool

Year-End Sales Event at Stampin’ Up!

Stampin’ Up! Clearance Rack

Everything Else at Stampin’ Up!

Need a Last Minute Gift Idea! Give the Gift of a Paper Pumpkin Kit!

Paper Pumpkin Papercrafting Kit from Stampin' Up!Need a last minute gift idea?  Paper Pumpkin Kits by Stampin’ Up! to the rescue!!

Paper Pumpkin Kits are for almost anybody! If you need a gift for a crafter, a once-in-a-while-crafter, a wanna-be-crafter with no supplies, a non-crafter, a young person, an older person (ok, mature, wise person!), a relative, a friend, a teacher, a grandmother, a granddaughter, a grandson, a niece, a nephew, a group of friends, a neighbor, the dentist (who knows??), a grandfather (who knows??), your husband (probably not!), your roommate, your houseguests…….ok, you get the idea!

Everything comes in the kit to make the project, even a block to hold the stamps in the first kit. All they have to do it open the box, read the instructions, watch the video, and start creating! It might be cards or some other surprise project. And if they want to do something different with the supplies, that’s fine!  No rules!!

After awhile, after people have had time to create with their kits, you will always find alternative ideas online for the kit.  Naturally, the stamping community is so creative!  They will come up with many other ideas for the basic kit!

You can subscribe HERE for the month-by-month kit!

You can skip a month or cancel any time!

OR

You can go to my Stampin’ Up! Online Store and choose  the number of kits for yourself or a gift!

You just add to an order like anything else.  In fact, you can add “anything else” to your order!  You will get an email from Stampin’ Up! explaining how to redeem the offer.

For a last minute Christmas gift, Paper Pumpkin will be perfect!  You can just make up a card or note or print the email and give it to the recipient!  When their kit arrives, they will thank you for the unique gift! And who knows, you might have a new stamping friend!

Quick and Easy Reindeer Small Treat Bag

Reindeer Small Treat Bag

If you need a quick and easy little treat, this Reindeer Small Treat Bag is easy to make!    Honestly, it only took me a few minutes before I went out the door!  Nothing like planning ahead!  I got the basic idea from another demonstrator, Angie Juda.

The paper I used for the bag is from the Be Merry Designer Series Paper package. Of course you can use any pattern, any paper, and make one for any occasion.  Keep in mind if there is a pattern going in one direction, think about which way you are cutting the paper!  I had to use the reverse side of the designer paper on another treat bag I was making because I didn’t pay attention to the pattern on the side I intended to use!

Start with a 6″ x 12″ piece of paper.  Score the length of the paper at 2″.  This will become the bottom flaps of the bag. Now turn the paper so you have the 12″ width going horizontal. Score at:  1″,  3 3/4″, 6 1/2″ and 9 1/4″. Crease the score lines. Cut off that tiniest portion under the 1″ section (it’s 2″ x 1″). On all those score lines you just made, cut up from the bottom to the 2″ score line to make the bottom flaps. Apply a strong adhesive to that 1″ flap and adhere the other side of the bag.  If you just fold the paper over in half you will see that it matches up with that 1″ section with the adhesive. Fold in the bottom flaps and use adhesive.  Reach inside the bag with a bone folder or something to press down to make the adhesive stick.

Now you have the basic bag made.  You could leave it open at the top, punch holes and run ribbon through to tie it, fold it over, staple it shut, or use a small clothespin (retired) like I did. Actually I cut a strip of paper to fold over the top and made the flag ends. I did put a little bit of Multipurpose Liquid Glue on the back of the front banner and let it dry, just a small circle of glue, in hopes it would be “reuseable”.

To decorate the bag, I stamped the reindeer from the Cookie Cutter Christmas Stamp Set, gave him a Red Glimmer Paper nose, and punched him out with the Cookie Cutter Builder Punch.  Just turn it upside down for the reindeer!  Then I die cut a circle and a larger scallop circle to mount the reindeer on. Very cute and easy! Quick and easy, I should say, because I was really doing it before leaving the house for an appointment!

Check my blog for other past treat or gift bag ideas if you need some last minute ones! Here’s one with the Mini Treat Bag Thinlit Dies.  Just click on the category you want or write something in the Search box!

I need more time to stamp more holiday projects I wanted to make! But if you want something simple to make, try this Reindeer Small Treat Bag for some candy treats, small gift, or maybe a gift card!

Stampin’ Up! Holiday Catalog Coming to an End Soon!

 
This Stampin’ Up! Holiday Catalog that we have loved will be coming to an end on January 2, 2018!  Now that may still sound far off, but just wanted to remind you because some products in the catalog will be retiring for sure!  From now through January 2 will be your last chance to get them!

Click HERE to see the Holiday Catalog Retiring Products in the Online Store!

(be sure to let the whole page continue loading so you see everything!)

Stampin’ Up! Carryover List For the Holiday Catalog!

Below you see the list of products that will carry over through May 31, 2018 even though the Holiday Catalog is retired. You will still be able to purchase these products through that date.  At that point, they will either be available in the new Annual Catalog OR they will be retired.

Stamp Sets

ITEM PAGE DESCRIPTION PRICE
145153 42 À moitié pleins (FR) Clear Set $22.00 USD/$29.00 CAD
144999 42 Half Full Clear Set $22.00 USD/$29.00 CAD
144996 42 Half Full Wood Set $30.00 USD/$40.00 CAD
145526 39 Ensemble à Noël (FR) Clear Set $21.00 USD/$28.00 CAD
145416 39 Hearts Come Home Clear Set $21.00 USD/$28.00 CAD
145413 39 Hearts Come Home Wood Set $29.00 USD/$38.00 CAD
144967 45 Labels to Love Clear Set $21.00 USD/$28.00 CAD
144970 45 Labels to Love Wood Set $29.00 USD/$38.00 CAD
145034 26 Nuit à Bethléem (FR) Clear Set $21.00 USD/ $28.00 CAD
145282 26 Night In Bethlehem Clear Set $21.00 USD/ $28.00 CAD
144809 26 Night In Bethlehem Wood Set $29.00 USD/$38.00 CAD
145169 49 Récolte au pinceau (FR) Photopolymer Set $21.00 USD/ $26.00 CAD
144783 49 Painted Harvest Photopolymer Set $21.00 USD/ $26.00 CAD
145044 7 Prêts pour Noël (FR) Photopolymer Set $27.00 USD/ $33.00 CAD
144823 7 Ready for Christmas Photopolymer Set $27.00 USD/ $33.00 CAD
144948 47 Seasonal Chums Clear Set $21.00 USD/ $28.00 CAD
144945 47 Seasonal Chums Wood Set $29.00 USD/$38.00 CAD
145038 35 Souhaits en rafales (FR) Clear Set $22.00 USD/$29.00 CAD
144820 34 Snowflake Sentiments Clear Set $22.00 USD/$29.00 CAD
144817 34 Snowflake Sentiments Wood Set $30.00 USD/$40.00 CAD

Accessories

ITEM PAGE DESCRIPTION PRICE
145829 44 Envelopes 3×3 $9.00 USD/ $11.75 CAD
144748 37 Foil Sheets Champagne $4.00 USD/ $5.25 CAD
144687 5 Big Shot Quilt Top TIEF $8.50 USD/ $11.25 CAD
144685 46 Big Shot Seasonal Tags Framelits $29.00 USD/$38.00 CAD
144679 6 Big Shot Thinlits Christmas Staircase $39.00 USD/ $51.00 CAD
144678 35 Big Shot Swirly Snowflakes Edgelits $30.00 USD/$40.00 CAD
144676 26 Big Shot Bethlehem Edgelit $32.00 USD/$42.00 CAD
144668 11 Punch Everyday Label $18.00 USD/$23.50 CAD
144667 49 Punch Leaf $16.00 USD/$21.50 CAD
144666 53 Punch Cat $18.00 USD/$23.50 CAD
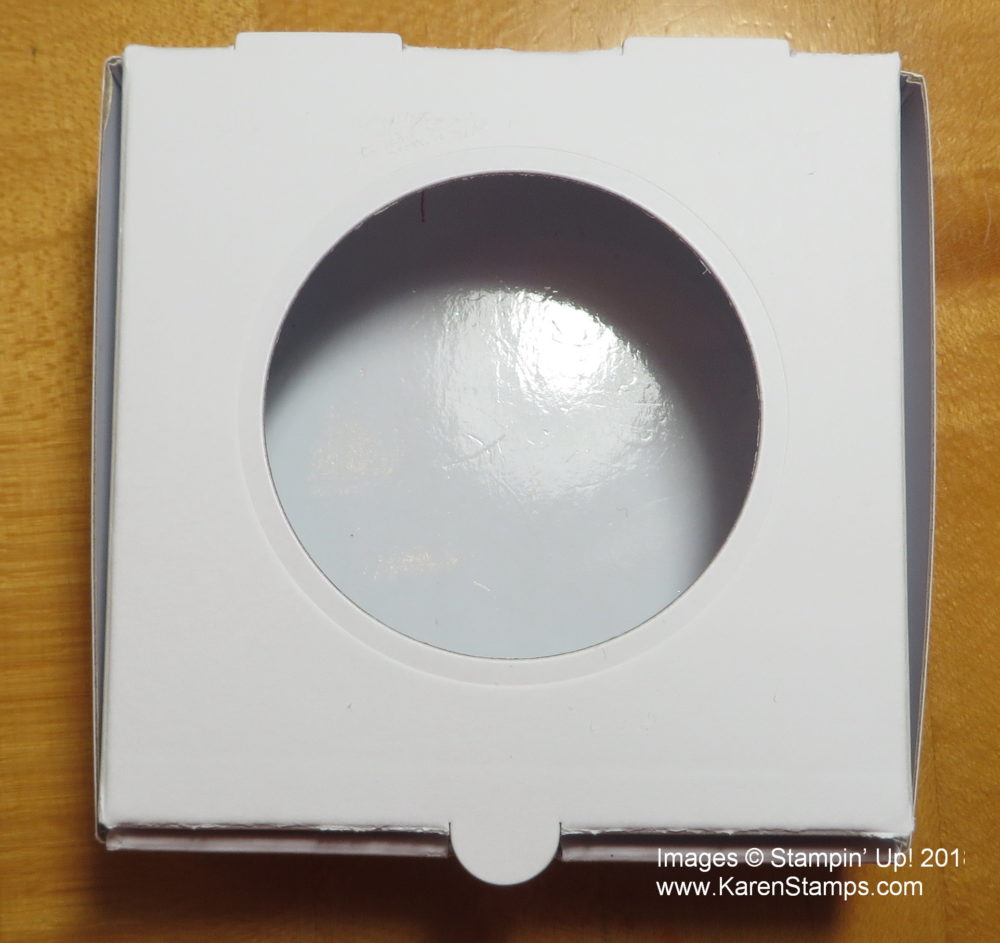
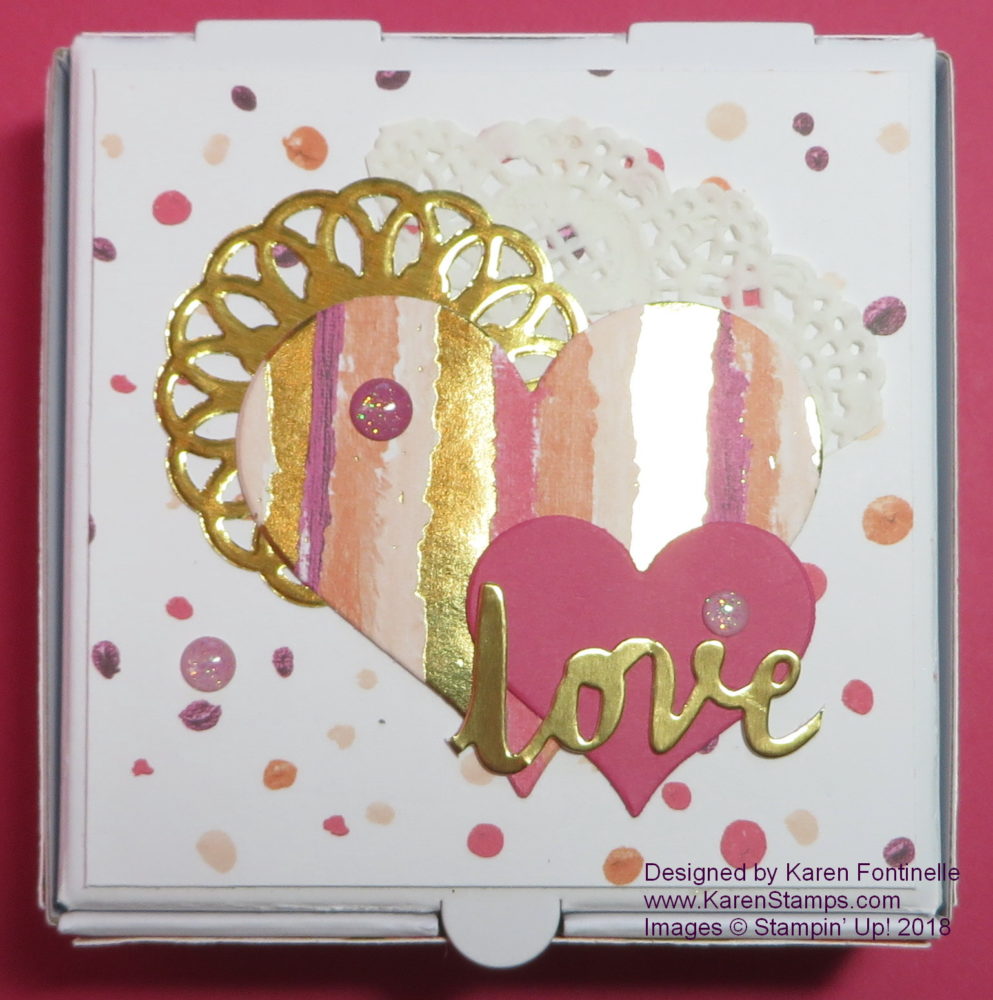
144645 44 Mini Pizza Boxes $6.00 USD/$8.00 CAD
144631 29 Ribbon Solid 1/8″ Real Red $7.00 USD/$9.25 CAD
144628 13 Clear Acetate Boxes (NA) $6.50 USD/$8.50 CAD
144671 38 Big Shot Edgelits Hometown Greetings $32.00 USD/$42.00 CAD

AND

The Stampin’ Up! Year-End Sales Event continues through January 2, 2018 with the retiring Holiday Catalog products and excess inventory DISCOUNTED!  Be sure to check it out!

In the busyness of the holiday season, I just wanted to remind you so you don’t miss out on something you want!  Perhaps “someone” can order for you and just let you know with a note that this is your Christmas present even if the package isn’t under the tree!

Not to mention the Clearance Rack that was updated the other day!

Take a few minutes out of your busy day and take care of yourself by looking over the Stampin’ Up! Online Store!  Even without a purchase, it will be a relaxing, calming few minutes!! Stamping is therapy!

Lovely As a Tree Christmas Card with Merry Little Christmas

Lovely As a Tree Christmas Card with Merry Little Christmas

Lovely As a Tree has to be the best, most universal stamp set ever created, and it makes a great Christmas card such as this Lovely As a Tree Christmas Card with Merry Little Christmas.  I have probably used the Lovely As a Tree Stamp Set every Christmas since I bought it, which has been at least 15 years. I have also used it many other times throughout the year because it is not just for Christmas.  It is not “just” for anything! It is so versatile!

One of the early cards I learned to make was to stamp this tree over and over again across the paper, sometimes without reinking, to give the look of a forest of trees.  The I squiggled glue over the trees and added Dazzling Diamonds Glitter. It always makes a beautiful card and is so easy.

For this card, I updated the Lovely As a Tree look a little bit by using the Merry Little Christmas paper.  The card base is Old Olive Cardstock, layered narrowly with Basic Black and then a layer of the green and black plaid paper.   I wasn’t sure at first how I was going to place the tree on this card because  a regular layer would cover up all the plaid that I wanted to show.  So I cut just a narrow strip and stamped that.  In the end, I cut the strip to basically fit the stamp, about 2″ x 4″ so there would be room for a greeting from Hearts Come Home. I decided to layer the tree on Gold Foil and then I added some strips on the sides of Gold Glimmer Paper.  All that took were some scraps! Then I added the greeting with some Stampin’ Dimensionals on the back to lift it over the tree piece (since I didn’t place it high enough on the card!).

Easy card to make if you need a last minute idea! And who doesn’t need last minute ideas at this point?!  I need a last minute elf, actually, to help!!

If you don’t already own Lovely As a Tree, it should be on your list for the New Year! It is a classic and I hope Stampin’ Up! will keep it around forever.

The upcoming Occasions and Sale-A-Bration catalogs have been mailed from Stampin’ Up!  You probably should have received yours by now if you are a regular customer of mine, or it should be coming soon, so watch for them in your mail.  They come separately.  If you are new and  would like copies, just email me and I’ll send them to you.


Star of Light Christmas Card

Star of Light Christmas Card

One of my downline sent me this Star of Light Christmas Card, and I want to tell you it is an absolutely beautiful card!  Just stunning in real life!  The photograph doesn’t really do it justice because of the glare from the gold foil. The Star of Light Stamp Set is a perfect one for the Christmas season, not only with beautiful artwork but lots of sentiments to use.

The card starts on just a Whisper White base, layered with a piece of Gold Foil. The top layer is Night of Navy embossed with the Sparkle Embossing Folder.  Underneath this Night of Navy layer are strips of Silver Glimmer Paper on each side, very narrow margins. It just looks beautiful along with the Gold Foil and Night of Navy cardstock!  The Star of Wonder is made with the Starlight Thinlits Dies using the Gold Foil and the Silver Glimmer Paper in all the layers.

The greeting is embossed in gold and layered on Gold Foil with a bit of the Gold 1/8″ Ribbon folded behind. There is also a small Rhinestone Jewel on the front.

For texture, shine, and eye-catching beauty, this card really can’t be beat! All the elements are there from the embossing folder, the Gold Foil and Silver Glimmer Paper and the beautiful die-cutting and layering of the star with the Starlight Thinlits Dies. Really pretty!

You will find this Star of Light Photopolymer Stamp Set and Starlight Thinlits Dies in the  Stampin’ Up! Annual Catalog on page 122, so it can be ordered any time.  Perhaps you will want to get a head start on NEXT Christmas by making this card in January! This Star of Light Christmas card is one that will turn out beautifully!