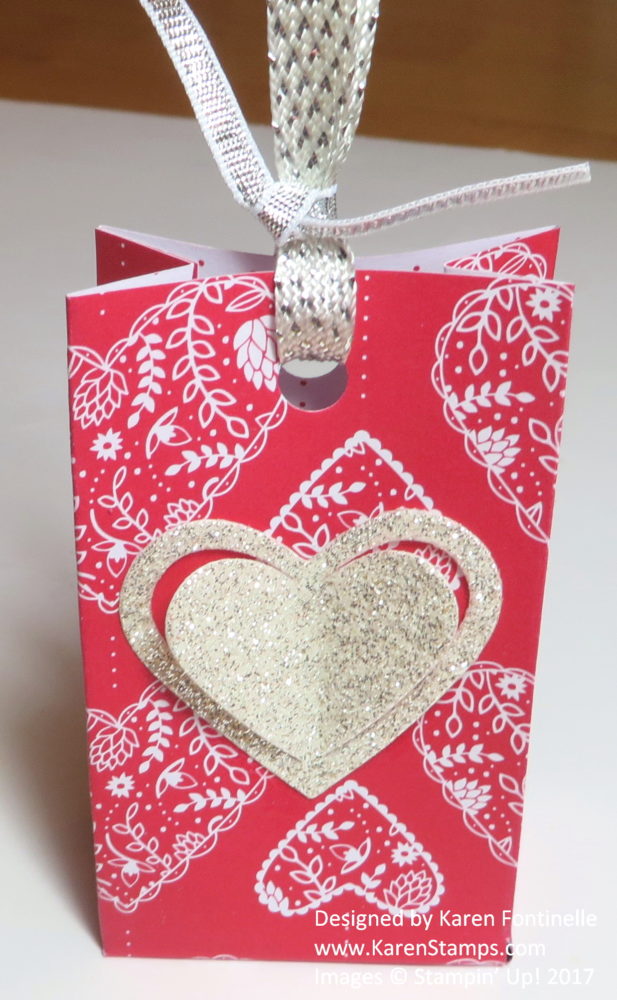
 If you are looking for ideas for Valentine treats, this Valentine Sending Love Small Treat Bag might be the perfect idea for you! It is the perfect size for just a few treats and easy to make! You can use cardstock or designer paper and make this treat bag for any occasion. Decorate it however you like with die cuts or greetings or just leave plain if you use cute paper.
Start with a piece of paper 4″ x 6″. The Sending Love Designer Series Paper Stack is 6″ x 6″ so it is perfect to just cut off 2″ and you are ready to go! It’s easiest if the paper doesn’t have a pattern that must go a certain way, but if it does, just be careful to have the pattern running the correct way.
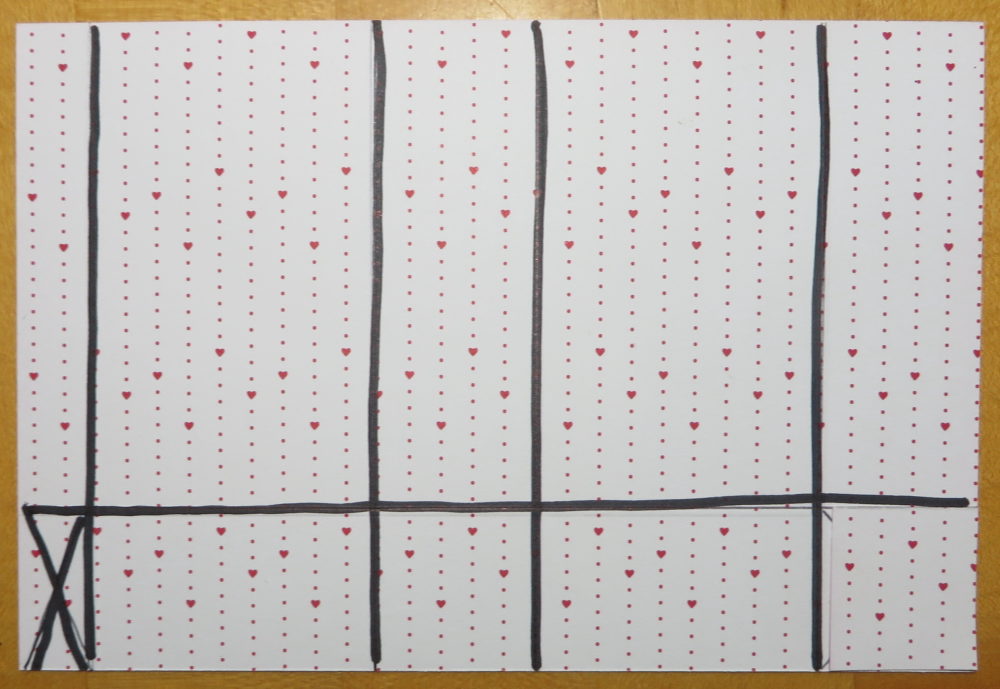
This is the inside of what will be my treat bag but I drew on the score lines so you could see. The “x” marks the area that you will cut off entirely. You can see how the score line going across lengthwise indicates where the bottom of the bag will be, so watch your pattern.
Place the paper lengthwise on the Simply Scored board and score at 1″ (portrait). The bottom of the bag should be along the left side of the board. Then turn the paper and score at 1″, 2 3/4″, 3 3/4″ and 5 1/2″. (Obviously if you have the paper turned the wrong way you wouldn’t be able to score at 5 1/2″ if the paper is only 4″ wide.) After scoring, cut up on all those bottom score lines up to that 1″ score line. Then cut off the little area marked with an X on my diagram. Fold and crease all the score lines. I like to use a Bone Folder to get a good crease!
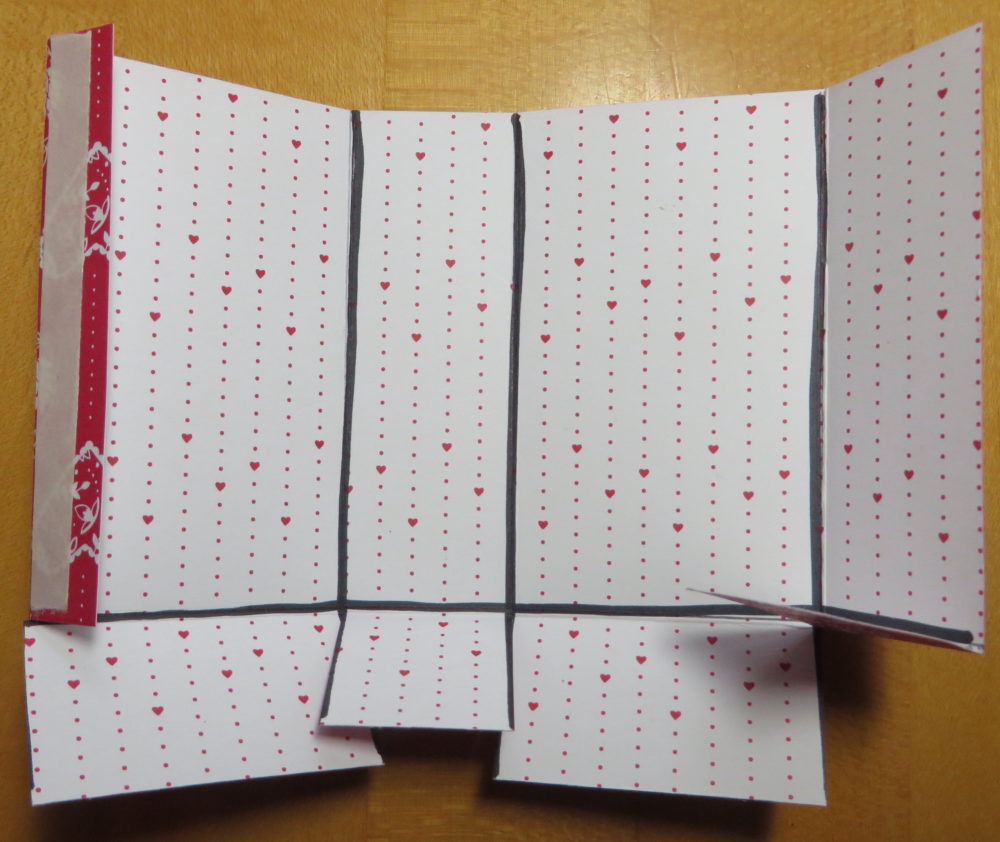
After the bag is creased, add some adhesive to the narrow flap on one side. I like to use Tear & Tape because I’m sure it will hold the bag closed. You can see it in the photo above. If you just fold the other side of the box over it is easier to adhere flat than to have the box 3D. Just match up the top of the bag so the edges are even.
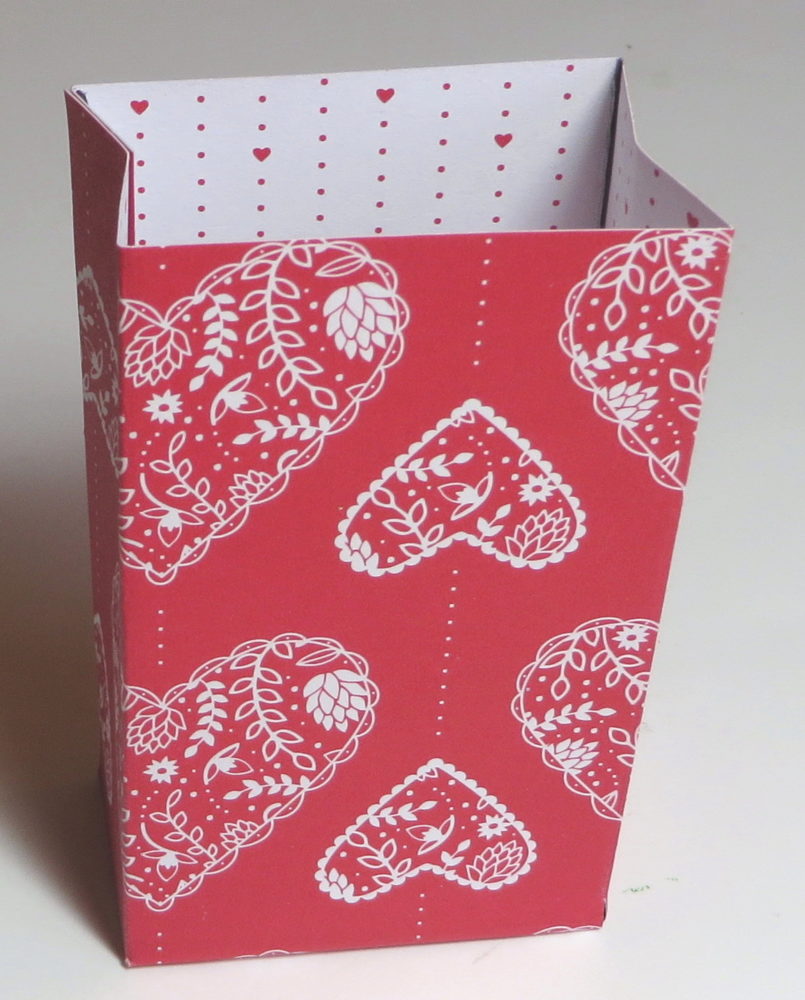
When the box is all assembled, this is what it looks like. You could leave it like this! But if you want the top closed, be sure to put your treat inside and then punch a hole or two holes in the top and add a ribbon or bow. Just push in on the sides in order to pull the top edges together. When you have the treat bag assembled, add on whatever you like to decorate.
Just think, if you use birthday paper or the colors of your themed party, then you have something for another occasion! Once you make some of these, you would probably be able to design your own treat bag according to whatever size you want. Just draw a little sketch showing how wide and how tall you want the front and back and then how wide you want the sides. You could use this same idea and make a smaller or larger bag or box.
No matter what, this little Valentine Sending Love Small Treat Bag is easy to make and fun to give!
Shop Stampin’ Up! Online for all the best in stamping in papercrafting supplies!


