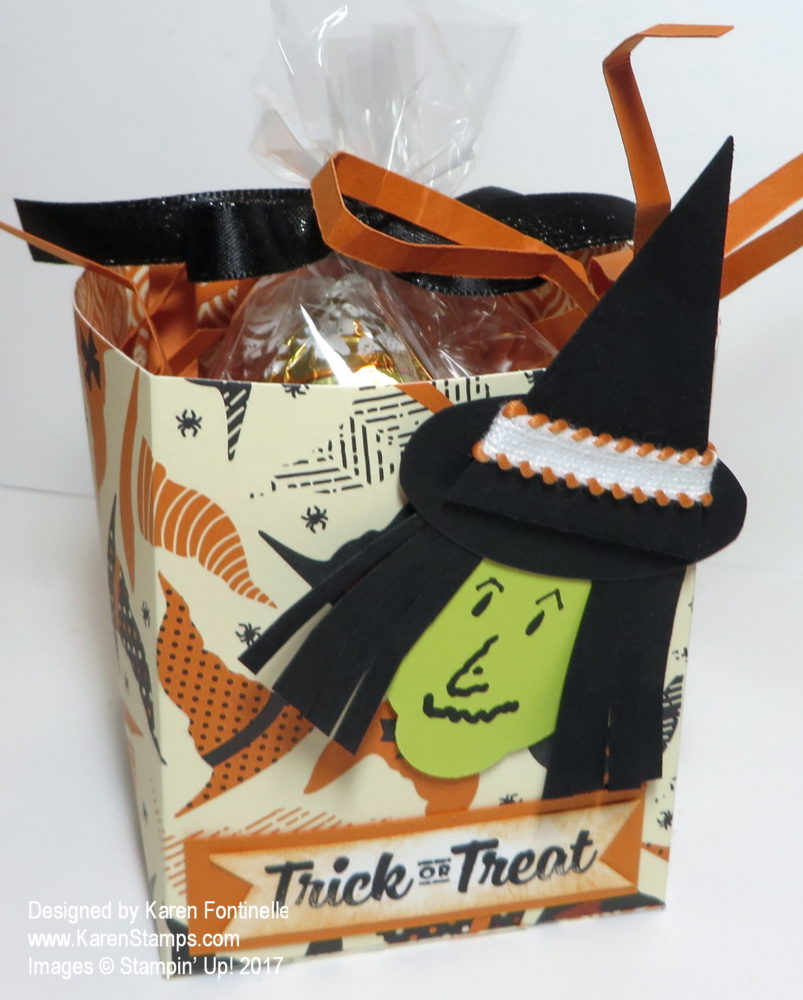
 Here’s a fun Halloween Witch “Trick or Treat” Candy Treat Box to make for Halloween! I think it is the witch on this project that makes it interesting (although I could have made her face better I think!).
Remember the little Fall Treat Bag I made the other day on THIS blog post? This treat box is made the exact same way, except it is not as tall and I left it open instead of closing the top! This box is about 3 1/4″ tall. I made it with the witch’s hat pattern in the Spooky Night Designer Series Paper. For the treat inside, I used a Cello Bag to hold some chocolate candy (of course!) and tied with the Basic Black 3/8″ Shimmer Ribbon. You can make your own “shred” to put in a gift bag or a treat box like this one by just cutting very narrow strips of cardstock and then crumbling it up in your hands as tight as you like! The greeting is stamped from the Spooky Cat Photopolymer Stamp Set. I even sponged it a little with Pumpkin Pie ink.
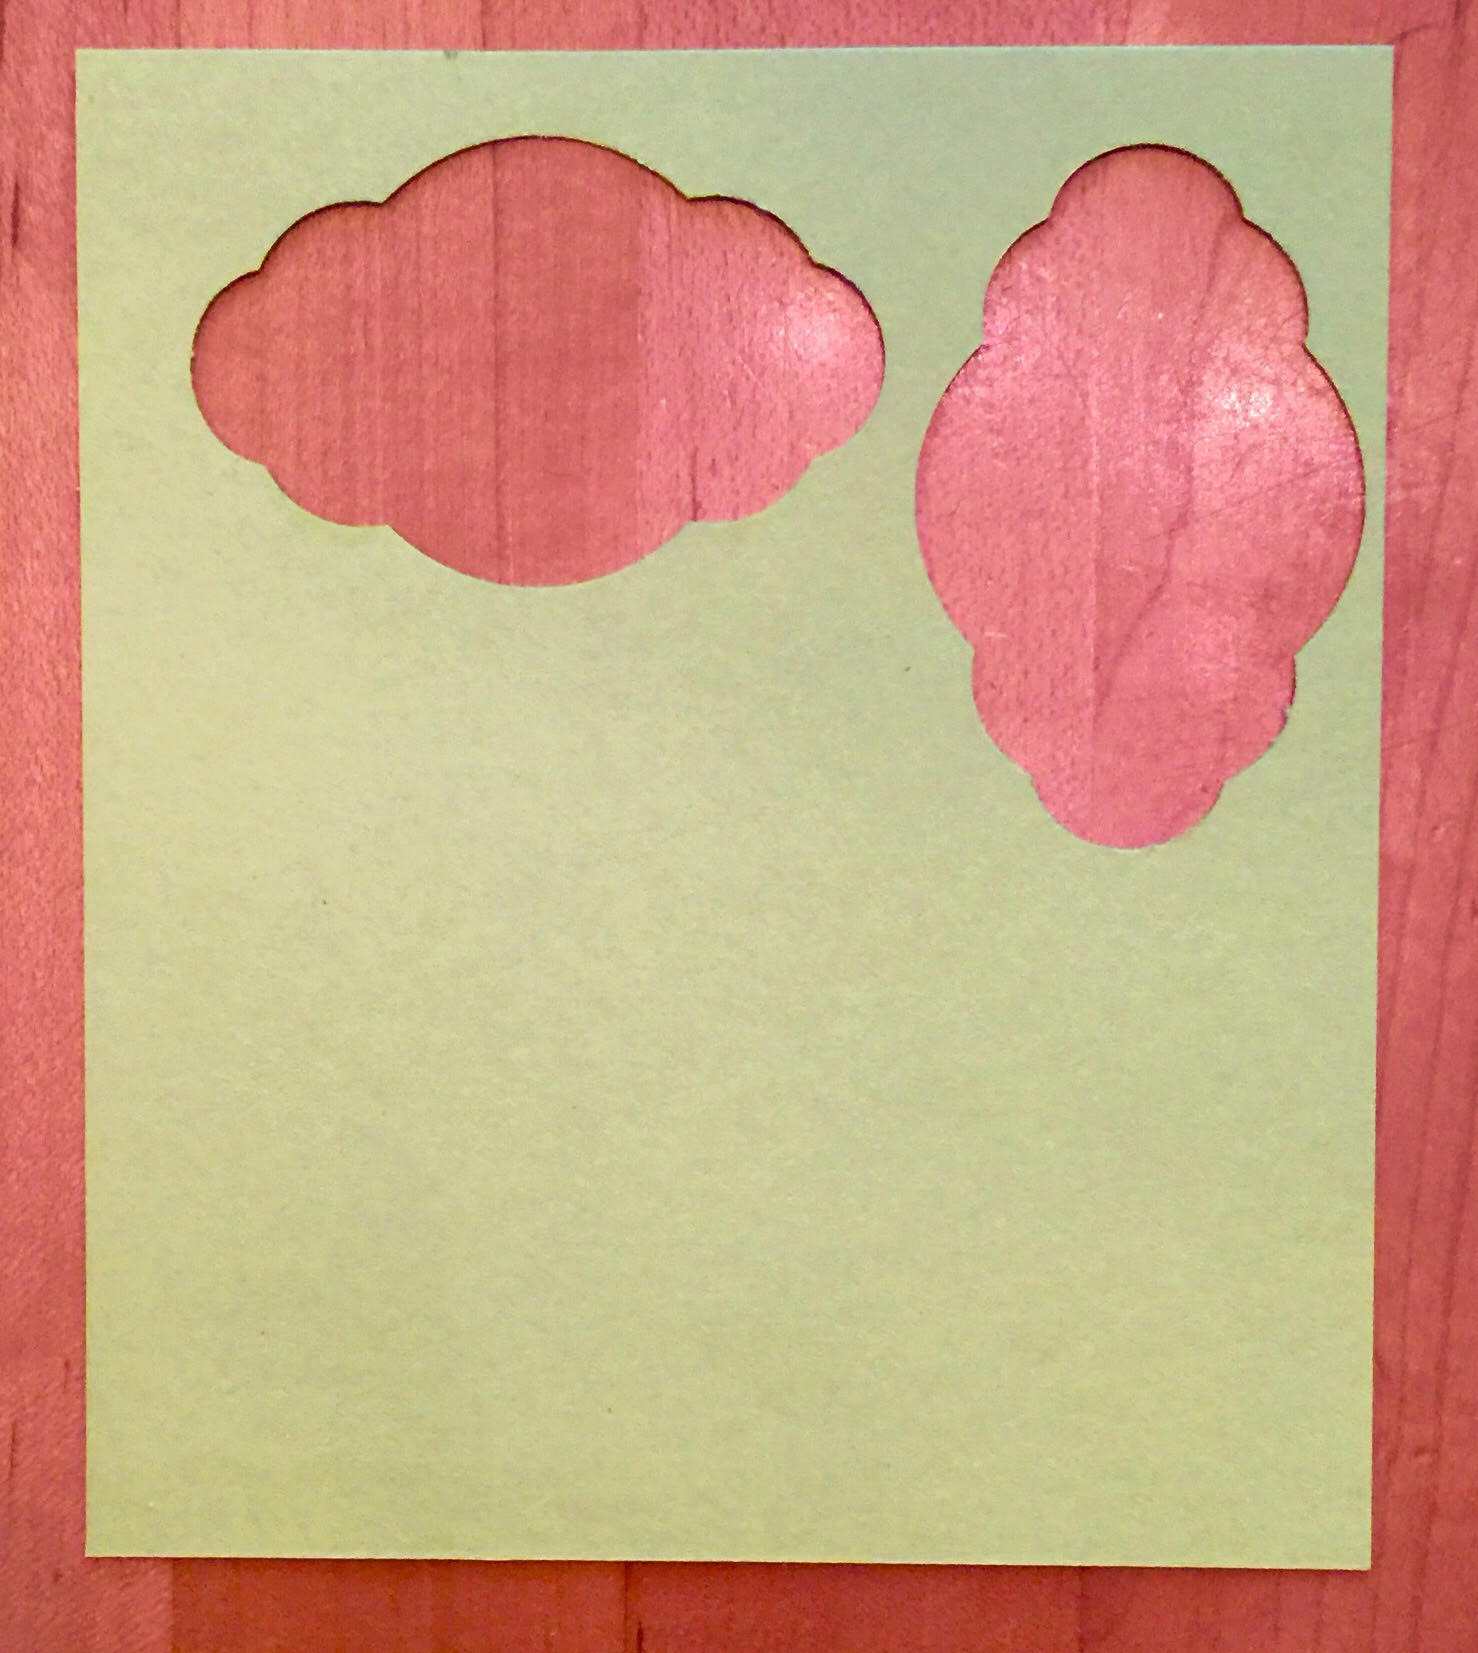
Let’s talk about the witch! I took out a scrap of Lemon Lime Twist Cardstock to possibly punch with a Circle Punch for the witch’s face. This particular scrap already had a piece punched out with the Pretty Label Punch. I saw that and thought that, at least, the bottom portion, lengthwise, could look like a witch’s face with a chin! Do you see it??
 That’s how I came up with the witch’s face using the Pretty Label Punch! Then I just cut a triangle and an oval for her witch’s hat and added a small strip of the Pumpkin Pie 1/4″ Stitched Ribbon on her hat band. For her black hair, I just cut a scrap of Basic Black Cardstock and snipped it to look like hair for each side. No special directions, just play it by ear! I could have drawn on her face better but I didn’t give it much thought! I was excited to make her face out of the Pretty Label Punch!
Remember, check out my blog post HERE to see all the directions for making this box, but above you see the diagram. For this box, since I wanted it to be shorter than the fall treat bag, I made it shorter than the 6″ width, about 5 1/4″. The paper is 12″ long. Score for the bottom flaps with the paper lengthwise at 2″. Then turn the paper sideways, like the diagram, and score at 1″, 3 3/4″, 6 1/2″ and 9 1/4″. Cut out that little section I have marked with light blue. Fold and crease all the scored lines and assemble the box.
Don’t forget to subscribe to Paper Pumpkin so you get your October and November holiday kits in the mail! Join Paper Pumpkin HERE!

