Category Archives: Thanksgiving

November Gratitude Bag

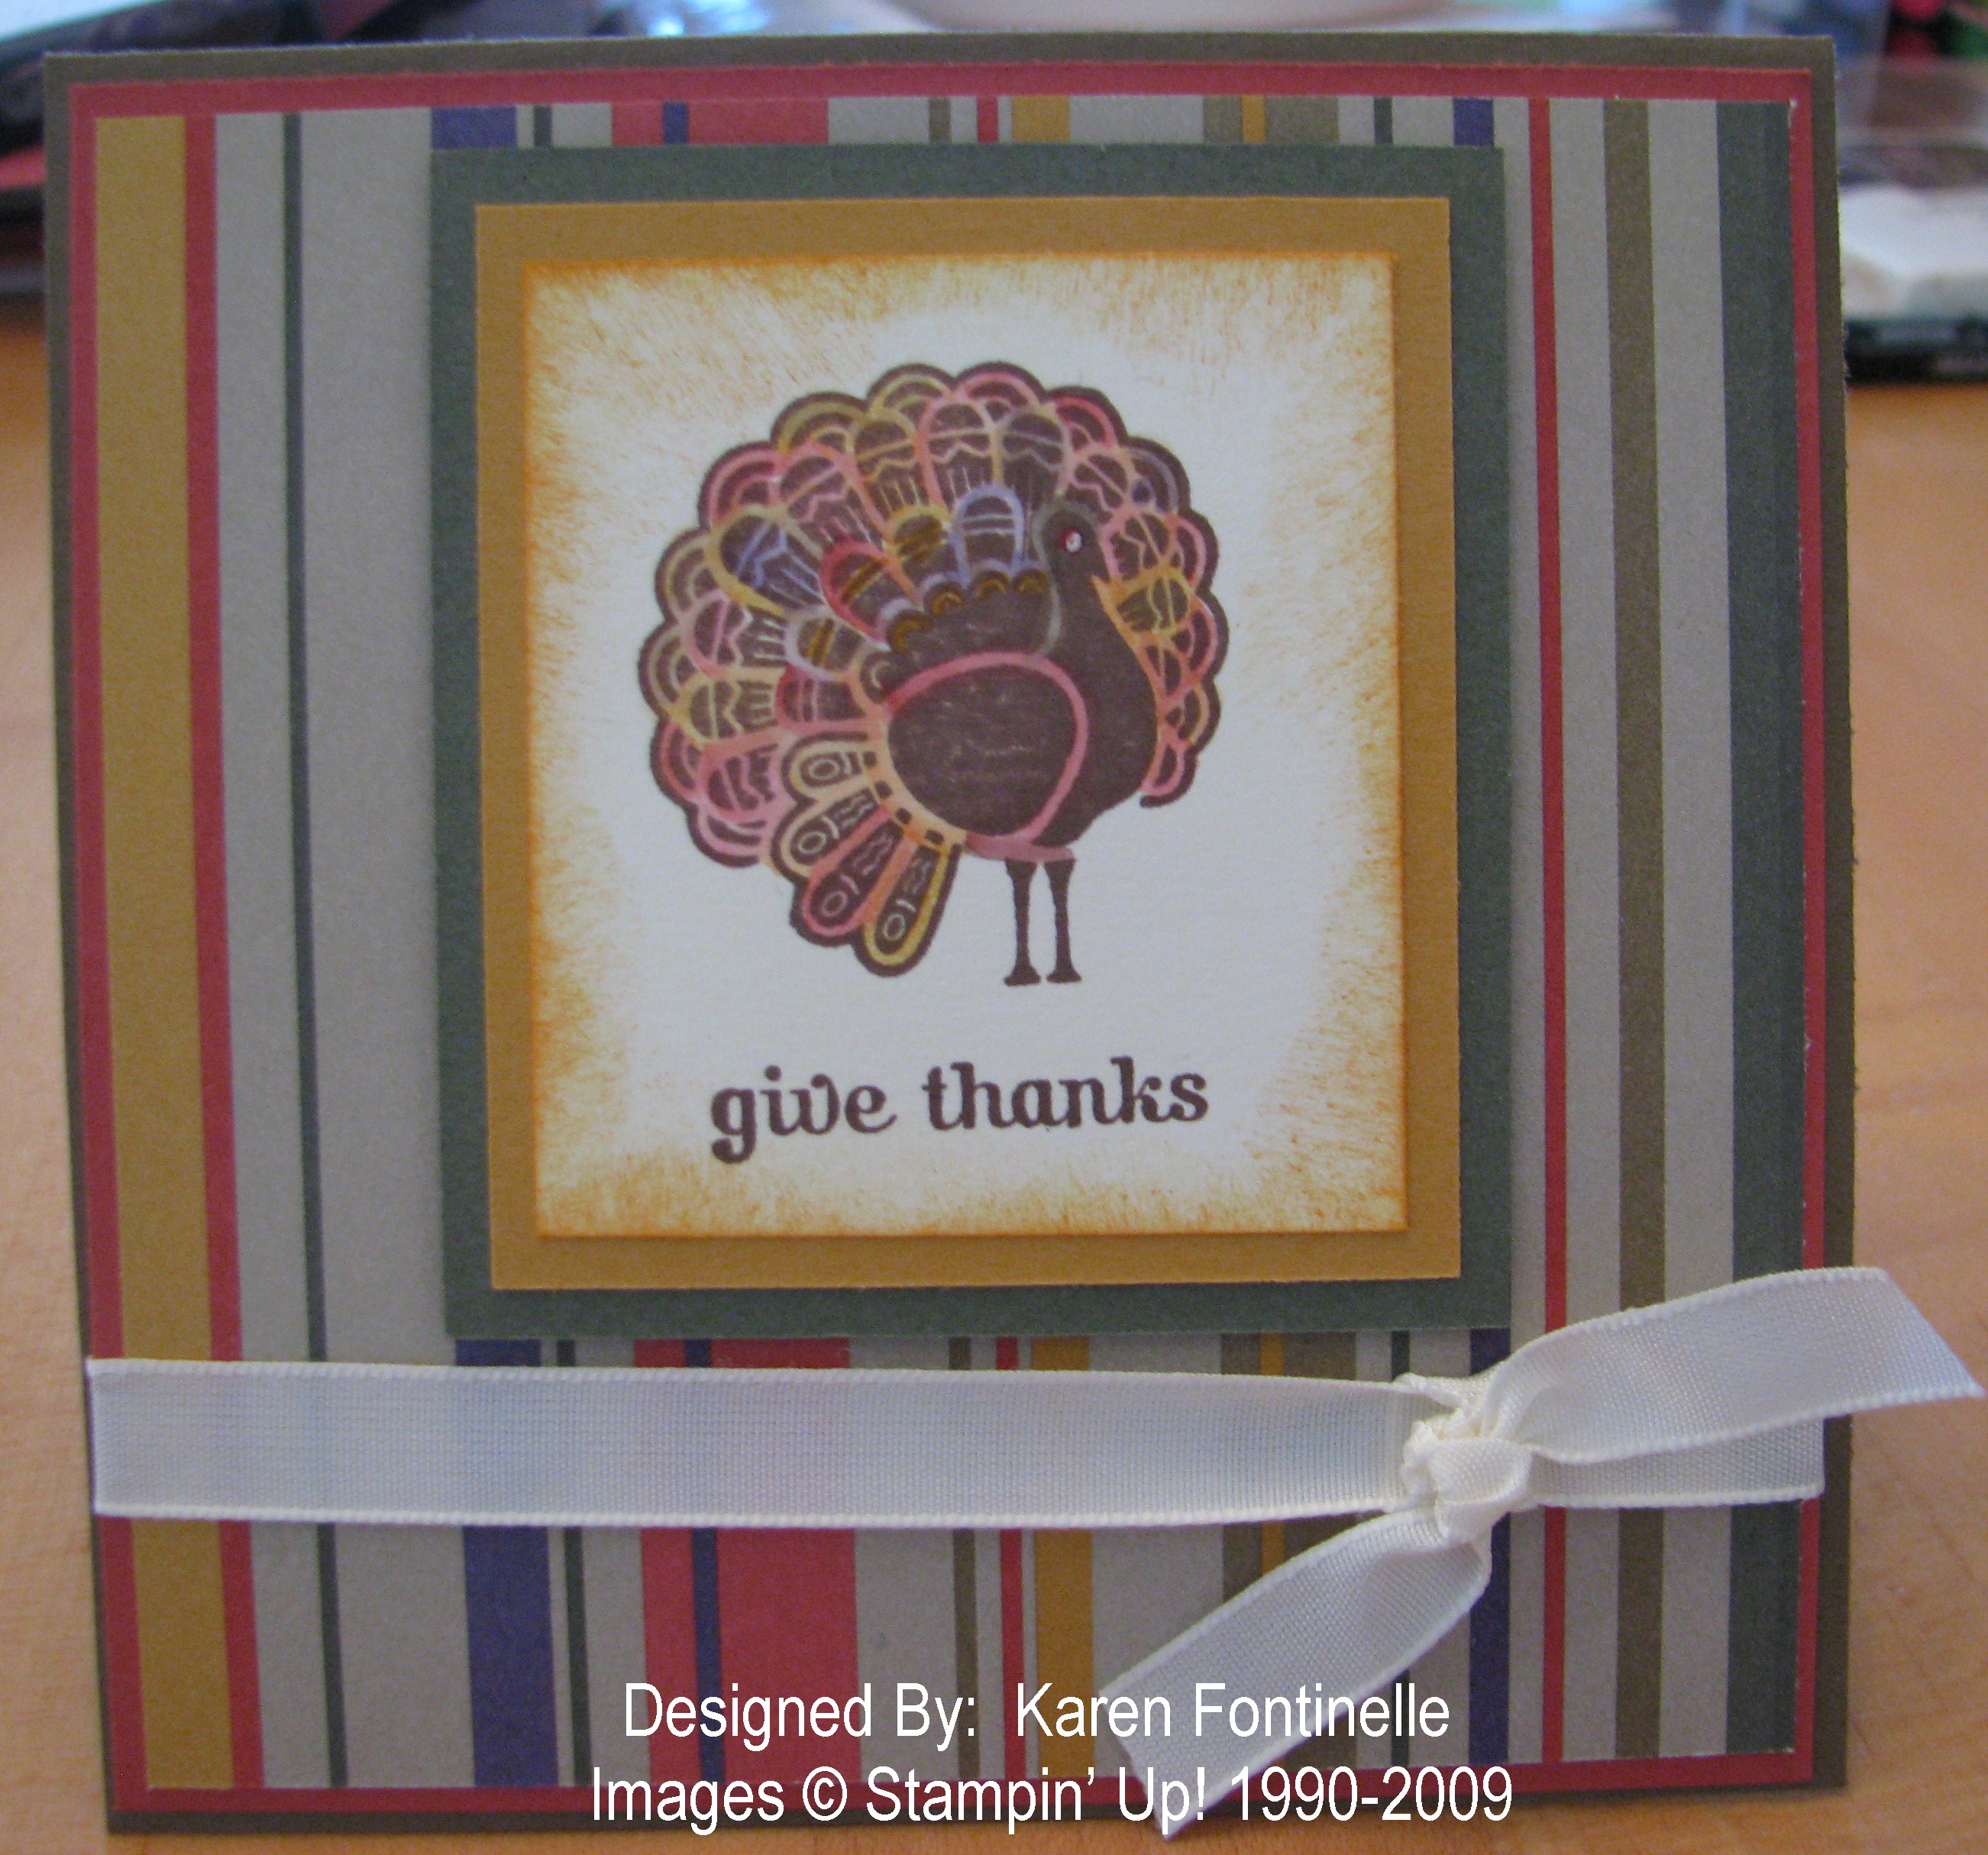
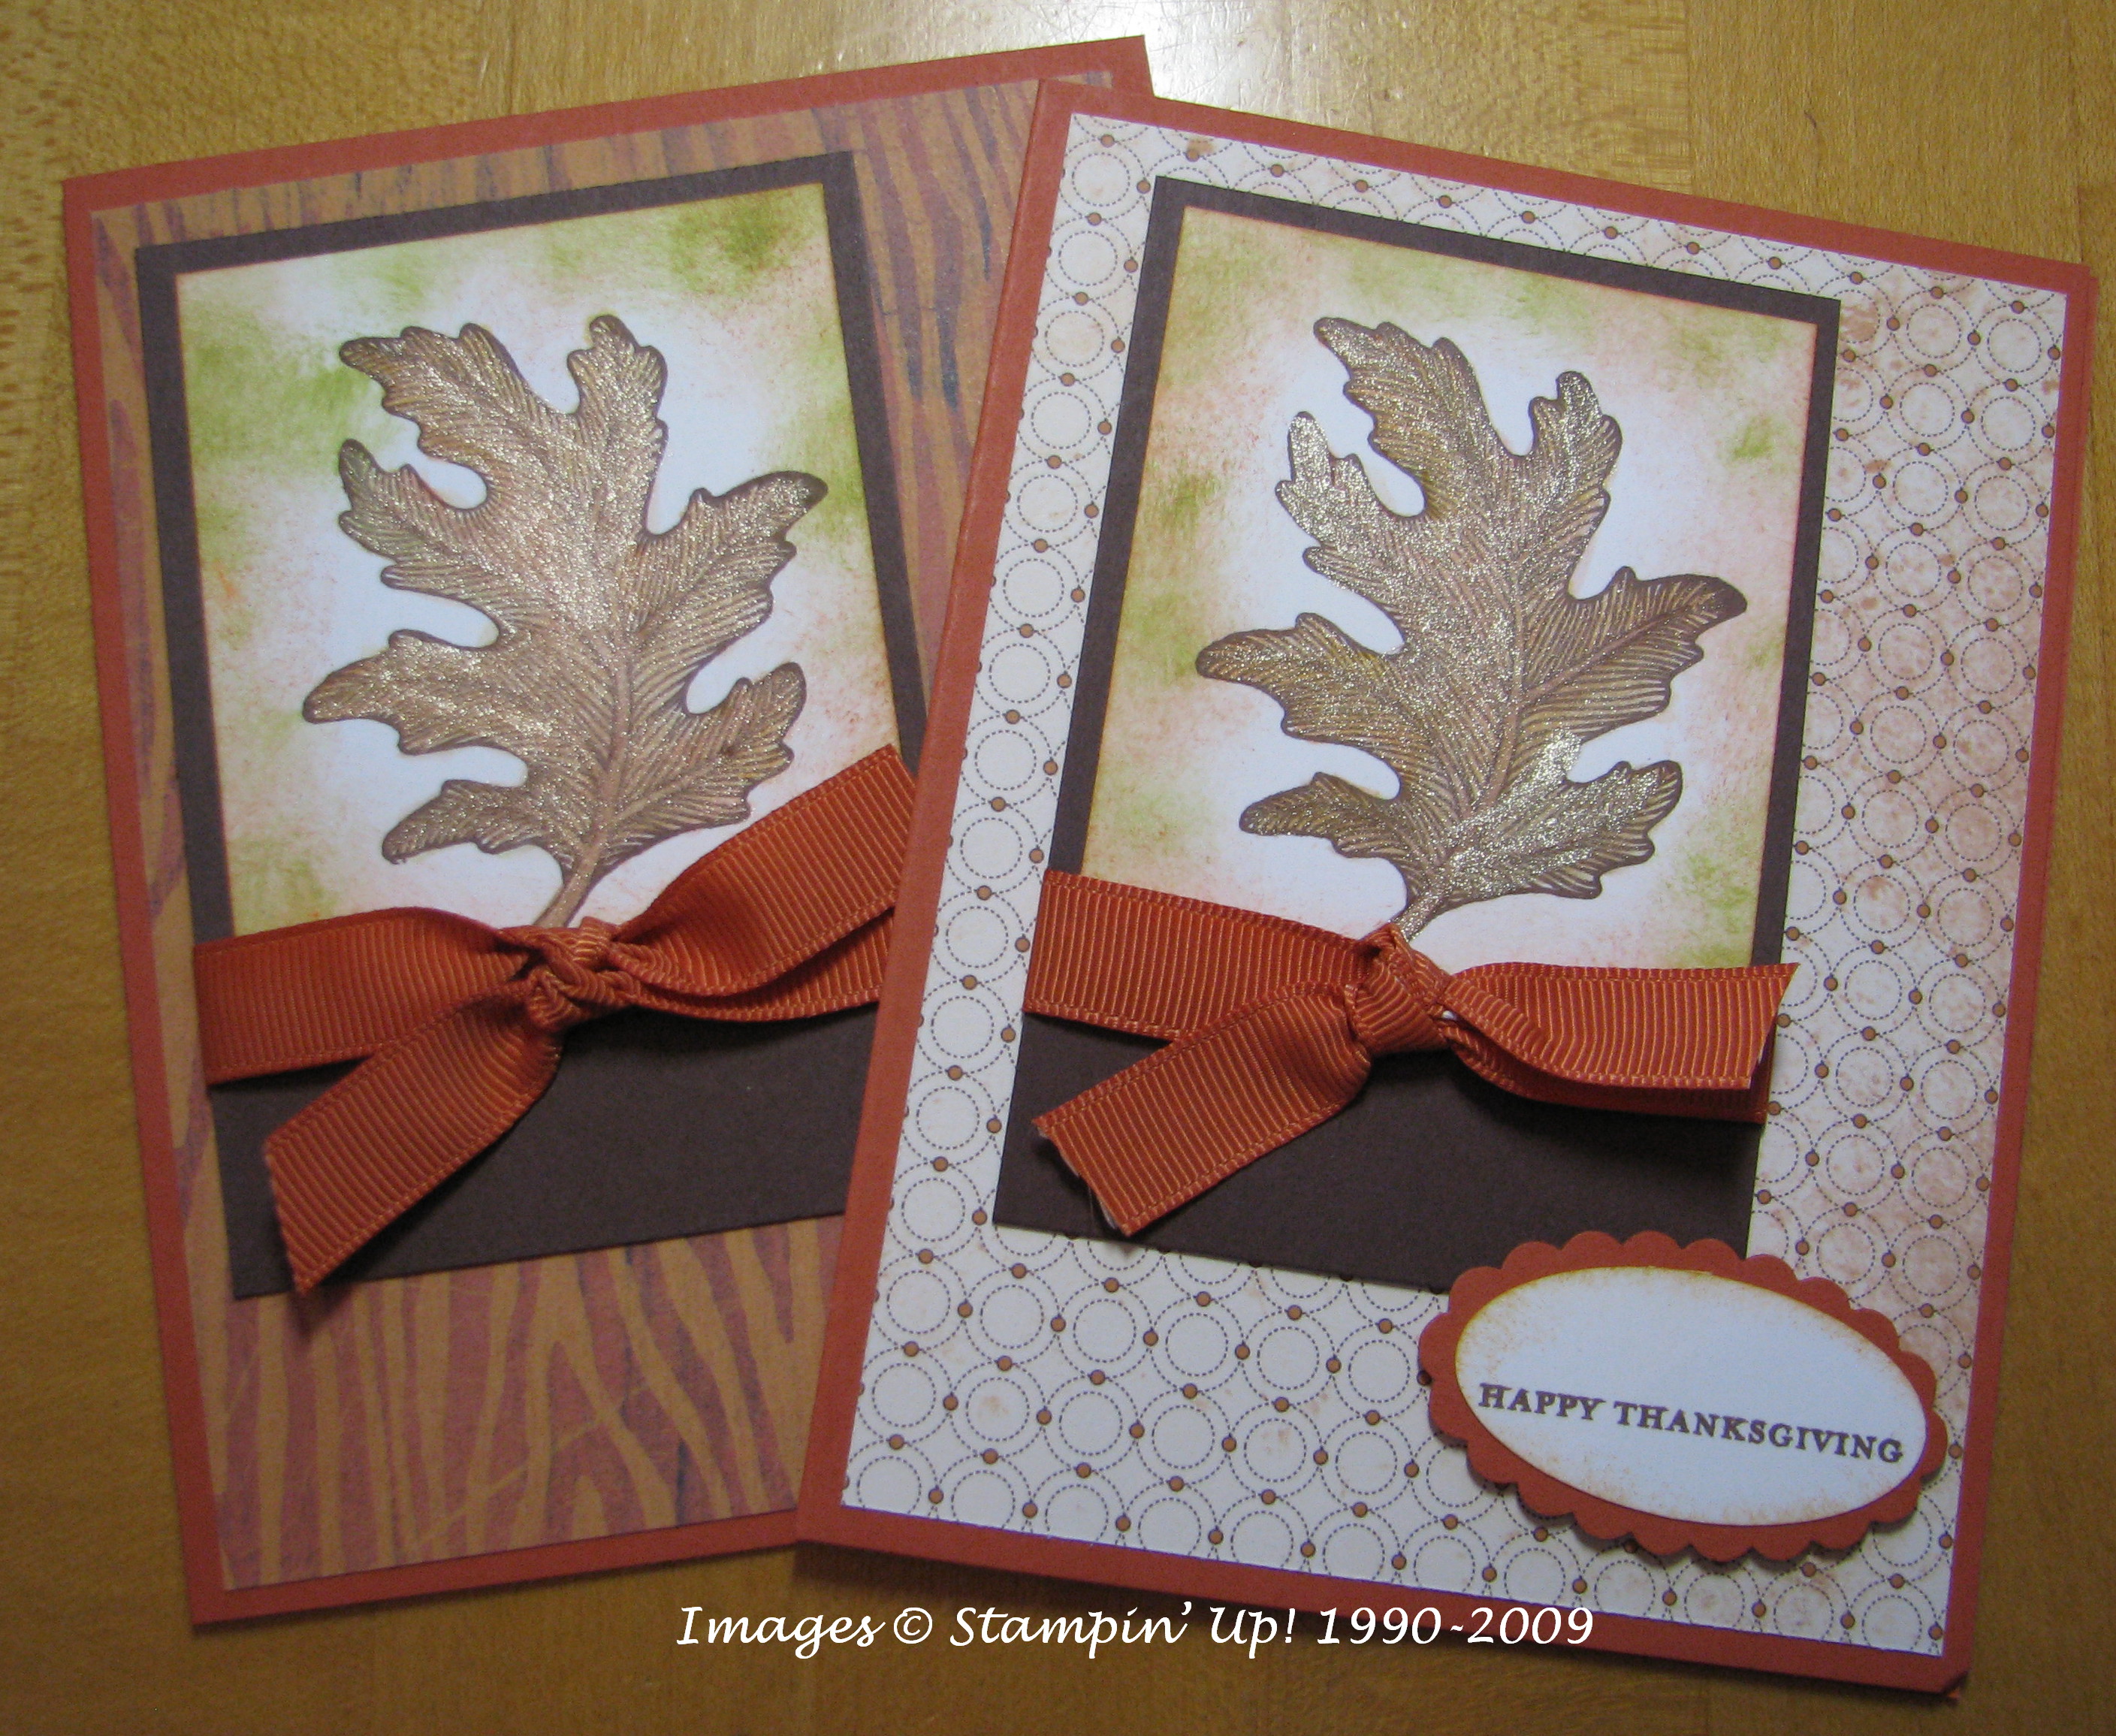
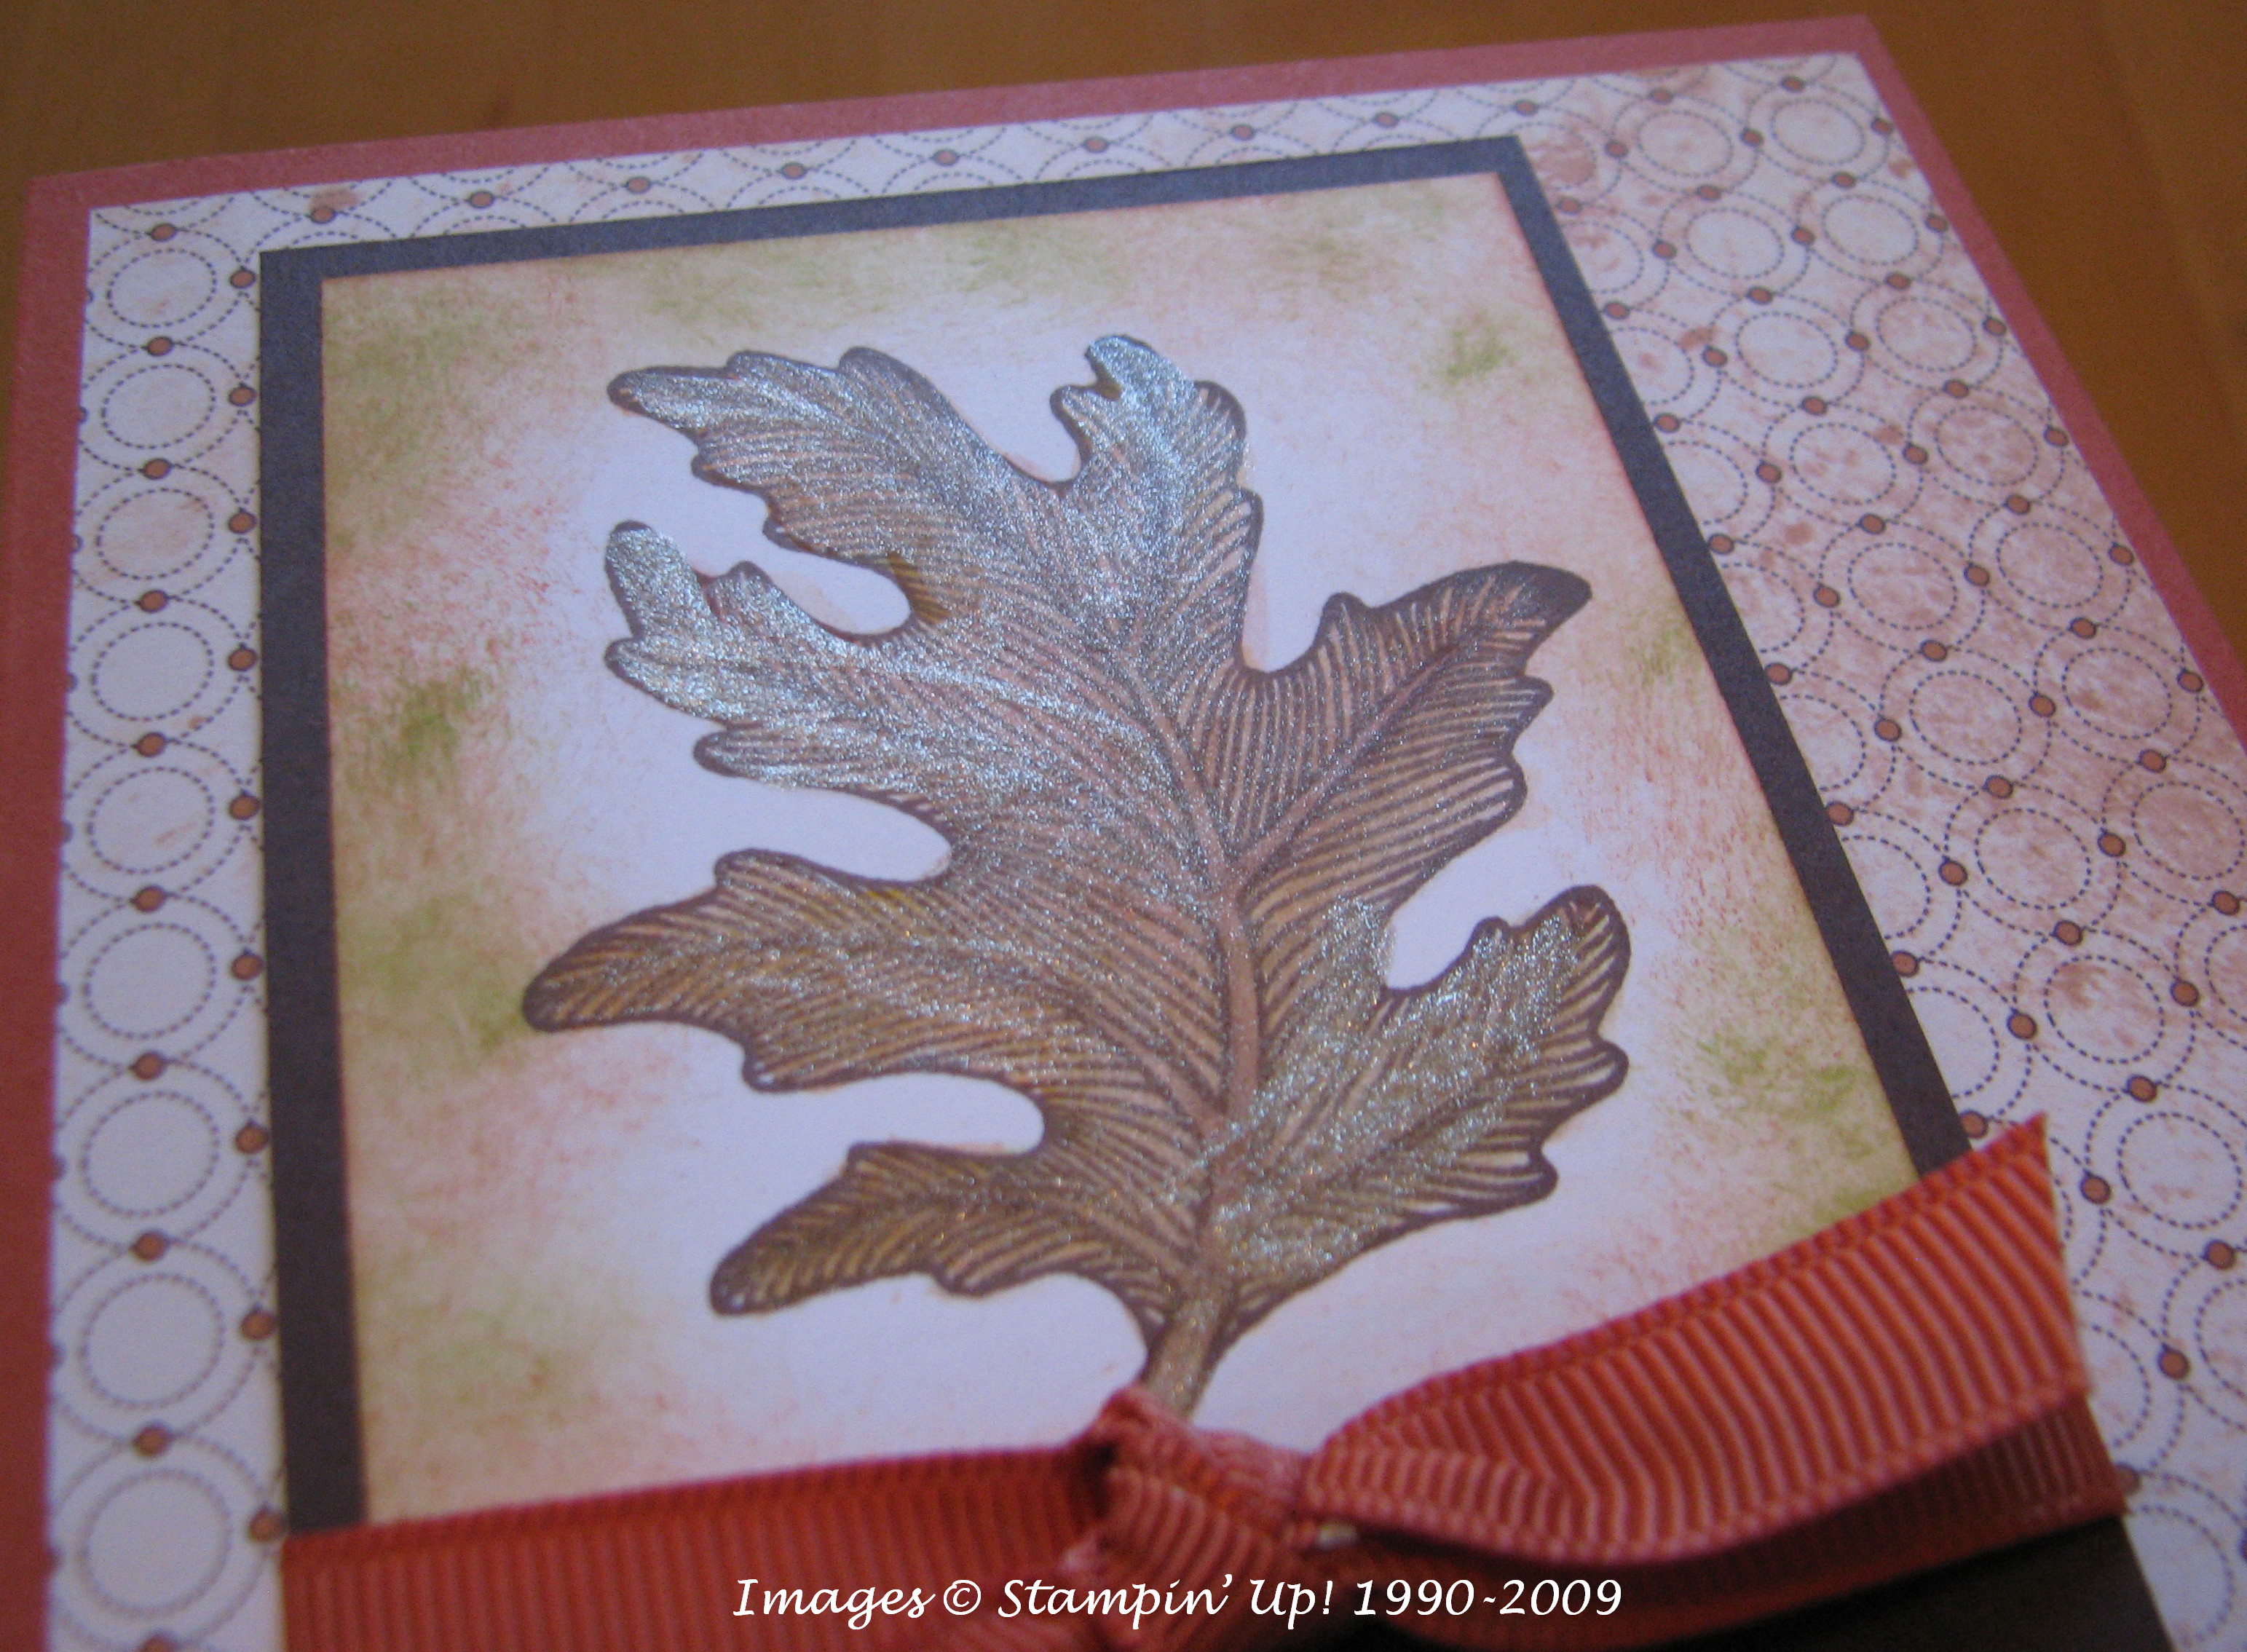
I so enjoyed decorating these Mini Lunch Sacks #121031 for Halloween in the Holiday Mini that I decided to do one more for the first day of November. Is it really November already?!  I guess so, and that means Thanksgiving isn't far behind! Wouldn't this make a nice little gift to take to someone at Thanksgiving?  You could fill it with some special treat or gift or perhaps some little 3"x 3" notecards like the one I made.  Once you start working with this beautiful Autumn Spice Specialty Designer Series Paper #120808 (also in the Holiday Mini) you won't be able to stop!  This is textured, heavyweight paper so it really is rich and special.  You can see another sheet of it in the background of my photo.  Pair it with the stamp set "Day of Gratitude" in either wood-mount or clear-mount and you will have a wonderful way to stamp lots of beautiful fall projects!

Gratitude Bag

If you need to place an order for any of these supplies, you can shop 24/7 at my Online Store.  Just click on the "Shop Now" button!

Thanksgiving Nugget Turkeys

Aren't these the cutest guys for Thanksgiving?!  The idea was in our Stampin' Up! demonstrator magazine (I've mentioned before how we all can't WAIT to get it in the mail every month!), Stampin' Success, last October.  I added the Hershey's Nugget candy wrapped in our Autumn Traditions Designer Series Paper.  First I thought I would put the turkey feathers at the back of the nugget but I like them right behind the turkey.  Then the nugget makes a good stand for the turkey and would great at each place setting of your Thanksgiving table!  See directions below.

Turkeys1

Turkeys2 

Here are the easy directions for the turkey feathers.  You can use either Designer Series Paper (DSP) or card stock.  The DSP is easier to fold since it is thinner.

  • Punch three scallop circles with the Scallop Circle Punch.
  • On each scallop circle, count five scallops and fold that area down. (Count 5 scallops, draw a real or imaginary line from the edge of scallop 1 to the edge of scallop 5 and fold down on that line.)
  • Now fold the scallop in half to form a crease in the middle for reference, then unfold.
  • Fold the flat edge of the scallop circle down from each side so the folded edges line up with the middle crease on the scallop circle. (You're bringing the flat ends up to the center fold line to get the shape you see on the turkey below.)

To complete the turkey, you'll need some punches.

  • 1 3/8" circle for the body
  • 3/4" circle for the head
  • Two 1/4" circles for the buttons (punch is retired)
  • Boho Blossoms Punch for the feet, cutting off one petal from one of the flowers for his little beak!

Color in two black dots for the eyes.

Cut a 3/4" square for the hat.  Trim off a little strip for the hat brim.  Perhaps trim a bit more to make the hat the right size.

Turkeys3 

It's really very easy and you can put your own custom touch to the project.  Or just make the turkey without the nugget and adhere him to the front of a Thanksgiving card or bag!

Happy Thanksgiving!!


Turkey Thanksgiving Card

With the Christmas holidays fast approaching, I fear we almost forget to think about Thanksgiving.  So today I got my creative mind back on Thanksgiving and wanted to use this cute little turkey, "Gobble Gobble" available now in the Holiday Mini (page 31) #116535.  You'll be pleased to know it is one of the "Under $10" stamps!  Here is the card I made!

GobbleGobble 

My card base is Soft Suede, 4 1/4" x 4 1/4".

Autumn Traditions DSP layered on Ruby Red card stock.

Gobble Gobble Turkey stamped on Very Vanilla and layered on More Mustard and Always Artichoke.

Ribbon Very Vanilla Taffeta.


Autumn Splendor

I had purchased this stamp set, Autumn Splendor, in the Stampin' Up! Holiday Mini, thinking about our upcoming (at the time) New England fall foliage trip.  I knew it would make beautiful cards and scrapbook pages with fall colored leaves.  Here is a card I made.  I stamped the leaf with Basic Brown ink so I could watercolor the leaf with my Aquapainter and Watercolor Crayons to give it the fall colors.  Then I painted over the leaf with the new Shimmer Paint in the Holiday Mini (Champagne Mist).  The shimmer kind of covered the colors of the leaf but I think it still turned out well and I hope you can see the shimmer in the photos.  You'll love the new Shimmer Paint!  If you need any suggestions or tips on using it, please email me.

LeafShimmerCard 

LeafShimmerPaint

The card base is made with Dusty Durango card stock and the Designer Paper layer is Autumn Meadows from the Holiday Mini.  Those are actually the two sides of the paper you see in the photo!  The ribbon is Dusty Durango polka dot turned around so you just see the solid side.  And for a greeting I used Teeny Tiny Wishes punched out with the Oval Punch and layered on the Scallop Oval Punch.  You'll notice the leaf layer is sponged on the side, which I do think adds a lot….but just so you know, I decided to do the sponging after somehow getting extra ink from my fingers on the edges of the card.  See!  There are no mistakes in stamping!  You can probably click on the photos to see them enlarged.

Here are some more photos from our trip!

IMG_6526 

IMG_6538

IMG_6541

IMG_6598

IMG_6604 

IMG_6606

IMG_6618

IMG_6627

IMG_6630 

Wouldn't you love to stamp some colored leaves??!