Maybe you don’t know how this Envelope Valentine Treat Bag was made unless you have been around Stampin’ Up! a very long time like me! It was one of those creative ideas I learned when I first joined Stampin’ Up! or maybe when I first started stamping. There were many ideas I saw like this that just amazed me with the creativity!
Here is my original treat bag which is probably over twenty years old! I don’t remember if I made this one or if my upline made it and gave it to me for a sample. Anyway, I have saved it all these years.
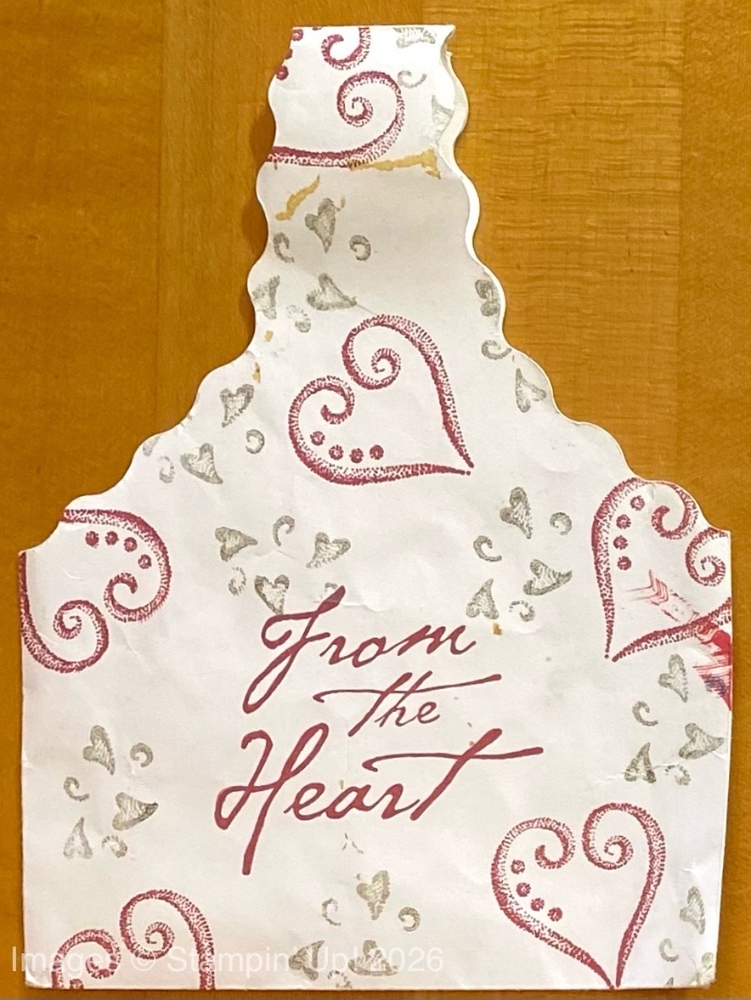
This little treat bag is made with a Stampin’ Up! Medium Envelope! These are the best envelopes. You should have a couple of packages. I can identify a Stampin’ Up! envelope in my hand if I get one in the mail! They have a nice smooth feel to them.
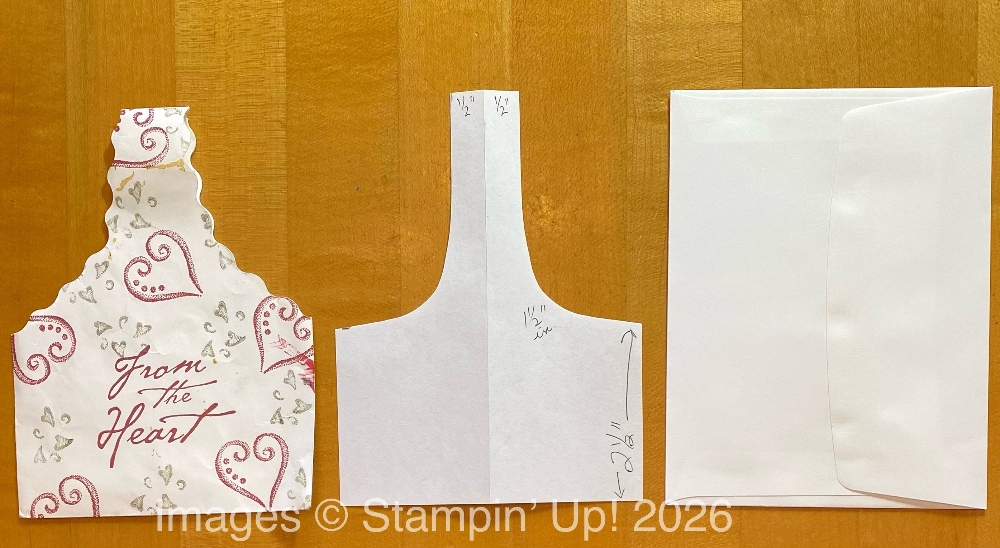
Here is how to make this easy treat bag with a Stampin’ Up! envelope. Begin by sealing the envelope. Turn it so the envelope flap is vertical, not the usual horizontal. You could freehand making the handle, but I cut a piece of computer paper the same size as the envelope for a pattern. That way, I could fold it in half, as if you were cutting out a heart, so it would be symmetrical. I had measured up about 2 1/2″ up from the bottom on both sides and 1/2″ from the fold at the top so the handle would be about 1″ wide. I cut a curved line from the side to the top to make the pattern for the handle as you can see in the photo below. Then I used the pattern to cut the envelope. Remember, you hold the envelope on its side, so it’s long from top to bottom, not the usual horizontal position.
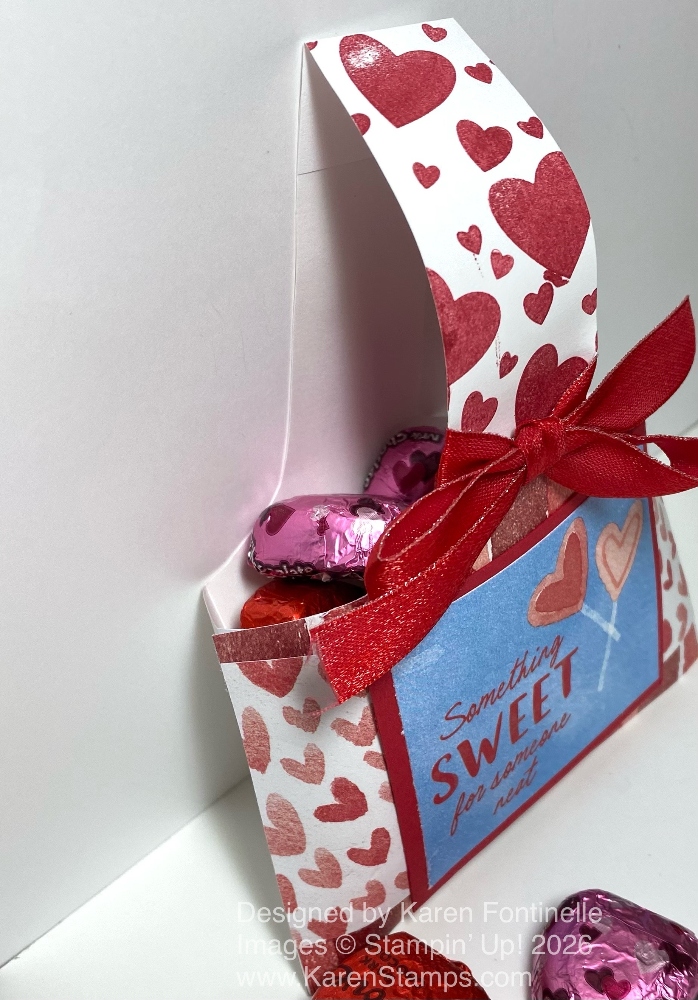
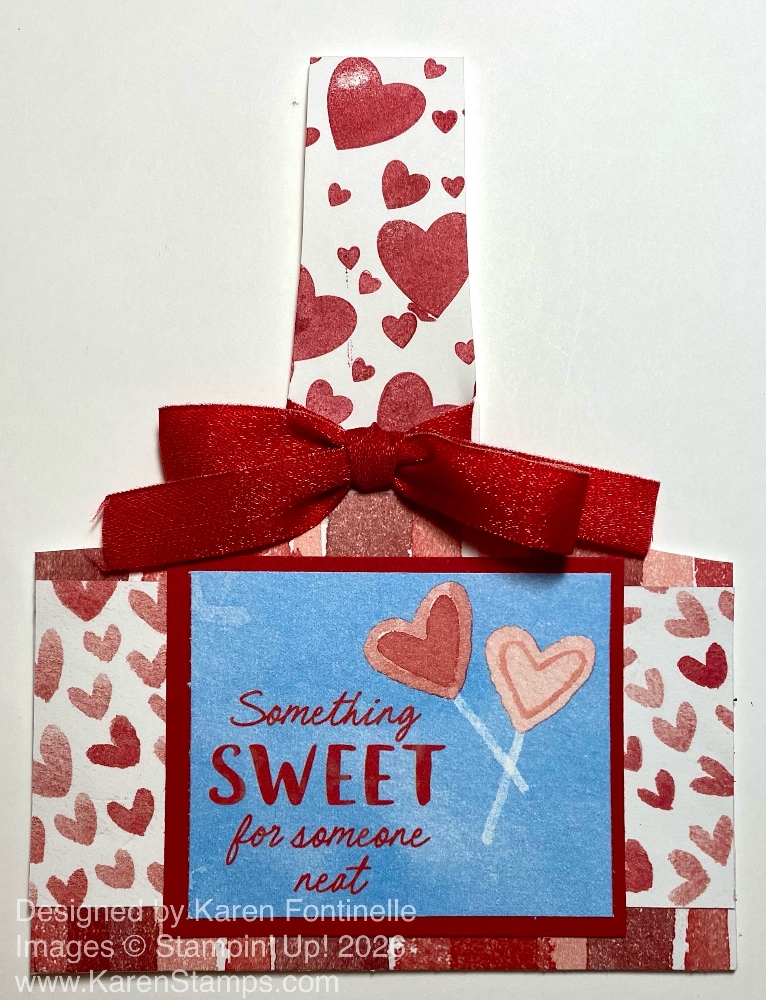
Once you have the envelope cut like the pattern and like the sample, decorate it however you like! I used two different patterns of the Love Notes 6″ x 6″ Designer Series Paper to decorate the front of the treat bag. First, I cut a piece with the hearts at 4 3/8″ x 2″ to put across the front. Then I decided I would like a little border top and bottom using another paper with stripes. These two were each 3/4″ wide x 4 3/8″. I glued the top one a little higher than the top of the “bag” portion to cover up the curve going to the handle, then, after adhering, trimmed off the excess following the curve of the bag.
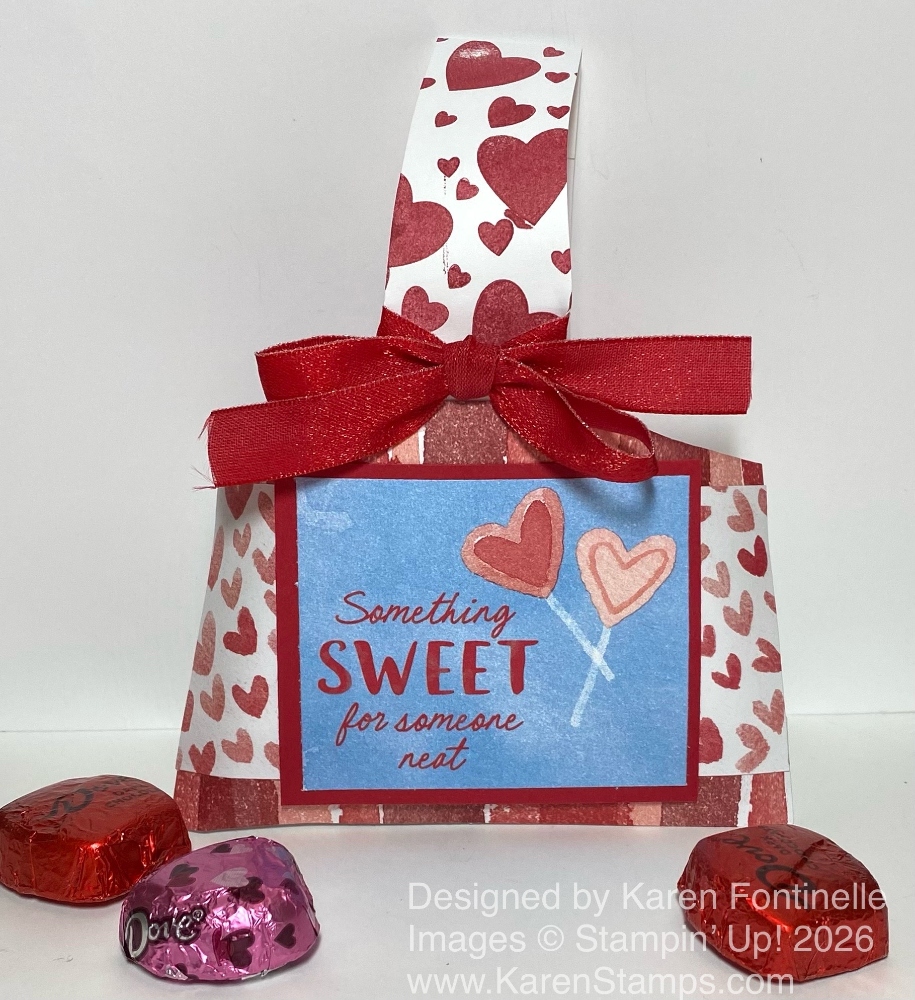
The greeting on the front is one of the cut-apart images in the Love Notes DSP. I cut it smaller than it is on the sheet so it would fit better. It is 2 5/8″ x 2 1/8″. Then I layered it on a piece of Real Red cardstock 2 7/8″ x 2 3/8″. To decorate the handle, I stamped Real Red hearts with the hearts in the Endless Love Stamp Set. And finally, I tied a bow around the handle before putting candy inside. I used the Real Red 1/2″ Shiny Ribbon. Just add candy when you are ready!!
You have to try making one of these envelope treat bags for any occasion! It’s really fun and easy!