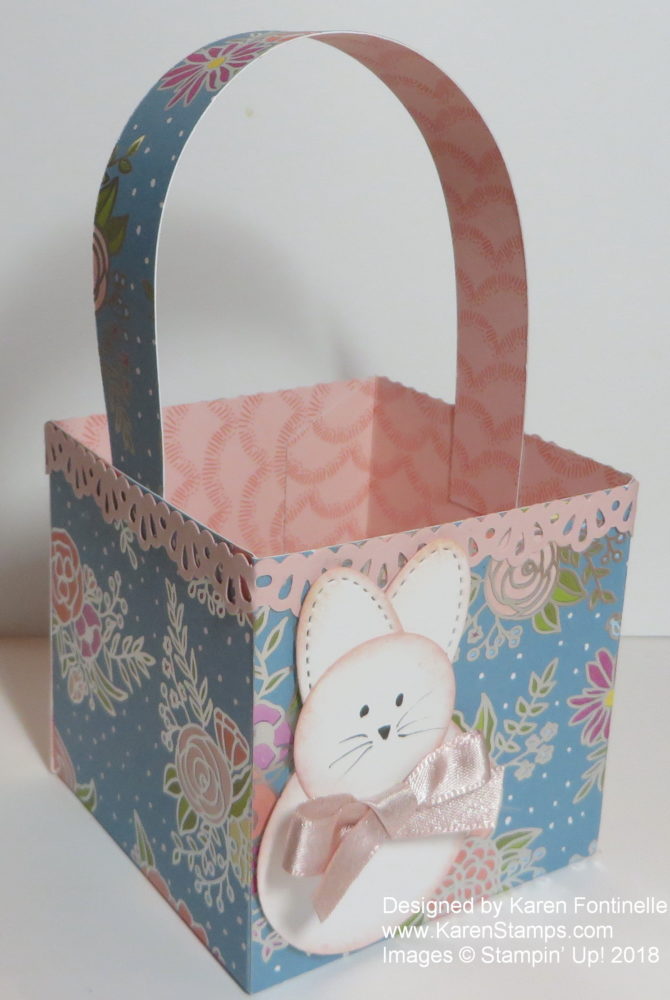
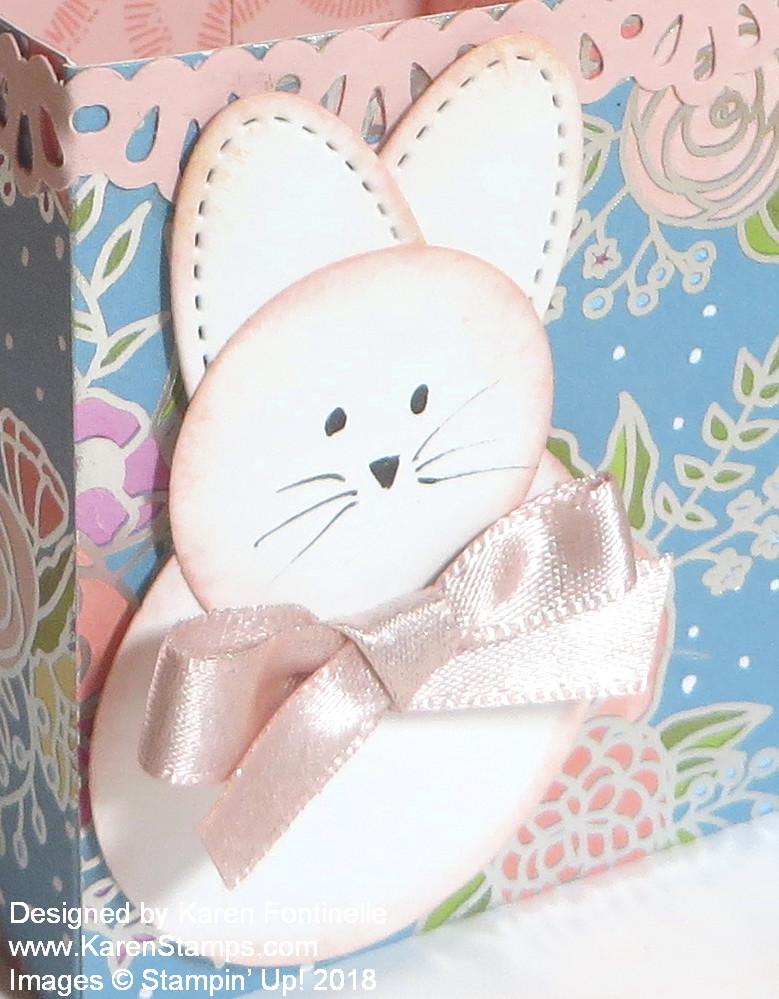
Easter is on its way, so let’s learn how to make an easy paper Easter basket with a punch art bunny using the Sweet Soiree Designer Paper. When I saw this paper, I knew it would make a beautiful gift box, but somewhere along the way it turned into an Easter basket! And what better decoration for an Easter basket than a cute punch art bunny!
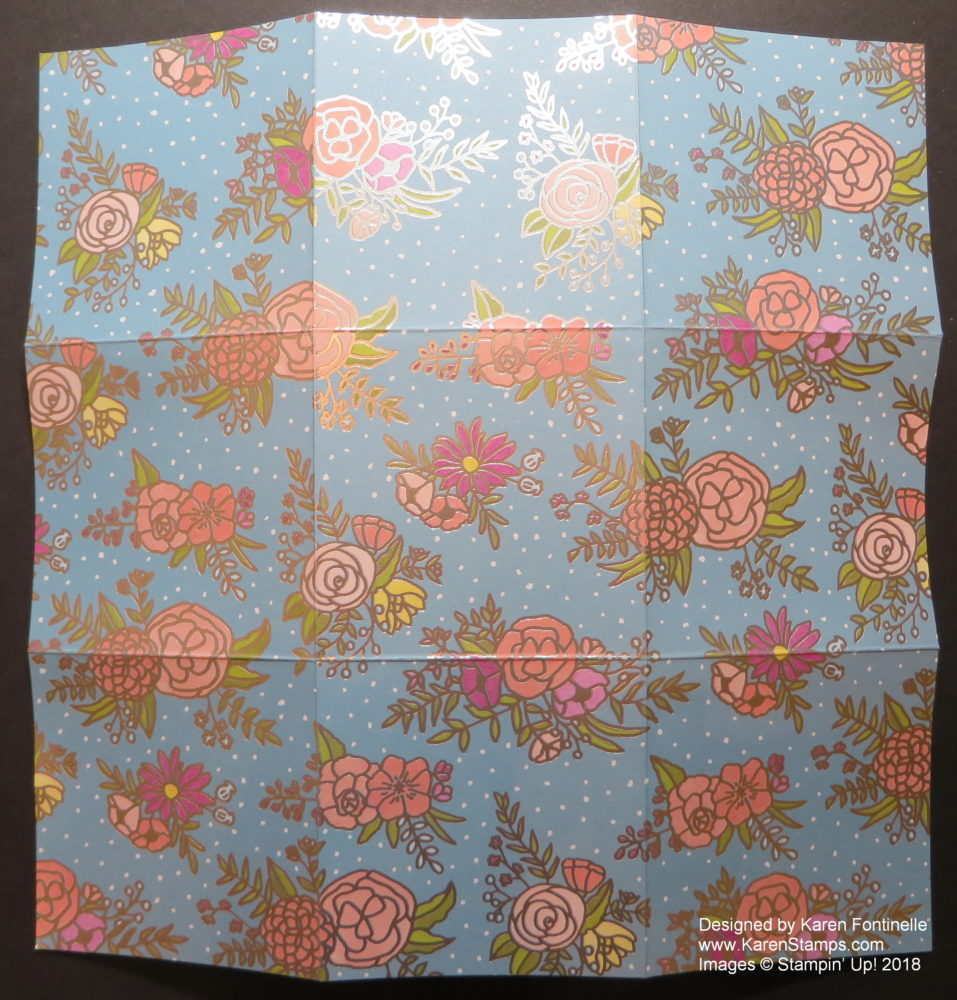
You can decide what size you want your basket to be, but I chose 3″ wide on each side, which meant I needed to start with a 9″ x 9″ piece of the Sweet Soiree Specialty Designer Series Paper. I just scored it at 3″ and 6″ on each of the two sides so that it looks like a tic-tac-toe board.
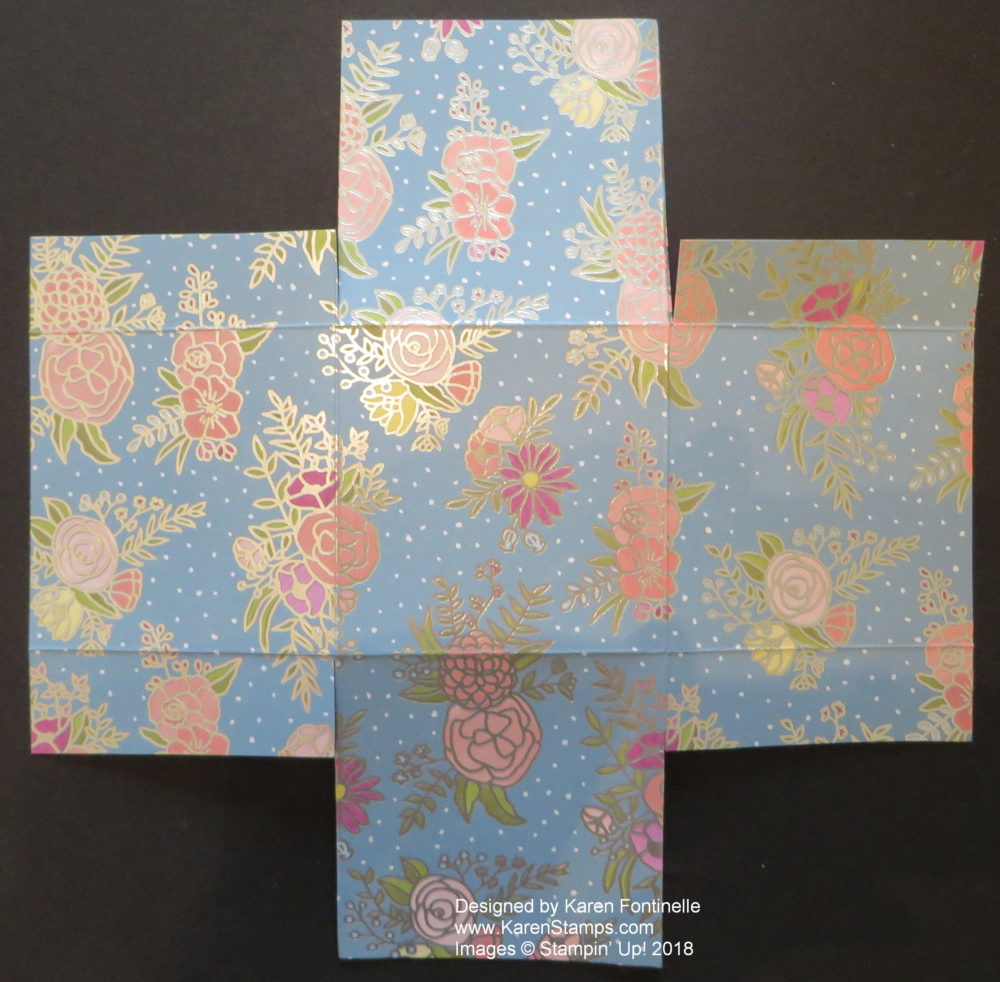
At this point, you can cut on the vertical score lines from the bottom up to the horizontal score line and down the same way from the top. Then you can crease all the score lines, fold in all the tabs, and make your basket.
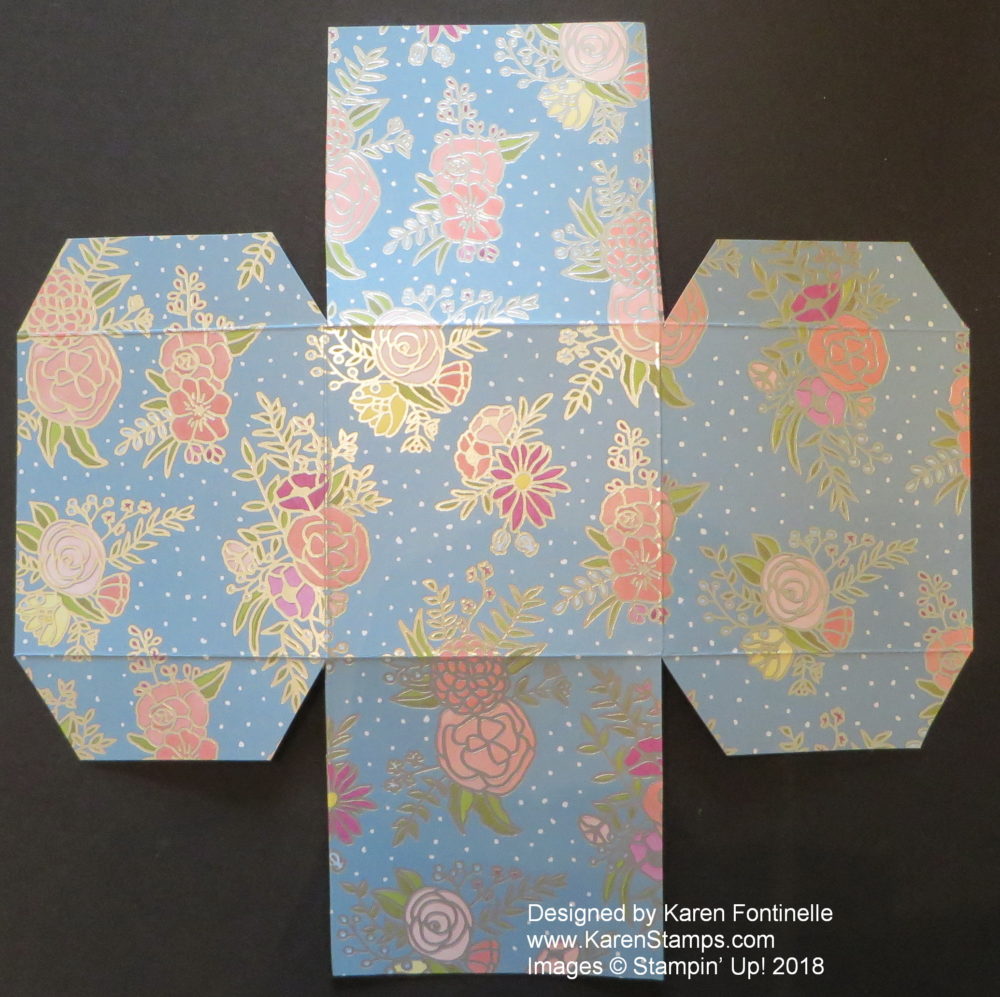
To eliminate the bulk of all that paper, after I cut up to the score lines as above, I cut in from the sides as you see below in the photo. This makes “tabs” to adhere to the sides. The tabs do not have to be cut exactly straight. I just eyeballed that part. Then you can use Fast Fuse, or I used Tear & Tape Adhesive on the tabs.
Just for an extra tip, I cut the little angles on the tabs, just to keep them out of the way on the edges. Nothing special, just eyeballed it.
The handle for the basket is just a 3/4″ strip of paper, adhered inside the basket again with Tear & Tape. You could use brads or staples if you wanted to, or ribbon. For a little embellishment, I punched strips of Powder Pink Cardstock with the Decorative Ribbon Border Punch to decorate the top edge of the basket. I also made this 3/4″ wide but if I did it over I probably would make it wider.
The punch art Easter Bunny is fun to make! You can experiment with whatever punches you have. For this bunny I used the 1 3/4″ Circle Punch for the body, the 1 1/4″ Circle Punch for his head, and a small oval from the Stitched Shapes Framelit Dies for his ears. If you have a retired Oval Punch you can use that. I only needed one die cut because I just cut it in half for the ears. For the face, I just drew it in. Before adhering the bunny, I sponged the edges of the pieces lightly with Powder Pink Ink. I meant to color the inside of the ears with Stampin’ Blends in pink but I forgot! The bunny is popped up on Stampin’ Dimensionals on the front of the Easter basket. He/She still needed a bit of something so I tied a bow with Powder Pink 3/8″ Shimmer Ribbon.
The Sweet Soiree Specialty Designer Series Paper is so pretty by itself you can make bags, baskets, or boxes easily without having to do much else! The silver foil and colorful handpainted design of the flowers don’t require much embellishment. If you learn how to make an easy paper Easter basket with a punch art bunny with the Sweet Soiree paper, you will have a beautiful little gift or treat for someone special.

