Author Archives: Karen Fontinelle

Yellowstone and Grand Teton National Parks Trip

It’s time to get back to my blog!  We have been home now from vacation for over a week, but it takes awhile to get caught up with everything and back to normal.  Add to that another child getting ready to leave the nest and seek his fortune at his exciting new job in Santa Clara, California…..we have piles of stuff everywhere that he moved home from college plus, of course, he is sorting through his things to see what to take, what to ship to his new location….once he finds a place to live!  It’s a mixed bag of emotions for all of us, that is for sure!  For any of you young mommies who might be reading this, I know you can’t imagine this day will ever come for your little ones, and I know those “old ladies” say to you all the time “They grow up so fast.”  But I can tell you now that they were right!  I feel sure that my husband and I did our jobs as parents pretty well if our children are able to go off independently and confidently into the next stage of their lives.  But it does tug at a mother’s heartstrings!

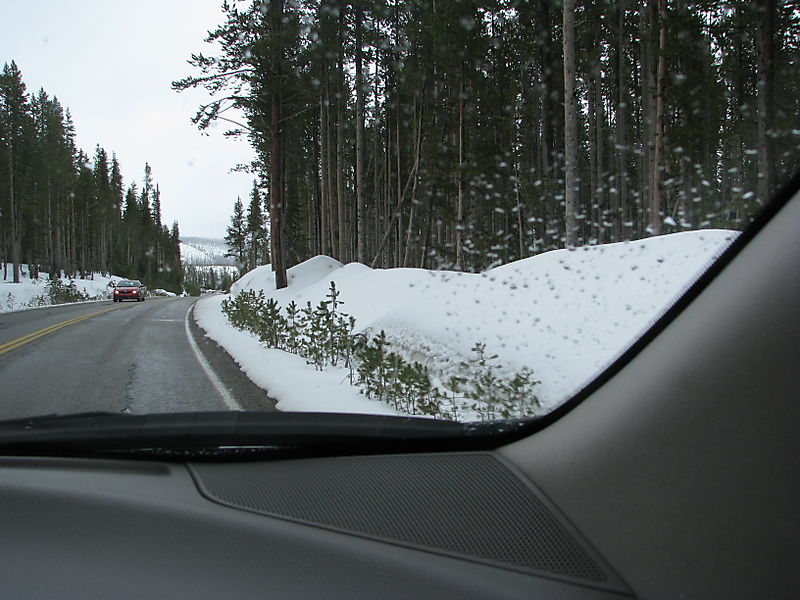
Back to our trip…..since no post-graduation roadtrip with friends got off the ground, we were pleased that we were able to take a family vacation instead.  Yellowstone National Park is an amazing place, as all the national parks are.  We normally don’t travel this early in the summer so were quite surprised to see so much snow still in the mountains.  Luckily the roads were all perfectly clear, but in plenty of places there was a lot of snow.  It all just added to the scenery and made the trip even more interesting for us. 
IMG_0235

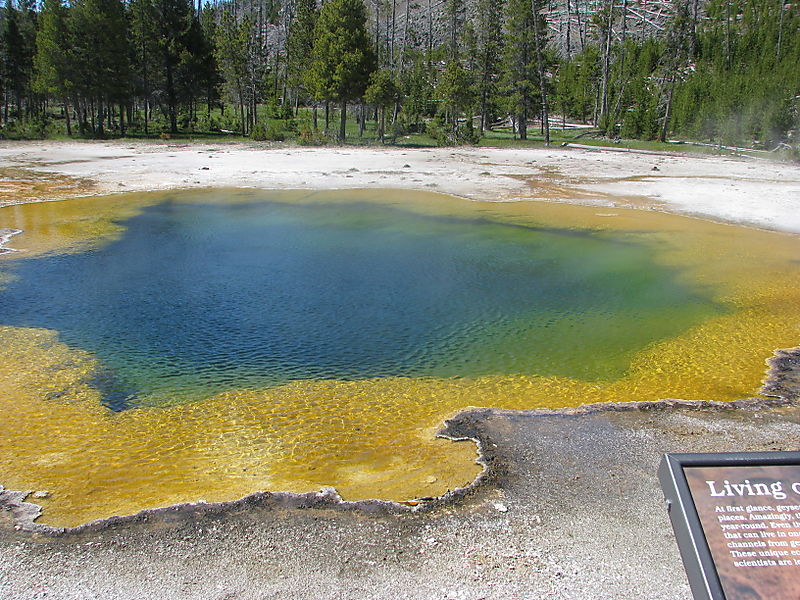
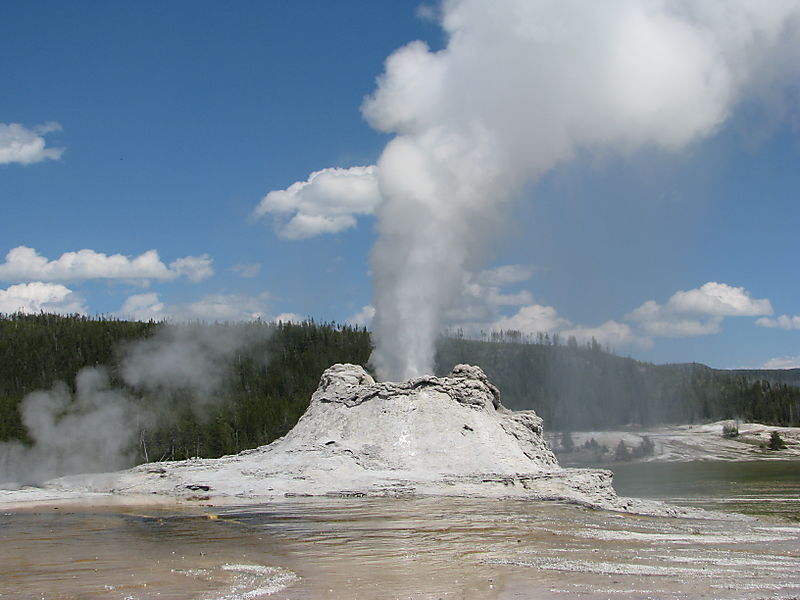
I had heard of Old Faithful Geyser, of course, but I had no idea about the extent of the geysers and other “thermal features” in the park. As many as we saw, we continued to find them fascinating.  This is Castle Geyser which we saw erupting.
IMG_0896  

Emerald Pool

IMG_0358

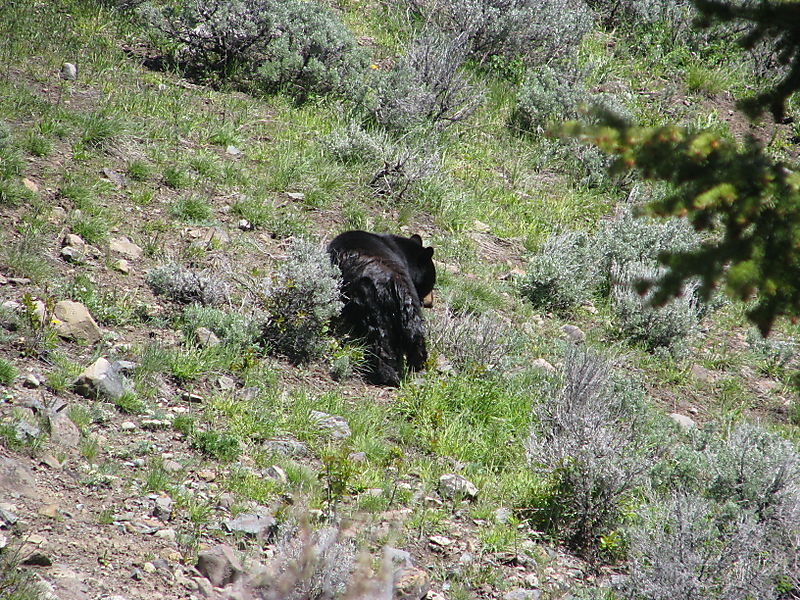
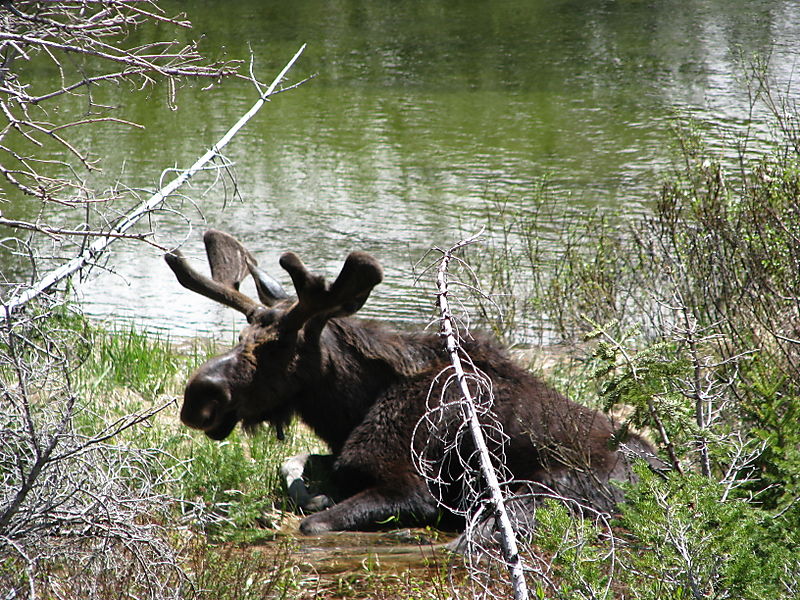
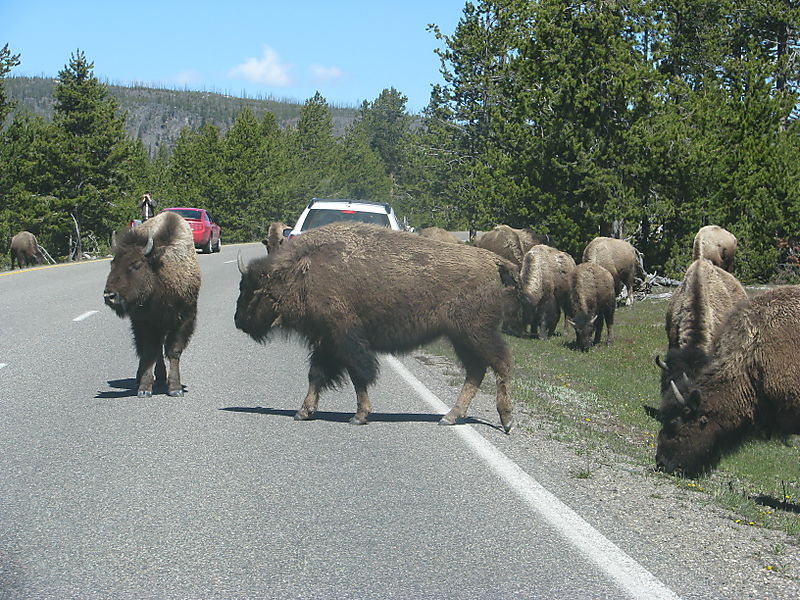
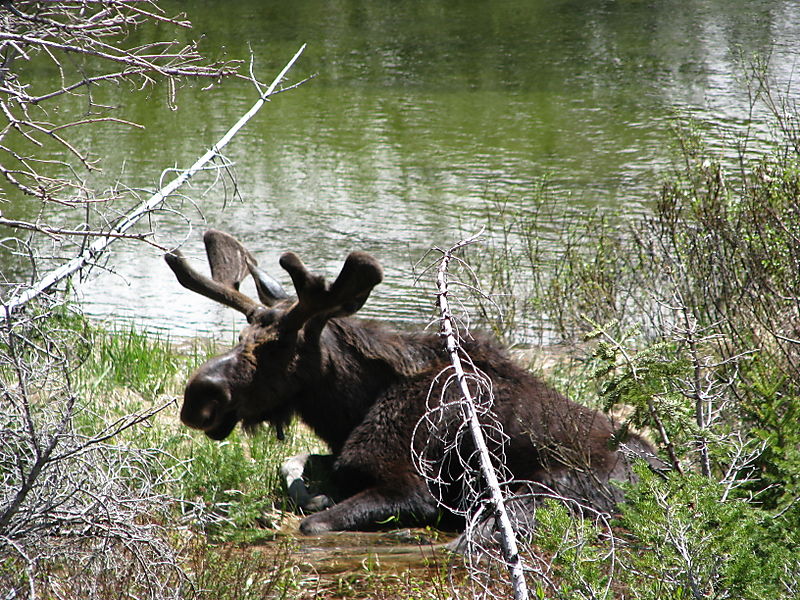
The scenery was gorgeous…in some spots snow-capped mountains, beautiful blue lake, pine trees.  But people go to Yellowstone as much to see wildlife as anything and we saw our share….lots of bison, moose, even a couple bears.  Everyone just stops on the road and hops out of their cars to get photos. 
IMG_0320

IMG_0592IMG_1083

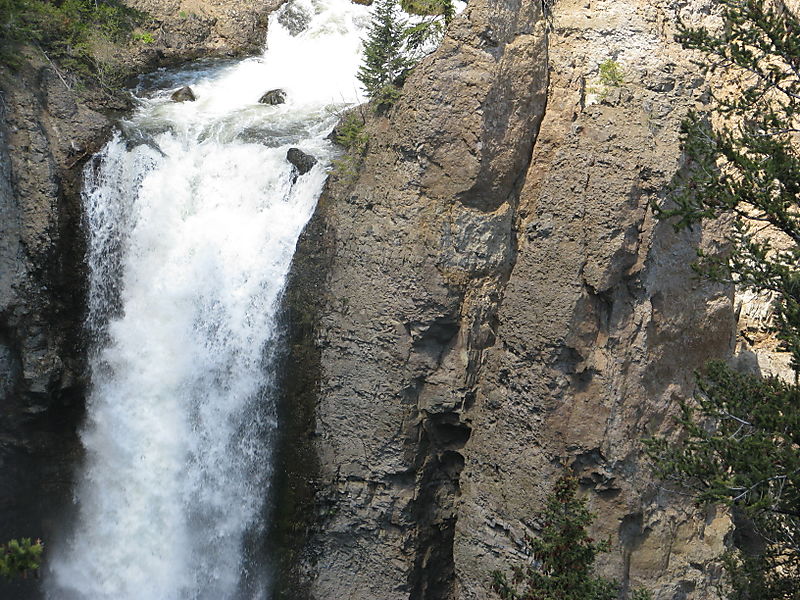
The waterfalls were beautiful with the spring melting of the snow. Usually by the time we are on vacation the waterfalls are reduced to a trickle.  Some hikes and sites were still closed because of snow….which was amazing since we had left behind 95 degree temperatures in Houston!
IMG_0603

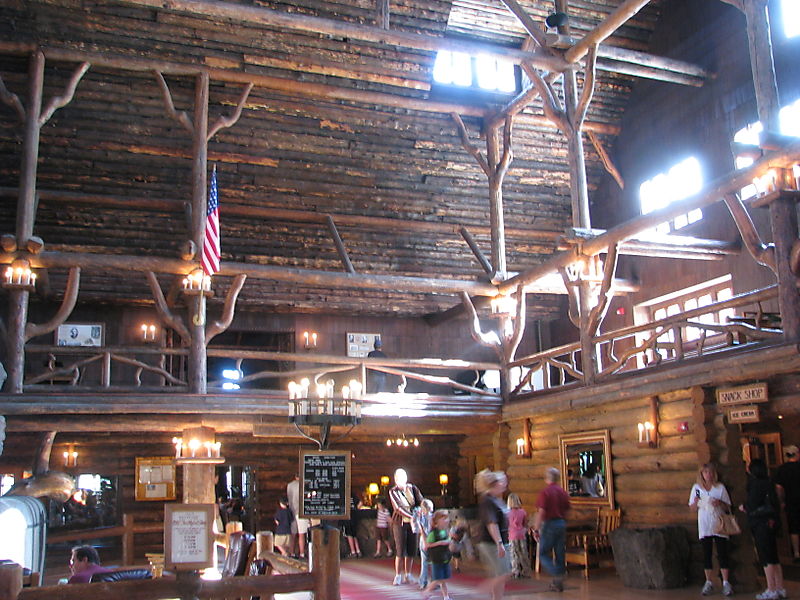
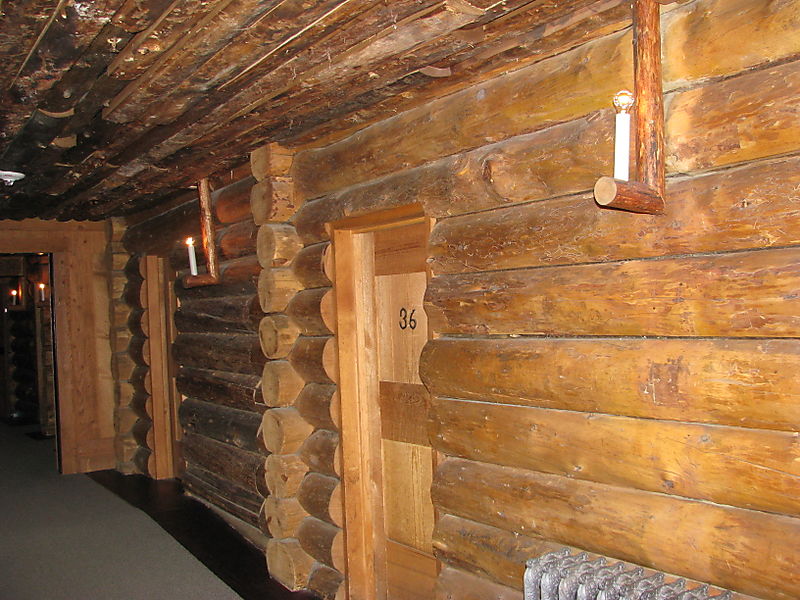
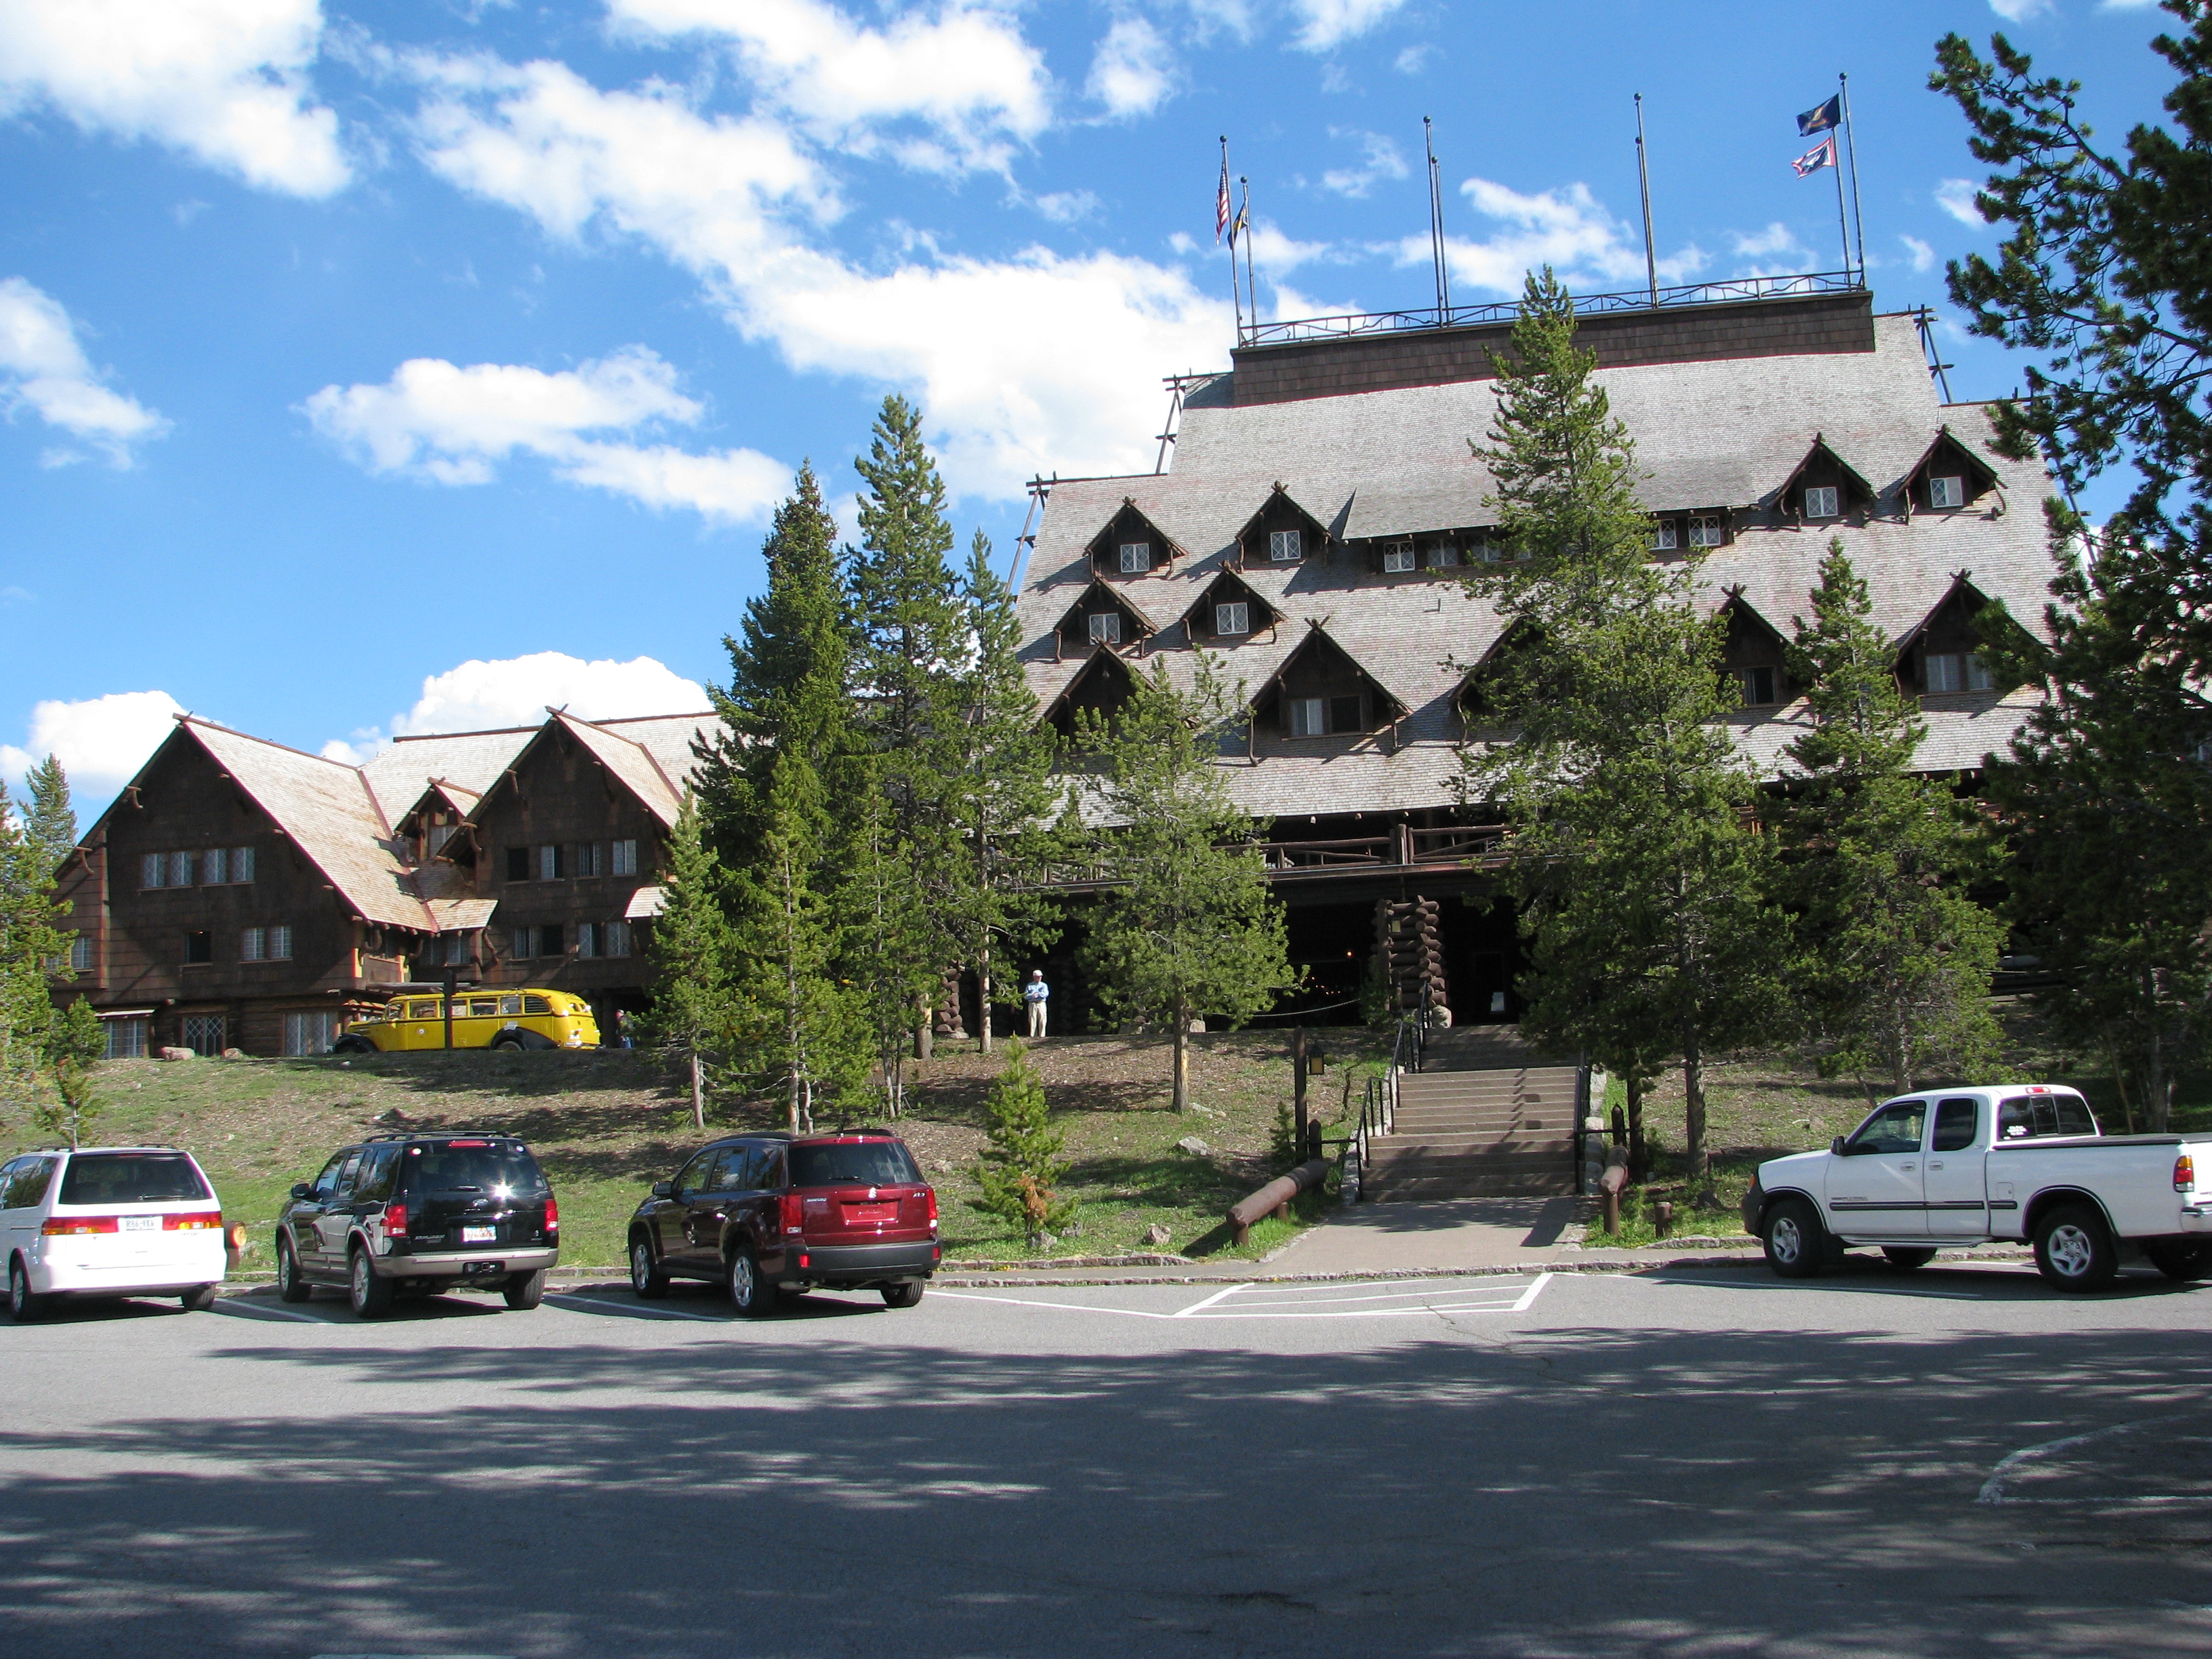
  We were lucky enough to get four nights of lodging (at three different lodges) inside the park (normally you have to book a year in advance) but on my second phone call I guess I got lucky and caught some cancellations so never give up if you are trying to find accomodations!  We really enjoyed that benefit, less driving in and out of the park, and felt a part of history getting to stay at Old Faithful Inn the last night with a room overlooking Old Faithful Geyer.  The next day we took an interesting tour of the Inn and saw one of the historic original rooms, with bathroom down the hall!IMG_0799  
IMG_0800

IMG_0796

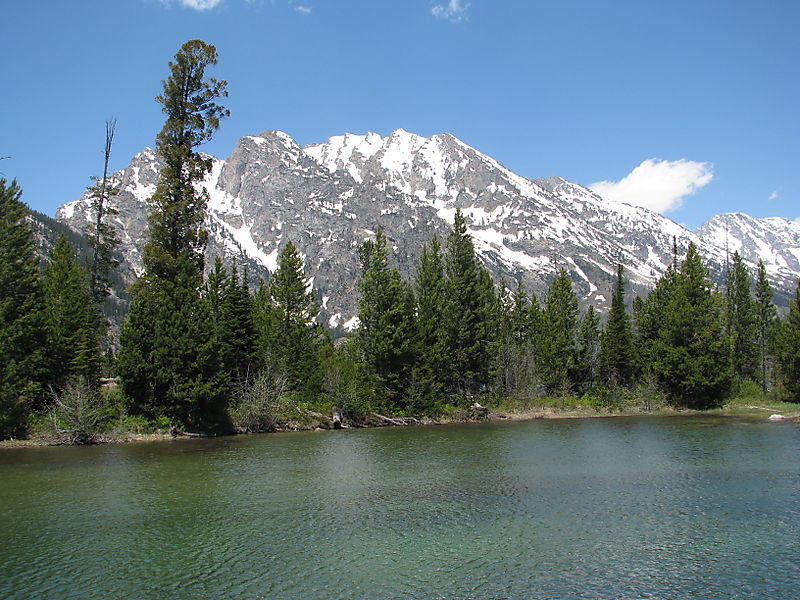
We also visited Jackson Hole, WY at the beginning and end of our trip, which was a lovely place…nice hotels, shopping, and restaurants.  From that area you must drive through Grand Teton National Park to get to Yellowstone.  The Tetons have extraordinary scenery and beauty.  We took a boat ride across beautiful Jenny Lake and then a hike to a fantastic waterfall.
IMG_0993


All this is to say, don’t these photos just make you want to scrapbook?!  I think I might start out easy with some 6×6 pages which I can expand to 12×12 if I want to.  And with all the photos I took on our trip, I’ll probably need to do 12×12.

If you need some scrapbooking ideas for your vacation photos, please contact me!  As a Stampin’ Up! demonstrator,  I’m sure I can help you get your scrapbook pages started faster than I will do my own!  But we’ll see!  Here are just a couple stamp sets on pages 100-101 of the Stampin’ Up! catalog that could really help you get started with your national park vacation pages.

Click on any of the above photos and hopefully they will open larger.
Popsicles for Summertime

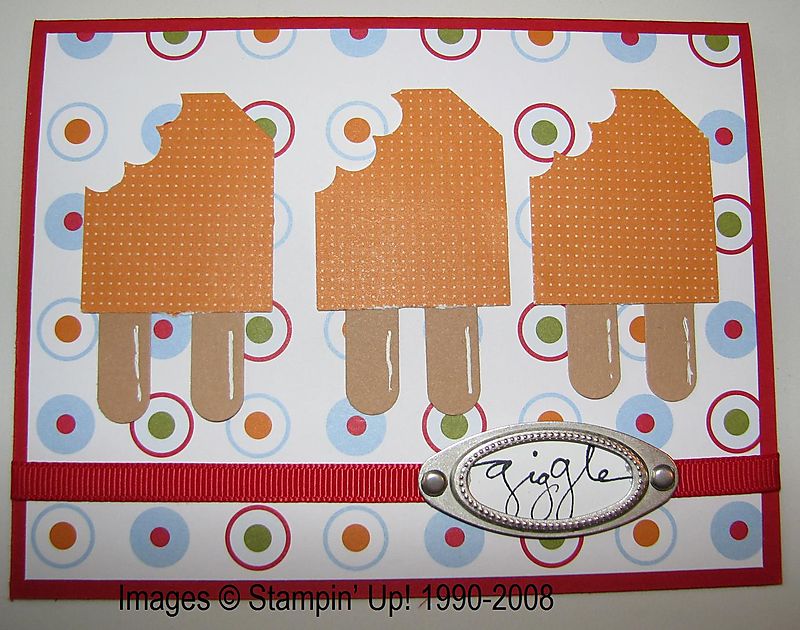
It’s really hot here in Houston, TX but this popsicle card might help you cool off!

Popsicle triple card

I saw this card on Rebecca Grohall’s site and thought it was so cute I had to immediately make it!  I punched out the designer paper with the Large Tag Punch, the bite out with the Scallop Circle Punch and the sticks with the Word Window Punch.  I added the little white shading with my SU gel pen.  The Silver Hodpodge Hardware is in the Occasions Mini, which is still good through June.  “Giggle” is from Warm Words.  Have fun making this card!!

Missed the Stamp Camp?

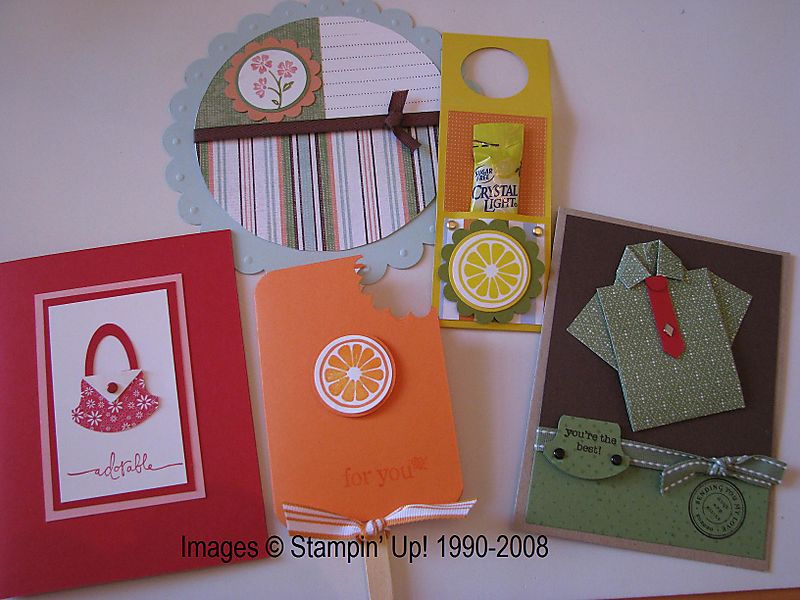
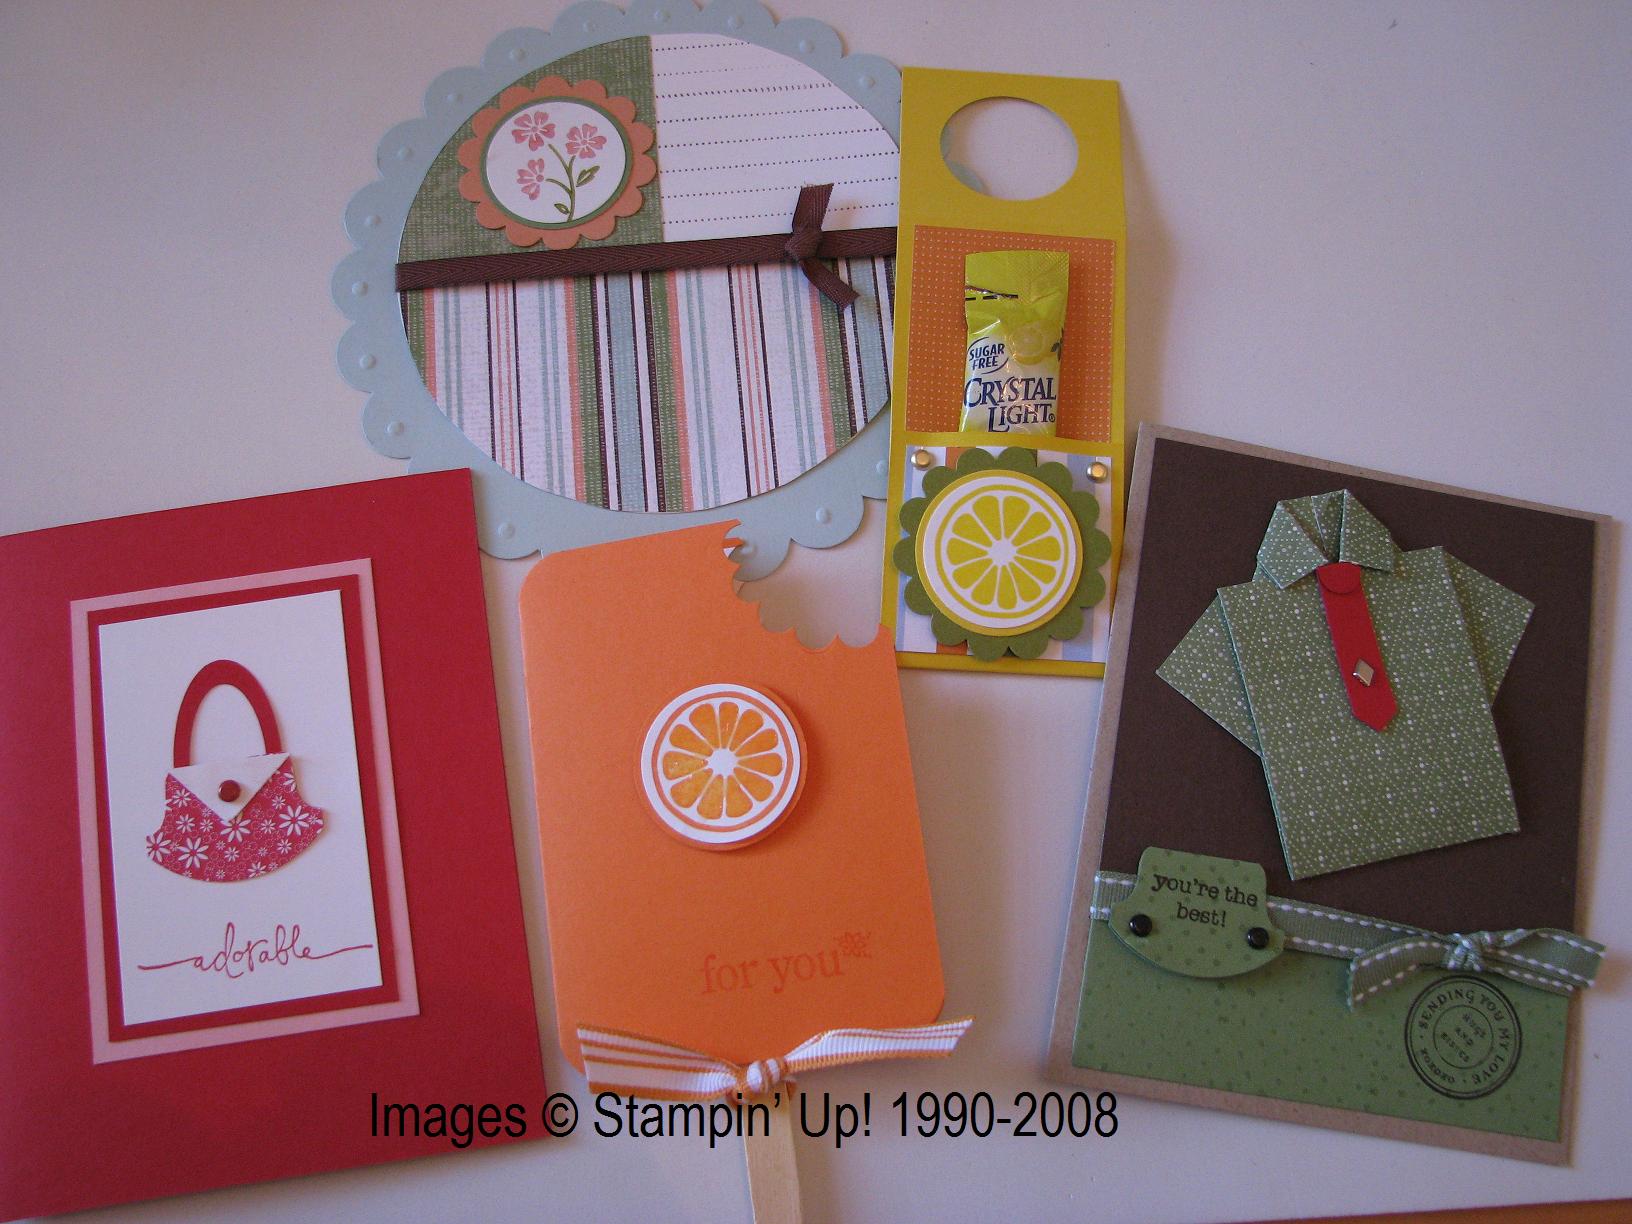
Here are the cards we made at my stamp camp on Sunday.  I’ve been so busy with college graduation, moving boys home, and planning a family vacation.  It was fun and nice to take a break and stamp!  Maybe you can join us next time!

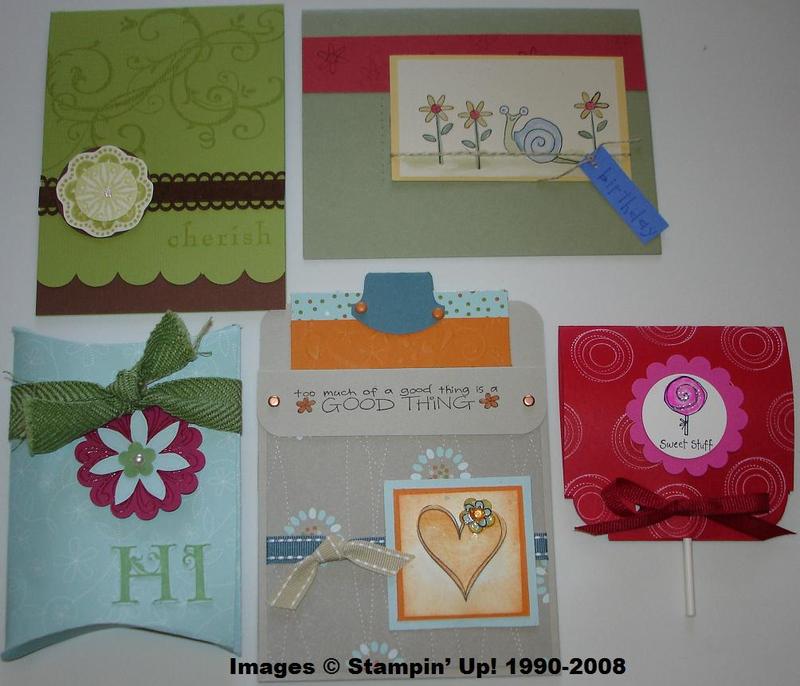
Stamp camp projects June 8 08

The folded shirt card is from the design of Cambria Turnbow and the water bottle drink tag is from Nancy Riley.  Can’t remember right now where I first saw the red purse card but it is made with the Round Tab Punch and the Oval punches.  Lots of people have been making the popsicles recently with our Tart & Tangy stamp set.  You could also do “scratch and sniff” with the fruit using a flavor and embossing powder.  I might have designed the Carousel Note card myself, but I don’t really remember!  All supplies are from Stampin’ Up! of course!  Email me or add a comment if you need more information.
A Pocket Card College Graduation Announcement for UT

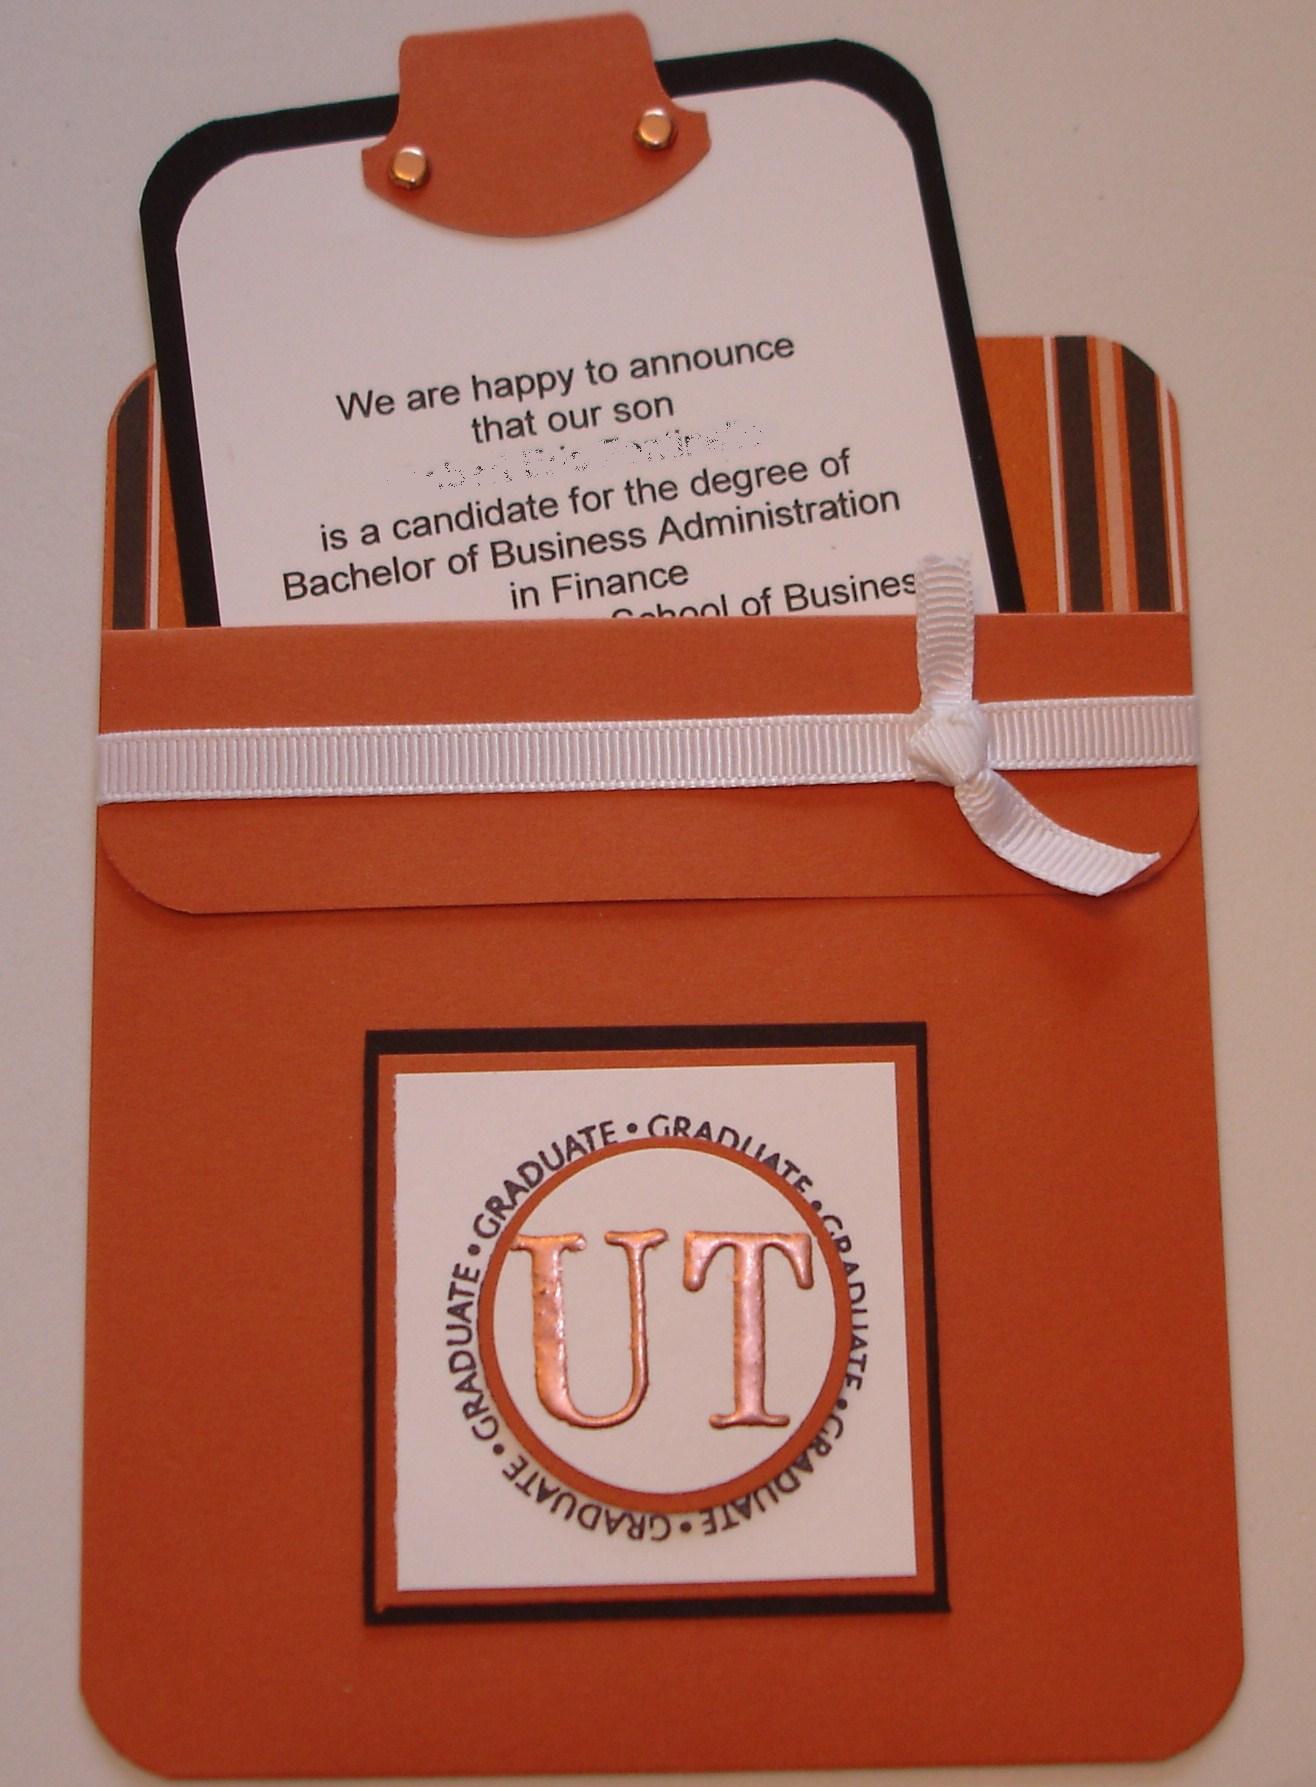
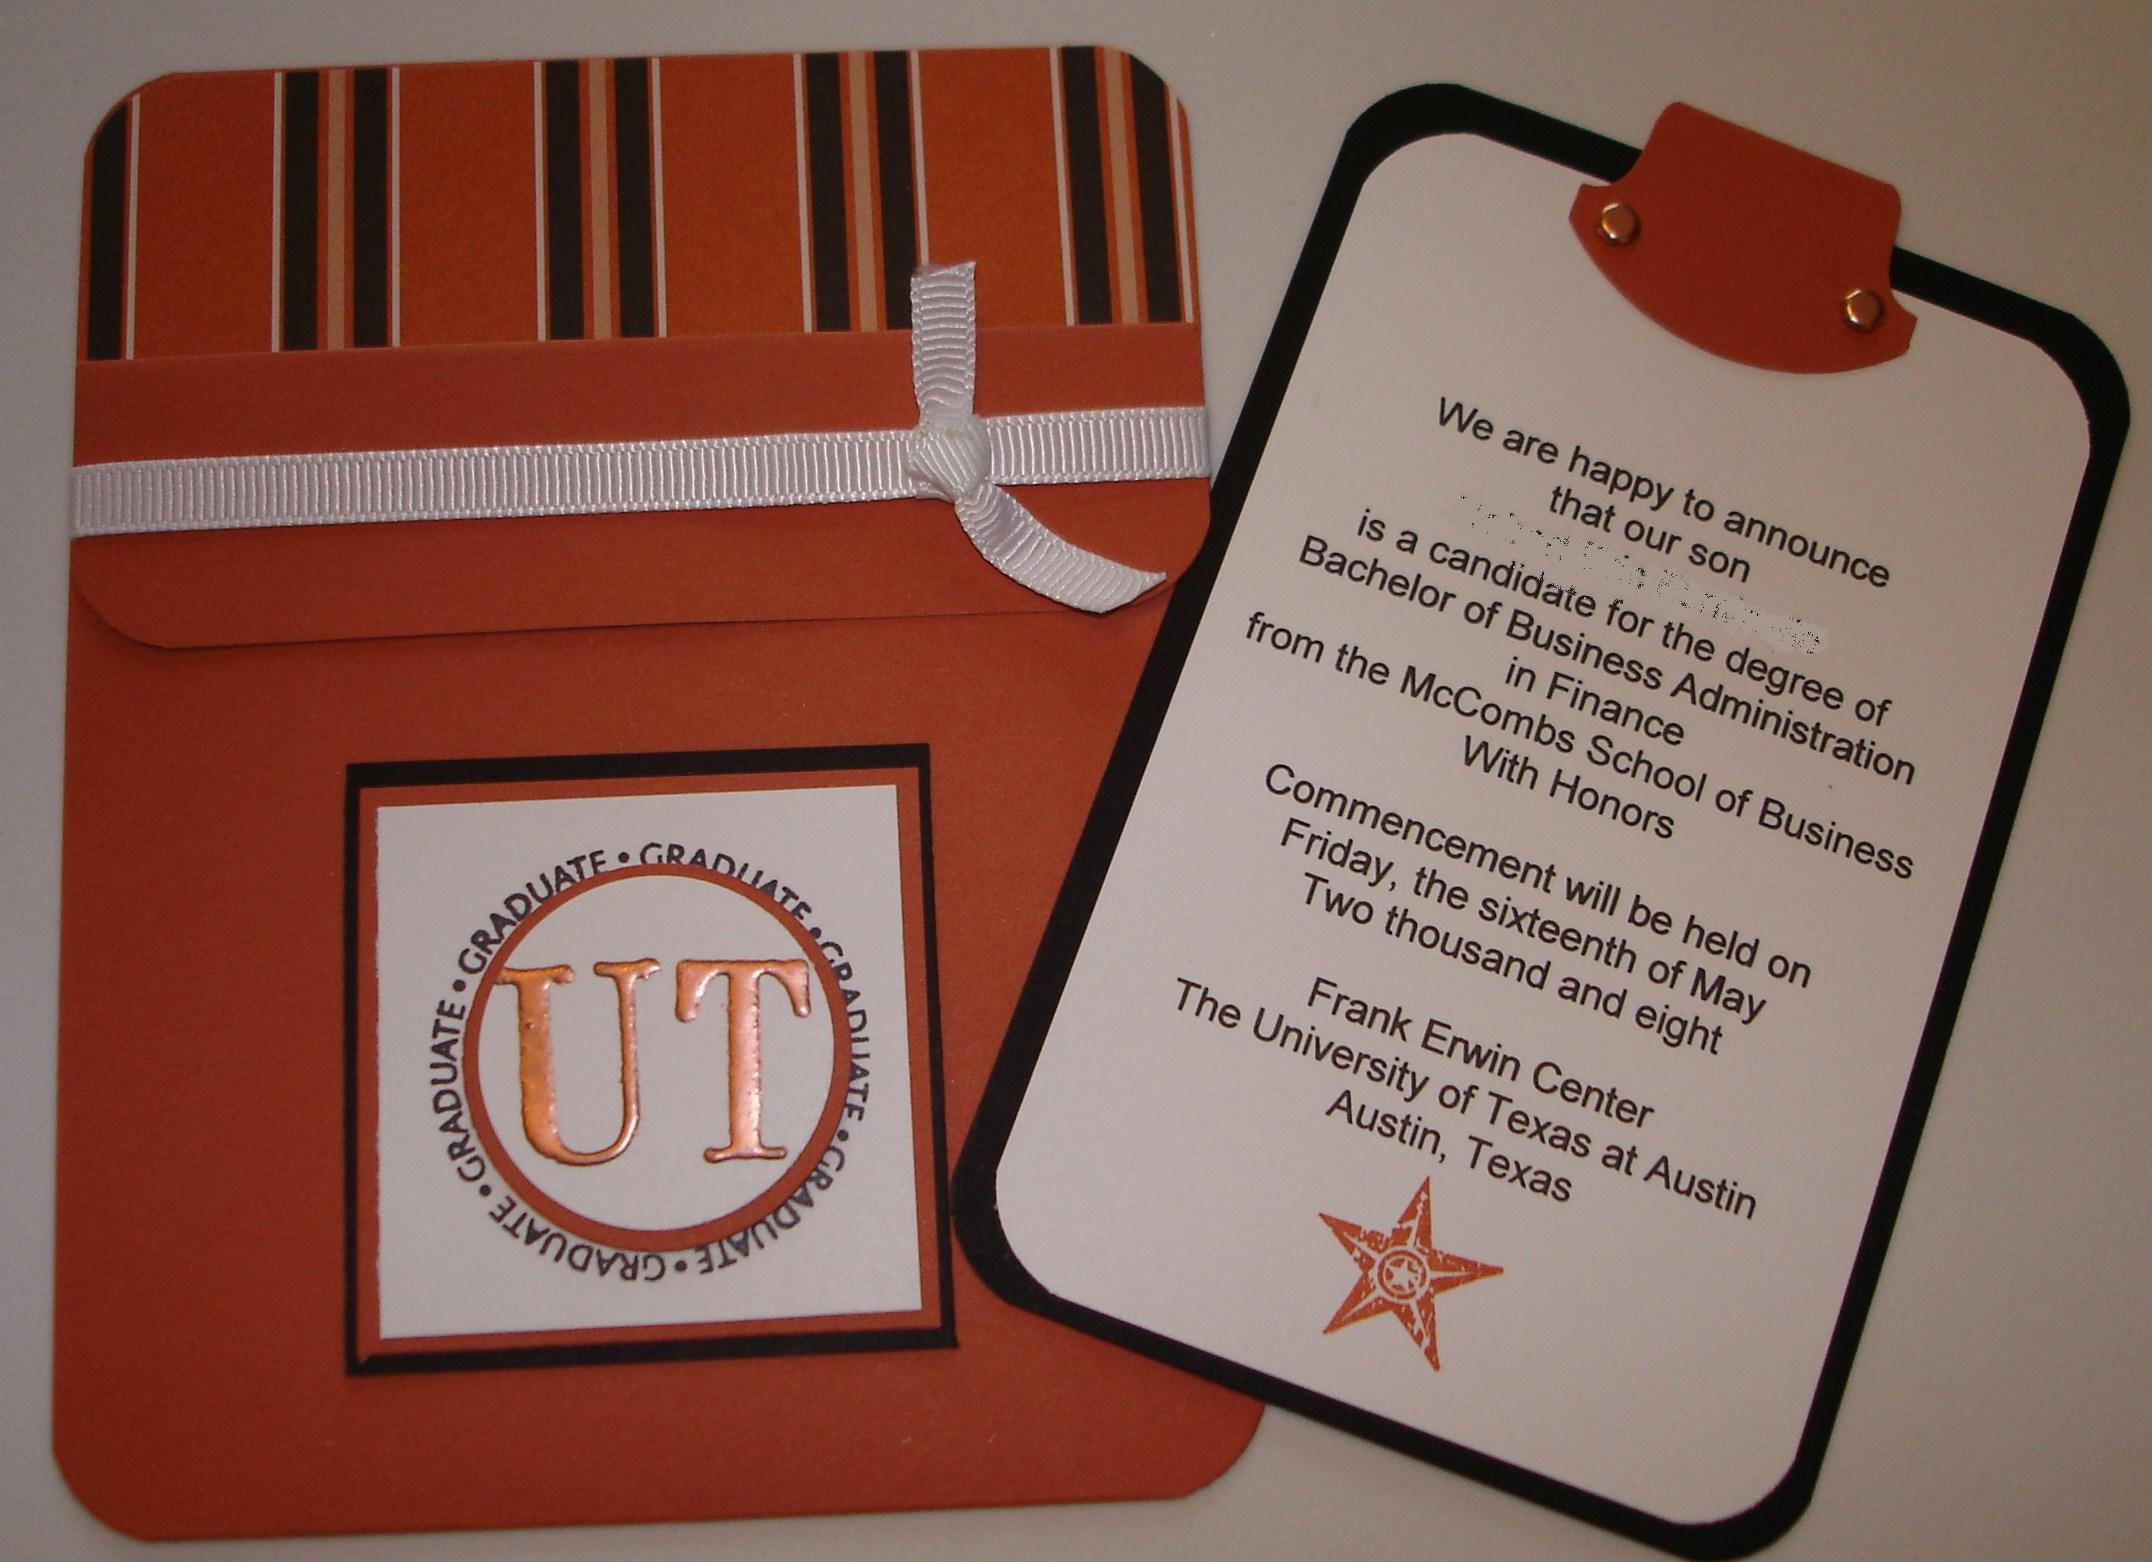
Pocket Graduation Card UT Austin Rather than purchase the expensive pack of way-too-many graduation announcements from the university (and because I am a stamper!) I decided to make my own for my son's college graduation.  I almost forgot about it so it was a last minute deal.  Somehow I was inspired to do a pocket card style using the "Great Grads" stamp set.  Rather than use the G in the stamp set in the center of the graduation medallion, I chose to emboss the UT with copper embossing powder and punch it out to put on the medallion.  I also used some of the designer paper I had previously purchased at the University Coop in a UT scrapbooking pack.  I also wanted it to coordinate with my graduation card for him.  I hope this will inspire you to add your personal touch to your own events by making your own announcements, invitations, etc.  Supplies and ideas are easy to get….just contact me!

UT Graduation Pocket Card


The Masterpiece Graduation Card!

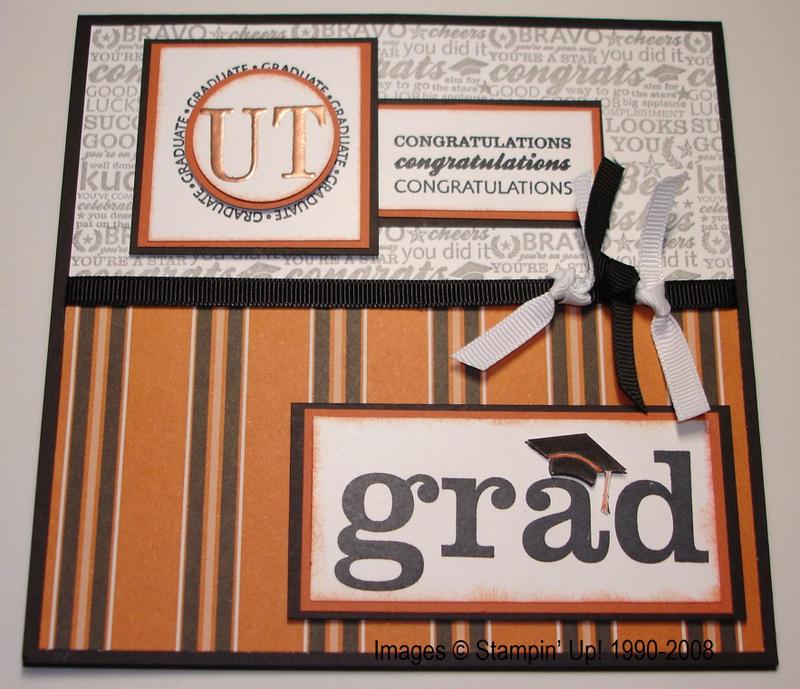
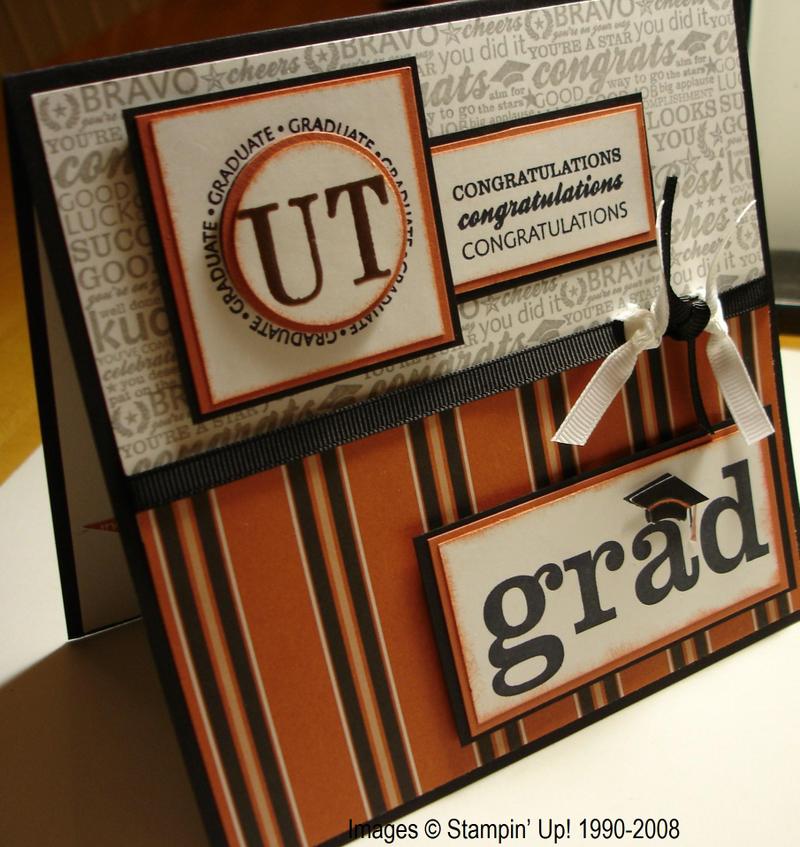
It may not really be a masterpiece but I worked on it all day…and started it the night before!  Now I shouldn’t admit to my customers that it took me so long to make one card, but since this is for my son’s college graduation it had to be special.  I was thinking of making a hanging tag with “UT” on it from the ribbon, but just as I got it punched out I got the brilliant idea (I thought!) to put the UT in the center of the “graduate medallion”, rather than the G.  That seemed to do it for me as far as design, so then I got the idea to emboss the UT to make it stand out.  First I tried clear on Really Rust letters.  OK, but not great.  Then I tried the Copper Embossing Powder and felt like it was a pretty close match to the color I wanted.  The striped paper on the bottom of the card is from a scrapbooking pack I bought at the UT bookstore on a previous trip.  The stamp set is “Great Grads”.  If you don’t already own this set you might want to get it so you can make a bunch of graduation cards before school is out!Ut_grad1

Utgrad2

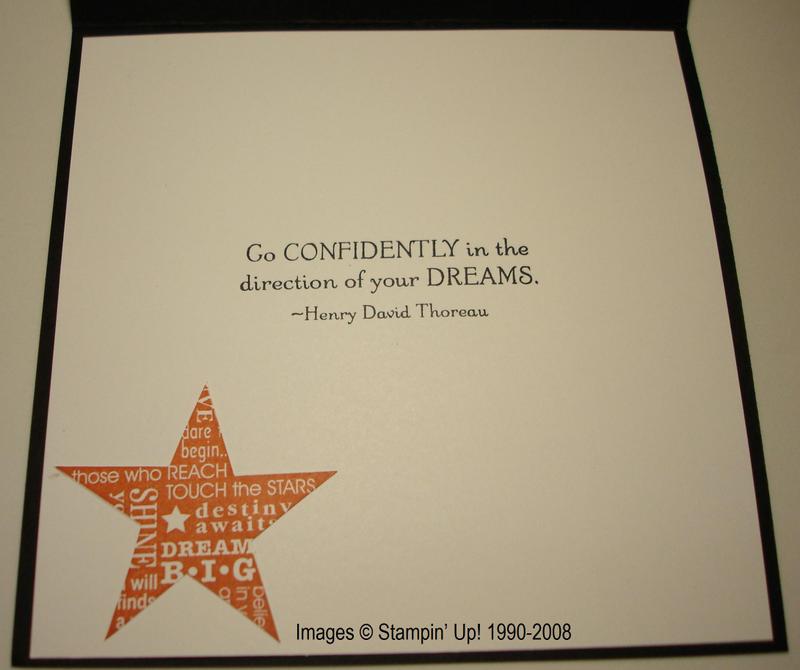
Ut_grad_inside And here is the inside of the card.  The quote is from the stamp set “Live Your Dream” from the Occasions Mini, page 9.  I bought that stamp set just to get this quote for this card.  The star is a stamp from “In the Stars” also from the Occasions Mini, page 5.

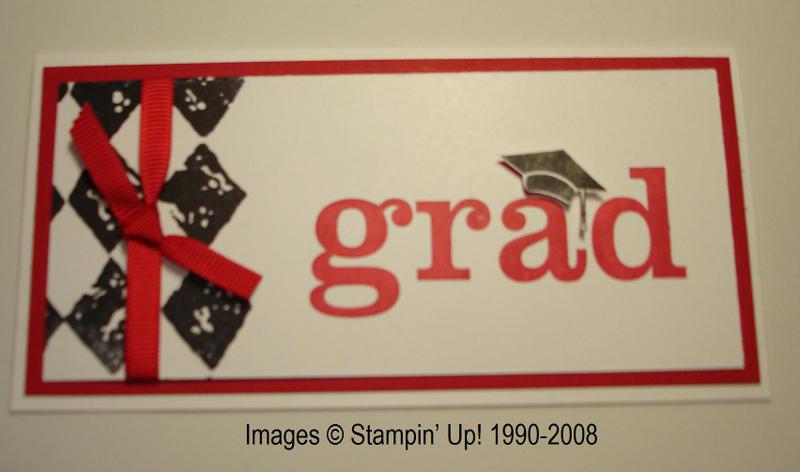
It’s Time for Graduation Cards!

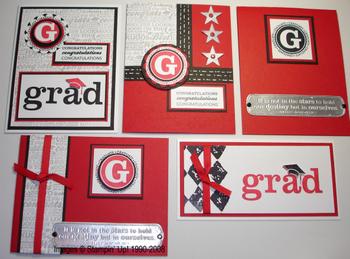
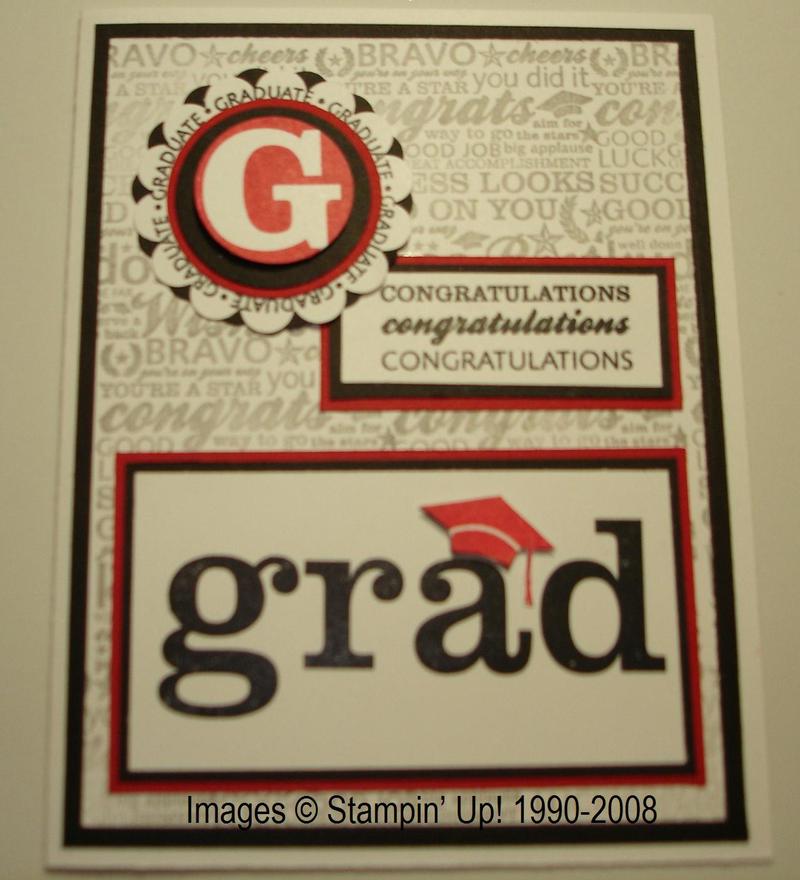
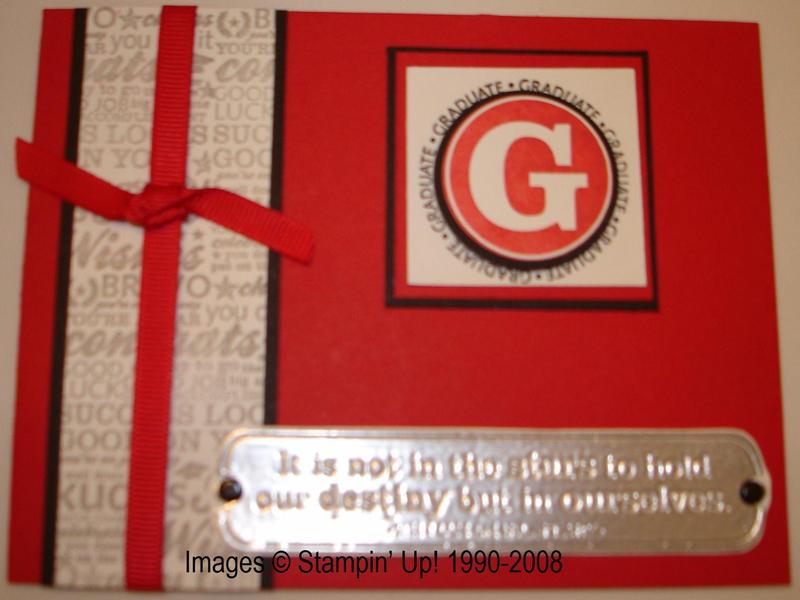
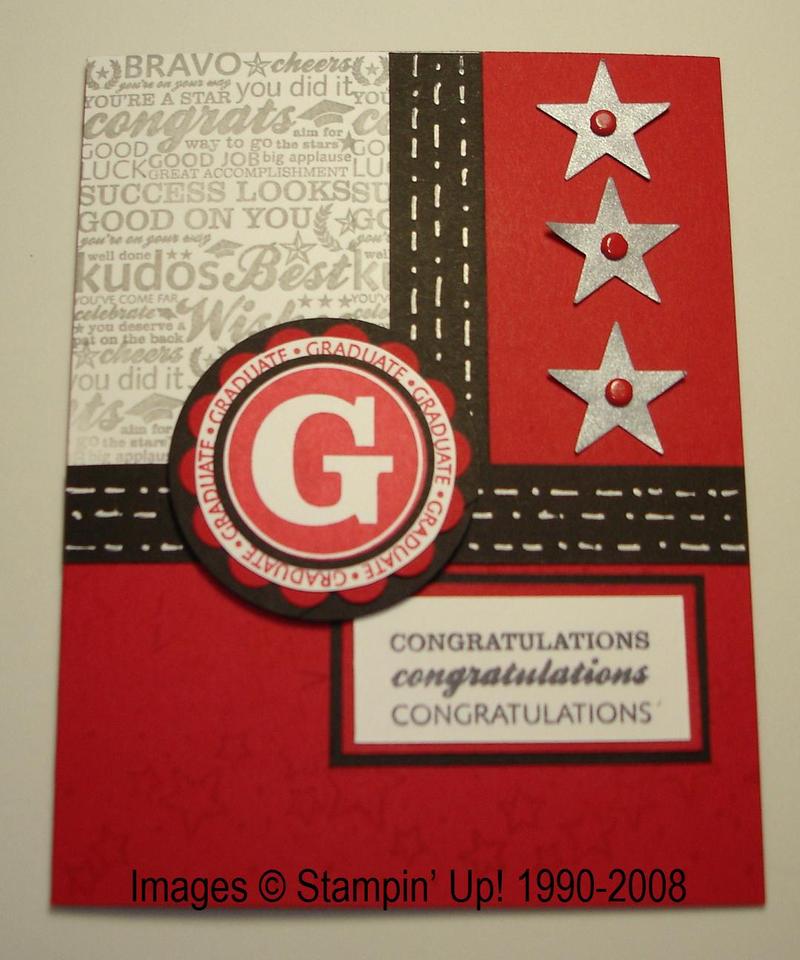
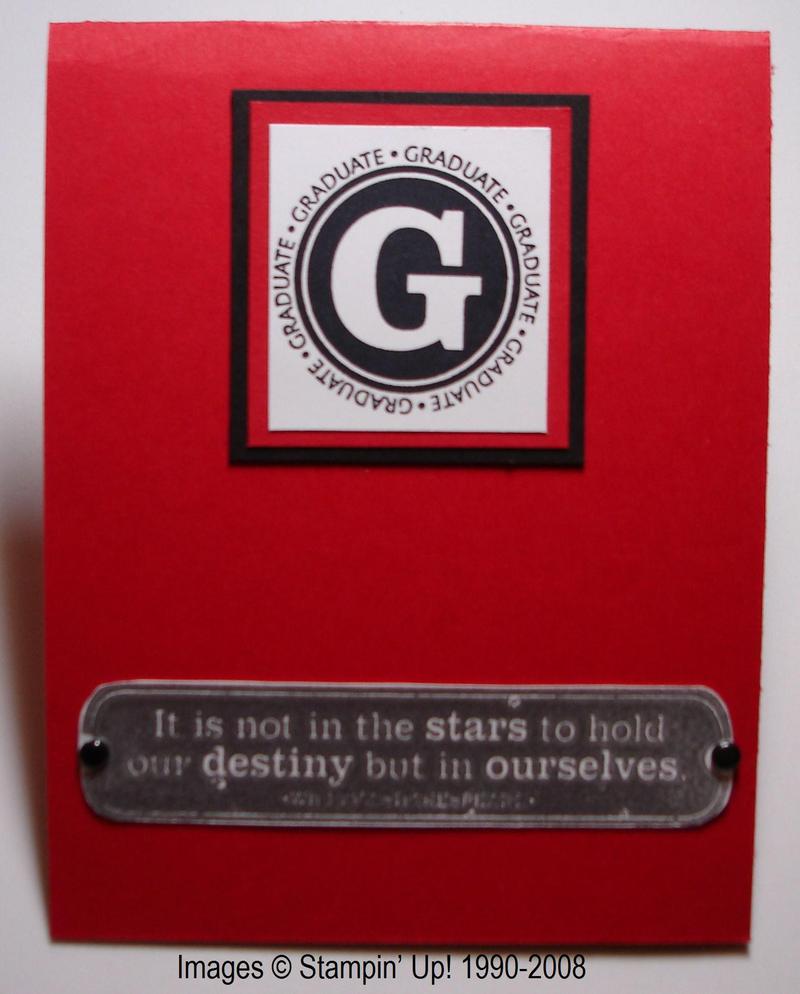
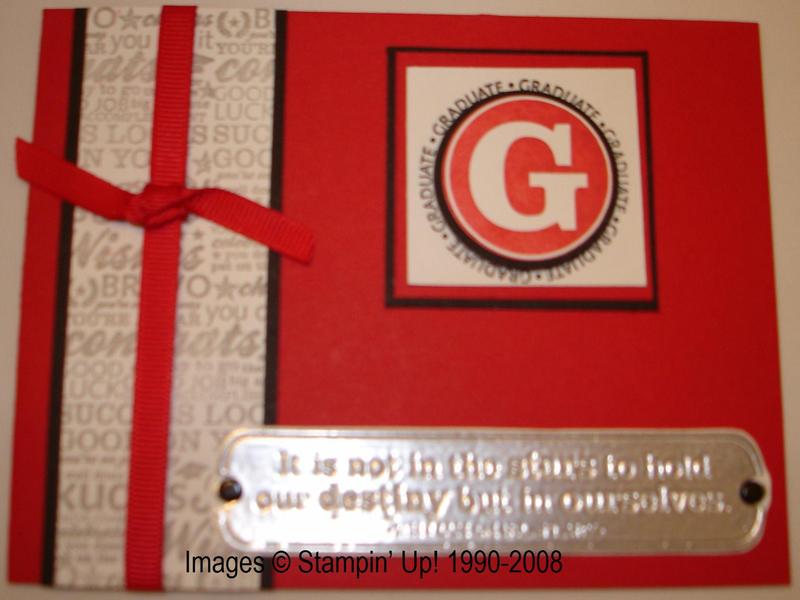
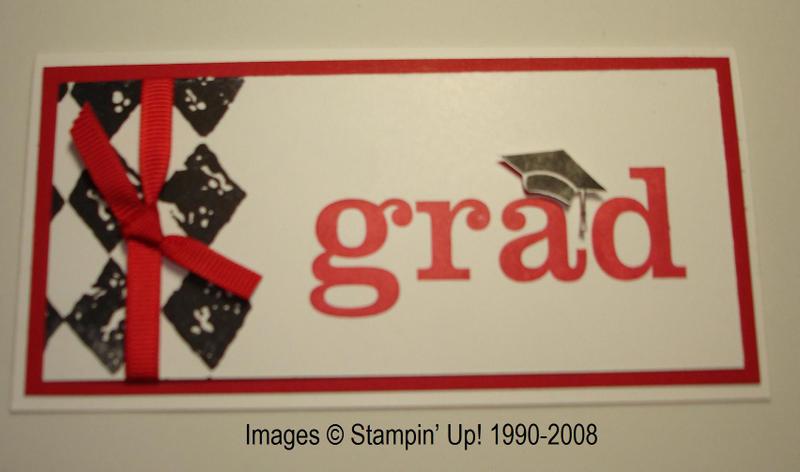
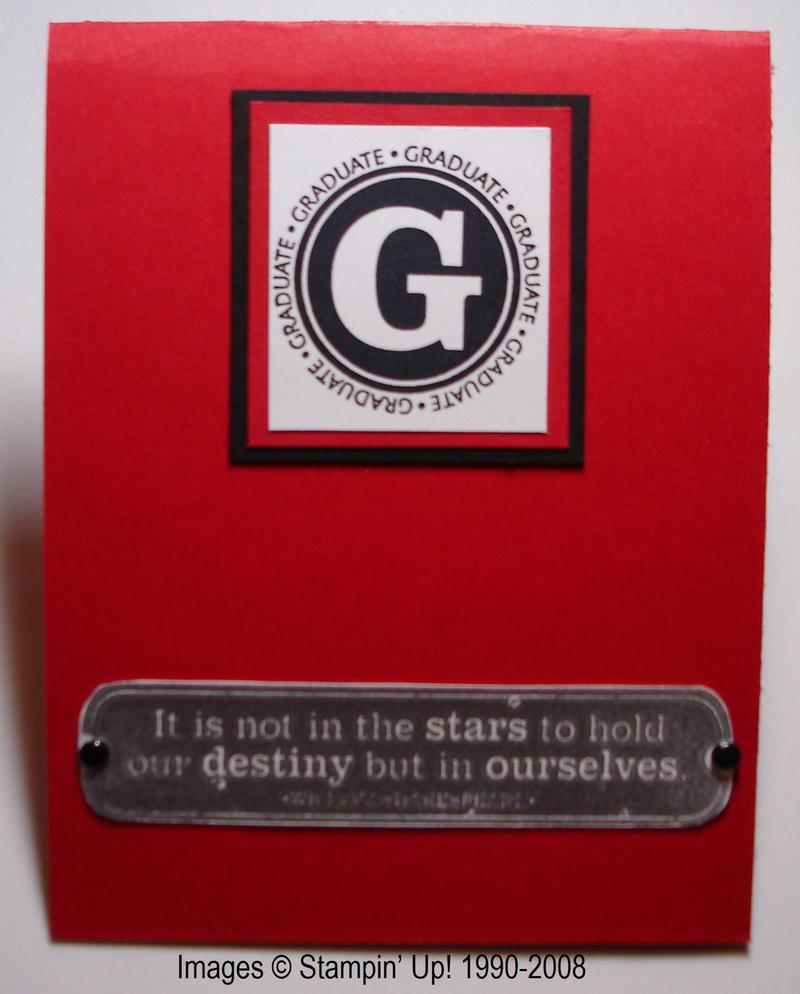
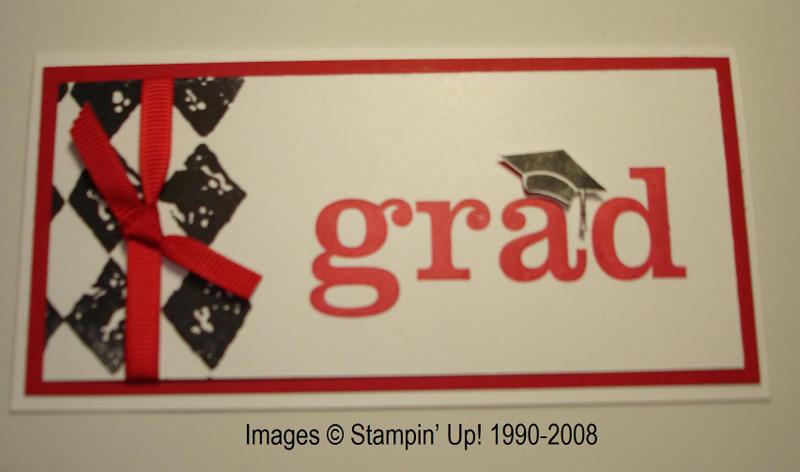
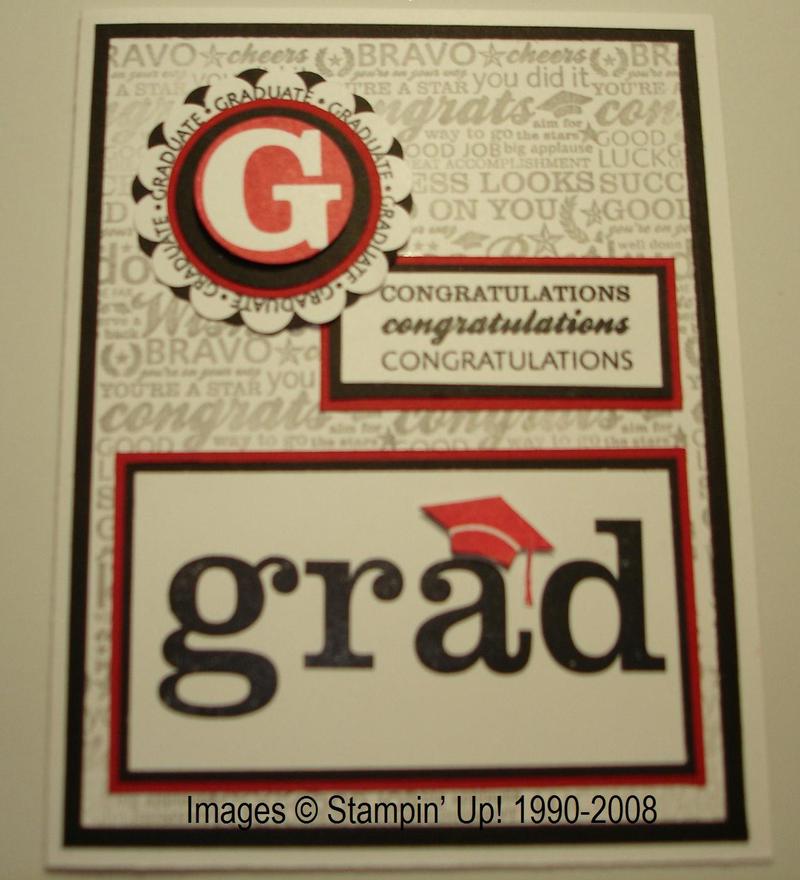
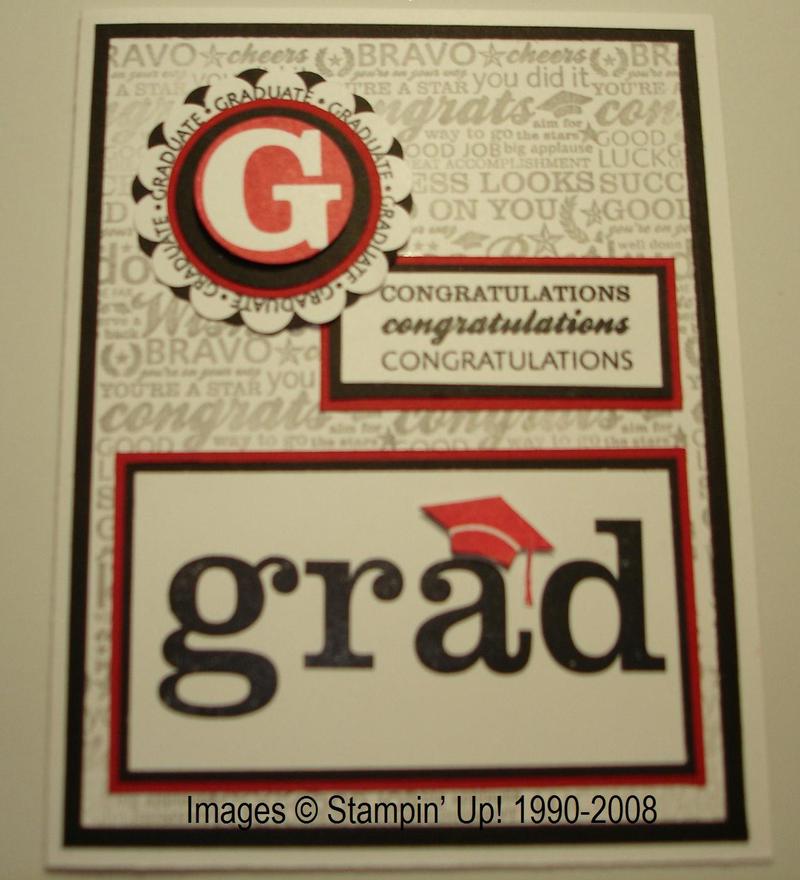
Last week I sat down with the “Great Grads” stamp set on page 55 of the SU catalog to see what I could come up with. This is the result!

Graduation_cards_group_2   Here is the whole group of cards.

Graduation5_2 This one I stamped the background all over with the multi-word stamp using my Stamp-a-ma-jig to get the stamping lined up right.  The little cap over the “a” is popped up with a Dimensional.  The “G” is layered on a scallop punch with another black scallop behind it for contrast.

Graduation1_2

This one my demo friend, Anne, embossed the quote with the stamp set in silver, which made something resembling a little plate on the front of the card.  Tying the red ribbon around the side strip seemed to add balance.

Graduation4 For this card I CASEd (copied) a card I saw on Splitcoaststampers made by Nancy Riley.  She used Designer Paper and the jumbo star wheel whereas I stamped the words on the strip, used a smaller star wheel at the bottom and used my white gel pen on the black strips.

Graduation3_2 This card opens at the top.  Again an embossed quote at the bottom and just the “Graduate” medallion at the top for a very simple look.

Graduation2_3 And one more, very simple and easy!

Now I just need to make a special one for my son graduating from the University of Texas at Austin!

A Field of Bluebonnets

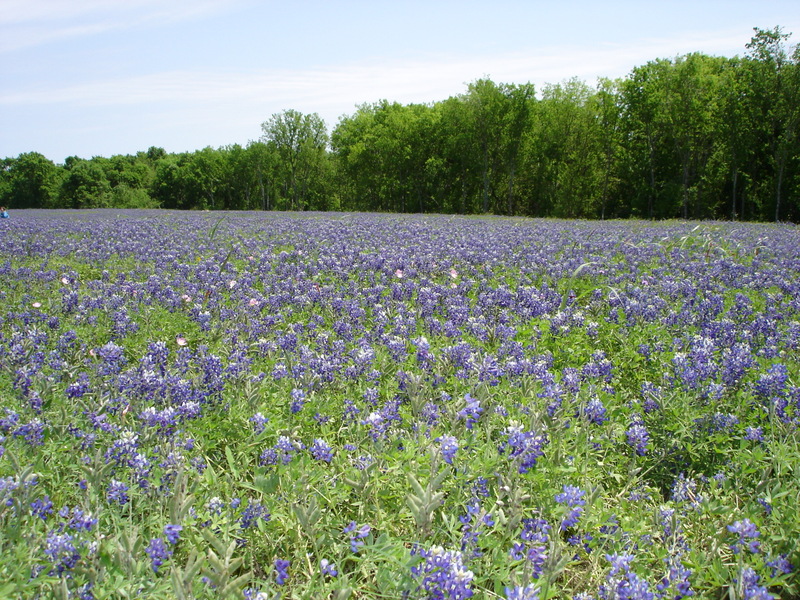
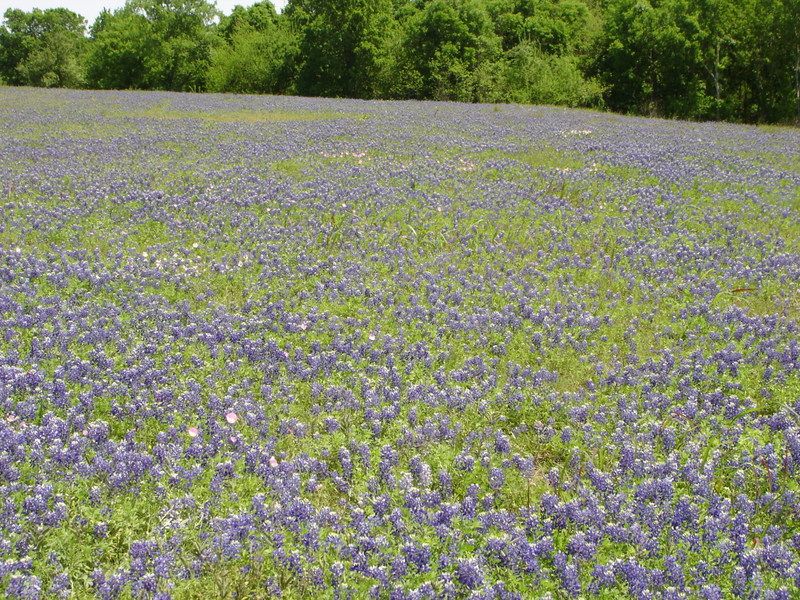
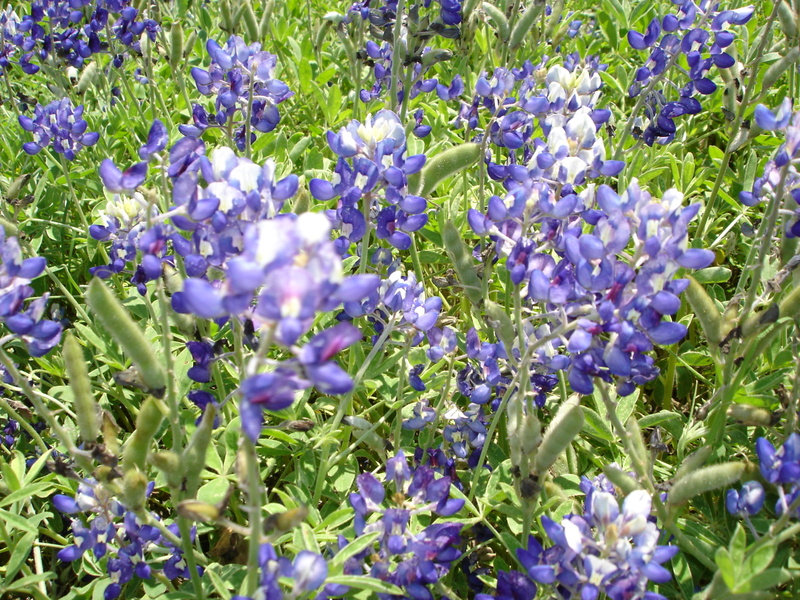
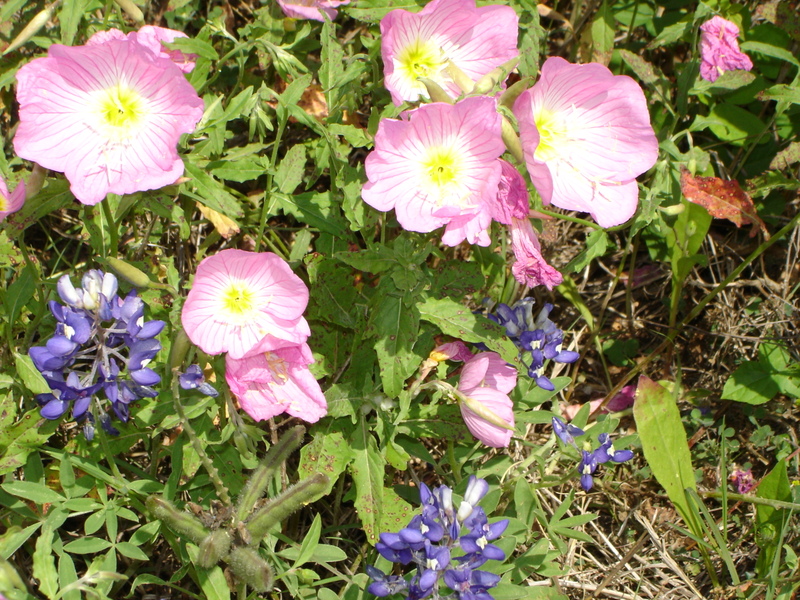
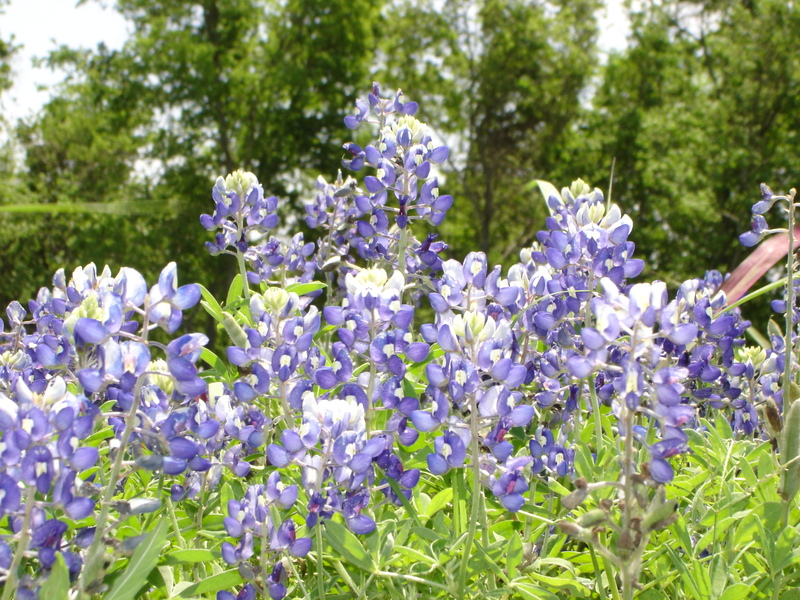
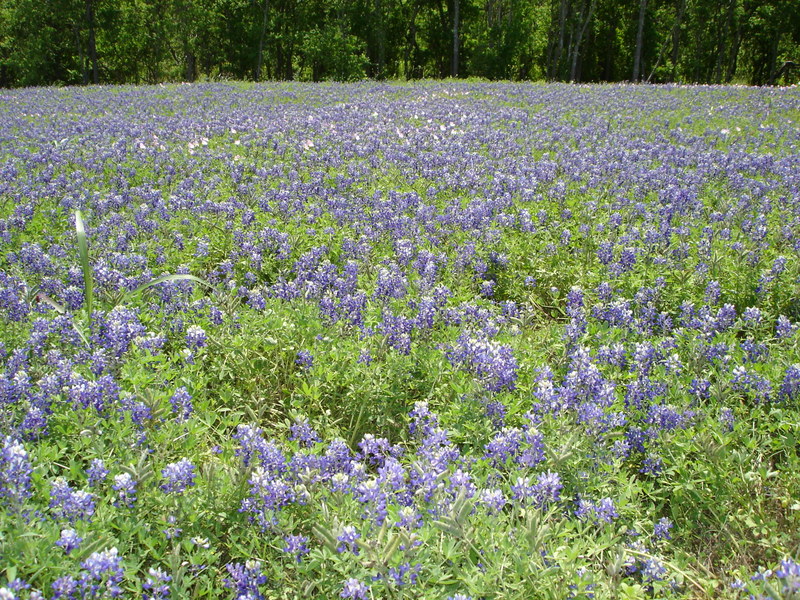
You know it is springtime in Texas when the bluebonnets start blooming.  When we moved to Texas in 1982 we were incredulous at the first field we saw of bluebonnets.  We had never seen huge fields of any flower blooming like that or, at a minimum, large patches of wildflowers here and there.  Usually there are some Indian Paintbrush wildflowers mixed in with the bluebonnets, too.  People stop by the side of the road to take pictures or plunk their babies and children into a patch of bluebonnets for a beautiful portrait.

Last weekend on our way to Austin to visit our boys, we took the route through Brenham, TX which is one of the towns known for bluebonnets.  We have photos from many years ago of our children in the patch of bluebonnets!  Although it was a bit past the peak time, we found a large field of bluebonnets behind a motel and shopping area, but still beautiful.  Thank goodness for digital cameras because you just want to keep taking and keep taking pictures of the flowers.

Here are "just a few"!

018_2 

046_2

020_2

053_2

039_2

A Clear Card

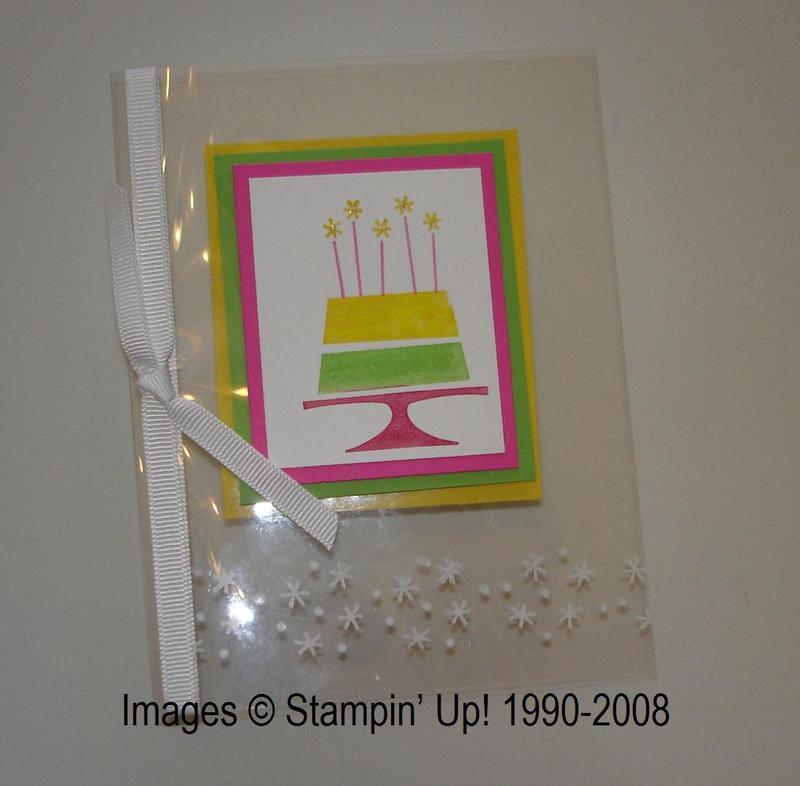
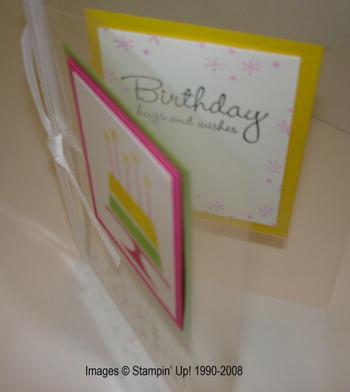
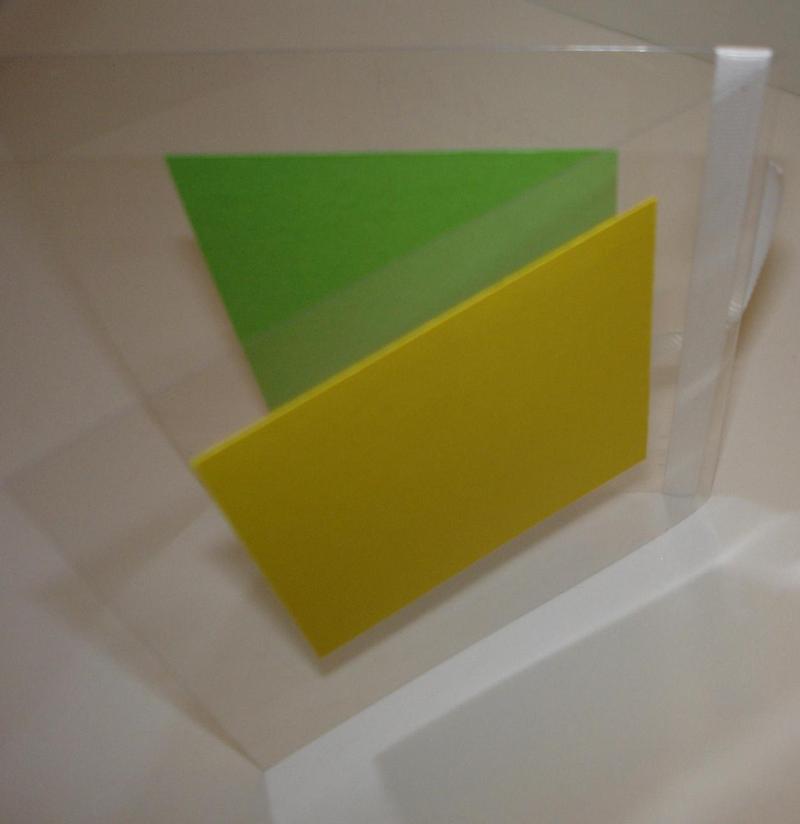
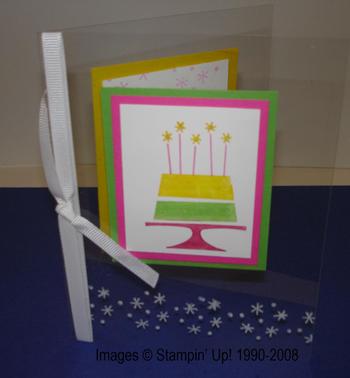
I’ve been seeing many "clear cards" made by other Stampin’ Up! demos but hadn’t tried it until the other day.  I had already bought the transparencies to make the acetate boxes so it was finally time to try making an acetate card.  The trick of the card is to attach the layers without any sign of how they are adhered!  There may be other versions out there, but for this one I mostly followed a tuturial on Splitcoaststampers.  On my card, the birthday cake is layered on the Pink Passion card stock…..and from the front looks like it has two additional layers….Green Galore and Yoyo Yellow (it was time to break out the Bold Brights for a change!!).  But only the Whisper White stamped with the cake and the Pink Passion are on the front of the card.  The larger green layer is underneath, adhered to the inside front cover of the card.  On the back of the card the yellow is adhered….and on the inside of the card, the greeting is stamped on Whisper White and placed layered over the yellow (which is on the backside) and it’s all lined up to be under the front layers.  Clear as mud??  Try it, or email me with any questions!  I used Mini Glue Dots on almost everything and made sure they were hidden underneath the layer on top.  I also stamped a few stars with White Stazon ink across the bottom front of the card.  It is on page 183 of the catalog, along with Stazon Cleaner, which works great.  The stamp set I used is called "Eat Cake" on page 41.

Acetate_card_kf I found it easiest, on my second try, to adhere the layers starting from the back.  I attached the yellow with just one glue dot in the center to the back of the card, then turned to the inside to make sure it was straight.  The SU Grid Paper worked great for that!  Then I adhered the greeting layer, on the inside of the card, so that it was lined up with the yellow layer underneath.  After that was attached, I went back to the yellow layer and attached more glue dots at the corners to hold it, making sure they would be beneath the white layer of the greeting.

Next I closed the card but slid in the green layer to make sure it aligned properly with the yellow layer beneath it, using one glue dot in the center again.  Then I could adhere the pink layer and cake on the front, placed properly over the green…and then go back inside to the green to add more glue dots, hidden under the pink layer so they wouldn’t be seen.

The stamping on the acetate can be a little slippery, so be careful!

Acetate_card_kf_inside Make sure on your greeting layer to leave room to sign it or write a little note.  You won’t have any other place to write it on this type of card!

Acetate_card_kf_back

Back of card.

Acetate_card_kf_blue_bkgd

Here it is on a blue background in case it is any easier to see!

Try one and let me know how you do!  I want to make some more!

Happy Easter!

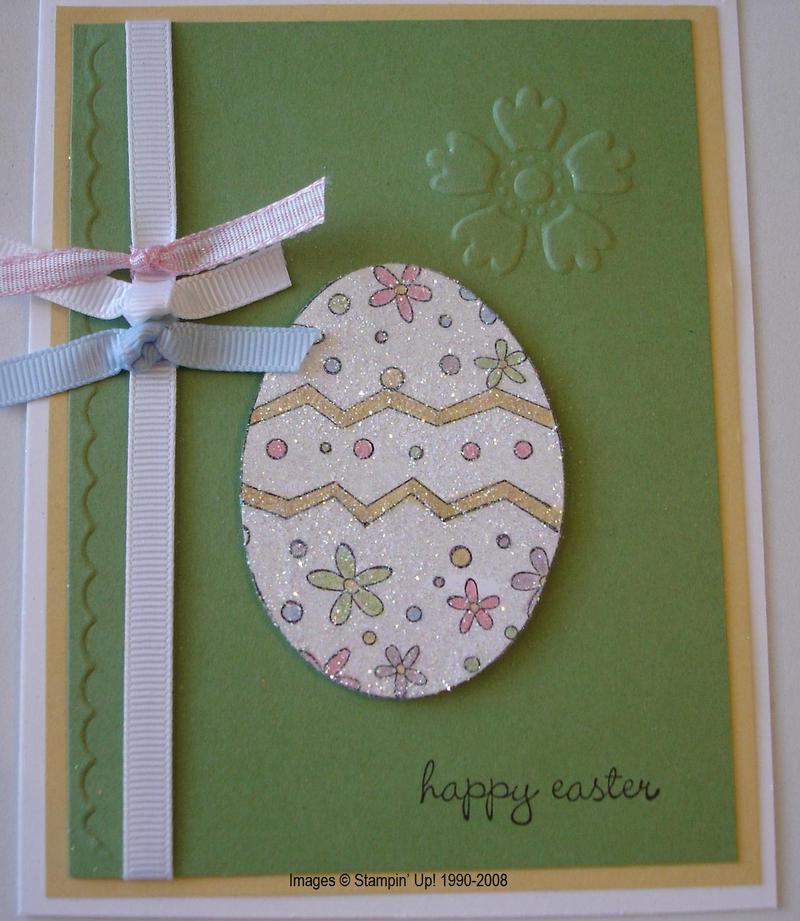
Easter_egg_card Happy Easter everyone!  Here is a card I had fun making!  Not that I made up the design myself, I copied it from one made by another demonstrator, Olive Barnes, on Stamper’s Showcase, on the Stampin’ Up! demo website the other day.

I used the A Good Egg stamp set to stamp the egg, colored it in with markers and then adhered Dazzling Diamonds Glitter over the whole egg using the Two-Way Glue Pen.  The egg is popped up with Dimensionals on the Wild Wasabi cardstock.  I also used the Priceless Classy Brass Template to emboss a few designs on the card.

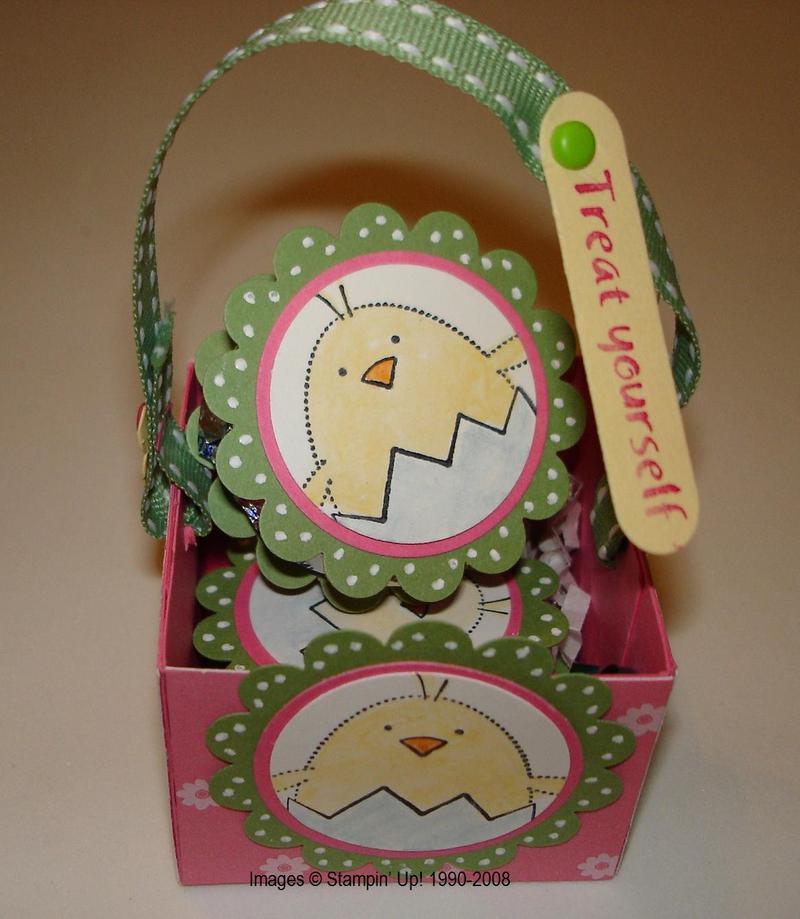
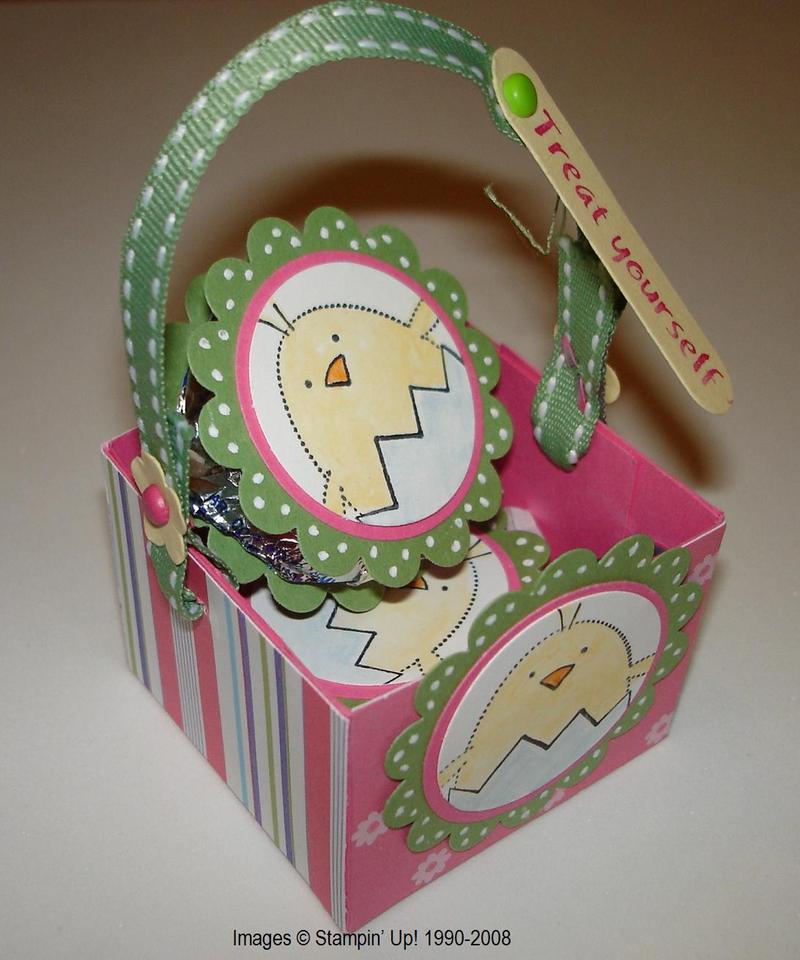
Easter_basketAnd here is a cute little basket and scallop-covered York Peppermint Patties, courtesy of Cambria’s tutorial on Splitcoaststampers, also using A Good Egg stamp set.  They can really be made for any season or occasion just by changing the colors and stamp images.  I used the Flowers For You Designer Paper on the basket.  My demo friend Anne and I made these together the other day and although they are very simple to make, we managed to make it as complicated as possible!  I think every time I look at this basket I will remember all the laughs and giggles we had over putting these together!

Easter_basket_side

Houston Azalea Festival…In Our Front Yard!

003_2 

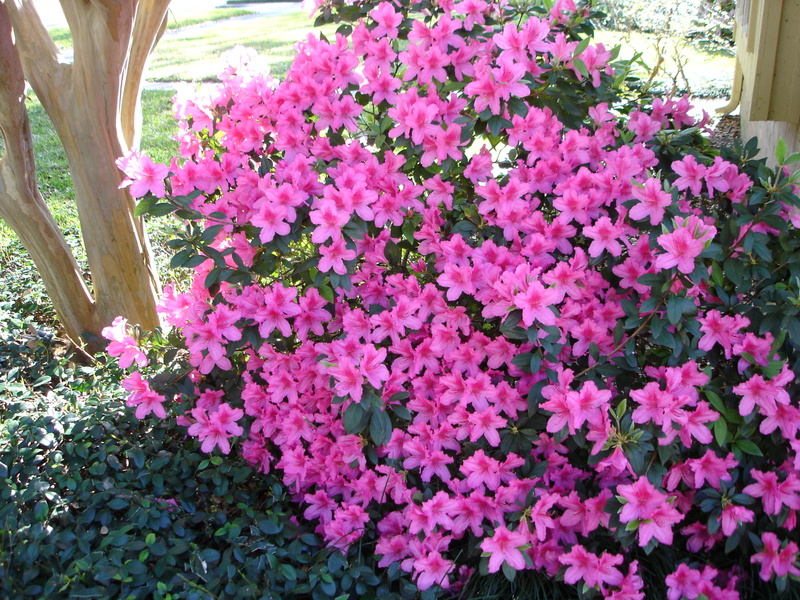
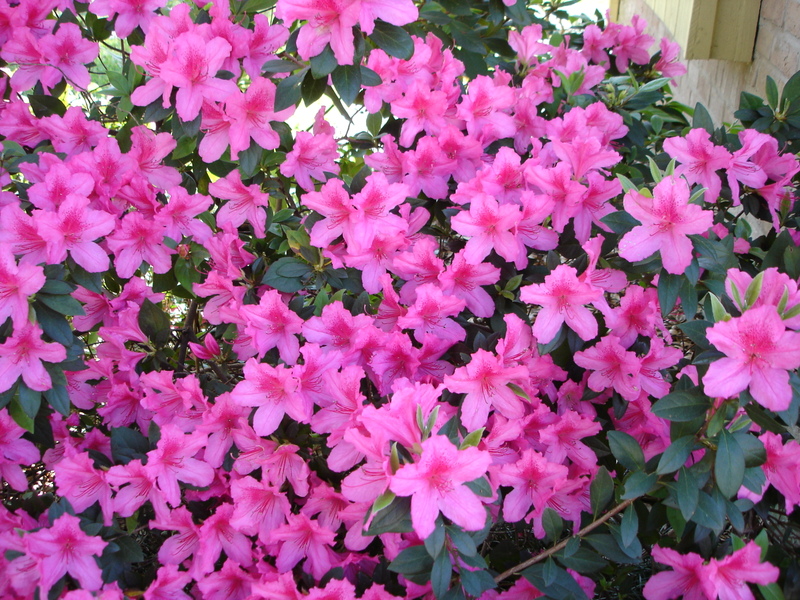
This is the azalea bush on one end of the front of the house.  Unfortunately, this burst of blooms faces the house next door and doesn’t show as much from the front!  But it is just gorgeous!  If you click on the photo you should get an enlargement.  Every March Houston holds the annual Azalea Trail where you get to visit a few beautiful houses and gardens in the River Oaks area.  This is one outing my husband and I have always gone on every year that we have lived here, which now is twenty-five years.  Some years we carried a baby or brought all the kids if we had to, or if we were really in luck, found a babysitter and also got to have a nice lunch out alone afterwards.  We went last Friday afternoon, an unusually cold and windy day in Houston, but the sun had come out. We wore winter coats and the River Oaks Garden Club hostesses got to wear their long fur coats!

005_2

One Last Valentine!

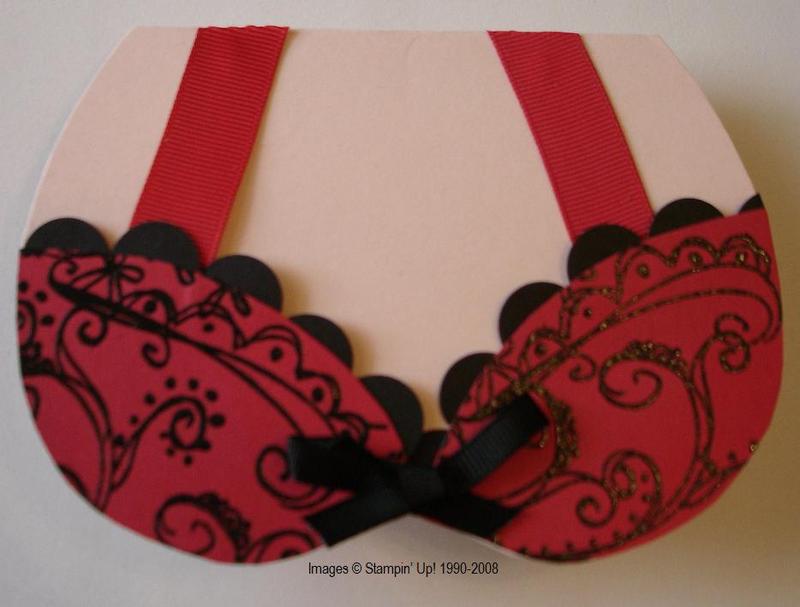
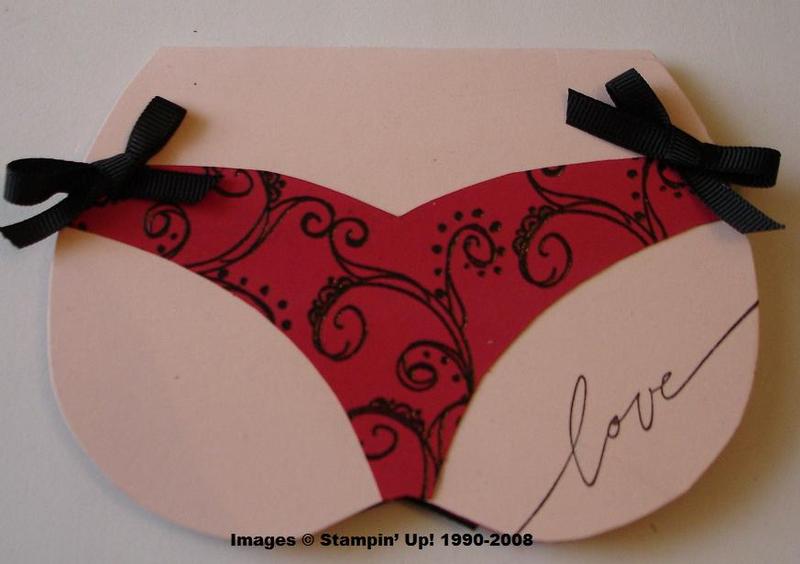
OK, I just couldn’t resist making this card I saw on Splitcoast for my husband for Valentine’s Day!  It was some sort of challenge on SCS so there are a lot of examples.  Mine pretty much copies one by another ‘Karen’.  The base of the card is Blush Blossom.  You could use Designer Paper for the "fabric" and then doll it up however you like.  I chose to use Real Red cardstock which I embossed in black with the doodles from Doodle This.  I thought it looked Valentine-y.  For the lace I just used my Slit Punch to make a strip and then bent it a little to fit the curve.  I used the wide red grosgrain ribbon for the straps and the regular black grosgrain for the bows.  The possibilities are endless!  Have fun with it!  (You can click on any photos for a larger image.)  Here is a link to the SCS challenge and template:

http://www.splitcoaststampers.com/forums/showthread.php?t=316869

Bra_card Panty_card

Happy Valentine’s Day!

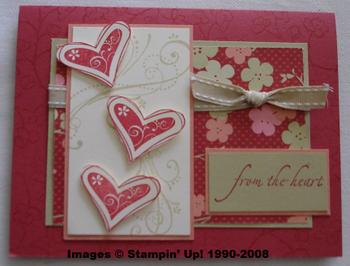
Priceless_from_the_heart Happy Valentine’s Day!

Here is another card we made at my Valentine’s stamp camp.  I’m afraid I don’t remember where I got the idea or how much I directly copied it, but I "think" a little of it is my own design….maybe just the words!  I love the card because while it looks like it is for Valentine’s Day it really can be used for other occasions.  In fact, I sent it to my sister-in-law for her birthday.  The card is made with Ruby Red, River Rock, Groovy Guava, and Very Vanilla cardstock as well as the new Designer Paper "Ginger Blossom".  To add some interest to the background I stamped the Ruby Red with some flowers in Embrace Life with Ruby Red ink (although you could also use Versamark).  The swirls from Priceless (what a great set this is!) are stamped on the Very Vanilla and the Priceless hearts cut out and mounted with Stampin’ Up! Dimensionals.  The words, ‘from the heart’, are from Holidays & Wishes.  And, of course, the ribbon is the double-stitched River Rock.  It was fun using these colors!

Demo Swaps

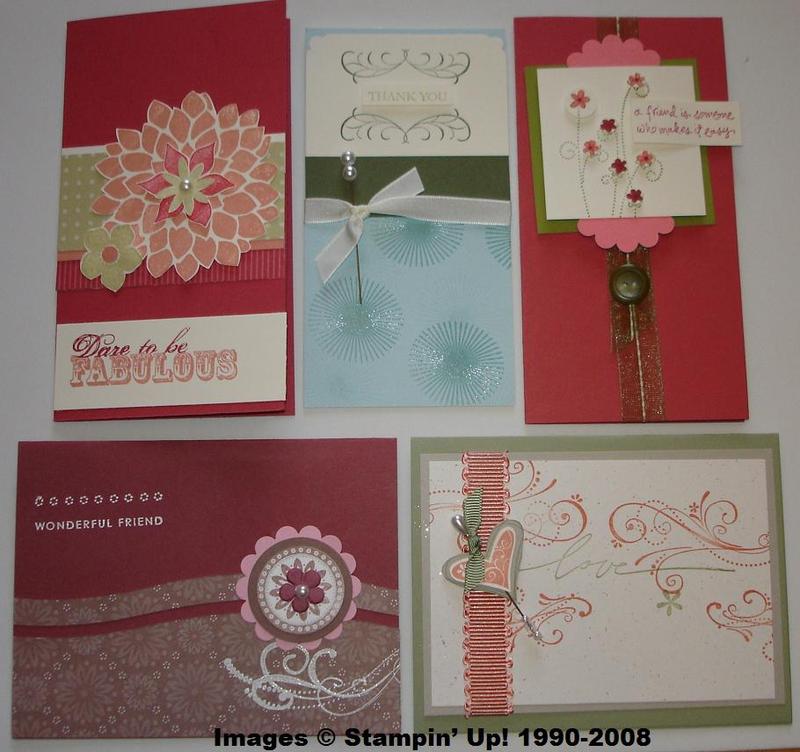
Feb_demo_swaps Yesterday our little group of SU Demos got together for our monthly meeting.  Not everyone is still a demo, but that’s how we met and we still keep it pretty much Stampin’ Up!-oriented.  I always say, "What could be more fun than getting together with other stampers, having lunch, stamping, and swapping?!"  One person is always in charge of a project we will stamp that day and everyone else brings a swap.  So fun!!  Most of these swaps were to copy something out of the    new catalog, Spring~Summer Collection 2008.  Thanks Anne, Nona, Dixie, Gerrie, Sandi, Joan, Diana, and Cindy!

Feb_demo_swaps2

Kids’ Valentines

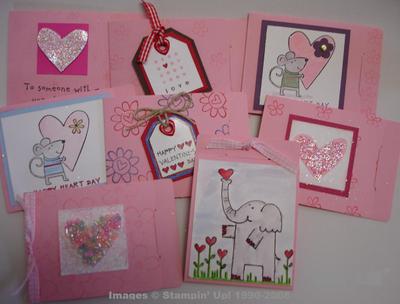
I had so much fun making Valentines yesterday!  Naturally, it was a race against the clock to try to get them out to the mailbox before the mailman came.  I wanted to make some valentines for my eight nieces and nephews.  Normally I would spend at least half a day searching for all possible designs that I liked online before I would find something to copy….but I’m finding that if I just sit down and play around with my stamps and ink I can actually come up with things myself!  For these valentines I wanted just kind of the little "kid size" cards.  I got into my stash of retired items and found these Pretty in Pink Pocket Note Cards.  You can still buy an assortment of Pocket Notes in the catalog, just different colors.  They’re very cute and really suited my purpose.  On the one heart you can see some retired colors of beads, which I attached with the new Tombow Multi Purpose Adhesive.   I used the Happy Heart Day stamp set, Simply Said, Tagger’s Dozen, and Holidays and Wishes to make the cards.  You’ll also notice some Dazzling Diamonds Glitter on a couple of the cards.  What’s a day of stamping without some glitter?!

Kids_pocket_note_valentines

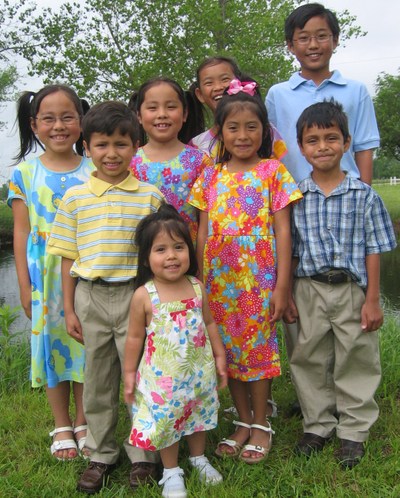
Schlesinger_kids_may_2007 And here are the kids they are going to!

More Fun with Rub ons!

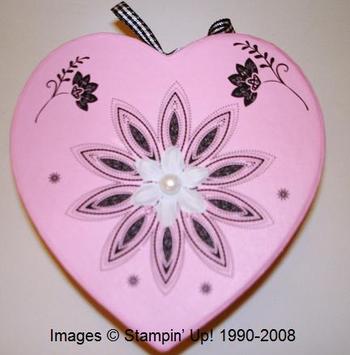
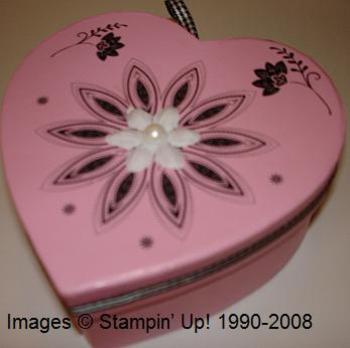
The other day I discovered this heart-shaped box in my pile of stuff!  Immediately, I thought of using the Stampin’ Up! Rub Ons on the box and see what I could do.  The heart box is probably from the Target Dollar Spot last year or else one of the dollar stores.

Rub_on_heart_box_top_7

Rub_on_heart_box_side_7                                                                                                 

I used the Eastern Elegance Rub Ons and adhered some black gingham ribbon around the lid of the box.  It still needed a little something so I stuck on a white flower from the Pretties Kit plus a half-pearl in the center.  I found the rub ons to be fun and easy to use.  You will want to try them also!  See how many fun things you can find to apply them to around your house…or in your craft stash!