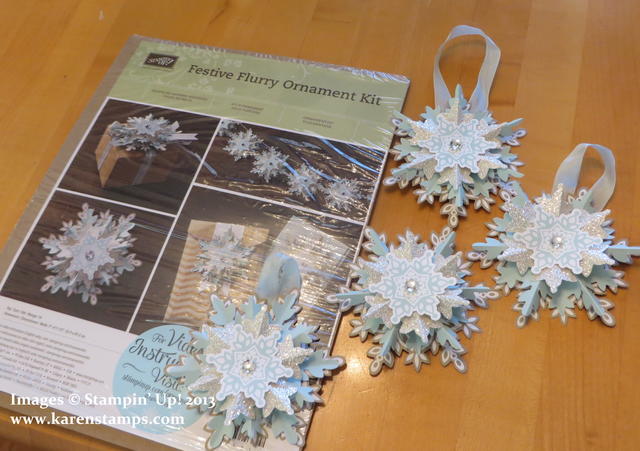
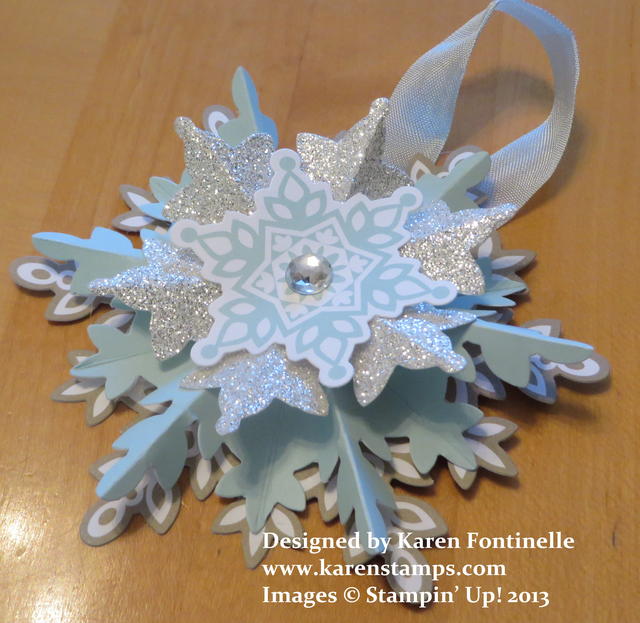
No snow in Houston except on my kitchen table where I played with my Stampin’ Up! Festive Flurry Ornament Kit and made some of the beautiful ornaments. Once you assemble these ornaments you can use them as ornaments, as package toppers, on a super-fancy card, or string them together to make a garland. Lots of ways to use them which you will think of as you make them!
There are no written instructions in the kit but there is a good video from Stampin’ Up! you can watch. I would say be a little more patient with the hot glue as you “squish” your ornament together toward the center than on the video because I’m sure in the interest of time, they didn’t make you wait and watch the full time it takes for the hot glue to set up in the video. If you have the Stampin’ Up! Silicone Craft Sheet it makes it a little easier to work with the hot glue.
Let’s start at the beginning! You will receive ten sheets with die-cut pieces to make your ornament plus a stack of the glitter layer pieces. Just punch out the pieces. You will see two of the pieces, the blue snowflake and the glitter snowflake are pre-scored so that is helpful. Carefully fold on these score lines. Those narrow tips are a little delicate so take your time and remember nothing has to be perfect! I suggest doing the longest points with the fold lines so the fold is “up” and the smaller ones with the fold “down”. It’s going to be almost like rosettes you have probably made in the past, one fold up, one fold down and so on. Check to make sure you have all the pre-scored lines folded around the ornament and then “practice” squishing them toward the center hole. Once you are sure they will all fold and work together correctly, it’s time to glue. You can put a puddle of hot glue on your silicone craft sheet and then place the snowflake so the center hole is in the glue and “squish” the ornament toward that center and hold until the glue sets and you can safely set it aside. Once you have the blue snowflake and the silver glitter one made in this fashion, you can layer all the ornament pieces together and that is the easy part! Don’t forget the beautiful large rhinestone in the center! Attach a piece of ribbon on to the back if you want to make a hanger.
I also tried, as another demonstrator suggested, just putting glue around the inside edges of the center hole and not using the big puddle of hot glue, and then squishing it to the center. This did seem to hold just as well and didn’t take as long to set up as the big puddle of hot glue.
And for my last try, I attached the snowflake to a small circle on the back as I was gluing it, punched or the center you punch out of the blue snowflake. I thought this worked the best, maybe gave it a little stability while the glue was setting up.
Once you discover what works easiest and best for you and what you want to make, I think you’ll be able to breeze through these ornaments just fine. You will find the Stampin’ Up! video on the sale page for the Festive Flurry Ornament Kit. These are SO beautiful you MUST give them a try!!


