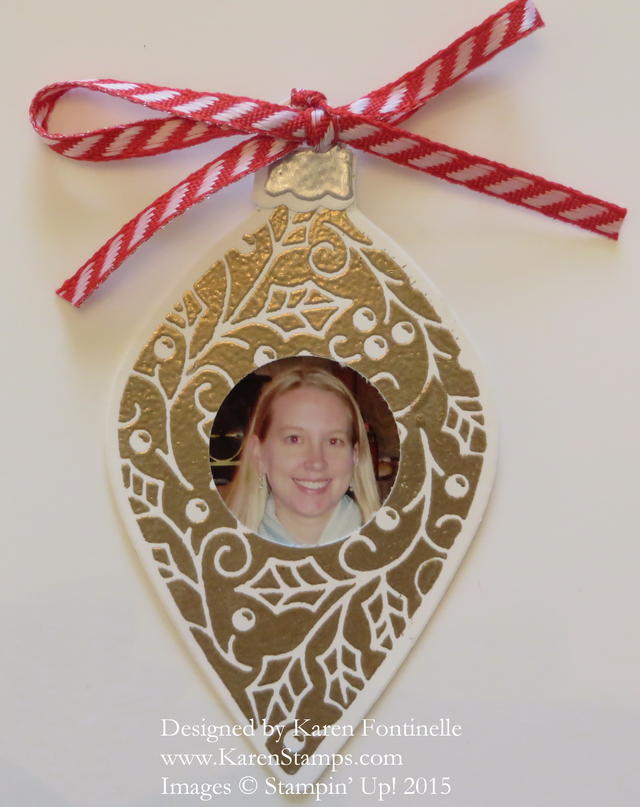
We go from the first day of autumn to an Embellished Ornaments picture frame ornament! Believe me, pretty quickly time will seem to go that fast when we get rolling here! I saw something resembling this idea on some non-stamping website and it reminded me of this stamp set.
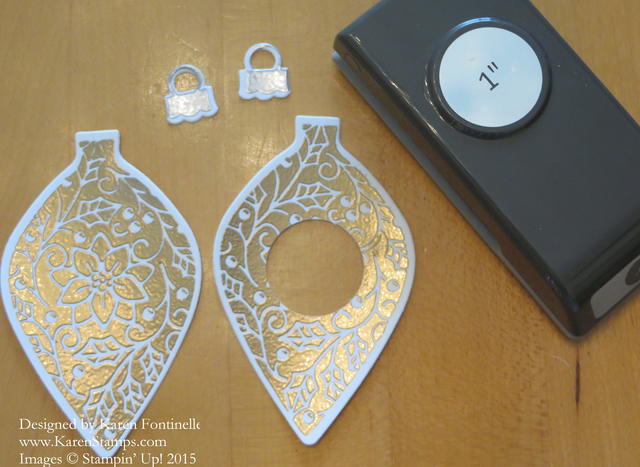
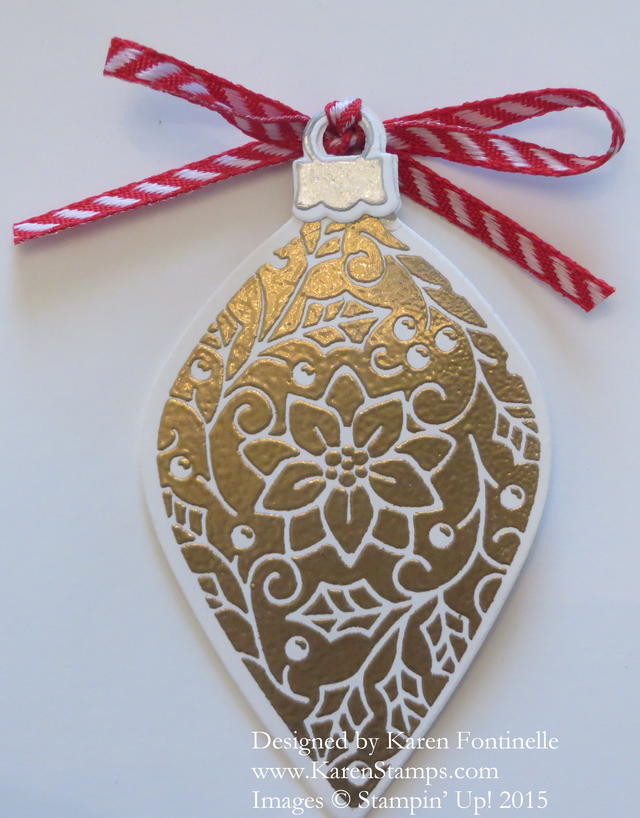
I stamped two ornaments in Versamark Ink and embossed with Gold Embossing Powder using the Stampin’ Up! Heat Tool. I also stamped the ornament hangers and embossed with Silver Embossing Powder. Then I glued the hanger on to the ornament with either a bit of Fast Fuse Adhesive or Multipurpose Liquid Glue.
To make this pretty ornament into a picture frame, I used the 1″ Circle Punch to punch a hole in the center of one ornament to fit a photo. You might punch the hole and then make sure the photo you choose will fit in the area nicely, Cut the photo a little larger than the hole so it can be adhered on the backside of the ornament. Then glue together the two ornaments so you have a front with the photo and the plain back of the ornament. Tie a bow around the hanger, perhaps with the Real Red 1/8″ Striped Ribbon.
There you have it! I nice little photo ornament that you could hang on the tree, tie on a package for a tag, or even attach to a Christmas card. Very easy to make! You could make it even simpler by just stamping with ink and not embossing.
You can do a lot with this Embellished Ornaments Stamp Set. Make some ornaments fancy or plainer. No matter which you do, they will still look elegant on your projects and cards!


Thanks! Easy peasy!
LOVE THESE KAREN!!