Graduation Time!

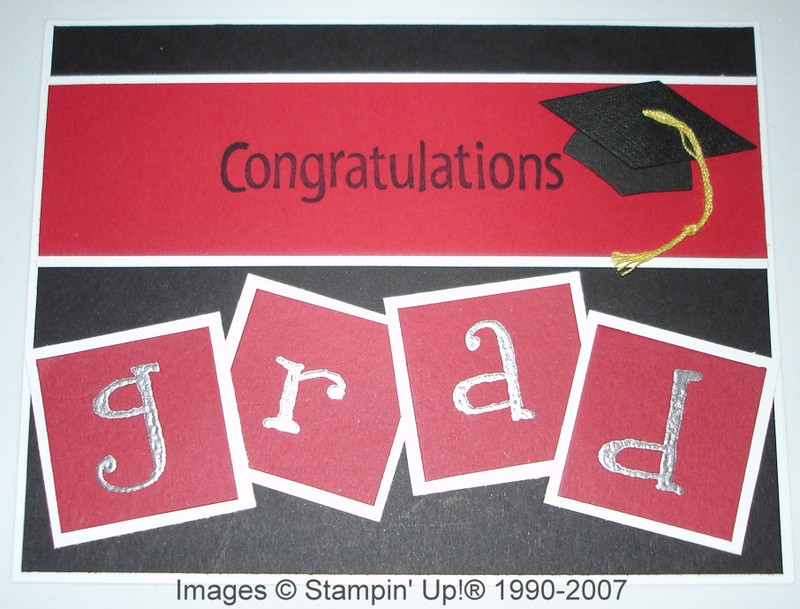
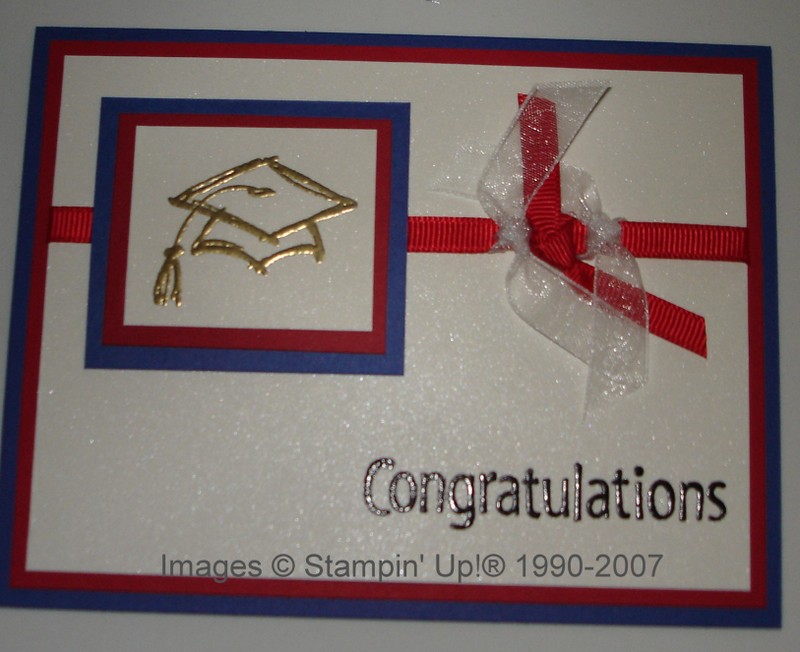
We have a new high school graduate in our house!  And the last one!  In the fall we will be empty-nesters.  I don’t know yet if that will be good or bad or a little of both.  Among other things, I have been busy stamping a few graduation cards.  Here are a few, again mostly copied from other stampers.
Gradcardsteven

This is the card I made for our son mostly using the Office Accoutrements set, inspired by Pam S on SCS.  The circle is from Riveting, and the graduation cap is from a retired set called Sketch an Event.  That set was so great; fortunately a new set is coming with a graduation cap!  The greeting comes from All Year Cheer III.  This set is on the Retirement List as is Riveting since it is a Hostess Set.

Here are some other cards I made, CASEd from dawnsing, imastampin, and brodonbaby.  My alphabet stamps came in handy on these cards!
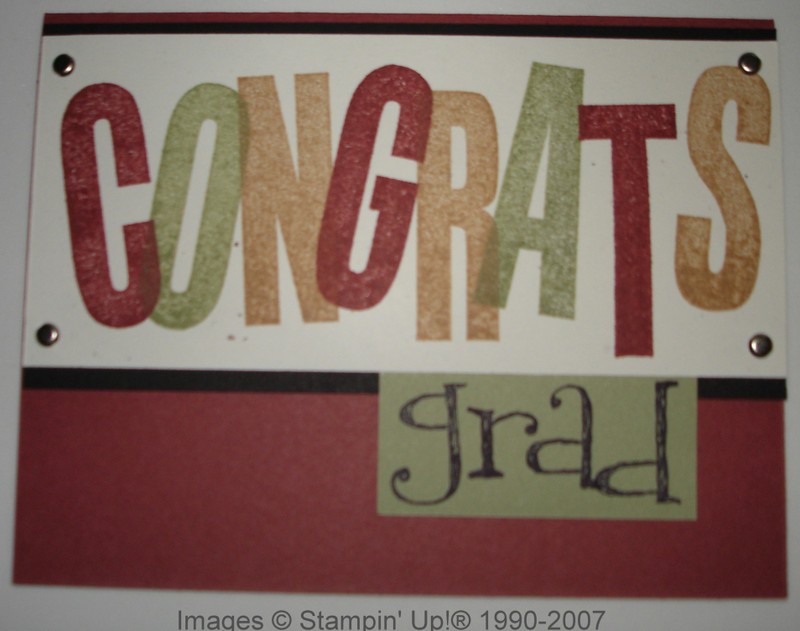
Gradcardandrew Gradcardmatthew Gradcardsam

First Wedding Anniversary….Paper!

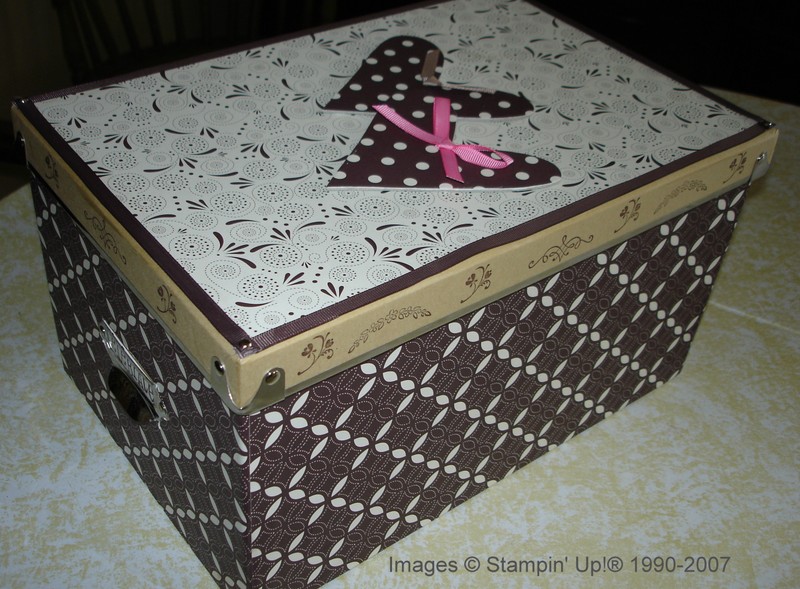
CardboxIs this a great idea for a gift for a first wedding anniversary or what?!  The traditional gift for the first year is paper.  One of my customers asked me to make a large assortment of cards for occasions throughout the year and a box to keep them in for her dear friends who were celebrating their first anniversary.  I thought it was a wonderful idea for a gift, not to mention enjoying having the opportunity to stamp a lot!  It was more difficult than I thought to find the right size box.  Regular photo storage boxes were just the tiniest bit too small.  Someone suggested a DVD box and I found this plain one at Target.  I then covered it with the Au Chocolat papers and did a little stamping along the edge. I also used some grosgrain ribbon around the edges of the top.  It still needed a little something and finally I came up with using the chipboard hearts from the On Board Accents package.  I just used a gluestick to adhere the paper to the heard, used my Paper Snips to cut off the excess paper close to the chipboard and then used the Sanding Block to finish it off neatly.  I like how it turned out!

Cowboy Birthday Card

Here’s a fun card I made for my nephew for his birthday from a stamp set called "Cowboy Kid" that appeared in the 2006 Summer Mini.  I used the White Craft Ink for the paisley background, colored in the cowboy with markers, and used a piece of natural hemp for the rope.Cowboy_kid_2

A Special Delivery!!

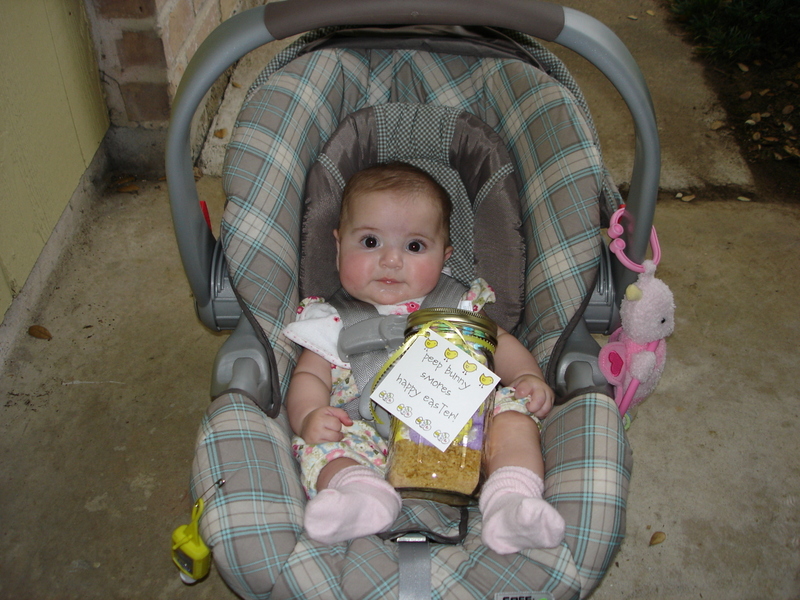
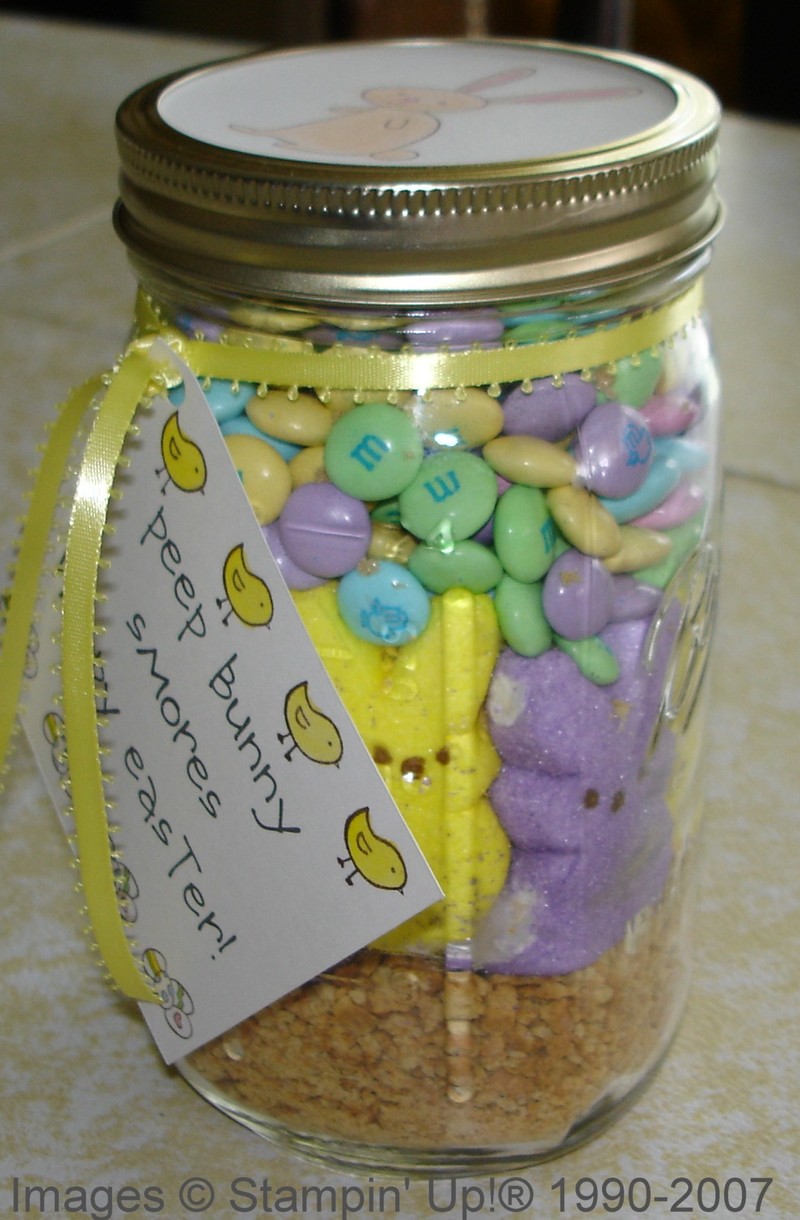
Dsc00719_3 I opened my door last night and this is the delivery person I found on my front porch!!  Is she not the cutest thing??!  This is Elsie, my tiniest little future stamper!   She was bringing me a Peeps Jar that she and her mom (my customer) had made me for Easter!  I couldn’t have been more excited!  I knew it was a Kodak moment so I had to run for my camera before inviting them in for a visit!

Peeps_jar The Peeps Jar has Peeps inside along with M&Ms, graham cracker crumbs and brown sugar to which you add butter and vanilla.  While I am sure this would make a yummy(?) dessert, the design inside the jar with the Peeps looking out is really too cute to mess up….not to mention the memory of Elsie delivering it to me!  If you want the recipe, just email me.

Easter Mini Tins

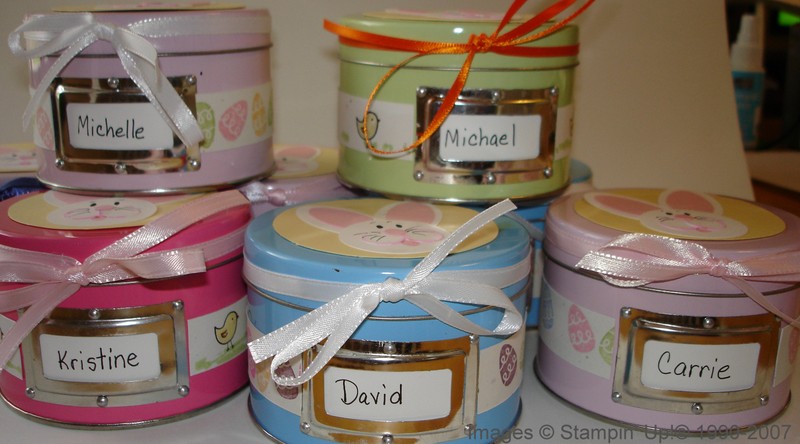
I found these tins in the dollar bins at Michael’s and had seen how a couple of other people online had decorated them.  But then I saw on SCS how "Stamper K" had decorated some for Easter for gifts and I was inspired!  Of course I had to make another trip to Michael’s to get more tins to keep for myself because they are nice even plain.Easter_mini_tins

To make these, I just stamped a narrow strip of paper to go around the side of the tin.  I used my punches to make the punched bunny on top, tied some ribbon around the lid (adhering with a couple glue dots) and put candy and goodies inside the tins.  Since I was rushed for time I just wrote names on paper that I slipped into the metal label holder, but it would have been cuter to stamp their names or use the computer and the SU fonts.

Easter Paint Cans

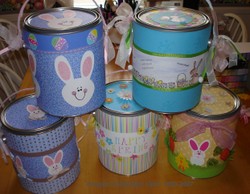
Easter_paint_cans_stacked This was so much fun to do for a customer who wanted five Easter paint cans for gifts!  Here is a photo of all five stacked up.  Some use retired Stampin’ Up!(R) Designer Paper, stamps, and ribbon, but that shows you can use whatever you like or have on hand to decorate these cans.  I purchased my new, clean paint cans at Home Depot and used LOTS of Sticky Strip to adhere the Designer Paper and cardstock to the cans.  Happy Easter!

My New Blog!

Just a few months ago, I had barely heard about blogs or knew much about them.  And now I have one!  Not long ago I started noticing that a lot of stamping ladies had their own blogs, but I sure didn’t know why.  Most that I looked at were very interesting, fun to read, and had wonderful stamping projects to view.  I didn’t dream that I would have one, especially so soon.  But here I am, partly as a challenge to myself to learn something new and try to keep up up technologically and partly to add another dimension to my stamping business.  So we’ll see how it goes!  Another good excuse to spend more time on stamping!