
This is a picture frame I made recently for a baby gift. I knew his room was decorated in a jungle animal theme so I knew "Zoofari" would be the perfect stamp set to use for this project.
I started with just a simple wood frame and covered the front and back with designer paper. This is the retired Petal Patch DSP. I used Royal Coat Decoupage Finish on both the wood and the paper. However, I have also used SU glue sticks on both surfaces before in other projects. The way the frame was made I also needed to cover the narrow inside edge of the frame with a strip of paper.
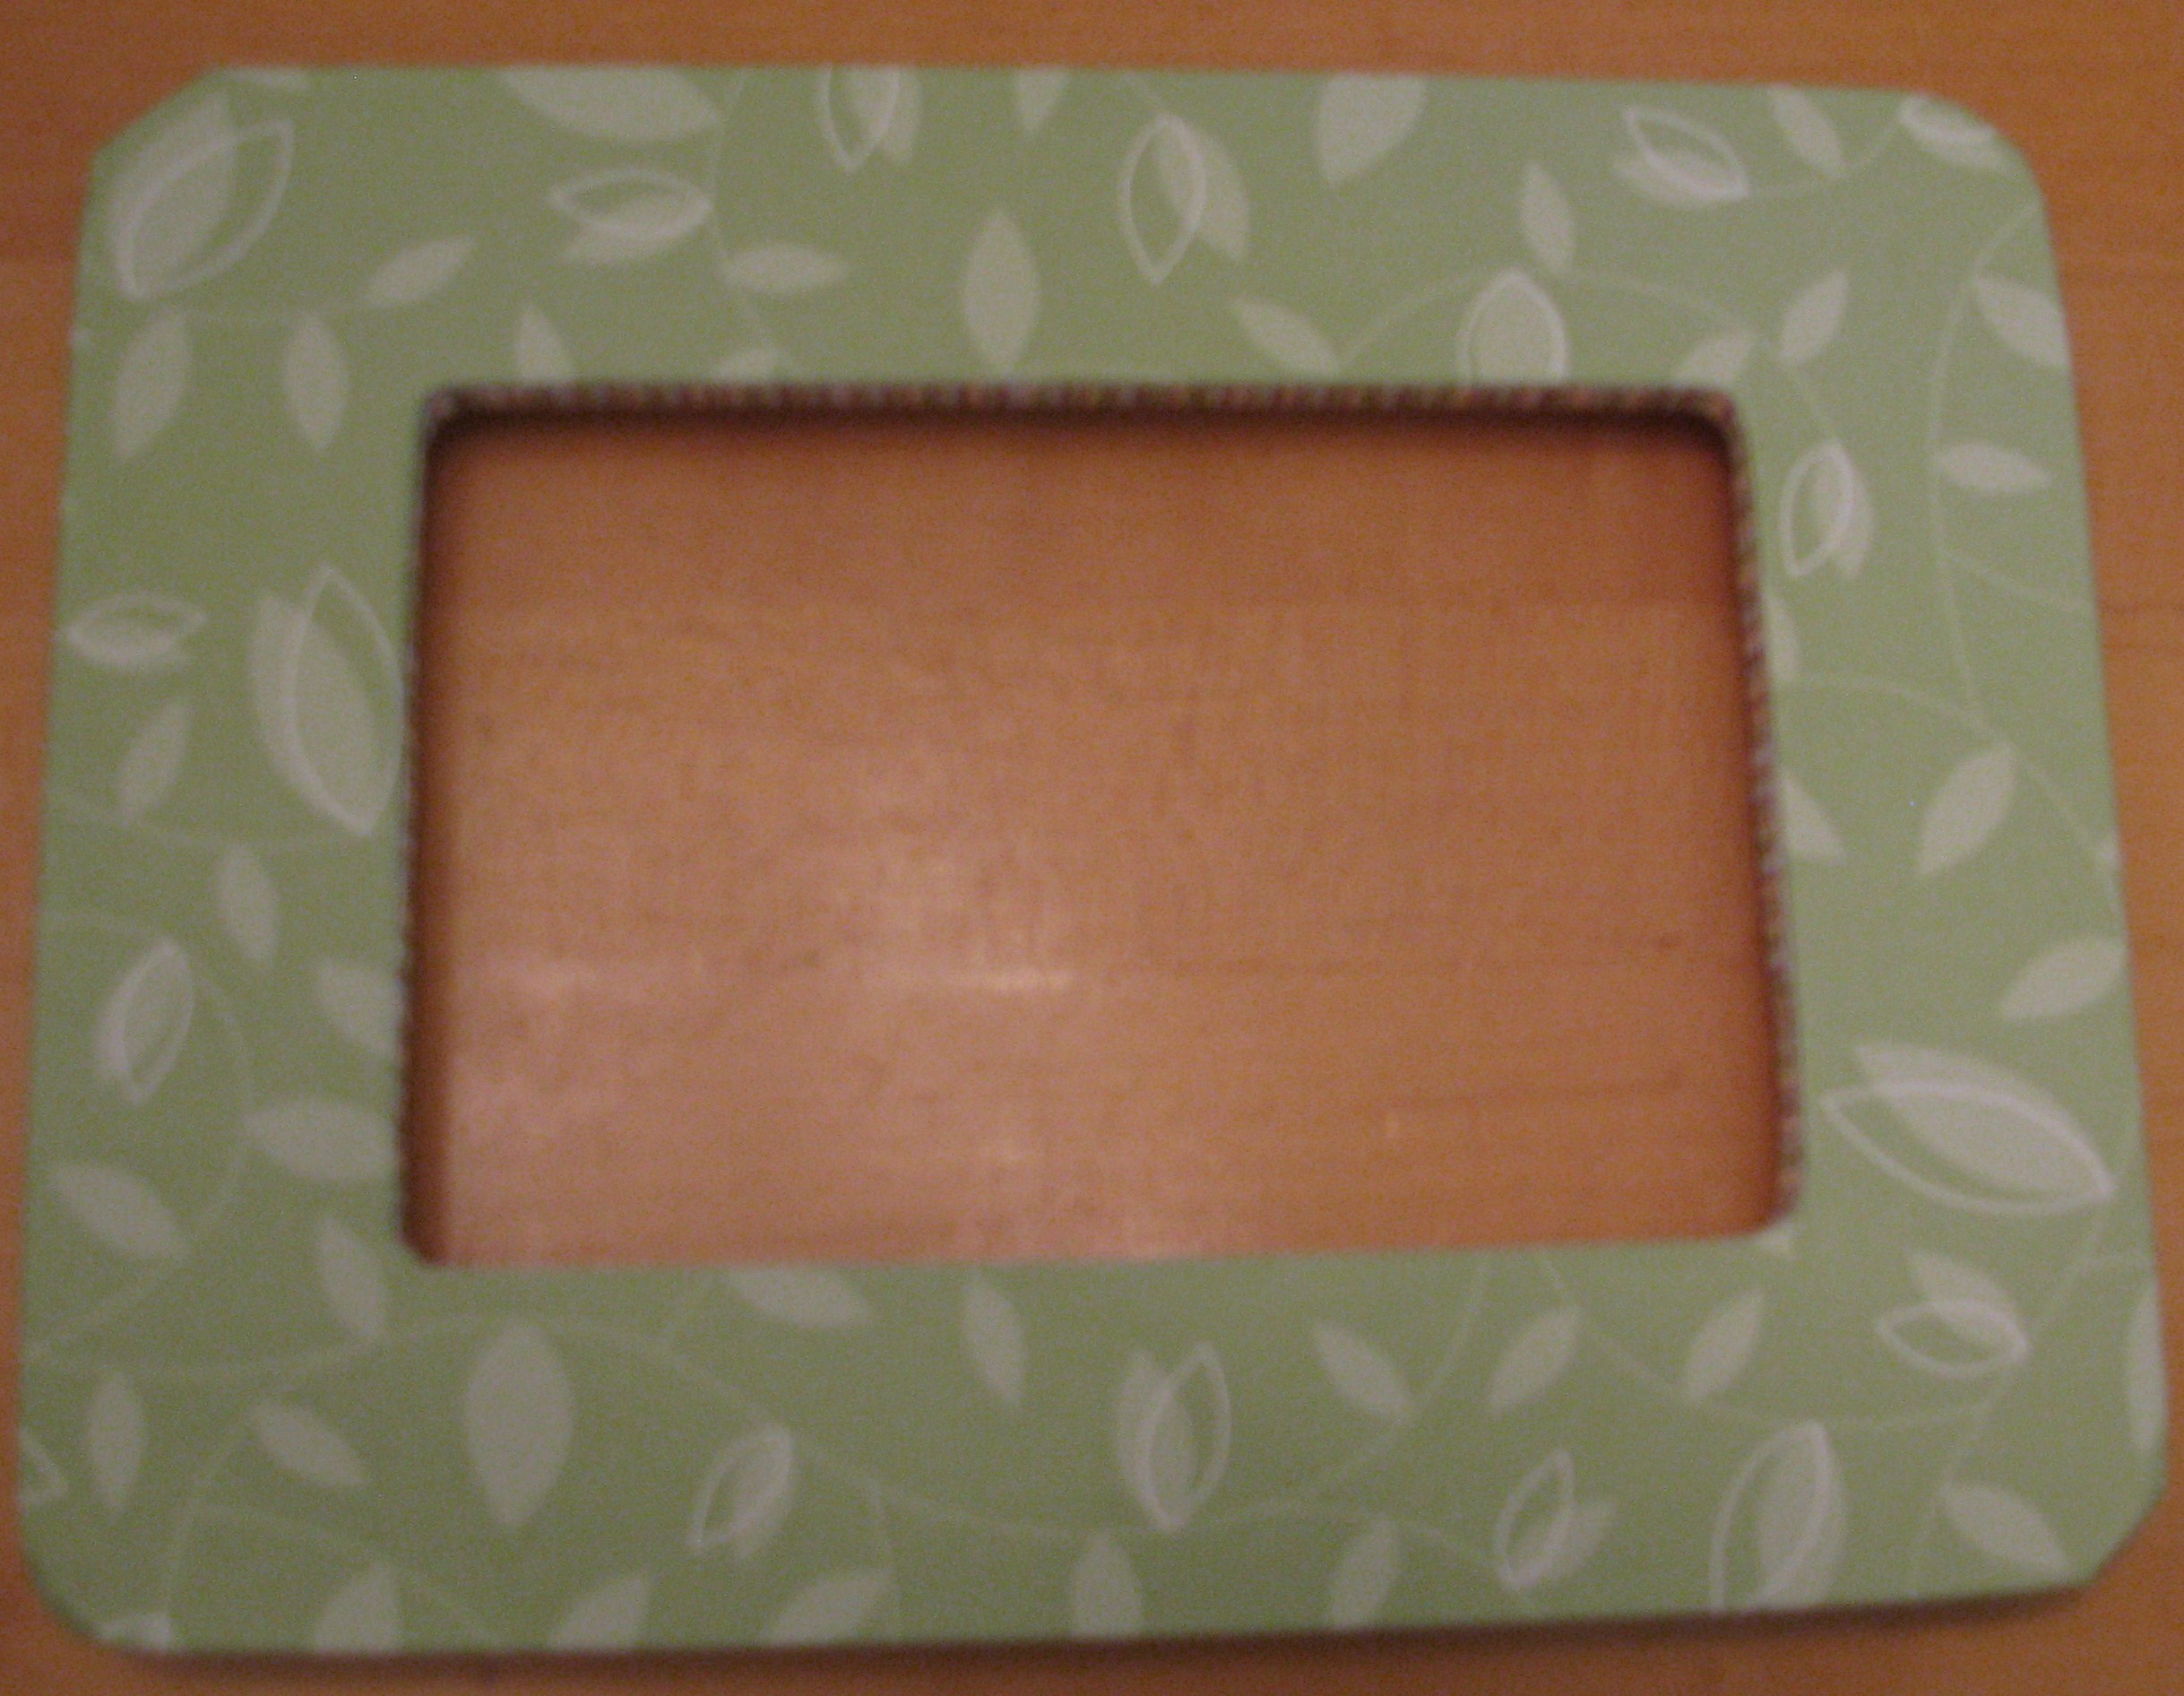
Front of frame
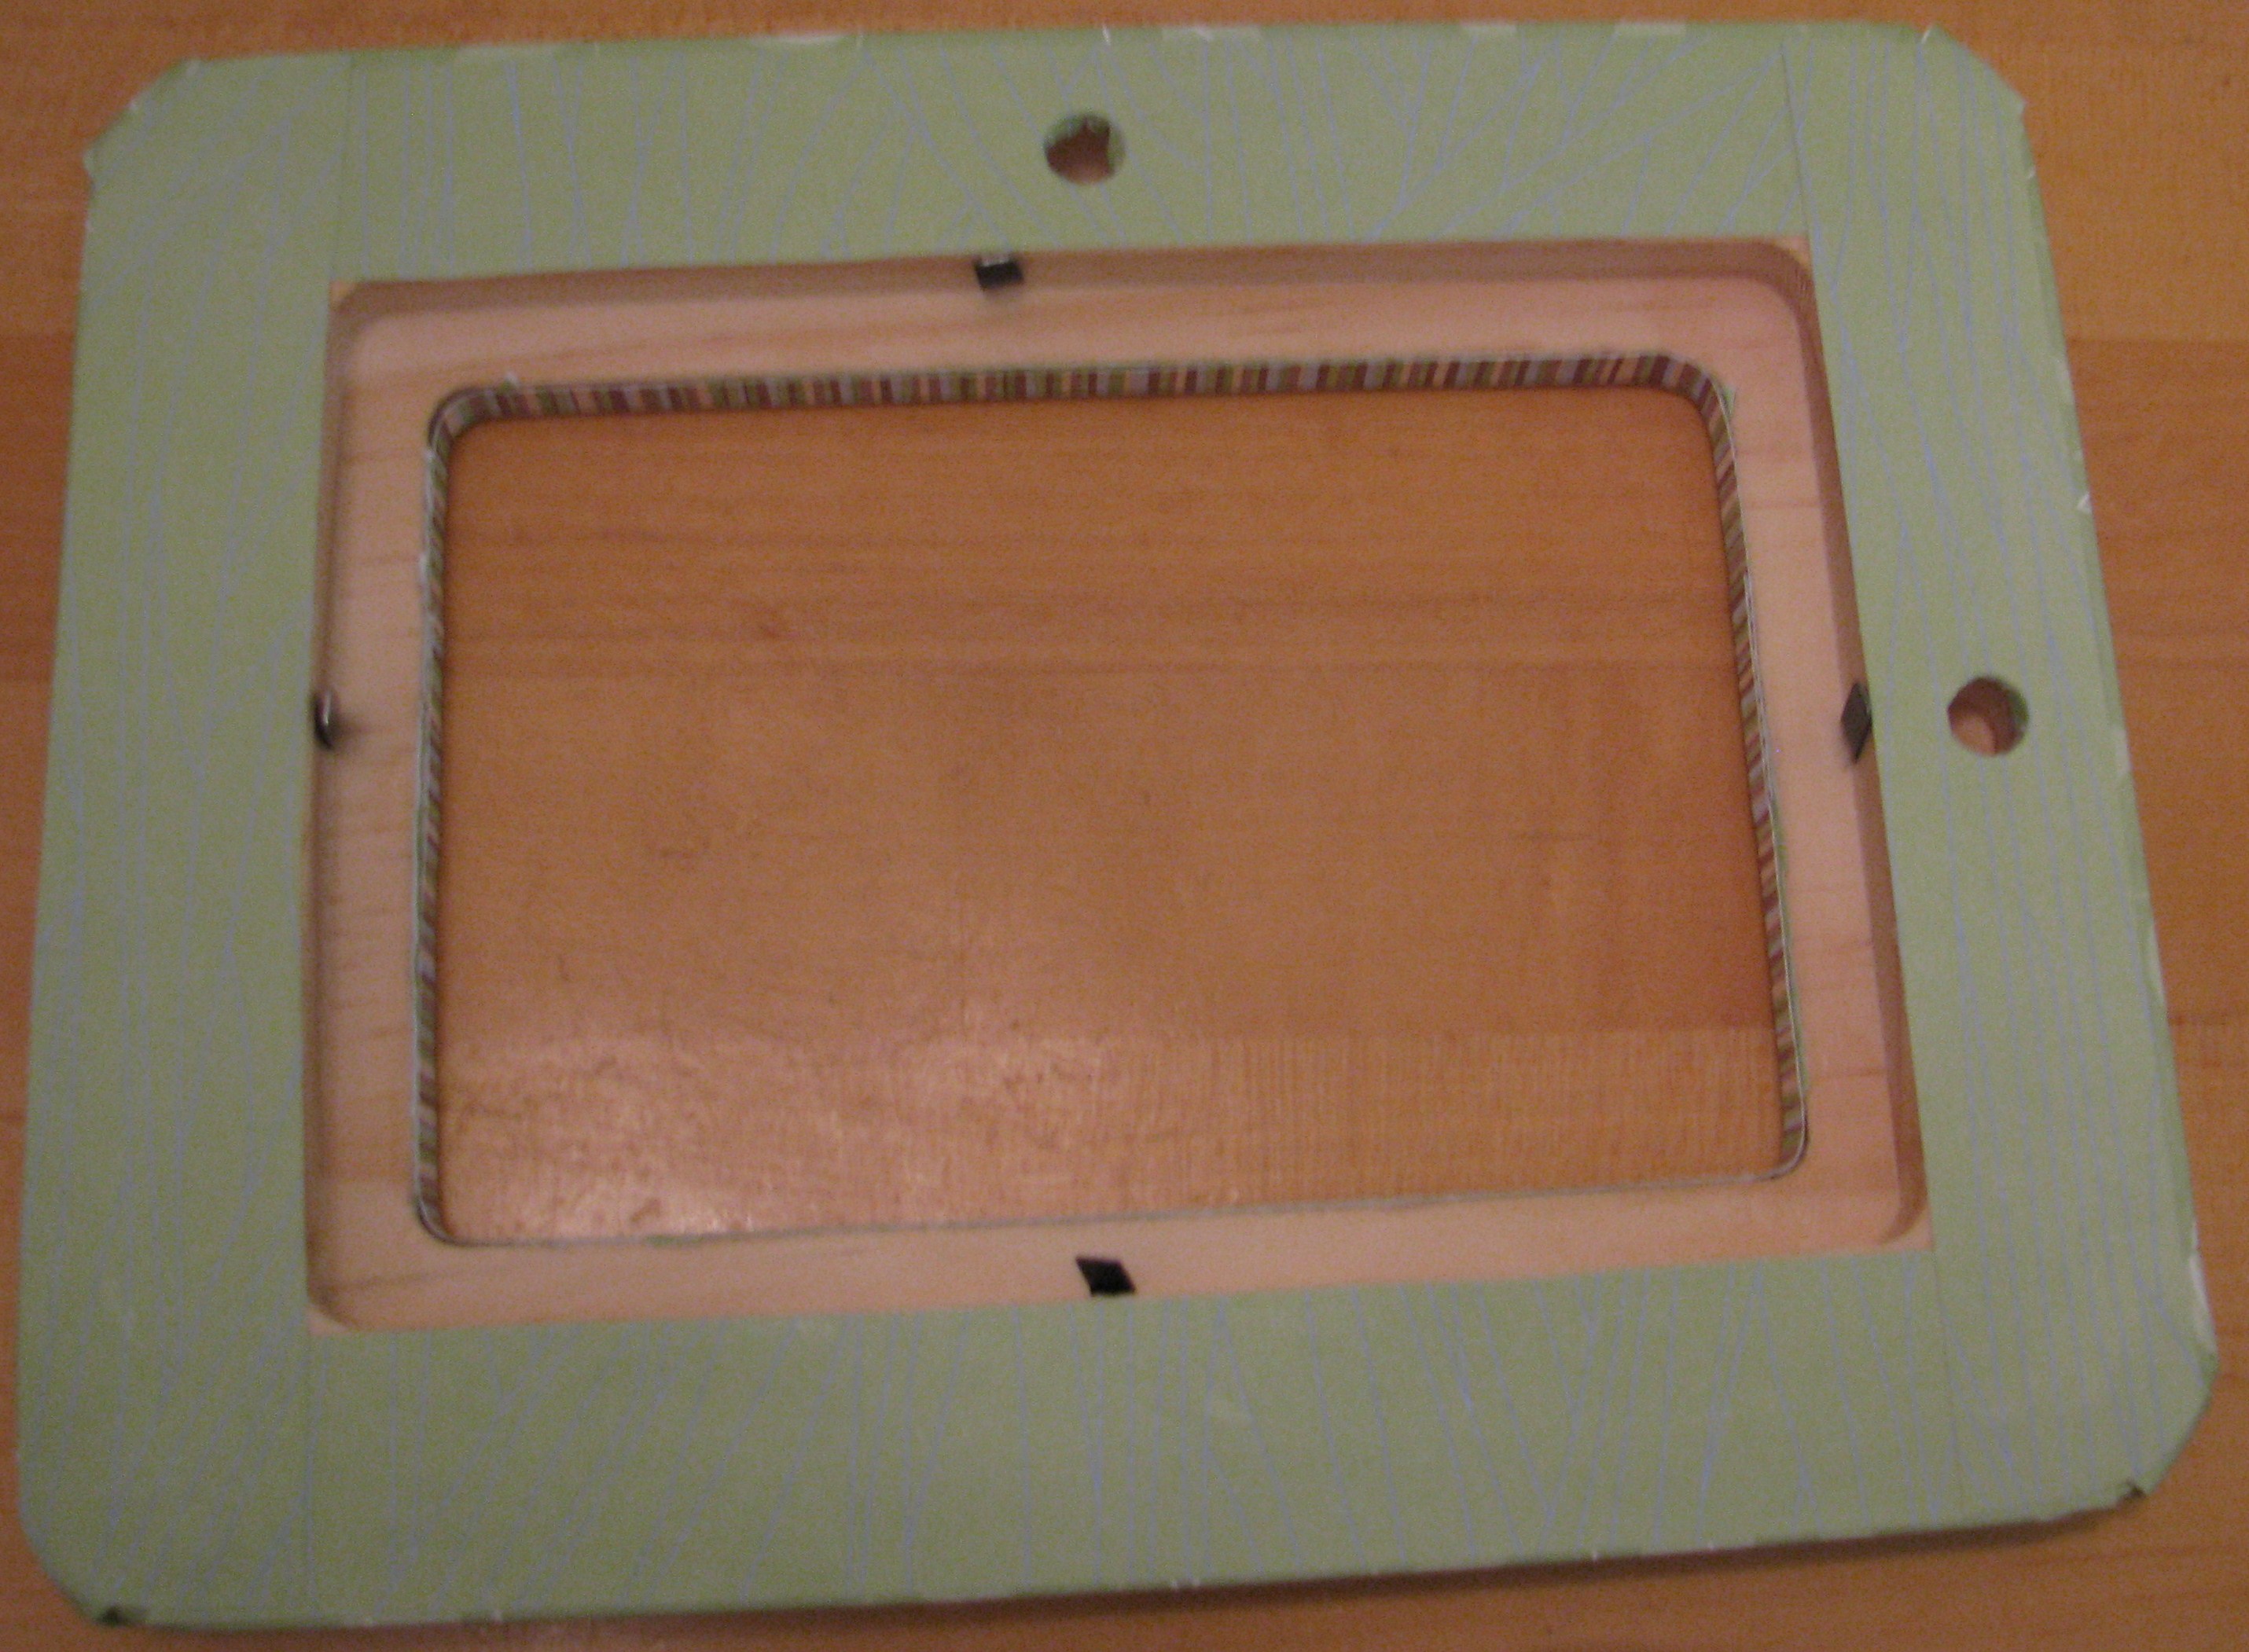
Back of frame
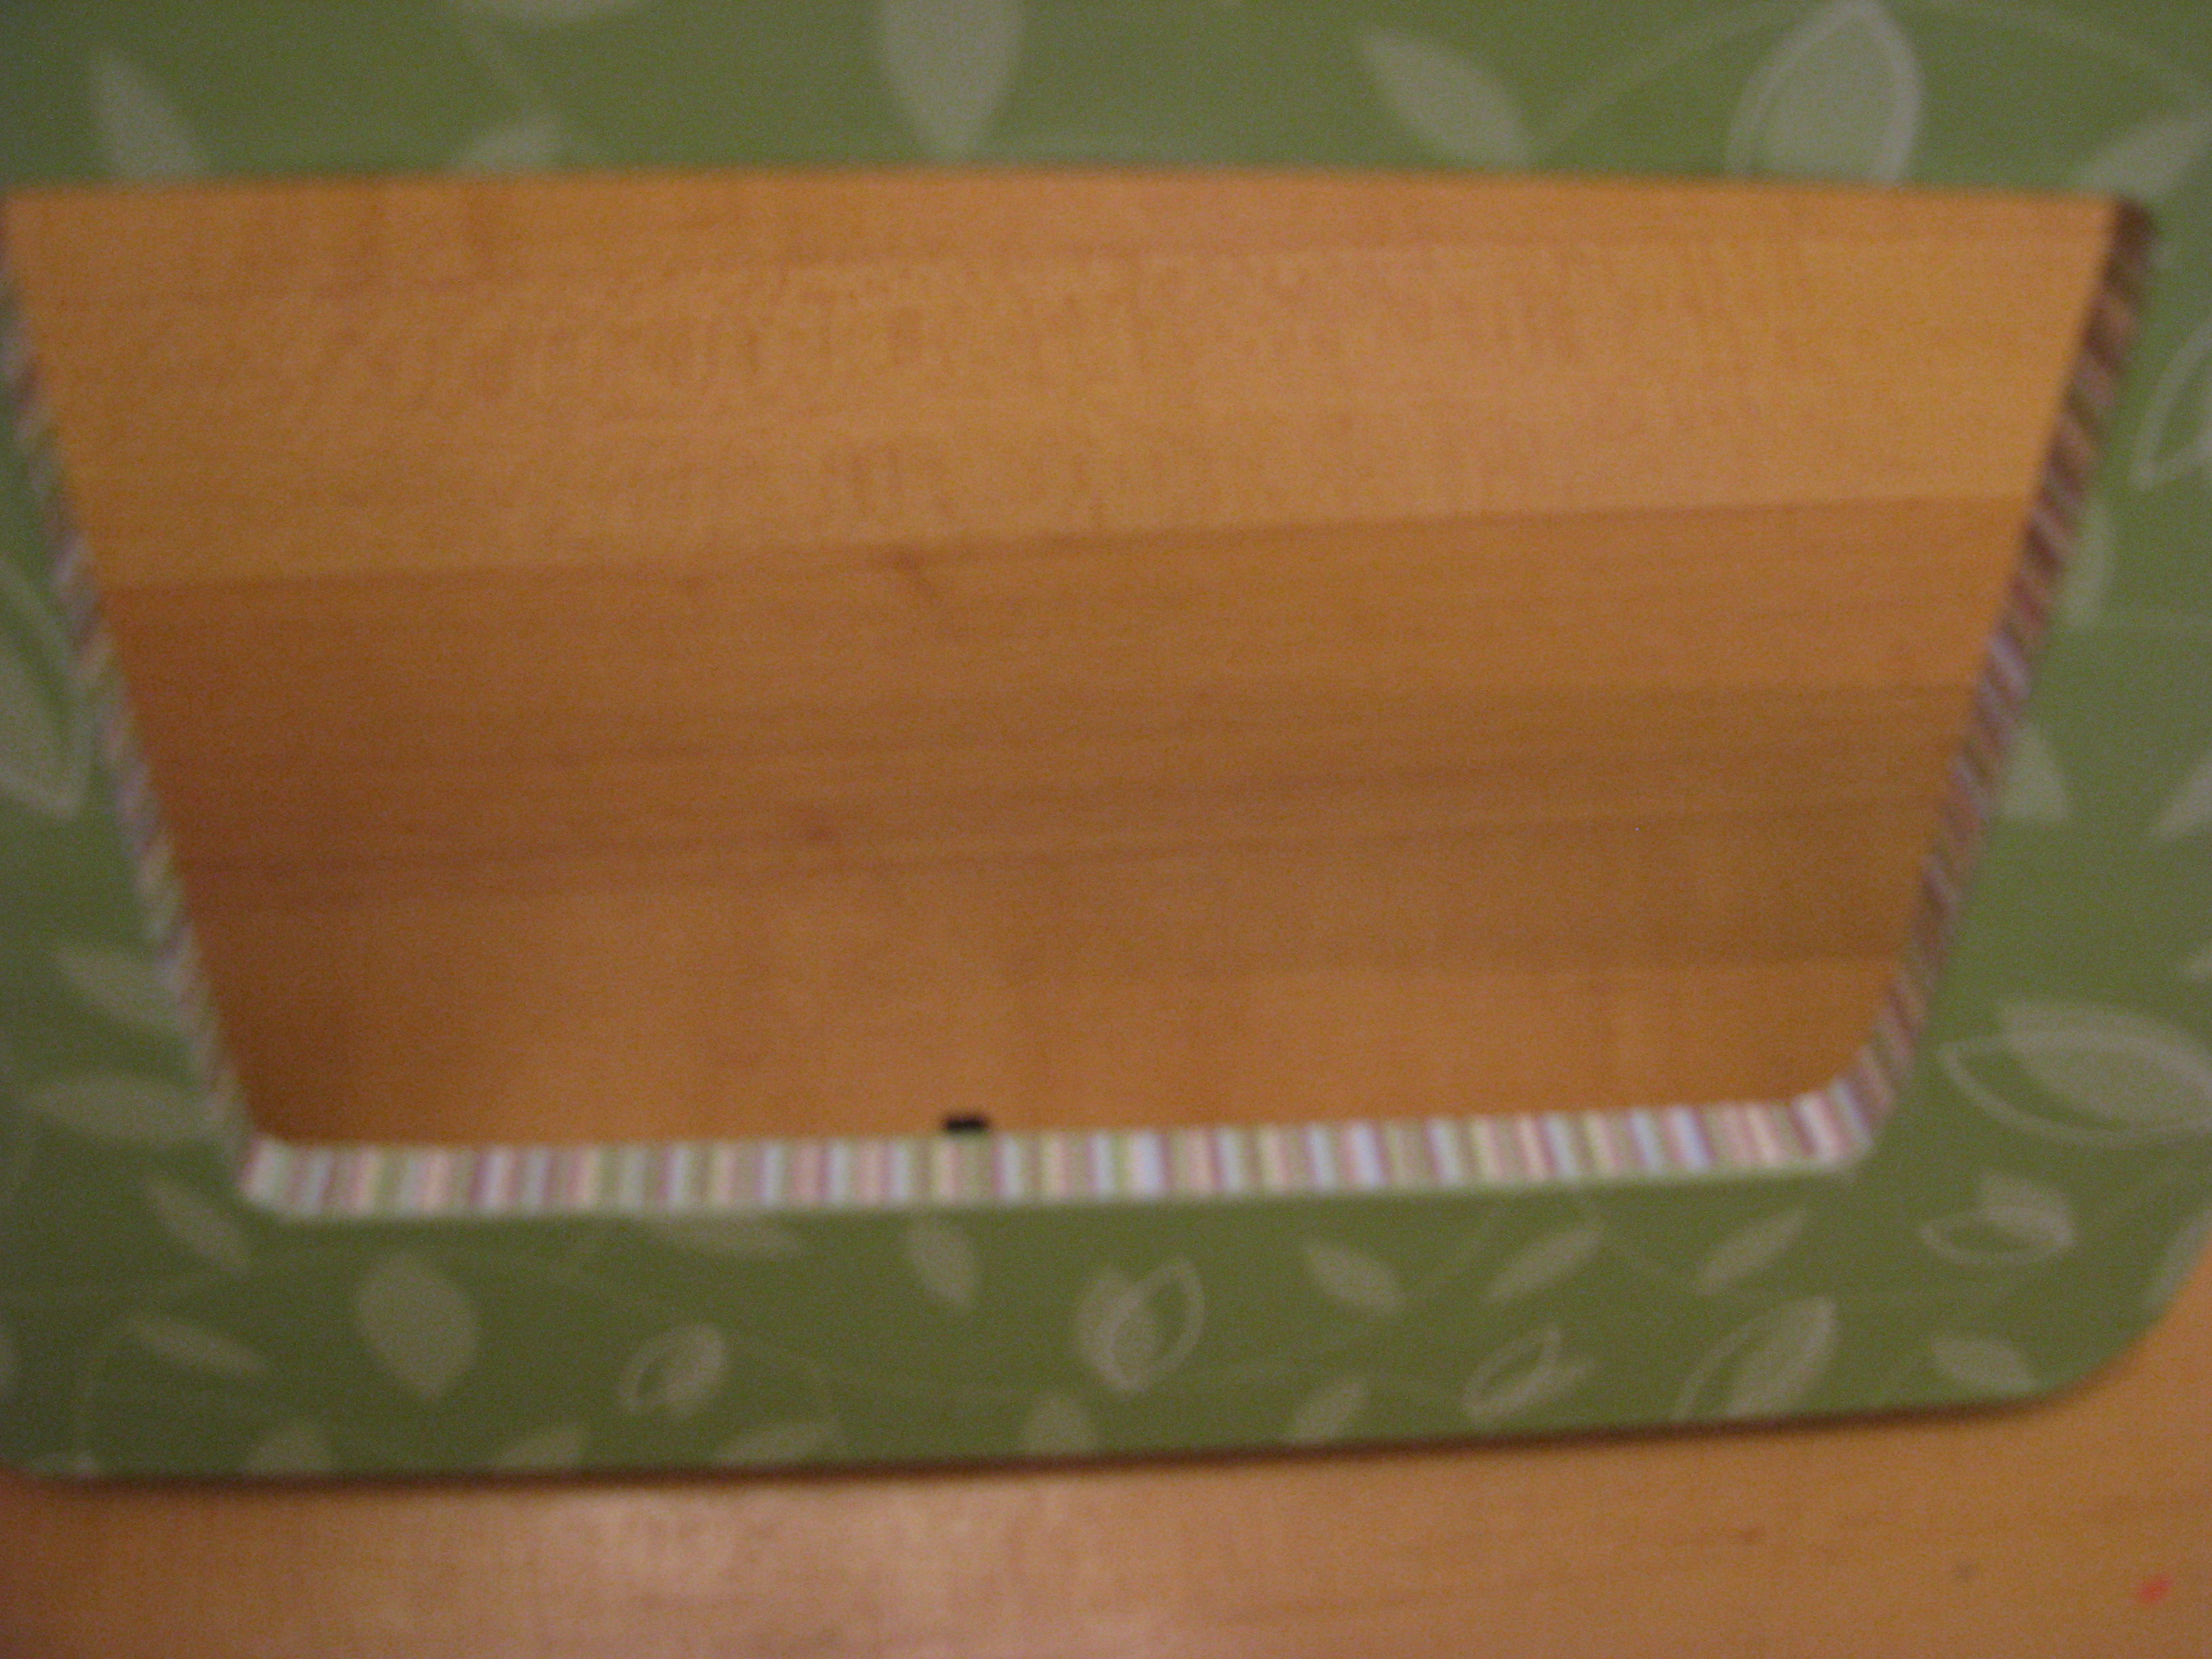
Inside edge (striped paper)

Images © Stampin’ Up! 1990-2008
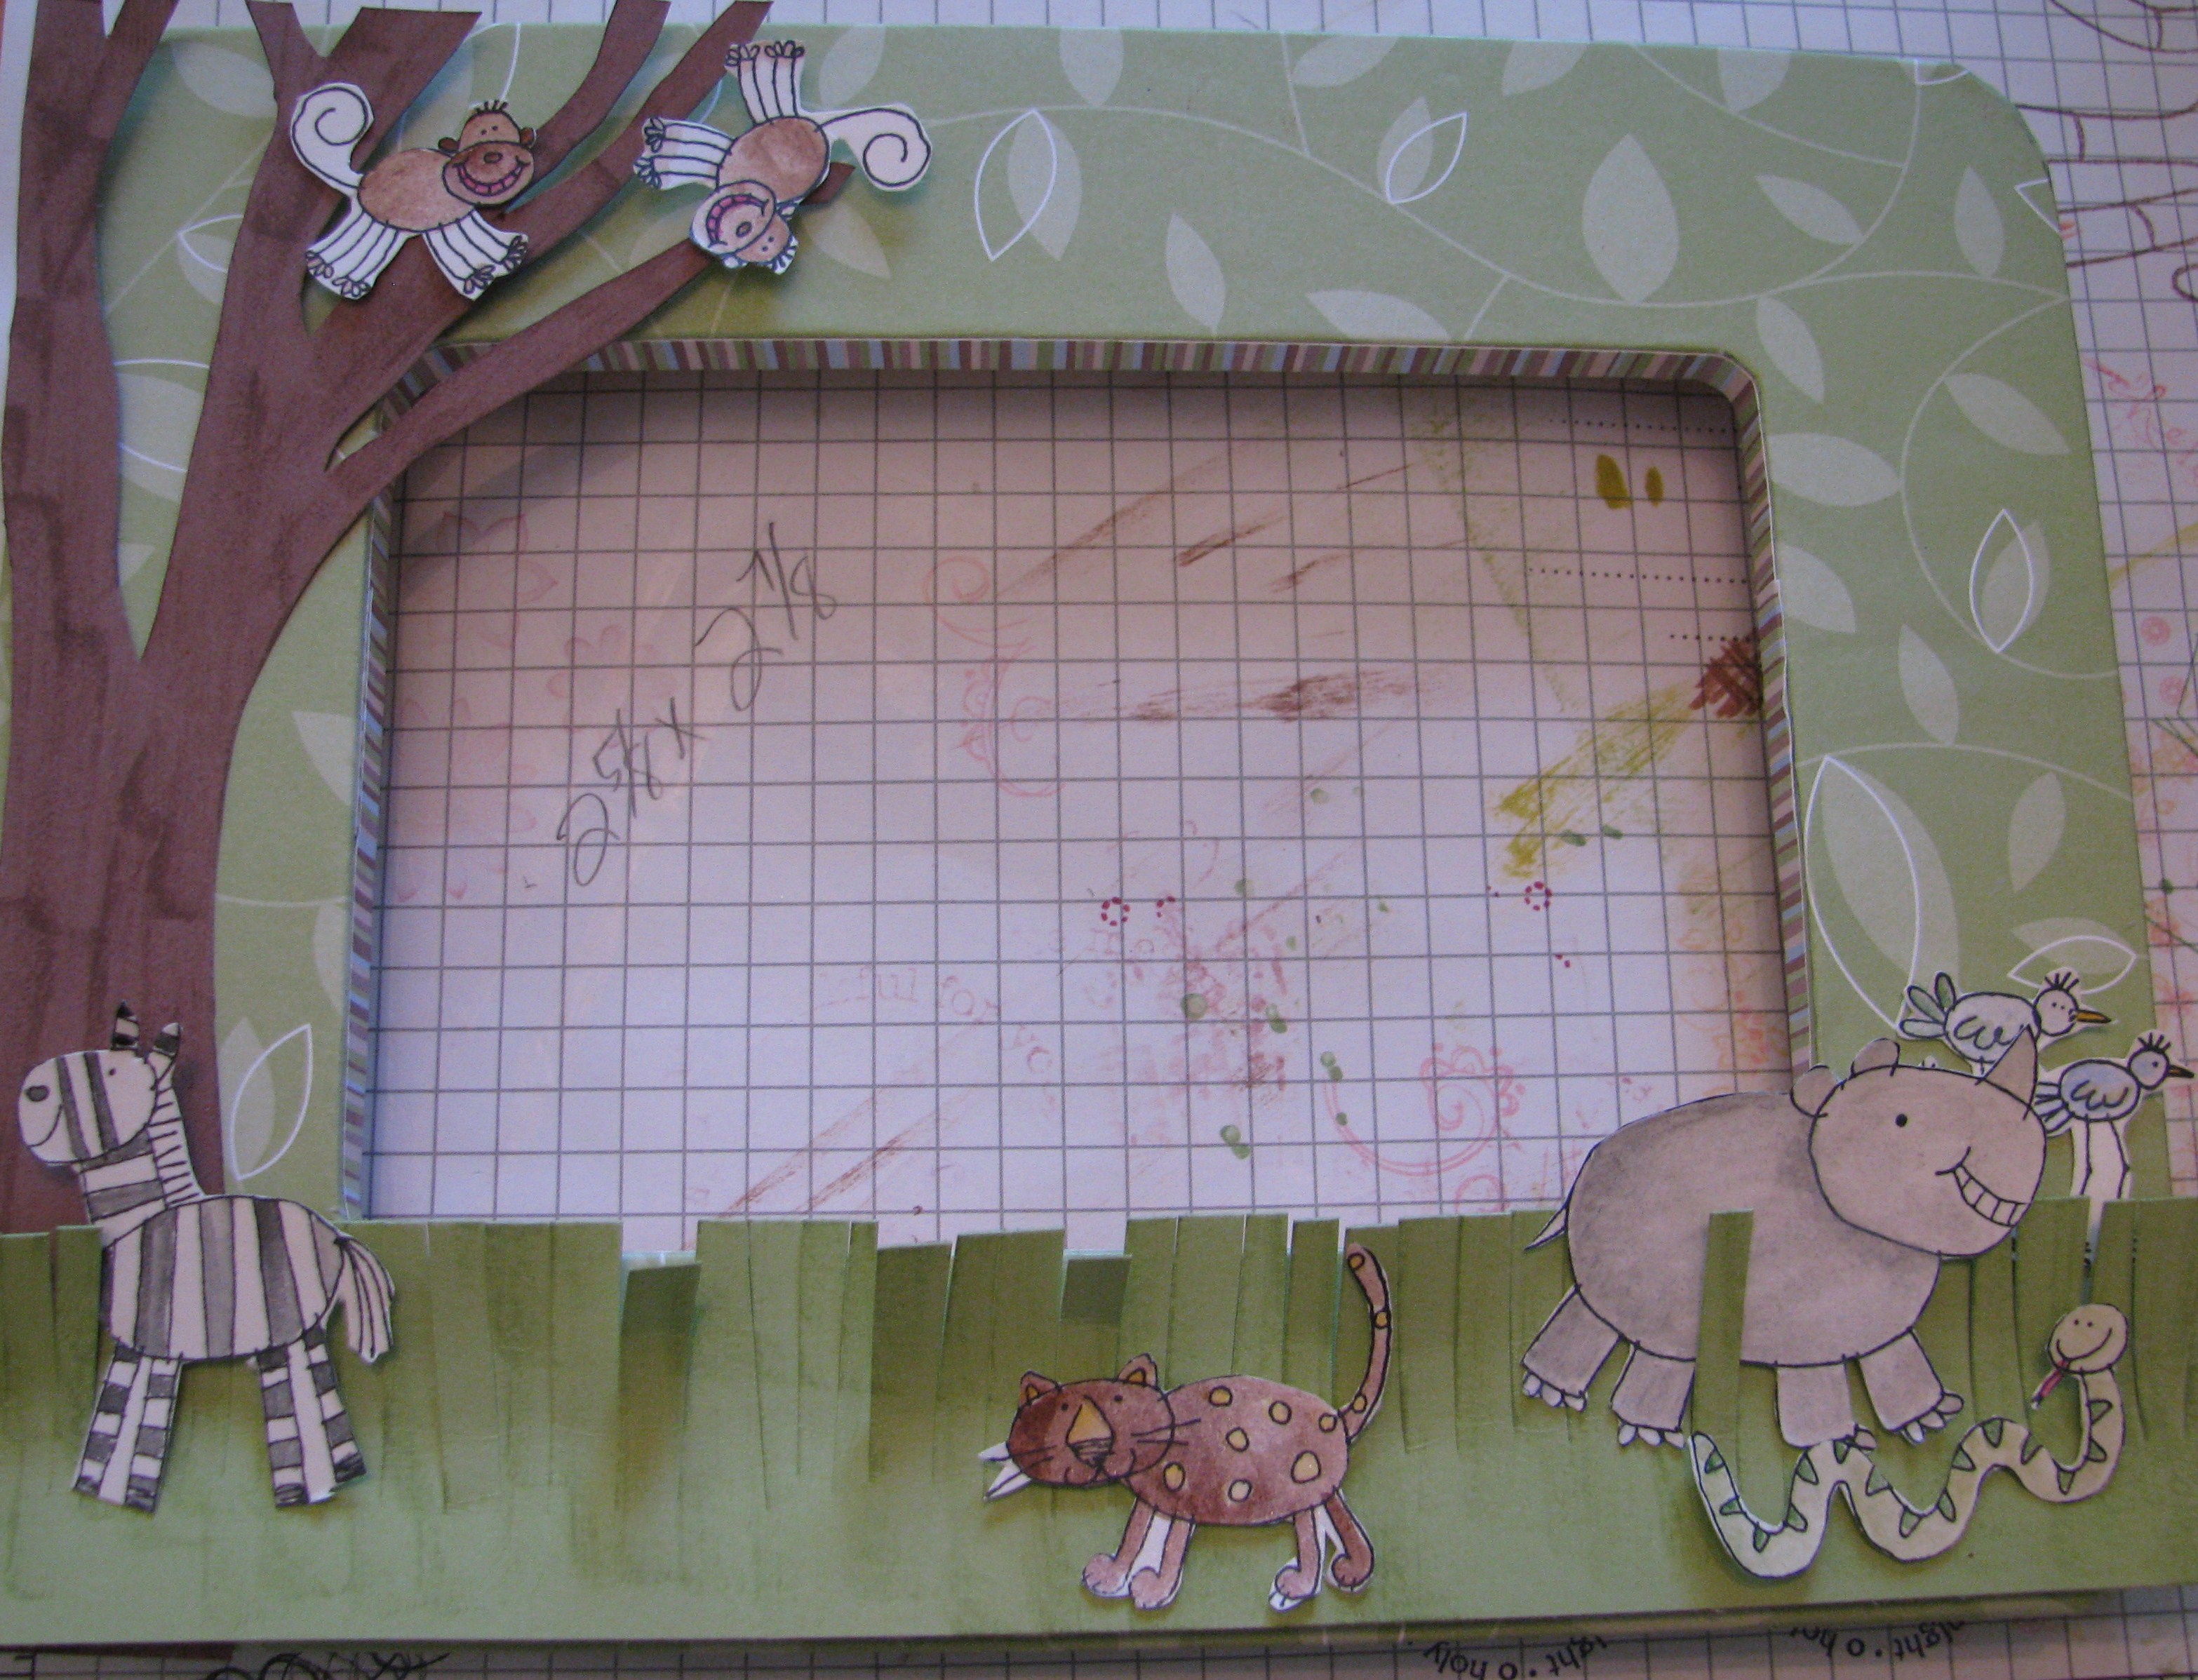
I have already stamped, colored, and cut out the Zoofari animal images and now I'm just playing around to see what I can do. The SU Paper Snips scissors are the only way to go for a project like this! Don't mind my messy Grid Paper but I use it all the time, over and over, and can't stamp without it.
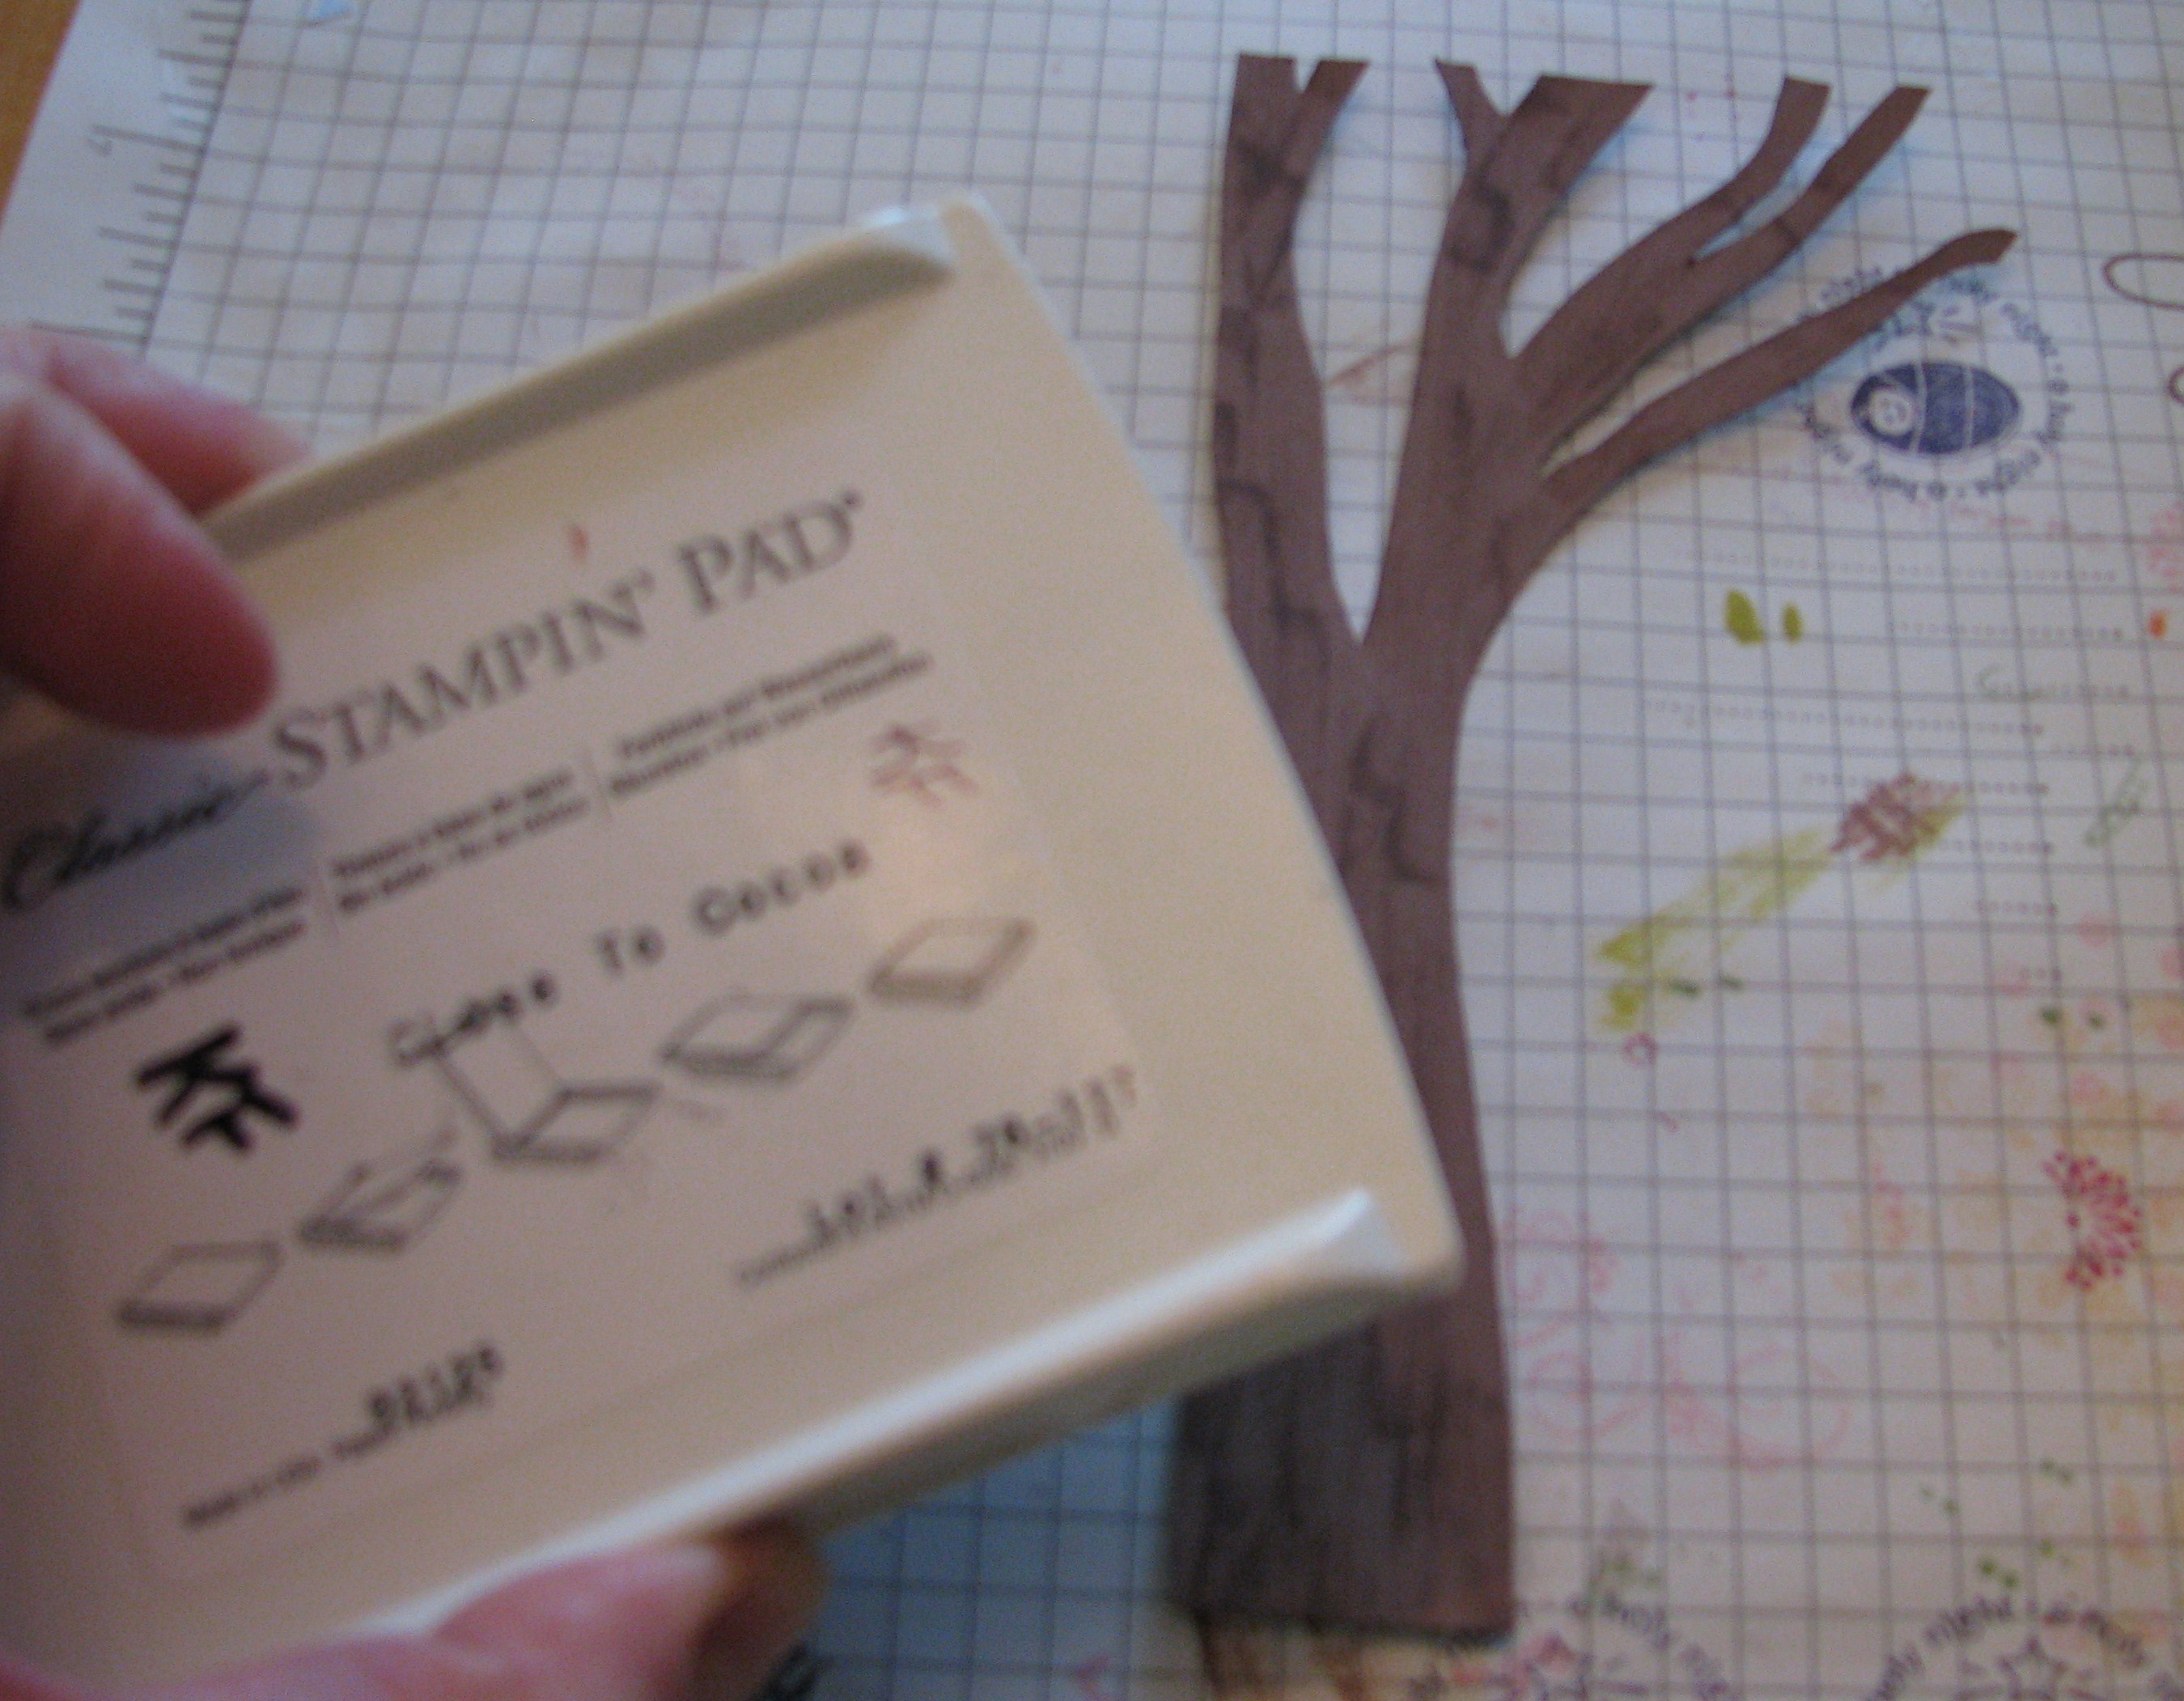
I decided to put a tree on the side of the frame, just cut one out freehand and then inked it a little with the edge of my inkpad to make it look like bark.
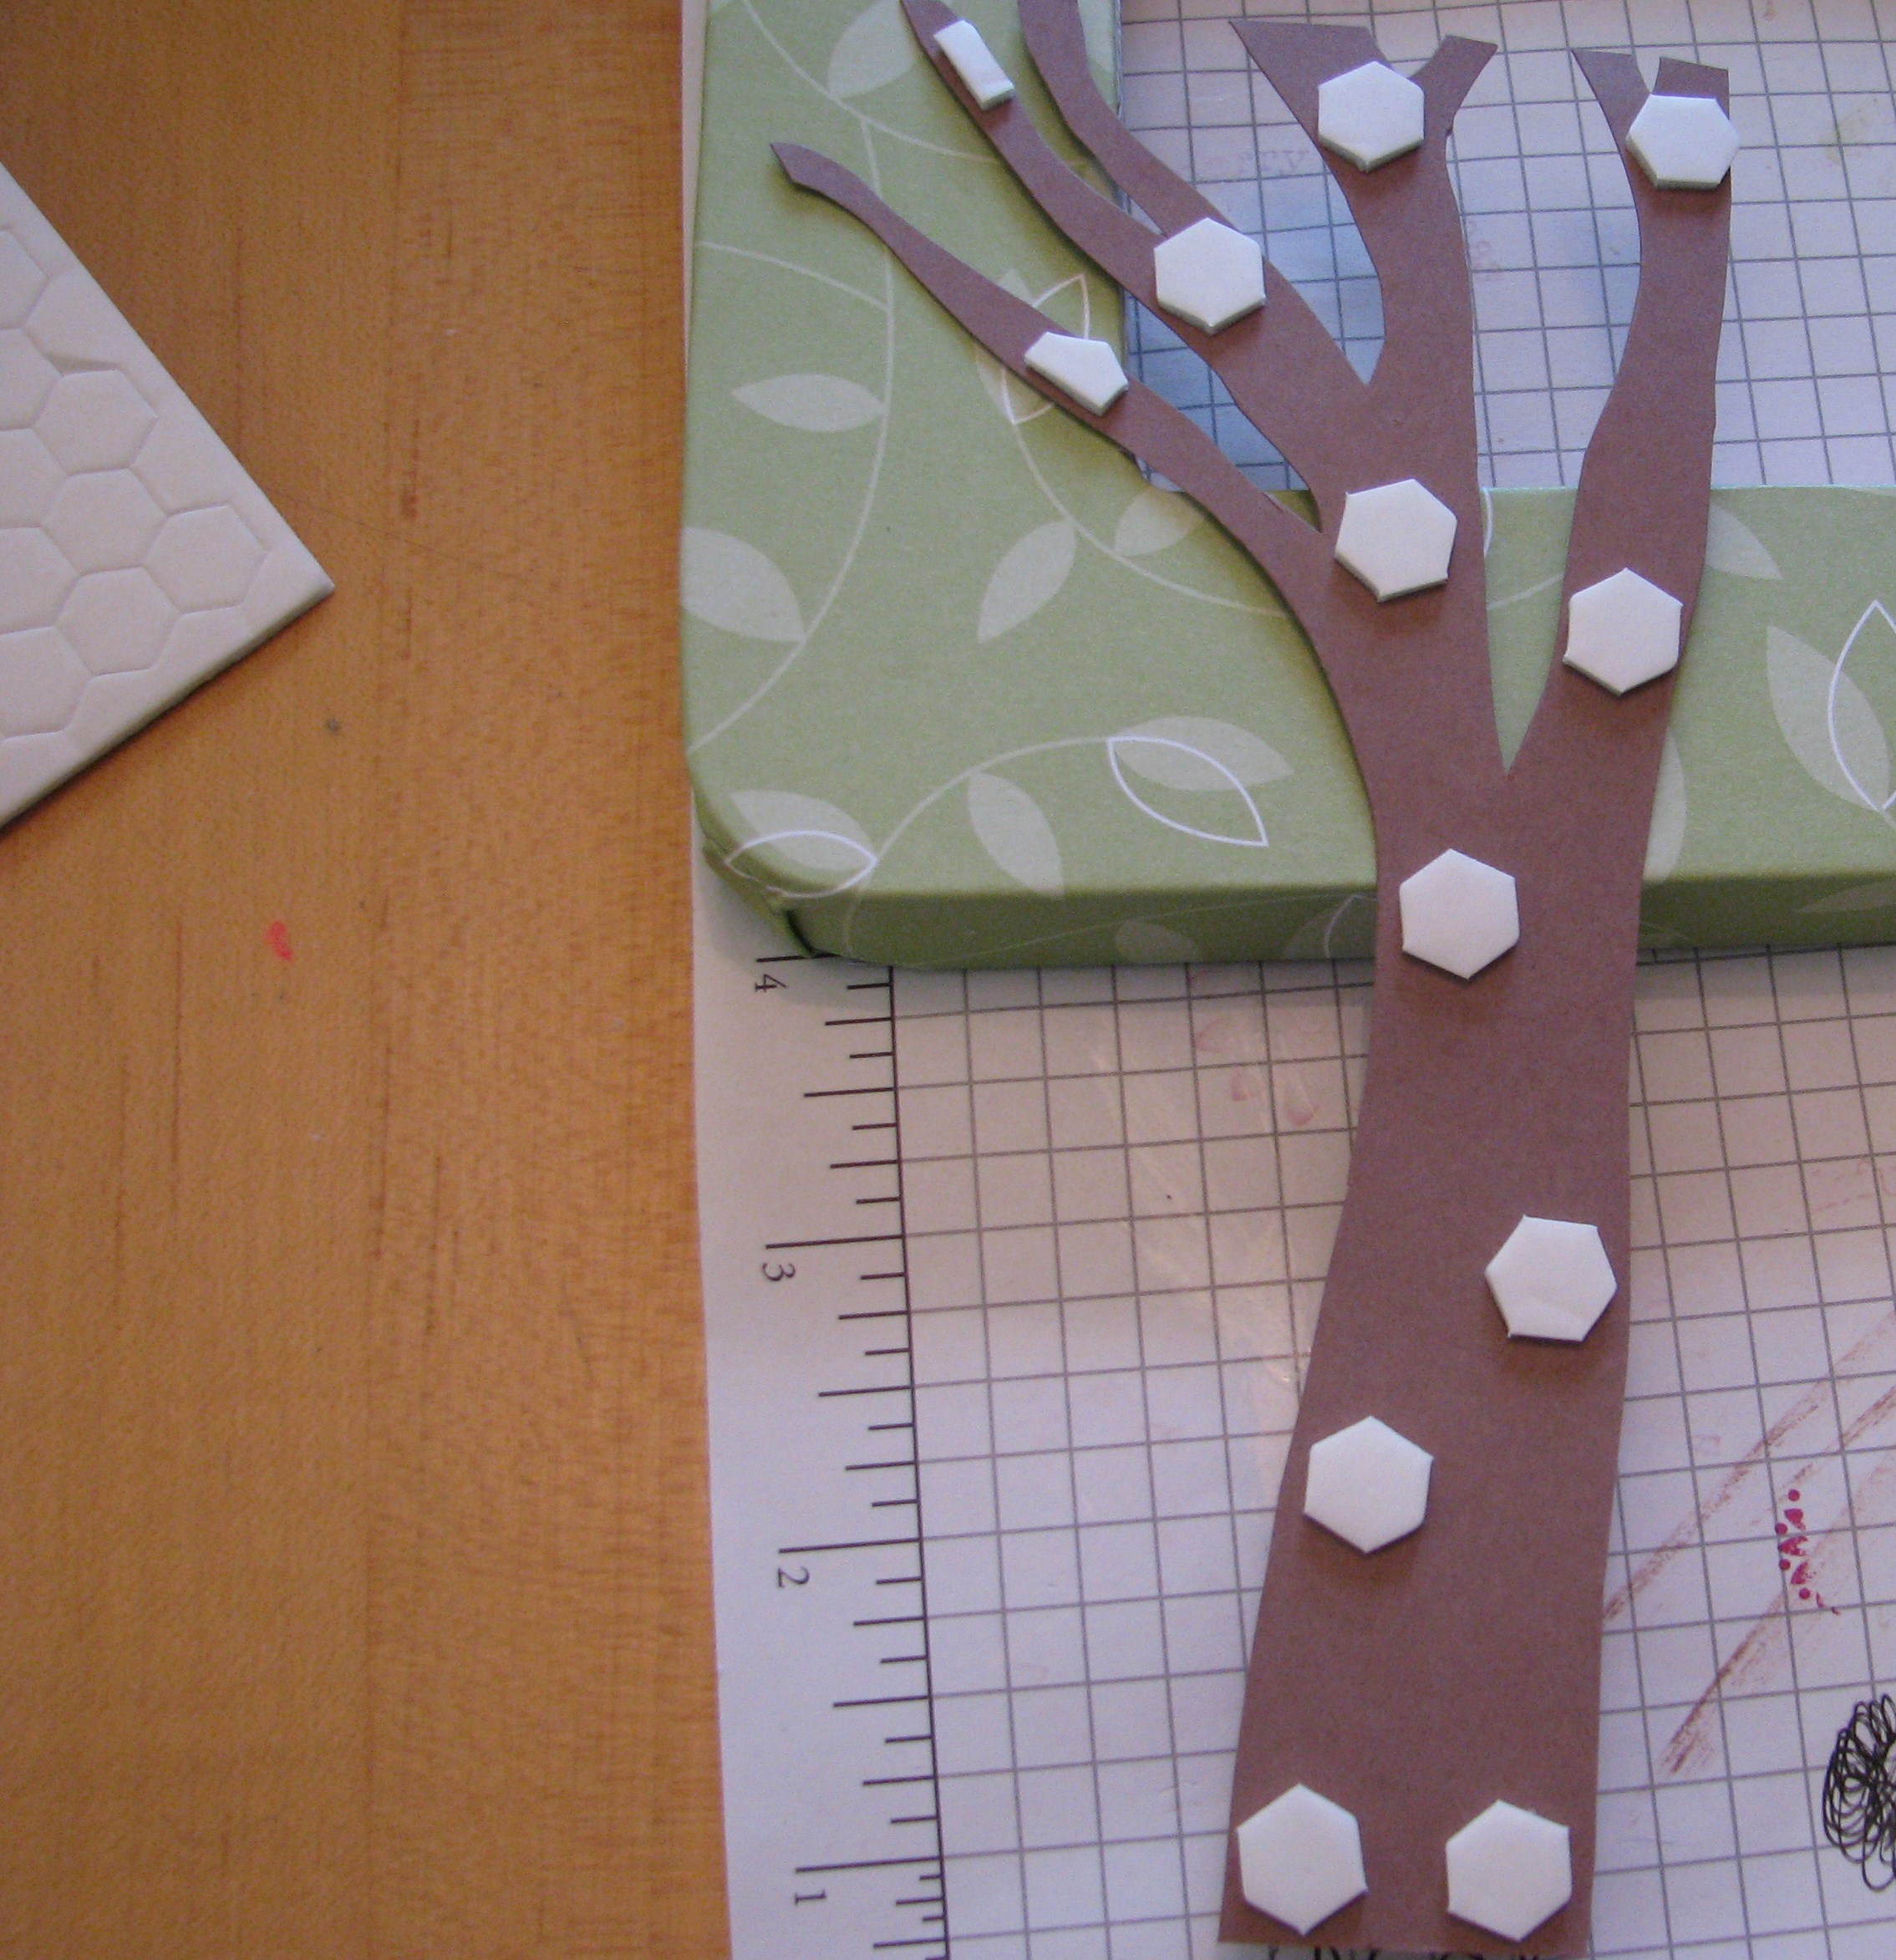
Putting Stampin' Dimensionals on the back of the tree.
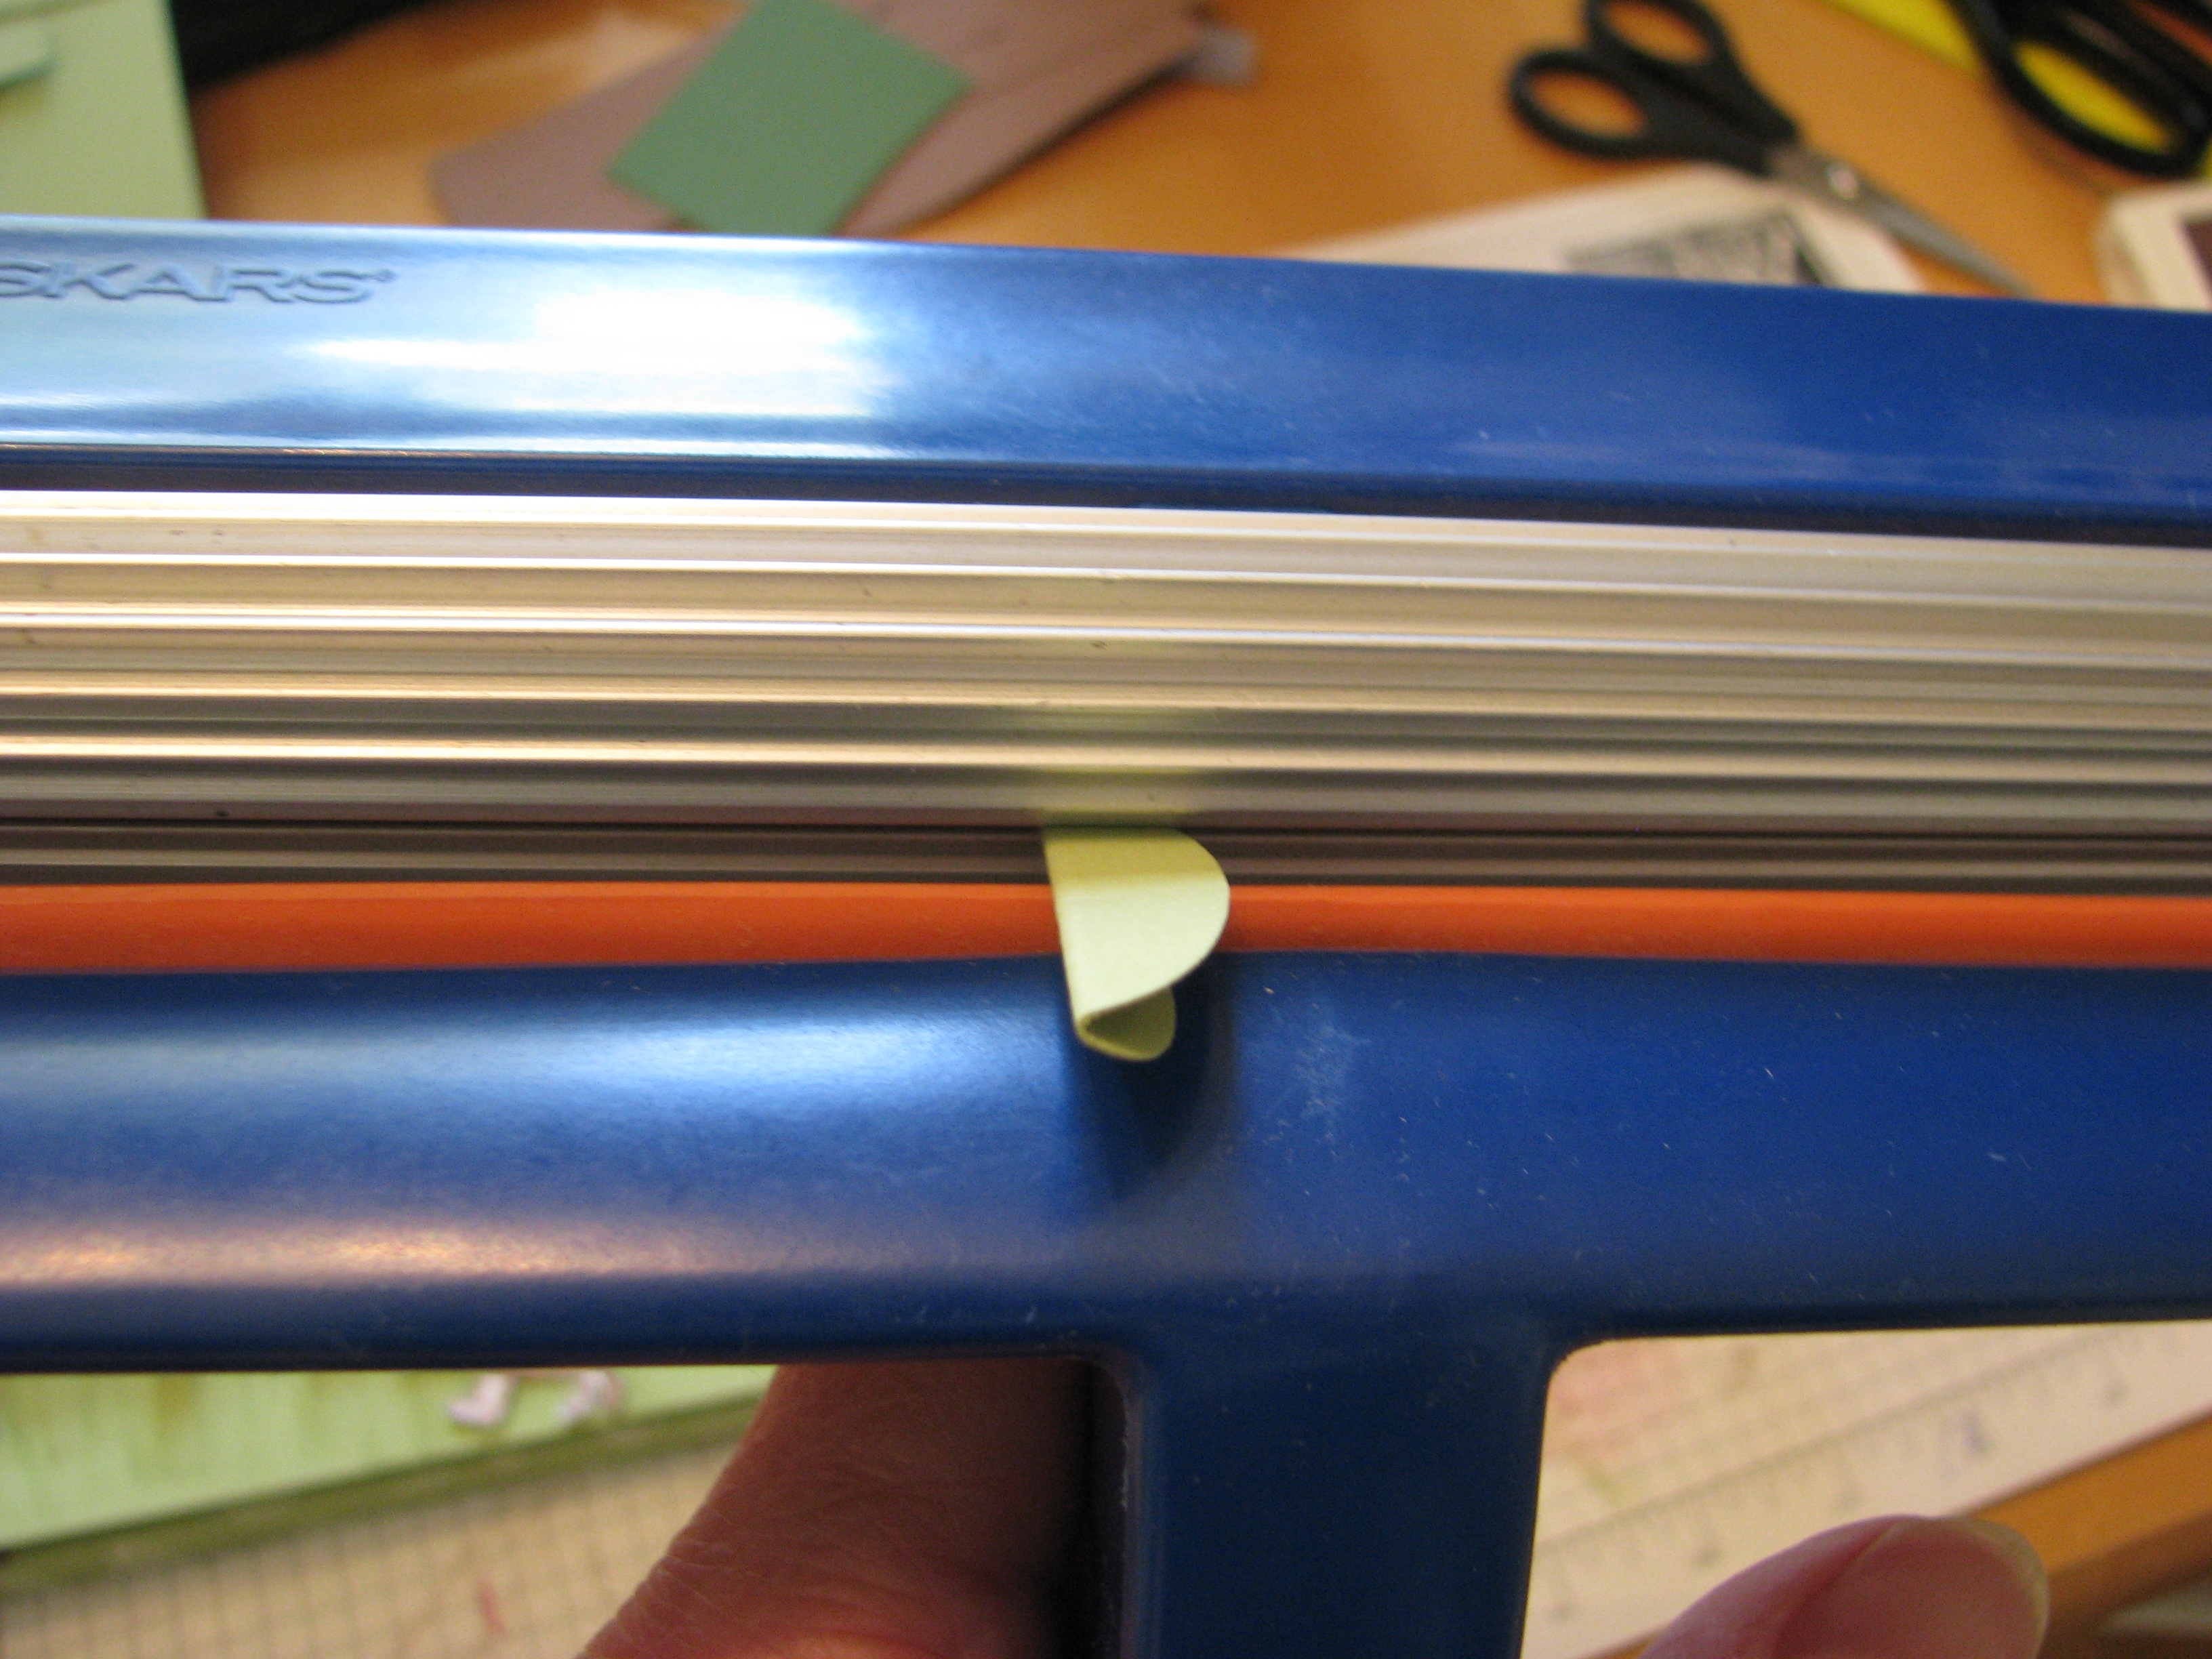
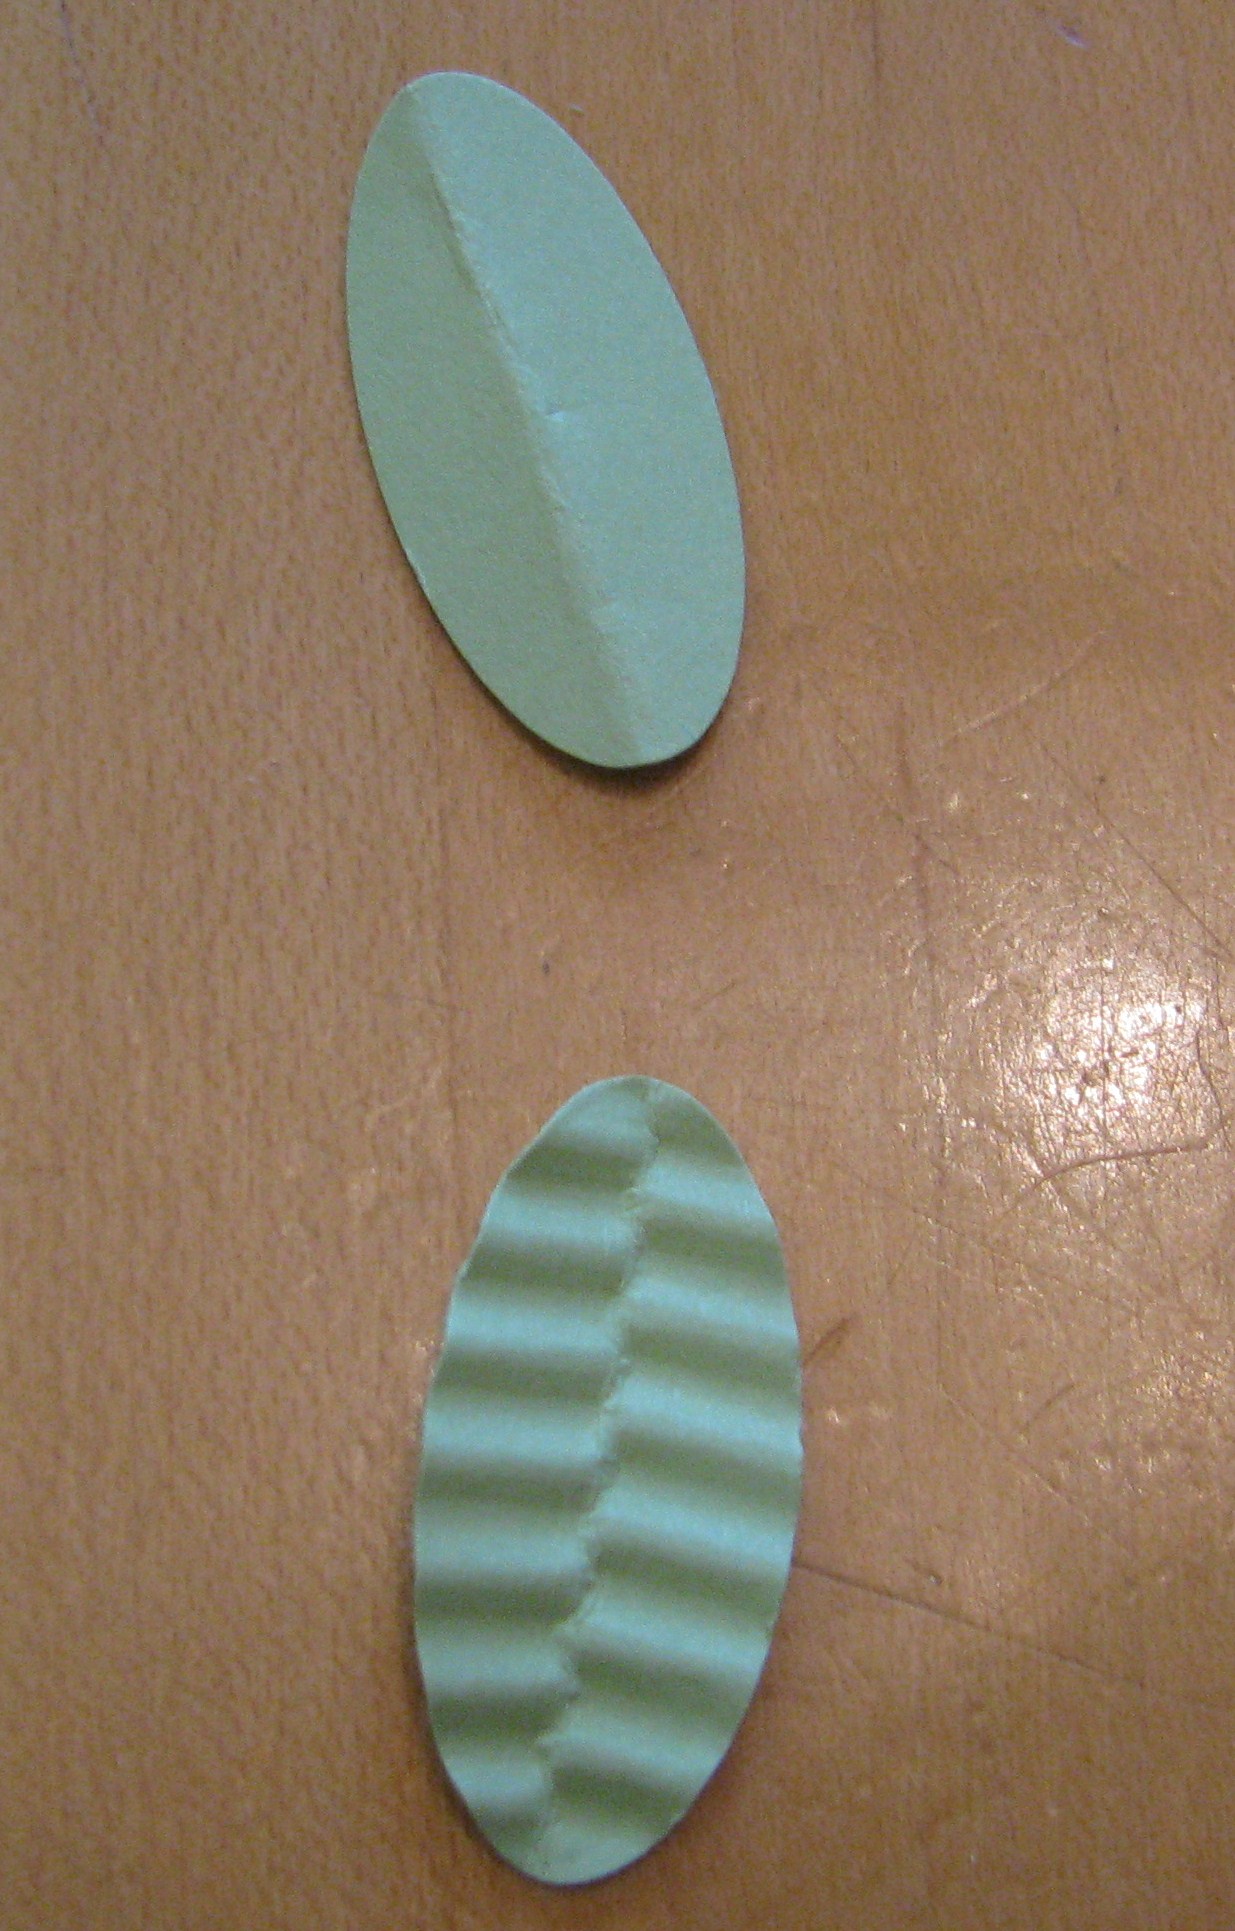
I punched some small oval leaves, cut them down a little more, then ran through the Crimper.
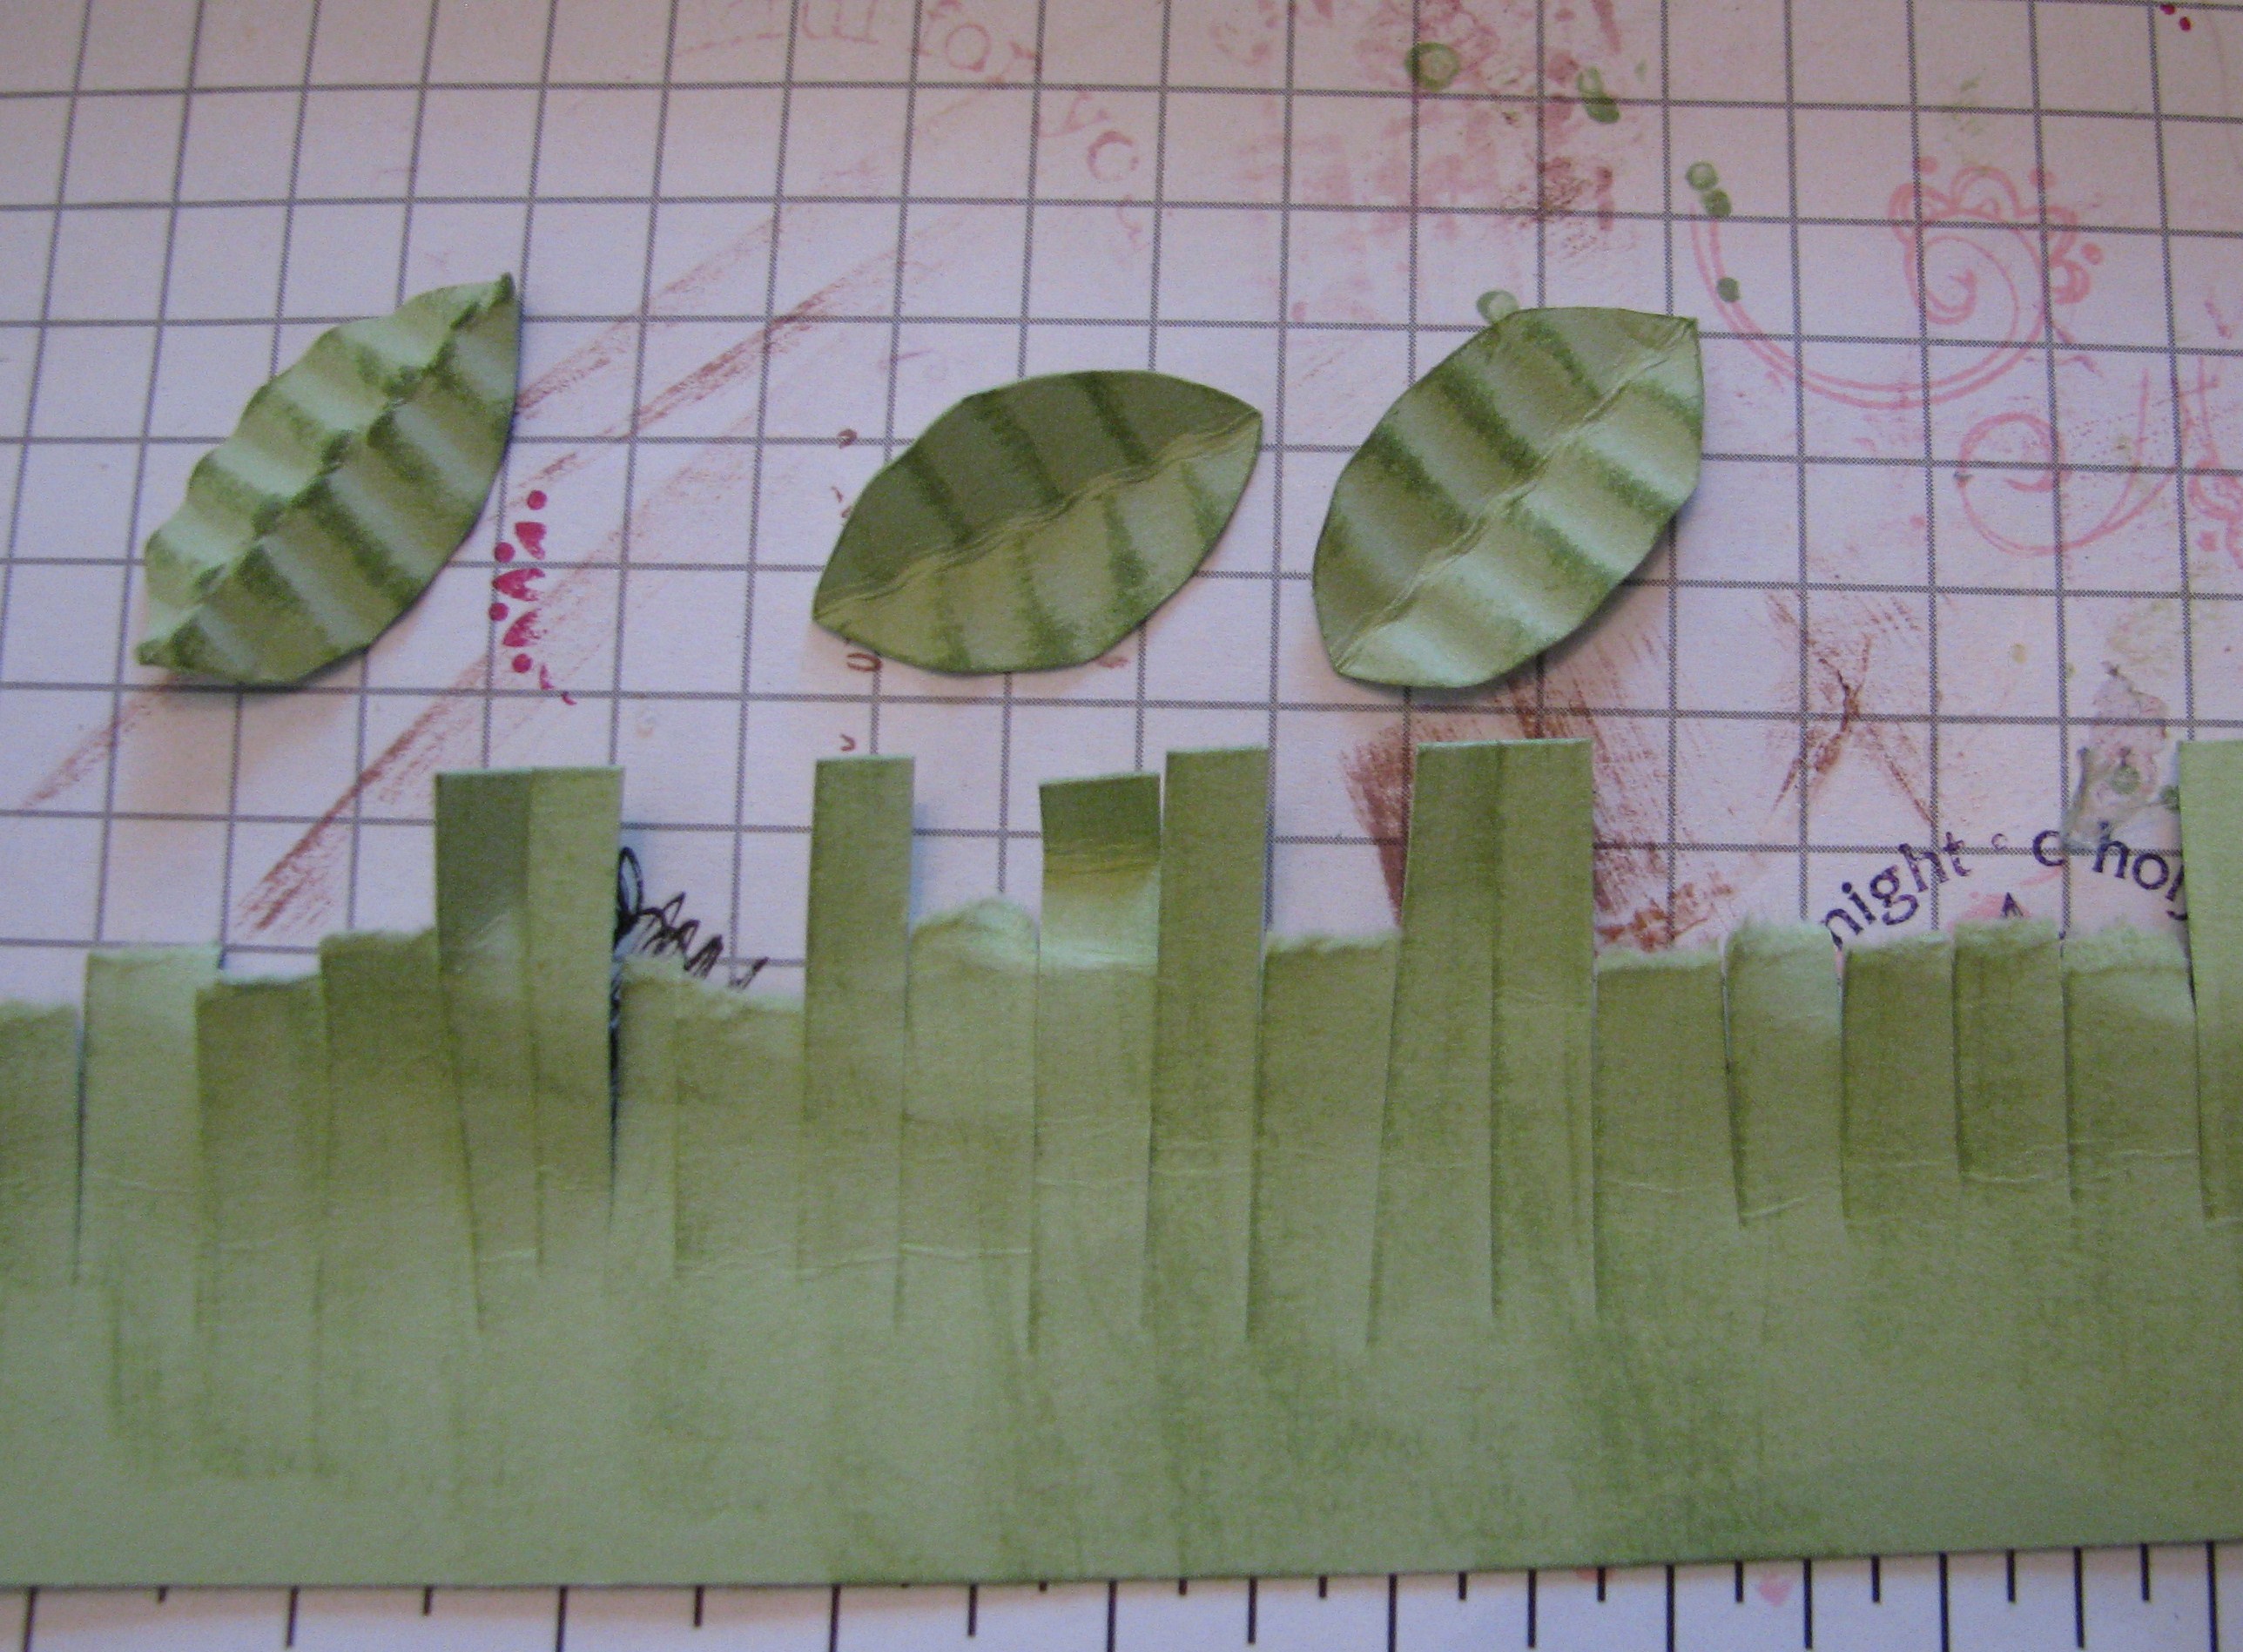
Here is a strip of grass and the crimped leaves which I inked up a little with a green inkpad.
Images © Stampin’ Up! 1990-2008
Laying things out, but the grass doesn't stand out very well.
Images © Stampin’ Up! 1990-2008
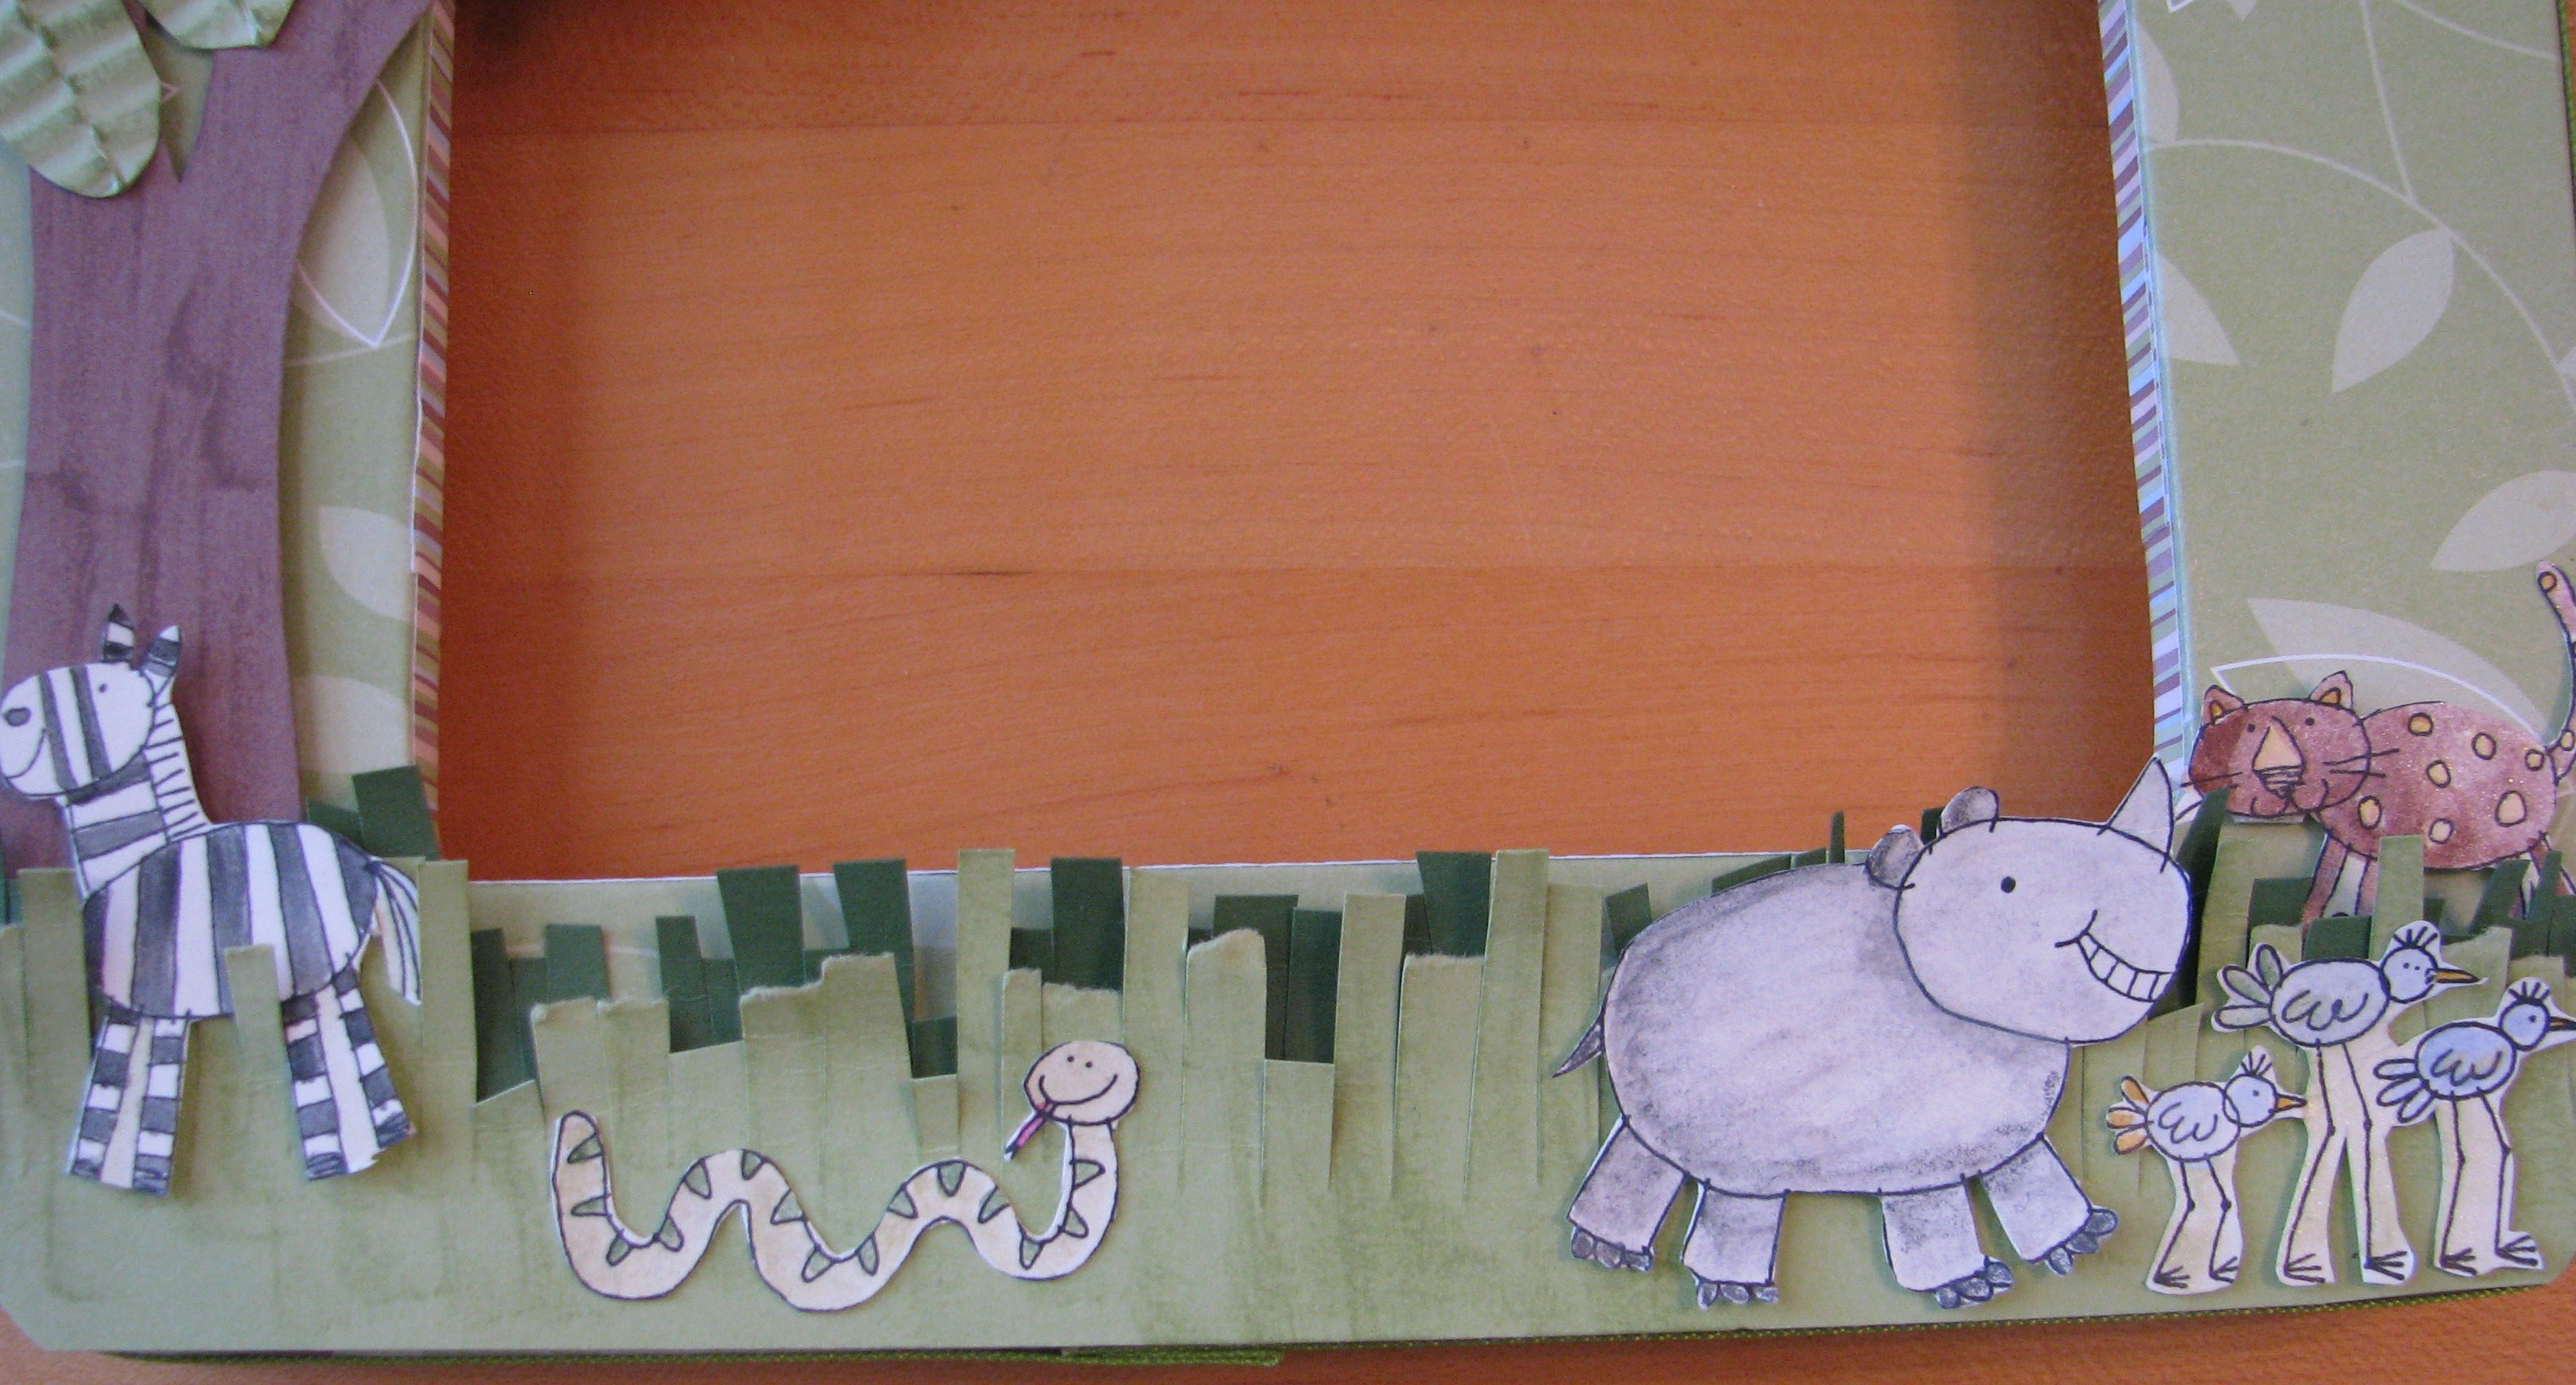
Added a darker green layer of grass behind the first.
Images © Stampin’ Up! 1990-2008
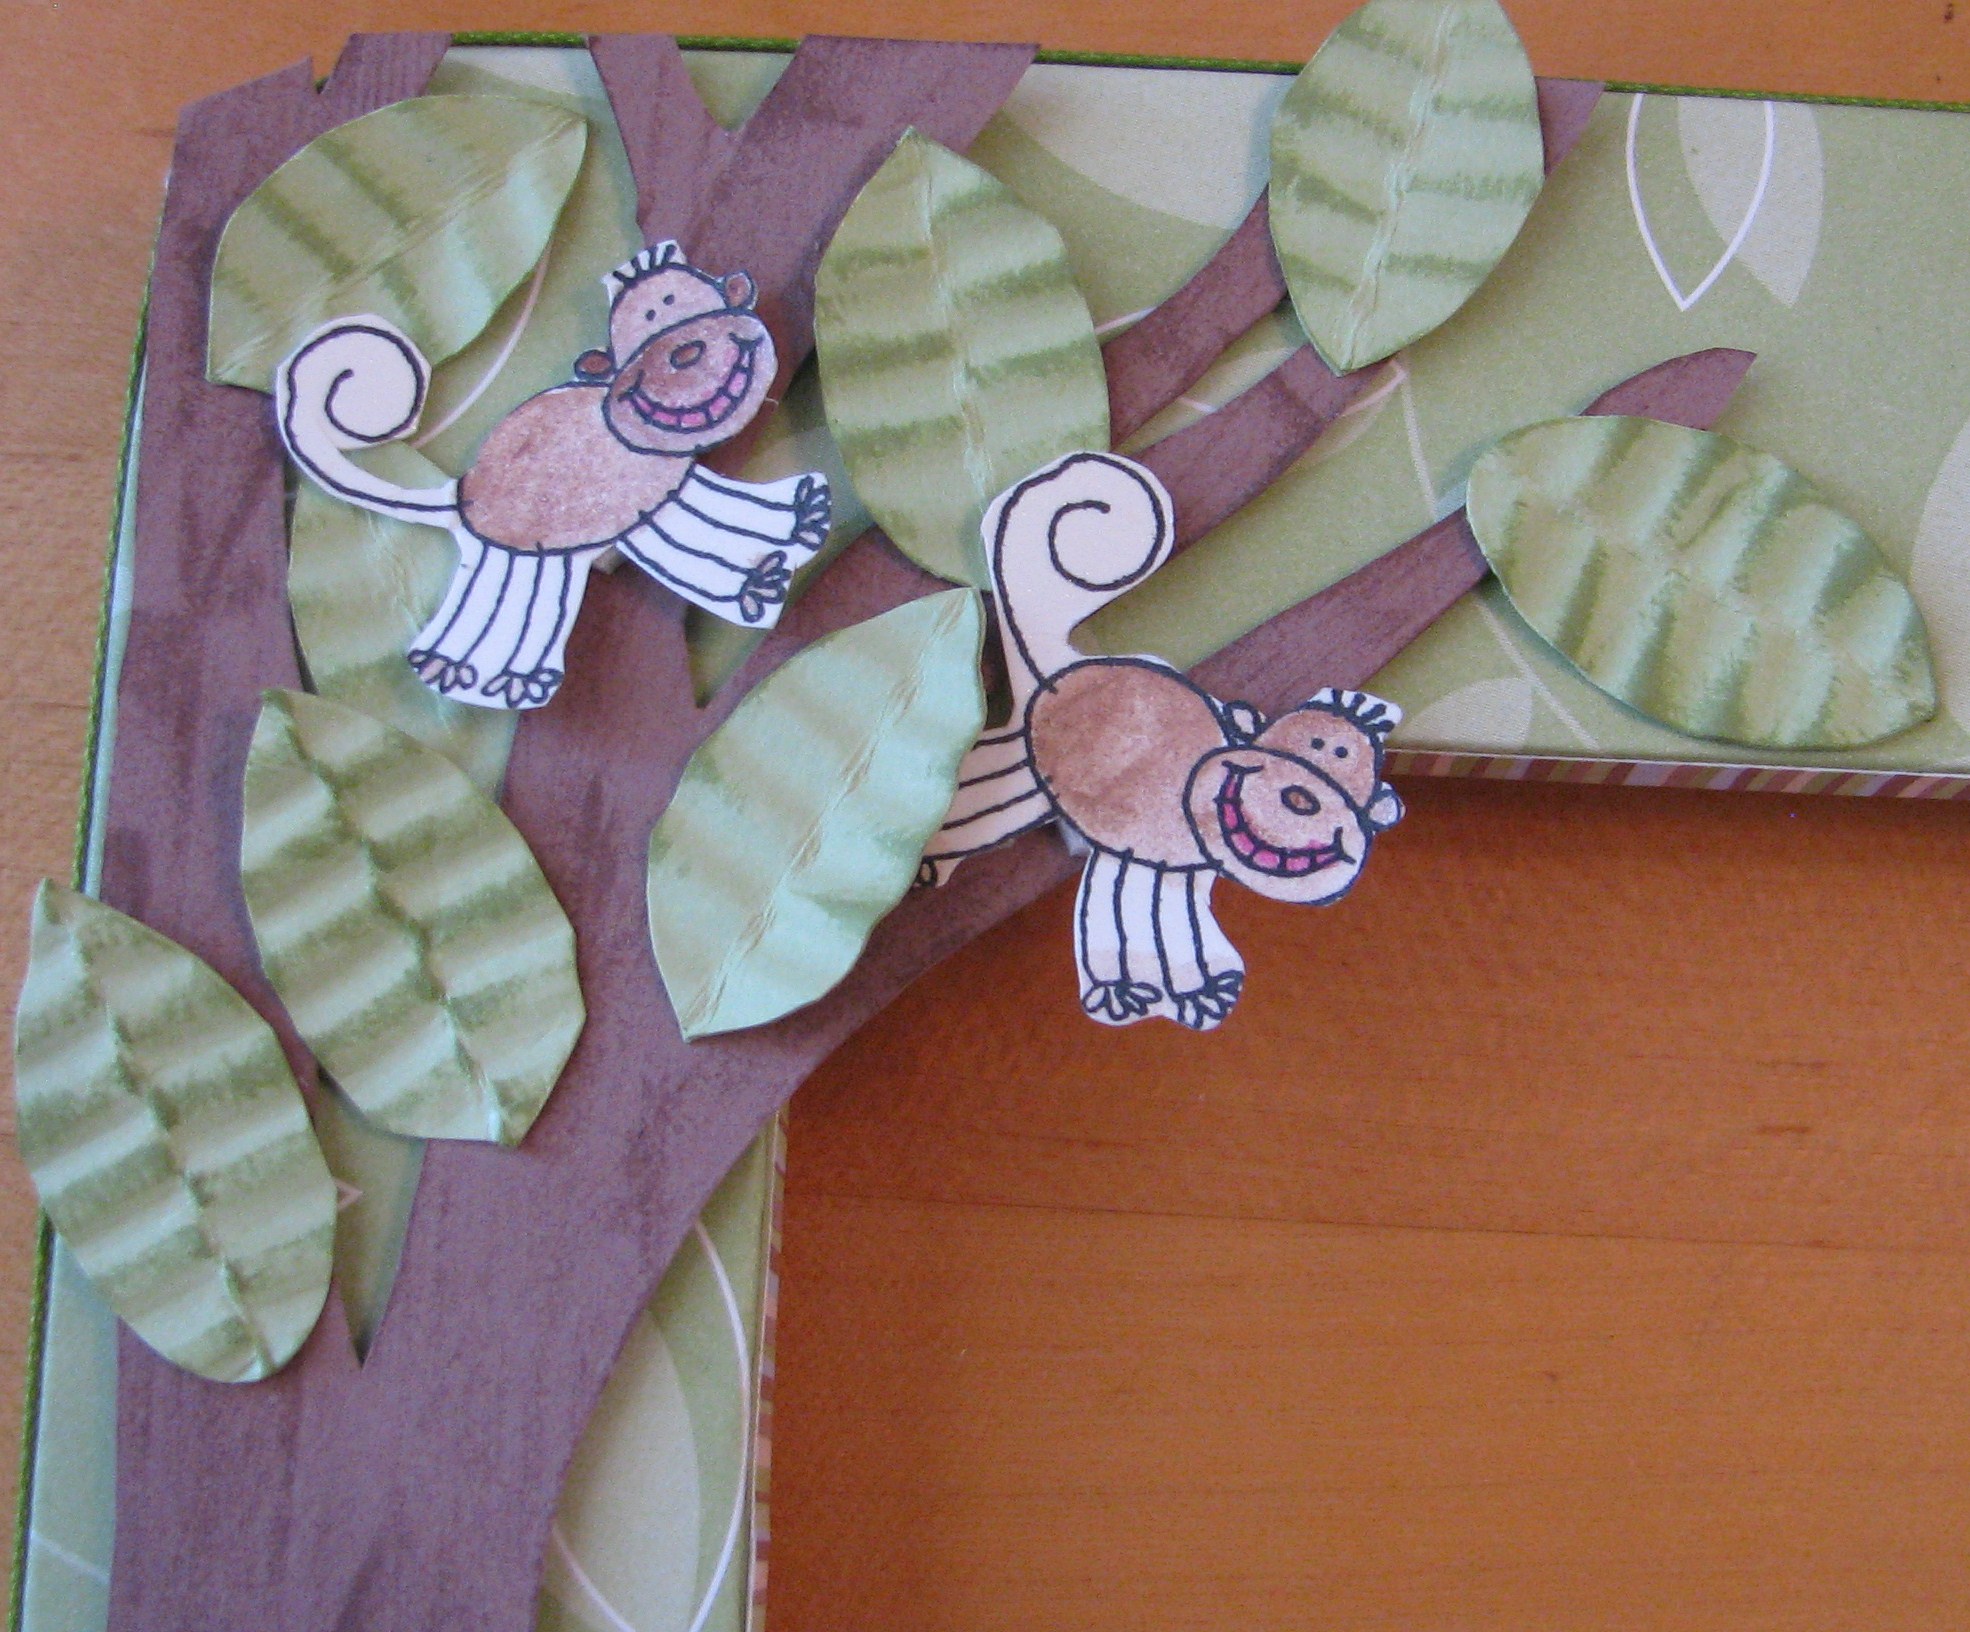
Added crimped leaves to tree. Apparently I don't know that the reason the monkeys don't look quite right is because they don't have eight legs! I need to color them in correctly!
Images © Stampin’ Up! 1990-2008
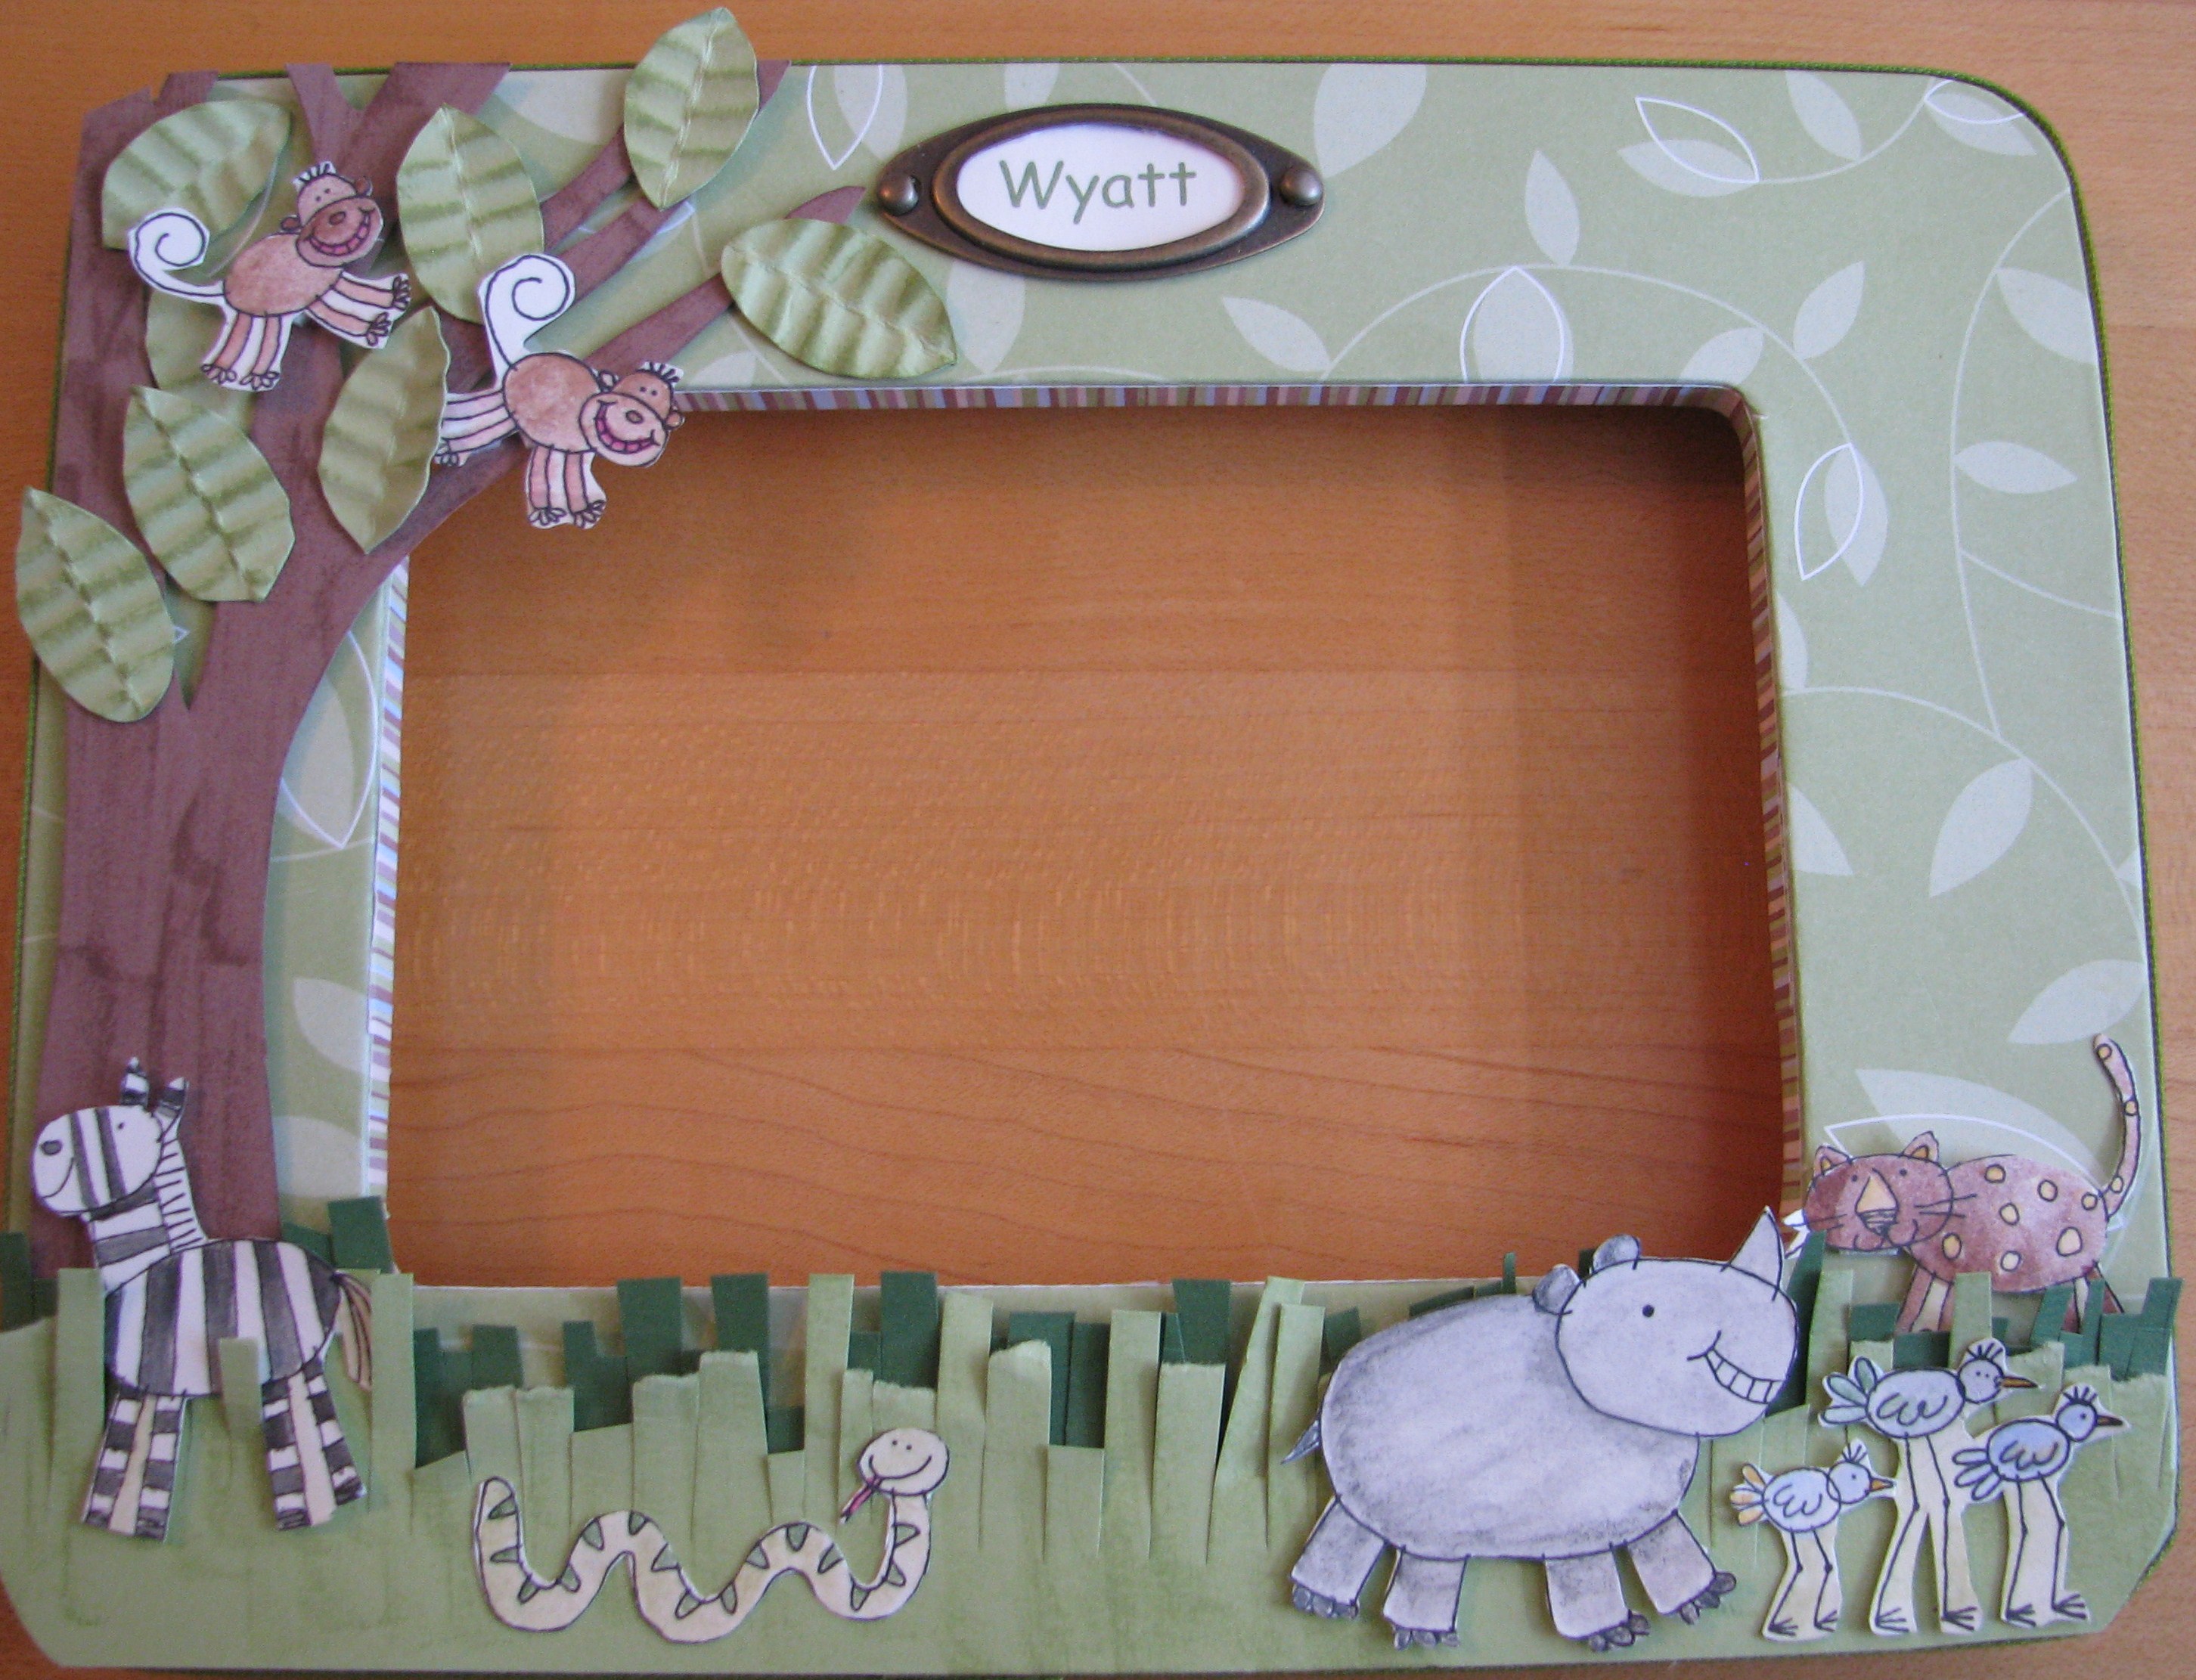
And here is the finished project. Some animals are popped up on the Dimensionals, the grass roughed up a little and the baby name inside a piece of Hodgepodge Hardware.
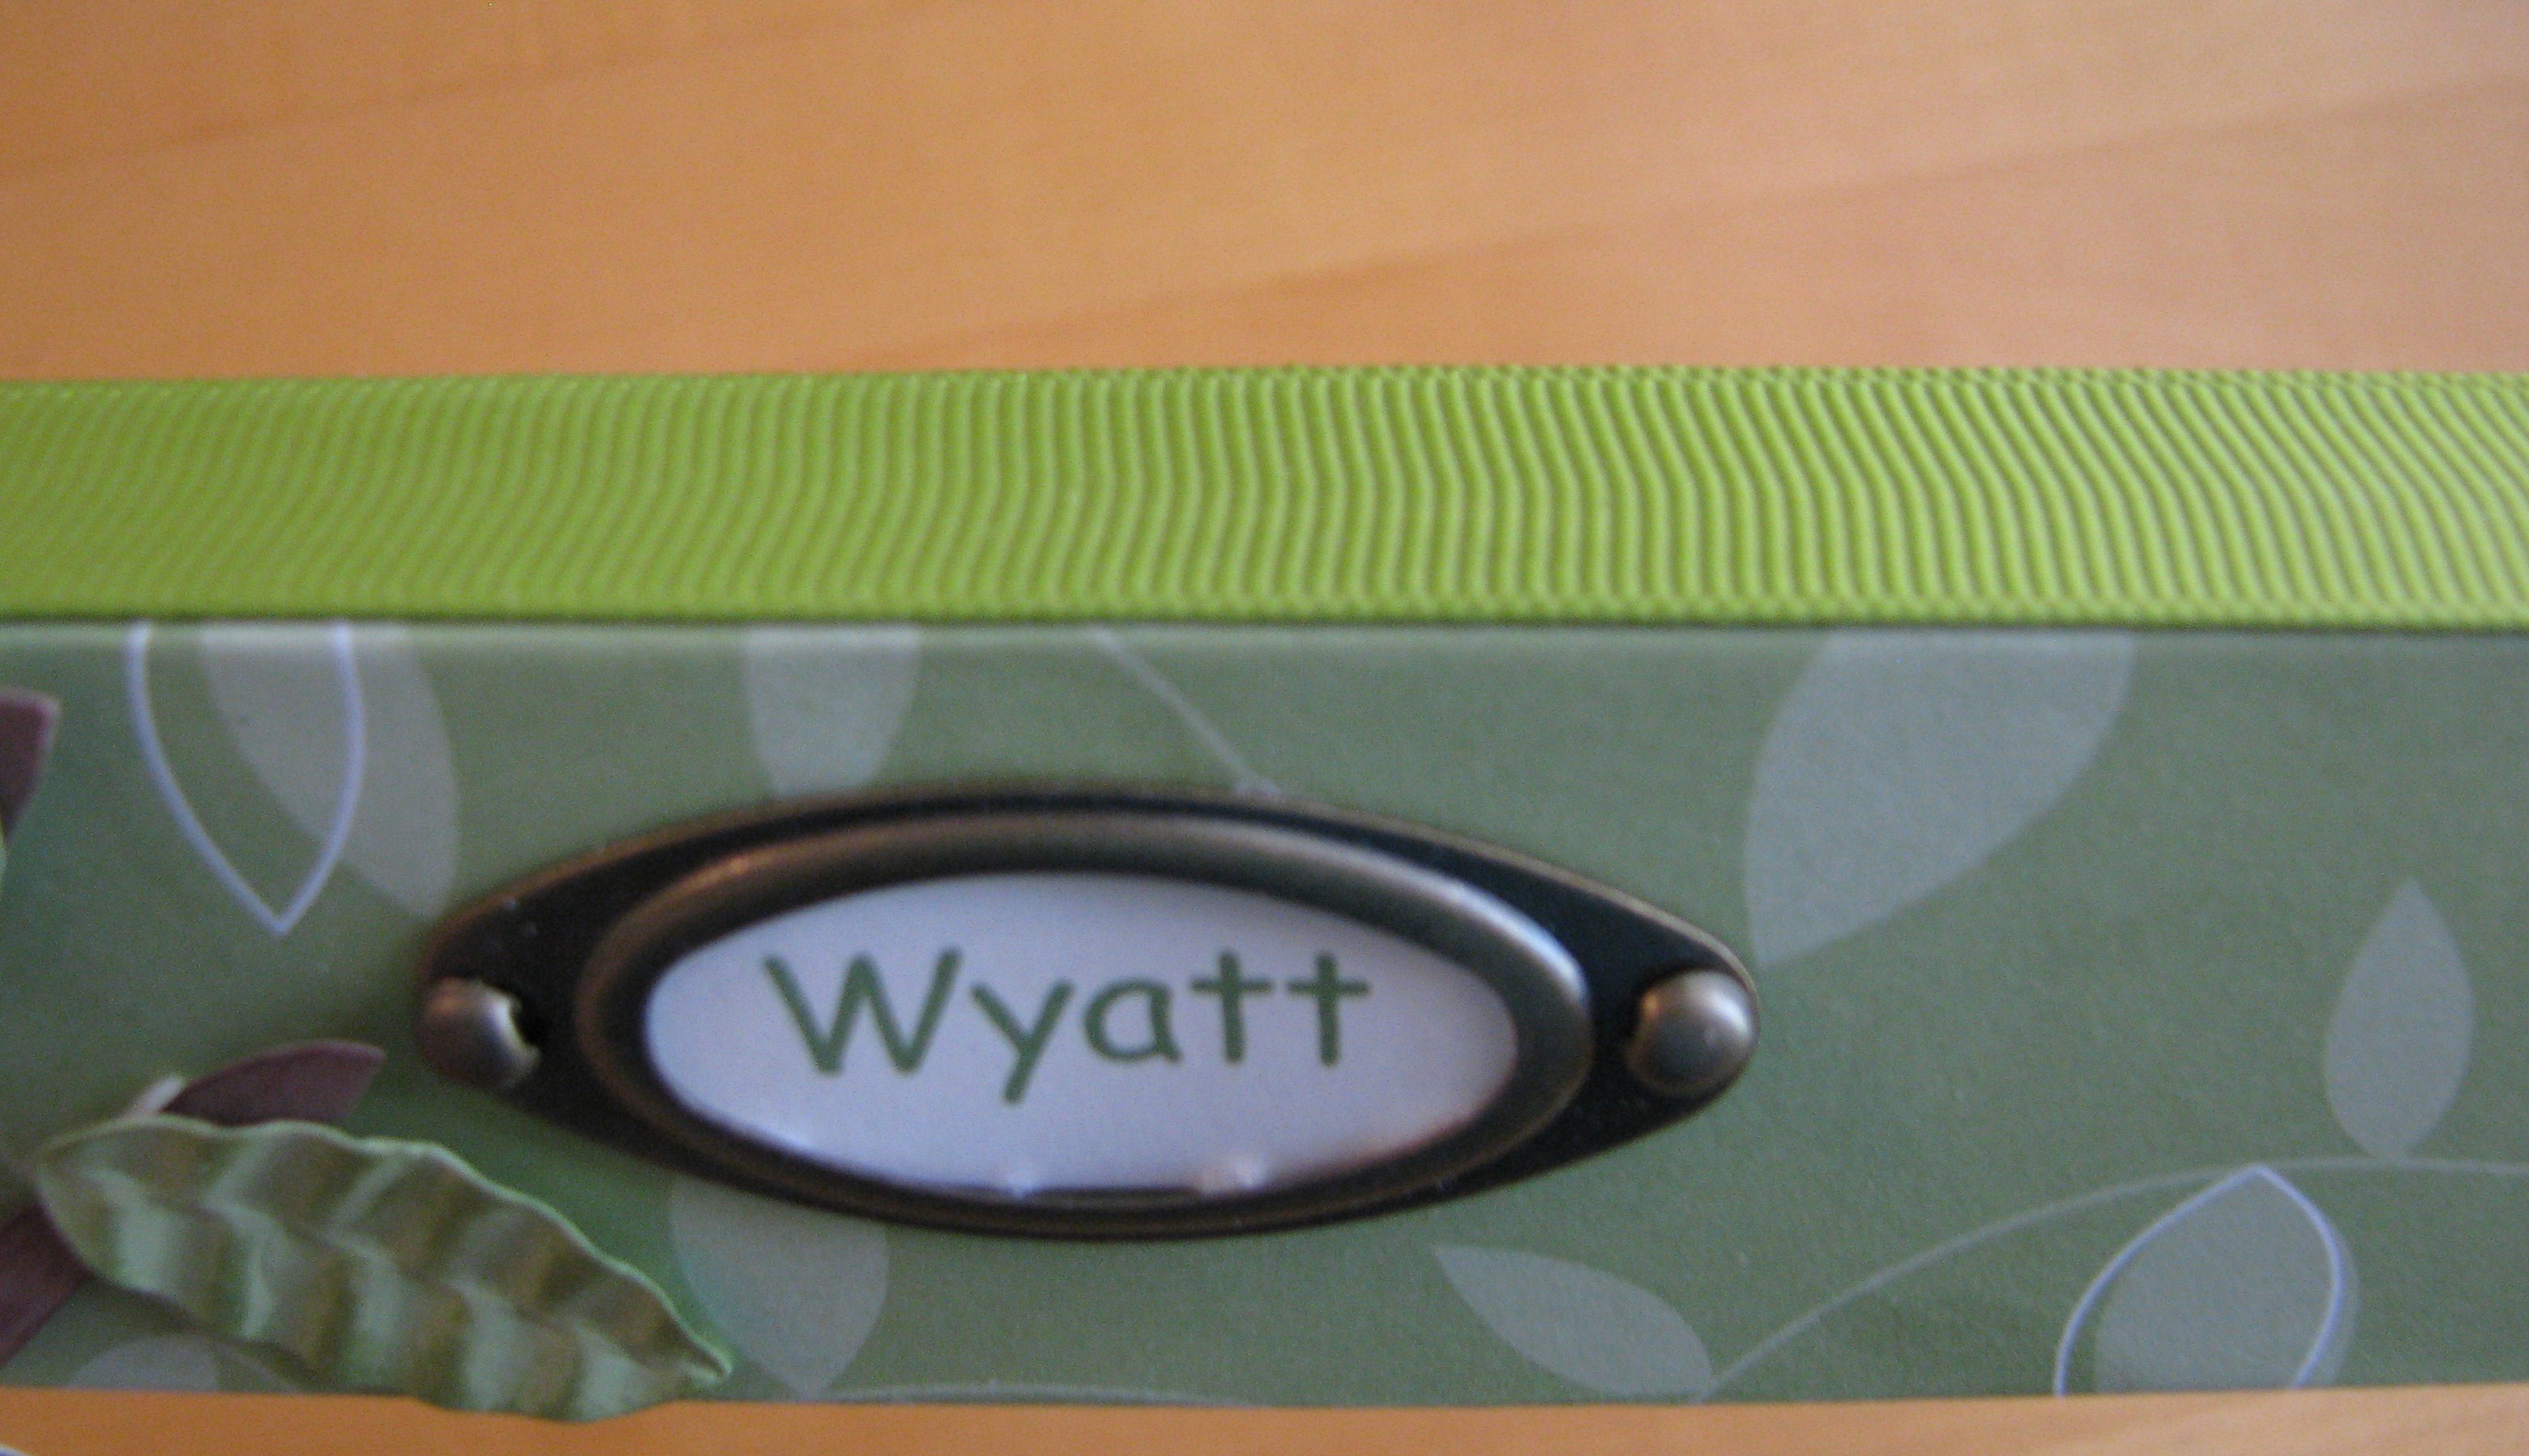
To finish the raw wooded edge of the frame, I wrapped a piece of Old Olive 5/8" ribbon around the frame, folded one edge under at the bottom of the frame and adhered. It fit perfectly.