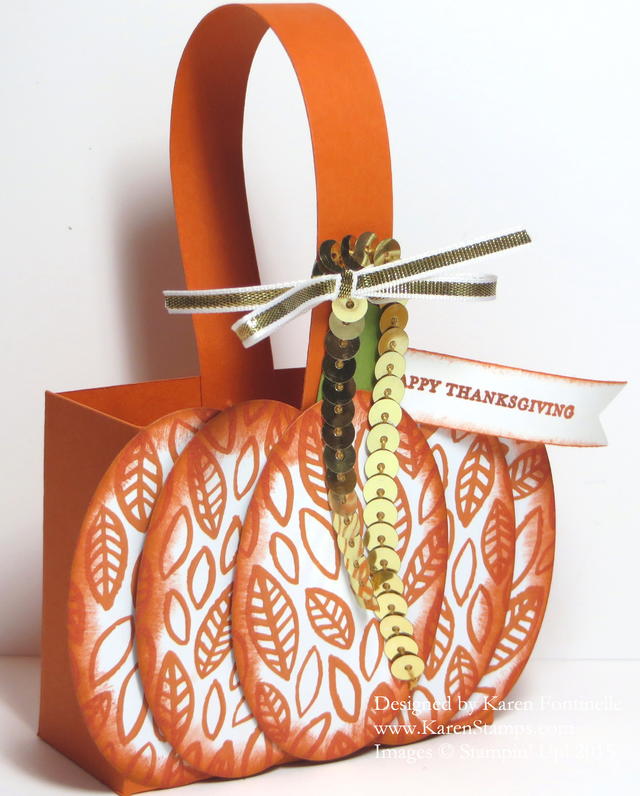
Do you need some table favors for your guests at your Thanksgiving table or a little something to take to a hostess? If so, you might try this Thanksgiving Pumpkin box or something like it. You can put a little treat in the little open box behind the “pumpkin” on the front.
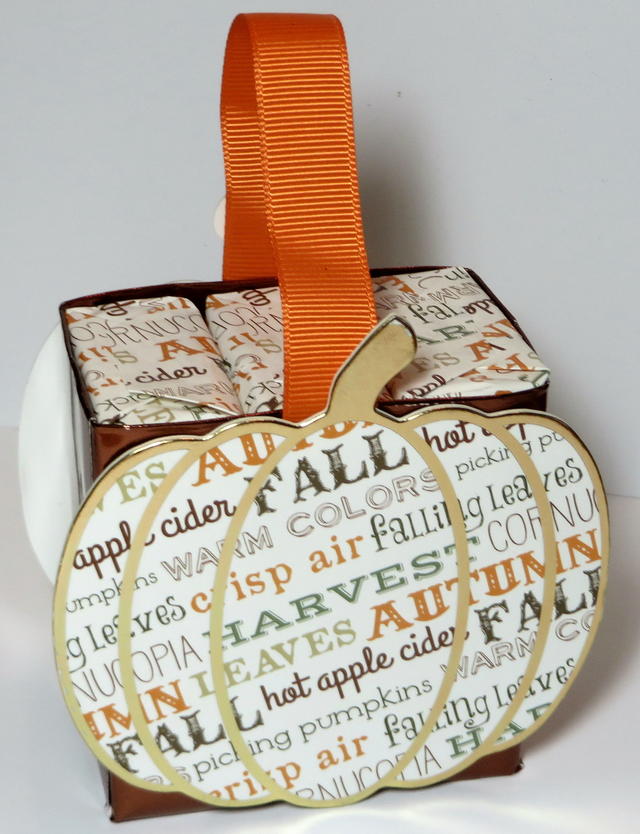
Here is where I got the inspiration for this project! My friend gave me this little pumpkin box holding some pumpkin soaps and right away I said, “I could make something like this!” and she said, “I’m sure you could!”
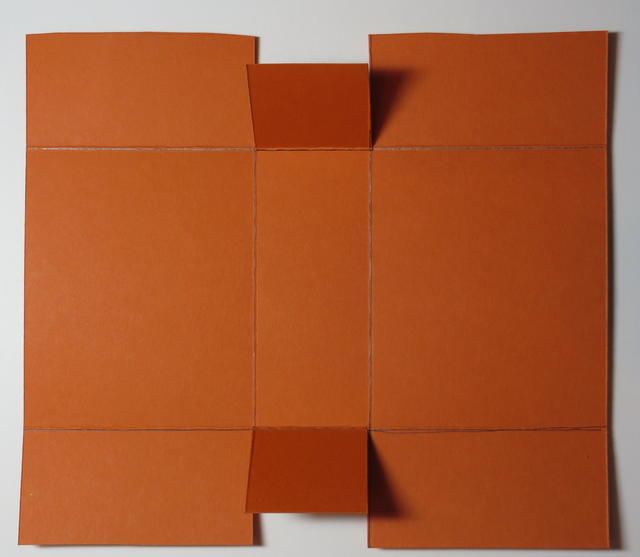
So I got busy and figured out how to make the box that was going to be the base behind my pumpkin on the front. Here are the measurements I came up with for the size I was using, but feel free to modify for your project: Cardstock 5 1/2″ x 6 1/4″. With the 5 1/2″ side at the top of your scoring tool, score at 1 1/4″ and 4 1/4″. Turn the cardstock so the 6 1/4″ side is at the top of your scoring tool. Score at 2 1/2″ and 3 3/4″. Crease all the scored lines so you can see how the box will go together. Then cut as indicated in the photo to make the side flaps. Apply adhesive and make your box. Actually, I intended for my box to be a little wider but must have made a boo-boo on the math! But it is okay as is. You can adjust yours.
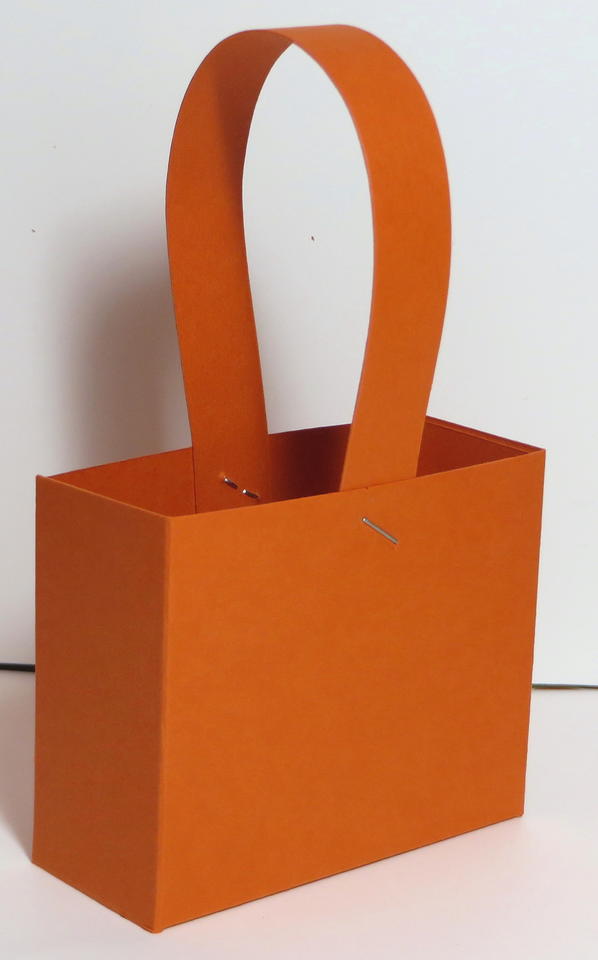
Just assemble the box, very simple to do with some good glue, like the Liquid Multipurpose Glue or Tear & Tape. I added a handle and just stapled it on with my Stampin’ Up! Handheld Stapler, just for fun.
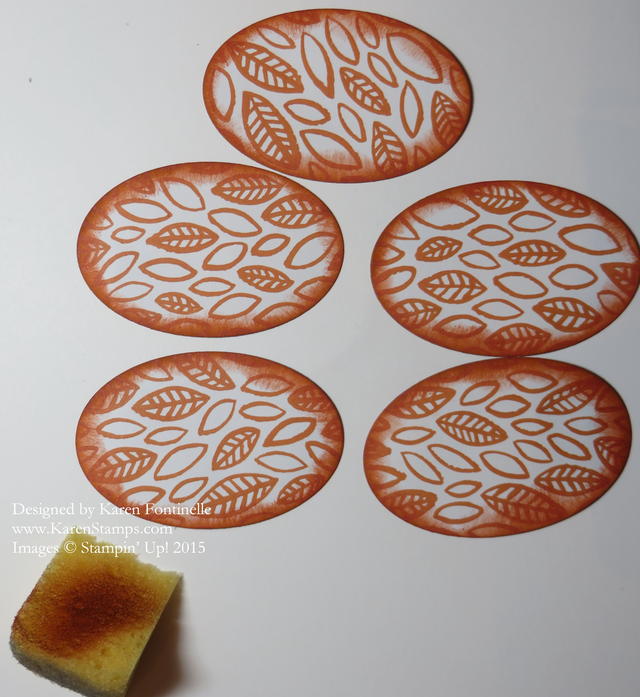
I used my Big Shot and one of my Oval Framelit Dies to cut five ovals, all the same size from this pattern in the Into the Woods Designer Series Paper. In order to make each oval stand out a bit without making extra layers, I just sponged Tangelo Twist ink around each edge of the oval.
I adhered the outer ovals to the box directly and the rest were popped up with Stampin’ Dimensionals.
To finish the pumpkin, I cut a little stem in green, just by hand and glued it to the top of the pumpkin. Then I added some 1/8″ Gold Ribbon and Gold Sequin Trim to the handle just for fun! I also stamped a Thanksgiving from the Teeny Tiny Wishes Stamp Set and just glued it on like a little banner.
Look around at things you have at home or see in a store or in a catalog and think about how you can make it your own creation by papercrafting! You never know when inspiration will hit! Put a little treat in a cello bag and put it in this Thanksgiving Pumpkin Box!
Shop Stampin’ Up! Online!

