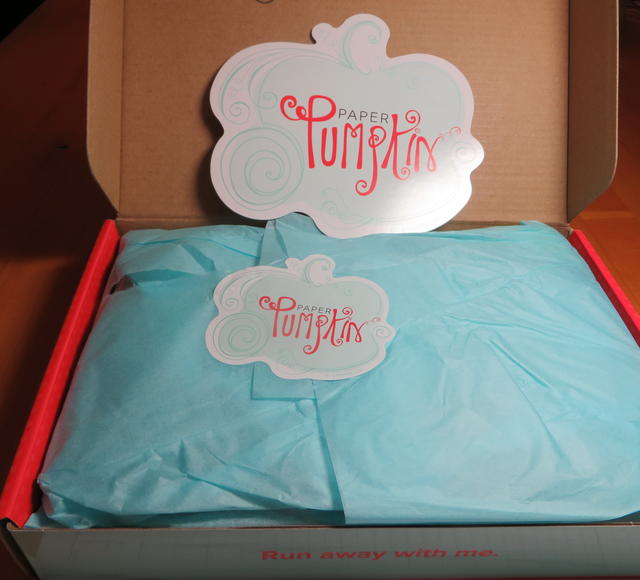
This is my February Paper Pumpkin kit from Stampin’ Up! that came in the mail this month! Paper Pumpkin is a papercrafting monthly subscription kit that is easy to do and just takes a few minutes. Don’t you need a few minutes of escape and papercrafting bliss?? Even for experienced stampers and papercrafters, it is fun to open the box, find the surprise project, and just make it according to the included directions….or not. Maybe make one following directions and then make the next one a little different.
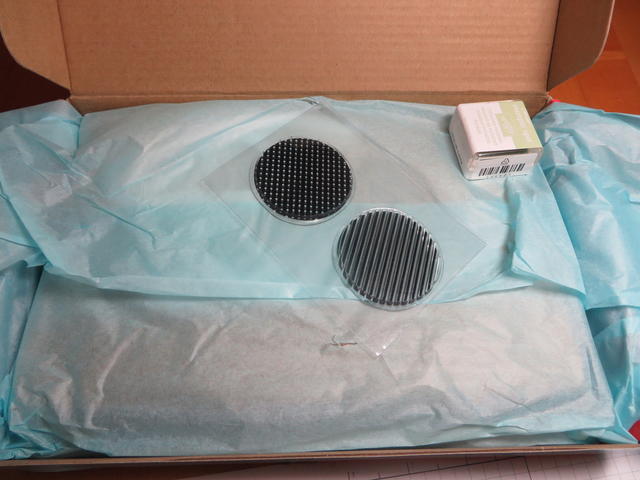
Here are the new photopolymer stamps and ink spot I got in this kit. Photopolymer stamps are clear so you can see through them and through the clear block you will have received in your Welcome Kit. I LOVED using these photopolymer stamps! They STICK on the block, no question! Stampin’ Up! plans to use photopolymer stamps in all their future kits. One stamp has polka dots and one stripes.
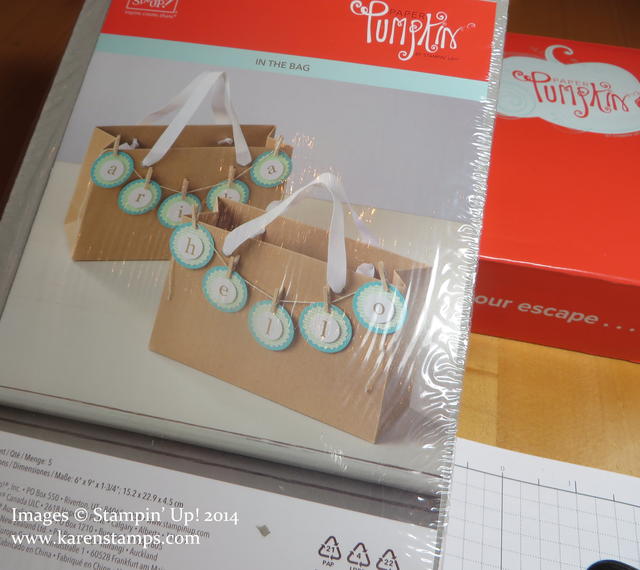
Here’s the pack of supplies and instructions! All you need is adhesive!
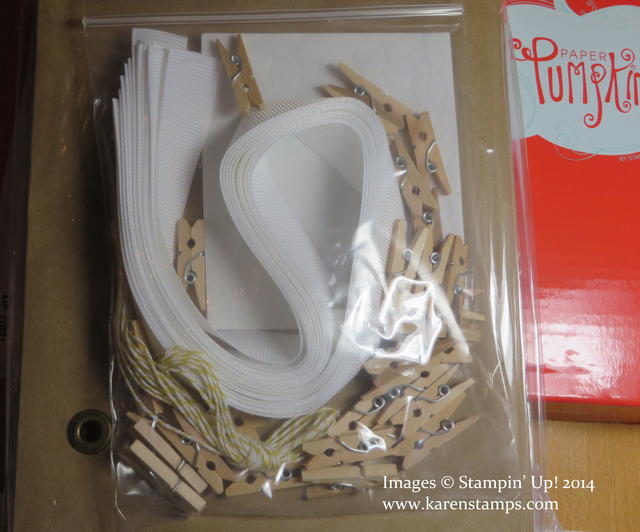
Here are the bags, ribbon handles, mini clothespins, Stampin’ Dimensionals, Baker’s Twine, and all the paper pieces.
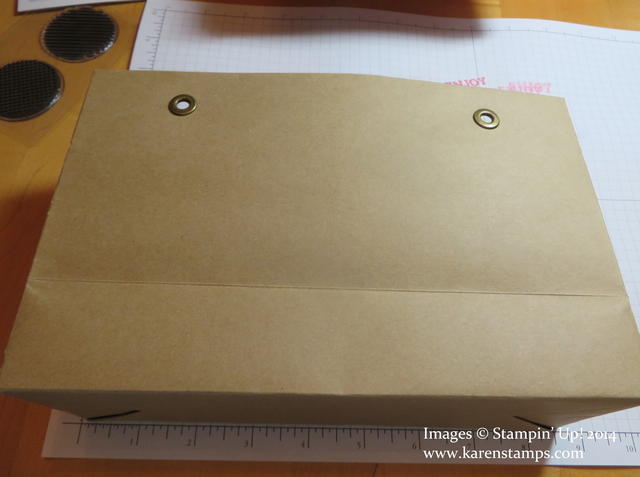
Here’s the bag, about 5 1/2″ high and 8 1/2″ wide, complete with rivets for the handles!
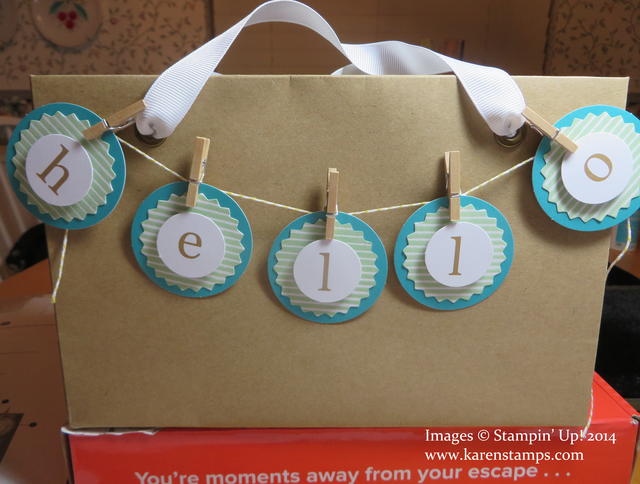
Here’s the first bag I made following the Stampin’ Up! sample. I put in the ribbon handles on the bag. The white starburst shapes are stamped with the stripe stamp and layered on the blue circle with a letter popped up on a dimensional. The letters were already printed on the circles. Then I clipped each circle onto the Baker’s Twine attached to the bag. Pretty cute and simple as could be!
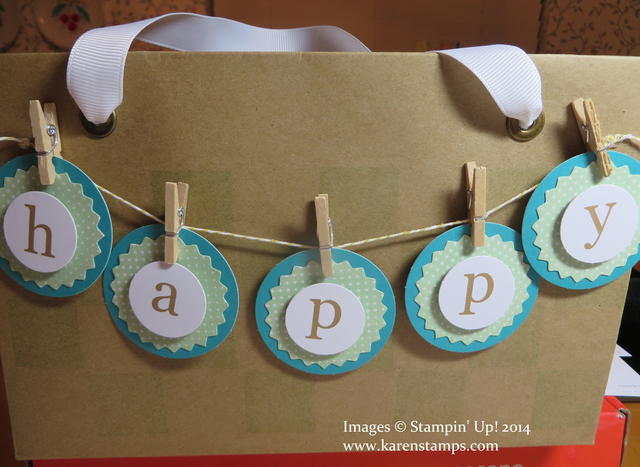
I wanted to make another bag (although I might save the other 3 for when I need to use one so I’ll know what theme to decorate it in!). I decided “Happy” would work for lots of occasions, either as is or I could add another sentiment or word on the bag, like “Birthday” or “Day” or whatever. These starbursts I stamped with the polka dot stamp. I could have turned the blue circles around and used the white background, but I liked the blue.
Sometimes once you get started creating something, you’ll find your mojo just appears and you get more ideas! That’s what is good about Paper Pumpkin! Whether you are already a crafter or just brand new at making things, Paper Pumpkin gives you “the whole package” (except adhesive!) so all you have to do it sit down, open it all up, and follow the directions (if you want to!). You’ll have an easy, completed project in just a few relaxing minutes. No worries about amassing a storehouse of craft supplies because you’ll just have the stamps, the ink spot and probably a few leftover extra pieces of materials.
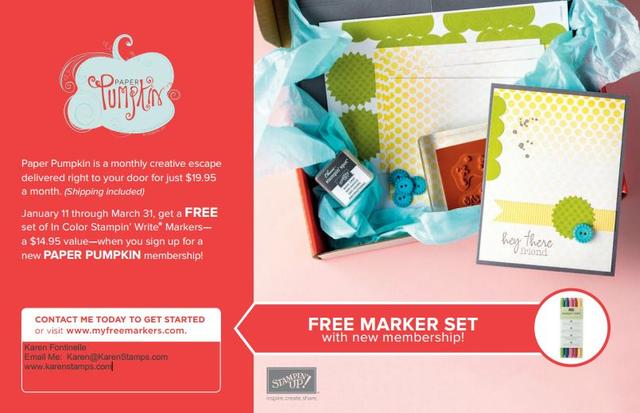
Try Paper Pumpkin before the end of March and get a free pack of In Color Markers! Those are worth the cost of the subscription in themselves. No obligation, no risk. Cancel your subscription if you need to or just “pause” it for a month or two. The magic date is the 10th of any month to make any changes for that month’s kit (or order an extra kit for your friend or granddaughter). Subscribe by March 10th and get the Welcome Kit in the mail with your free clear block that month. In April, you will receive the same kit that goes out to everyone. Subscribe later, get the Welcome Kit in April and the same kit as everyone gets in May. Each month is only $19.95, which includes the kit and shipping!
Just go to the Paper Pumpkin Subscription page and get signed up today! Then you can sit back and look forward to your Welcome Kit and free markers!
