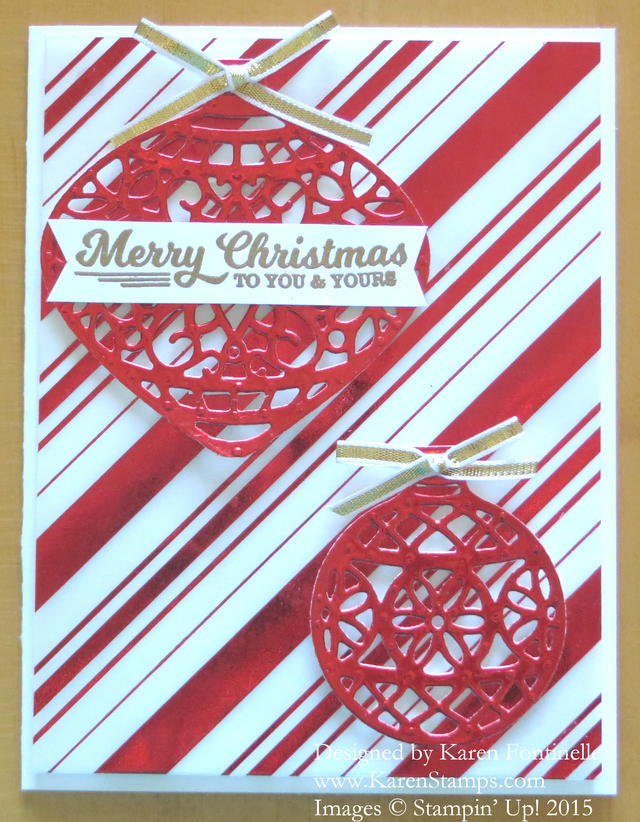
This Holidays Fancy Foil Vellum Embellished Ornaments Christmas Card adds some shine and bling to your Christmas cards. All the shine makes it difficult to photograph and difficult to see the shine IN the photograph! This is a pretty easy card, really, and yet looks very elegant.
I started with a card base made with the new Whisper White Thick Cardstock. If you haven’t tried this “thick” cardstock, you should get some on your next order. It’s just a little thicker and stronger than our regular Whisper White so it makes a good card base like all the colored card stock. Not that it matters that much, but it does feel a little better than just using the regular kind. Then I added a layer of the Holidays Fancy Foil Designer Vellum to a Whisper White layer using Glue Dots hidden behind the foil stripes on the vellum as best I could. That’s the best way to hide your adhesive when using see-through vellum. Once the vellum was adhered to the Whisper White layer, I adhered this to the card base using Stampin’ Dimensionals to pop it up a little.
Next I die cut the ornaments using the Red Foil Sheets paper and the Delicate Ornaments Thinlits Dies with the Big Shot, of course! I did the whole dryer sheets/waxed paper system and rolled the platform back and forth several times in the machine. Now I have ordered the Precision Base Plate to use with intricate dies such as these ornaments. You will find the plate in the Holiday Catalog. In the beginning I heard mixed reviews about it, but recently I heard some rave reviews about it. The only way to find out for sure is to try it for myself! So I will let you know! The purpose of the Precision Base Plate is to make cutting these intricate dies easier.
To finish off the card, I tied little bows with the Gold 1/8″ Ribbon (one of my favorites) and adhered them to the ornament tops with a Glue Dot. You don’t always have to tie ribbon “around” something, just make it look like it is by adhering to the front with a Glue Dot or other adhesive.
To adhere the ornaments to the card, I cut tiny strips from the edges of the Stampin’ Dimensionals sheet to hide behind the widest areas of the ornaments. Yes, a little tedious but I felt it was the best way to adhere the ornaments to the vellum. The greeting is stamped in Versamark and embossed with the Heat Tool and Gold Stampin’ Emboss Powder. The greeting is from the To You and Yours Too Stamp Set.
You can use this design idea in many ways, just by stamping ornaments on card stock or stamping and cutting out the ornaments and adhering them to the card front, or adding some different designer paper in the background. So many easy ways to make a card!
I hope you are going to send at least a few handmade Christmas cards! It is still plenty early to get them done. Naturally you want to pick a design that is easy enough to duplicate. I am making several different designs of cards, maybe 5 or 10 or each design just because it is fun for me to make different ones. So many great ideas out there! Just stop the world and make cards!
There is still time to shop Stampin’ Up! It is suggested that you place your order by Dec. 17th in order to receive it by Christmas. Look through the catalog with different “eyes” and see what gifts you might be able to purchase for someone, or an assortment of items for a gift.
Check your supply of card stock and see if you need anything for your cards and Christmas projects! I had to order more Real Red card stock yesterday! How could I be low on Real Red?!
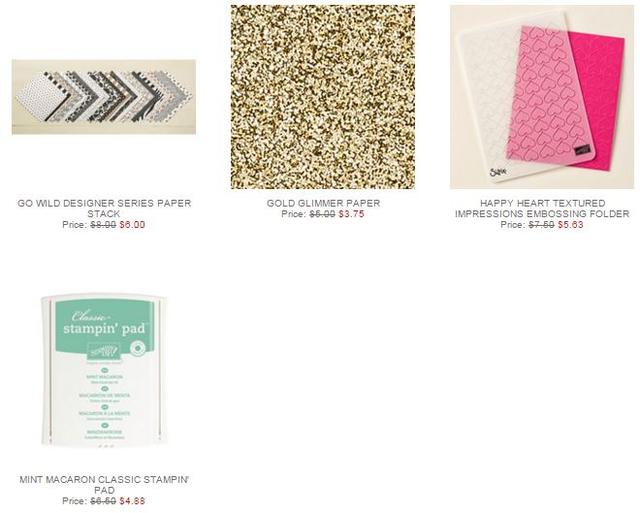
And here are the new Stampin’ Up! Weekly Deals!
If you need any materials to make the Holidays Fancy Foil Embellished Ornaments Christmas Card just Shop Stampin’ Up! Online or contact me to put in your order for you.


