
The other day I went in my local Dollar Tree store and the first thing I saw were decorations for July 4th. It's hard to imagine it is almost time for that holiday already. I saw these sets of red, silver, and blue beads, kind of like Mardi Gras beads. I KNEW I had to have some because we go to the same fireworks display in Stafford every year with our neighbors, and the beads would be perfect for Nita and I to be wearing! We already have our 4th of July head band thing with flowing ribbons we have been know to wear! At the high price of $1, I decided I had to purchase another set of beads for our other friend Rhonda who used to go to the same fireworks with us and who loves the 4th.
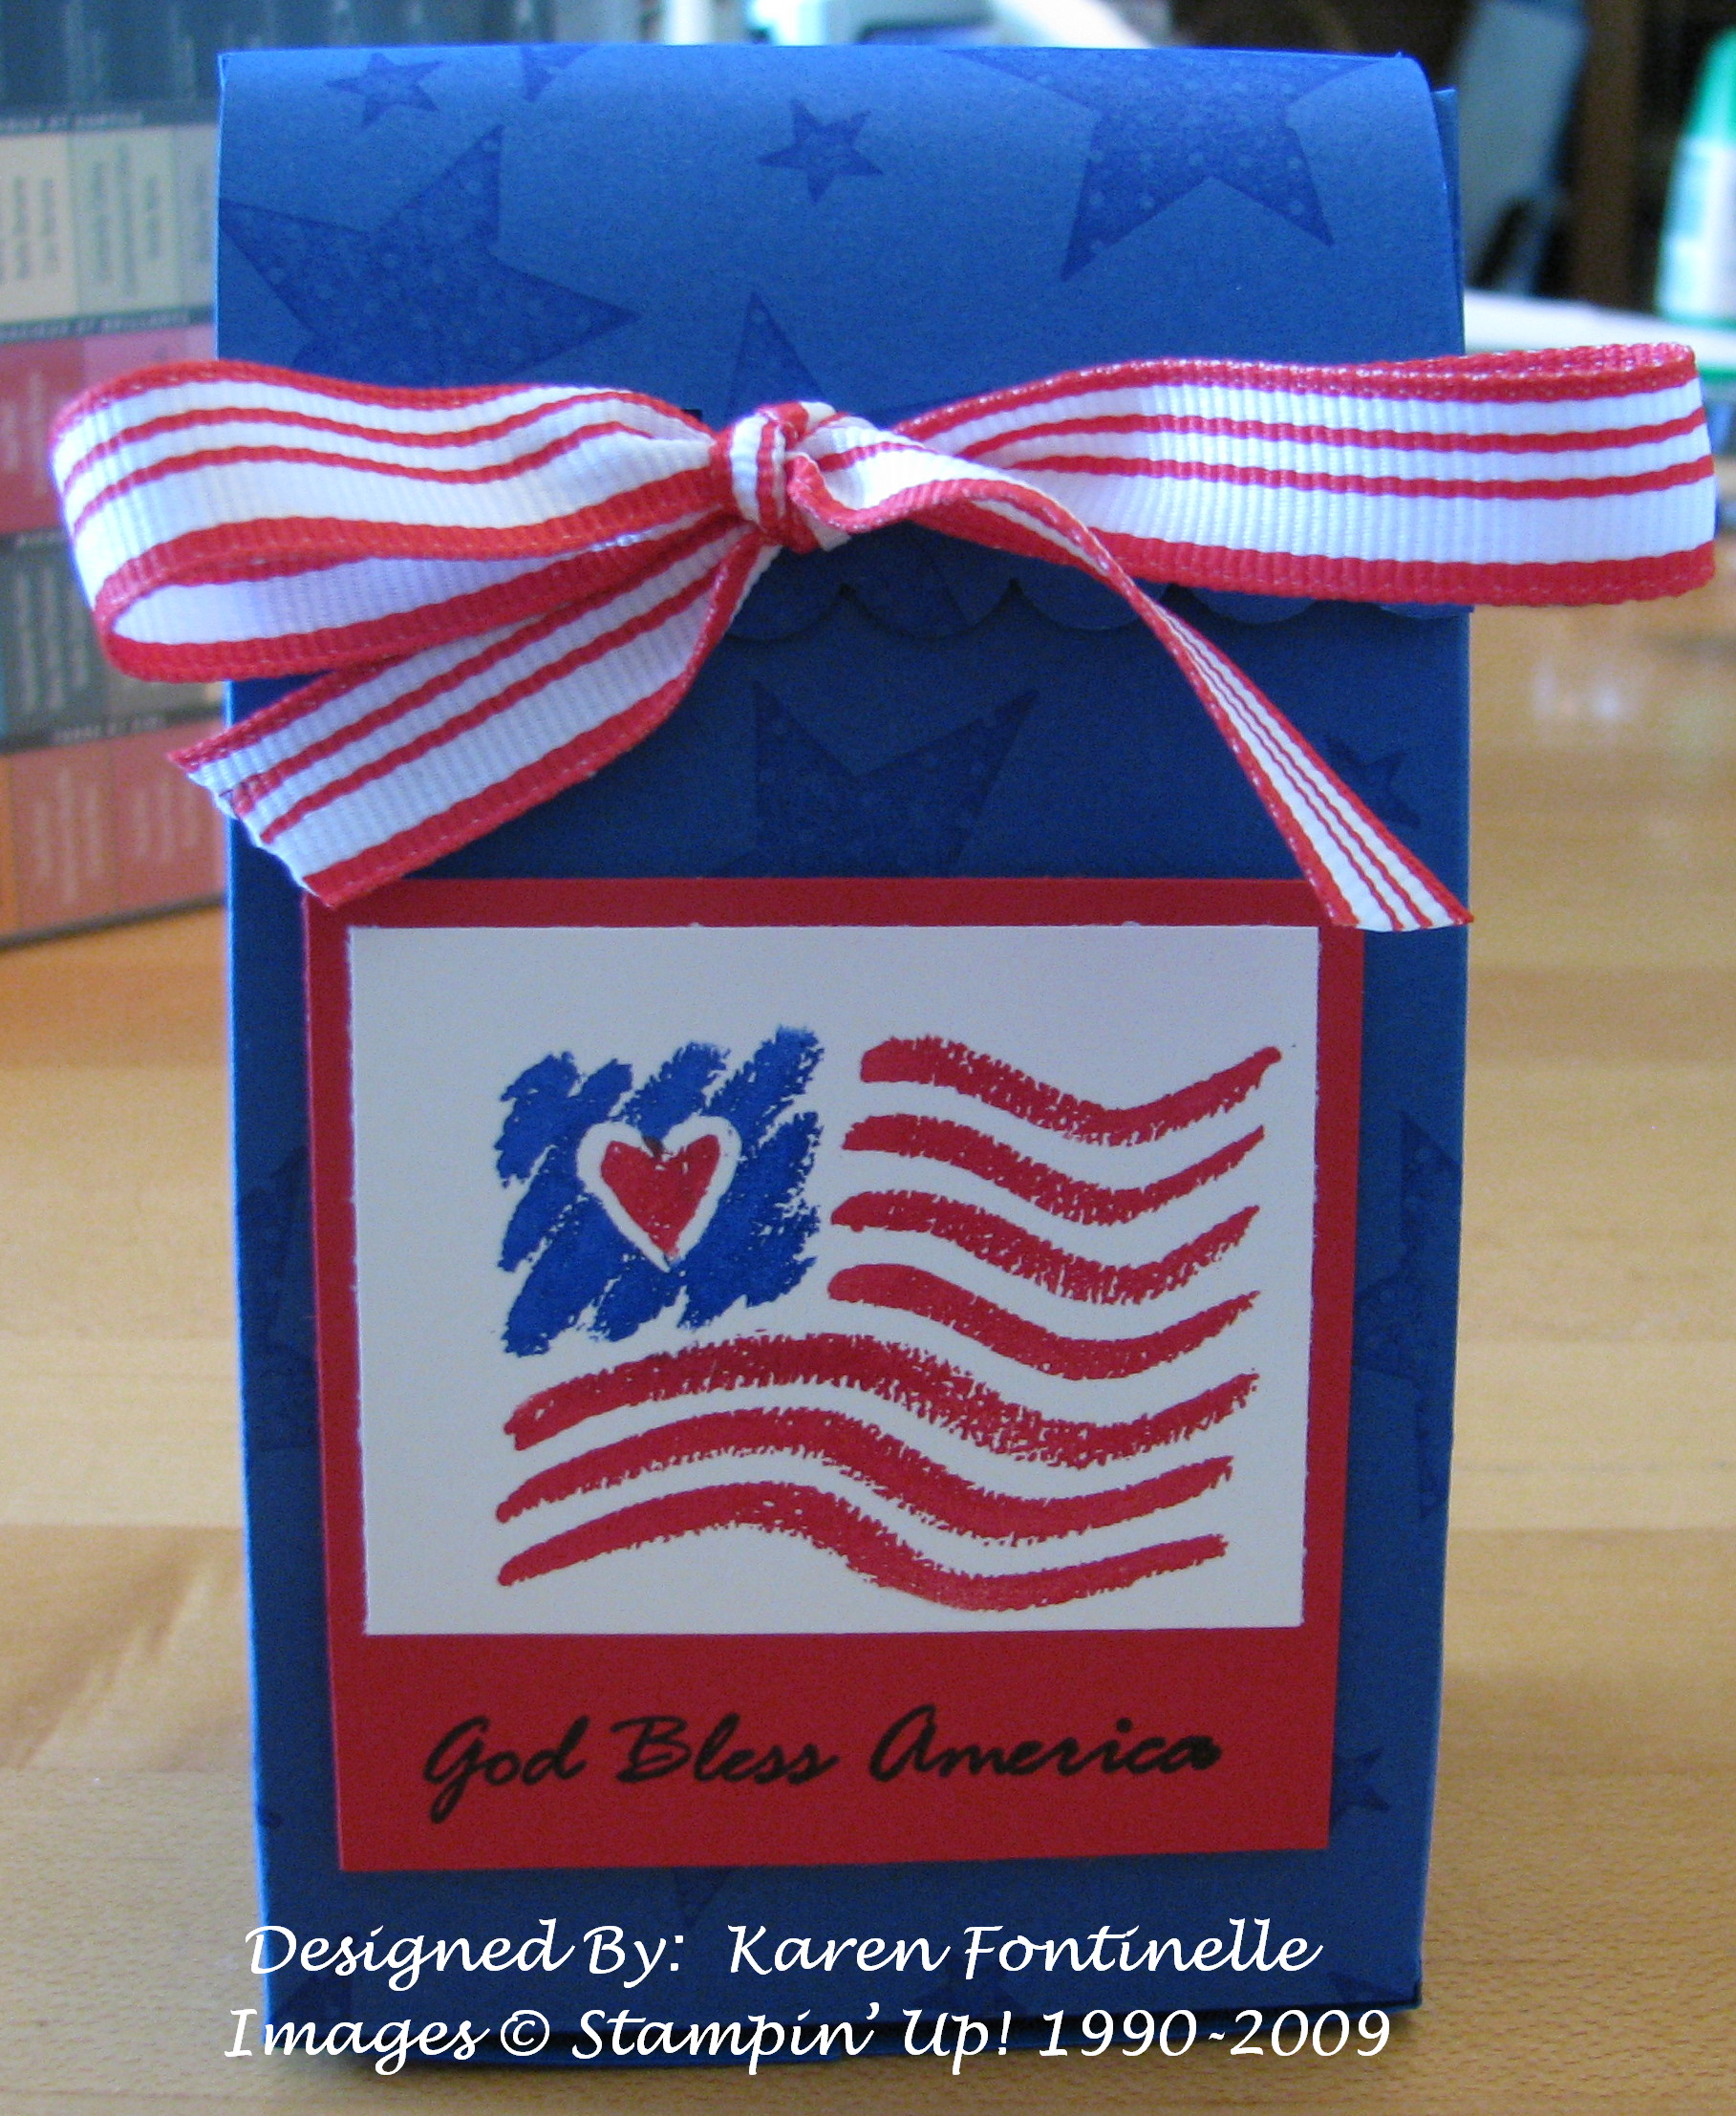
So today when we all had lunch together I decided to quickly make some 2-5-7-10 Boxes to give them their beads. The instructions are from Jenn Balcer on Splitcoaststampers. You just need one sheet of 8 1/2" x 11" in. cardstock, scored at 2, 5, 7 and 10 inches. Turn the cardstock and score at 2 and 7 inches. Putting the 2" section of cardstock at the top with the 1" wide side section on the left, cut off all top sections but the 2"x 3" section at the top left. Also cut off the tiny little 1 x 1/2" in the lower left corner. Cut up on the bottom 3 score lines at the bottom, just up to the horizontal score line. Stamp your box while it is flat. You can fold all the scored lines now and see how your box is going to go together. The top 2 x 3 section can be scalloped with your Scallop Edge Punch if desired. Otherwise, you just have one side tab to glue to close up the box (I would use Sticky Strip or Tombow Multi Purpose adhesive) and adhere the bottom flaps. After the box is assembled, you will see that you need to pinch in the sides in order to close the top flap, like a sack. Punch two holes in that flap for ribbon, close the box and mark where you want to punch the holes on the box. This is the hardest part! I found the Rectangle Punch worked the best for me in reaching the right spots and making a large enough hole to insert ribbon. Thread the ribbon through the holes from inside the box and then through the backside of the flap so that you can tie a bow or knot on the front. This is a good standard box to use for any occasion for a little gift or decoration. Let me know if you have any questions!
Don't forget!! If it is close to July 4th, that means the end of the current Stampin' Up! Idea Book & Catalog is near! You must get your Last Chance order in by June 30th, and it is best to do it as soon as possible!