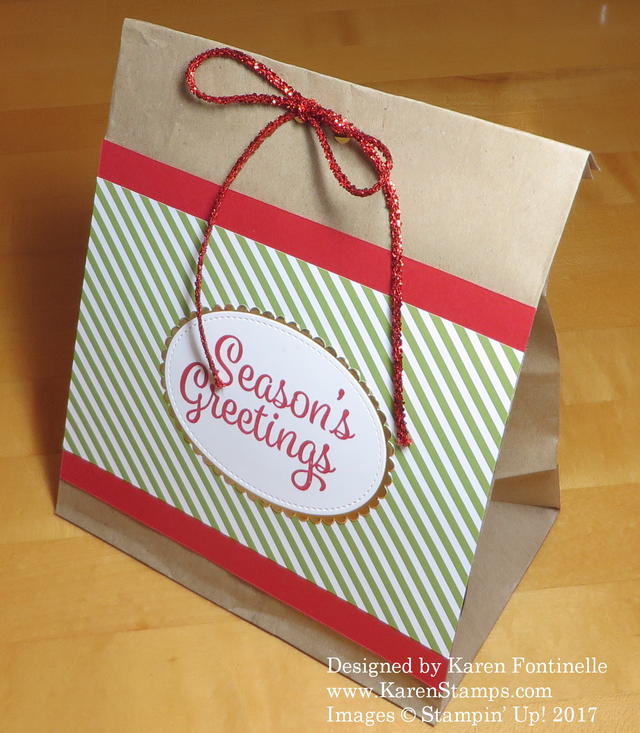
Time is getting short and it’s time to wrap packages (if you shopped already!) so try this Quick and Easy Decorated Christmas Lunch Bag. You don’t always have to have a fancy shopping bag, a lunch sack or small brown bag from a store will do!
Cut off the top that usually is a little raggedy and has that rough edge. Then start decorating. Measure the width of the bag and cut your paper accordingly. Or cut it larger and then trim off the sides if that is easier for you.
For this bag, I just chose a piece of designer paper. This paper is in the Merry Little Christmas Designer Series Paper package. I just added a strip of Real Red Cardstock at the top and bottom of the designer paper (rather than use a whole piece of Real Red!).
The greeting is stamped in Real Red on Whisper White Cardstock from the Snowflake Sentiments Stamp Set. You could use any holiday greeting. I cut it out with one of the Stitched Shapes Framelit Dies. That greeting is layered on a die cut piece of Gold Foil from the Layering Ovals Framelits Dies.
For the top of the bag, I folded over the top and punched two holes for ribbon. I chose a piece of the Real Red Tinsel from the Mini Tinsel Trim Combo Pack.
You could dress up this bag even more if you wanted to with more embellishments, but most of us don’t have too much free time for creating at this stage! I hope you will think of things you already have at home that you can decorate or stamp and use for your holiday wrappings instead of rushing out to the store. If it only takes a few minutes to make this Quick and Easy Decorated Christmas Lunch Bag, isn’t it faster than a trip to the store?!

