
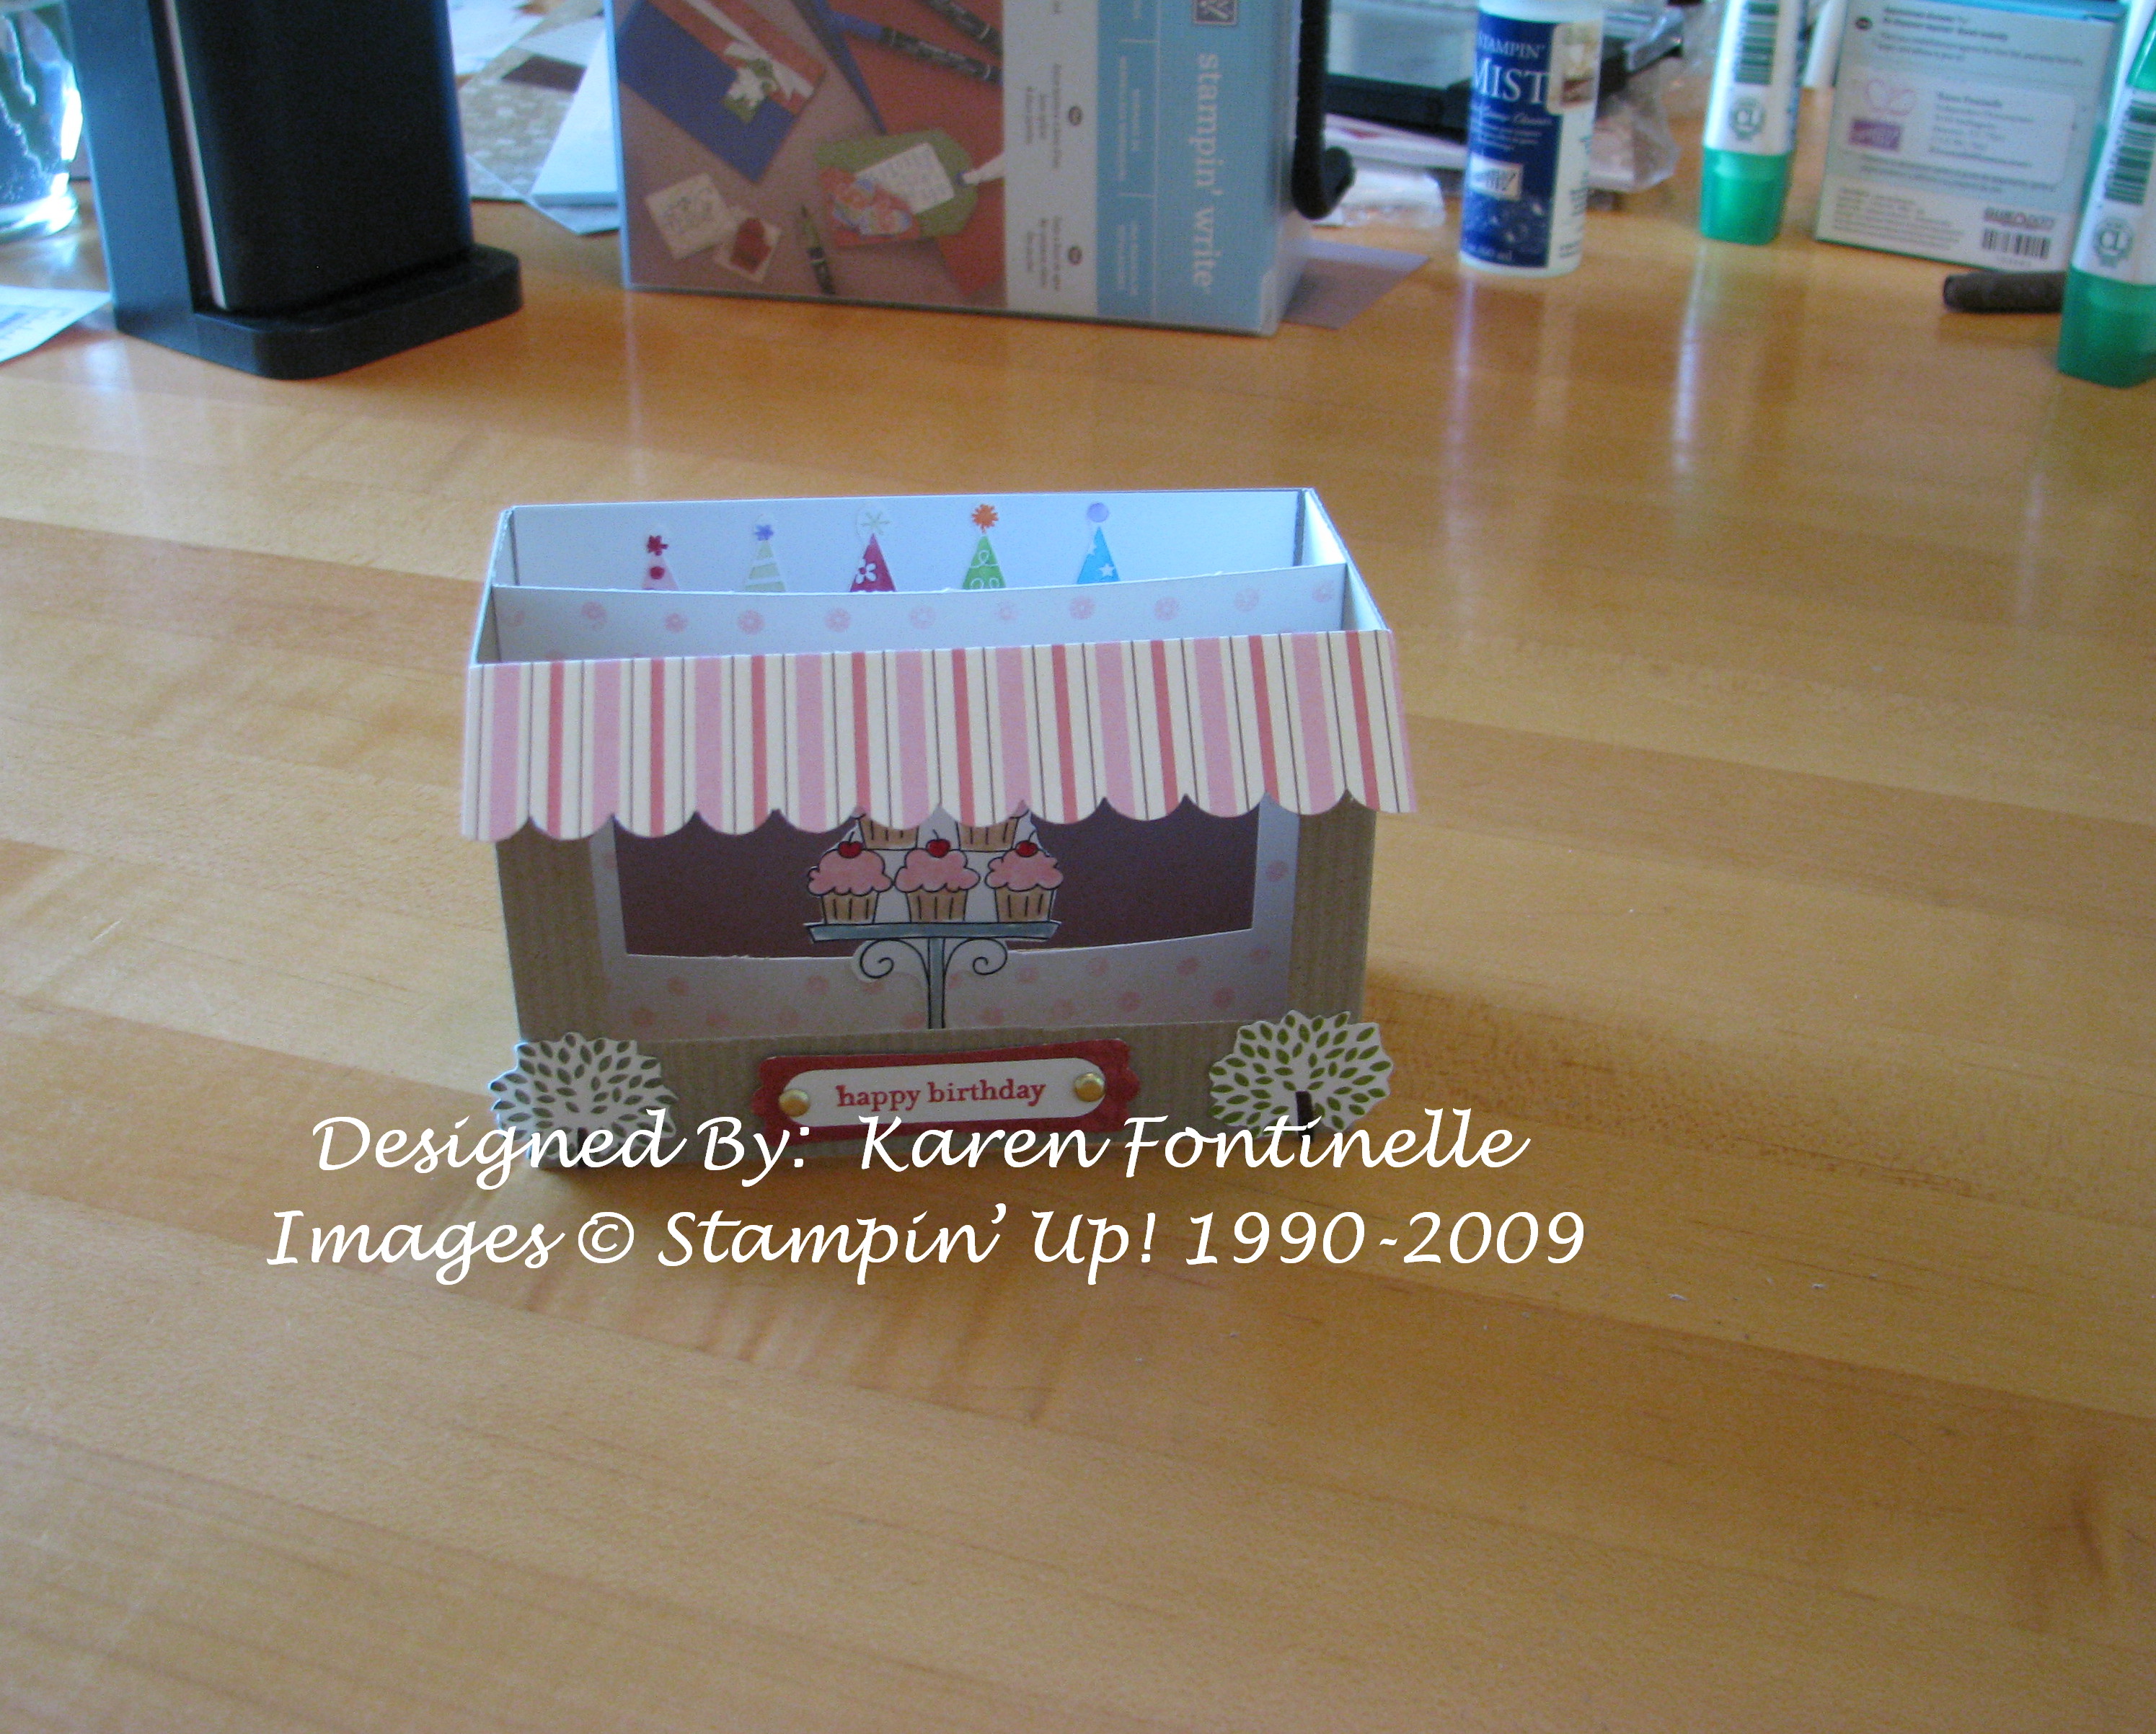
One of my blog readers emailed the other day and asked how I had made the diorama card, which is in THIS post. While I looked up the measurements and refreshed my memory with scrap paper in order to answer her, I got inspired to make another Diorama Card! They really are fun and easy, so you should try it! Once you make one you can see how you could change the measurements to suit your purpose, but these are the ones I used.
You need:
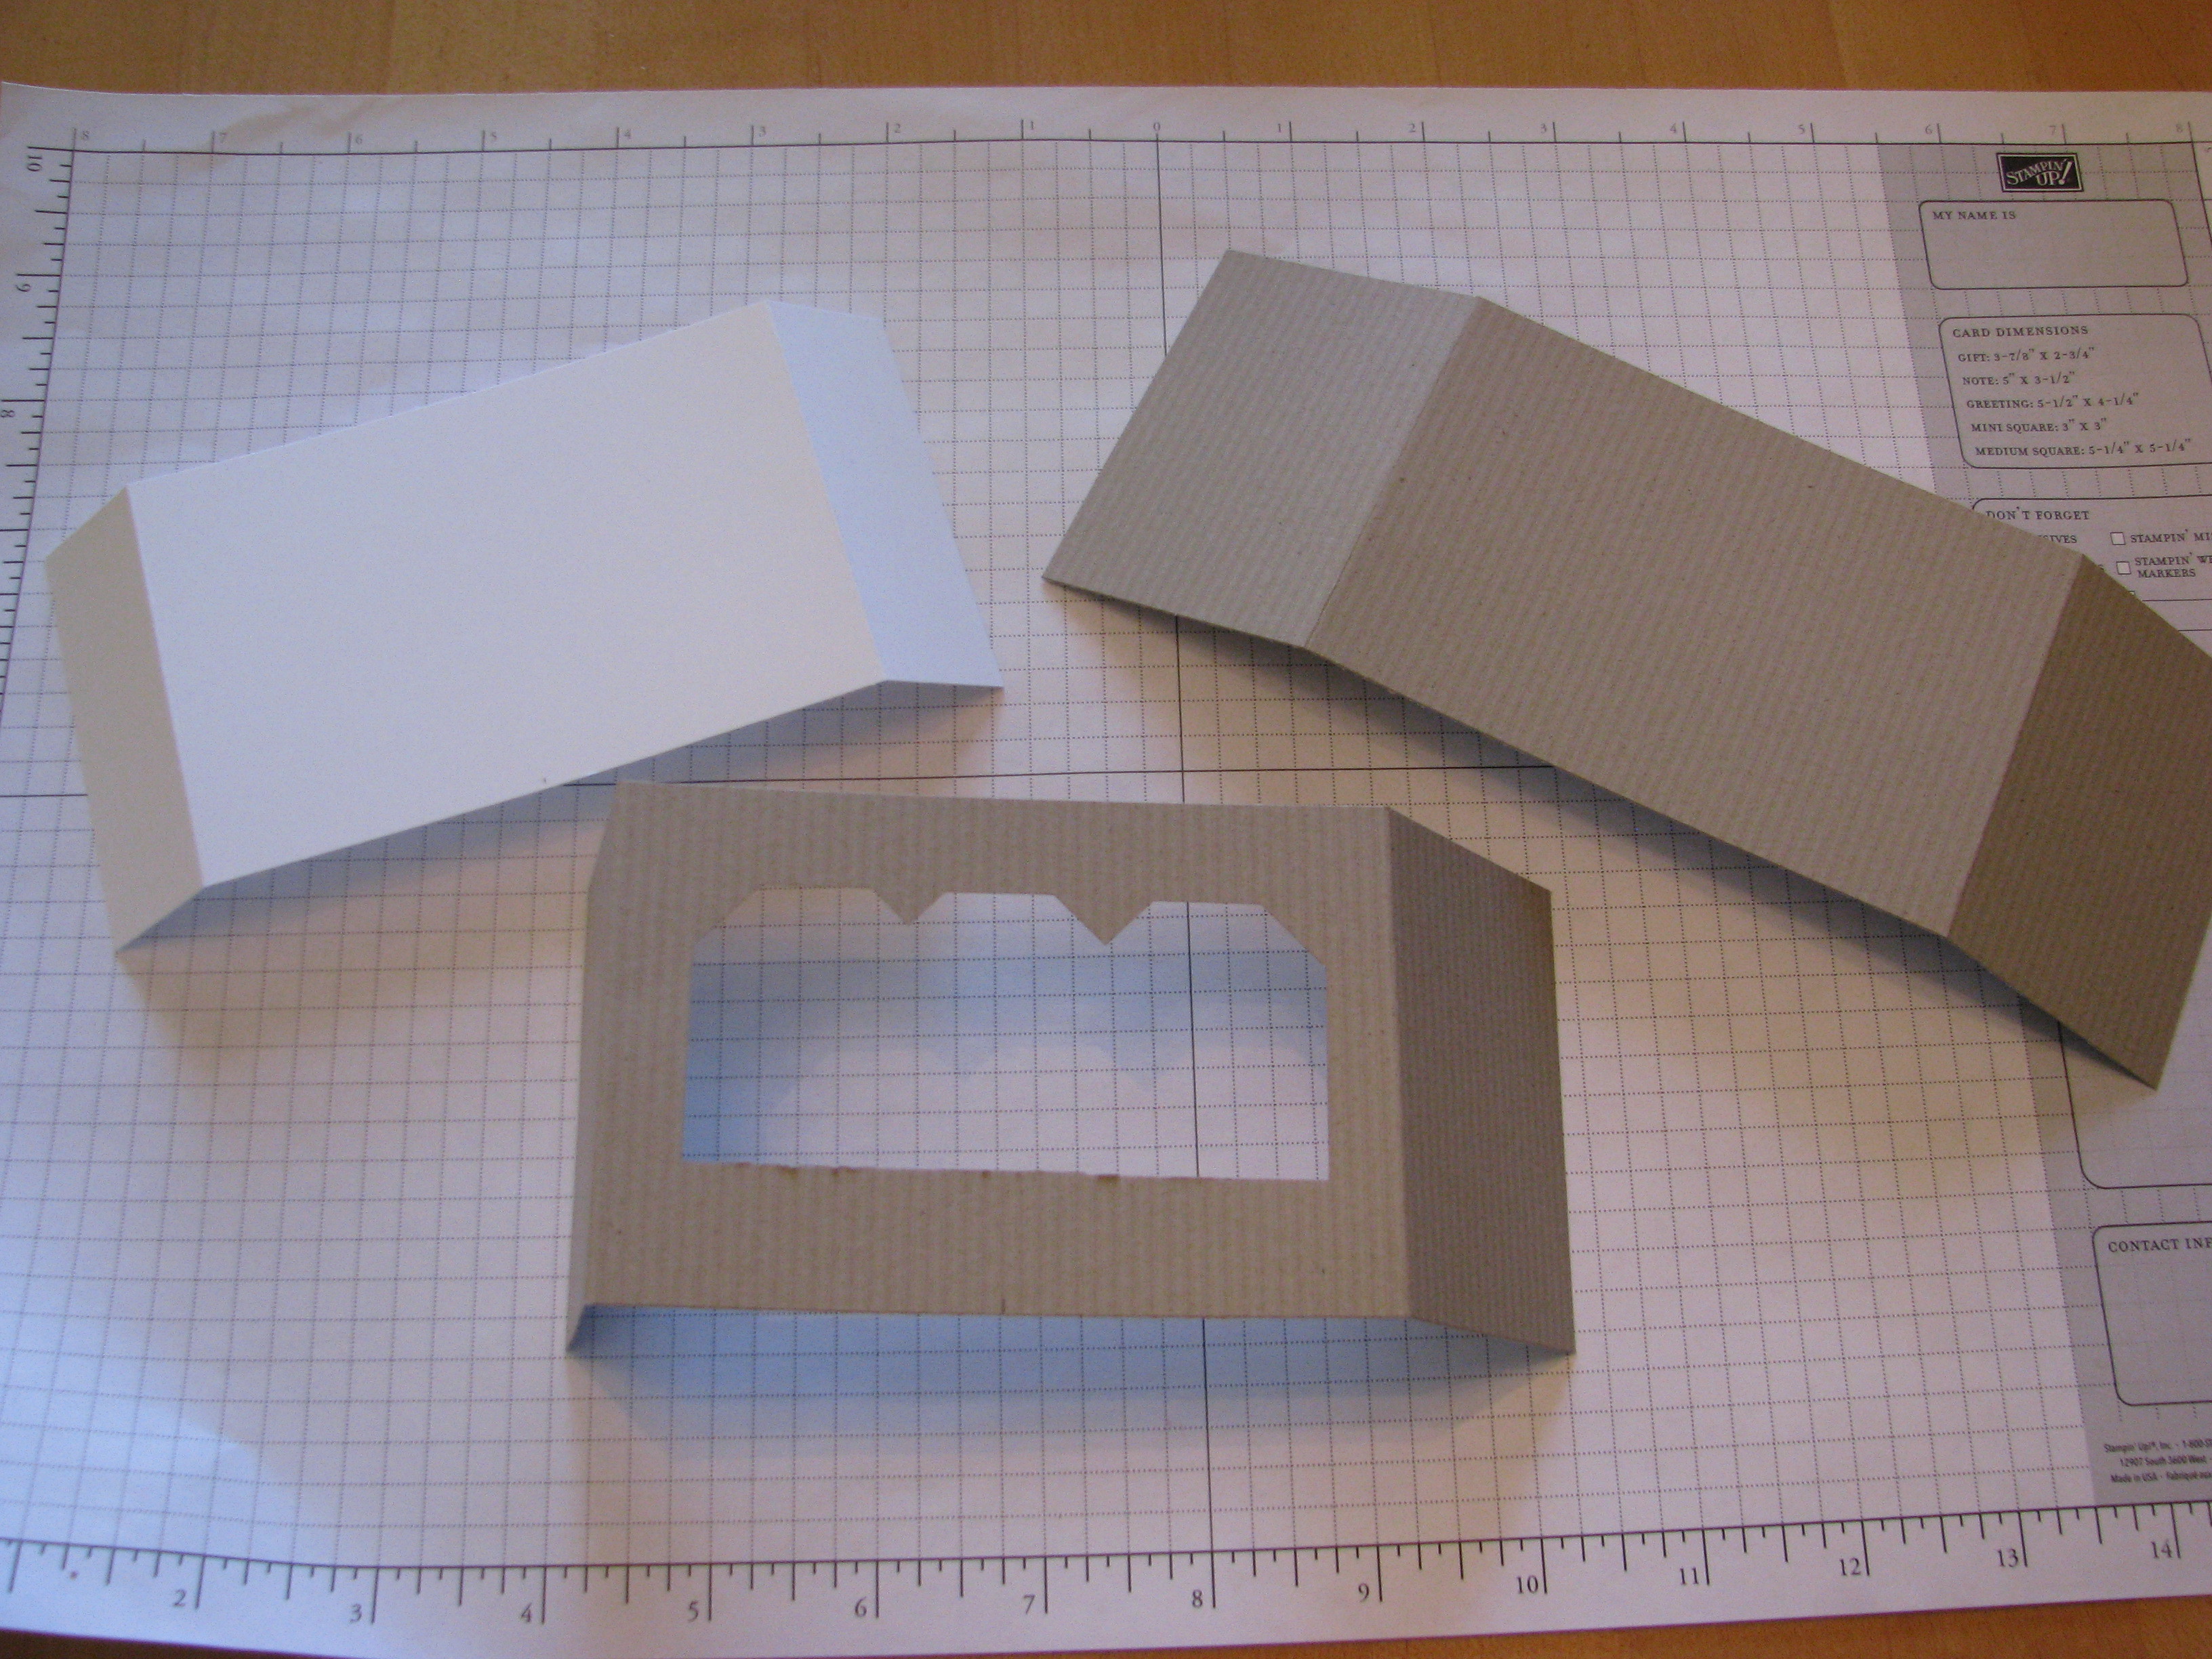
2 pieces of cardstock 8.5" x 3" for the front and back pieces, score each piece at 2" from each end.
1 piece of cardstock 6.5" x 3" for the middle piece, score at 1" from each end.
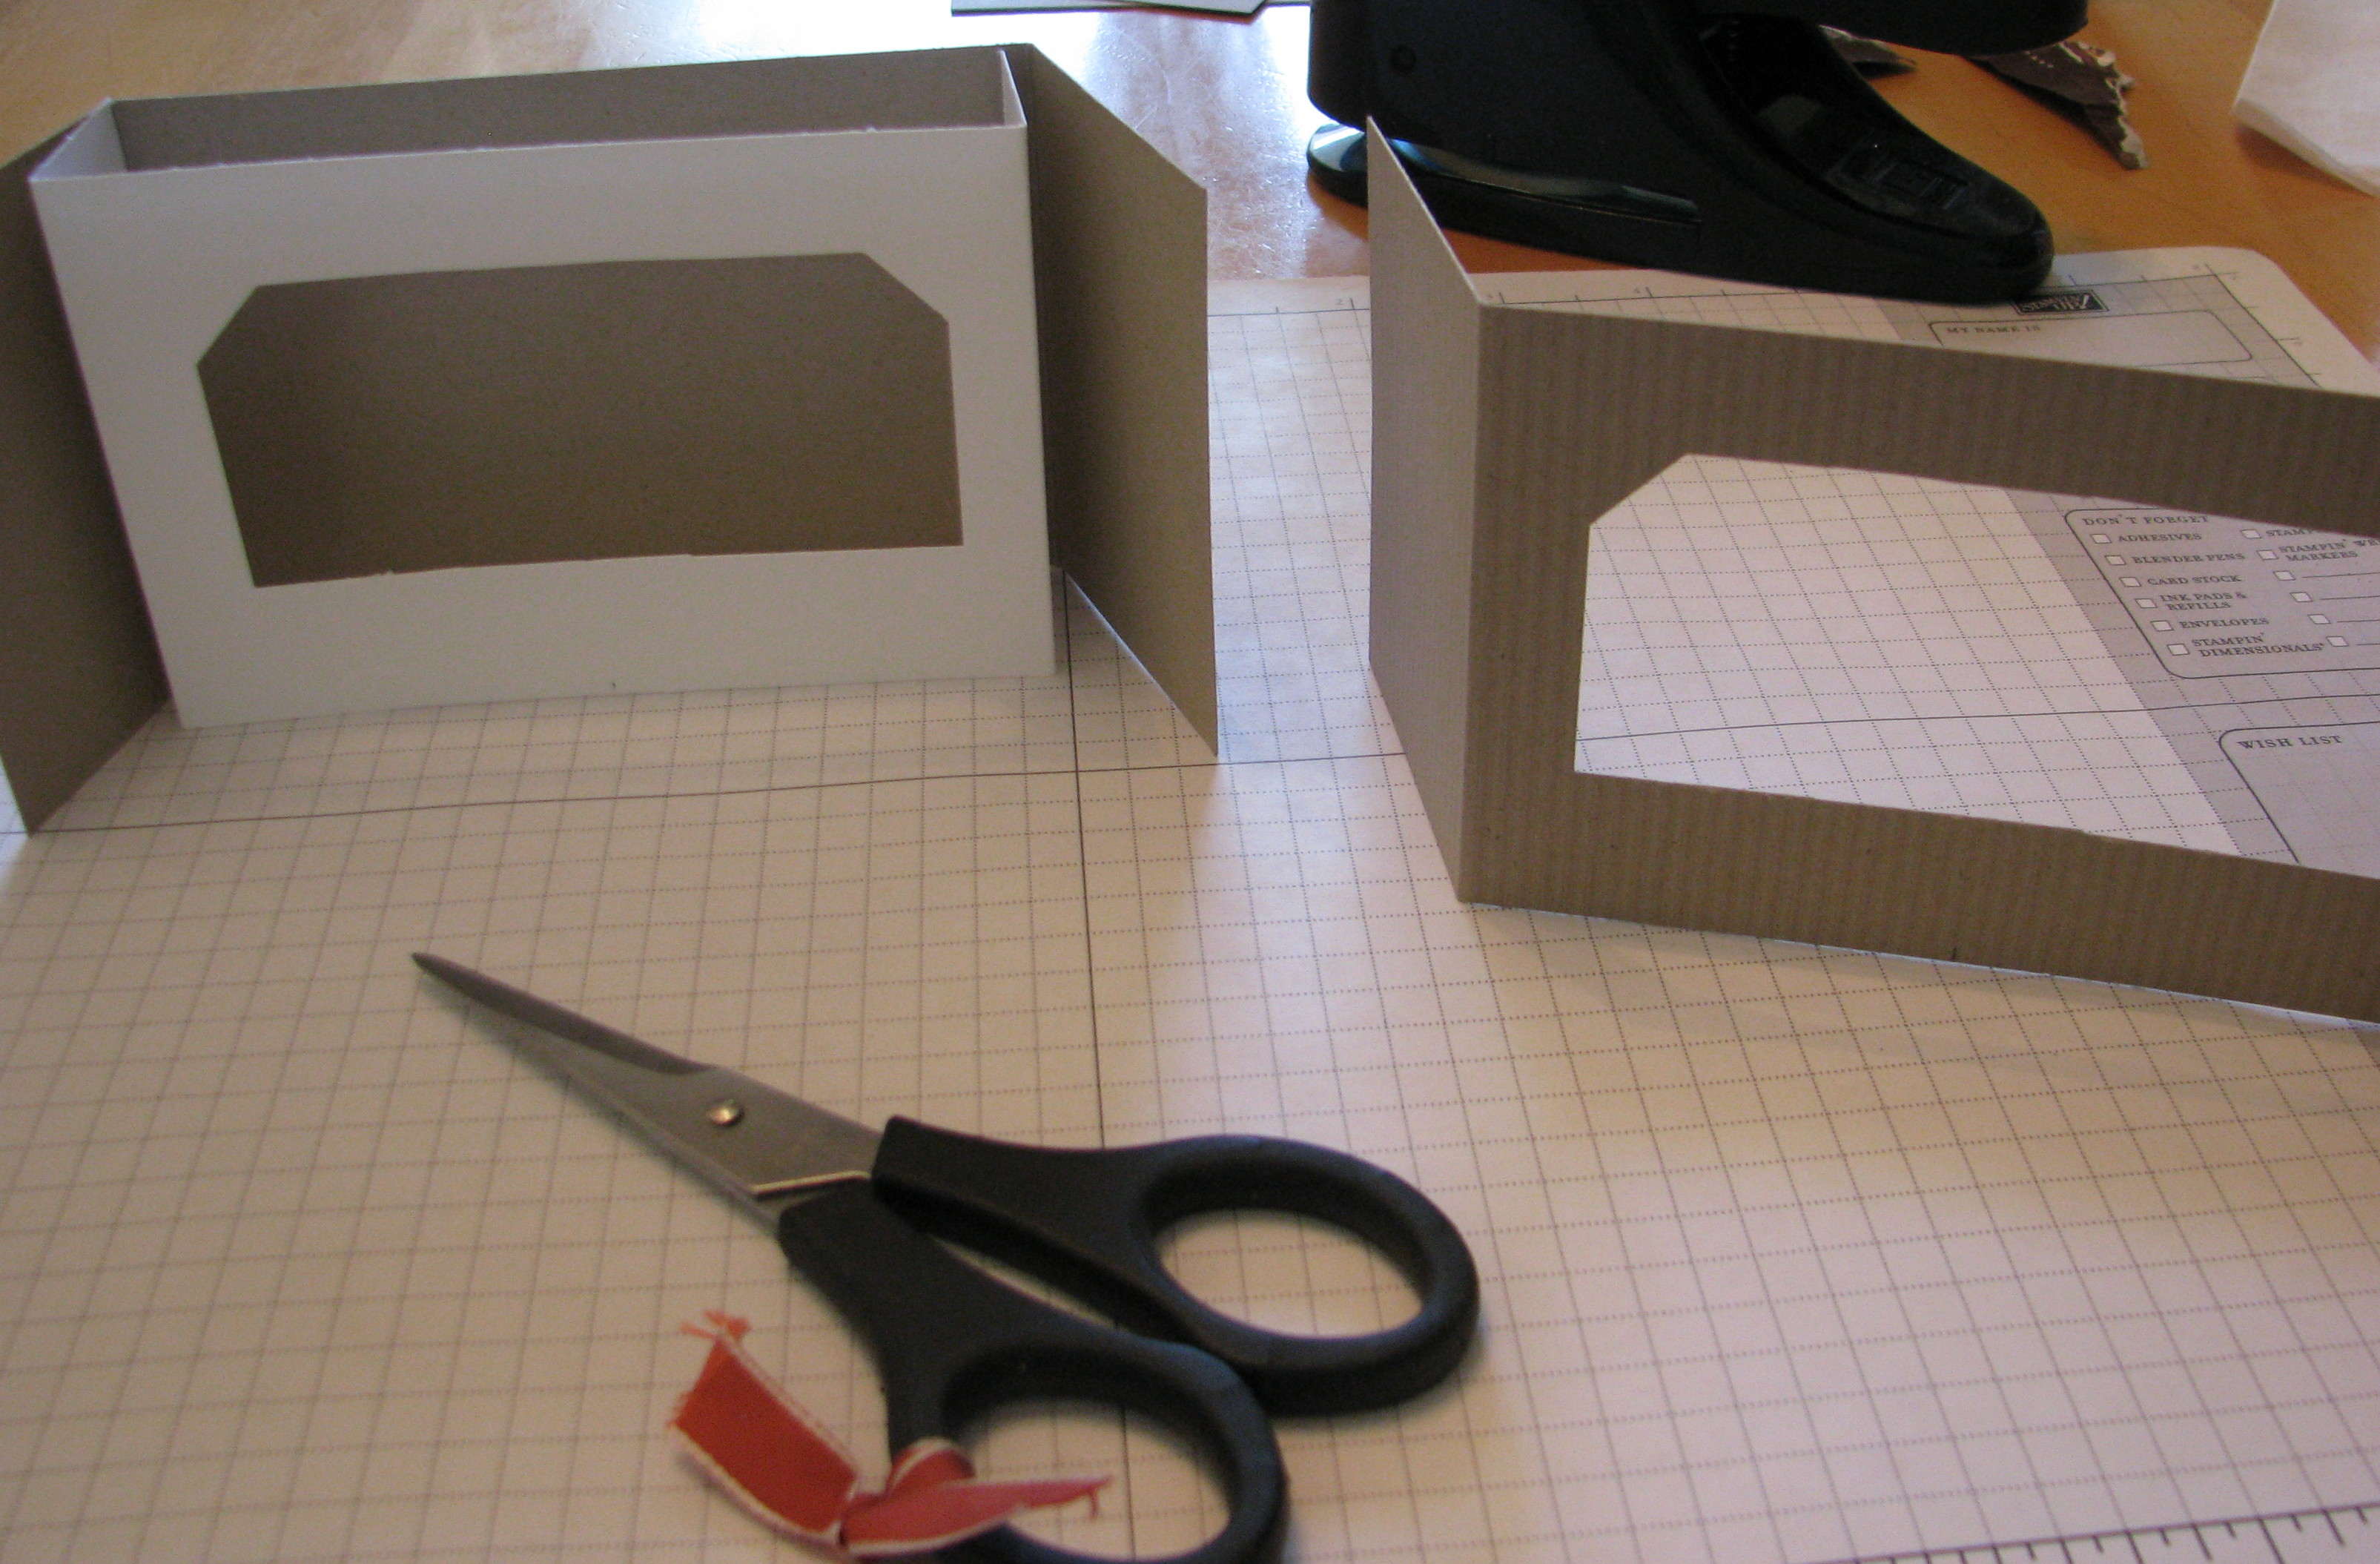
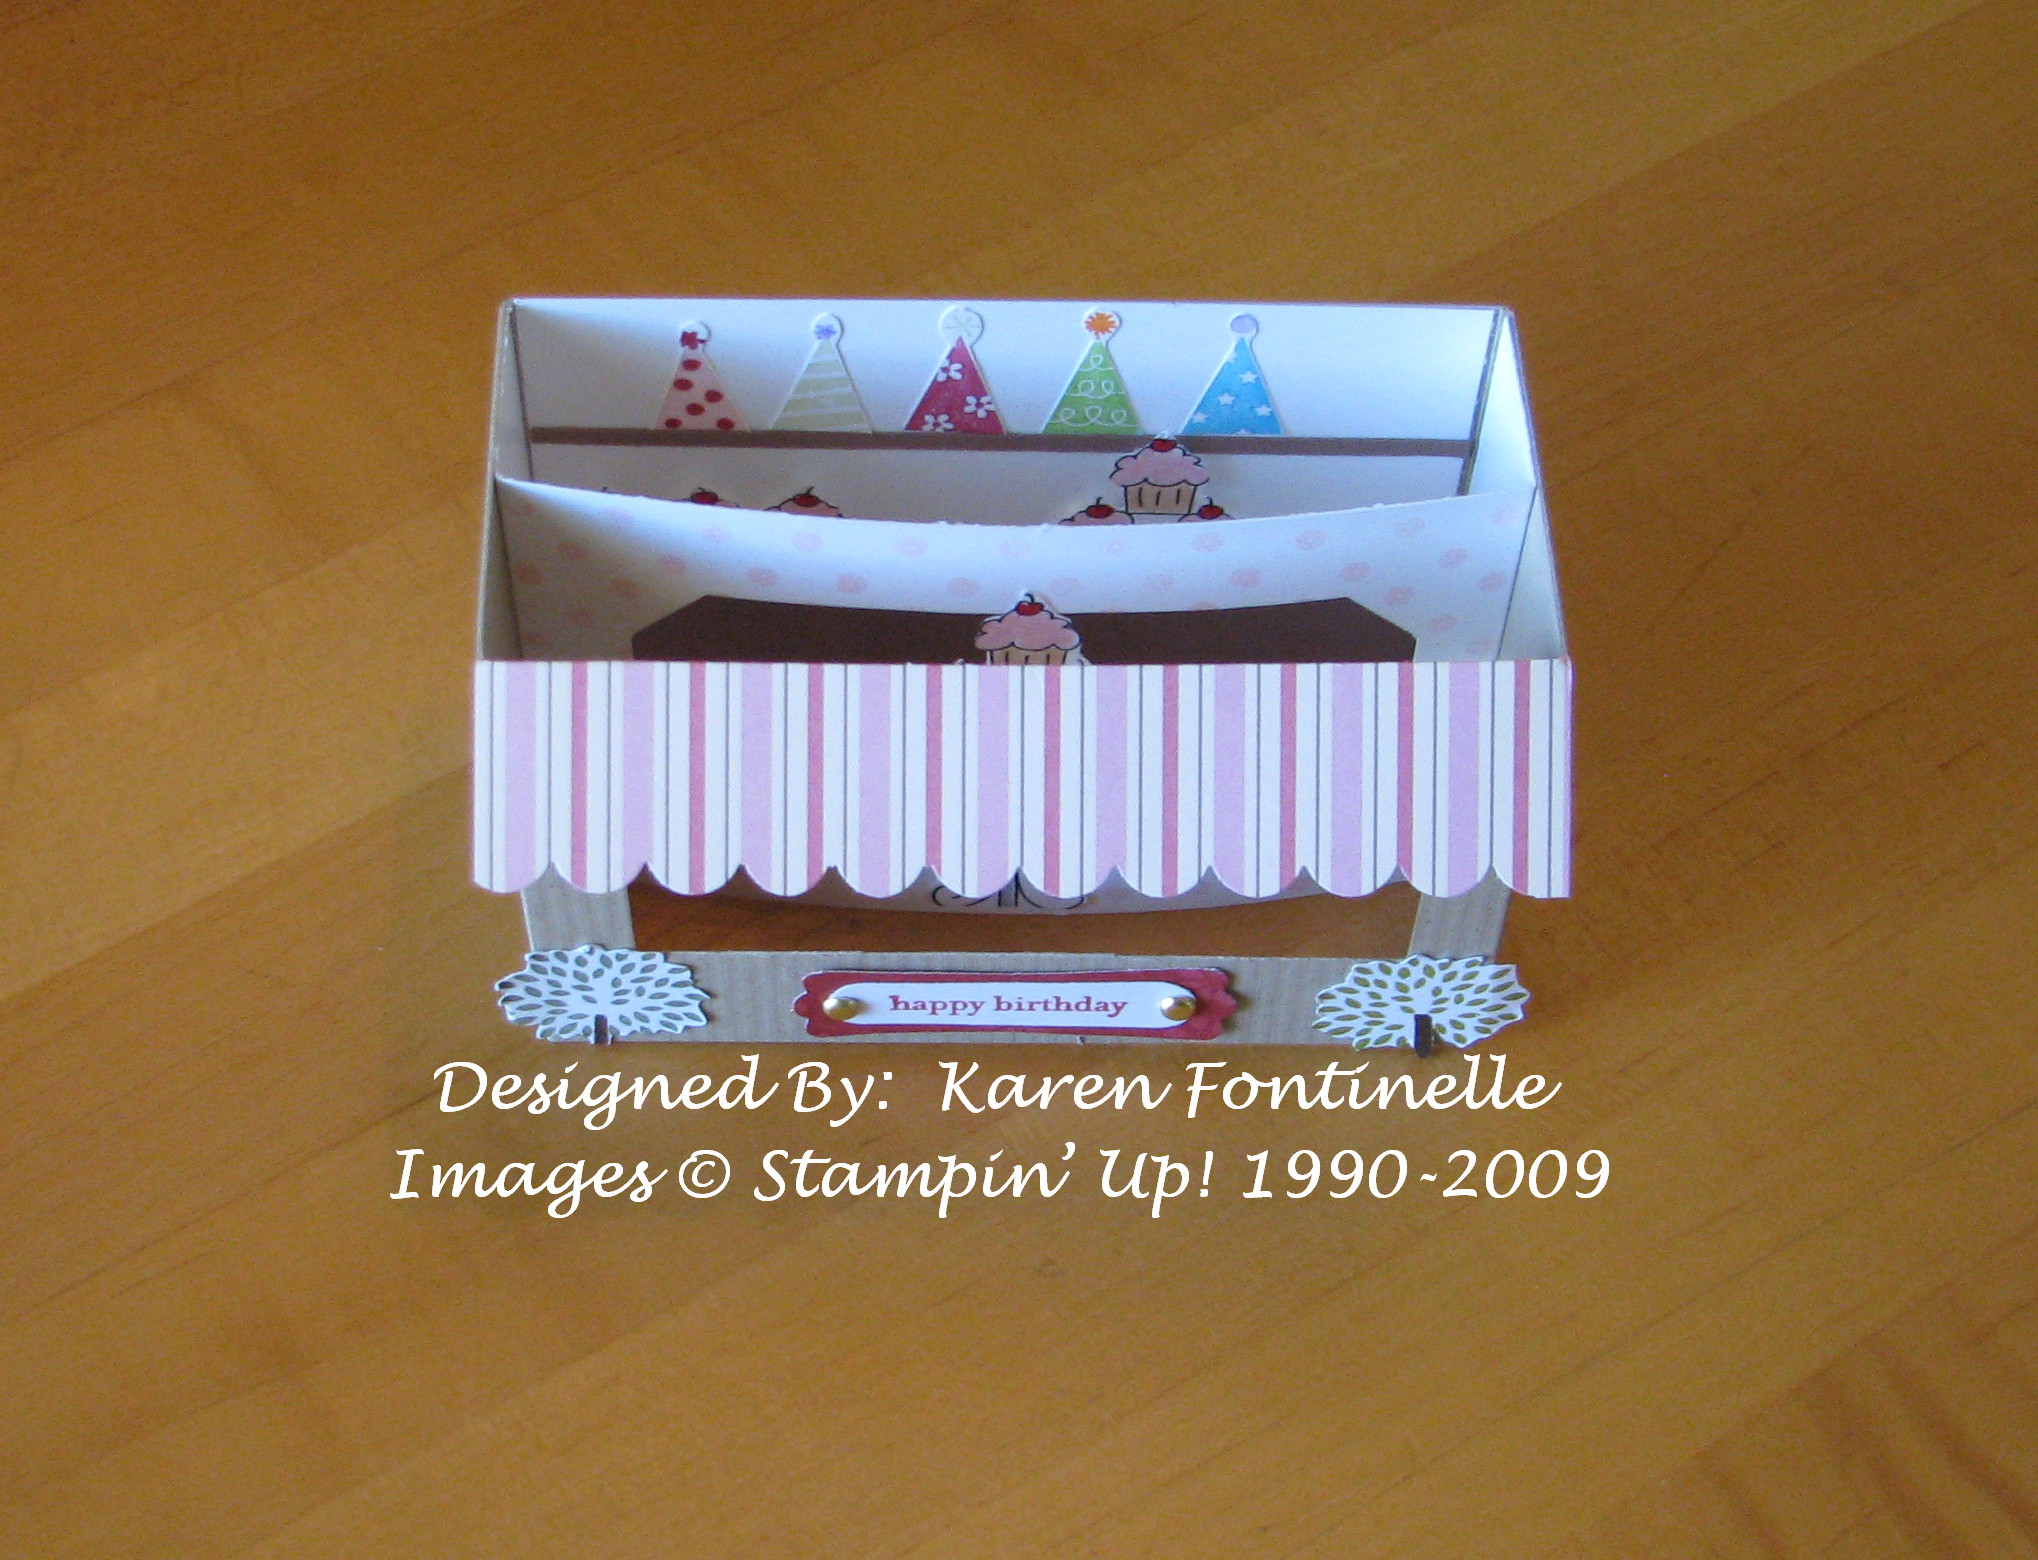
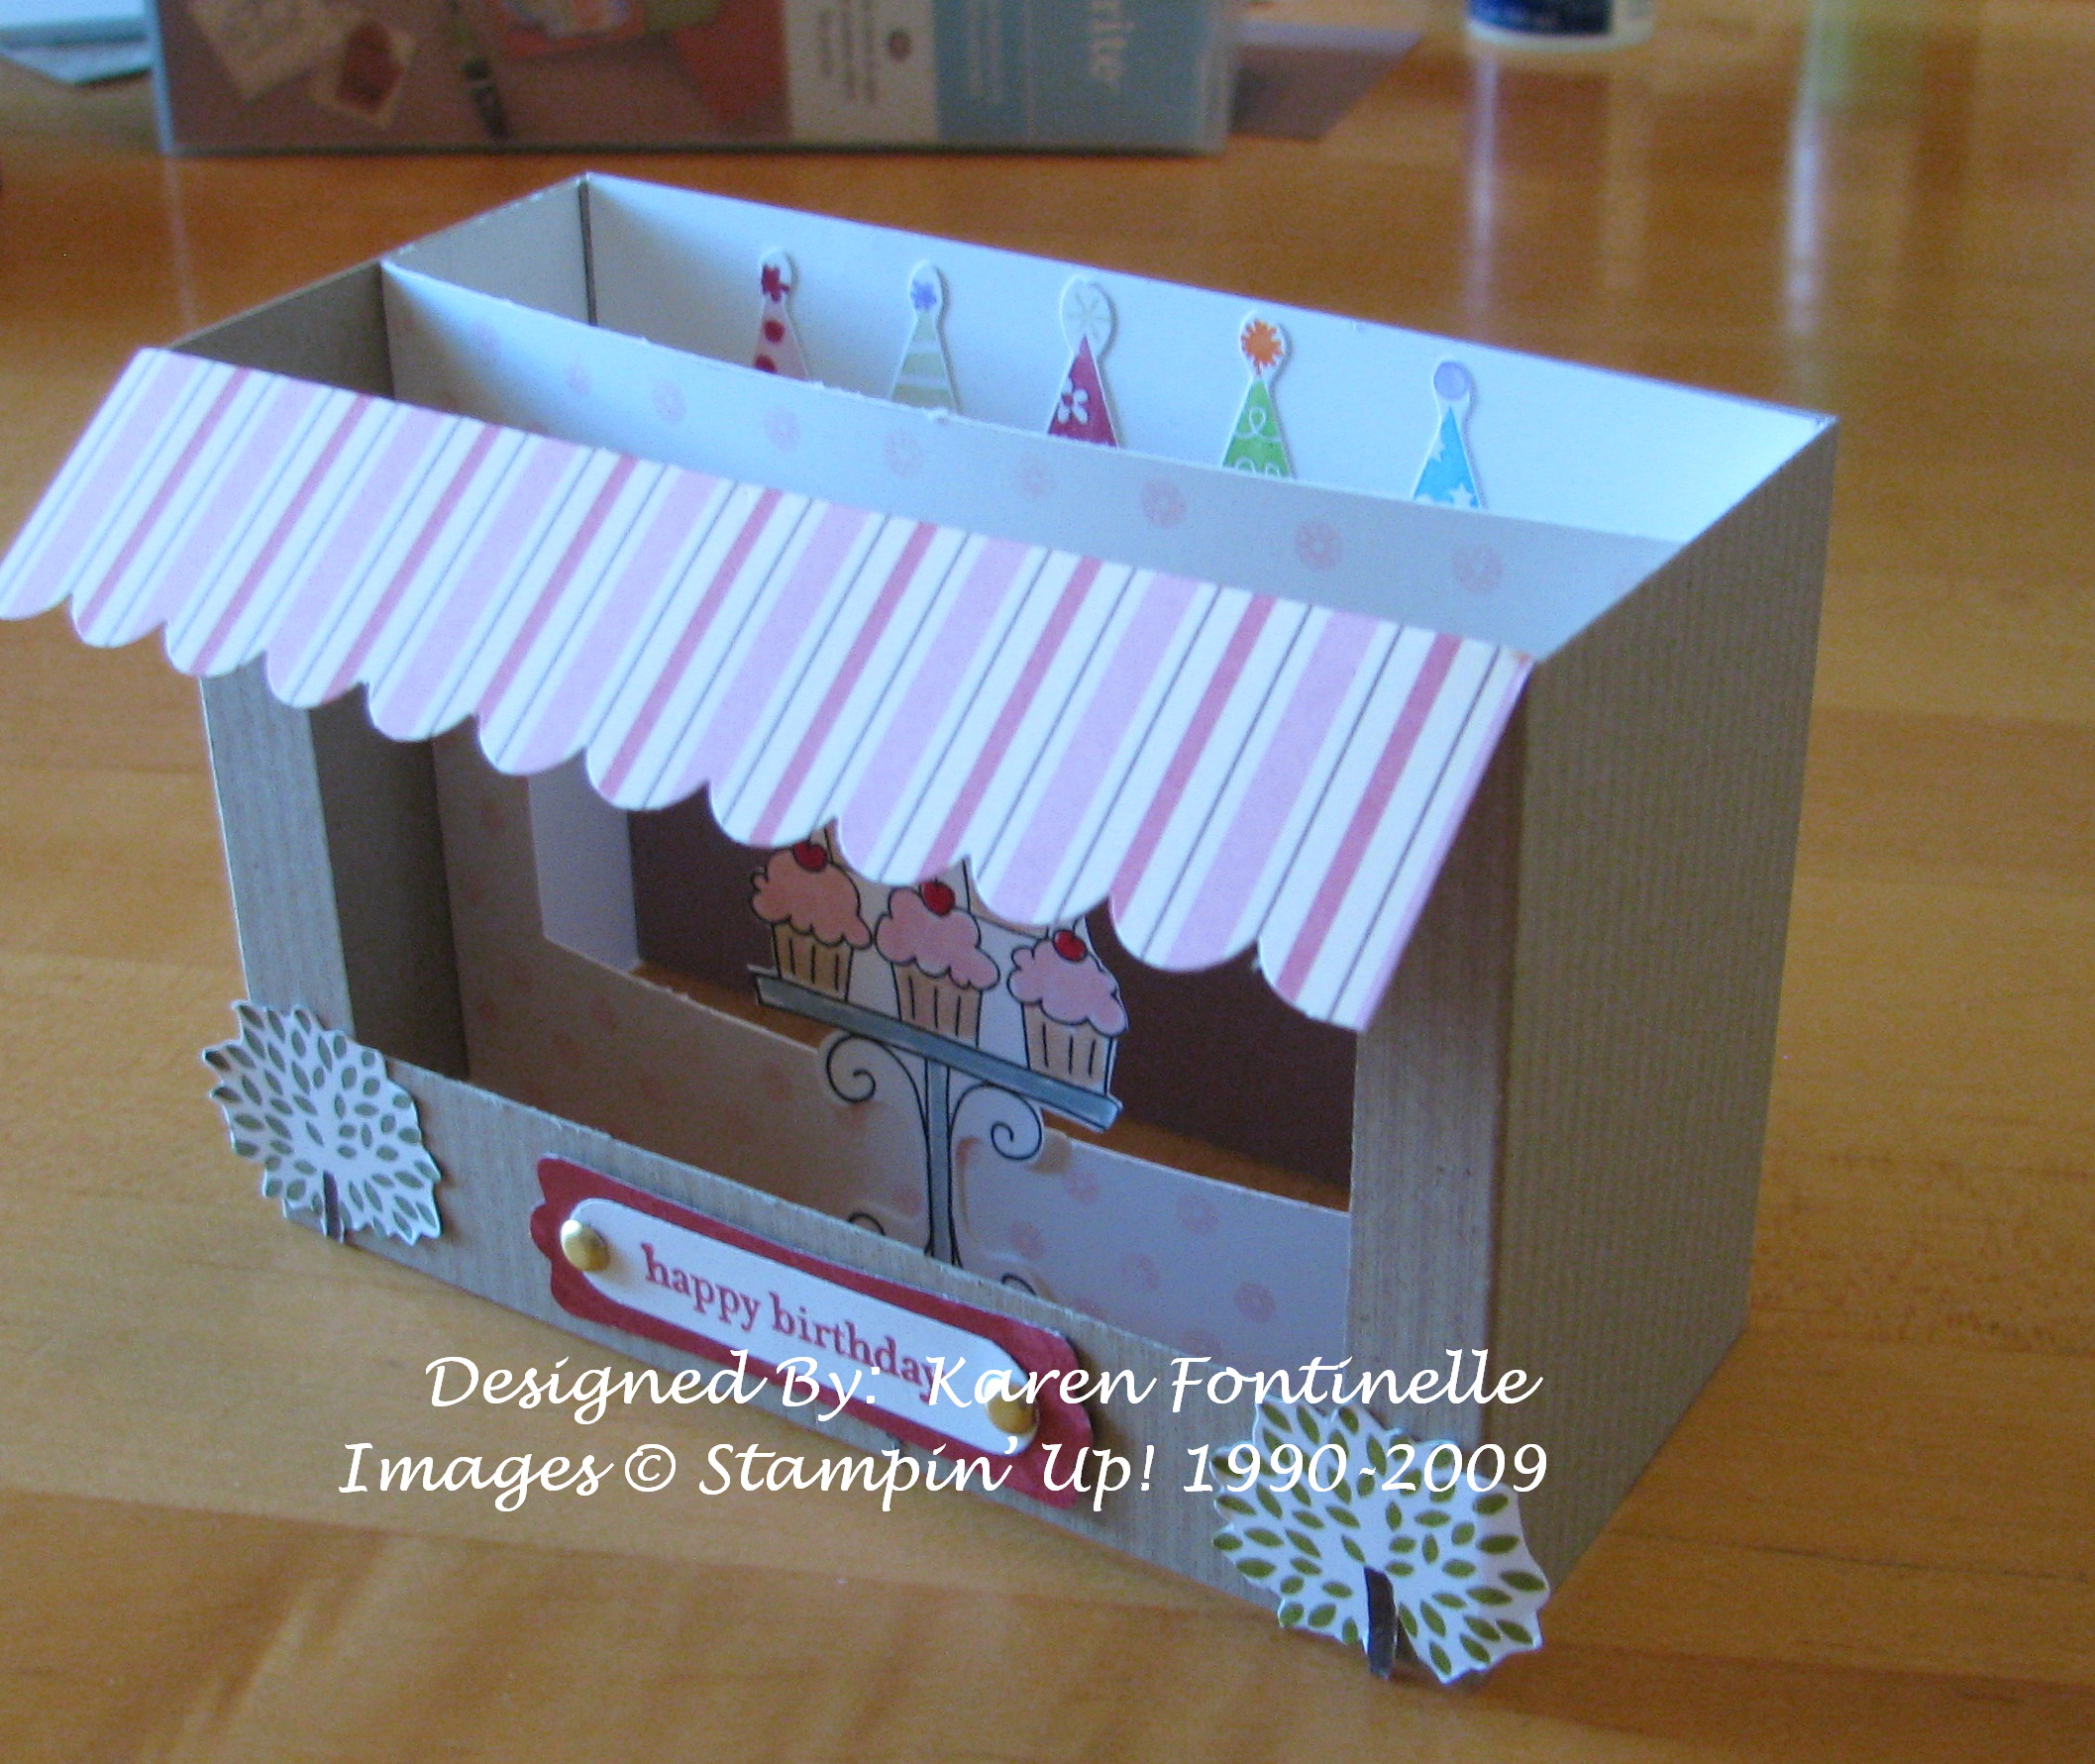
Punch or cut center opening on front and middle pieces. I used the Large Tag Punch and cut off the little remaining triangles with my Paper Snips. You could use circle punches, a square punch, or even a hobby knife. Using the tag punch, I punched in the center, then off to each side, creating the large opening. You could leave space in between and make window panes. (I love to use the Stampin' Up! grid paper because on it I can measure, align, scribble, stamp, write, etc.)
Before you adhere anything, go ahead and stamp or decorate your card how you want.
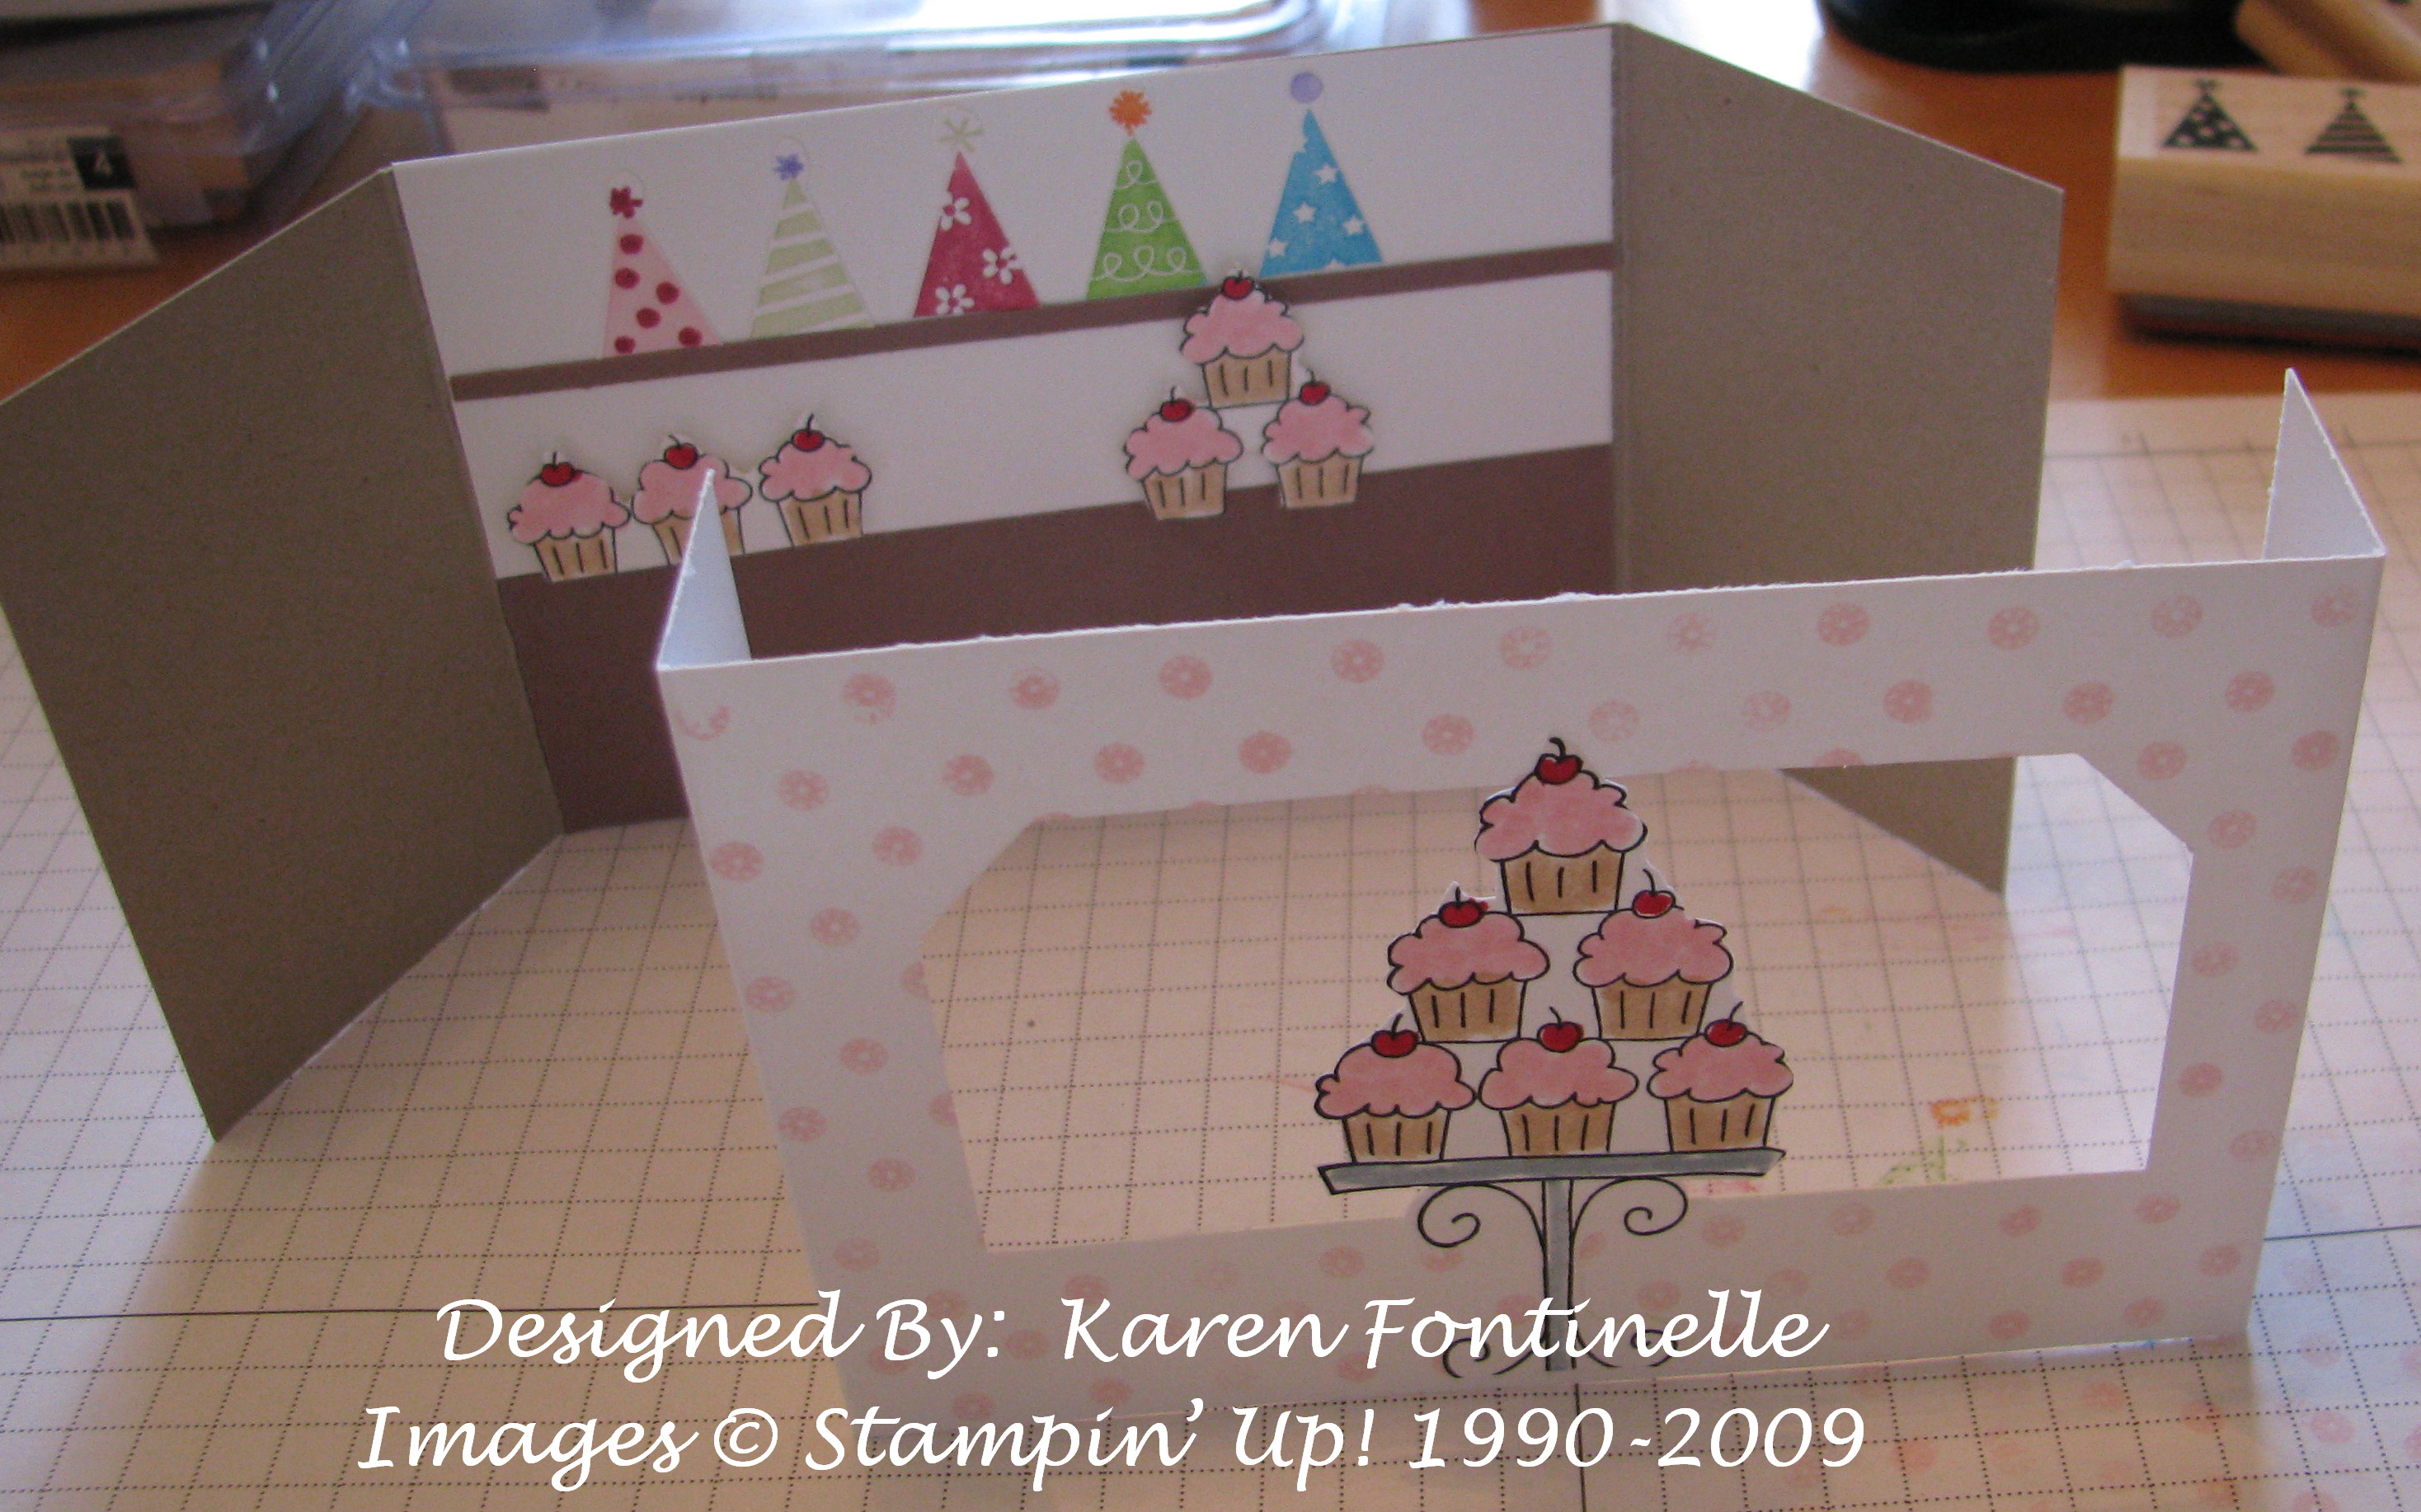
To assemble, use a strong adhesive such as Sticky Strip or Tombow Multi Purpose Adhesive. Love that Tombow! Set the middle piece inside the back piece as you see in the photos. Then you will see that the front piece side flaps cover the outside of the "box".

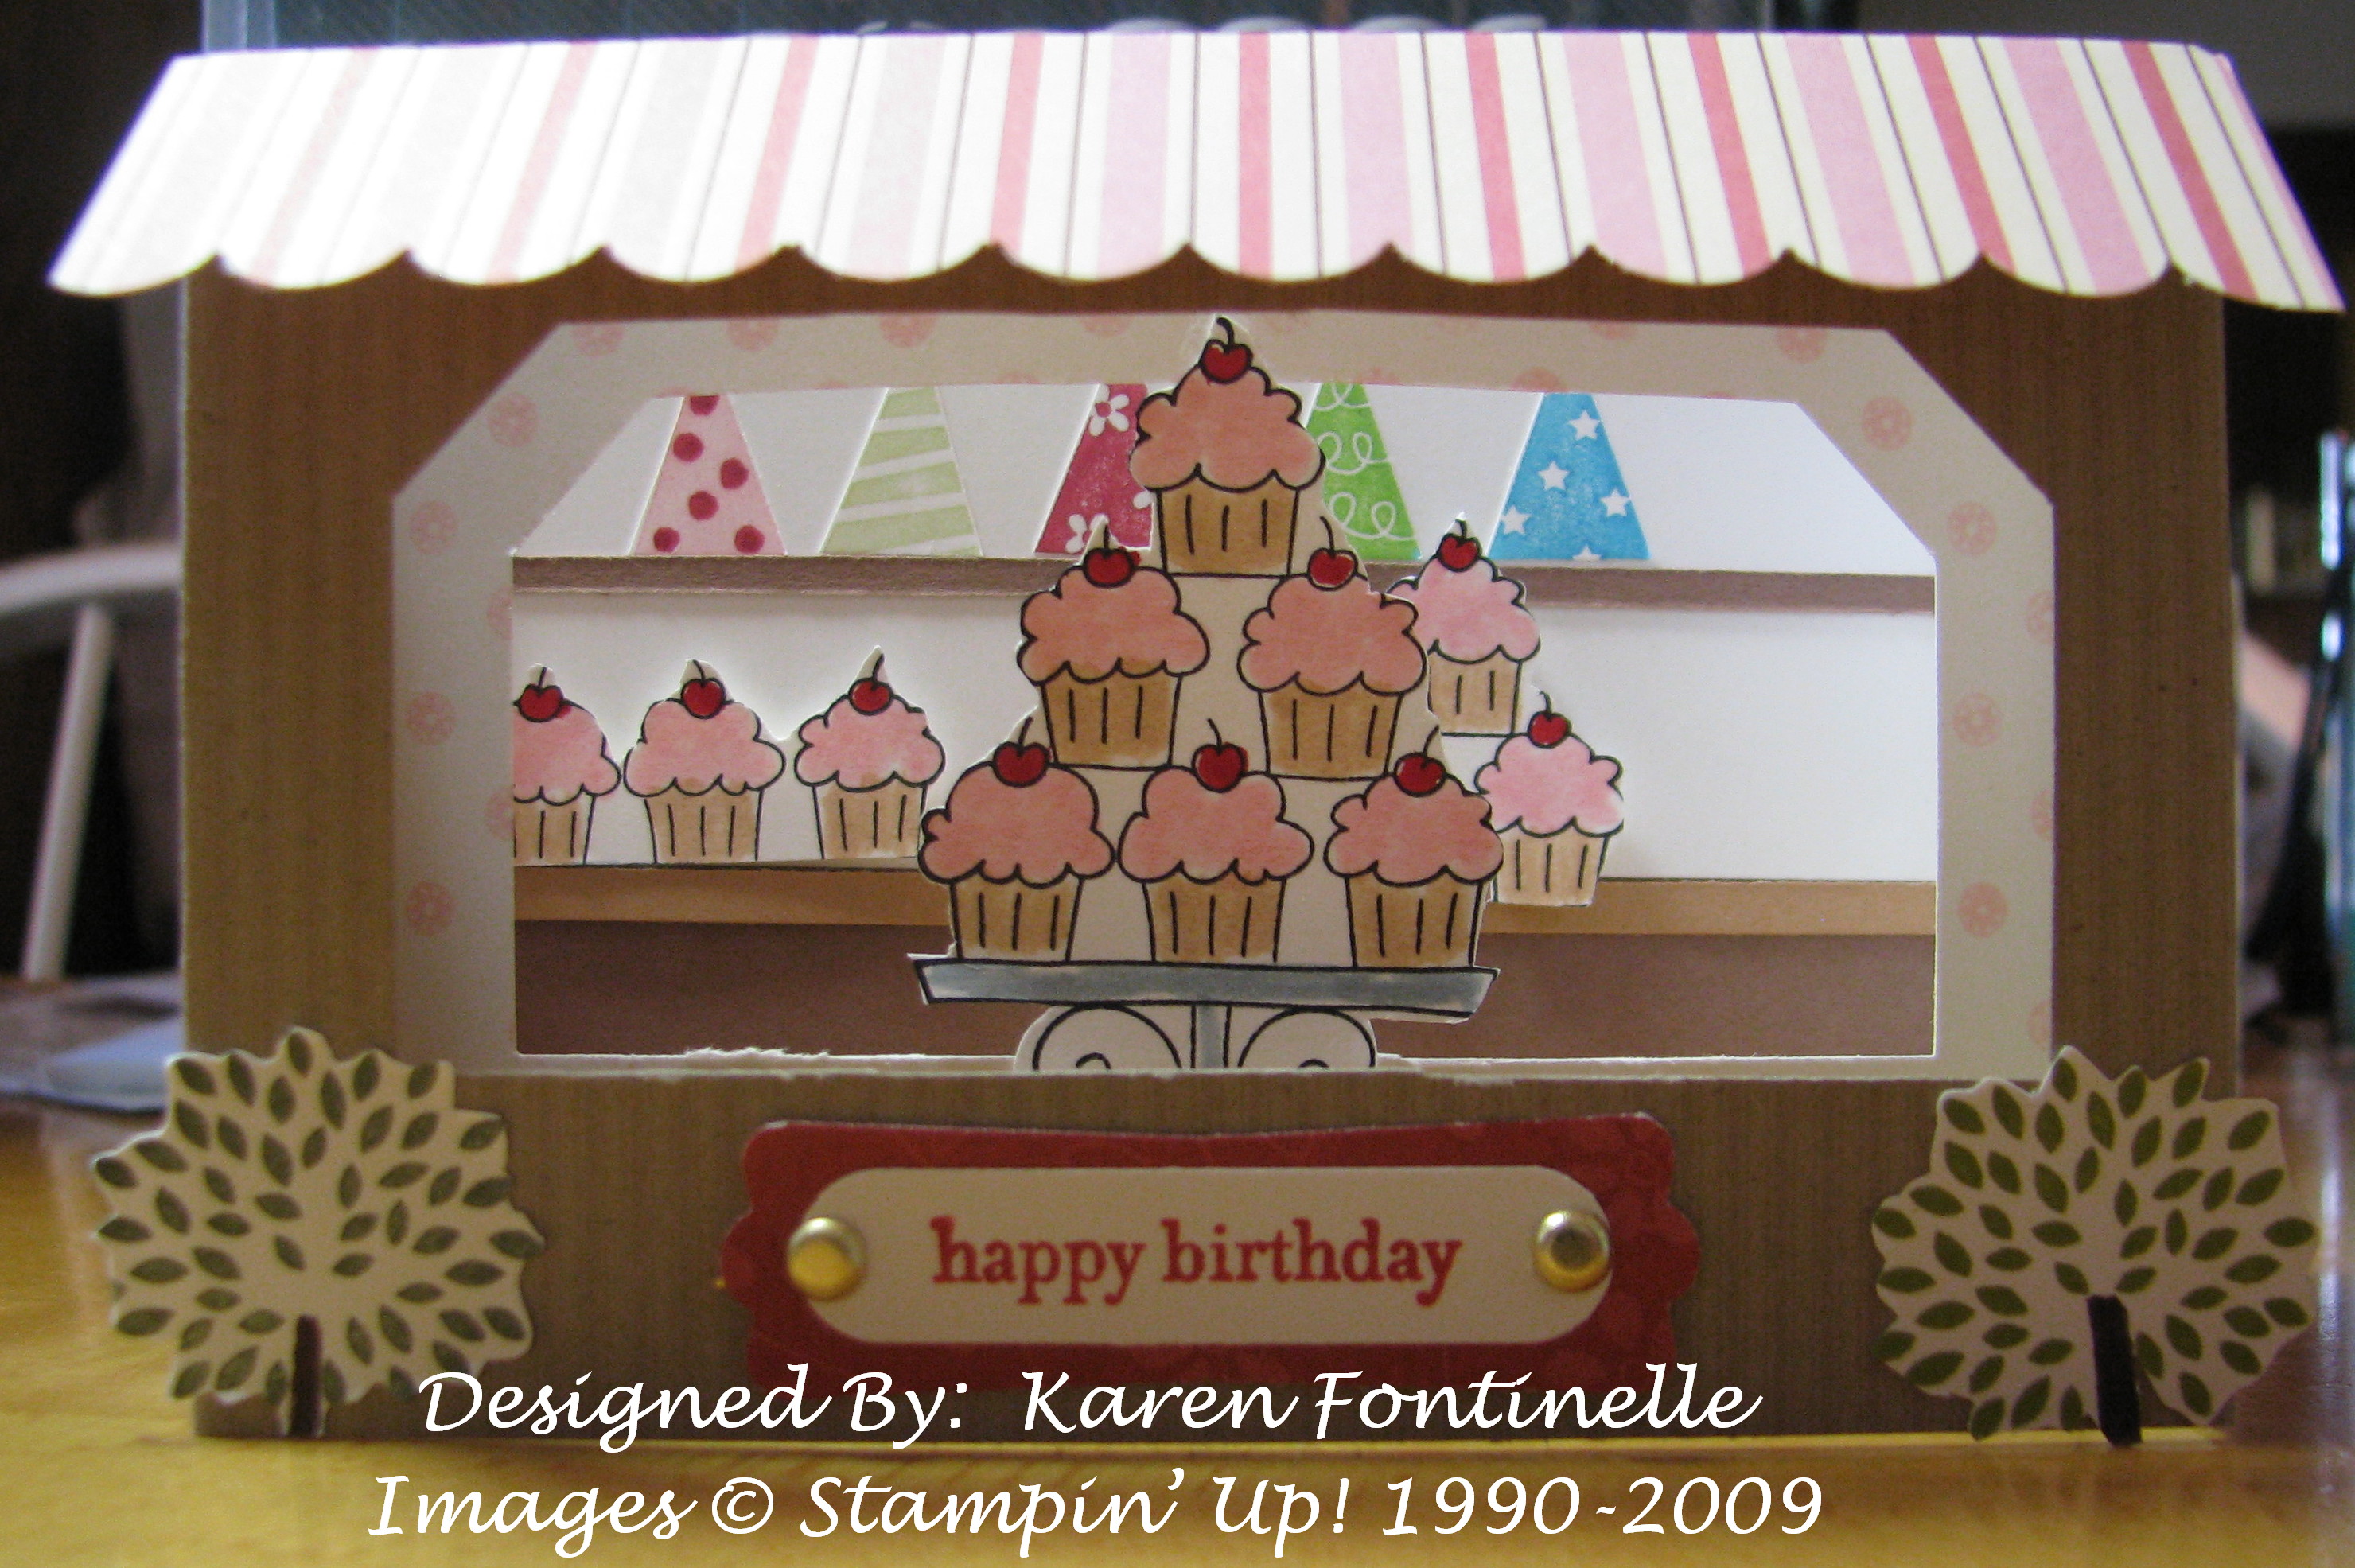
Stamp sets I used on this card:
Trendy Trees, Boho Backgrounds, Party Hearty, Crazy for Cupcakes
Did you notice the "Sneak Peek"?
Pingback: Easter Diorama Card With Welcome Easter | Stamping With Karen