Monthly Archives: March 2014

Paper Pumpkin Is a Year Old! Sign Up Tonight!

Paper Pumpkin Birthday

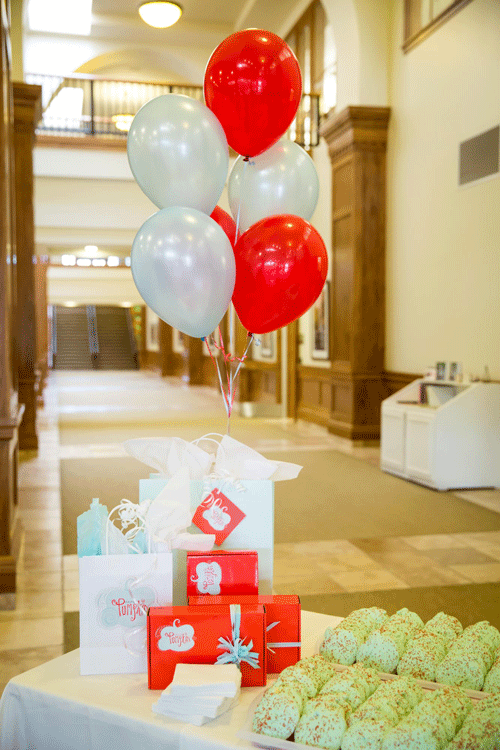
Stampin’ Up! is celebrating the one year birthday of their monthly papercrafting subscription kit, Paper Pumpkin, at the Home Office! What a fun thing to do!!

This is what Stampin’ Up! said about Paper Pumpkin’s first year:

  • We’ve sent out 229,000 Paper Pumpkin projects (say that three times fast!) to our friends.
  • We’ve helped over 45,000 women bring out their creative sides—(and we know that they were just waiting to break out)!
  • We even had 13,000 take advantage of our Free Marker offer—which is available until midnight tonight!

So if you haven’t signed up for Paper Pumpkin YET, you still have a few hours left, until midnight Mountain Time. Get in on the fun and get in on the FREE MARKERS!  Why not?!

JOIN Paper Pumpkin, get a cute package in your mailbox, and get Free In Color Markers if you sign up NOW! Tonight!  

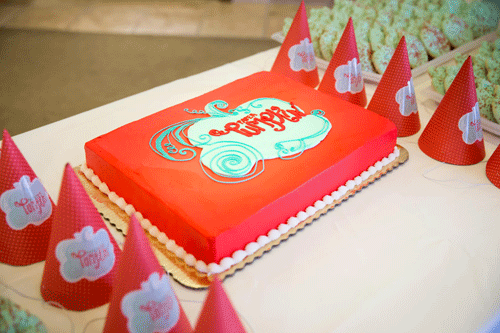
Paper Pumpkin Birthday Cake

Last Day! Sale-A-Bration 2014! Get Your Free Gift with $50 Order!

Sale-A-Bration

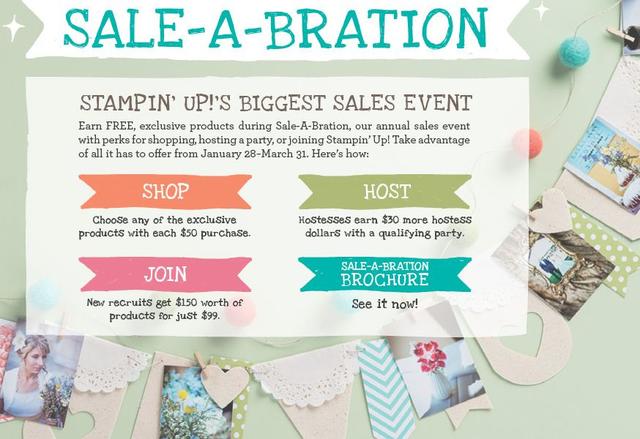
Stampin’ Up!’s biggest promotion of the year, Sale-A-Bration, has been going on for over two months – but today is the last day, sorry to say! Today, Monday March 31, 2014 is the last day you can place an order of $50 or more (no limit) on any current Stampin’ Up! merchandise, and choose a FREE GIFT from the Sale-A-Bration Brochure! For EVERY $50 you spend!! Who doesn’t like FREE stuff??! Choose your FREE GIFT on pages 11-17 of the brochure!

Shop at my Stampin’ Up! Online Store any time today!  Just don’t wait until the last minute – unless you have to!

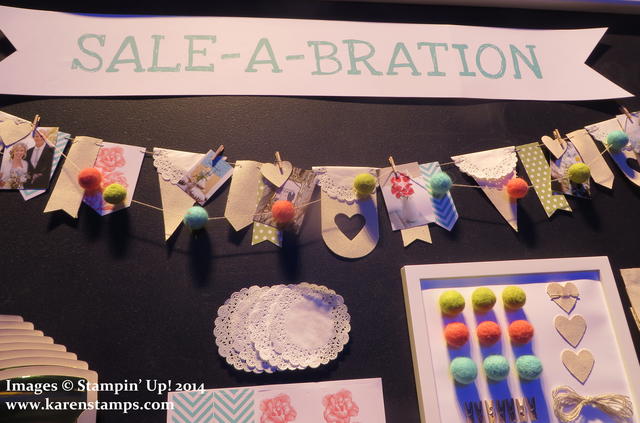
Sale-A-Bration Heartfelt Banner

Paper Pumpkin…A Monthly Papercrafting Kit in the Mail!

Paper Pumpkin Papercrafting Kit

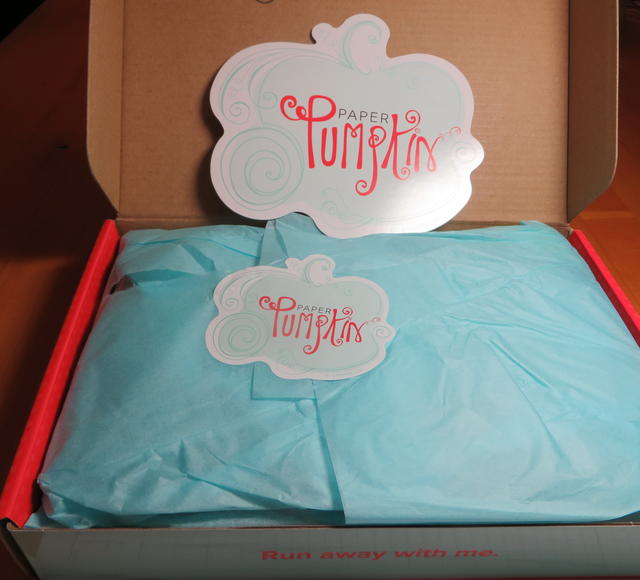
Wouldn’t you like to find a package like this in your mailbox once a month?  Sign up today and get a FREE set of In Color Markers! Read all about it and sign up for a subscription HERE. You can always sign up for Paper Pumpkin but today is the last day for the free set of markers! Might as well get them, I say!! Take about half an hour a month for yourself to make a pre-planned papercrafting project (always a surprise!) that comes in the cutest box! Just the package will make you happy! (This is separate from other Stampin’ Up! ordering and Sale-A-Bration.)

Weekly Deals

Stampin Up! Weekly Deal March 25 2014

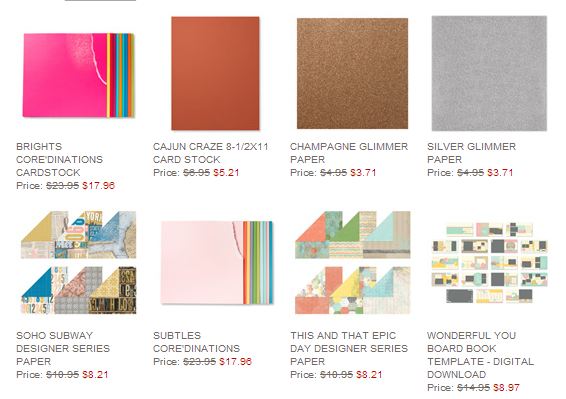
Last day for last weeks Weekly Deal!  Be sure to get that Glimmer Paper!  You’ve got to have it!

Go to my Stampin’ Up! Online Store to place your order or just contact me by phone or email.

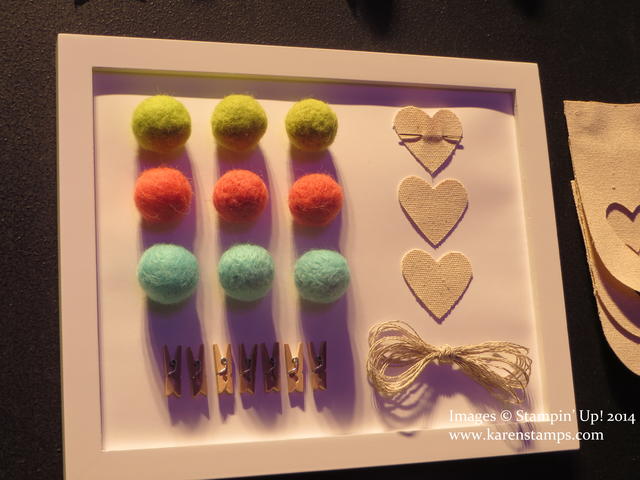
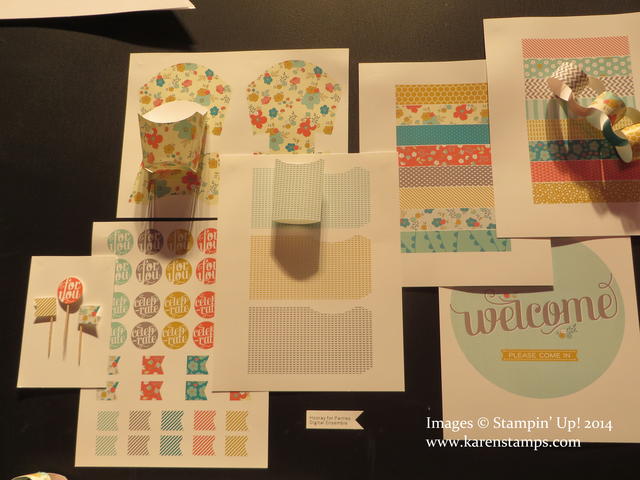
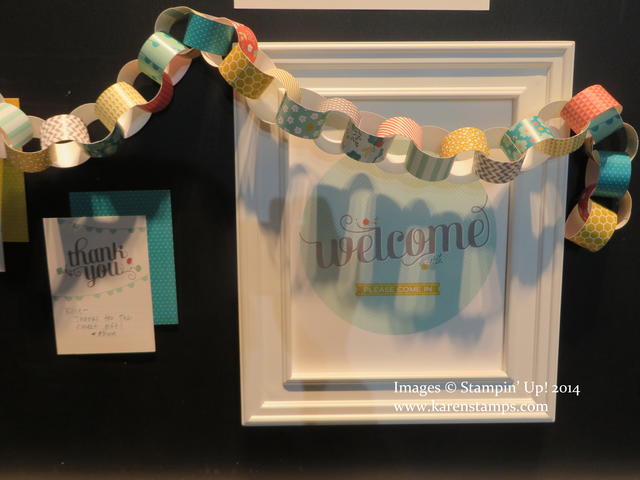
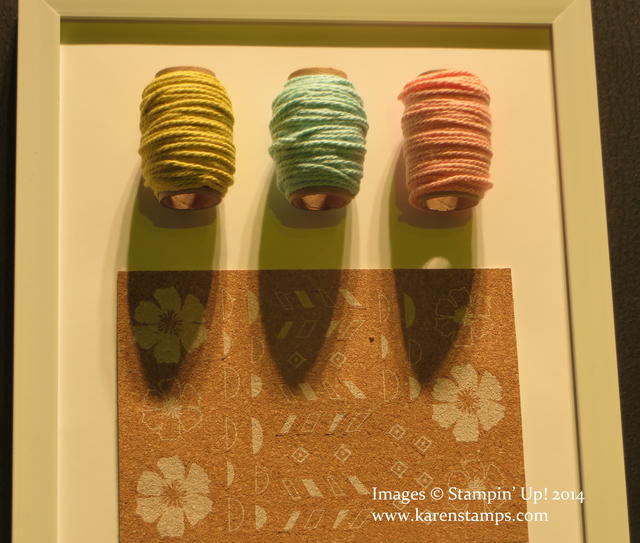
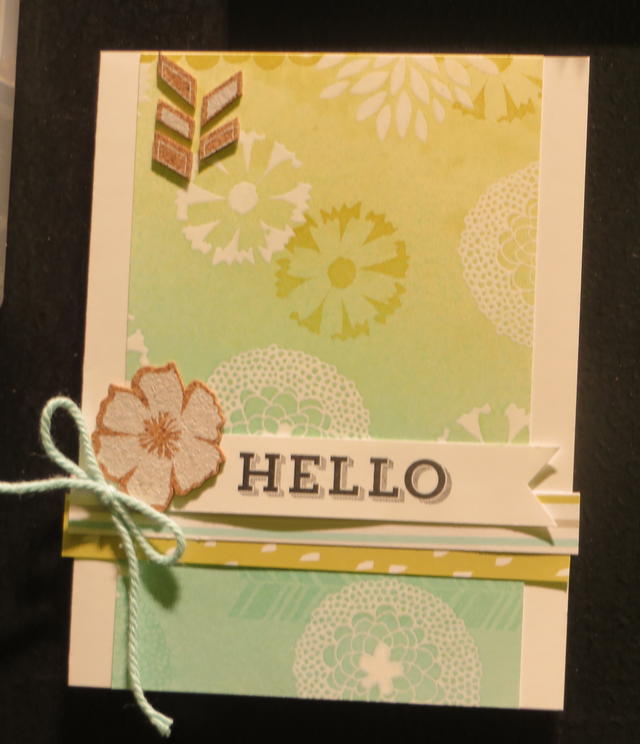
Here are some Sale-A-Bration photos from Stampin’ Up! Leadership in case you need inspiration! Don’t miss out!

Sale-A-Bration 2014

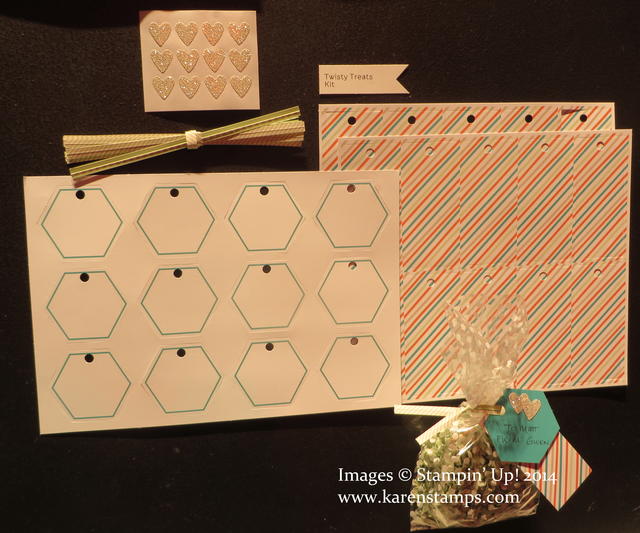
Sale-A-Bration Twisty Treats

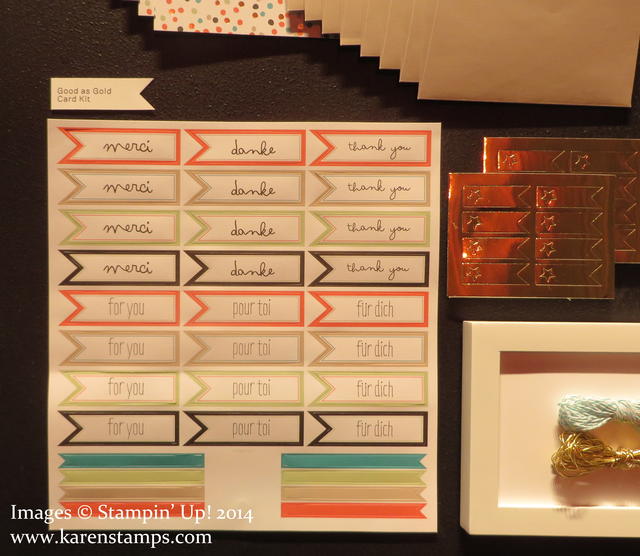
Sale-A-Bration Good As Gold Card Kit

Sale-A-Bration Hooray For Parties Digital Ensemble

Sale-A-Bration Hooray For Parties Digital Ensemble

Sale-A-Bration Sweet Sorbet Accessory Pack

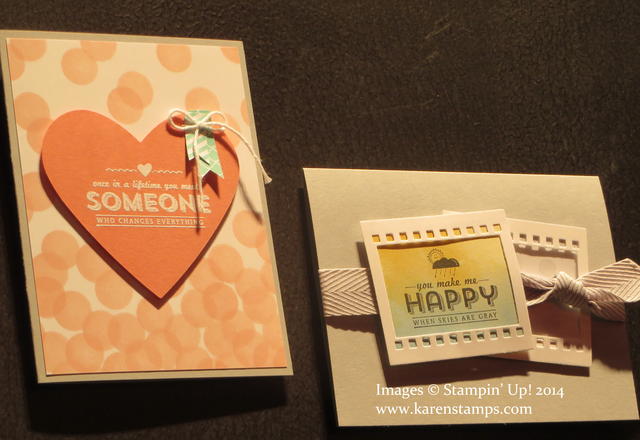
Sale-A-Bration Petal Parade

Sale-A-Bration Petal Parade

Sale-A-Bration See Ya Later

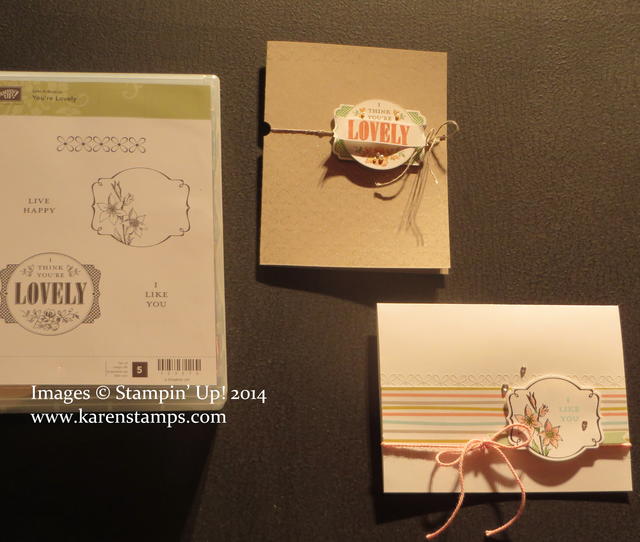
Sale-A-Bration You're Lovely

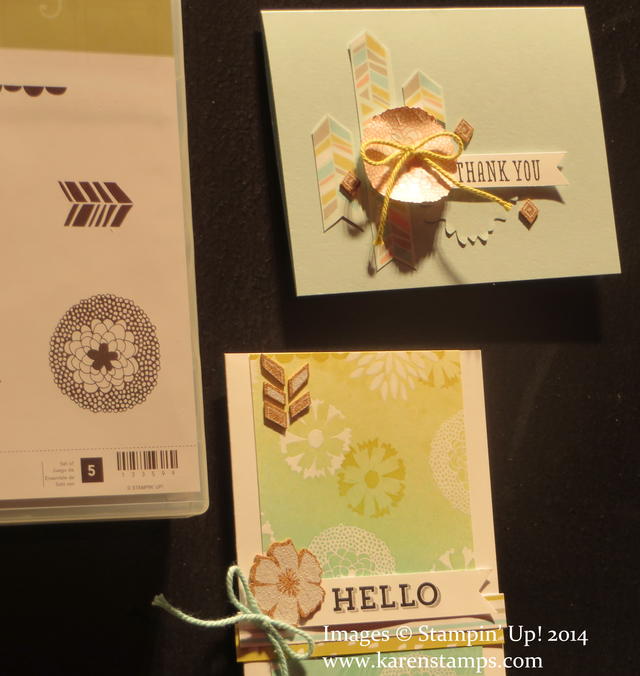
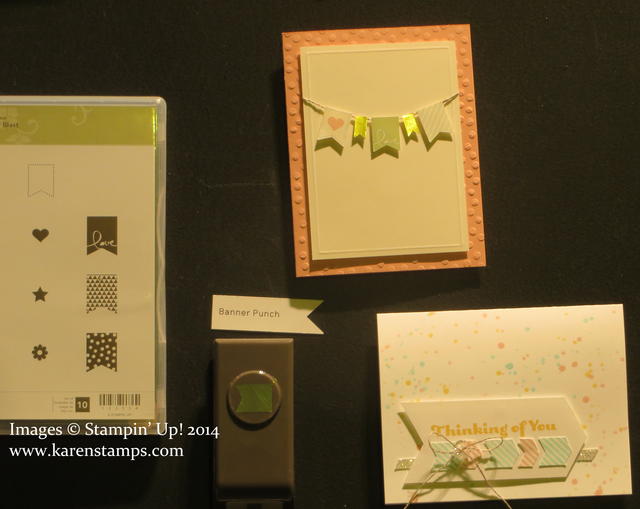
Sale-A-Bration Banner Blast

Don’t miss out on the fun of Sale-A-Bration! Any current or Clearance products count toward your $50 merchandise, not just items in the Sale-A-Bration brochure. Go there to choose your FREE gift. Or if you would like help in choosing bundles! Just visit my Online Store!  Let me know if you have questions or problems ordering!

March and Stampin’ Up! Specials Coming To An End Quickly!!

Stampin' Up! Sale-A-Bration 2014 Promotion

Can you even believe that Sale-A-Bration, the biggest promotion of the Stampin’ Up! year, is coming to an end Monday, March 31?!  I can’t believe March is ending already, much less Sale-A-Bration! It began in January and seemed like it would go on forever!  But if you don’t get your order in by Monday, you will miss out on your free gift with a $50 purchase!  Back in the day, there were just a few free stamp sets to choose from for your free gift!  Now you have many choices for whatever suits you! You’re not restricted to the Bundles in the Sale-A-Bration Brochure; you can purchase any $50 in current Stampin’ Up! products and earn your FREE Sale-A-Bration gift!  Just ask me if you have any questions or need any help in your choices!

It’s not just about one free gift with a $50 purchase!

  • Join Stampin’ Up! by purchasing the Starter Kit for only $99 and get $150 worth of Stampin’ Up! products! Start your OWN BUSINESS with Stampin’ Up! for only $99 and see what you can do with it! I can help you!
  • Earn a FREE SALE-A-BRATION GIFT with EVERY $50 you spend!  Spend $150, get three free gifts PLUS Hostess Benefits!! That means choose an extra $25 in Stampin’ Up! products FREE!
  • Digital products to buy and free digital product gifts to use with My Digital Studio!
  • Gather some orders from your friends!  You be the Hostess! Even non-stampers can use ribbon, scissors, personalized stamps, adhesives, envelopes, gift boxes and bags and more!

Paper Pumpkin Free Markers

Paper Pumpkin will continue, but if you want to get a FREE set of In Color Stampin’ Write Markers – a $14.95 value – you NEED to sign up by Monday, March 31!

  • Go HERE and click the SUBSCRIBE button at the top of that page! Put Quantity 1 in the box.  No Promo Code required or needed. Click “Continue” at the bottom of the page. Fill in your account information on the next page!
  • Mid-April you will receive the pictured Welcome Kit in the mail with your free clear-block on which to mount these and future stamps. Everything for the project is included in the kit except adhesive.
  • Mid-May you will receive the next kit that goes out to everyone! (as long as you don’t cancel!) I can tell you that since January 2014 the kits have been getting even better!  It’s just fun to receive a gift in the mail!  This is the cutest package and something special just for you!  Get a couple month’s worth of kits and see how you like them! No obligation, you can always cancel or even just PAUSE your subscription and come back to it. You can even order extra kits in a month.  Just make any changes in your subscription before the 10th of any month to take effect that month!
  • Ask me if you have any trouble signing up or questions! You’re worth a special gift for yourself!!

TRY Paper Pumpkin Today!

Best of 25 Years Stamp Sets

Even though Stampin’ Up! released these special Best of 25 Years stamp sets to celebrate the 25th Anniversary of Stampin’ Up! of past images (plus one new!) over the past year, they have still been available all this time – but now only until MONDAY, MARCH 31! Purchase six stamp sets altogether and send in your proof of purchase Collector’s Card and get a free stamp set! If not six, at least make sure you have the images you want before they are gone!

***As a special incentive to collect the Best of stamps, we’re including a collector’s card and 25-year proof of purchase sticker with every Best of set. Collect six stickers, and send it in to redeem a FREE set of your choice valued up to $14.95! Free sets must be redeemed no later than April 30, 2014.***

Whew!  Lots of information, but you just have this weekend and MONDAY, MARCH 31 to get in on these deals!  Don’t want you to miss out because you forgot or weren’t sure! Don’t wait until the last minute if you can do it sooner! Email me at Karen@KarenStamps.com if you have any questions or need any help with ordering or anything!

Have fun Sale-A-Bration shopping HERE at my Stampin’ Up! Online Store!

Stampin’ Up! All Wrapped Up Bundle Livestream

If you missed it last night, you missed a fun new event from Stampin’ Up! It was free and for anyone to watch! Donna Griffith, a Stampin’ Up! home office employee, presented LOTS of projects using the All Wrapped Up Bundle in the Sale-A-Bration Brochure! It was a live stream, shown at various times for various time zones, even in French and Spanish.  Donna always has great projects to show us at Stampin’ Up! Convention, Leadership, and other events! Not only was there the live stream of Donna explaining her projects but also a lively chat box going on the side! I’m sure that all of us who watched hope they will do this again!

Here is the third live stream of the evening for North America.

And to see photos of just the projects, click HERE for a .zip file.

Inspiration: So Very Grateful Tempting Turquoise and Gumball Green

So Very Grateful Turquoise and Gumball Green

Do you wonder how to come up with with inspiration for ideas for cards, scrapbook pages, and any other projects? Often it just takes seeing a combination of colors or textures or a focal point. One day I came across this color combination in a catalog or magazine ad and it just struck me. I tore the page out and actually used the idea!  The colors reminded me of our Tempting Turquoise and Gumball Green, plus Whisper White.

Inspiration: Turquoise and Green

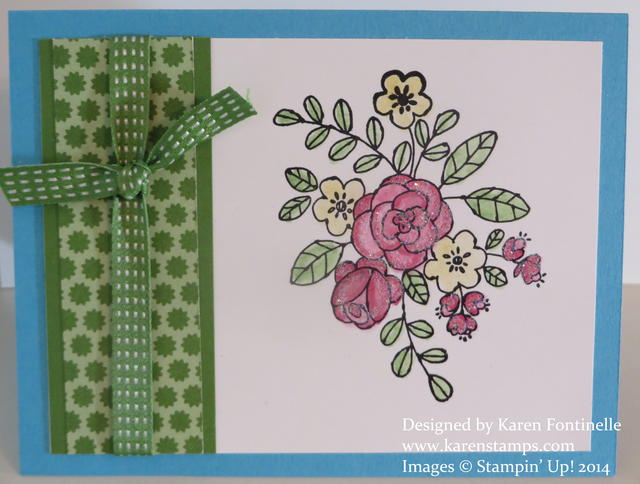
As you can see, I made the card at the top based on this color combination. I also added some Birthday Basics Designer Series Paper which had Gumball Green in it to the side panel and tied on a piece of Gumball Green 3/8″ Stitched Satin Ribbon. I stamped the pretty flower image from So Very Grateful and colored with Stampin’ Write Markers and a Blender Pen. You can see my technique for that on my Stamping With Karen Facebook Page HERE. Go over and “LIKE” my page and be a “fan”! And I added a touch of Dazzling Diamonds Glitter with my 2-Way Glue Pen.

I decided not to add a greeting yet, depending on how I want to use the card in the future.  Doesn’t hurt to just have a plain card for a note either!

I hope this will show you one way to find inspiration in creating your projects!  Often it just takes one little thing to get started–maybe a scrap of paper, maybe a color combination, maybe a piece of ribbon, who knows?! Just keep working and it will come to you easier and easier! Go page through a magazine now or look through your designer paper for color combinations and make something!

Stampin Up! Weekly Deal March 25 2014–Shimmer and Glimmer!

Stampin Up! Weekly Deal March 25 2014

Check out the latest Stampin’ Up! Weekly Deals for this week, March 25 through March 31! If you like shimmer and glimmer, this is the week for you!  Both the Champagne Glimmer Paper and Silver Glimmer Paper are on sale! These are some of my favorite Stampin’ Up! products! The glimmer of the beautiful sparkly paper often adds so much to your project!  We have all loved it ever since Stampin’ Up! started carrying the glimmer paper!  You can even “watercolor” with reinker on the Silver Glimmer Paper to make it a different color if you like that! Be sure to stock up if you like some pizzazz to your cards and projects while you can save a little bit of money! Check out all the other offerings as well!

Remember, they all count toward Sale-A-Bration, which will be over before we know it!  Sale-A-Bration is Stampin’ Up!’s biggest promotion and ends March 31!  That is next Monday, last day! Last day to spend $50 and choose a free product from the Sale-A-Bration Brochure!  Remember, your original purchase doesn’t have to come from the Sale-A-Bration Brochure.  There are suggested Bundles in there if you need suggestions to get to $50 (perhaps for a beginner) but you can purchase any current Stampin’ Up! products and then choose your FREE product from the Sale-A-Bration Brochure. Who doesn’t want free stuff?

Shop at my Stampin’ Up! Online Store any time for the best in papercrafting products, take advantage of these Stampin’ Up! Weekly Deals, and with a $50 purchase earn a free product during Sale-A-Bration this week!

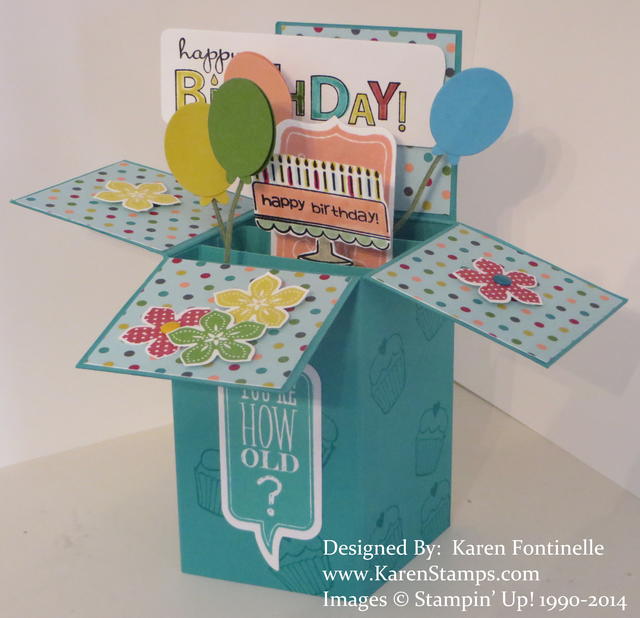
Birthday Pop Up Box Card

Birthday Pop Up Box Card

I’ve been making a lot of these popular pop-up box cards lately! They’re not difficult and are quite cute to make. If you make them the right size, they will fit in a regular size envelope when folded flat. There are two little folded strips inside the box to which you attach whatever stamped images you want to be part of your card. I used several different stamp sets and greetings on this card. You can leave the back piece of the box unfolded and put a long layer on the back if you want to write a greeting.  But you don’t have to. Put more layers of designer paper on the box or not.  It’s all up to. you.
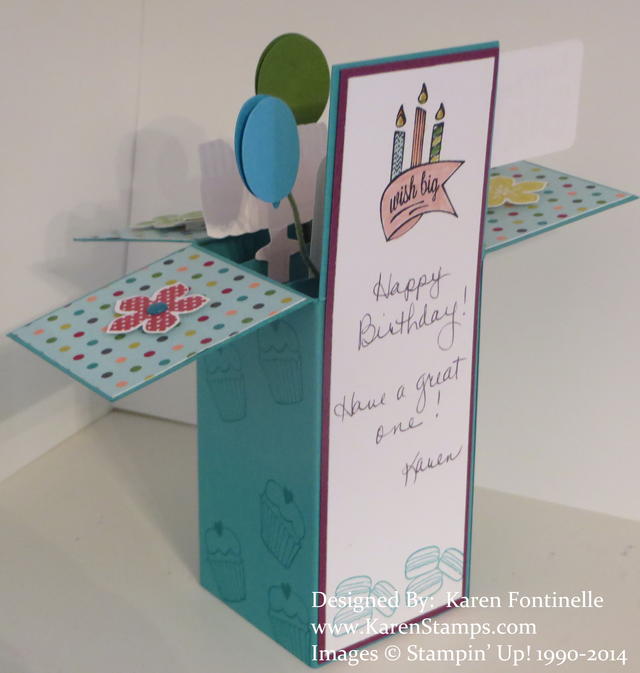
Birthday Pop Up Box Card Back Greeting

These cards are really fun to make! Remember, it folds flat and fits inside an envelope as long as you are careful where you place your popping up images.  Lay the card on your envelope so you see how much space you have.

Start with half a sheet of cardstock like always.  Lay sideways in your Simply Scored Tool.  Score at 2″, 4″, 6″, and 8″. Turn the other way and score at 2″ for box flaps. Then cut those scored sections up to the score line.  The little 1/2″ piece on one end will be the part you attach to the inside of the box. Use Sticky Strip or Tombow Multi Glue.  The little braces that go inside are two 1″ x 3″ pieces, each scored at 1/2″ and 2 1/2″. Those fit inside, the trickiest part! Then attach whatever decorations you want for your card!

Remember, Sale-A-Bration ends March 31.  That’s a week from today!  Just enough time to make your list and get your order in!  Don’t procrastinate until the very last minute!

Shop anytime at my Stampin’ Up! Online Store! If you prefer not to order online, please contact me, email Karen@KarenStamps.com, and I will be happy to make arrangements with you and put the order in for you.

Also the special with subscribing to Paper Pumpkin ends March 31st also! Get a pack of FREE MARKERS with your Welcome Kit!  Your also receive a free clear block for your stamps with the Welcome Kit to use on future kits!  It’s a papercrafting kit in a box, easy to do, quick and simple, unique, exclusive to Paper Pumpkin, and a surprise in your mailbox for only $19.95 which includes shipping!  Just keeps getting better!

Join Paper Pumpkin for Papercrafting Fun and Free In Color Markers

Paper Pumpkin Papercrafting Kit Boxes

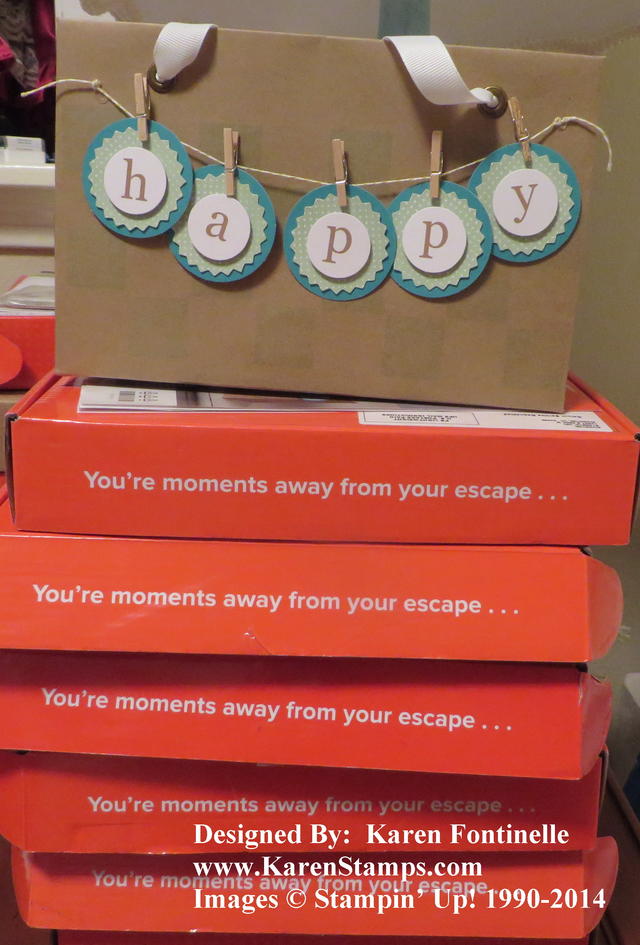
If you don’t have a stack of Paper Pumpkin boxes, then you’ve been missing out on all the fun every month! Every month a new kit for a quick and easy papercrafting project! Usually you have leftover materials you can use on another project. Follow the Stampin’ Up! directions or reinvent the project to suit yourself.

Paper Pumpkin is for you if:

  • You like to do a papercrafting project now and then but can’t design one yourself.
  • You like to make things but you don’t really have that many supplies.
  • You don’t have much time for yourself to devote to crafting but if you could make a quick, cute project in about 30 minutes, you would enjoy it.
  • Sometimes you would like to do something fun with a friend or loved one and if you could just pull out two projects all ready to make, you would be happy.
  • You get excited when you get a package in the mail!
  • You’ve got tons of supplies, but if someone is going to put a project in a box all ready to go for you, it would be great!

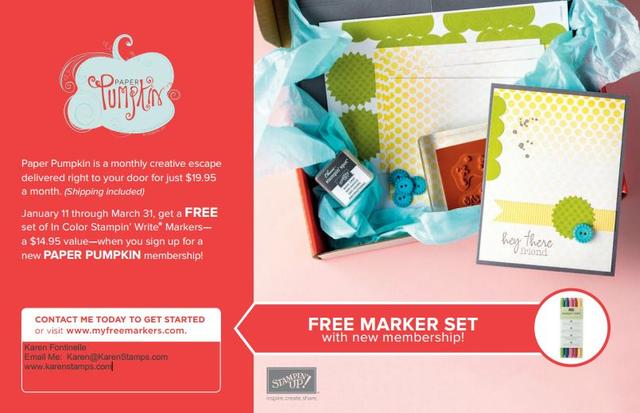
If you join Paper Pumpkin, Stampin’ Up!’s papercrafting kit that comes in the mail once a month, you will get your own pretty red box in the mail once a month with a project all ready to go, except for adhesive.  Join before March 31 and get a free set of In Color Markers (worth the price of the kit itself $14.95).  Try it risk free, no obligation, cancel when you are ready before the 10th of any month to stop that month’s subscription.  Or just pause it if you want to take a break and start up again the next month or the next after that. A monthly subscription is only $19.95 which includes shipping!

Join Paper Pumpkin by clicking this link HERE.  Your markers will come with your Welcome Kit with a free clear block for stamping.  After the first month you will receive the same kits that everyone gets that month.  You can still sign up after March 31, but why not do it right away and get the FREE Markers!

Secret Garden Soft Sky Monochromatic Birthday Card

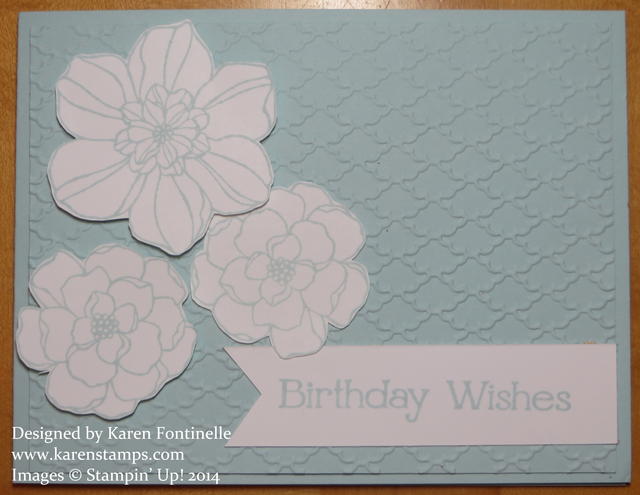
Secret Garden Soft Sky Monochromatic Birthday CardThis monochromatic birthday card uses Soft Sky card stock and flowers from the Secret Garden stamp set. I think a monochromatic card looks calming, not that a birthday card should be calming, it has a simple elegance to it.  I found this Soft Sky piece already embossed with the Fancy Fan Embossing Folder and decided I wanted to just layer it on a card base of Soft Sky as well. I stamped the birthday greeting and made it like a banner and stamped the flowers, also in Soft Sky ink. I just cut the flowers out by hand but there are coordinating Secret Garden Framelits to make that job easier.

Now that spring is here we can start using the Soft Subtles family of colors!

Don’t forget about the Stampin’ Up! Weekly Deals and Sale-A-Bration!

Enjoy your first weekend of spring!

Happy First Day of Spring!

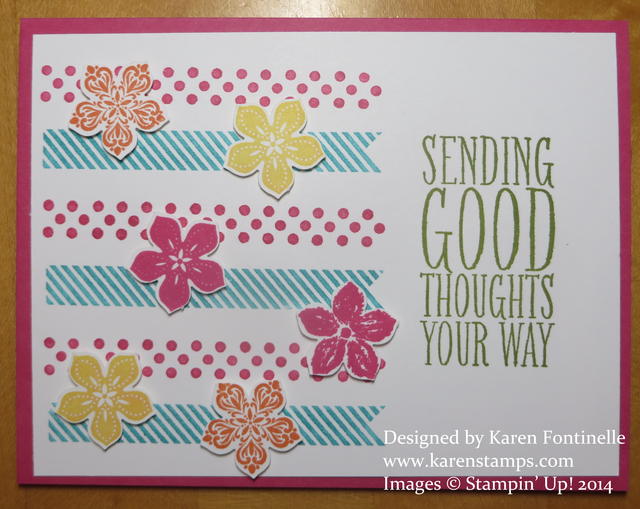
Perfect Pennants Spring CardIt’s the first day of spring!  I hope it is like spring at your house! I decided to use the Perfect Pennants stamp set on this card with a few Petite Petals flowers to look like spring. This wasn’t what I planned to make at all!  Funny how you can have something in mind and then just completely veer off into something else! When I saw these stamps in the Perfect Pennants stamp set I put both the dots and the lines on the same clear block (an advantage of the clear-mount stamps!) and stamped them together. I used Bermuda Bay and Melon Mambo markers to ink them up since an ink pad wouldn’t work with the two stamps on there together.  Once I had the first two at the bottom, I thought why not go on up to the top of the card! I thought that greeting fit the space well and chose Old Olive ink to use another color in the Brights.  That way it would all go together. Then I stamped and punched out some Petite Petals with the Petite Petals Punch. That makes it real easy!  You can also buy the Petite Petals stamp set and punch together in a bundle and save 15%! The flowers are stamped in Melon Mambo, Daffodil Delight, and Tangerine Tango. When you choose colors from the same color family, you know they will all work together!

The Petite Petals Punch has been on backorder but should be ready for shipping soon.  You can order it and Stampin’ Up! will send it as soon as they have a new shipment.

Do a little spring shopping today instead of spring cleaning and take advantage of Sale-A-Bration while you can!  Sale-A-Bration ends March 31 so time is getting short! Shop at my Online Store HERE.

Make a Simple Card Sometimes!

Gingham Garden Simple Card

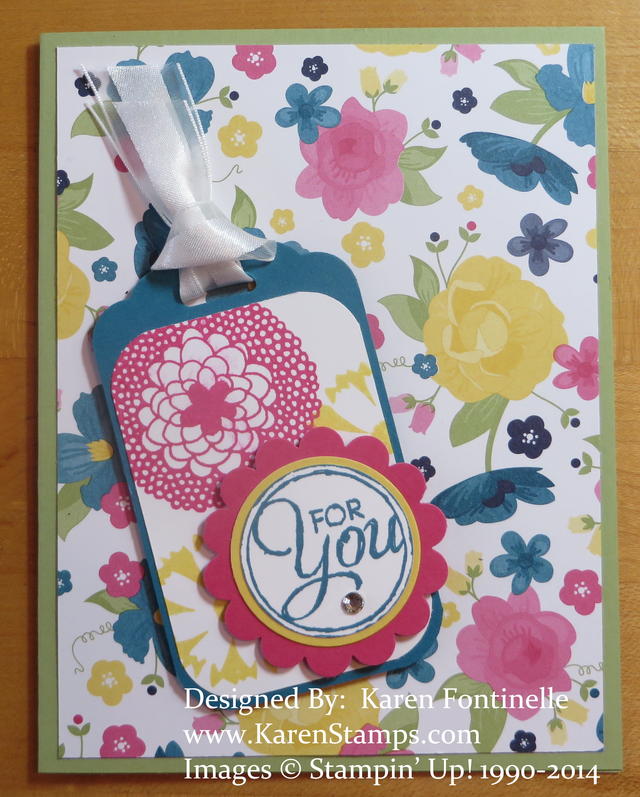
Just make a simple card sometimes! I think we often get so caught up in all the latest techniques and designs that we forget we can make something beautiful in just moments! And sometimes it pays to be messy, because the inspiration for this card came from just seeing some scraps laying on my desk that appealed to me. I’ve always loved this Gingham Garden Designer Series Paper, so now that our azaleas are starting to bloom and spring appears to be on the horizon, this bright flowery card seemed just right. Just layer a piece of designer series paper on your card base (or even just use part of a piece on the card base, add a tag or greeting, maybe a bit of ribbon or a bit of bling and you’ve got a beautiful creation. Honestly, can you make anything ugly with Stampin’ Up!’s coordinating colors, inks, papers, and accessories?

Here are the other supplies I used on this card!

Go look at the pile of scraps on your desk or just pull out a a pack of designer series paper and one coordinating card stock color and see what you can make!  Remember to just keep it simple!

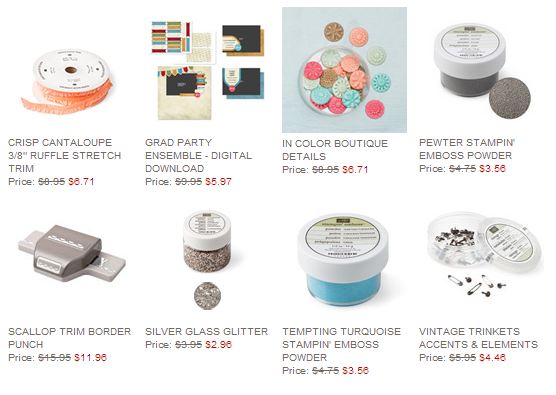
Stampin’ Up! New Weekly Deals

Weekly Deal Mar 18 2014

Stampin’ Up! has released these current Weekly Deals for the week of March 18 – 24. This is your chance to pick up some more Stampin’ Up! accessories to enhance your stamping projects, cards, and scrapbook pages at a discount! Often your card or project just needs a little something to put the finishing touch on it, so any of these items could do that! Do a little embossing or sprinkle on some glitter. A bit of ribbon is always good!  Just have fun playing around with various things as you create and you will happen upon a look that you like!

Any of these specials will count toward Sale-A-Bration!  Just spend $50 or more on current Stampin’ Up! products and earn a FREE Sale-A-Bration product during Stampin’ Up!’s biggest promotion of the year!

Go to my Stampin’ Up! Online Store now and take advantage of Sale-A-Bration and these Weekly Deals!

St. Patrick’s Day Pot of Gold Rainbow Card

St. Patrick's Day Pot of Gold Rainbow Card

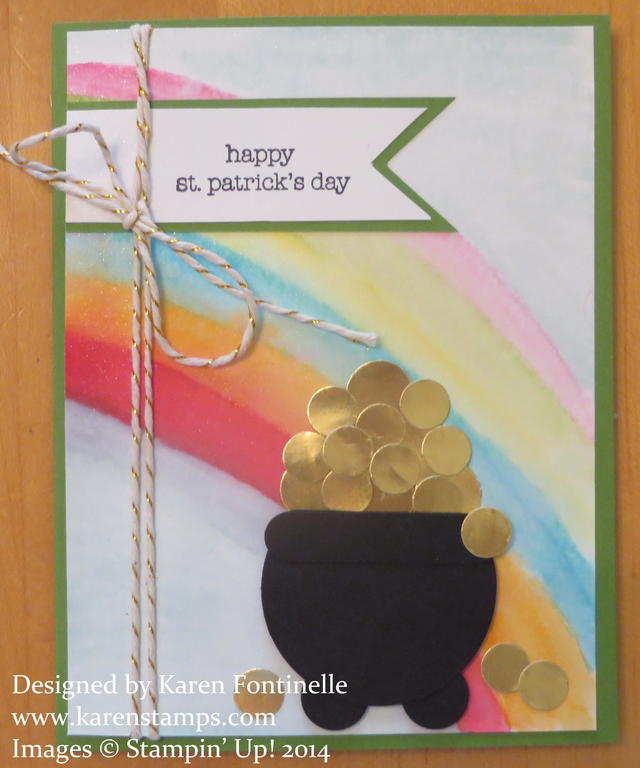
If you are celebrating St. Patrick’s Day today, maybe you would like to make this St. Patrick’s Day Pot of Gold Rainbow card! It just takes some watercoloring and some punching! To make this card, I used Shimmery White Card Stock, although Stampin’ Up! Watercolor Paper would be better and easier to work with.  But Shimmery White is the next best thing! To make the rainbow, I just used my Aqua Painter (like a paint brush with water in the barrel) and picked up some ink from various colors. Above and below the rainbow I colored in with Soft Sky. I even spritzed the card with a little bit of water and kind of smoothed everything out again with my Aqua Painter.

For the Pot of Gold, I punched a circle with the 1 3/4″ Circle Punch and also the top rim of the pot with the Word Window Punch.  I just laid the “rim” on top of the circle where it would stick out a little on the sides, then trimmed off the excess of the circle above that. For the pot feet, I used the 1/2″ Circle Punch.

For the gold coins, I punched both 1/2″ circle coins and 1/4″ circles (1/4″ circle in the Itty Bitty Punch Pack) with those size punches out of the Gold Foil Sheets. I thought the 1/2″ circles were too big but they could at least fill up the background better and then I glued down the 1/4″ circles over them.  Worked great!

I wondered what I would use for the greeting, but one of my favorite stamp sets, Teeny Tiny Wishes, had exactly the right words! I just made a little banner out of it and layered it over another piece of Gumball Green, same as the card base. And for a little more pizzazz and gold, I used the Gold Baker’s Twine.

For any of these supplies, you can shop at your convenience online at my Stampin’ Up! Store. Remember, it all counts toward a free Sale-A-Bration product when you spend $50 or more!

Be sure to check the Stampin’ Up! Weekly Deals that will end tonight!

Have a Happy St. Patrick’s Day and I hope you find your pot of gold at the end of the rainbow! If not, just make your own on a card or scrapbook page!

Make a Leprechaun Hat for St. Patrick’s Day

Leprechaun Hat

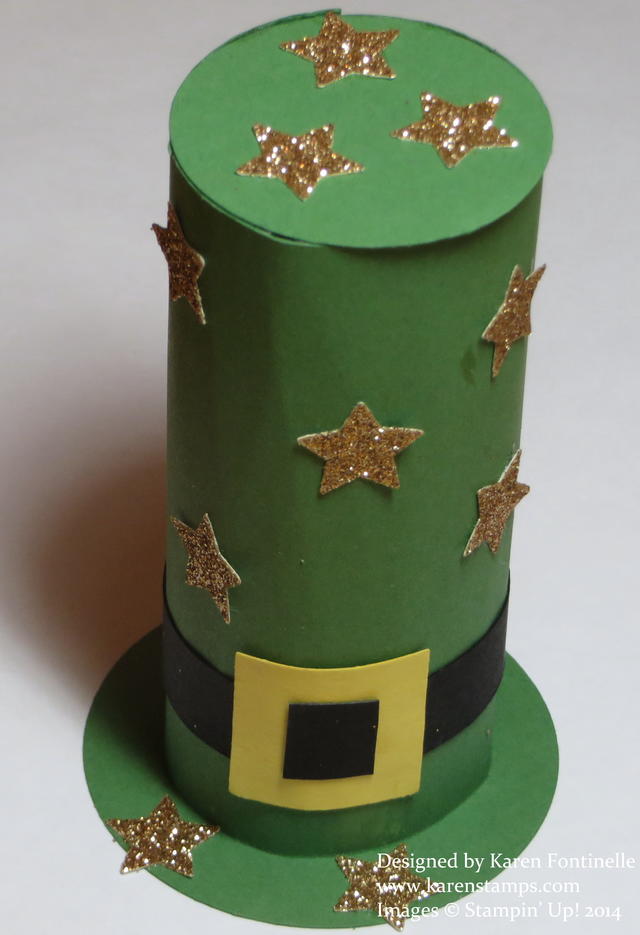
For some St. Patrick’s Day fun, make a cute leprechaun hat. This is an easy craft that would be fun to do with your child perhaps. Start with a toilet paper roll or part of a paper towel roll. Make yours as tall or short as you like. Cut a piece of green card stock that will fit around your roll. Mine was a toilet paper roll and I cut a piece of Garden Green card stock 4″ x 6″ to fit around it. That gave a slight overlap in the back. For the top of the hat, I punched a circle with the 1 3/4″ Circle Punch. Just add  a little bead of glue around the top rim of the roll to adhere the top of the hat. For the bottom, the hat brim, just punch a circle with the 2 1/2″ Circle Punch. You could even fill the hat with some candy or other treat before adhering to the bottom circle. For the hat band, I cut a 1/2″ strip of Basic Black card stock and wrapped around the hat. For the buckle, I punched a square with the 1″ Square Punch in Daffodil Delight card stock. The easiest way to make it look like a buckle is just to adhere a small piece of Basic Black card stock the same width as the black band in the center of the yellow square. Now it looks like a buckle without having to cut the slits. You could stamp a little something on all the paper before putting the hat together but I just punched some stars from the Champagne Glimmer Paper or you could use the Gold Foil Sheets.

St. Patrick’s Day is March 17 so it’s time to be making some fun little party favors or decorations!

Don’t forget about the Weekly Deals at Stampin’ Up! that will end for this week on Monday, March 17th. Easy to remember –  the same as St. Patrick’s Day!

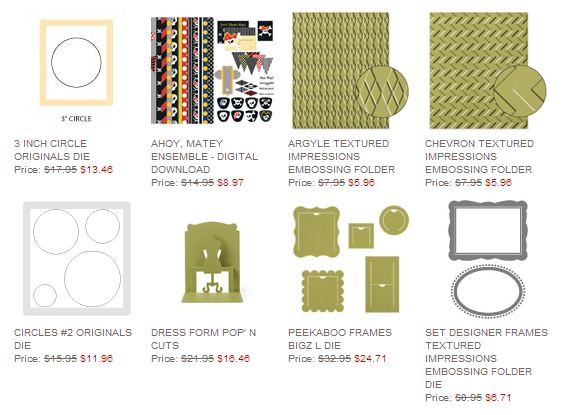
Stampin' Up! Weekly Deal Mar 11 2014

Happy Pi Day! It’s National Pi Day!

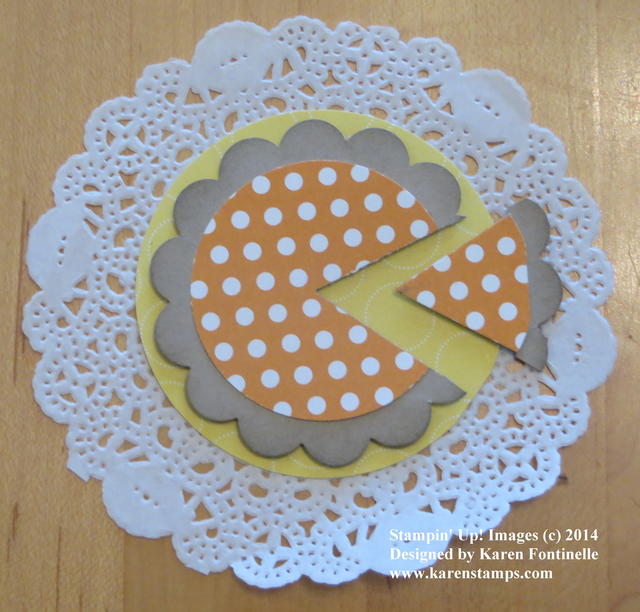
Punch Art Pie for National Pie Day

Happy National Pi Day! Pi is the distance around a perfect circle divided by the distance across it. (But you probably knew that already!) Pi is 3.14 (hence March 14) and the digits go on and on. Some people (my son) even see how many of those digits they can memorize. Apparently he held the record for awhile in his high school math class and got a t-shirt. We could never understand how he or anyone could possibly do that but he had some kind of system.  It’s been a few years so I don’t remember what. Maybe he thought of it as rooms in a house or something. It was unbelievable to me that he or anyone could do that.

If you have heard of the South by Southwest Festival in Austin, TX that has been going on this past week or longer, what better place and way to celebrate Pi Day than by skywriting. SXSW is a combination of music, films, and technology, so I think writing Pi in the sky fits right in, don’t you?! You can read more about it and see one of the photos HEREMy Pi son must have seen some of it because when I emailed him a link to a photo of the skywriting, he said, “Oh that’s what that was! But Pi Day isn’t until tomorrow!” Well, they got an early start by doing it early last evening. As a mom, I was glad I was the one who “knew something” for a change!

Now to be a Stampin’ Up! Demonstrator or papercrafter, you don’t need to know the measurement of pi. Probably the most useful math you need to know to make cards is to know that if you cut a piece of card stock in half at 5 1/2″ and then fold that piece in half, you will have a card! You can use a little bit of math to make some other projects, but nothing too hard! So even if you do not understand pi, you can still sign up to be a Stampin’ Up! Demonstrator HERE. It’s a great deal if you do it before March 31! Get more for your money in your Starter Kit by signing up during Stampin’ Up! Sale-a-Bration! You can start your own stamping business for just $99!

If you want to celebrate Pi Day, there is no math required.  Stamp or make something round.  Eat something round, like a donut or a cookie! Find some circle stamps you have and stamp like crazy! Decorate some wrapping paper!

My little punch art pie is easy to make.  Punch the crust with the 2 3/8″ Scallop Punch.  I sponged my Crumb Cake crust with a little Crumb Cake ink. For the pie, pick your flavor from the Polka Dot Parade Designer Series Paper! Punch out with the 1 3/4″ Circle Punch  and adhere to the “crust”. Punch out a piece of pie with the new Triangle Punch. Place the pie on a plate cut from the 2 1/2″ Circle Punch, popped up with Stampin’ Dimensionals and then place the plate on a pretty Tea Lace Doily to serve!

Have fun on National Pi Day, no matter how you choose to celebrate!