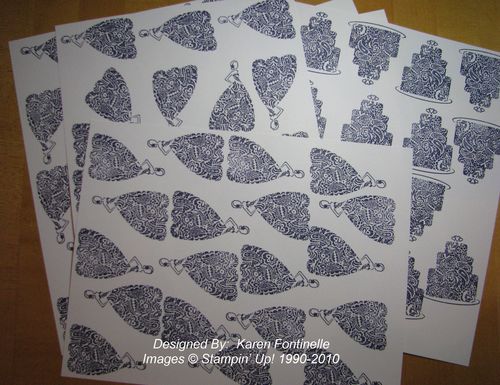
What are these?? These are the beautiful images from the Stampin' Up! stamp set "Para la novia" #114028 in the Spanish catalog "Celebrando Creatividad" on page 22. I've stamped the bride and the cake with Concord Crush Classic Ink and am busily cutting them out today with my Paper Snips #103579. Can't show you yet what I am making with them! But I can say that if you ever have to cut out a quantity of intricate, small images like these, you really need our Stampin' Up! Paper Snips!
Monthly Archives: September 2010
Halloween Bucket
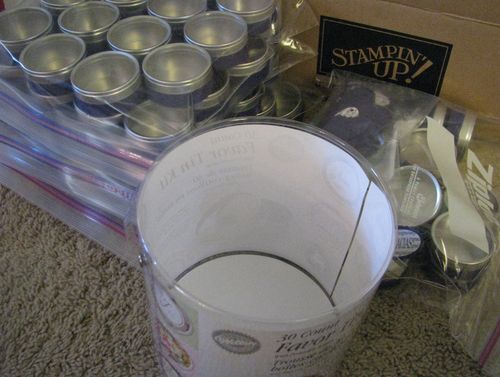
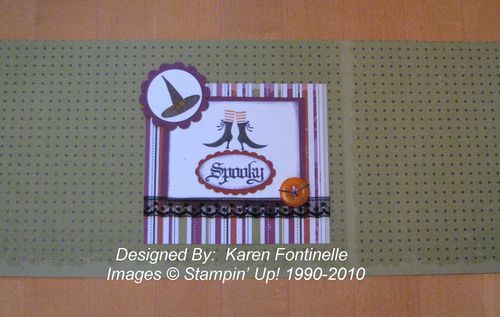
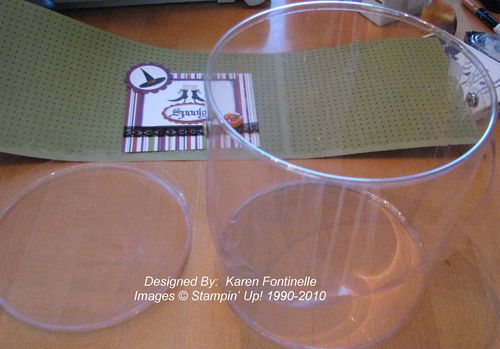
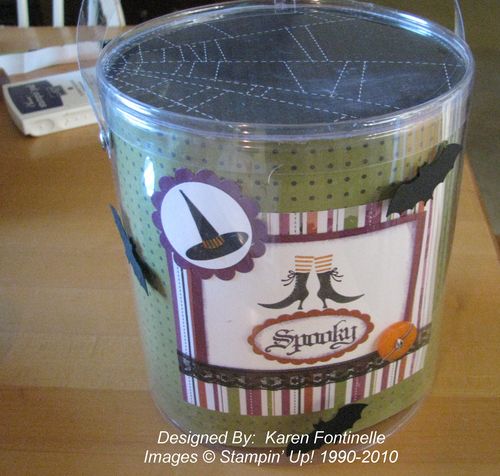
Here is one of the many things I have been doing lately to get ready for the wedding. These are the favor tins partially decorated and being shipped off to the bride to fill and finish. When I was left with the plastic buckets the tins came in I thought, THROW THESE OUT SO THEY DON"T ADD TO THE MESS! But then the craft devil said, "But you might be able to use these to wrap Christmas presents!" Isn't that always the way it happens and then we wind up with all kinds of stuff saved "in case we need it"! And then I got the idea to take out the paper lining the clear plastic container and decorate it for Halloween!
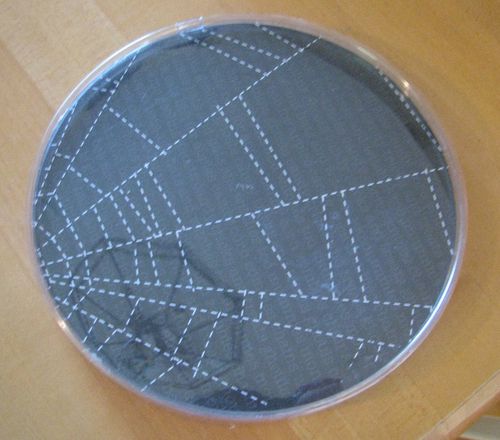
I used the Wicked Fun Specialty Paper #117400 in the Stampin' Up! Idea Book & Catalog and the stamp set Wicked Cool, also in the Idea Book & Catalog. It was REALLY time for me to stop and stamp a little bit. When I get a little more time I think a cute punch spider on top would be cute! Hope you will be inspired to make something fun out of something you have sitting around!
If you need some Halloween stamp sets, paper, or accessories, be sure to check out my Online Store soon!!
They Say It Is Fall
Doesn't feel much like it here in Houston, TX! The temperatures, however, are a bit cooler than they have been, and I'm sure the colored leaves will be at peak in December!! It might get down into the 80's over the weekend. Probably due to rain!
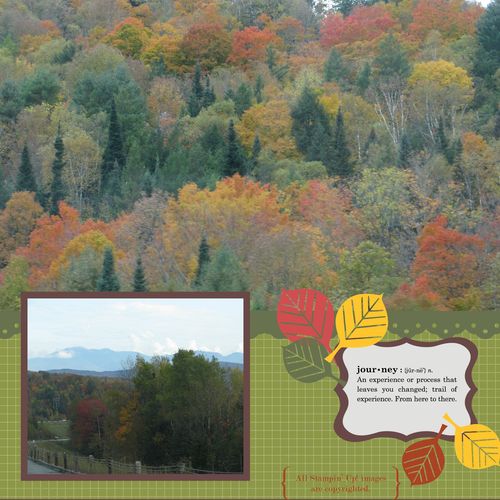
So to get myself in the fall mood, I decided to do another digital scrapbook page from our trip to New England last fall. These colored leaves and gorgeous scenery sure say fall to me!
Read more about My Digital Studio HERE. Maybe you will want to have as much fun as I am having using My Digital Studio!
Using a Crop-A-Dile
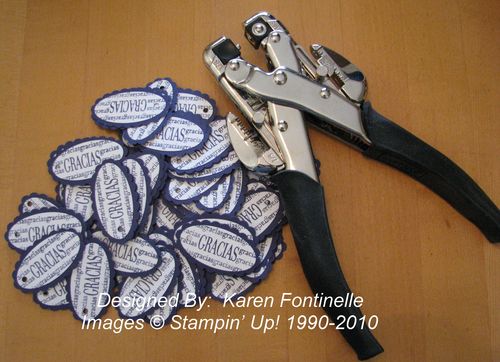
Would you rather punch these tags 100 times with a small hand punch or would you rather punch these tags 25 times (four at a time) with ease with a Stampin' Up! Crop-A-Dile (#108362)? Maybe you aren't going to have 100 tags to punch at a time very often, but every now and then something might come up where you do have a quantity or even just a thicker paper to punch through. The Crop-A-Dile has two sizes of holes and does it so smoothly and easily! It's not just for setting eyelets! It's a great tool to have on hand! Just made my task easier!
Stamp set: Felicidades Siempre (Spanish Catalog) #115722
Paper: Concord Crush, Whisper White card stock
Ink: Concord Crush Classic Ink Pad
New My Digital Studio Downloads!!
They just keep coming!! Whether you have (or want to purchase!) My Digital Studio by Stampin' Up!, a digital papercrafting solution, or you have another digital program, here are the latest new downloads from Stampin' Up!
123200
To the Nines Designer Series Paper
.jpg)
121434
Typewriter Numbers Stamp Brush Set
Just go to my Demonstrator Website and click on the Shop Now button! Then click on "Digital Crafting" on the left and then "Newest Downloads".
You don't have to be a big digital scrapbooker to get lots of use from My Digital Studio! Need some designer paper? Just print some out! Need a sentiment you don't have in a stamp? Print it out from My Digital Studio! Need a card? Just make one in My Digital Studio! Send it digitally to share if you don't want to print and mail!
Get My Digital Studio software #118108 by ordering at my website HERE and clicking the Shop Now button!
New Stampin’ Up! Recruits Get Free Craft Tote!
Don't forget this special offer for recruiting during September 2010 and until October 18, 2010 (or while supplies last!). Buy your Starter Kit, become a Stampin' Up! Demonstrator, and you will receive this fantastic craft tote we demos were able to purchase at Convention this summer. Everyone was CRAZY about it! You can pack so many stamping and scrapbooking supplies in it!
Your life can be so enriched by being a part of Stampin' Up! whether you want to work diligently and build a highly successful business or whether you need some extra money in this economy to pay your expenses or those extras we all want. And of course besides the financial aspects, there is the joy of meeting new customers, meeting other demonstrators, working at a job that is so much FUN, and being a part of a company as wonderful and well-respected as Stampin' Up!
If you say you're not creative, just click HERE! Stampin' Up! will not leave you hanging!
Stampin’ Up! Glass Glitter
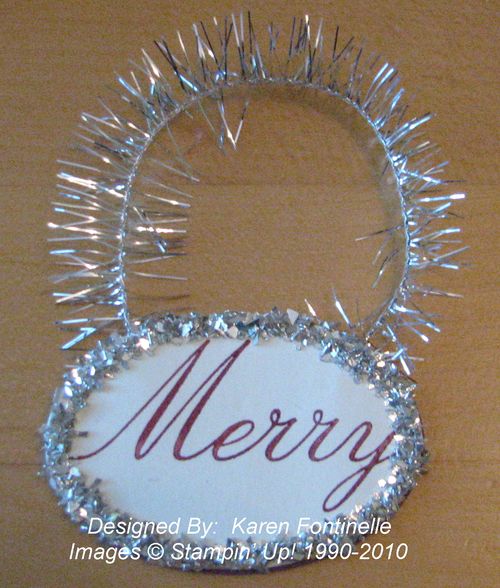
I wanted a tiny little something with the new Silver Glass Glitter #120995 in the Holiday Mini so this is what I came up with…..just a quick, easy little thing!
I used my Cherry Cobbler Stampin' Write Marker to ink up just the "Merry" part of the stamp in Bright Christmas, page 22 in the Holiday Mini, then punched out with the Oval Extra-Large Punch #119859. I also punched out an oval from some scrap card stock to adhere later to the back. To adhere the Glass Glitter I applied Tombow Multipurpose Glue around the edge of the oval and sprinkled on the glitter like usual. A little Tinsel Trim #120994 in the Holiday Mini makes a cute little loop for hanging.
To see any of our Stampin' Up! catalogs, just click HERE.
Now go make yourself a simple little Christmas ornament or tag!
Scallop Baby Carriage Card
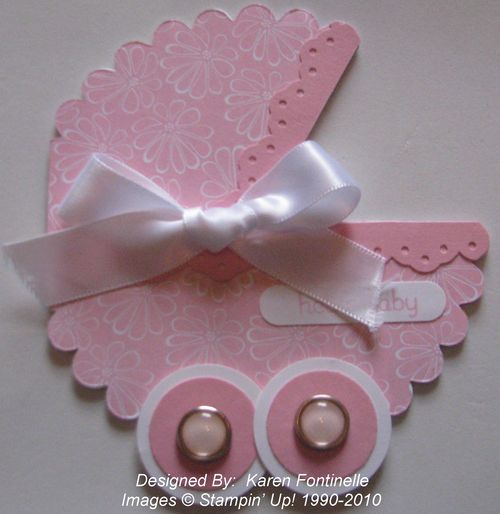
After seeing these cards around, I finally tried making one! Just use your Big Shot and Scallop Circle Die #113468! Use a piece of card stock or designer paper (I used a retired paper). Actually I used Whisper White for the card base and also the designer paper so I would have a white inside. Cut your paper twice as large as the scallop on the die and fold in half. Place the fold just inside the scallop edge, omitting about 4 scallops. When you do it, you'll see. After the scallop is cut, you will need to make your own template, but basically you are just going to cut into the middle of the scallop from the open edge and cut out a section to make it look like a baby carriage. Then decorate away!
My Digital Studio Photo Page
In continuing to work on digital scrapbook pages of our recent Colorado trip with My Digital Studio from Stampin' Up! I decided to try something I had seen demonstrated. I used one of my photos as the background paper for the page! You just put a photo box over the entire page and insert your photo! Then I changed the opacity to 80% to make it look lighter so I could add a couple photos on top. Where I placed the text is an element from "Write Stuff" in the program….I sized it how I wanted it and then placed a text box over it with my journaling.
There are new videos that I mentioned last week from Stampin' Up! to introduce you to using My Digital Studio. Just click HERE to go to the page to learn more about My Digital Studio. If you would like to see the videos, just click on the link on that page in the left column.
Shopping for Shoes
I've been absent from posting for a few days because I have been busy shopping for shoes for the wedding…mainly so that I can go get my dress hemmed, if necessary. It's not an easy task and one I have always hated. Even though I might like new shoes just fine, my foot is a lousy fit. It's rare that I try on a pair of shoes and think, "Wow! These feel great!" And now, to be shopping for dress shoes, especially FANCY dress shoes, well, it has just been miserable!!
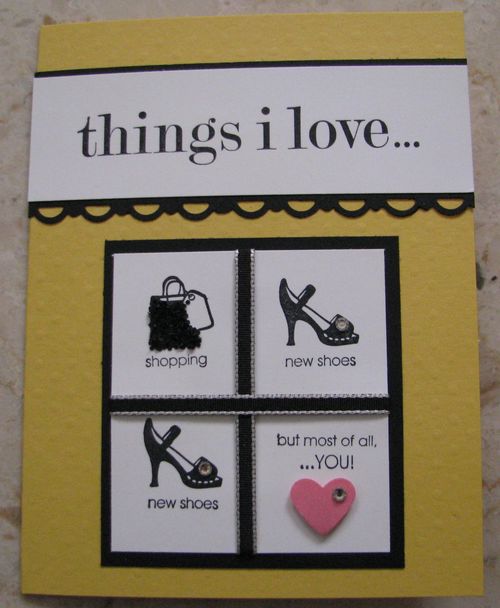
So in honor of the endless shoe shopping, here is a card with shoes on it!
This stamp set, Things I Love, was one we received a year ago at the Stampin' Up! Convention. There is also a stamp of a piece of chocolate in the set, but I didn't think a black piece of chocolate would look that good…even though I probably love chocolate more than I love shoes!
The lighting isn't very good, but there is some bling on this card! I added some black glitter to the shopping bag with Tombow Multipurpose Glue (just push the teeny sprinkles back in to the image with your fingernail to make sharper edges) and the shoes each have a Rhinestone on them as well as the heart. And it is so fun to punch out a little heart with the Small Heart Punch!
Here are some of the supplies I used:
Stamps: Things I Love #115229
Paper: Daffodil Delight, Whisper White, Basic Black, Regal Rose
Ink: Black Stazon
Accessories: Small Heart Punch #117193, Backgrounds 1 Texturz Plates #114512, Scallop Trim Border Punch #118402, Black Chunky Essentials Glitter #108797, 1/8" Black Taffeta Ribbon #119261, Basic Rhinestones #119246
Yes, I did buy a pair of silver shoes that look lovely and hopefully I can wear them long enough to get through the ceremony and get photos taken….now if I can just convince my feet of that!
Wrap Your Packages with Fabric!
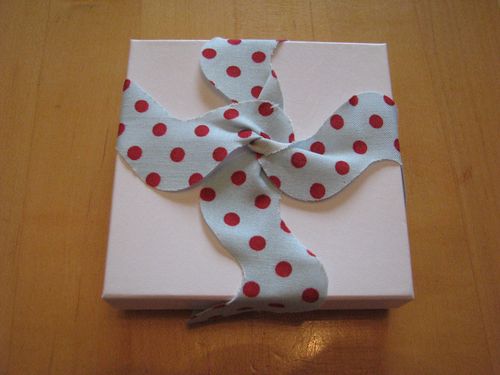
I just gave myself another idea as I wrote the title….but we'll stick with my original idea first! After seeing wrapped packages at Convention with fabric trim, I decided to try my own sample. Stampin' Up! at one time sold a roll of plain white heavyweight wrapping paper and it was great! They also sold a striped and polka dot wrapping paper, also great. So if you ever see Stampin' Up! selling wrapping paper again, grab some because it is good quality! I think it is useful to have plain white wrapping paper on hand because you can stamp on it or decorate with ribbons and trim anyway you want, and then you don't have to have multiple rolls of wrapping paper taking up space for every occasion. And now with the new Stampin' Up! fabric, you can add an additional trim to your arsenal…..or even wrap the whole box in a piece of fabric (which is what I thought of as I was writing the title!)…..by using fabric.
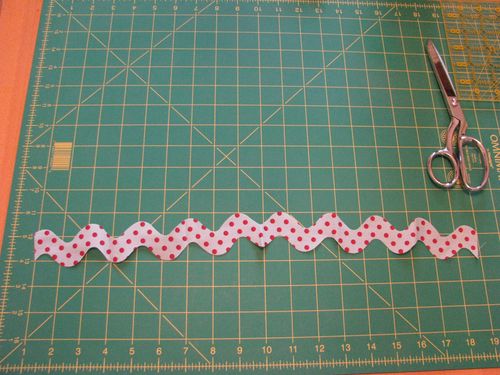
In this sample, I cut a strip of the new Candy Cane Christmas Fabric #121715 in the Holiday Mini and die cut it with the new Tasteful Trim Die #120893 on the Big Shot #113439. If you had lots of packages to wrap, you could cut multiples of this trim at one time on the Big Shot, making your task quicker and easier. Just wrap your package with white paper and trim with the new Stampin' Up! fabric!
And then I tried making a little ribbon flower out of one of the other fabrics in the set to decorate and added a little Glimmer Brad #119740 to the center.
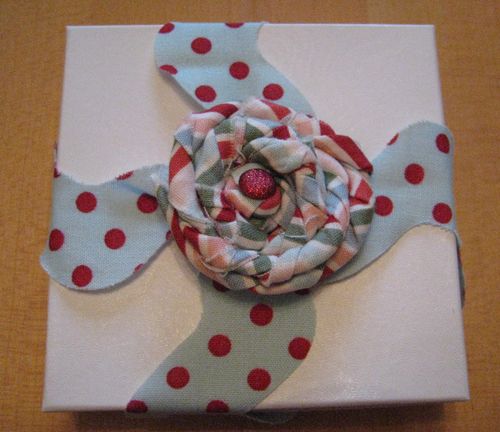
You could even put a pin back on the back of the flower so the gift recipient could remove it and wear it!
Be sure to check out the Holiday Mini Catalog for these beautiful new fabrics!
More Halloween from Convention!
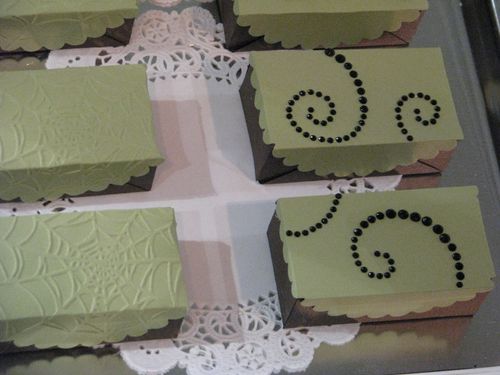
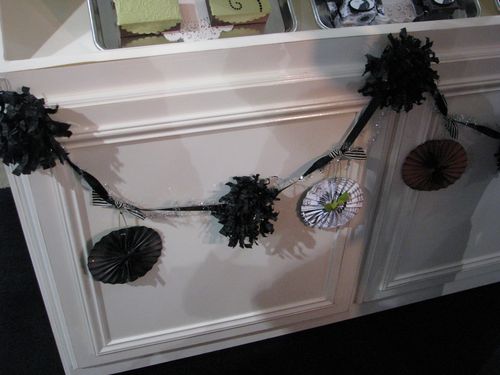
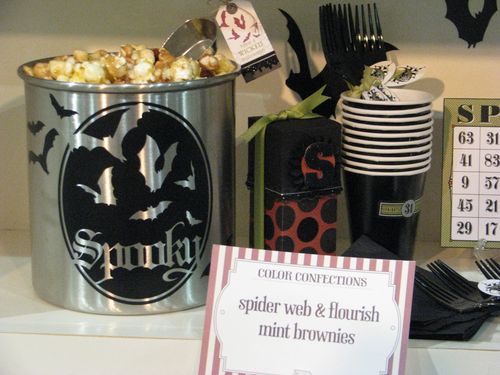
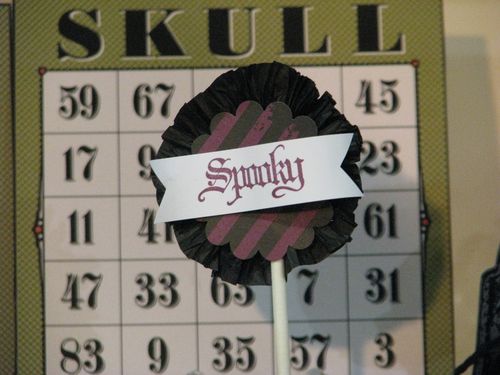
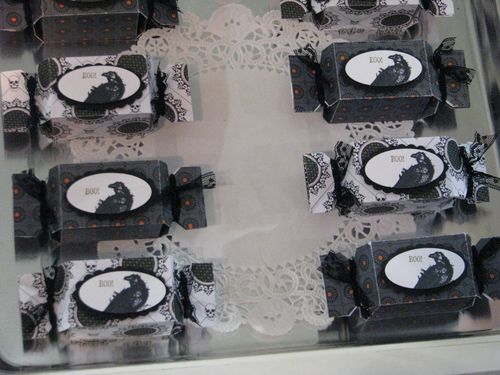
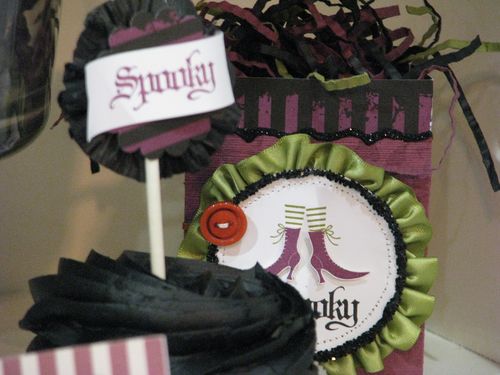
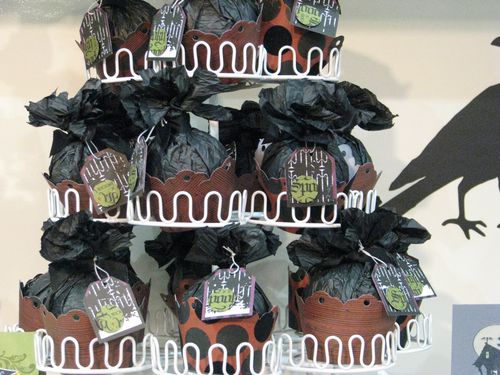
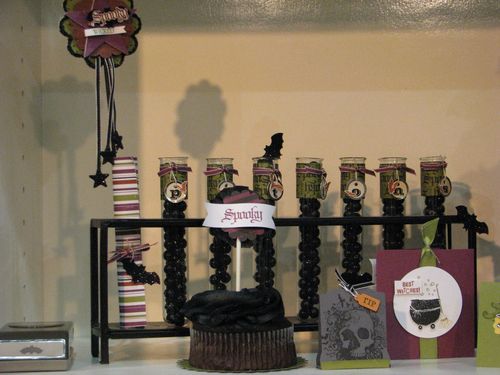
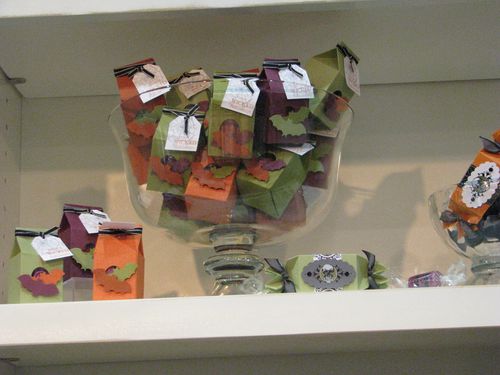
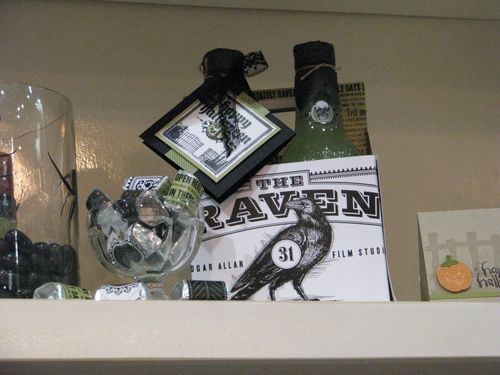
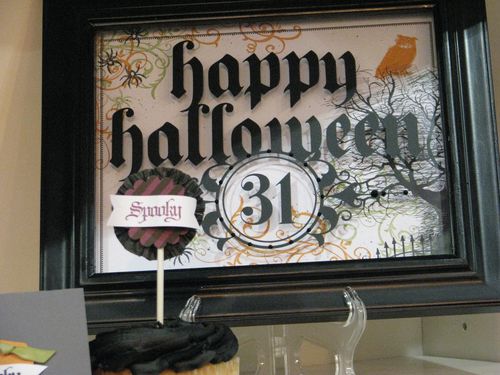
Here are a few more photos from Halloween projects presented on stage at the Stampin' Up! Convention this summer! Hover your mouse over the photo to see the main materials used. Click on the photo to enlarge! Enjoy!
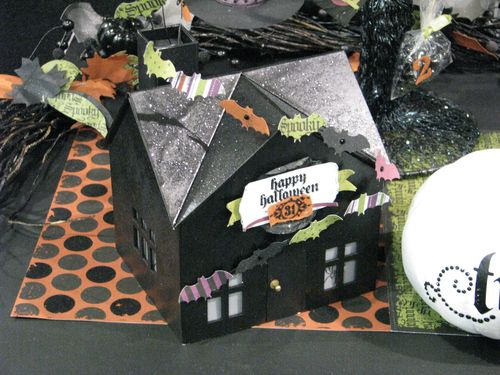
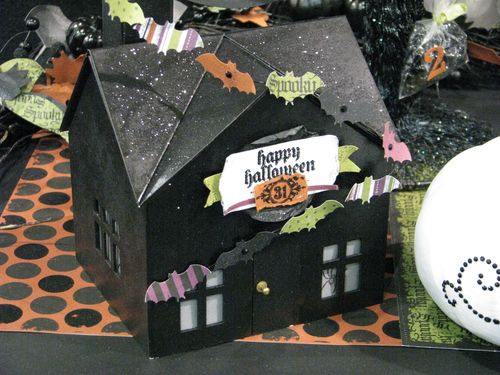
Spray paint the house and sprinkle on glitter! Also, notice the tablerunner under the house made with the Wicked Fun Designer Series Paper….stitch together on your sewing machine or just glue!
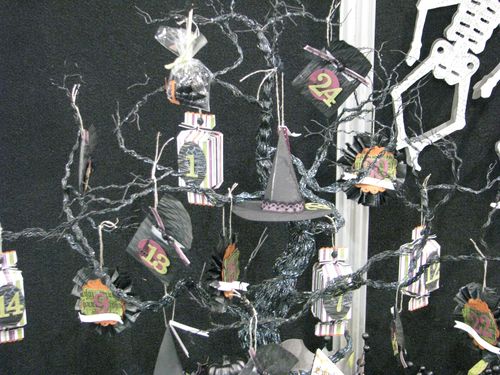
Assorted Halloween decorations! Purchase a tree to display or make your own with a tree branch!
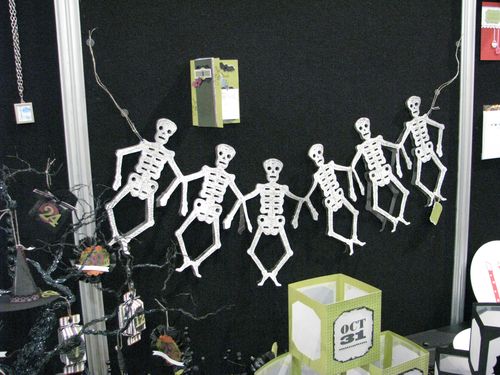
These skeletons are outlined with Crystal Effects and sprinkled with Silver Glass Glitter. You can also put a black skeleton behind for a shadow effect.
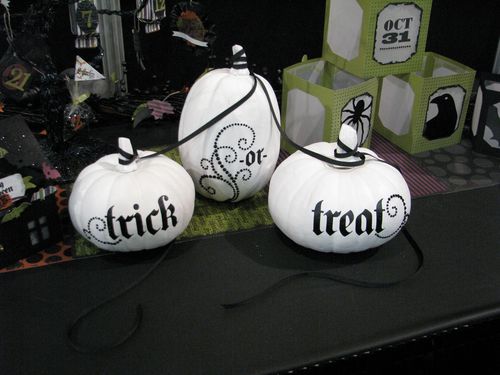
Use the Spooky Things Decor Elements to decorate pumpkins and add some of the new Black Flourish Designer Jewels! So cute!
The house even comes with the door knob! Use the Bat Punch and some Wicked Cool Designer Series Paper to make a wire garland of bats!
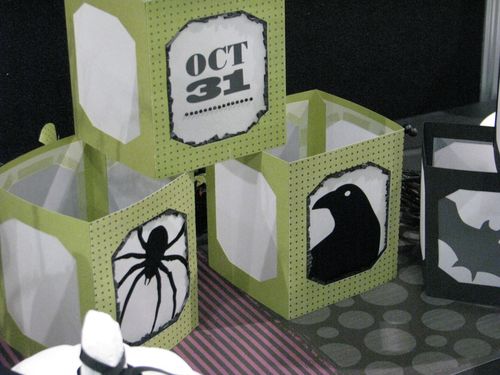
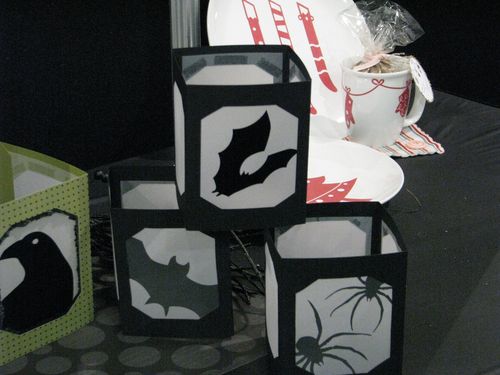
On the inside edge of the luminary, you can see some black waffle paper peeking out!
You can make six luminaries with the package of Decor Elements.
You can find these supplies in the new Holiday Mini Catalog! Do your online shopping this weekend and you'll be all decorated in time for Halloween!
Halloween Products on Display at Convention
Here are some more photos from the fabulous display at the Stampin' Up! Convention! You'll find most of these new products in the Holiday Mini. Hold your mouse over the photos to find the names of some of the products. Click on the photos to enlarge. Enjoy!
Do these fantastic projects put you in a Halloween mood yet?? Be sure to check out the Stampin' Up! Holiday Mini Catalog for some great products and projects for not only Halloween, but the fall season as well as Thanksgiving!
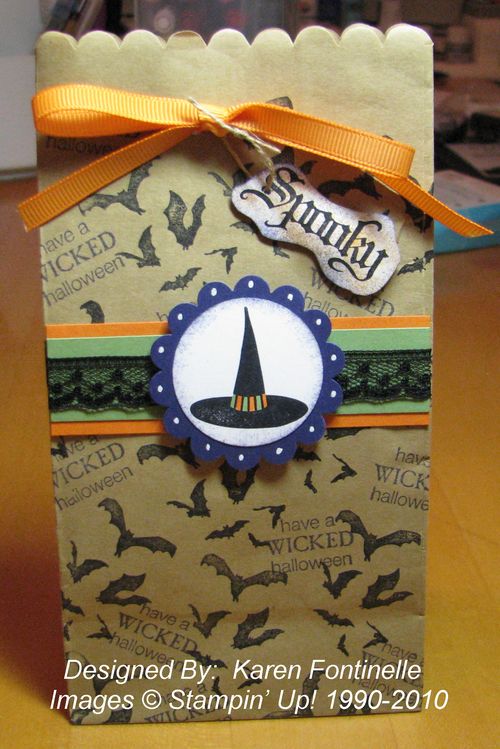
Wicked Cool Treat Sack
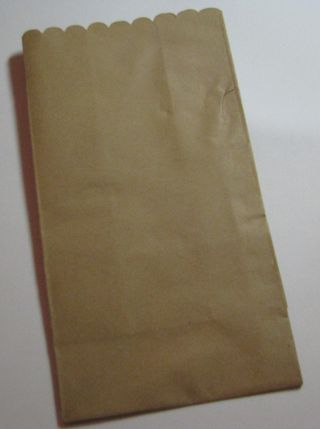
My Stampin' Up! Holiday Mini order arrived, and it just happened that the first thing I decided to try was a Halloween bag. I love the Wicked Cool stamp set in the Stampin' Up! 2010-2011 Idea Book & Catalog. You can order the Mini Lunch Sacks #121031 from the Holiday Mini. Let me tell you, when I opened the package of ten mini lunch sacks, I was amazed! Right away you could tell these weren't your ordinary flimsy thin little paper sacks! As with everything Stampin' Up!, these little bags are a nice quality and come already scalloped on top! They measure 3 1/2" x 6 5/8" so they are a very good size.
I just began stamping the little bats on the bag with Black Stazon ink and as an afterthought stamped the "have a Wicked halloween" on there with Concord Crush….but on this bag, the dark purple looks more like black. I added a strip of Pumpkin Pie (3 1/2" x 1") and Wild Wasabi card stock (3 1/2" x 3/4") across the front. I also stamped the witches hat in Stazon Black on Whisper White and punched it out with the 1 3/8" Circle Punch, sponged it a little with Concord Crush ink, then adhered to a Concord Crush Scallop Circle Punch #119854. I colored in the band on the witches hat with Stampin' Write Markers and added some White Gel Pen dots to the scallops. It still needed something, and once I added a strip of the 1/2" Raven Lace Trim #120988 in the Holiday Mini I loved it! Adhere the scallop circle with a couple of Stampin' Dimensionals.
After filling your bag with treats, you can just punch two holes in the top with the Crop-a-Dile and thread some grosgrain ribbon through. For a little more pizzazz, I added the "Spooky" sentiment from the Wicked Cool stamp set (page 23 IB&C), stamped in Black Stazon and sponged with some Concord Crush and Pumpkin Pie ink. I loved adding the orange with the purple! I also loved the shape of the rubber image, so I just put that back down over the stamped word and traced around it and then cut out with my scissors! All you need then is to punch a little hole and use some linen thread to make a little hanging tag to tie onto the grosgrain ribbon. I even added a dimensional under the tag just to hold it where I wanted it.
So there you have it! An easy little Halloween treat bag with the great new Mini Lunch Sacks!
If you need a copy of the Holiday Mini and you don't have your own demonstrator, please contact me and I can send you one!
Stampin’ Up! My Digital Studio Videos
With the success of My Digital Studio, Stampin' Up! has produced some instructional videos for customers! Mark Jessen of Stampin' Up! is your instructor in these videos, as he was when we demonstrators were learning about My Digital Studio in our special webinars.
- If you are already using My Digital Studio, perhaps you will pick up a new tip or new way of doing something.
- If you are thinking about purchasing My Digital Studio, these videos will serve as a great introduction.
- And if you don't know diddly-squat about digital papercrafting like me before the release of My Digital Studio, then just watch these videos not trying to "learn" how to do it, but just to get the general idea of being creative digitally! It won't be difficult to learn once you delve in!
Digital doesn't mean just scrapbooking, by any means, so even if you are not into scrapbooking, you could easily still find lots of uses for and enjoy My Digital Studio!
I recommend that you begin with the "Introduction" video and then you can progress to the ones about stamps, backgrounds and photos. Click on the image below to go to the Stampin' Up! page and from there you can choose your video to watch.

Or you can go to www.stampinup.com, then choose Products > Product Lines > My Digital Studio > My Digital Studio Videos.
Keep in mind, that if you already have a digital program, you can purchase the My Digital Studio downloads you like without purchasing the software.
I'd be happy to answer any questions you may have. When you are ready to order, just go to my Online Store HERE and click the Shop Now button! Or contact me with your order!
Don't forget……another option would be to purchase the Digital+Starter Kit and become a Stampin' Up! Demonstrator! Not only will you own the software and some other stamping supplies, but you will be a part of the Stampin' Up! family! And right now you will also receive the Crafter's Tote FREE (while supplies last!)!!

.JPG)
